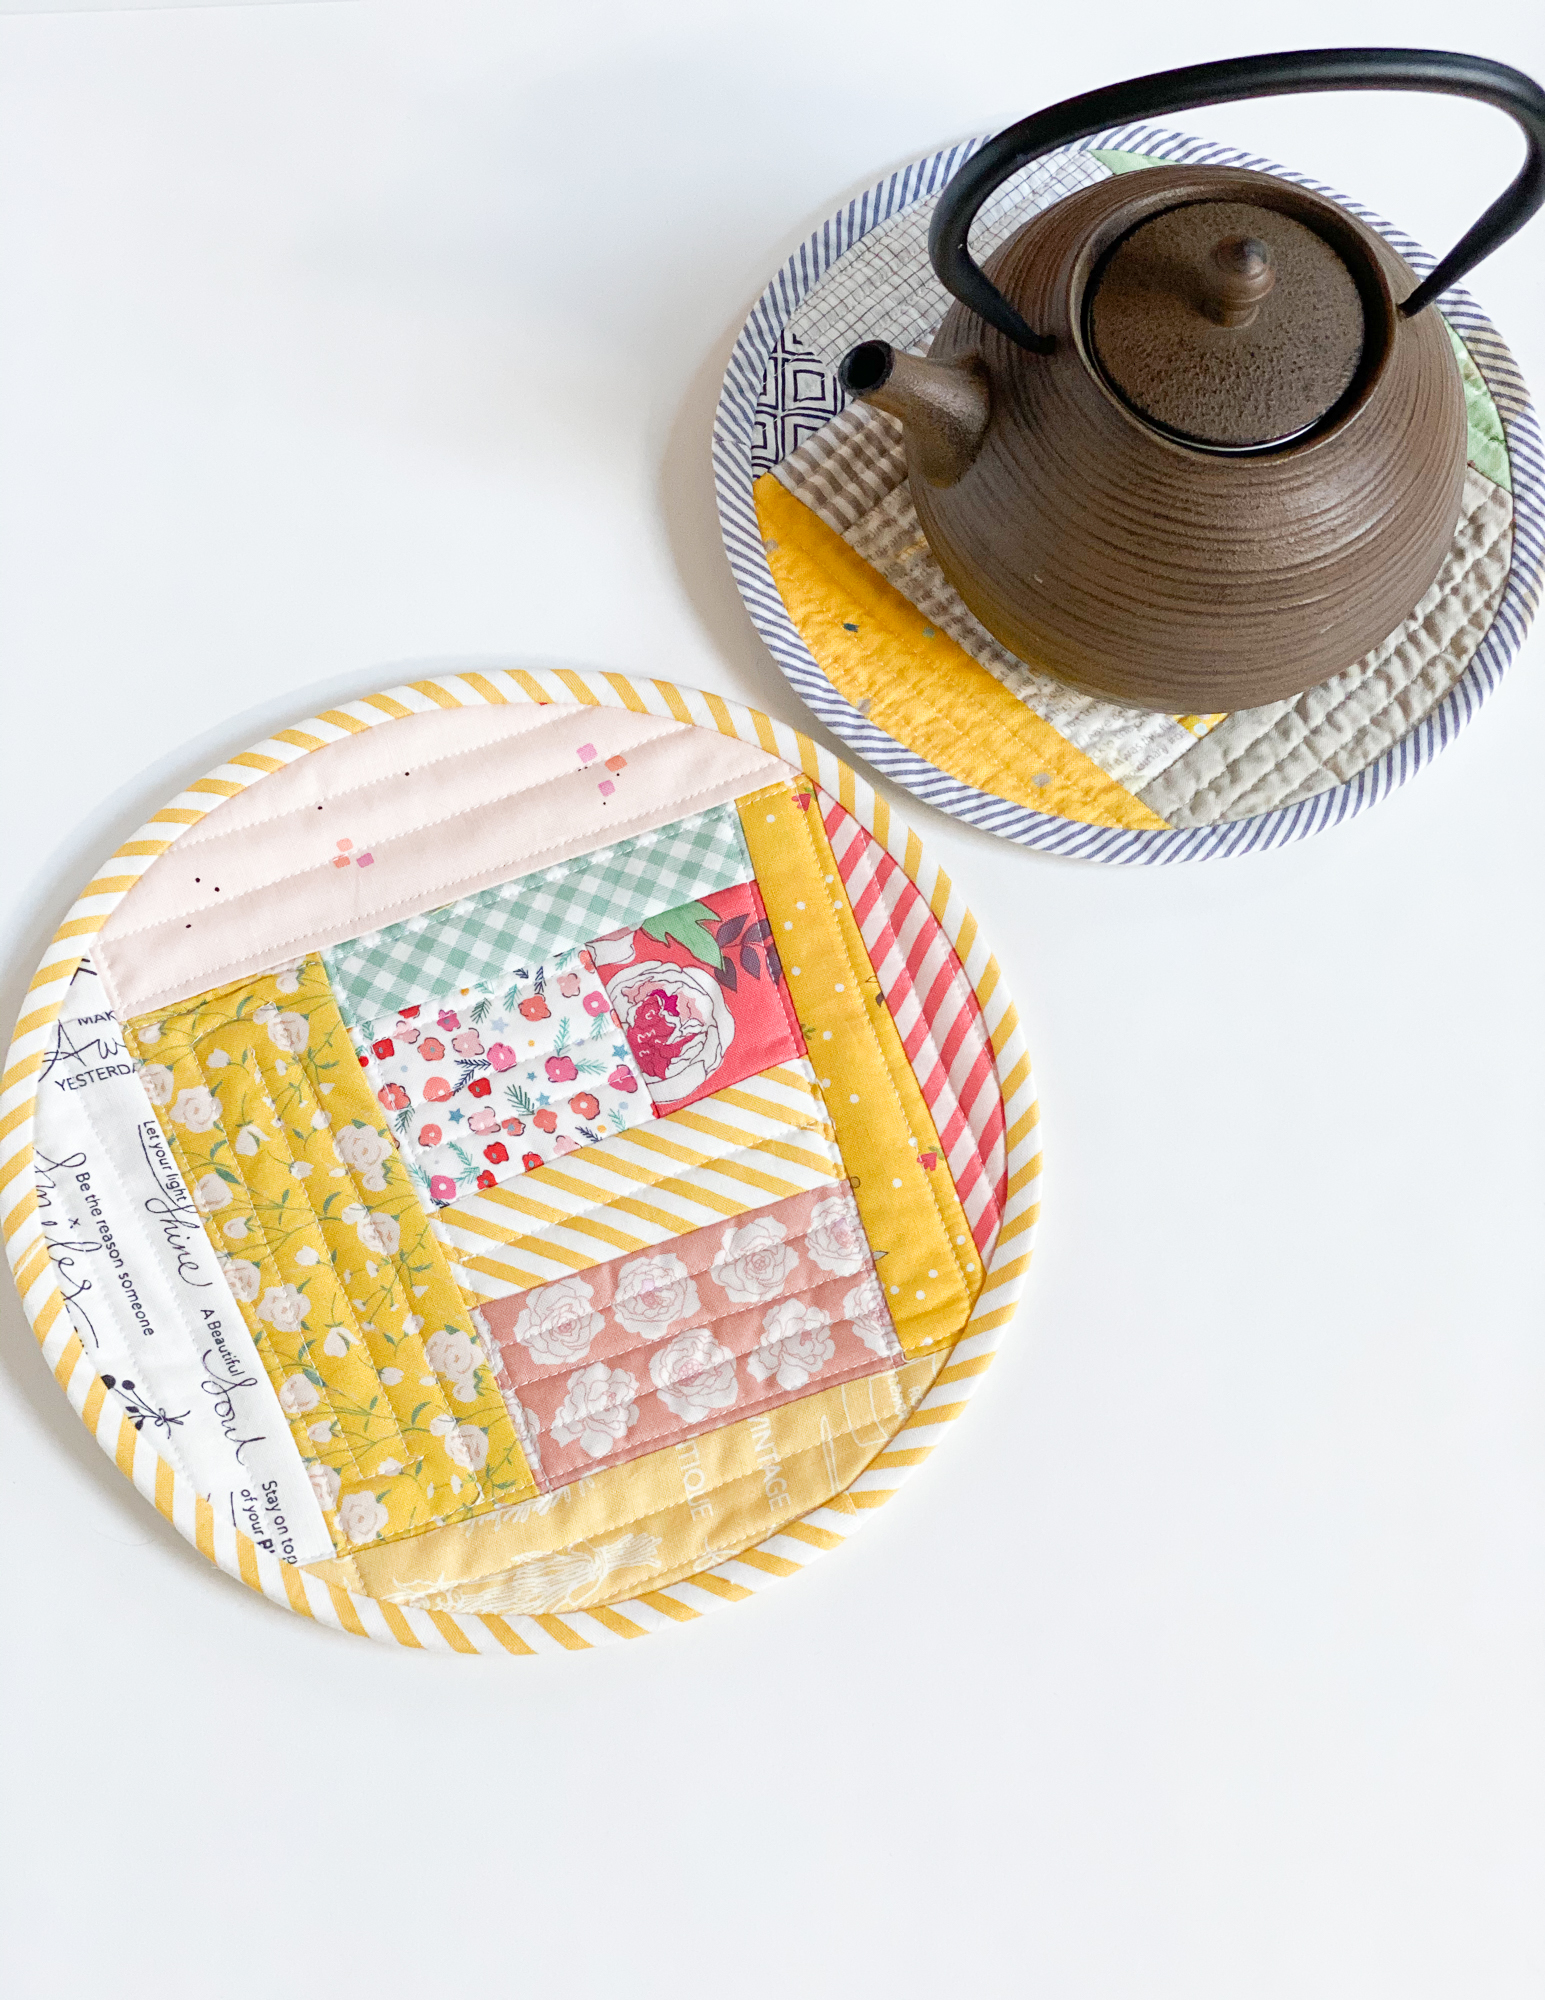
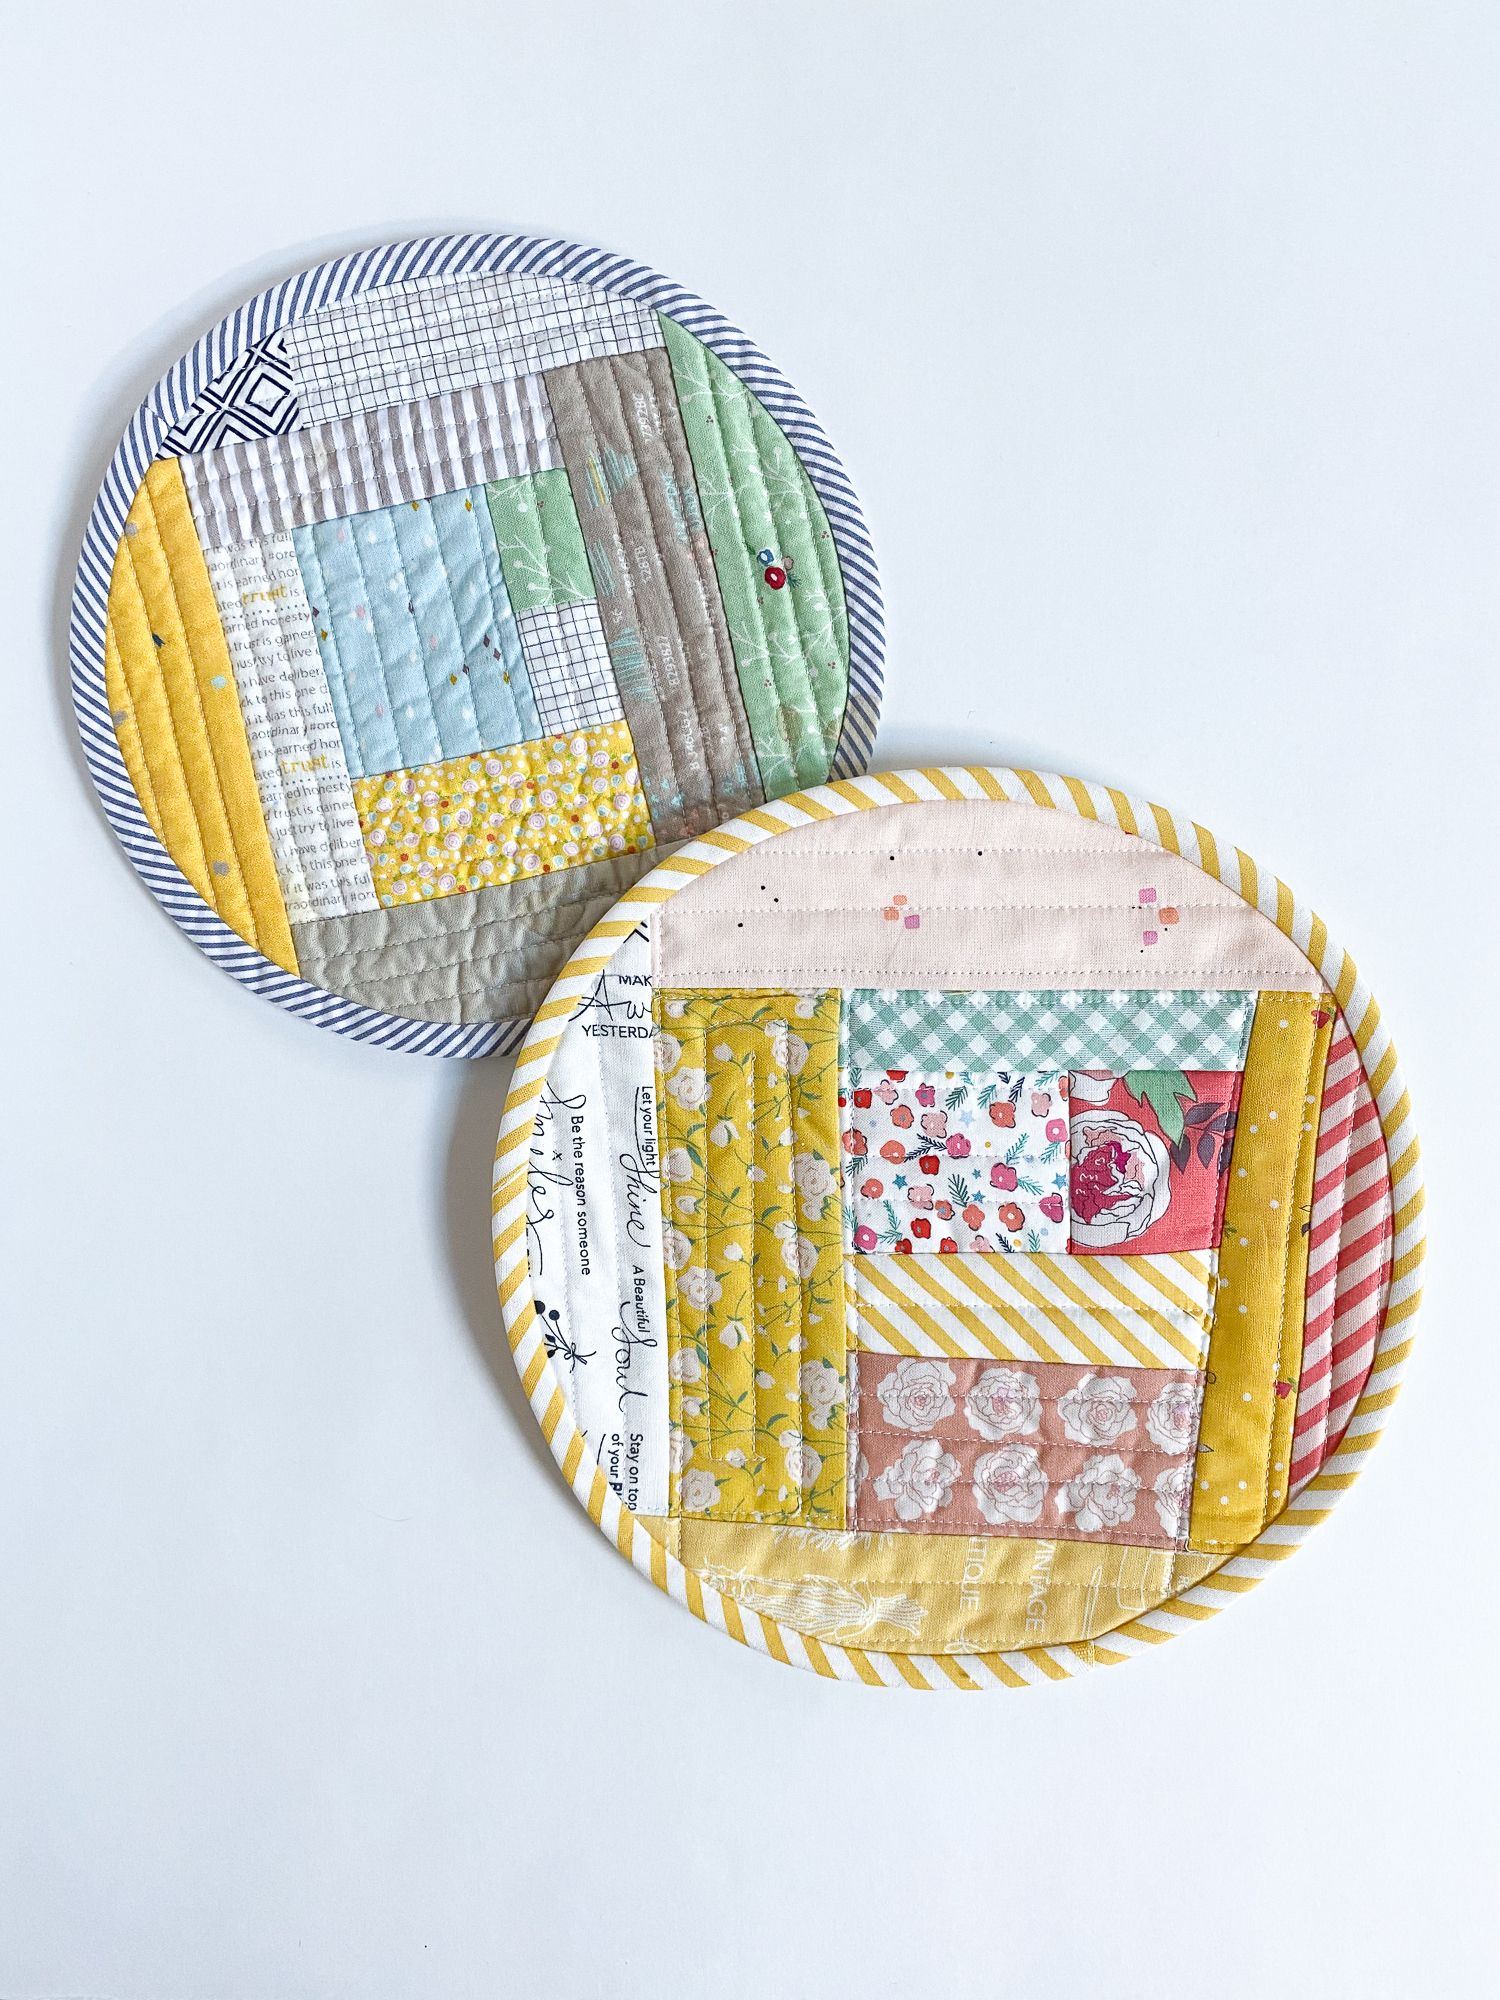
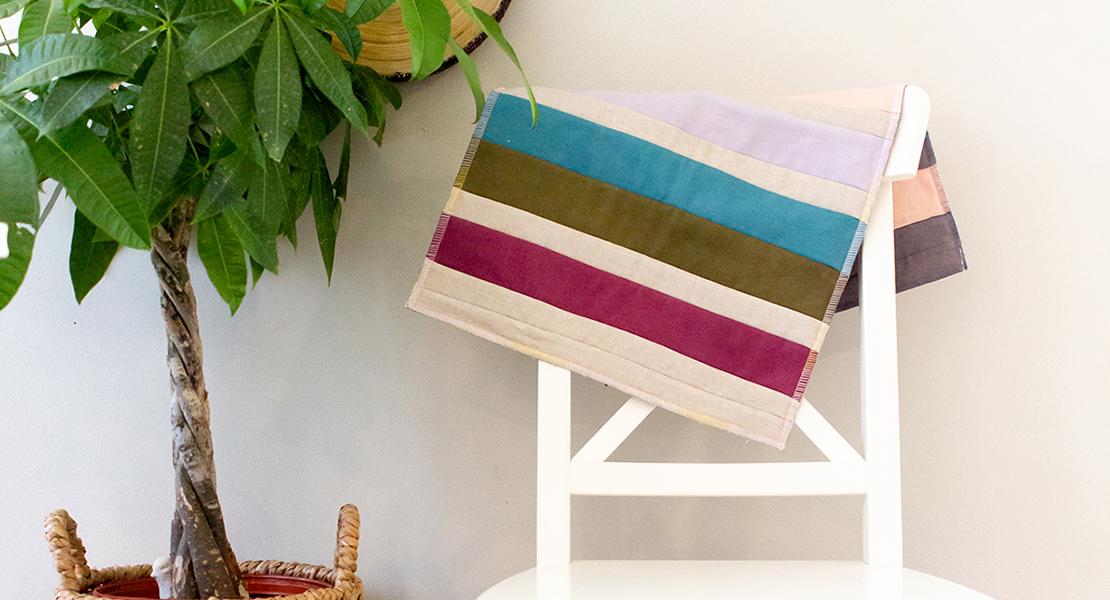
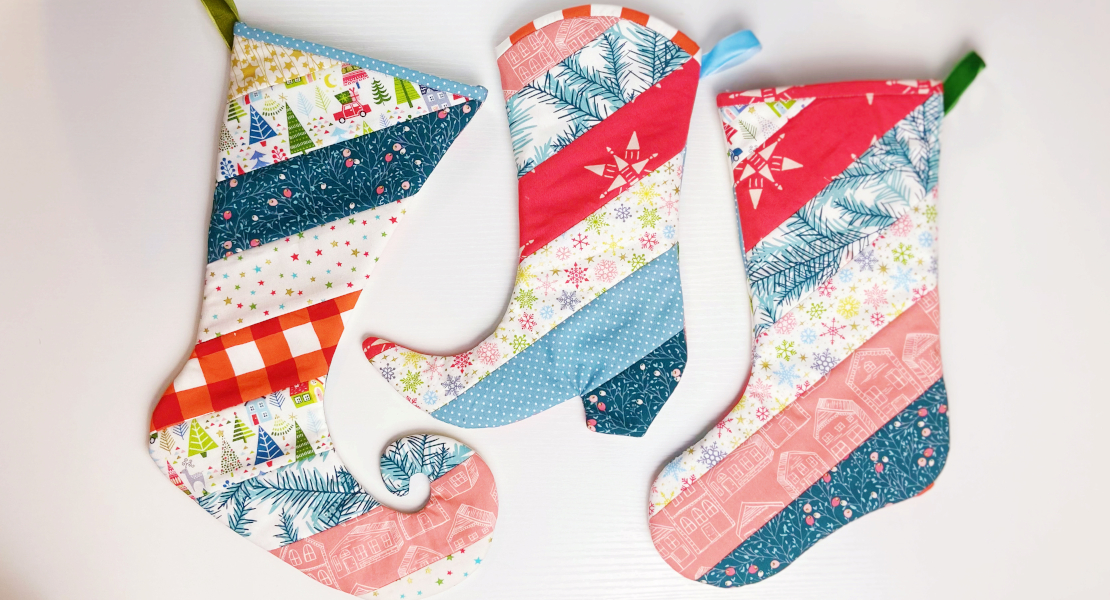
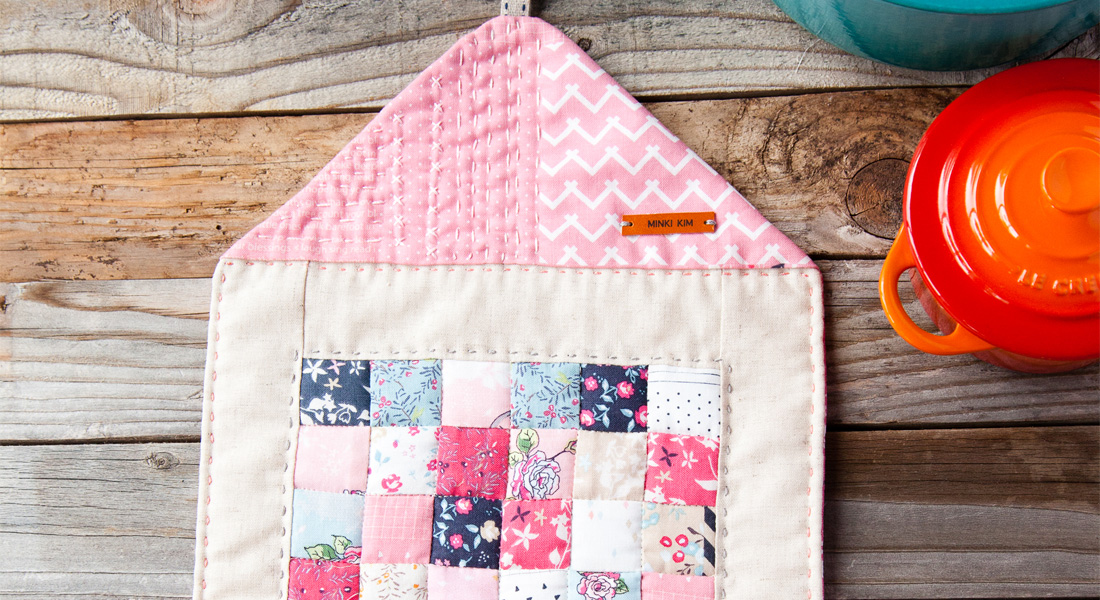
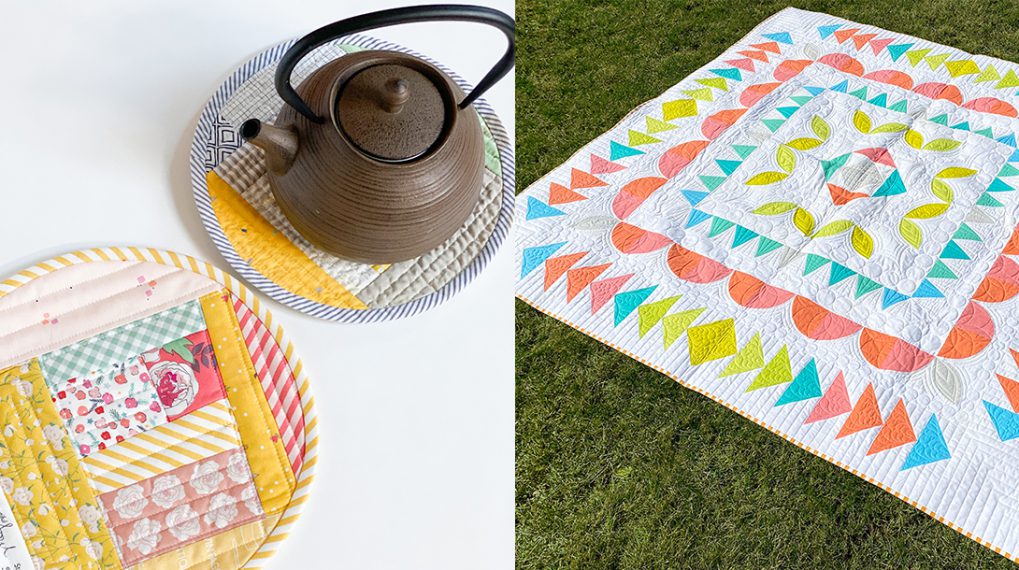
Quilt-as-you-go Trivet Set
Hello WeAllSew readers,
It’s Minki Kim, and you can find me at Instagram @zeriano and MinkiKim.com. I also design fabric for Riley Blake Designs and I have my own line of sewing patterns. You can find my video tutorials on my YouTube channel, MinkiKim.
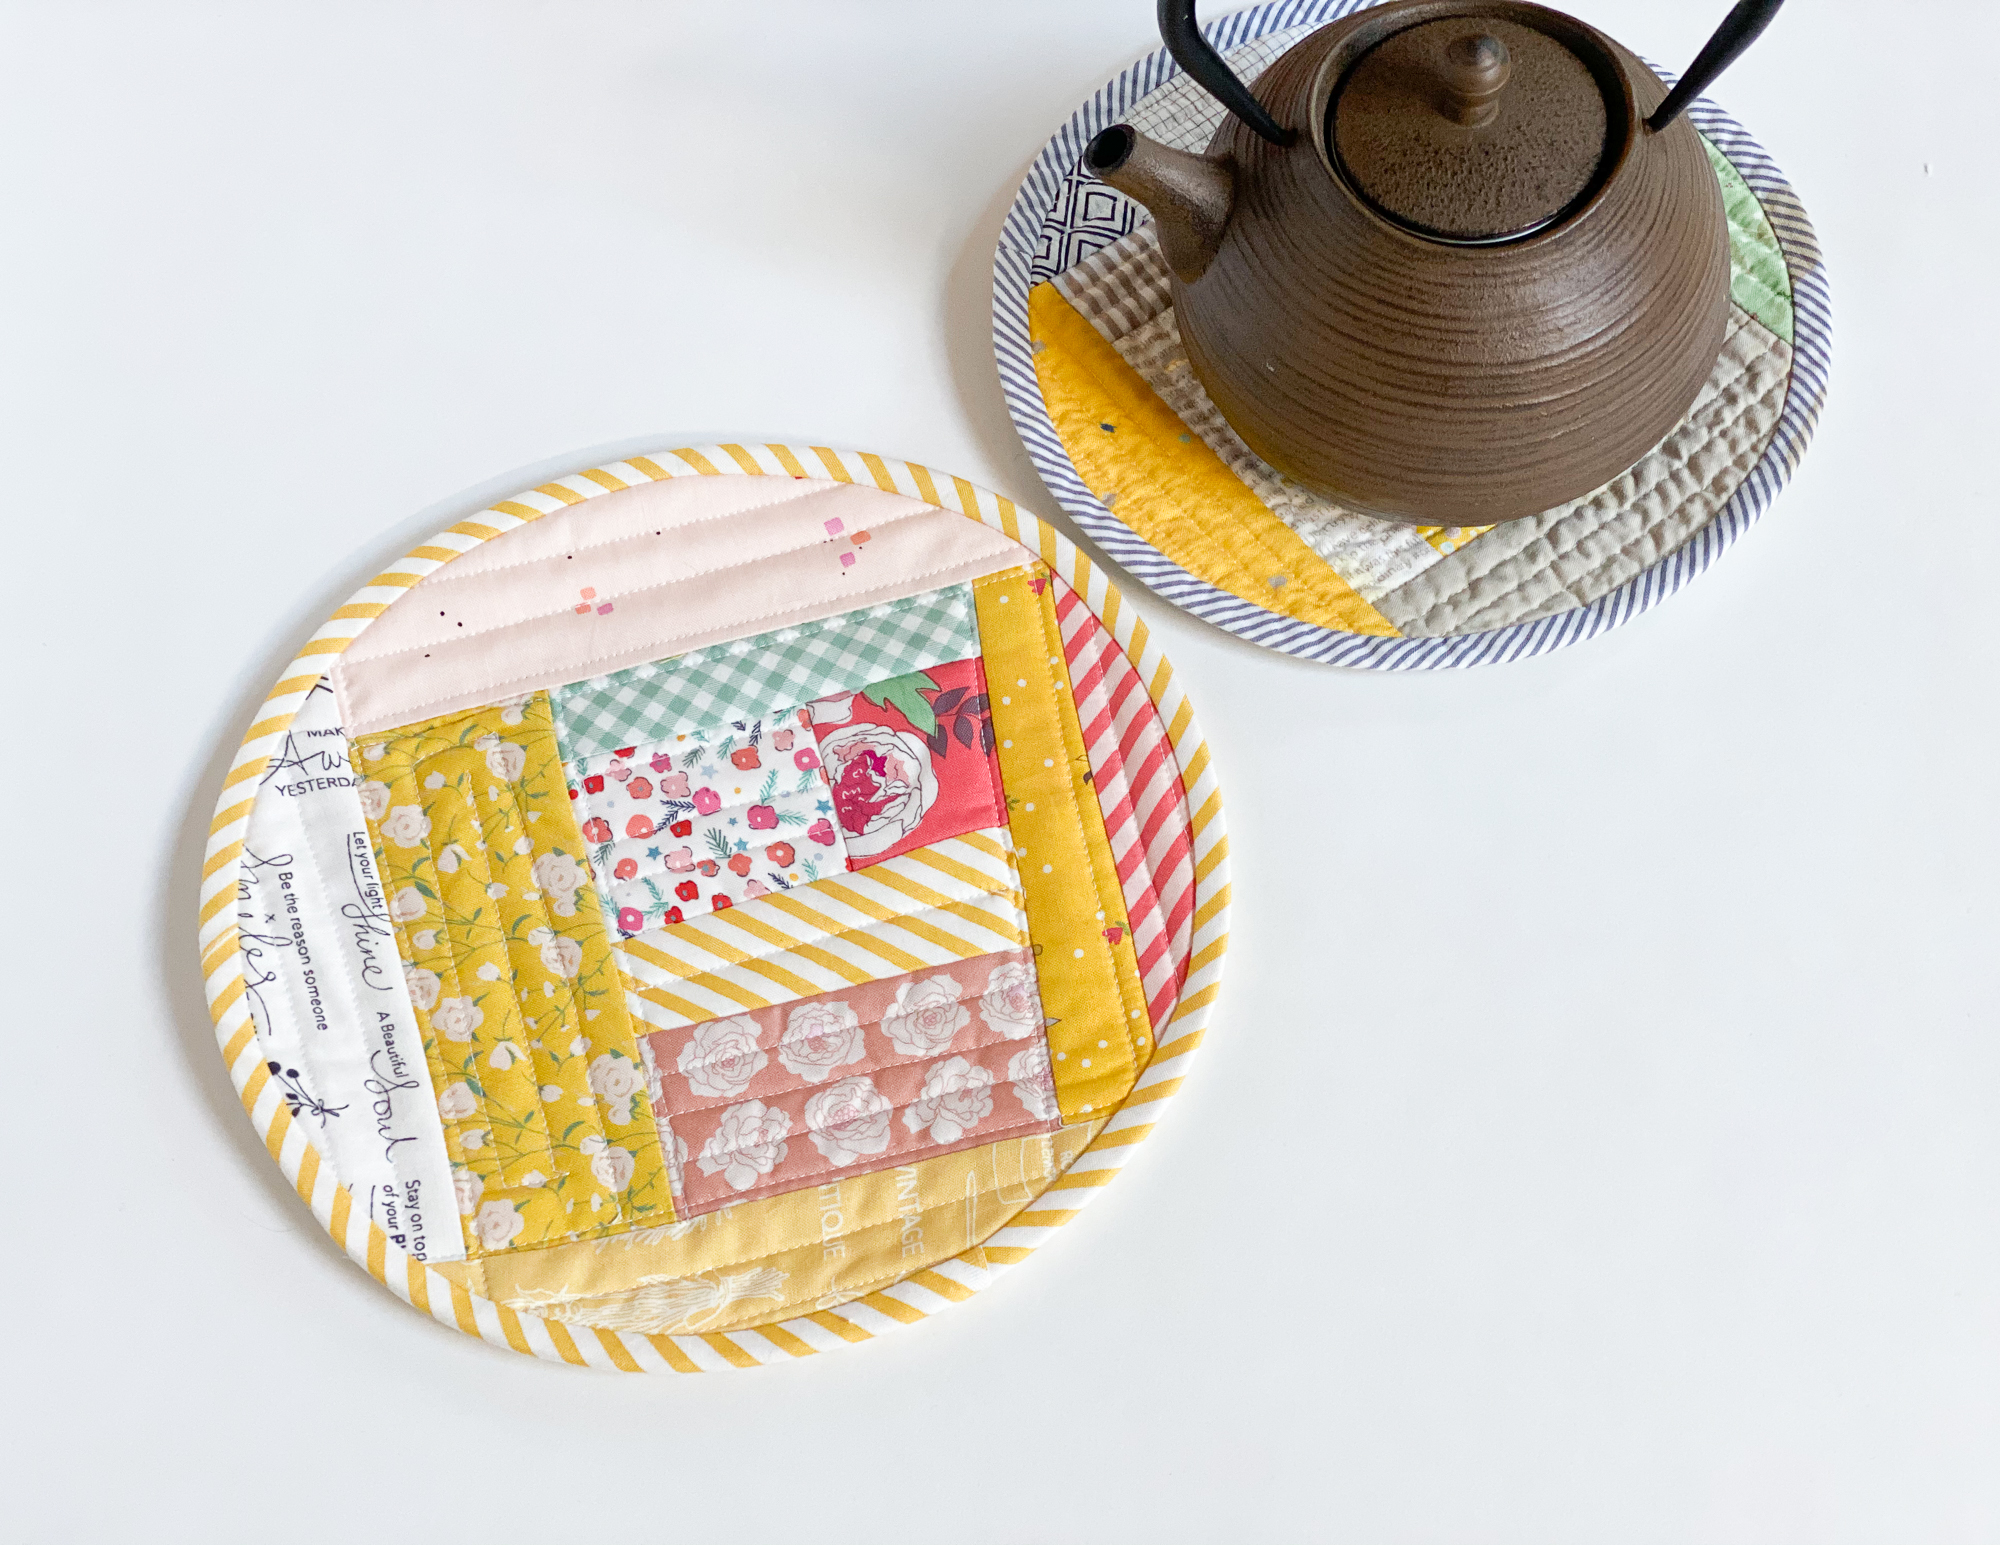
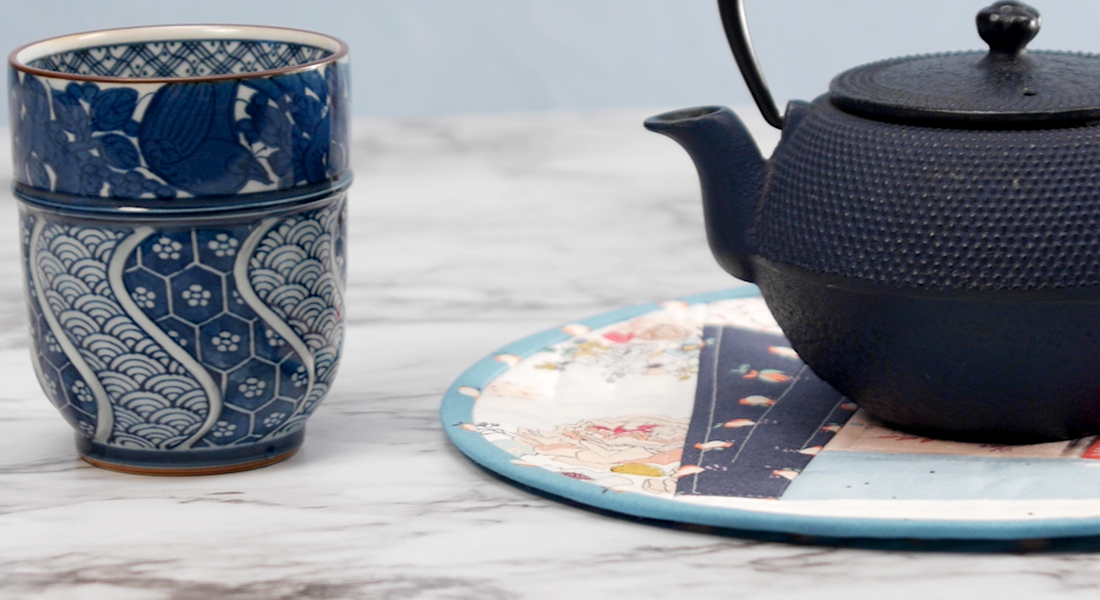
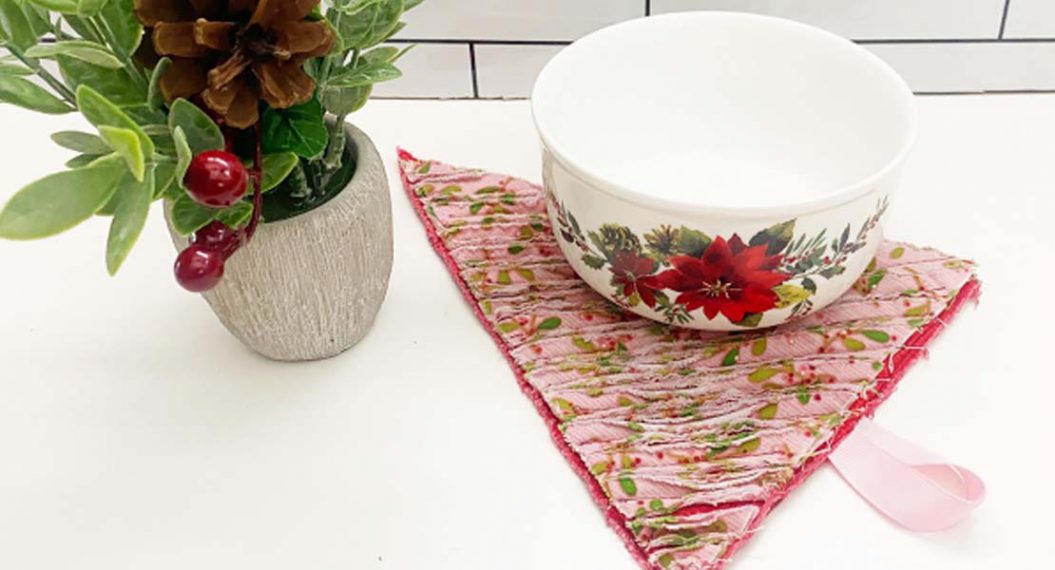
I am excited to share this easy-to-make patchwork trivets. Easy-to-follow sewing instructions will have you finish this practical mat in one afternoon! My 10 year old daughter, Claire, had so much fun to sew quilt-as-you-go trivet. It’s a perfect project to sew with your little one. Adjust the size as you wish. Mine is 10” and 8 3/4” circle.
Materials to Sew Quilt-As-You-Go Trivet
Finished size: 10” diameter
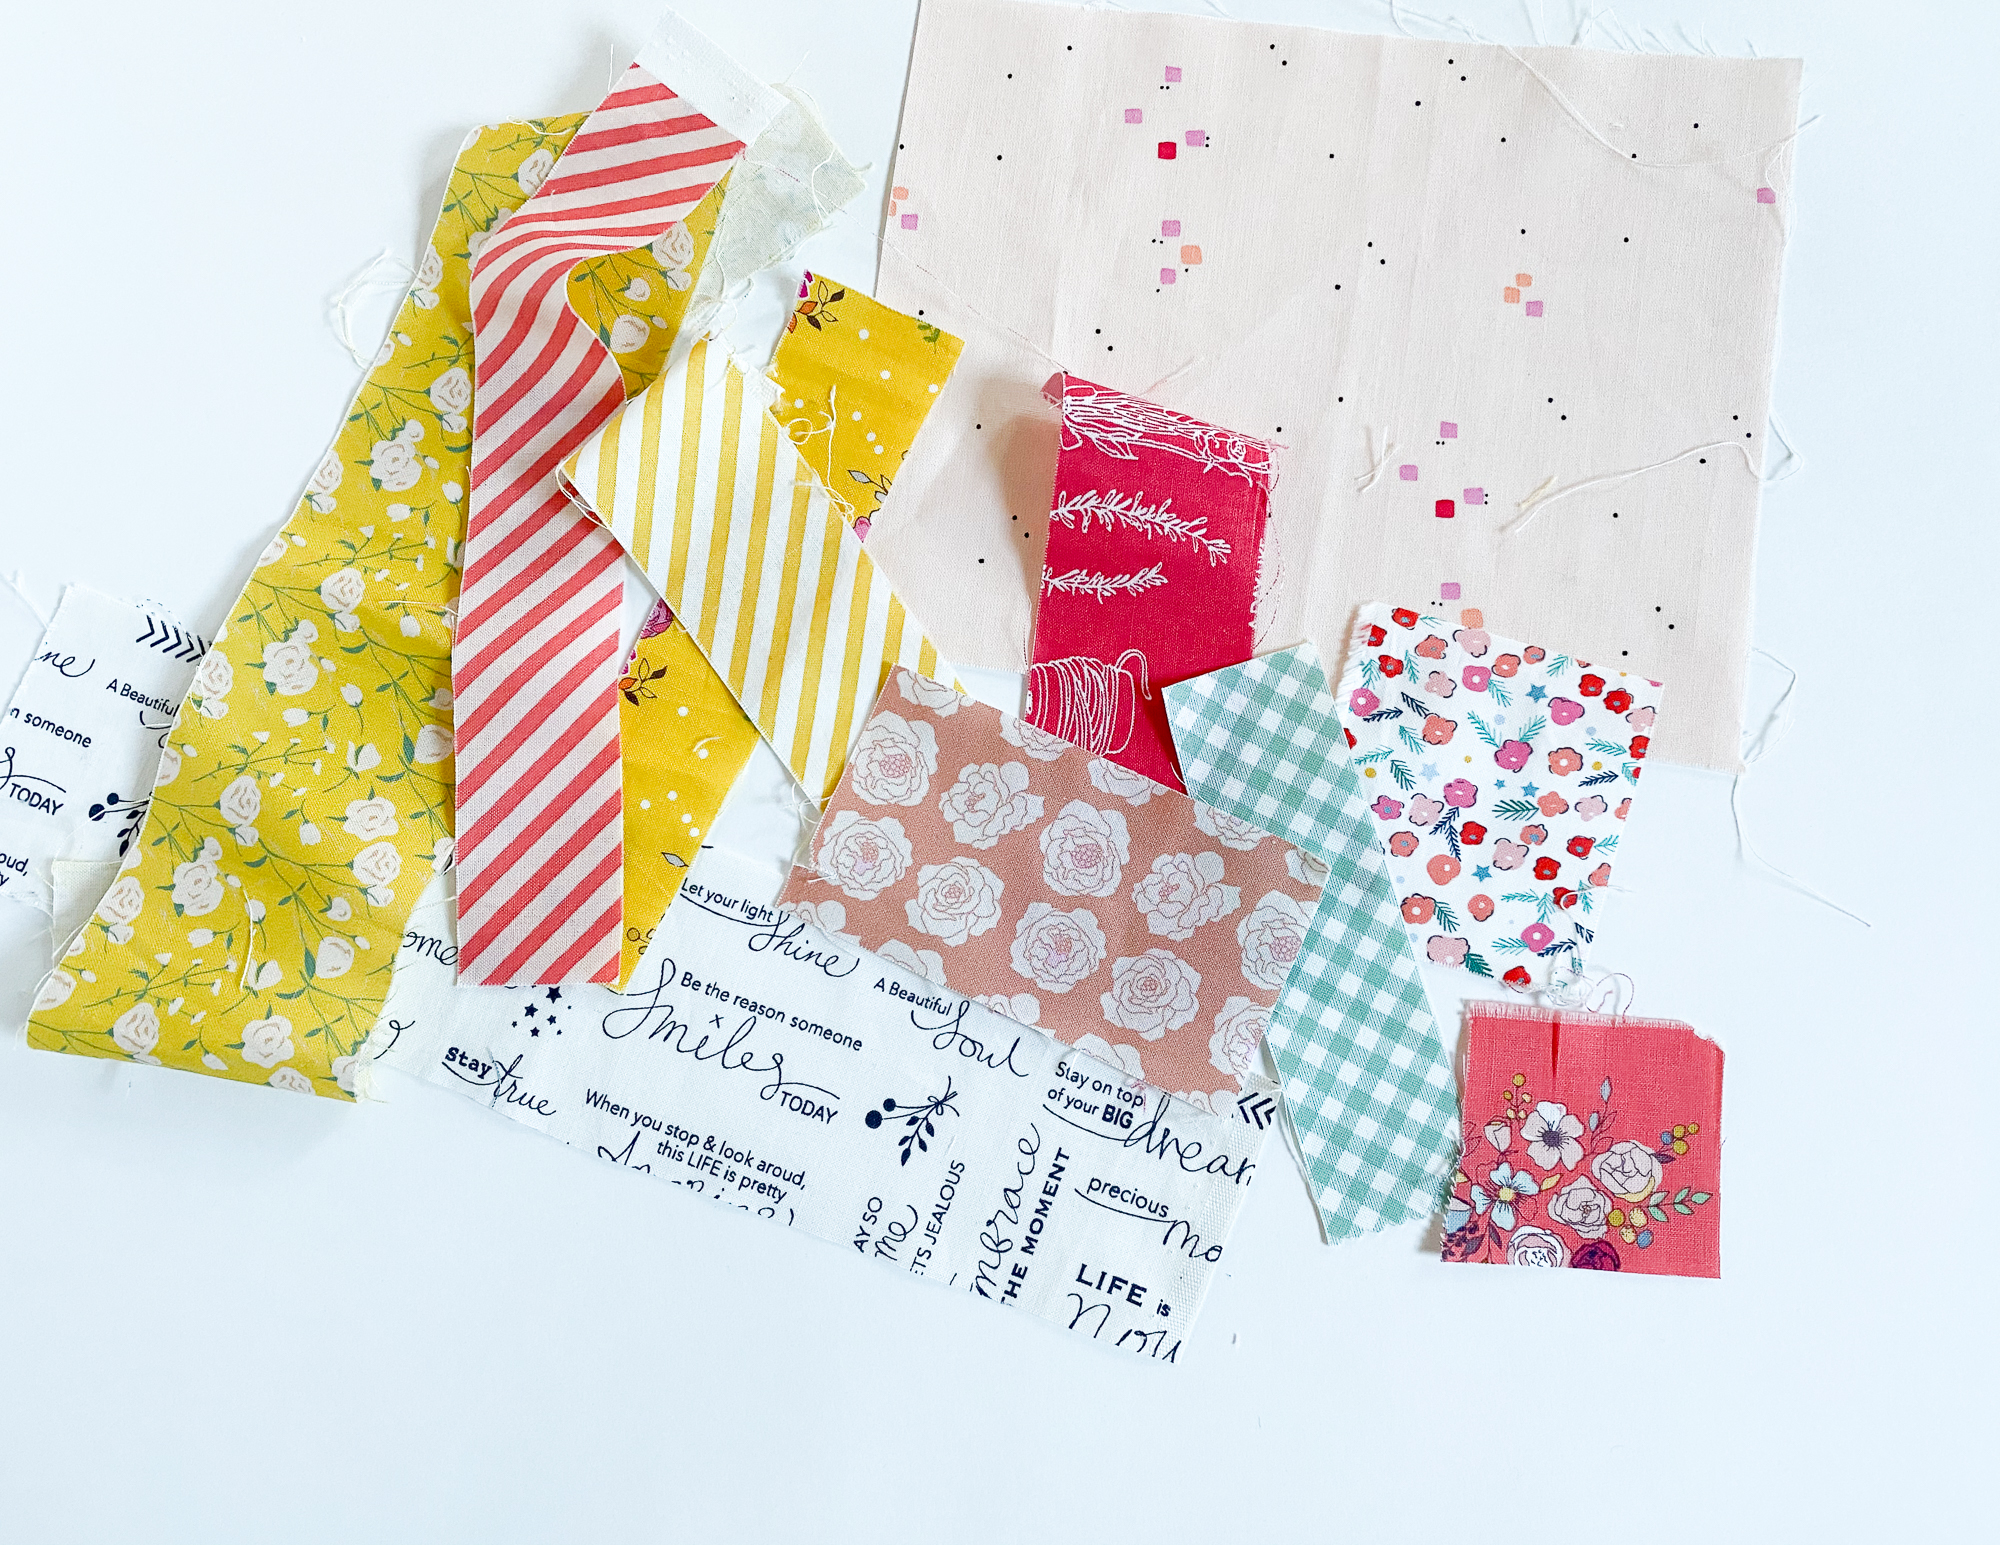
- scraps of fabric
- 12” x 12” lining fabric
- 12” x 12” cotton batting
- 2” x 25” binding fabric
- download the trivet pattern
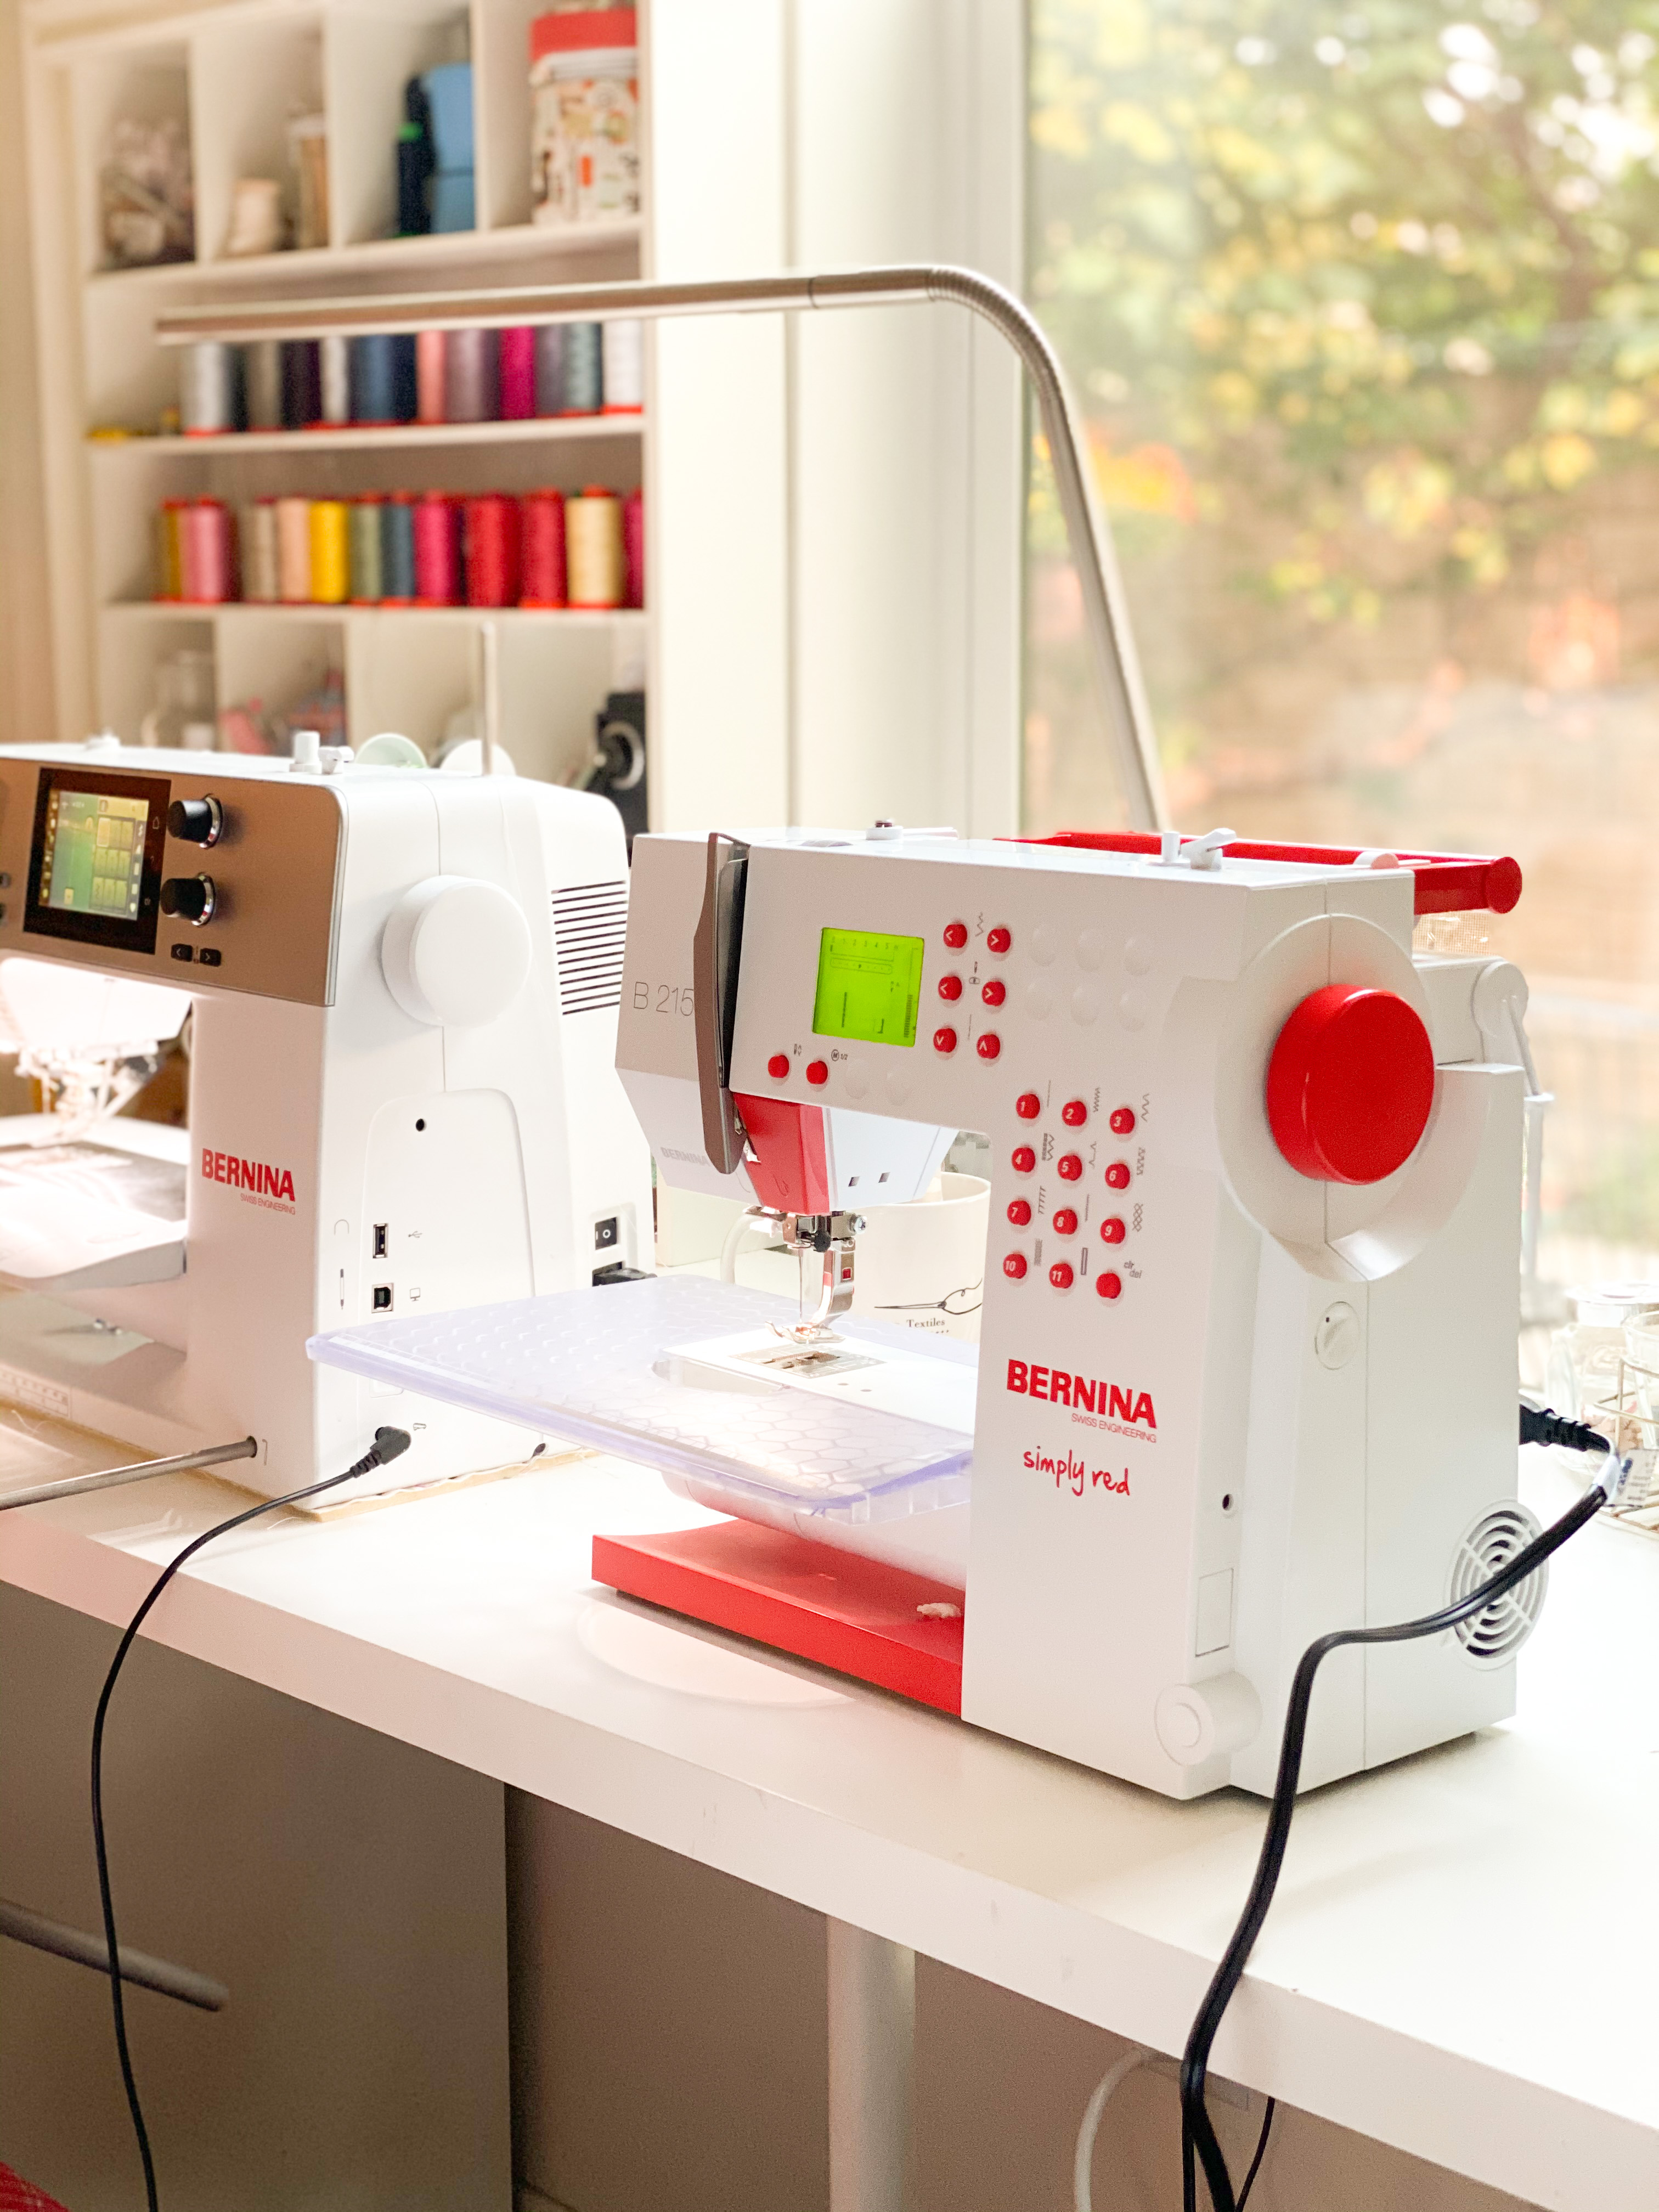
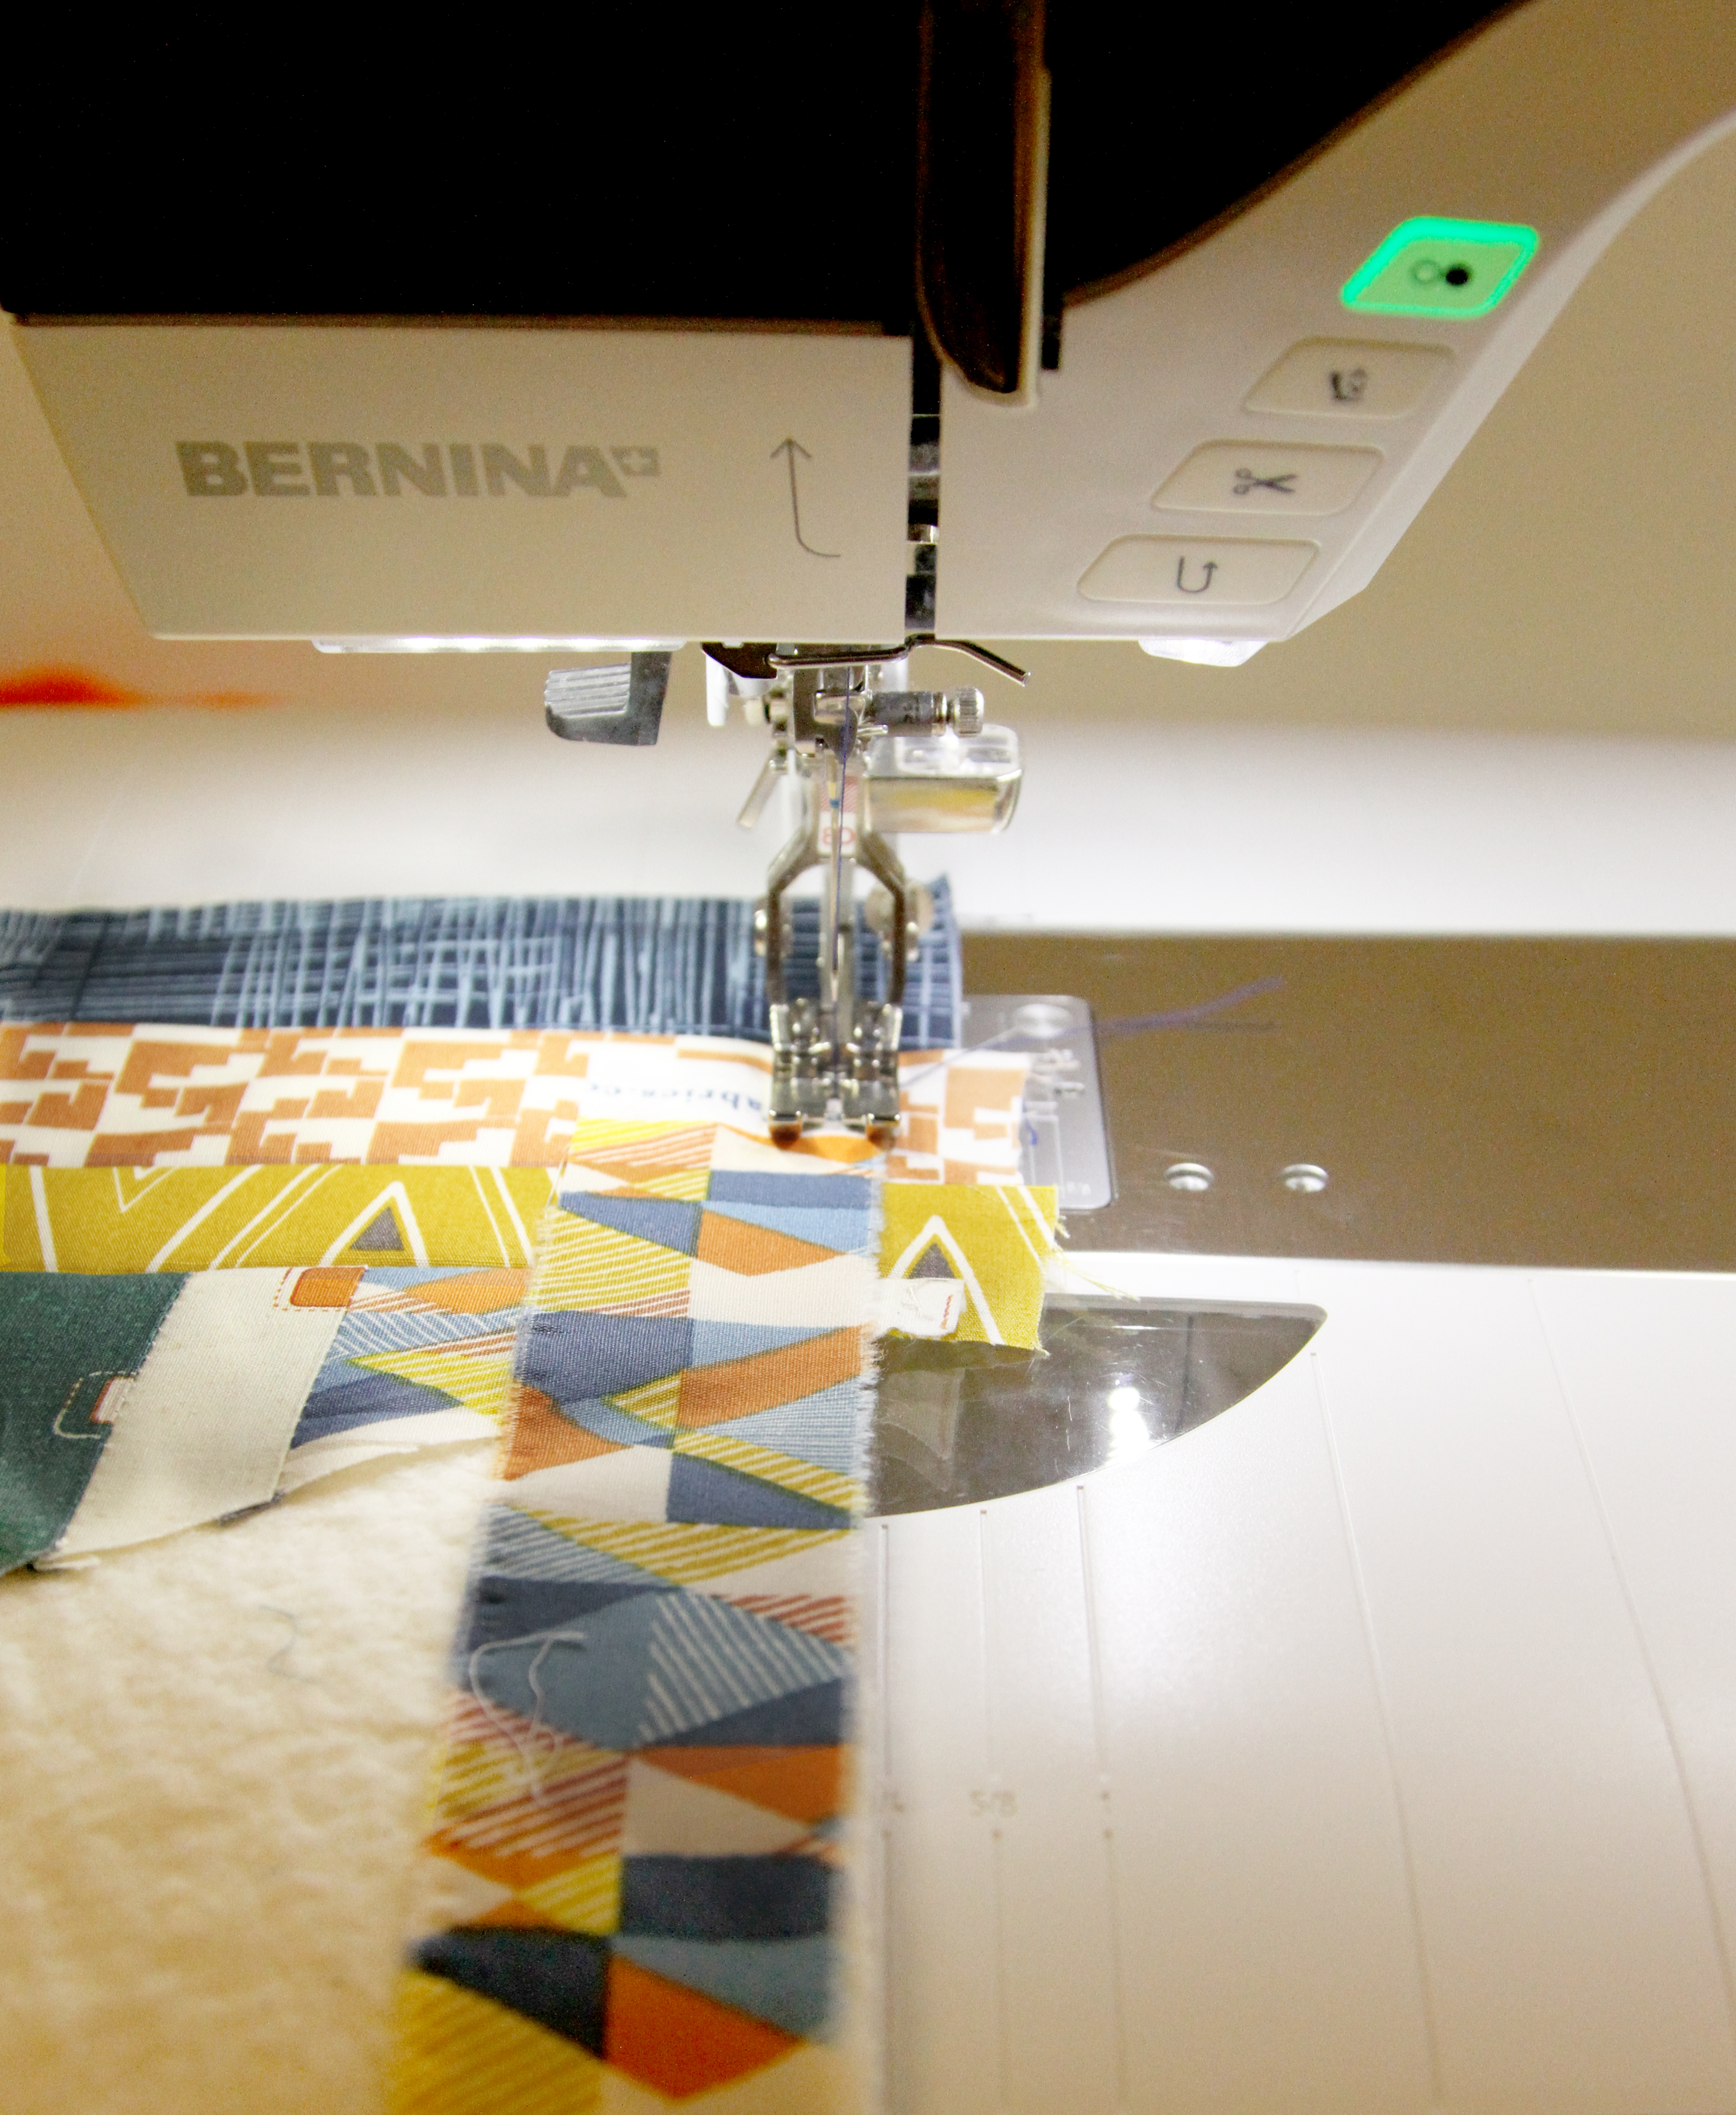
- a sewing machine. I sew on a BERNINA 215
Note: All seam allowances are 1/4″ unless otherwise noted.
How to make the Quilt-As-You-Go Trivet
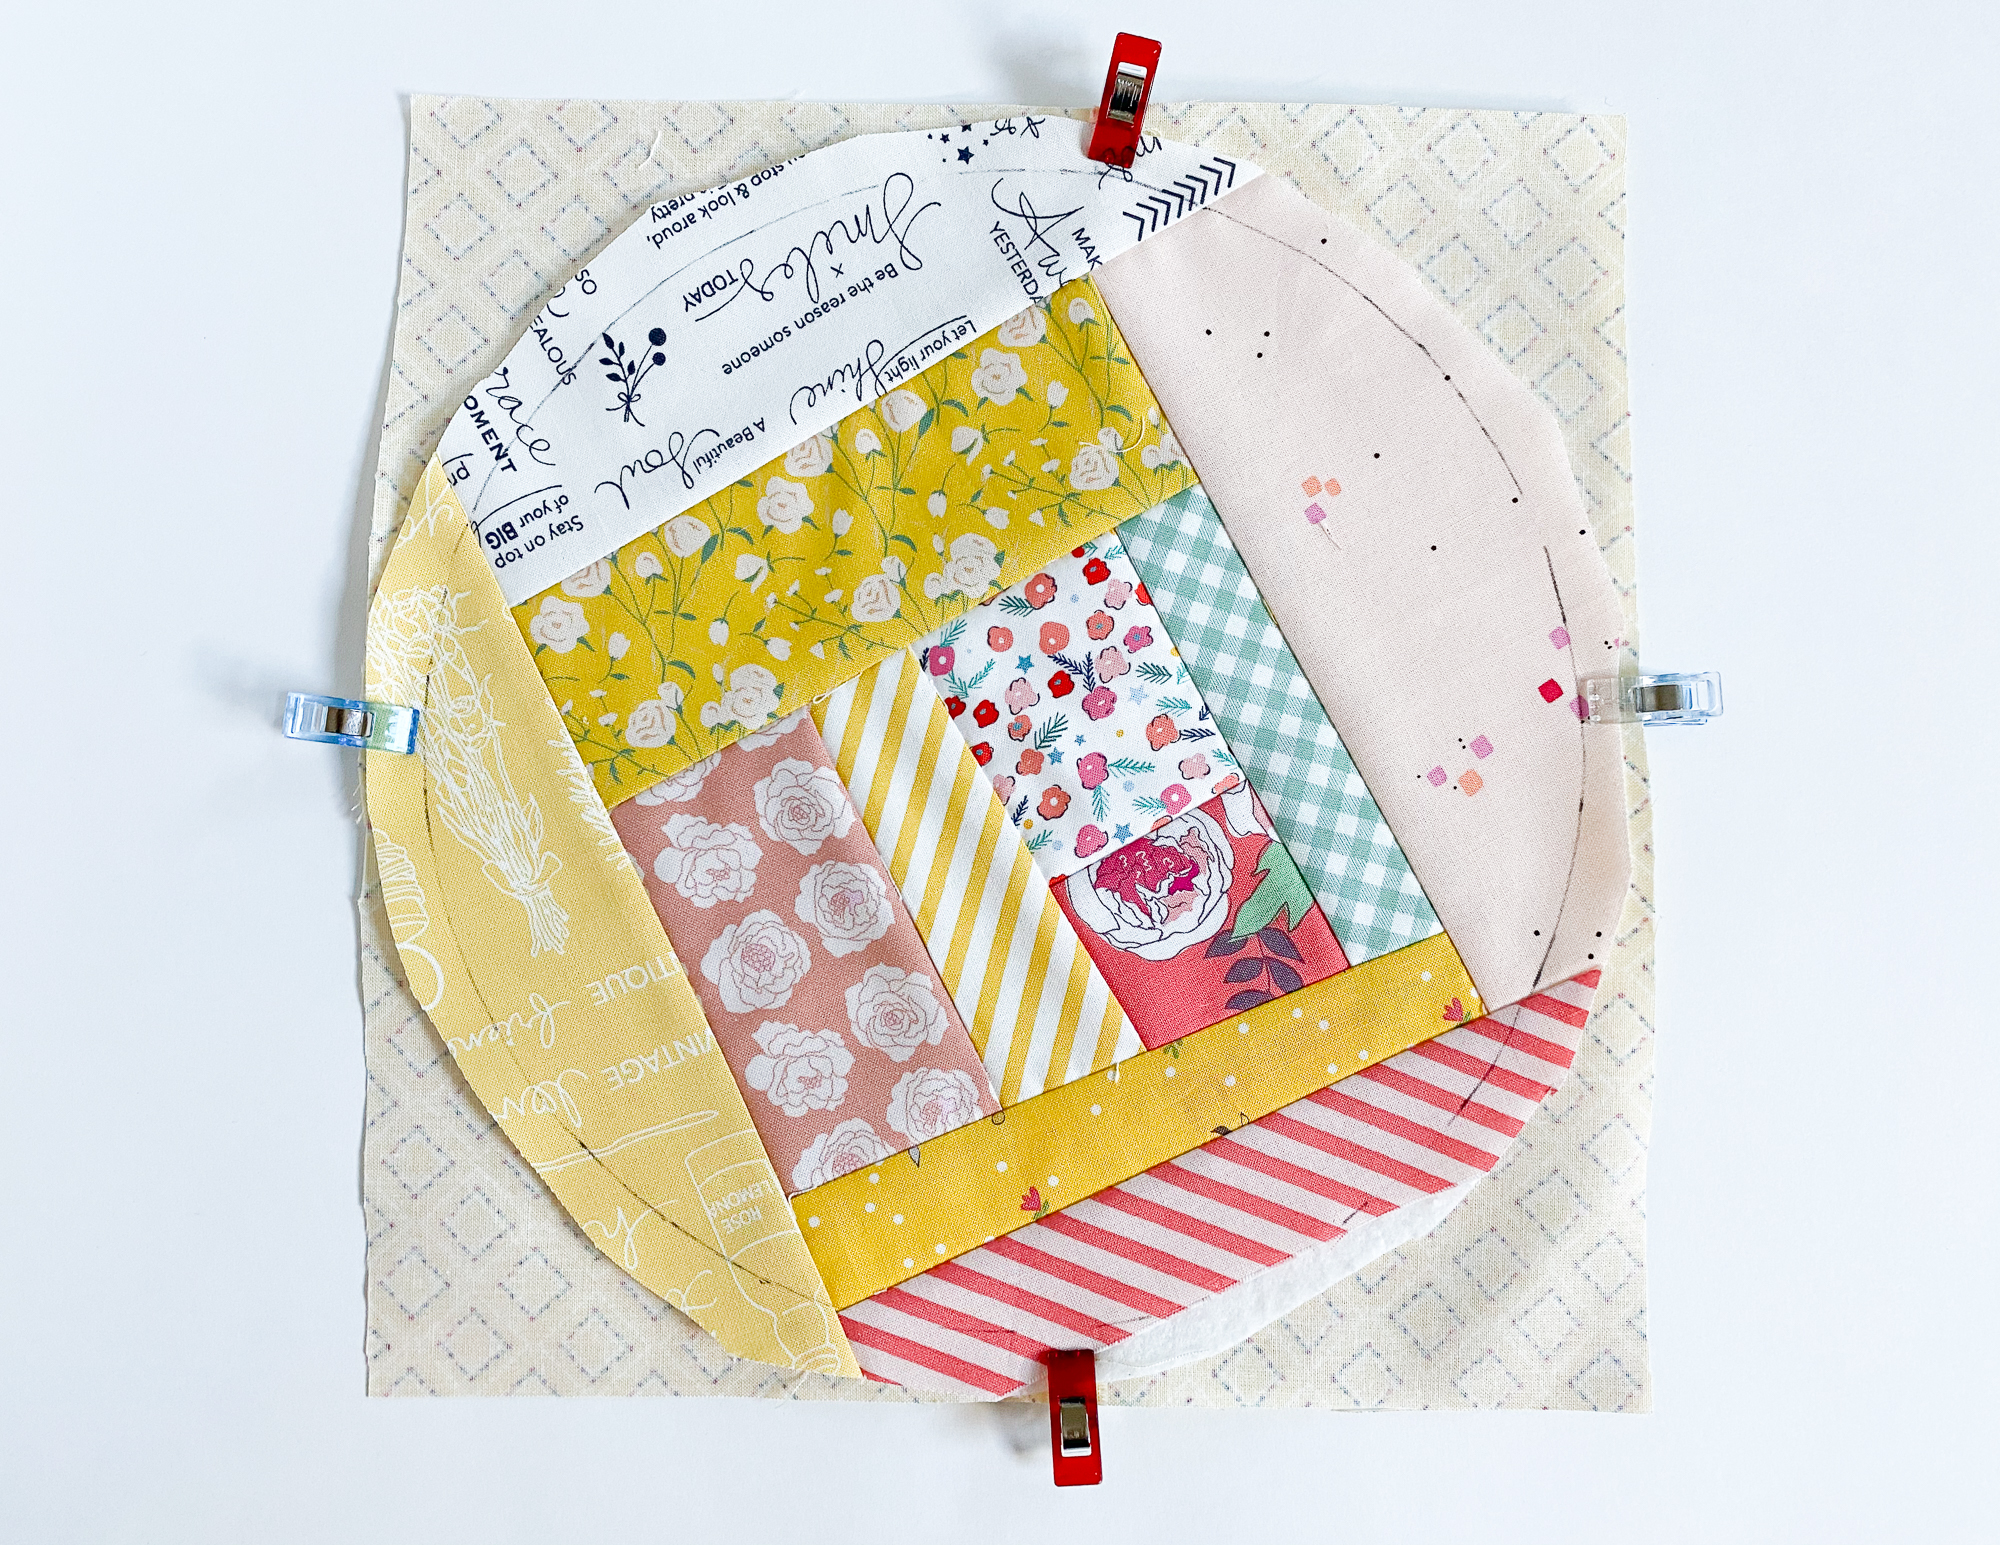
1. Arrange the scraps of fabrics that goes well together. My tip is cut dark color fabric small and light color fabric big.
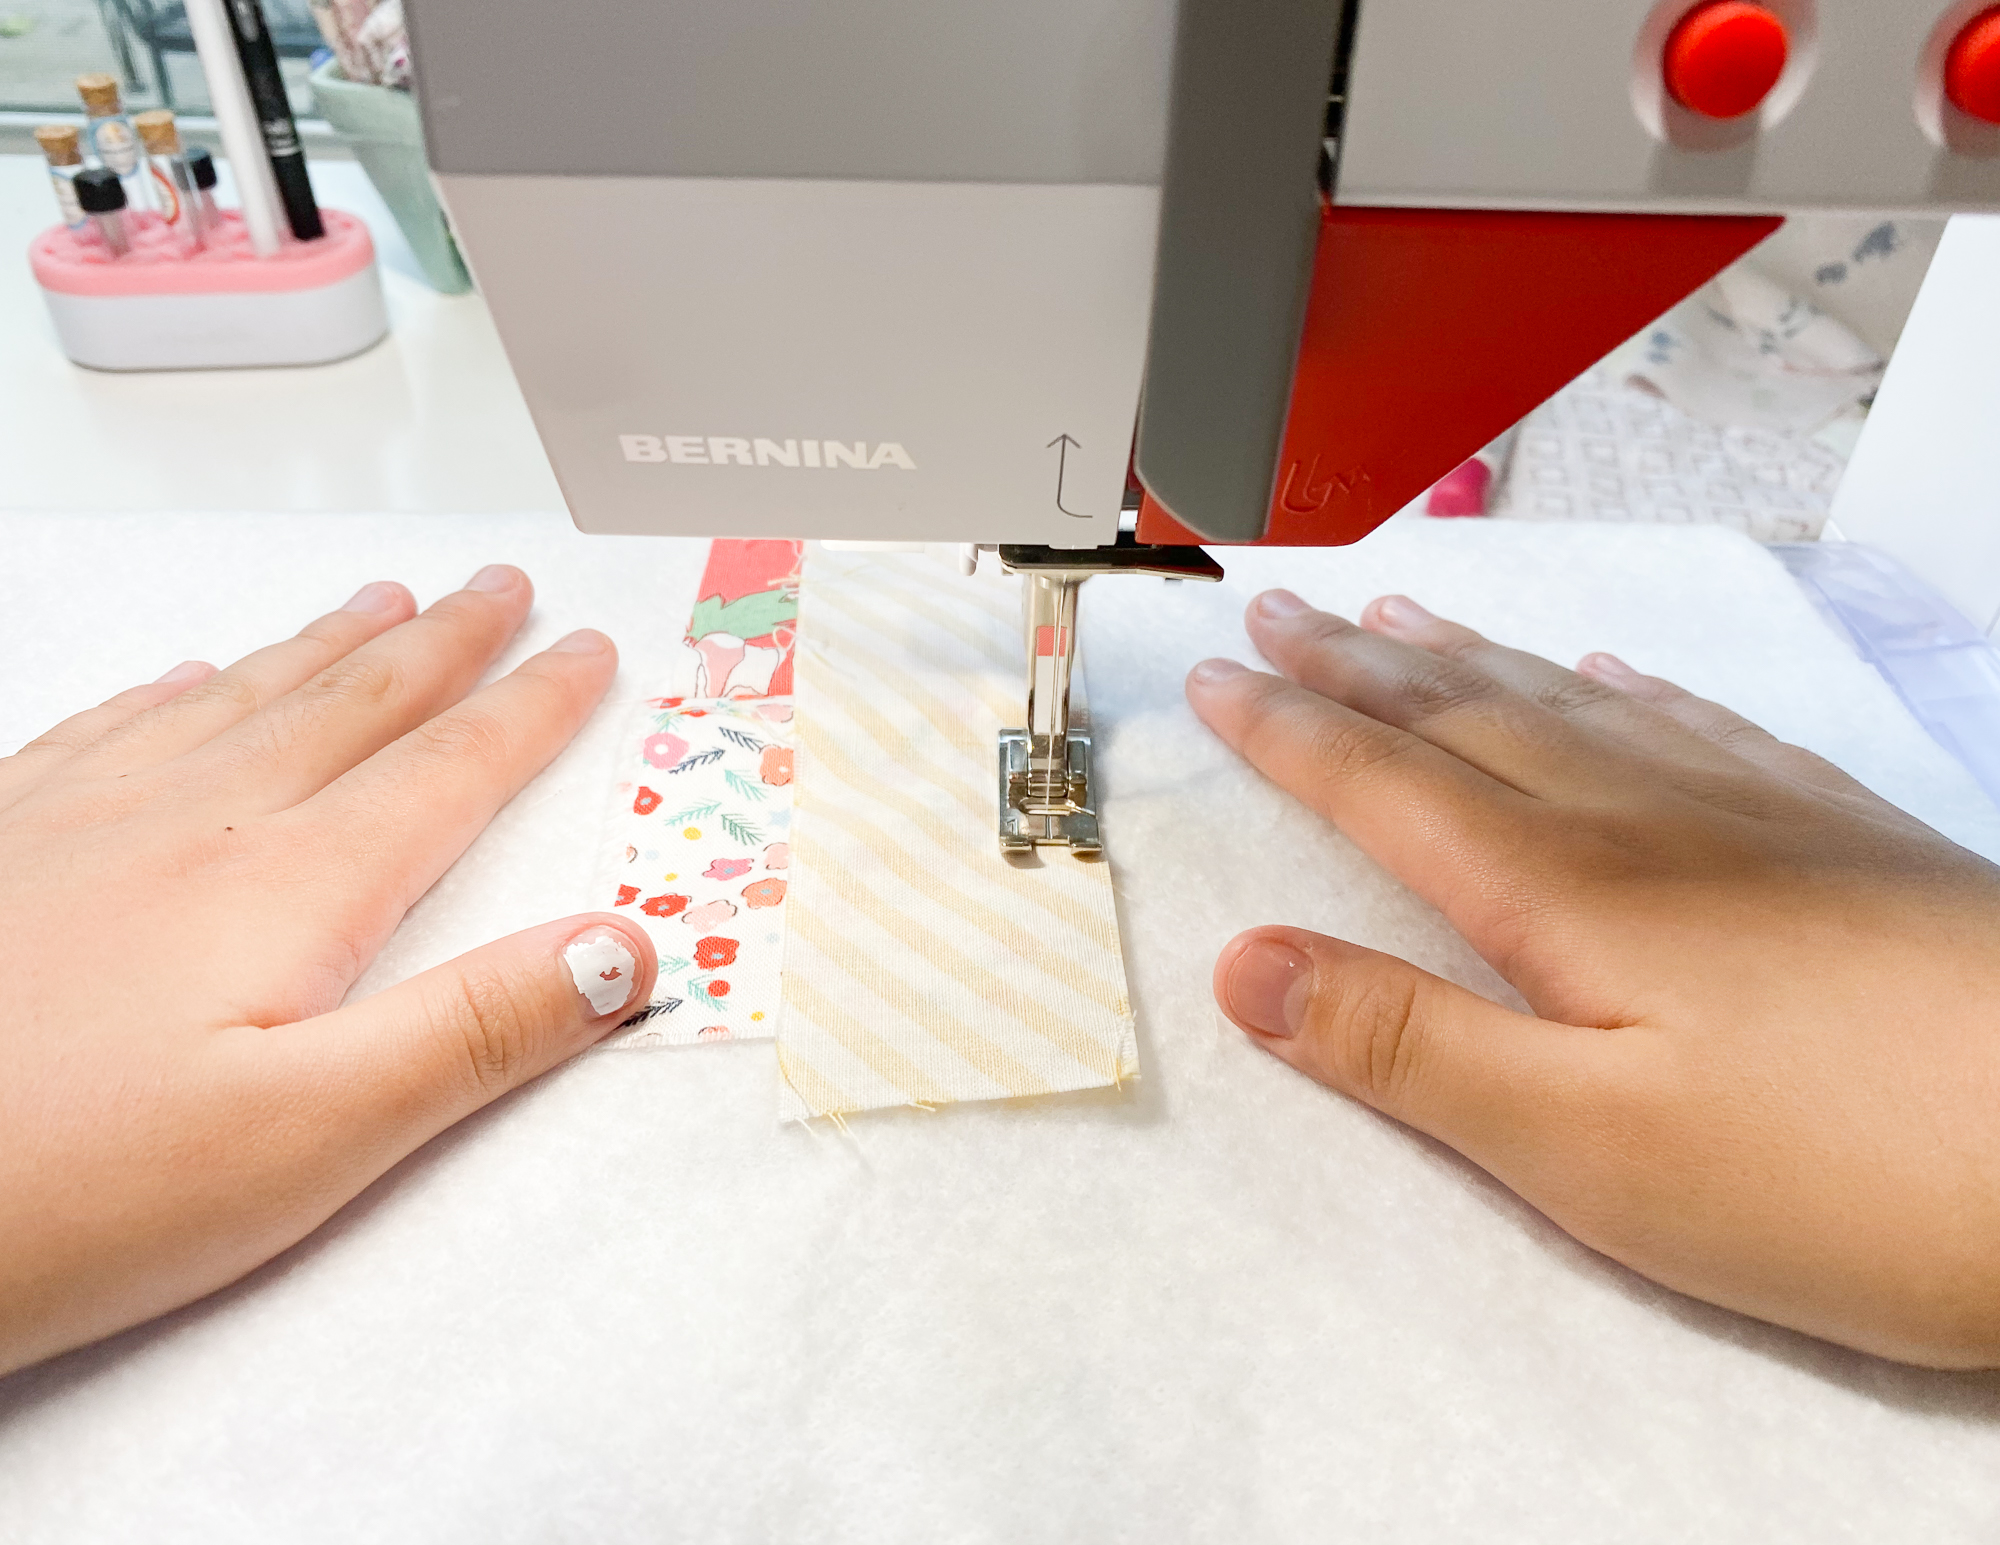
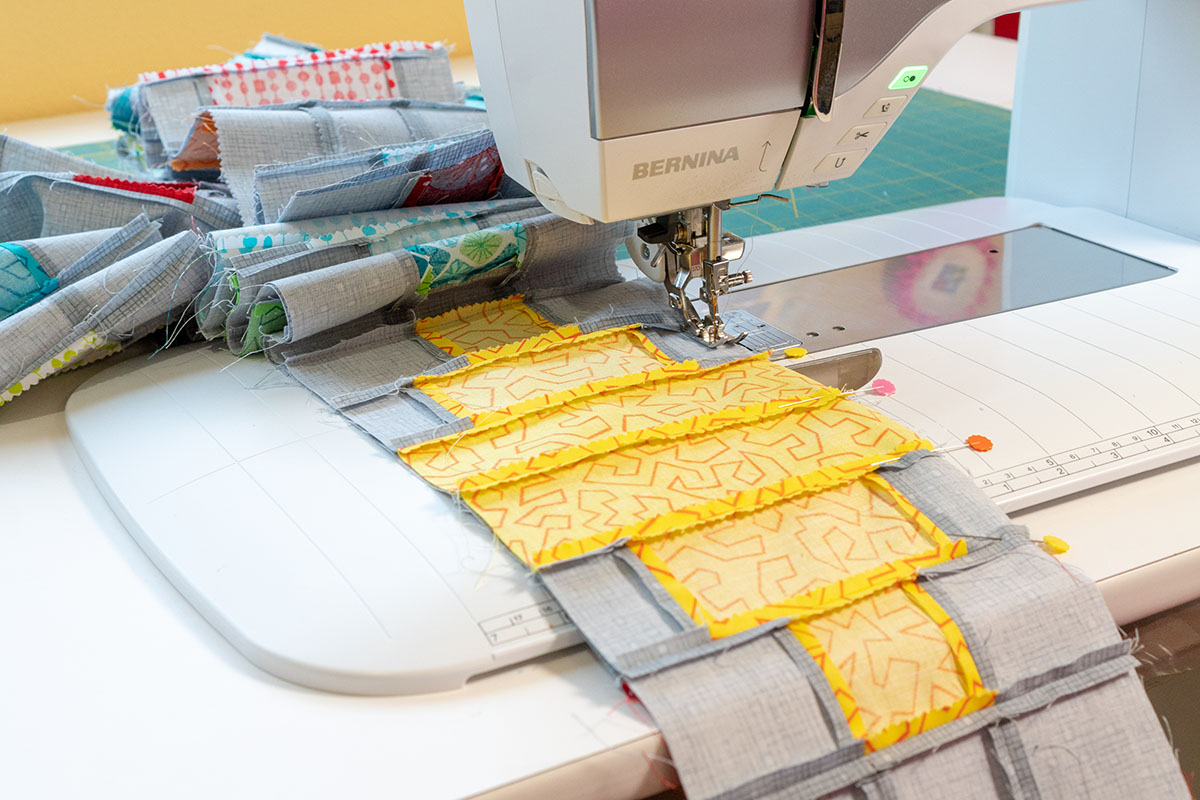
2. Place a small piece of fabric right side up in the center of the batting. With right sides together, place a second scrap, aligning on raw edges. Sew together.

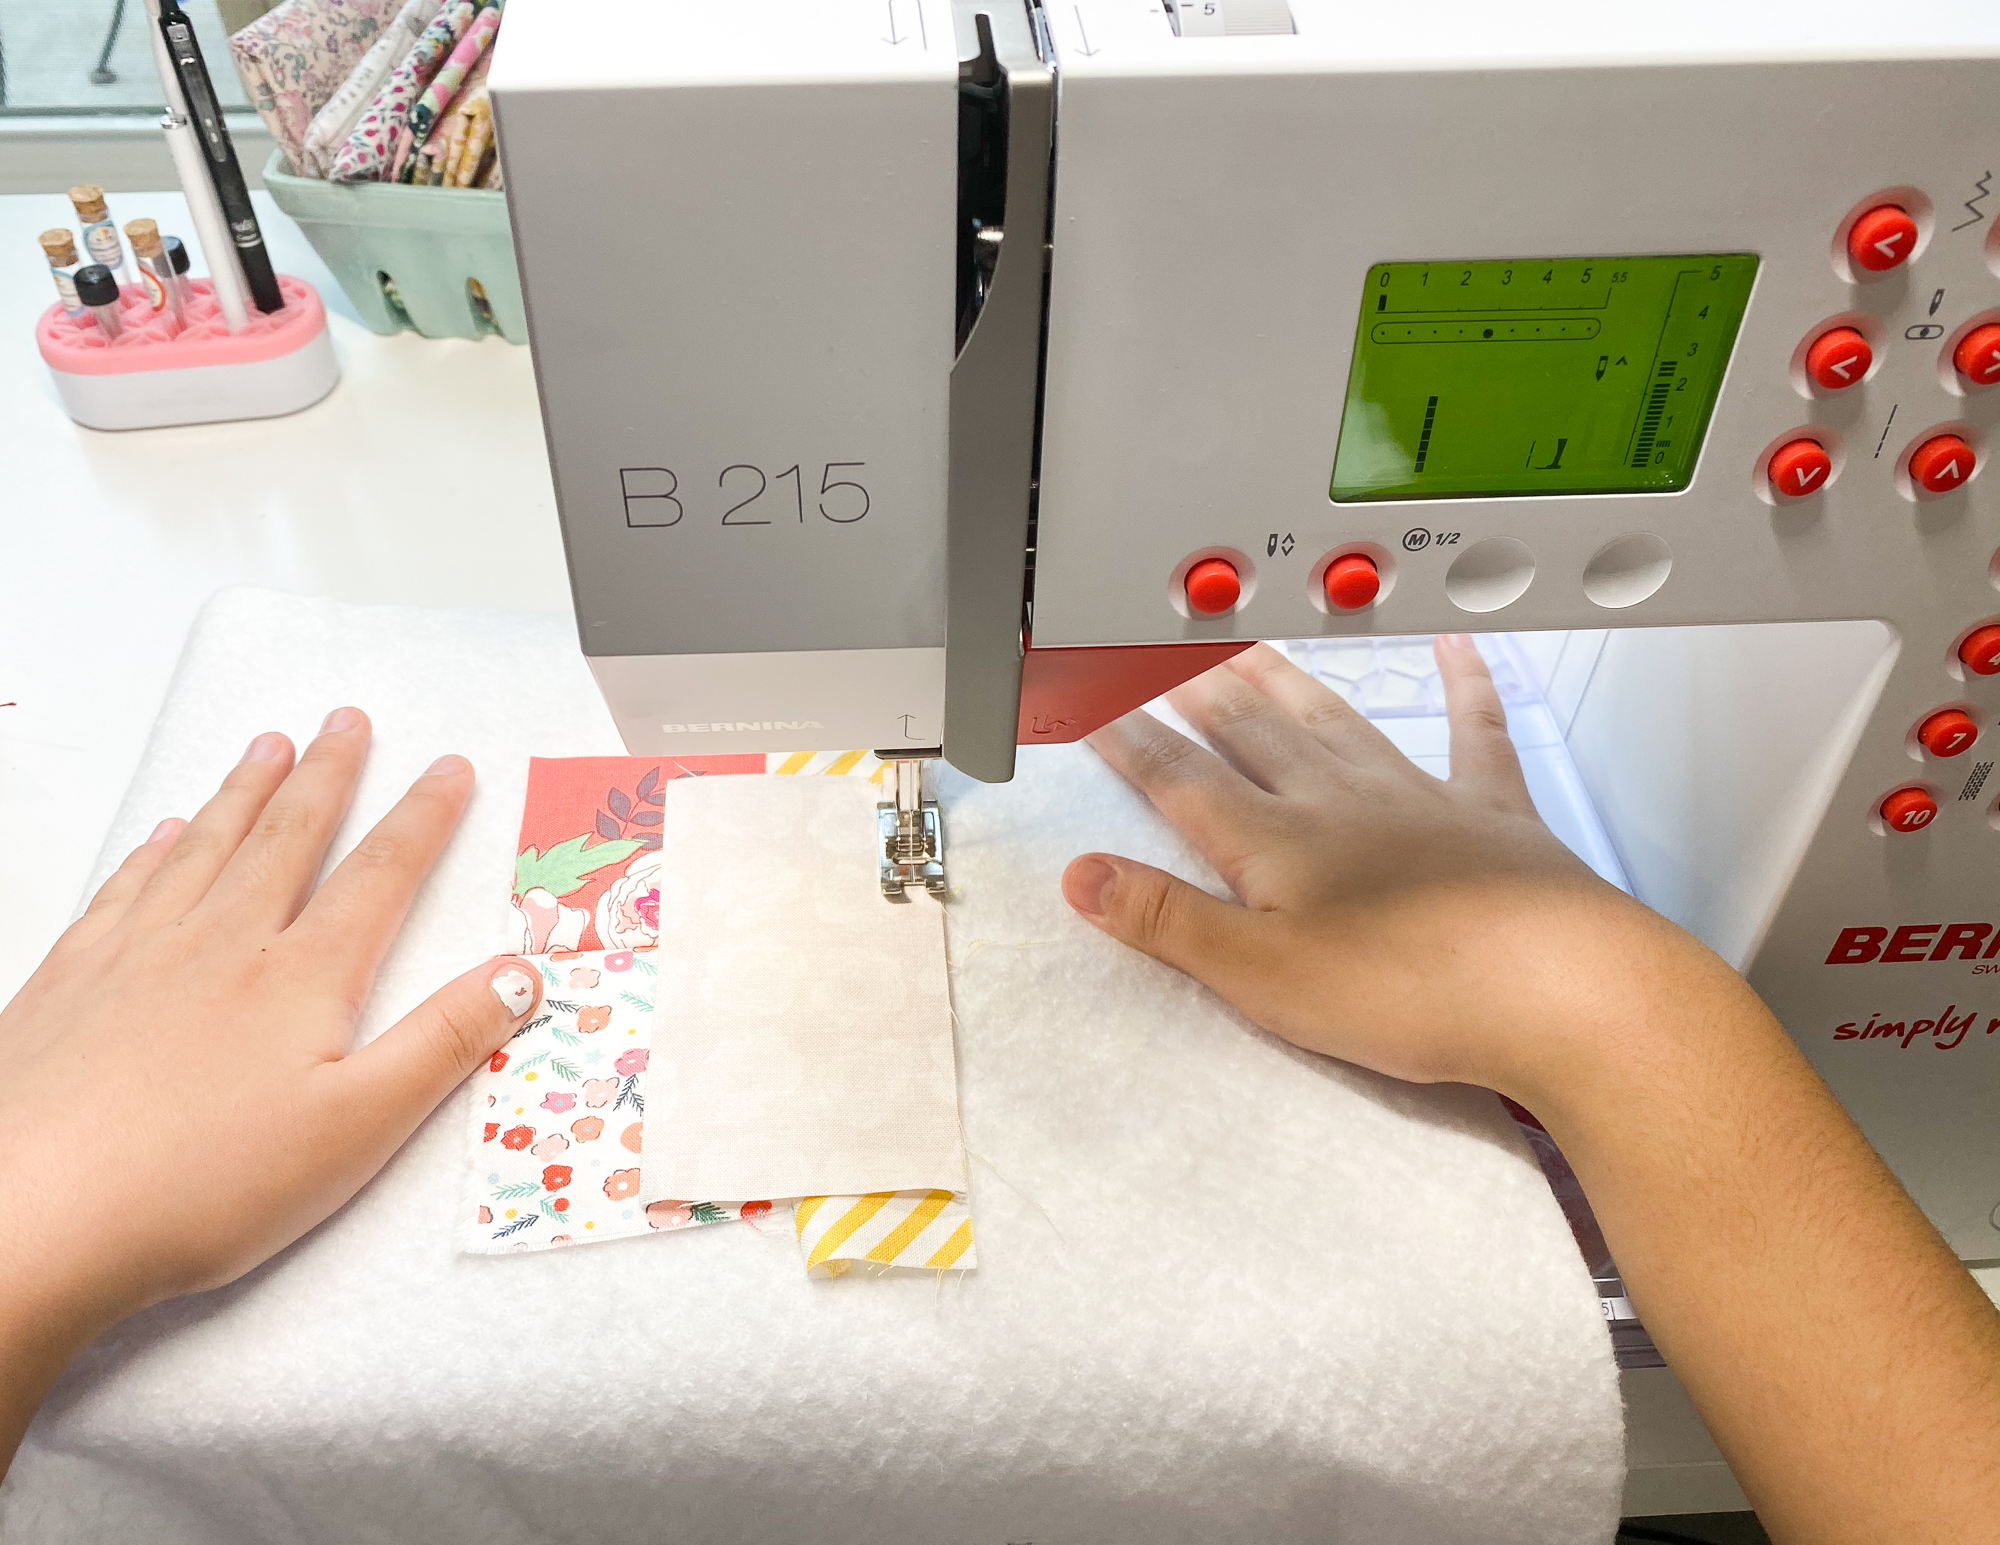
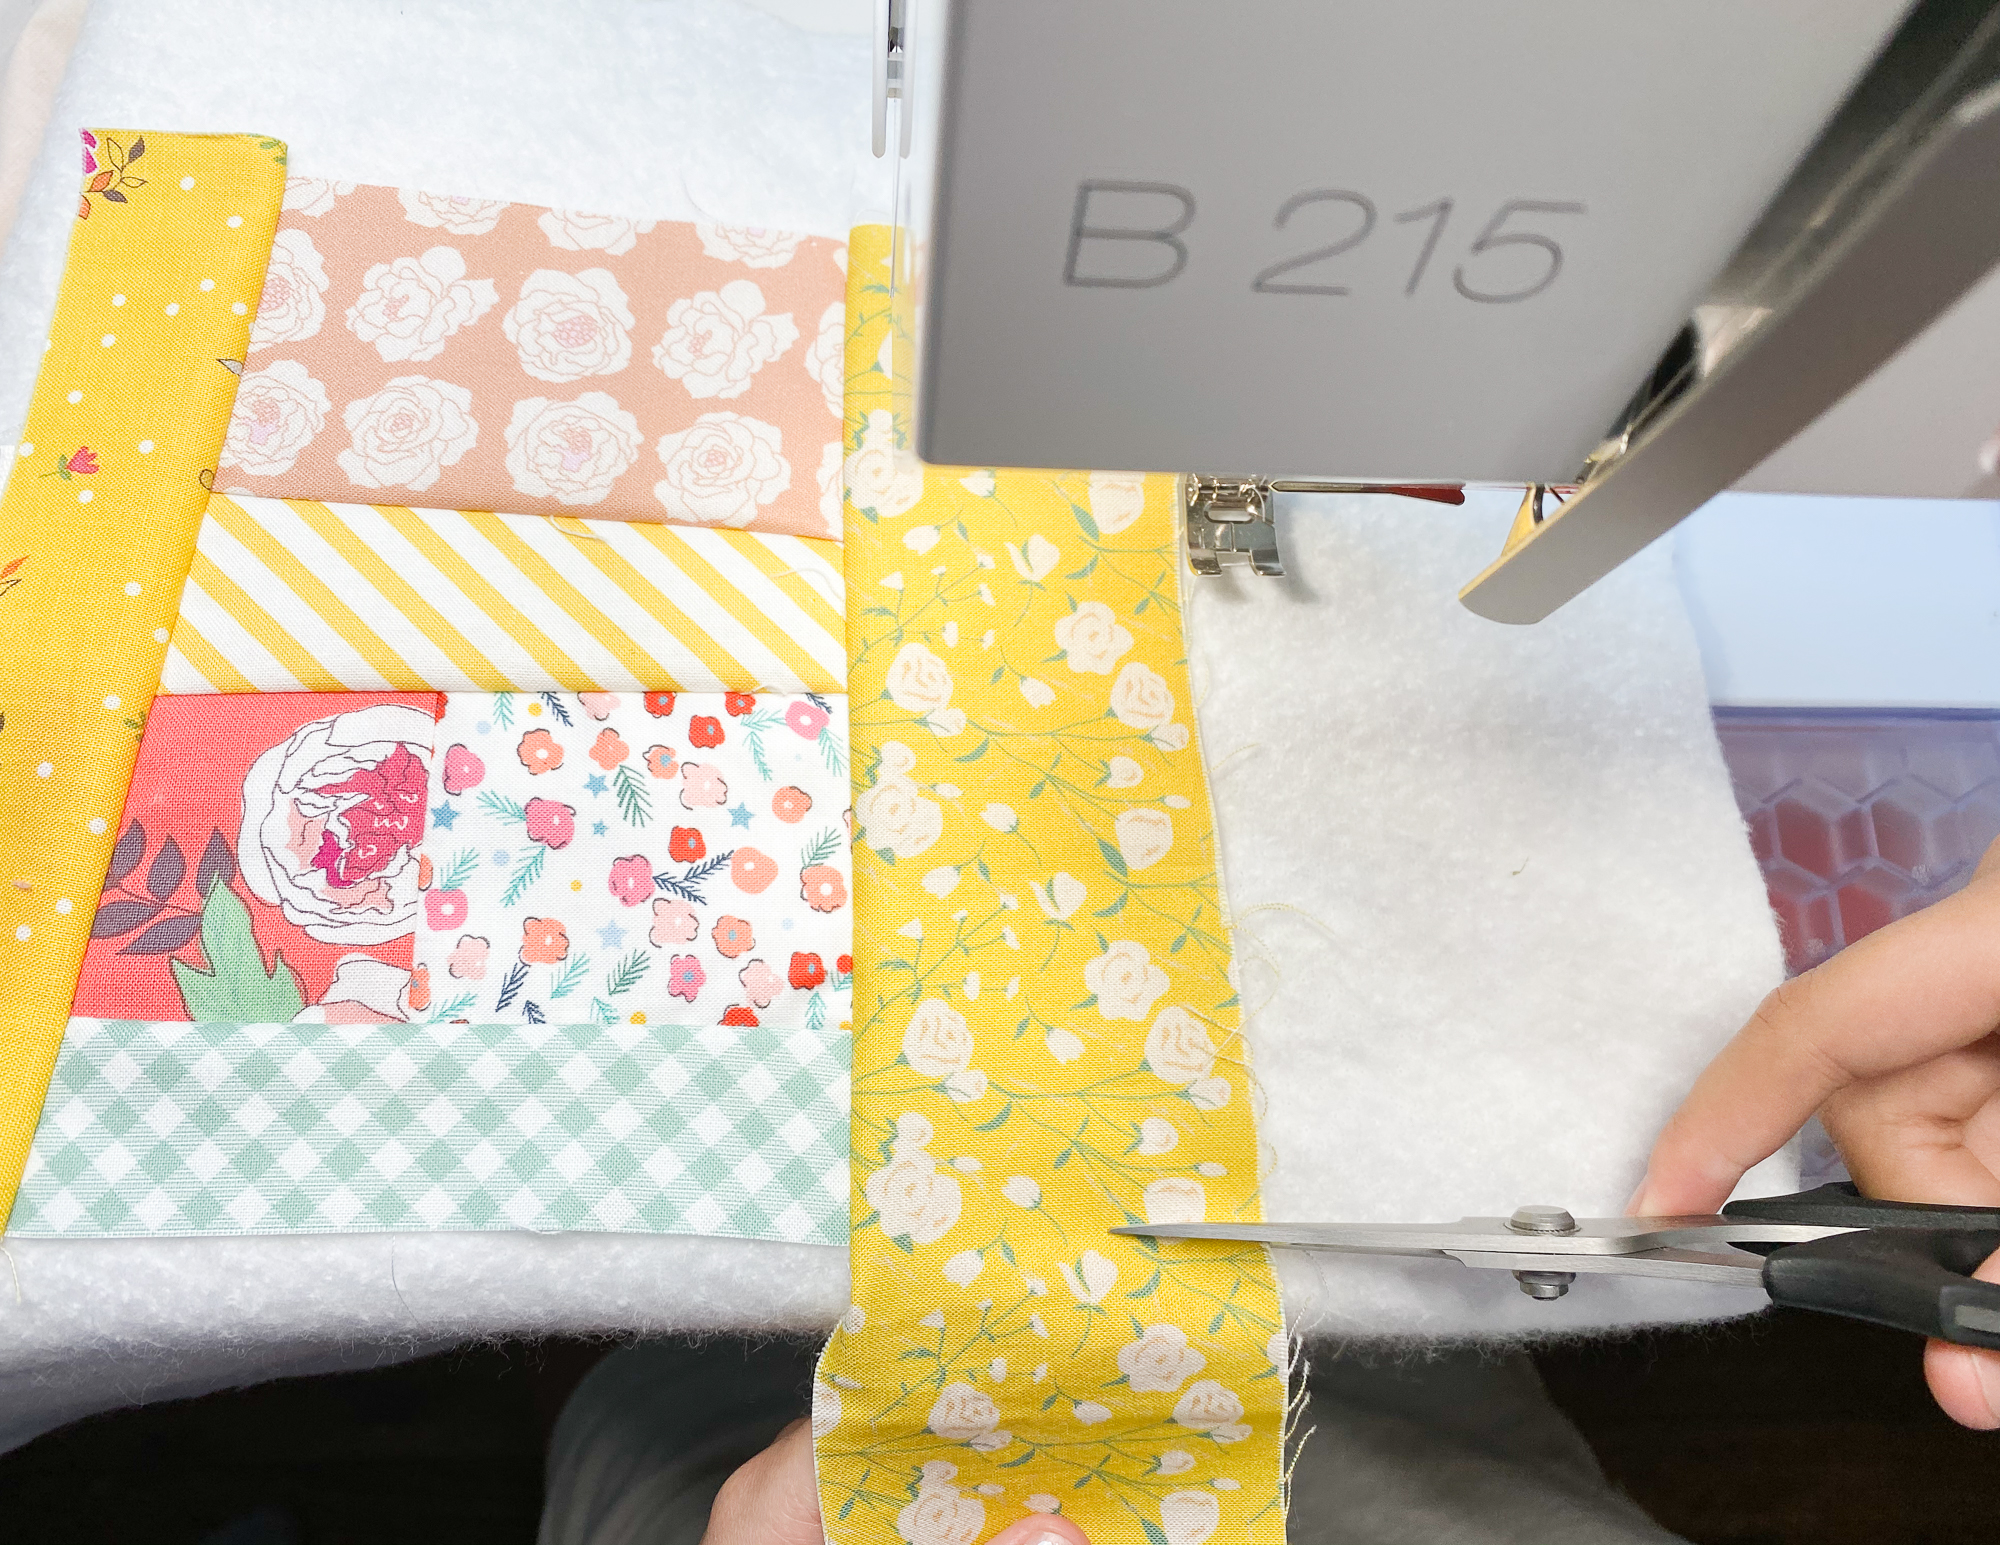
3. Continue adding scraps all the way around your patchwork with the same manner.
4. Trace 10” circle using a temporary fabric pen or pencil.
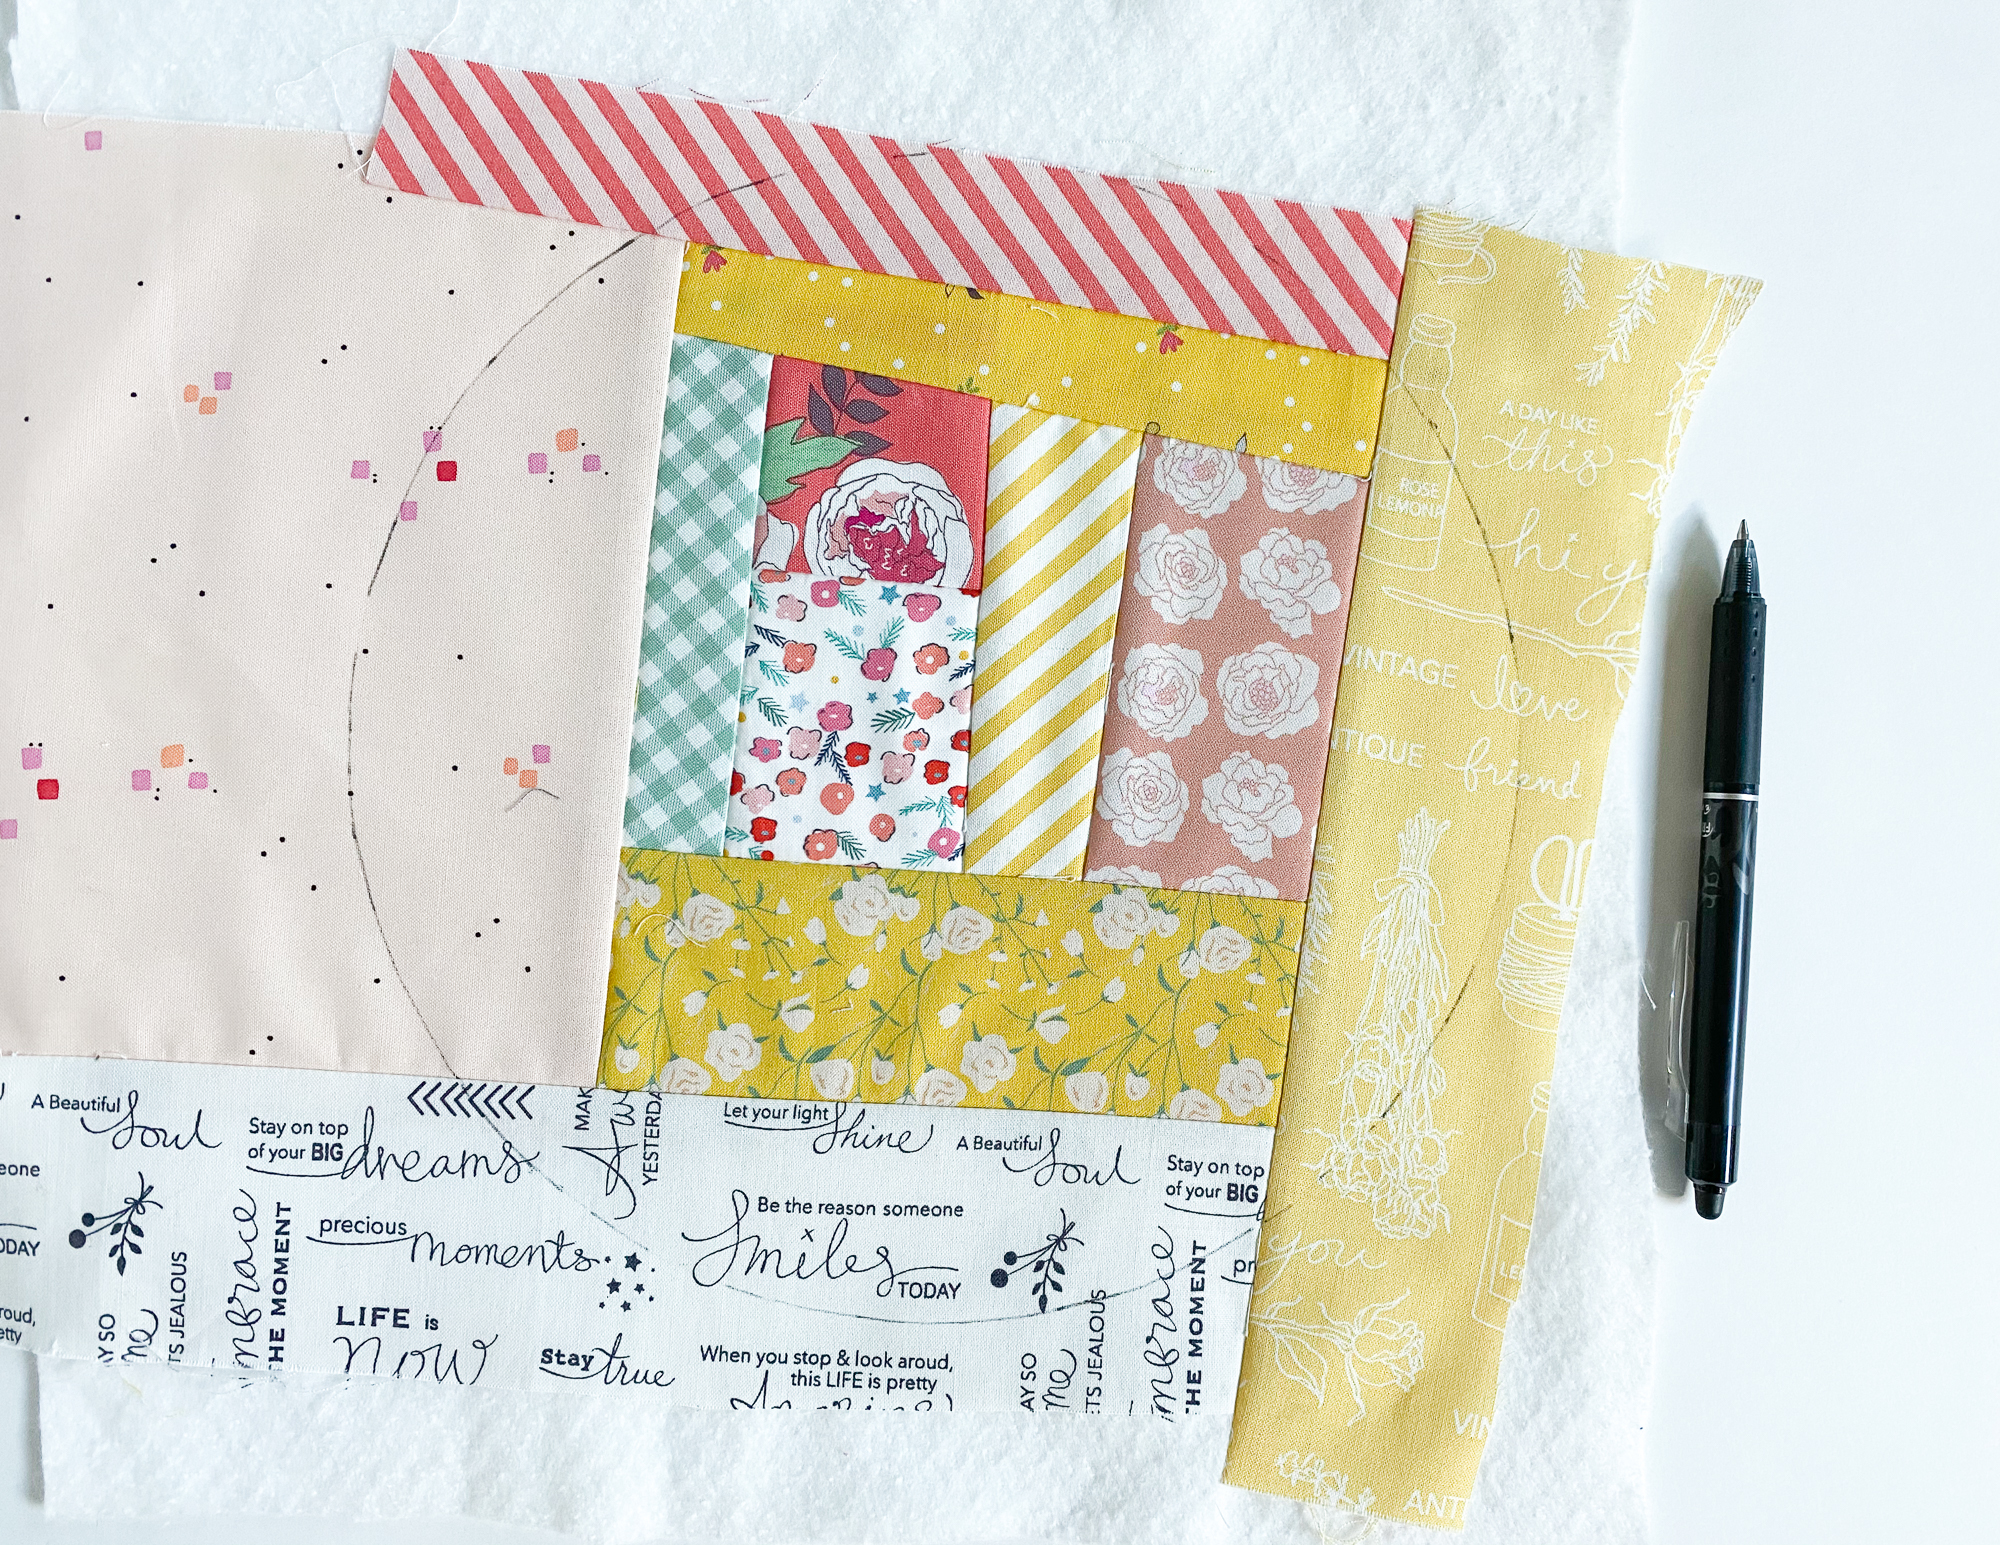
5. Roughly cut out with about 1/2” bigger circle. With right side down, place the lining fabric under the batting. Pin them in place.
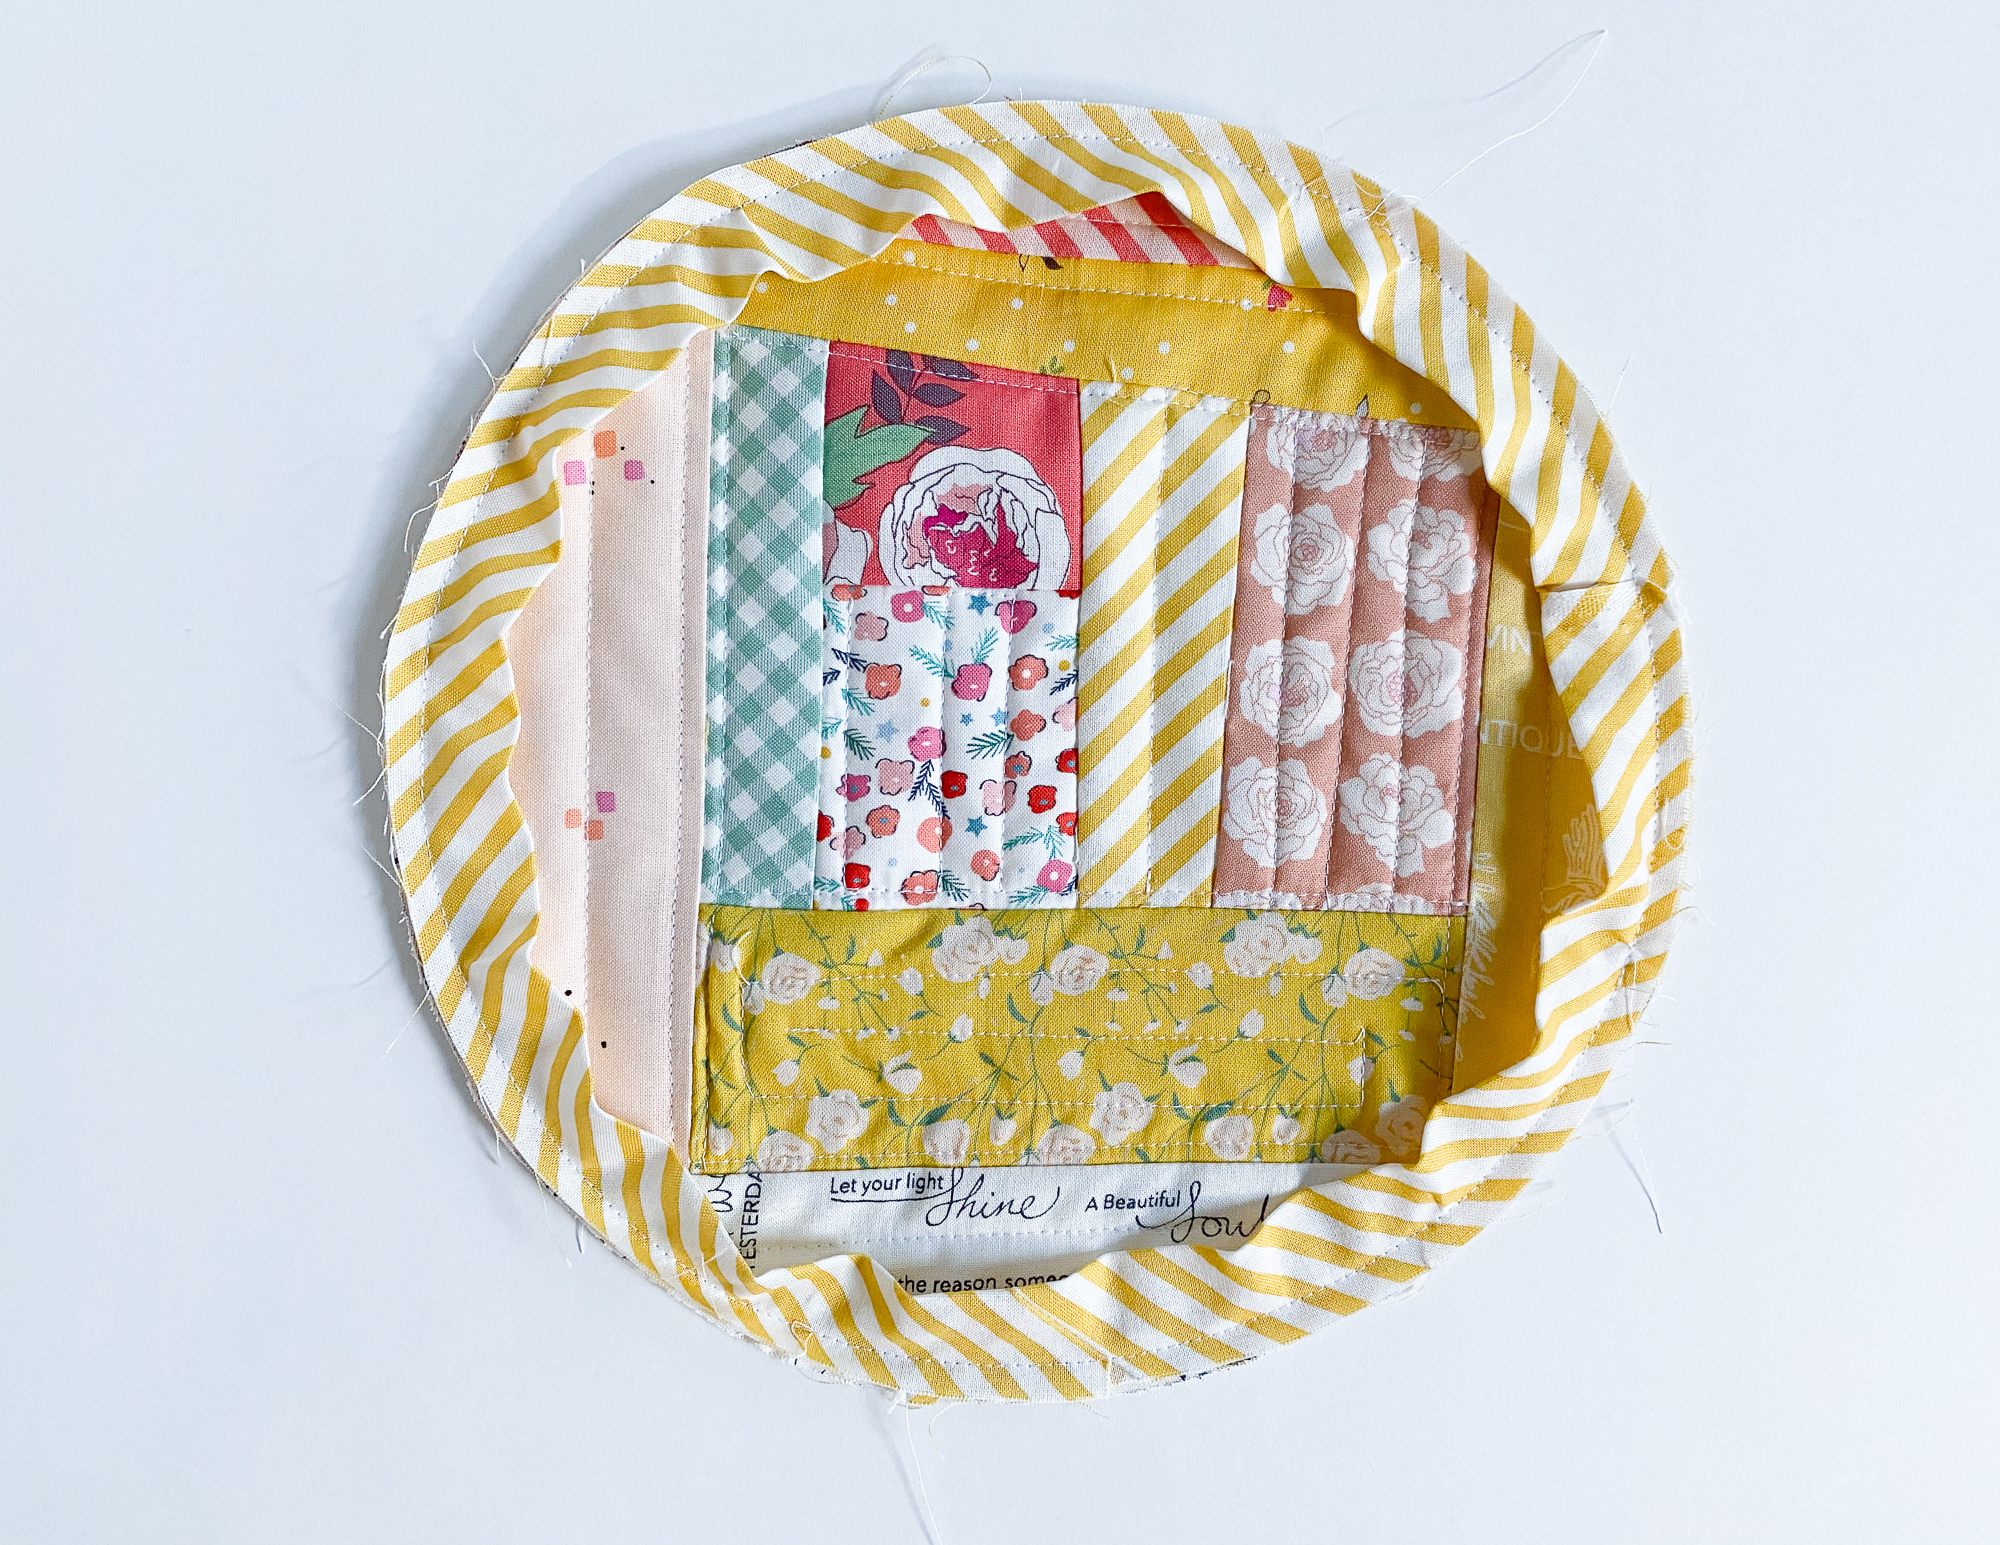
6. Quilt as you desired. Cut out the circle through the traced line.

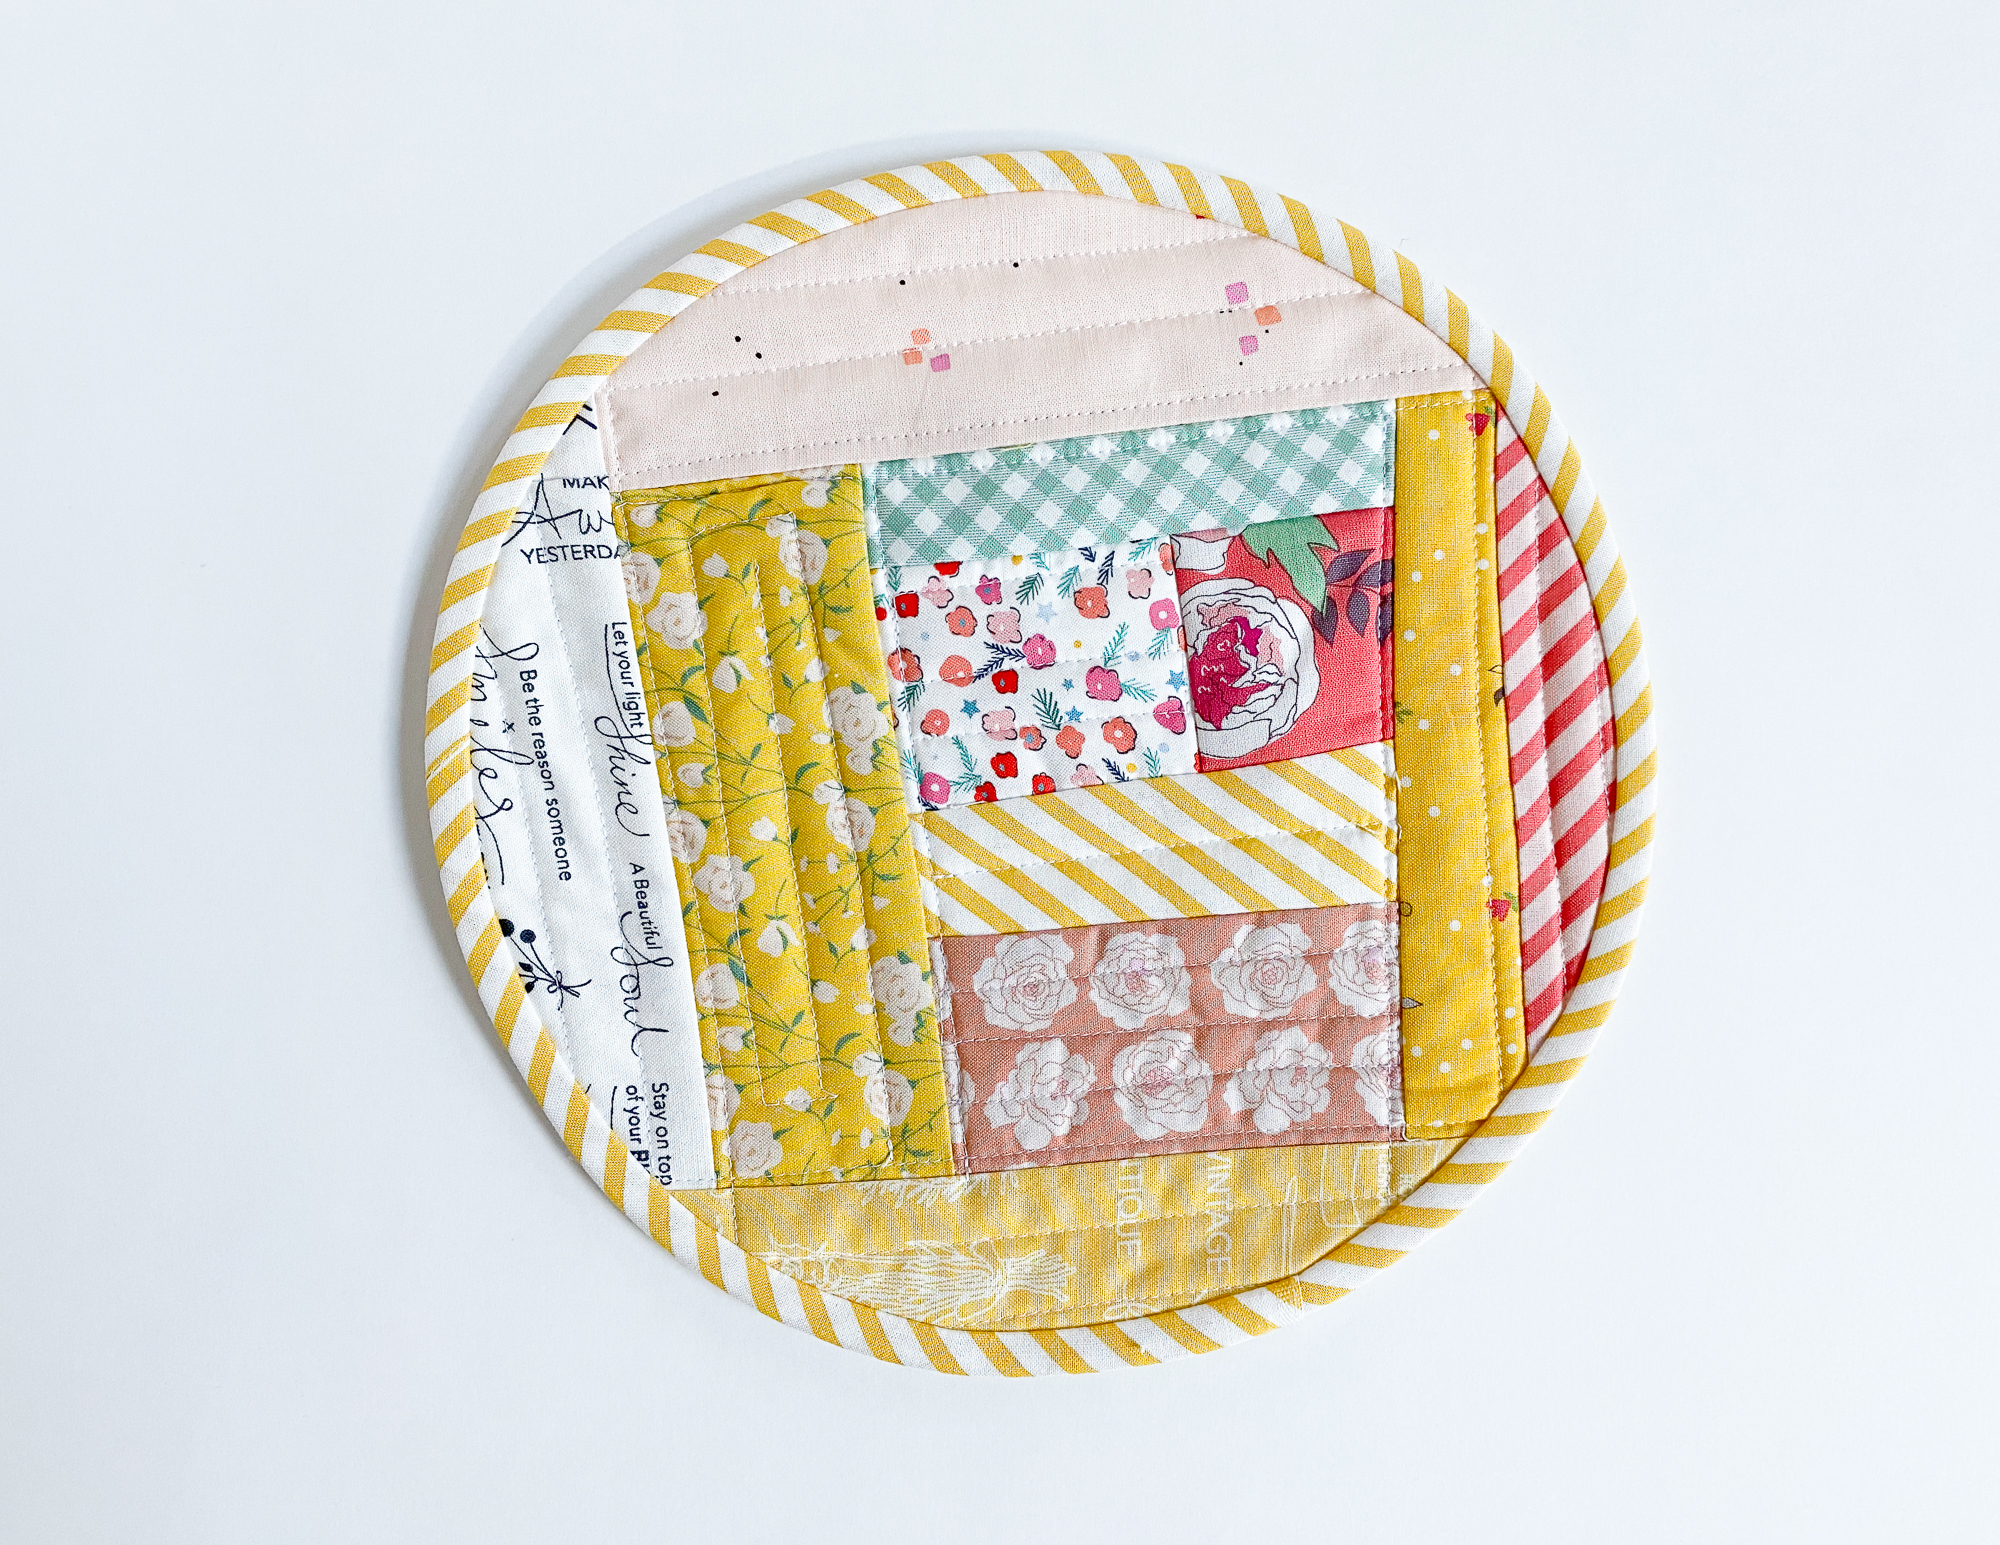
7. Press 2” x 25” binding in half lengthwise and sew the binding to the trivet.
8. Hand stitch or machine sew the binding to the lining to finish.
I hope you enjoy making it. I am going to use big circle as a cover for my standing mixer.
Used Products

What you might also like

9 comments on “Quilt-as-you-go Trivet Set”
-
-
You did not mention how you worked in the extra binding fabric as you stitch it down on the under side. Can you all some details? It looks like you cut your binding on the bias, but it does not specify bias in your explanation. It would help to give more tips here to avoid frustration so close to finishing!
I love the trivits and plan to make several. Maybe not round ones though, if I can’t do the binding without problems.
-
Great idea for my pile of scraps. Thank you.
-
Is the binding cut on a bias?
-
I’ve been taught that binding cut on the bias is preferred for curvy pieces. So circles and for example, scalloped edges. Straight edges can handle straight cut bias. But, I’m not sure which stands up better to repeated washings.
-
Also, notice in picture 5. Above. She stitched very close to the edge of the circle all around before attaching the binding. That will help a lot with attaching the binding because you don’t have to fiddle with the layers getting away from you.
-
And lastly, just to help out a bit, do a search on WeAllSew for “sewing binding 3 ways” and you’ll get an article on attaching the binding. Excellent instruction there!
-
love this idea for left over fabric.
-
Oh my gosh !!! So adorable ! will make several with scraps.Really appreciate the tip about fabric light & dark choicest cut dark fabrics smaller and the lighter fabrics larger…. Sweet Thank you
Leave a Reply
You must be logged in to post a comment.

You don’t mention that the binding should be cut on the bias.