Serger Chenille Christmas Tree Trivet
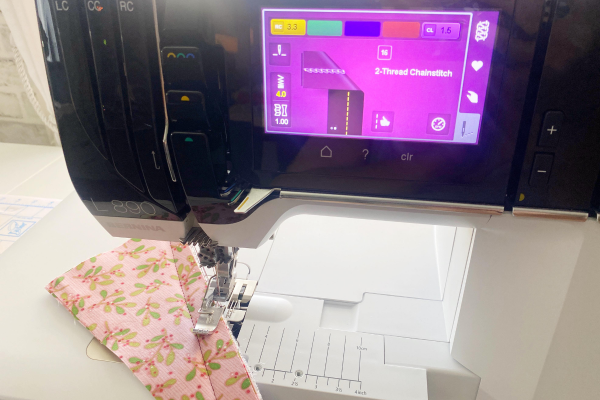
Certainly using a serger to create chenille might sound like a bizarre idea, however today I will walk you through the steps to make a trivet. In this blog post, I will be using the BERNINA L 890 serger and showcasing the Chainstitch! Let’s get stitching.
Materials (width by height)
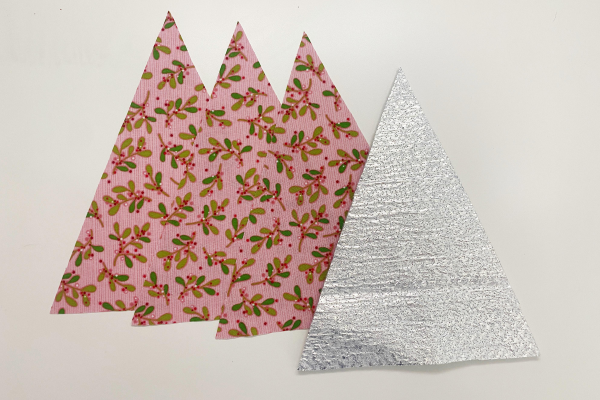
- (3) Front 8″ x 10″ (pink)
- (2) Back 8″ x 10″ (red)
- (1) Thermal Batting 8″ x 10″ i.e. Poly-Therm Fleece
- (1) Ribbon 5/8″ x 6″
- Marking Pen i.e Frixion Pen
- Ruler with 45 degree marking
- Iron/Pressing surface
- Serger needles ELx705 90/14
- Chenille brush or hard bristle toothbrush
- Cutlery:
- Fabric shears
- EZ Hook n Snips i.e. Sookie Sews
- Rotary cutter and mat
- Chenille rotary cutter
- Flowerhead Pins
- (3) spools standard serger thread i.e. Metter Serocer
- Chain/Cover foot #C13
- Optional zipper laundry bag or make one HERE
Steps
1. Press the Front and Back pieces to remove creases.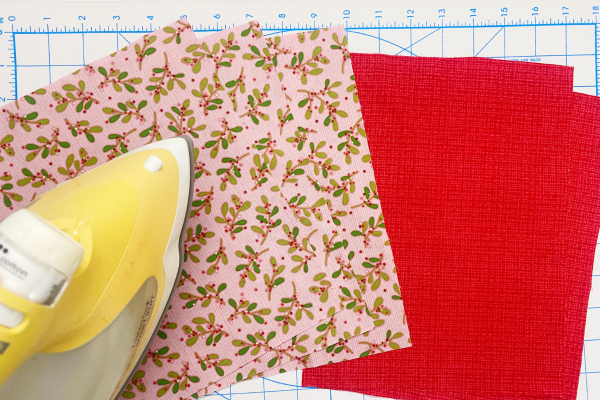
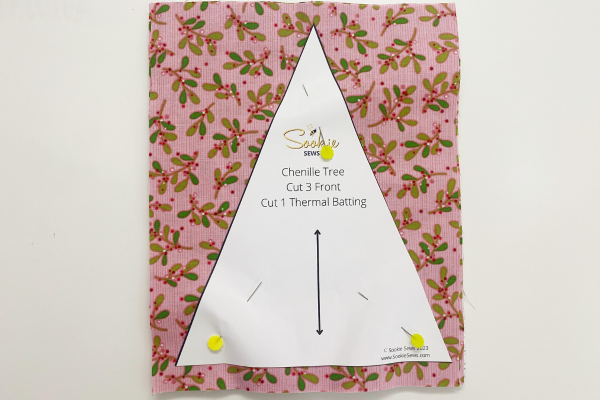
2. Print the pattern piece, you can find it HERE. With the Front pieces all facing right side up, place over top of the Thermal Batting and cut the pattern piece out. Keep the scrap pieces for testing the Chainstitch in a future step.
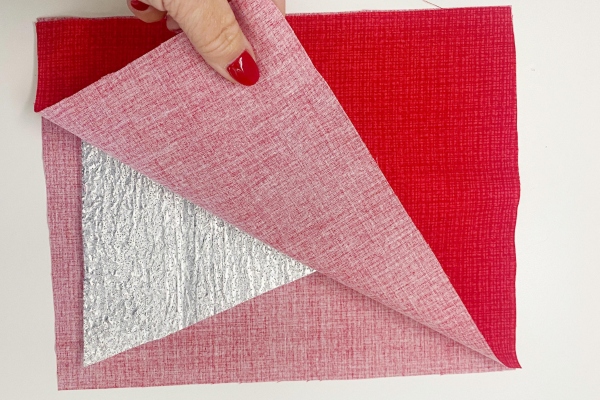
3. Place one Back wrong side up with the Thermal Batting “tree”, shiny side facing up. Sandwich the second Back right side up over the Thermal Batting.
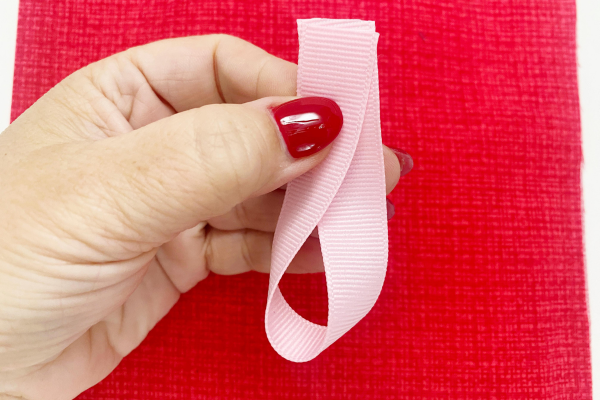
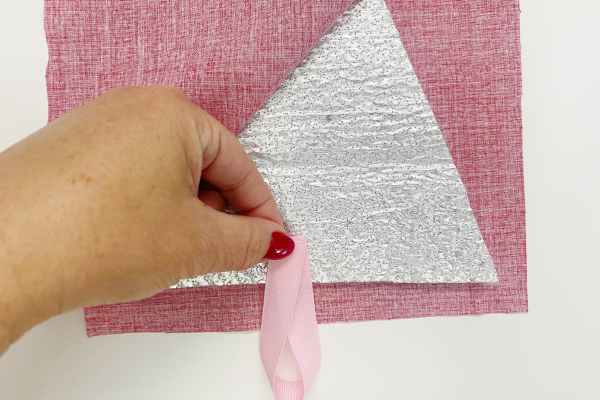
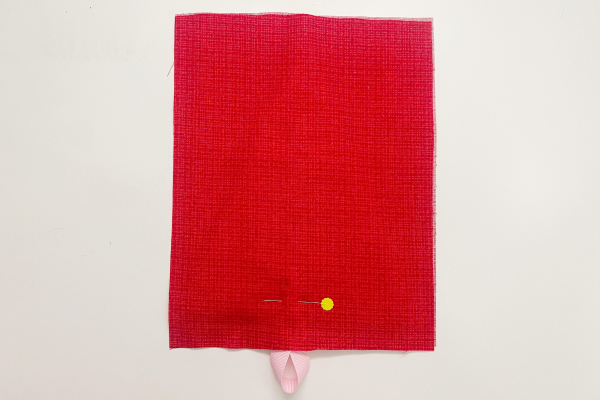
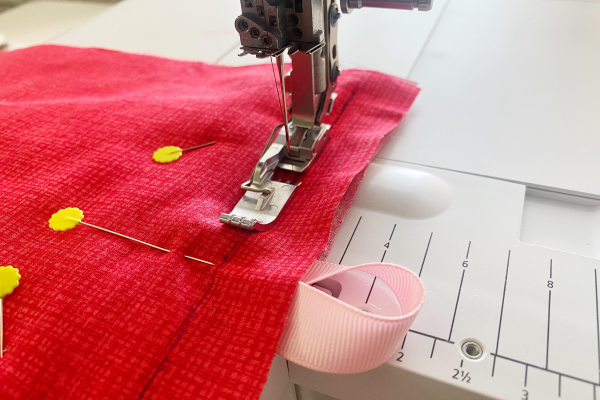
4. Fold the Ribbon in half. Find the center bottom edge of the Thermal Batting “tree”. Place the two raw edges of the Ribbon 1″ inside the bottom edge of the Thermal Batting “tree”. Place the top Back piece over the Thermal Batting “tree” and use Flowerhead Pins to secure the ribbon through all the layers.
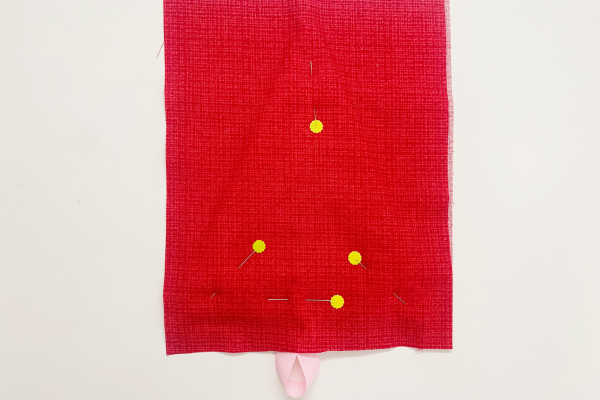
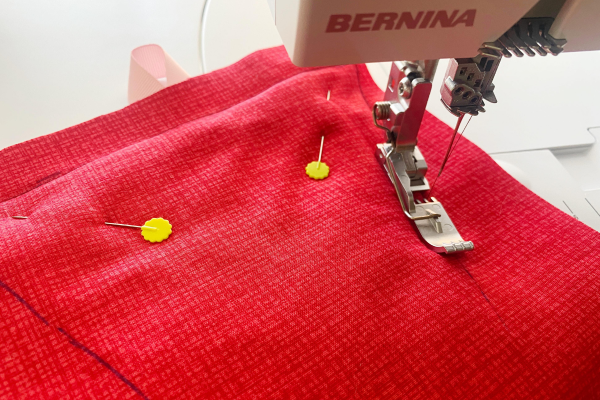
5. Pin through all the layers of the Back sandwich focusing on where the Thermal Batting “tree” is.
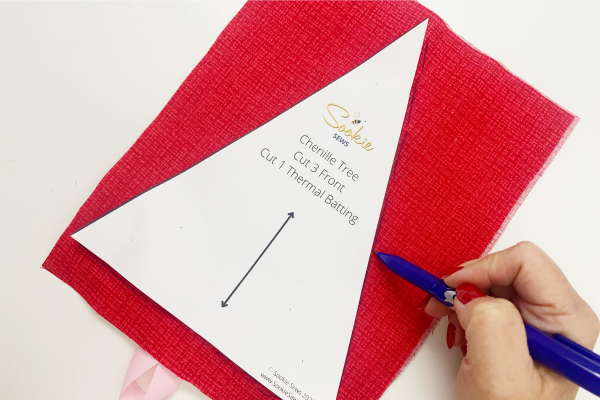
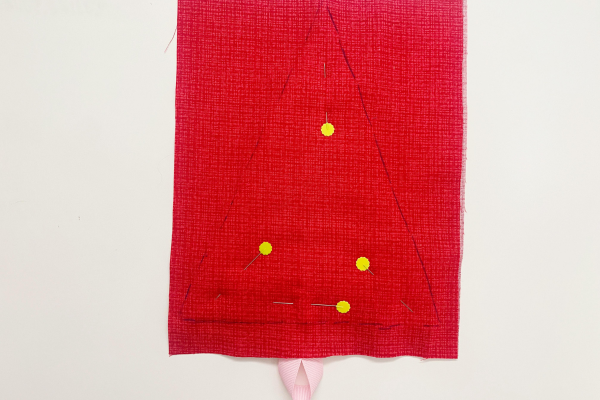
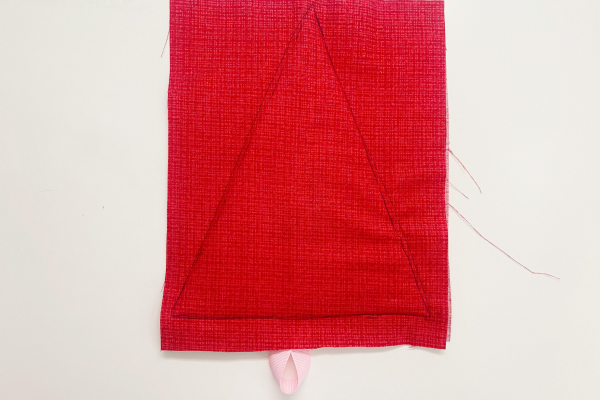
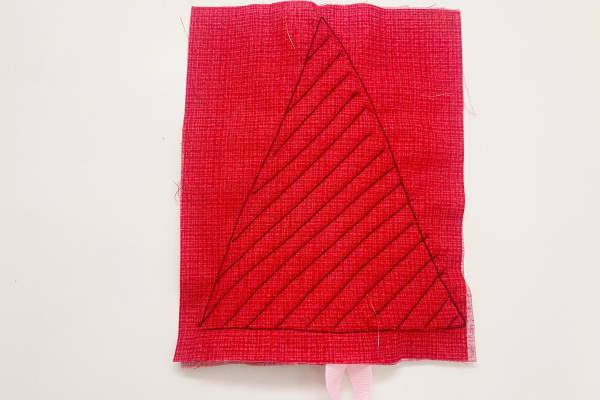
6. Place the pattern piece directly over where the Thermal Batting “tree” is and mark around onto the top Back piece.
7. Set serger up for Chainstitch and adjust length to 4.0. Test stitch through one of the scrap stacks cut from the pattern piece.
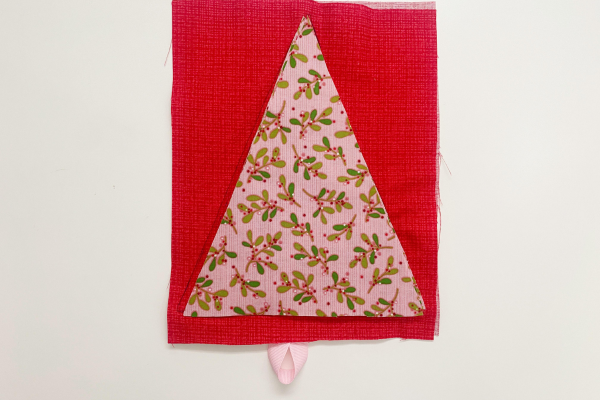
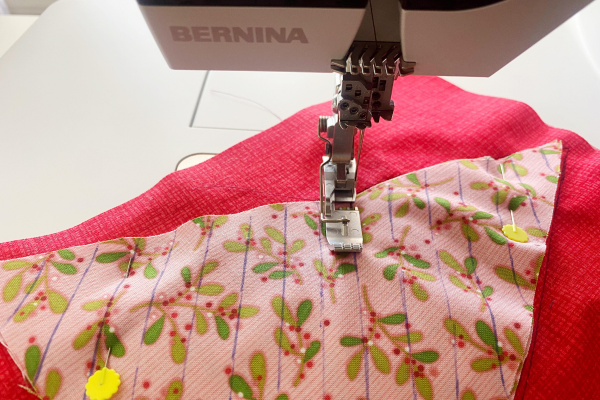
8. With the top Back piece right side up, stitch through all the layers directly on the marked line. DO NOT STITCH OVER THE PINS, remove them as you stitch. Clip thread tails at the end.
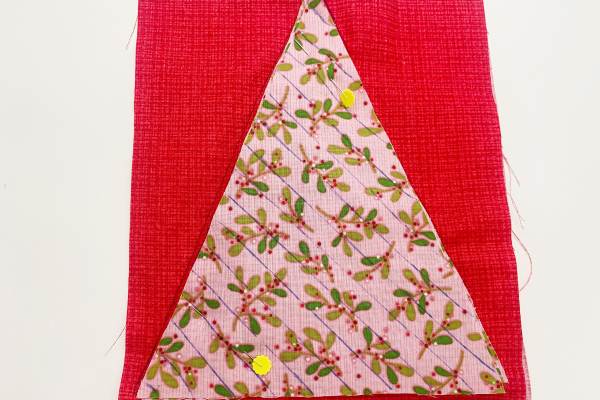
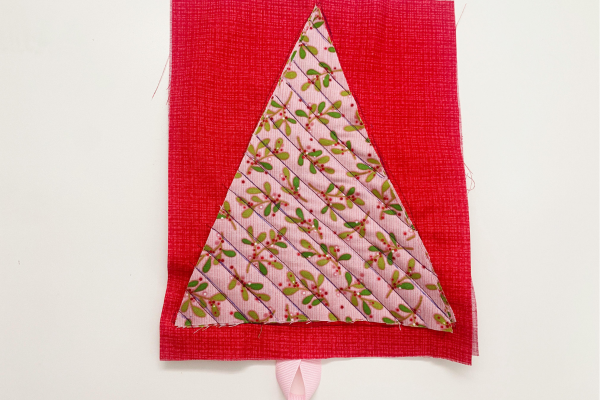
9. Place the three Front pieces all right side up over top of the Back piece.
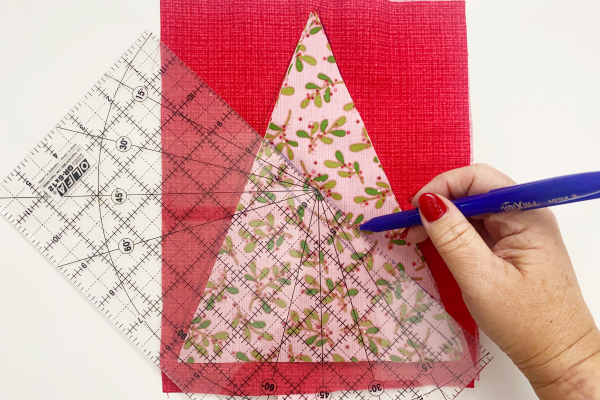
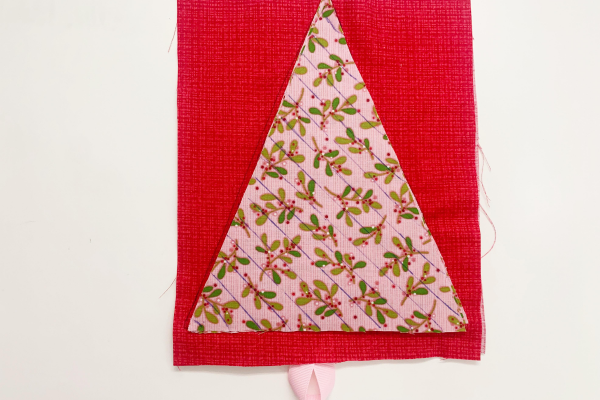
10. Using a ruler with a 45 degree angle, mark every 1/2″ to create the chenille channels. In order for the chenille effect to come to life, the stitching must be on the bias, a 45 degree angle. Pin in place to help pieces stay aligned.
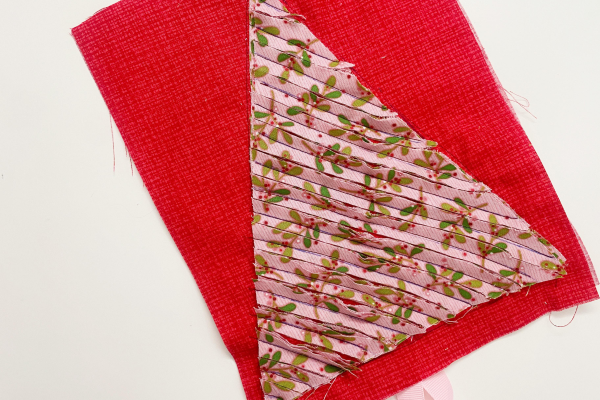
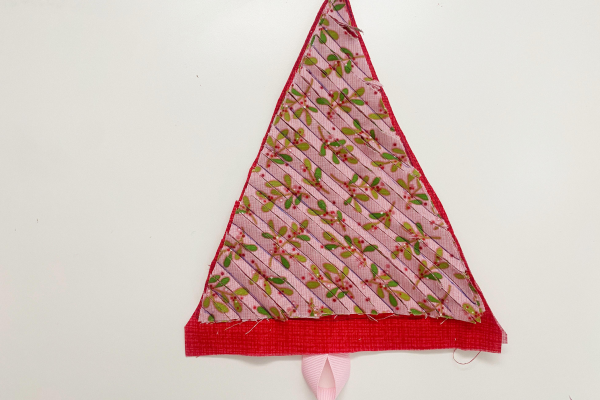
11. Begin stitching in the center marked line from one edge of the Front piece to the other edge. Stitch on each line starting at the edge of the Front pieces all in one direction and then rotate stitching in the other direction, make sure to catch the edge. Clip thread tails at the beginning and end either during the stitching or once you’re all finished.
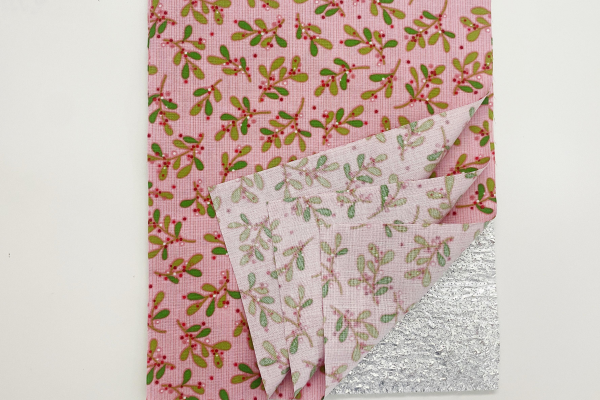
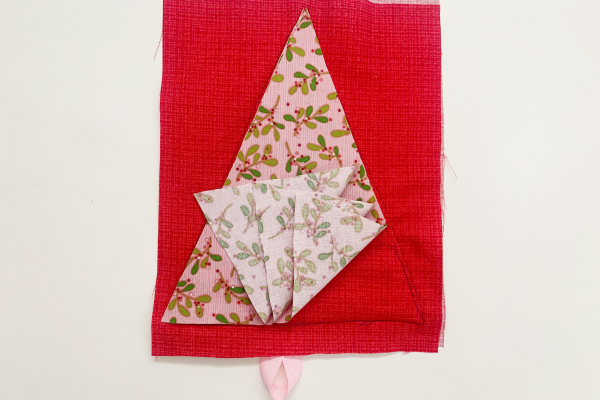
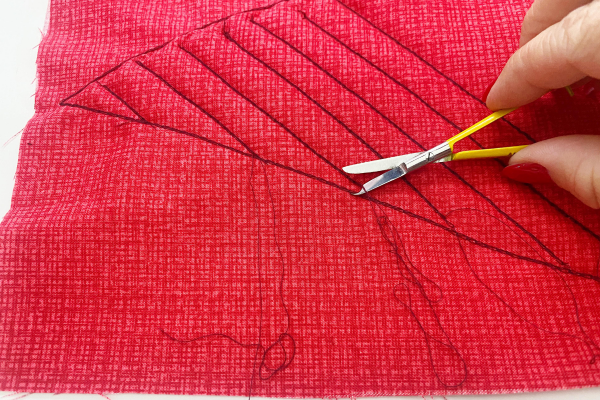
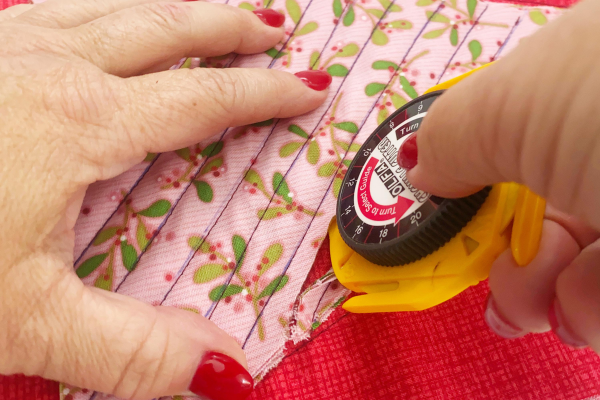
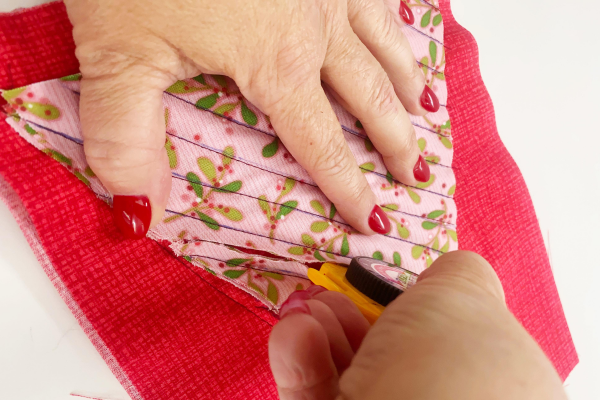
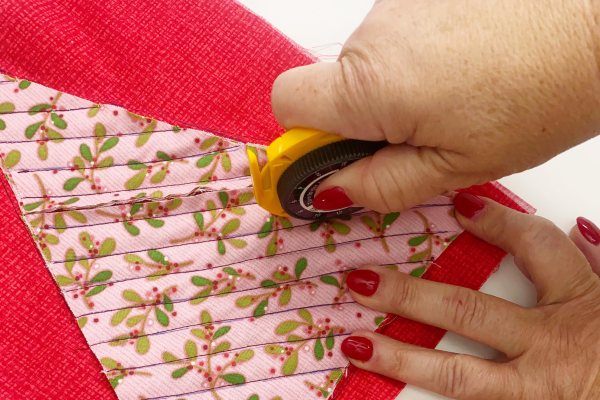
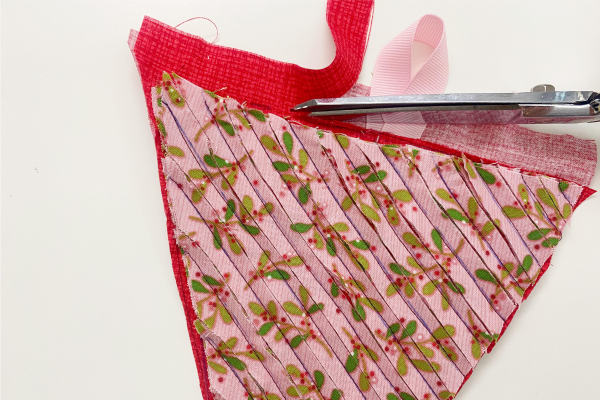
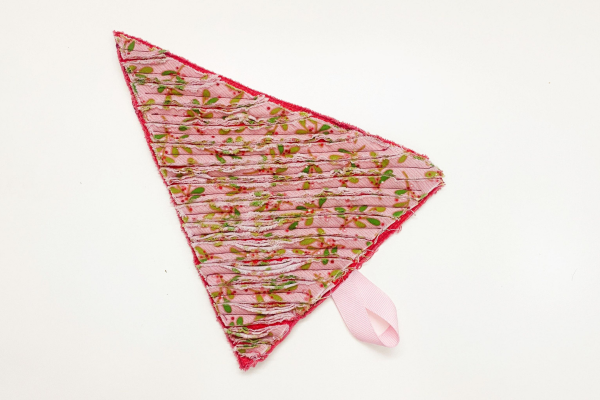
12. Use the Chenille Rotary cutter to cut through the top Front pieces in between each channel.
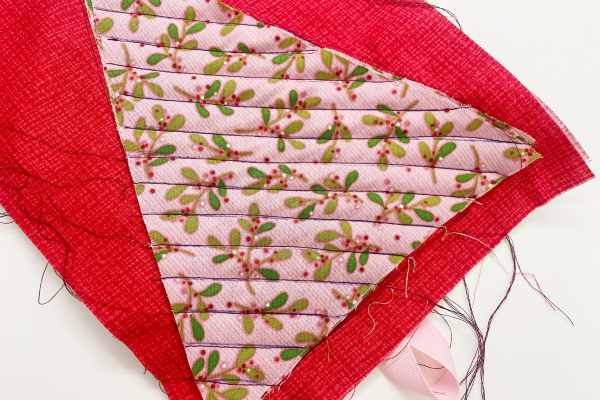
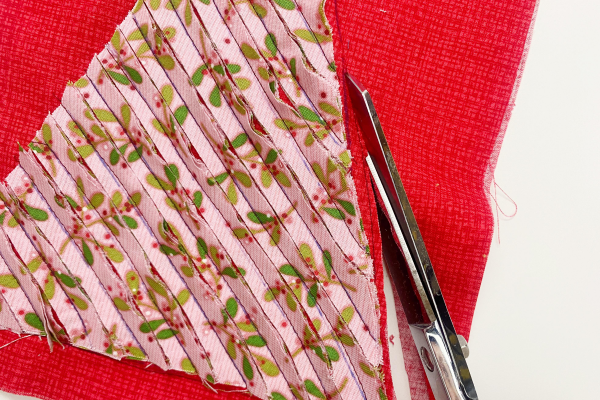
13. Cut just outside the, outside stitch line, on the Back pieces. Careful not to cut the ribbon loop.
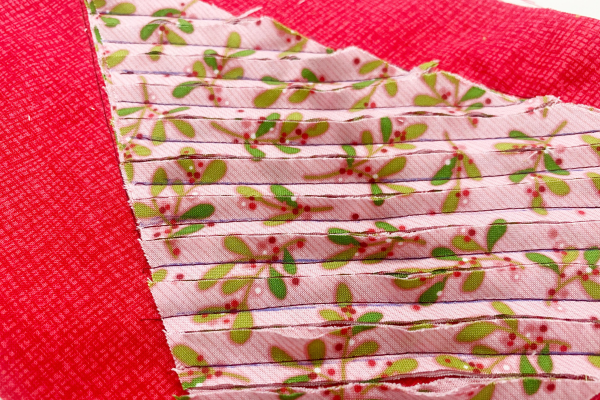
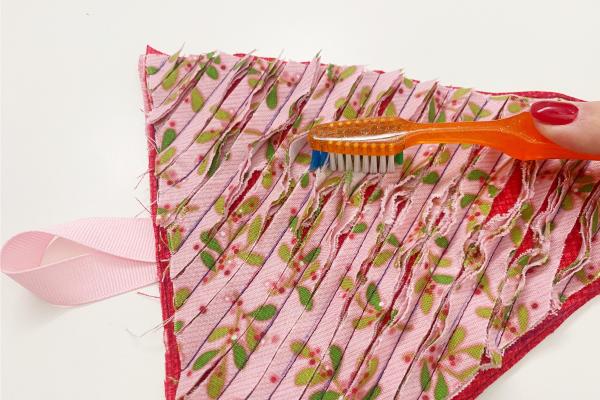
14. With Chenille Brush or hard bristle toothbrush, rub back and forth on the cut lines.
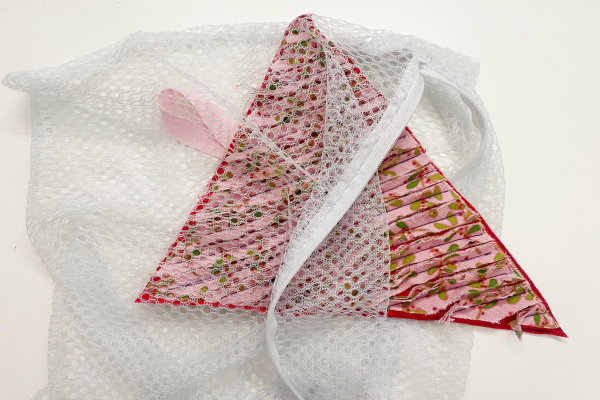
15. If you want even more fluffing, then place the trivet in a zipper laundry bag and wash and dry one to two times. Check out this blog post on how to make a laundry bag with your serger HERE.
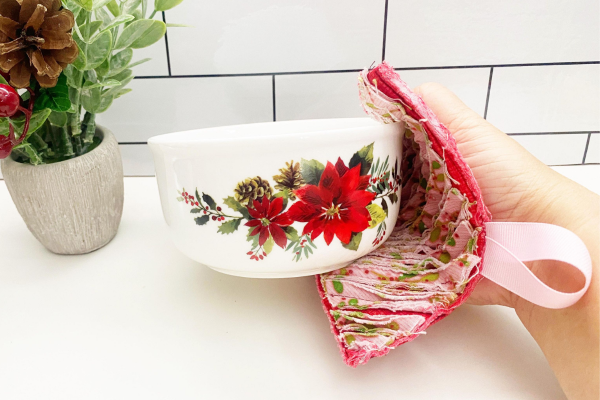
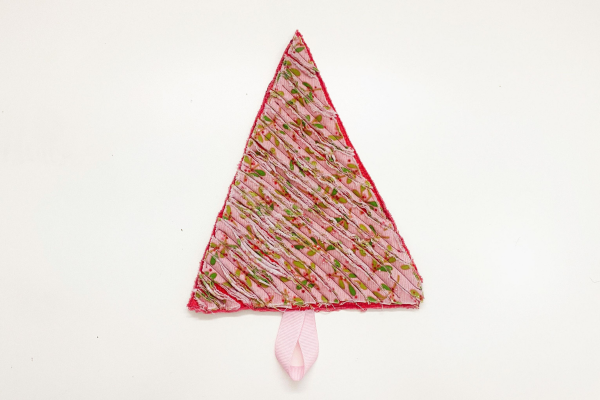
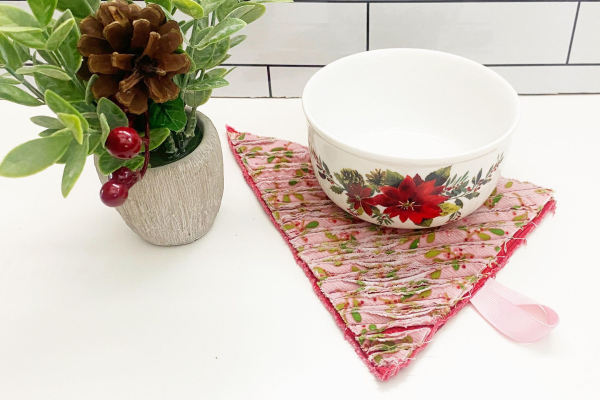
16. When you are finished stitching smooth out the back and press as needed. You can use this as both a pot holder and trivet because of the Thermal Batting.
I hope you enjoyed this easy serger project and check out all of my serger projects here on WeAllSew! When you make yours, please snap a photo and tag me @SookieSews and @BERNINAUSA!!
What you might also like
2 comments on “Serger Chenille Christmas Tree Trivet”
-
-
Love the gift ideas. I’m encouraged by your posts to start making more gifts
Leave a Reply
You must be logged in to post a comment.







All good ideas. I’m going to work on getting more proficient with my embroidery work this coming new year.