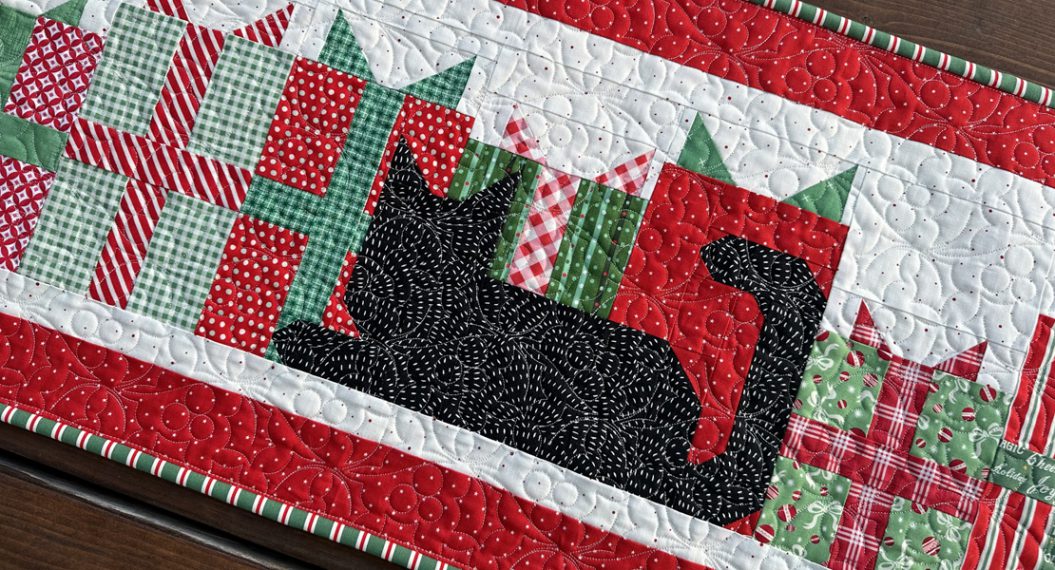
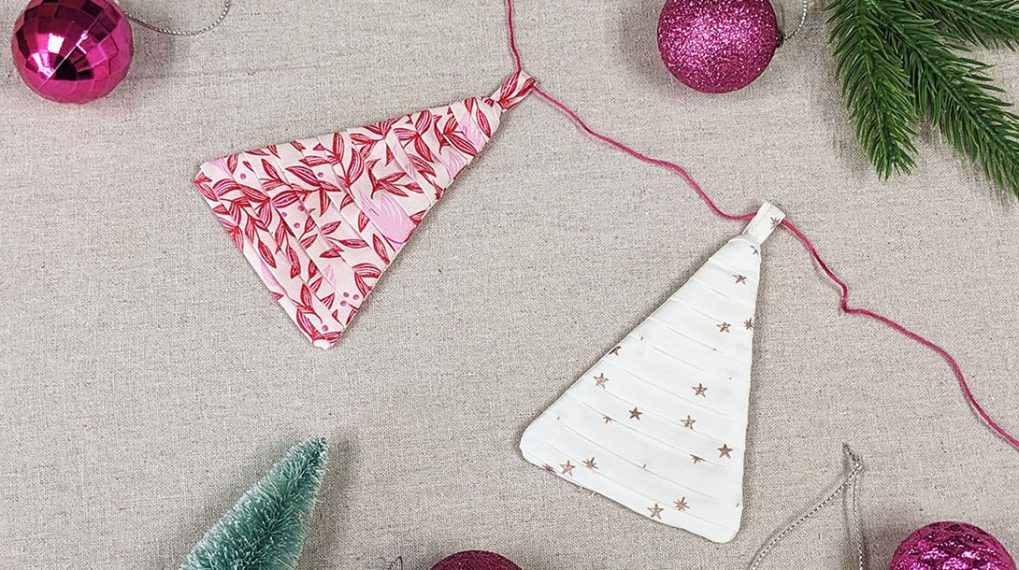
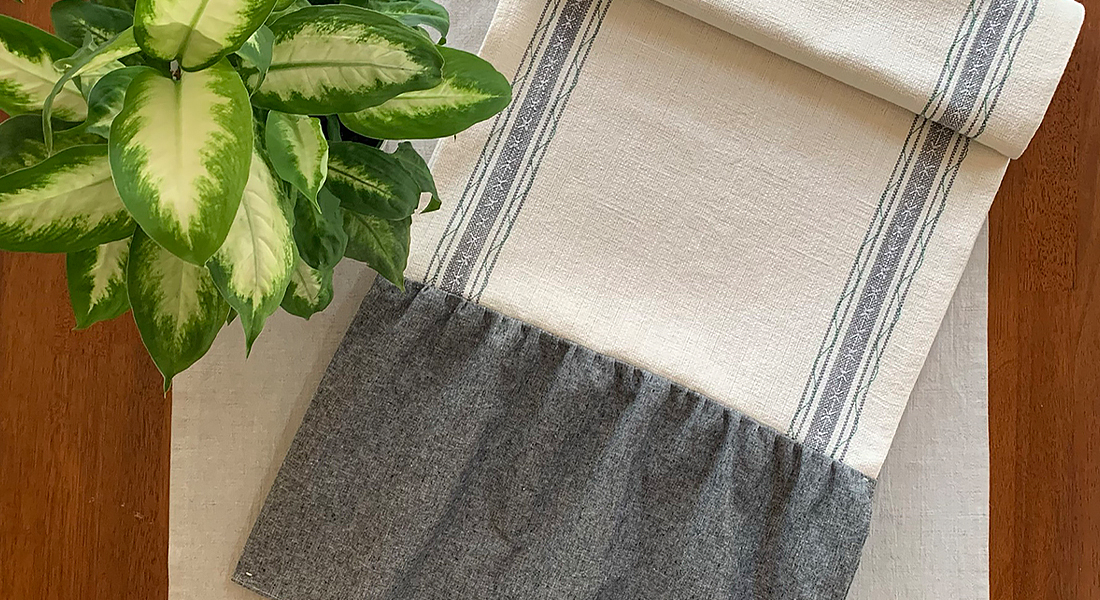
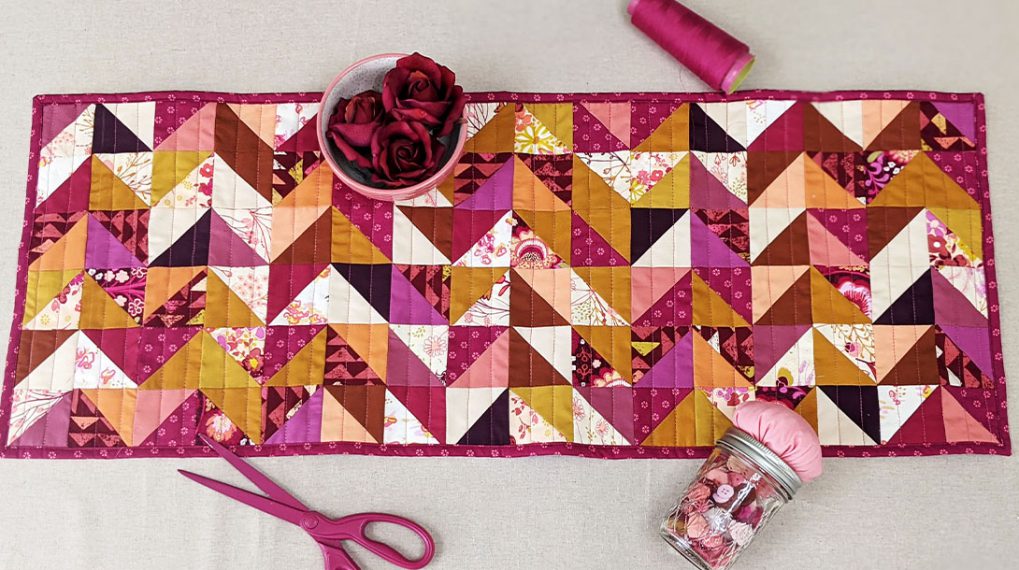
O’ Christmas Tree Table Runner
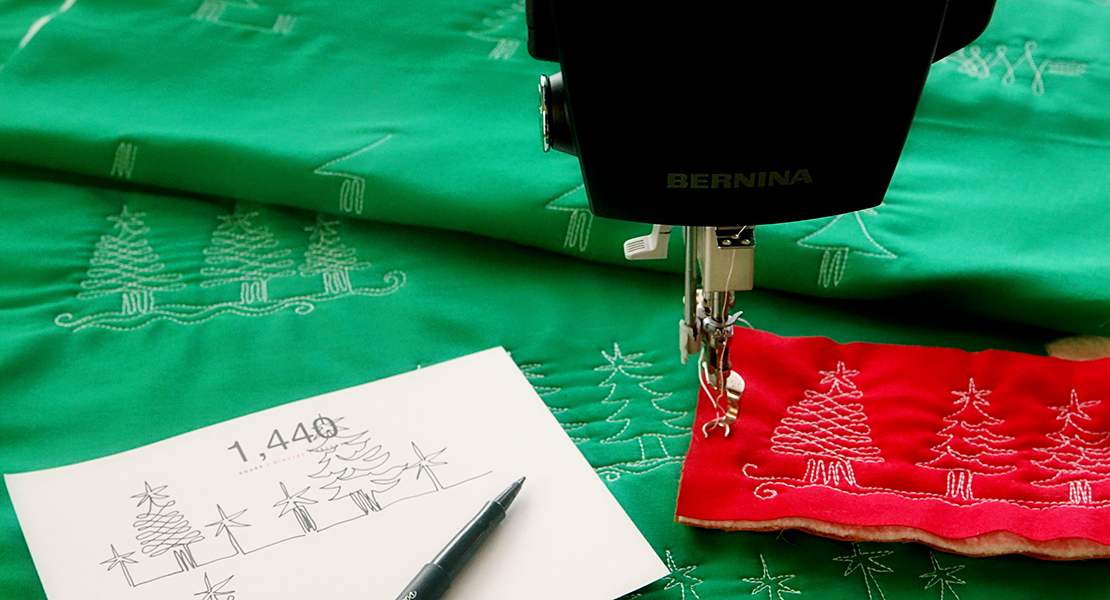
Do you ever encounter a new sewing tool and think, “Where have you been all my life?” That was exactly what happened when I discovered the BERNINA #18 Button Sew-On Foot. It is magical. And as someone who loves to put a button on it, it has saved me countless hours.
Hello everyone! I’m Lee Chappell Monroe and I am a teacher, designer, quilter and BERNINA Ambassador. I’ve been stitching my whole life and blessed to be a BERNINA user the whole time. My first machine was the old BERNINA 830 that I received for my 21st birthday; it was the same machine all my childhood memories were stitched on!
Safe to say, I am a long-time fan, but let’s focus on stitching up something fun. We will make one of my favorite tutorials, the O’ Christmas Tree Table Runner. It is fairly simple piecing for those new to quilting. And with the Button Sew-On Foot, you won’t even need to stress about quilting.
You can get tons of extra step by step images over on my blog, but everything you need to know is here.
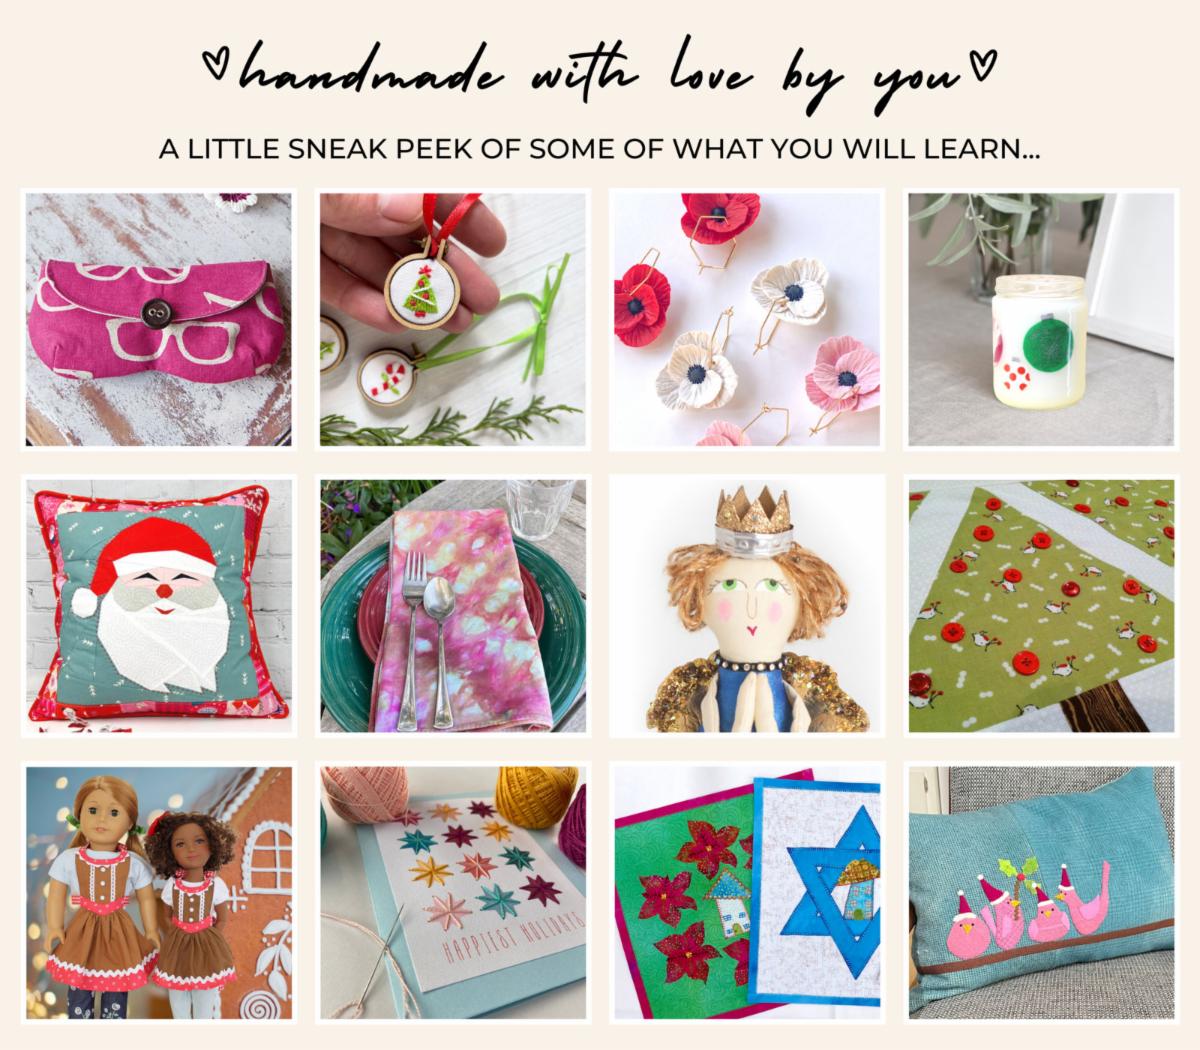
If you love live teaching and demonstrations, I’ll also be making this on Creative Spark during their Handmade Holiday Bazaar on Saturday, November 12, 2022. Creative Spark is an online learning platform from the creative minds at C&T Publishing. The best part is that if you can’t make it live, you have a video to watch forever. You can register using my link which gives you $20 off.
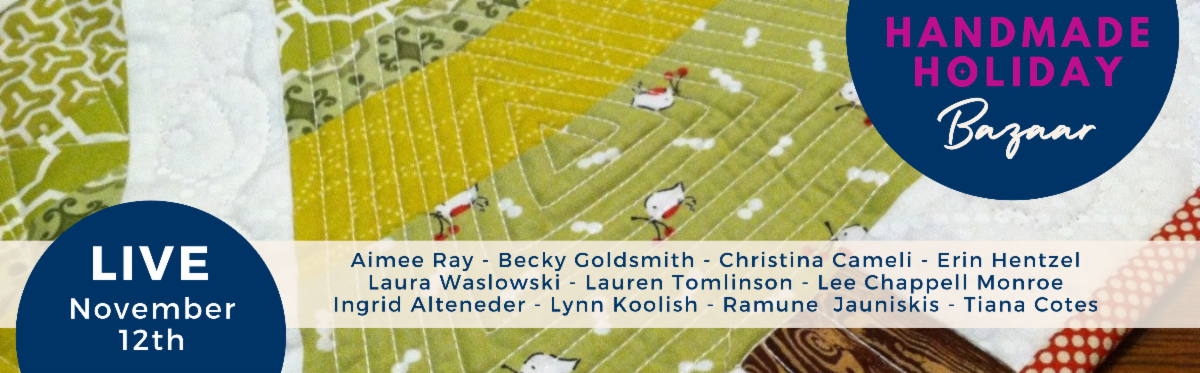
It will be a whole day of tons of cool projects that you can make for the holidays. I hope you’ll join in; you have to sign up before Saturday. But you’ll be able to watch (and rewatch!) anytime after that.
Let’s start stitching our table runners…so we can add on ALL THE BUTTONS!
Supplies to Create the O’ Christmas Tree Table Runner
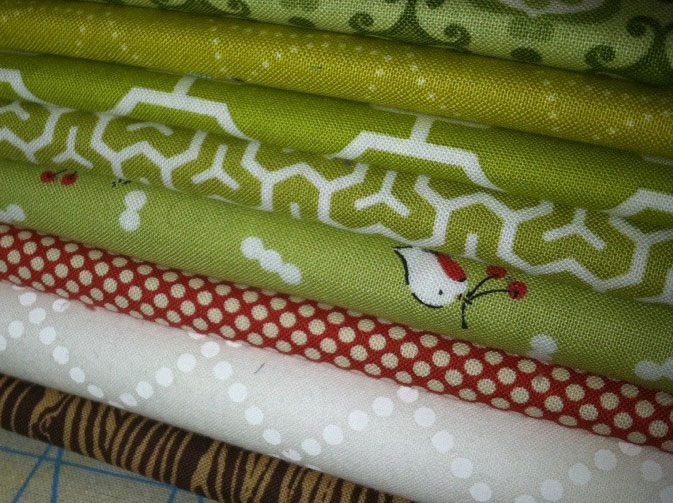
You’ll need 1/3 yard of green for the trees, (You can either use multiple prints or select just one.) 1/3 yard white for the background, 1/4 yard red for the binding, 1/2 yard for the backing and a 11 x 3” piece of the brown. You’ll also need a 60° Triangle Ruler.
Cutting
GREEN: If you choose to piece your trees, you’ll need one each of 3 1/2″, 2 1/4”, 2”, 1 1/2”, 1 1/4” x wof (width of fabric) strips. If you’re using one fabric, but 8 1/2” x wof.
WHITE: Cut one 2″ x wof. Then cut this into fourths. (You don’t need to be precise when cutting into fourths, we’ll be trimming it!) Cut six 11 3/8 x 2 1/8” strips. Cut two 11 3/4 x 2 1/8” strips. RED: Cut three strips of wof for the binding. Brown: Cut five 2 x 2 1/8” pieces.
Steps to Create the O’ Christmas Tree Table Runner
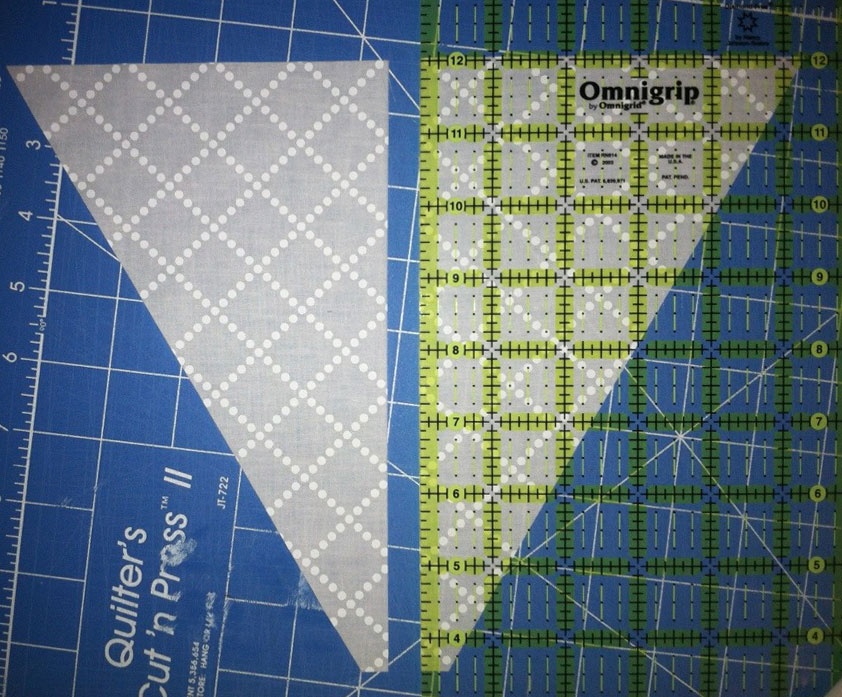
1. Cutting the Half Triangles
I use the Creative Grid 60° equilateral triangle ruler to cut the triangles. Fold the white fabric to align the seam allowance line with the fold of the fabric. We are cutting 8 1/2” tall triangles. It is very important that you align the seam allowance not the middle of the triangle.
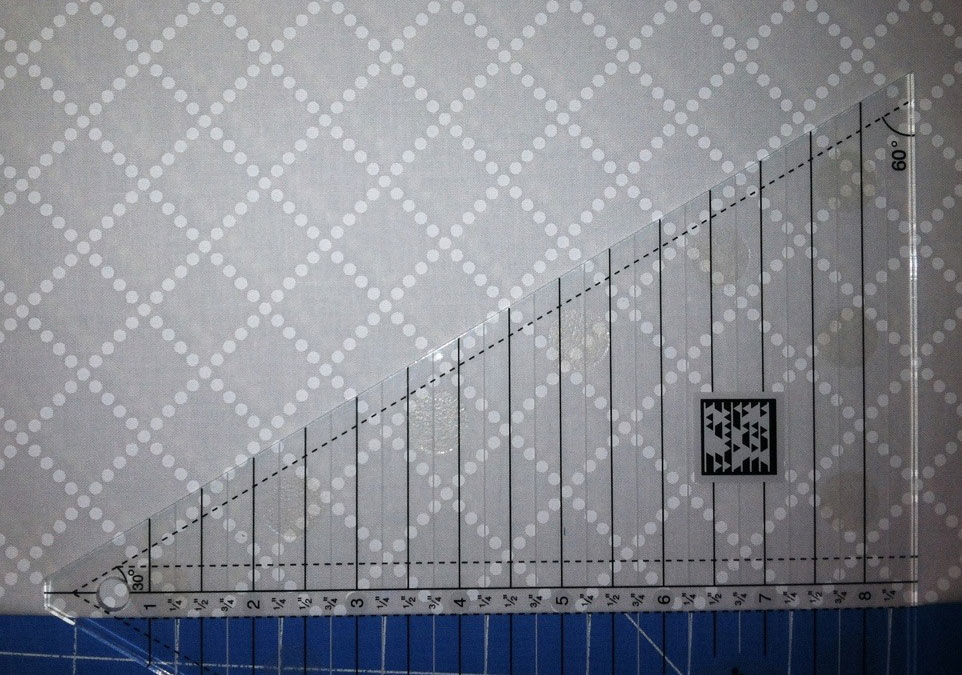
2. Once you have cut your piece, you will unfold it and cut it in half.
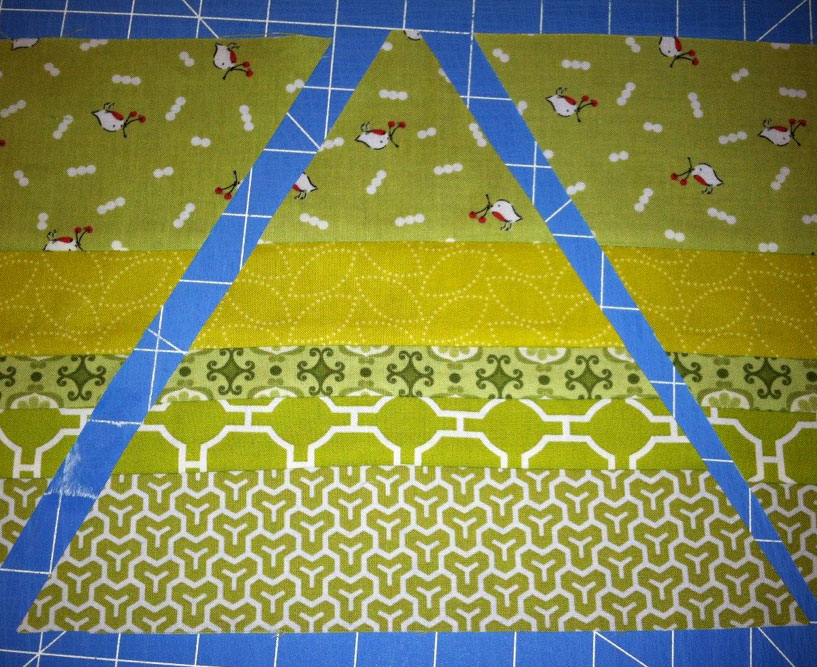
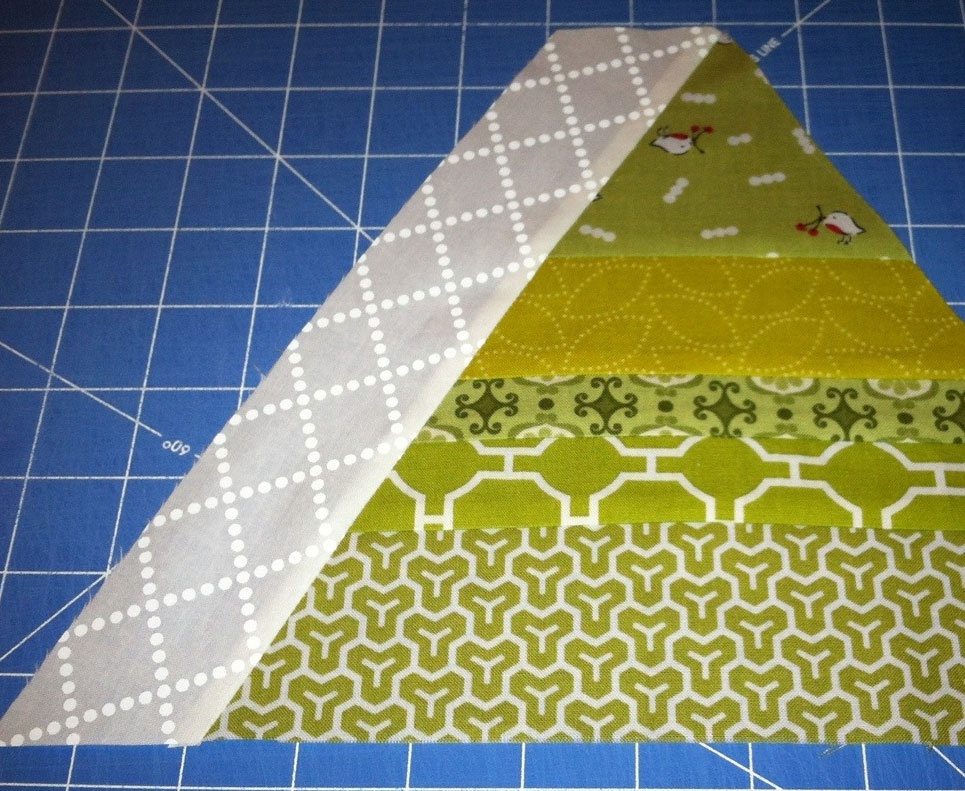
3. Cutting the Green Triangles
If you are using multiple green strips, sew them together using a 1/4” seam allowance and press. I did mine in the order of 3 1/2”, 2”, 1 1/4”, 1 1/2” & 2 1/4”. It will be 8 1/2” x wof. If you are using one green fabric, cut a piece 8 1/2” x wof. Align your ruler to the top and bottom of your strip. Trim off the excess. Cut five 8 1/2” tall triangles. You will rotate the ruler from edge to edge to cut the triangles.
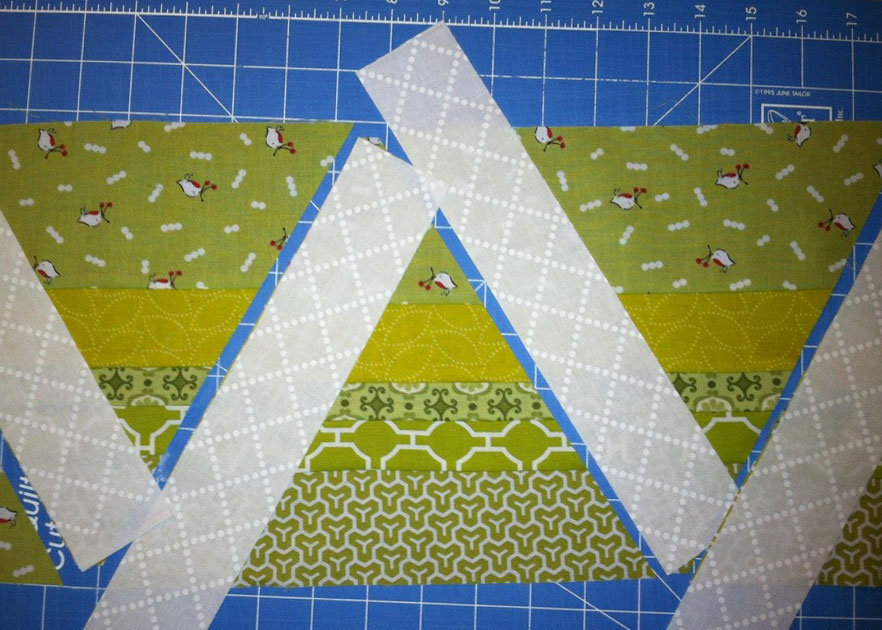
4. Attaching the White Background
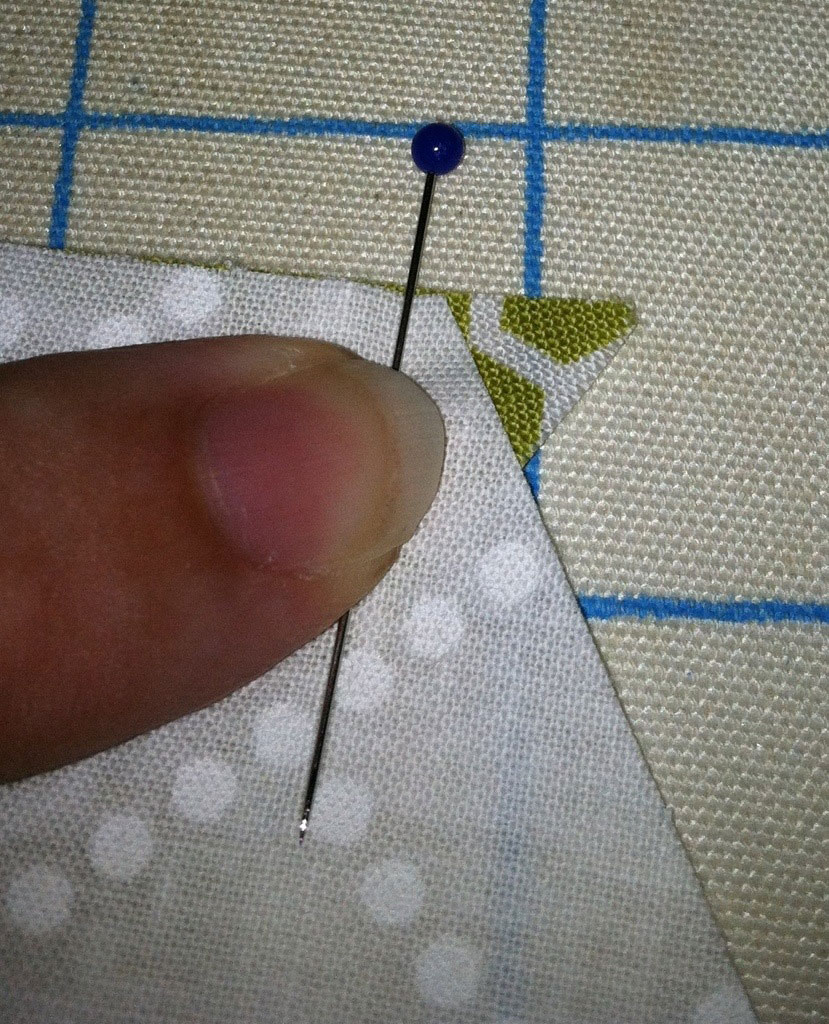
Using the four 2″ pieces of white, lay them out on the trees as shown. You want to align the edge to the narrow end of the triangle; you need excess on the wider end of the triangle. I recommend pinning. Press.
You will end up with this.
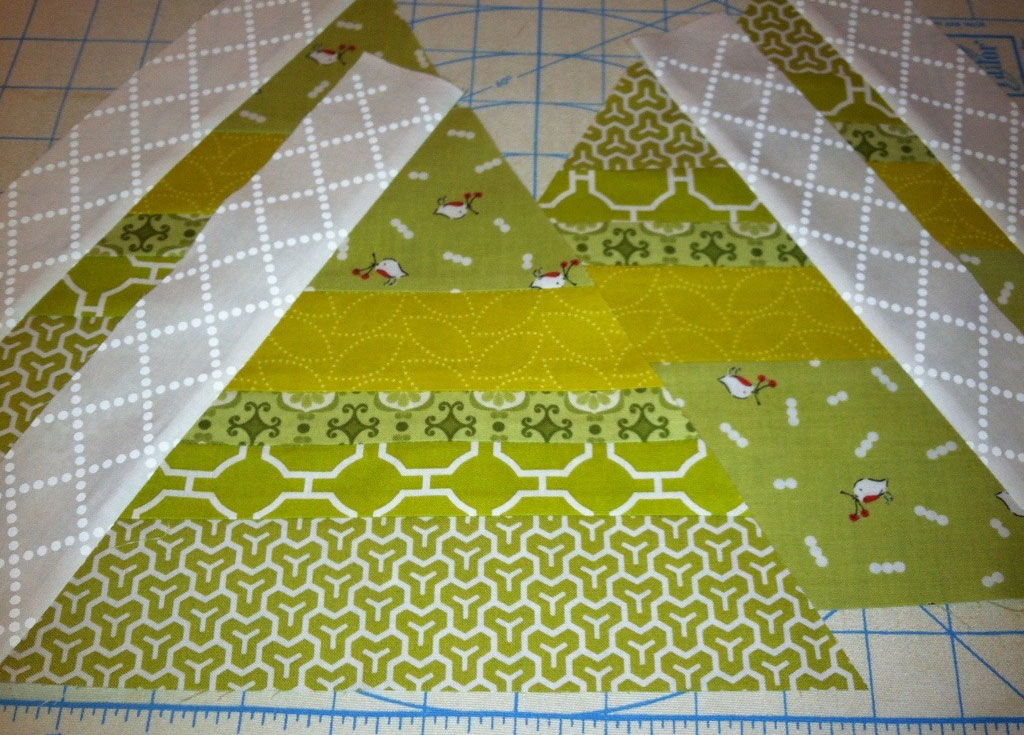
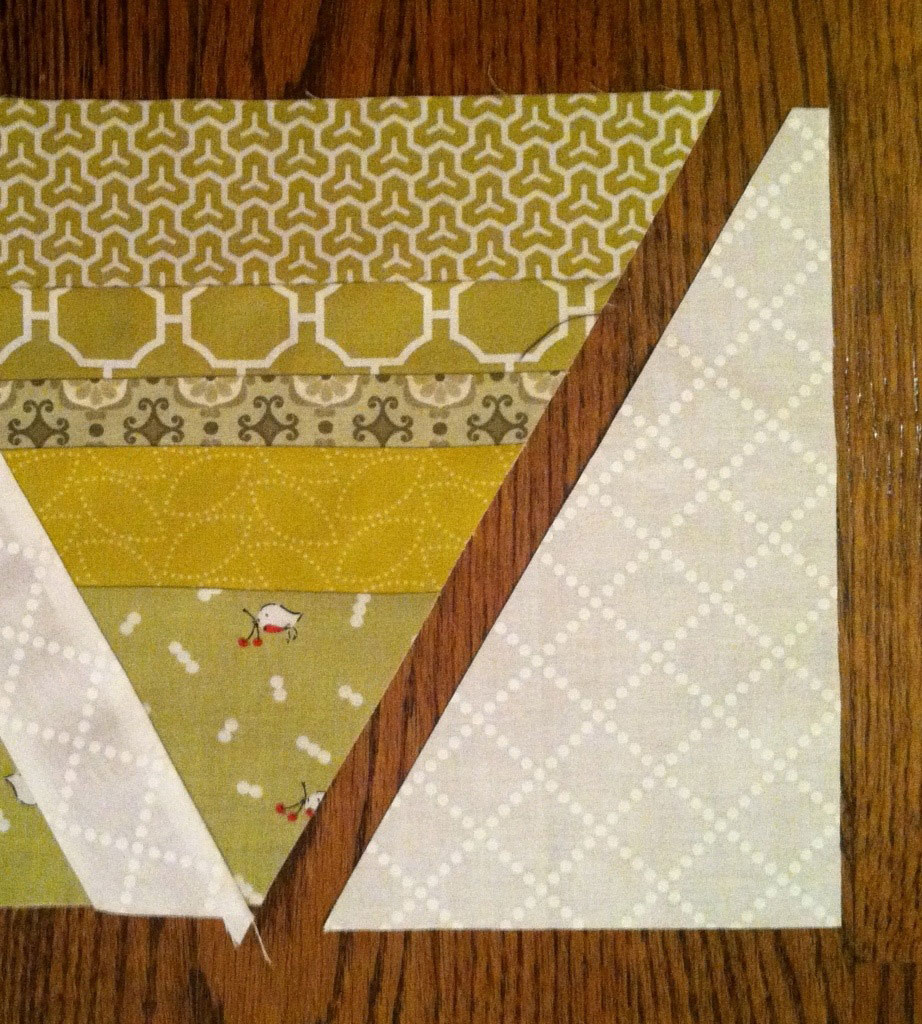
5. Trimming the White
Now trim the excess white off the top and bottom. Align your tree to the lines on your cutting mat and cut it 8 1/2″ tall. Trim all four.
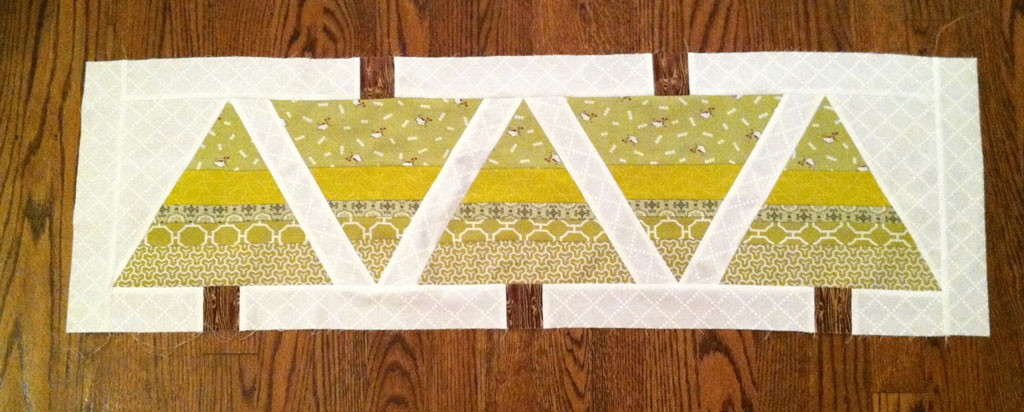
6. Piecing the Trees
Make sure that when you piece two angled pieces together, you leave a quarter inch triangle at the end as shown. Sew together all five trees with white strips in between.
7. Attaching the White Corners
Using the two half triangles, align them with the proper corner. You will have a 1/4″ triangle on one end and the notch cutout on the other.
8. Attaching the Stumps
For this section, the 11 3/8″ x 2 1/8″ strips = Piece A AND the brown 2″ x 2 1/8″ pieces = Piece B. For the side with two trees, sew Piece A + Piece B + Piece A + Piece B + Piece A. Cut one Piece A in half. For the side with three trees, 1/2 of Piece A + Piece B + Piece A + Piece B + Piece A + Piece B + 1/2 of Piece A. Press. Fold the base of each tree in half and mark the center with a pin. Do the same for the center of each tree. Align the centers of Piece A and the tree to sew together. I recommend pinning the whole side. Attach the 11 3/4″ x 2 1/8″ pieces of white to each end. You are finished piecing!
9. Finishing
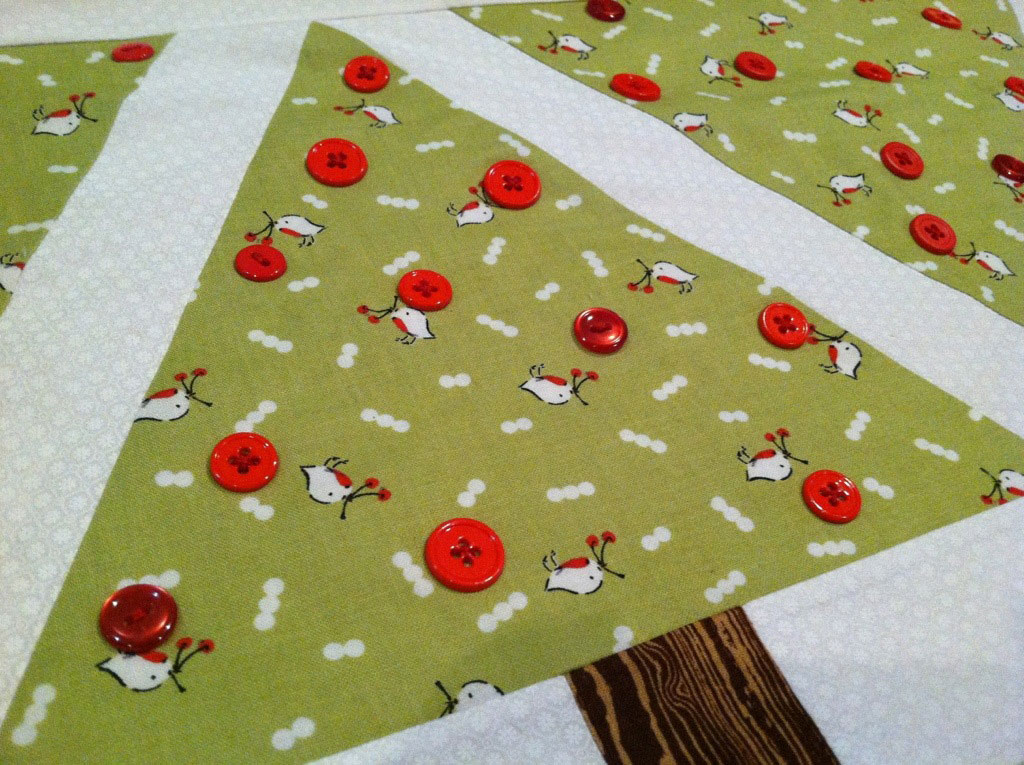
You have a few options at this point. You can traditionally quilt the piece or attach some notions in lieu of quilting. Pin, baste or spray your backing, batting and top together. I’m a pinner:)
For this option, I used various red buttons. This is where the #18 Button Sew-On Foot will be your best I love how it turned out, but to be honest, it would take WAY LONGER than the quilted version if you sewed all those by hand. But through the magic of BERNINA, you can be done quickly.
You could also combine the best of both worlds and quilt your runner…then add all the buttons.
I hope y’all will enjoy making this little table runner. It will add merriment to your home or make a wonderful gift. Thanks so much for joining me today! I look forward to sharing more with you.
🙂 Lee