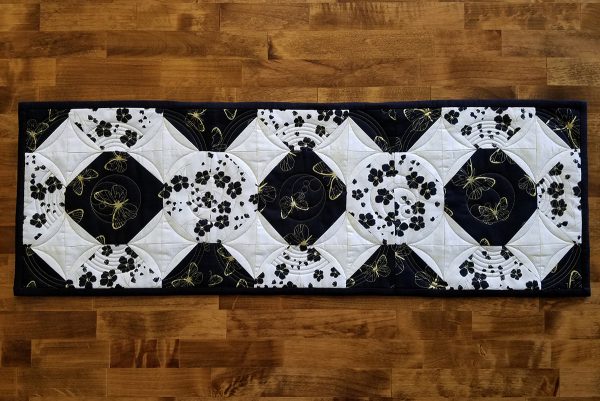
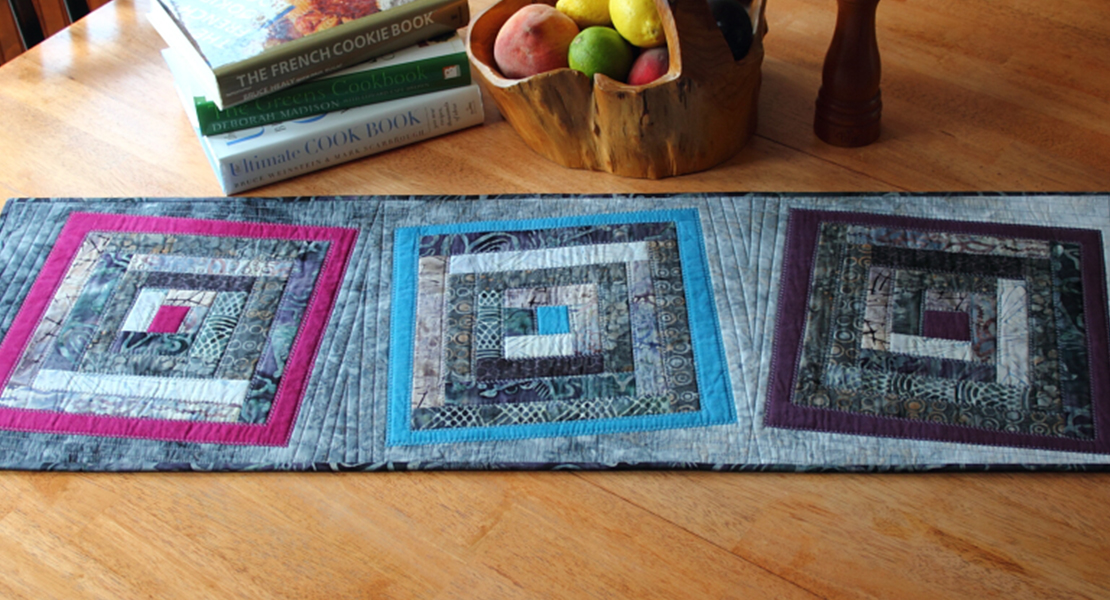
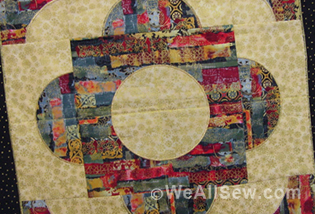
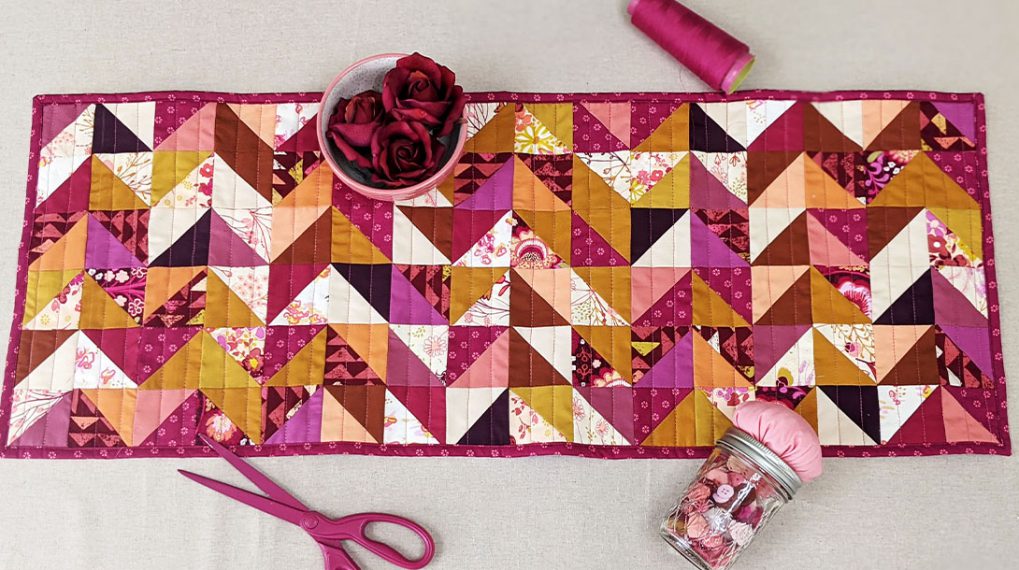
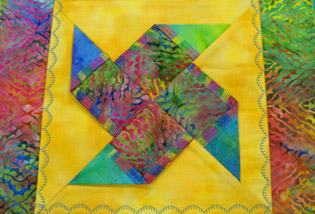
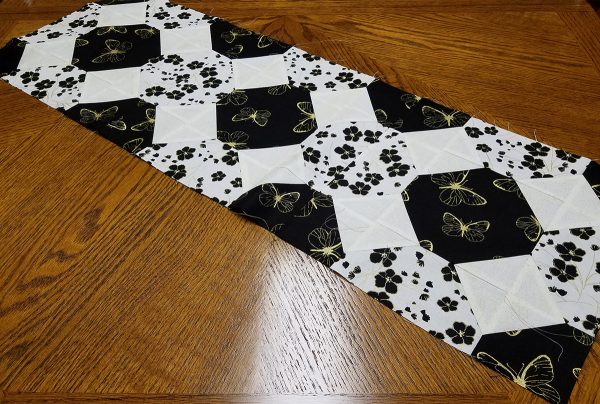
Magic Circle Table Runner
The Magic Circle block from the Bernina Block Party block-of-the-month, stitched three times, will make a perfect table runner. I chose to use a half inch wide binding to coordinate with the fabric and to show off the blocks.

Supplies to Create a Magic Circle Table Runner
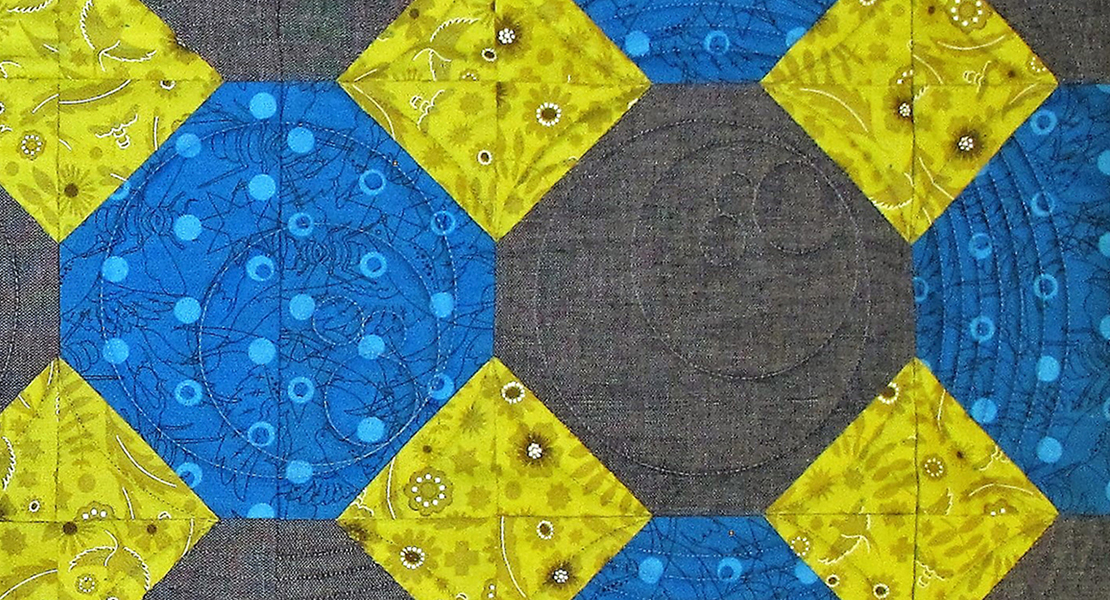
- 3 fat quarters of your choice (I used New Traditions fabric collection by Benartex)
- 3 strips cut 3 inches wide by the width of fabric (44″) for binding
- Adjustable Ruler Foot #72 for quilting
- Reverse Pattern Foot #1/#1C/#1D
- Patchwork Foot #37/#37D
- Walking Foot #50
- Batting: Cut 15″ x 39″ for each placemat
- Backing: Cut 16″ x 40″ for each placemat
- Clover Wonder Clips
Creating the Magic Circle Table Runner
Piece three Magic Circle blocks following BERNINA Block Party Magic Circle instructions.
Stitch the three blocks together to form one long rectangle.
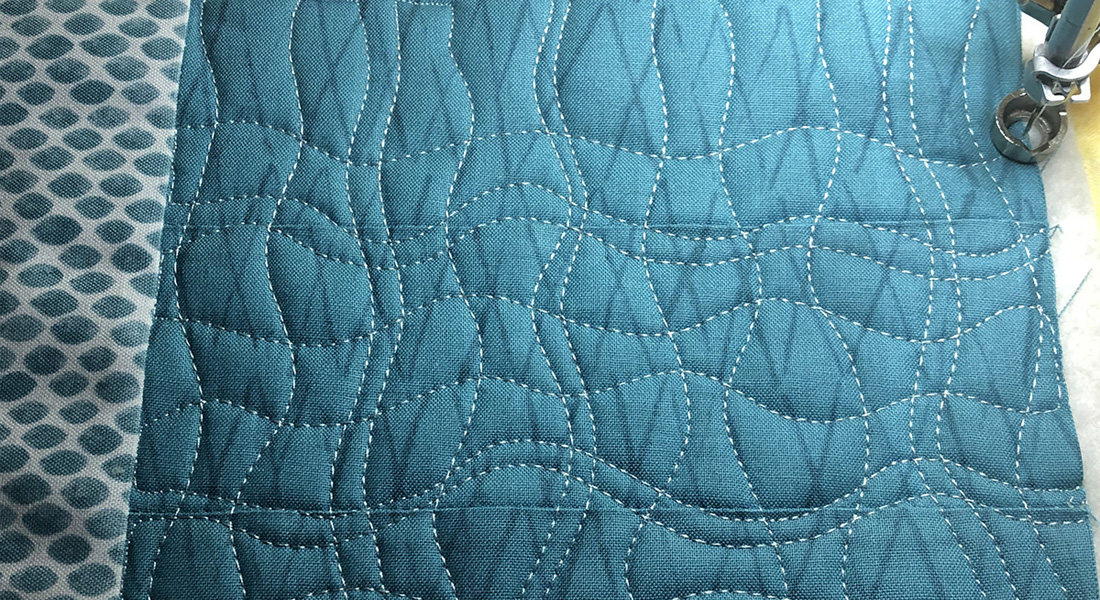
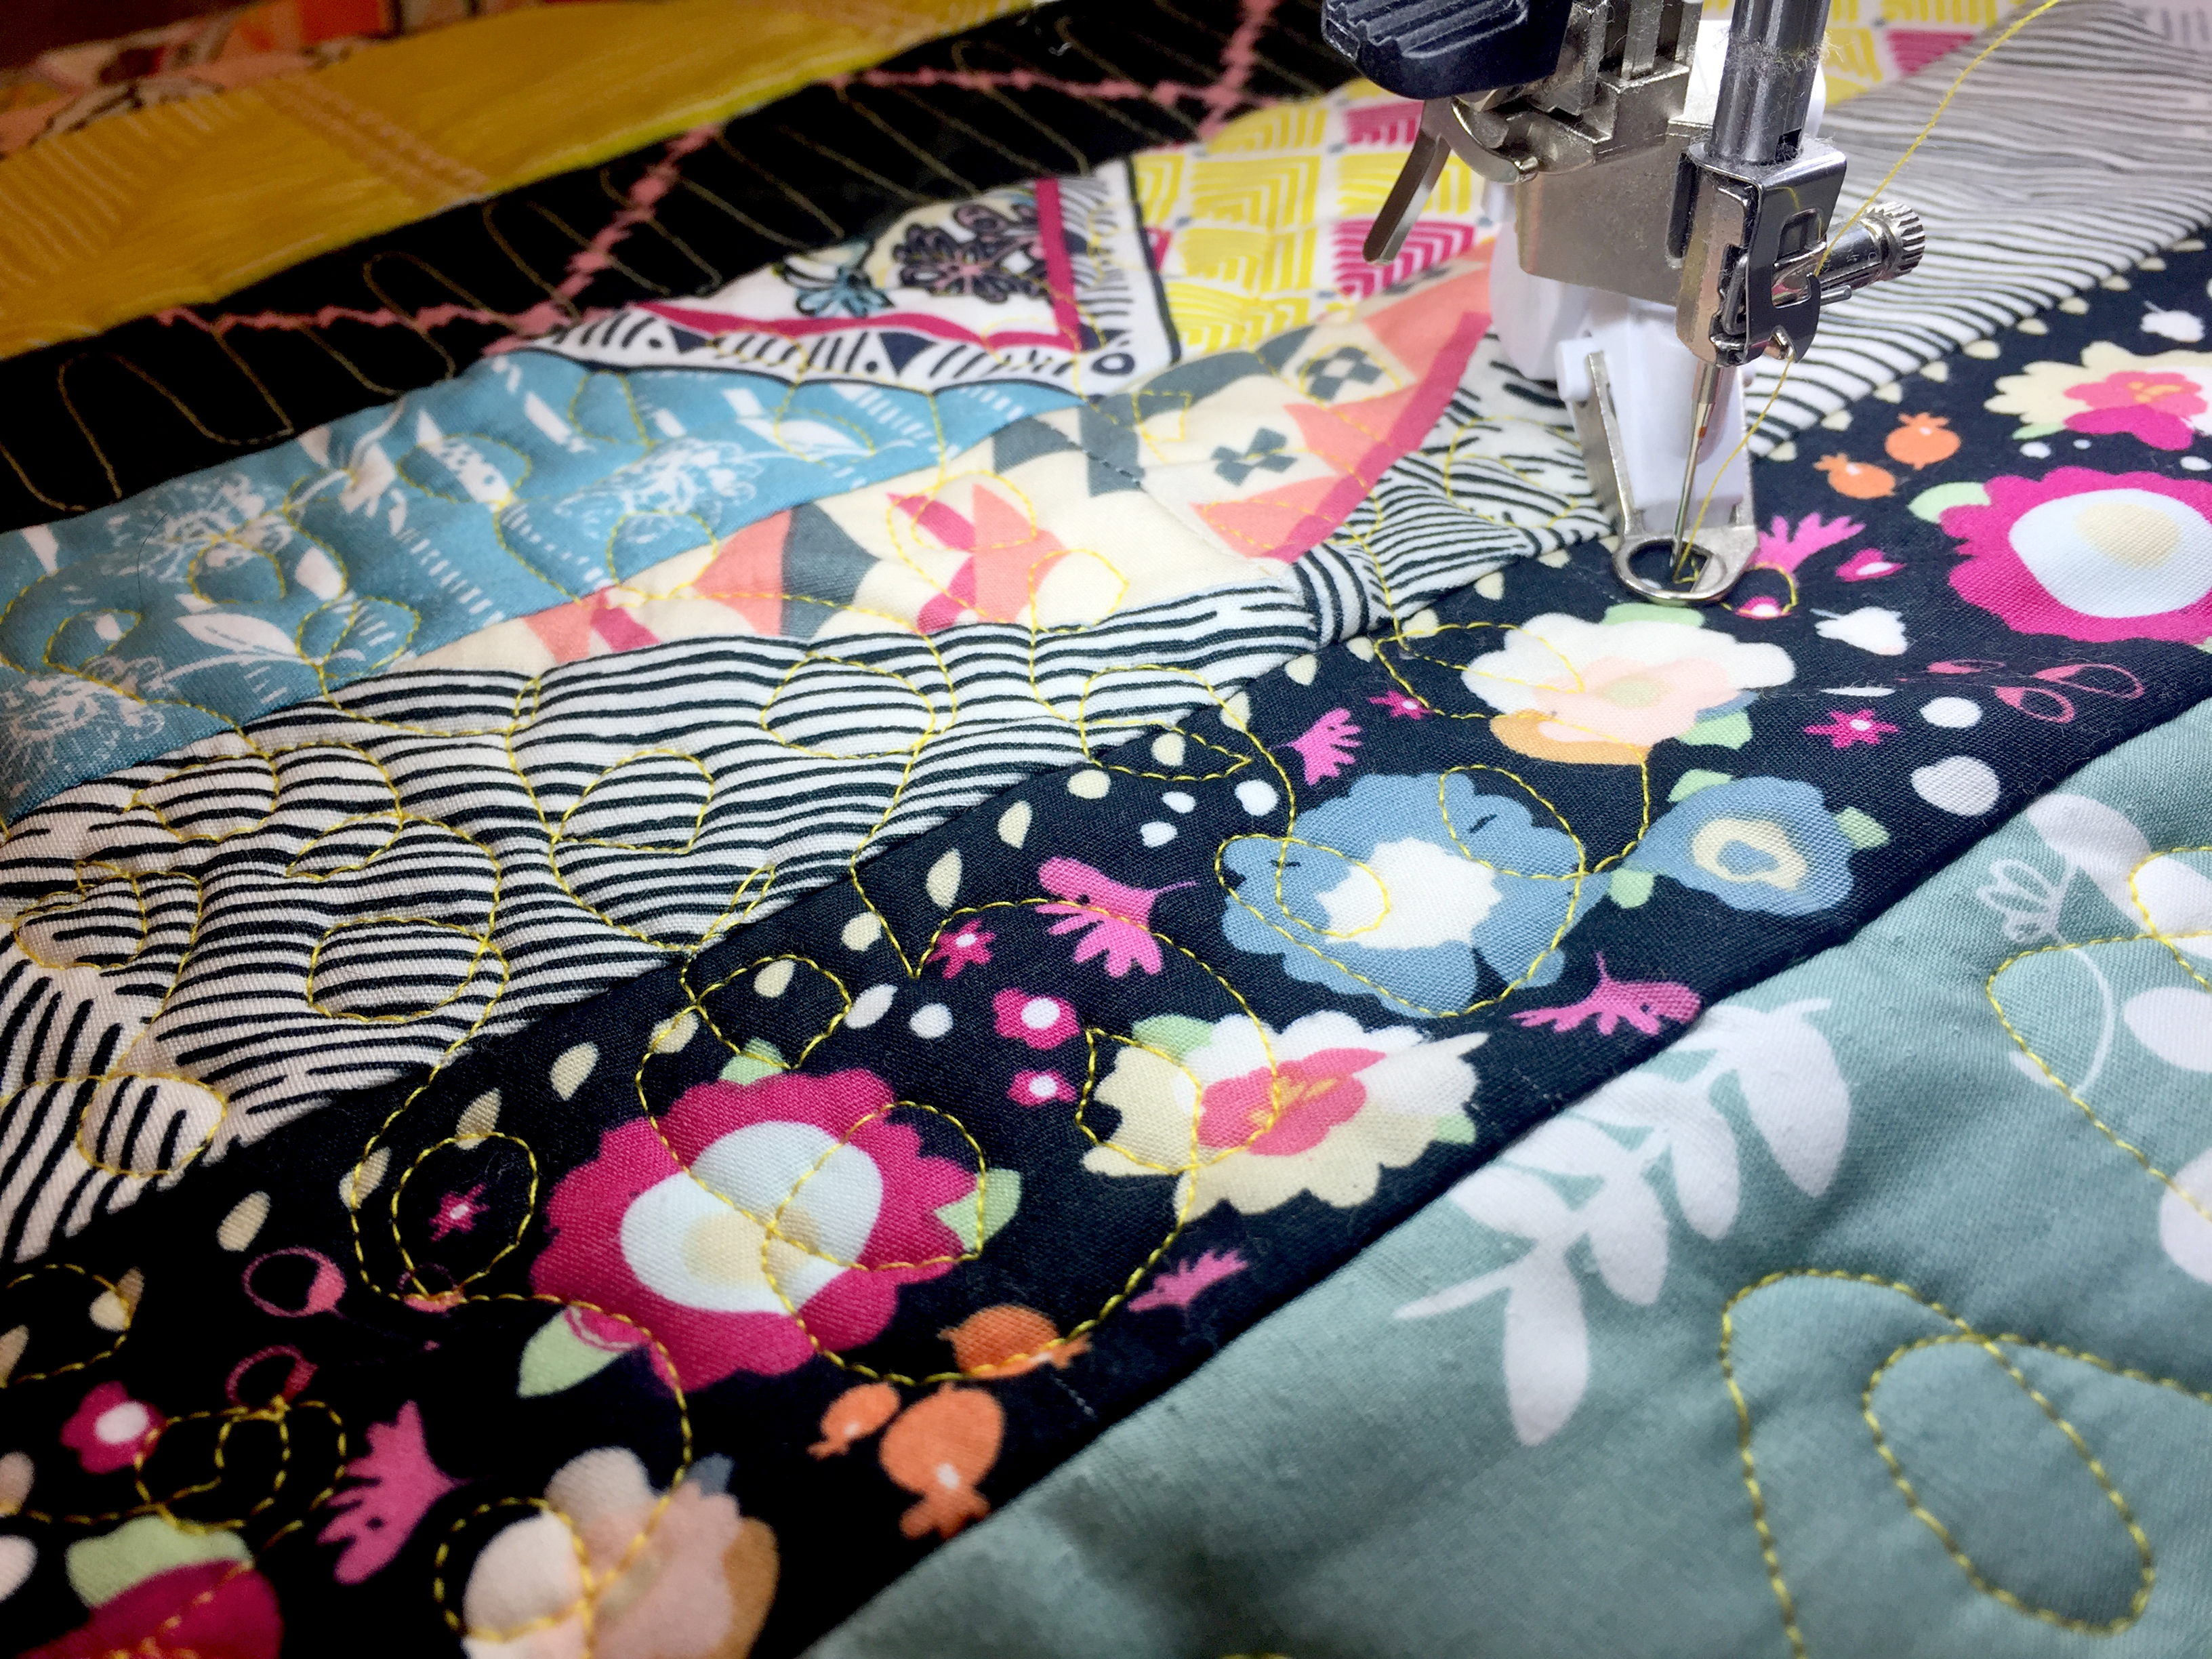
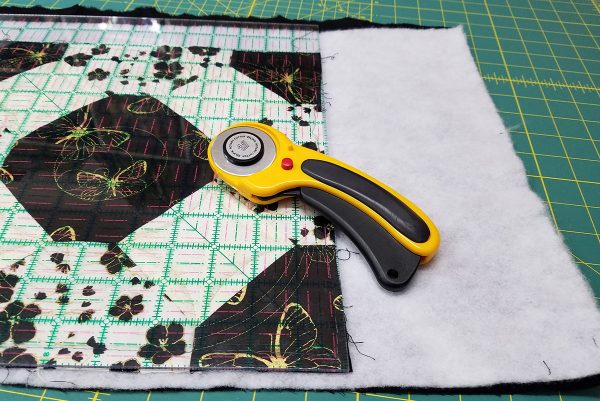
Use BERNINA’s new Adjustable Ruler Foot #72 and quilt the blocks as Nina suggested in the quilting lesson from Block Four. After the quilting is completed, square up the block using a clear ruler and a rotary cutter.
We will add the binding using the same binding techniques that we used when completing the Shoo Fly Placemats from Block 2. Click here if you want to review the steps from that blog. The main difference for this project is that the binding will be 1/2″ wide.
Start by stitching the three 3″ wide binding strips together with diagonal seams just as we did in Block 2’s project.
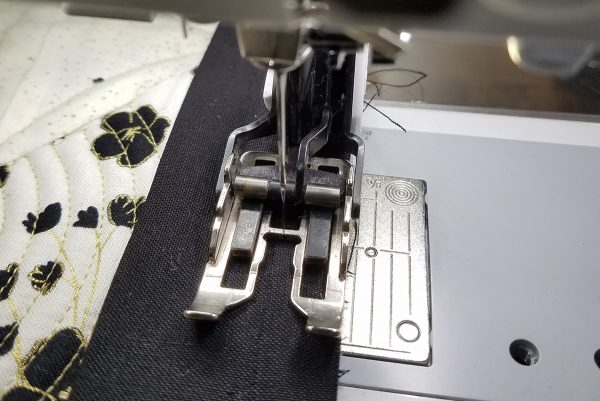
Now stitch the binding on, leaving a 5″ or 6″ tail at the beginning just as we did in Block 2, except use a ½” seam allowance instead of the 1/4″ seam allowance. I used the Walking Foot #50 instead of the Patchwork Foot #37 for this step.
When you get to the first corner, stop stitching 1/2″ from the cut edge of the placemat. Raise the presser foot and turn a 45 degree angle and stitch right off the corner making sure to secure your stitching.
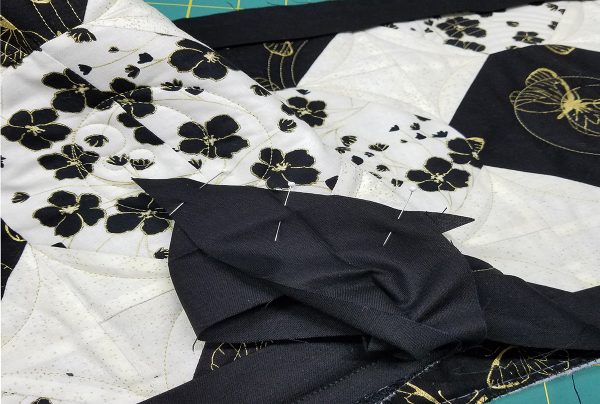
Turn placemat so that the previously stitched binding edge is at the top. Fold binding tail up. The raw edges of the binding will align with the second side of the placemat.
Fold the binding back down on itself to create a mitered corner in your binding.
Continue stitching from the folded edge using a 1/2″ seam allowance, securing at the beginning and end. Repeat the steps for all corners.
When you get all the way around, stop stitching about 5″ or 6″ from where the starting tail is.
Slide the end of the binding into the folded/mitered end of the beginning tail.
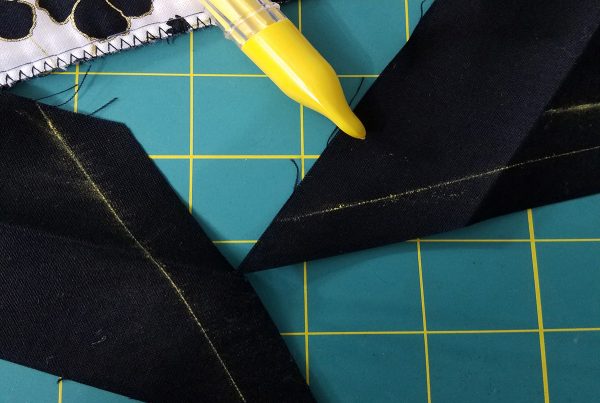
Trace the angle of the beginning tail onto the ending tail with a chalk marker.
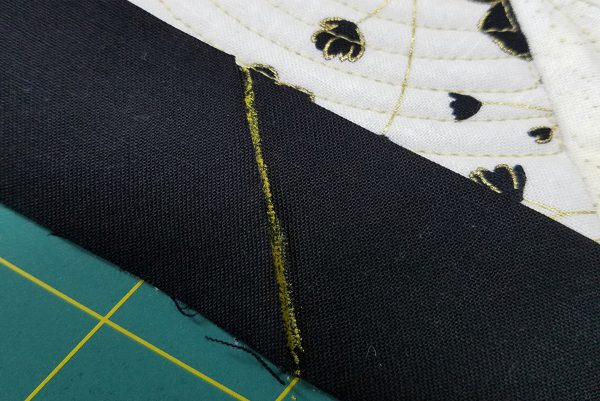
Cut off excess tail 1″ beyond the chalked line.
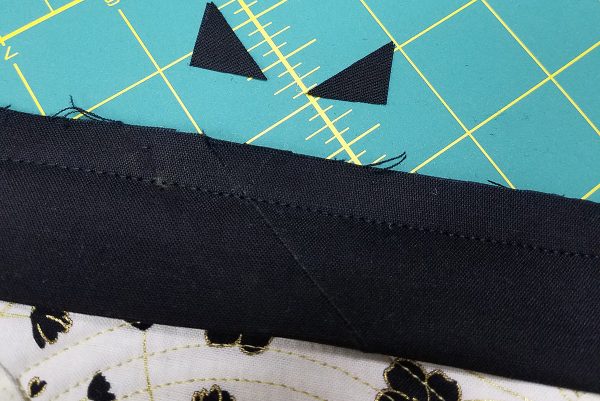
Mark a line on the binding beginning tail and the ending tail 1/2″ from the cut ends. Making these marks on each end of the binding will make it so much easier to get an accurate seam allowance.
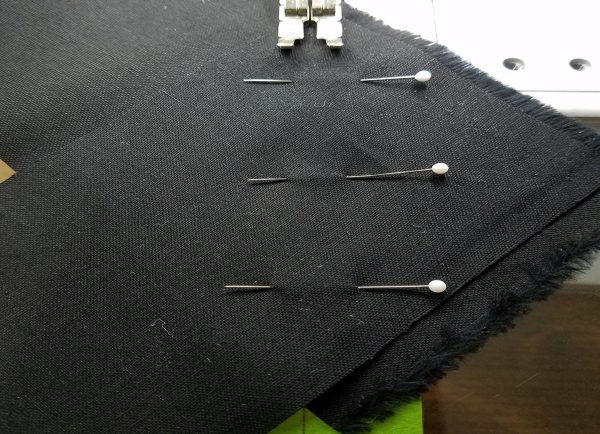
Align the 1/2″ marks and pin.
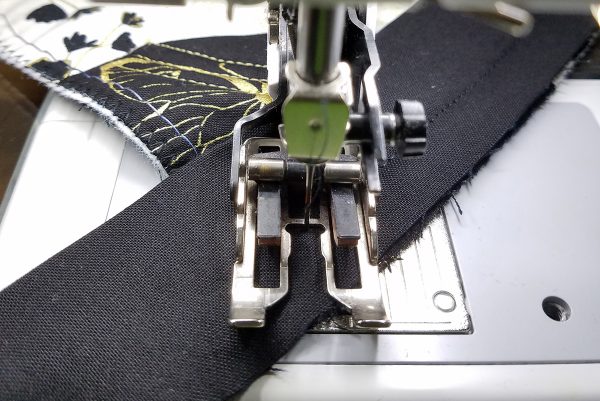
Stitch the ends together, and trim off points of seam. Complete the stitching to finish binding.
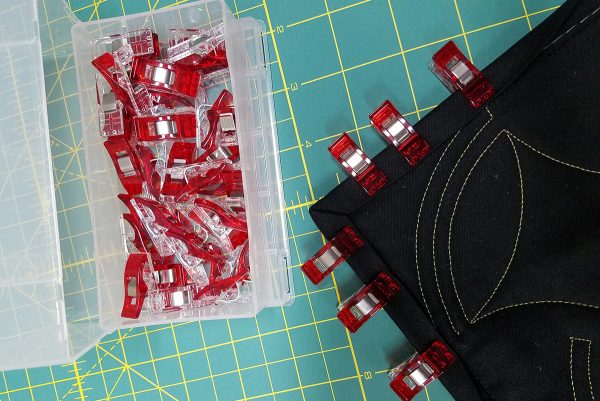
Fold binding to back. Clover Wonder Clips are a great alternative to pinning when you are working with bulky seams.
Hand stitch or machine stitch binding in place.
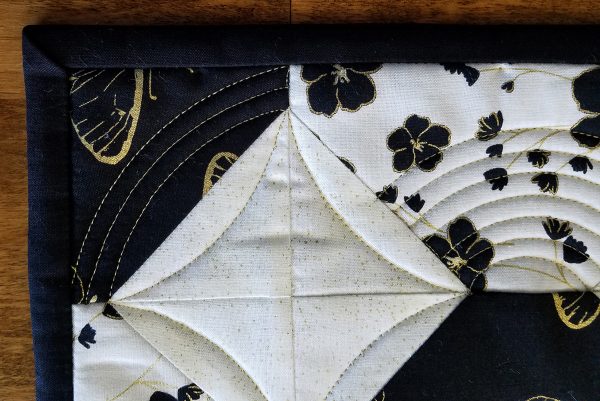
So that’s it—your table runner is all finished, ready to place on your table. Notice that the 1/2″ width binding looks very nice and adds another element to the quilt design.