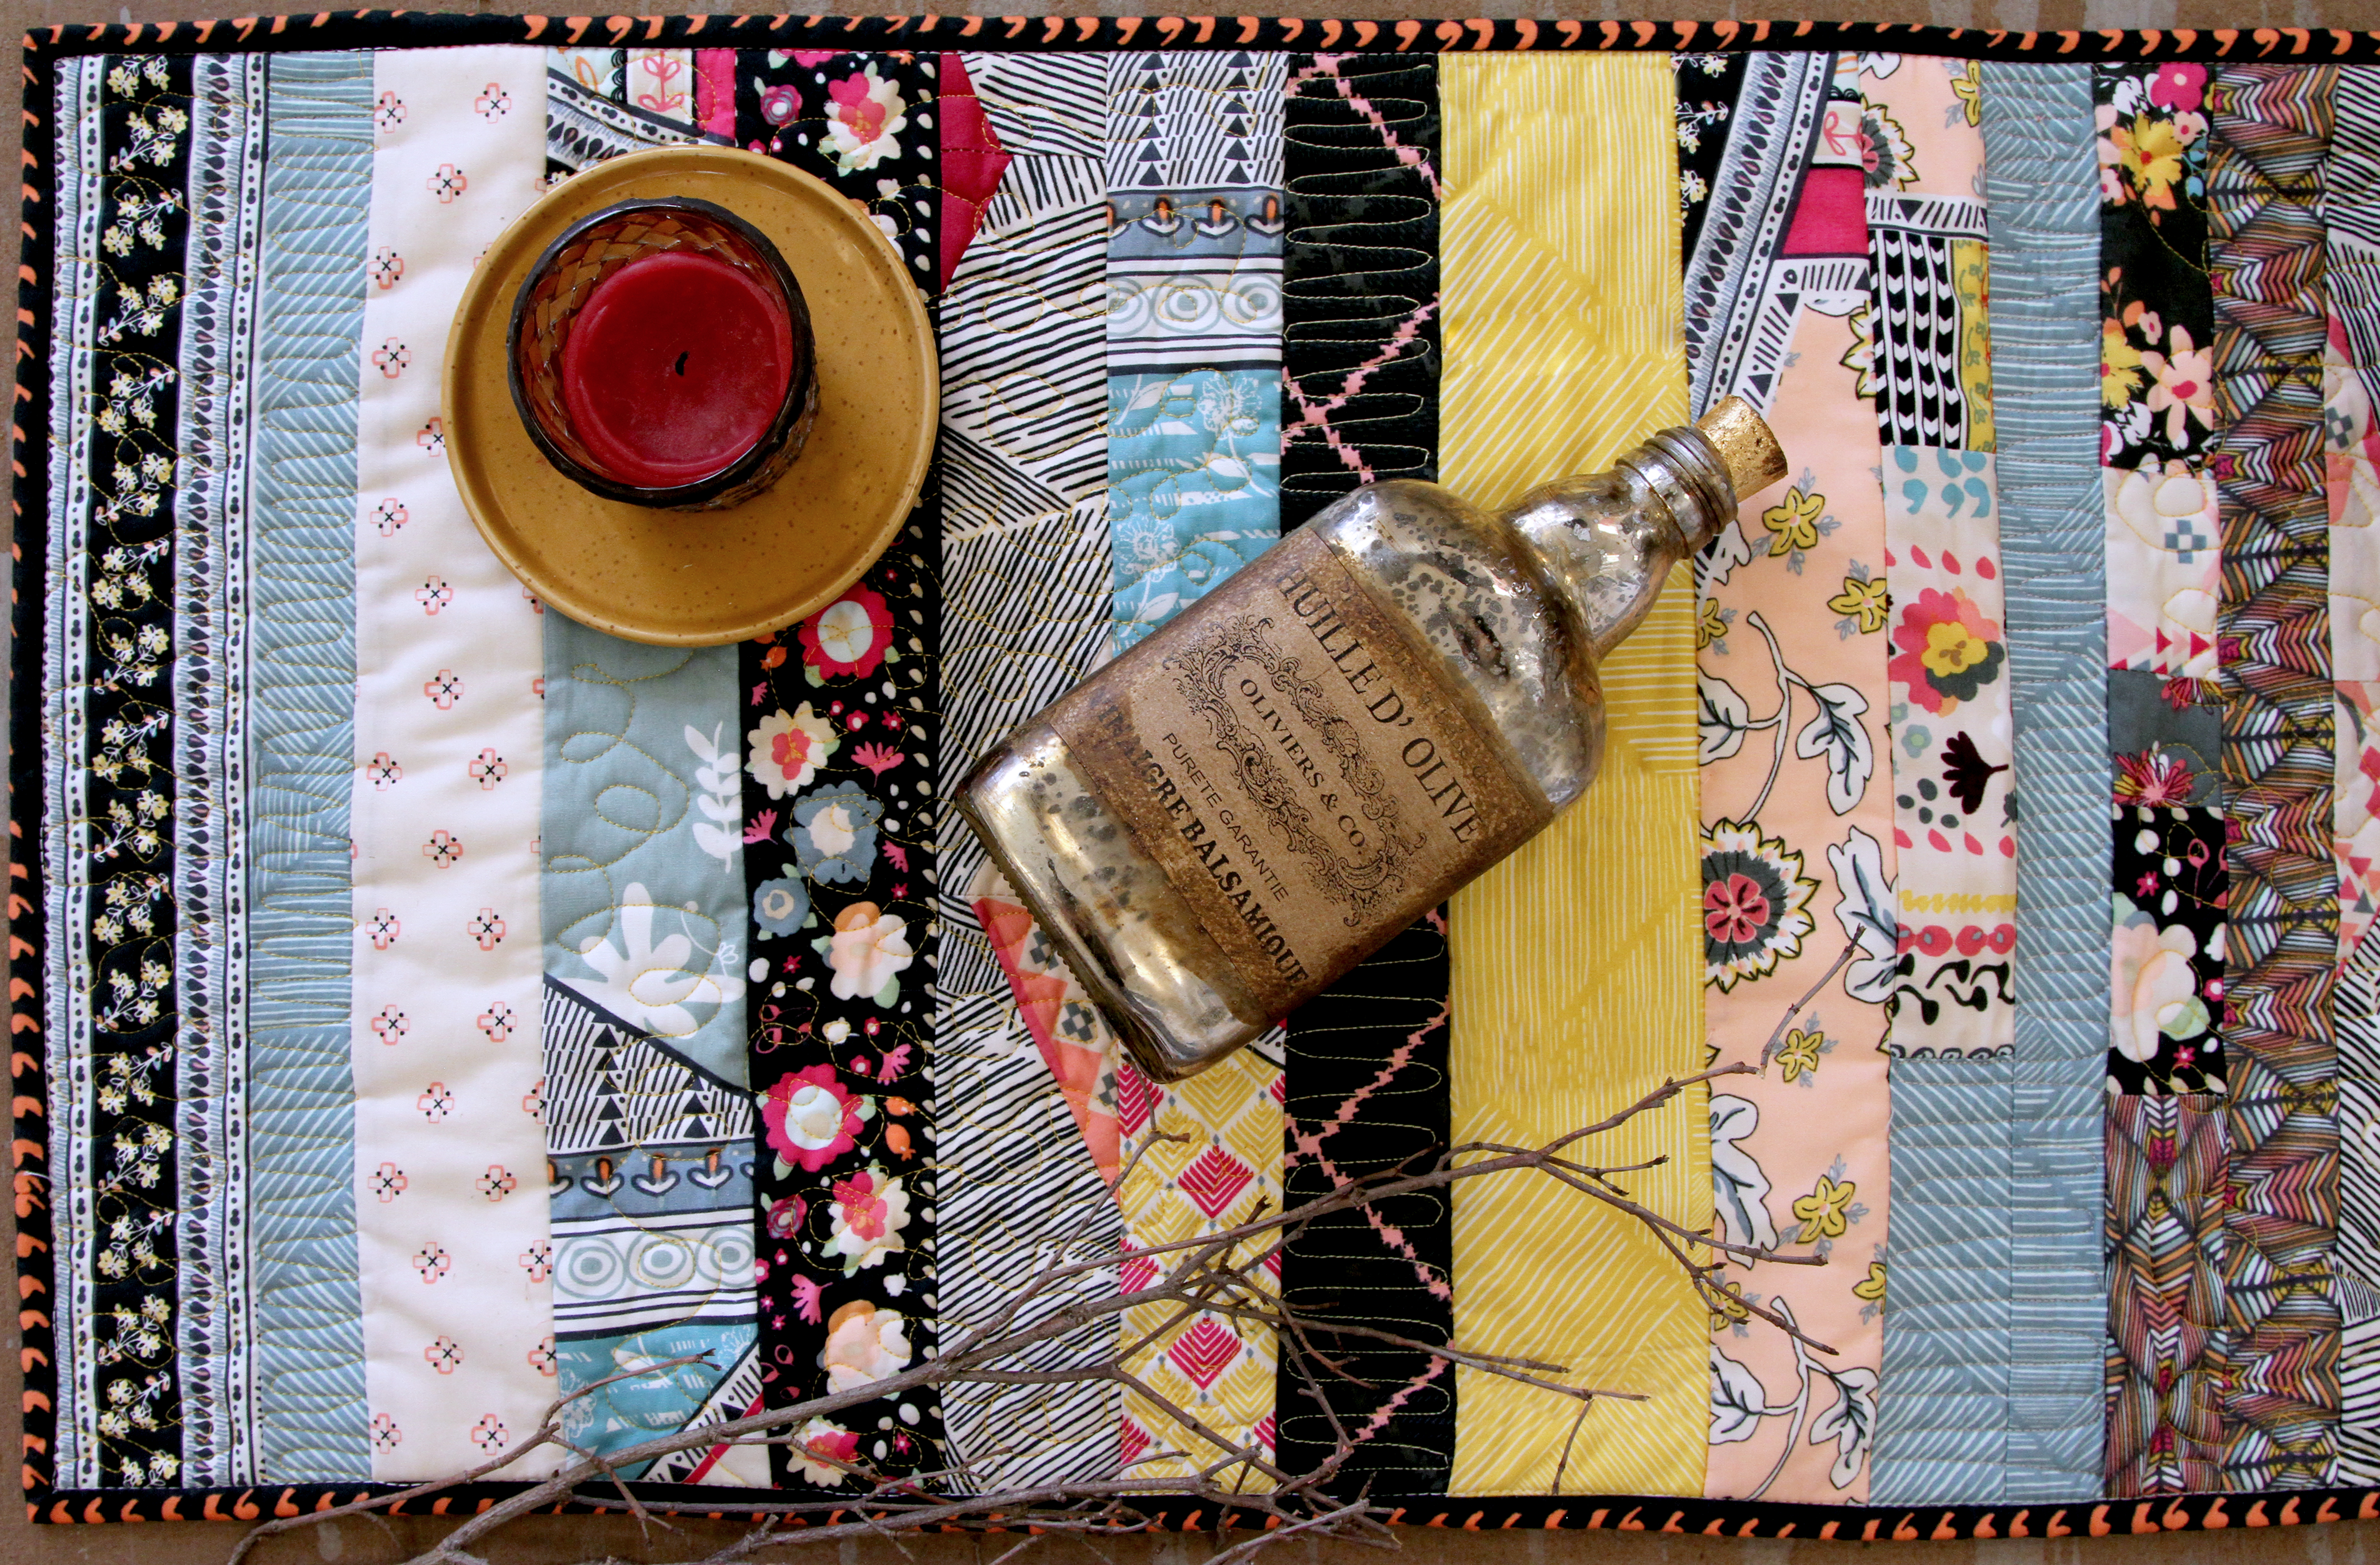
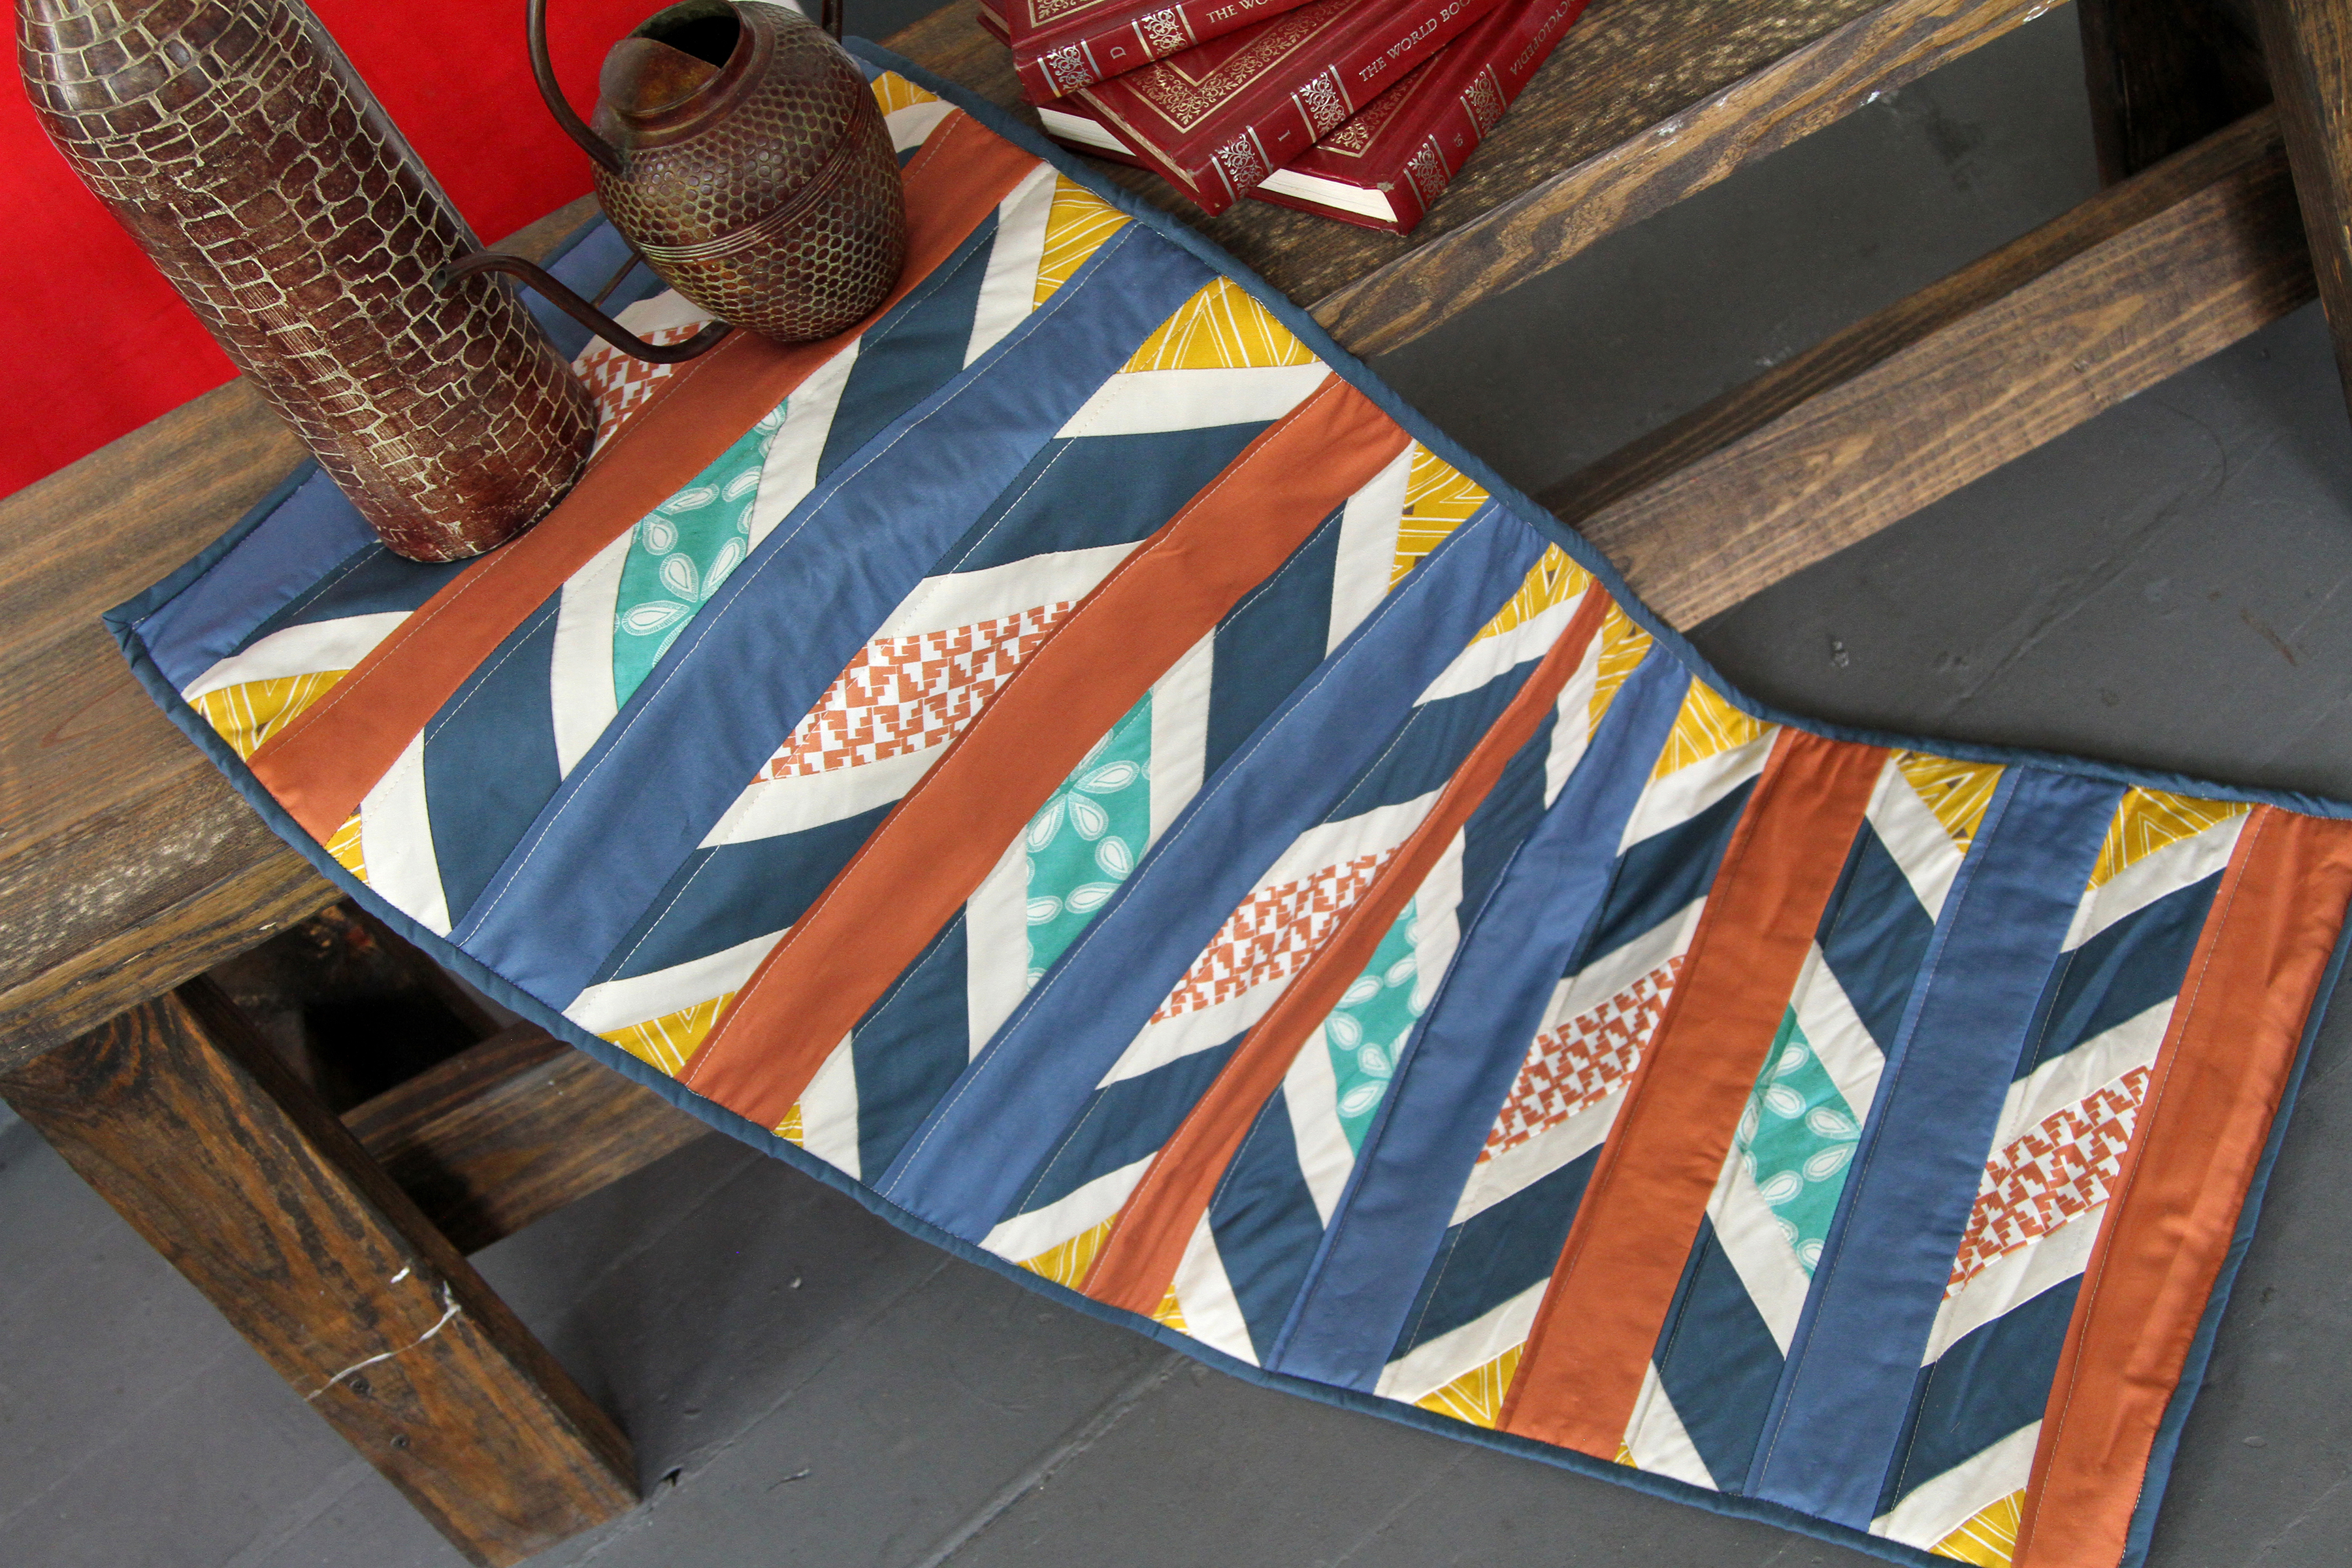
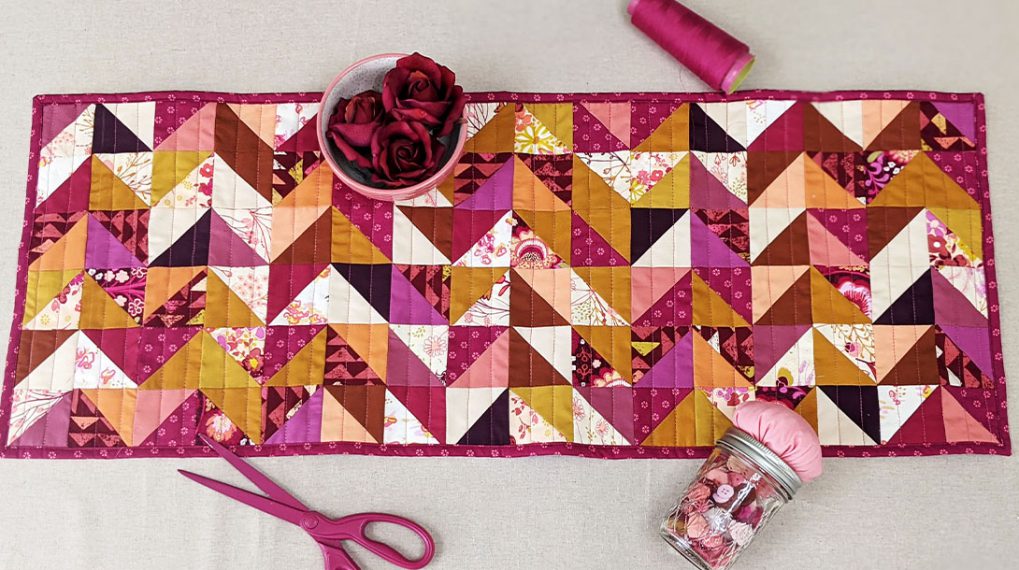
La Bohème Table Runner Tutorial
Have you ever wondered what to do with those beautiful fabric scraps that need to be put to good use? I sometimes find myself wondering the same thing. Makers like us have tons of fabric leftover from our wonderful repertoire of sewing projects. So with this tutorial, I am going to show you one way that you can put those beautiful fabric scraps to good use.

Materials to Make a La Bohème Table Runner
We are going to use fabric scraps—in my case I used scraps from projects using Indie Bohème Fabrics.
- Fat Eight of Pat Bravo IBH-64200 Fabric A
- Fat Eighth of Pat Bravo IBH-64201 Fabric B
- Fat Quarter of Pat Bravo IBH-64202 Fabric C
- Fat Eighth of Pat Bravo IBH-64203 Fabric D
- Fat Eighth of Pat Bravo IBH-64206 Fabric E
- Fat Eighth of Pat Bravo IBH-64208 Fabric F
- 2 1/4 yard of Pat Bravo IBH-64209 Fabric G (includes backing)
- Fat Eighth of Pat Bravo IBH-74202 Fabric H
- Fat Quarter of Pat Bravo IBH-74203 Fabric
- Fat Quarter of Pat Bravo IBH-74205 Fabric J
- Fat Eighth of Pat Bravo IBH-74207 Fabric K
- Fat Eighth of Pat Bravo IBH-74210 Fabric L
- Fat Eighth of Pat Bravo IBH-74201 Fabric M
- 2 yards of batting
- Universal needles size 80/12
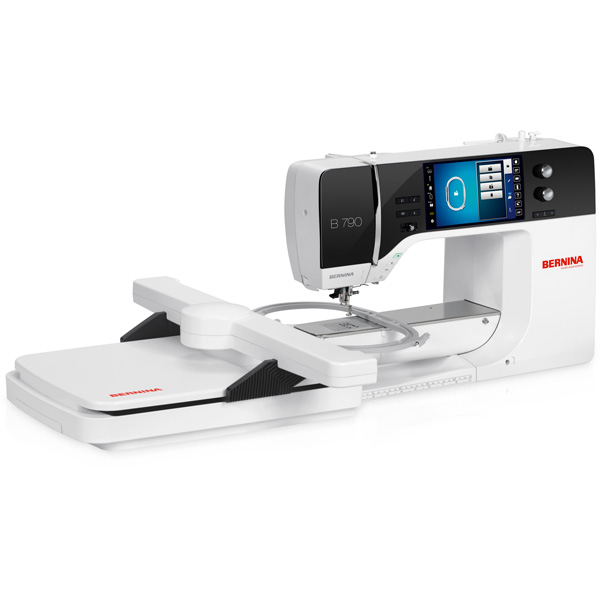
- Sewing machine (I sew on a BERNINA 790)
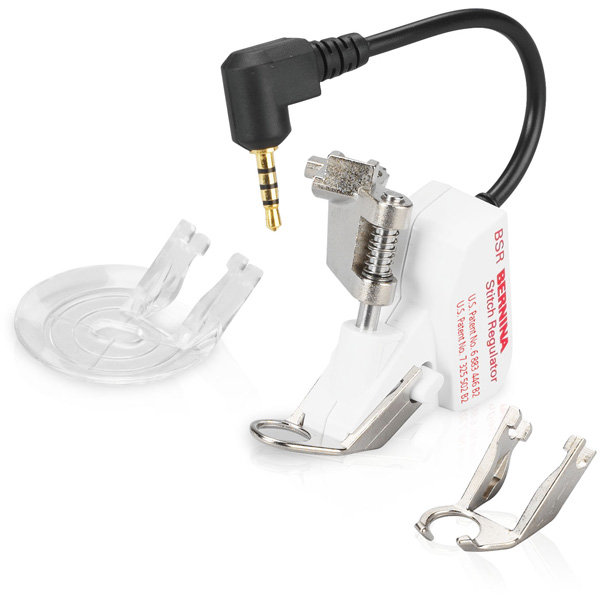
- Open embroidery foot (BERNINA Open embroidery foot #20/#20C/#20D), all-purpose presser foot (BERNINA Reverse Pattern Foot #1/#1C/#1D) and free motion quilting with regular stitch length (BERNINA Stitch Regulator)
- Aurifil thread #2311, #2134 and #2420
Cutting Instructions
Sizes are objective and could change to your liking. These sizes are just for the purpose of understanding this tutorial. I used fabric scraps and created this table runner with the quilt as you go technique. In other words, I made this projects measurements FREE ☺

- Cut 1 (one) 17″ by 3″ of Fabric A
- Cut 1 (one) 17″ by 3″ of Fabric B
- Cut 3 (three) 17″ by 3″ of Fabric C
- Cut 2 (two) 17″ by 3″ of Fabric D
- Cut 1 (one) 5” by 3” of Fabric E
- Cut 1 (one) 17” by 3” of Fabric F
- Cut 7 (seven) 17” by 3” of Fabric G
- Cut 1 (one) 10” by 5” of Fabric G
- Cut 1 (one) 5” by 3” of Fabric G
- Cut 1 (one) 5” by 3” of Fabric G
- Cut 1 (one) 19” by 62” of Fabric G (backing)
- Cut 1 (one) 5” by 5” of Fabric H
- Cut 2 (two) 17” by 3” of Fabric I
- Cut 2 (two) 7” by 3” of Fabric I
- Cut 2 (two) 17” by 3” of Fabric J
- Cut 1 (one) 9” by 3” of Fabric J
- Cut 1 (one) 3” by 3” of Fabric K
- Cut 1 (one) 17” by 3” of Fabric L
- Cut 1 (one) 17” by 3” of Fabric M
- Cut 1 (one) 72” by 28” of Batting
Step 1- Quilt Assembly
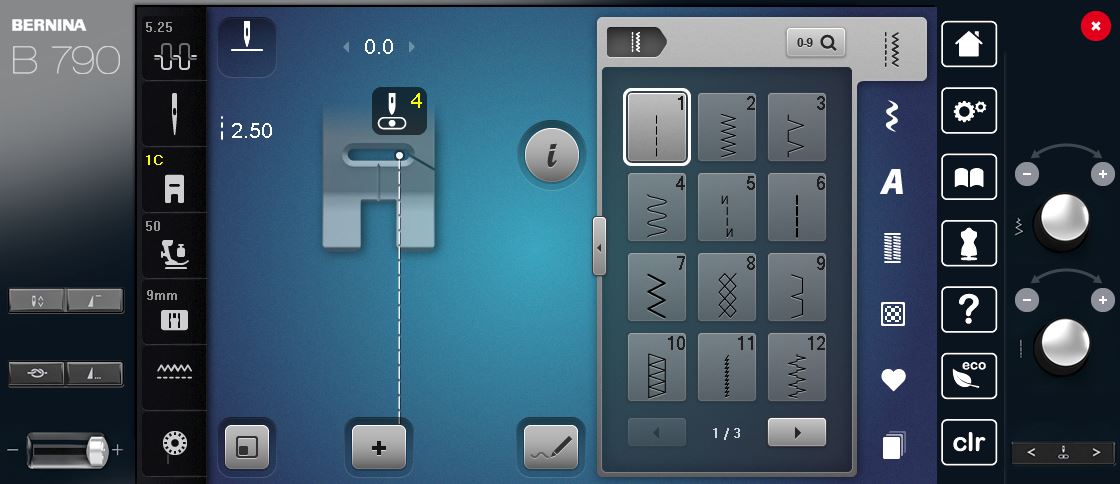
Prep your sewing machine with Aurifil thread #2311, all-purpose presser foot (BERNINA Reverse Pattern Foot #1/#1C/#1D), and move the needle to the right until the screen shows #4 needle position (this will match 1/4” seam allowance).
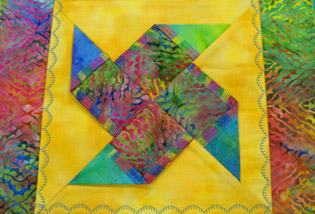
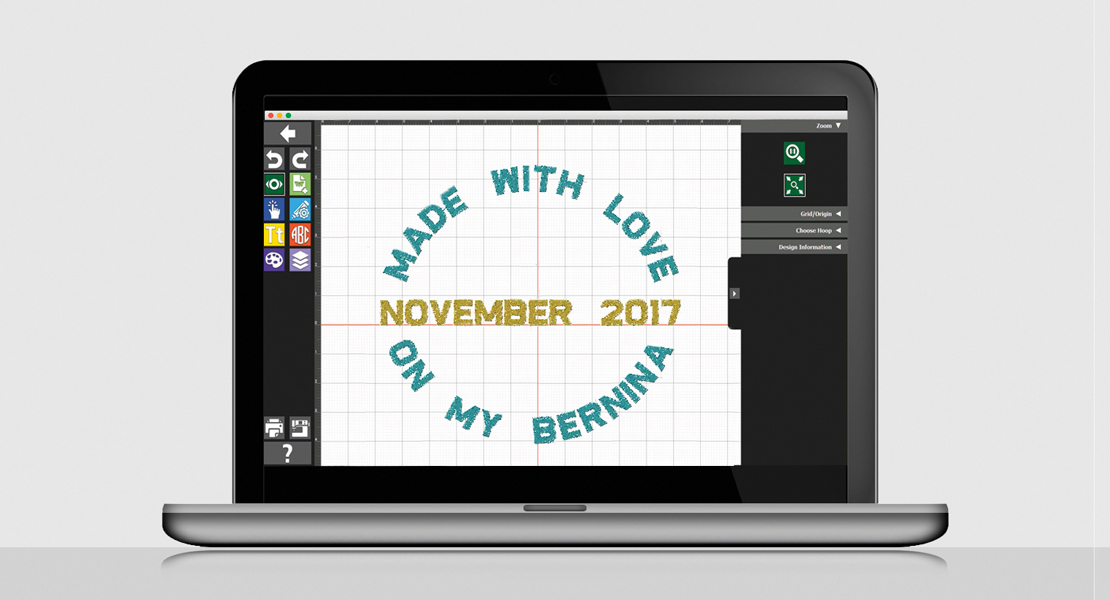
For me, it is easier to lay out my design on top of the batting, that way I can play around with the quilt as you go design just how I want it. To see the design easier I have a graphic for you, in case you want to recreate this same table runner.

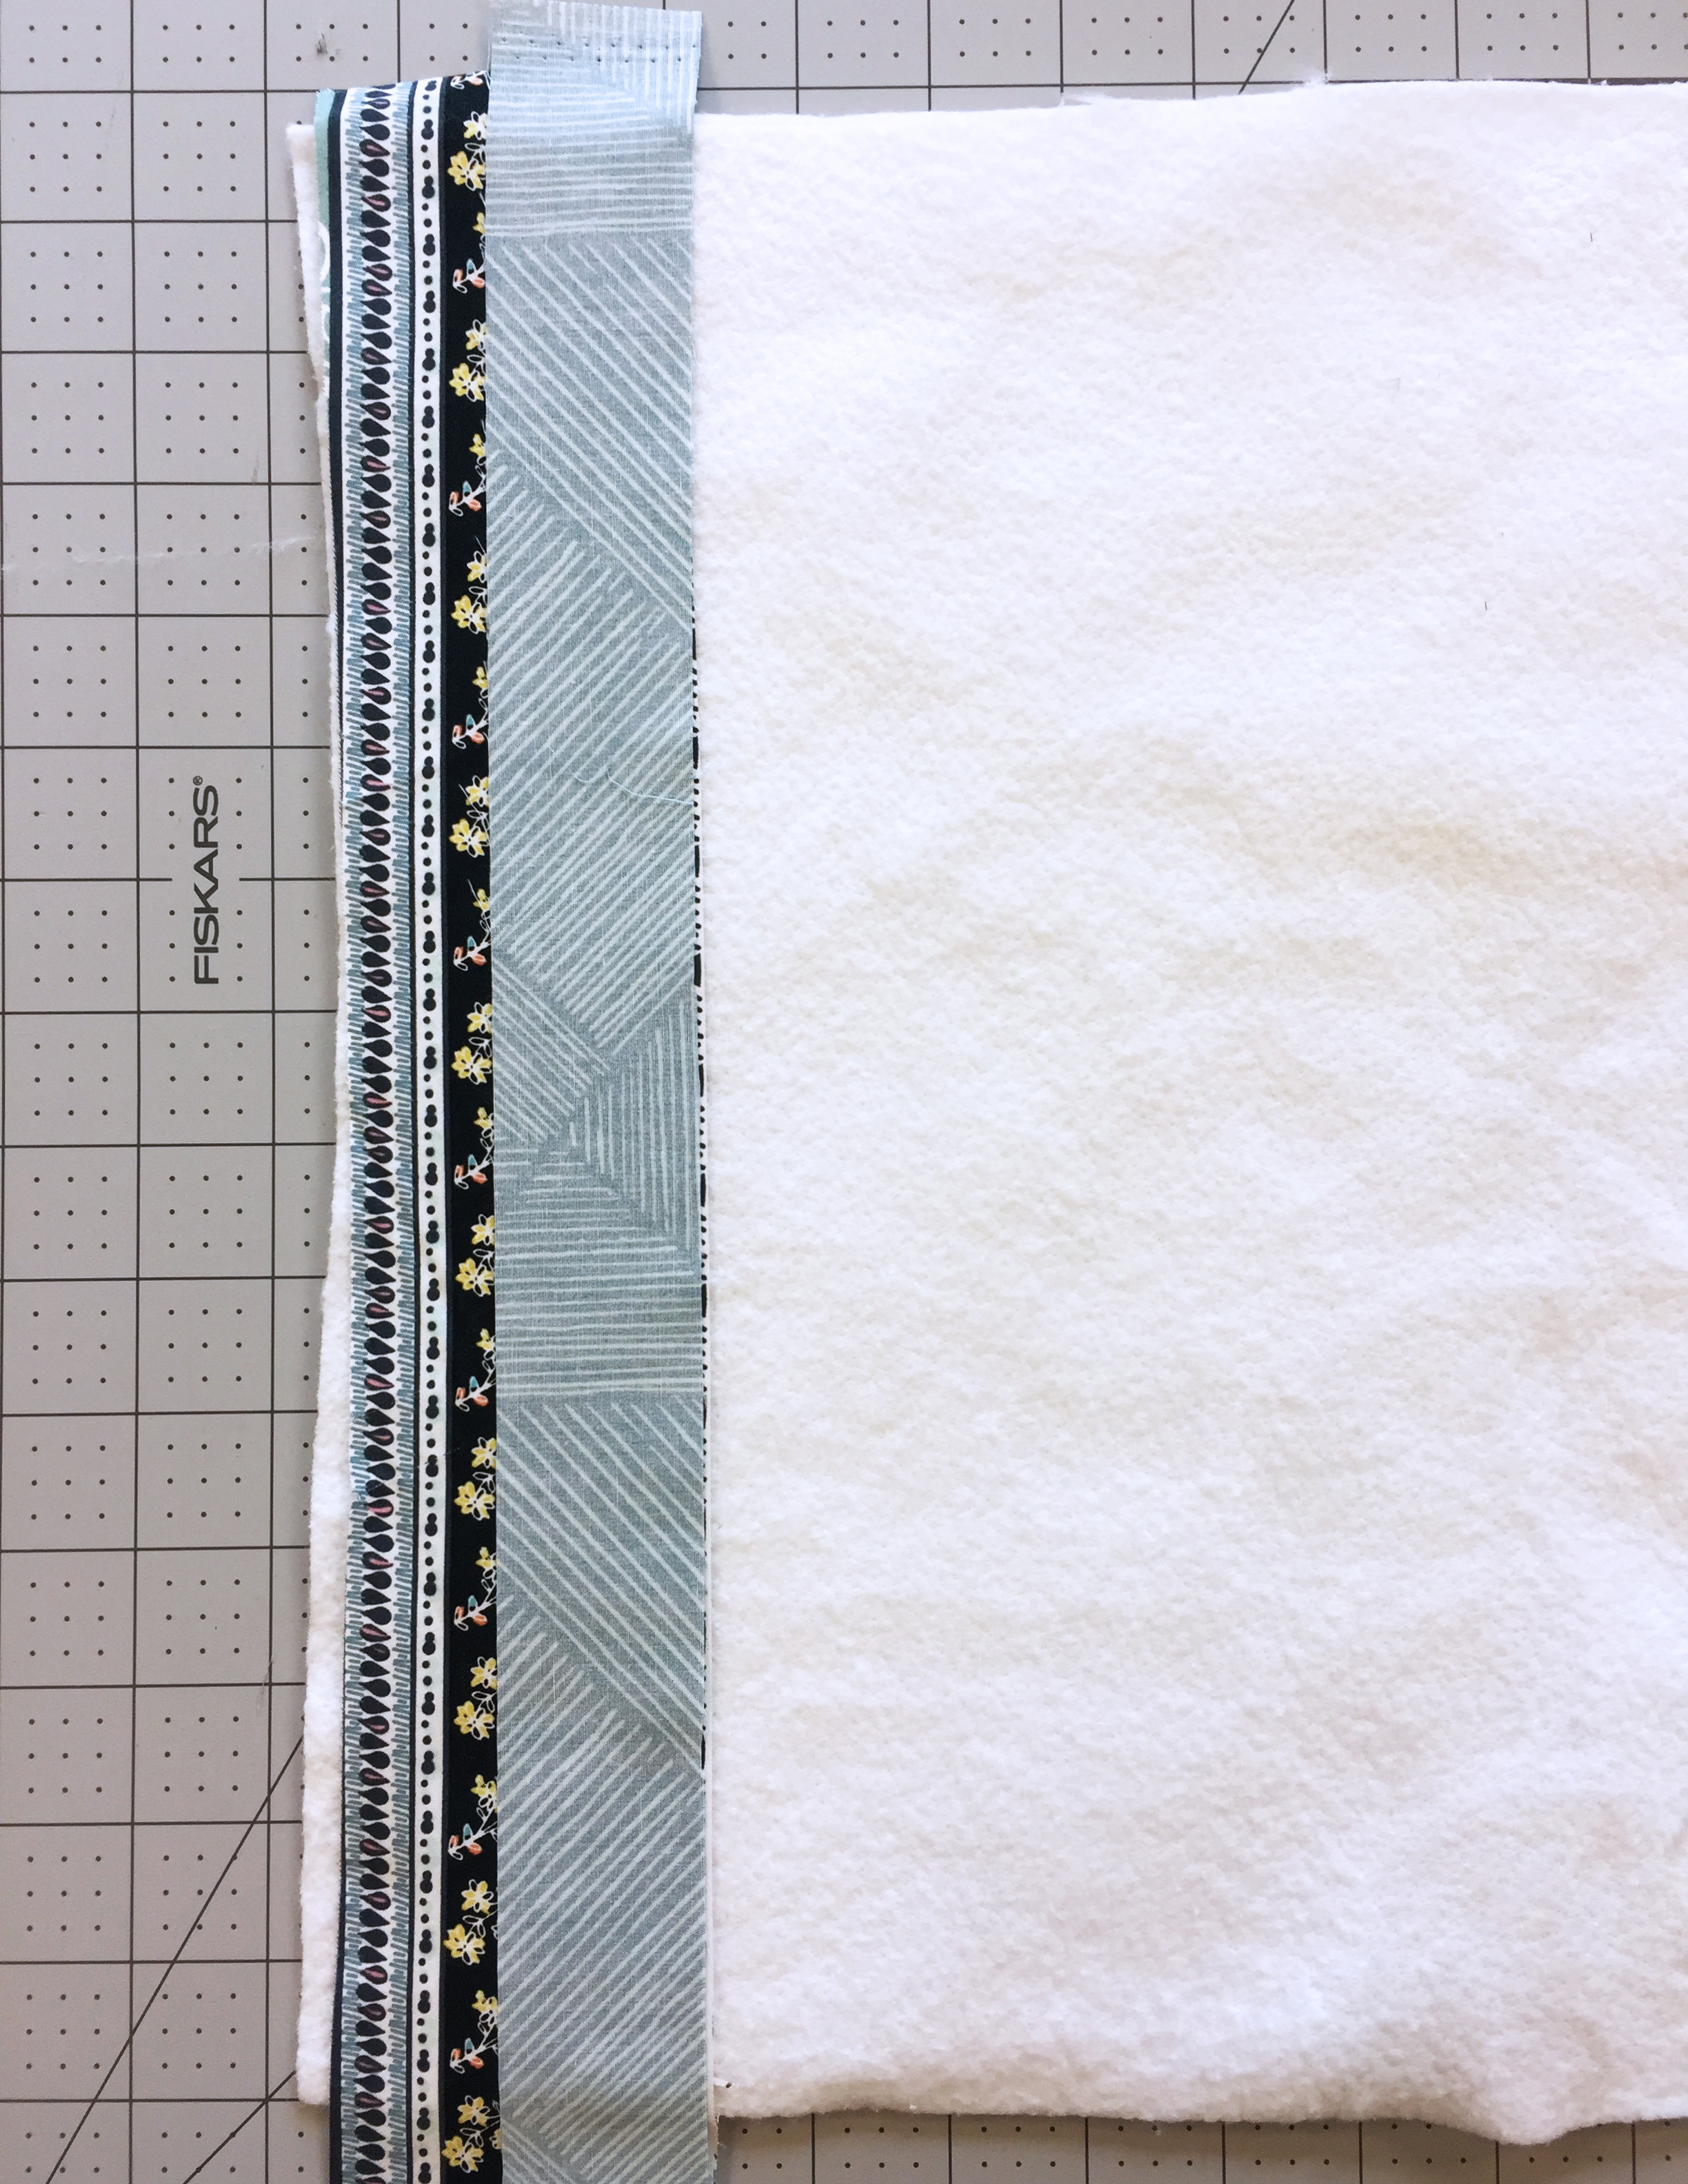
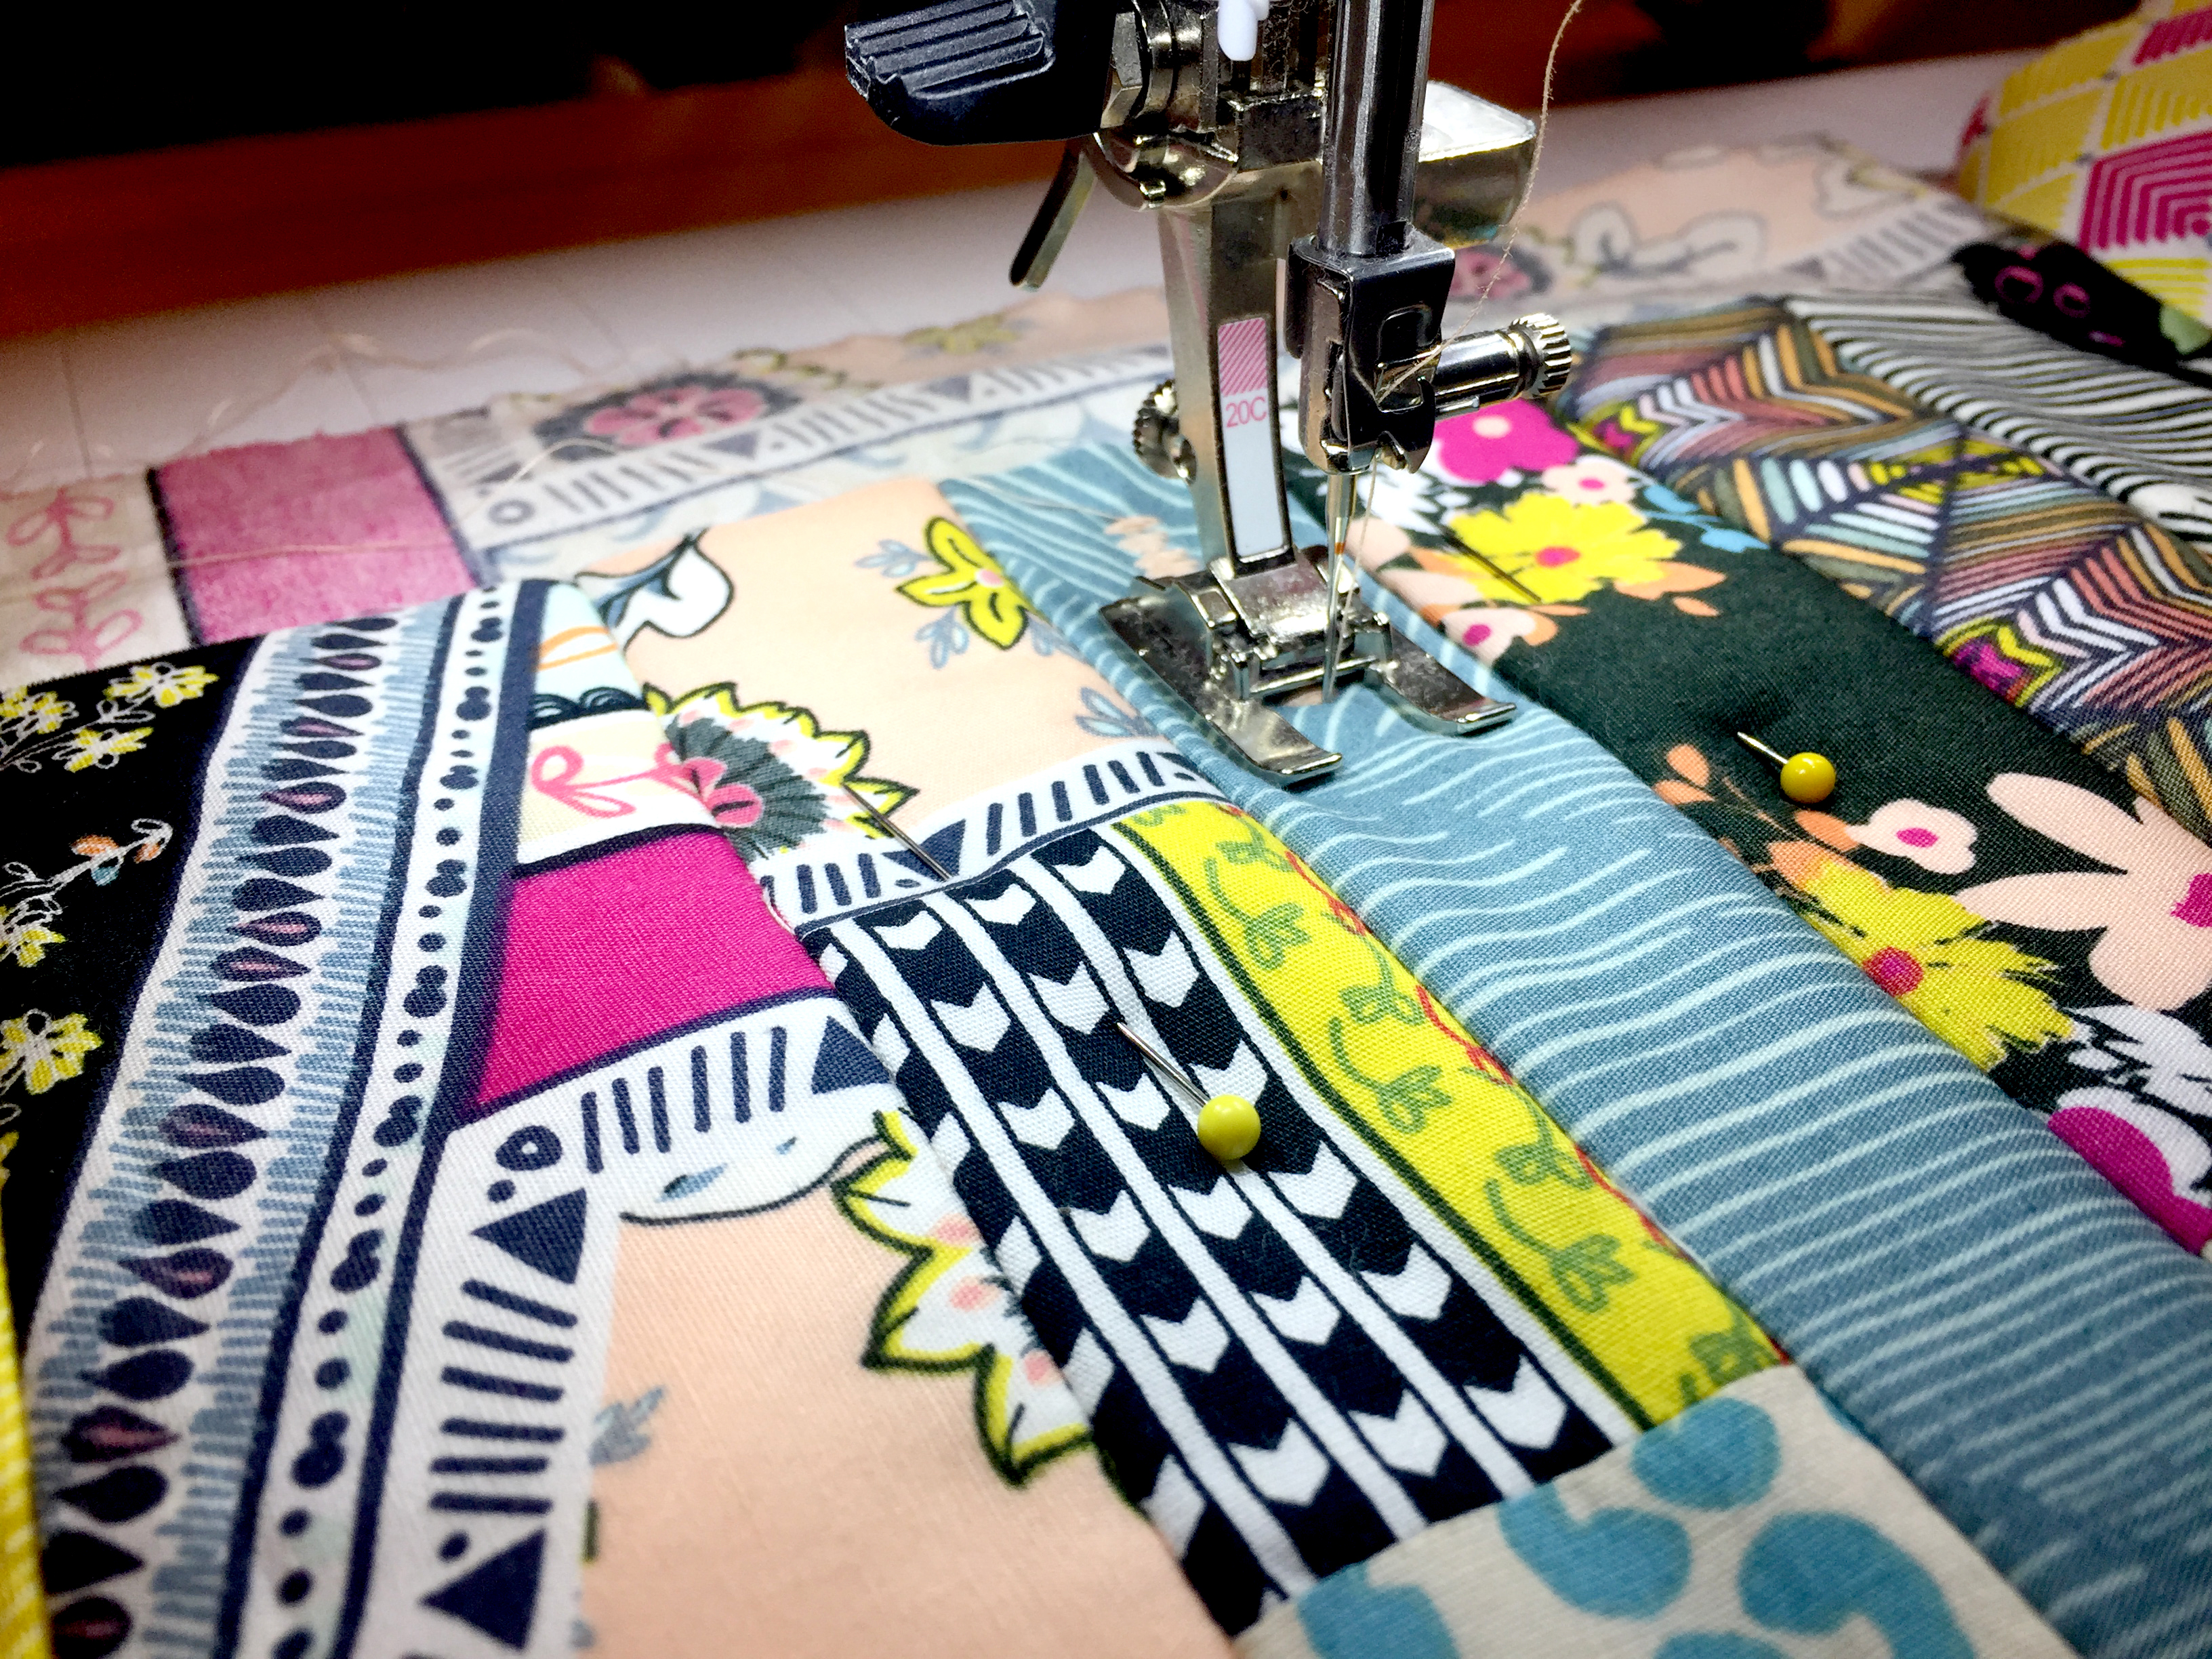
Now that you have all the pieces cut, you are going to start with the quilting as you go technique. I made this tutorial a while back where I explained more in detail this amazing technique. Take the 19” by 62” of Fabric G and place it on your sewing table, wrong side up, then take the 72” by 28” piece of batting and place it on top of Fabric G. Now the fun begins, take the first 17” by 3” piece of Fabric G and Fabric I and place it on top of the batting (right side with right side) as instructed on the picture.
Pin in place and straight stitch.
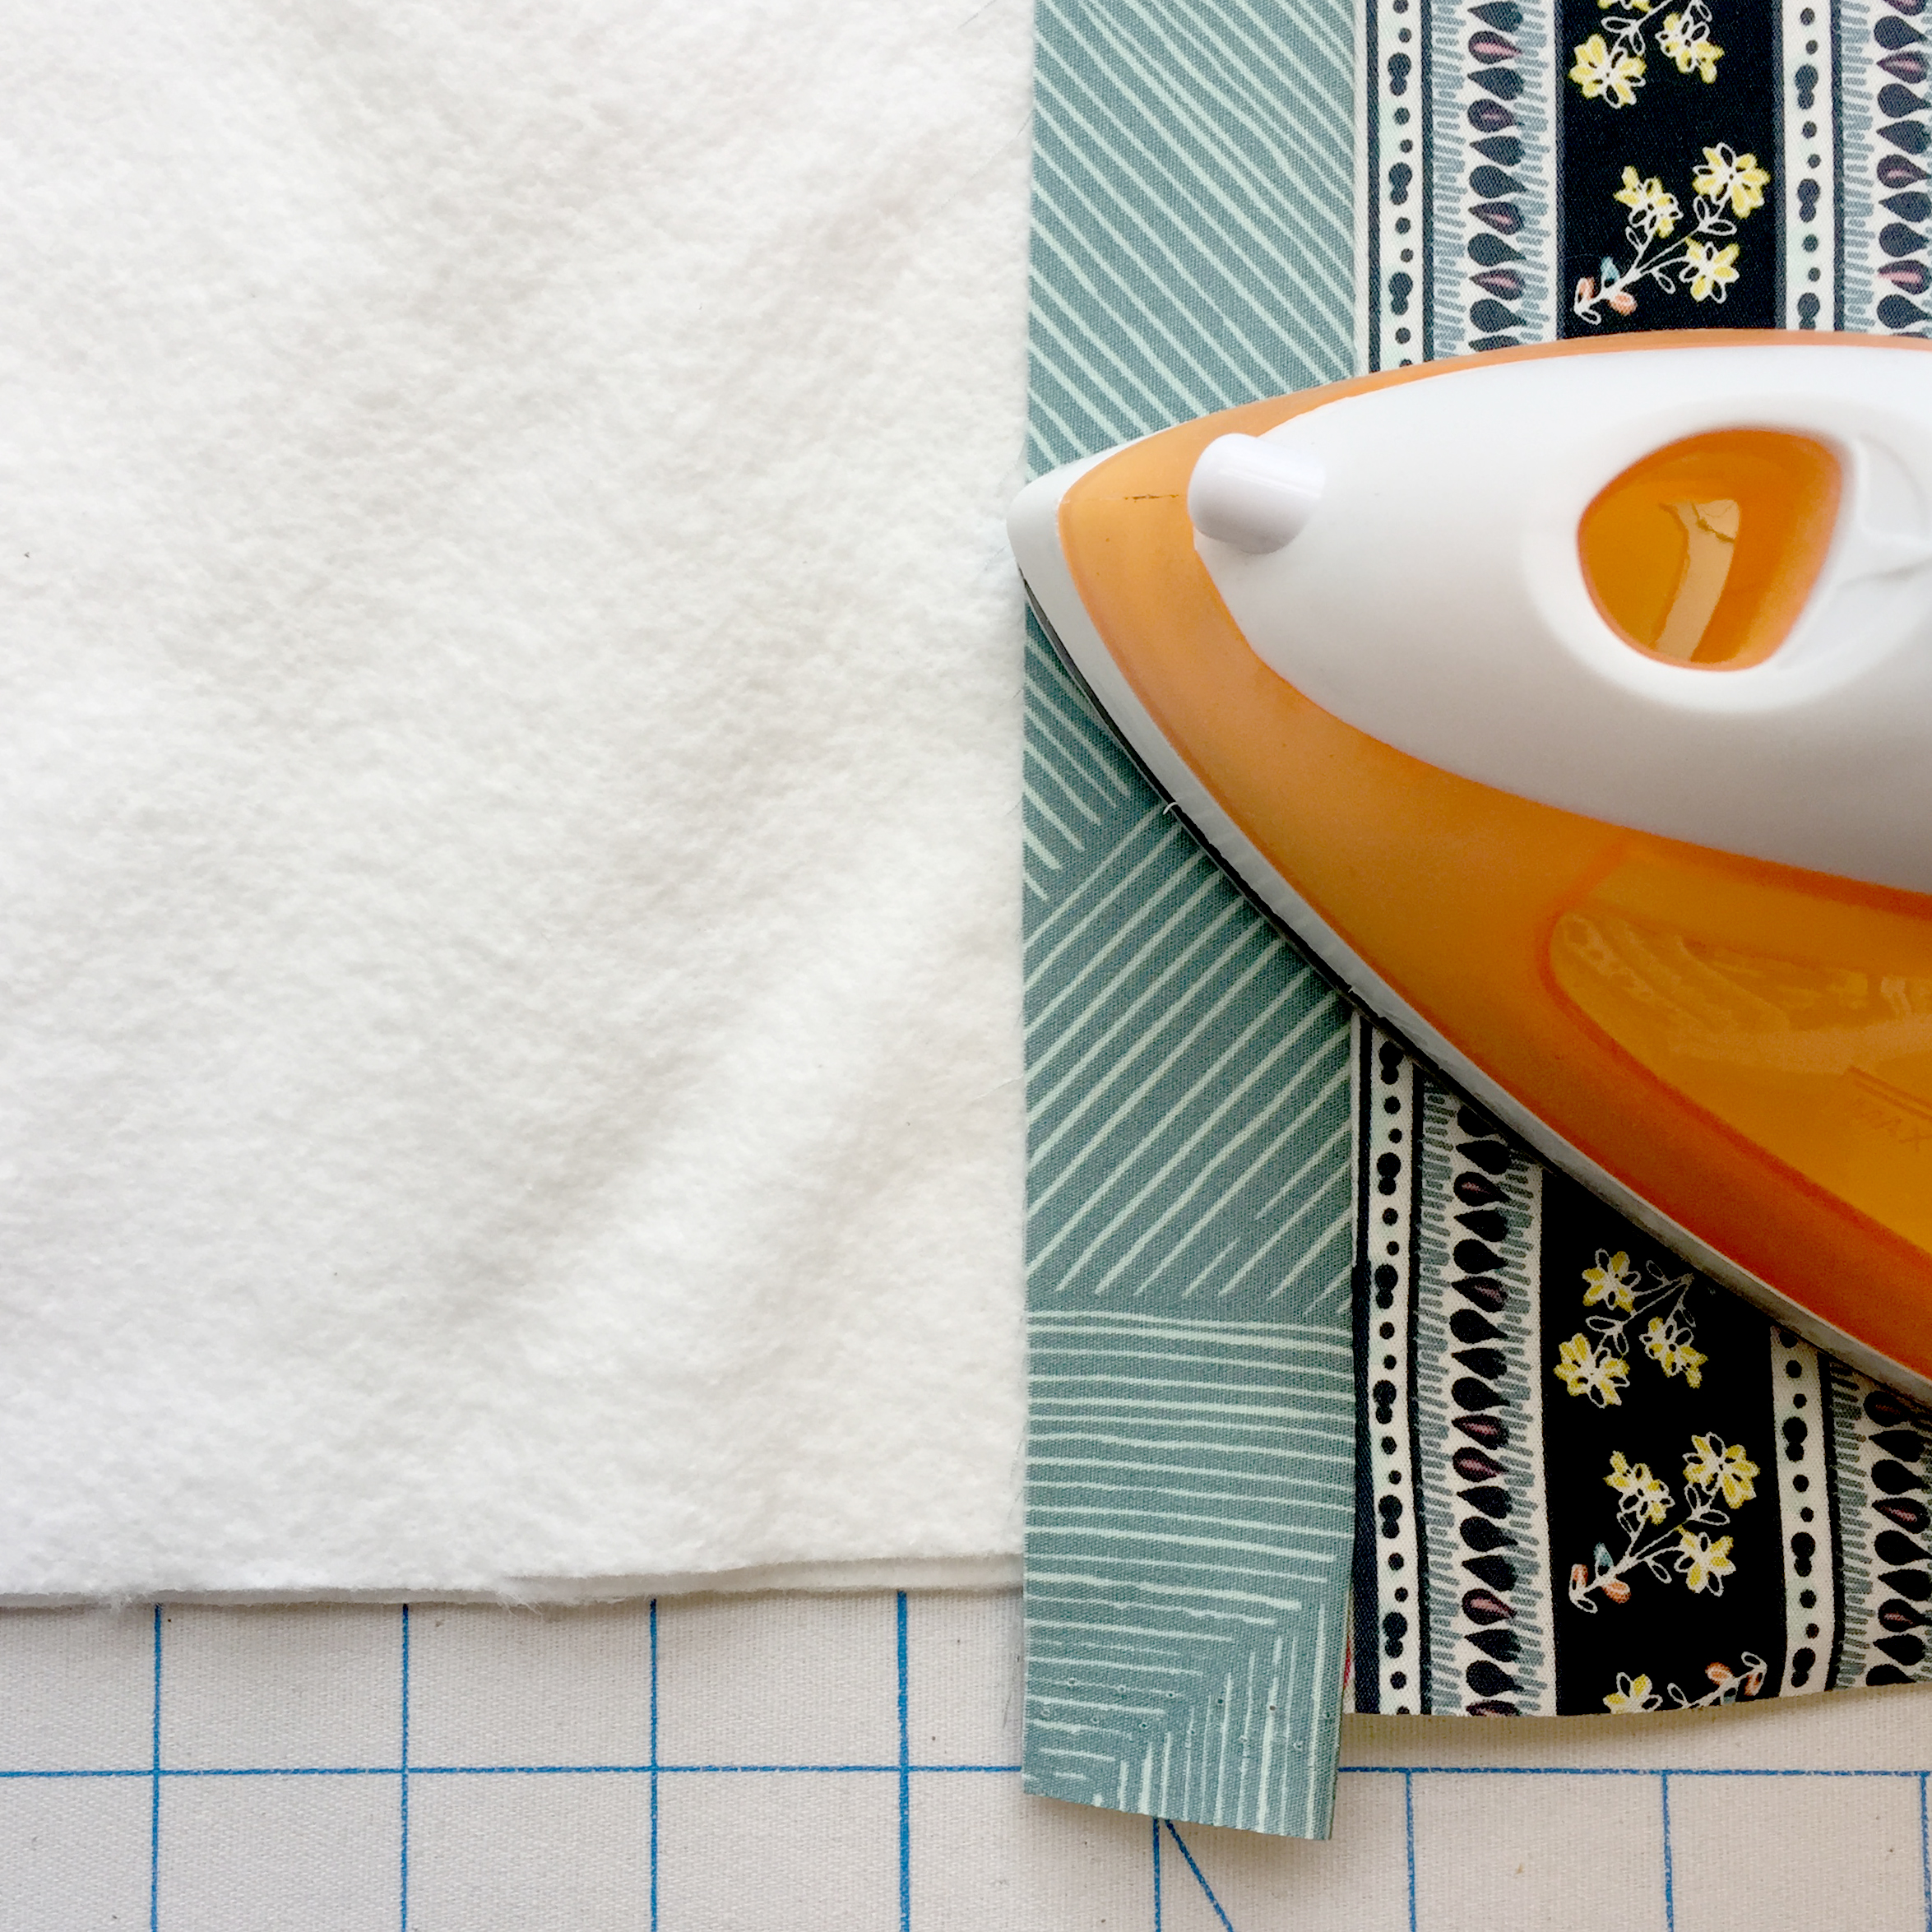
Once those pieces are sewn, take your table runner in process to your ironing board and press both pieces.
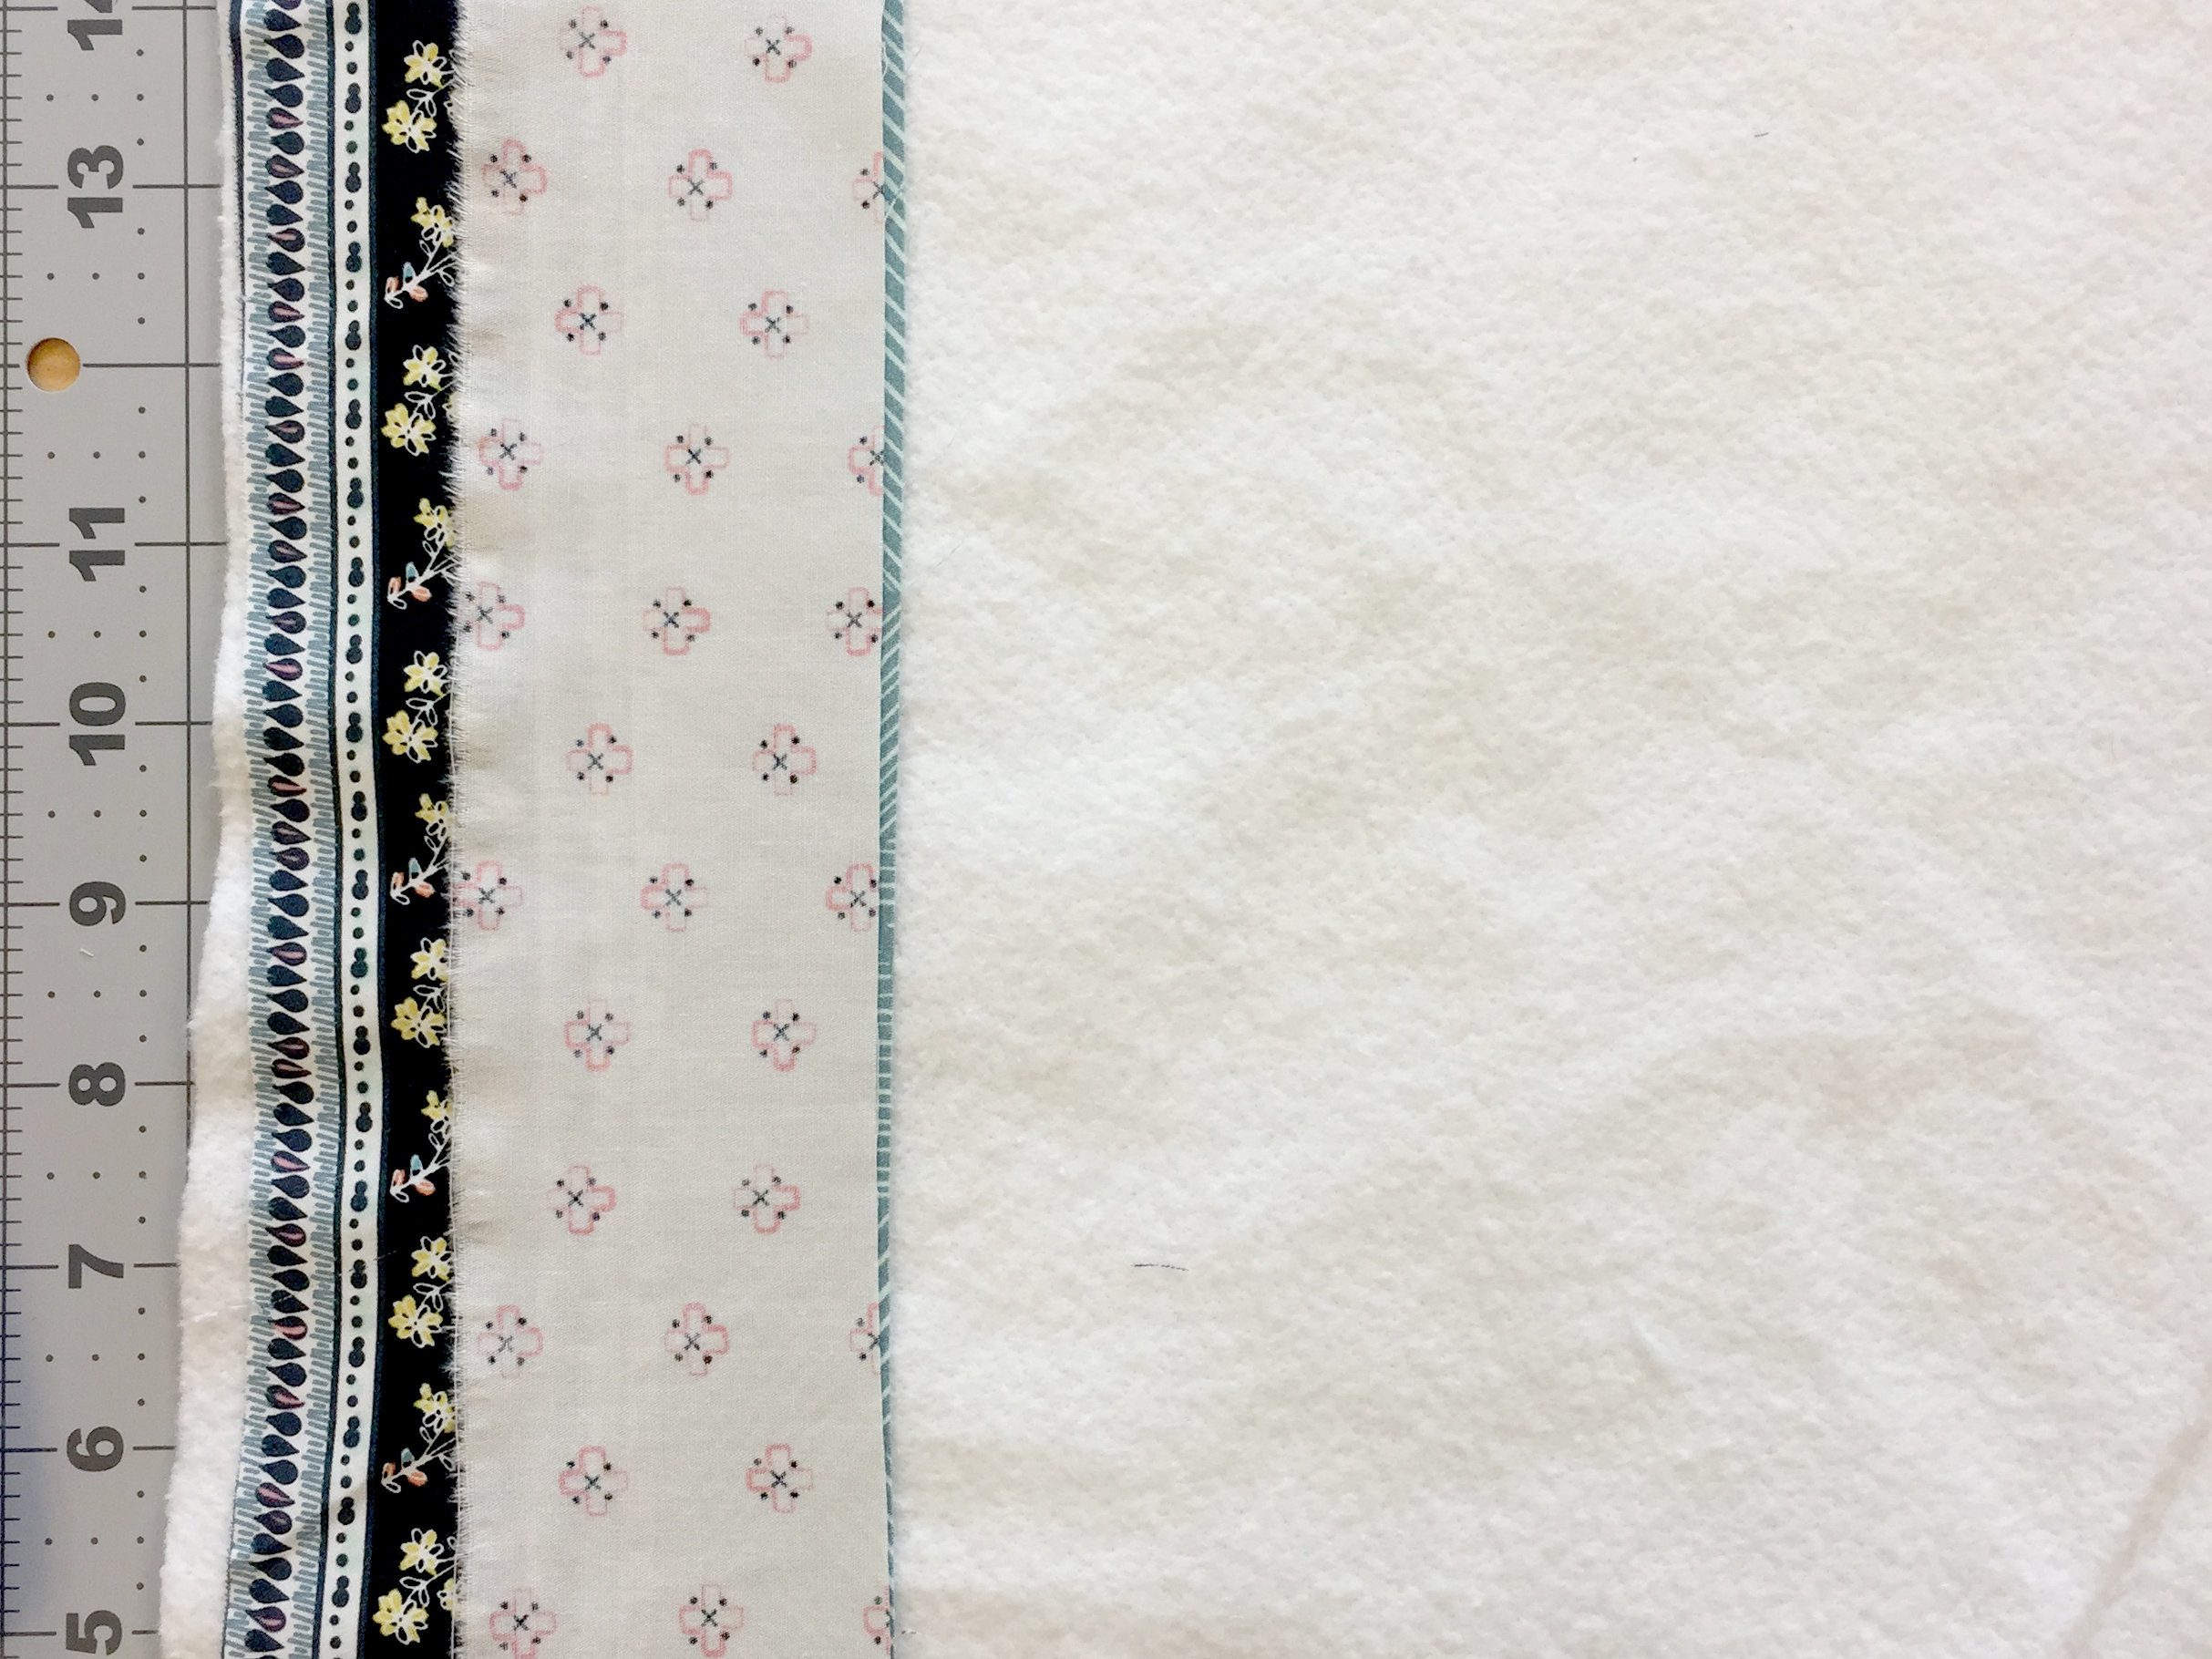
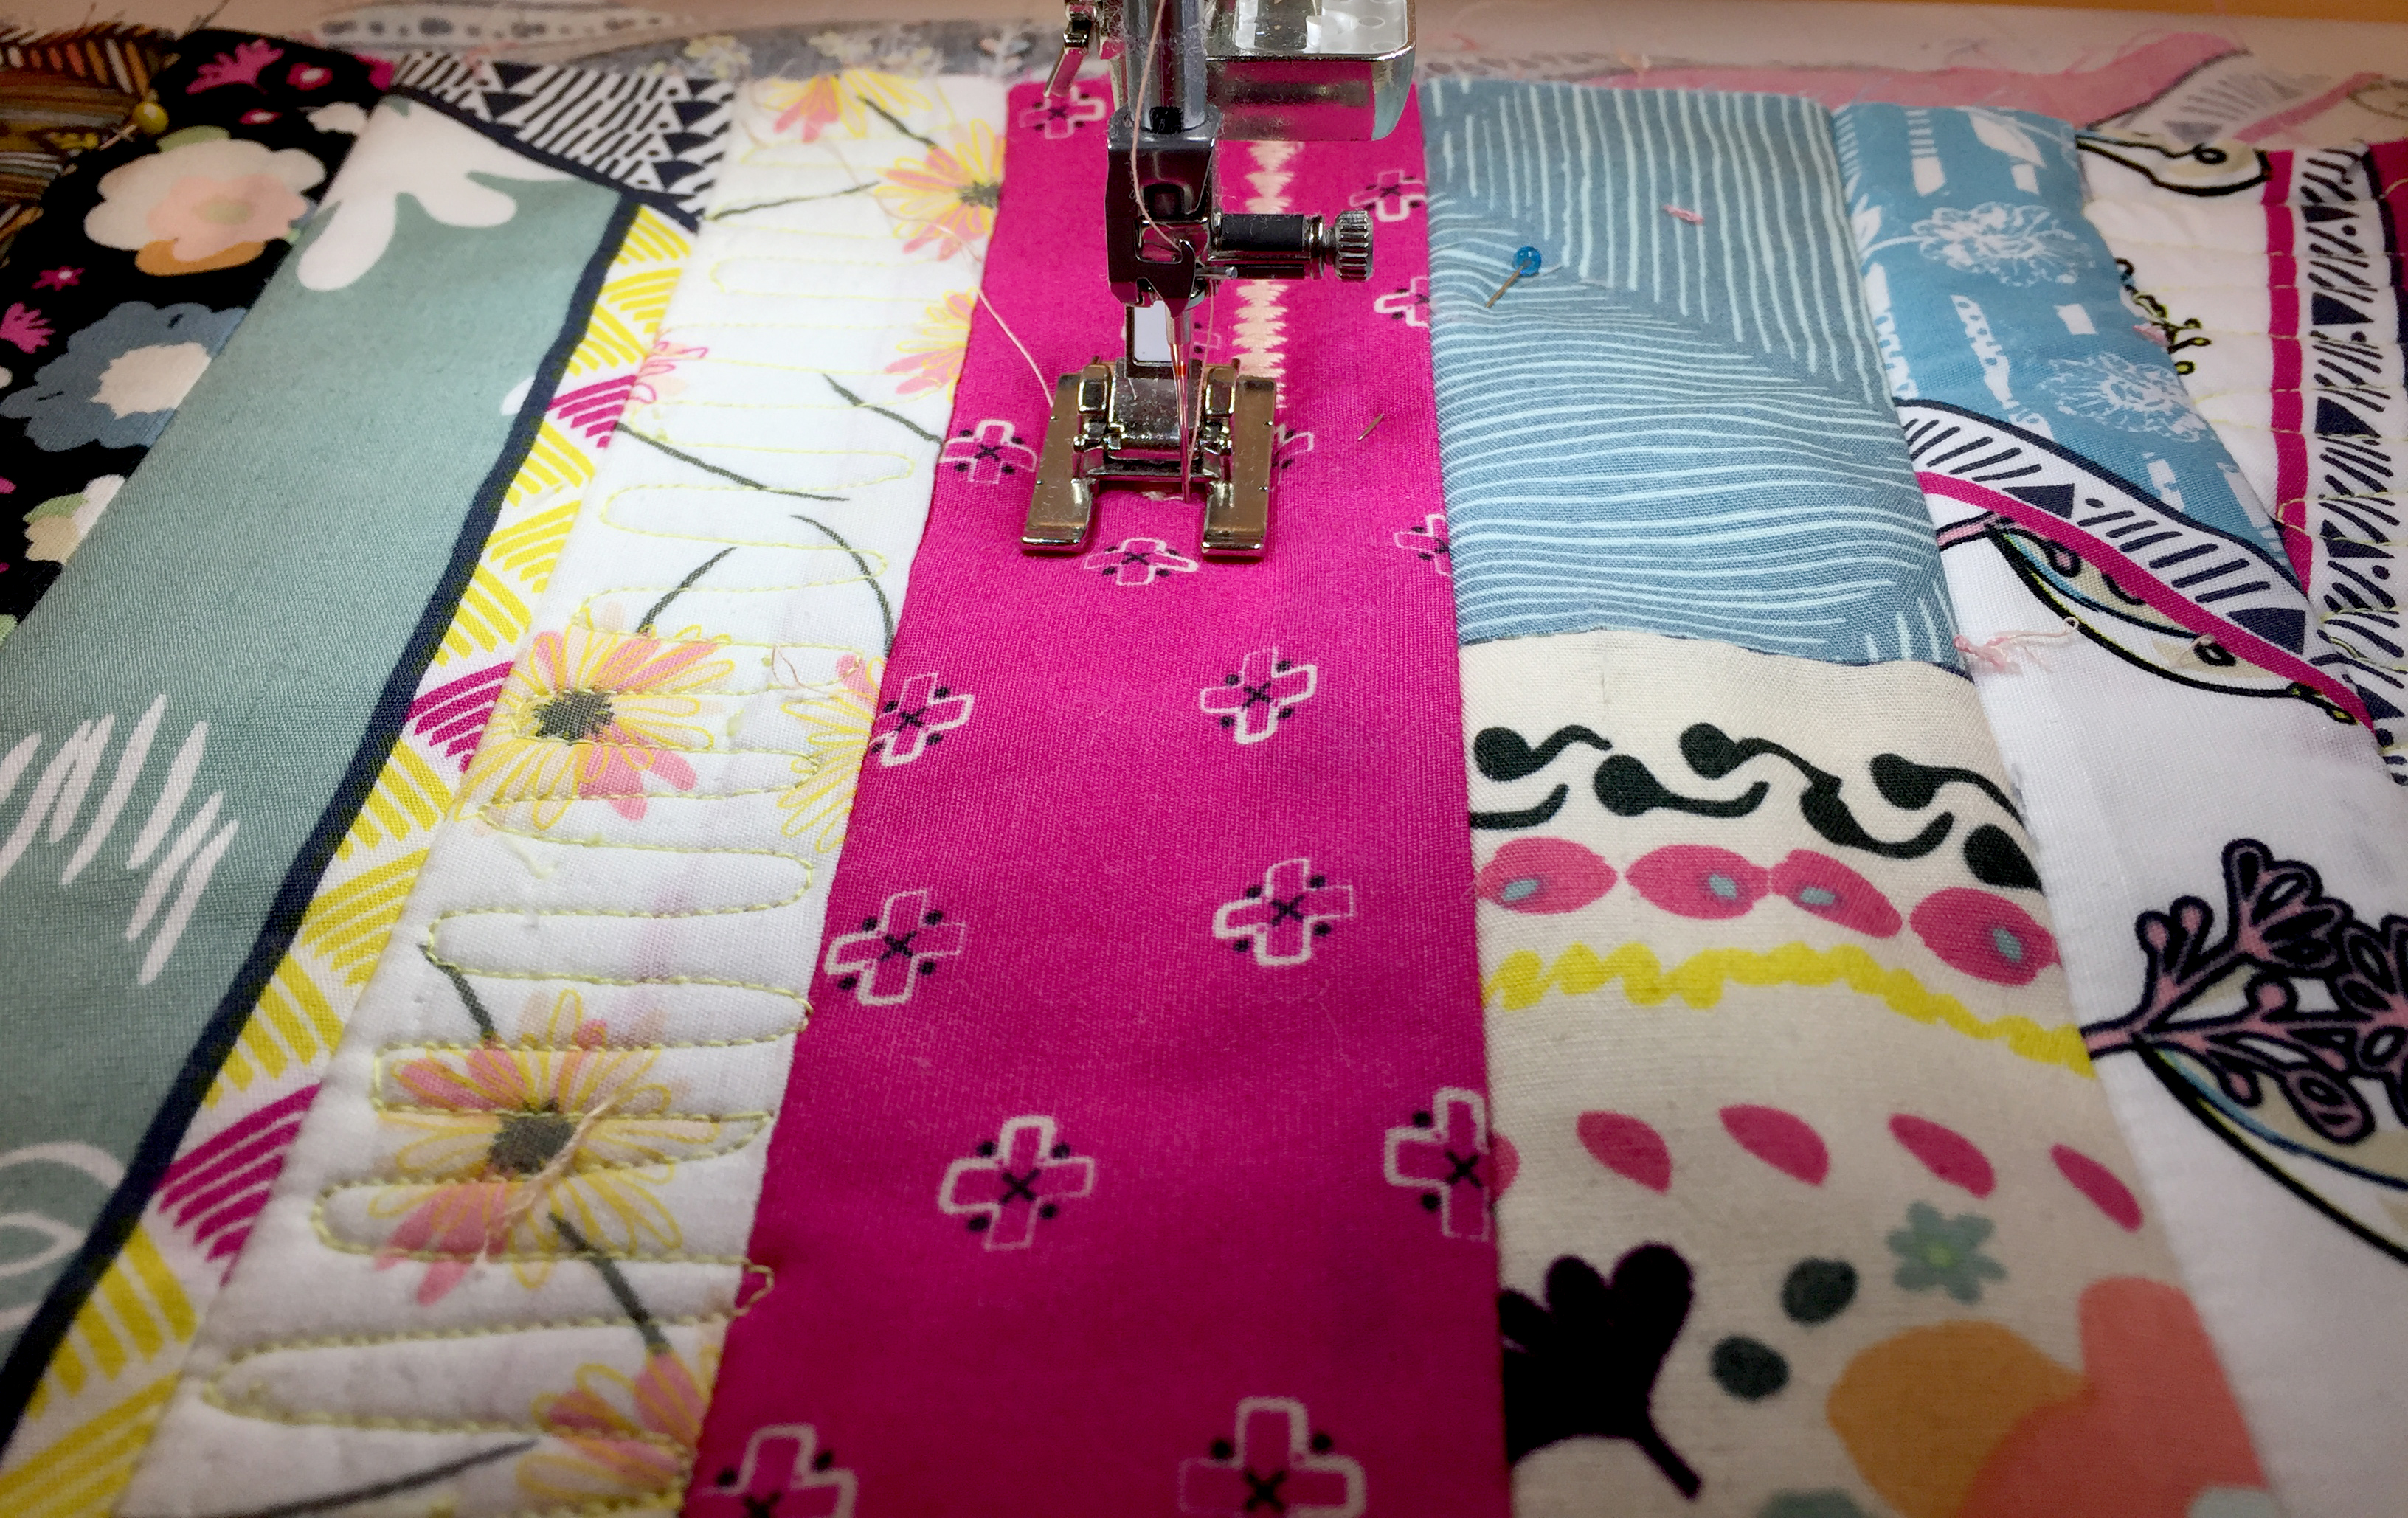
Now take the 17” by 3” piece of Fabric M and place it on top Fabric I (right side to right side touching)
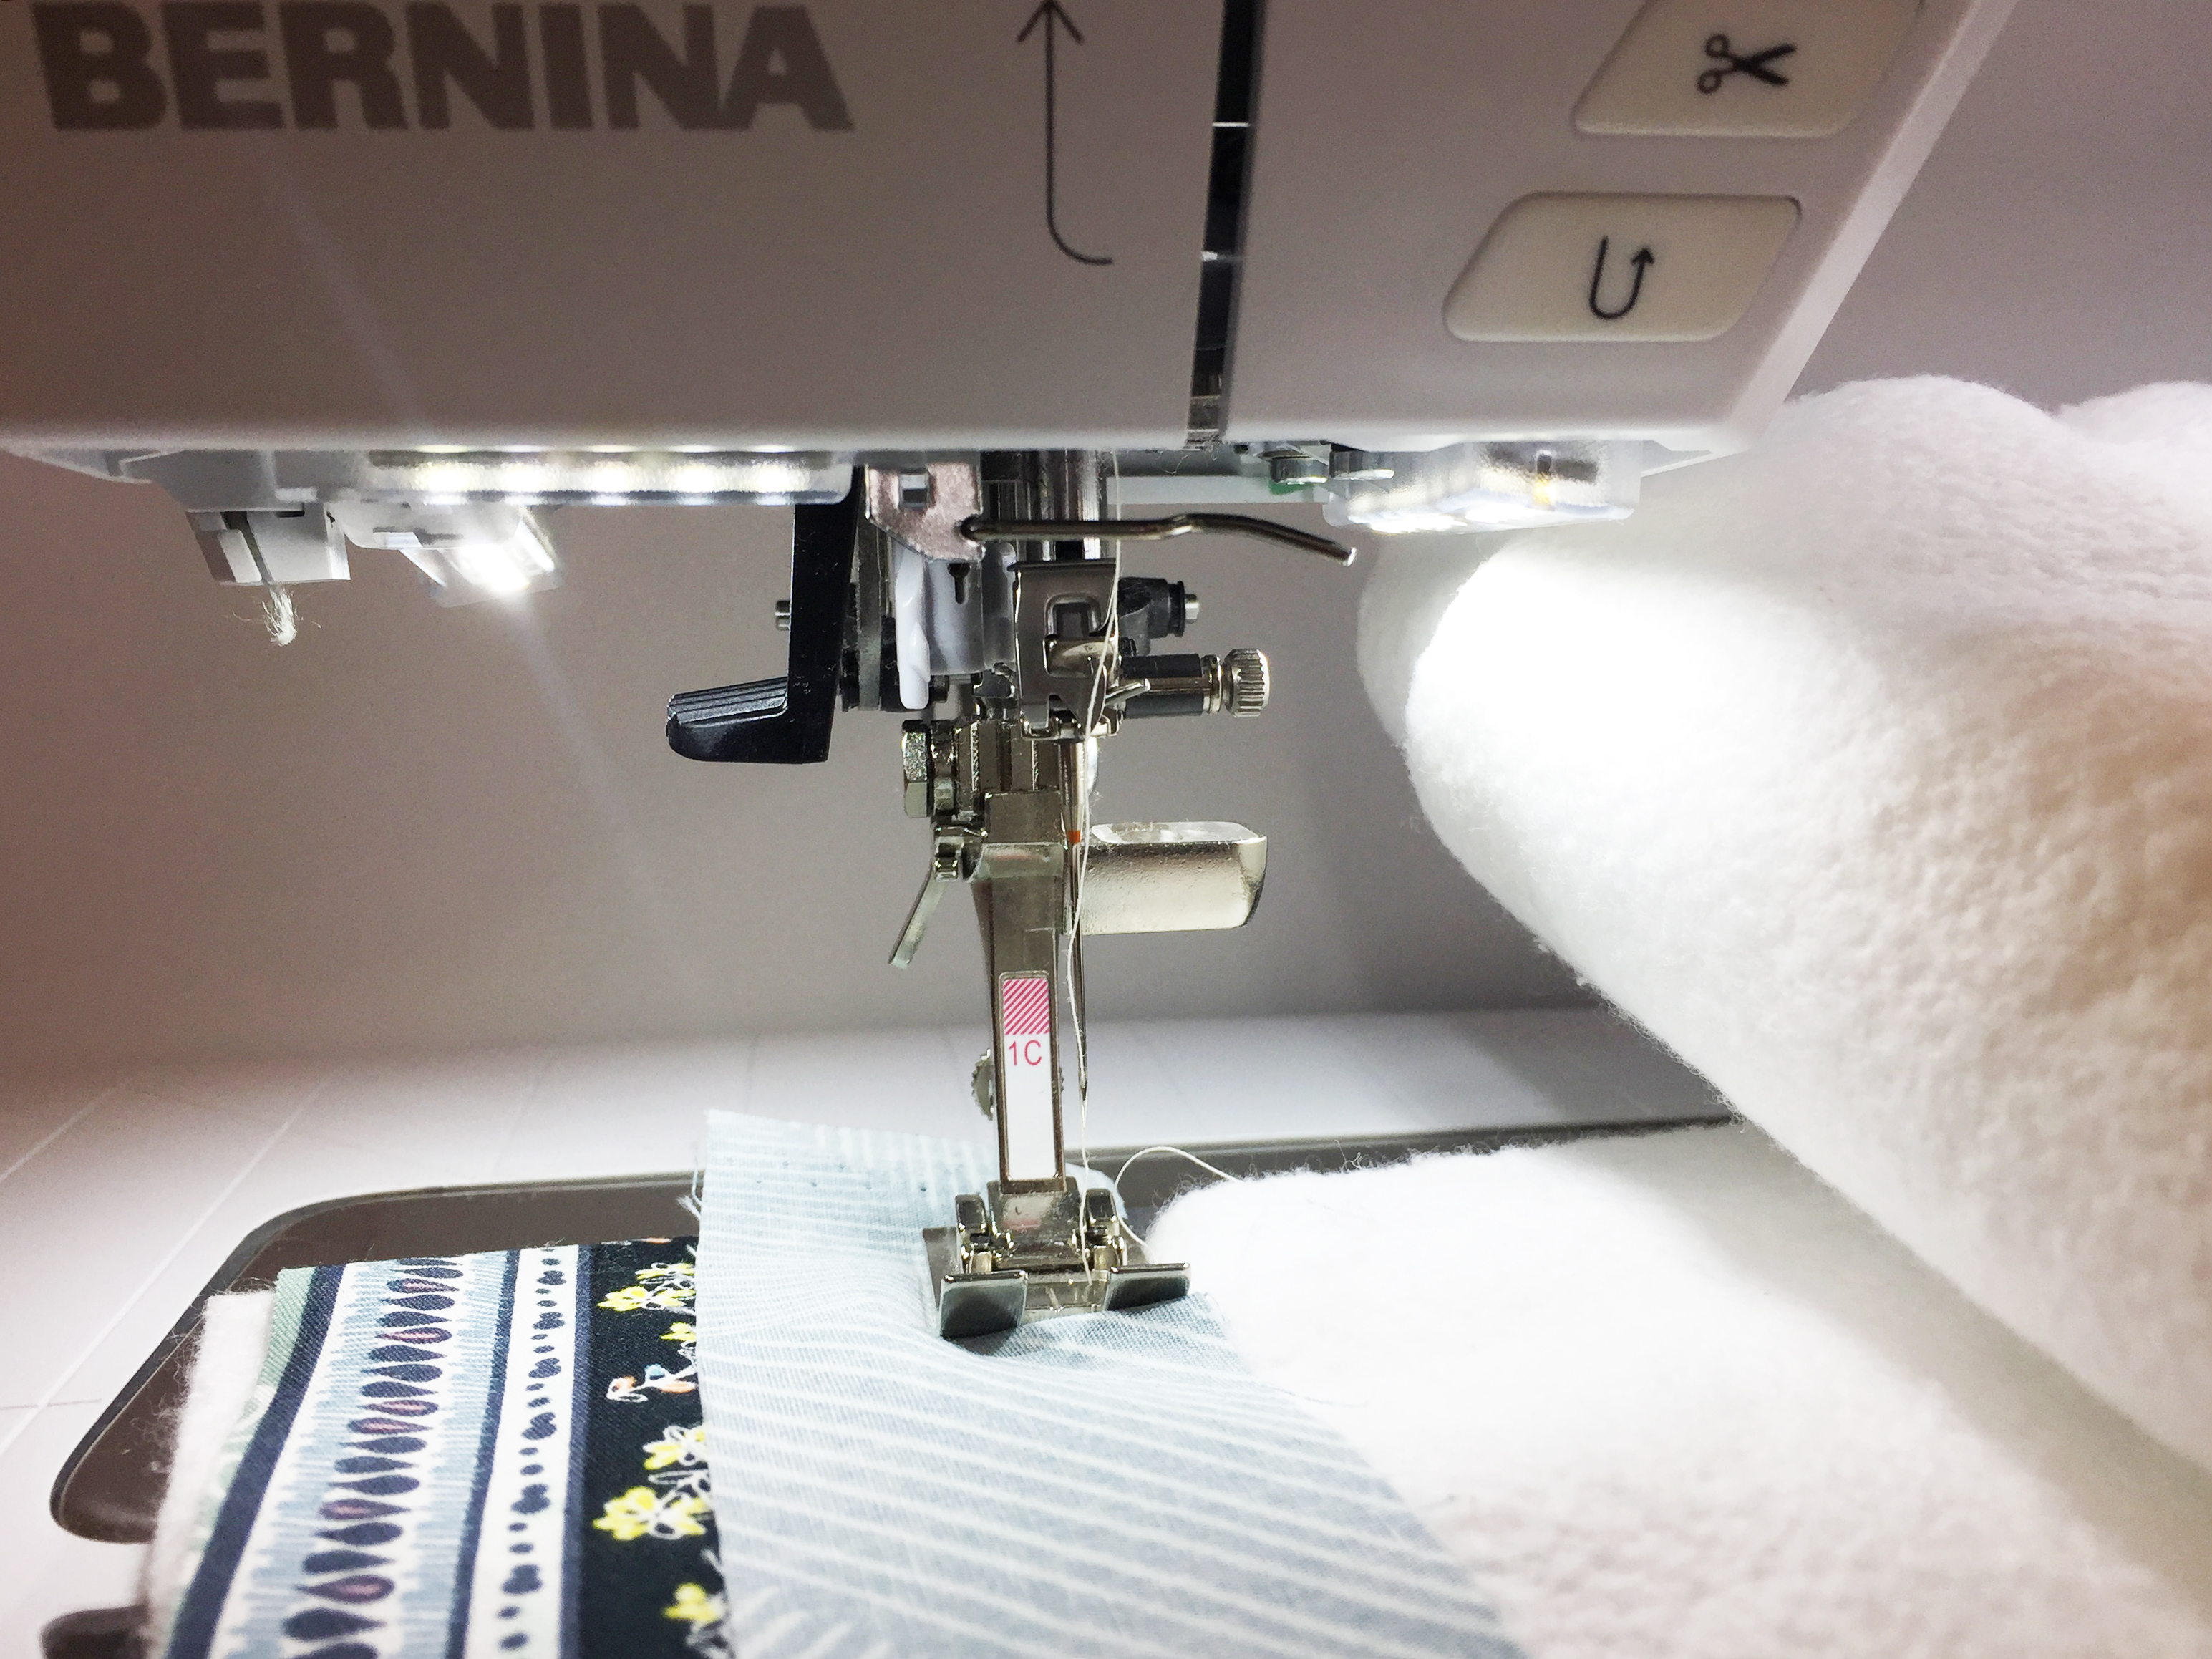
Tip: In order for the horizontal strips to maintain its structure, I have a little trick for you. You have sewn your firsts pieces with the needle on the right side, now change your needle position to the left (#-4) and sew the next piece. You can see how I do this in the picture below.


Continue stitching the rest of the fabric pieces by facing right side of the fabrics together, pin in place and stitch from top to bottom. Repeat this step with all the horizontal fabric strips. Remember to use my little helping trick explained above.
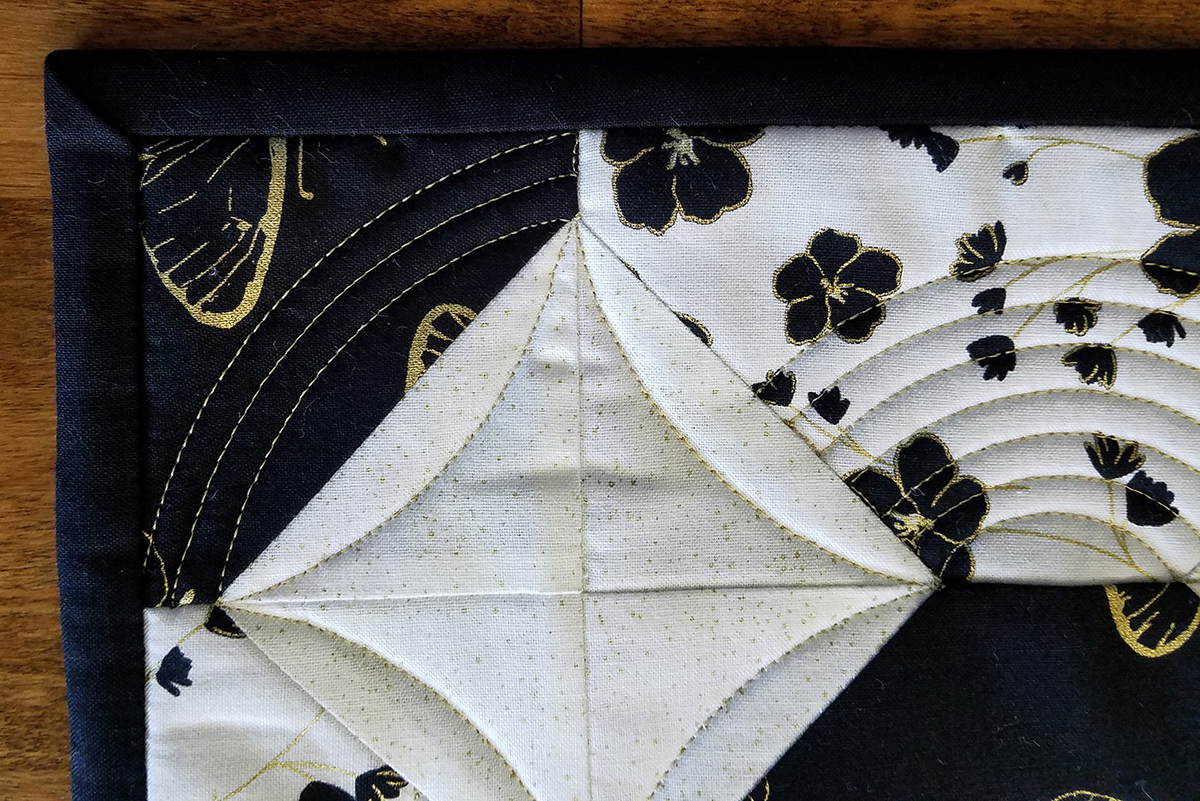
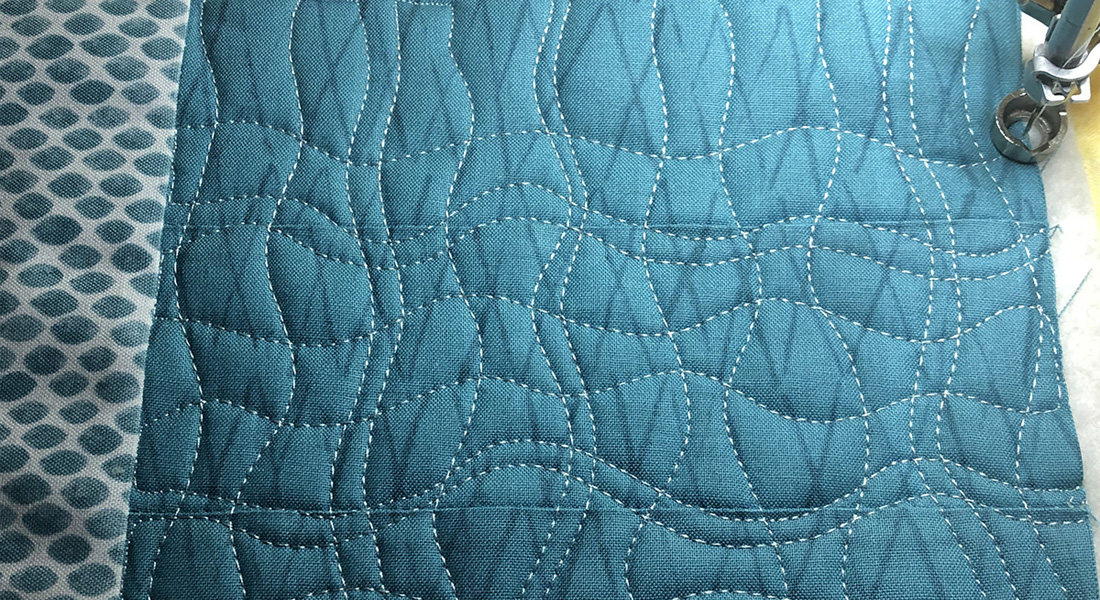
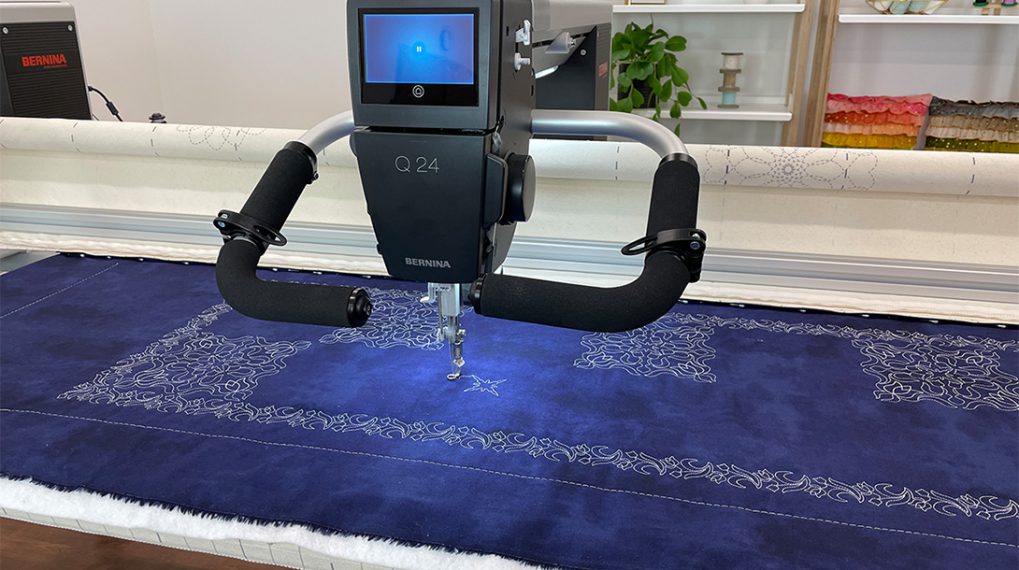
Step 2- Quilting
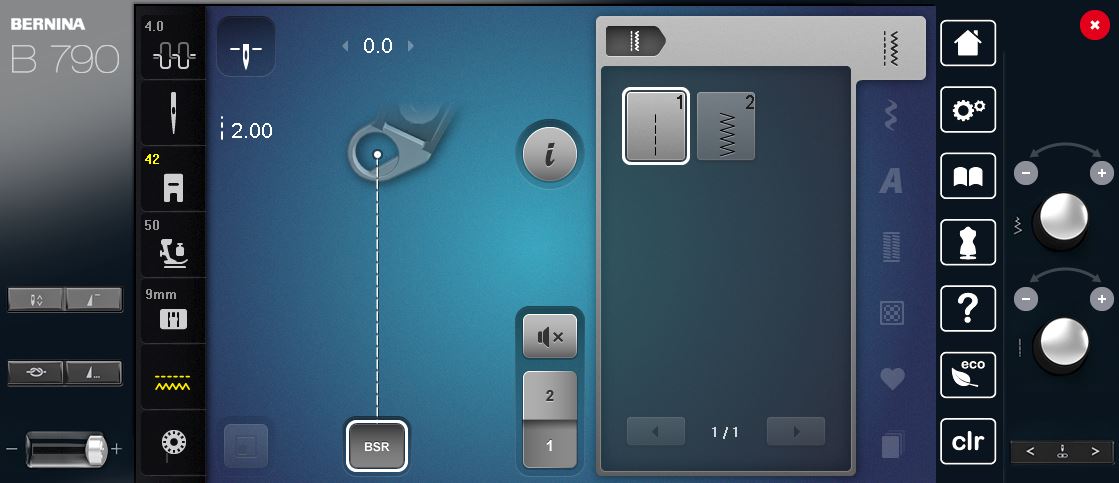
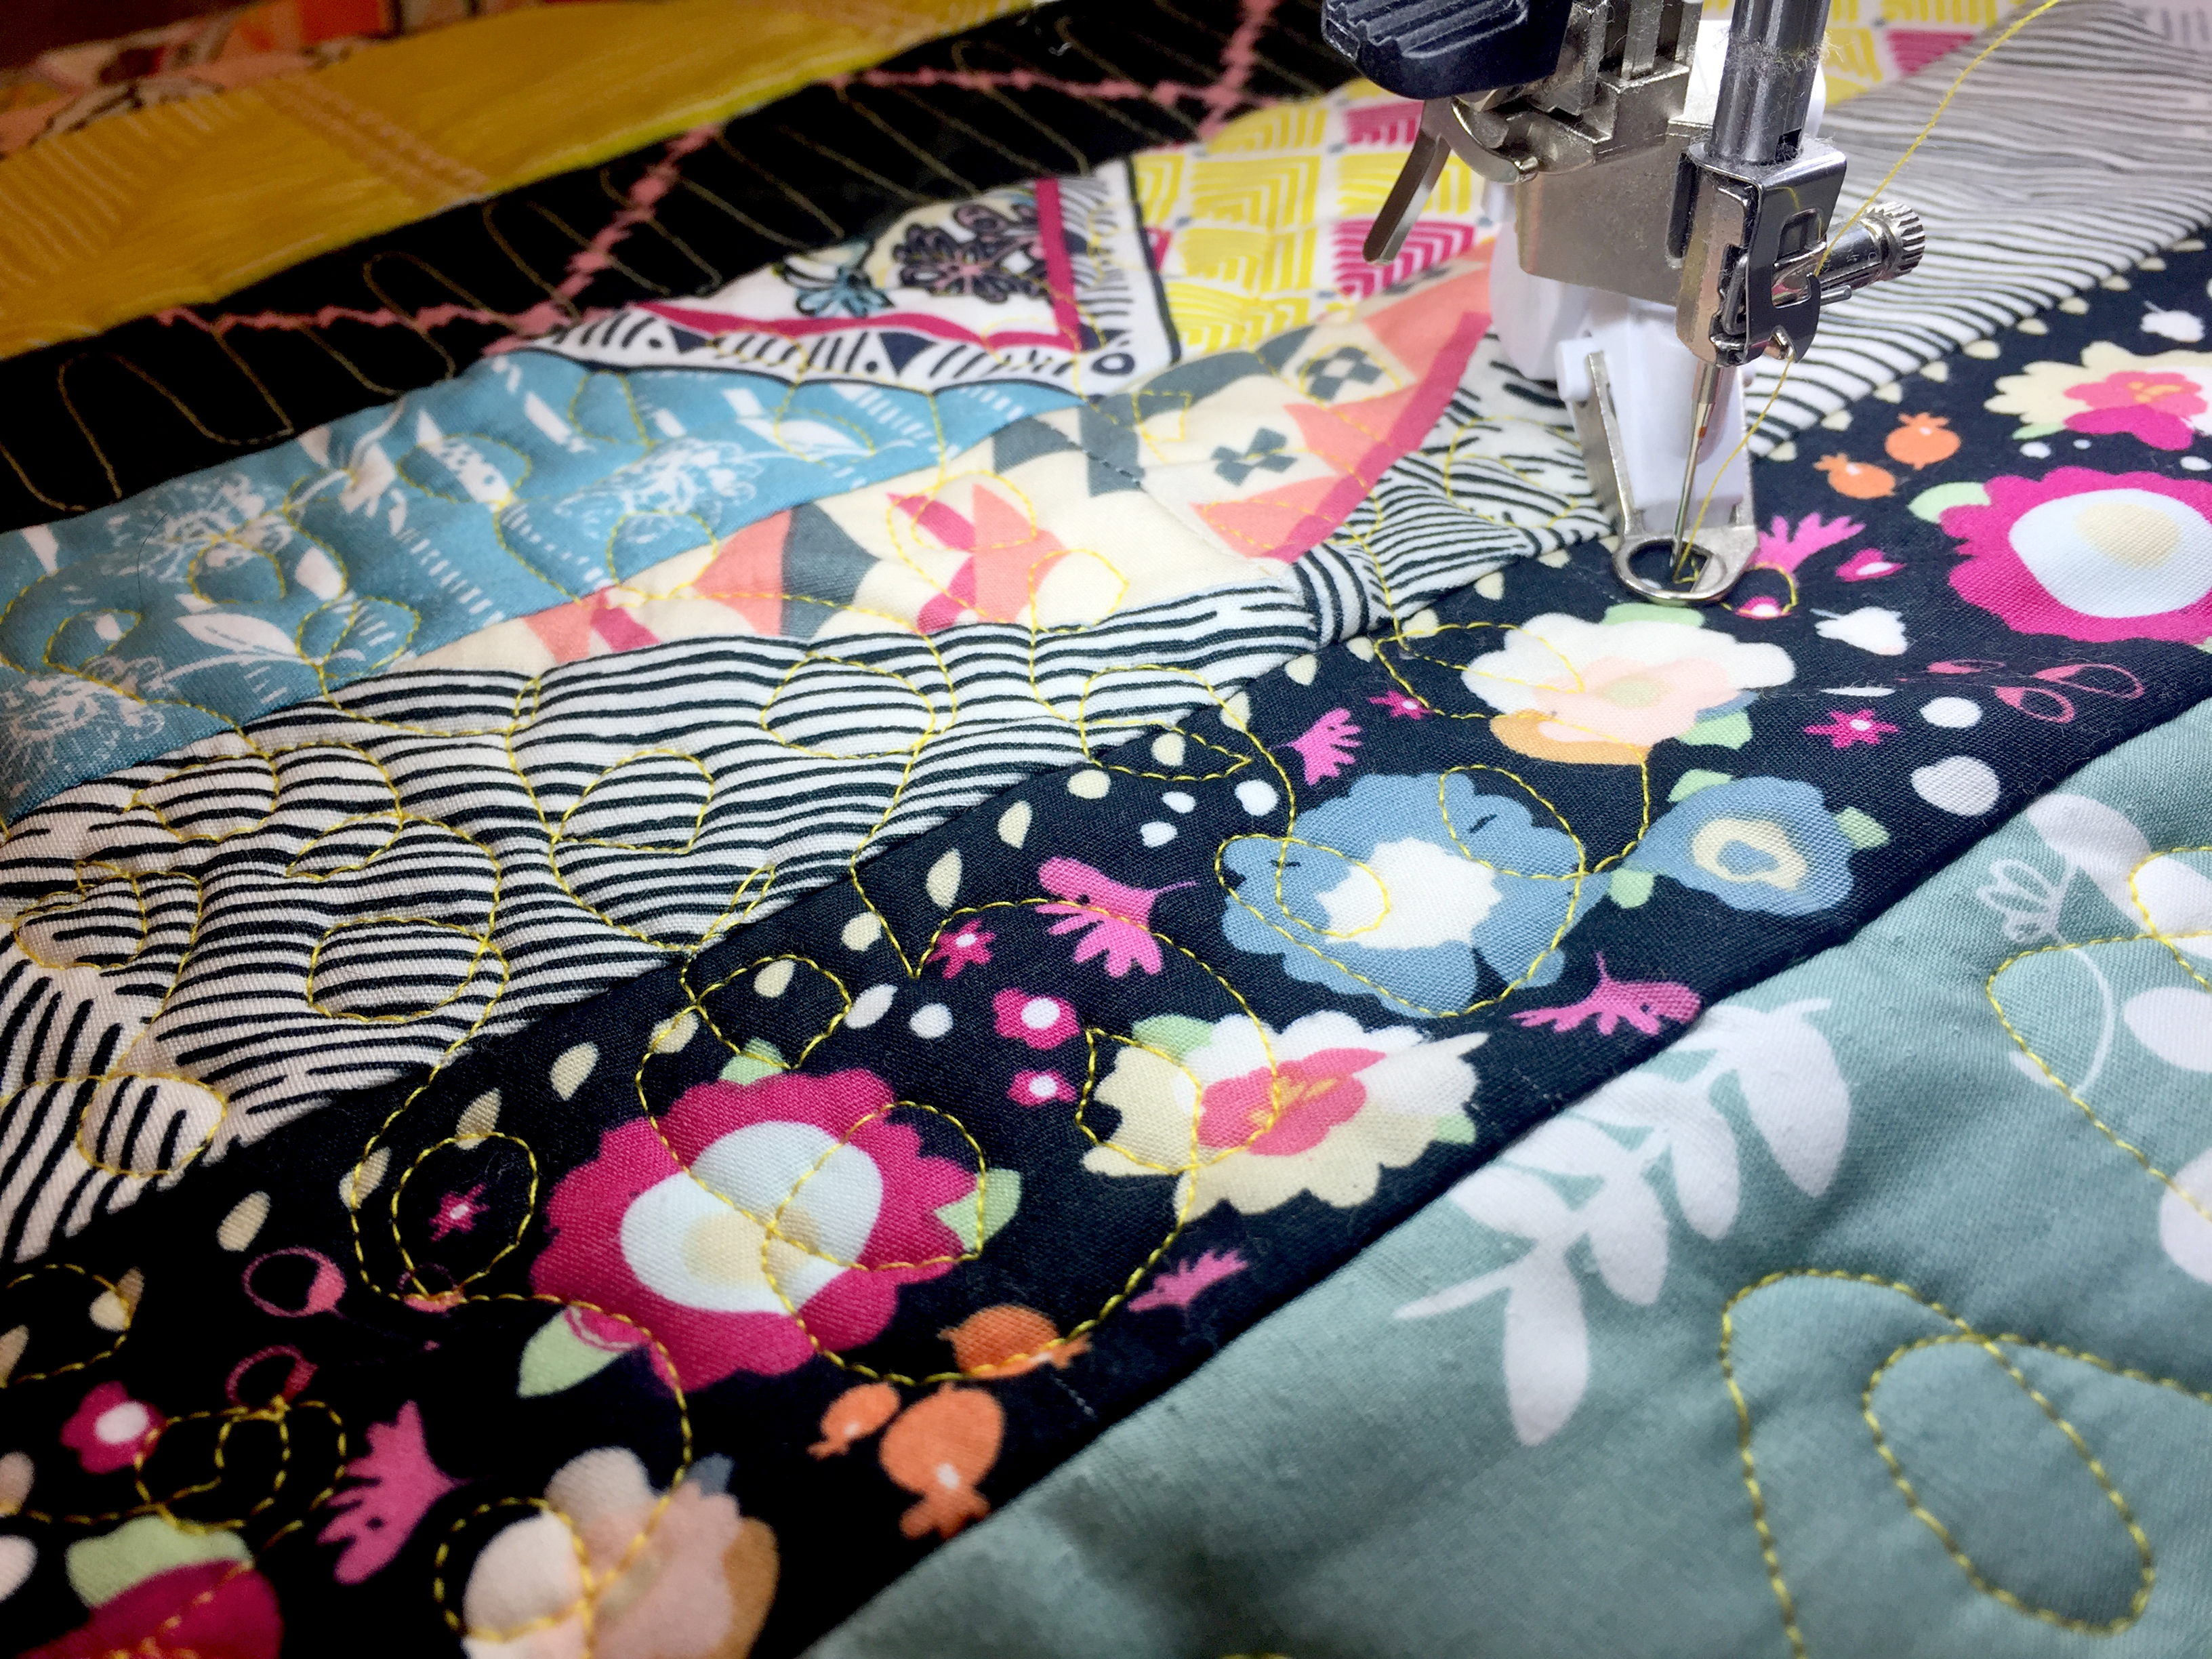
Now that we have our quilting top completed, it is time for quilting. For this table runner, I wanted to use different satin stitches as well as free motion quilting, it’s funner that way. Let’s start with free motion quilting! Prep your machine with Aurifil thread #2134 and with the free motion quilting with regular stitch length (BERNINA Stitch Regulator).
And let the fun begin! There is not particular way that I am started free motion quilting this table runner, I just went with the flow. I free motion quilt parts of the table runner that I knew needed a bit of quilting. It all depends of how you want your project to look like.
I just love free motion quilting!
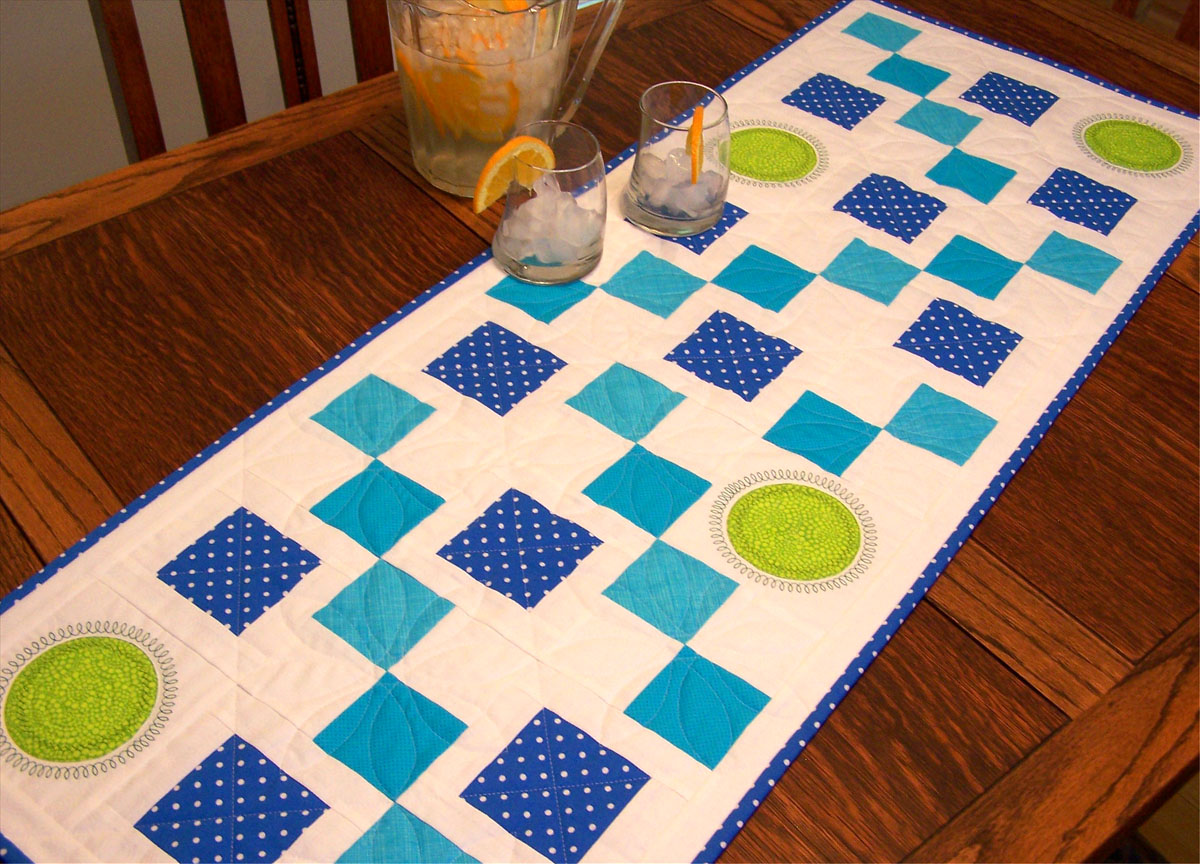
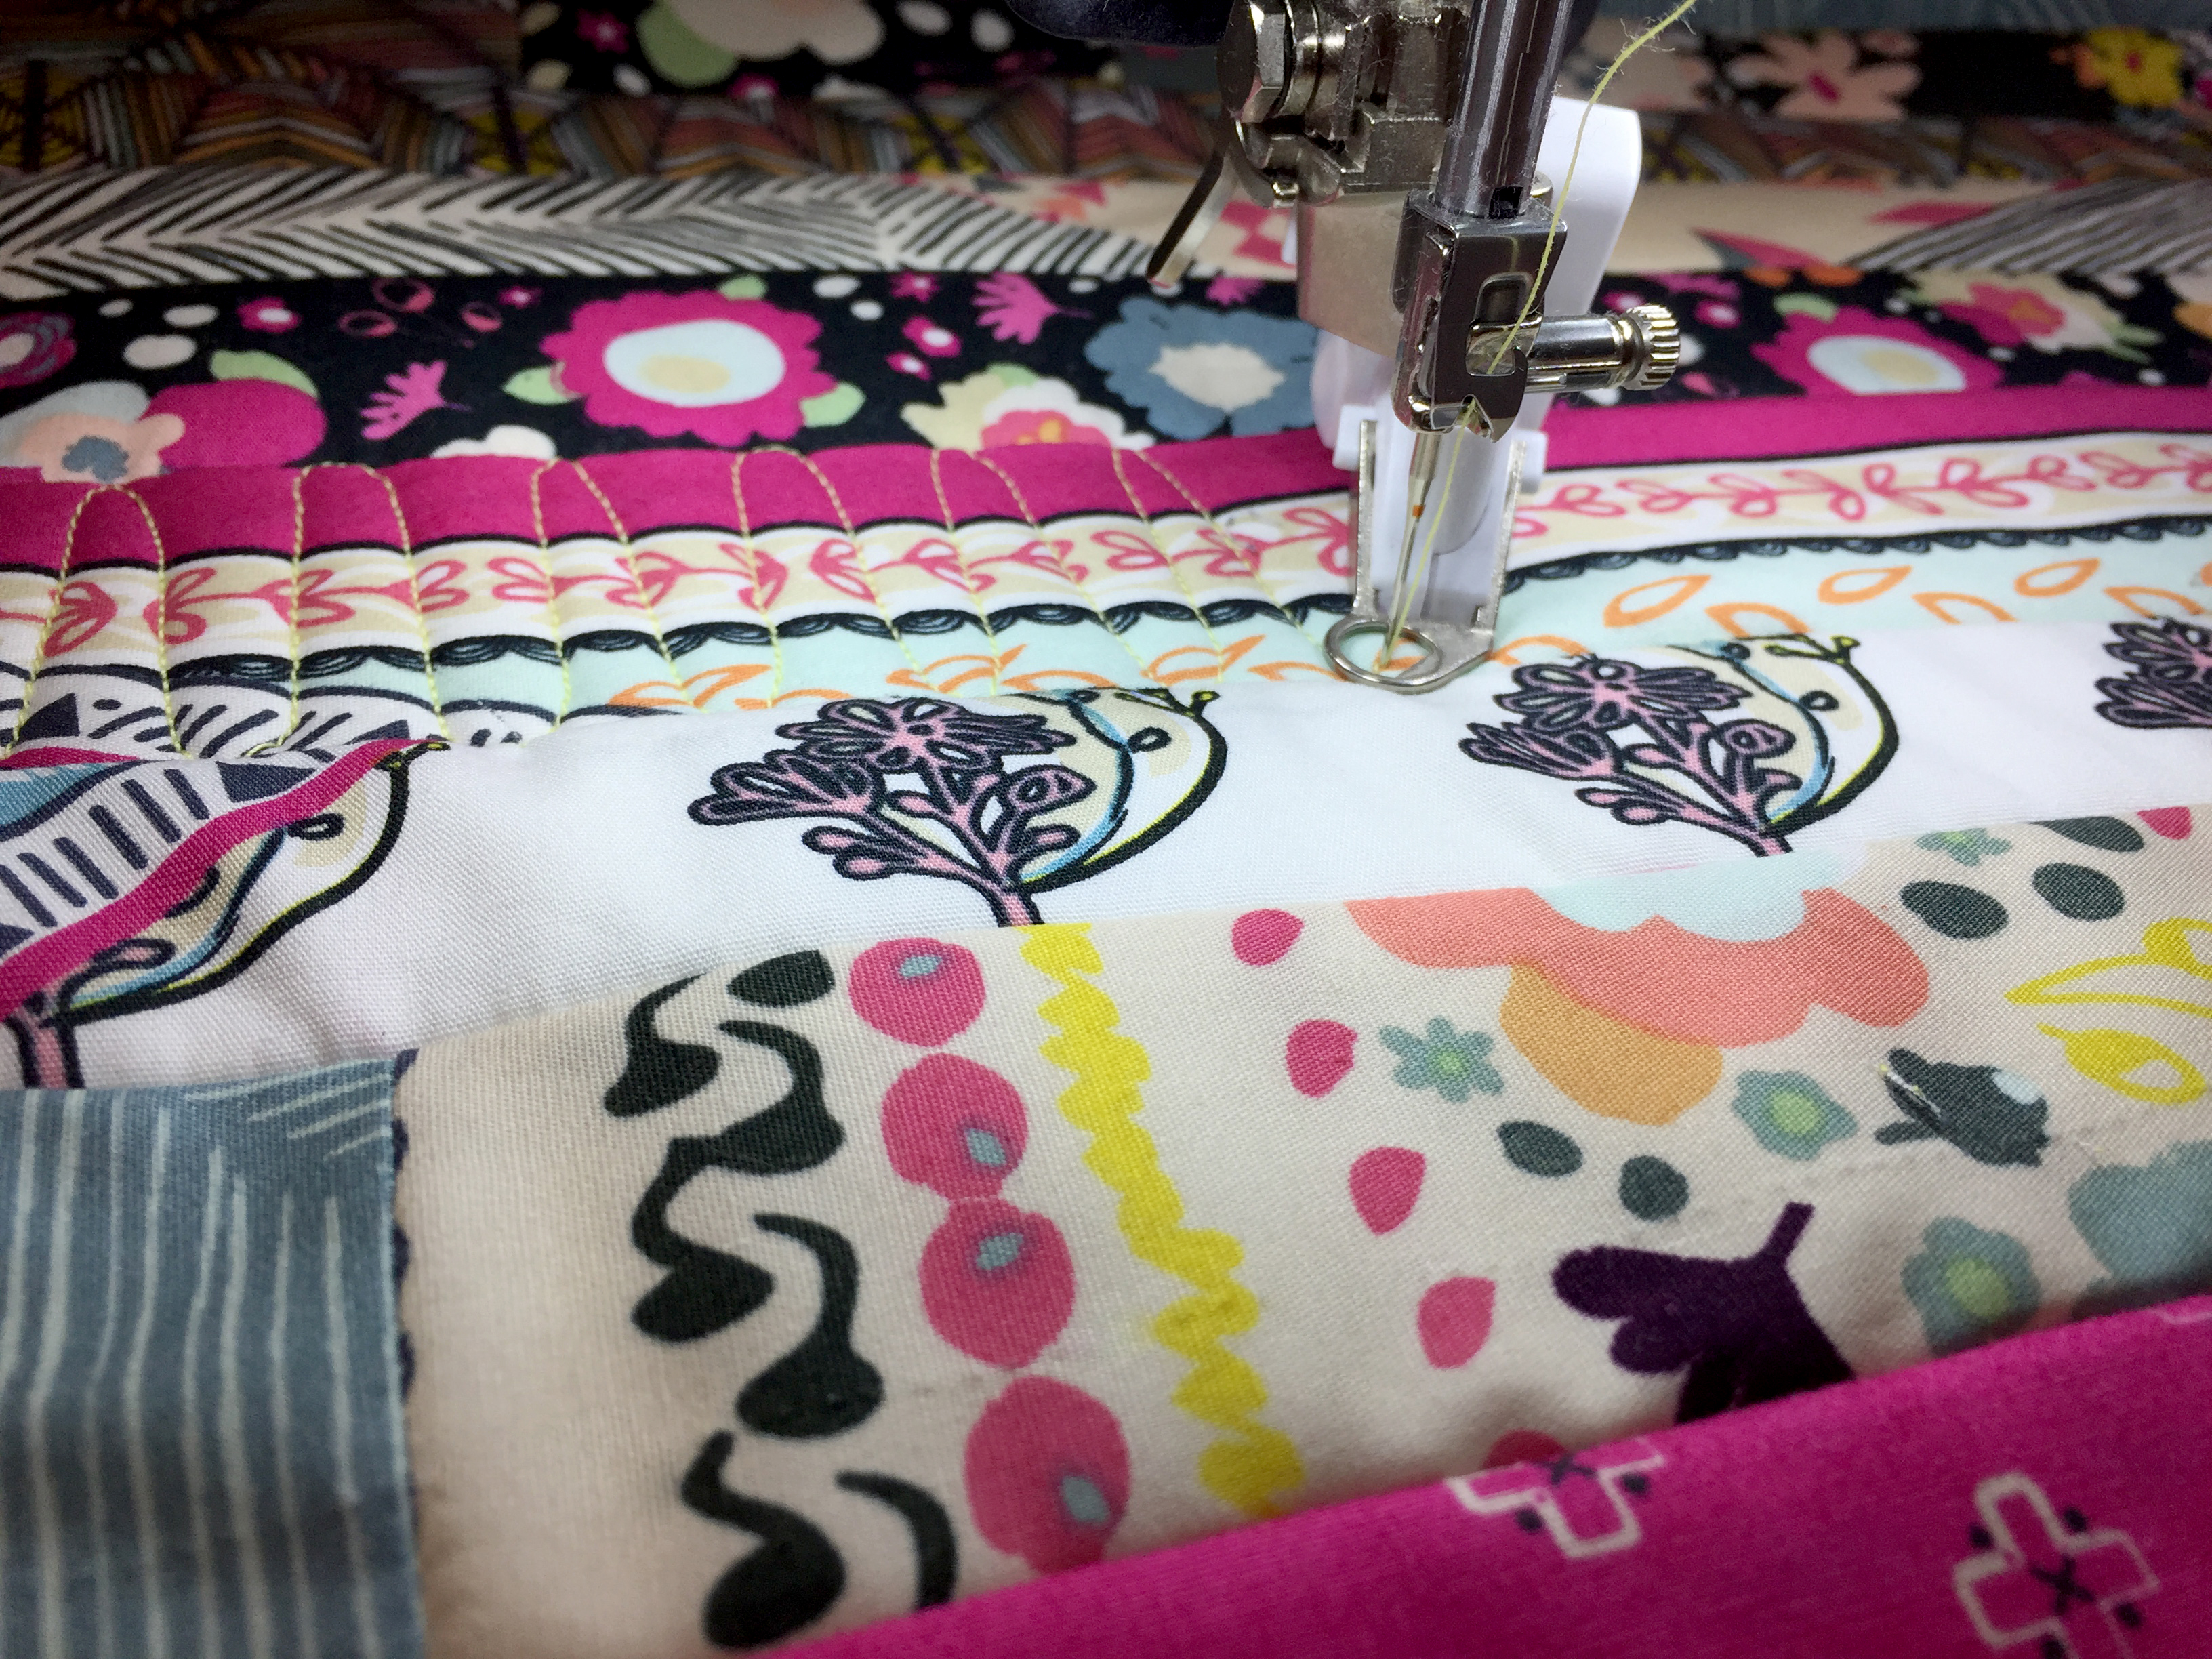
I also used some satin stitches, like I said before. I went with the flow with this tutorial and I love every minute of it! Prep your machine with the open embroidery foot (BERNINA Open embroidery foot #20C) and with Aurifil thread # 2420. For this stitching, I used satin stitch #401

I used one piece of the table runner that will work perfectly with the color thread that I was currently using.
You can add as many decorative or satin stitches as you want in order to make your table runner more stunning! Finish the edges of your table runner with your favorite binding method. Check out this tutorial for the double fold binding technique. Finish these simple steps and voila! You have a brand new and unique table runner to decorate your dinning room.