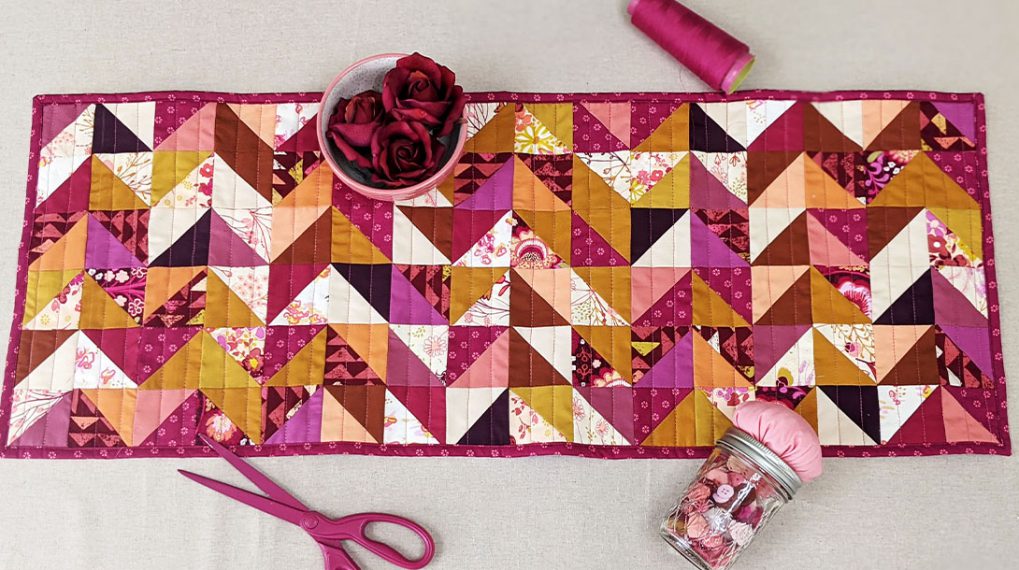
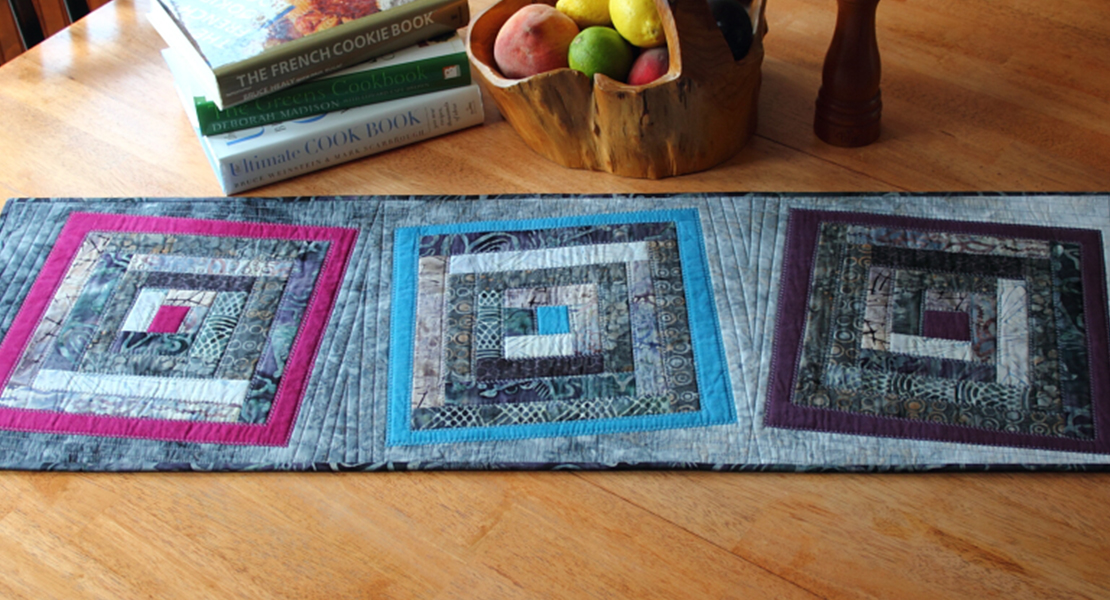
How to Make a Whole Cloth Table Runner
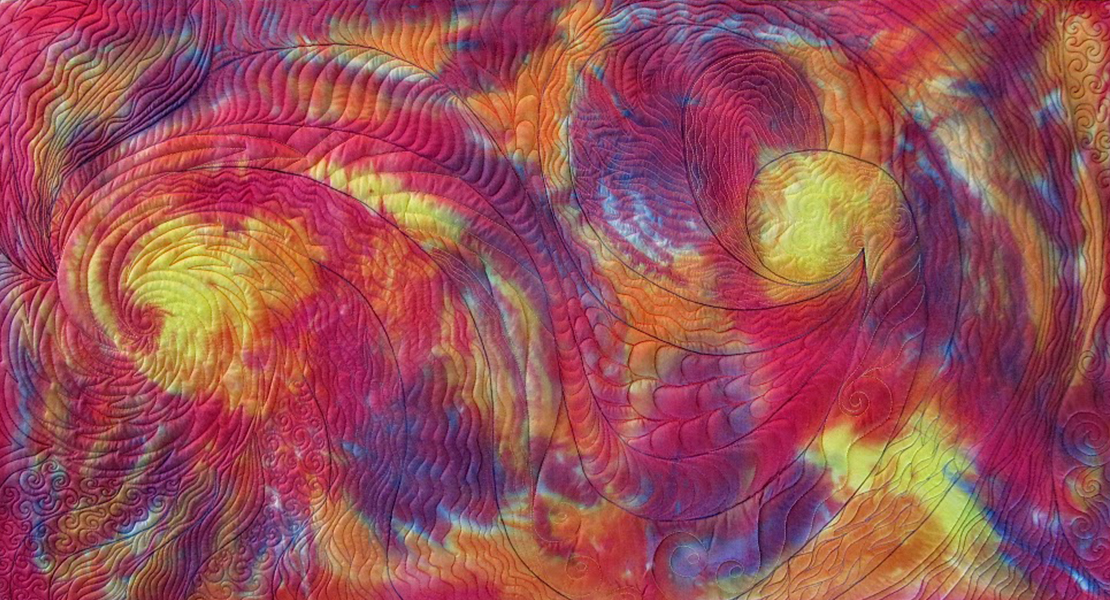
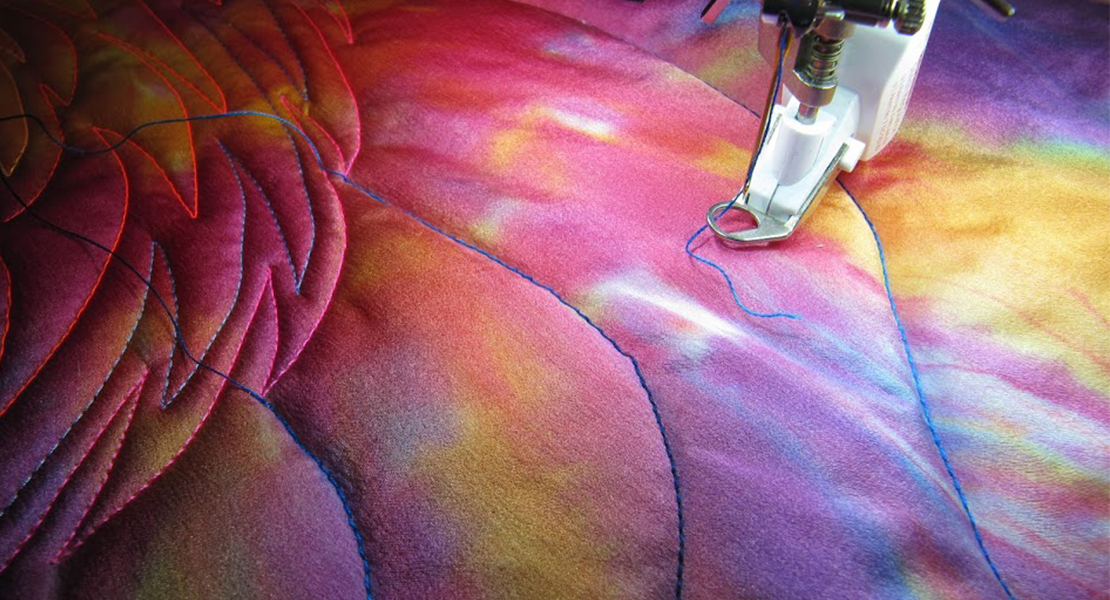
This BERNINA Community Studio online lesson features a whole cloth table runner quilting project that will allow you to make quilting the star of the show!
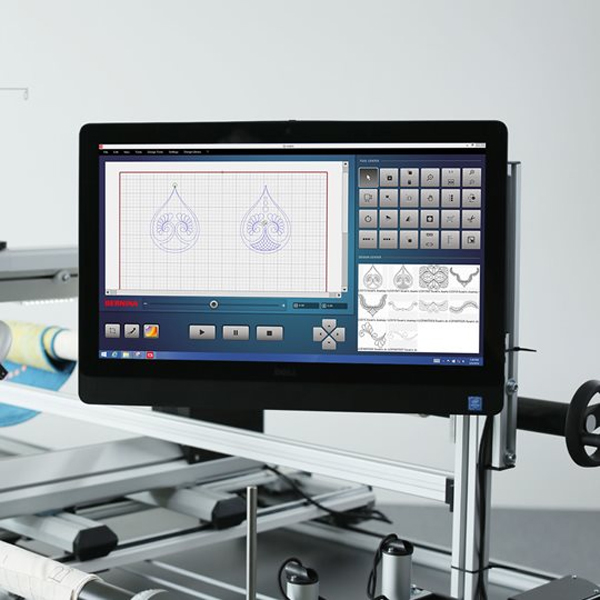
For lovers of quilting itself, sometimes less is truly more. Use Art & Stitch in tandem with BERNINA Q-matic Longarm Quilting Automation System to create and place your quilting motifs with an artful eye.
You can create any size you want, but I wanted to keep it inside of my Safe Area so that I did not have to Realign. Depending on which Q Series you have and on which frame with Q-matic you have will help you decide what size you need if you want to stay inside the Safe Area. This project was designed and stitched on the BERNINA Q 24 with Q-matic.
Machine Featured
BERNINA Q 24 with Q-matic
Materials Needed to Make the Whole Cloth Table Runner
- 1 3/4 yards of quilting cotton (or length of the runner plus 8-10” on each end)
- 21” x 61” cotton batting (or a few inches larger than runner)
- Mettler Silk Finish 40wt thread, high contrast color from fabric
Quilting Designs
- Tulips Quilting by Amanda Murphy #80205
- Tulips Corner #80205-02
- Tulips Straight Border #80205-05
- Tulips Block #80205-01
- Tulips Motif #80205-03
Visit the BERNINA Q-matic Mastery Workbook for instructions on importing designs into Q-matic.
Steps to Make the Whole Cloth Table Runner
Step 1. Getting Started
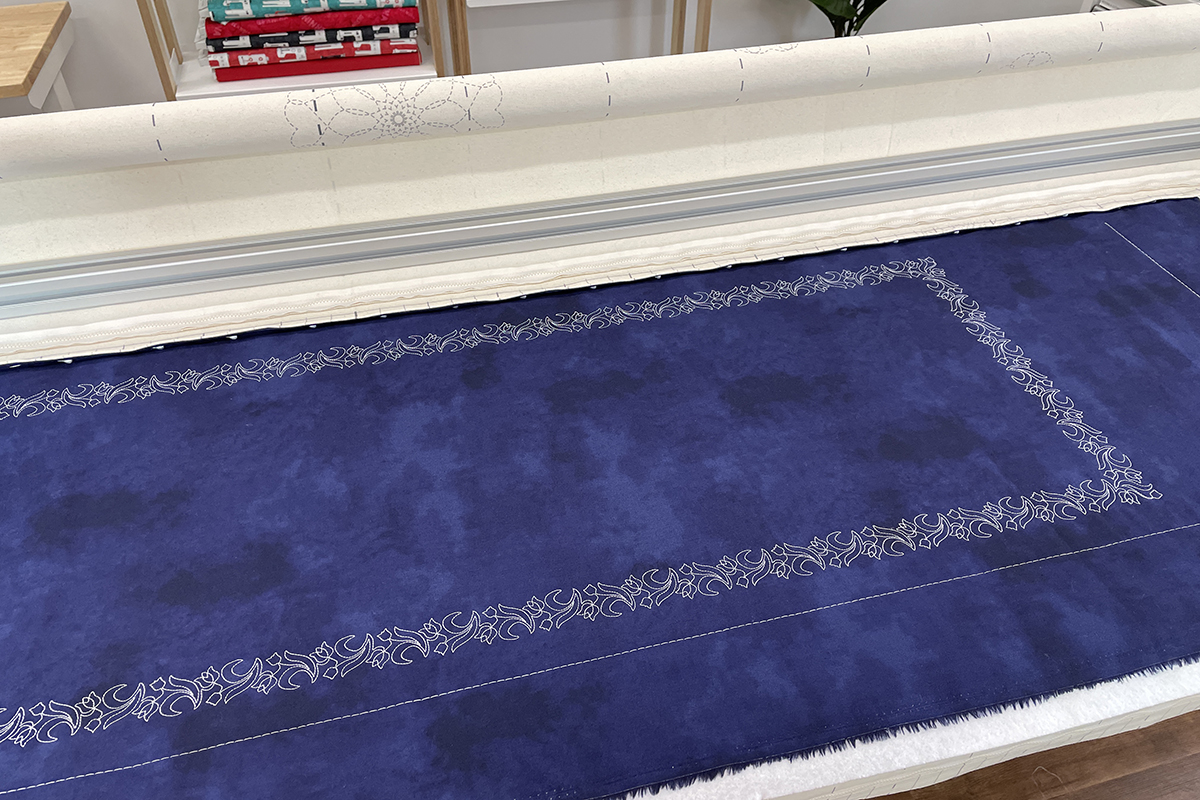
Load frame with fabric and batting. The fabric should still be folded with the batting between the two layers. Pin the folded edge of fabric to the Take-up Rail and the bottom layer of fabric to the Backing Rail. Baste around the edge of the quilt that is inside of the Safe Area.
With Q-matic open and nothing yet on the Q-matic screen, use the Art & Stitch shortcut to open Art & Stitch.

Looking down the left side of the Art & Stitch screen, locate the blue star.

Click on the star to open all of the designs that are available to you to use from Art & Stitch.
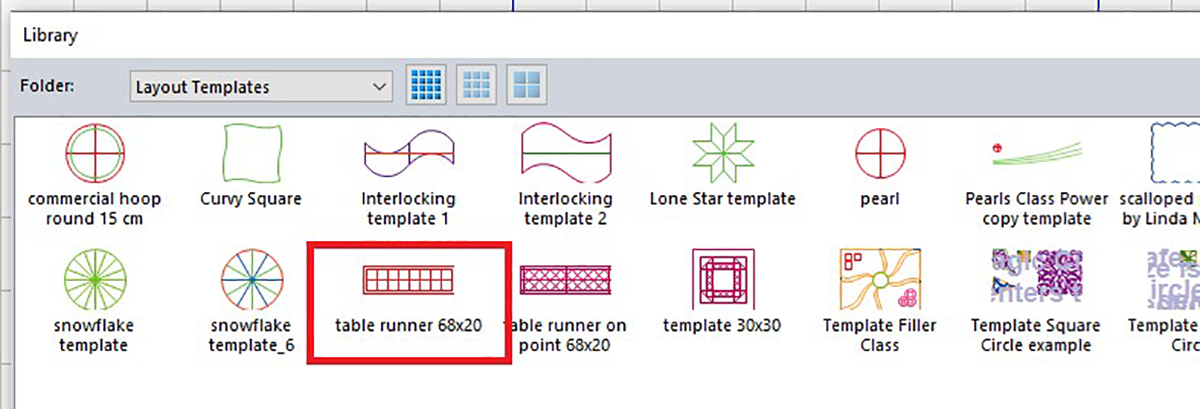
When the secondary window opens, use the drop-down menu for the folders to locate and click on Layout Templates. Select the template called “Table Runner 68X20”.
On the Art & Stitch screen, make sure the template is selected. Select the first button on the second row down the left side of the screen that says “Line Sew Type: Running Stitch”.
This will add stitches to the line design on screen and it is ready to send over to Q-matic.

Your design is ready to send over to Q-matic using the Q-matic shortcut at the top.

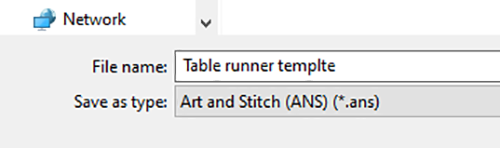
It will say you need to save as an .ans. Do this now.
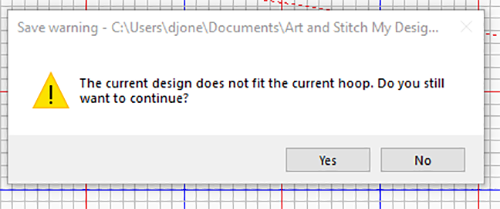
Then it will say “The current design does not fit the current hoop. Do you still want to continue?” Click “Yes.”
Step 2. Setup Q-matic and Create the Border
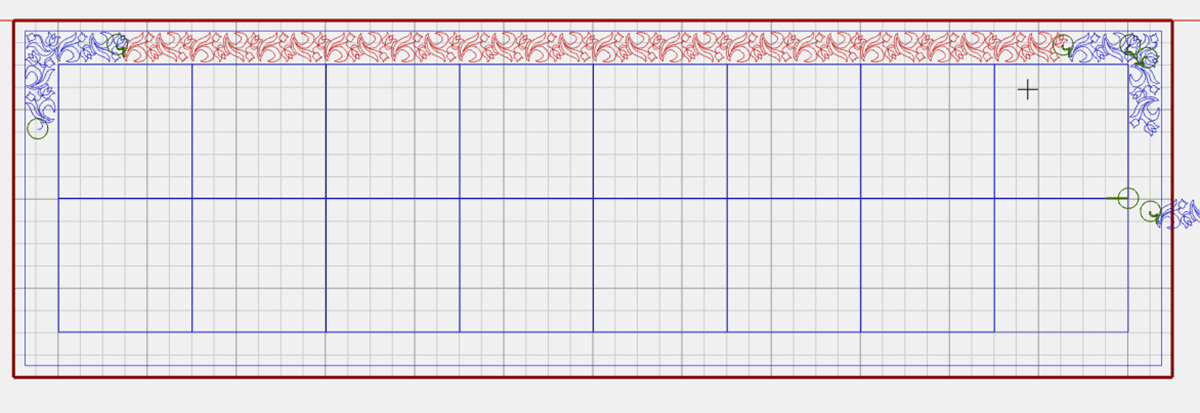
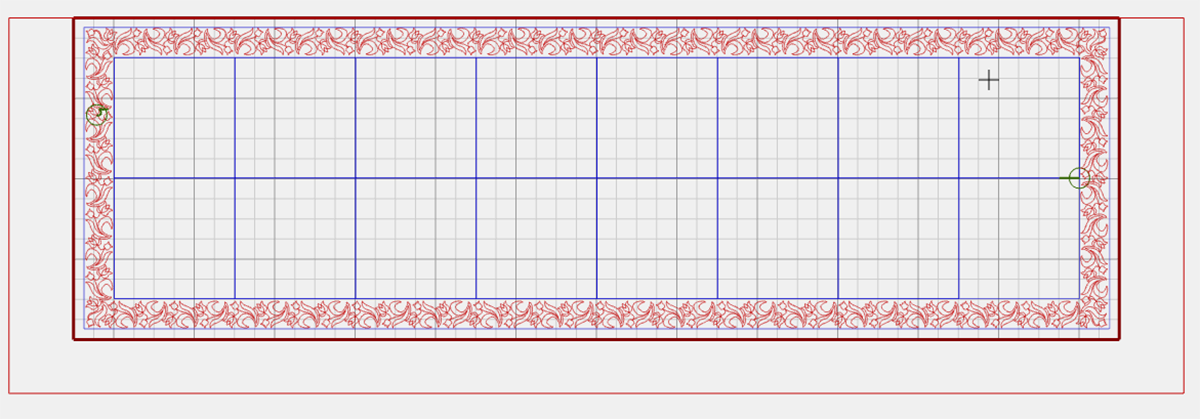
Your design is now in the middle of the grid on the Q-matic screen.
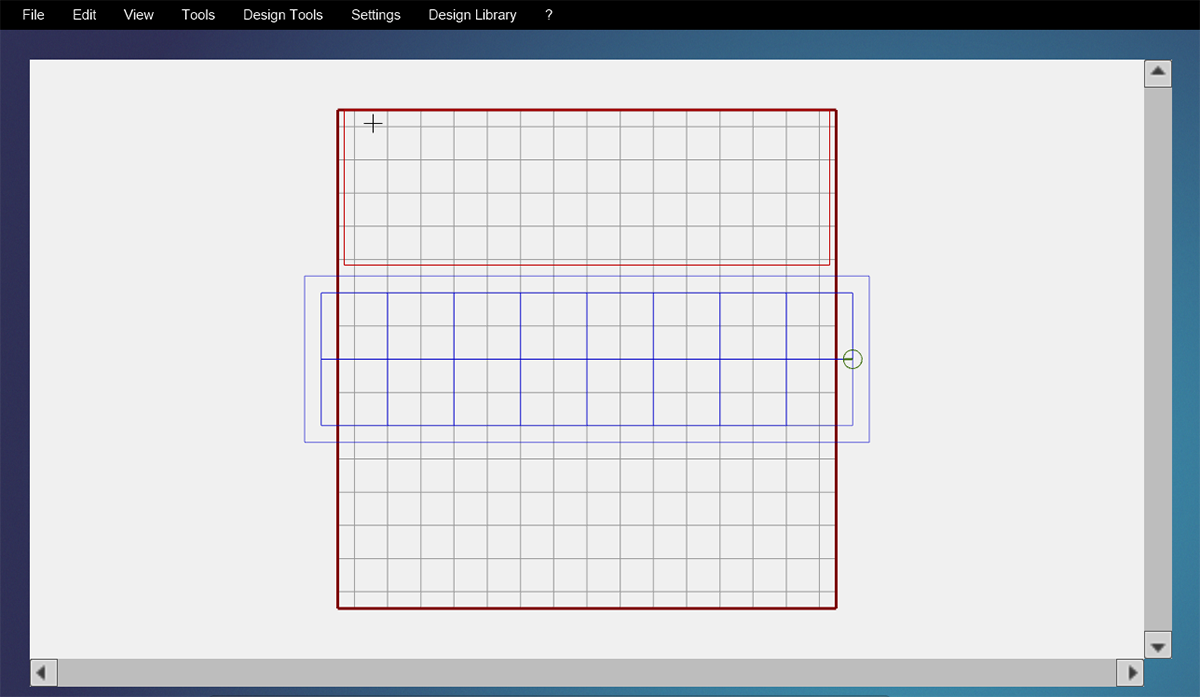
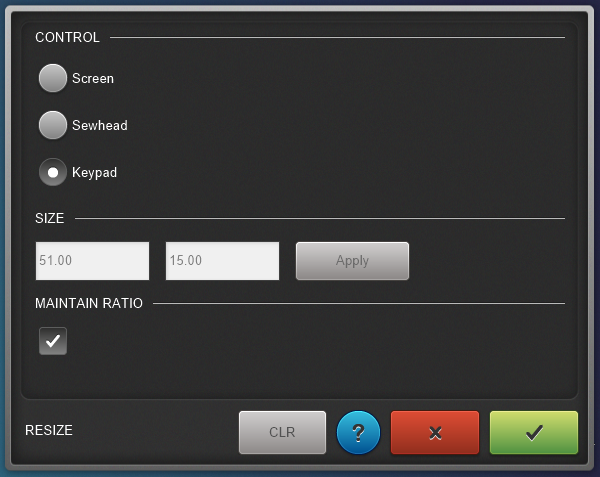
Select it and resize to 51” x 15” using the Resize tool in the Tool Center.
I like to place my template centered on the grid so that I have a good idea of what size I need to make the designs. First, let’s place the border design and the corner design on the grid.
I am going to attach a border design to each side of the corner so that I can resize them to fit and they all will still be in the correct proportions.
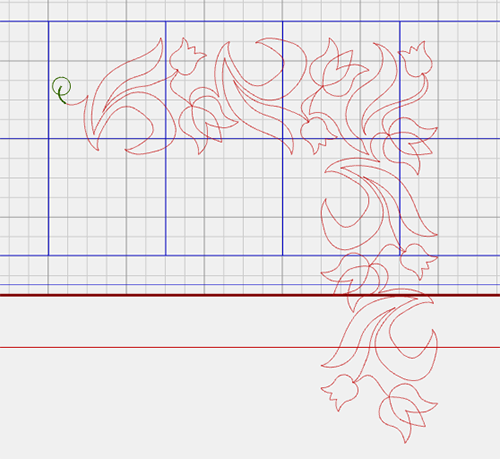
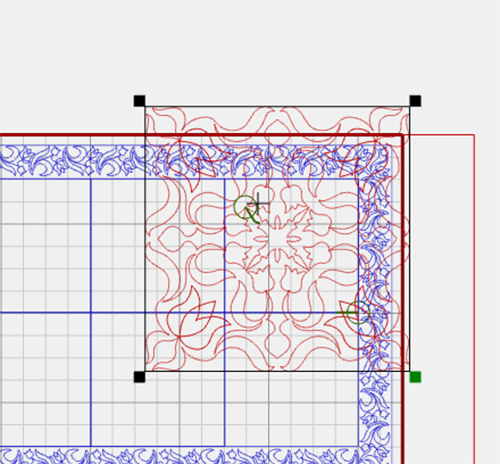
If you look at the grid you can see the border on the template is about 1 1/4”. With the attached designs selected, open Resize. Right click on the lower left corner to make it active and slide the handle to make the adjustment. When the corner fits the border, click Confirm (the checkmark in green box).
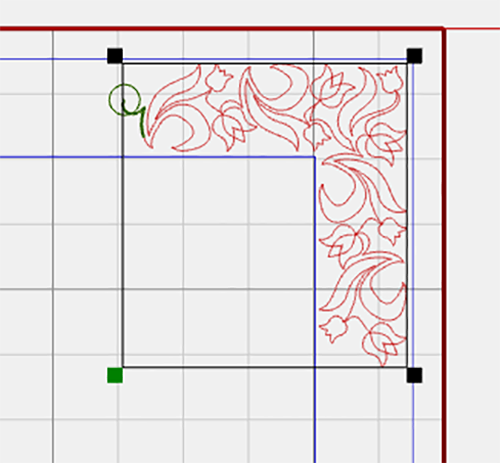
Make a copy of the corner. Rotate so it would fit the upper left corner of template. Place in the upper left corner of the template. Click Un-connect to separate the selected corner design. Make a copy if the border design and move it to side to use later.
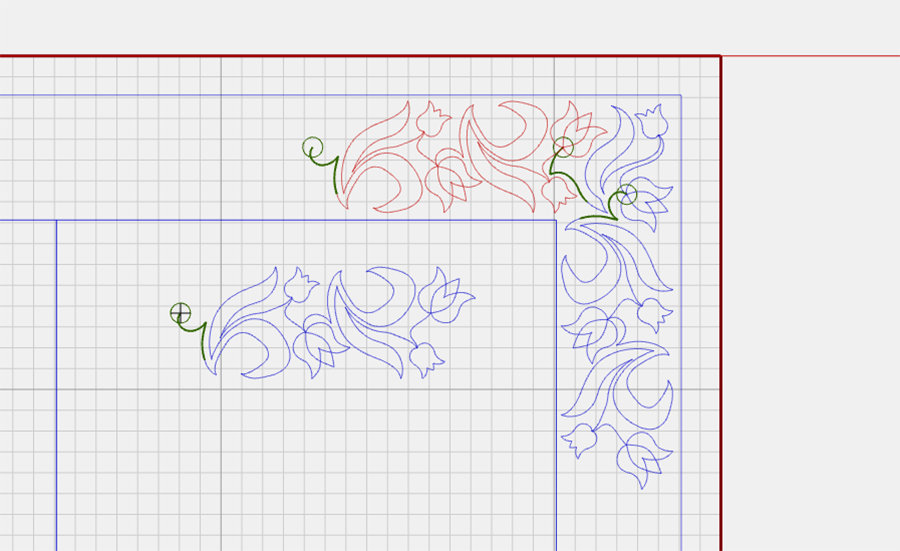
Slide the border design over and use Connect/Attach to connect the left corner and the border.
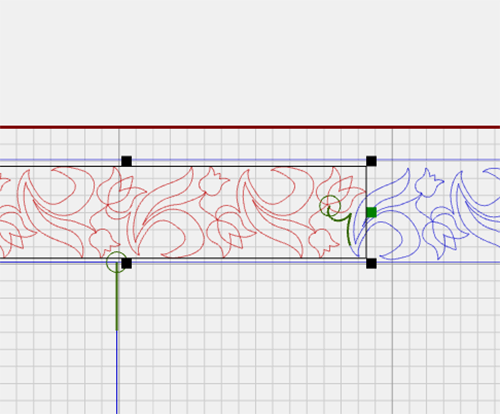
Un-connect your designs and then use E2E+ to add designs across until you reach the other side. Don’t worry if it goes over just a little, we will be able to fit it.
Next, zoom in and resize the border to fit, using Maintain Ratio unchecked. Right click the center handle of the right end. Adjust to fit. Use Connect and Attach the corner when it is adjusted correctly.
Copy the top corners and border. Rotate to fit at bottom and place. Select extra border design. Rotate to go down side. Use E2E to see how many it will take to fit. Resize by zooming in and using Maintain Ratio unchecked.
Copy the side designs and then using Connect, Attach them all the way around the template.
Step 3. Place Center Motifs
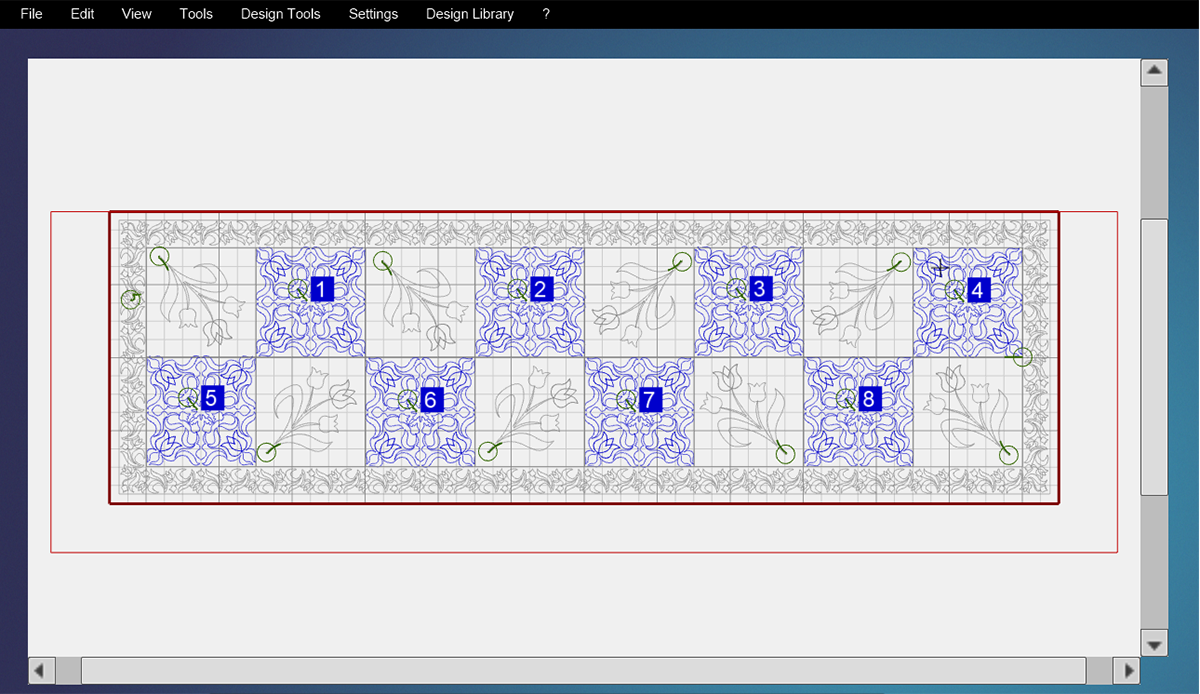
The first motifs we will be placing are the Tulips Block #80205-01. Open one and place on the upper right corner of your runner. From looking at the grid lines and knowing that the darker lines are four inches apart, we can see that the block designs should be 6”.
Copy this resized block design to place in every other block on your runner. Zoom in and place each design exactly where it should be. We are not moving the quilt top so where it is placed is where it will stitch.
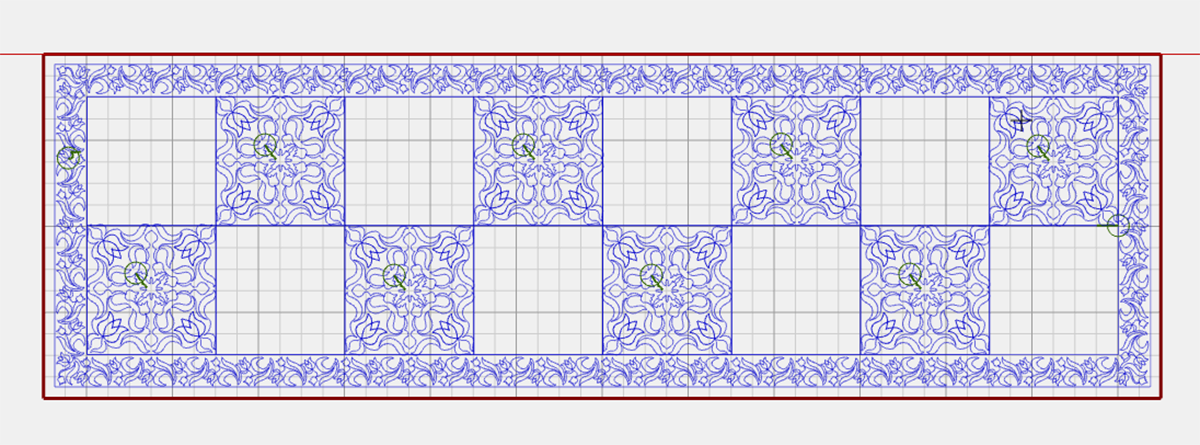
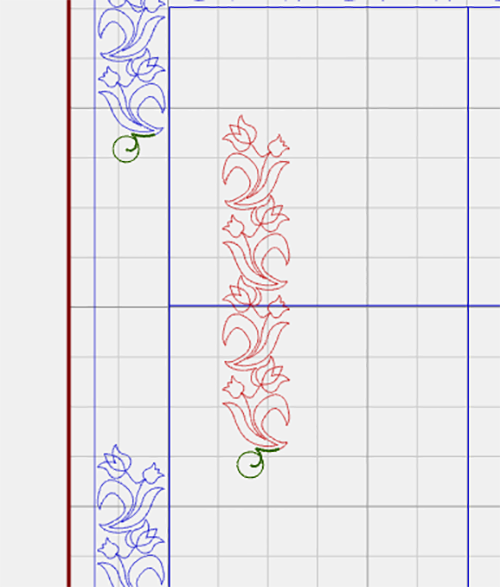
Select the Tulips Motif #80205-03 and place the stand-alone tulip on the Quilting area. Resize to 6” tall using the Keypad option. Next, copy the design to make enough to fill the other blocks. I really like this design, so I rotated it 45 degrees.
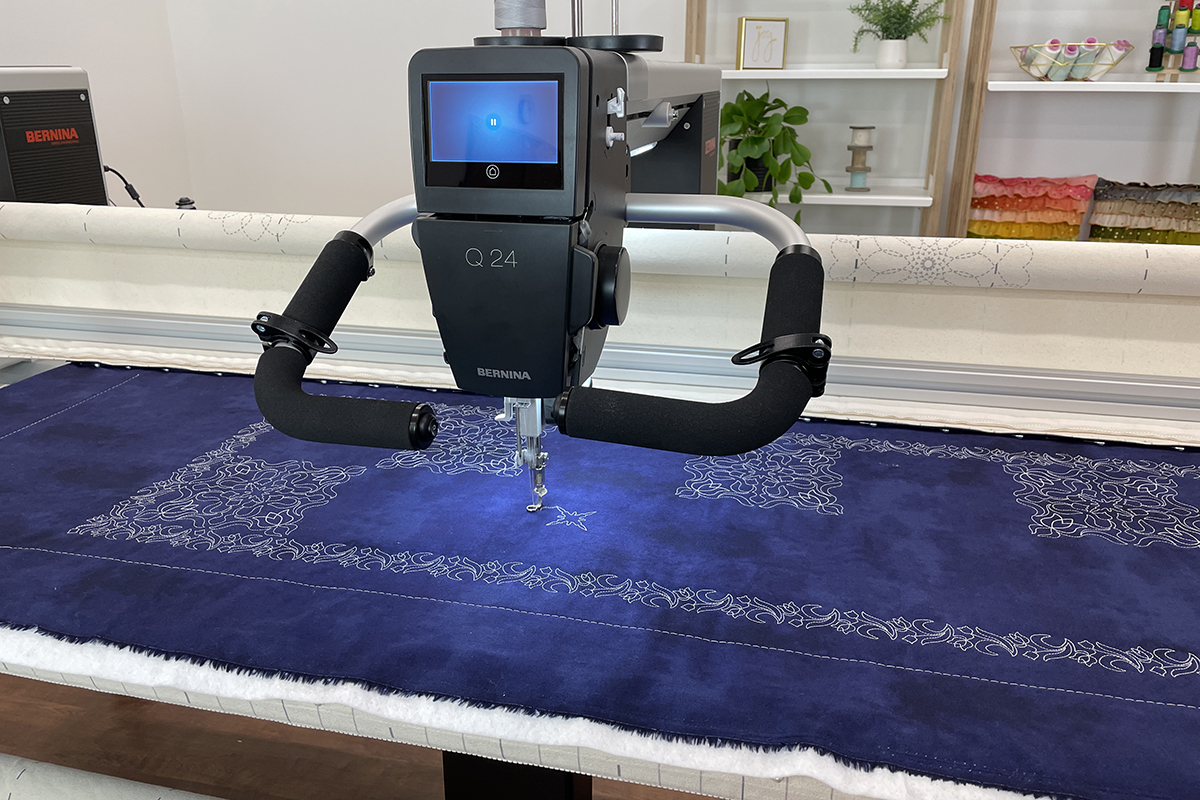
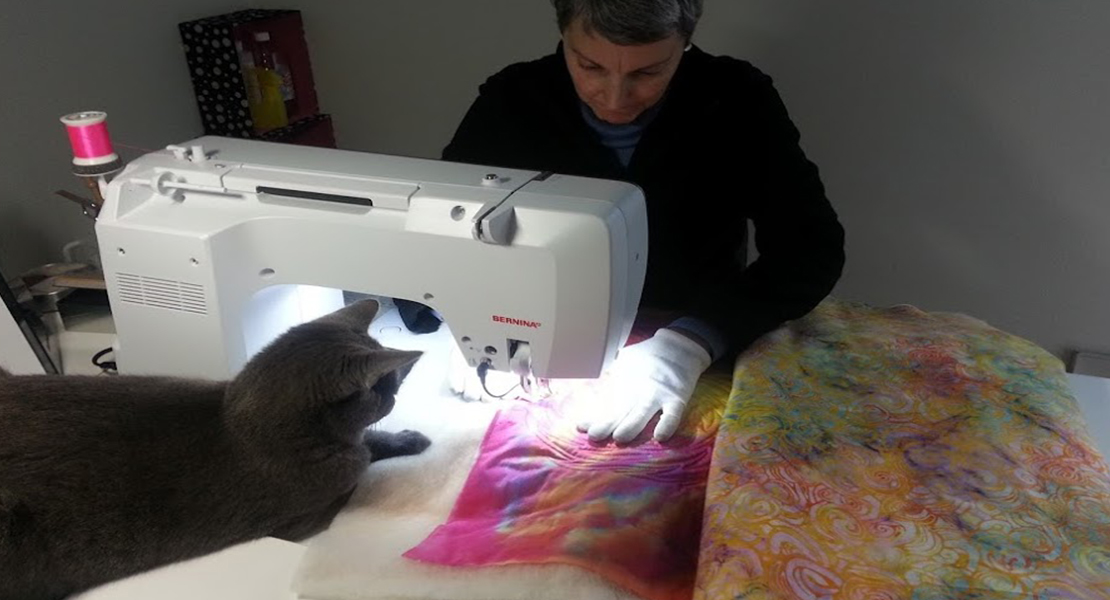
Once you have everything where you want, it is now time to stitch it out. Make sure the clamps are on and all of the fabric and batting are flat and ready to go. The machine should be clean, oiled and have a new needle.
Step 4. Quilt the Table Runner
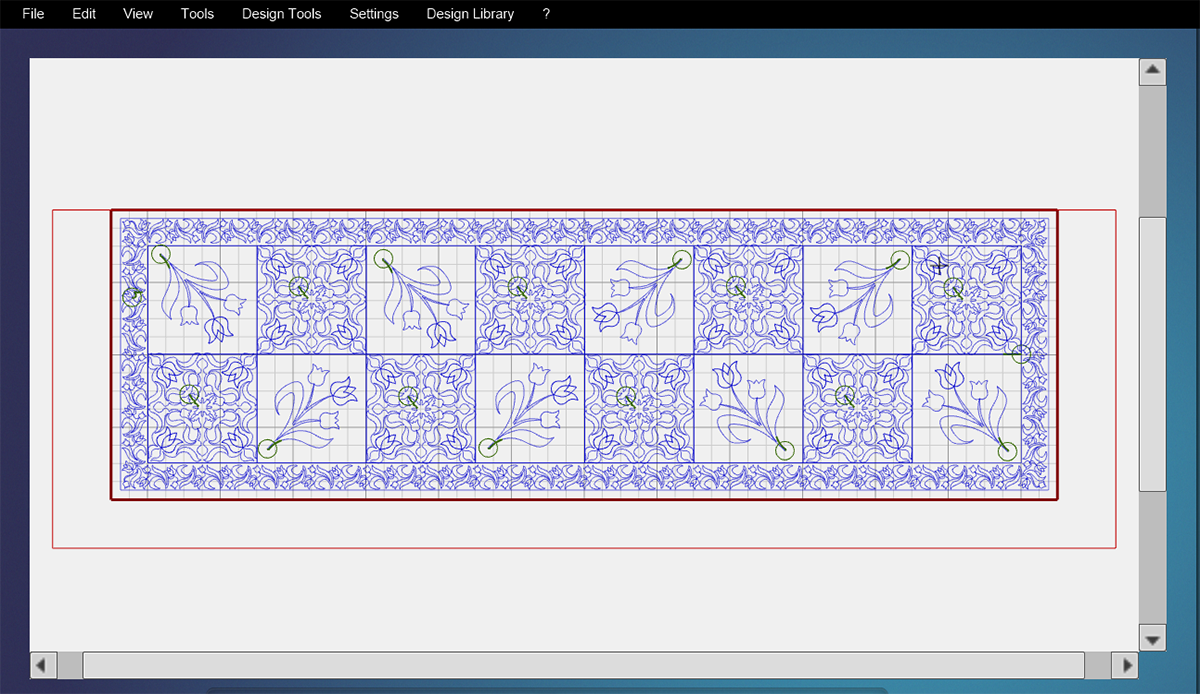
Everything on screen is Queued to stitch and we want to tell it when we want it to stitch. In Sew Options, select Dequeue All. Queue only the outside border to stitch. We are not stitching the template layout as it goes over and over the lines and that is not the look we want. We just needed it to get our placement. Stitch the border.
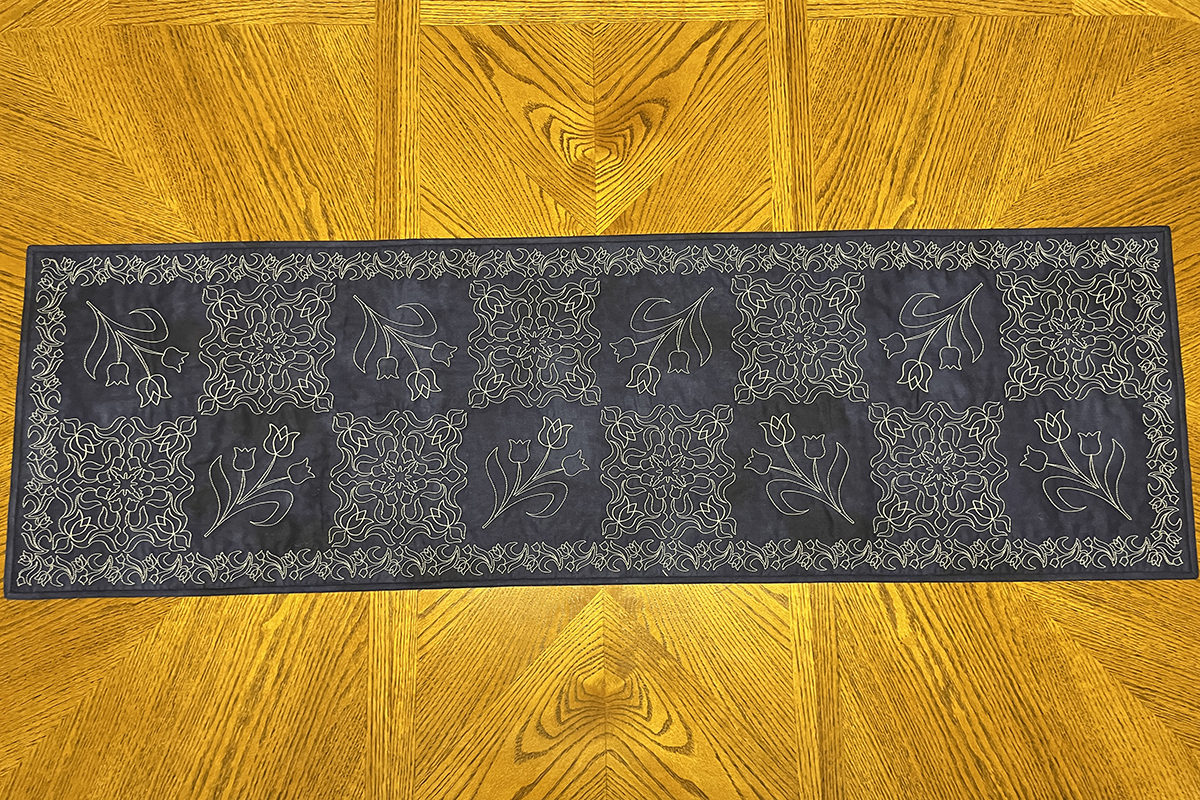
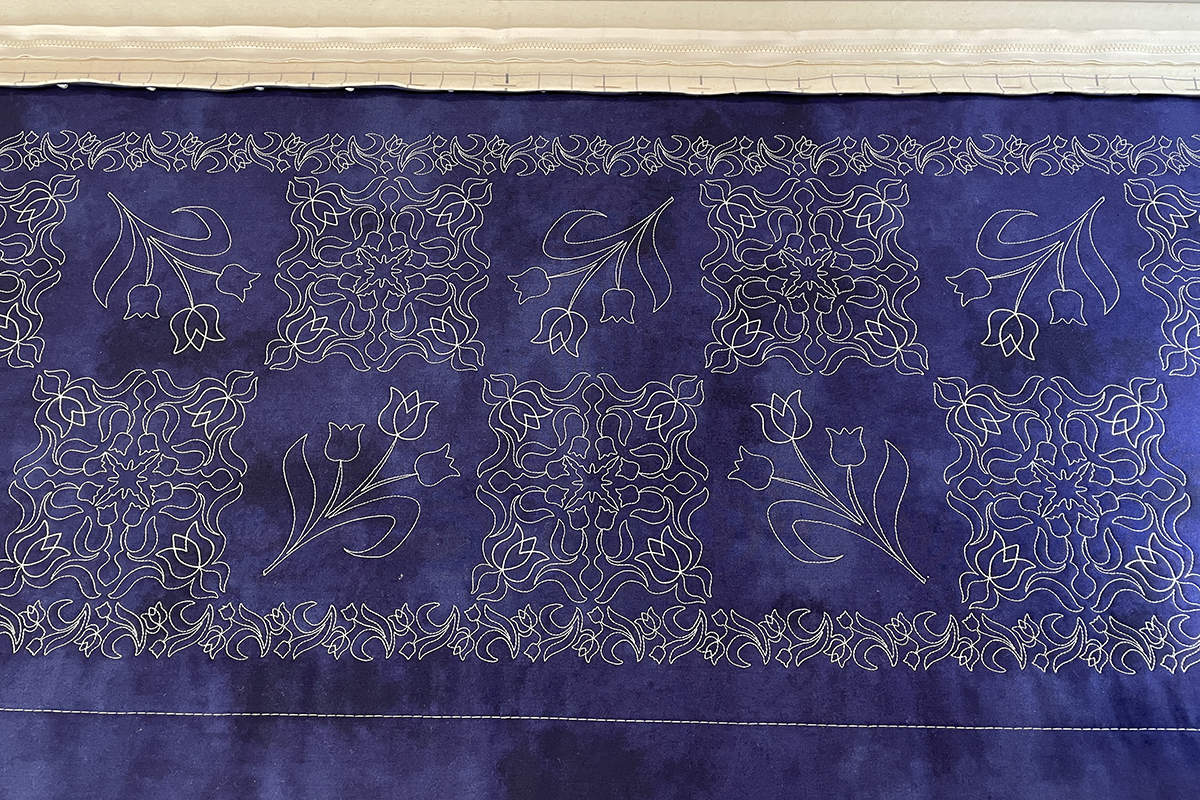
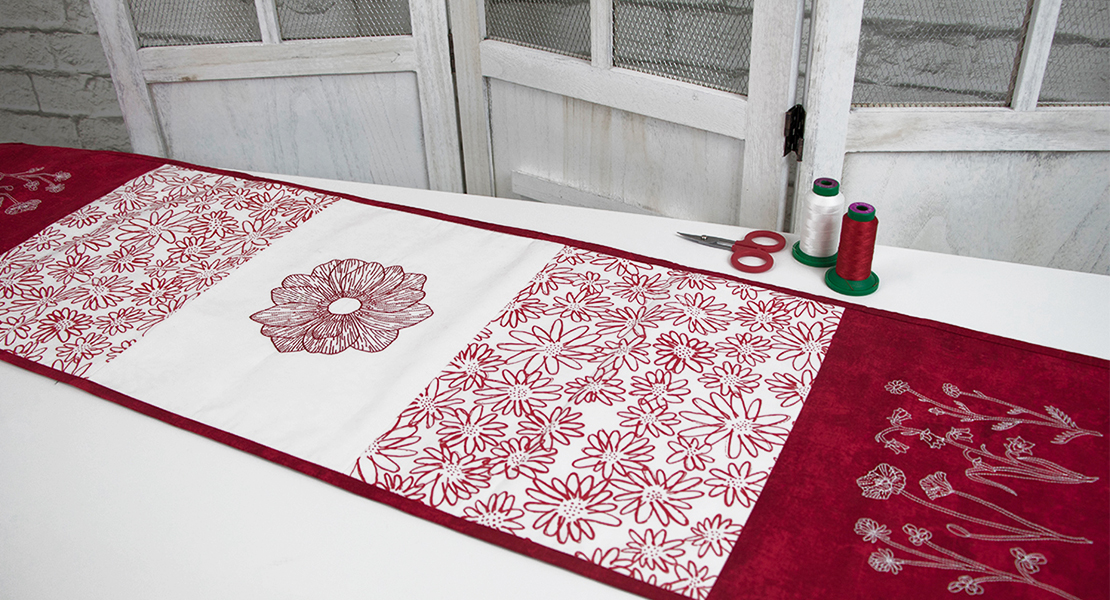
Your runner should now look like this.
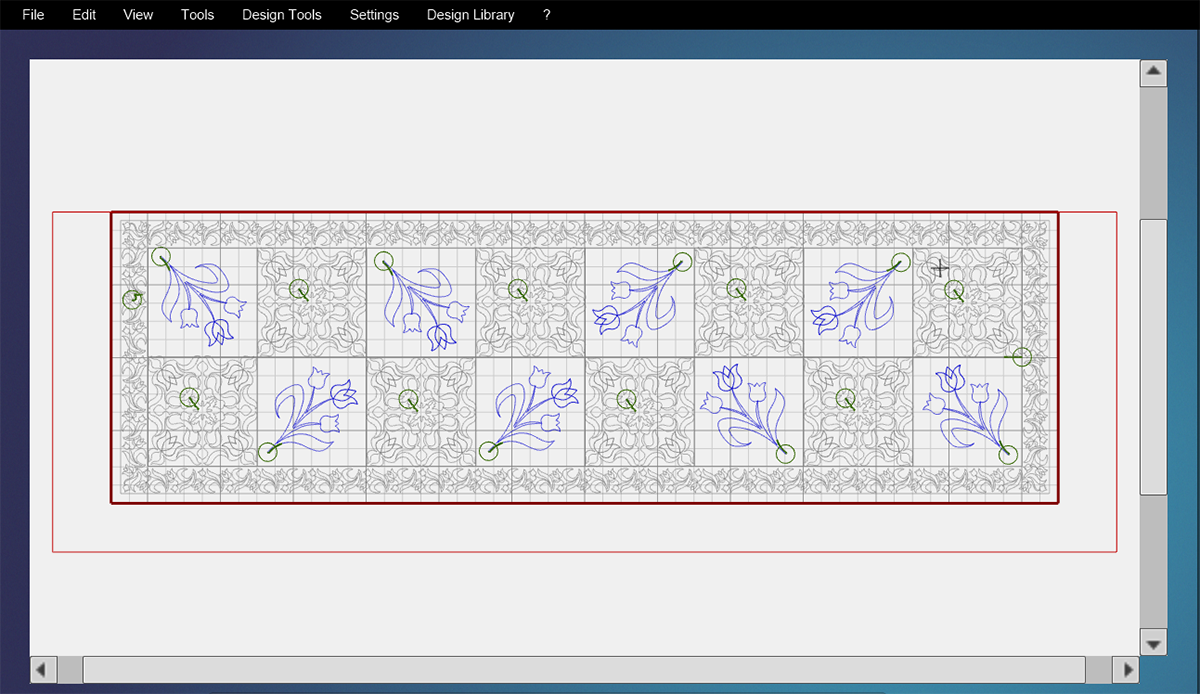
For the final part of our runner, we will need to Queue the block designs with a Sewing Sequence.
First row one, then row two.
Watch your machine stitch the blocks!
Next Queue with a Sewing Sequence to all of the Tulip designs in Sew Options. First row one, then row two.
Your runner is now all finished! Remove your runner from the frame and complete the binding with your preferred method.
Used Products

What you might also like


2 comments on “How to Make a Whole Cloth Table Runner”
-
-
Hi Becky, it is great to hear from you. BERNINA keeps me very busy, and I love every minute of it. What you see here is what I do now. Hope all is good with you. We are great here.
Best wishes,
Denise
-
Leave a Reply
You must be logged in to post a comment.

Hey Denise! I just signed up on weallsew.com and here you are! Becky Coleman (from Newbern Elementry School cafeteria and Sew Many Ideas in Dyersburg. Maybe you don’t remember me but I have wondered where you are now. I did know you joined the Bernina Co (from Sew Many Ideas). Just wanted to say hi and let you know I am watching your videos, so exciting, and you look great. Still using my Artista 170 and my Bernette Surging machine. I’m on Facebook as Becky Isbell Coleman, would LOVE to hear from you!