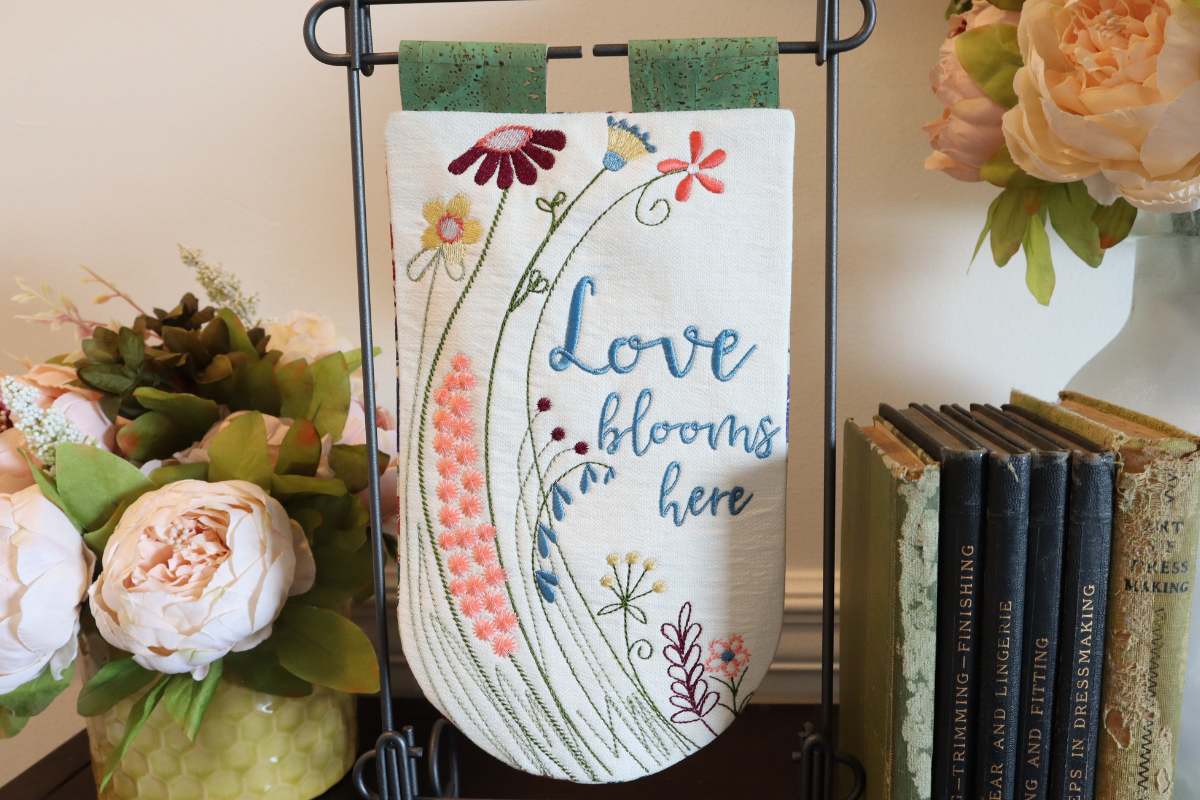
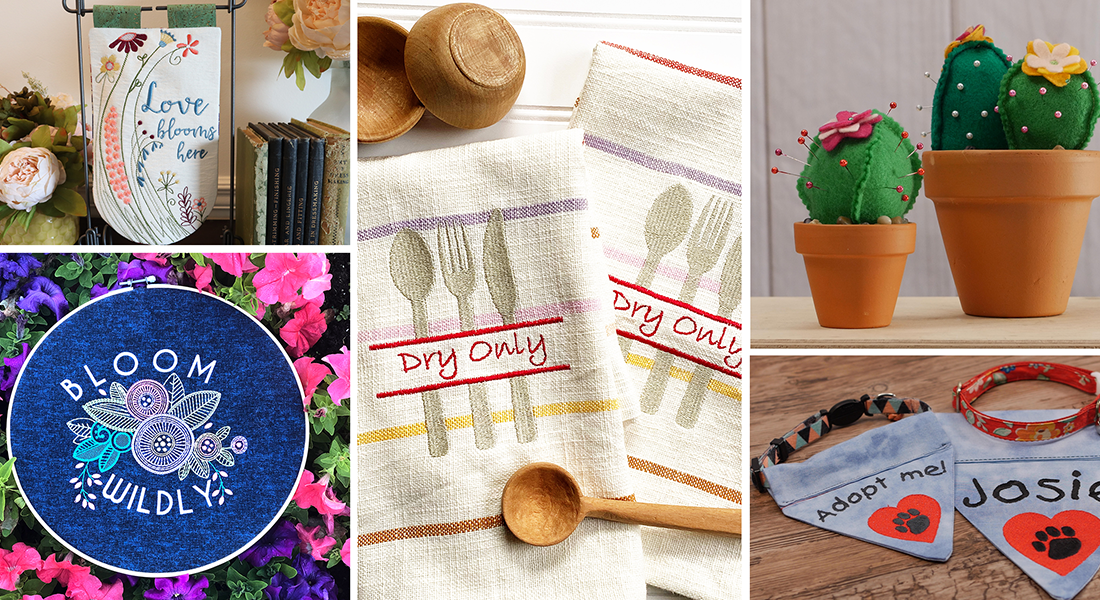
How to Make the Love Blooms Tabletop Banner
Hello my Sewing Bees, my name is Sue O’Very owner of Sookie Sews. You can find me on Instagram at @SookieSews and my website SookieSews.com where I have hundreds of In-the-Hoop projects. I am so thrilled to be the BERNINA Embroidery Software V9 Expert and to be sharing this FREE Love Blooms Tabletop Banner I designed using the new V9 software for you. I hope you enjoy it!

Materials to Make the Love Blooms Tabletop Banner
Measurements are width by height
Fabric
- (1) Front 7″x11″ – Cream medium weight cotton or similar
- (1) Back 7″x11″ – Floral print medium weight cotton or similar
- (2) Loops 2″ x 3″ – Cork material
Stabilizers/Batting
For more in-depth knowledge get the Pocket Guide to Stabilizers by Sue O’Very
- Medium Weight Cut-Away Stabilizer to fit hoop – OESD
- 5″ – 1/2″ wide Fusible Web – Clover
- 7″ x 11″ Thin fusible batting – OESD Fuse and Fleece
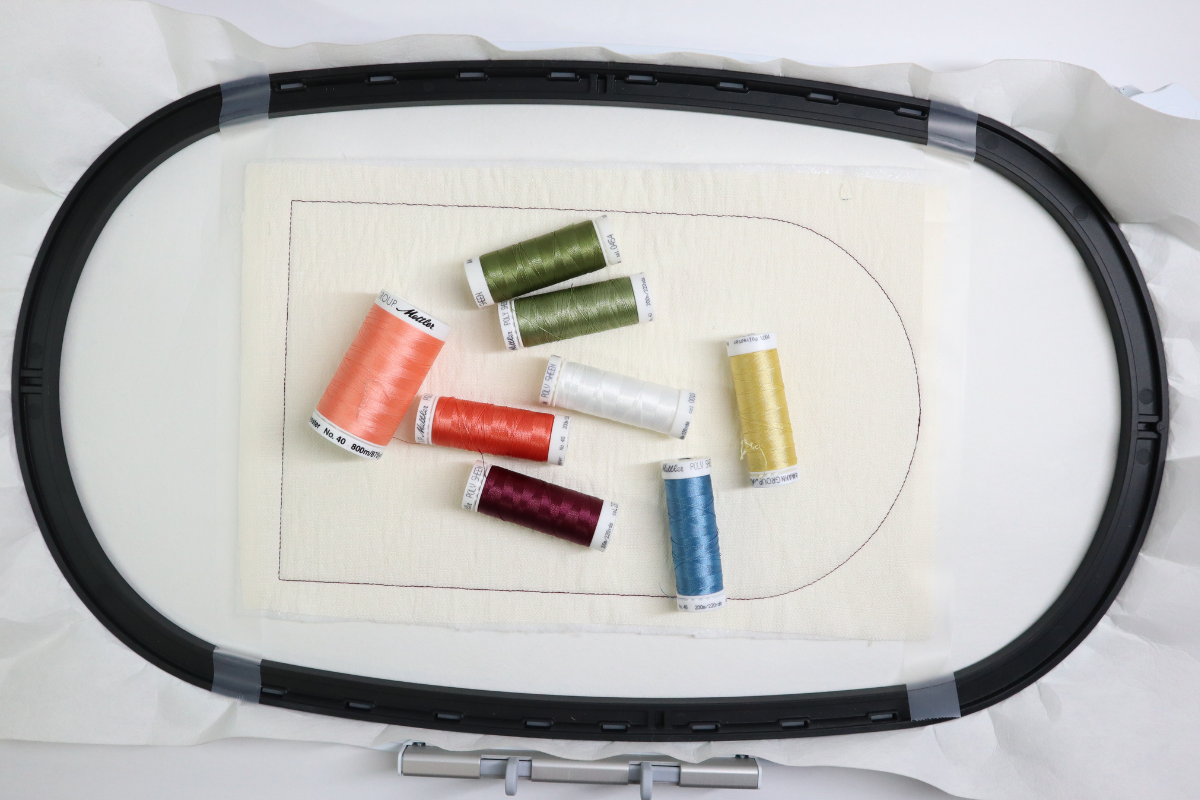
Thread
- 60 Wt Bobbin thread wound in a bobbin
- Mettler Poly Sheen machine embroidery thread:
- Dark Green 5934
- Light Green 453
- Yellow 506
- Peach 1532
- Blue 4032
- Wine 2333
- Salmon 1521
- White 10
- 6×12 Tabletop Stand
Supplies to Make the Love Blooms Tabletop Banner
- Maxi Hoop
- 5.5″ All-Purpose Craft Scissors from Sookie Sews
- EZ Hook n’ Snip from Sookie Sews
- EZ Point and Turner from Sookie Sews
- Schmetz Embroidery needle 75/11
- Point turner
- Iron/Pressing surface
- Clear adhesive tape
- FREE Love Blooms Here designs
Steps to Make the Love Blooms Tabletop Banner
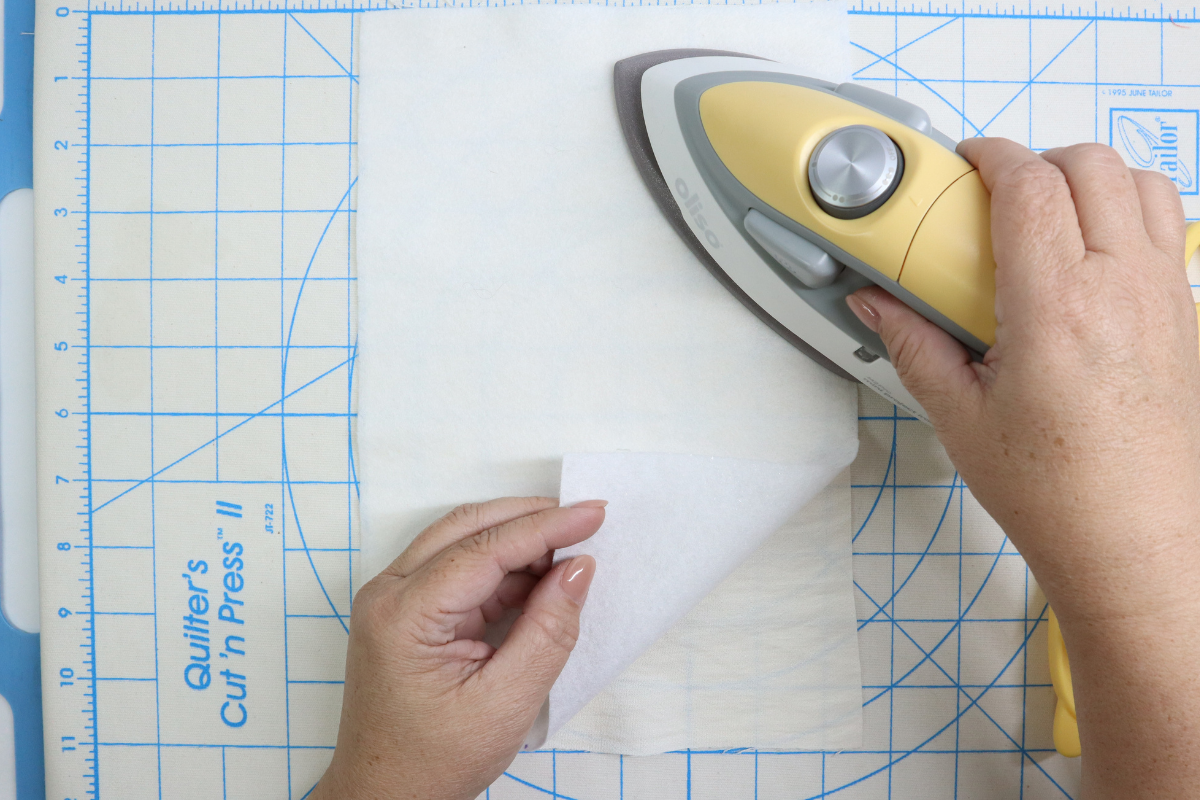
Press the Thin Fusible Batting to the wrong side of the Front.
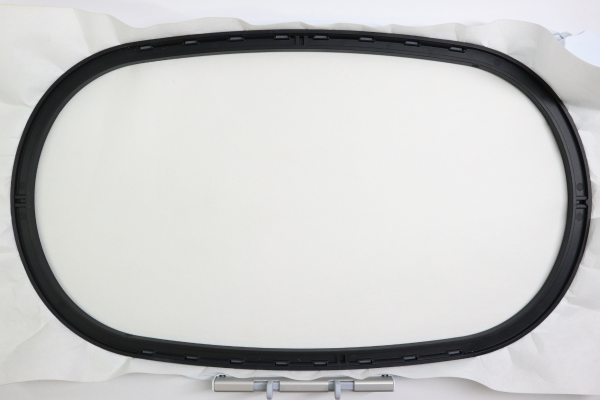
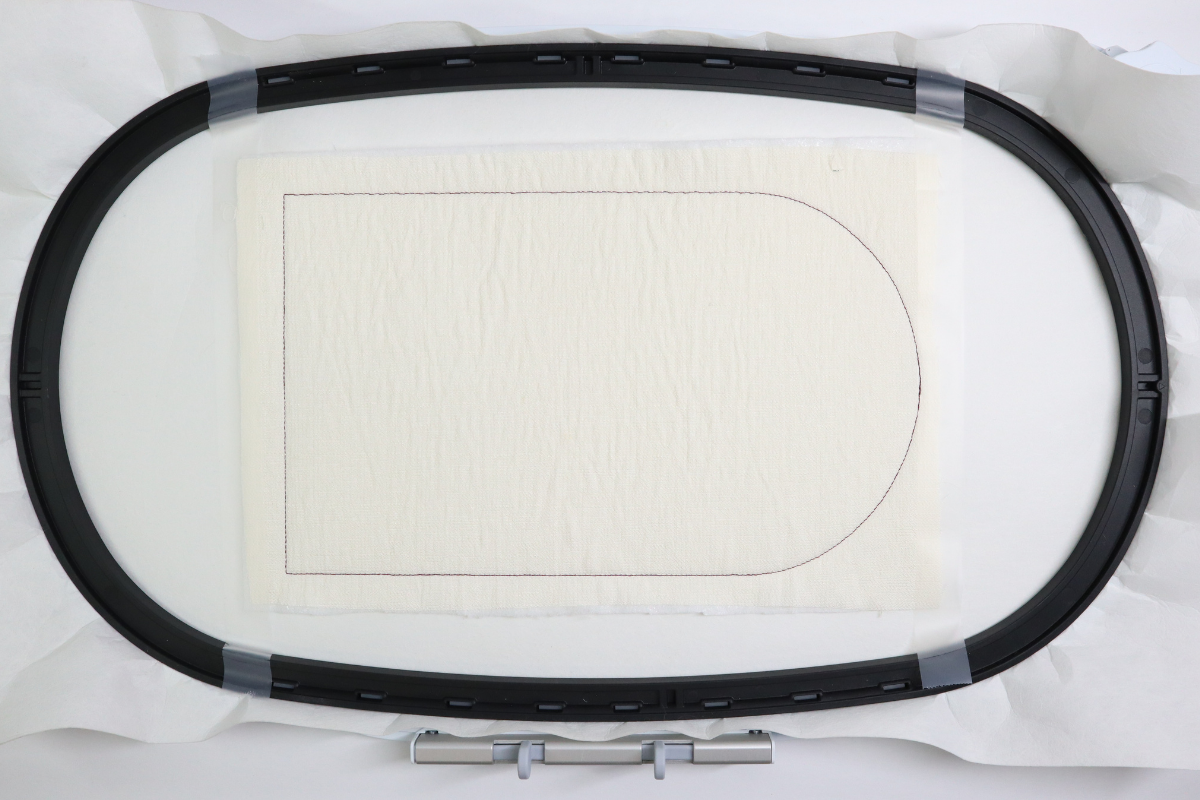
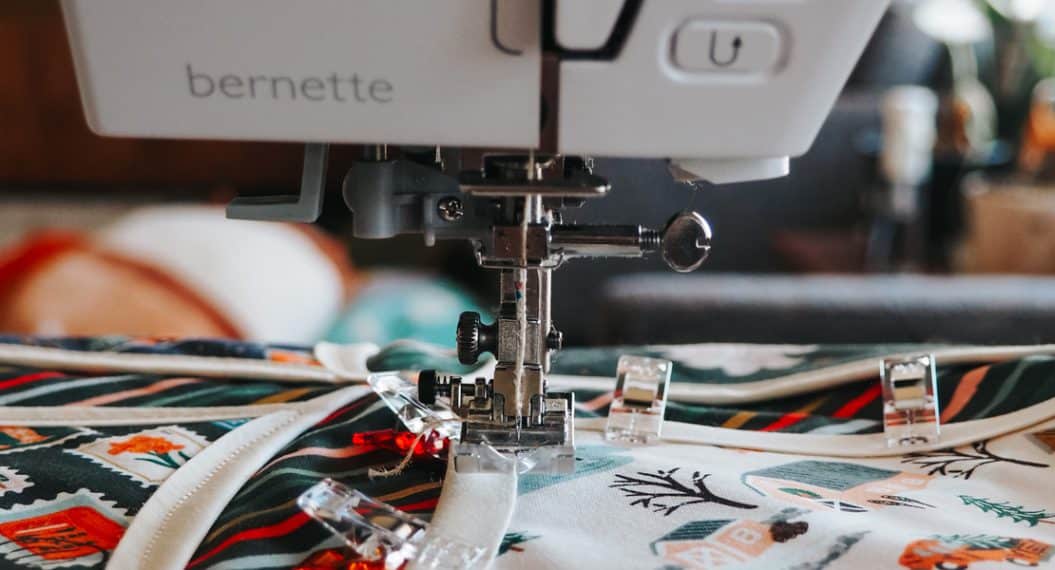
Hoop Cut-Away Stabilizer. Insert new needle. Thread top with thread to match fabric (darker thread used for demonstration purpose to show stitching). Insert 60 wt bobbin thread.
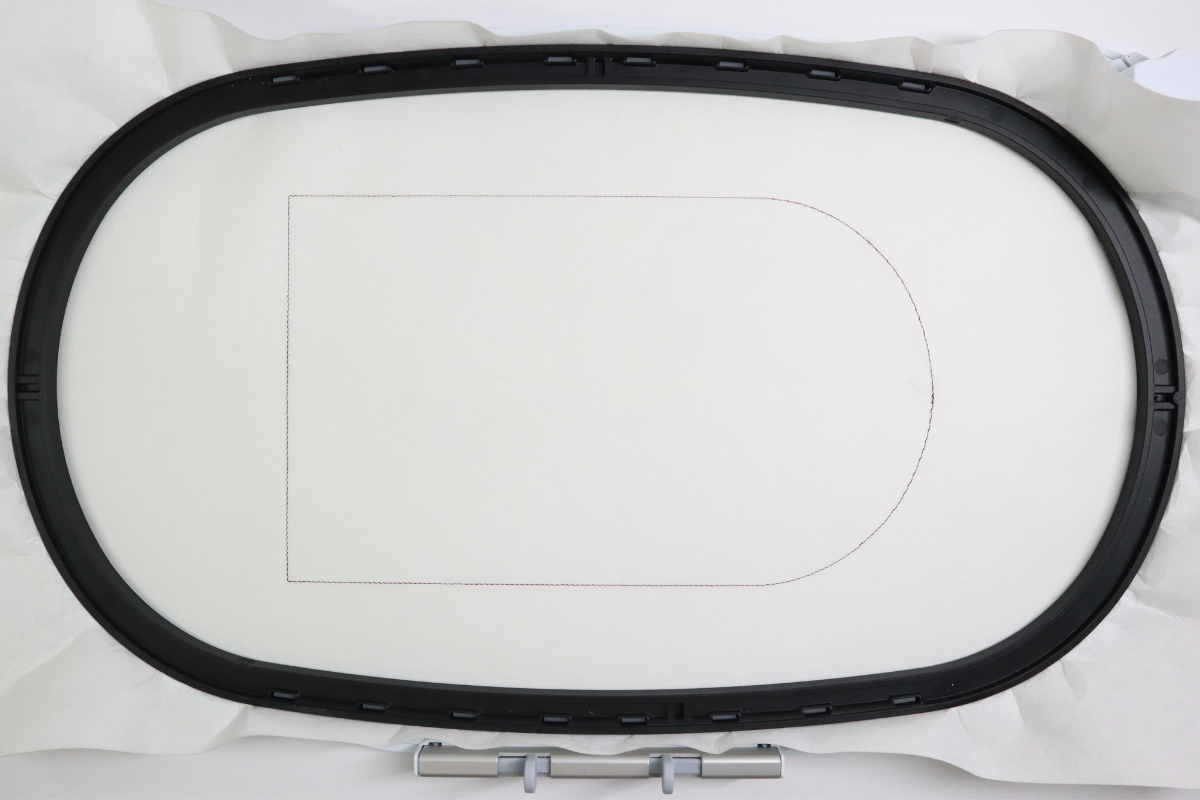
Insert hoop into the machine and sew Stitch #1, the positioning stitch.
Remove the hoop from the machine and place it on a flat surface. Place the Front/Batting right side up over the positioning stitch. Tape to secure in place along the top and bottom of the Front.

Insert the hoop into the machine and sew Stitch #2, the secure stitch.
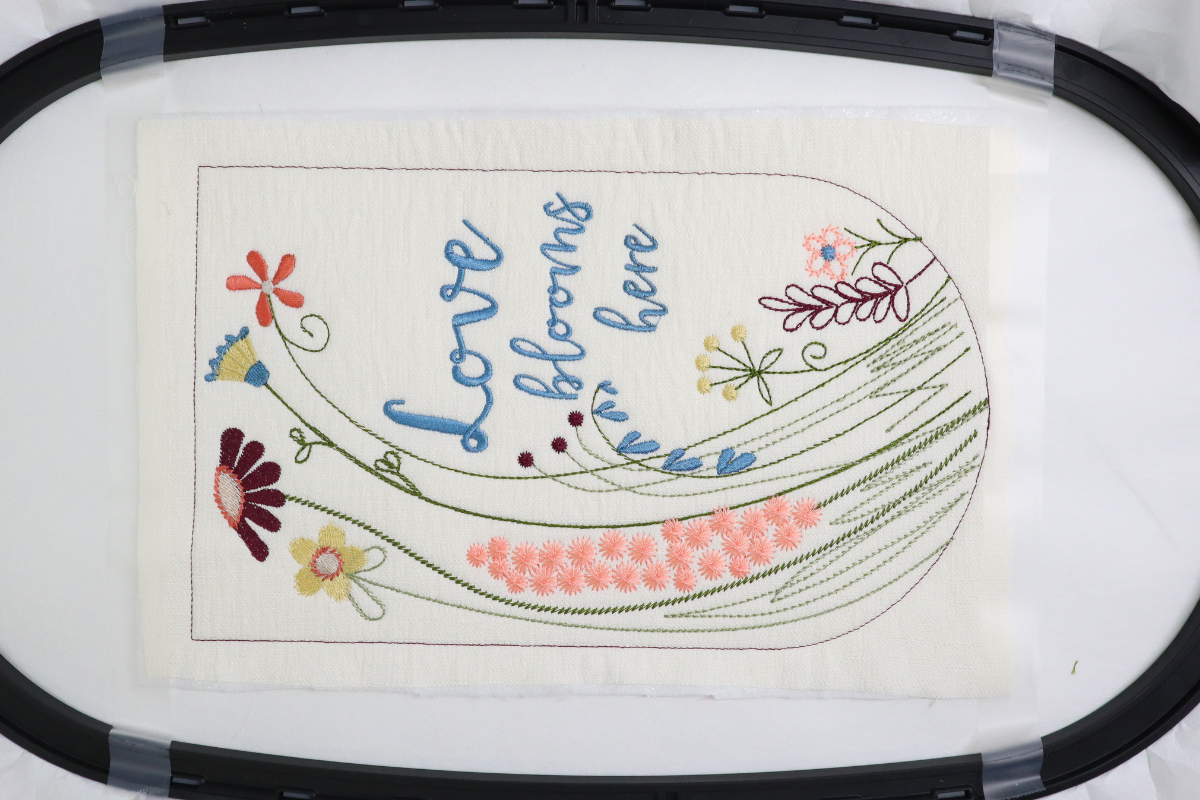
With the hoop still in the machine sew all the flowers and words, Stitch #3-11.
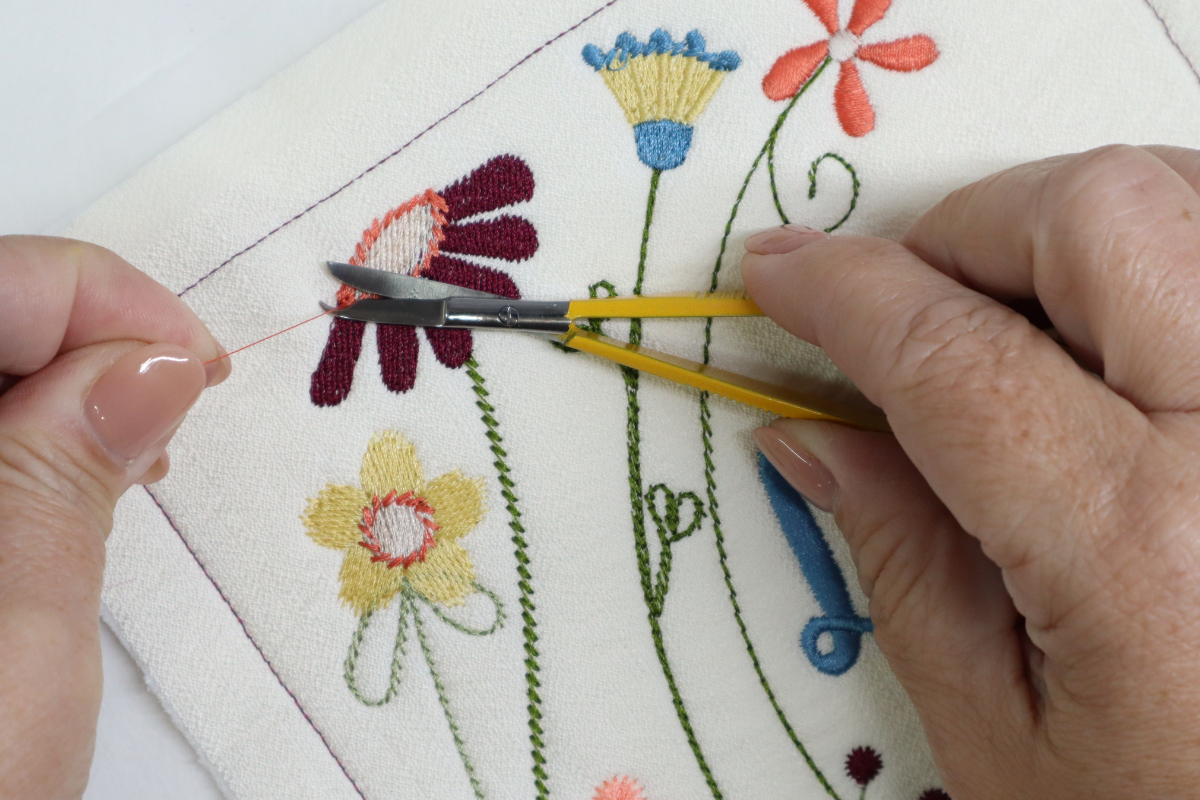
When finished stitching the flowers and words, remove the hoop from the machine and place it on a flat surface, use EZ Hook n’ Snips to clip any jump threads.
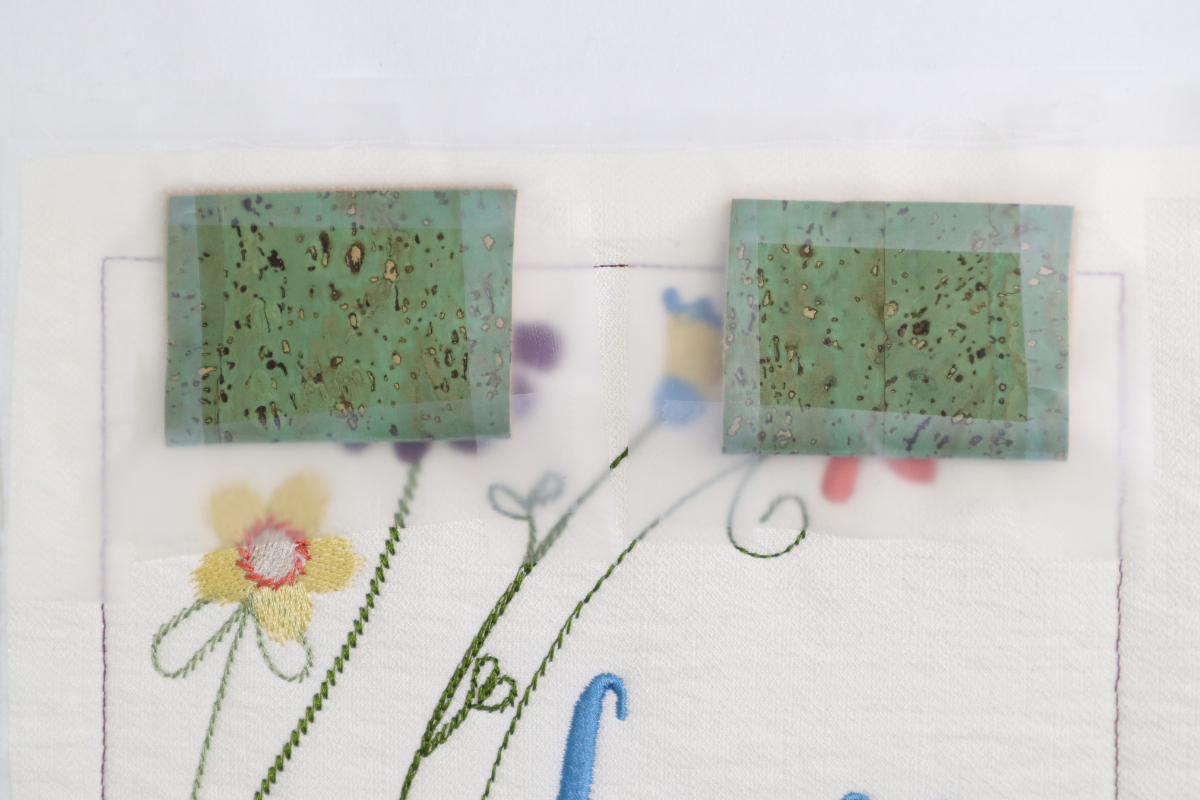
Fold one cork loop wrong side together heightwise.

Place the two raw edges 1/2″ over the top line of the secure stitch and 1/4″ from the upper right corner edge. Tape to secure in place.
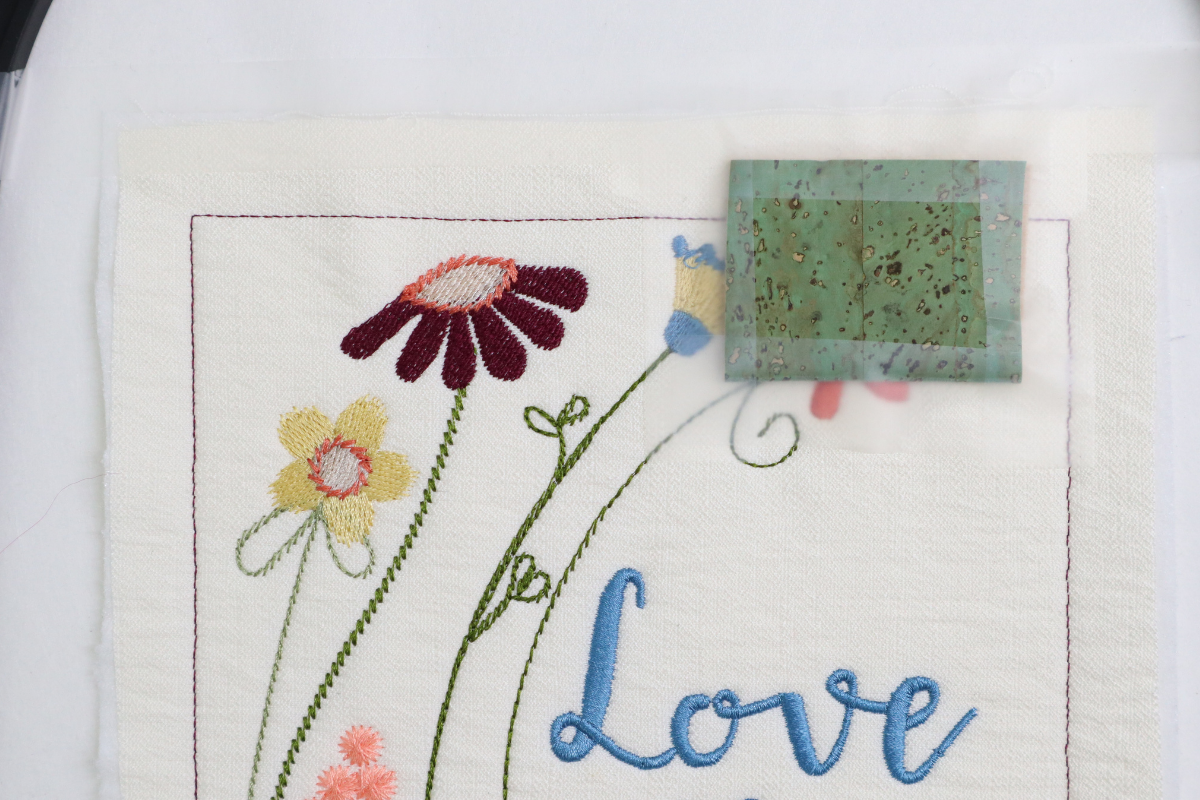
Repeat the other loop on the upper left corner edge.
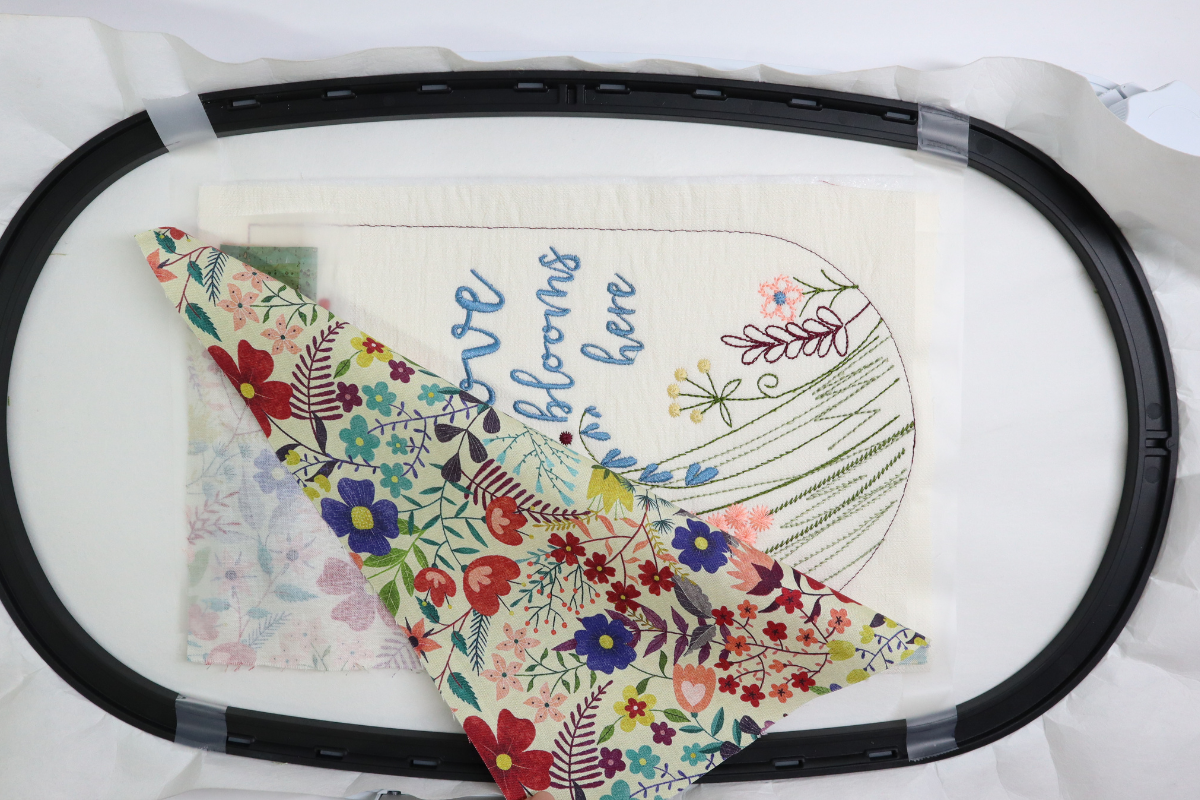
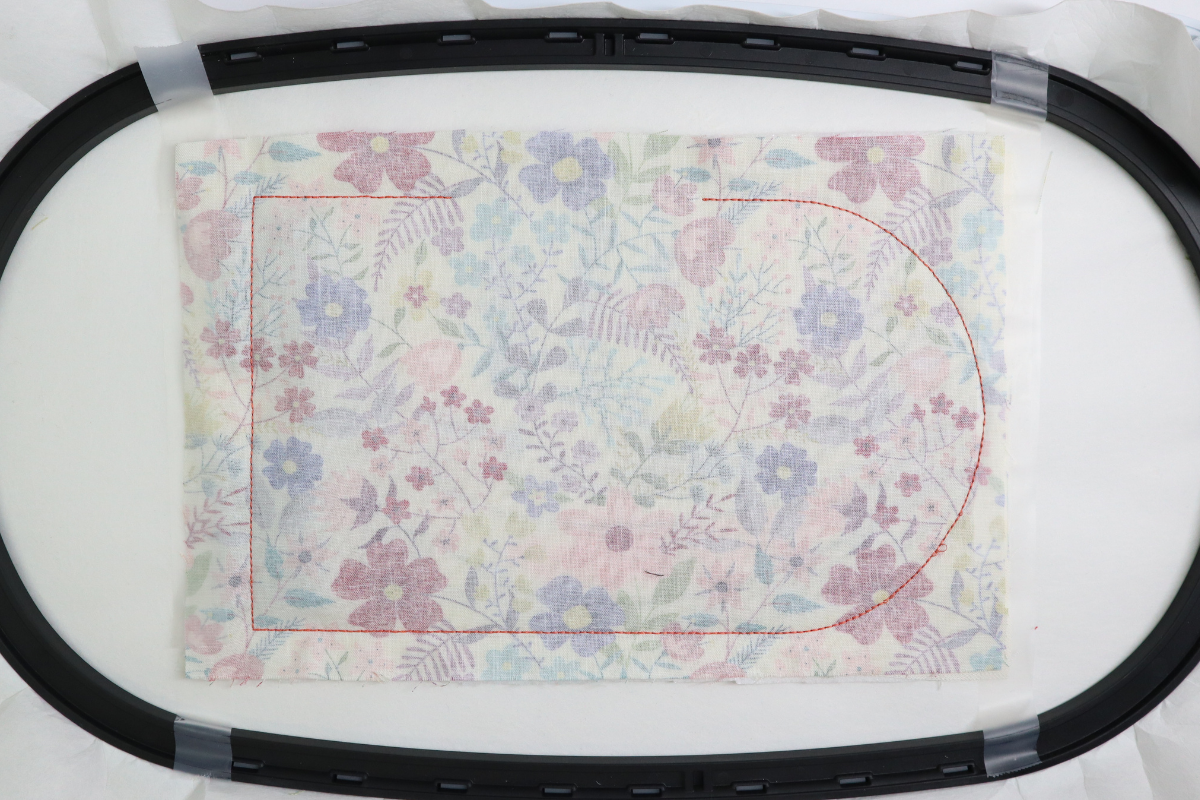
Place the Back right side together over the Front, secure the top and bottom with tape. Sew the final stitch, the construction stitch.
When finished stitching, remove the hoop from the machine and the materials from the hoop.
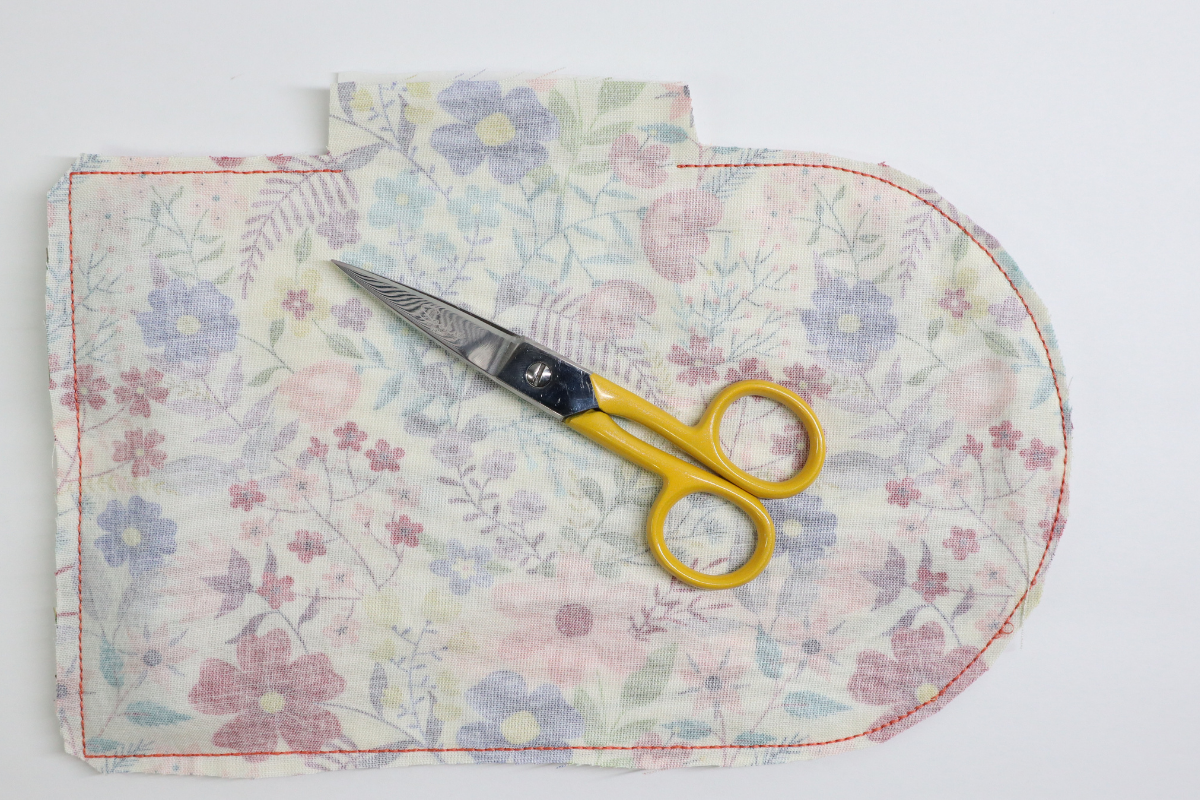
With the All-Purpose Craft scissors cut 1/4″ around the entire outside except leave 1/2″ for the opening. Miter the corners.
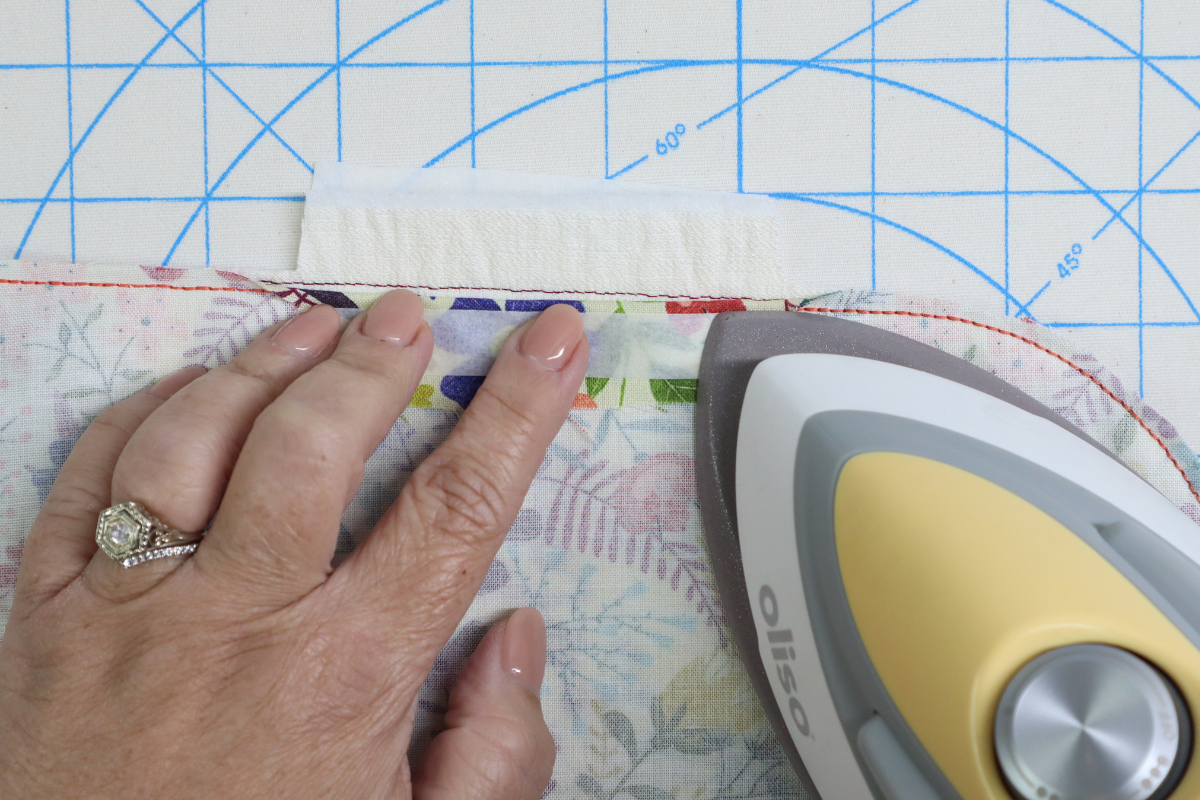
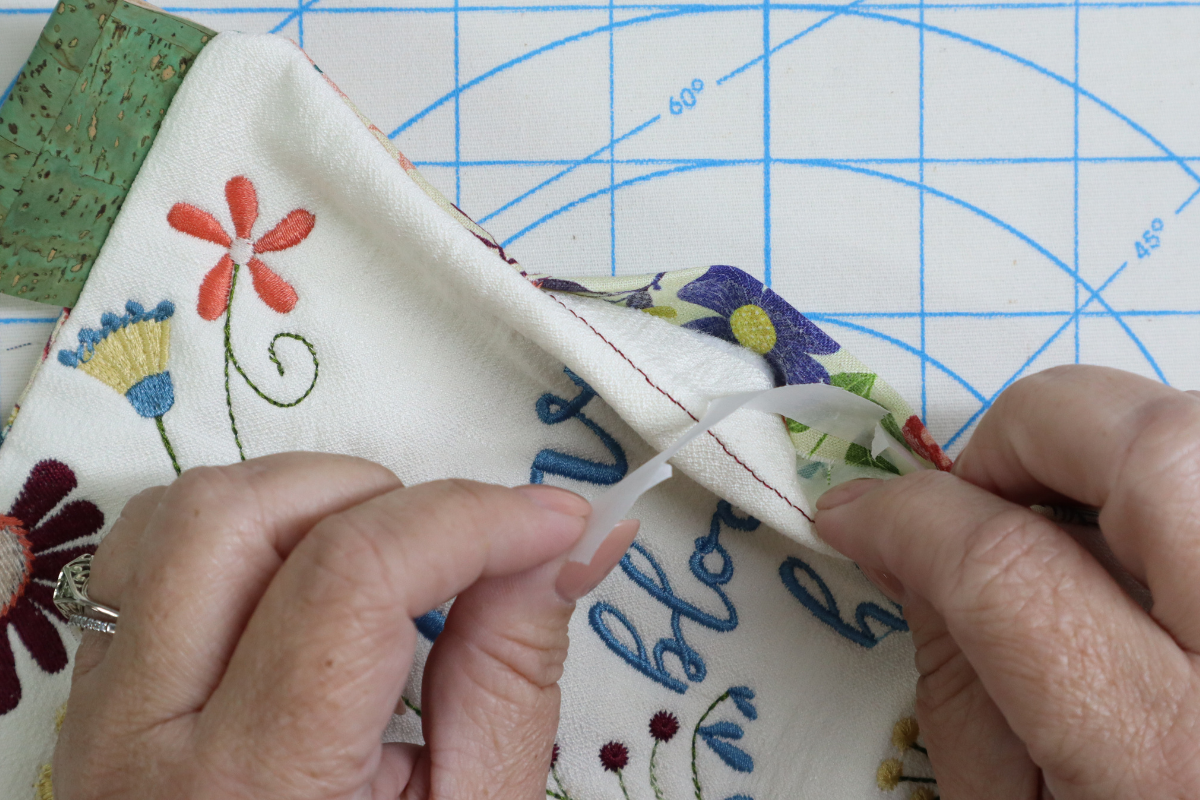
Before turning the Banner right side out, fuse a piece of Fusible Web on the Back opening seam allowance.
Use the EZ Point & Turner to turn the Banner right side out.

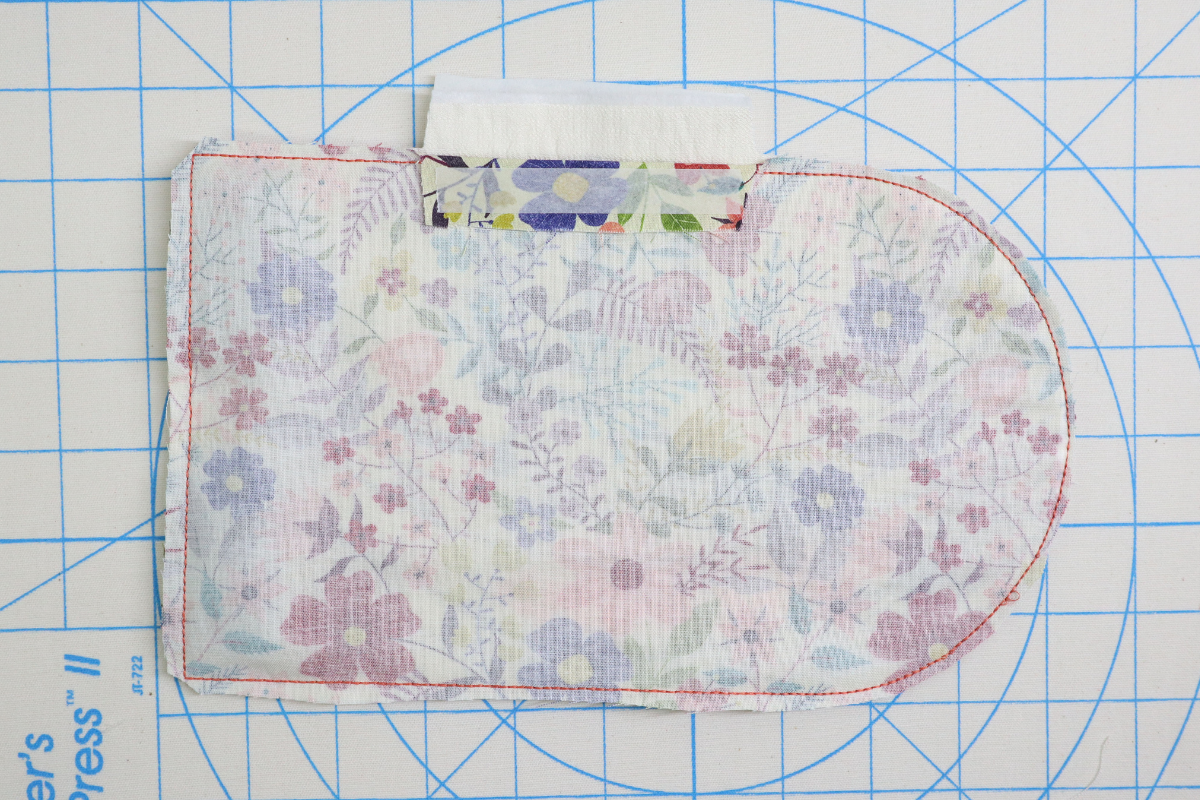
Remove all tape and the paper from the Fusible Web.
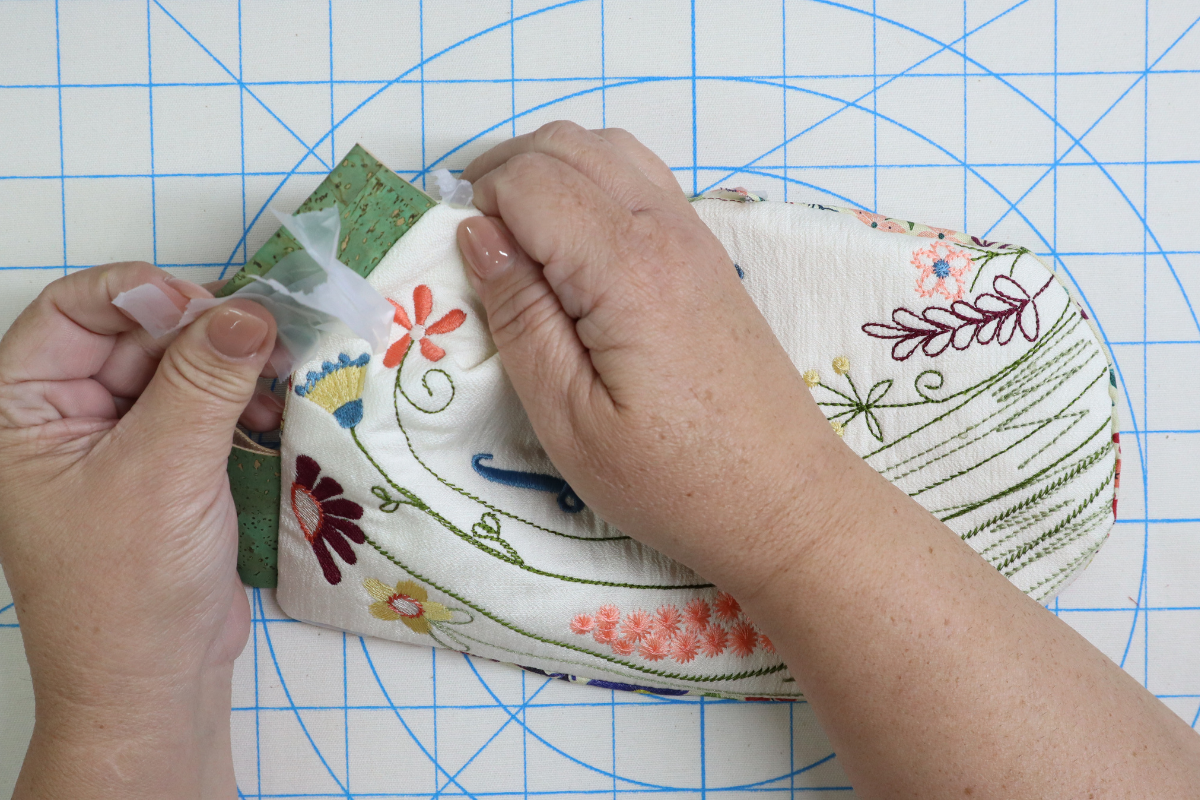
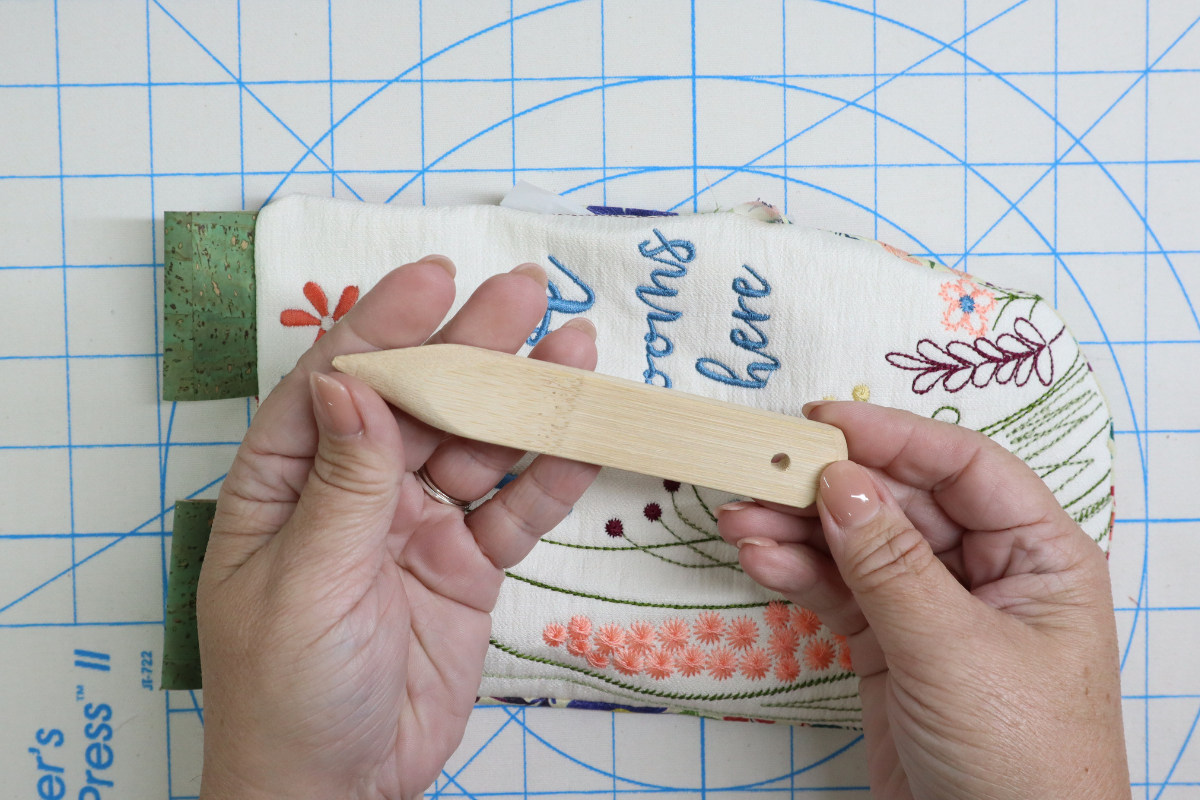
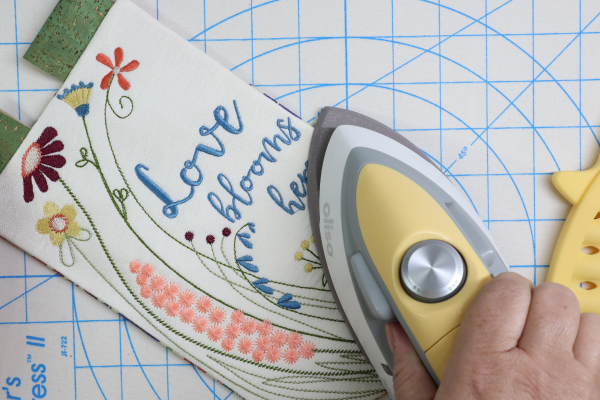
Use the point turner to get nice crisp corners and give the entire banner a good press.
Hang on the Tabletop Stand! When you make yours, please share a photo and be sure to tag me @SookieSews and @BERNINAUSA when you do!!
.
Used Products

What you might also like


32 comments on “How to Make the Love Blooms Tabletop Banner”
-
-
Thanks so much!
-
-
Where do we download the love blooms embroidery?
-
Hello! The designs are linked at the bottom of the supplies list: FREE Love Blooms Here designs
This should download as a .zip file containing the designs.
-
Where did you find the download? looking for it but unable to find.
-
-
Will this pattern work on any machine
-
So I’m here on this website and I can’t find how to get this free pattern I see the instructions and material list and the video but I don’t see how to get the design to embroider or is that not free
-
Hello! The designs are linked at the bottom of the supplies list: FREE Love Blooms Here designs
This should download as a .zip file containing the designs.
-
-
Where is this design? I just love it. Mary
-
Hello! The designs are linked at the bottom of the supplies list: FREE Love Blooms Here designs
This should download as a .zip file containing the designs.
-
thank you
-
-
-
Where do you get the embroidery pattern?
Machine embroidery?-
Hello! The designs are linked at the bottom of the supplies list: FREE Love Blooms Here designs
This should download as a .zip file containing the designs.
-
-
Thank you very much for the free Love Blooms design .
-
How do I save the instructions?
-
I have a Bernina 590, it looks like I’m not able to make this Right? Or will the “maxi” hoop work on my machine???
Thanks so much!-
The Midi hoop is compatible with the B590 and the design should fit.
-
Is the Q570 compatible also? I have the Tula model with embroidery.
-
-
-
Where do I find the love blooms to download?
Claudia Reed
[email protected]-
Hello! Here is the link to the download: Love Blooms Download
We’ve also added a button at the top of the post. We hope this helps!
Happy stitching!
-
-
THANK YOU
-
You’re welcome
-
-
is a PES file available?
-
I got it stitched out, just don’t know how to send the picture.
-
Oh you can post it on Social media and tag both me @sookiesews and @BERNINAUSA
Can’t wait to see
-
-
It’s a pretty design, too bad no .art format since you digitized in V9.
-
I have a 790+, do I have to have the V8 software to stitch out? Or can I download and it will automatically stitch out? I DO NOT have the V8 software. Thank you!
-
this is lovely, I would like to try it. What is the size of the Maxi Hoop? I have a Bernina Q570, the Tula Pink model. I have only two hoops however and was not sure this would fit? Can I do this on this machine?
Thanks for your help. -
I have downloaded and deleted this lovely design multiple times. There seems to be no art format which I find strange because I own a 700e Model Bernina machine which will only accept the art. format and this We All Sew website is linked to Bernina. Could you please clarify if another one of these formats will work on my Bernina 700e machine.
Thank you,
Nancy -
I am excited to stitch this out for a housewarming gift. Thank you.
-
I just stitched this out and love it but noticed that mine did not stitch the Salmon 1521 outline around the two flowers in the upper left corner. I went back twice and looked and it’s not there in the file. Why is mine different? I am using the .Exp format. Thanks!
-
I fixed the issue. For some reason, it skipped the last step, but I went back, located the last step and it stitched out fine. Thank you for his beautiful design!
Leave a Reply
You must be logged in to post a comment.

It is beautiful – – – as always from you 🙂
I will stitch it out this upcoming weekend for my kitchen door. Thank you Sue. Julie