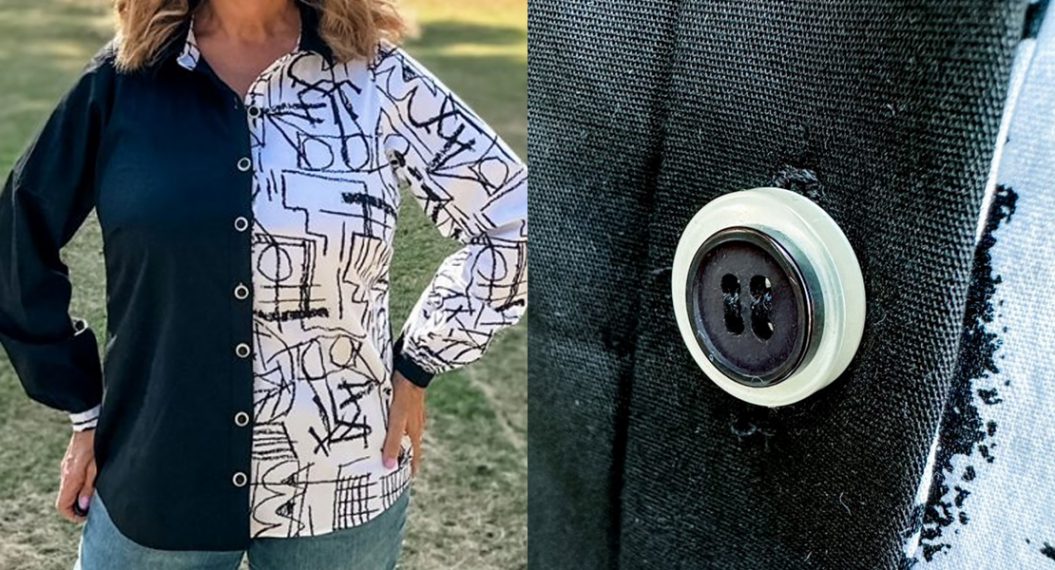
How to Sew a Faux Button Placket
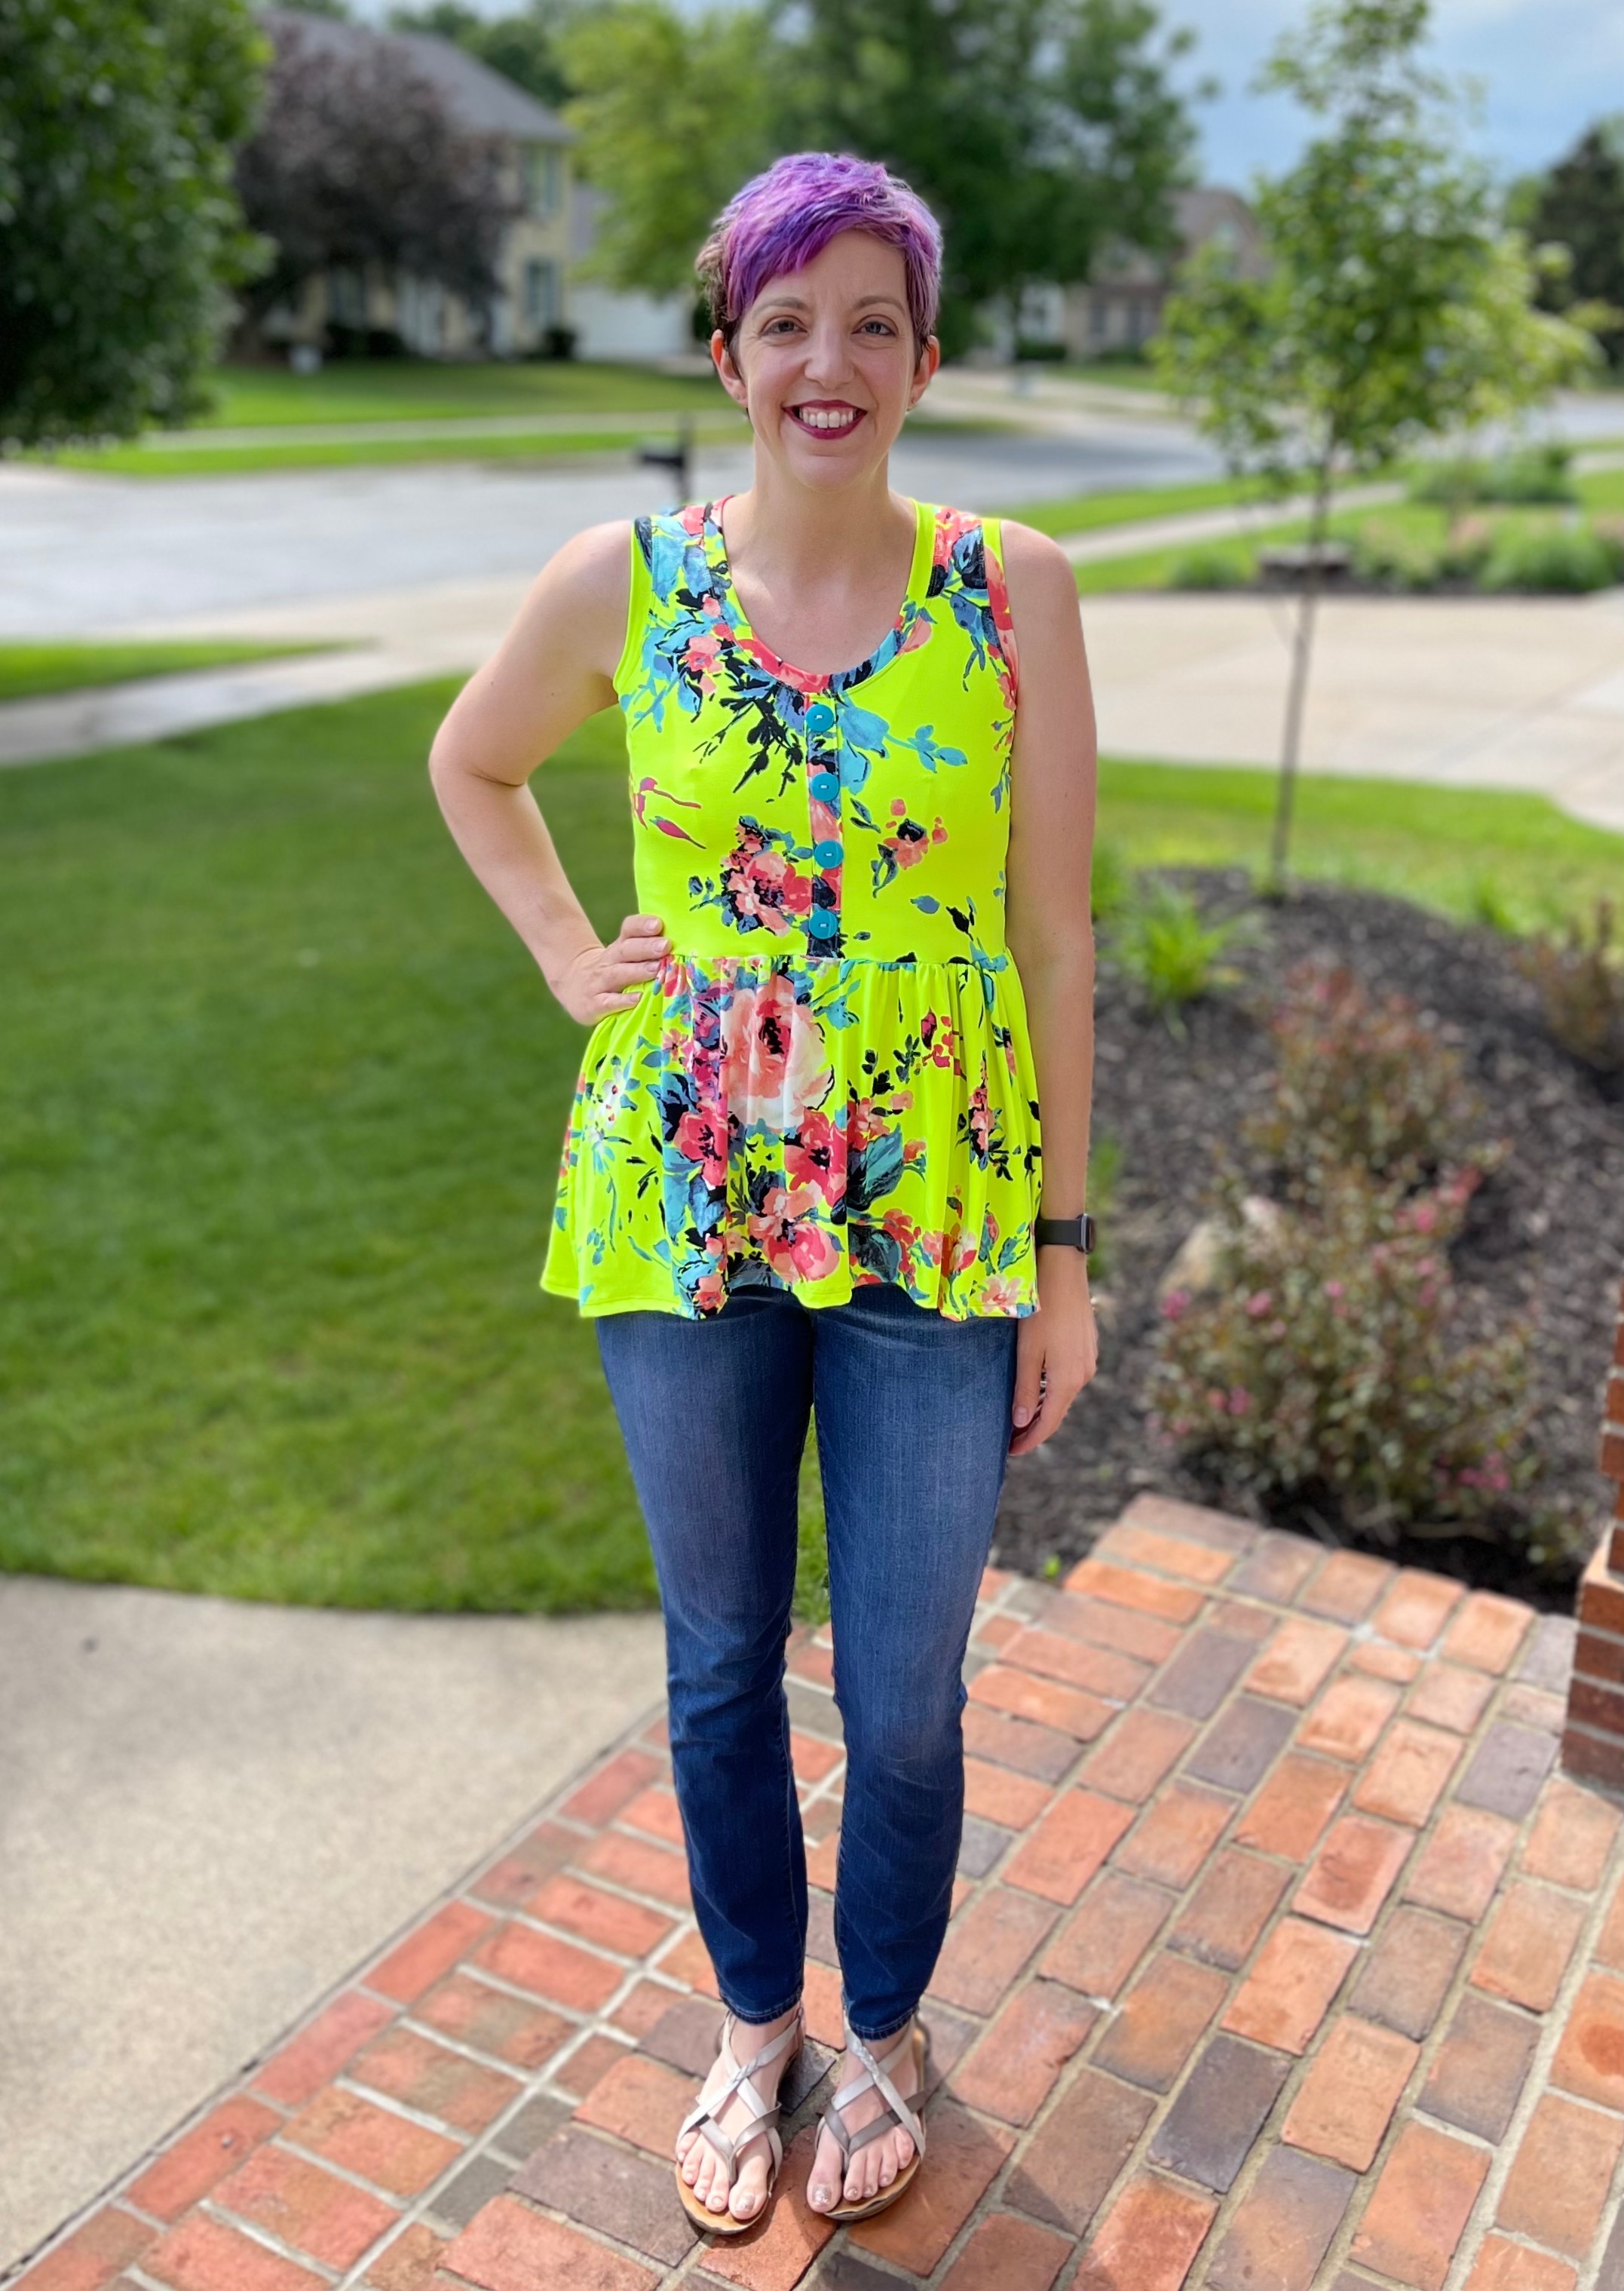
Today I’ll be showing you how I sew a faux button placket to the bodice of any peplum top. I love the look of a button front placket on a peplum top, but now that my babies are growing and I’m no longer breastfeeding, I don’t actually need a functional placket. A faux placket is easy to add a little something extra to the shirt design.
Steps to Sew a Faux Button Placket
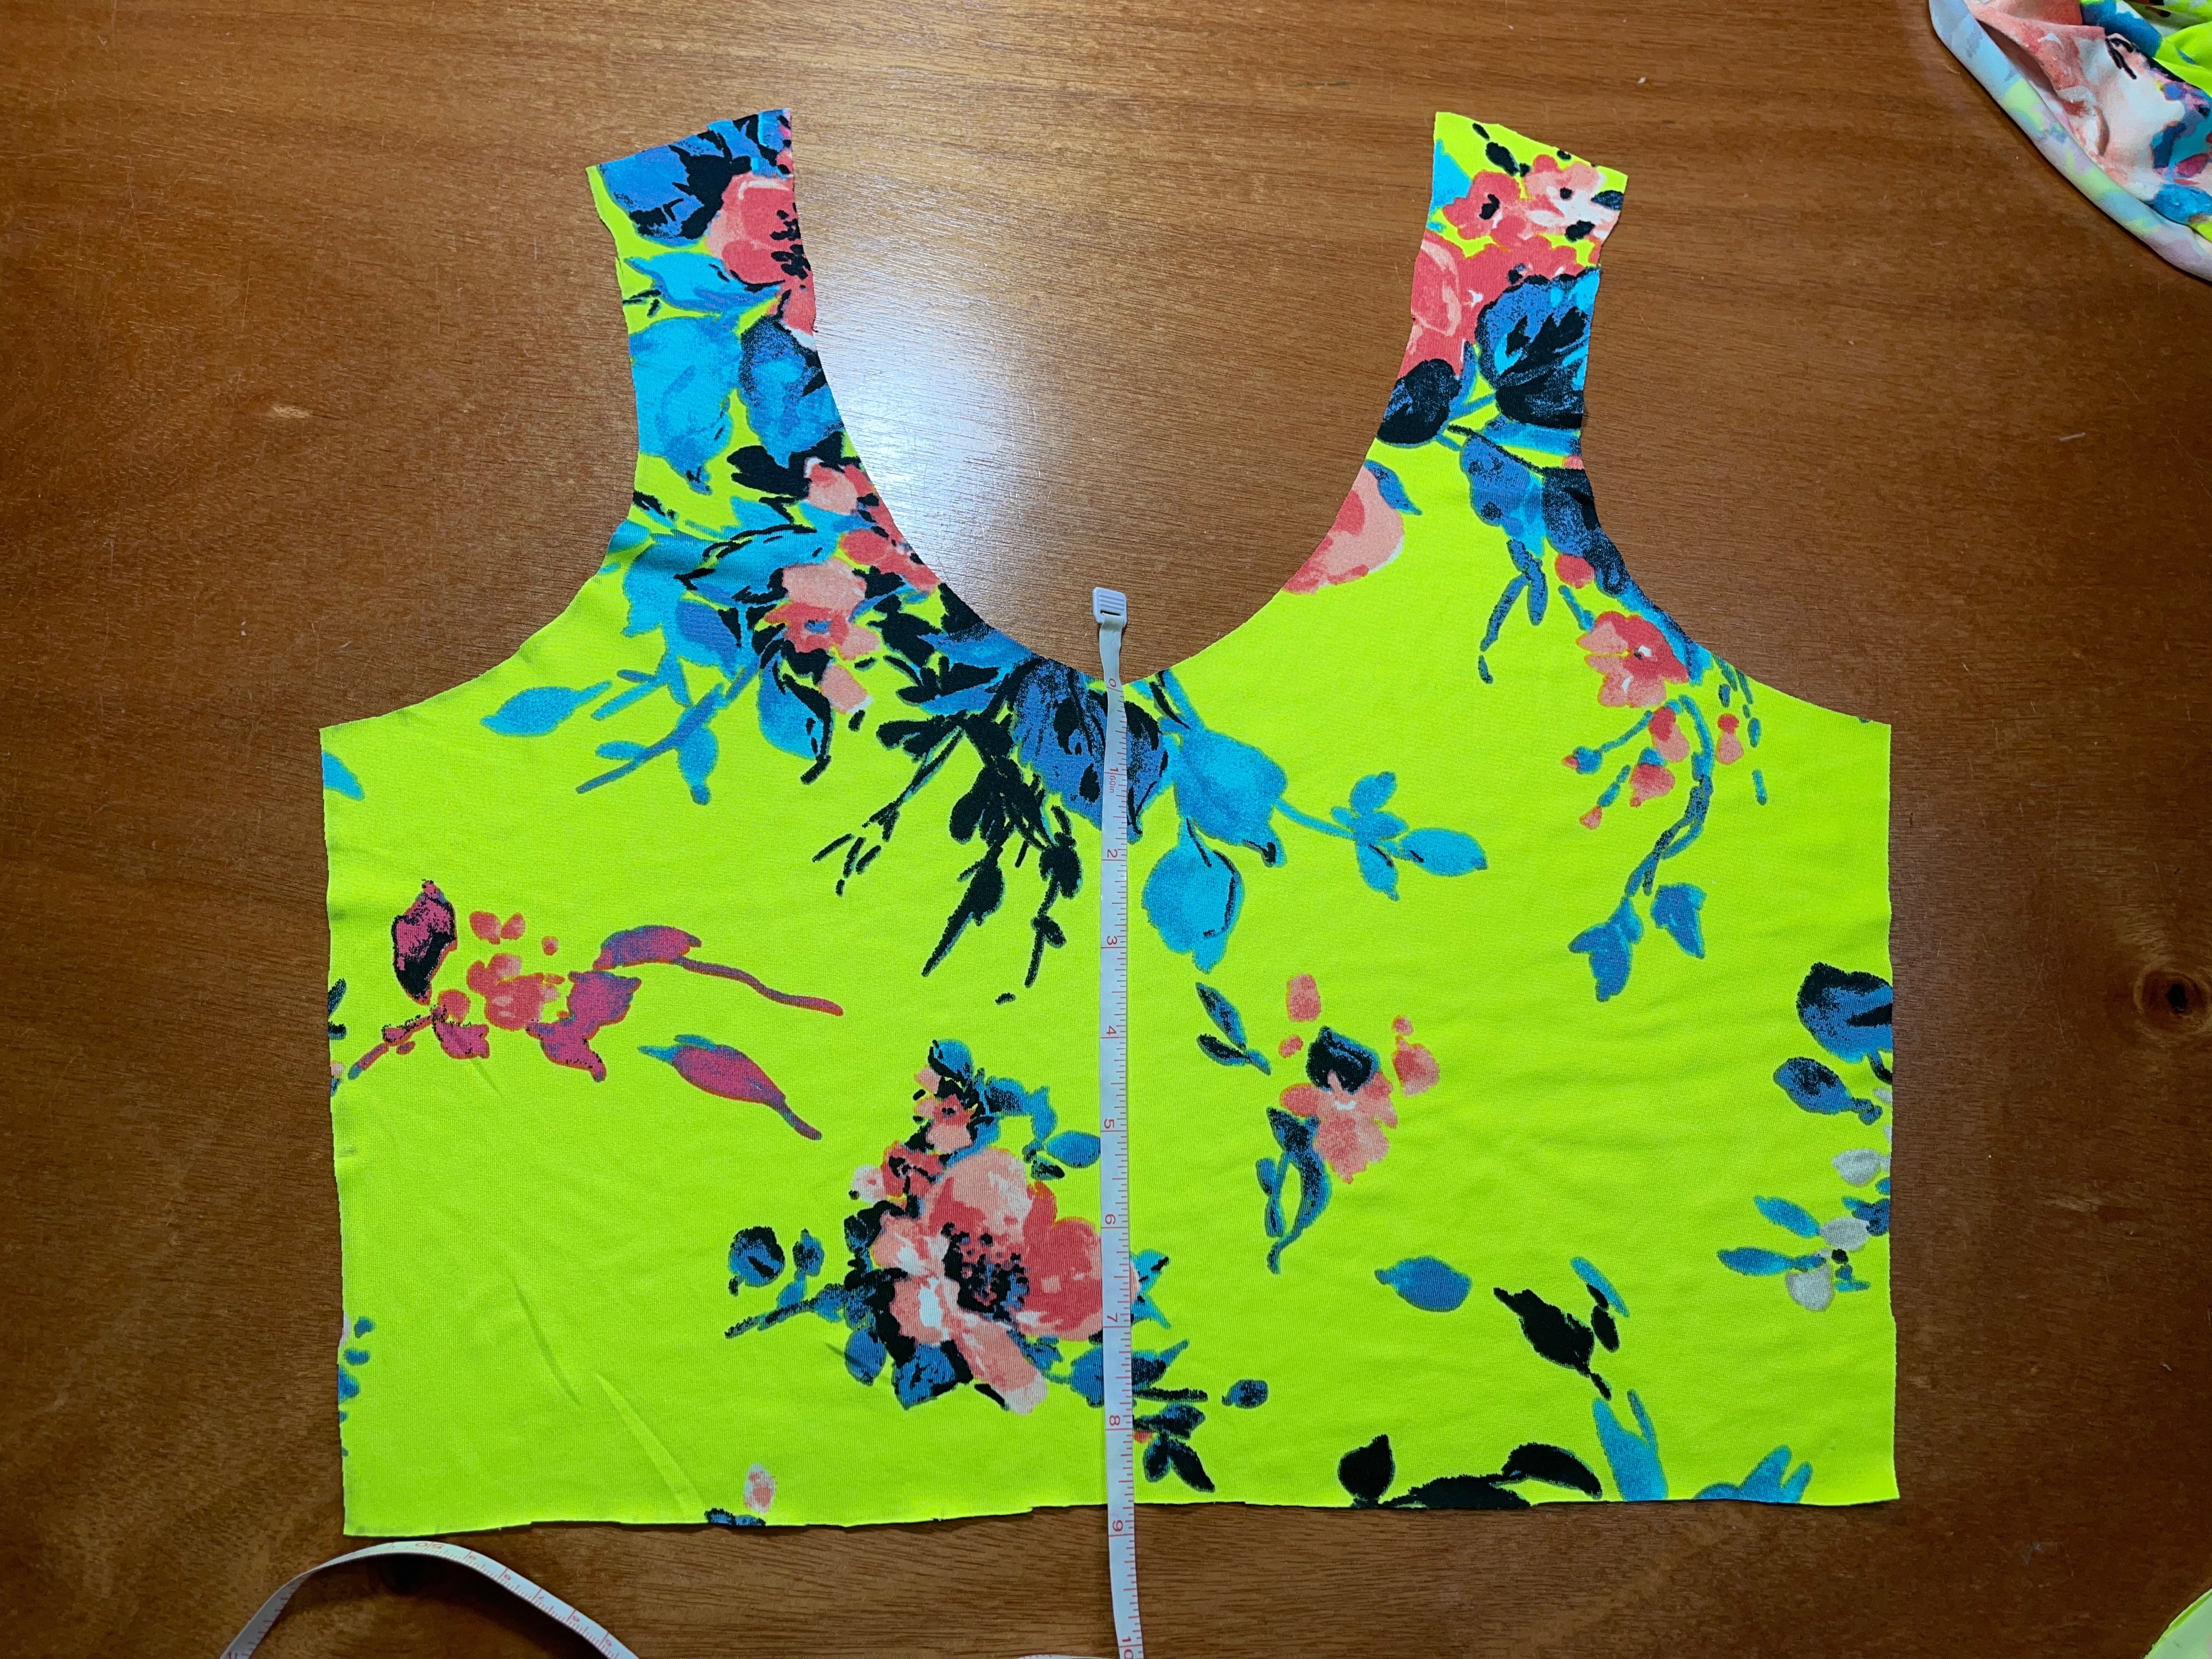
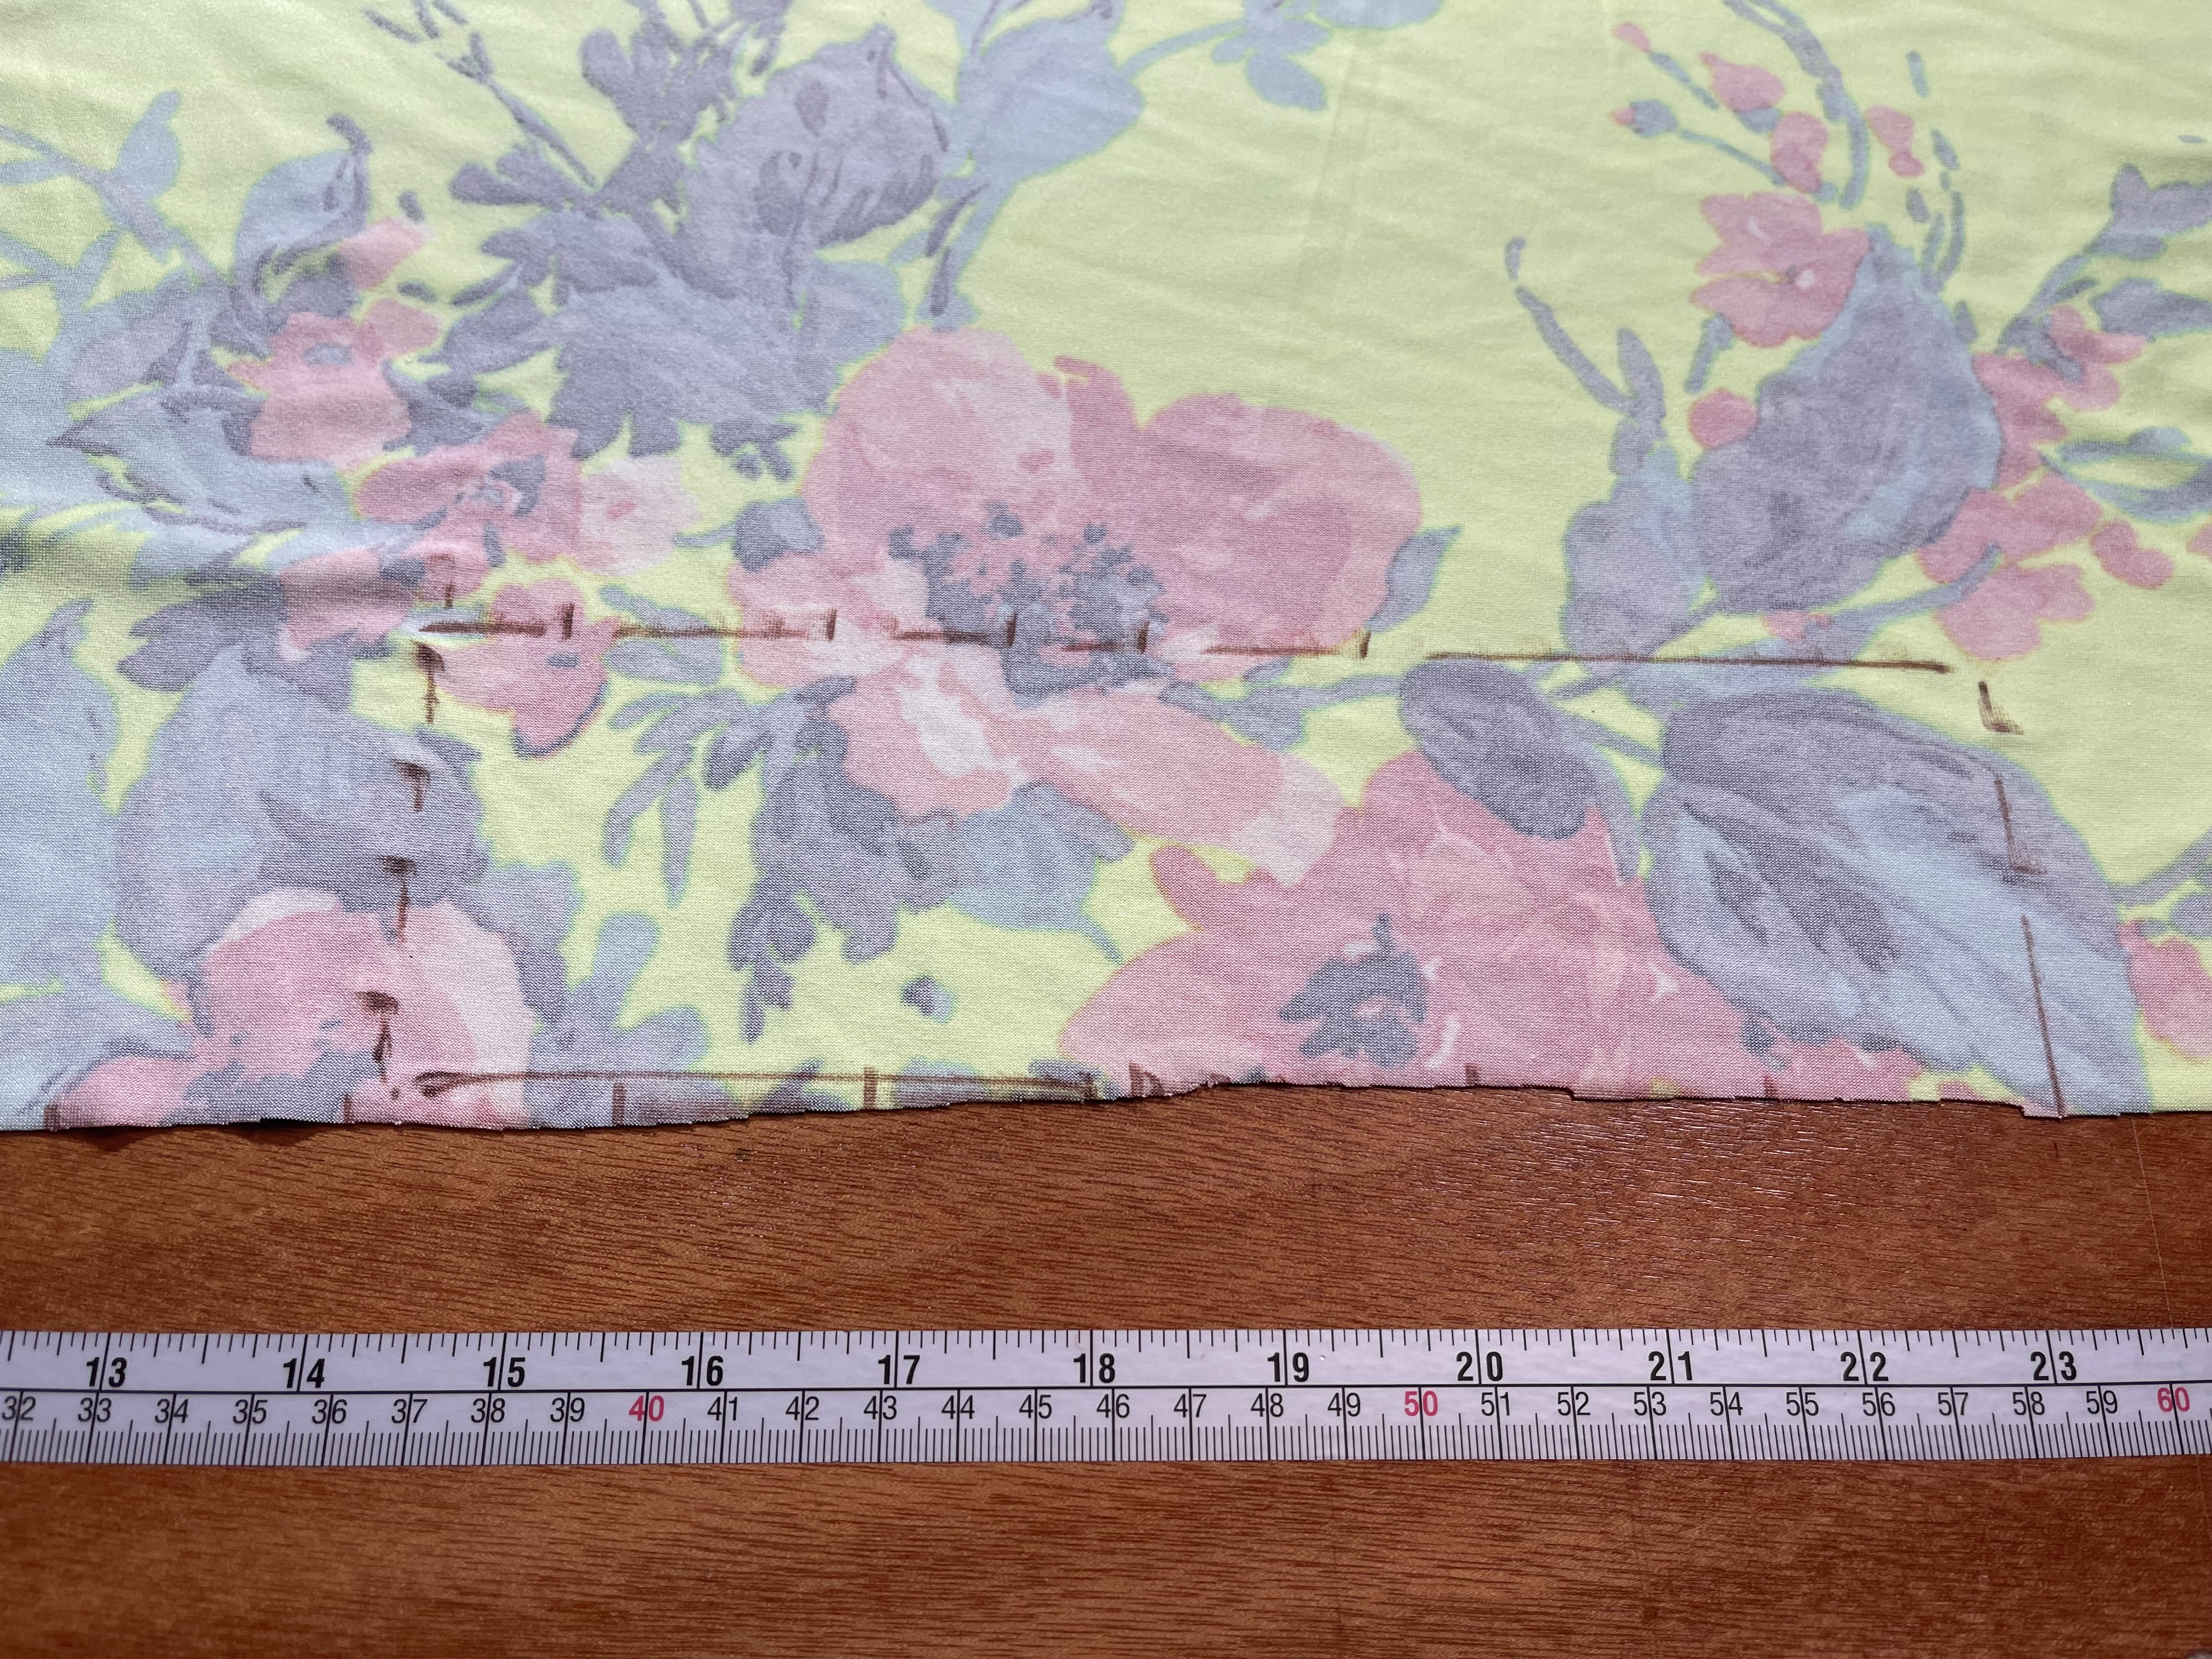
Step 1. Measuring Your Bodice
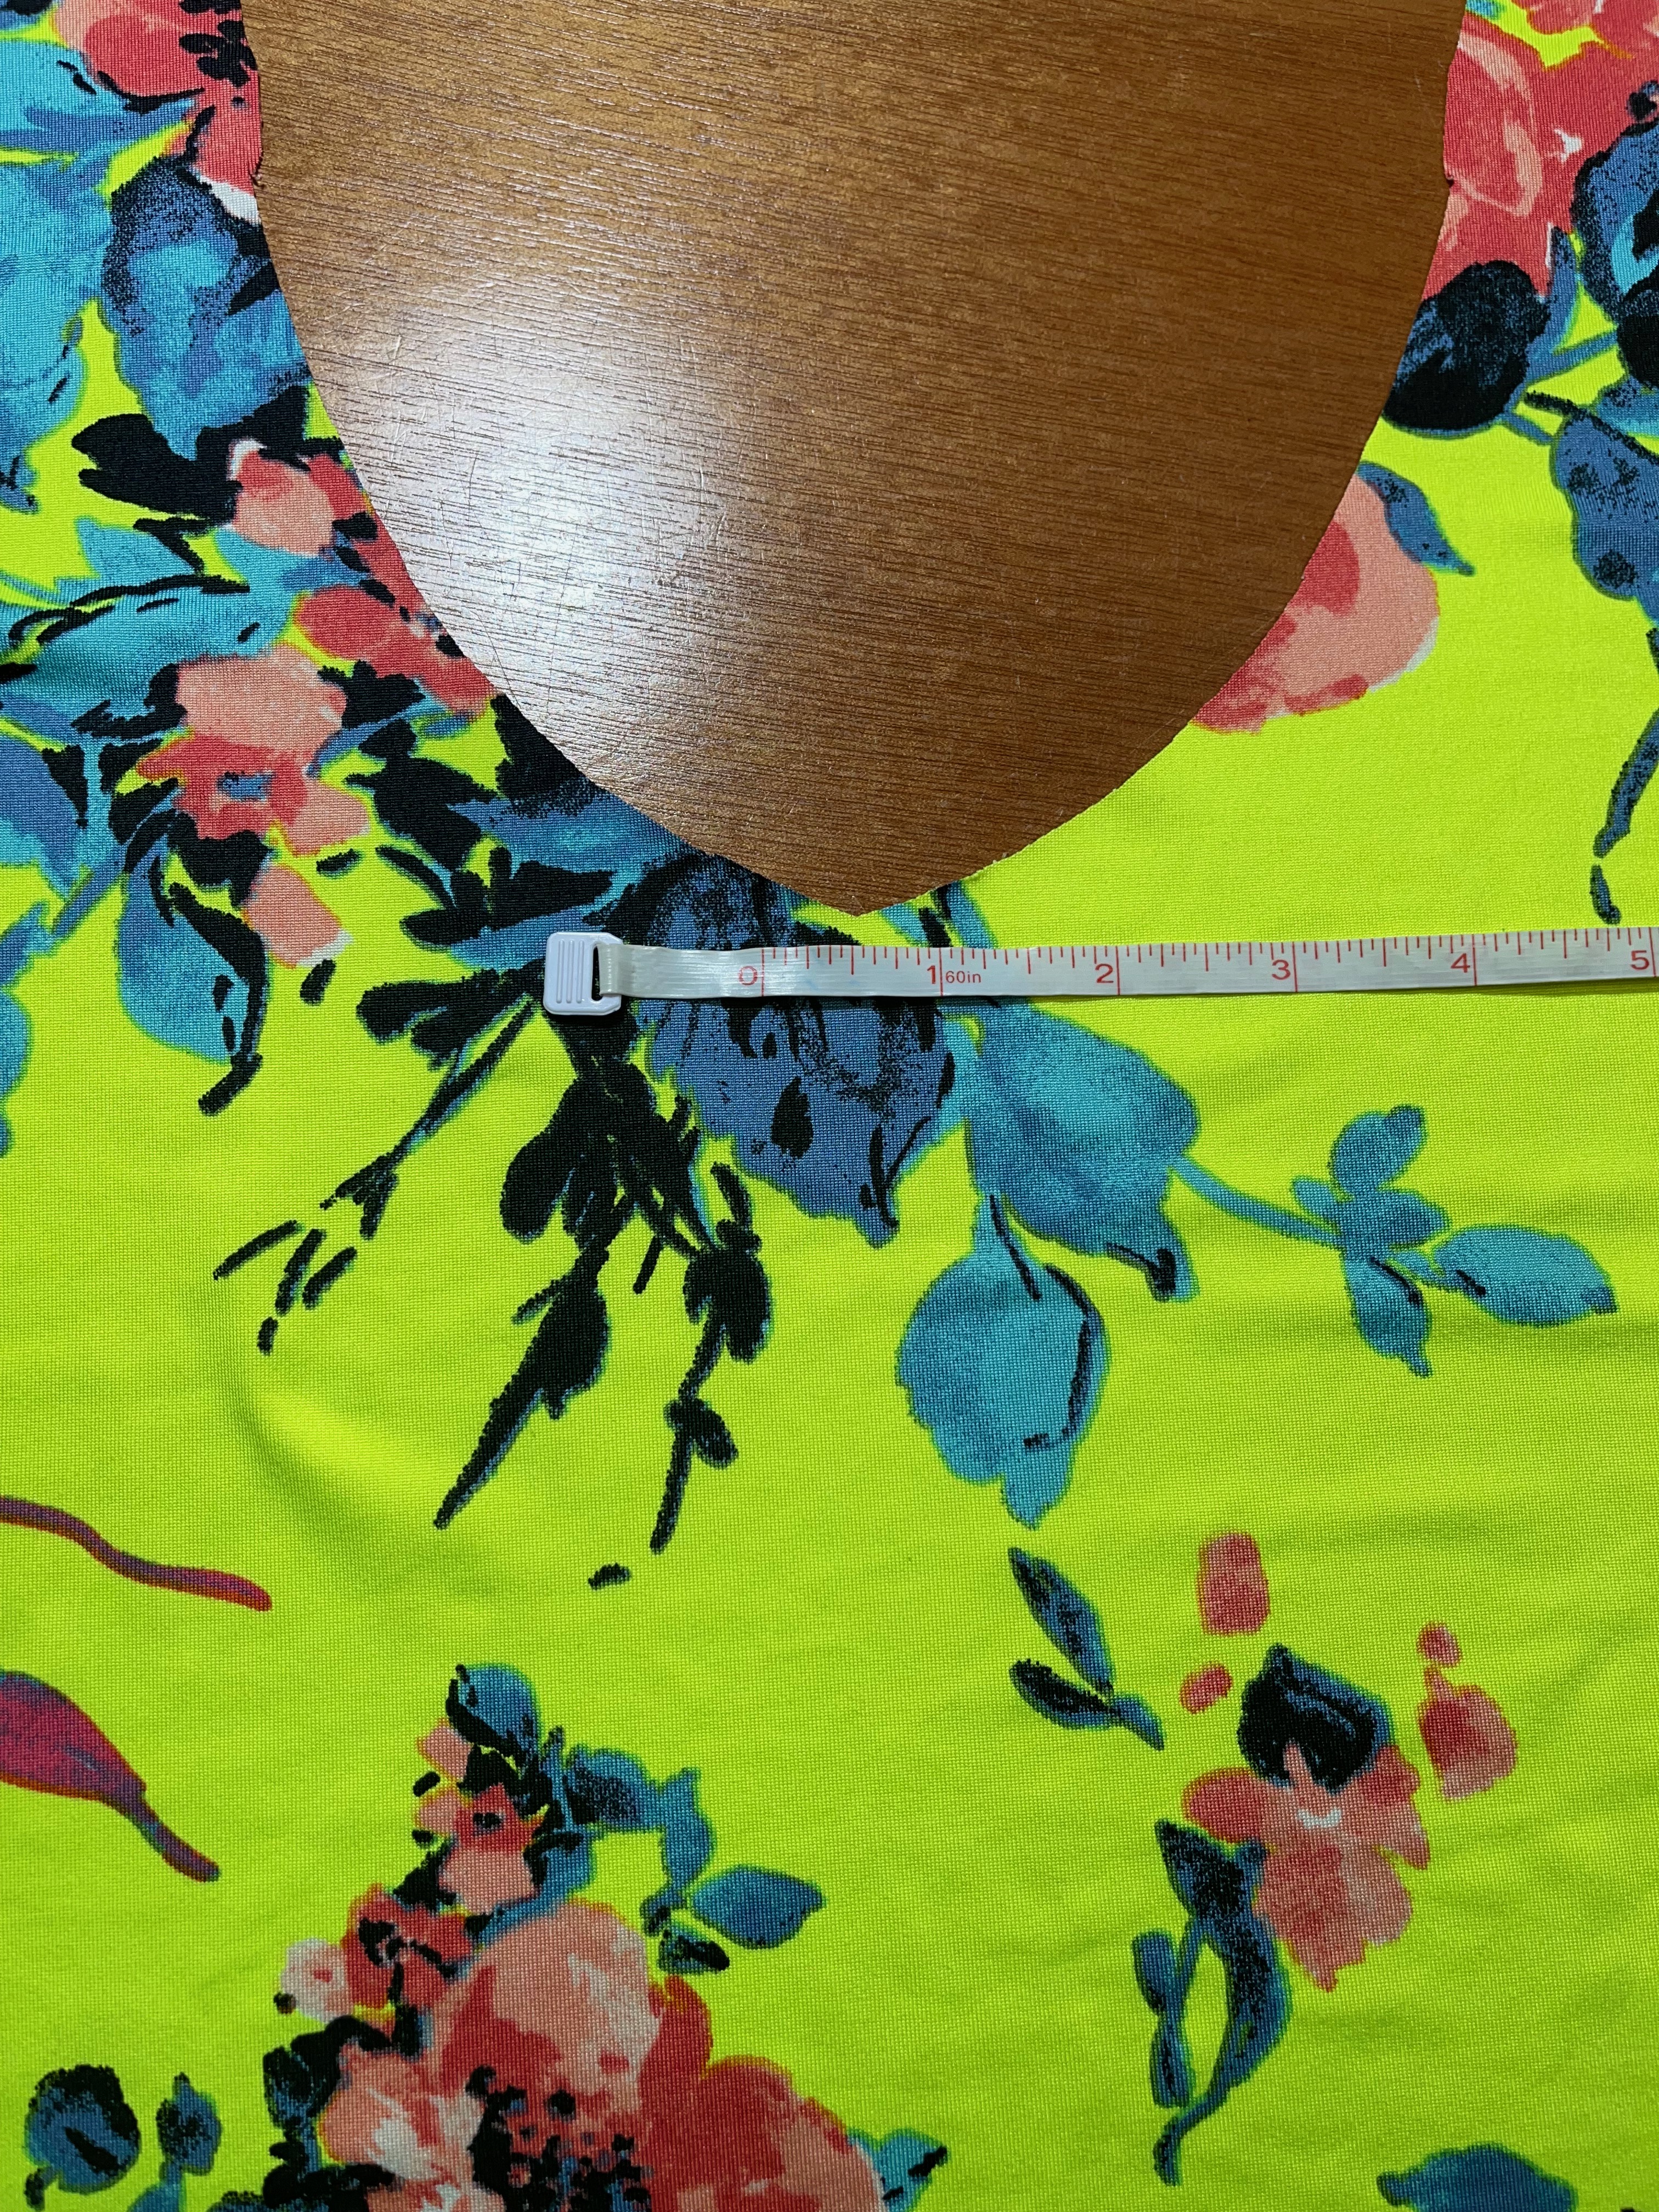
To start you will need your front bodice piece cut out and laid flat. You will measure the center front from the neckline to the bottom of the bodice. Mine measures almost 9 inches. Next, you’ll need to decide how wide you’d like your finished placket and then do a little math to figure out how wide you’ll need to cut your faux placket piece. I’m going to make mine 1 inch wide finished. You’ll need to double that and also include an allowance to fold over the raw edges. I’m going to press mine in .25 inches on each side, so I’ll add .5 inches plus 2 inches and cut my placket piece at 9 inches tall and 2.5 inches wide.
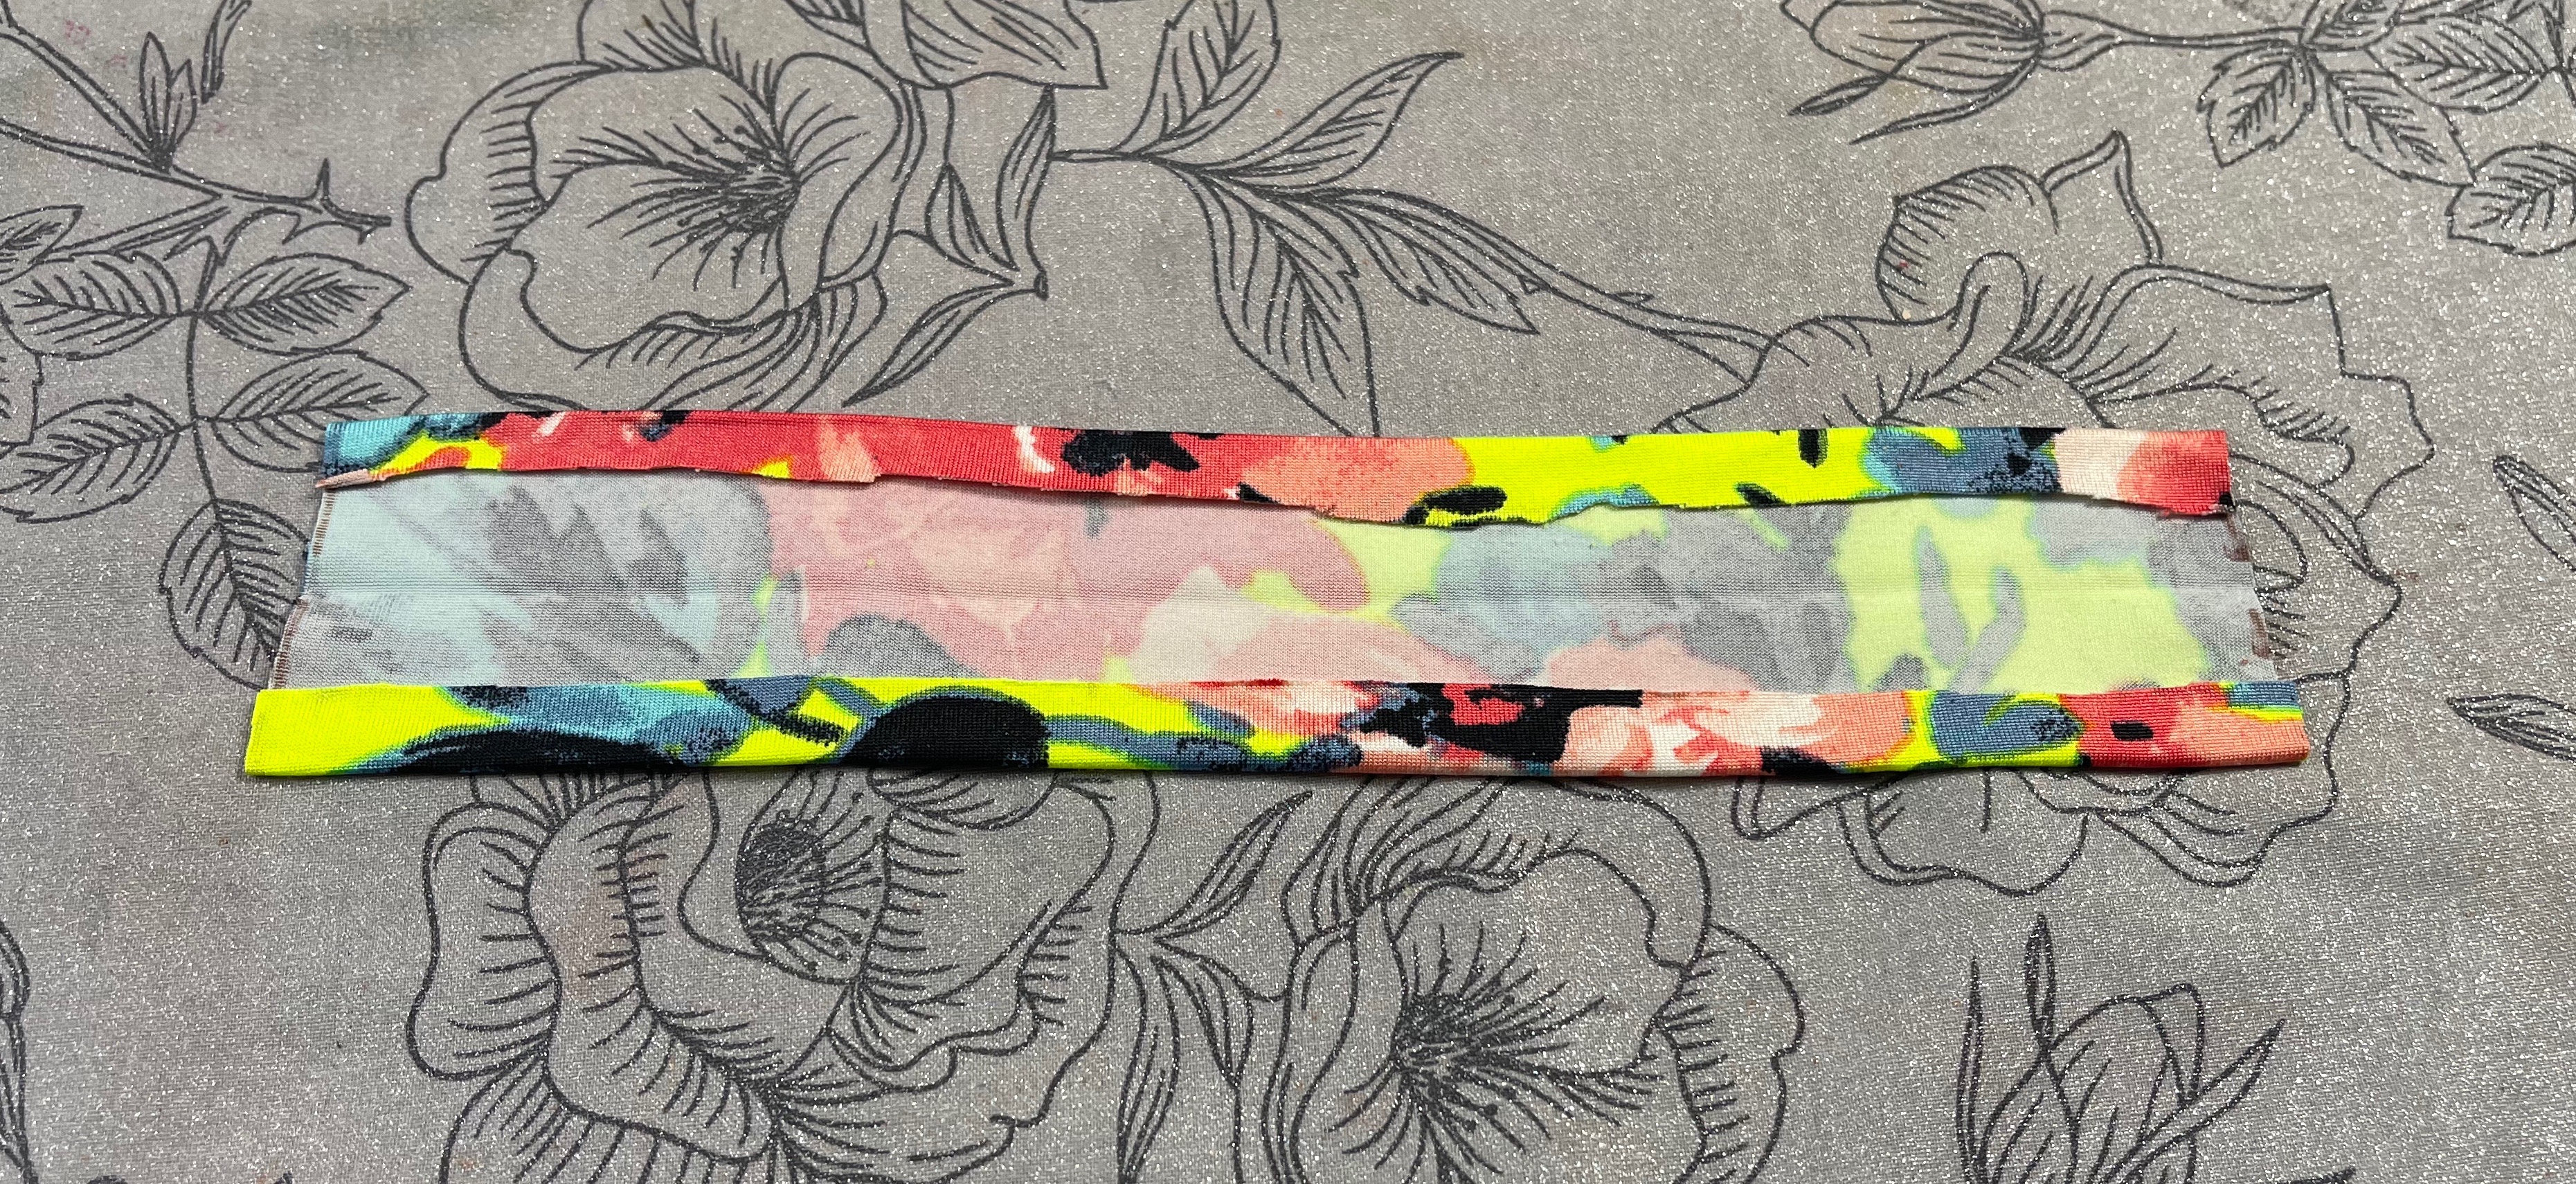
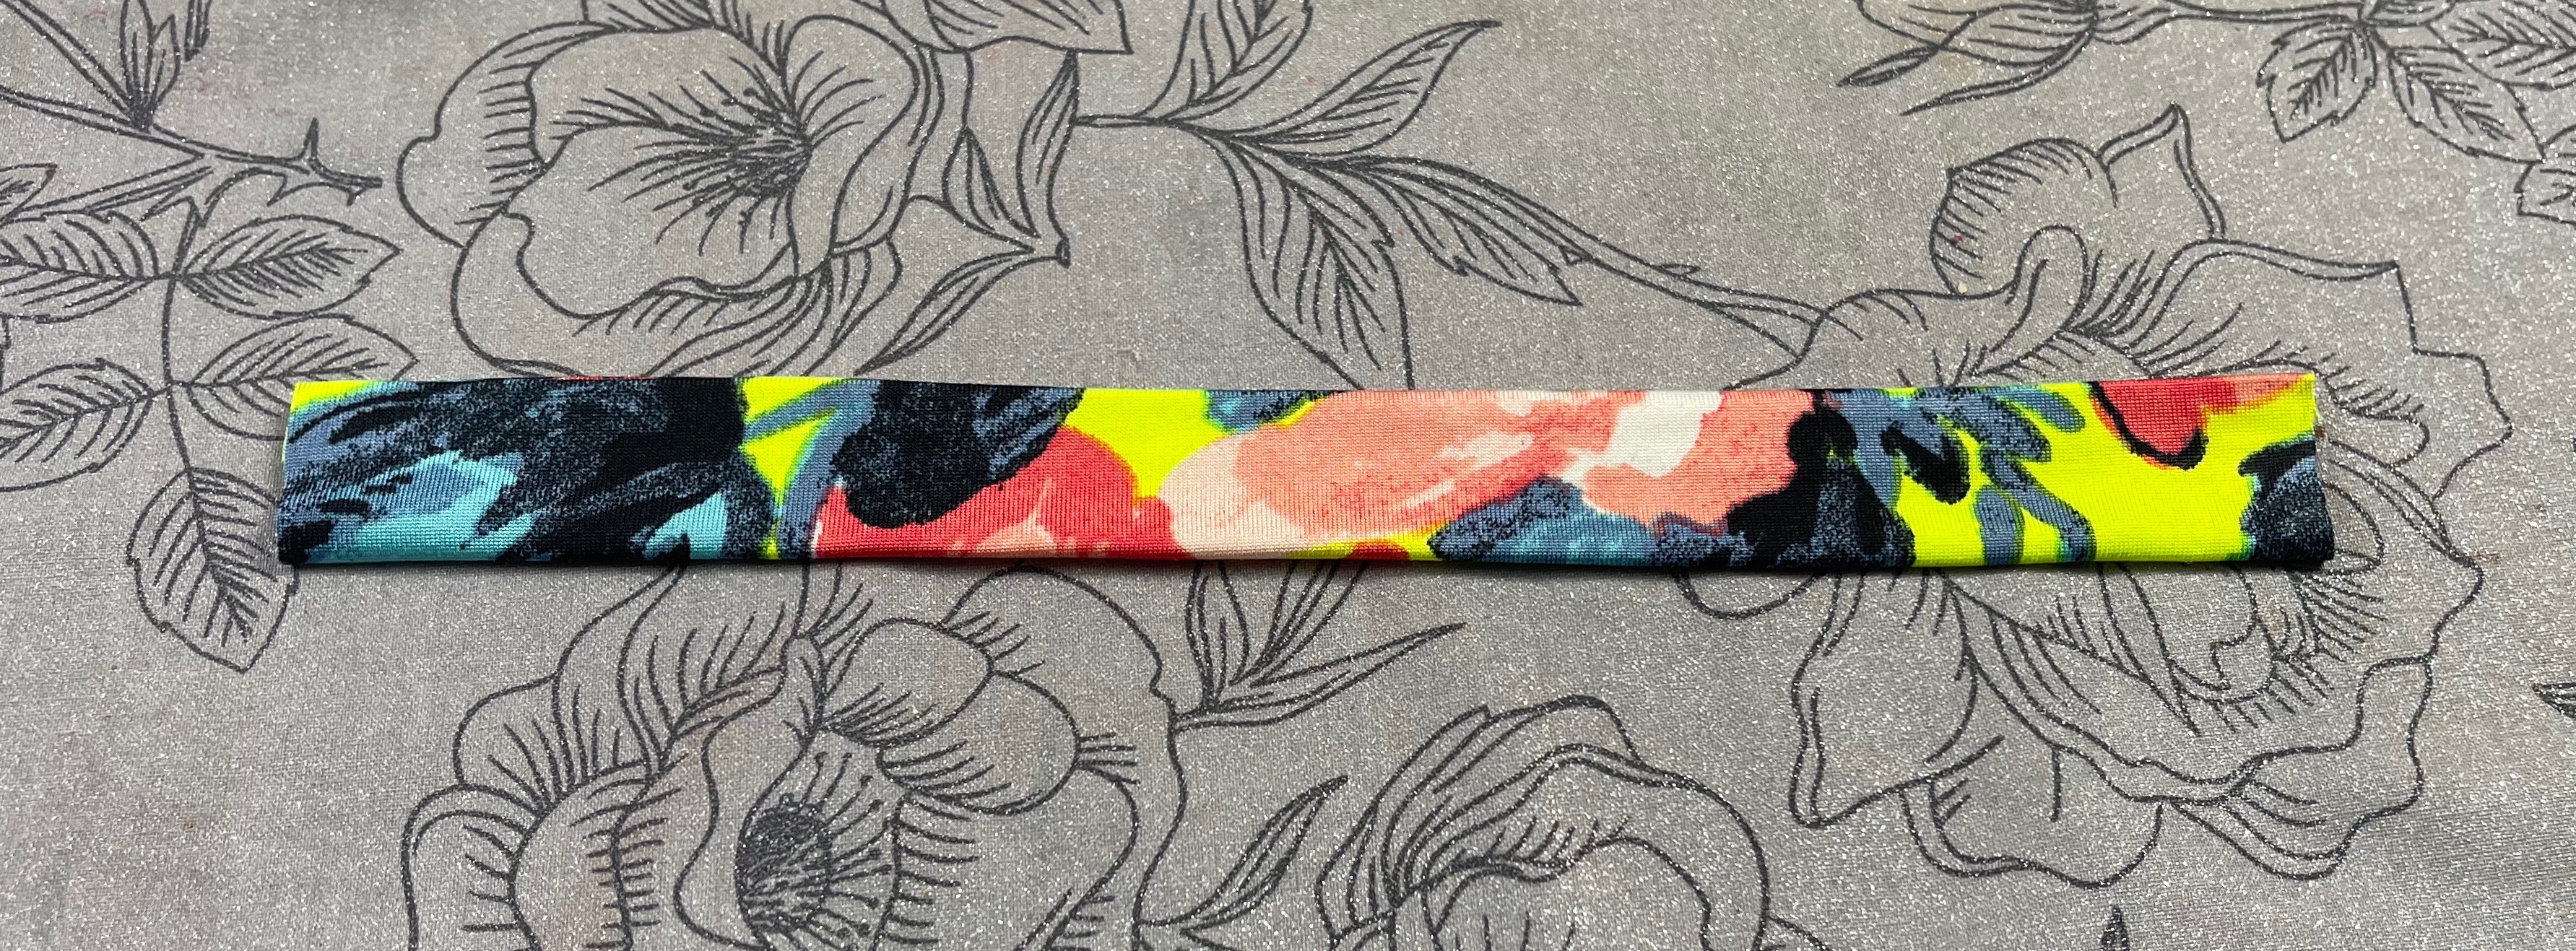
Step 2. Preparing Your Placket Piece
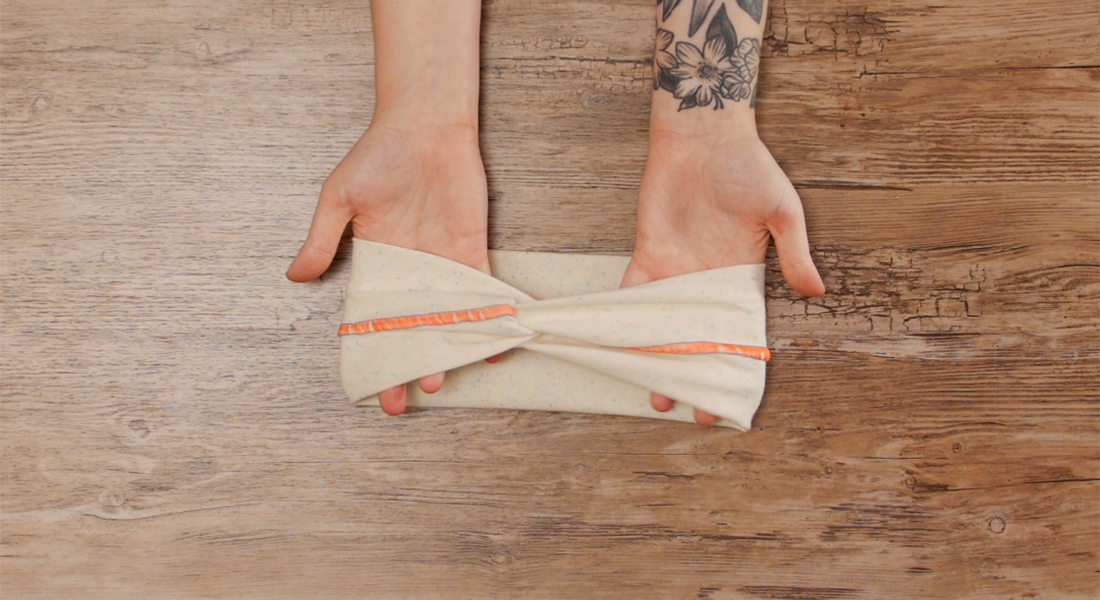
Once you’ve cut your faux placket piece you will fold over and press your long raw edges whatever amount you allowed for, in my case .25 inches on each side. Then fold the placket piece in half matching the folded under edges and press.
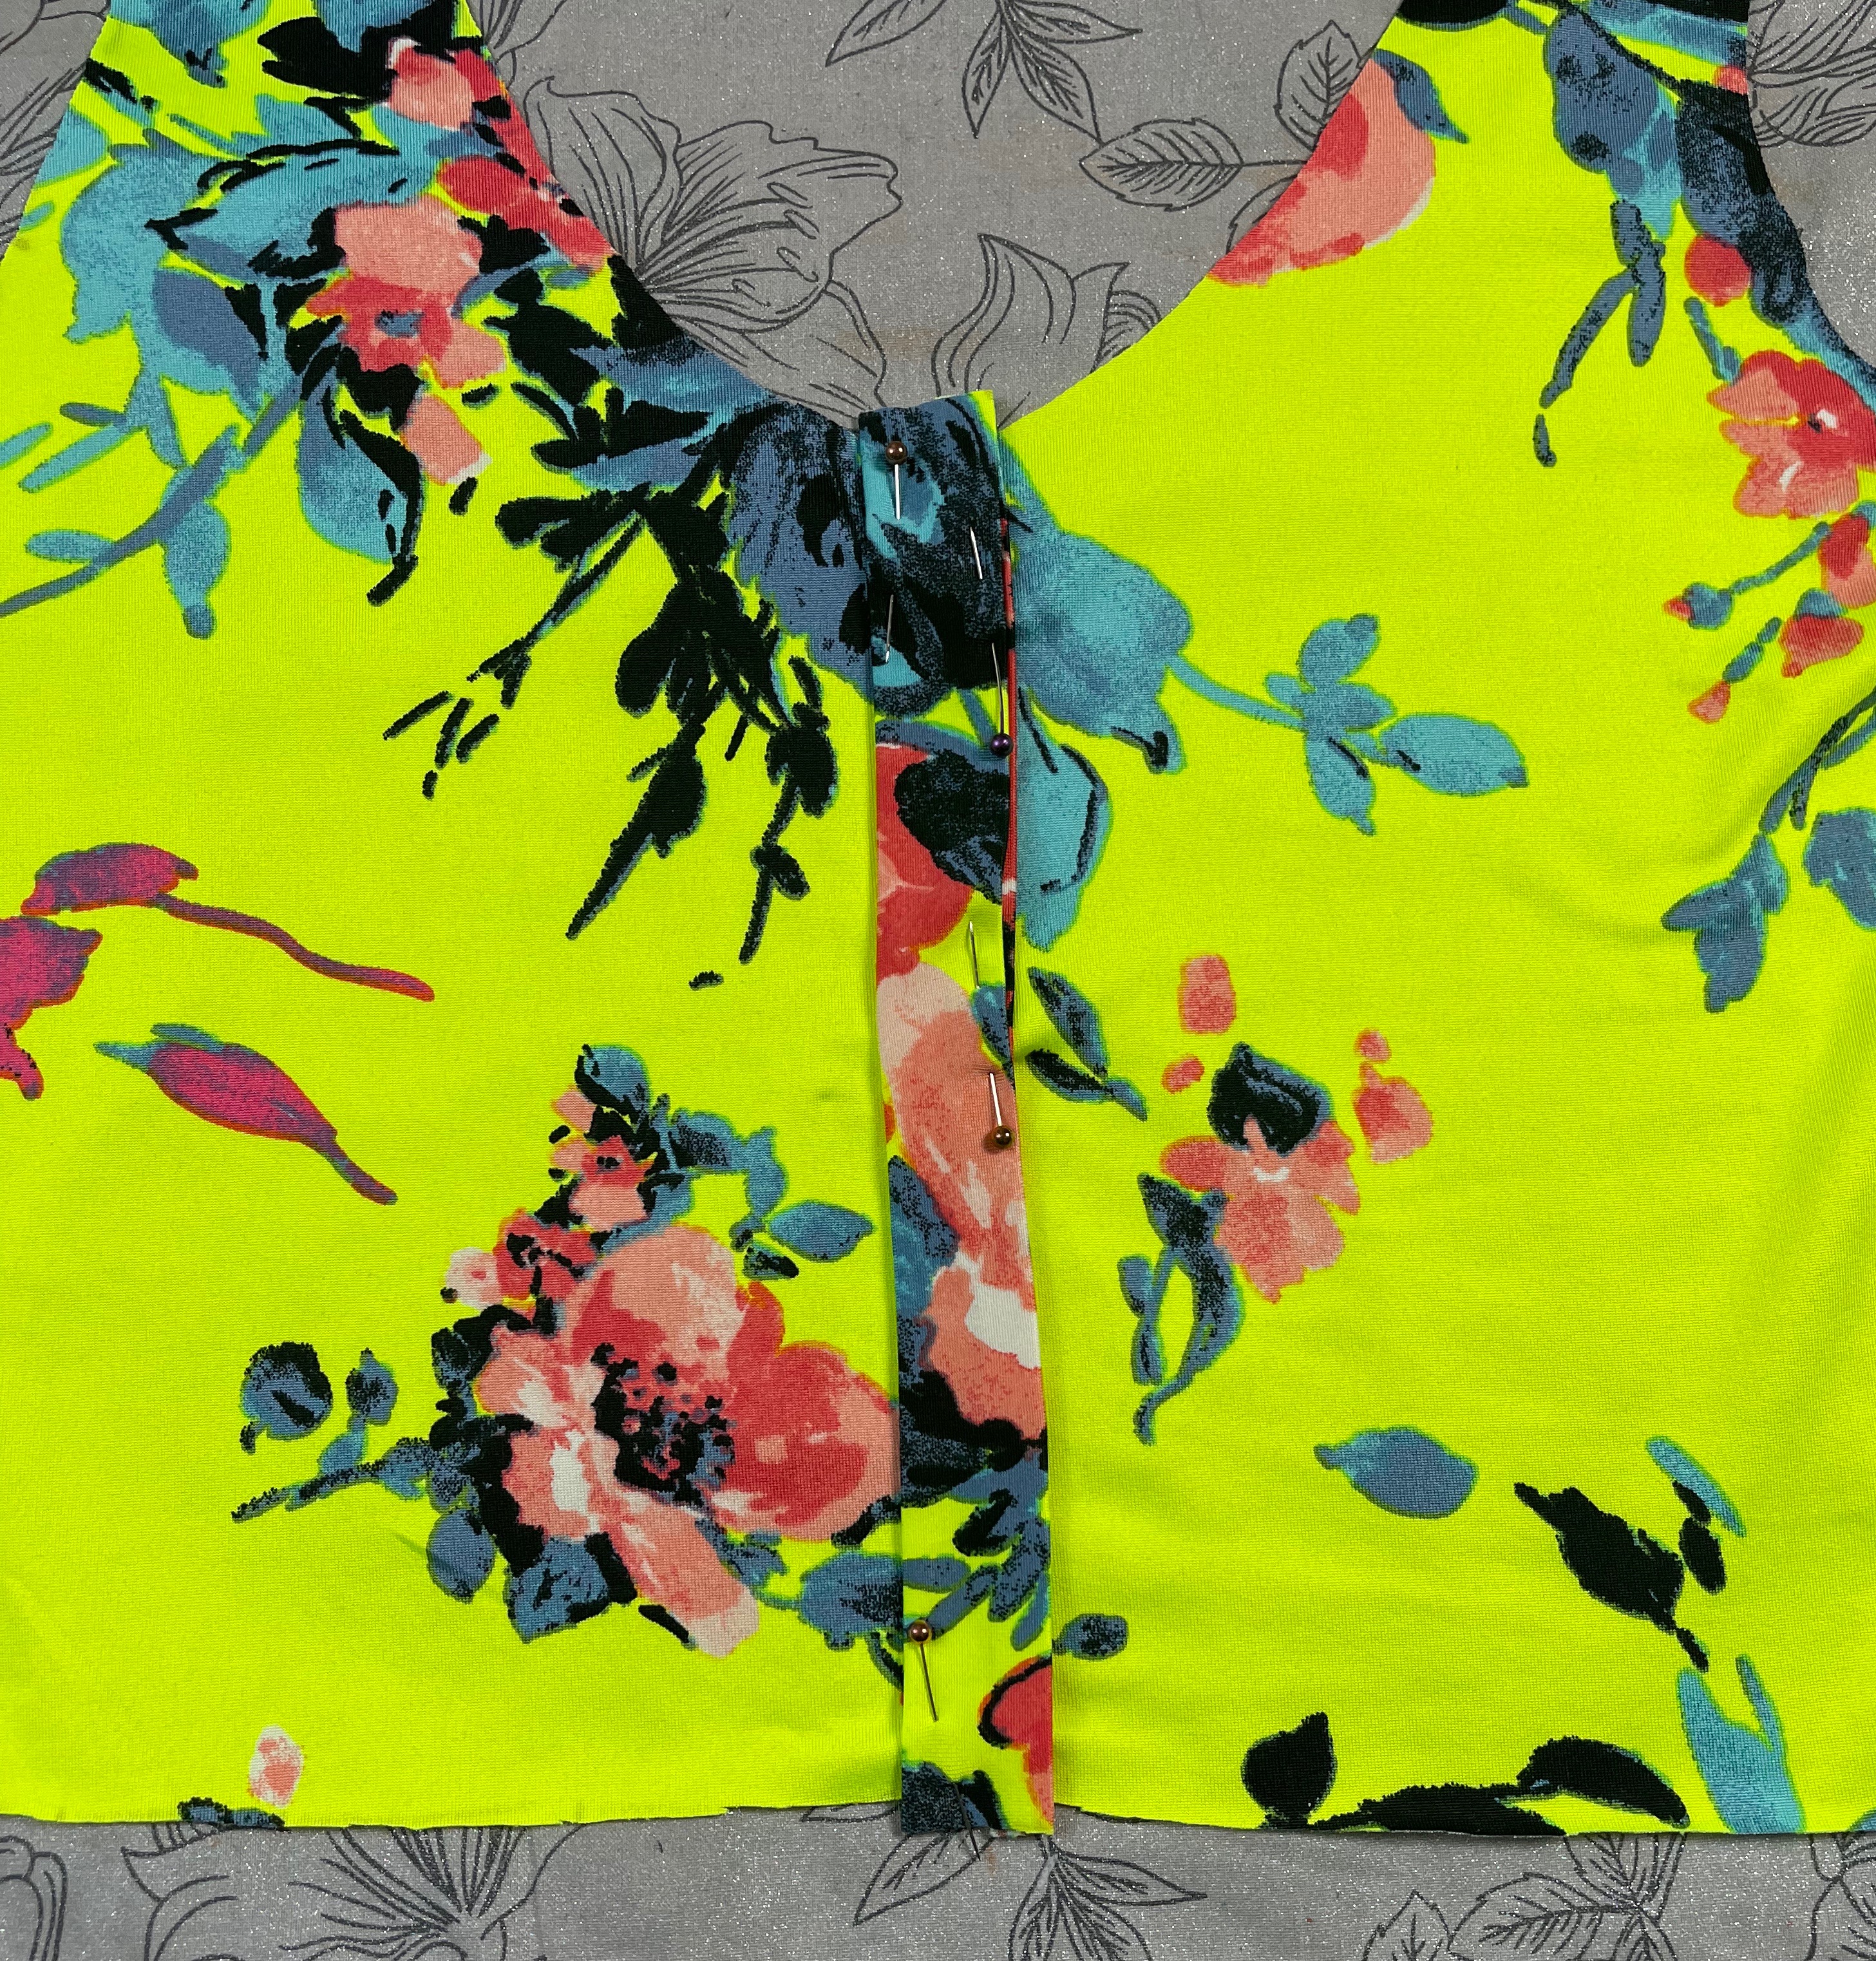
Step 3. Sewing on the Placket Piece
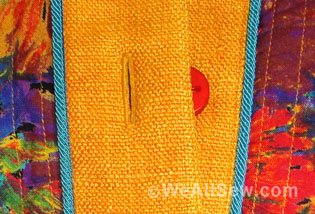
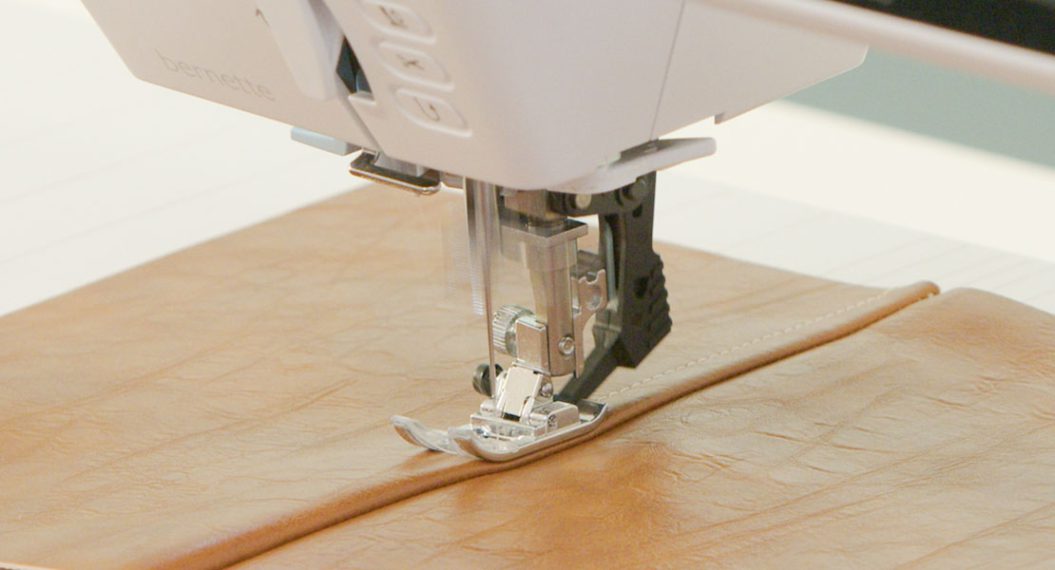
Now take your placket piece and place it on the center front of your bodice piece. You can secure it in place with pins or wondertape. Sew down both sides, securing the placket to your front bodice.
Step 4. Sewing on the Buttons
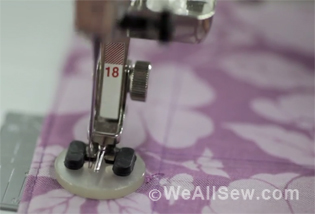
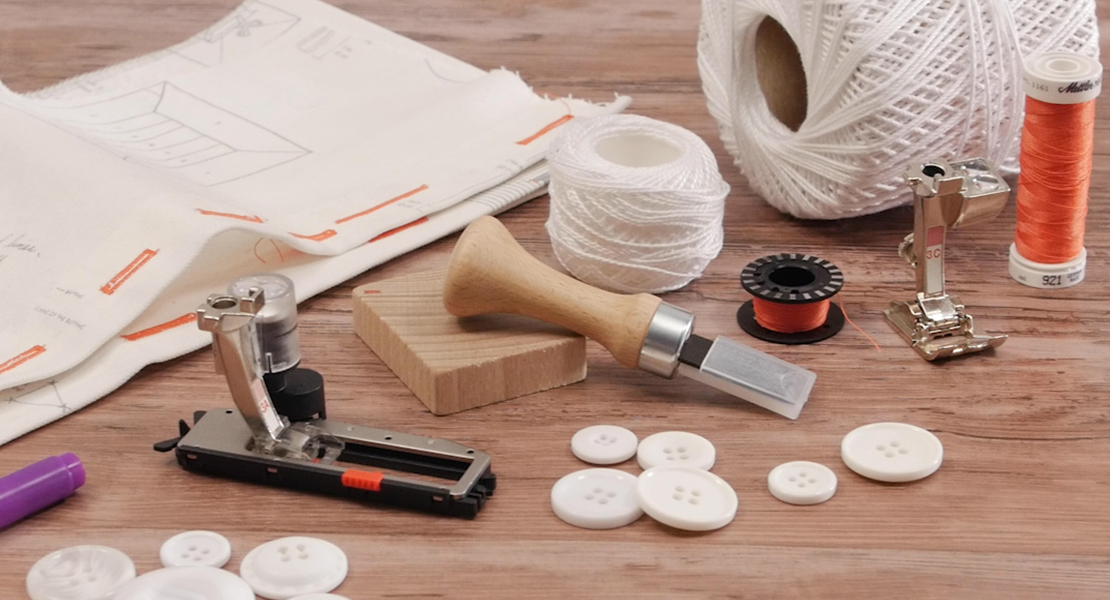
Now it’s time to add the buttons! I use a button gauge to mark mine so I know that they are spaced evenly apart. Determine how many buttons you’d like and how far apart you would like them spaced. Mark the button placement with a washable maker of your choice. Be sure your top button and bottom button are placed far enough away from the edges so that they will not be in the seam allowance when you are attaching your neckband and skirt.

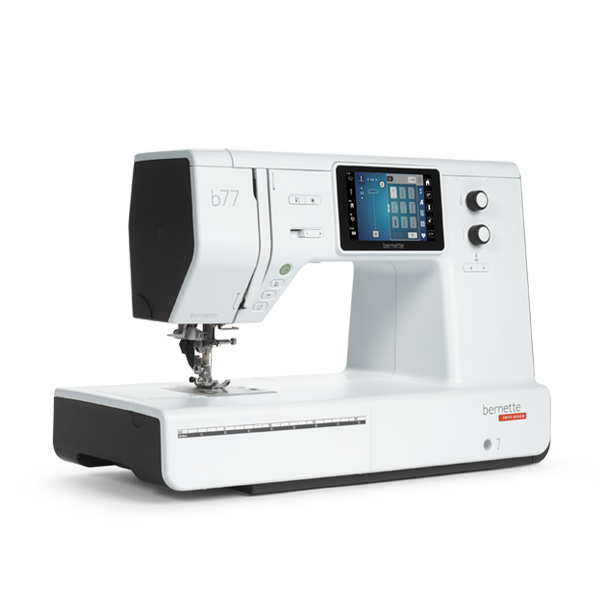
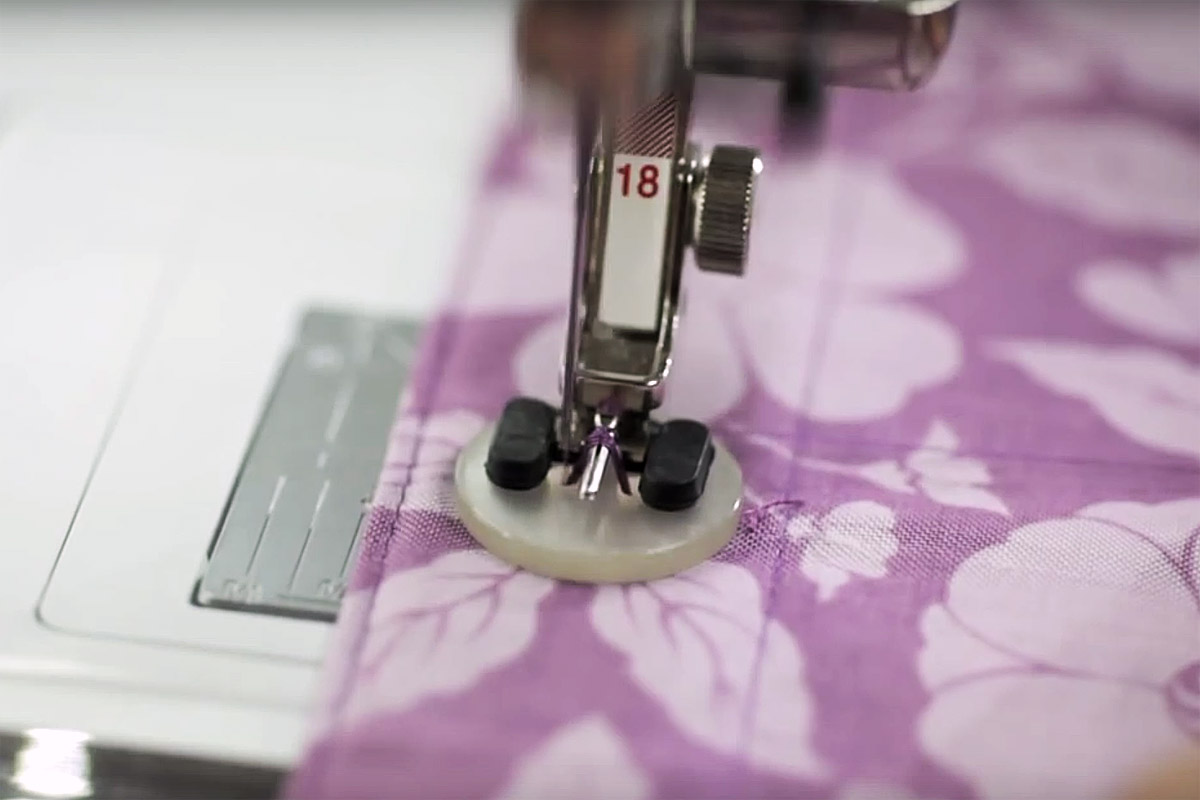
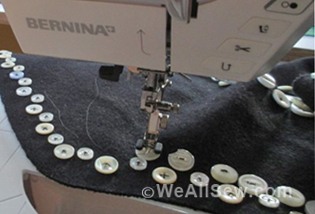
Once you’ve marked your button placement you can sew them on using the method of your choosing. I am going to use my bernette 77 and you can see how easy it is in this video!
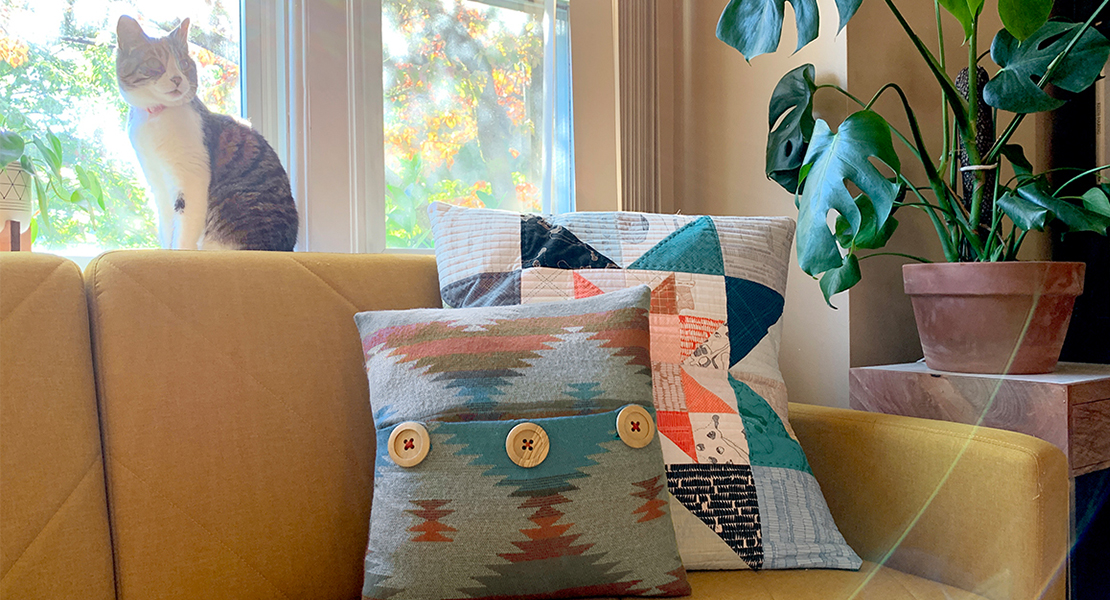
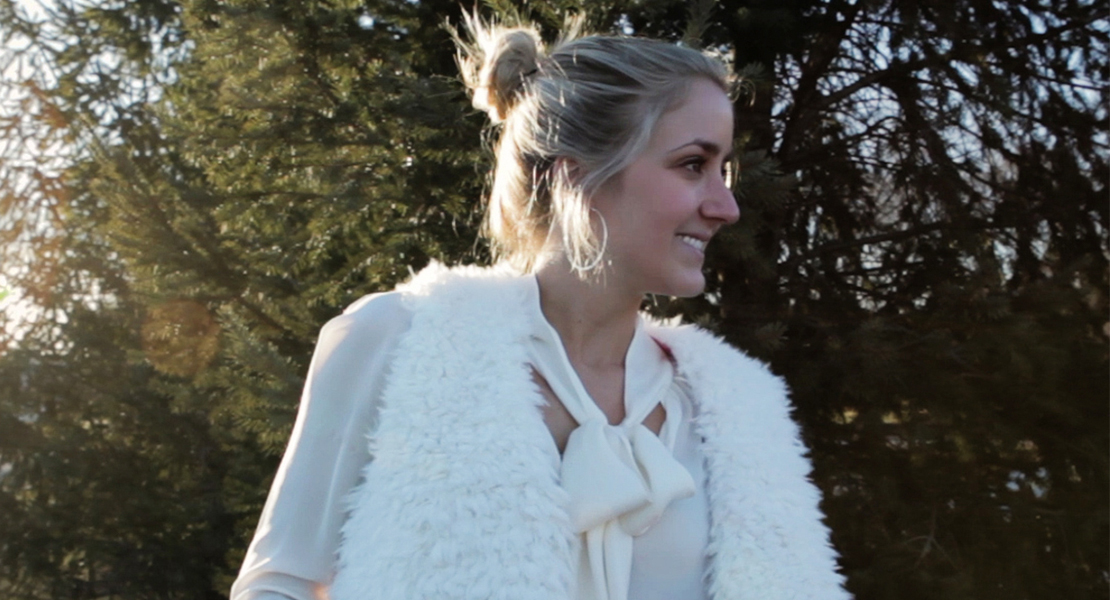
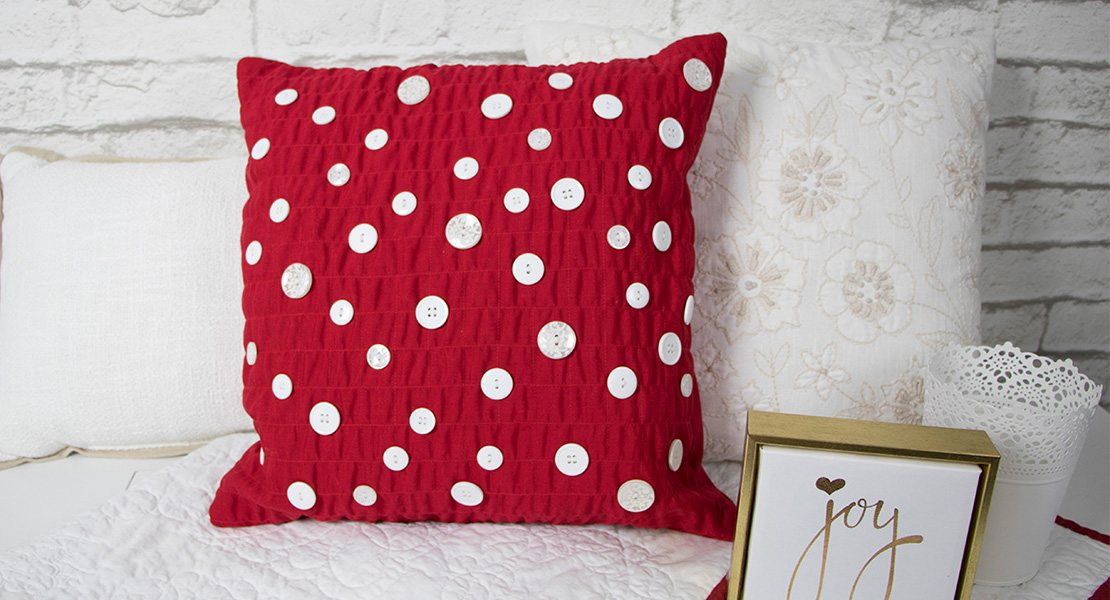
Now that your buttons are attached you can complete the construction of your top as your pattern directs! Enjoy your new peplum with a little bit of extra flair!
You can find the fantastic b77 here. The fabric used for this top is from So Sew English Fabrics and the pattern I used is from Sonia Estep Designs.


