One Shirt Pattern Three Ways, Part One: Colorblocking
Once you achieve the fit you like with a pattern, you can use it as your tried and true pattern (sometimes referred to a TNT pattern), which means there’s no need to start the fitting process all over. It becomes your starting point for hacking the pattern. Hacking a pattern just means making changes to a pattern, such as removing a collar, widening a sleeve, or adding a ruffle. Use your creativity and be your own designer.
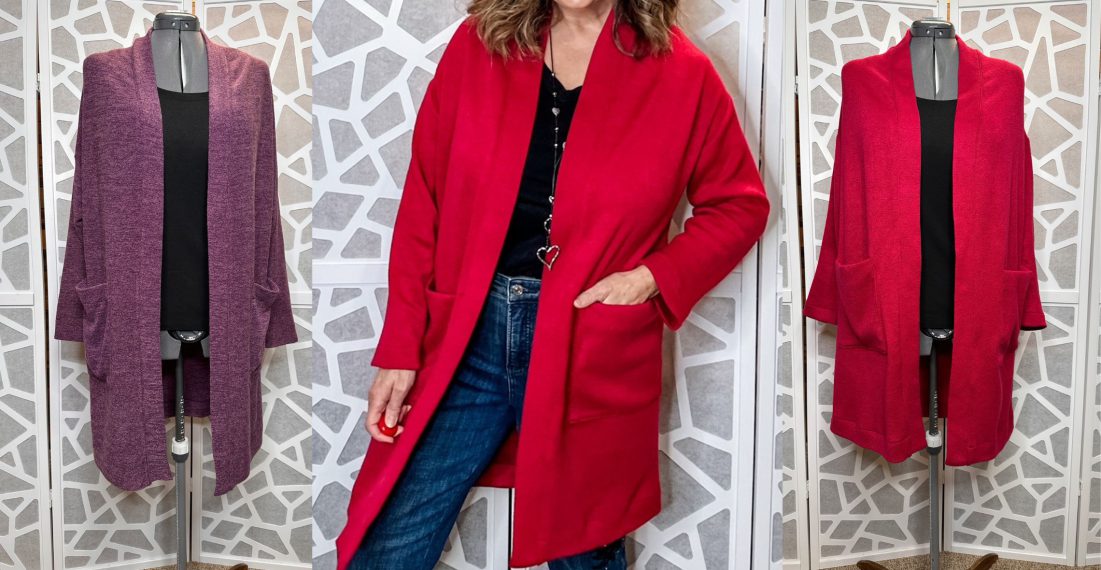
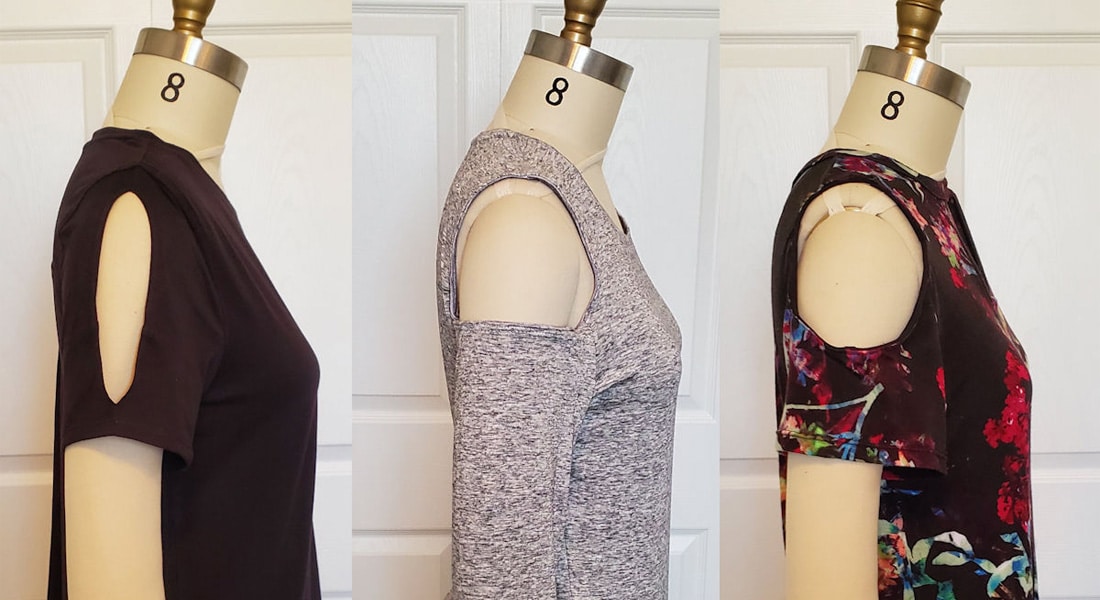
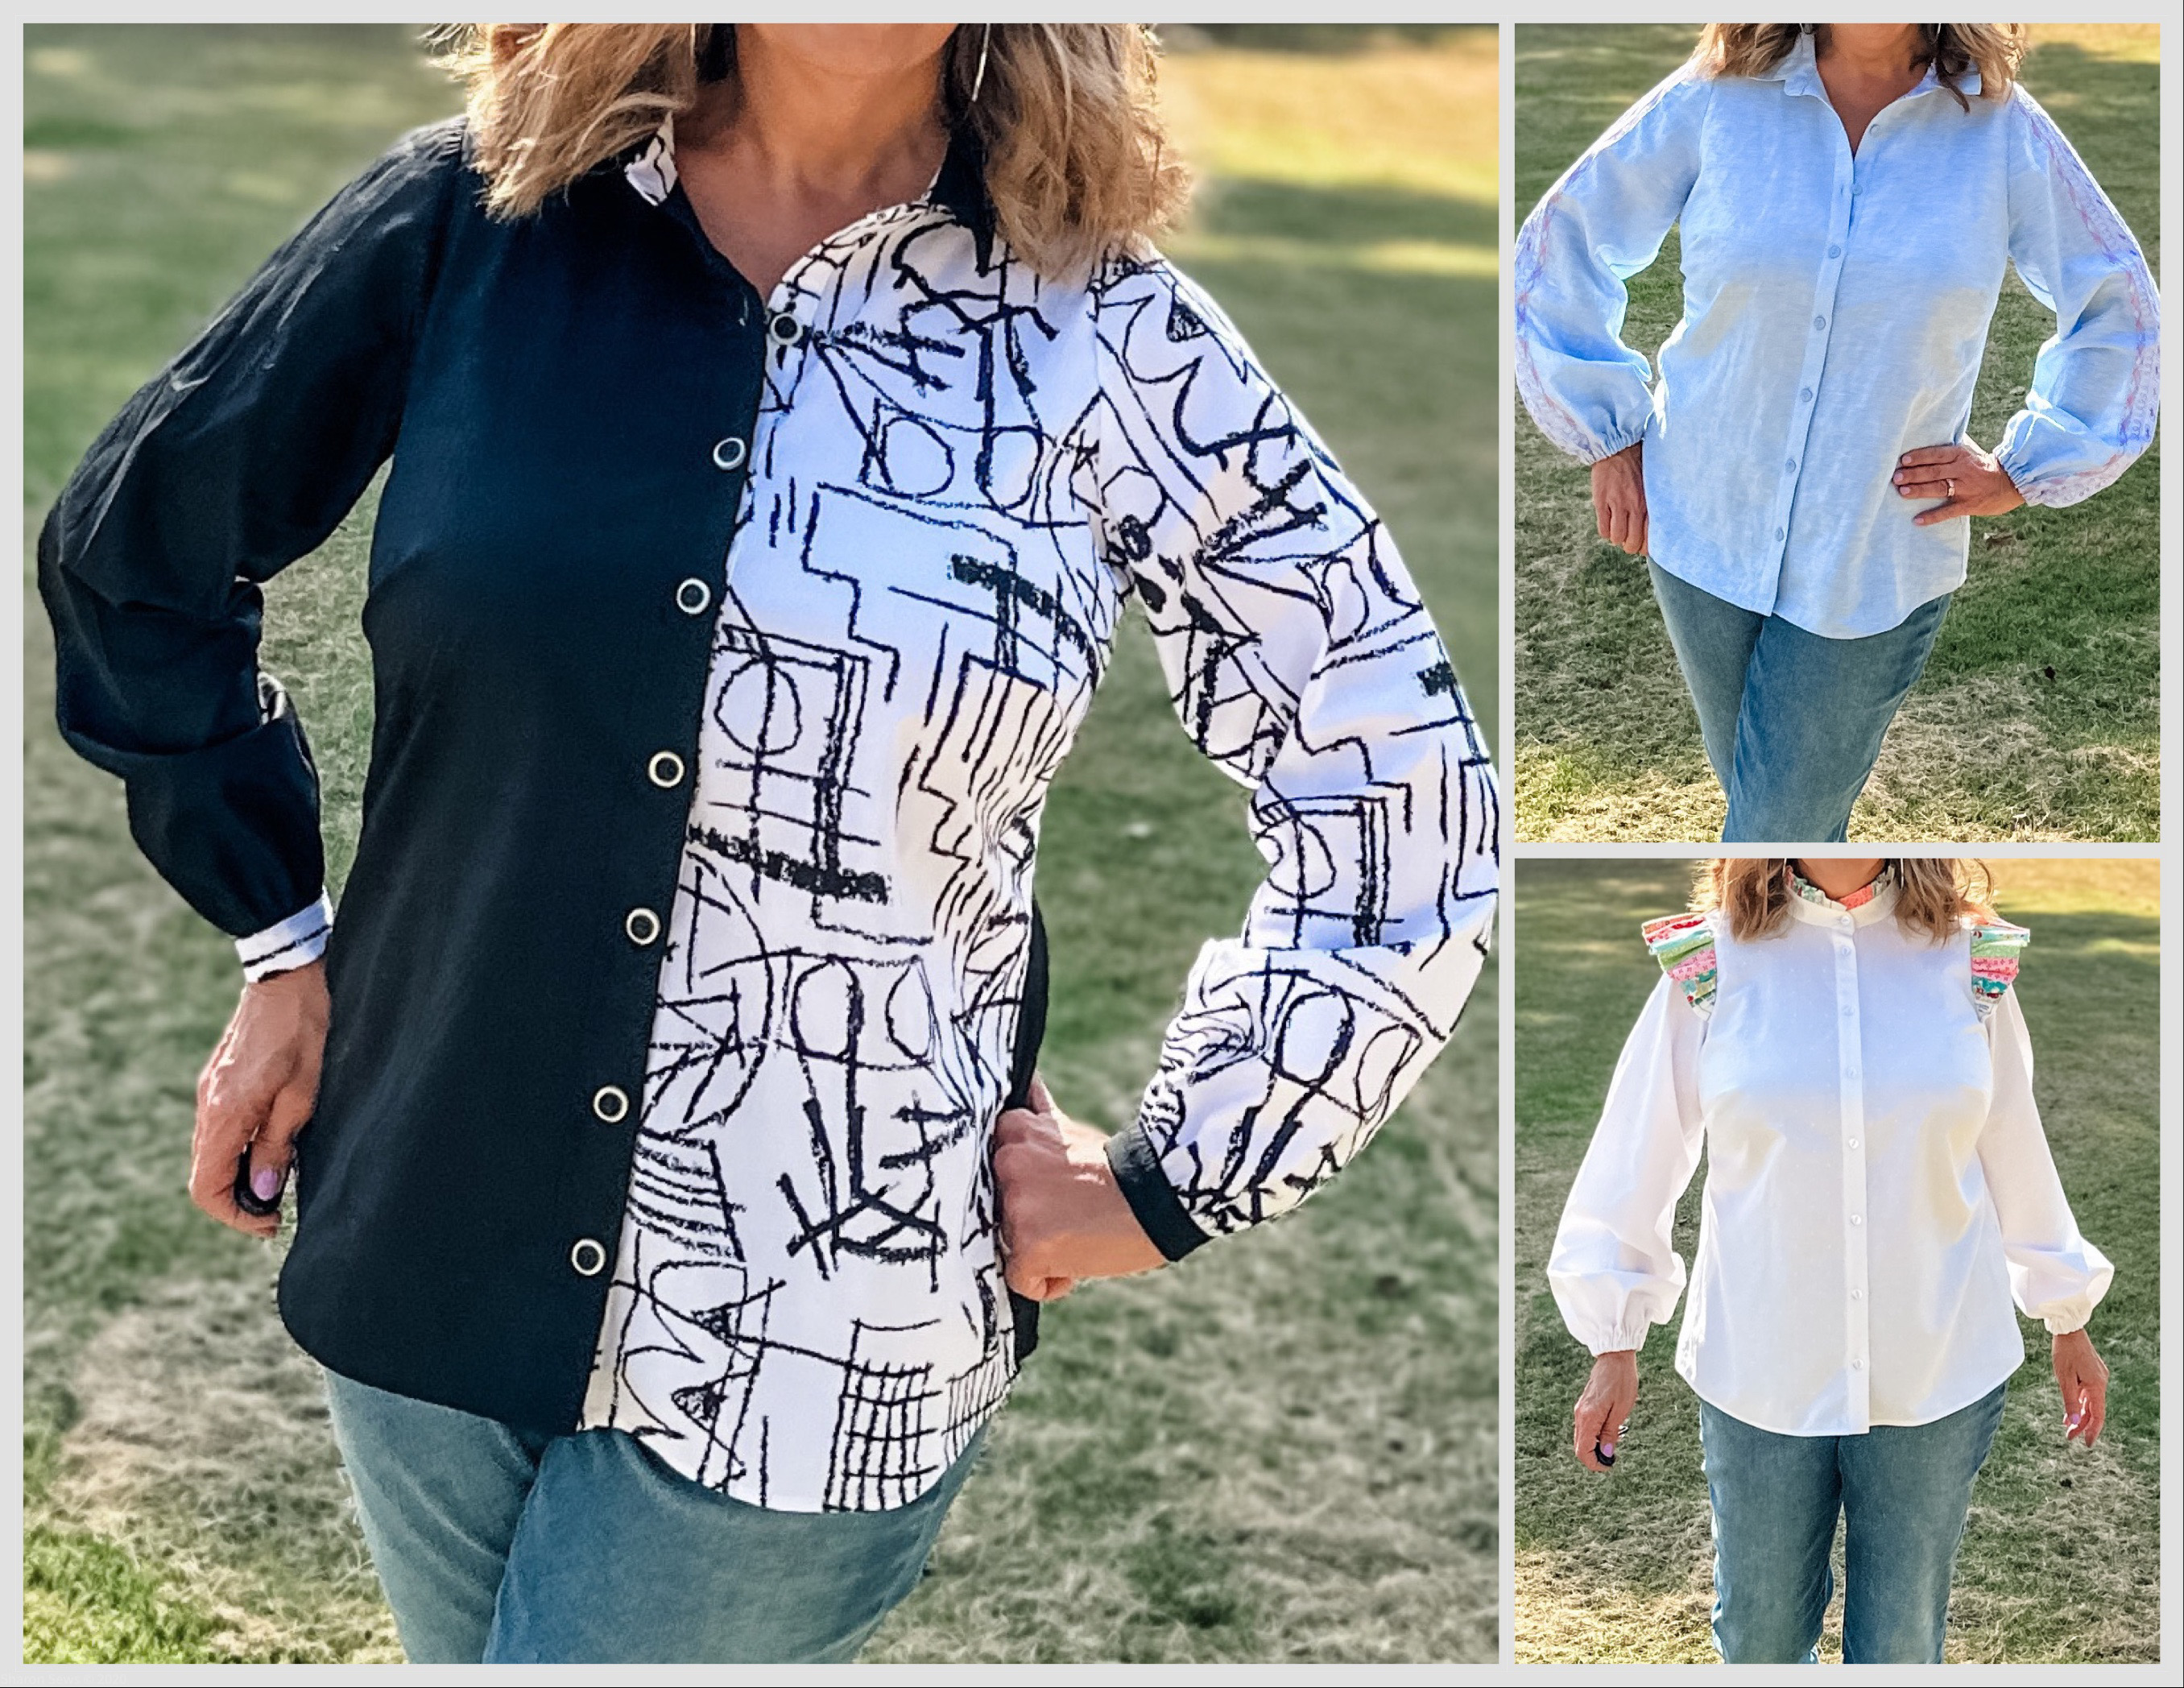
In this three-part series, I’ll show you how to use one classic button-up shirt pattern to sew three different looks.
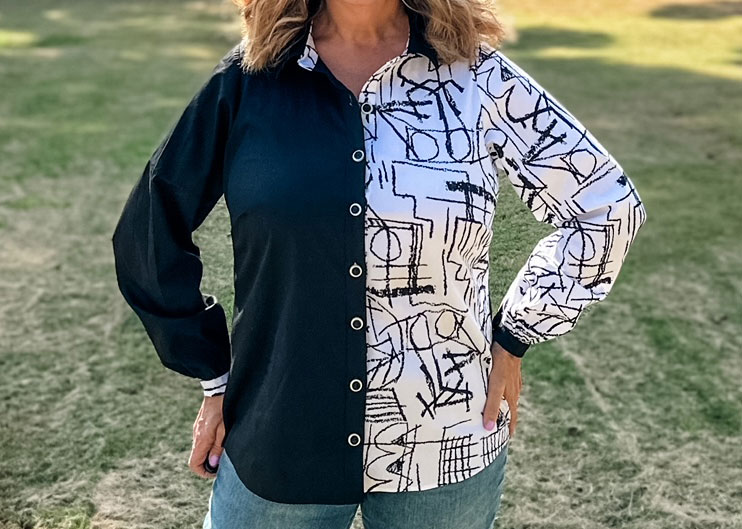
- In part one, two fabrics are used to create a colorblocked shirt.
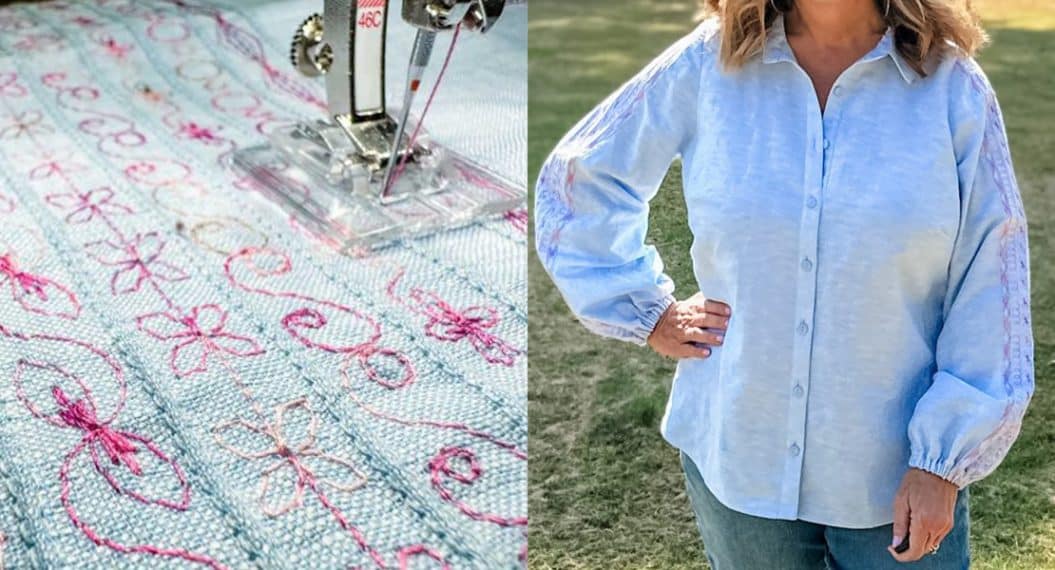
- In part two, pintucks and decorative stitches are added to the sleeve and back yoke.
- In part three, patchwork ruffles are added to the neck and shoulders.
 Hello everyone! It’s Sharon from Sharon Sews. You can connect with me on YouTube, Instagram and my blog, where I share sewing tips, projects, reviews, and fashion sewing ideas.
For all three shirts I used the Cashmerette Vernon Shirt pattern, a classic button-up shirt with collar, collar band, button placket, back yoke, and narrow buttoned cuff. The pattern is available in both print and PDF, has a wide range of sizes (0 to 32), as well as cup sizes (making it easy to fit the bust). Cashmerette provided the pattern for this project.
 In part one, in addition to using two fabrics, the pleat on the back of the shirt is changed to gathers, and two stacked buttons are used to add to the colorblocked look.
Let’s sew the colorblocked shirt.
Materials Needed
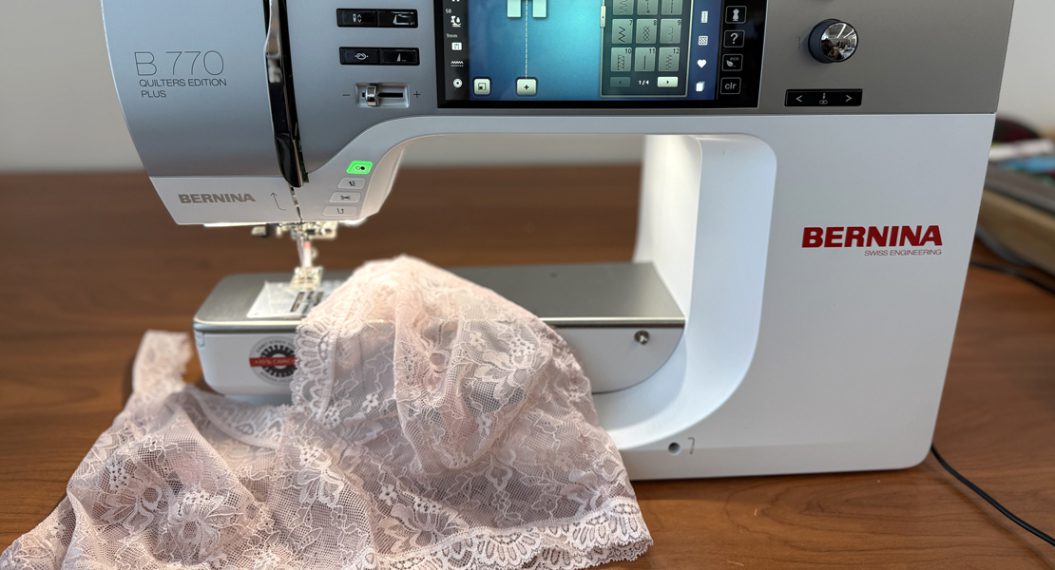
- Sewing Machine – I used my BERNINA 770 QE PLUS
- Classic long sleeve button-up shirt pattern, the Cashmerette Vernon Shirt Pattern
- Note: Any woven button-up shirt pattern with a long sleeves can be used
- Cotton shirting fabric – See yardage note below
- Interfacing – yardage per pattern
- Seven 5/8″ buttons, seven 3/8″ buttons, and two 1/2″ buttons
- Coordinating all-purpose thread
- Point turner
- Buttonhole cutter and wooden block
- General sewing supplies
- Iron and pressing surface
Fabric Yardage
The exact yardage will vary depending on the size shirt sewn.
As a general guideline, look at the yardage required and divide it in half to determine how much fabric is needed for each side.
For example, I needed 2-1/2 yards of 55″ wide fabric. I divided that in half and planned on 1-1/4 yard per color (or print).
You may need more or less of each depending on how you choose to colorblock your shirt.
Cut Out the Pattern Pieces
When using a multi-sized shirt pattern, consider tracing all of your pattern pieces as that allows you to keep the original pattern pieces which is helpful if you want to sew additional sizes.
The print fabric is the left side and the solid color fabric is the right side. Cut the pattern pieces for the print (left side) right side up, and cut the pattern pieces for the solid color (right side) facing down.
From the print fabric, with the fabric single layer and facing right side up, cut:
- One front
- One sleeve
- One sleeve cuff
- One front band
- Two back yokes
- Two collar bands
From the solid color fabric, with the fabric single layer and right side up, cut:
Reminder: Before cutting, turn the pattern pieces so they face down.
- One front
- One sleeve
- One sleeve cuff
- One front band
- Two collars
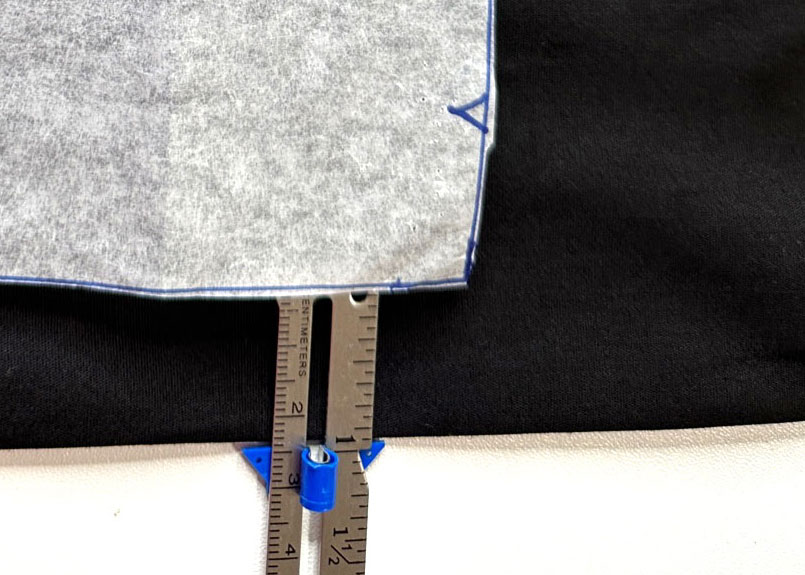
- One back cut on the fold placing the back piece 1″ from the fold of the fabric. The extra fabric is required to replace the center back pleat with gathers.
Steps for Sewing the Colorblocked Shirt
Cut out and apply interfacing to the collar, collar band, sleeve cuffs, and front bands per the pattern instructions.
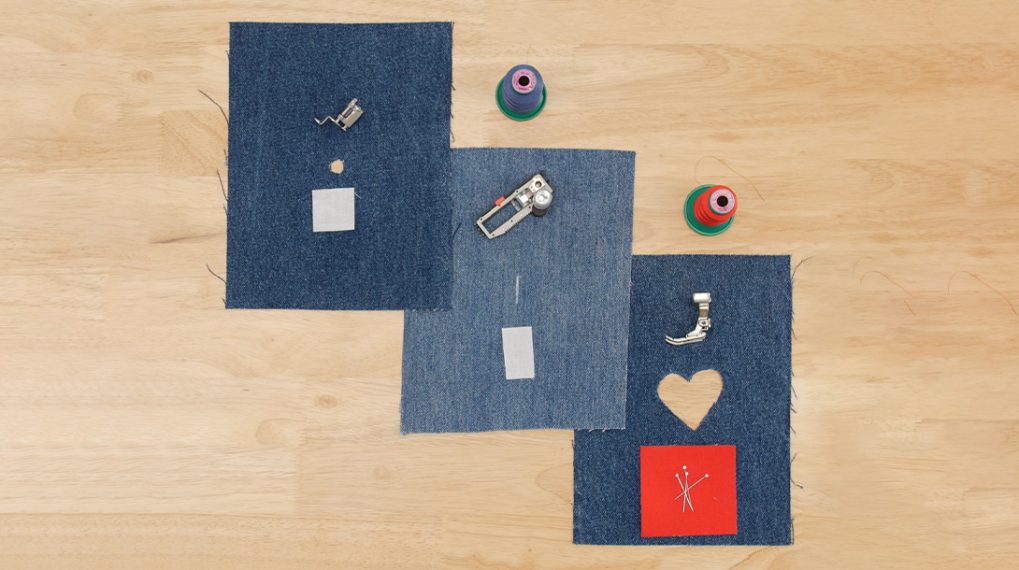
Add a Label to the Back Yoke Facing (Optional)
If you want to add a personalized label to the back of the shirt, add it to the back yoke facing now.
On this shirt, I placed a 2-1/2″ x 2-1/2” piece of fabric on the back yoke facing and stitched in place. Next, I centered a label on the fabric frame and stitched in place.
Note: The Patchwork Foot #97D works great for this as you can easily achieve accurate 1/8″ or 1/4″ stitching.

Begin construction of the shirt following the pattern instructions. Stop when you reach the step to add the back pleat.
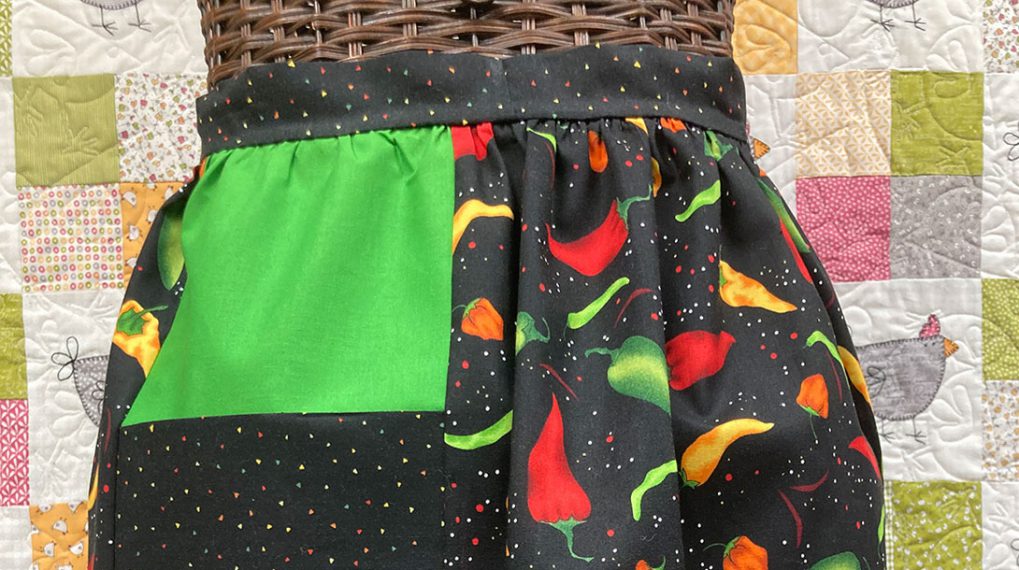
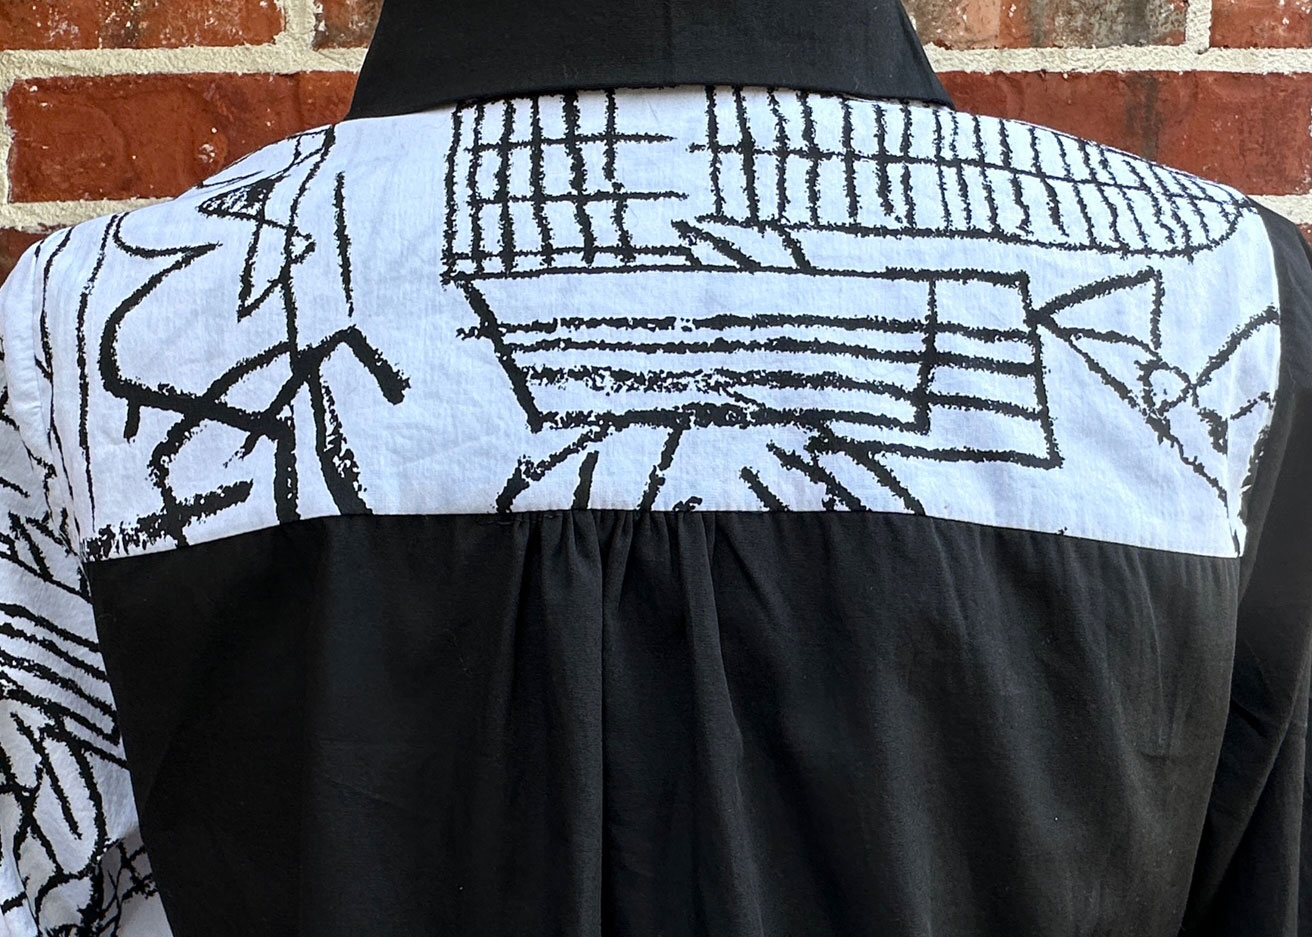
Change the Back Pleat to Gathers
To add the gathers on the back piece (instead of the pleat) make a mark 1″ away from each notch.
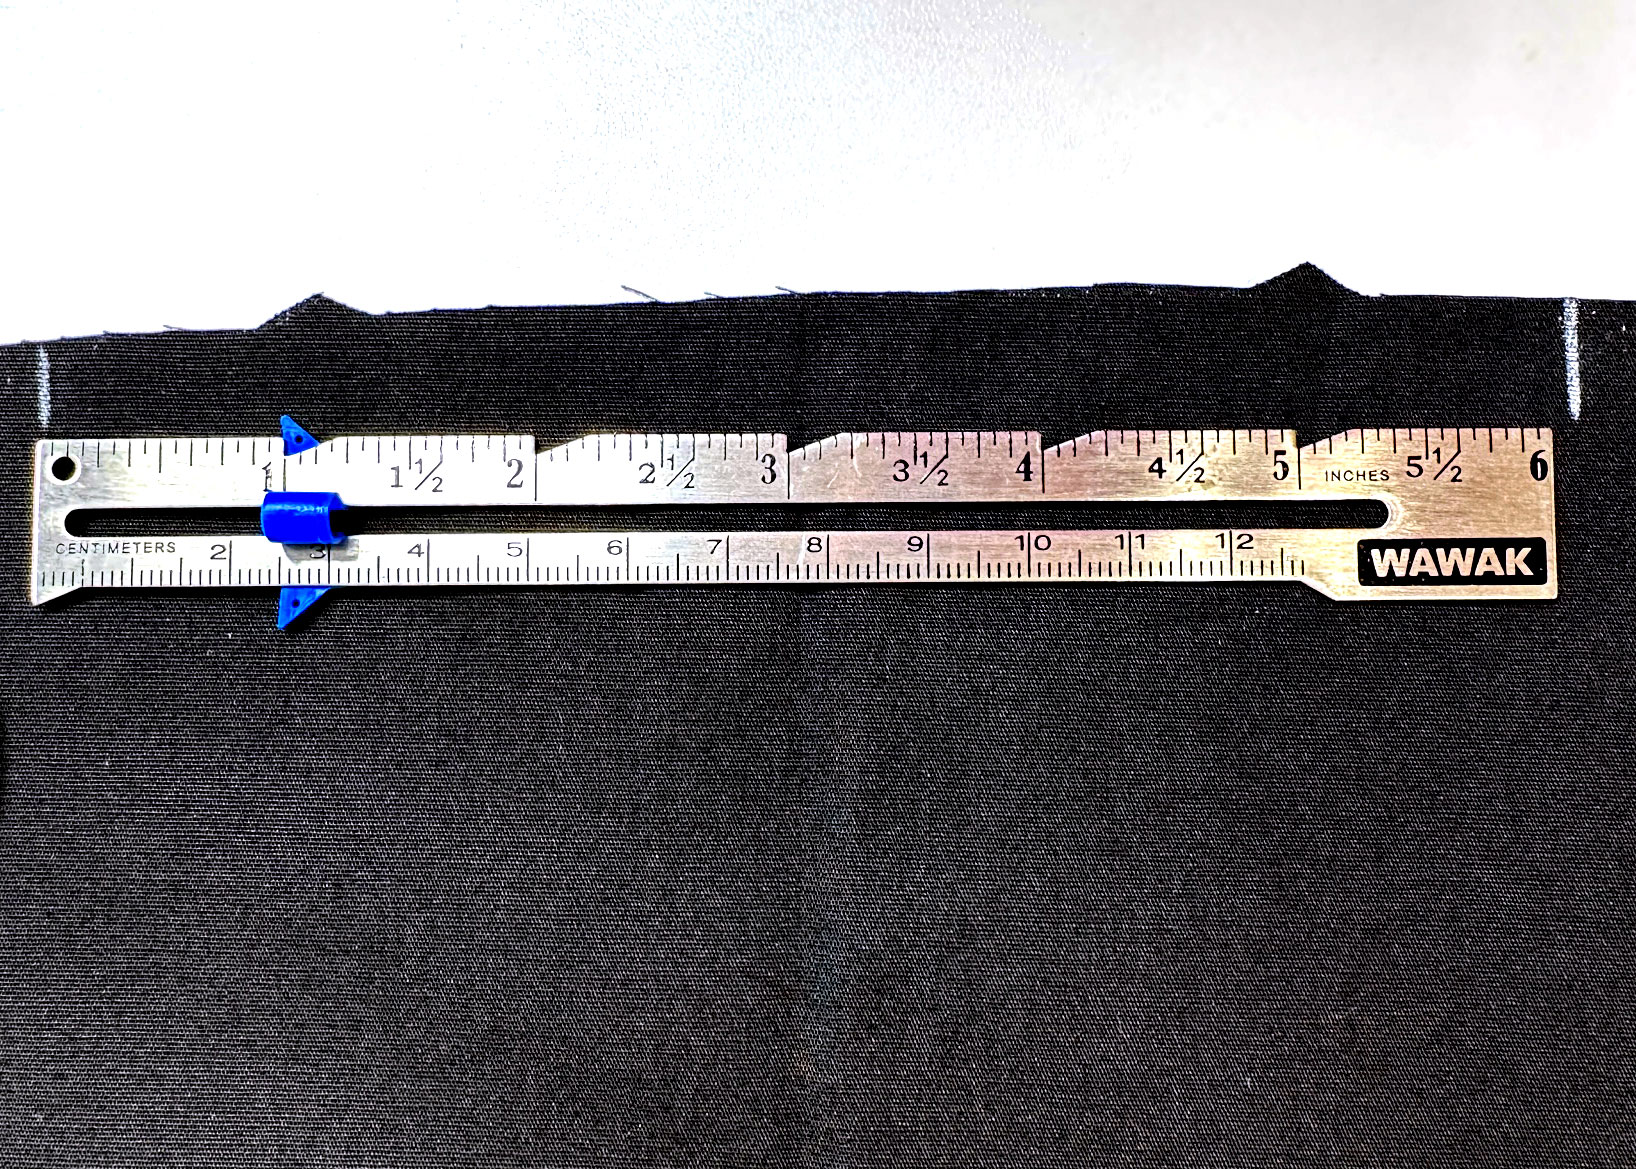
Using a long stitch length, stitch two rows of stitches in the seam allowance between the marks. Match the center of the yoke to the center of the back piece; pin. Match the side ends of the yoke to the side ends of the back piece; pin. Gently pull on the stitches until the back fits the yoke and stitch.
Continue sewing the shirt following the pattern instructions. When it’s time to add the narrow sleeve cuffs, sew a solid color cuff to the print sleeve, and a print cuff to the solid color sleeve.
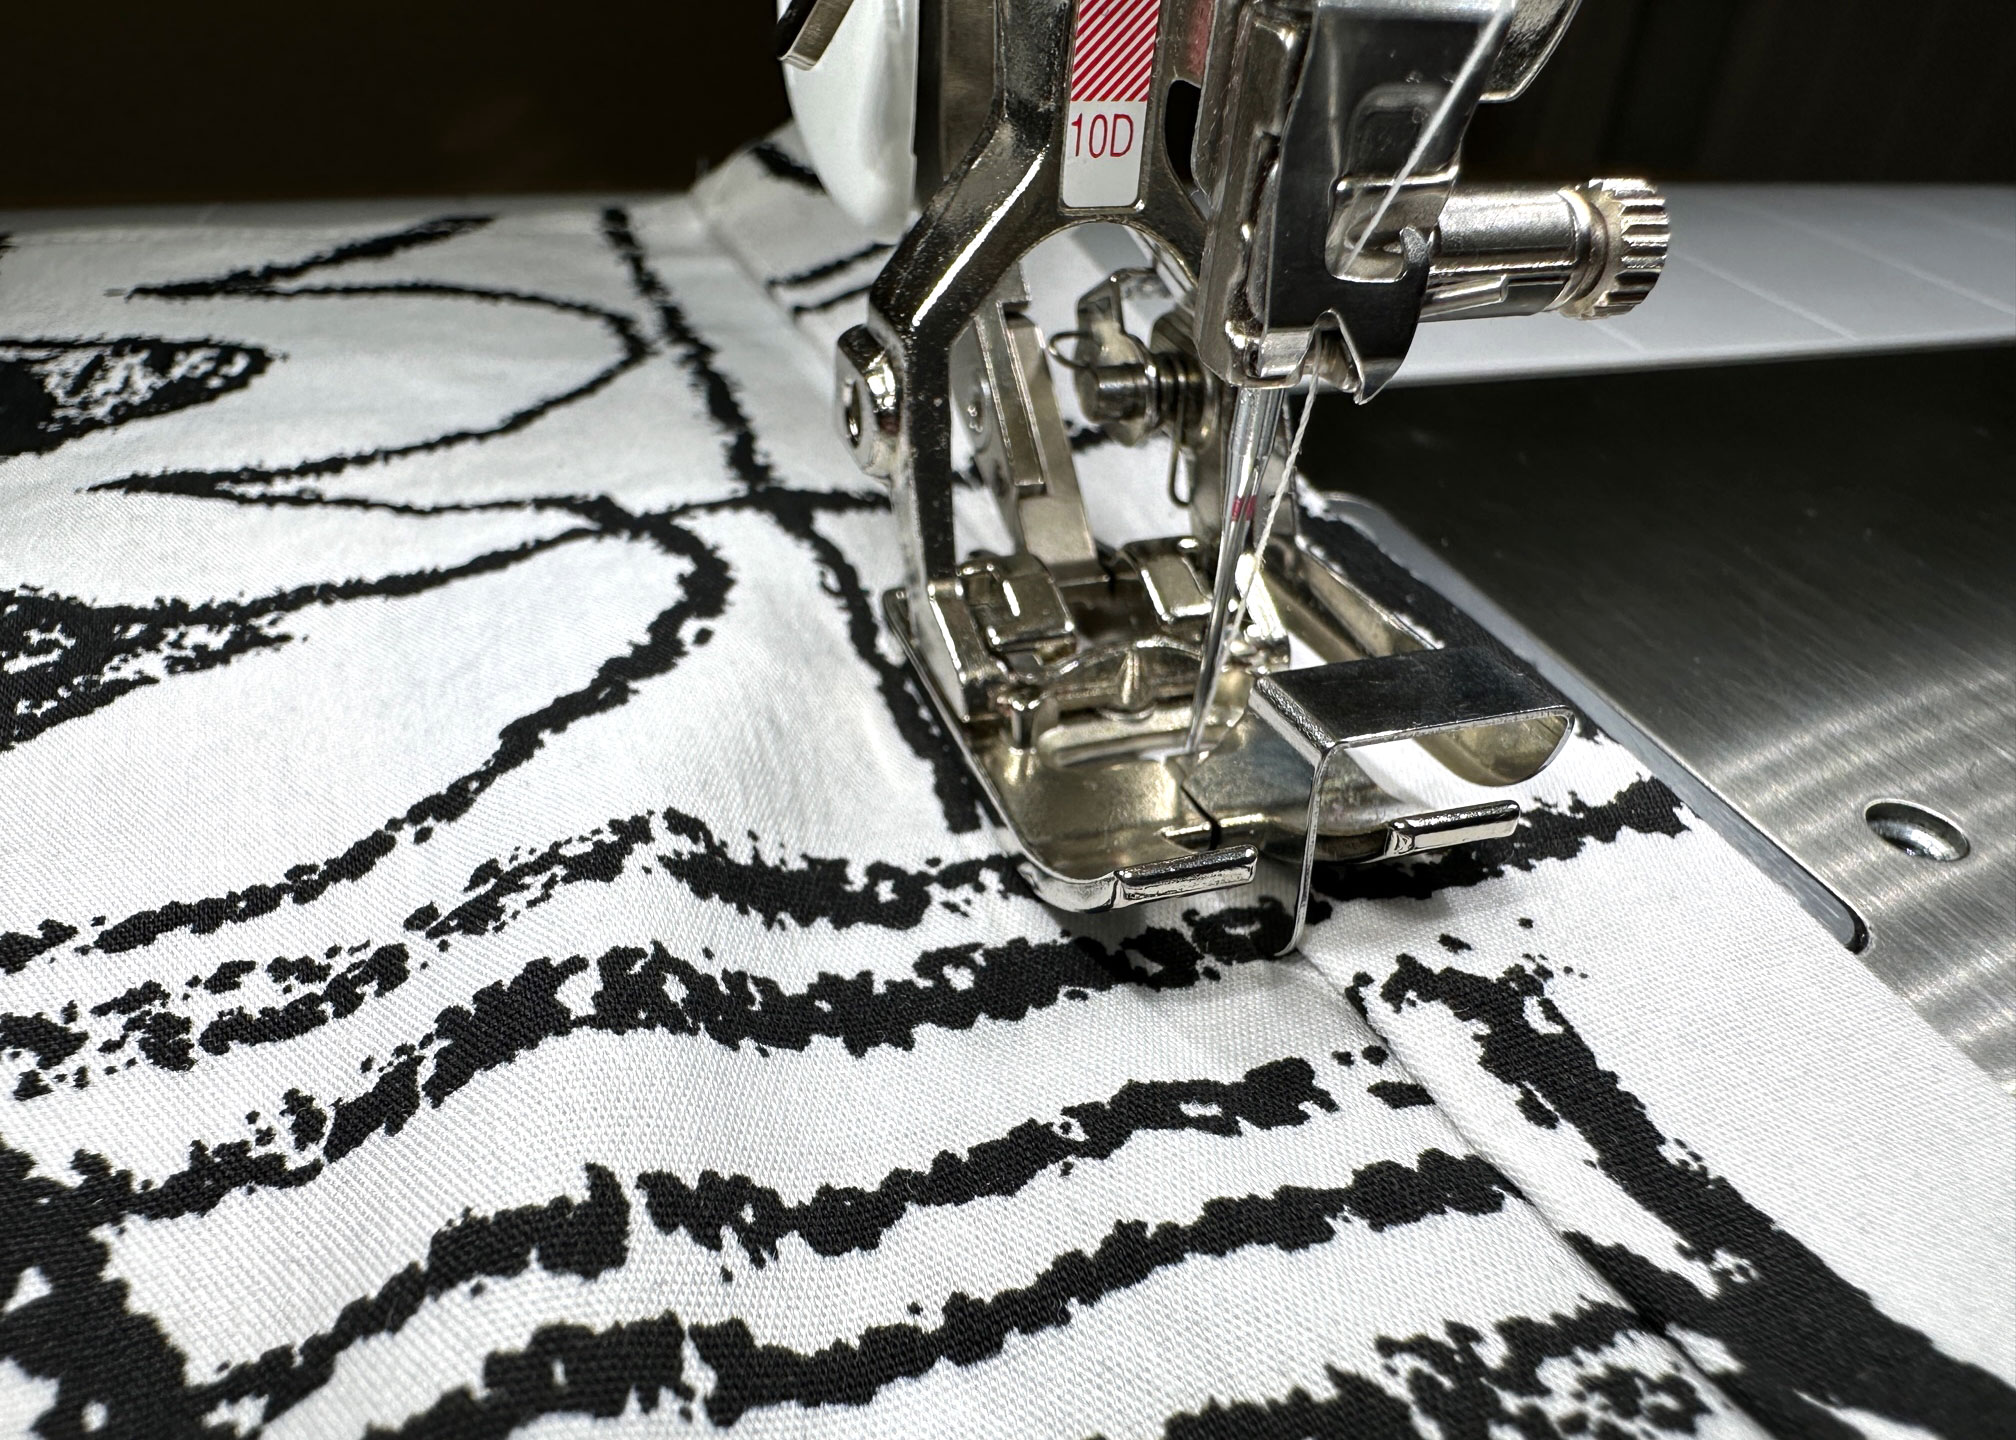
If you choose to edgestitch along the front plackets, use the Edgestitch Foot #10D to achieve perfect edgestitching.
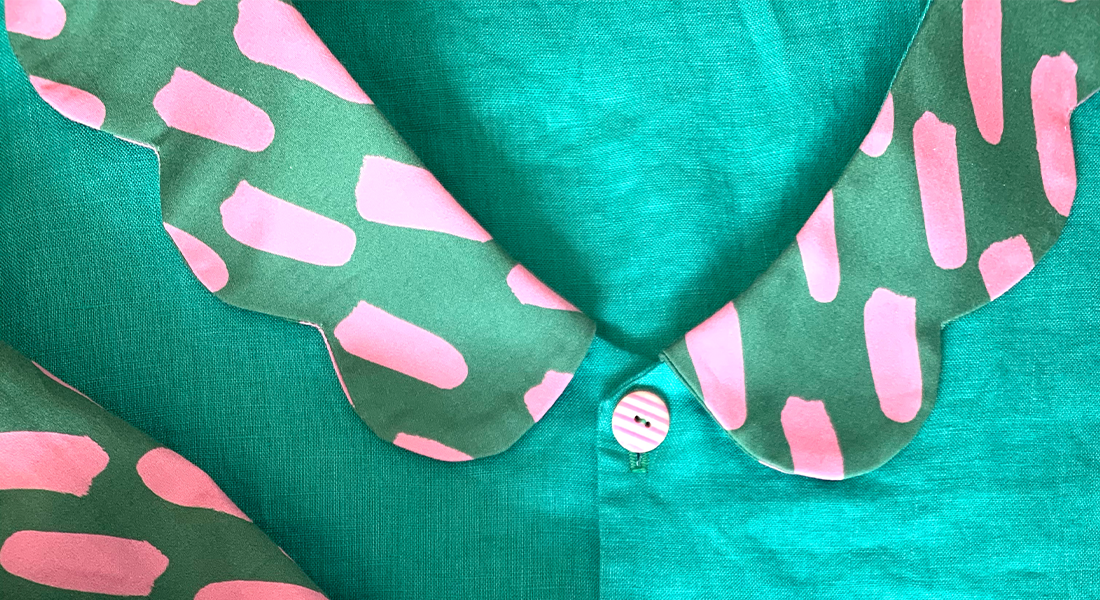
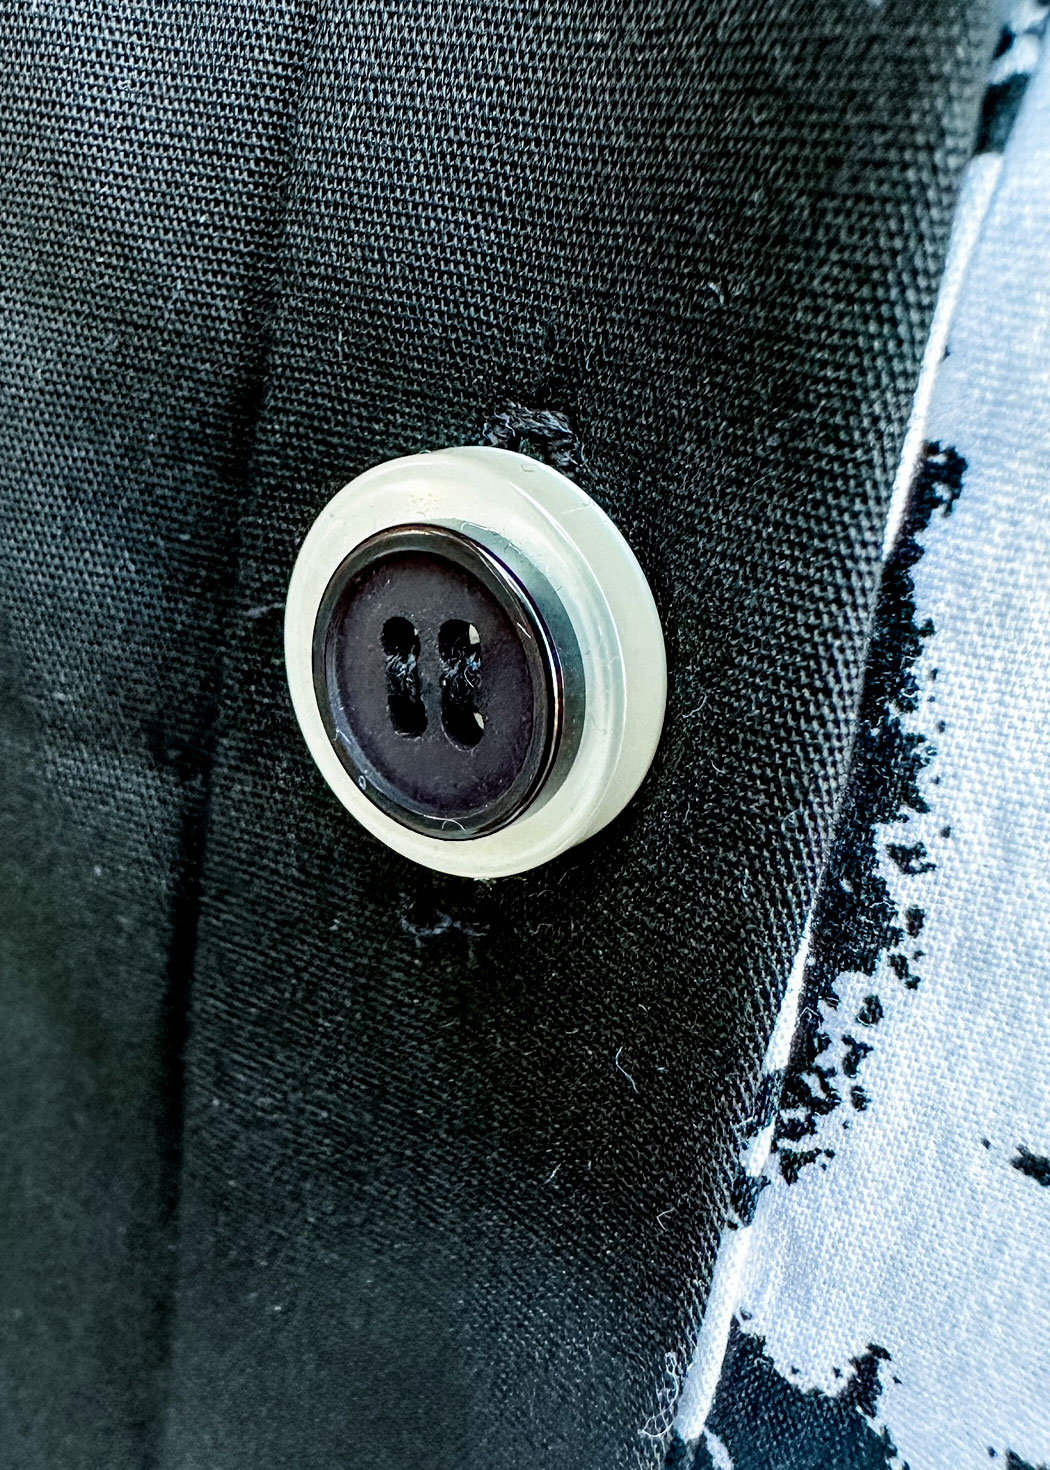
Stacked Buttons on the Front Placket
To add to the colorblock theme of the shirt, two black and white buttons are stacked together to create one button. I placed the 3/8″ button on top of the 5/8″ button using a tiny bit of glue to hold them together, which made it easier to sew them in place.
Sew the Buttonholes
For the front placket choose the buttonhole size based on the largest button used. It’s a good idea to sew a test buttonhole to verify that the two buttons stacked together will fit through the finished buttonhole.
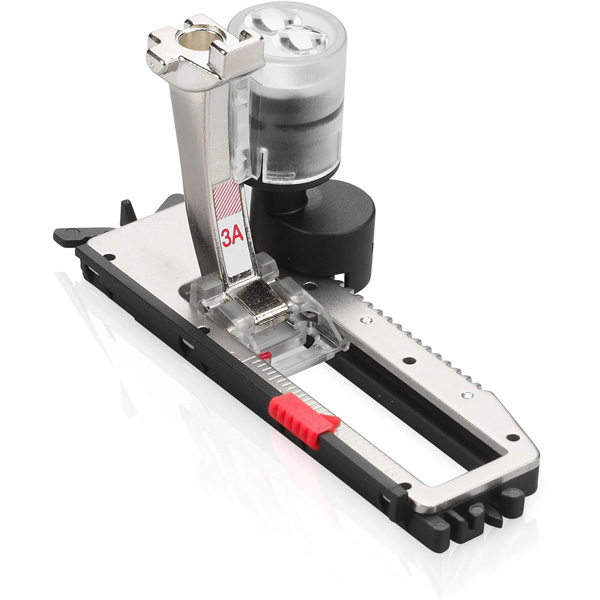
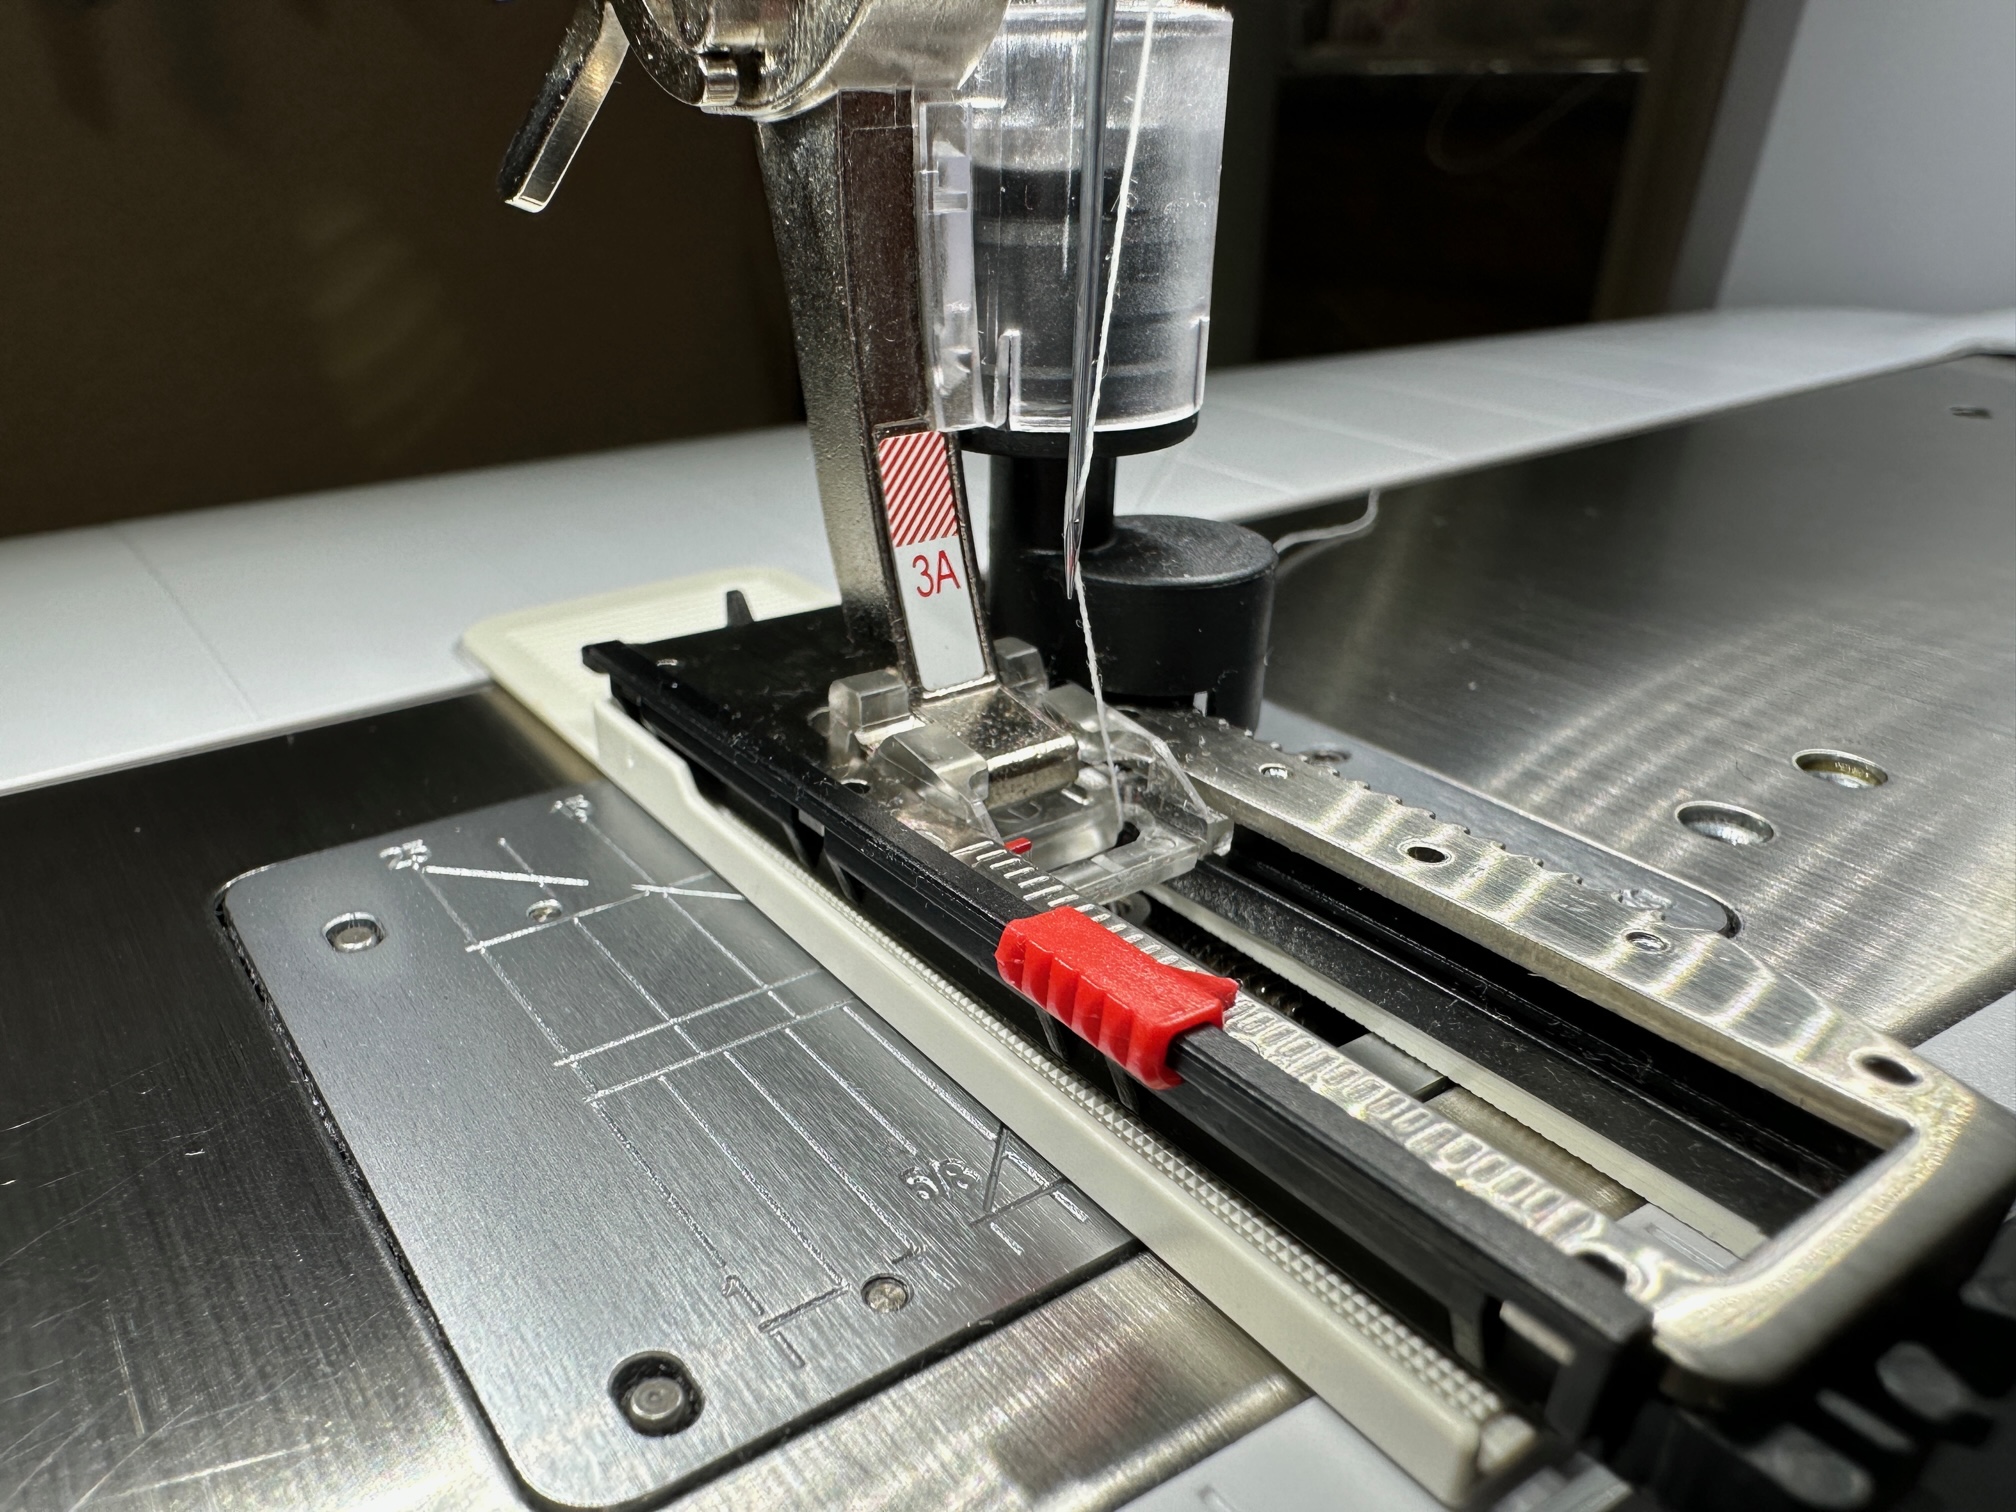
Using the Buttonhole Foot with Slide #3A will ensure every buttonhole on the front placket will be the exact same length. After sewing all of the buttonholes on the front placket, change the buttonhole size and sew the buttonholes on the sleeve cuffs.
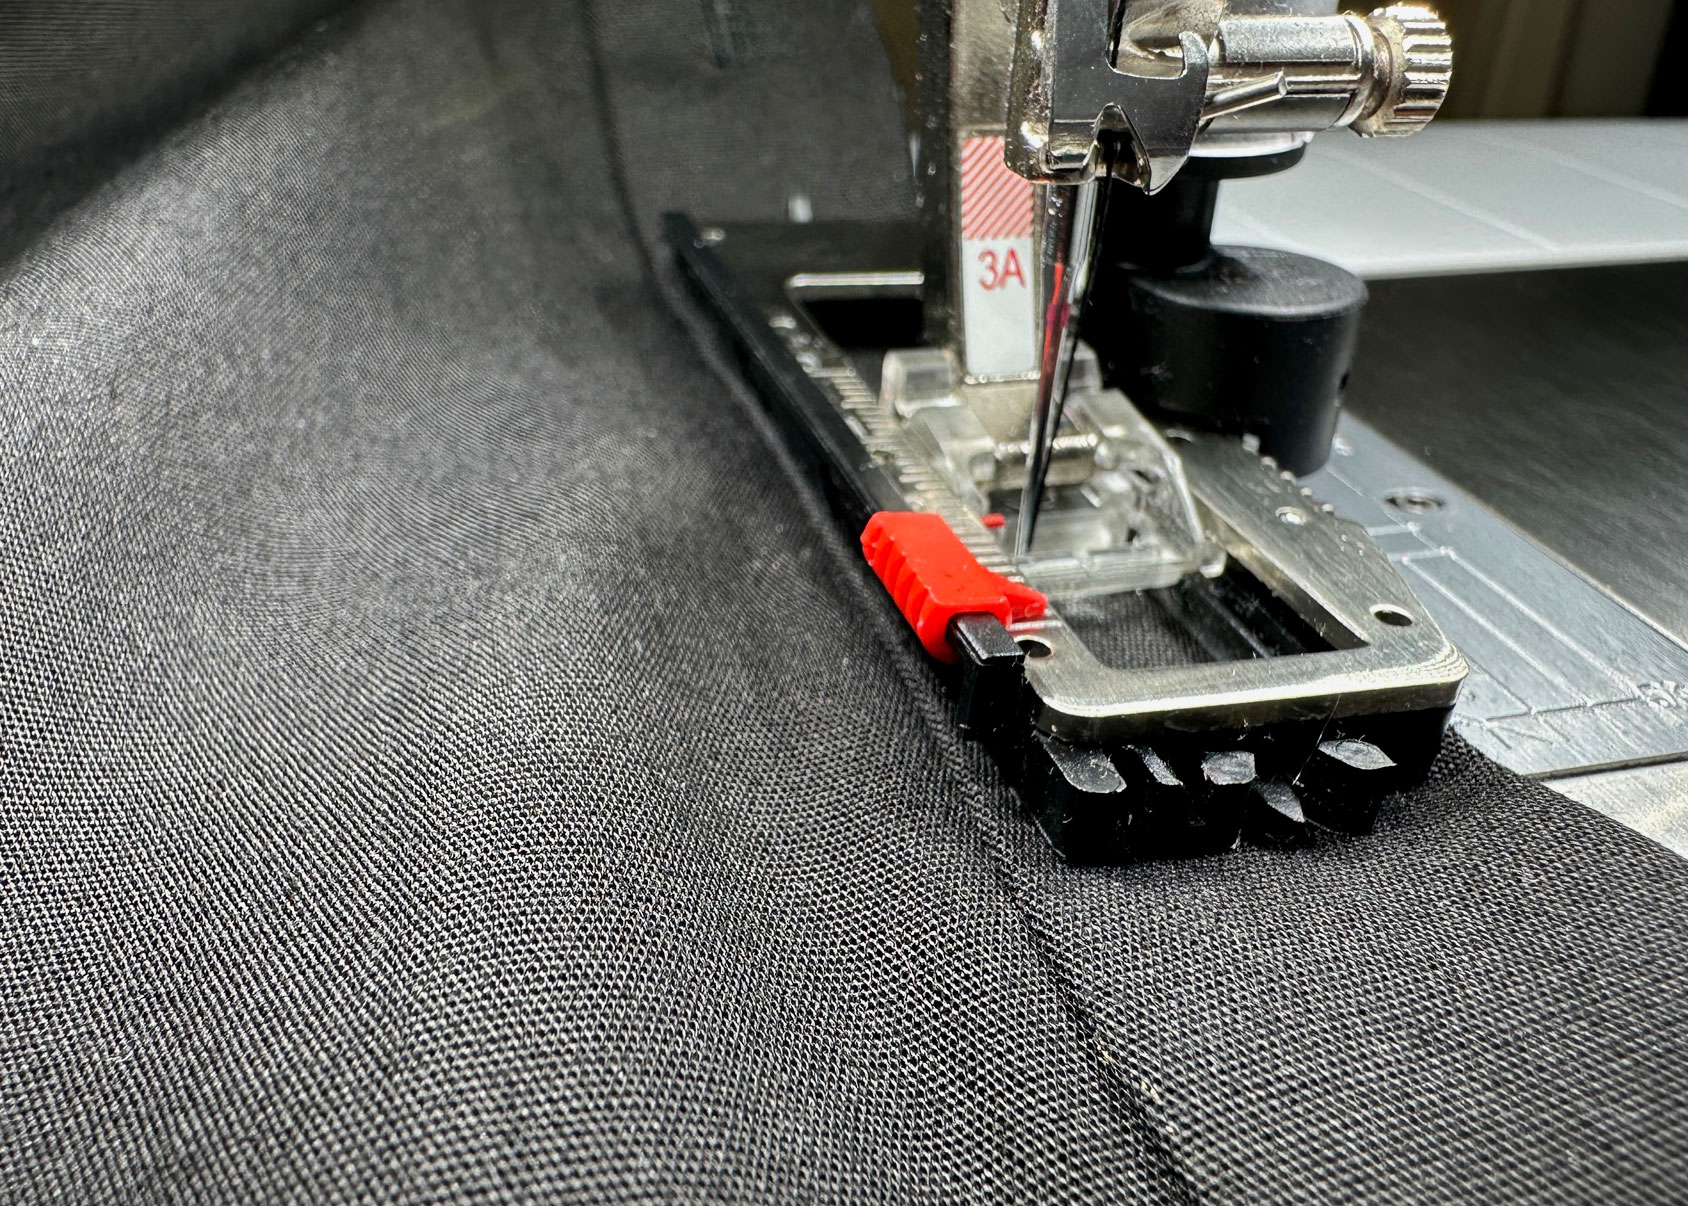
I didn’t add a button and buttonhole on this collar band of this colorblock shirt, but if you decide to add them, consider using the Buttonhole Leveler, which fits underneath the Buttonhole Foot #3A. It is designed to help sew buttonholes that are close to a fabric edge that may have an uneven surface, like the collar band.
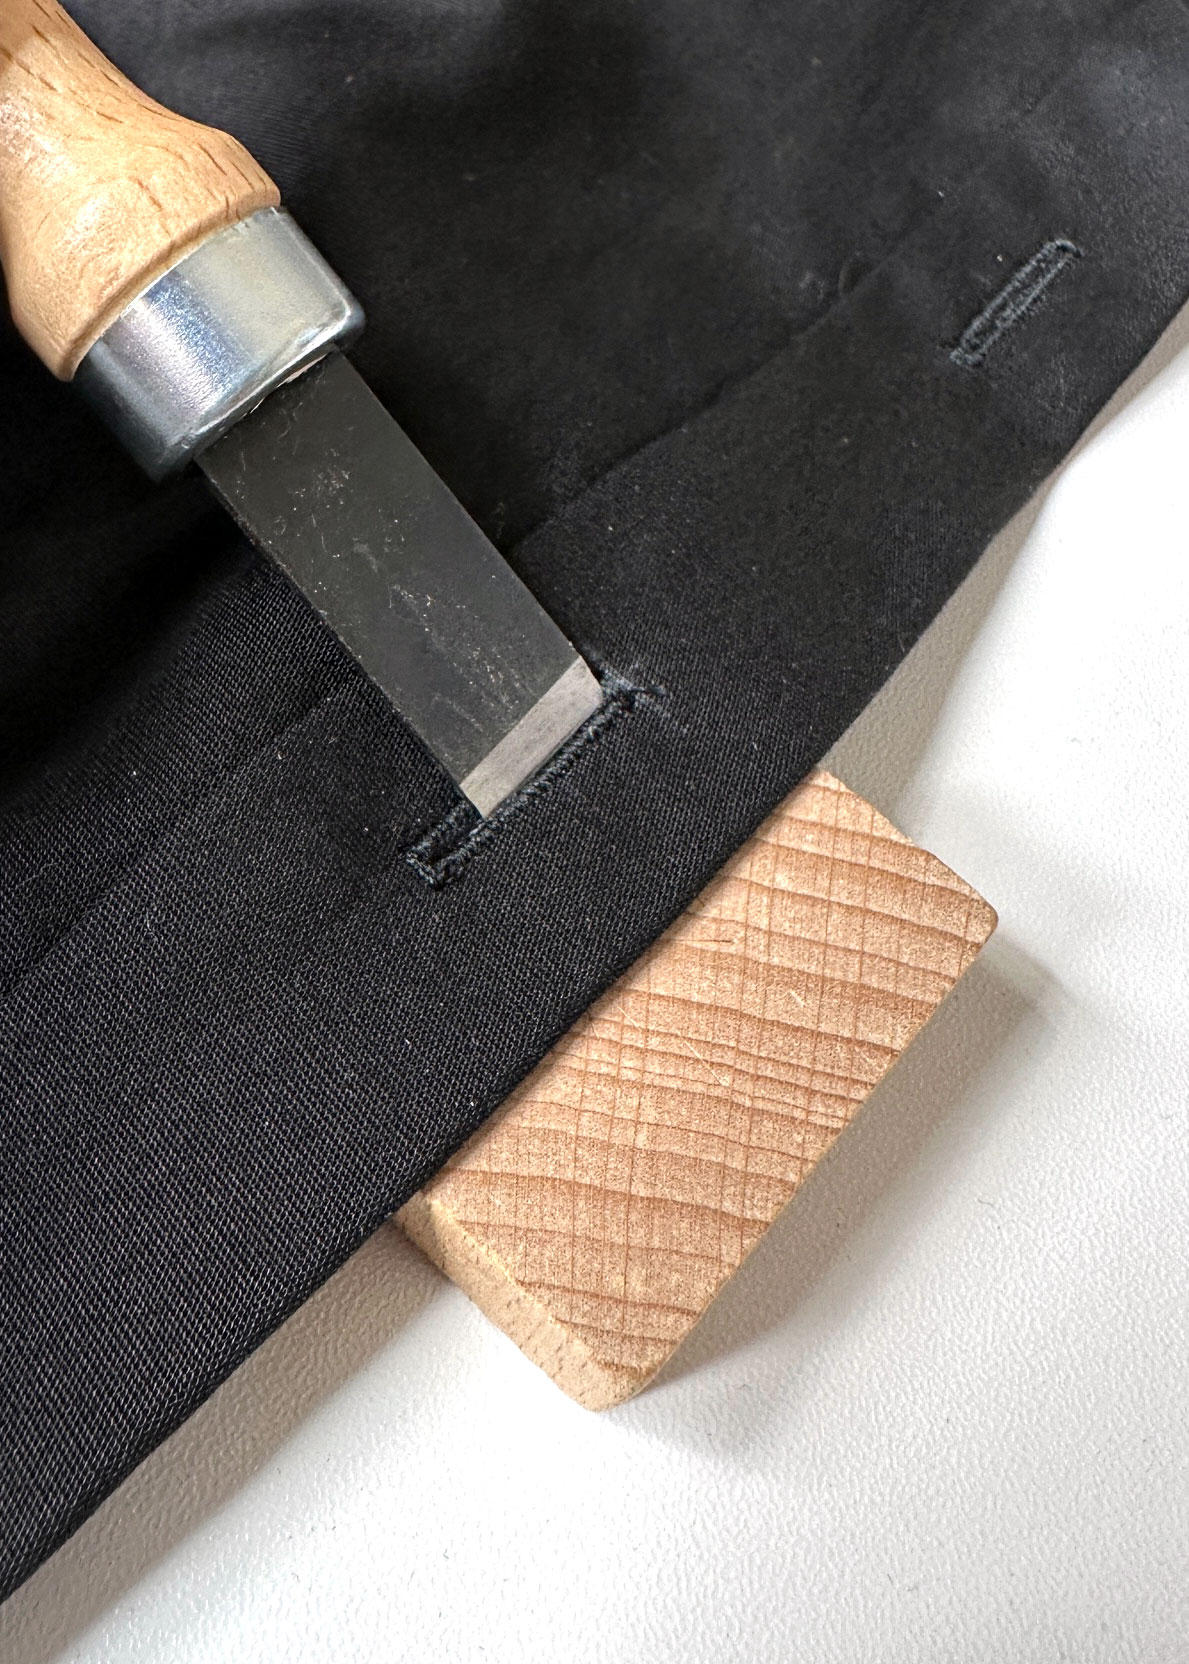
Use a buttonhole cutter and wood block to easily – and safely – cut open the buttonholes.
Sew the stacked buttons to the front placket. The two colors are an added colorblock detail.
The colorblocked one-of-a-kind shirt is complete! Try using a solid and print-like (I’ve shown here), two colors, two prints, or play with stripes to highlight the two sides.
Be sure to tag me (@thesharonsews) and BERNINA (@berninausa) on Instagram when you sew your colorblock shirt!
Join me for part two and learn how to add width to the sleeve, change the button cuff to elastic, and add pintucks and decorative stitches along the sleeve and back yoke.