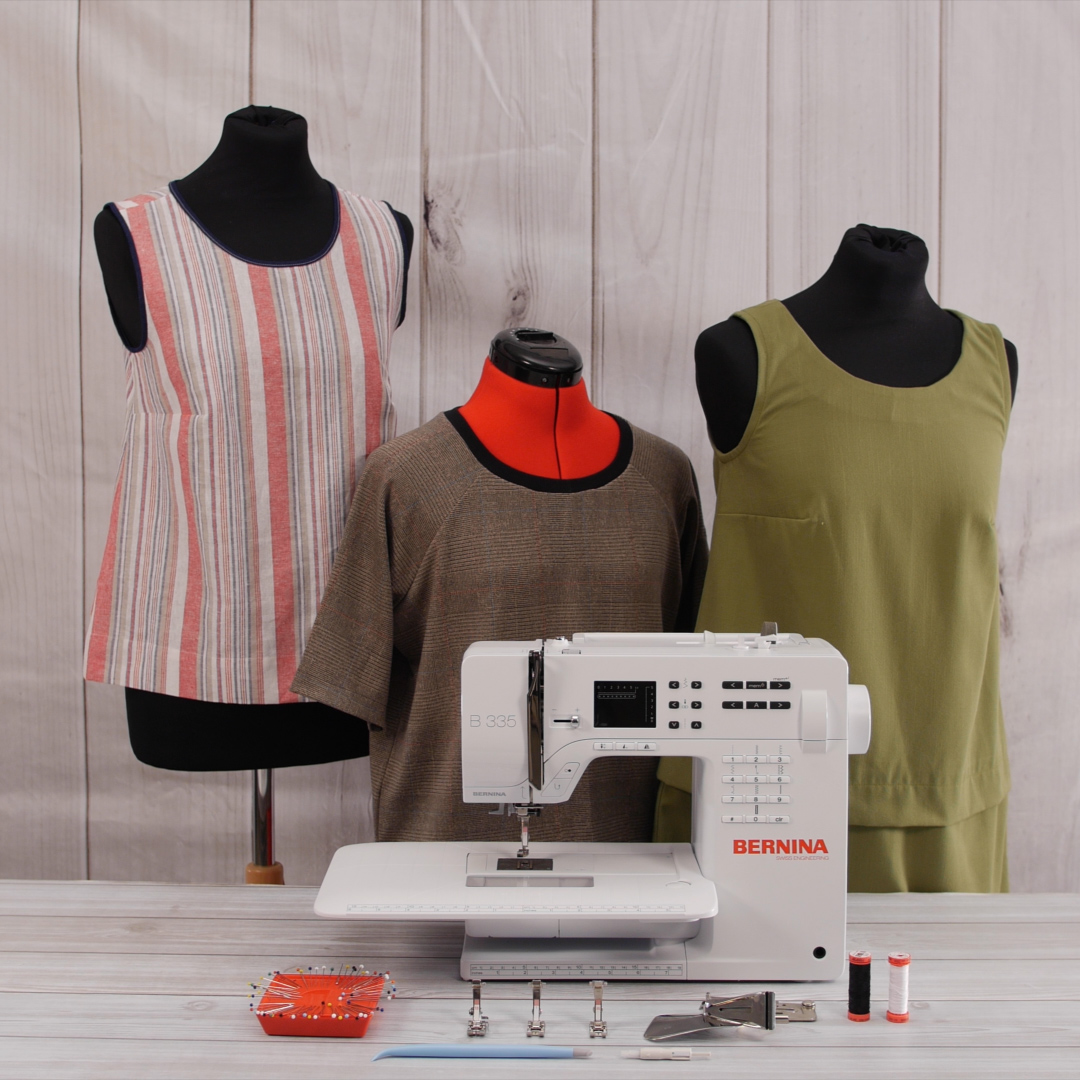
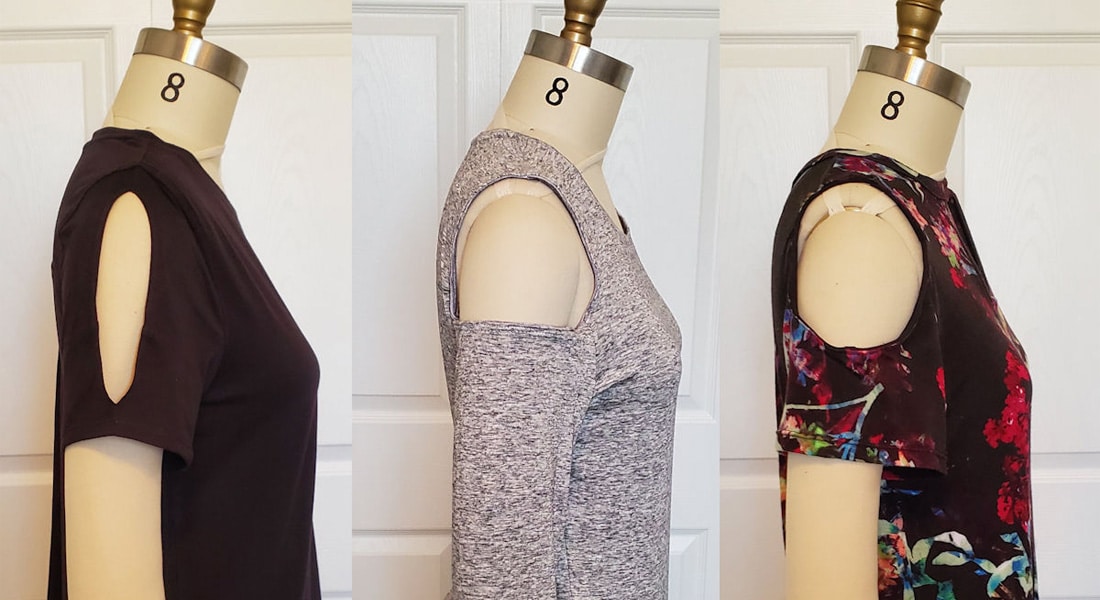
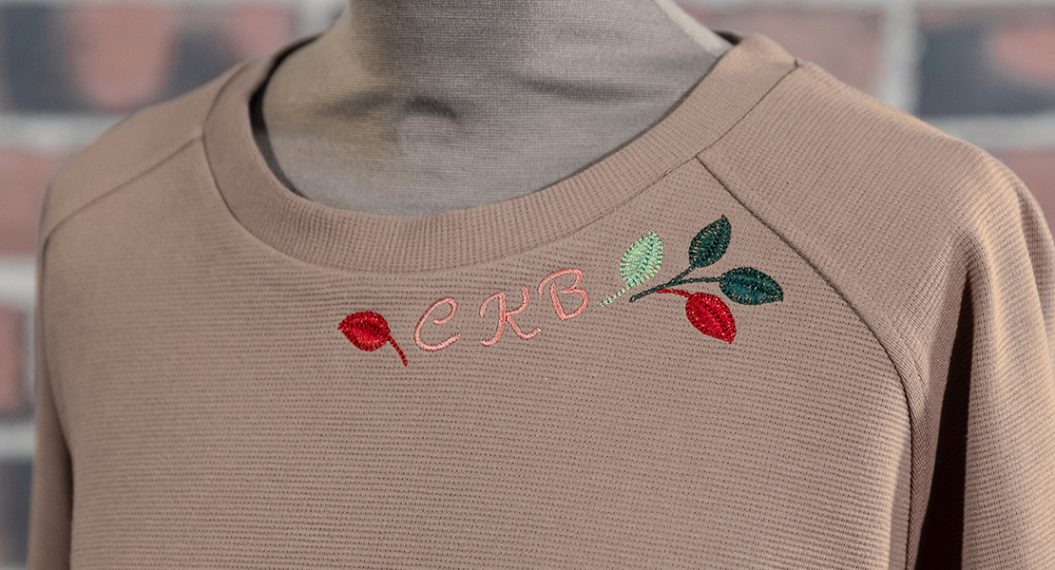
How to Finish Necklines Three Different Ways
Different garments call for different neckline finishes! This blog post will walk you through three different methods for finishing necklines: facing, binding, and ribbing.
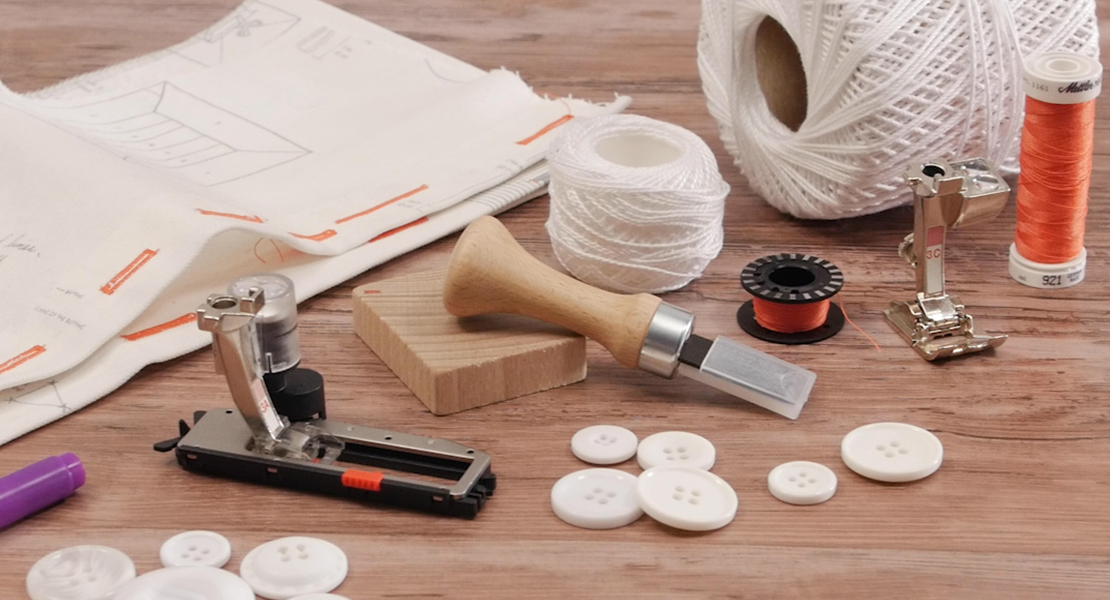
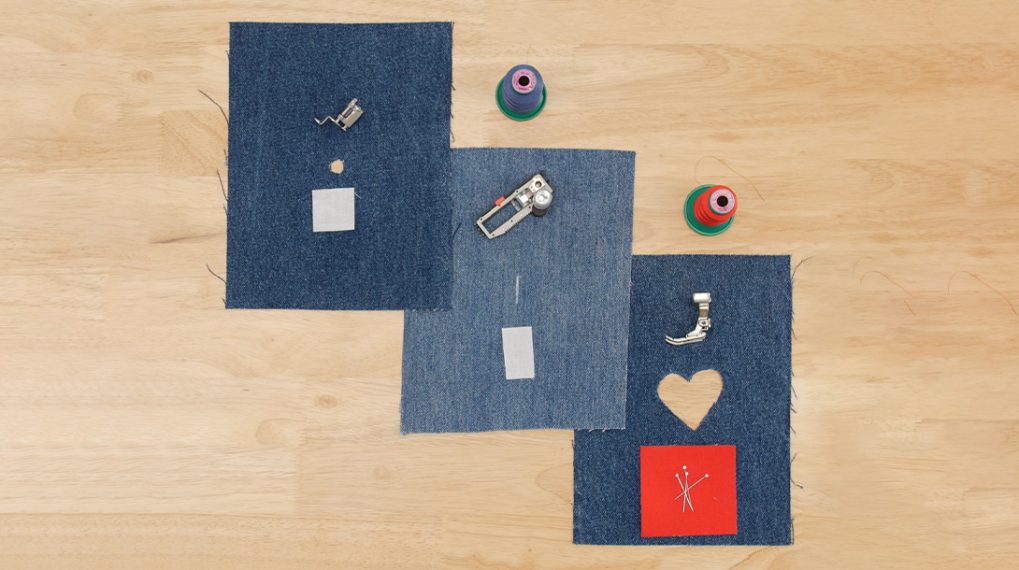
Supplies for Finishing Necklines Three Different Ways
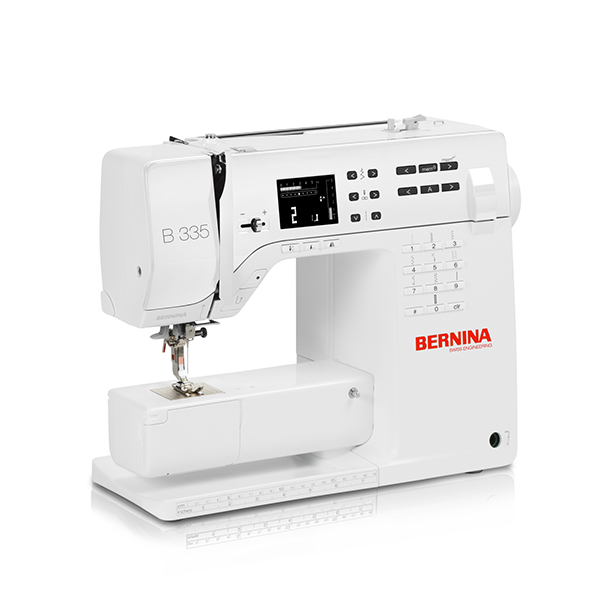
- BERNINA 335
- Reverse Pattern Foot #1/1C/1D
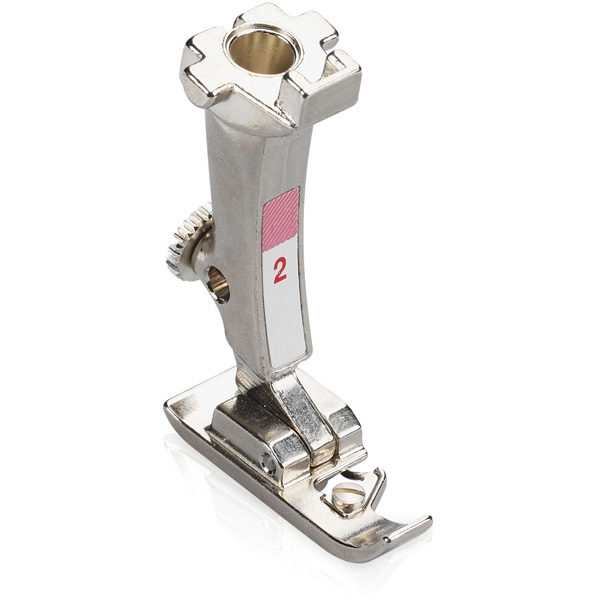
- Overlock Foot #2/2A
- Edgestitch Foot 10/10C/10D
- Binder Attachment #88
- Binder Foot #95/95C
- Stretch needle
- Fusible interfacing
- Pinking shears
- Scissors
- Rotary cutter
- Ruler
- Cutting mat
- Stilleto
- Chalk/marker
- Pins
Method 1: Facing
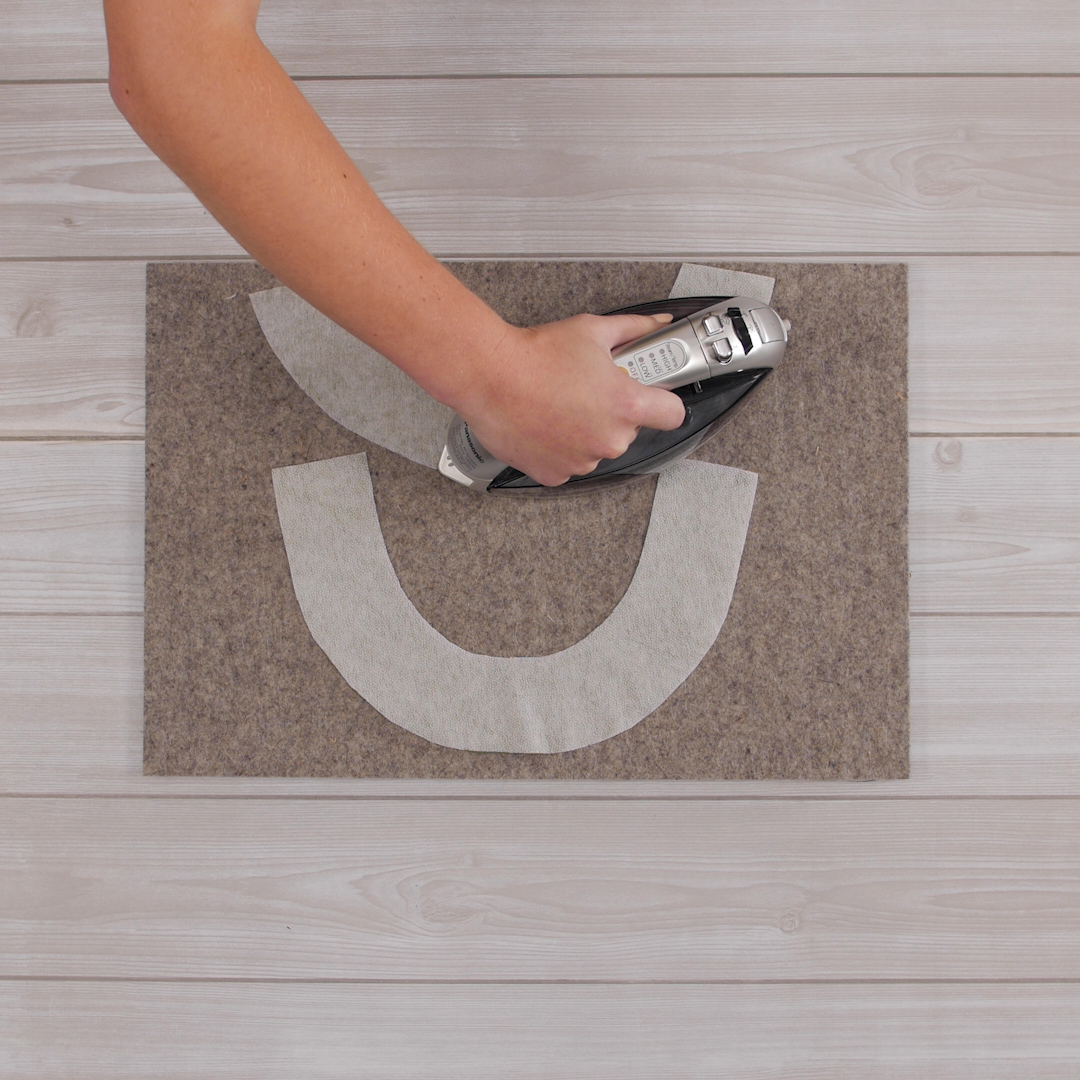
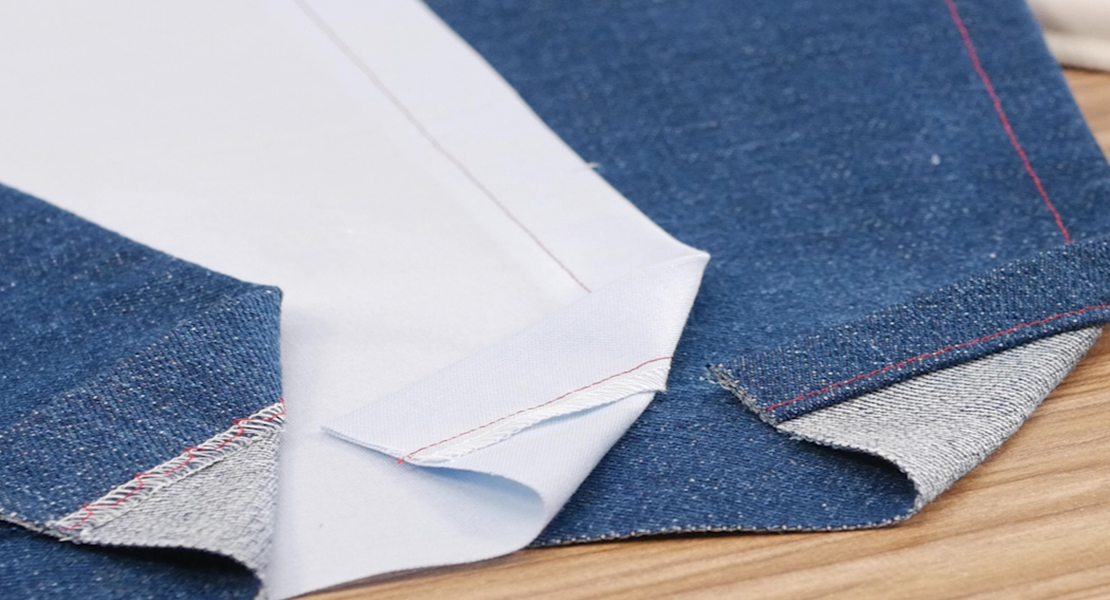
Facing necklines are one of the most common types of necklines. The pattern pieces, one for the curve of the front and one for the back, mimic the shape of the garment’s neckline so when it is folded under it lays flat and curves without puckering. Start by applying interfacing to the wrong side of the facing pieces. Interfacing is applied to help the neckline maintain its shape as it goes through normal clothing wear-and-tear. I prefer a fusible interfacing that can be ironed on. Match the weight of the interfacing to the weight of the fabric.
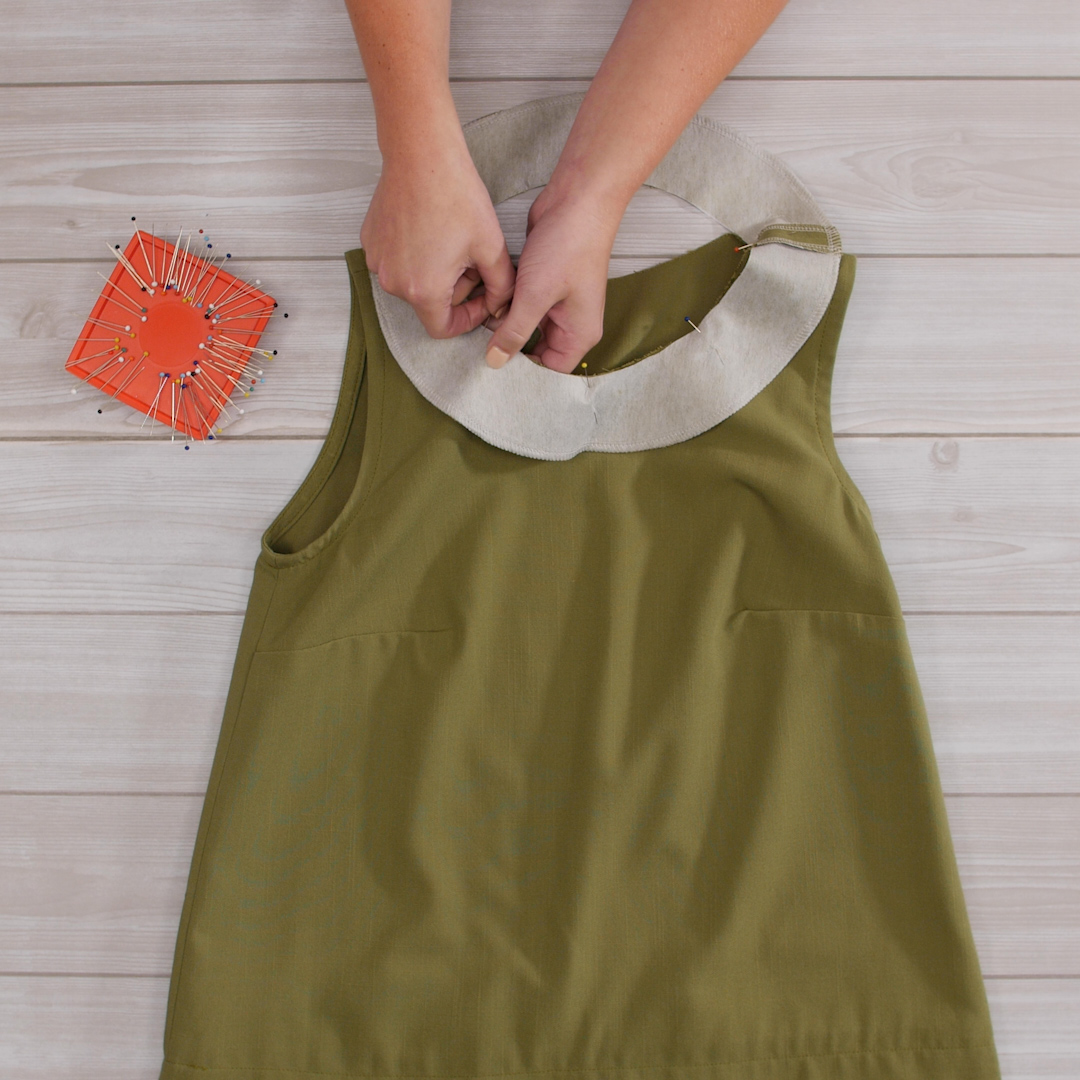
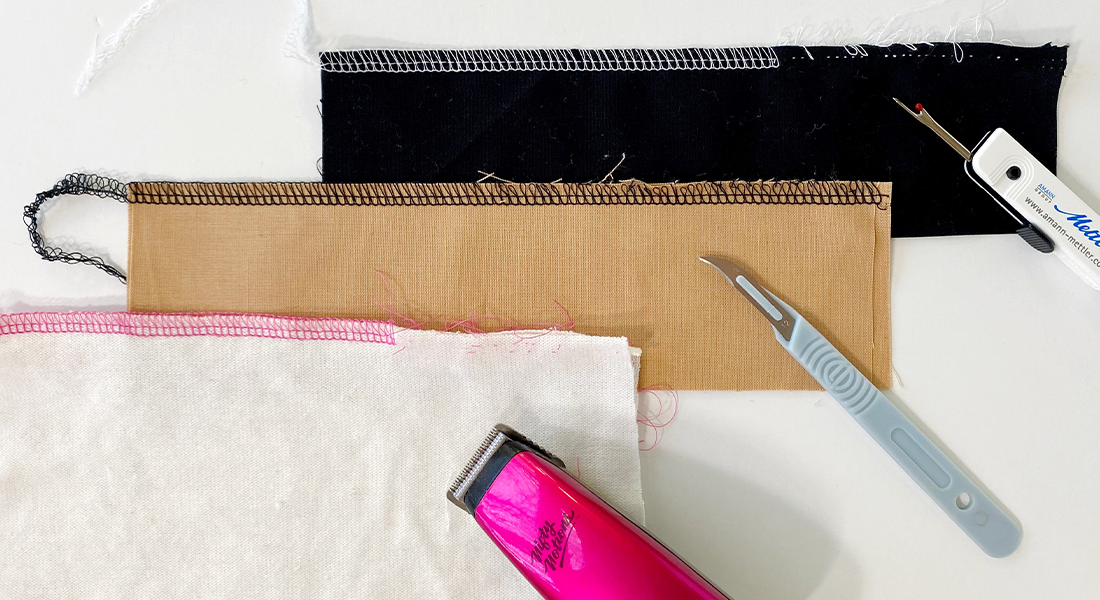
Sew the two facing pieces together and press the seams open before pinning it to the garment’s neckline. I chose to overlock the outside edge of the facing for a finished look, but you may choose your favorite method. With right sides together, match up the shoulder seams of the facing and the body of the garment. Pin in place.
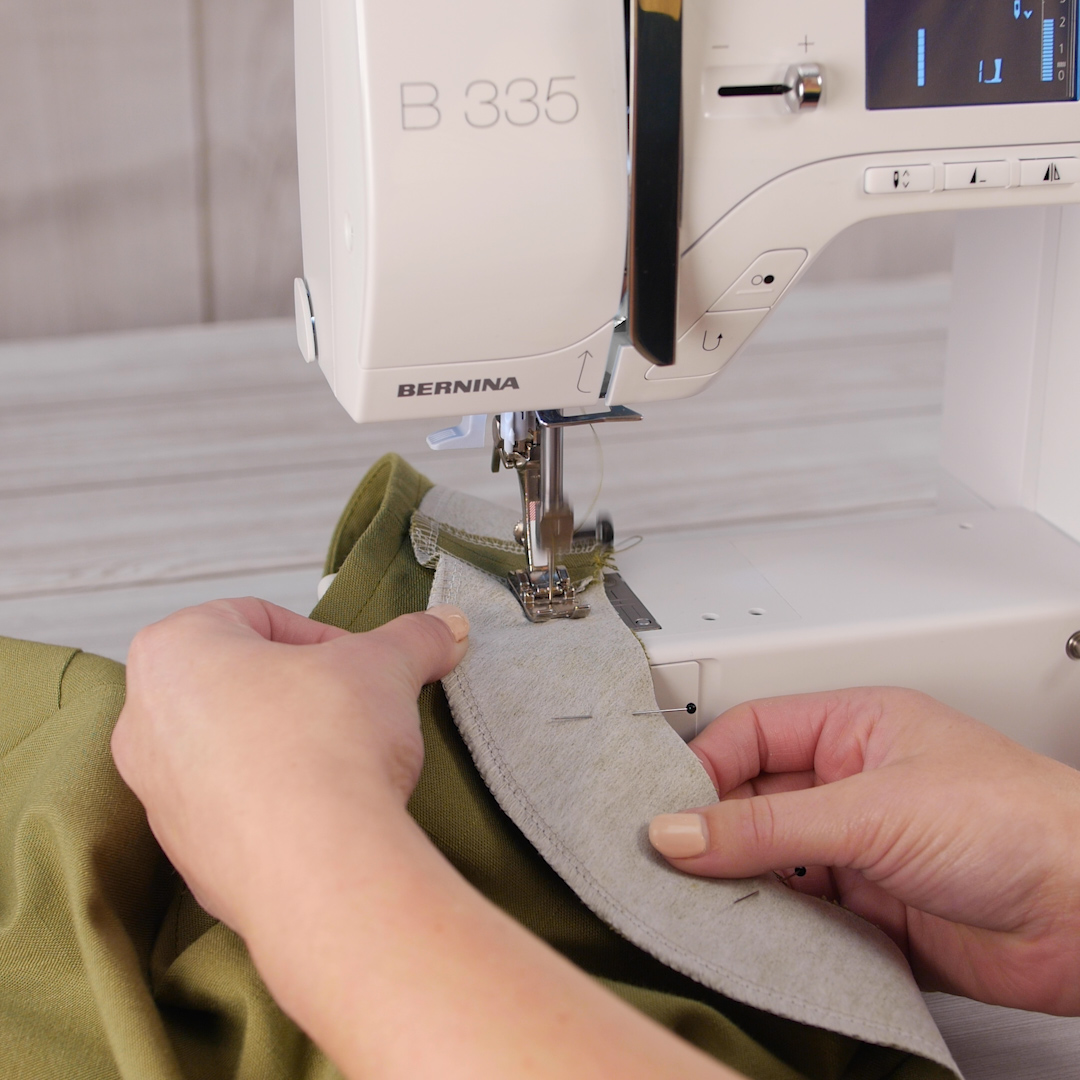
Next, sew the facing to the neckline with the standard 5/8” seam allowance.
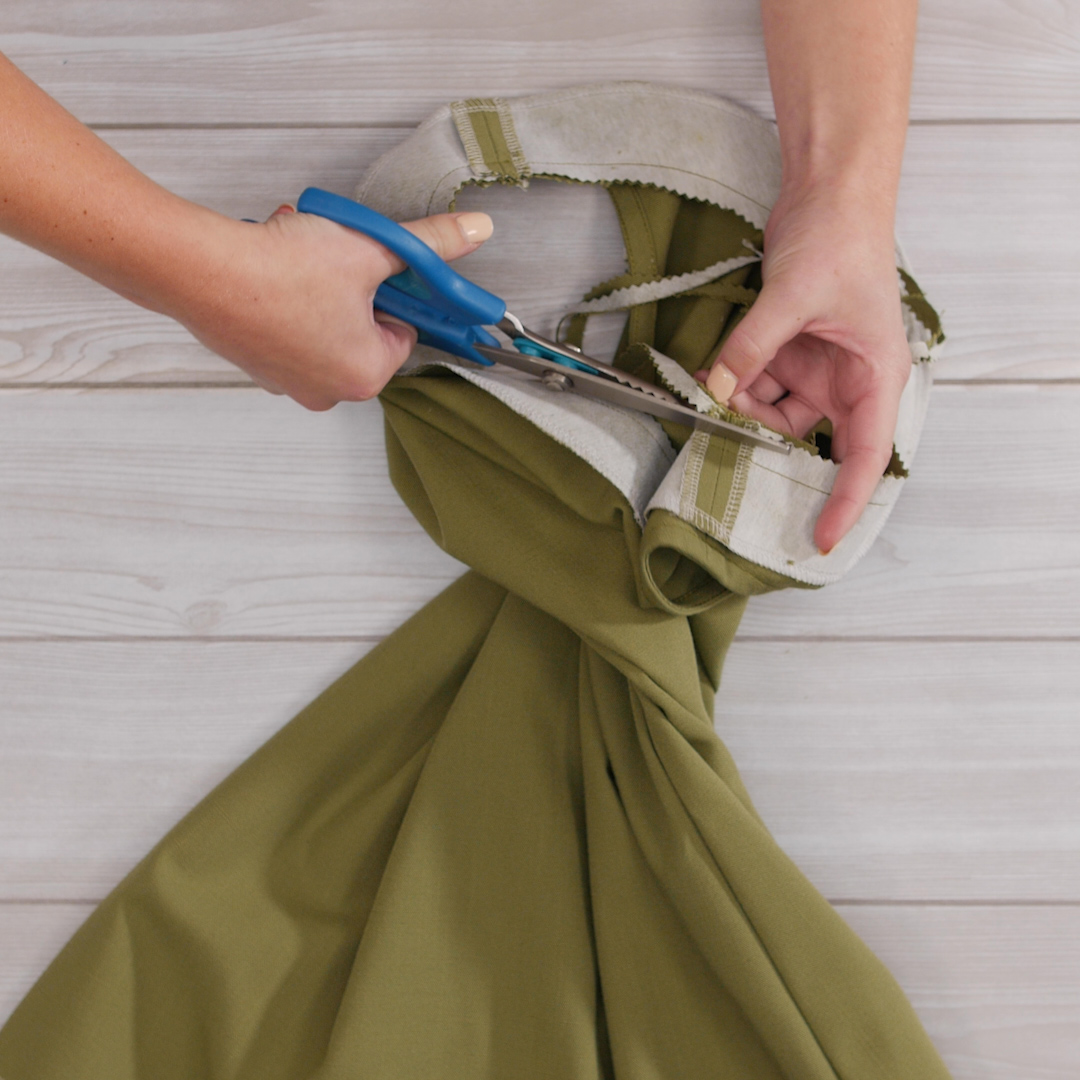
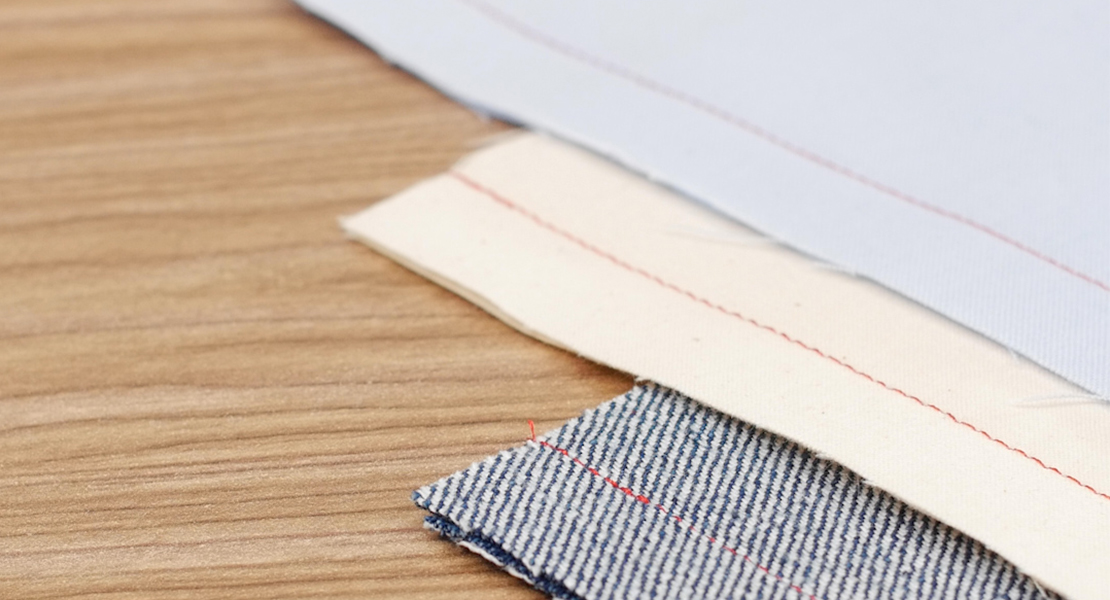
The following steps will help the neckline lay flat. First using pinking shears, trim the seam allowance by half, or down to approximately 3/8”. Pinking the raw edge will prevent the fabric from fraying. Then using regular shears, clip the seam allowance approximately every half inch, carefully, as to not clip into the newly sewn seam. This step opens up the seam allowance so it can curve naturally. Then press the seam allowance towards the facing.
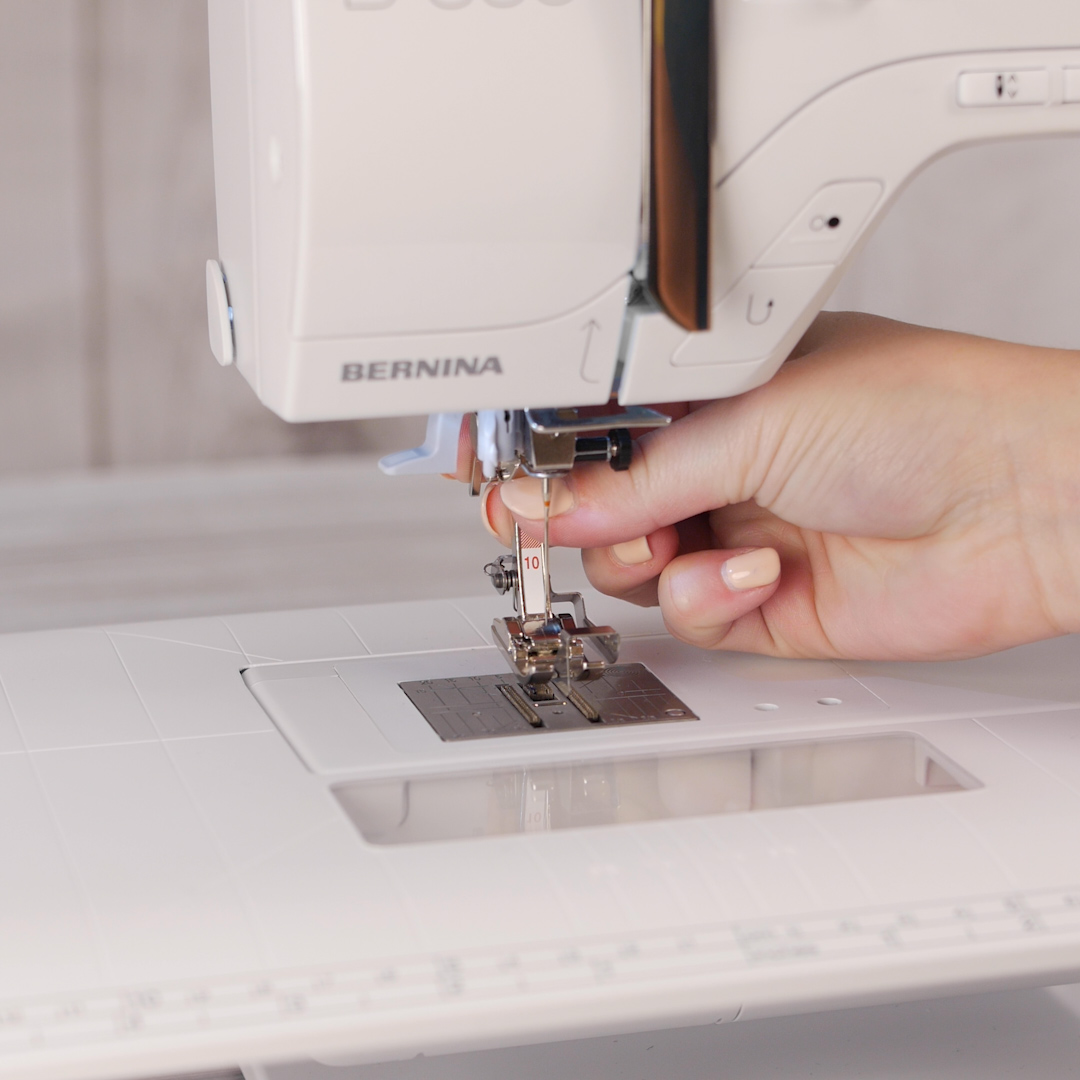
Understitching is next, stitching the seam allowance to the facing on the inside prevents the neckline seam from rolling to the outside of the garment where it could be seen. Use Edgestitch Foot #10/10C/10D, reposition the needle two positions to the right of center onto the facing side, and increase the stitch length to anywhere between 3.0 and 3.50. Moving the needle over and letting the metal guide of the foot run through the ditch of the seam will ensure that your stitch is approximately 1/8” away from the seam. The increased stitch length leaves a polished look. While stitching, continuously check that the seam allowance is underneath the facing and lying flat.
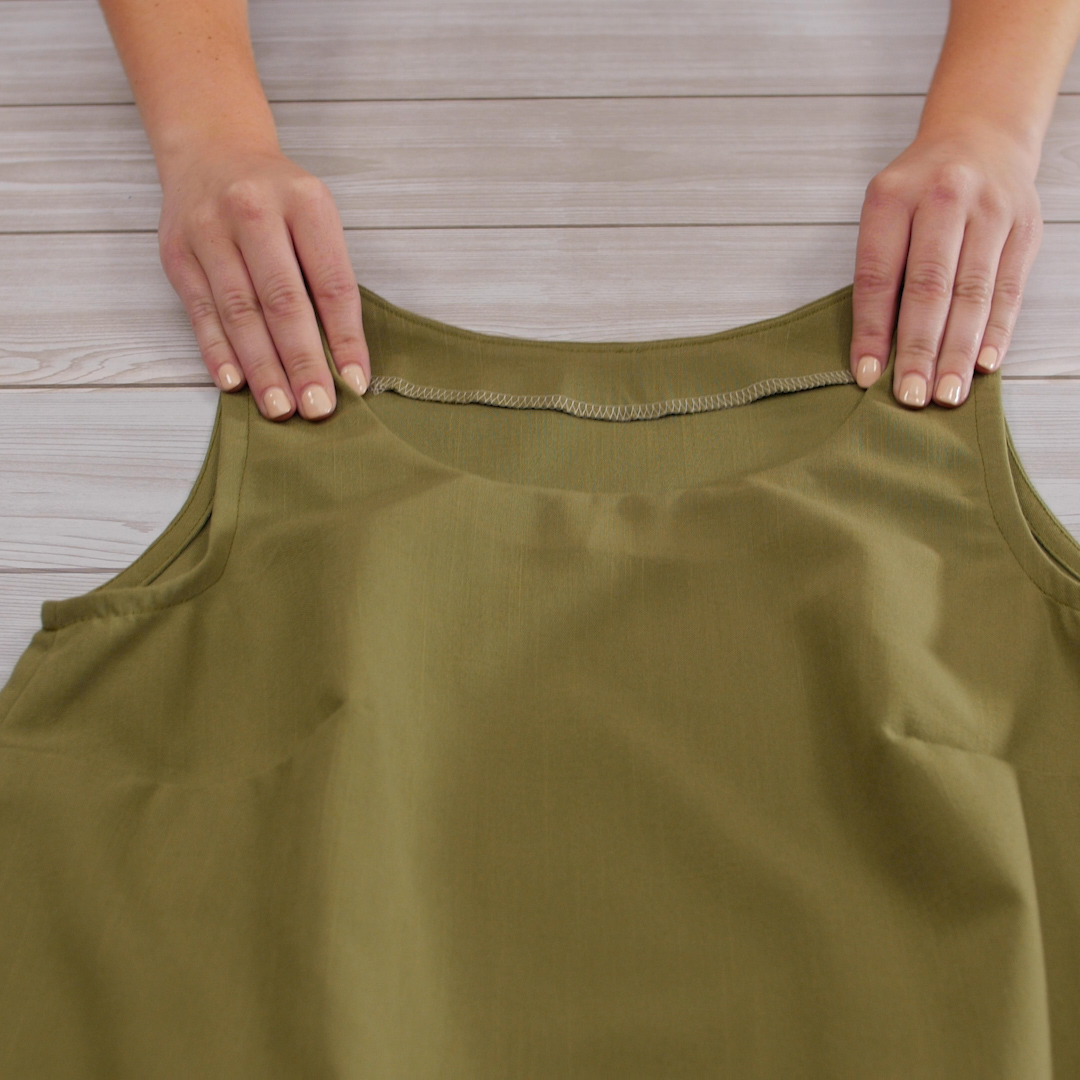
Give it a good press and you have a polished, professional facing neckline!
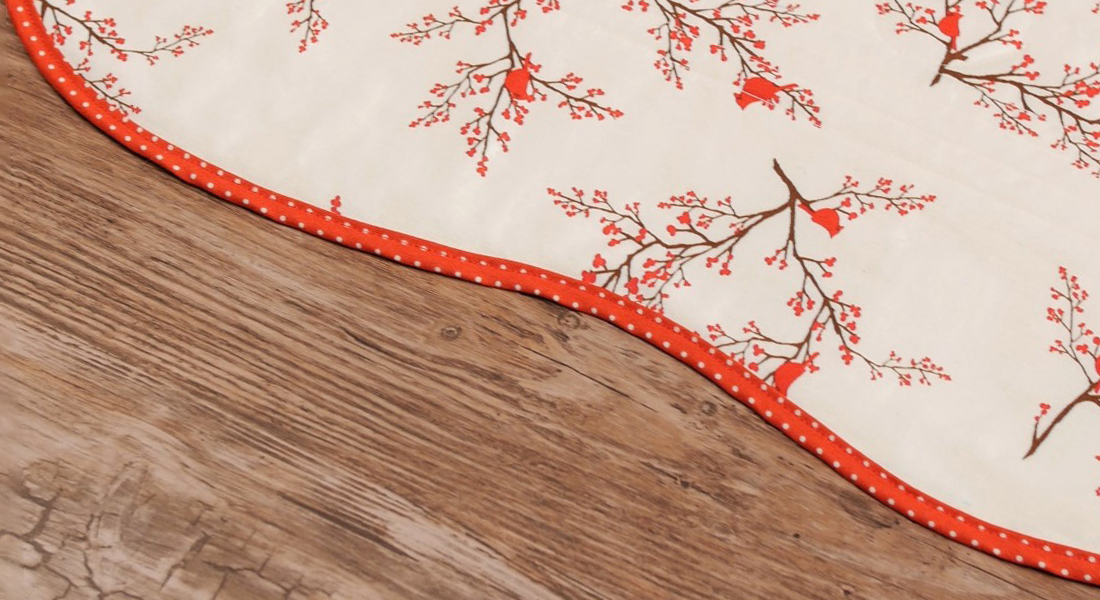
Method 2: Binding
The first step to success with a bound neckline is cutting the binding strip correctly. For the fabric to stretch and lay flat on the curve, it needs to be cut on the bias. The bias is the 45° angle running through the fabric. Since this type of angle does not run with the grain of the fabric, it allows the fibers to stretch. Most rulers have a marked line that indicates that 45° angle. Use a ruler and a rotary cutter to ensure the strip is cut precisely.
When using the binder attachment tool, the binding has to be cut to fit the specific size of that attachment. Binder Attachment #88 comes in three different sizes: 28 mm, 32 mm, and 38 mm. Binder Attachment #87 can be used for pre-made bias tapes or pre-folded bindings. For my top, I used Binder Attachment #88 in the 28 mm size and cut my binding strip 1” wide on the bias. When putting the attachment on the machine, butt it up against the edge of Binder Foot #95/95C. Feed the bias-cut strip in the attachment, leaving 2” of excess fabric at the beginning to finish the seam at the end.
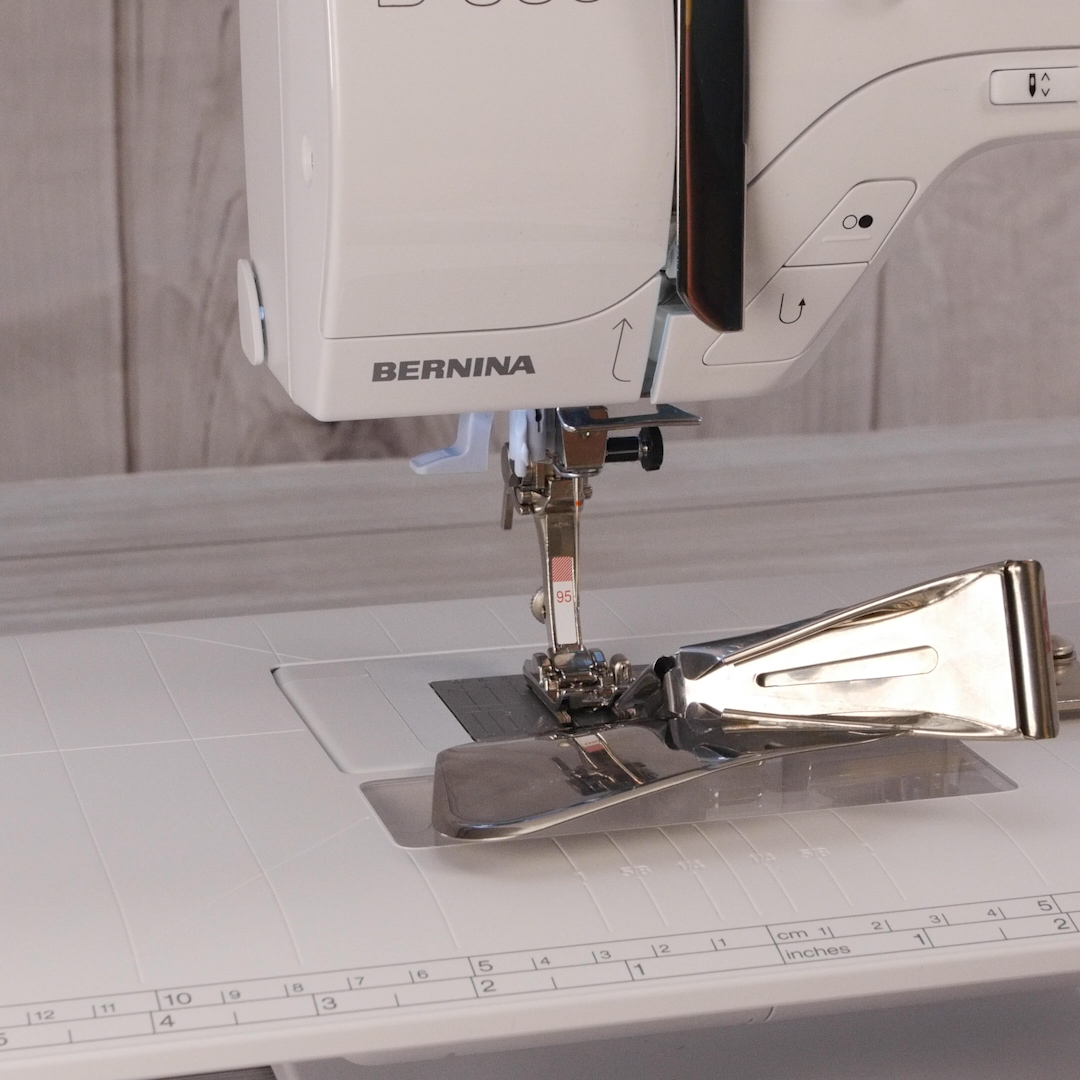
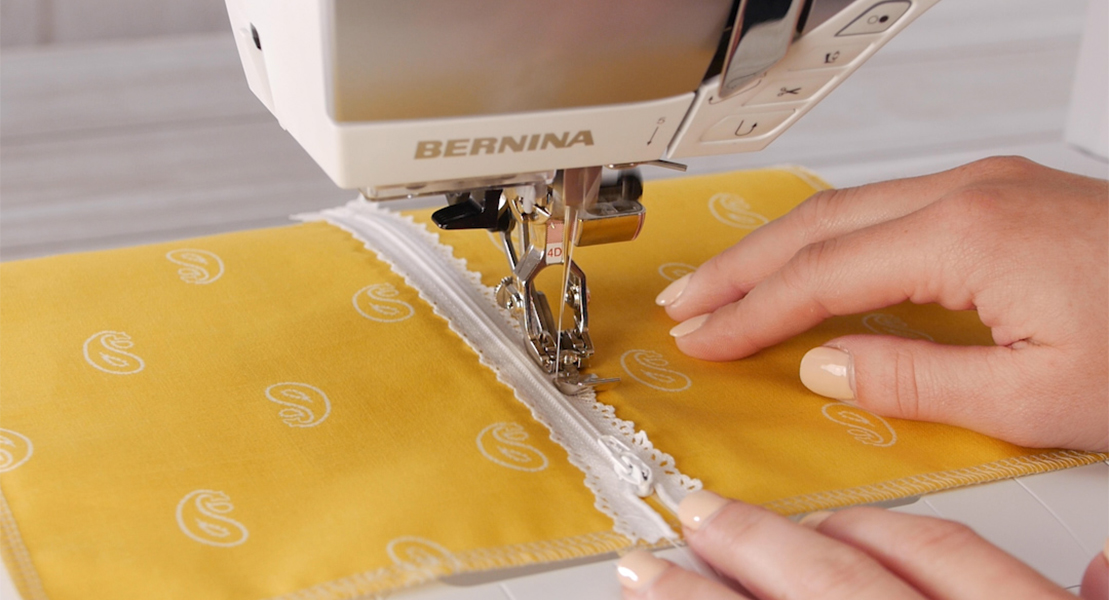
Reposition the needle two to three positions to the right of center to stitch approximately 1/8” away from the folded edge of the binding, and increase the stitch length if desired. Note that this seam will be visible on the outside of the garment.
Begin stitching on the binding in an inconspicuous spot. I prefer to start in the middle back because my hair usually covers everything. A shoulder seam is another good starting point. Use a stiletto to move the garment and bias strip evenly. Stop sewing 3” to 4” from where the stitching began.
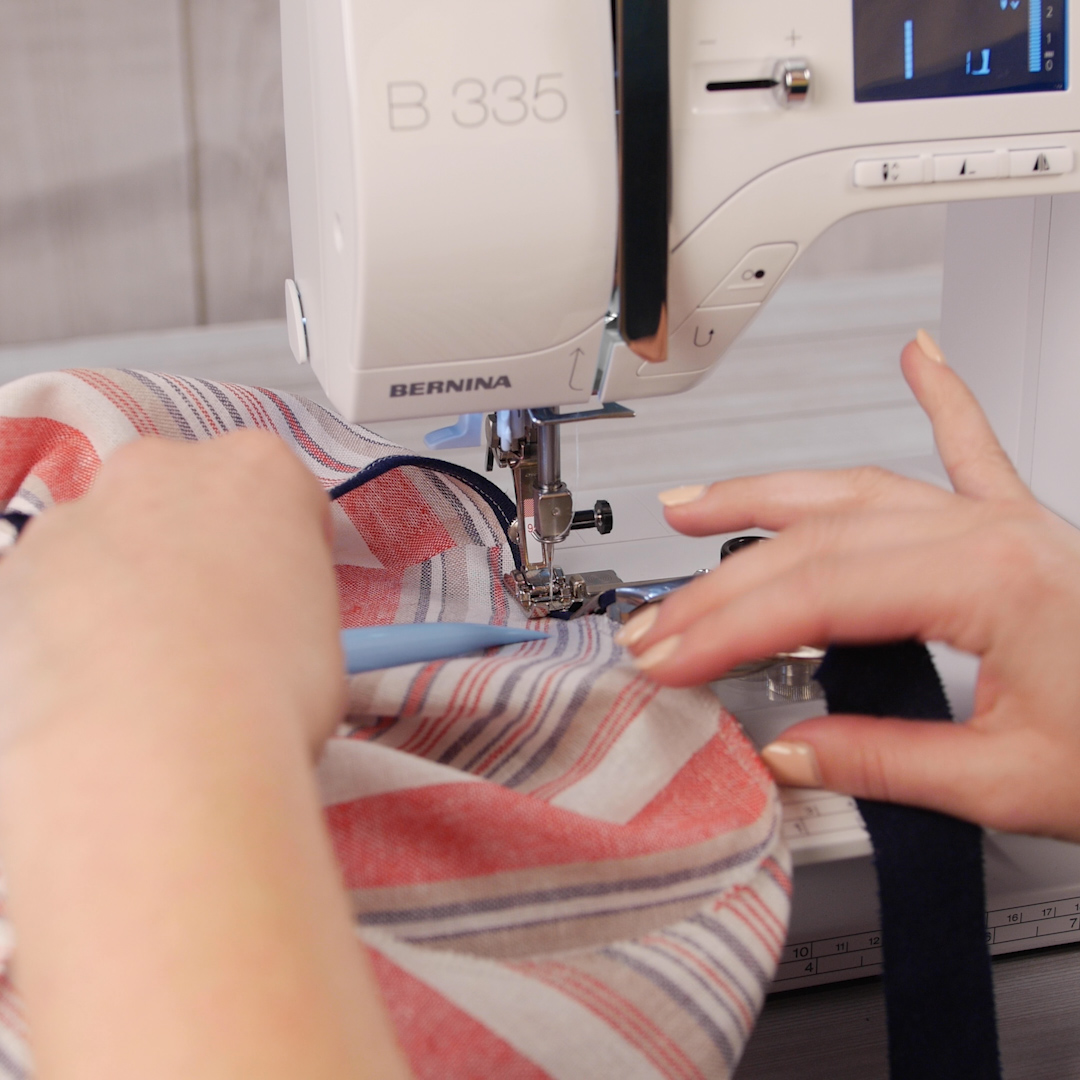
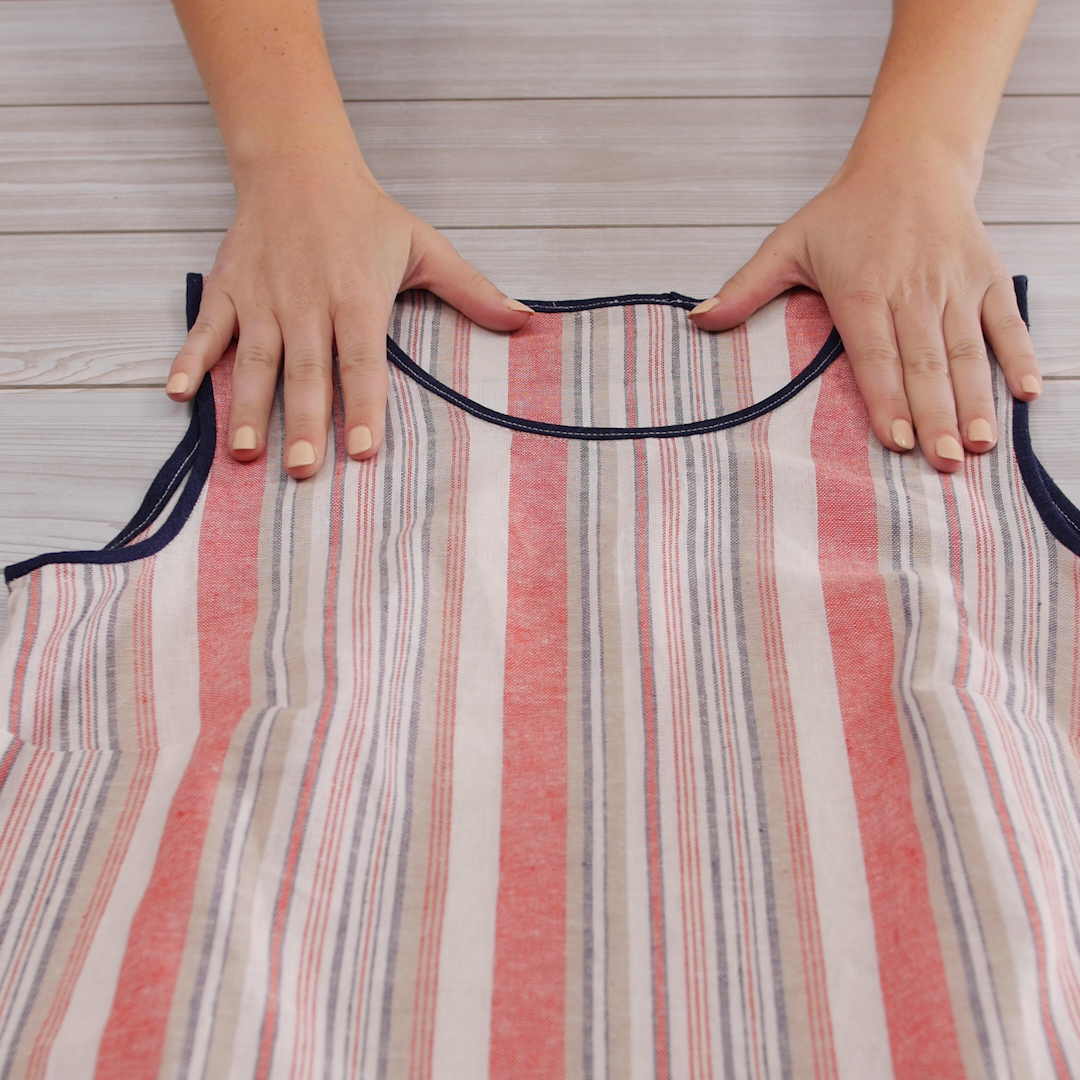
To finish off the neckline binding, remove Binder Attachment #88 and Binder Foot #95/95C, and replace it with Edgestitch Foot #10/10C/10D. Trim down the excess binding fabric at the end so that it overlaps the excess from the beginning by 1”, then fold the raw edge under ½”. Fold the extra fabric from the beginning into the end piece, making sure the folded-under edge overlaps the beginning. If done correctly, there will not be a raw end showing. With the needle in the same position, continue stitching where you ended previously. Be sure to take a few securing stitches when restarting where you ended last, then sew until the stitching matches up back at the beginning.
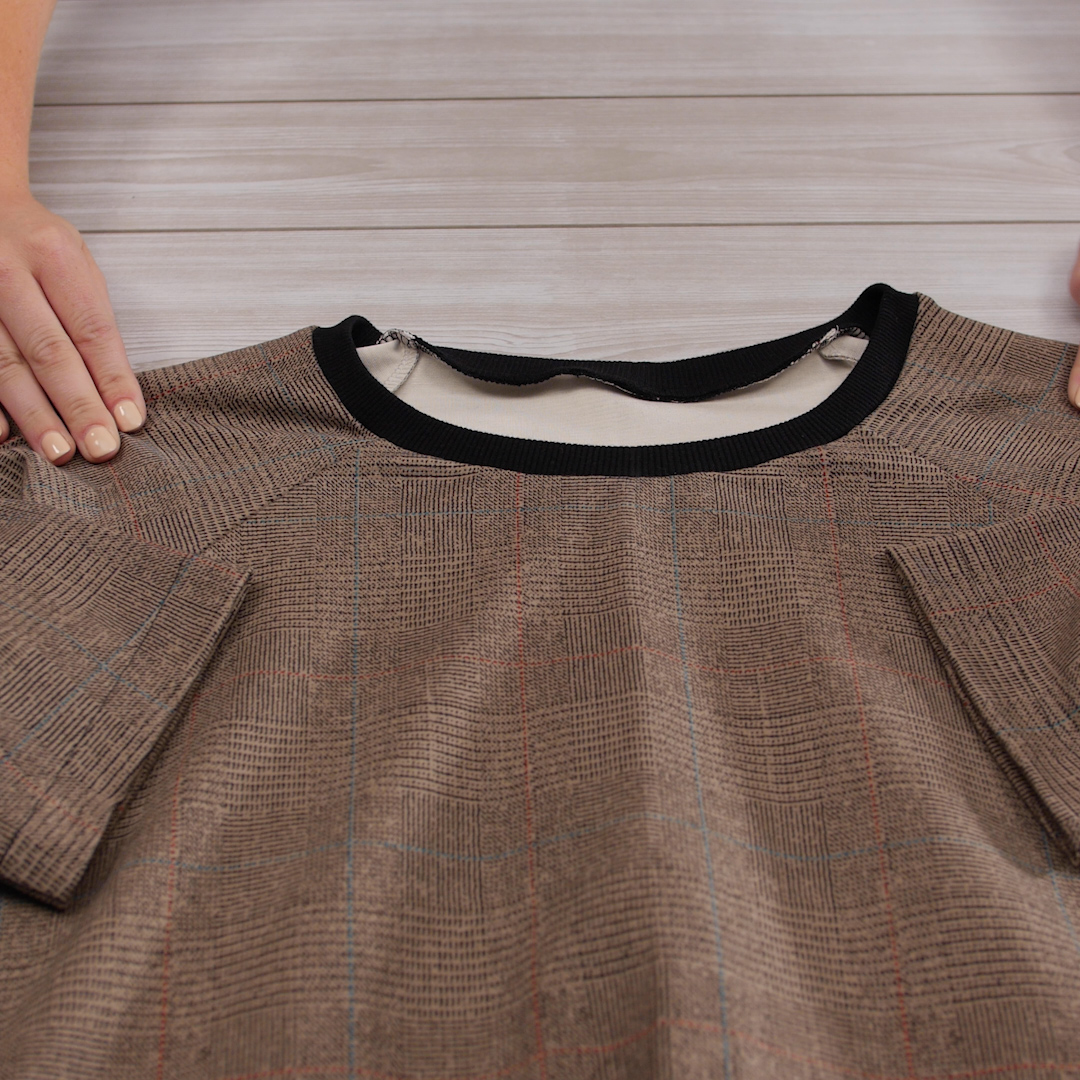
Method 3: Ribbing
Ribbing necklines are commonly found on t-shirts and are often attached with an overlocker. However, this neckline can be completed on your sewing machine. To begin, the ribbing piece should be sewn together in a circle and folded in half horizontally. The circular band will be smaller than the neckline on the garment. To make it fit, the ribbing must be stretched while being sewn to the neckline.
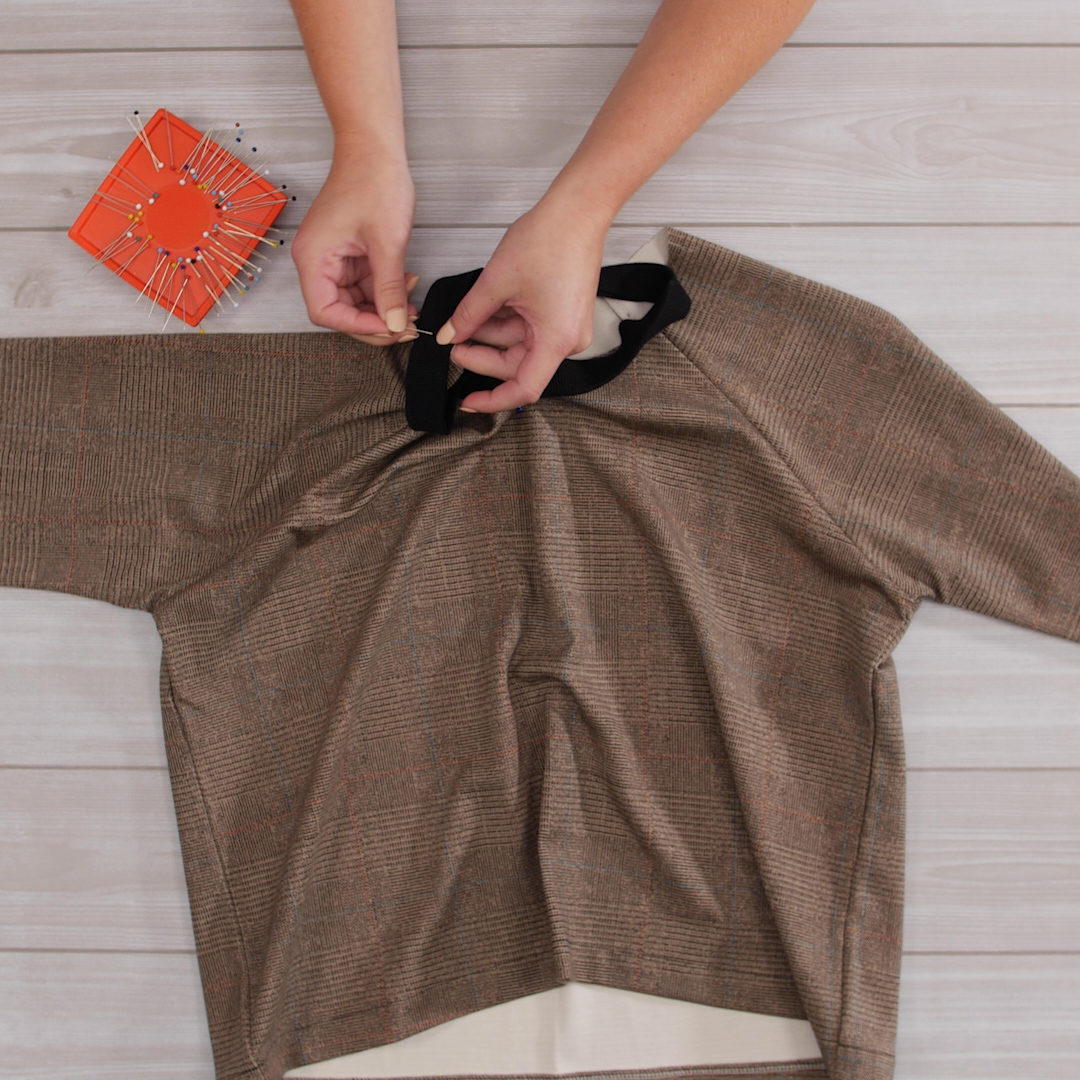
In order to get an even stretch, the neckline and the ribbing piece can be marked and pinned together at matching points. First, fold the raw edge neckline on the garment in half, and mark the two folds with a marking pencil or marker. Fold in half again and mark those two folds, as well. Four points should be marked. Repeat this with the ribbing band.
With right sides together, pin the raw edges of the ribbing to the raw edge neckline of the garment, connecting each marked point. Be aware of where the seam on the ribbing is at, pinning that at the marked point in the back.
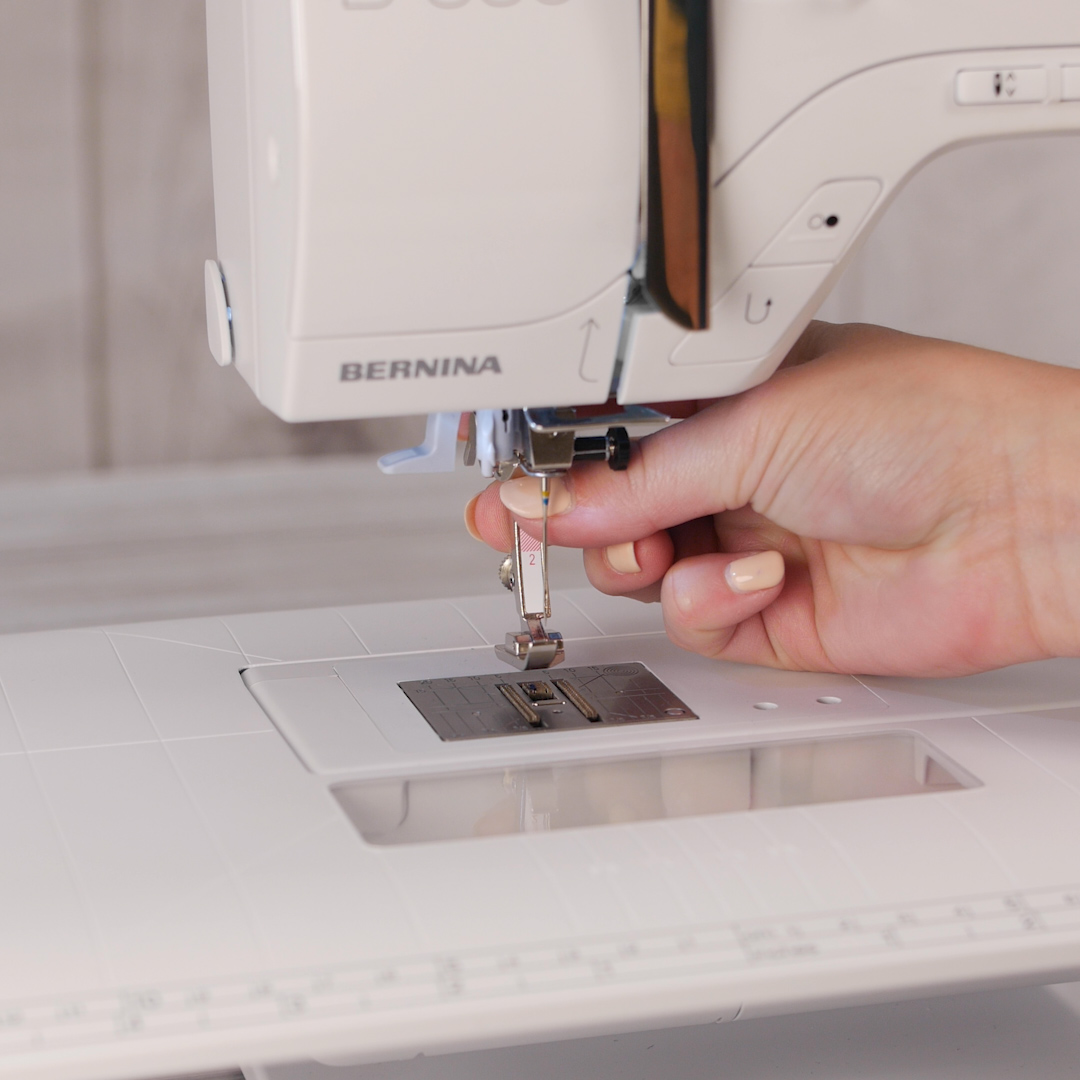
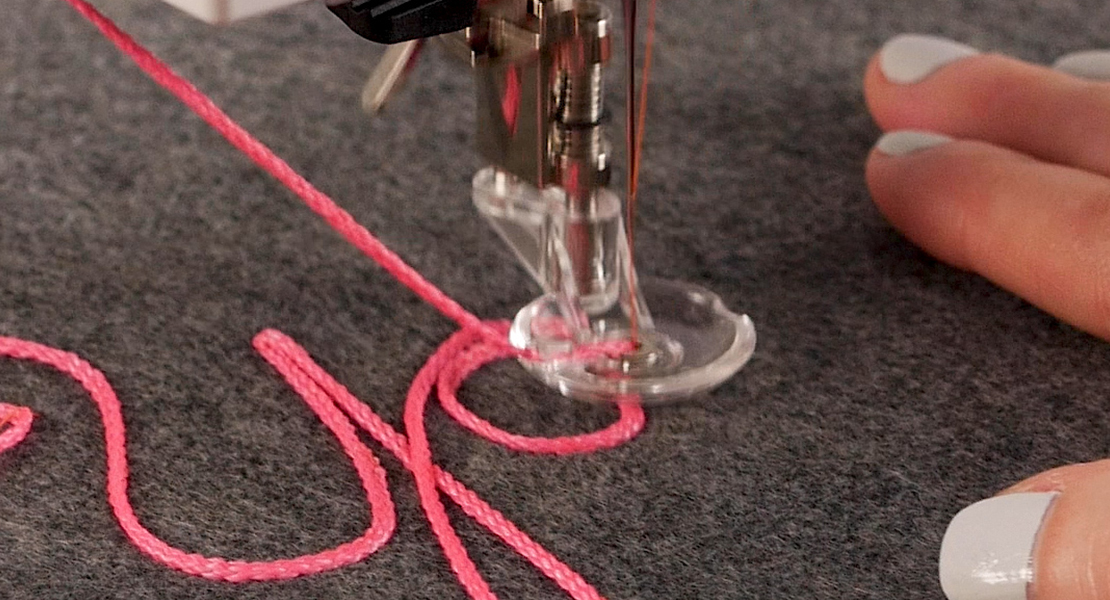
After prepping the ribbed neckline, machine setup is next. When using a knit fabric it is best to use a Stretch needle, the reason being that the ballpoint will not snag the fabric’s fibers as it pierces through during stitching.
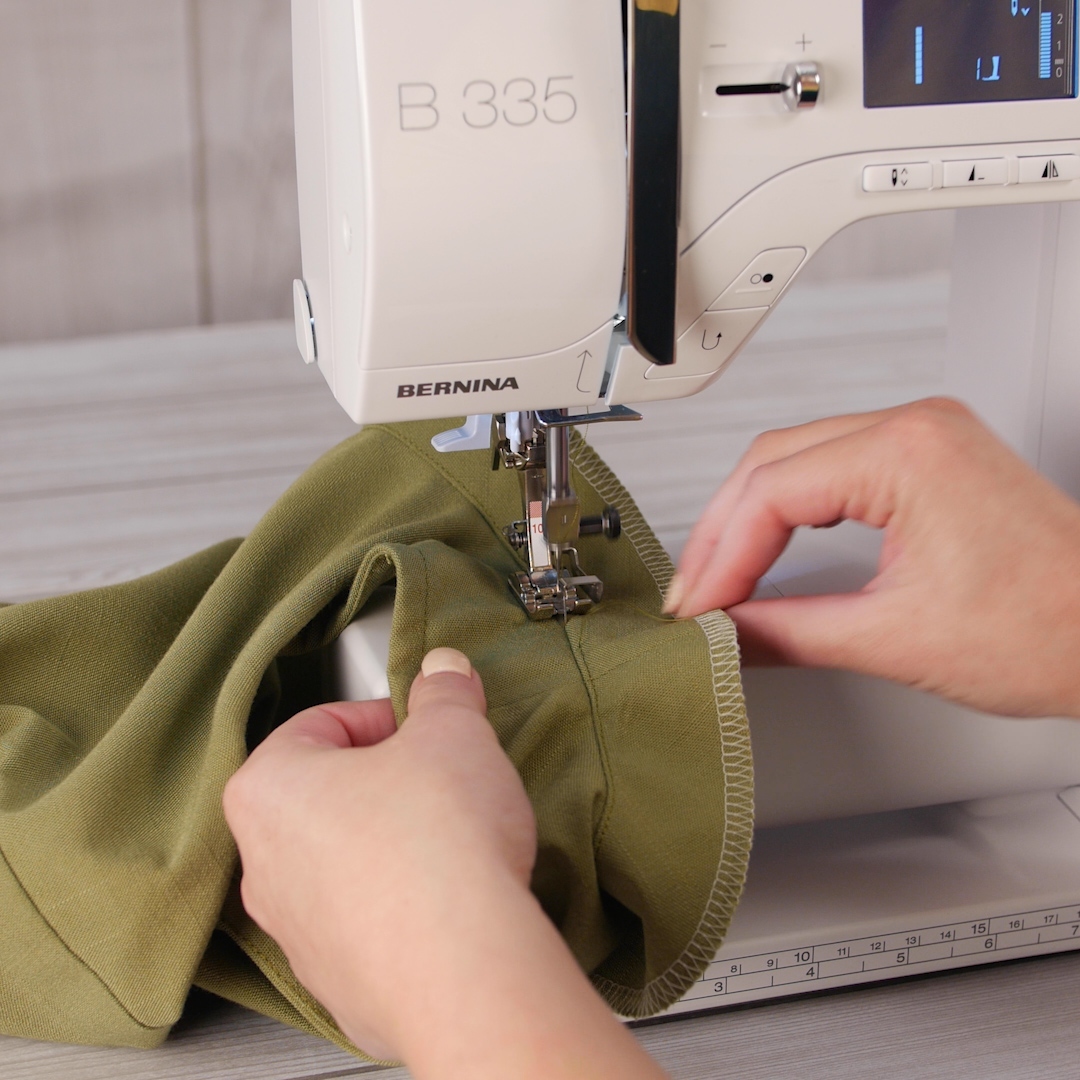
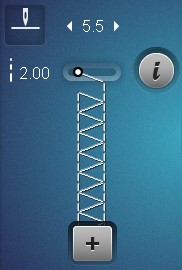
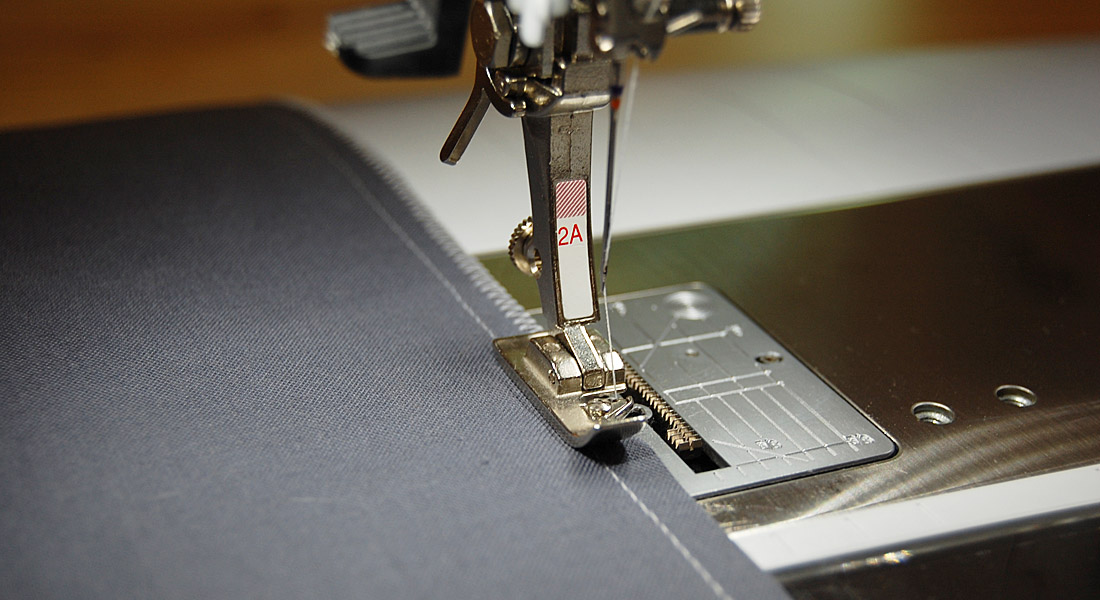
Attach Overlock Foot #2/2A and select the Double Overlock Stitch. This presser foot is specifically designed to stitch out overlock and overcast stitches. For knit fabrics, it is best to use this presser foot/stitch combination because the stitch forms over the pin of the foot. And since the ribbing has to be stretched to fit the neckline, the presser foot prevents uneven pulling. The Double Overlock Stitch still allows the ribbing to stretch.
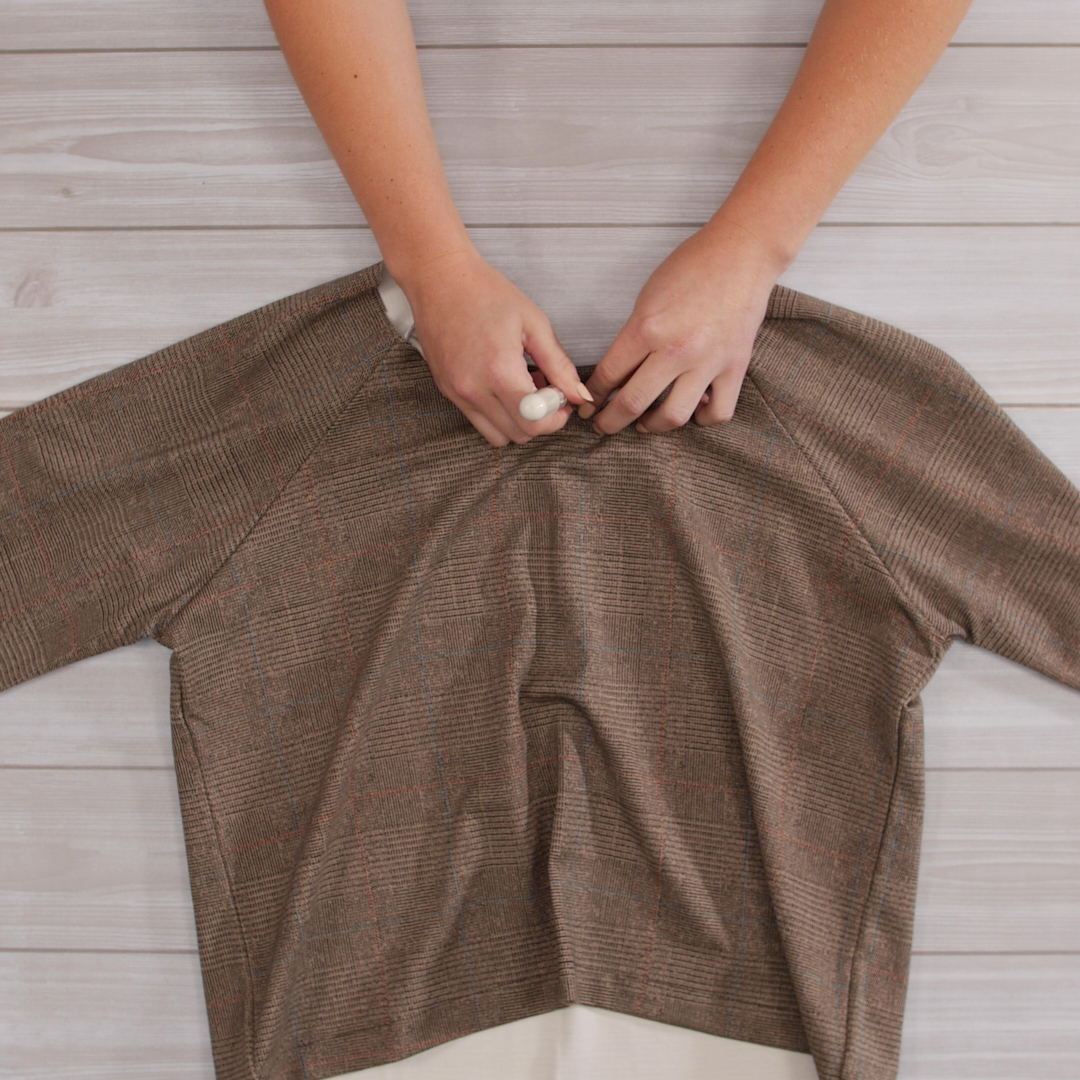
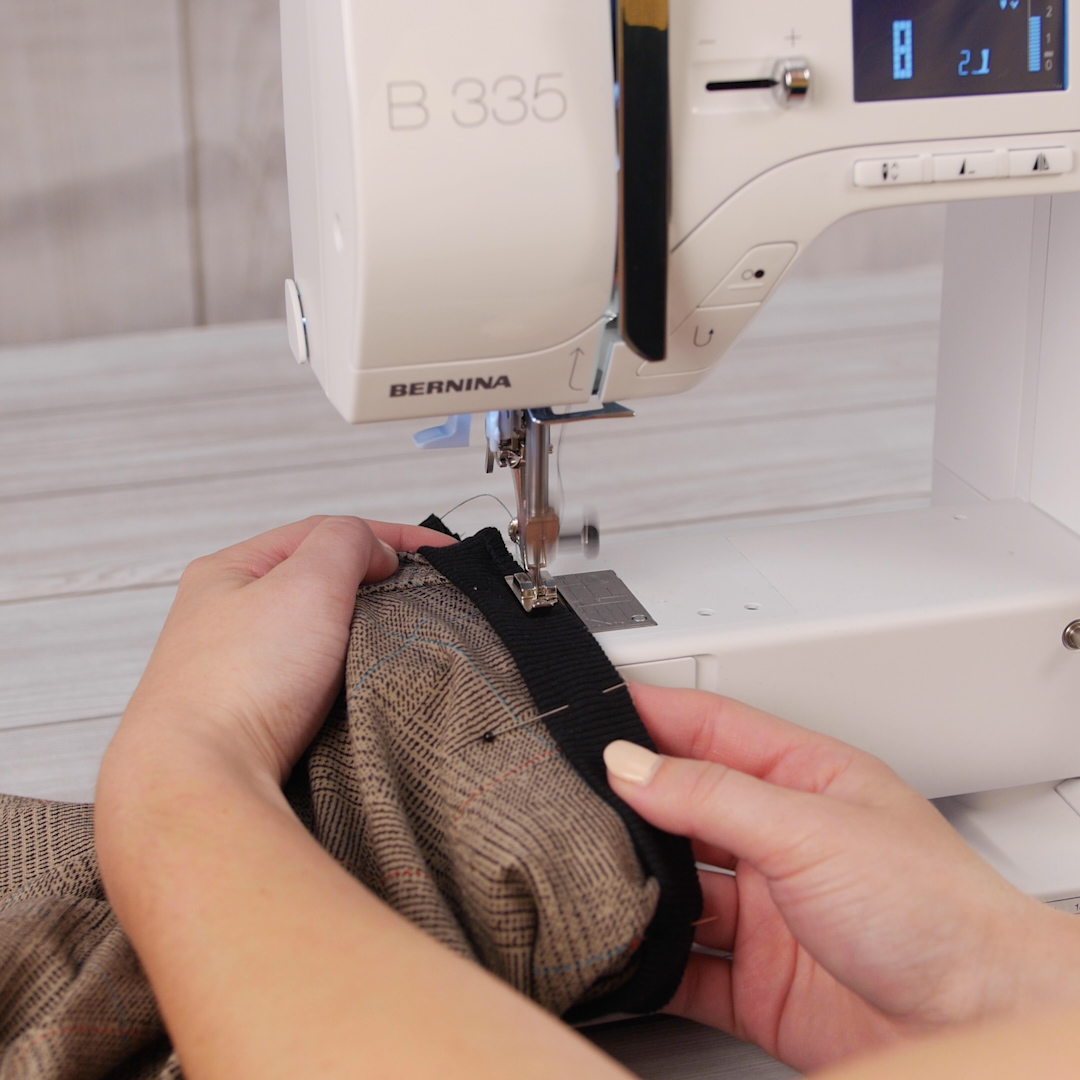
It is time to sew the ribbing onto the garment! Gently and gradually stretch the ribbing as you sew. If you begin to see that the stitch is bunching, you may need to decrease the upper thread tension slightly. Notice once the sewing is complete that the ribbing stands up because it has been stretched into place! For a complete finish, topstitch the seam allowance down so it is stitched to the body of the garment.
Used Products


What you might also like


2 comments on “How to Finish Necklines Three Different Ways”
-
-
In my opinion, the ribbing circumference should be 3/4 the size of the neckline circumference! This allows you to stretch the ribbing a reasonable amount to fit within the neckline.
-
Leave a Reply
You must be logged in to post a comment.

On the neckline that is done with ribbing: is there a ratio that you can give that would make the best result?