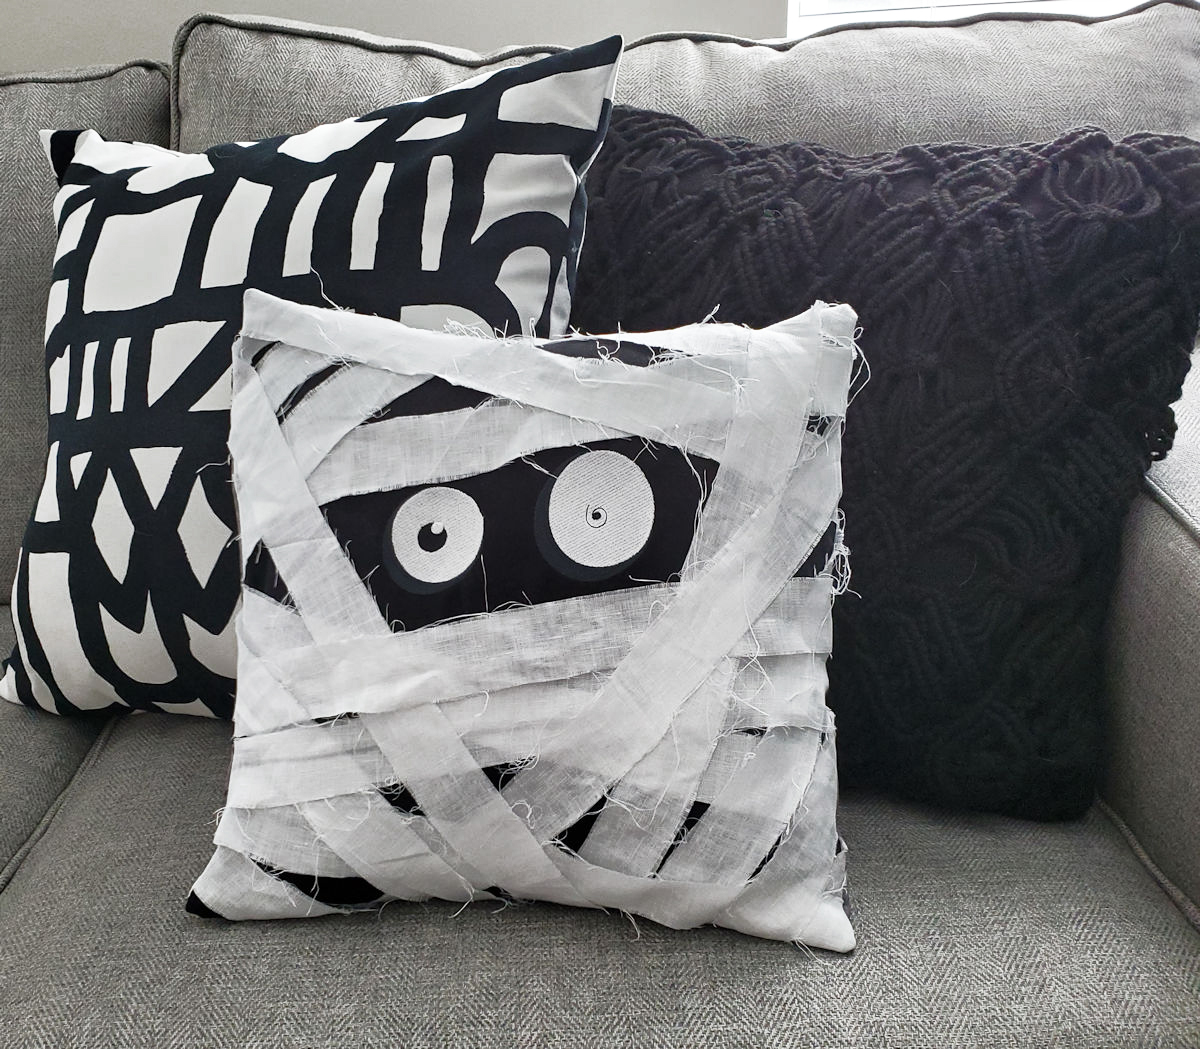
Under Wraps – Mummy Pillow Slipcover
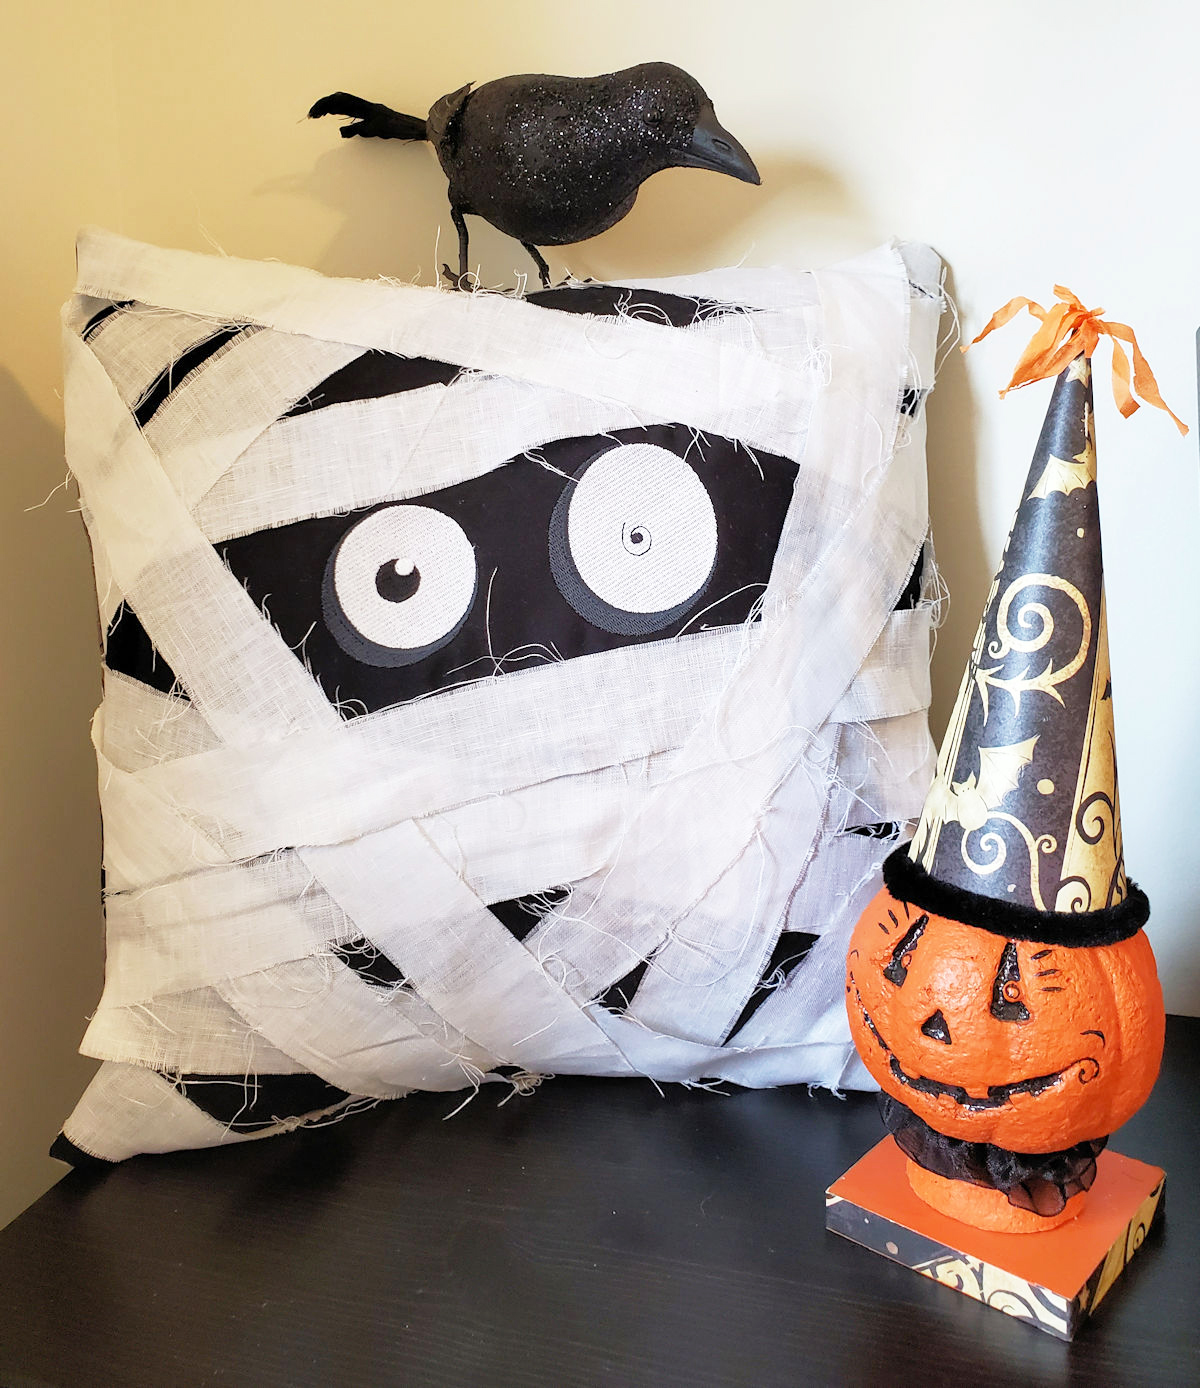
Halloween is definitely one of my favorite holidays, and my house decor usually shows how much I love it! One of my favorite creations this year is a mummy pillow slipcover. It’s easy to sew, not scary (so it’s great around little ones), and can be easily removed and stored away for next year’s house transformation. Ready to make your own? Here’s how!
Materials to Make a Mummy Pillow
- 1/2 yard of black cotton fabric
- 3/8 yard of Halloween themed fabric for backing (Optional. If omitting, use leftover black cotton)
- 1/2 yard of white fabric that easily ravels such as linen, cheesecloth, or cotton material
- 14″ pillow form
- Ruler
- Rotary Cutter & Mat
- Monster Eyes embroidery design (as show: Urban Threads Monster Factory Wonky Eyes)*
- Mettler Poly Sheen Embroidery Thread*
- Cut Away Stabilizer*
*Embroidery can be replaced with your own felt eye creations and appliqued onto the pillow instead.
Cutting Fabric for the Mummy Pillow:
From black fabric:
- Cut 1 (one) 15″ square
From Halloween fabric (or remaining black material, if using instead):
- Cut 1 (one) 8 1/2″ x 15″ rectangle
- Cut 1 (one) 10 1/2″ x 15″ rectangle
From white fabric:
- cut piece into 1 1/2″ wide strips. Once strips have been cut, pull threads on the raw edges to make them fray and look worn.

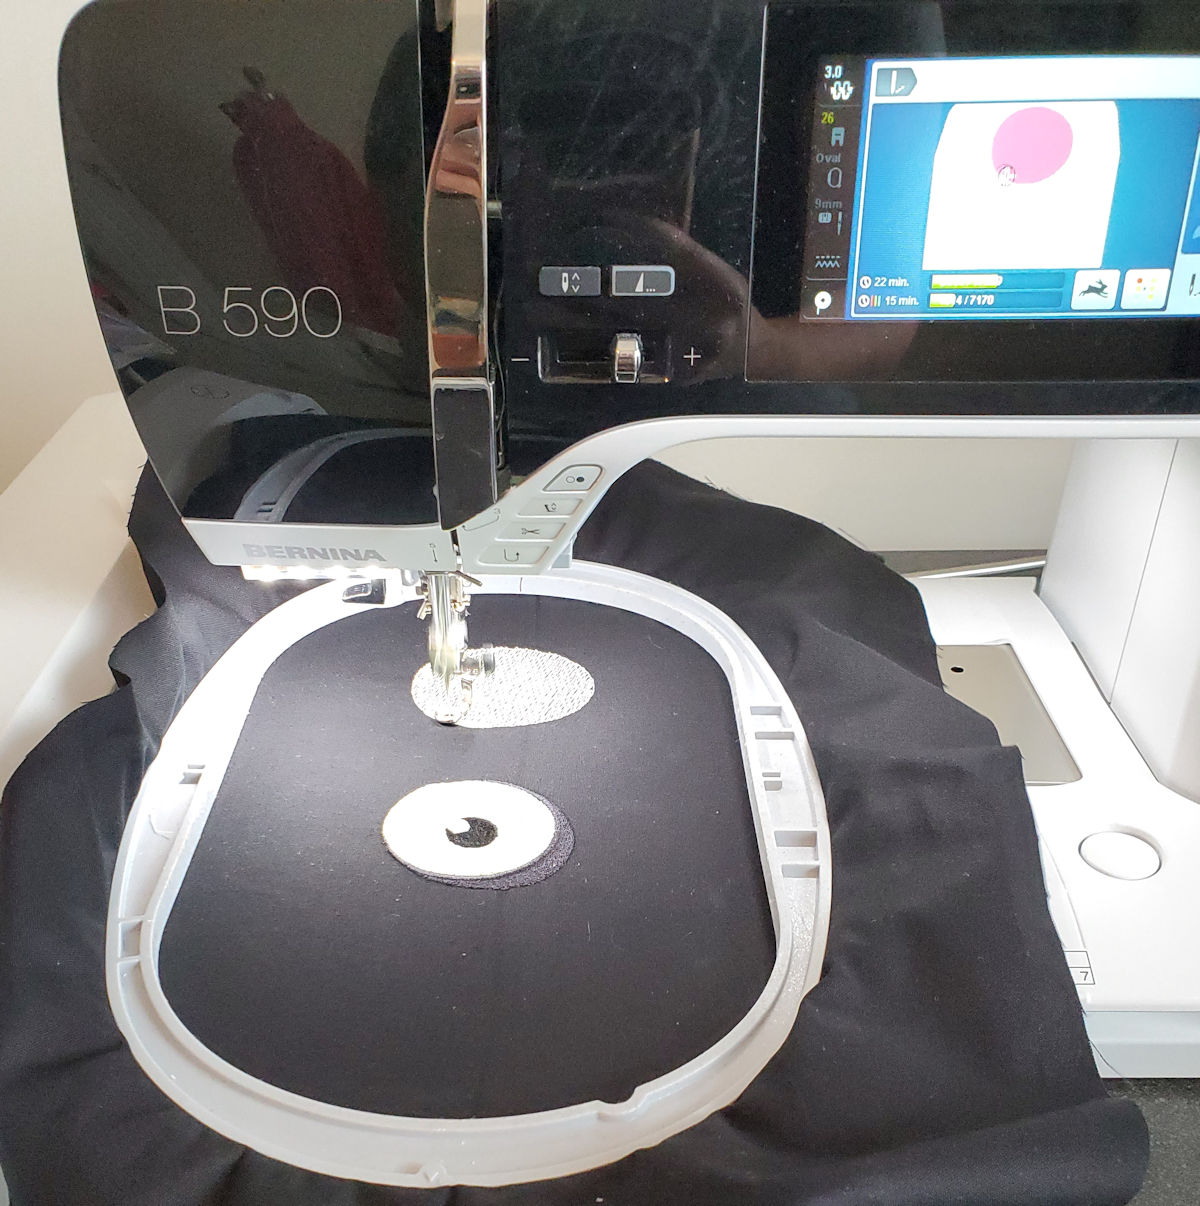
Make the Mummy Eyes:
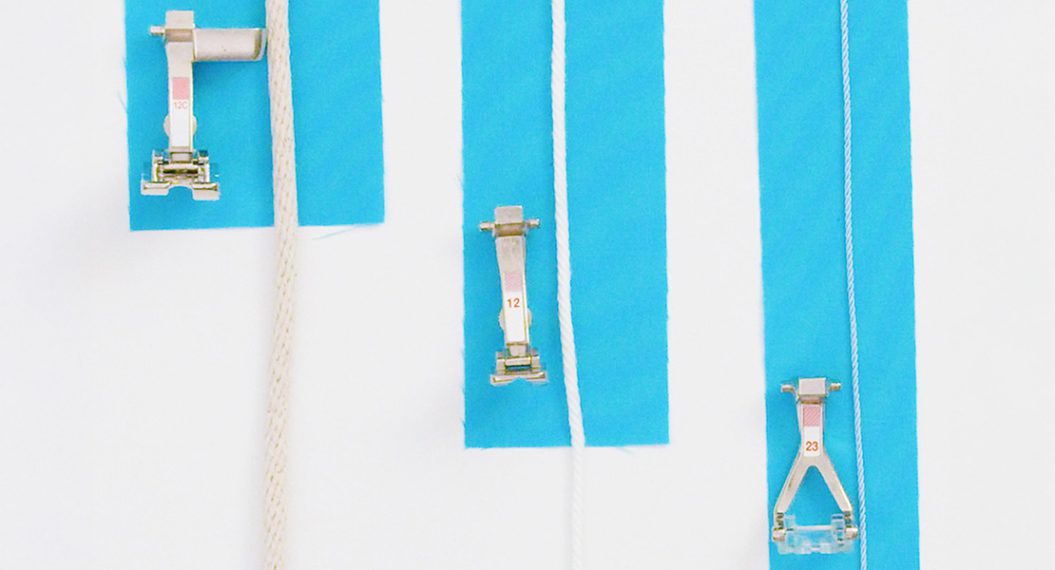
Hoop the cut away stabilizer and 15″ fabric square and embroider your eyes. Placement is up to you – in the middle, in a corner, crooked, there is no wrong way to add them! (If you are omitting the machine embroidery, create your eyes from felt and applique on the pillow square using your applique foot #23.)
Sewing the Mummy Slipcover:
All seam allowances are 1/2″
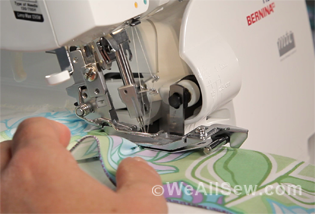
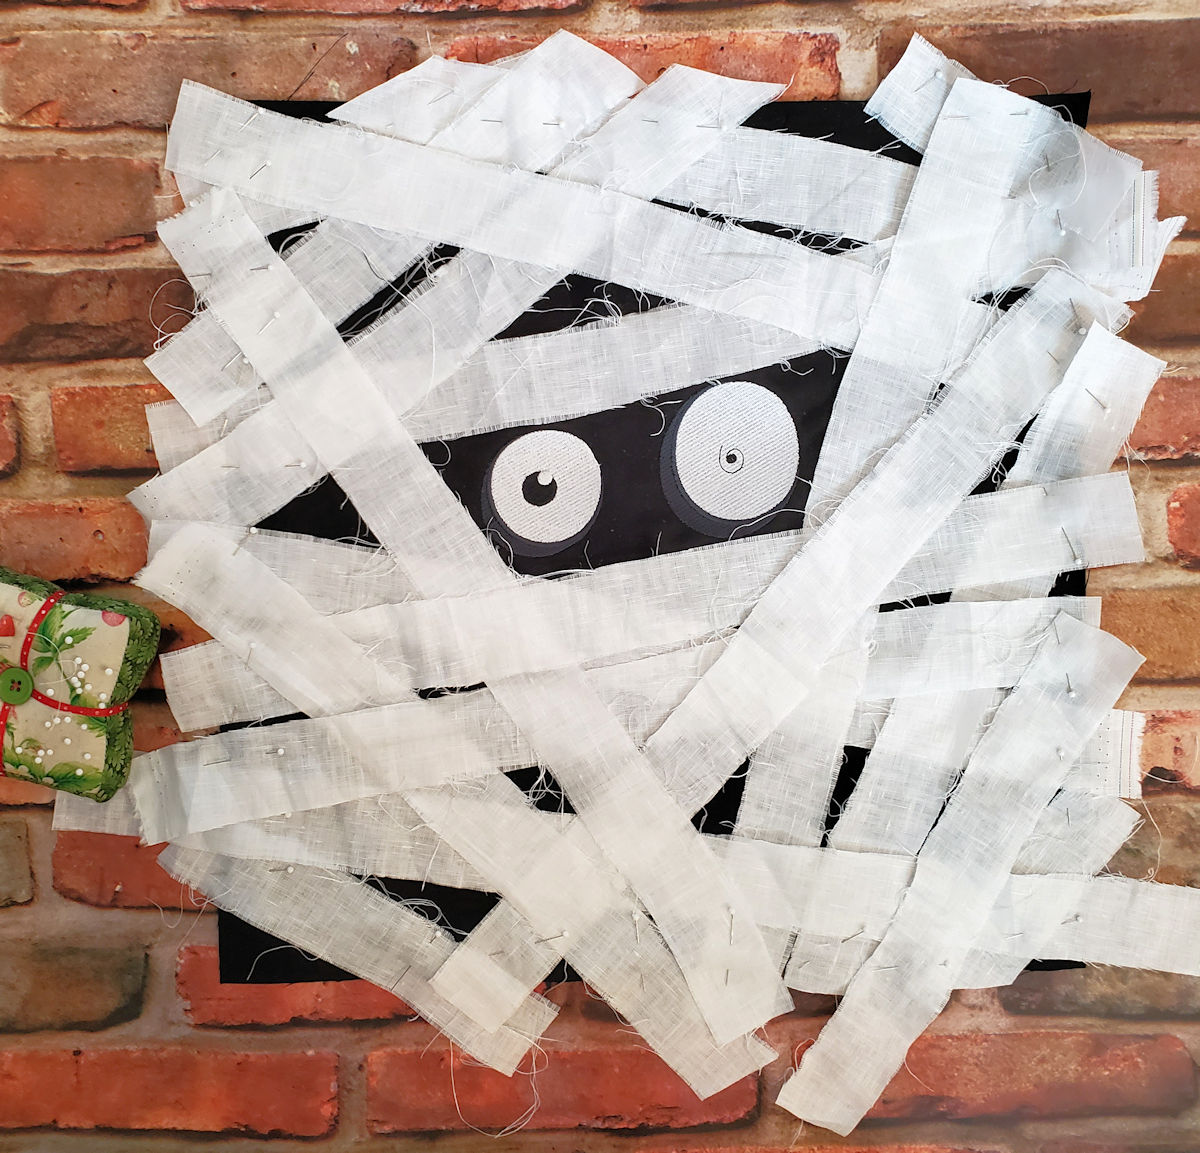
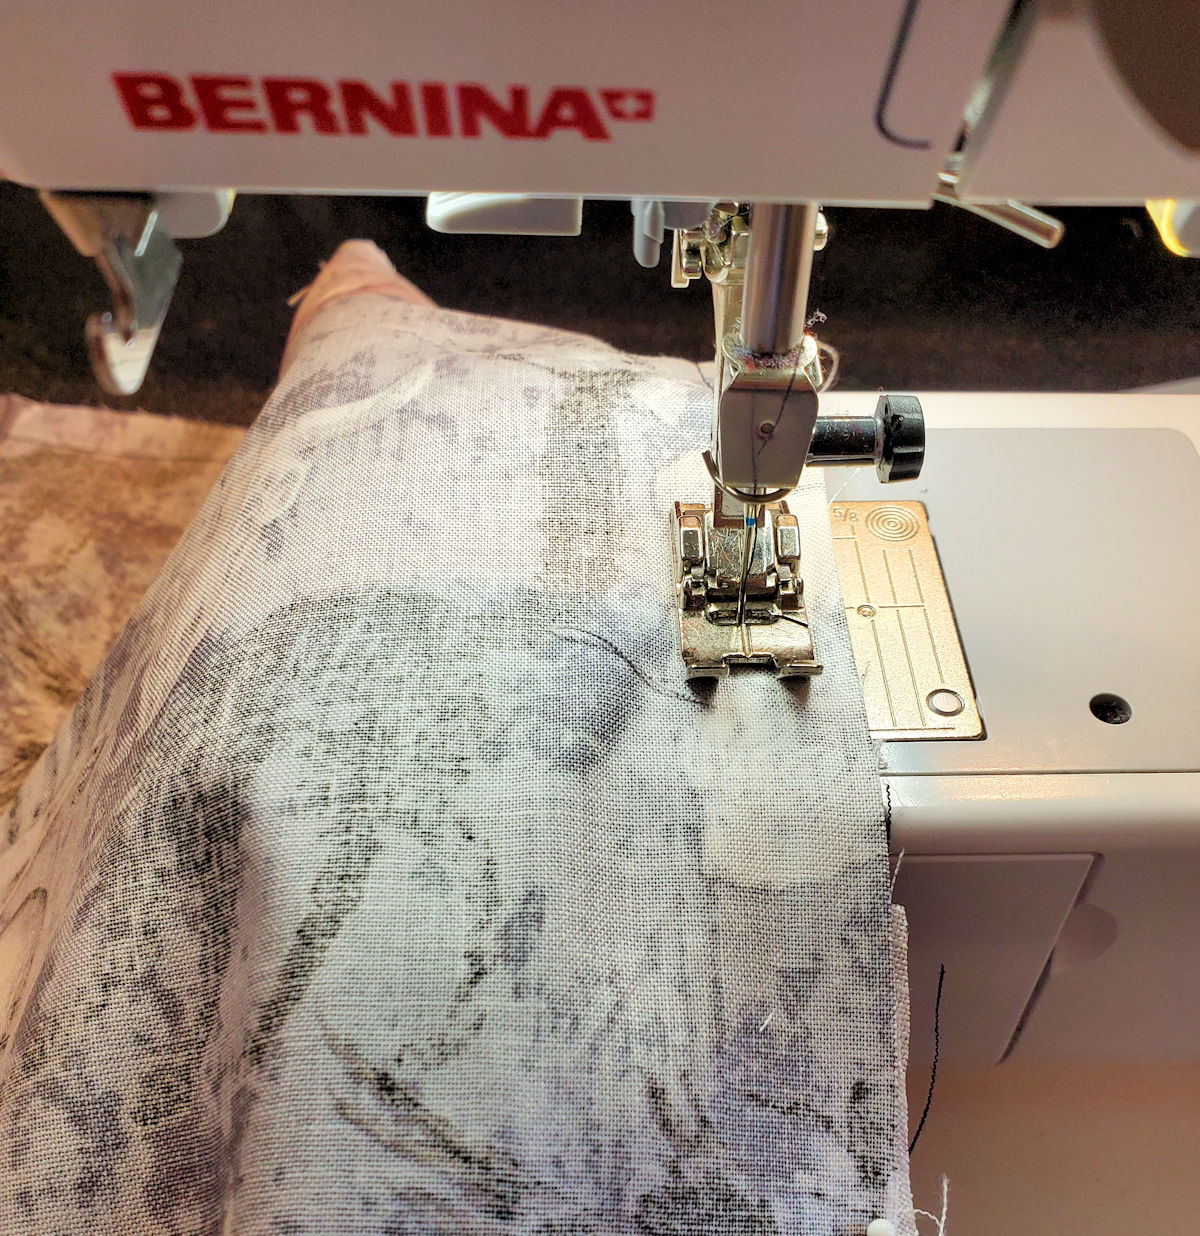
Once the eyes have been sewn, begin placing white fabric strips on the front of the rectangle, letting the eyes peek out from the strips. It is not necessary to trim the excess from this point. Pin the strips in place, making sure they are laying flat against the pillow (this will keep them from drooping later on) and baste along the seam allowance.
Trim the excess fabric strips from the pillow front. (It’s easiest to do this from the wrong side)

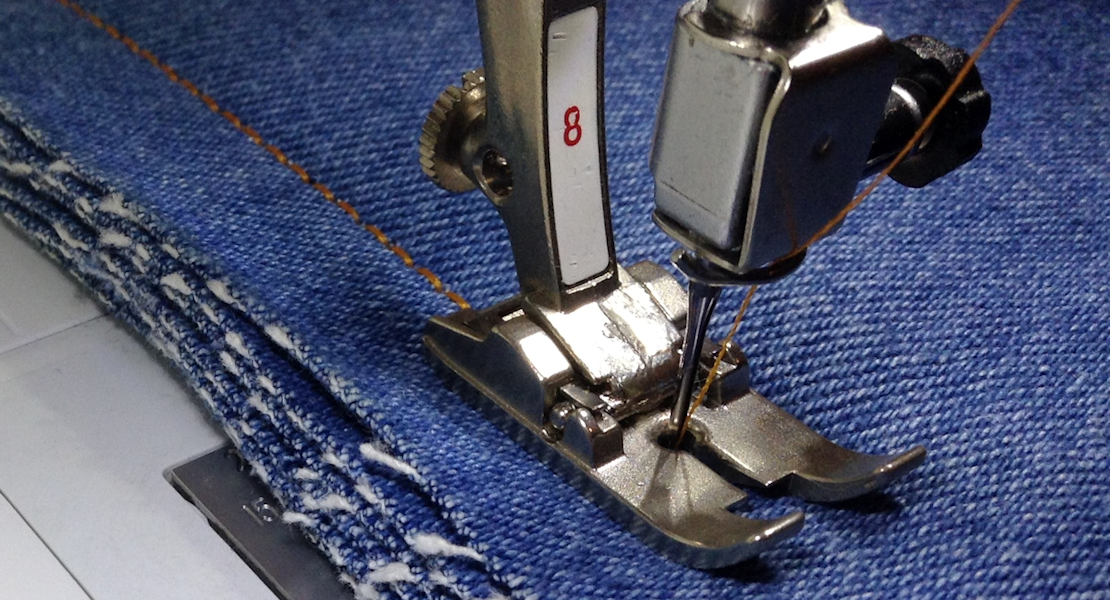
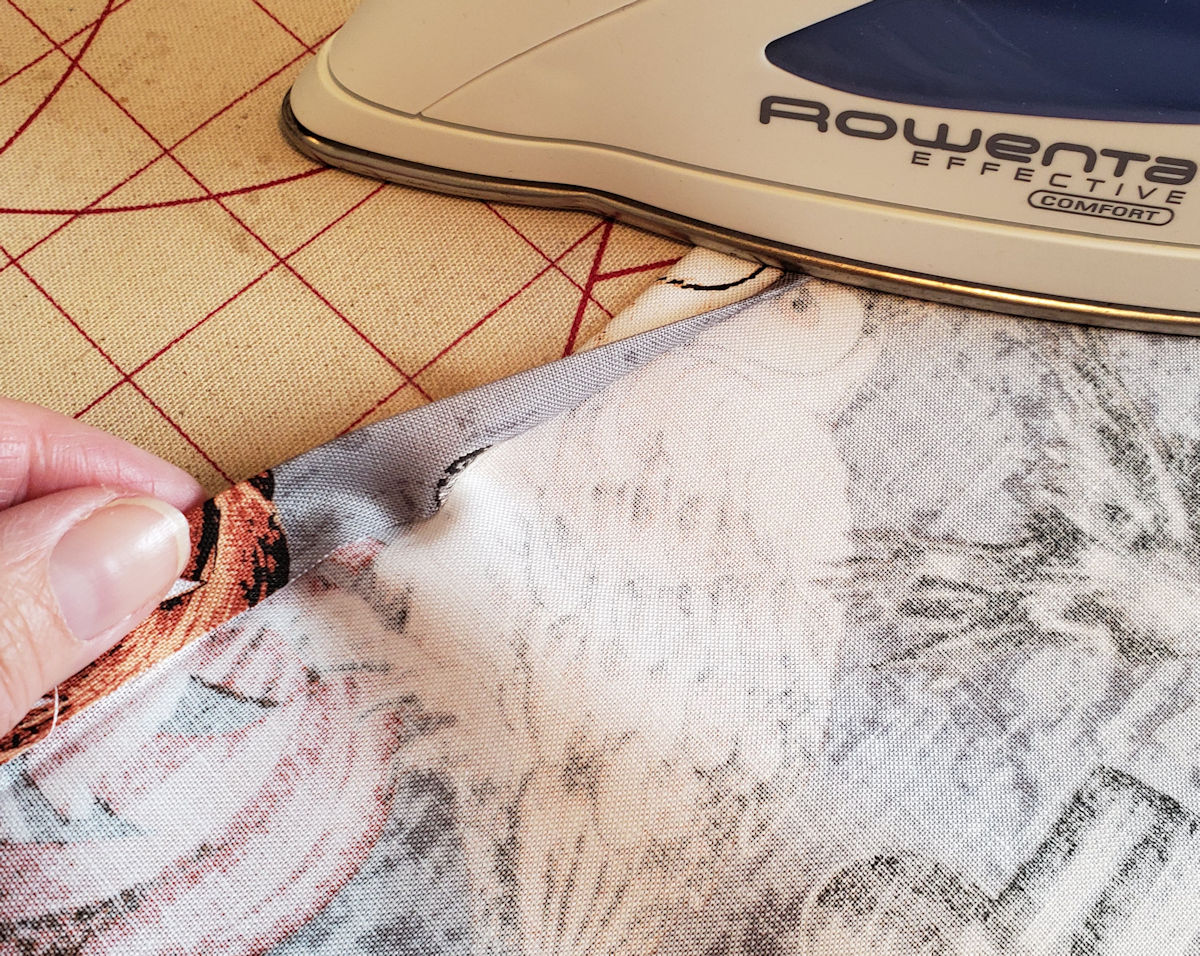
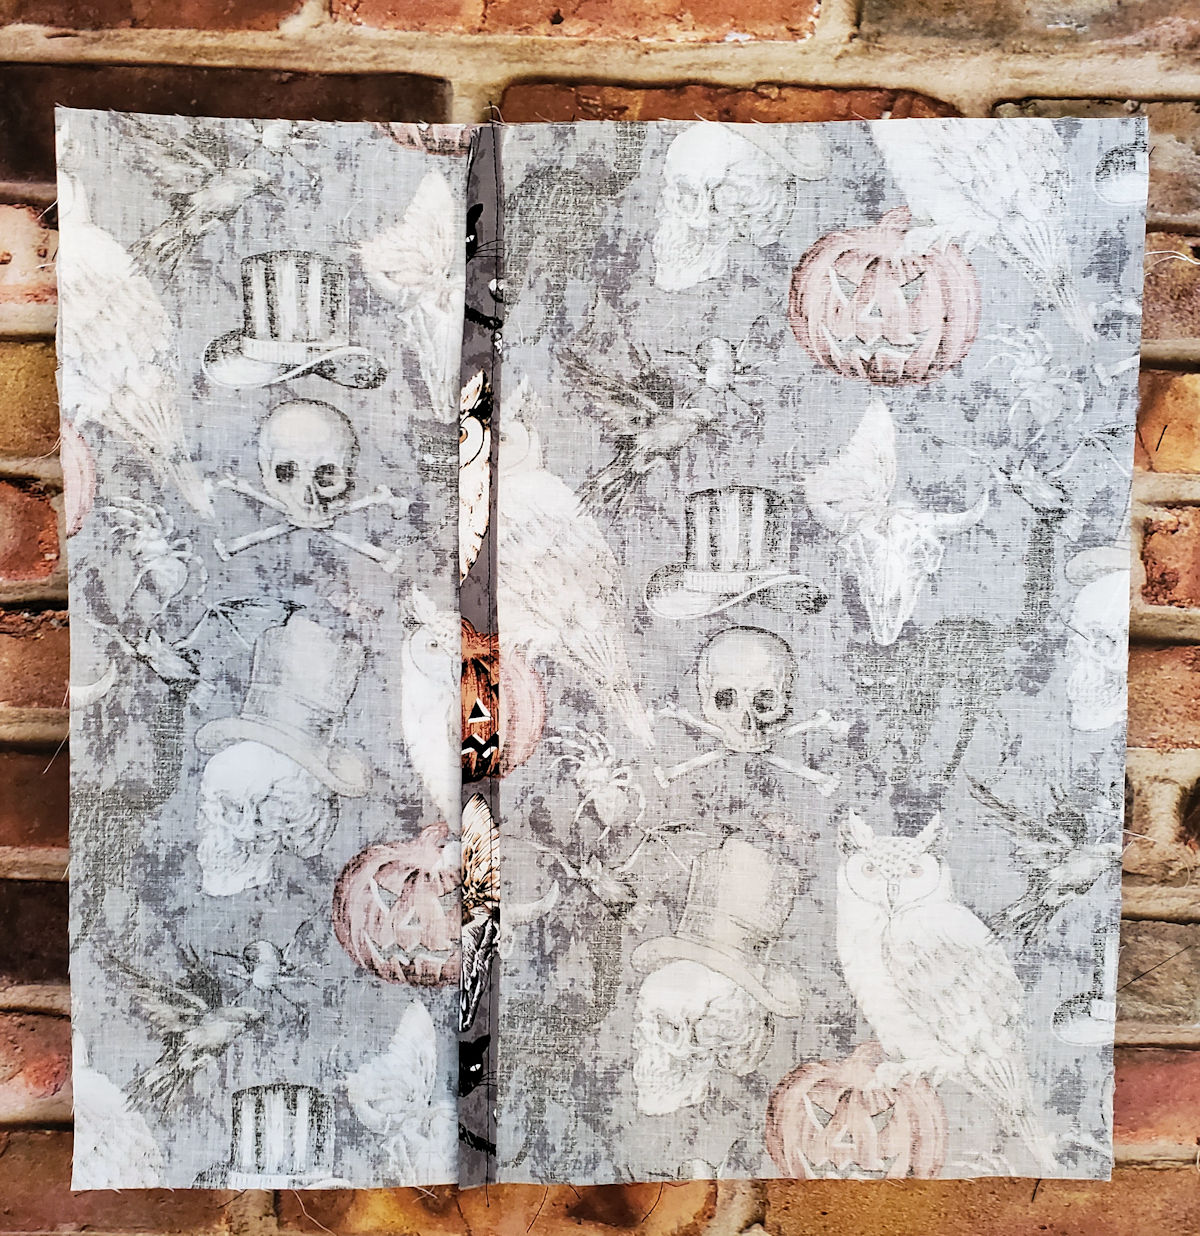
Fold over one long edge of the 8 1/2″ x 15″ rectangle by 1/2″. Fold over again (1/2″), making a finished edge. Sew close to the finished edge. Repeat for the 10 1/2″ x 15″ rectangle.
With right sides together, place the smaller pillow back piece on top of the pillow front so that the finished edge is in the middle. Match raw edges and pin in place.
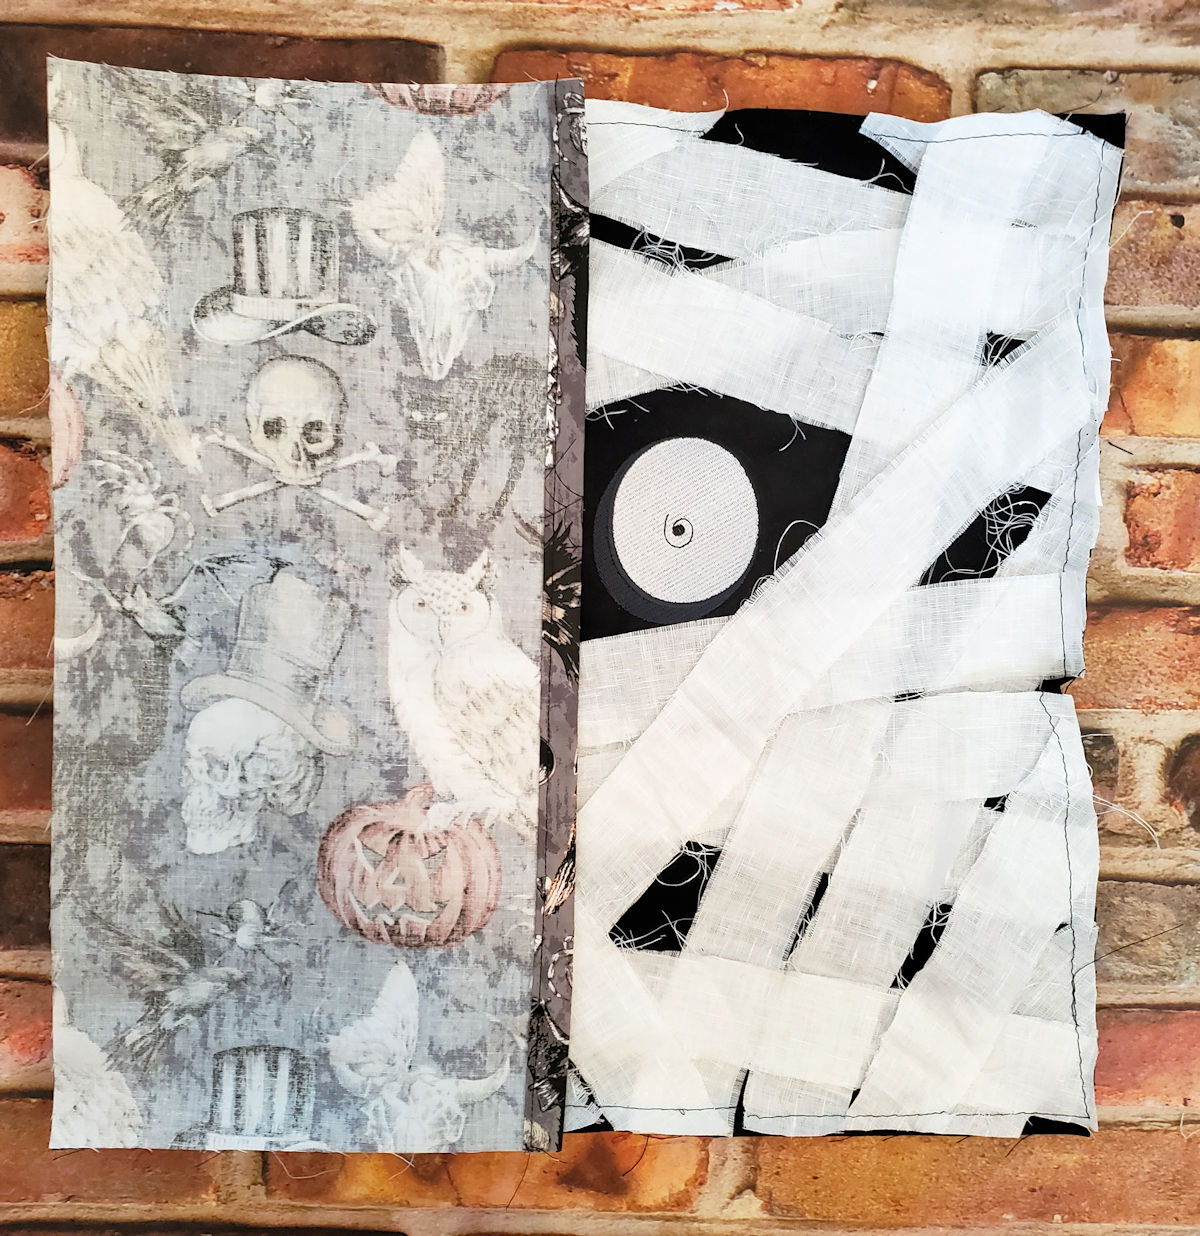
With right sides together, place the larger pillow back piece on top of the pillow front. The finished edge should be toward the middle and will overlap the smaller back piece. Match raw edges and pin in place.
Sew around the entire pillow. Clip corners and turn right side out.
Place pillow form inside cover and get decorating!

What to make your final pillow even more fun? Add a bit of glow-in-the-dark thread such as Mettler’s Poly Glow to your design and then turn off the lights!