How to Sew an Heirloom Dress
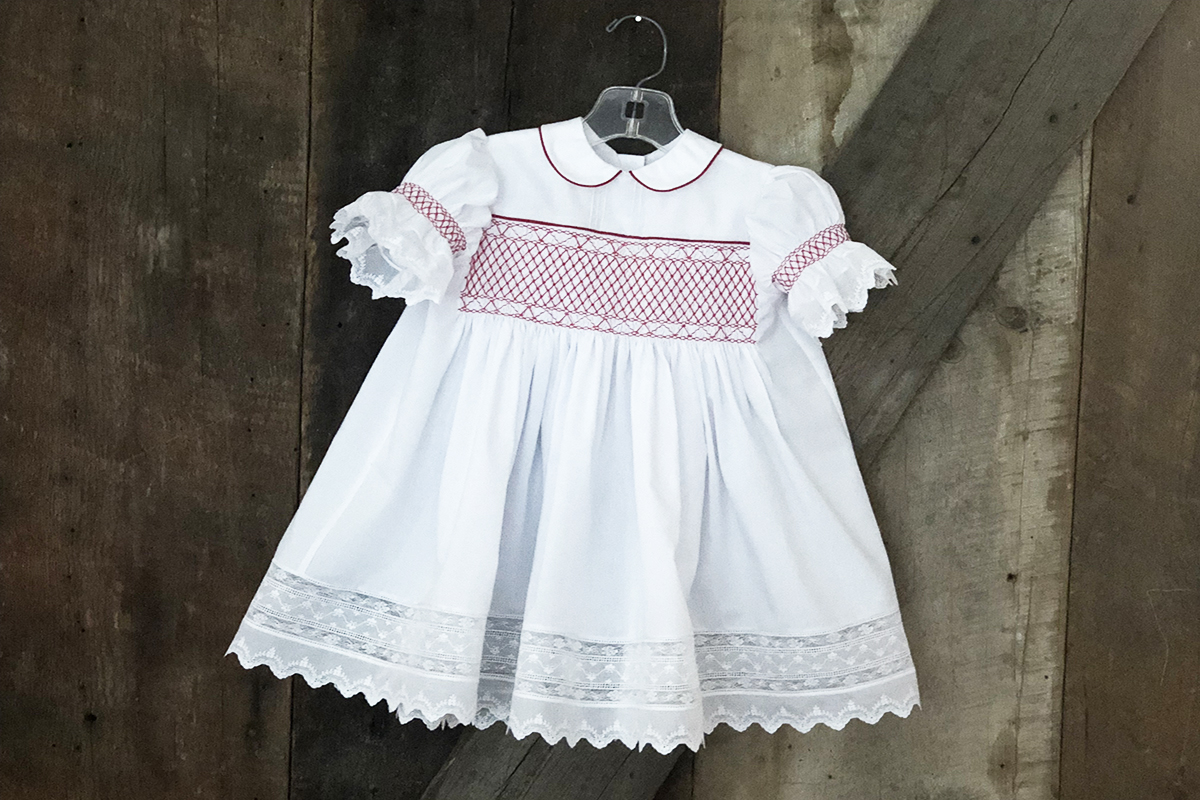
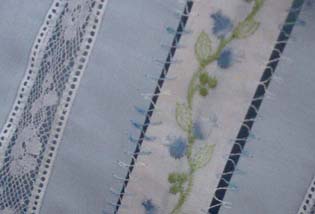
There are certain elements that make a garment an “Heirloom Garment.” Those elements, now machine done, are sewing techniques once called Fine French Hand Sewing and were popular in the late 1800s to the 1920s. Fine fabrics, delicate French laces and Swiss Embroideries are all elements of an Heirloom Garment. These types of fabrics and laces will need to be purchased from a specialty sewing store. Using these elements may require techniques such as “lace to lace”, “lace to entredeux” and “entredeux to fabric” to name a few. An heirloom garment may include smocking as you see here. The garment may be hand smocked or machine smocked and although the sample dress has machine smocking, we will be concentrating on the French Machine Sewing Techniques along the hem and sleeve edges.
If you are particularly interested in machine smocking, visit this post here on WeAllSew.
Supplies to Sew an Heirloom Dress
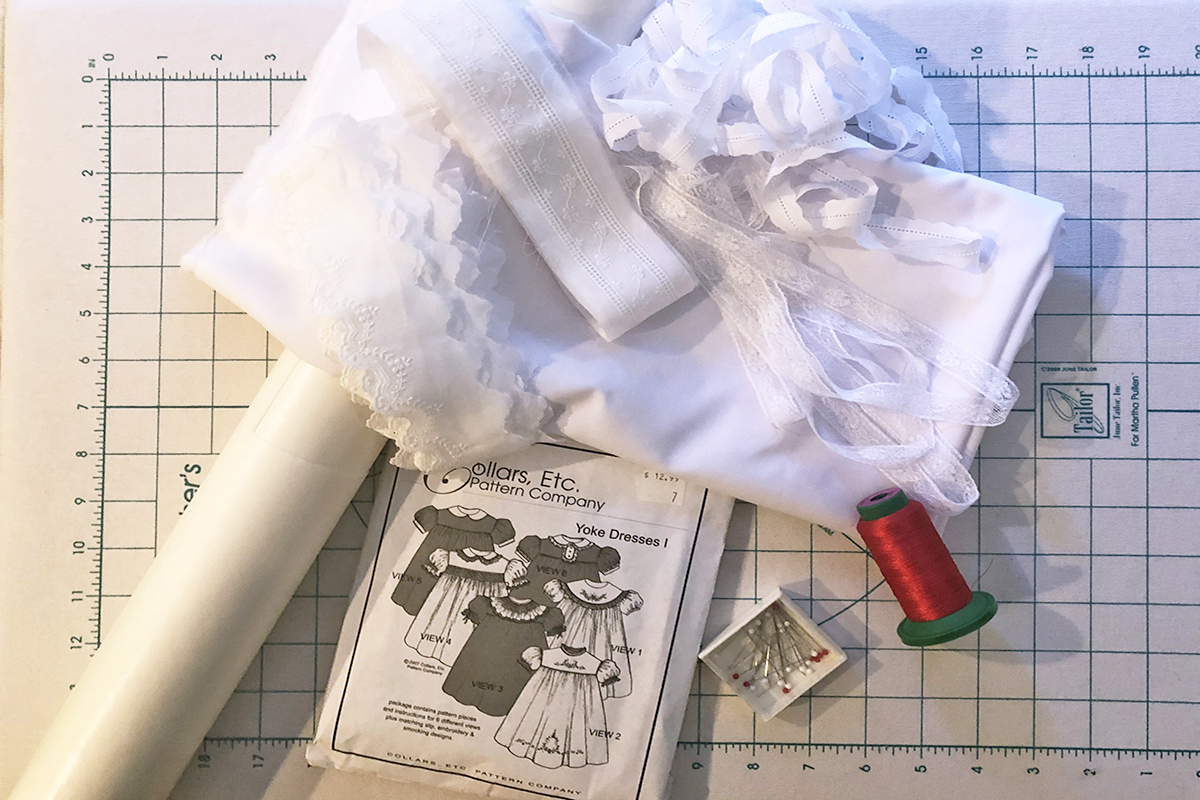
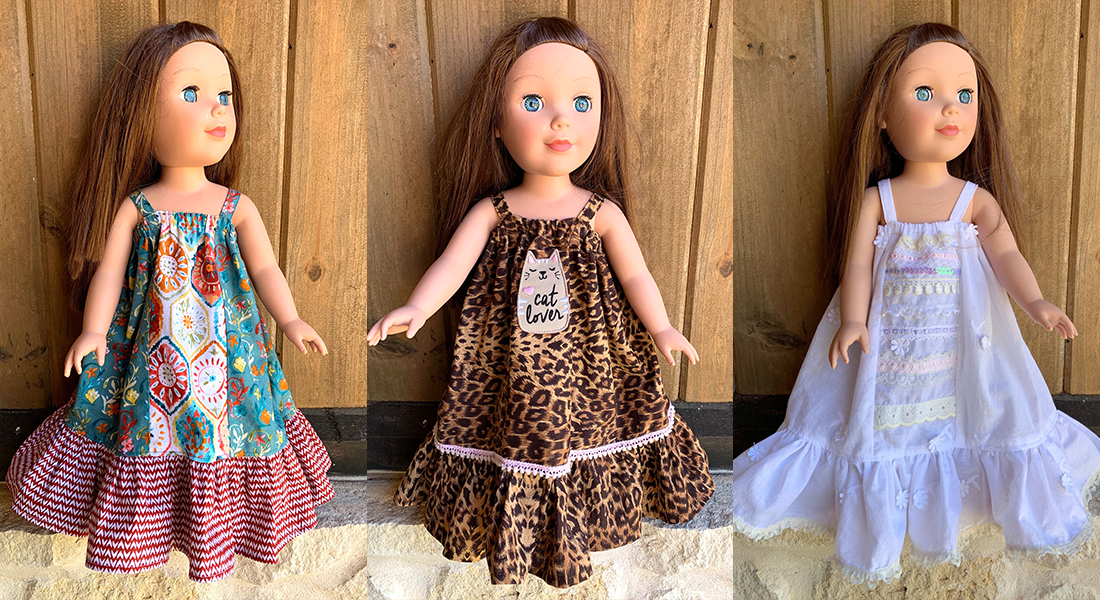
The pattern I have used here is from Collars, Etc. Pattern Company called Yoke Dresses 1. This is the perfect pattern for adding heirloom elements. It can be smocked, but it does not need to be, as shown in the various views. Purchase the required amount of fine fabric according to the pattern. Determine the width of the skirt. Add 6” to this measurement and that will be the length of laces and/or Entredeux needed. The materials for this dress were purchased from Farmhouse Fabrics and include Imperial Batiste, 2 lengths of French Lace, 2 lengths of Entredeux, 1 length of Swiss Embroidery edged with Entredeux, 1 length of Swiss Edging plus enough for the bottom sleeve edge. You will also need 60 weight cotton thread, a size 60 machine sewing needle and a size 2.0/80 twin needle for adding pintucks to your garment. If sewing on a 9 mm machine, a 5 mm Stitch Plate is recommended for best results.
The right sewing machine feet are important for the perfection of Heirloom Sewing. You will need the following feet for construction:
BERNINA Edgestitch Foot #10/10C/10D

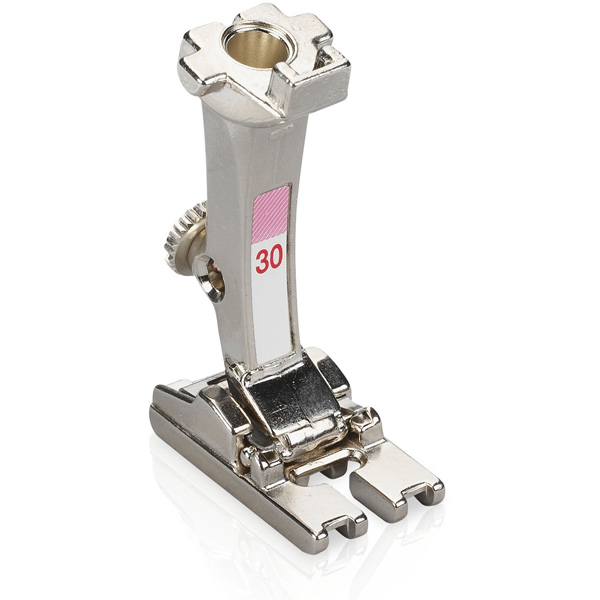
BERNINA 3-Groove Pintuck Foot #30
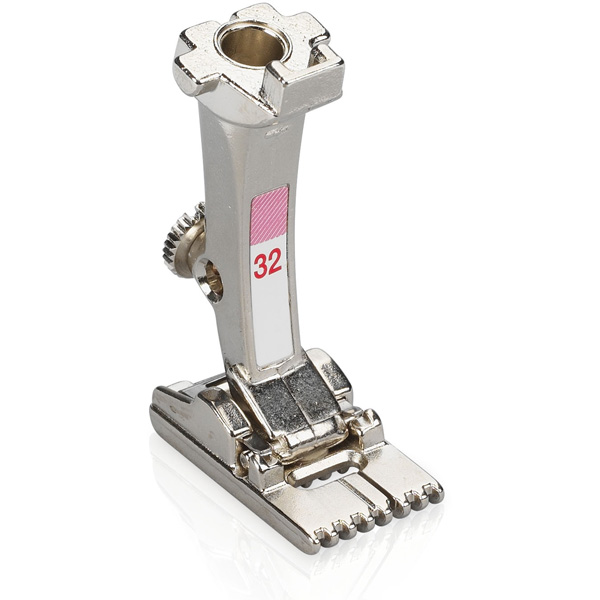
BERNINA 7-Groove Pintuck Foot #32

Let’s focus on the yoke and the skirt of the dress. The yoke will be embellished with pintucks before the yoke pattern piece is cut out. A “Fancy Band” will be made from Laces and Entredeux to enhance the skirt of the dress.
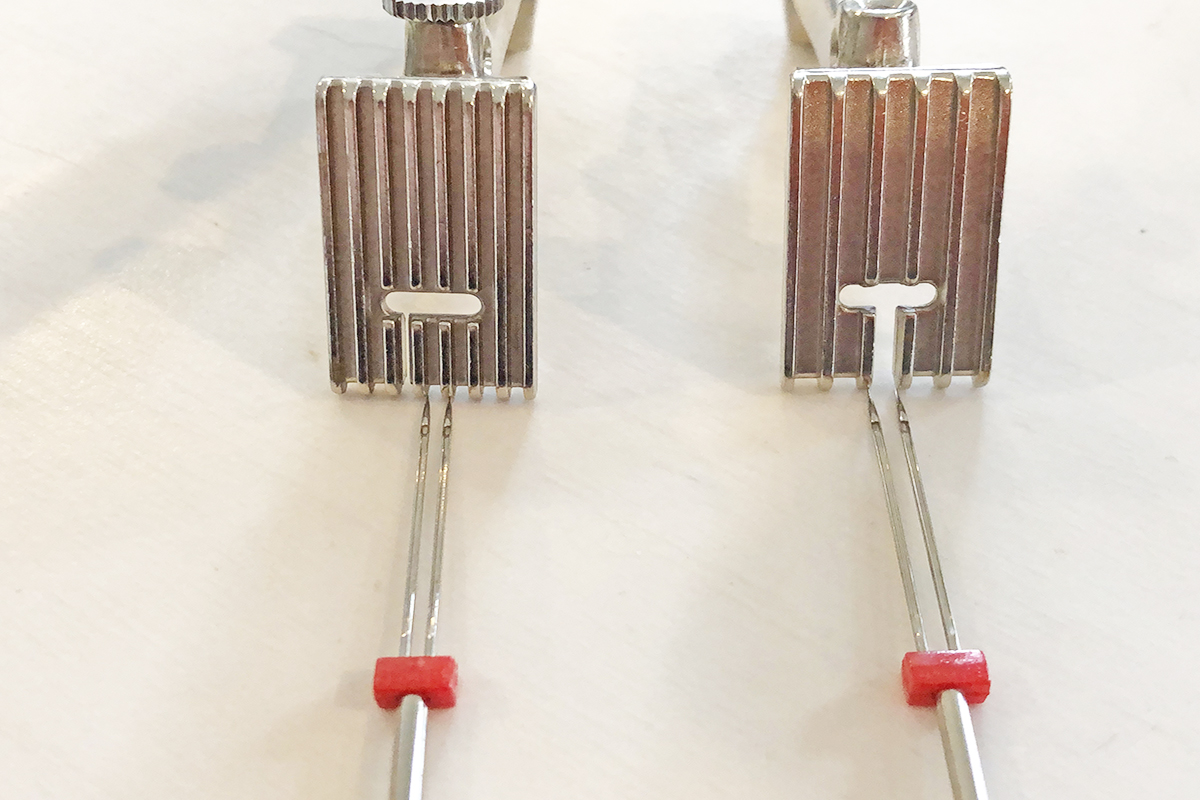
First, we will set up the machine for pintucks that will be stitched on a rectangle of fabric. Cut out a rectangle 2” longer and wider than the yoke. Attach the 7-groove Pintuck Foot #32 on the machine and insert the #2.0/80 twin needle into the machine. Notice that the needles are the same width as the groove in the bottom of the foot.
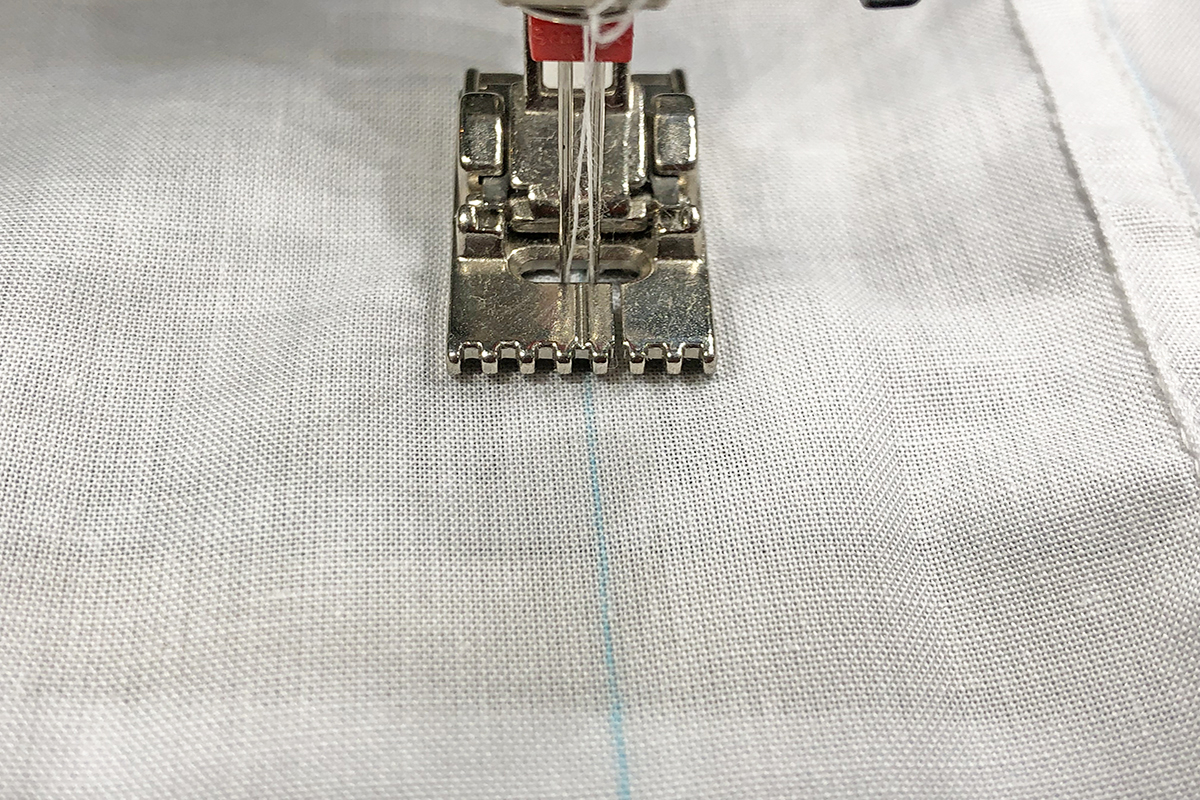
Thread the twin needle, referring to the built-in Tutorial on your machine or your machine manual for instructions. Find the center of the rectangle. Measure over 1/2” on both sides of the center and draw a line with a water-soluble marker. Place the line drawn to the right of center under the center of the foot and stitch on the marked line forming a pintuck.
Place the sewn pintuck in the left outside groove of the foot and stitch another pintuck with the needle in the center of the foot.
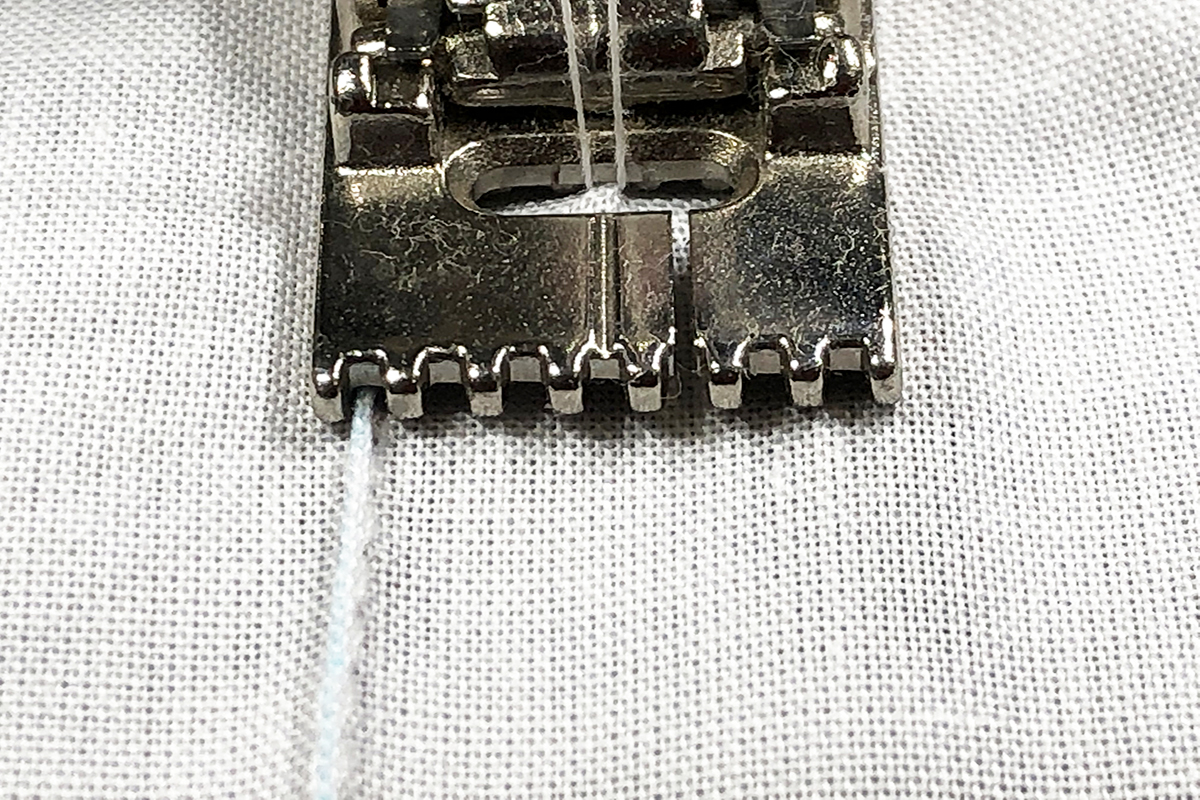
Repeat once more for a total of three evenly spaced pintucks to the right of center.
Move to line drawn to the left of center and stitch a pintuck on the line. Place this tuck in the right outside groove of the foot. Repeat for a total of three evenly spaced pintucks to the left of center. Press the pintucked piece from the back side. Cut out the front yoke of the dress from this pintucked piece. Set aside.
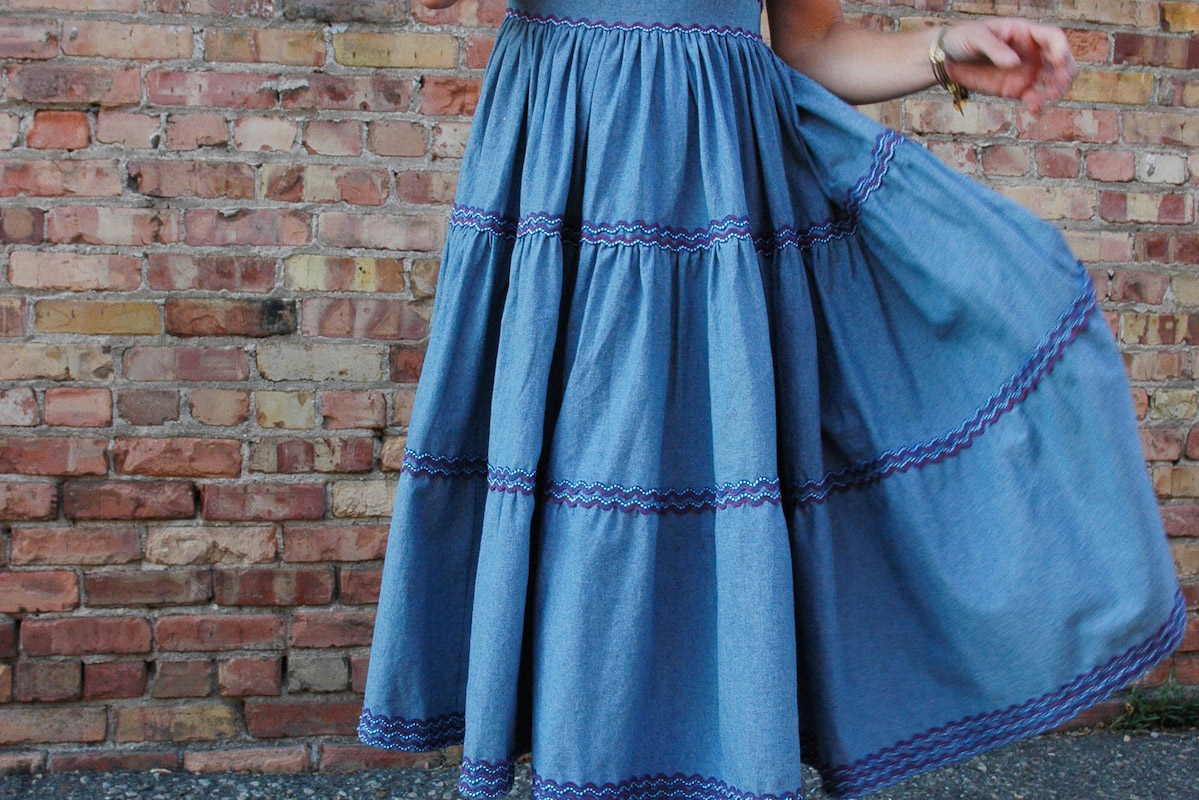
Constructing the Fancy Band
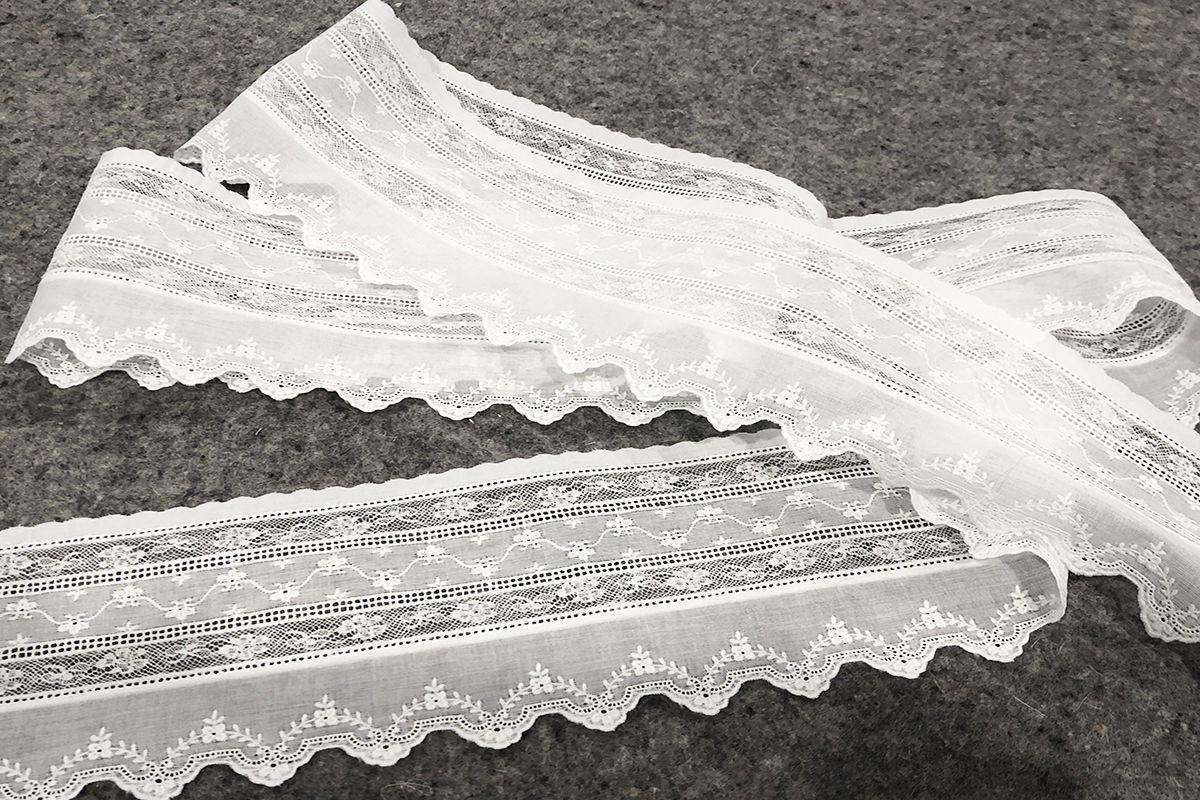
This is the band that will be constructed to place around the bottom of the dress. There are two construction methods needed to make this Fancy Band.
- Lace to Entredeux
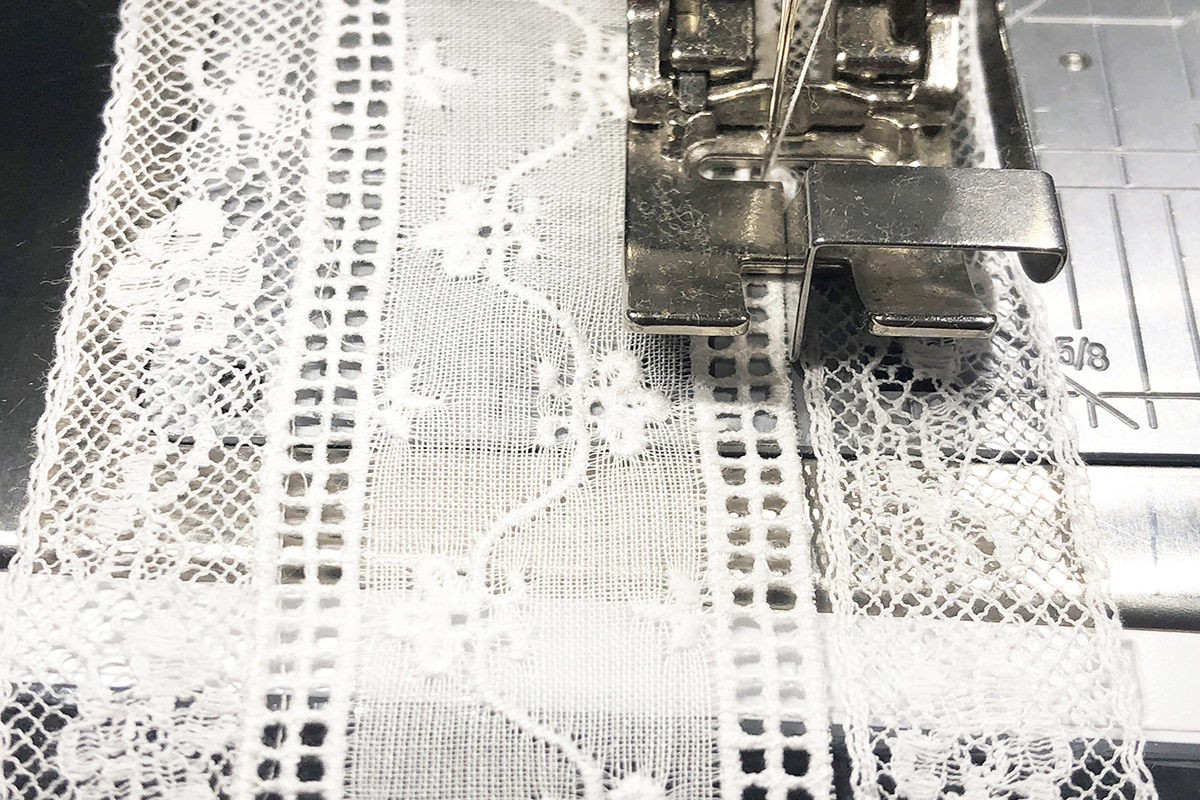
Begin with the Swiss Embroidery with the entredeux edge. Remove the batiste fabric on one side of the lace by cutting as close to the entredeux as possible.

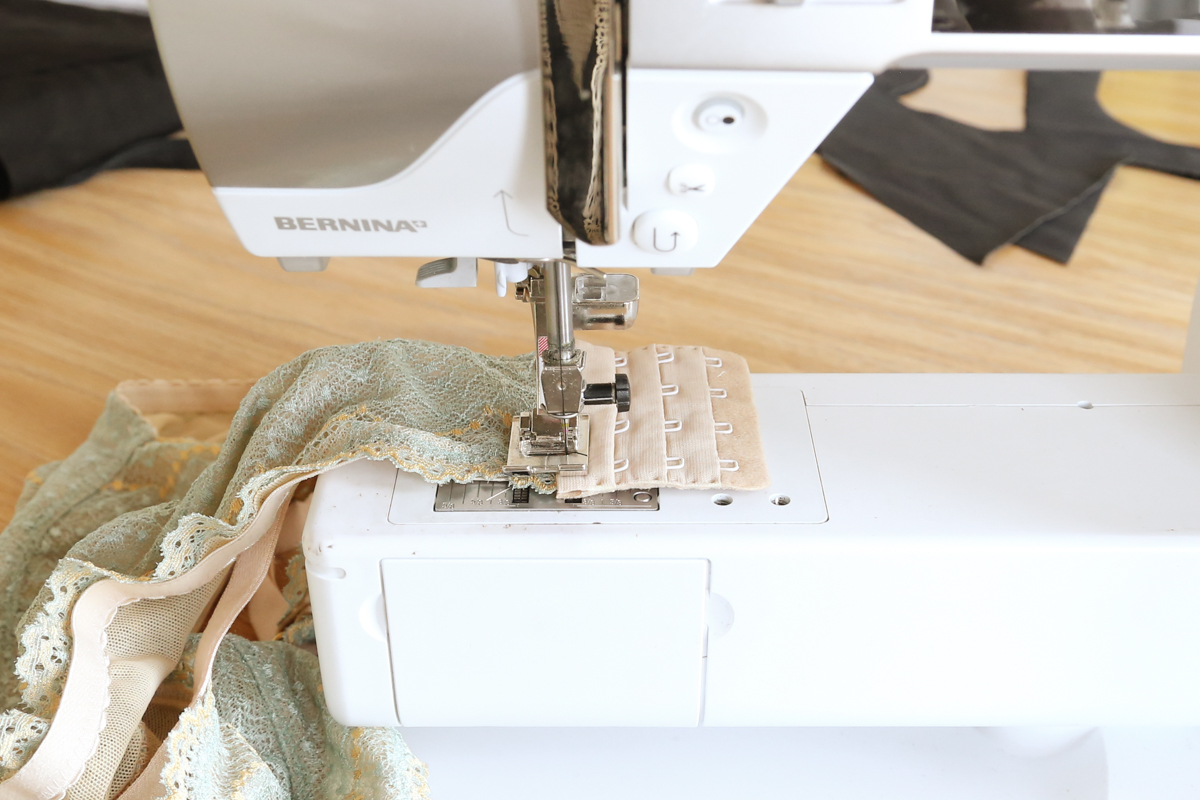
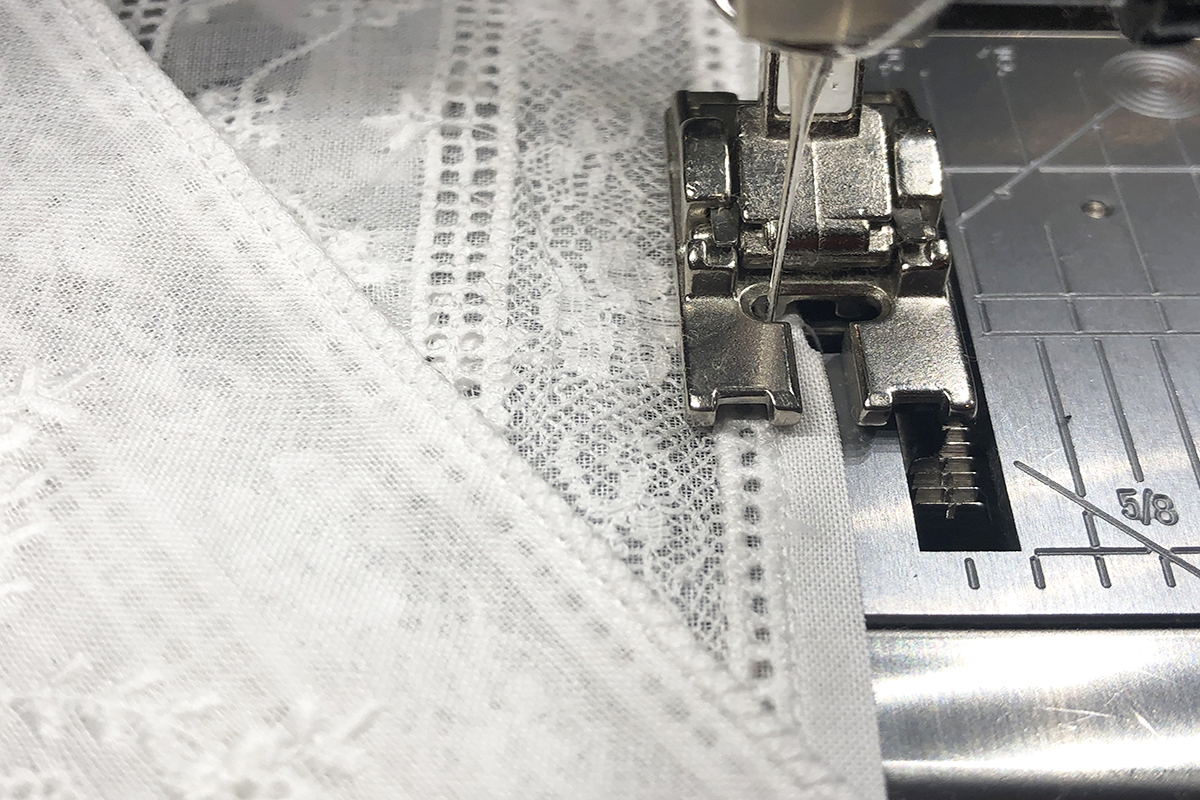
Attach the Edgestitch Foot #10/10C/10D to the machine. Place the lace on one side of the center metal guide and the Entredeux on the other side. Select a zigzag stitch. Set the length to 1 and the width 2 to 2.3. The swing of the needle should go into the heading of the lace on one side and the hole of the entredeux on the other side. Adjust the length if need be to go into as many holes as possible. Adjust the width if you are not hitting enough of the lace heading or too much of the lace heading.
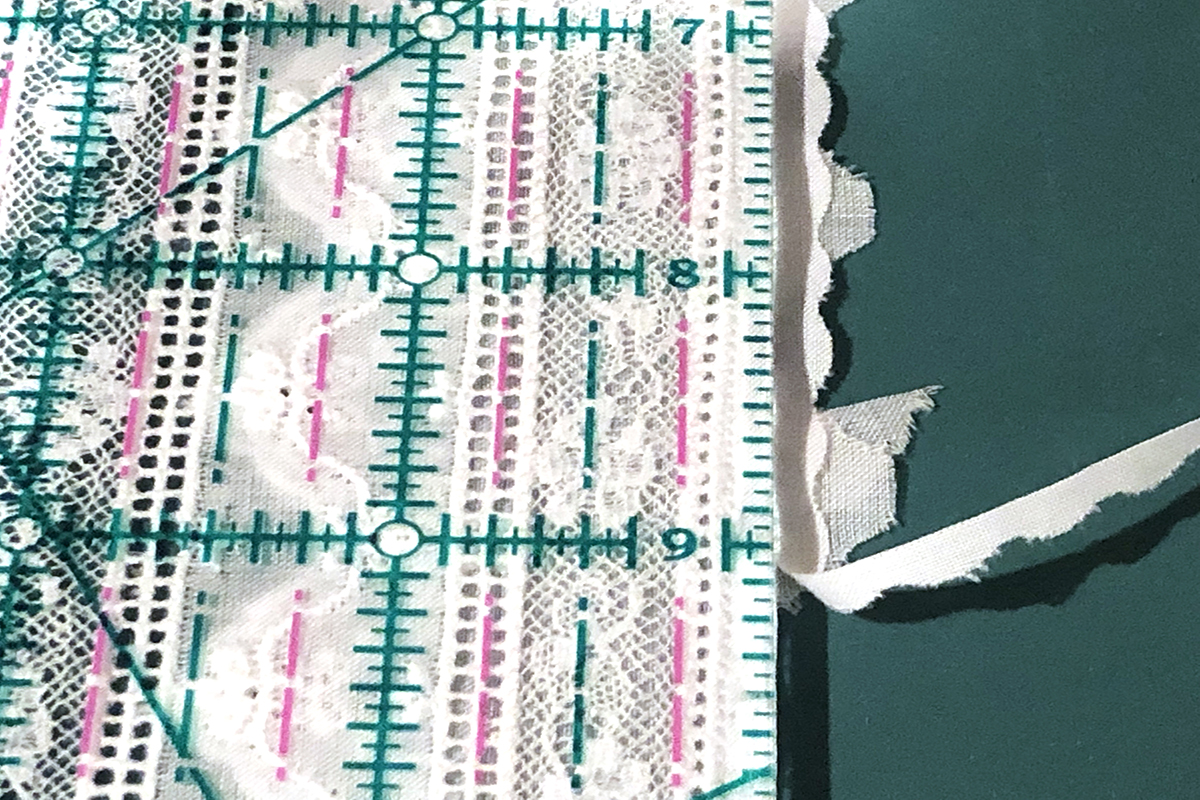
Trim the batiste edge on the other side of the Swiss Lace. Attach lace to second side. This is the center of the Fancy Band.
Using the single Entredeux, trim the batiste edge off one side and attach to a lace side of the Fancy Band. Use simular machine settings. The Length will still be 1 but the Width may be a little narrower at 1.9. This is still a lace to entredeux method.

Repeat on the other side of the Fancy Band.
- Entreduex to Fabric
The Swiss edging will be sewn to one edge of the Fancy Band. This is a two-step process. The first step is to seam the fabric of the Swiss Edging to the fabric of the Entredeux. The second step is to finish the seam.
Step 1 Entreduex to Fabric
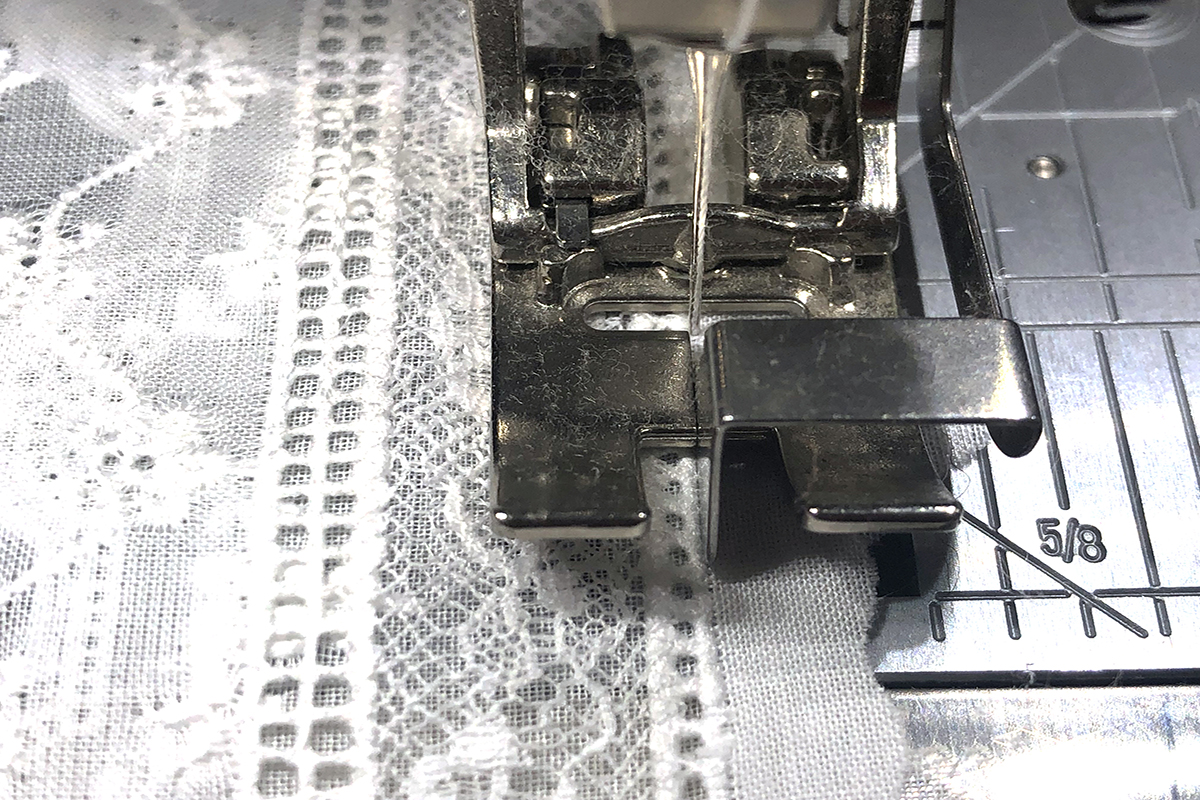
Line up the edge of the lace with the batiste edge of the entredeux. Place the metal guide of the Edgestitch Foot in the “ditch” of the entredeux. Select a straight stitch and stitch a seam. The needle should enter the fabric right next to the Entredeux.
Trim the seam to 1/8”.
Step 2 Entreduex to Fabric
Attach the 3-groove Pintuck Foot to the machine. Place the entredeux under the left groove of the foot. Select the zig zag stitch #2. Select a length of 1 and a width of 2 ½ – 3 ½. Adjust the needle to the left, -3, so that the left swing of the needle falls on the seam line and the right swing just falls off the fabric. Because of the grooves in the bottom of the foot the fabric edge will be rolled and nicely finished.
Fabric to Fabric
The Swiss Edging will be sewn to the bottom edge of the sleeves. Attach the #1 foot and stitch a ¼” seam. Trim the seam to 1/8”. Attach the #30 foot. Place the seam under the foot so that the seam stitching is on the right side of the first groove of the #31 Foot. Select a zigzag stitch. Set a length of 1 and a width of 2 ½ – 3 ½. If necessary, move the needle to the left (-3) so the left swing hits the seam, and the right swing falls off the edge of the fabric.

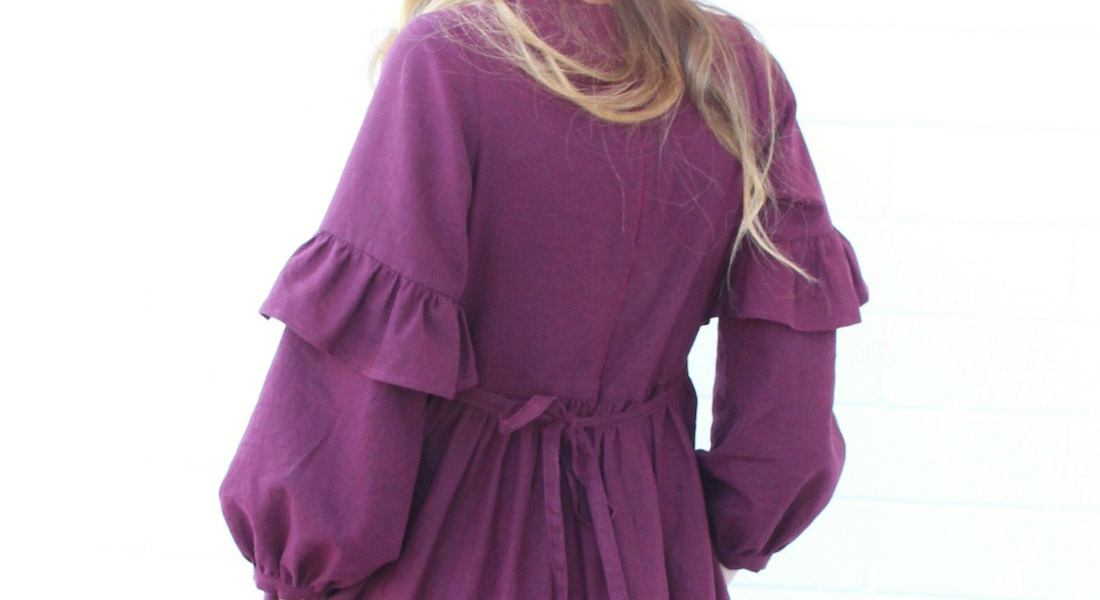
Construct the dress as the directions instruct you. The sleeves have a finished edge so all you will need is elastic as instructed in the pattern. You could opt to add the edging as directed above to the bottom of the sleeves as shown in the sample.
When the dress is finished, determine what you want the finished length to be. Trim the bottom of the dress allowing for the width of the Fancy Band plus a seam allowance. Attach the band to the bottom edge of the dress with an Entredeux to Fabric method.
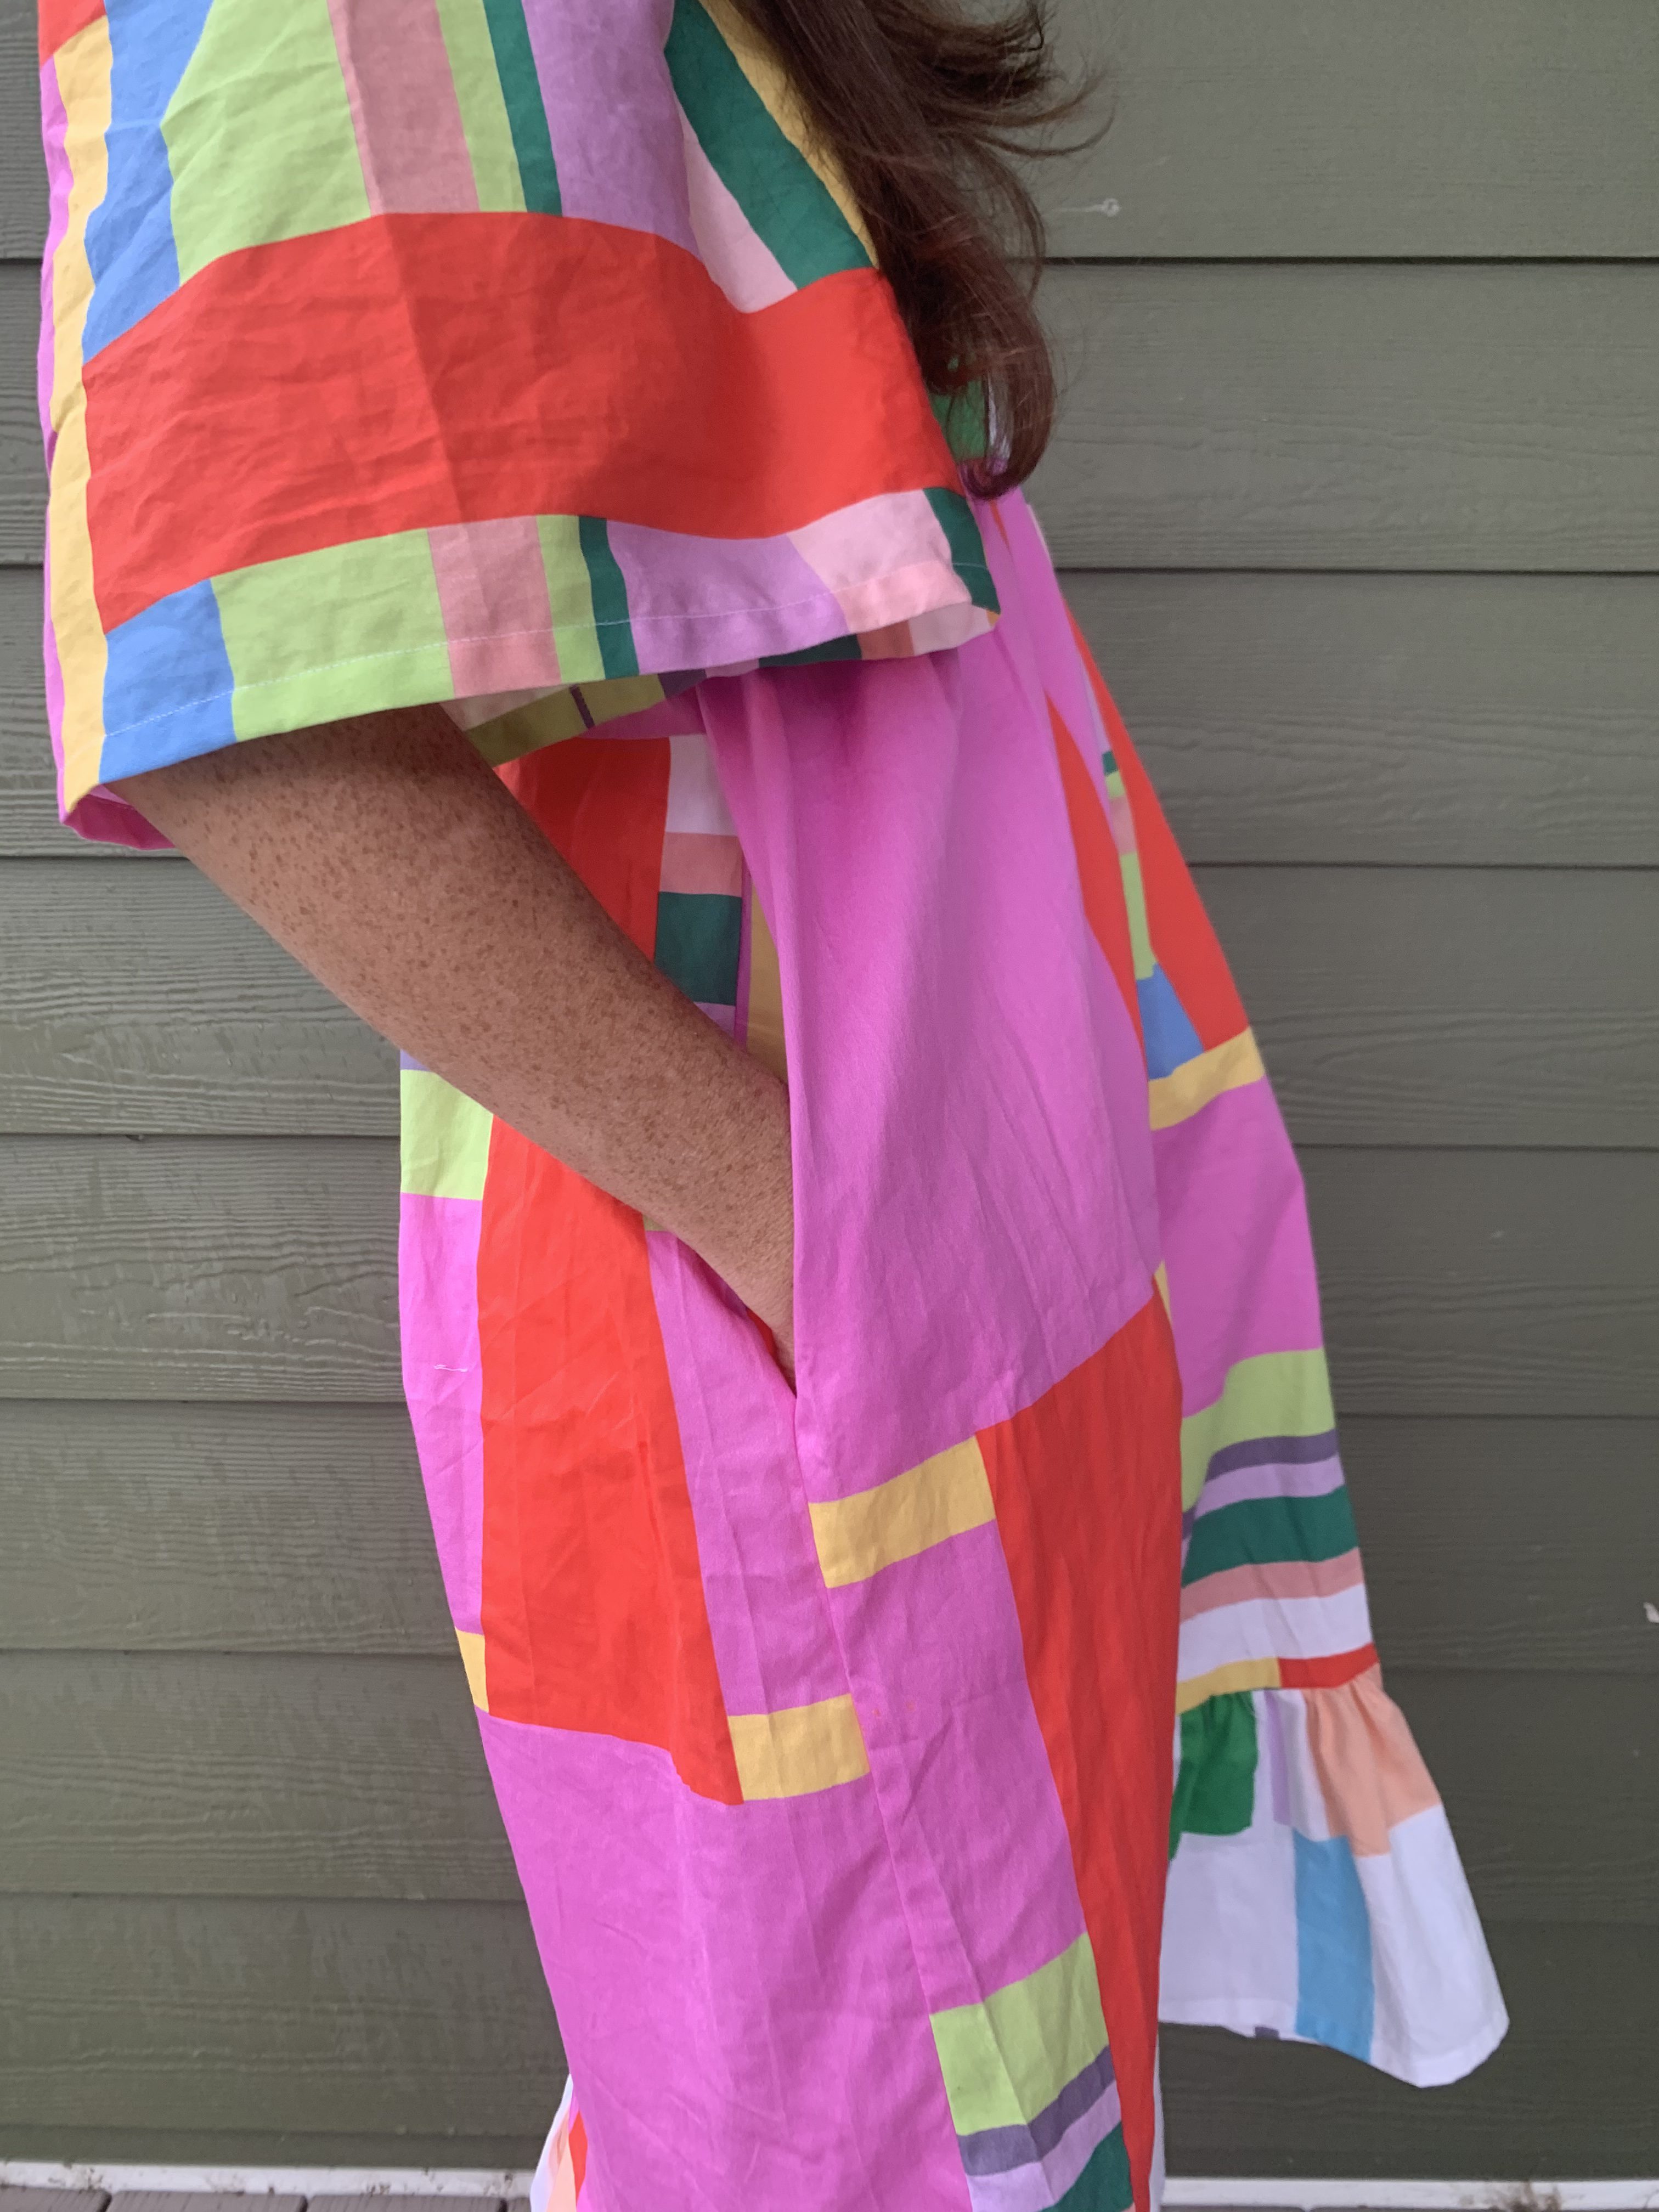
Enjoy letting your favorite little girl wear this special heirloom!