How To Sew An Adult CopyCat Bib

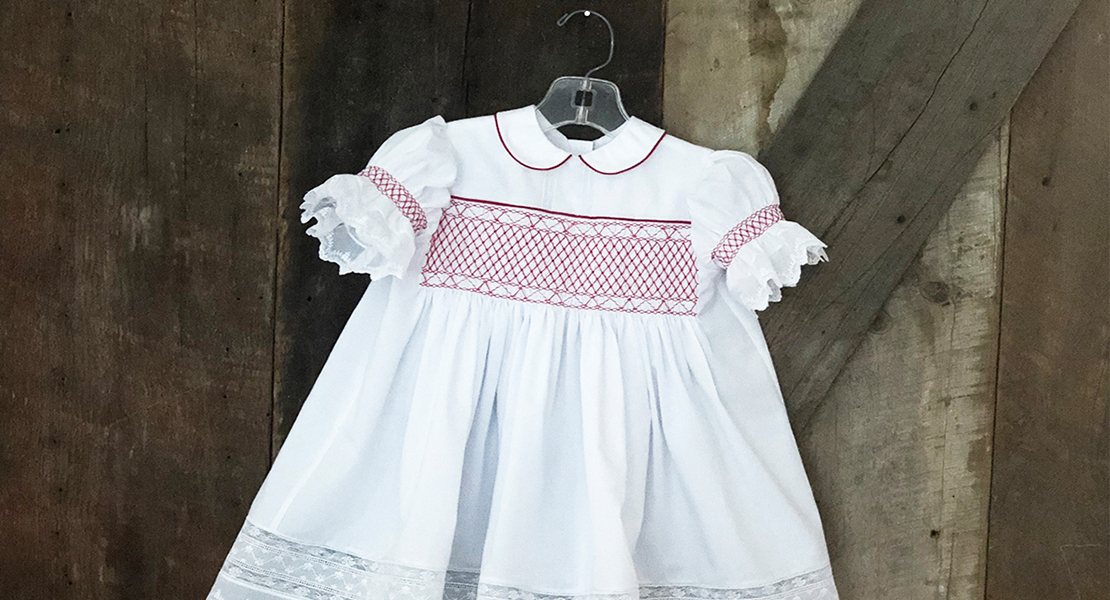
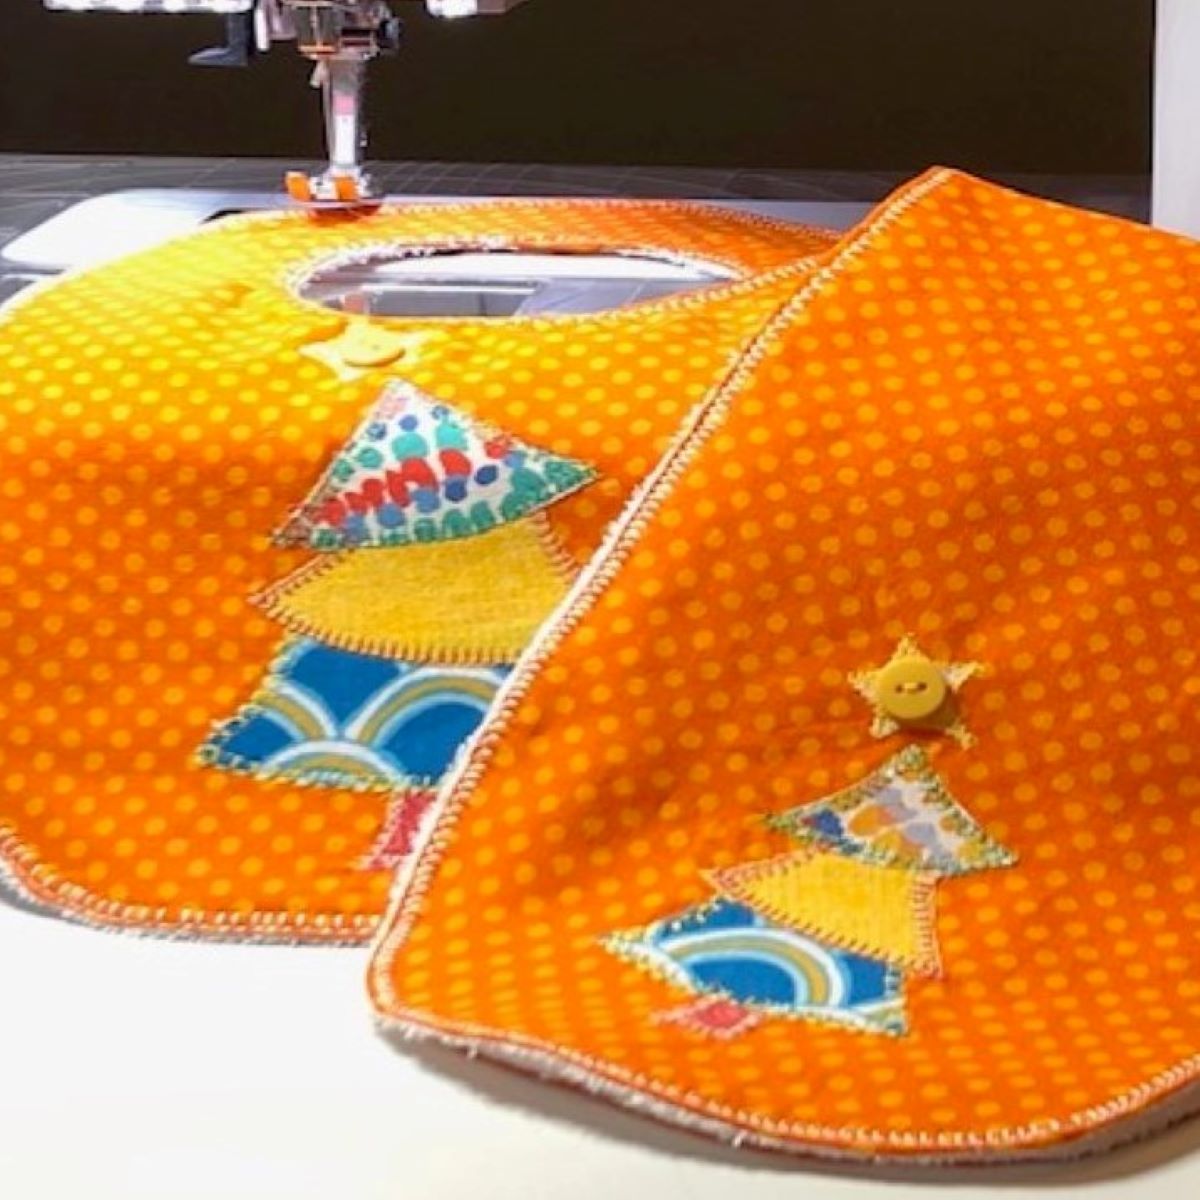
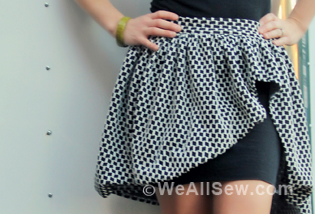
In this tutorial, I will show you how to Sew an Adult CopyCat Bib. This is a unique concept that works separately or as a set with a matching ready-to-wear top. I called it a CopyCat Bib since it is made from a duplicate garment AND because I am totally copying a design my Dad came up with. In my previous tutorial, I introduced you to my sweet mama who is living with dementia. My dad is my mom’s primary caregiver and one of the most creative and scrappy people I know. He came up with the idea of using an identical top to make a less conspicuous bib for when they are dining out. My mom would appreciate this sweet gesture so much. He found two tops, found a seamstress (no hard feelings- they live in a different state than me…), and told her exactly what he had in mind. She created the prototype pictured below and he gave me his blessing to share this great idea with you! Thanks, Dad! ?

Materials to Sew a CopyCat Bib
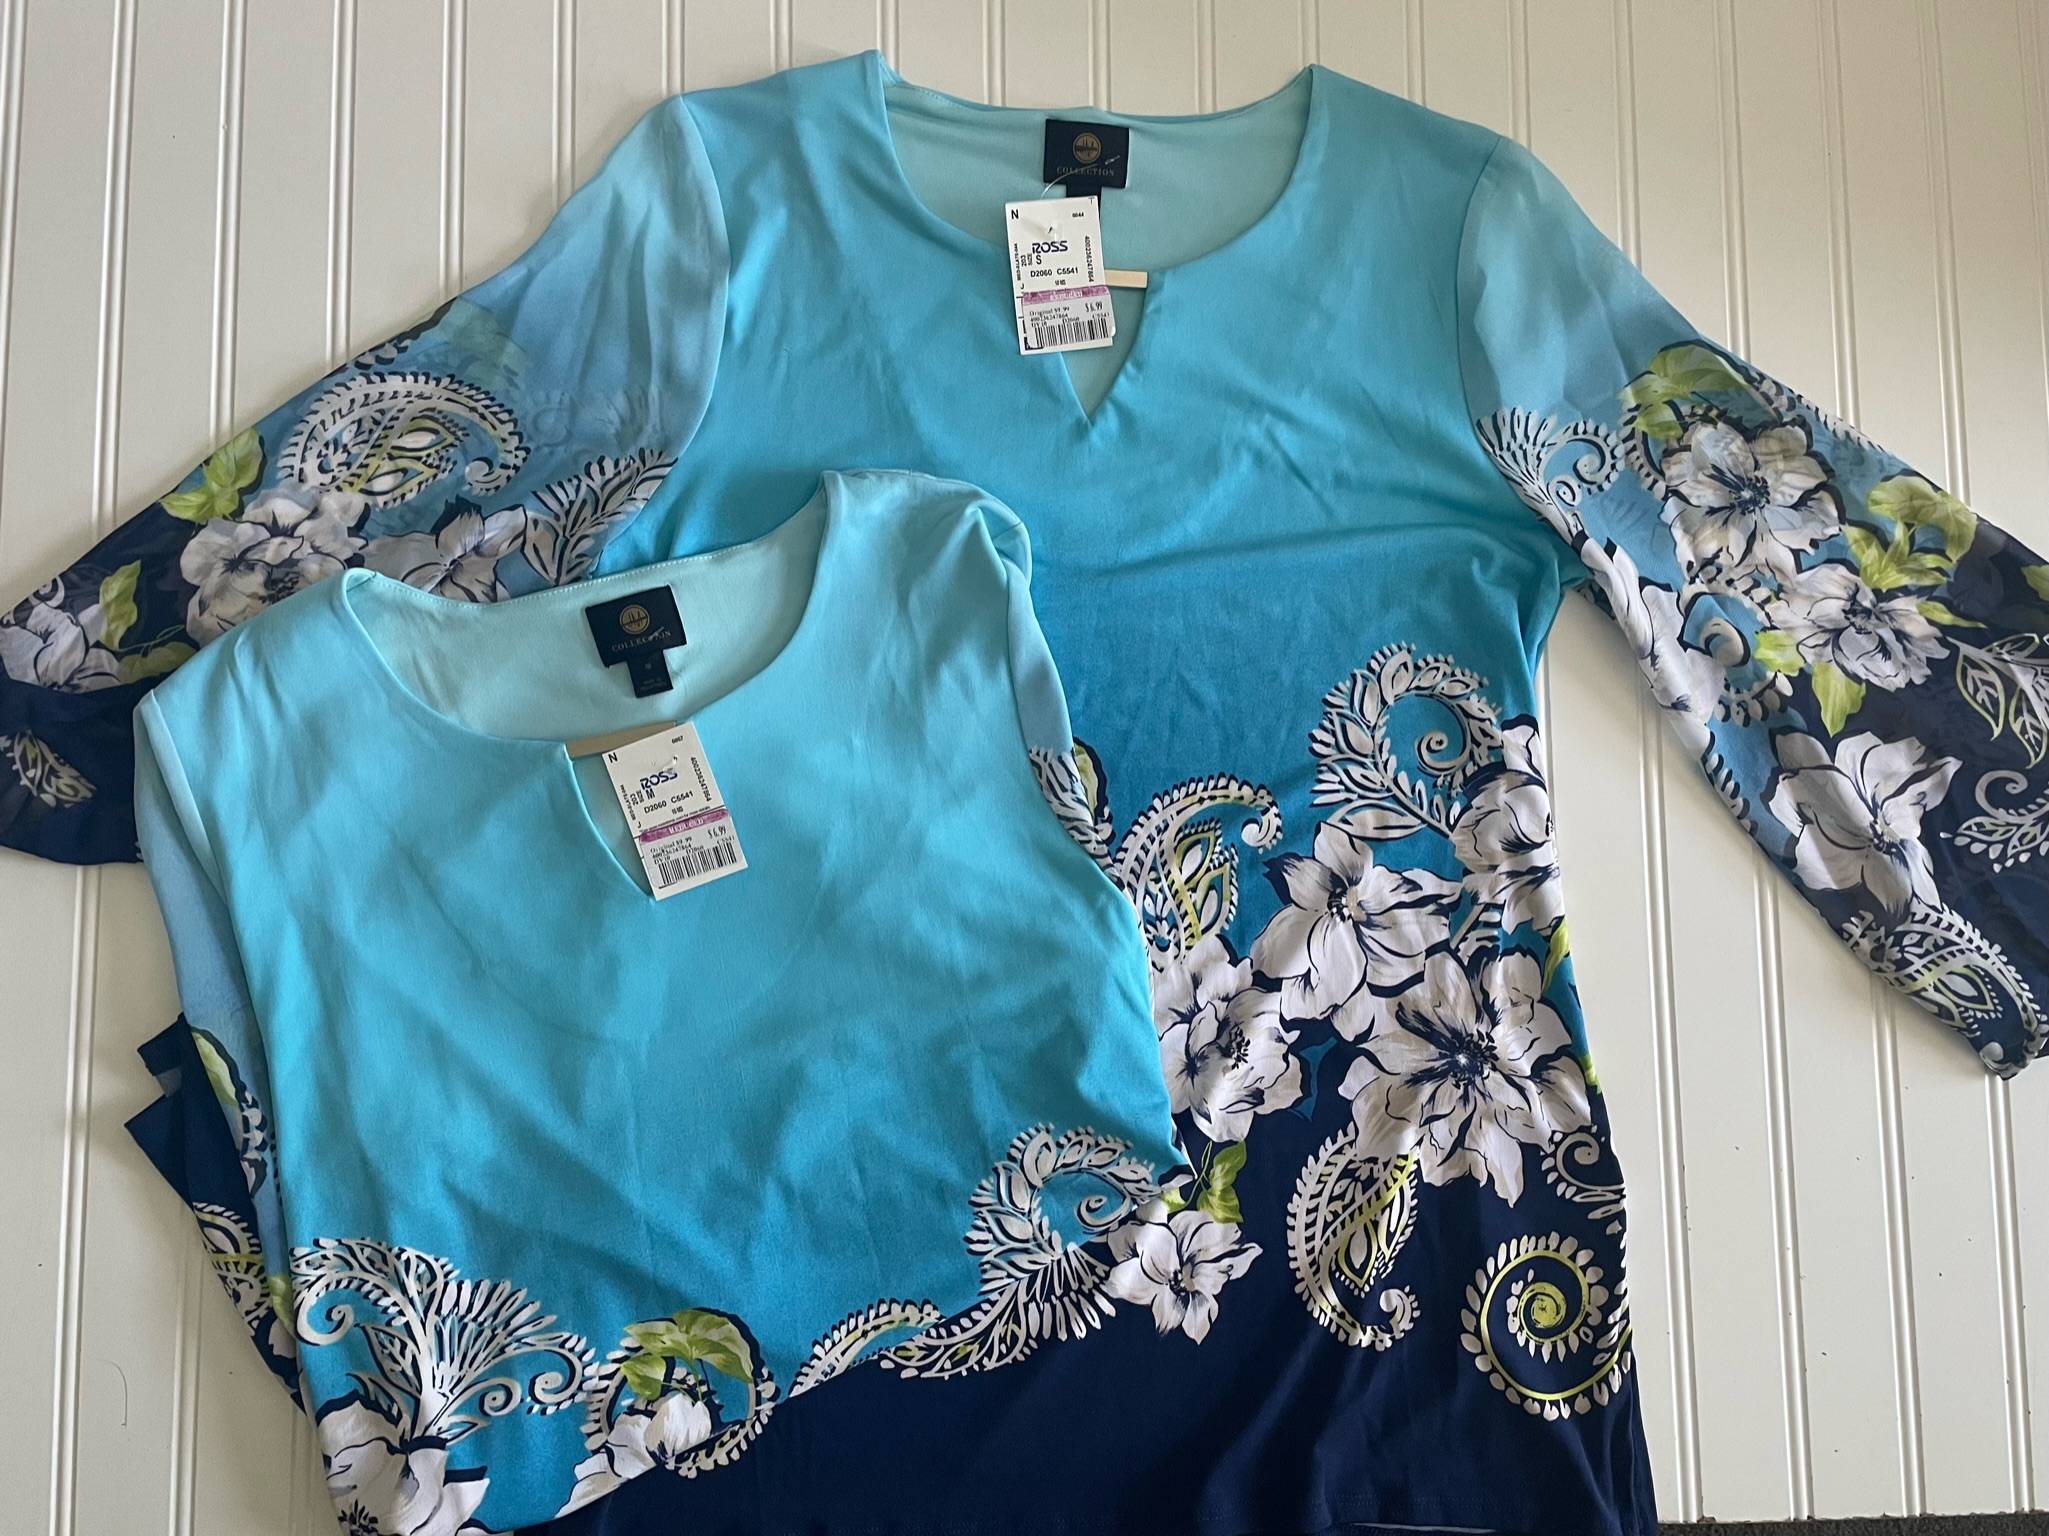
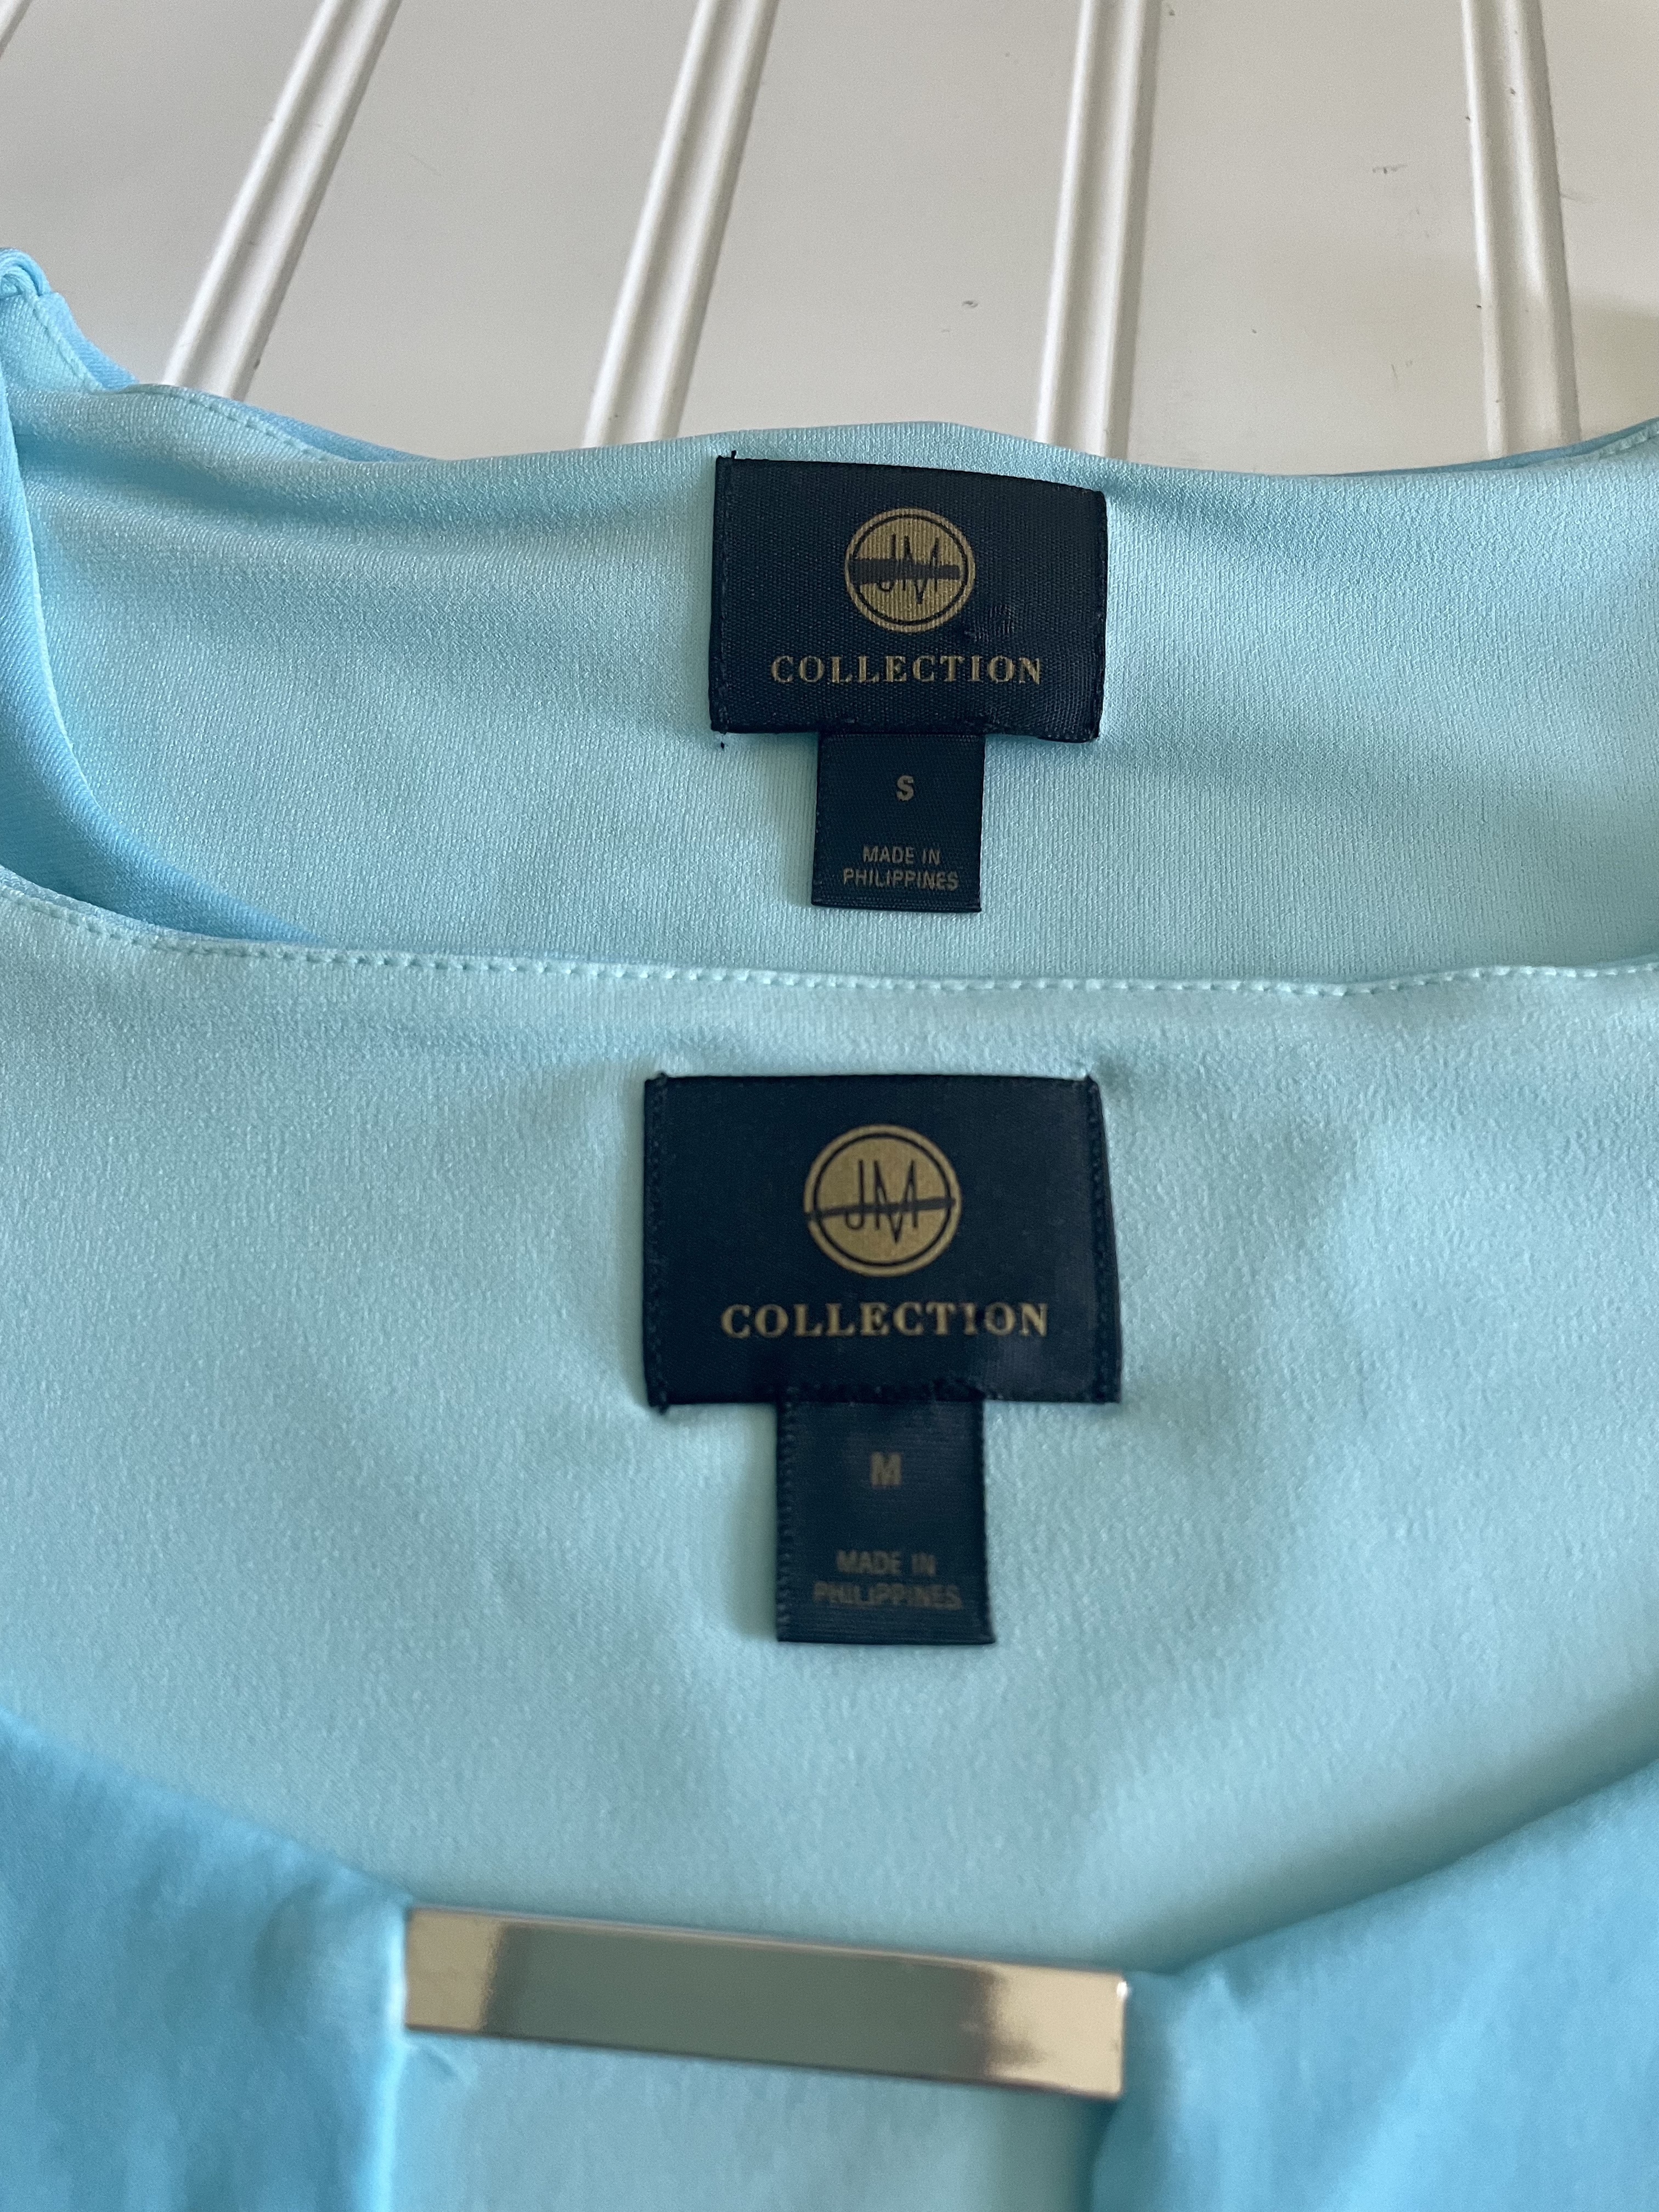
- 2 identical ready-to-wear tops (choose one in the intended wearer’s proper size and one in the largest size available)
- Fabric Scissors
- Measuring tape
- Sewing clips or pins
- Machine needle and thread appropriate to the garment fabric you choose. If you need help deciding, check out these helpful tutorials on choosing the correct Needle and Thread.
- Closure method of choice. (I will be using velcro, but feel free to substitute according to your preference.) Note: if using velcro, do not use the self-adhesive type- you and. your machine with thank me later.
Directions to Sew a CopyCat Bib
Step 1: Plan the Project
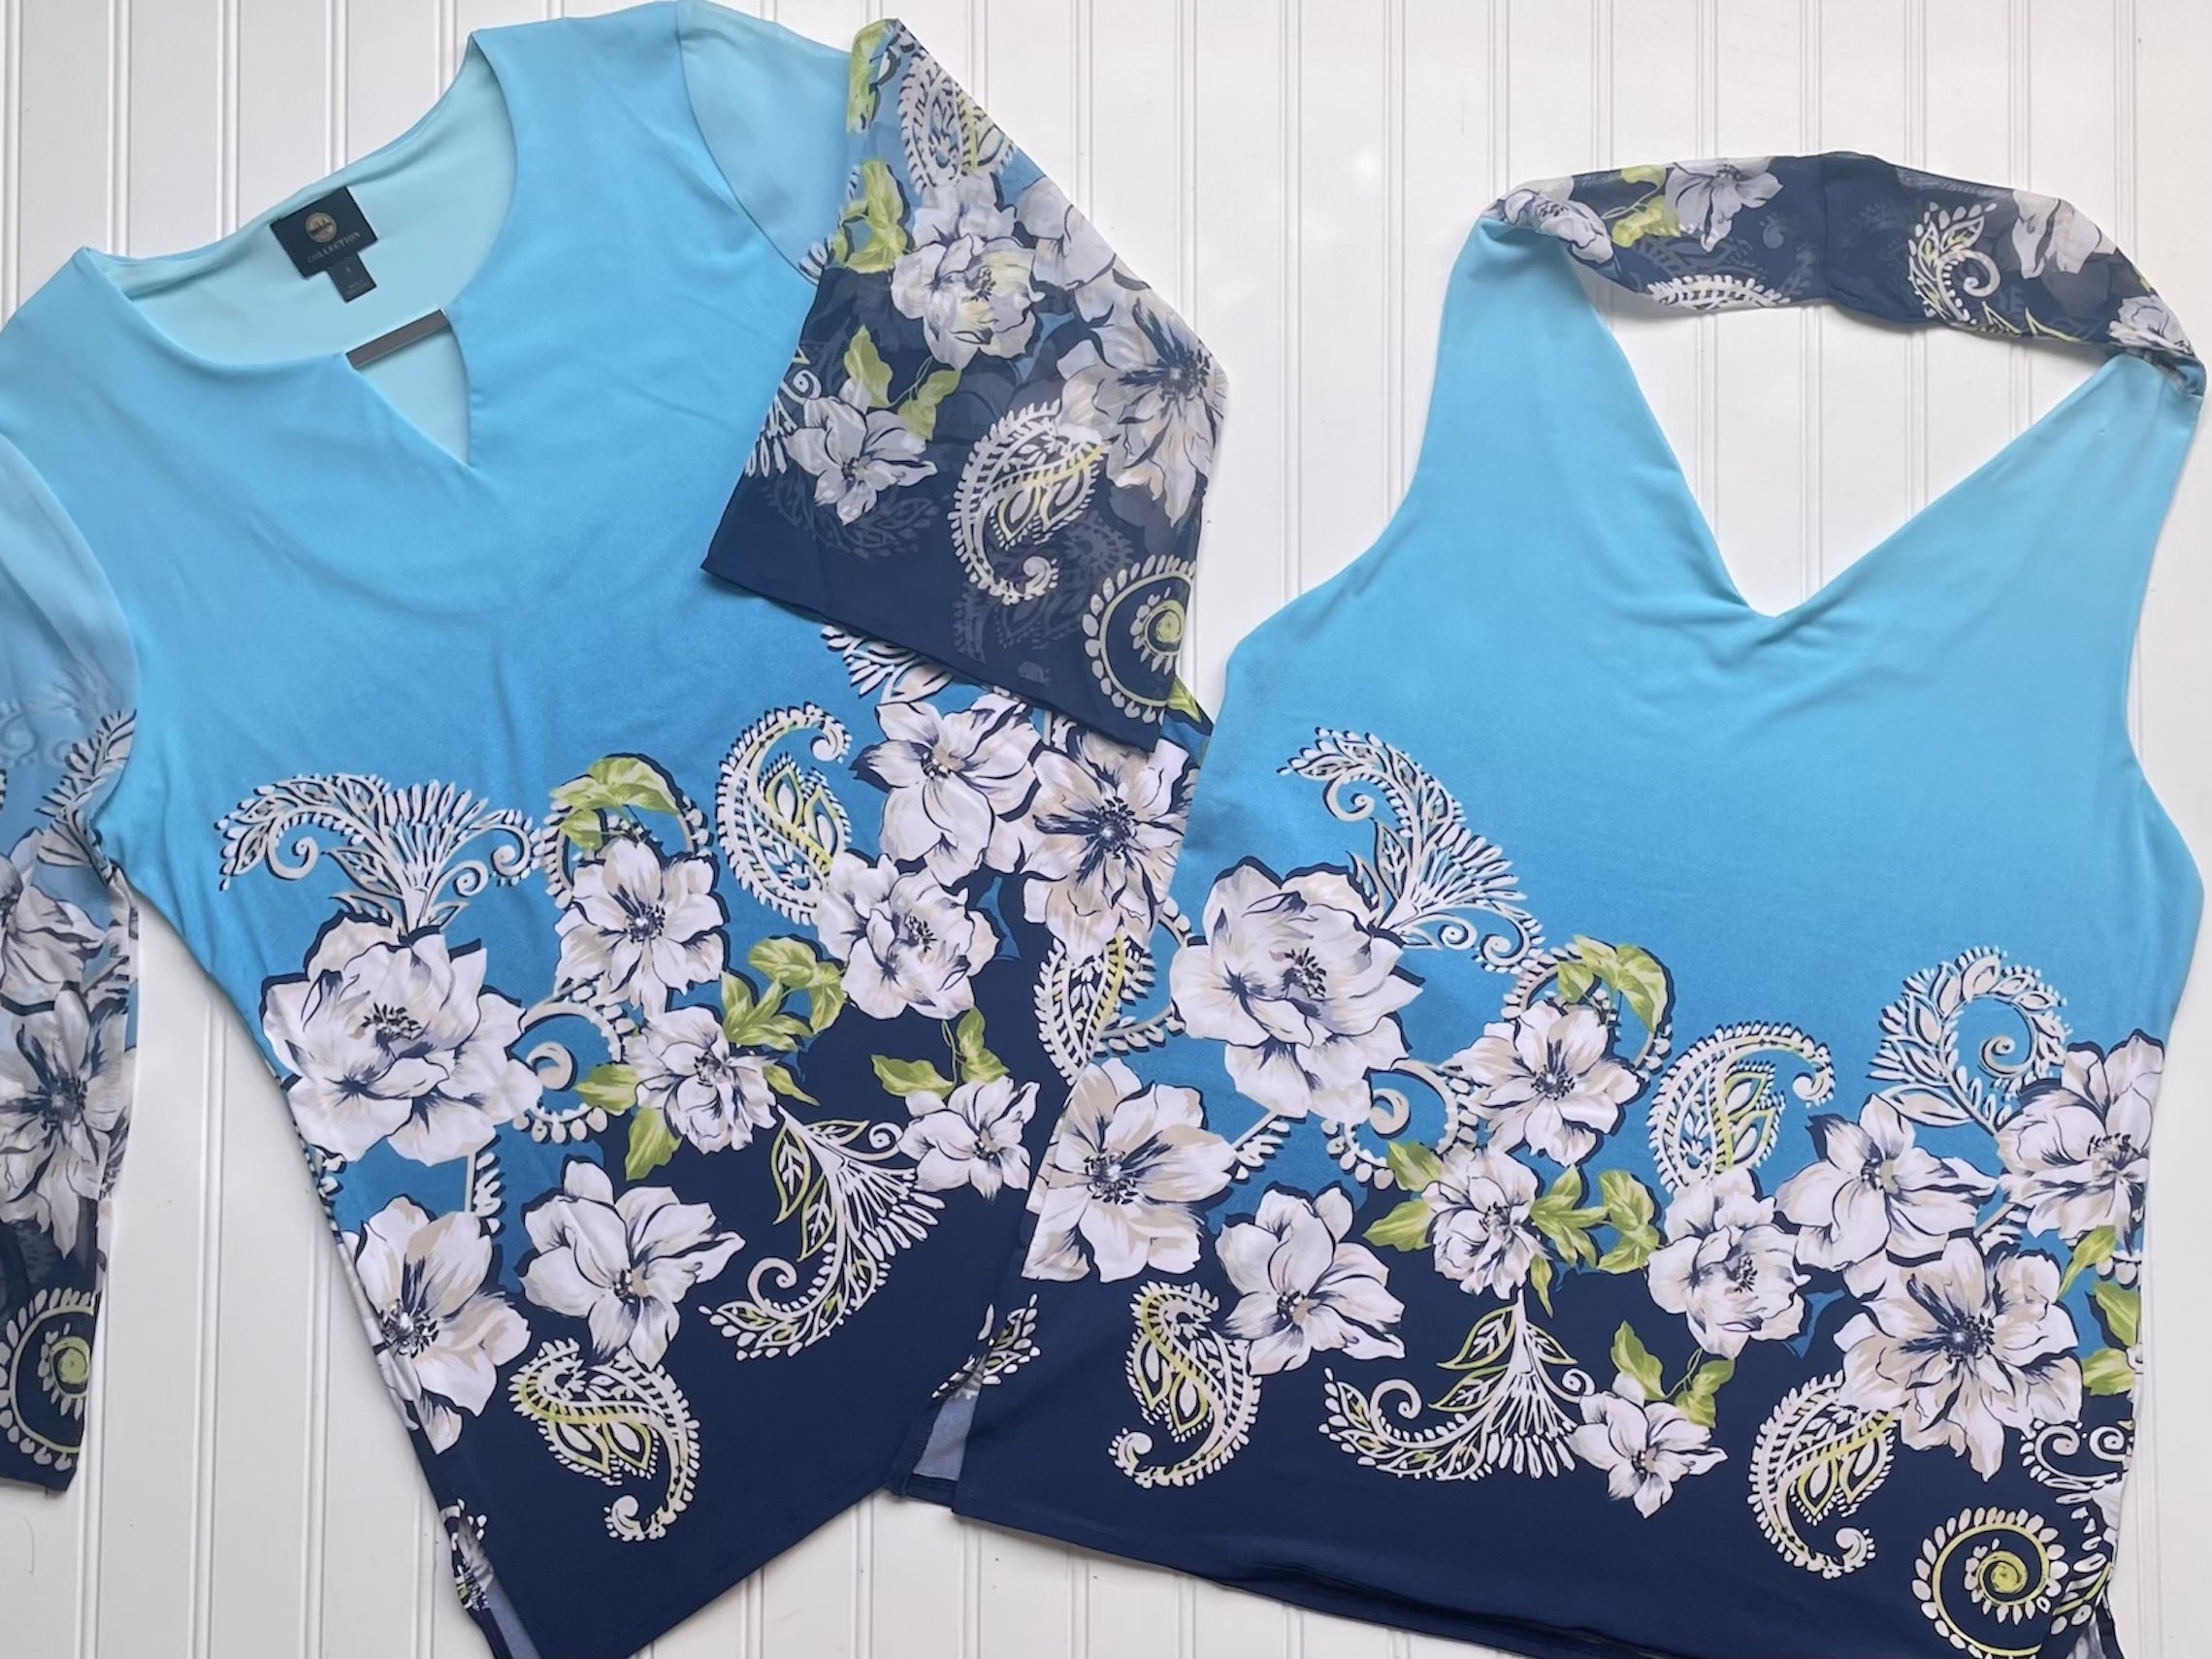
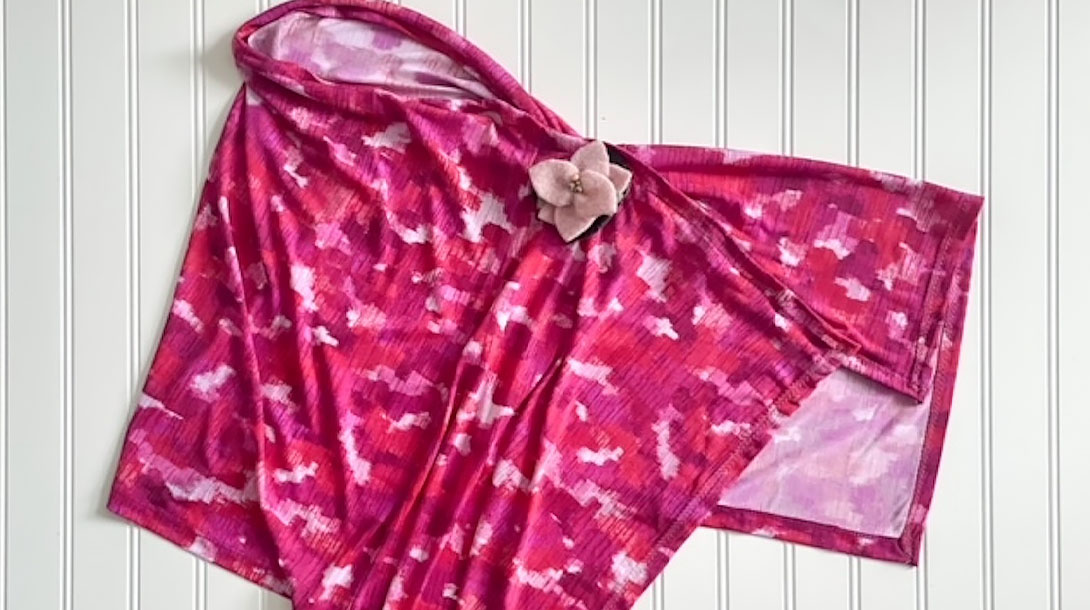
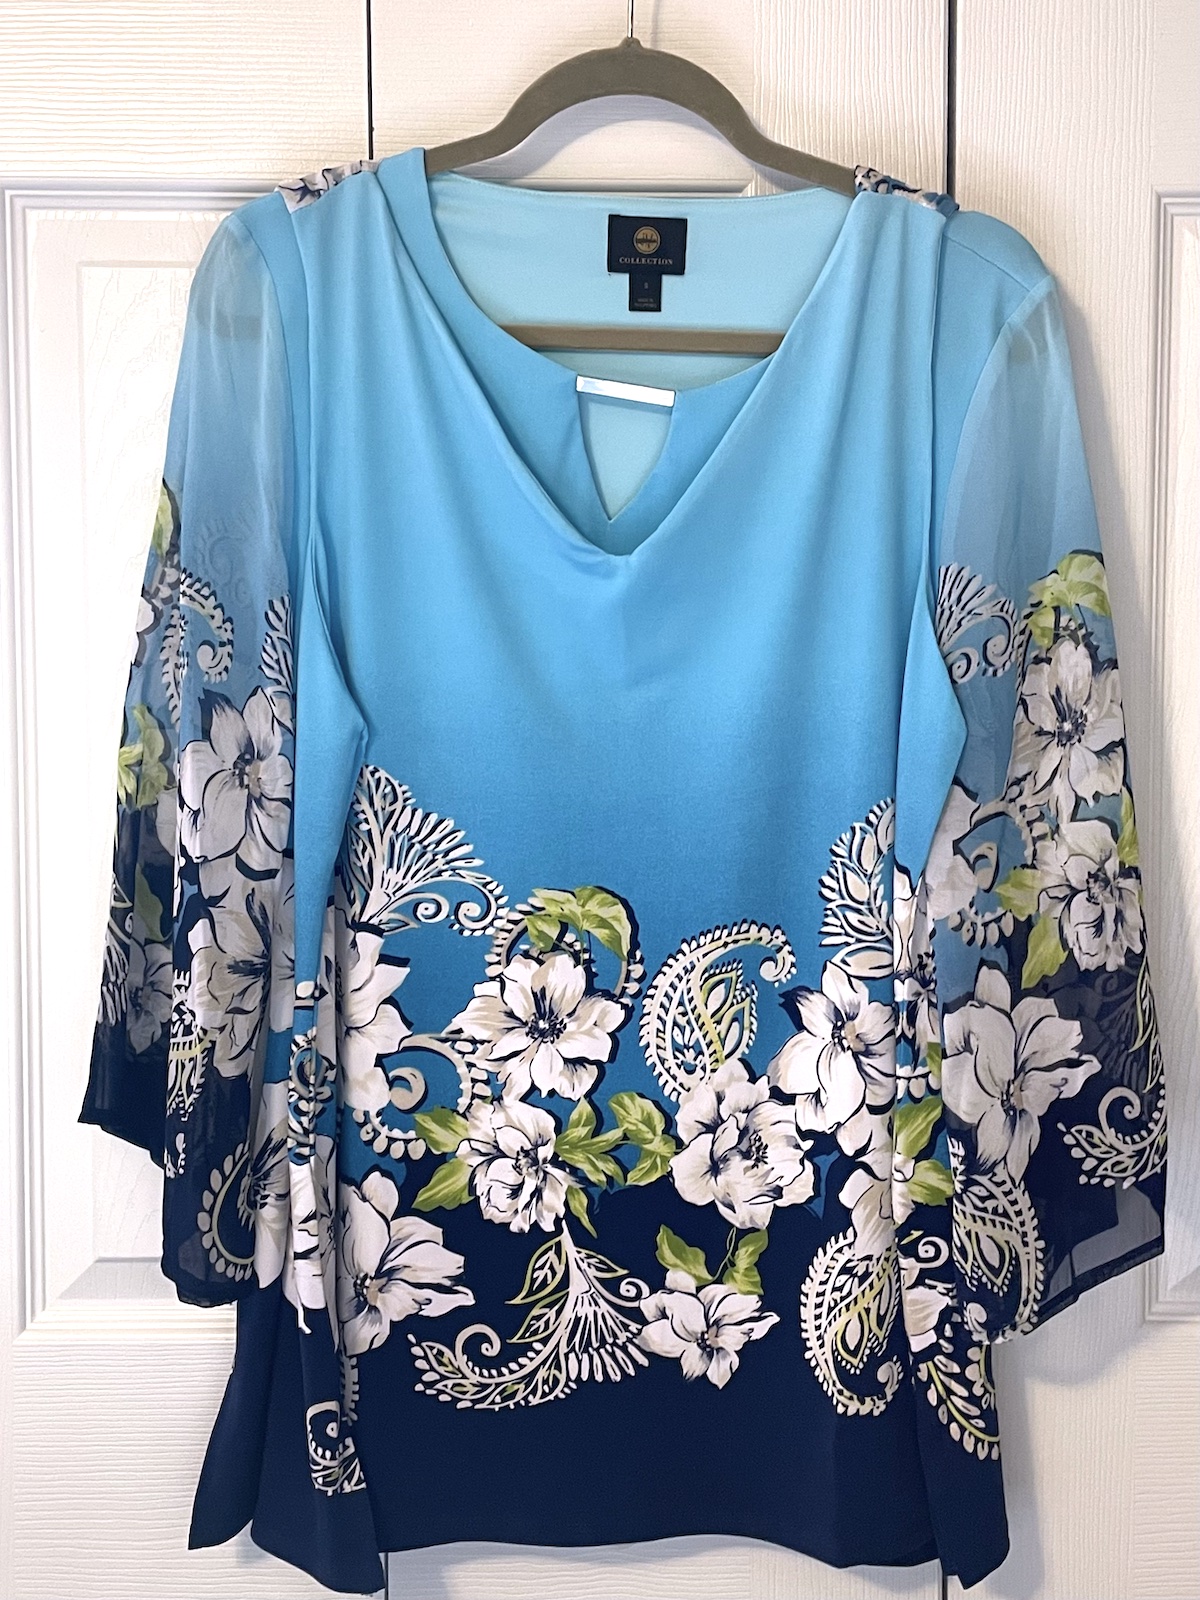
Before you begin, choose the garments you will use for this project. I recommend choosing a style with a high neckline so the CopyCat Bib can do it’s job. I suggest choosing the largest size possible for the duplicate garment in order to have the most fabric available for your project (and maybe some leftover for a nice accessory!) NOTE: The FIRST garment will be the ready-to-wear garment and the SECOND garment will be used to make the CopyCat Bib
Tip: Check to be sure any printed design on the two garments match up as closely as possible to achieve the desired effect of not being super noticeable. Move the SECOND garment up and down or side to side as needed to be sure it matches as best as possible with the print on the FIRST. Use a fabric marker to mark the center for the SECOND (bib) garment. This will help make sure the pattern matches as you complete your project.
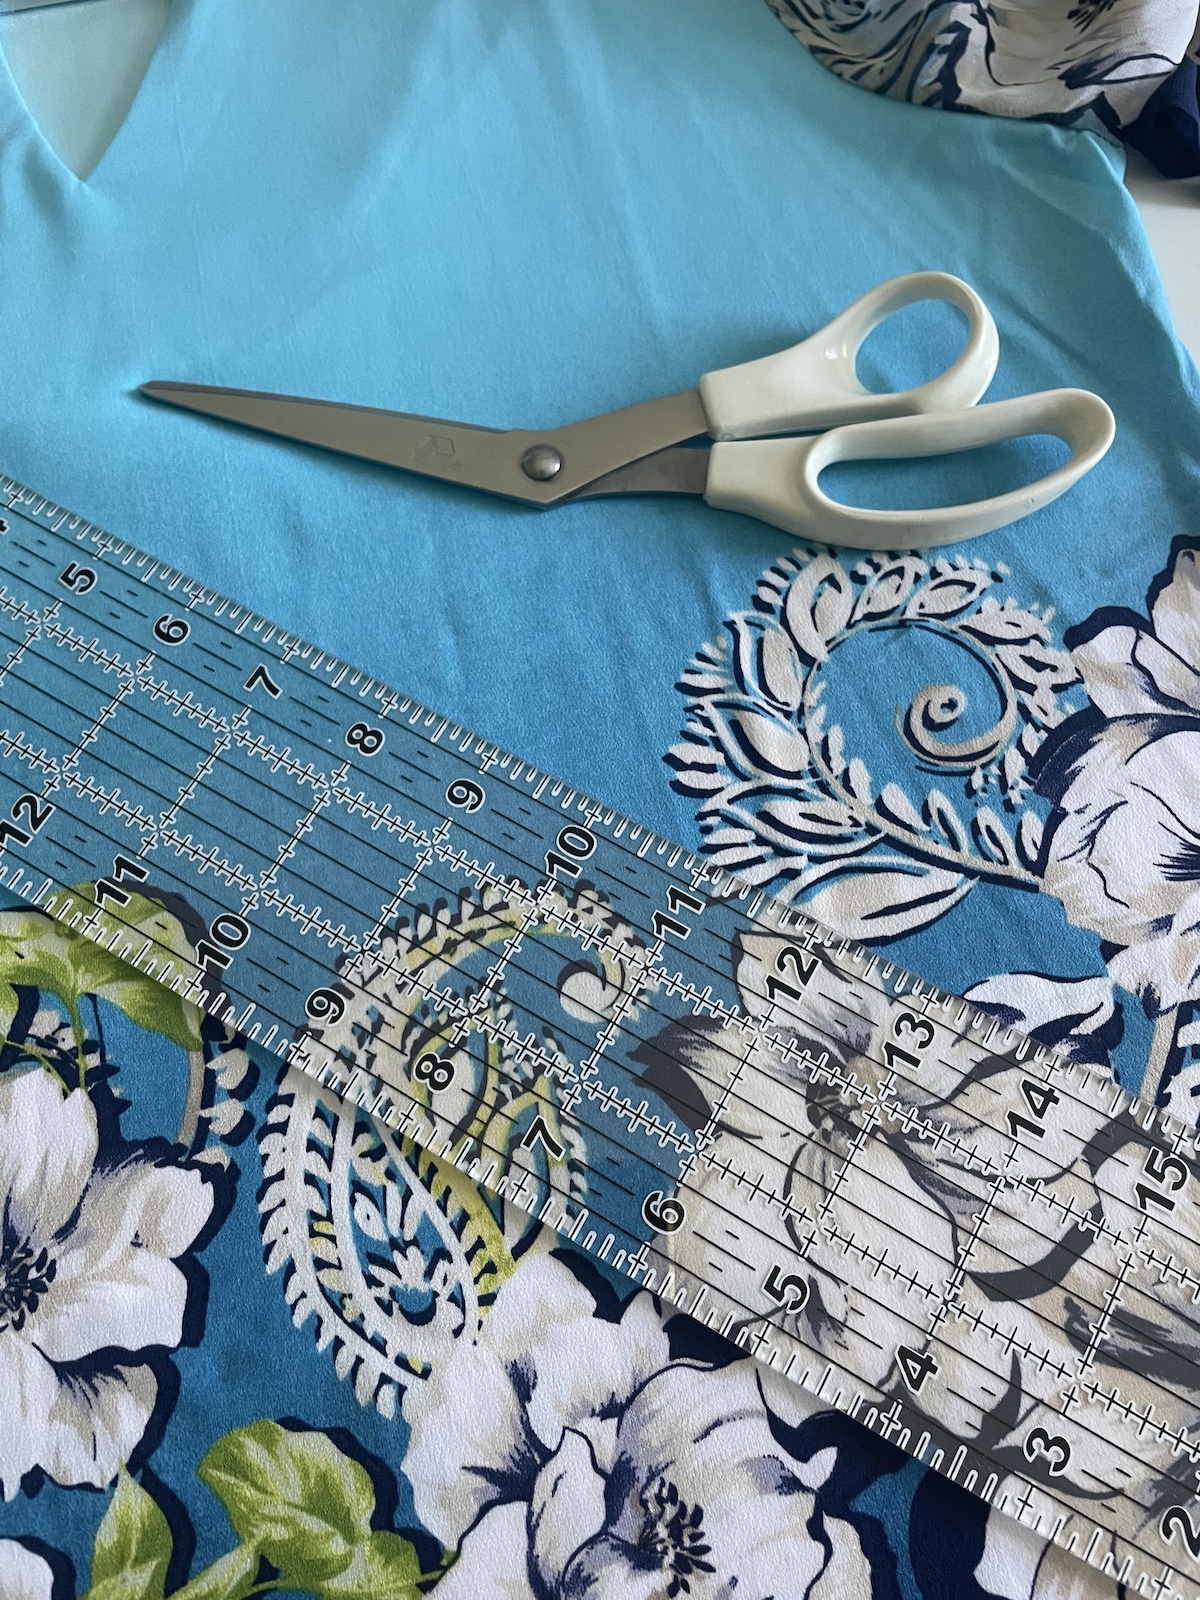
Gather your materials and supplies and take a look at the two tops side-by-side. Decide the best bib length for your situation. Because each person’s project will be slightly different based on the garments and sizes used, the measurements in this tutorial will not be exactly the same as mine. I will include my measurements as a reference, but please be aware that your measurements will likely be different.
Step 2: Measure for Bib Straps
Measure from the shoulder area to the back of the neck on the FIRST garment, adding a few inches to the measurement to overlap the closure. This will be the measurement to cut extra fabric from the SECOND garment for the straps of the bib. Depending on the garments you are working with, this extra fabric can be cut from the sleeves, sides, or bottom once you deconstruct the SECOND garment.
Step 3: Deconstruct the Bib Garment
Once you have the center marked, set aside the FIRST garment. NOTE: From here on, I will only be referring to the SECOND garment as I continue the instructions.
Using fabric scissors, cut up side seams and across shoulders. You do not need to take it apart stitch by stitch because you have extra fabric to work with if you’ve chosen a larger size. If both are the same size, just turn the garment inside-out and cut right on the seam line. I promise any minuscule fabric savings will not be worth the time you’ll lose by using your seam ripper. (Ask me how I know this…??♀️)

Step 4: Cut Out Bib Body (Two Layers)
Layer the front and back fabric right sides together and fold in half lengthwise. Use a marking pen to draw the shape of the bib according to your preferences. If you make it as long as possible, it will simply look like it is part of the shirt. Once folded and marked, you will cut through four layers of fabric, and have mirror images, so the finished bib will be symmetrical.
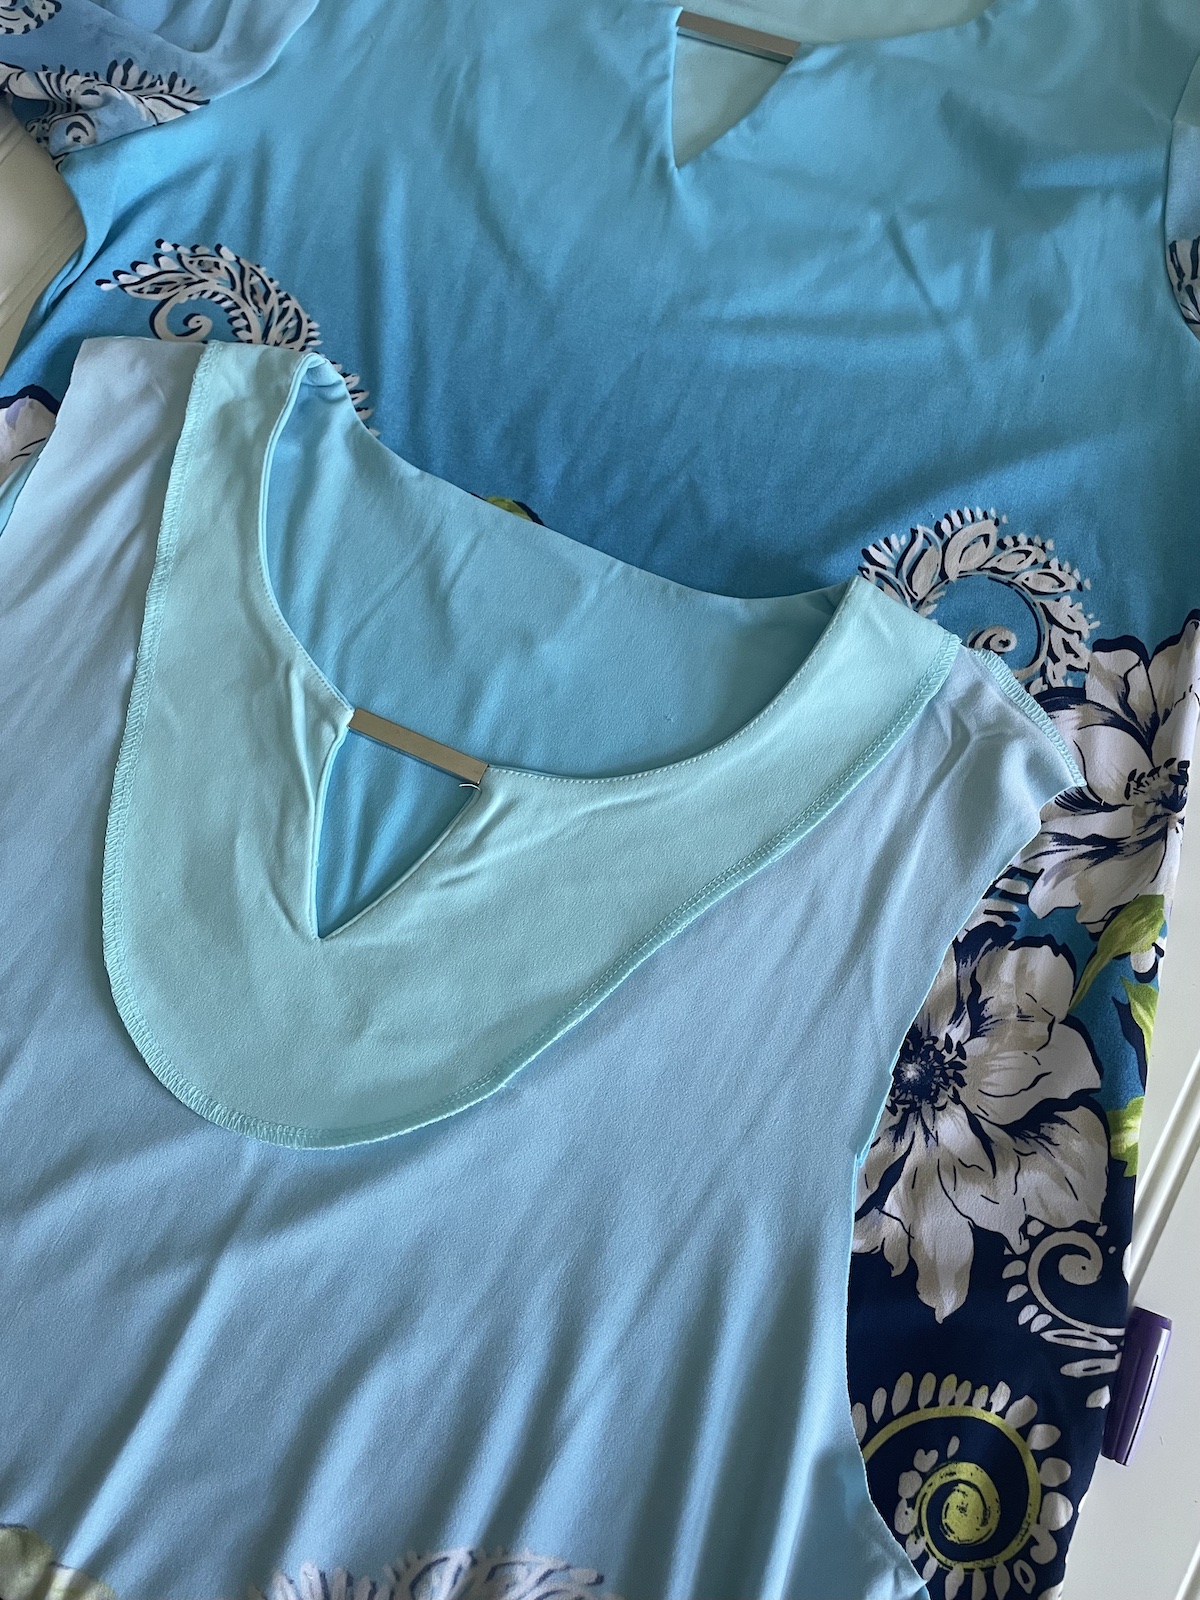
Step 5: Adjust Neckline (Optional)
I chose to change the neckline of mine slightly to remove the decorative portion because I didn’t want the double-embellishment to draw attention to the two layers, defeating the camouflage effect I was going for. Depending on the garment you choose, you may be able to skip this step.
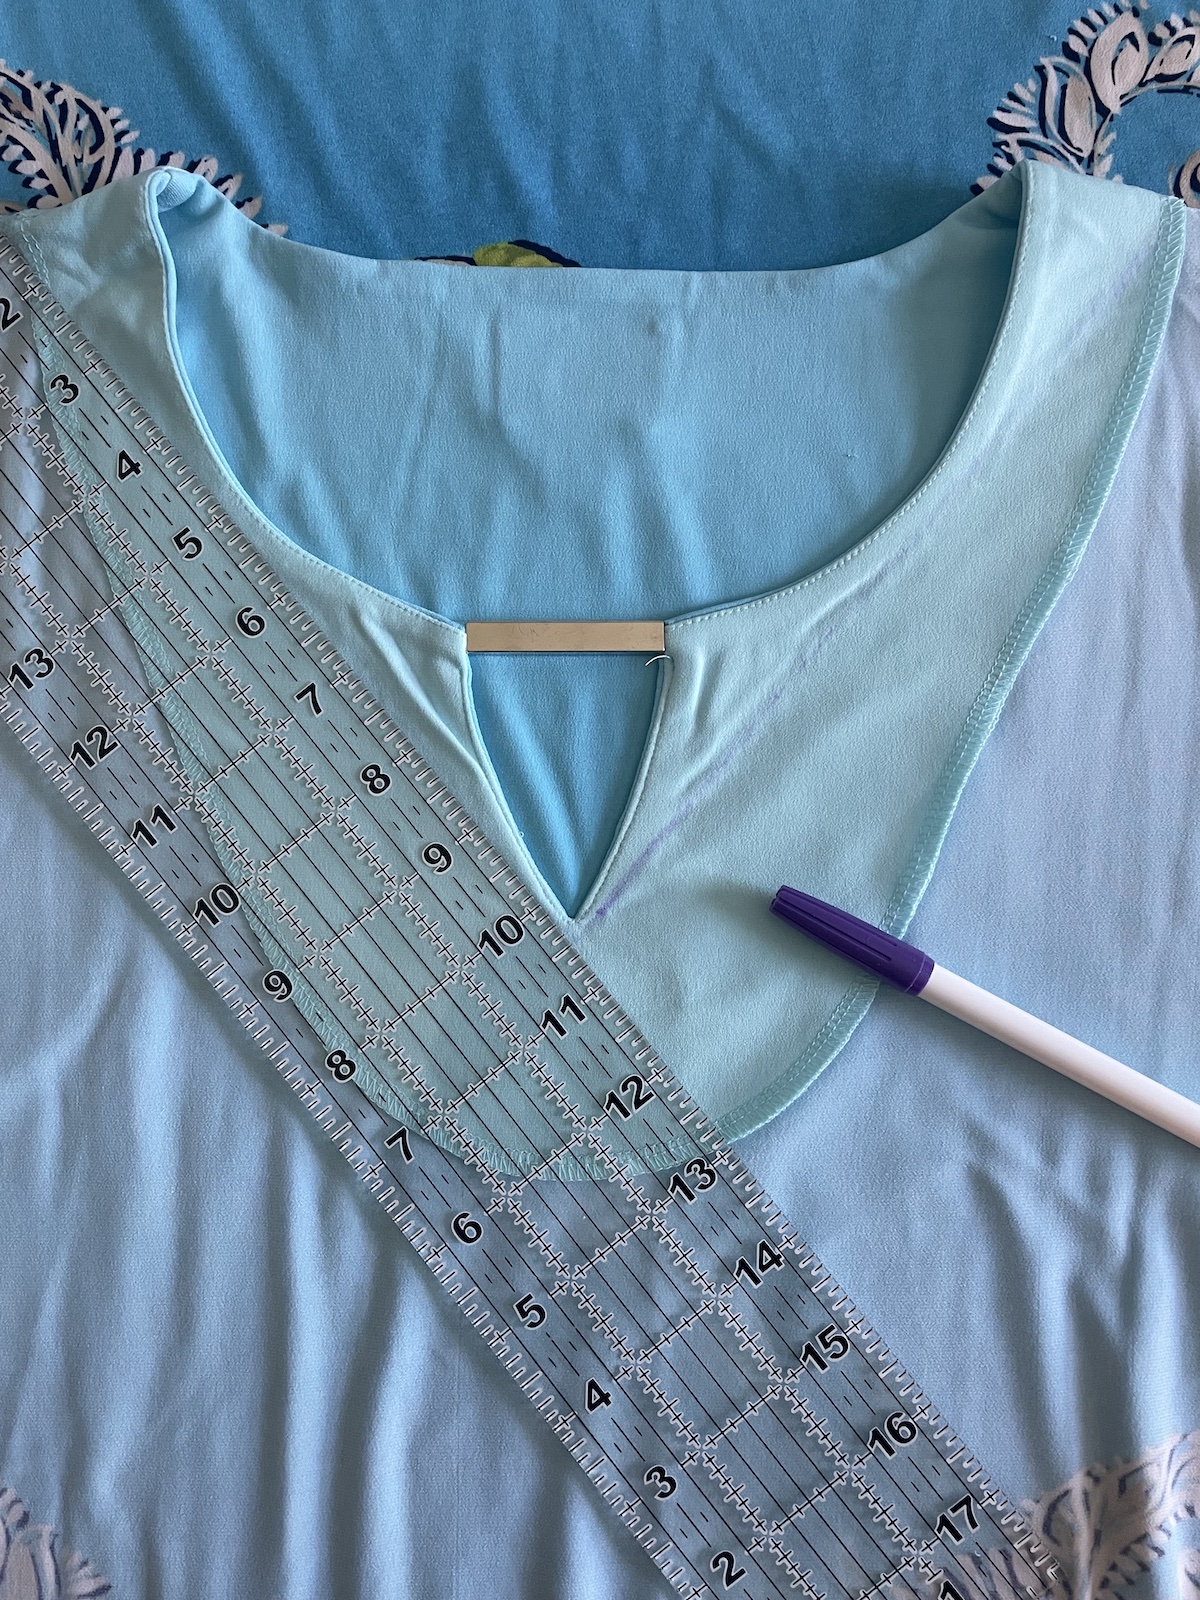
My example: I used a straight edge and marking pen to create a simple V-neck, removing the decorative element. I pinned across the marked stitching line and used that as my guide in step 6 below for sewing the layers together to form the bib.

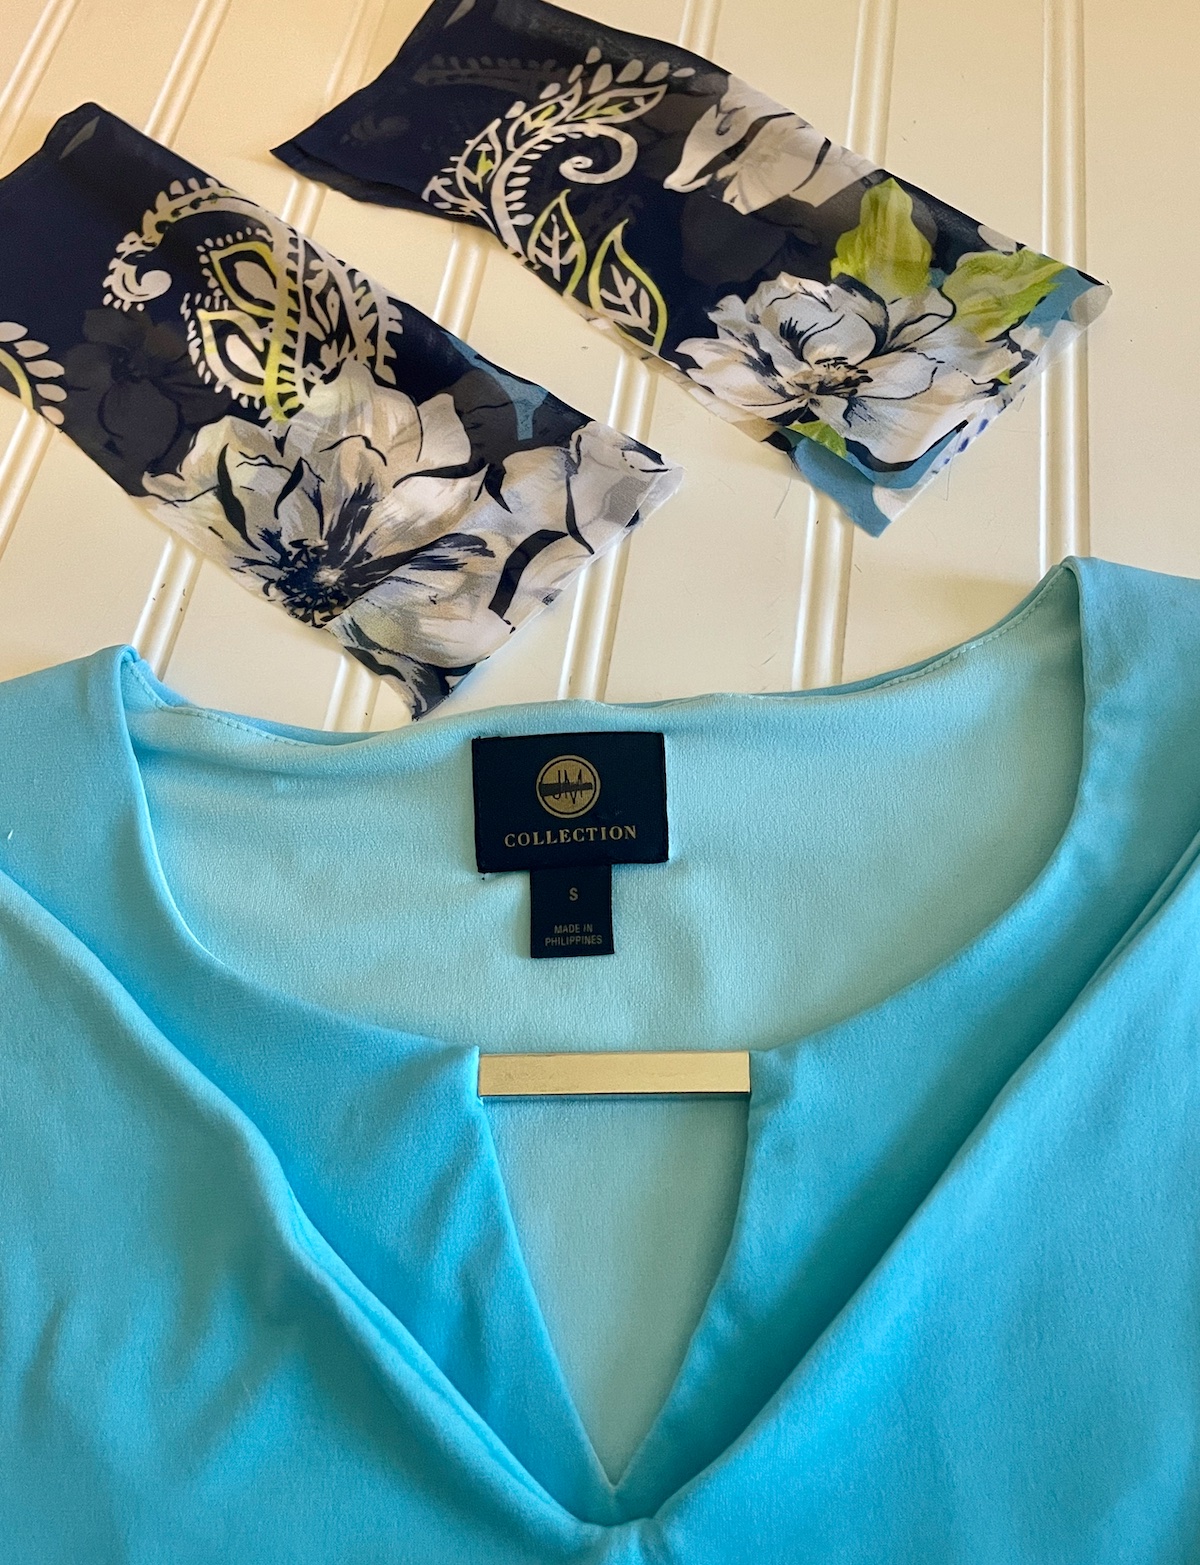
Step 6: Cut Out Bib Straps
Now that you have the bib shape cut, use the measurements taken in Step 2 and cut FOUR strap sections from the extra fabric remaining from the SECOND garment.
Step 7: Attach Bib Straps to Each Layer
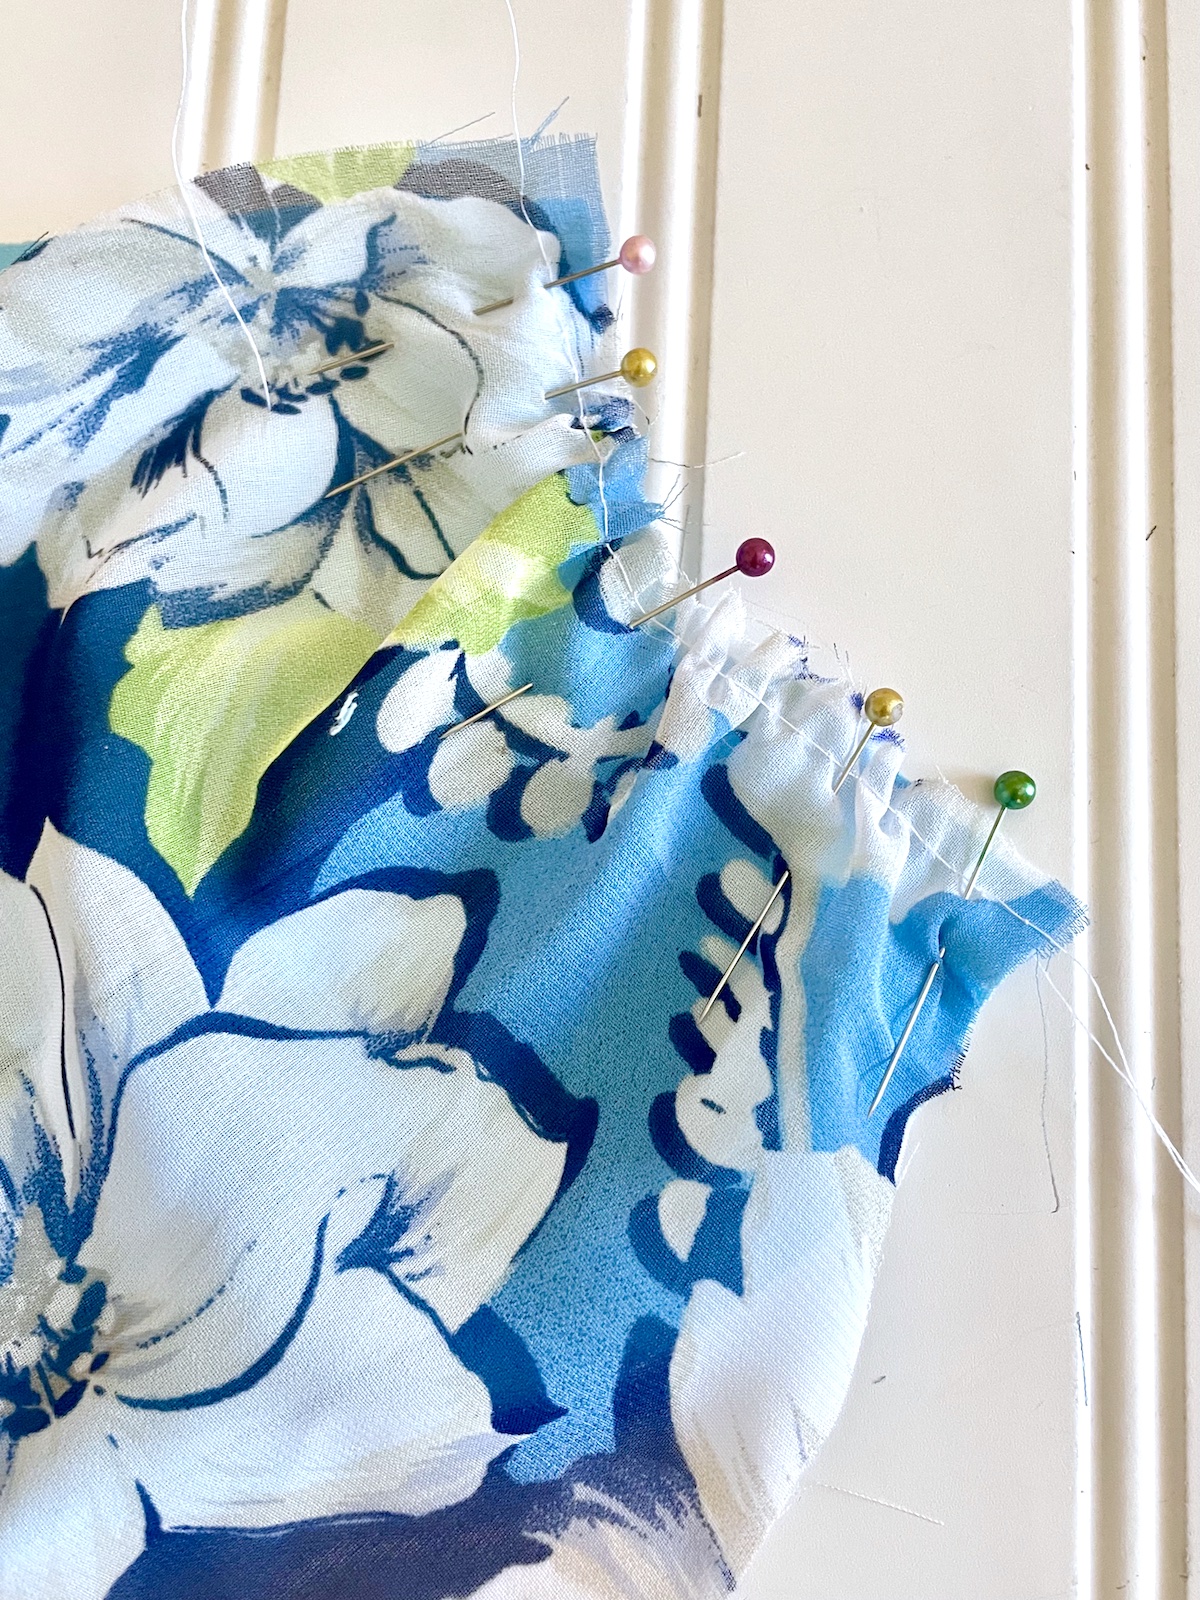
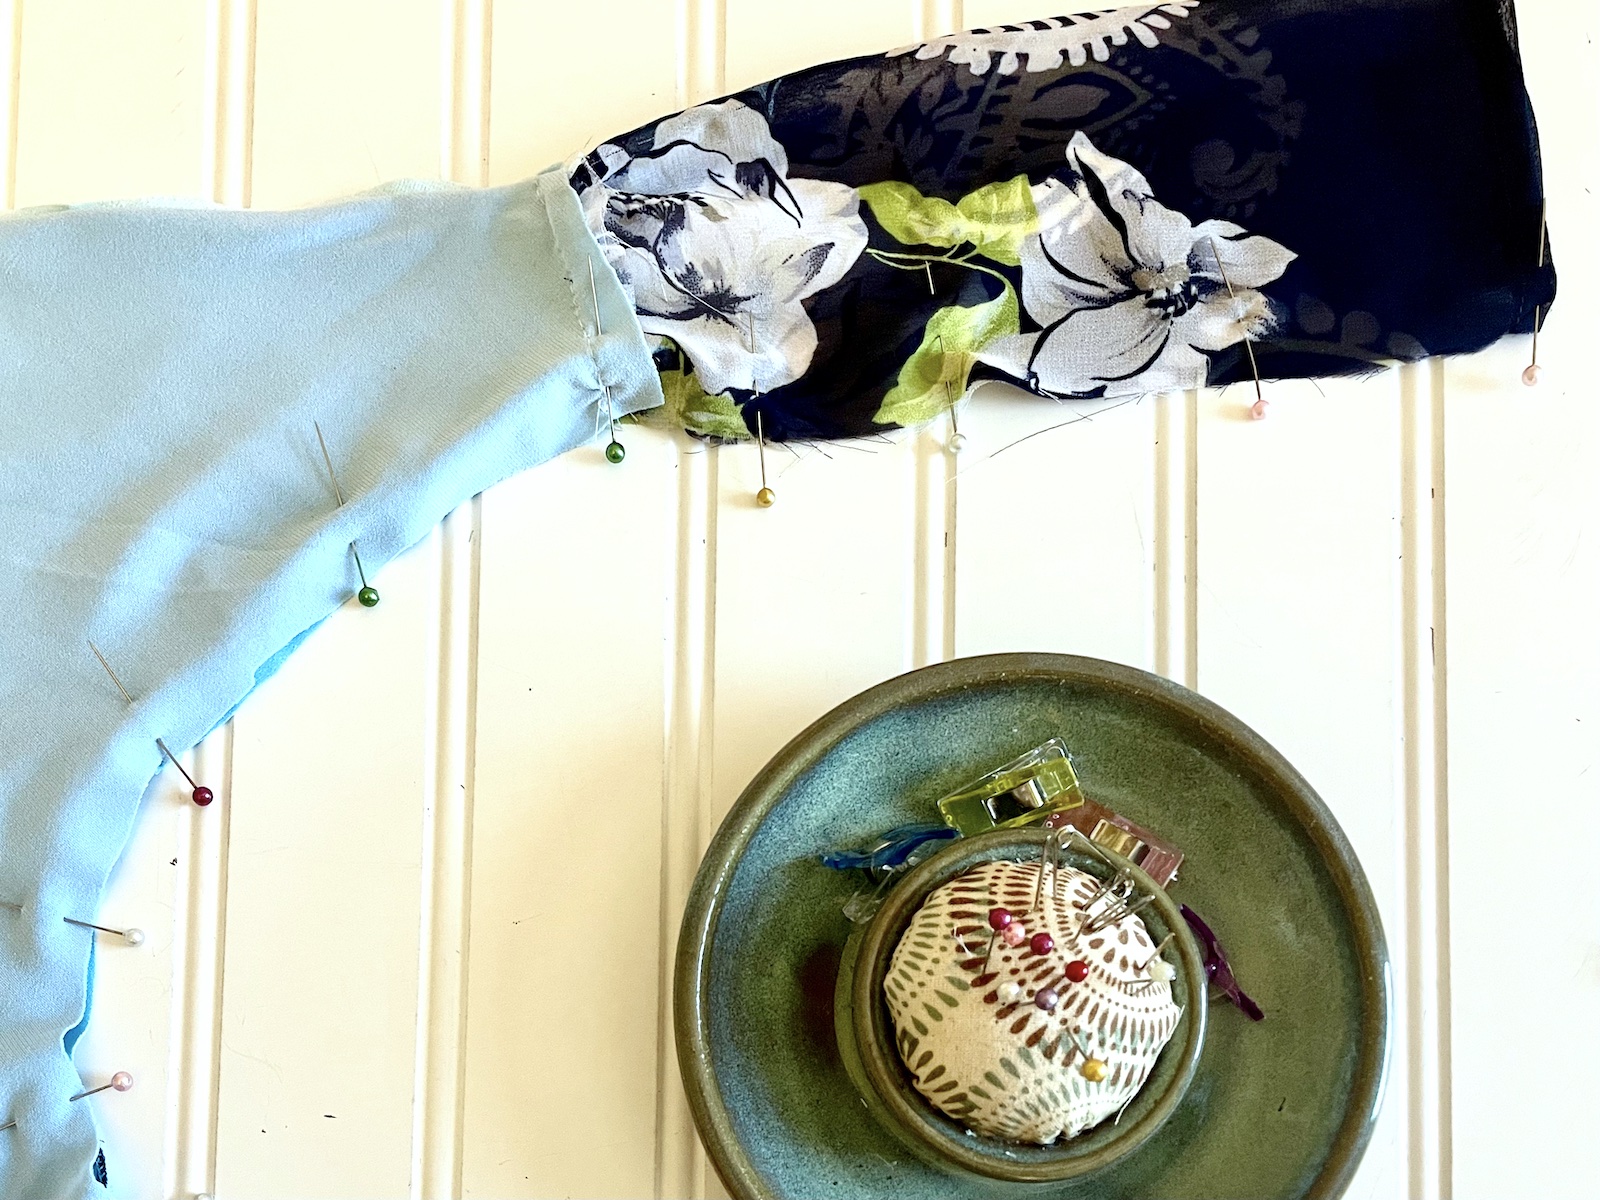
Open the shoulder seam as shown. Pin each bib strap to a shoulder section on the front and back of the bib (right sides together), gathering or pleating as needed to fit. Stitch. Press seams away from the bib and toward the top of the straps.
Step 8: Sew the Two Layers Together
Pin the completed front and back sections of the bib, right sides together as shown.
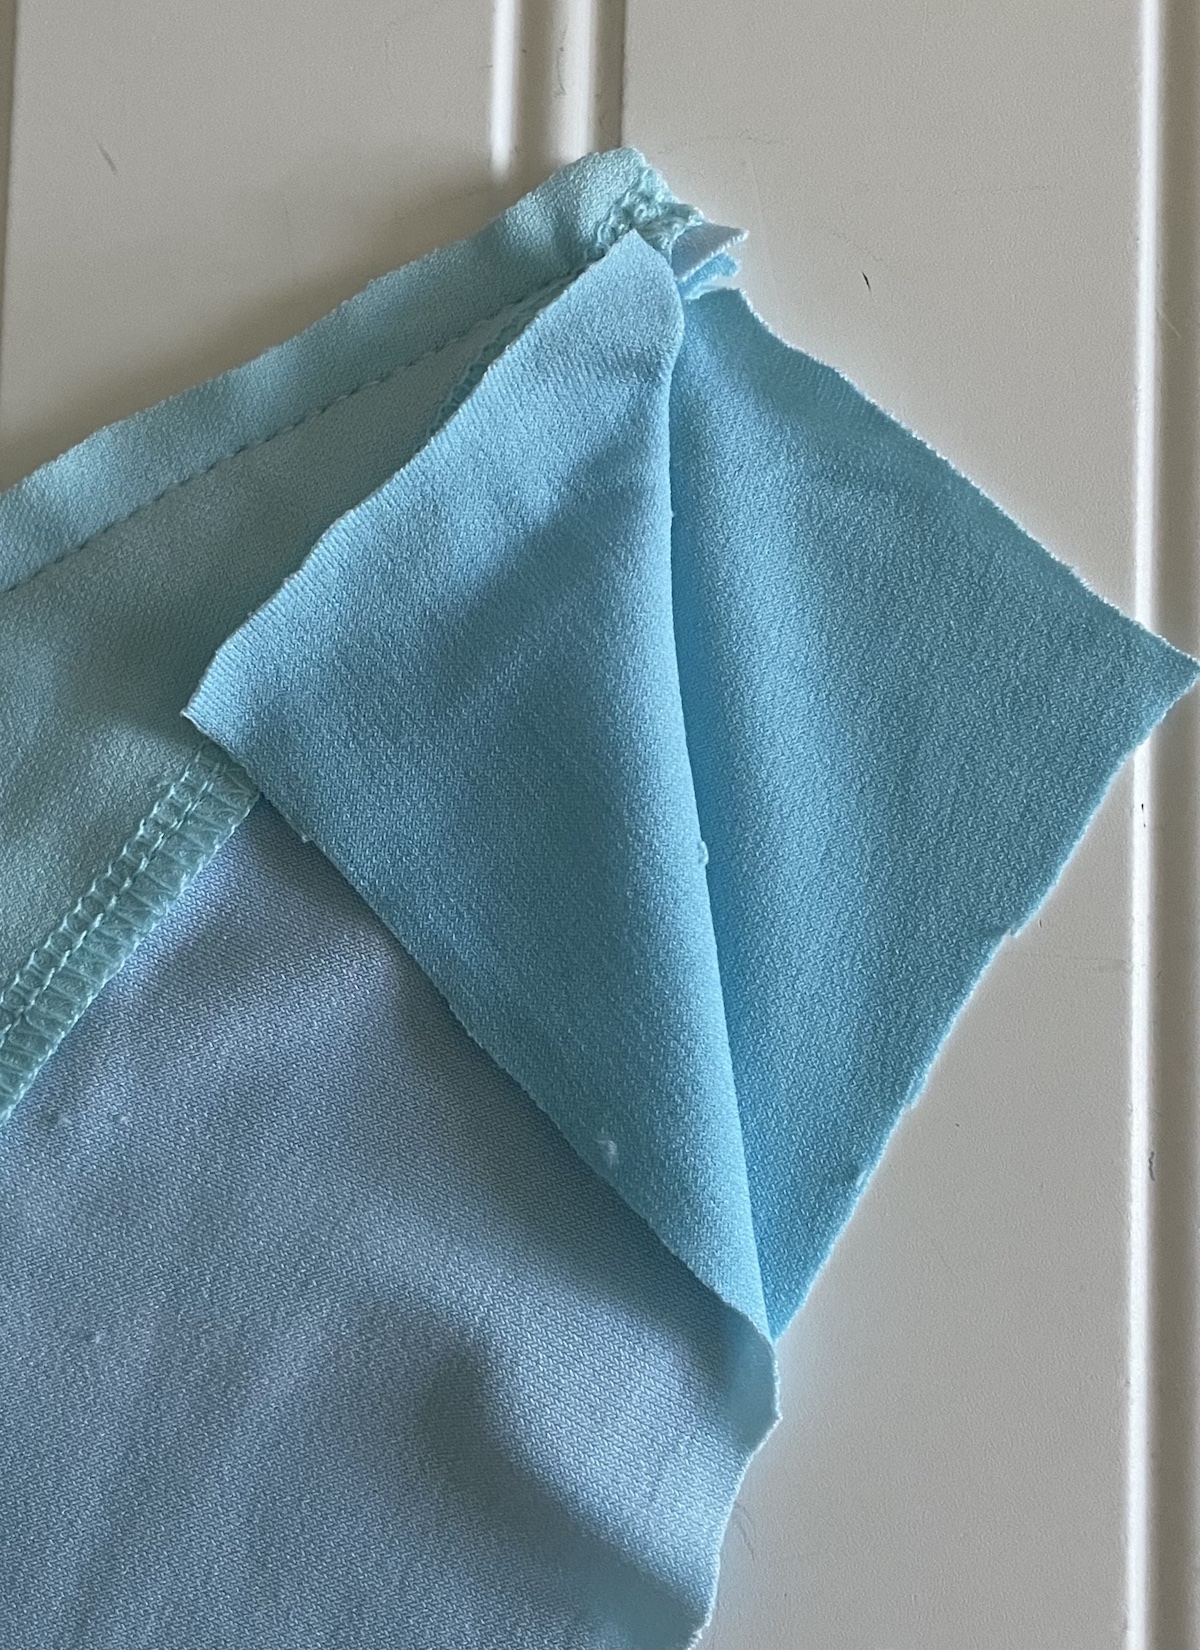
I chose to clip the corners under the arms so it wasn’t such a sharp angle of fabric hanging out on the side of the bib. See the photos below. You can do this before stitching the two layers or after once you see how it looks.
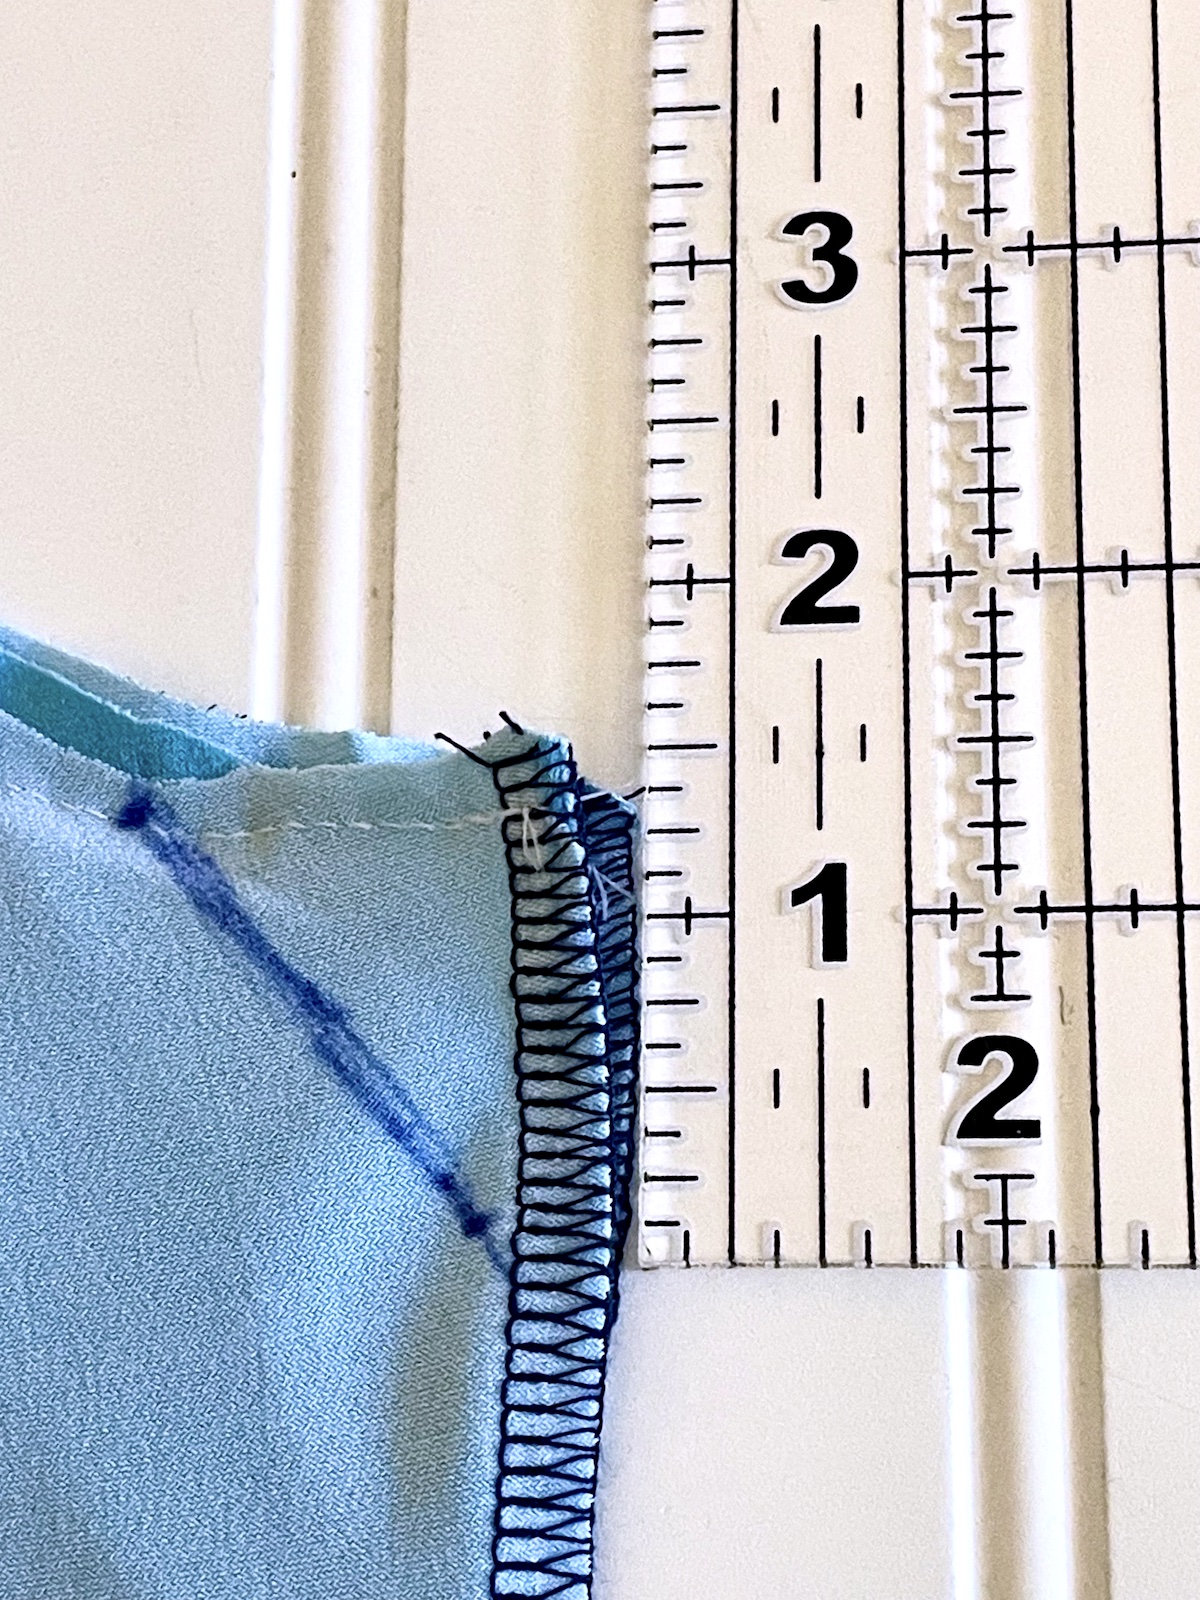
Starting at and inconspicuous place, stitch around the perimeter of the bib using a 1/4 inch seam allowance. Leave a 2 inch opening for turning right side out. I chose to place my opening along the lower edge.

Step 9: Turn and Finish
Turn the bib right side out and press lightly. Double check that you like the shaping before you close the opening. It’s easy enough to go back and change a curve or clip a corner. Just be sure to do the same on both sides so it is symmetrical.
Slip stitch the opening closed. Optional: Top stitch around the perimeter of the bib using a 1/4 inch seam allowance and a 4 mm stitch length.
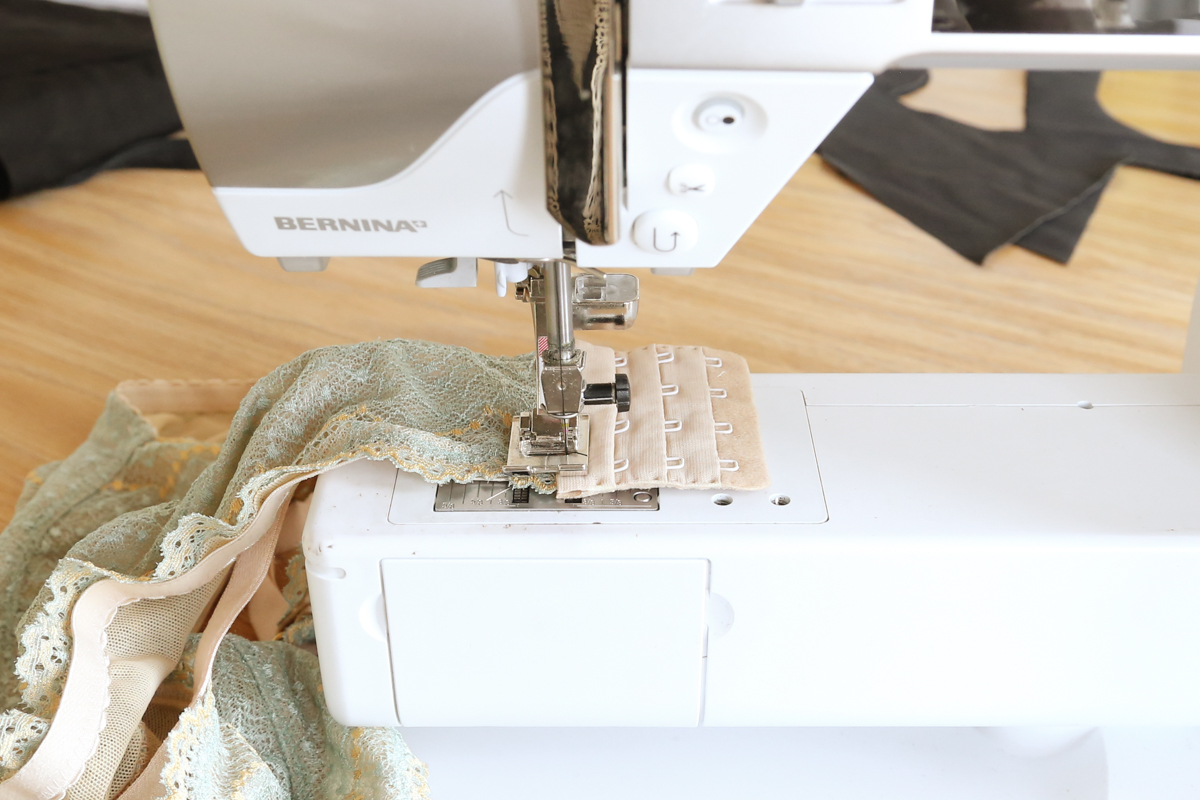
Step 10: Add Closure
Add your closure method of choice. I like velcro strips for this project to give more flexibility for comfort and ease of use.
Enjoy!
Check out the transformation- Mission Accomplished!

Thanks for following along. I hope this tutorial for an Adult CopyCat Bib will be helpful for you and your loved ones!