How to Sew an 18″ Doll Patchwork Quilt, Pillow and Nightgown
You can easily sew a patchwork quilt and coordinating pillows for an 18″ doll using this free tutorial. This is a great scrap-buster project as the squares on the front of the quilt are only 2-1/2″ x 2-1/2″! Choose your child’s favorite colors, themes such as dogs, rainbows or holidays, or even leftover fabrics from clothes you’ve sewn.
You don’t have to be an experienced quilter to create this doll quilt. My sewing expertise is garment sewing, yet I was able to easily sew this adorable patchwork quilt for a special little one in my life. The best part? If your squares don’t match up perfectly it’s okay! I won’t tell. Trust me, the child that receives this quilt for their doll will never notice. They’ll treasure it knowing you made it! How do I know? Because the Barbie doll-sized patchwork quilts I sewed for my youngest sister (when I was just a teen) are now in the possession of that same sister’s granddaughters. Those little quilts were far from perfect, but each generation has lovingly played with them.
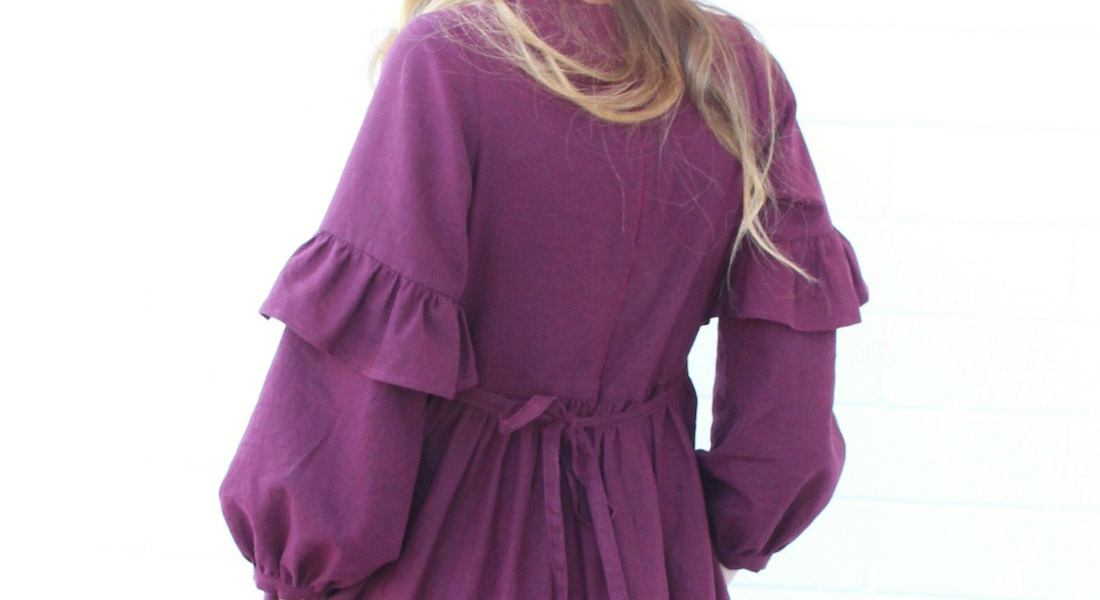
When you’re done sewing the doll patchwork quilt and pillow, use the “How to Sew a Ruffled Maxi Dress for an 18″ Doll” tutorial to create a nightgown. Tips to do so are included at the end of this blog post.

Materials to Sew the 18” Doll Patchwork Quilt
The finished size of the doll quilt will measure about 18″ x 20″.
- 81 assorted fabrics 2-1/2” x 2-1/2” each
- 1 piece of fabric 18-1/2″ (w) x 2-1/2” (l)
- 1 piece of fabric 18-1/2″ (w) x 20-1/2″ (l)
- 1 piece of batting 20″ (w) x 22″ (l)
- Thread to coordinate
- Spray adhesive (optional)
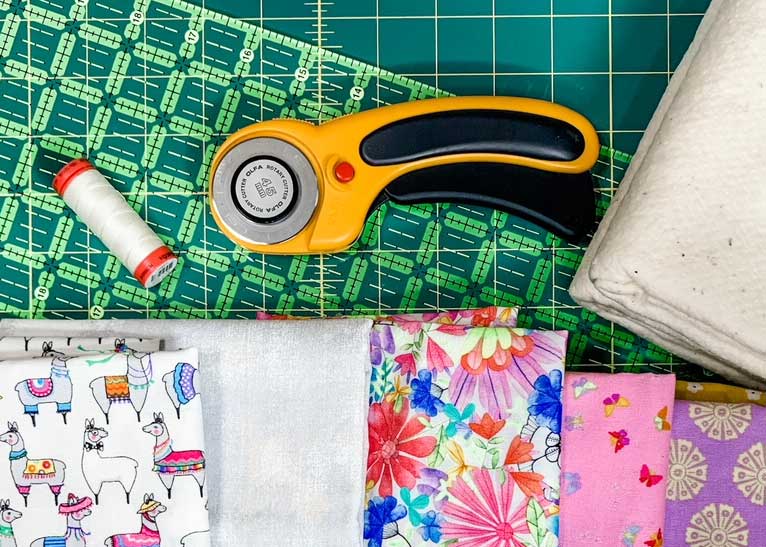
- Rotary cutter (or fabric scissors)
- Ruler
- Self-healing mat (if using rotary cutter)
- Iron and ironing board
- Pins
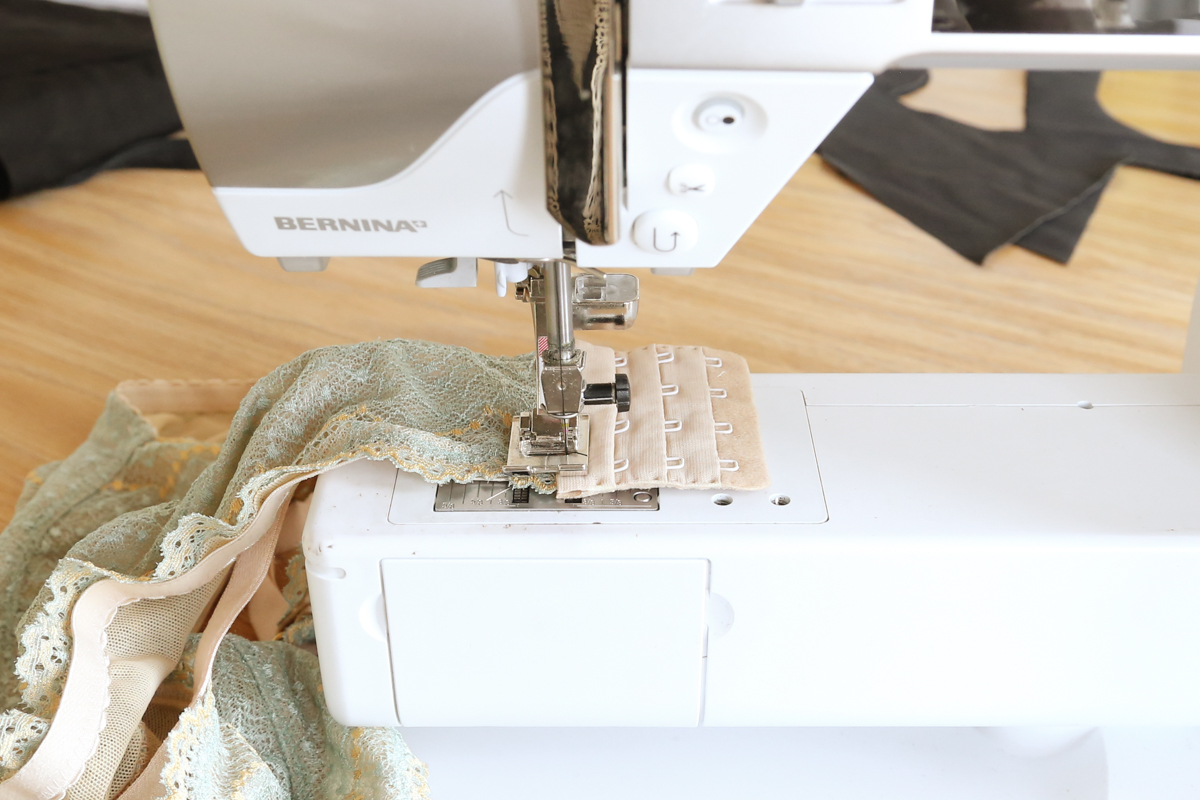
- Sewing machine (I used my BERNINA 770 QE)
Steps to Sew the 18” Doll Patchwork Quilt
Note: Seams are 1/4”
Cut Fabric and Batting
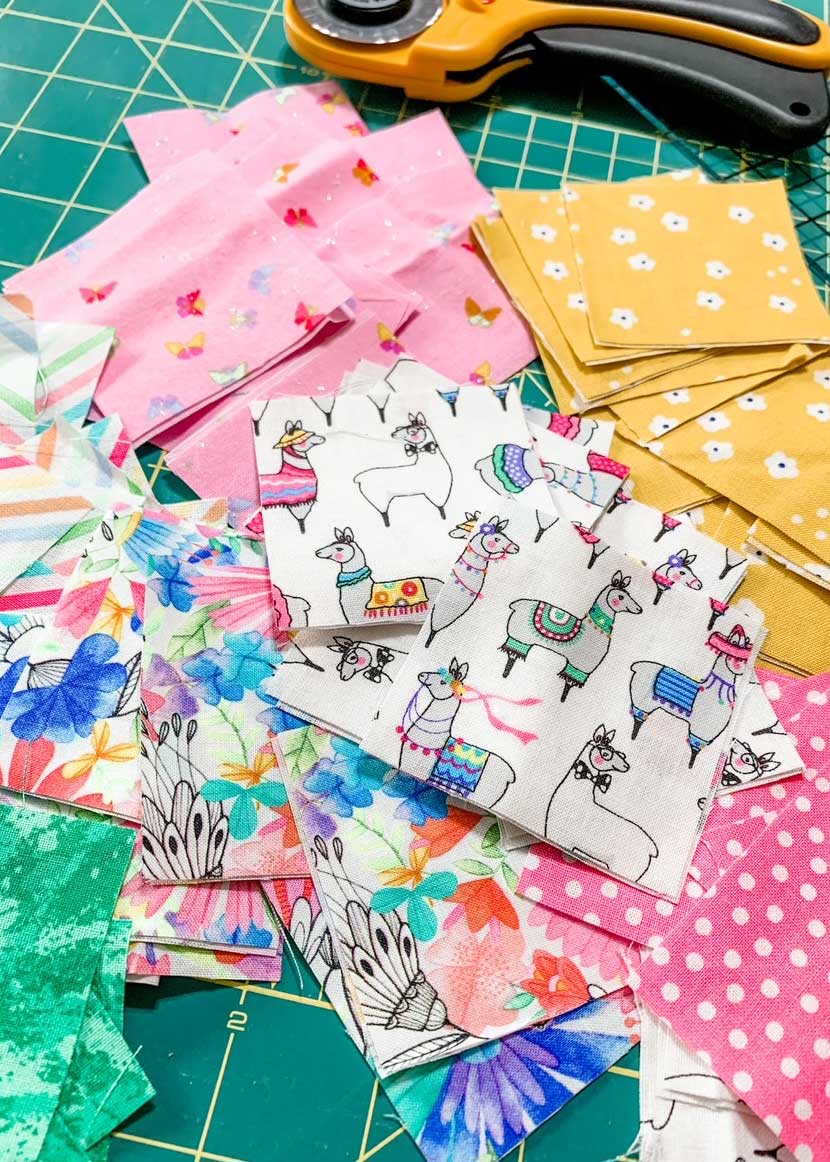
- Cut 81 fabric squares that measure 2-1/2” x 2-1/2” each
- Cut one fabric strip that measures 18-1/2” (w) x 2-1/2″ (l)
- Cut one piece of fabric that measures 18-1/2″ (w) x 20-1/2″(l)
- Cut one piece of batting that measures 20″ (w) x 22” (l)
Create the Rows for the Patchwork Quilt
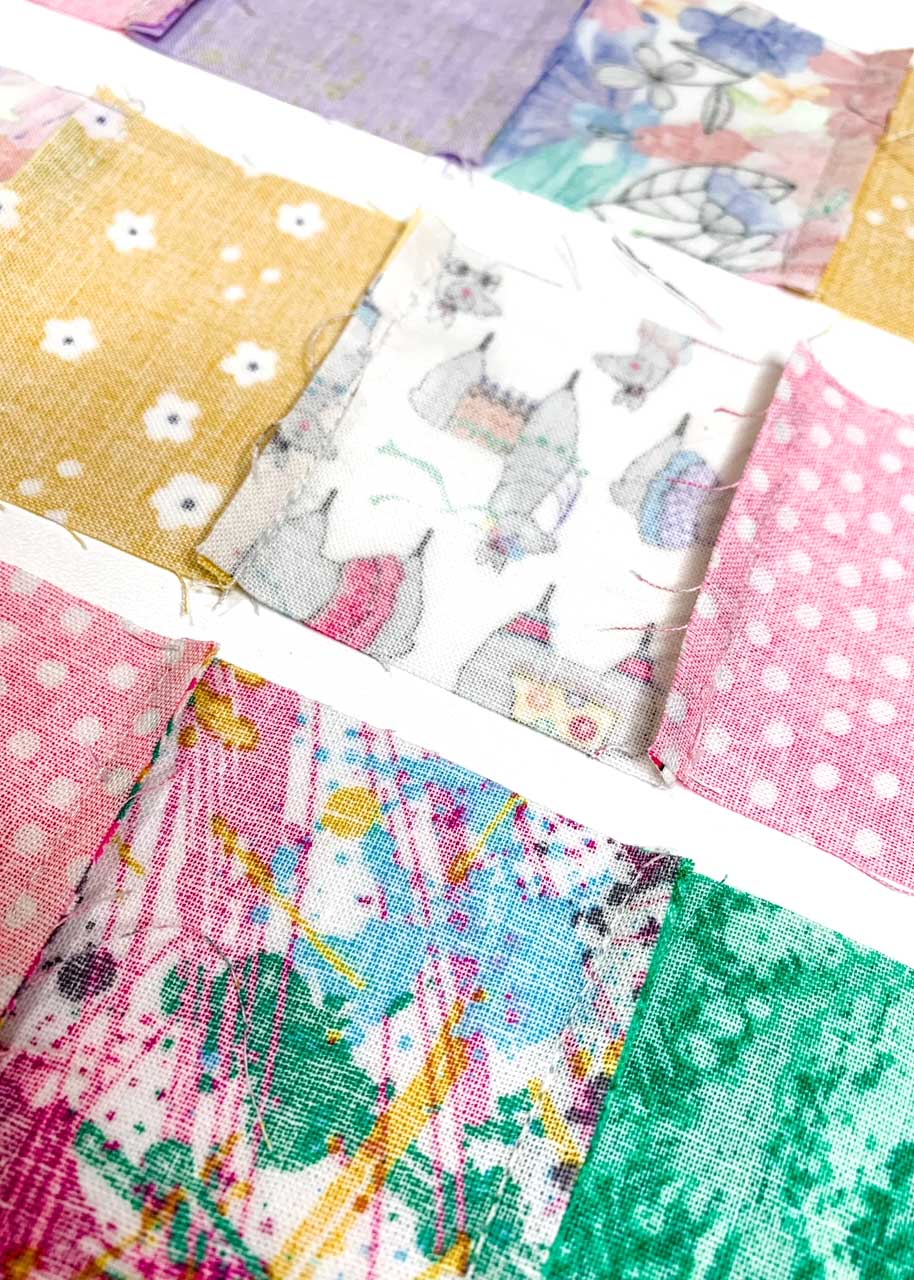
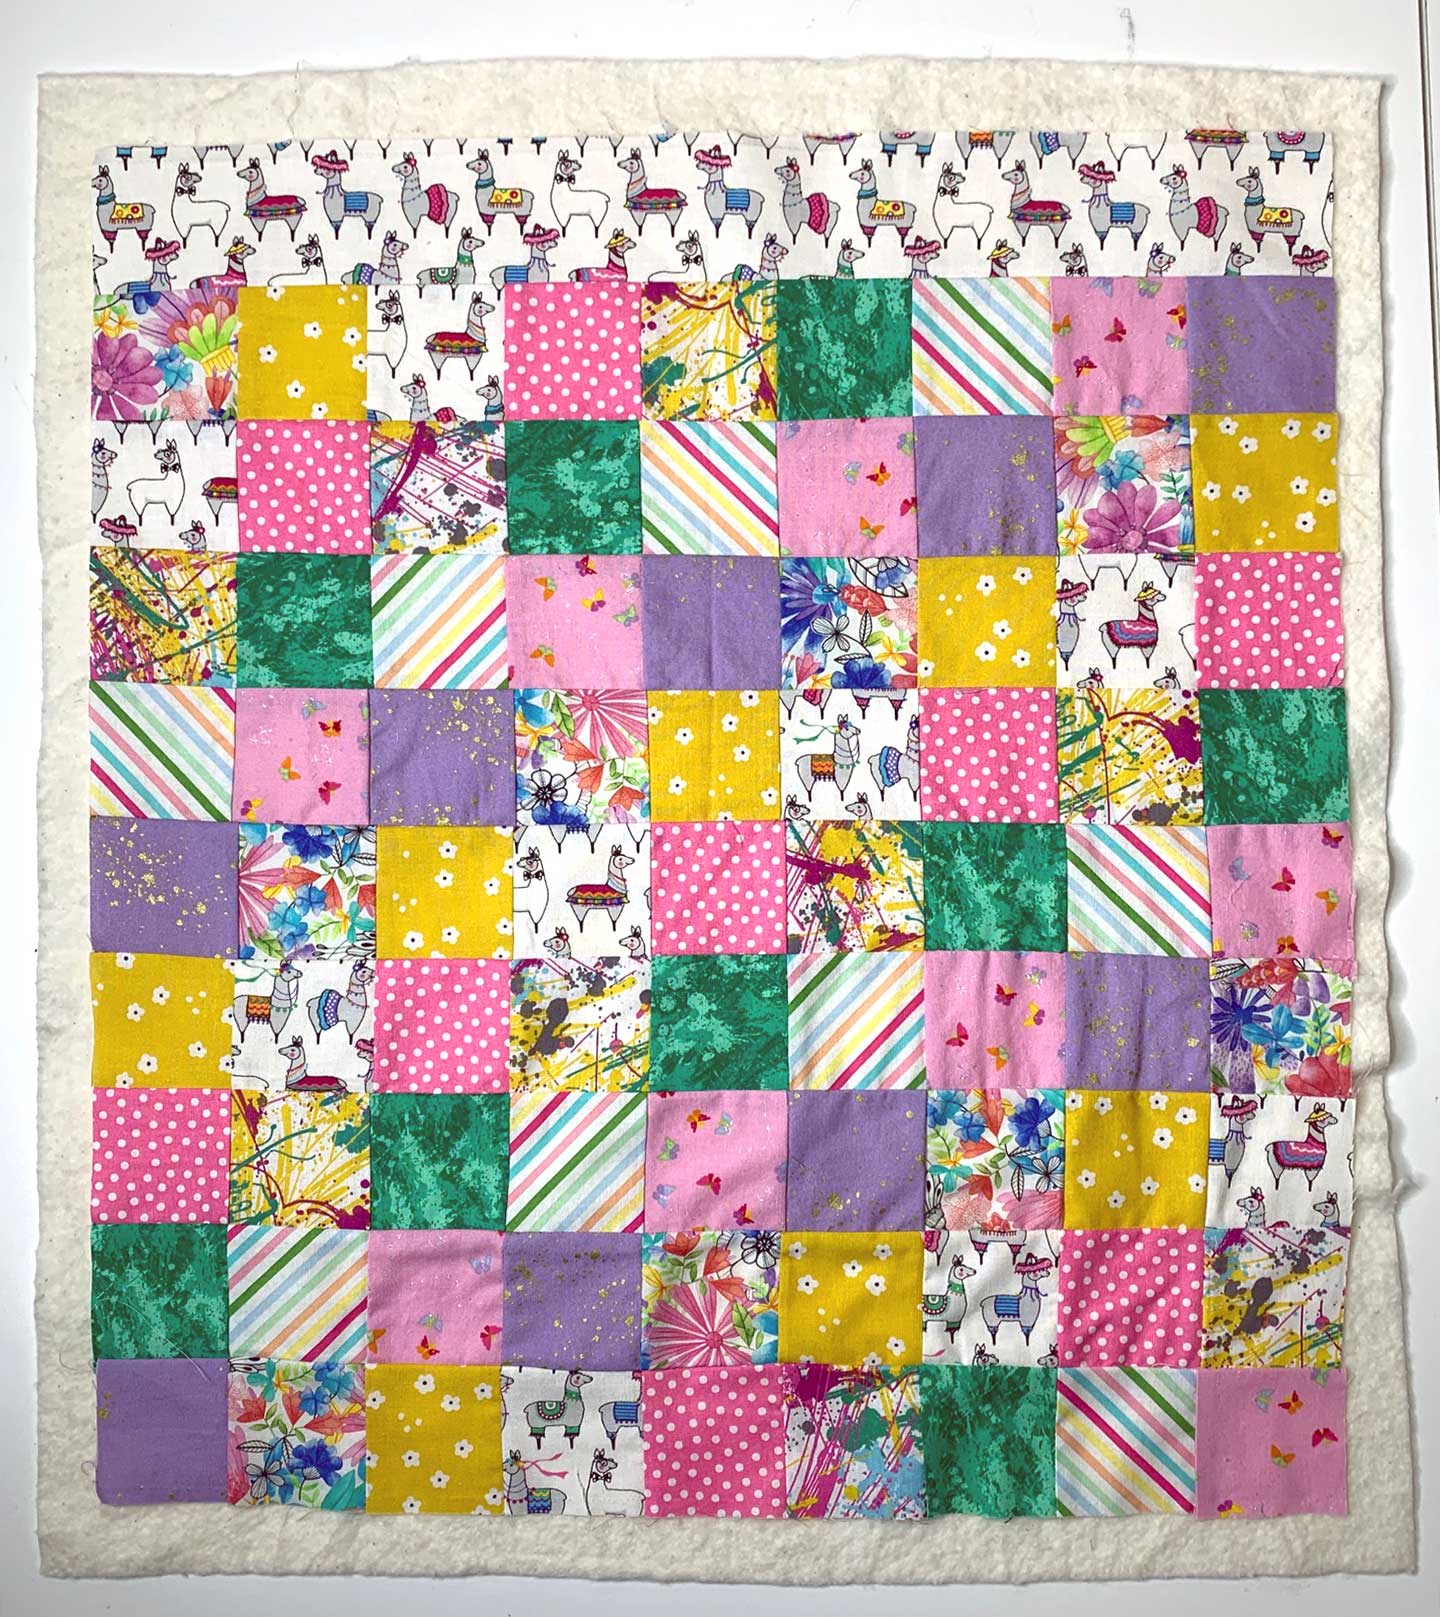
Place your fabric squares right side up on a flat work surface and arrange them in a pattern that you like. There will be nine squares across and nine squares down. The 18-1/2″ x 2-1/2″ strip of fabric will be at the top of the quilt.
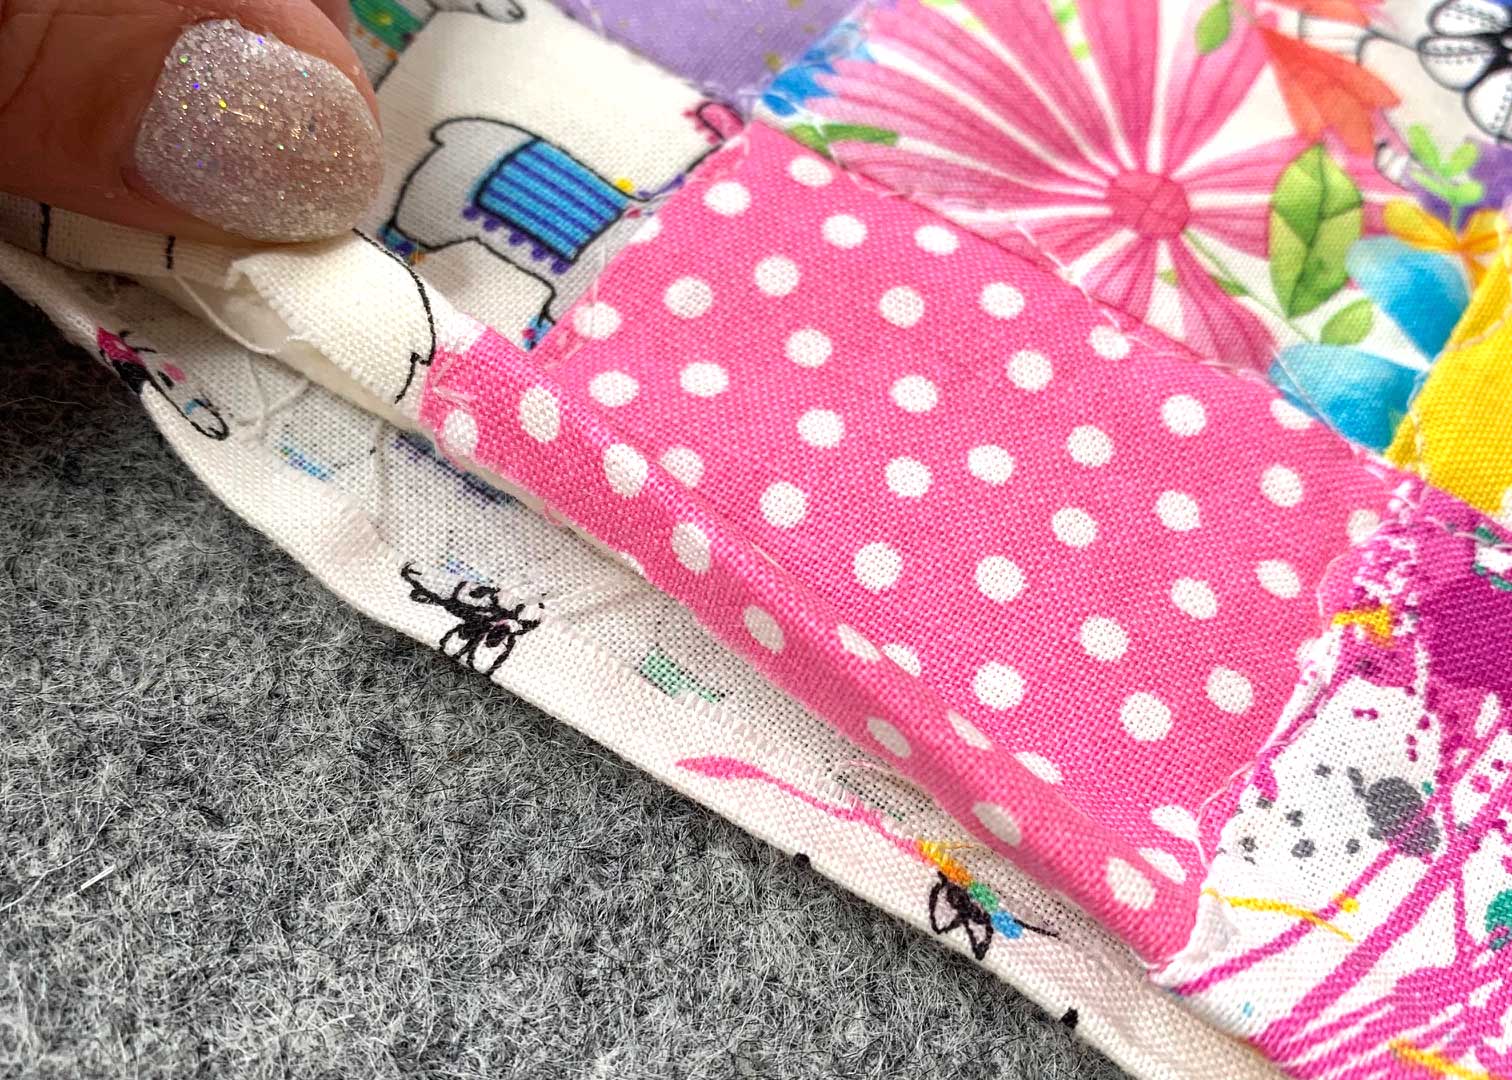
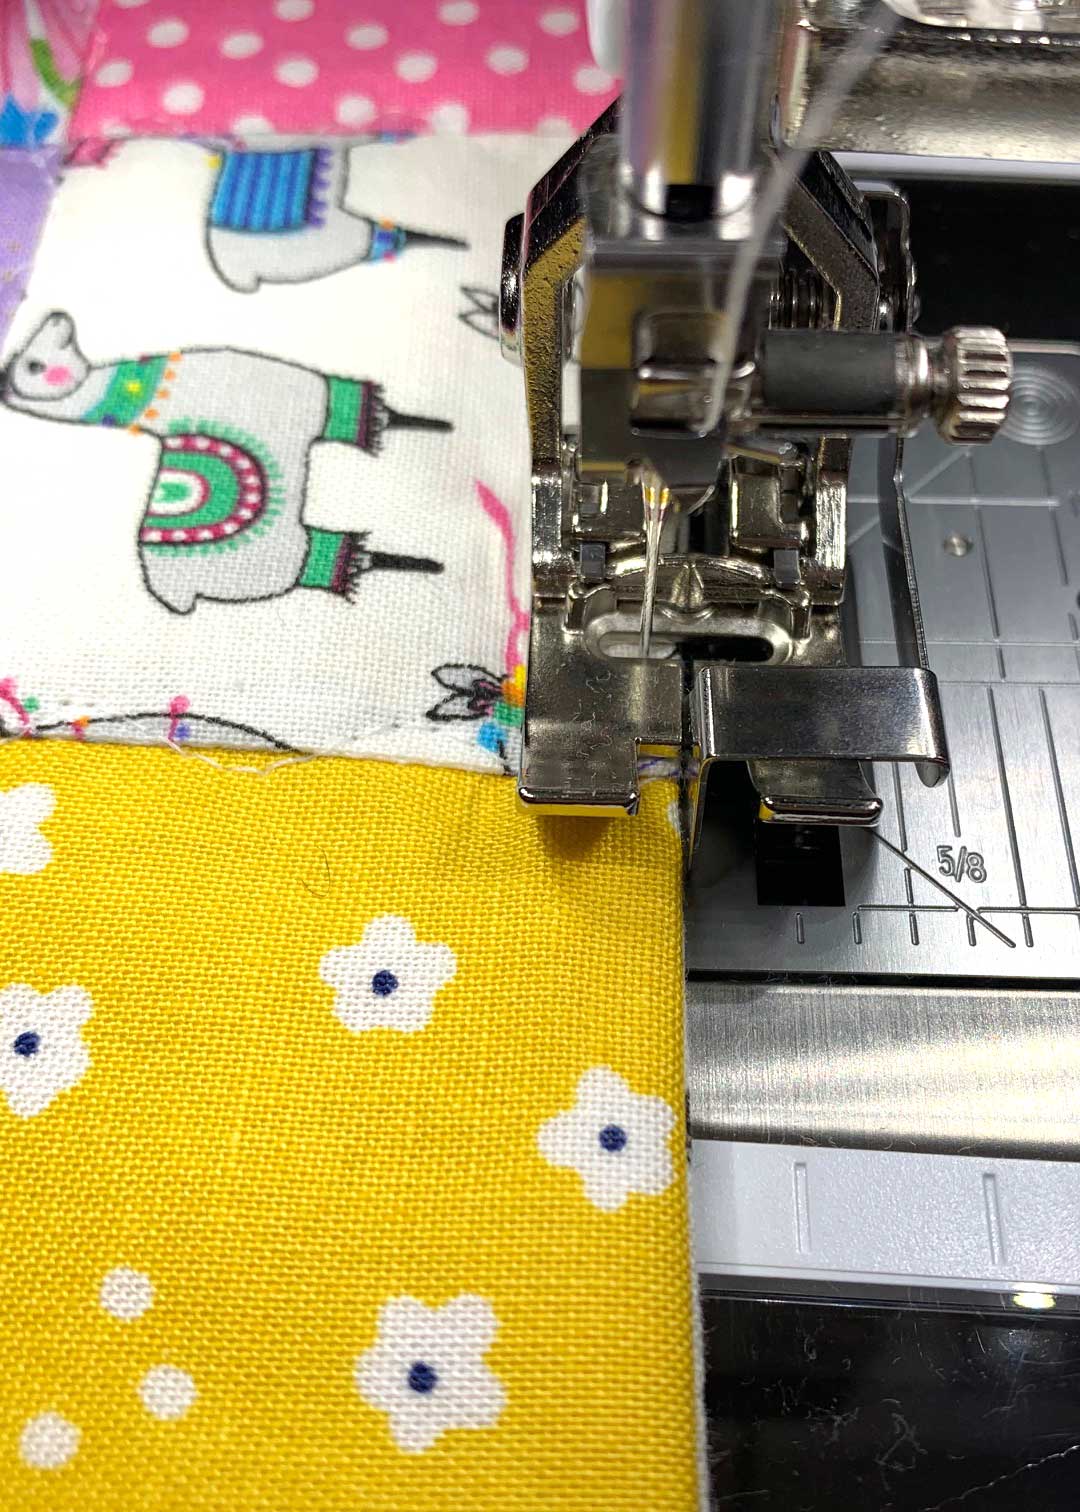
Stitch together nine squares to create the first row. To do this, place two squares right sides facing and stitch using a 1/4” seam allowance. Stitch the remaining eight squares together in this manner until you have your first row completed. Press all the seams to the right side and set aside.
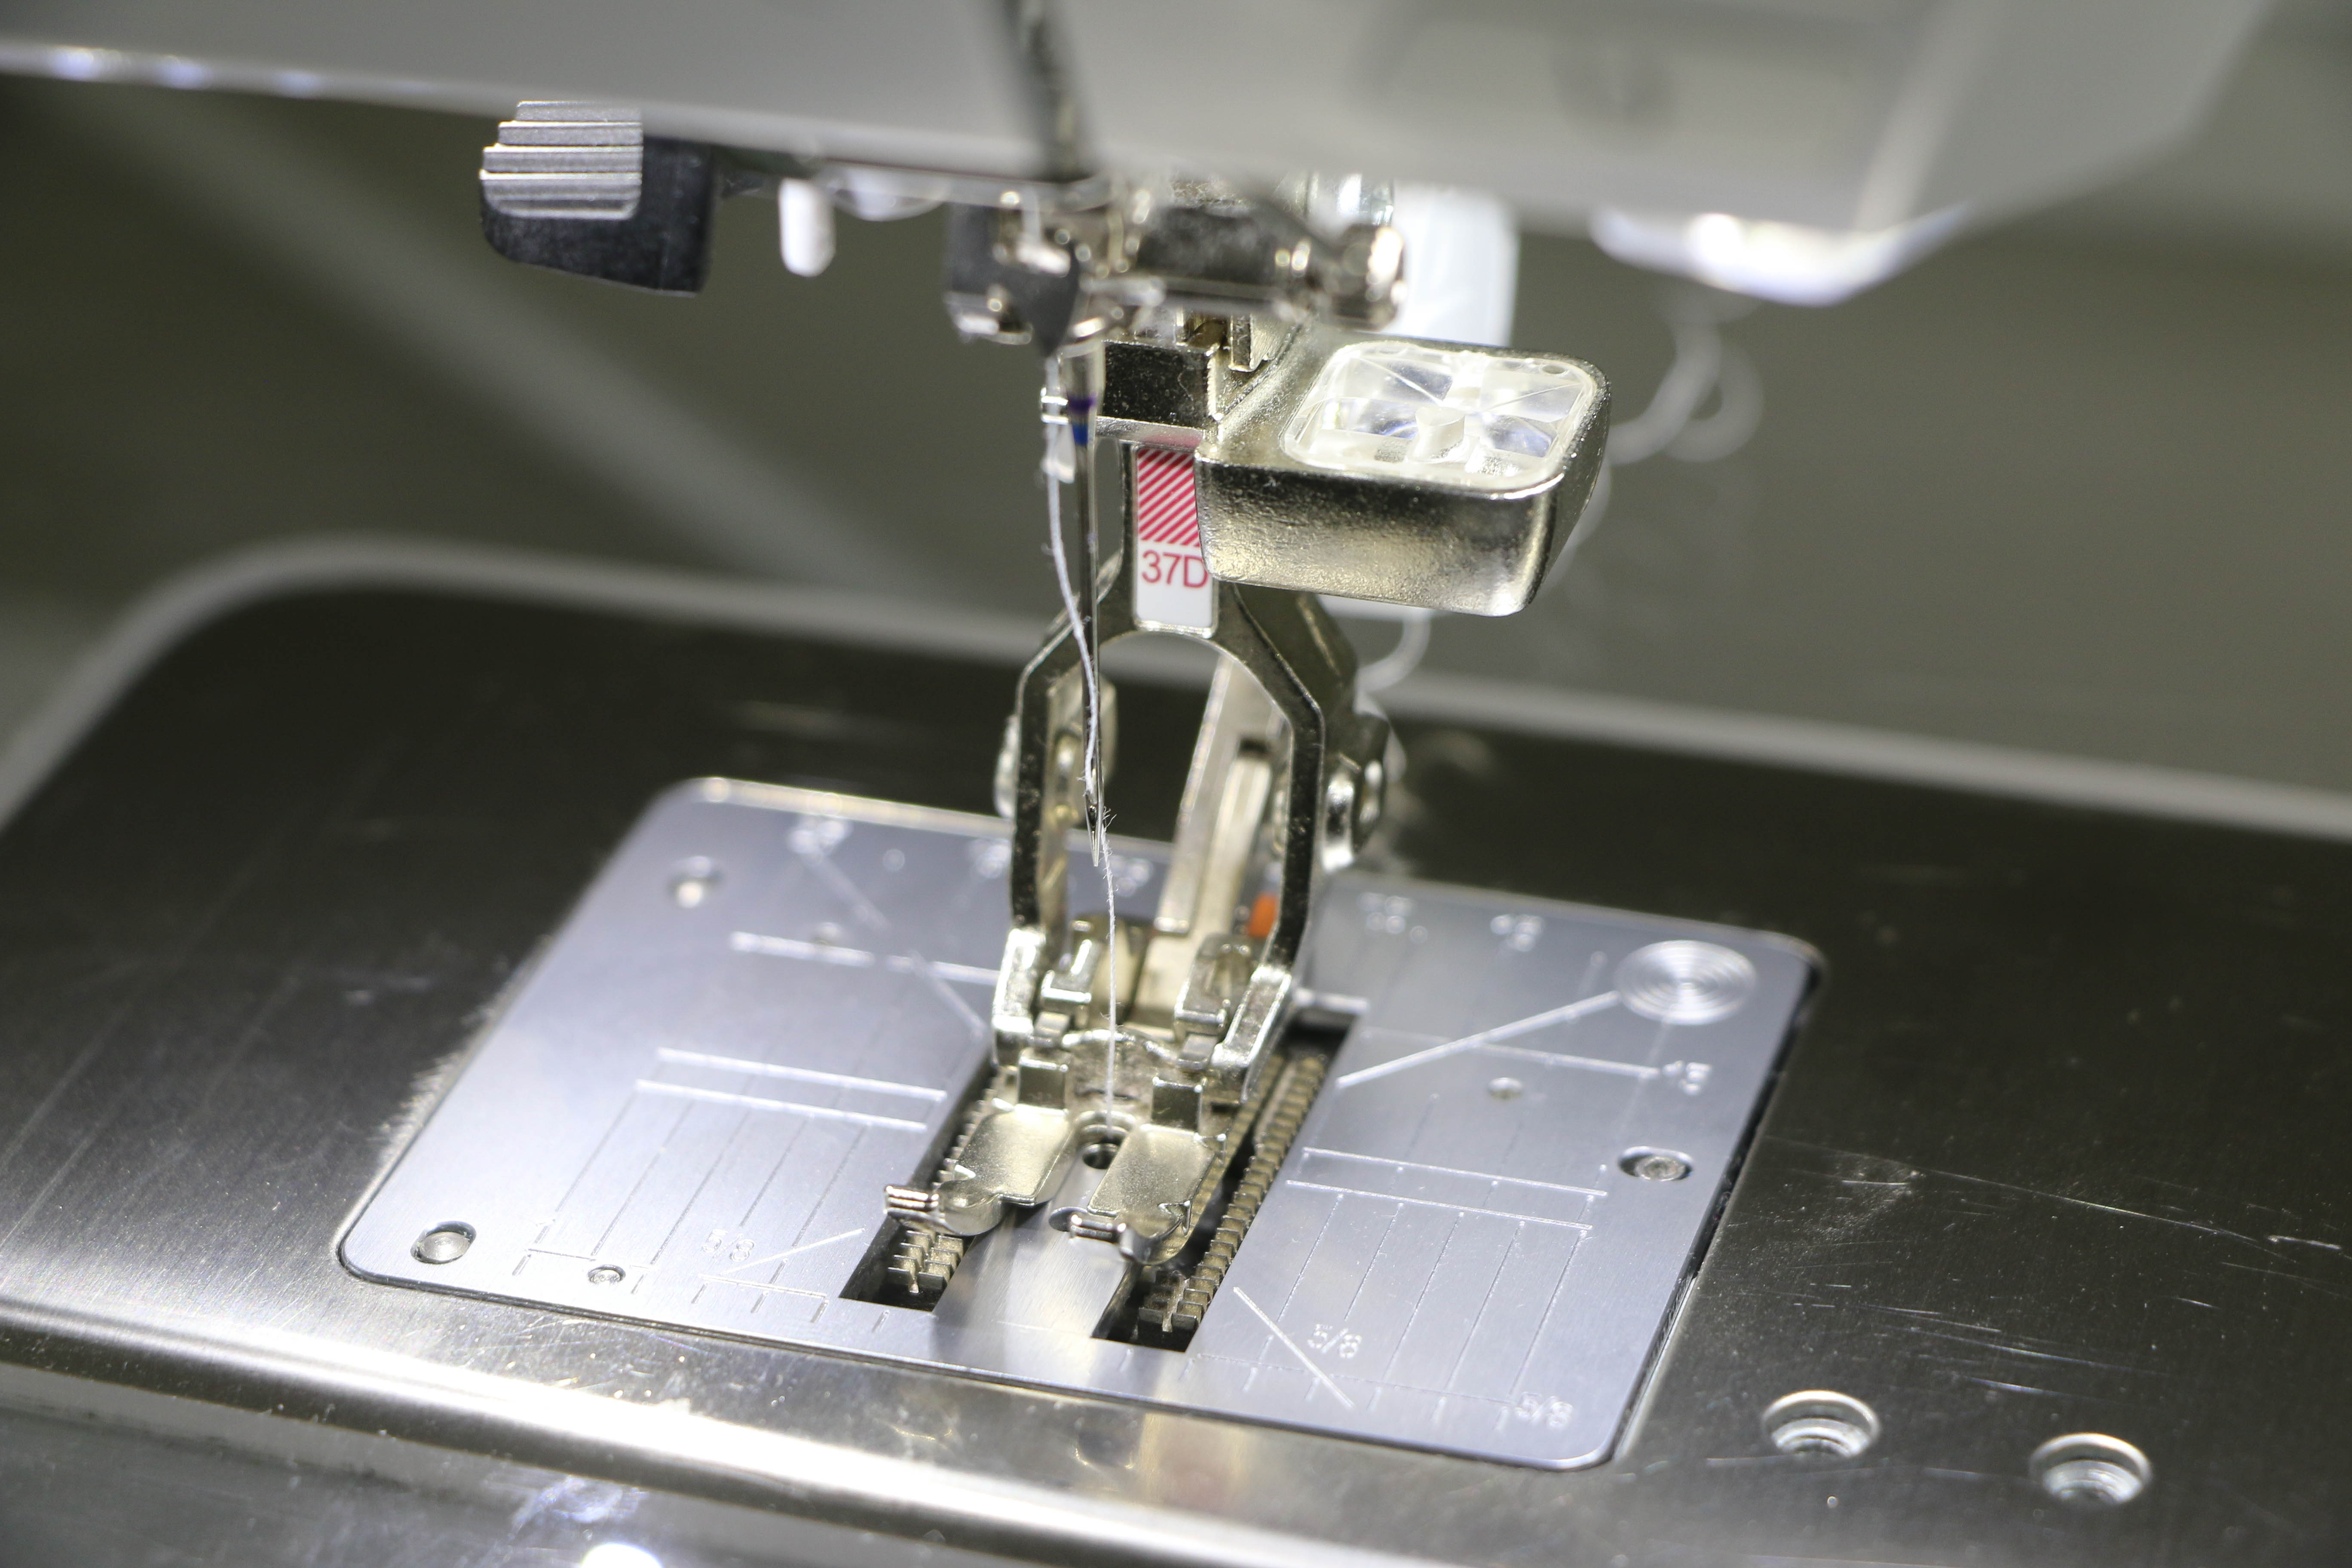
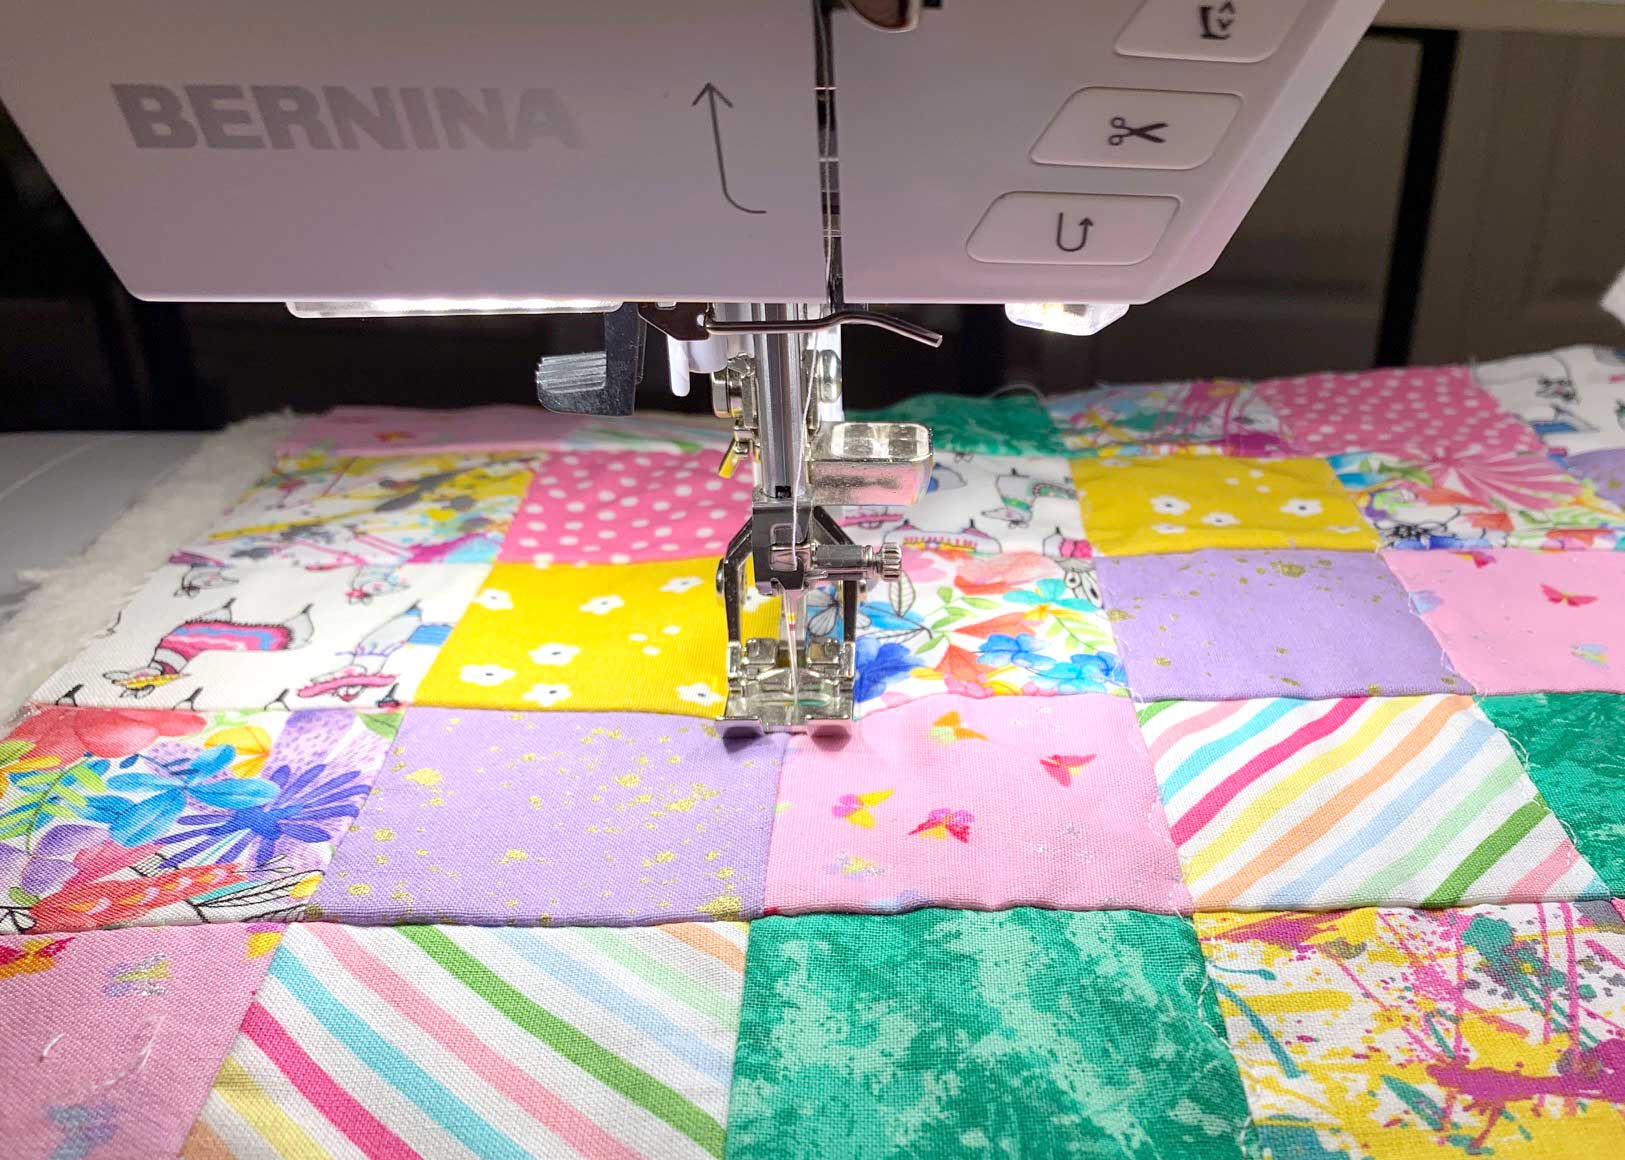
I used the BERNINA Patchwork Foot #97D to sew the 1/4” seam. This foot is designed for precise 1/4” stitching. My BERNINA 770 QE also has a Dual Feed function that feeds the fabric evenly with no shifting or slipping.
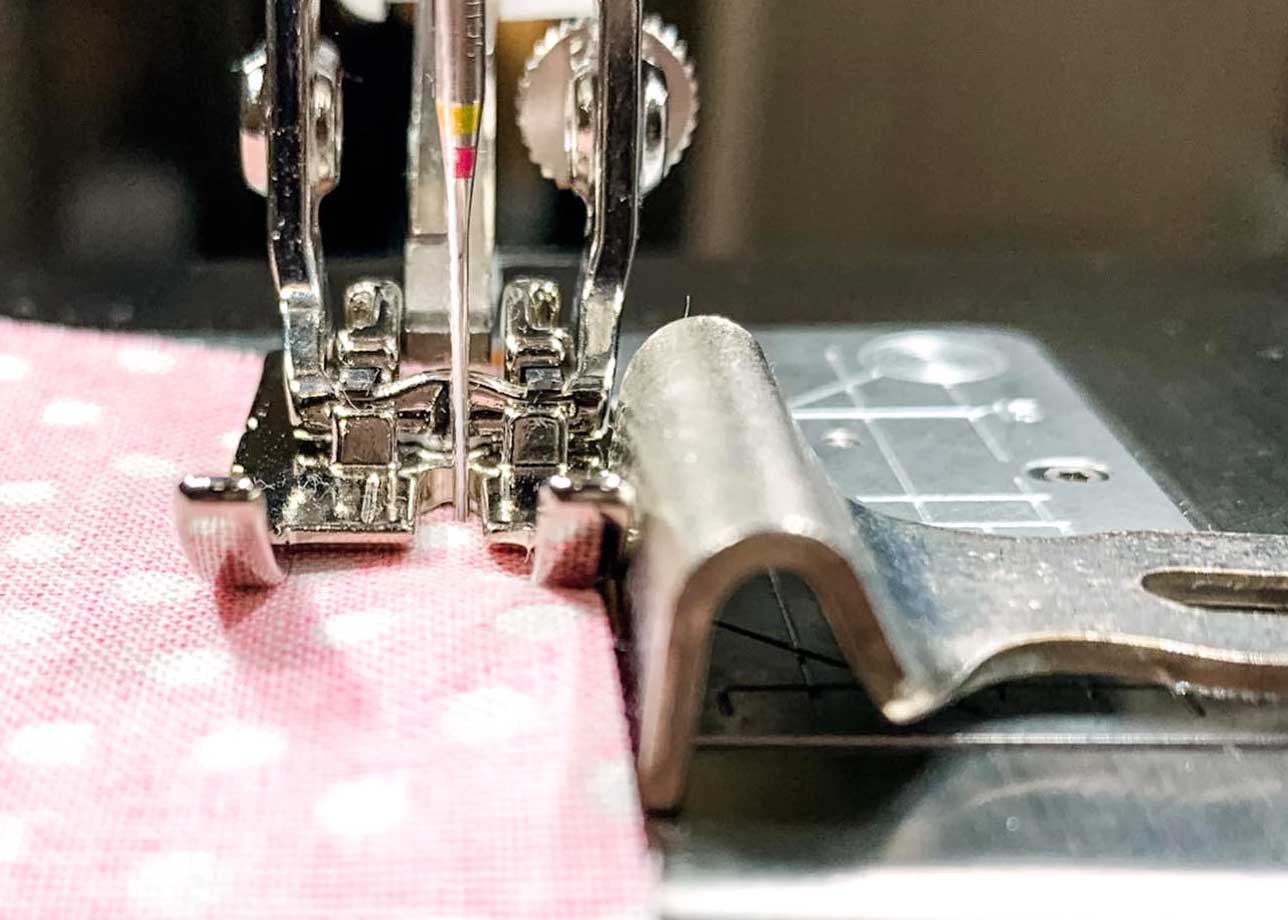 I also switched to a Straight Stitch Plate. I find when sewing small seams this helps keep my fabric from being pulled under.
Create the second row by stitching nine squares together using a 1/4” seam allowance. Press all the seams to the left. Set aside your second row.
Continue stitching nine squares together until you have nine rows total.
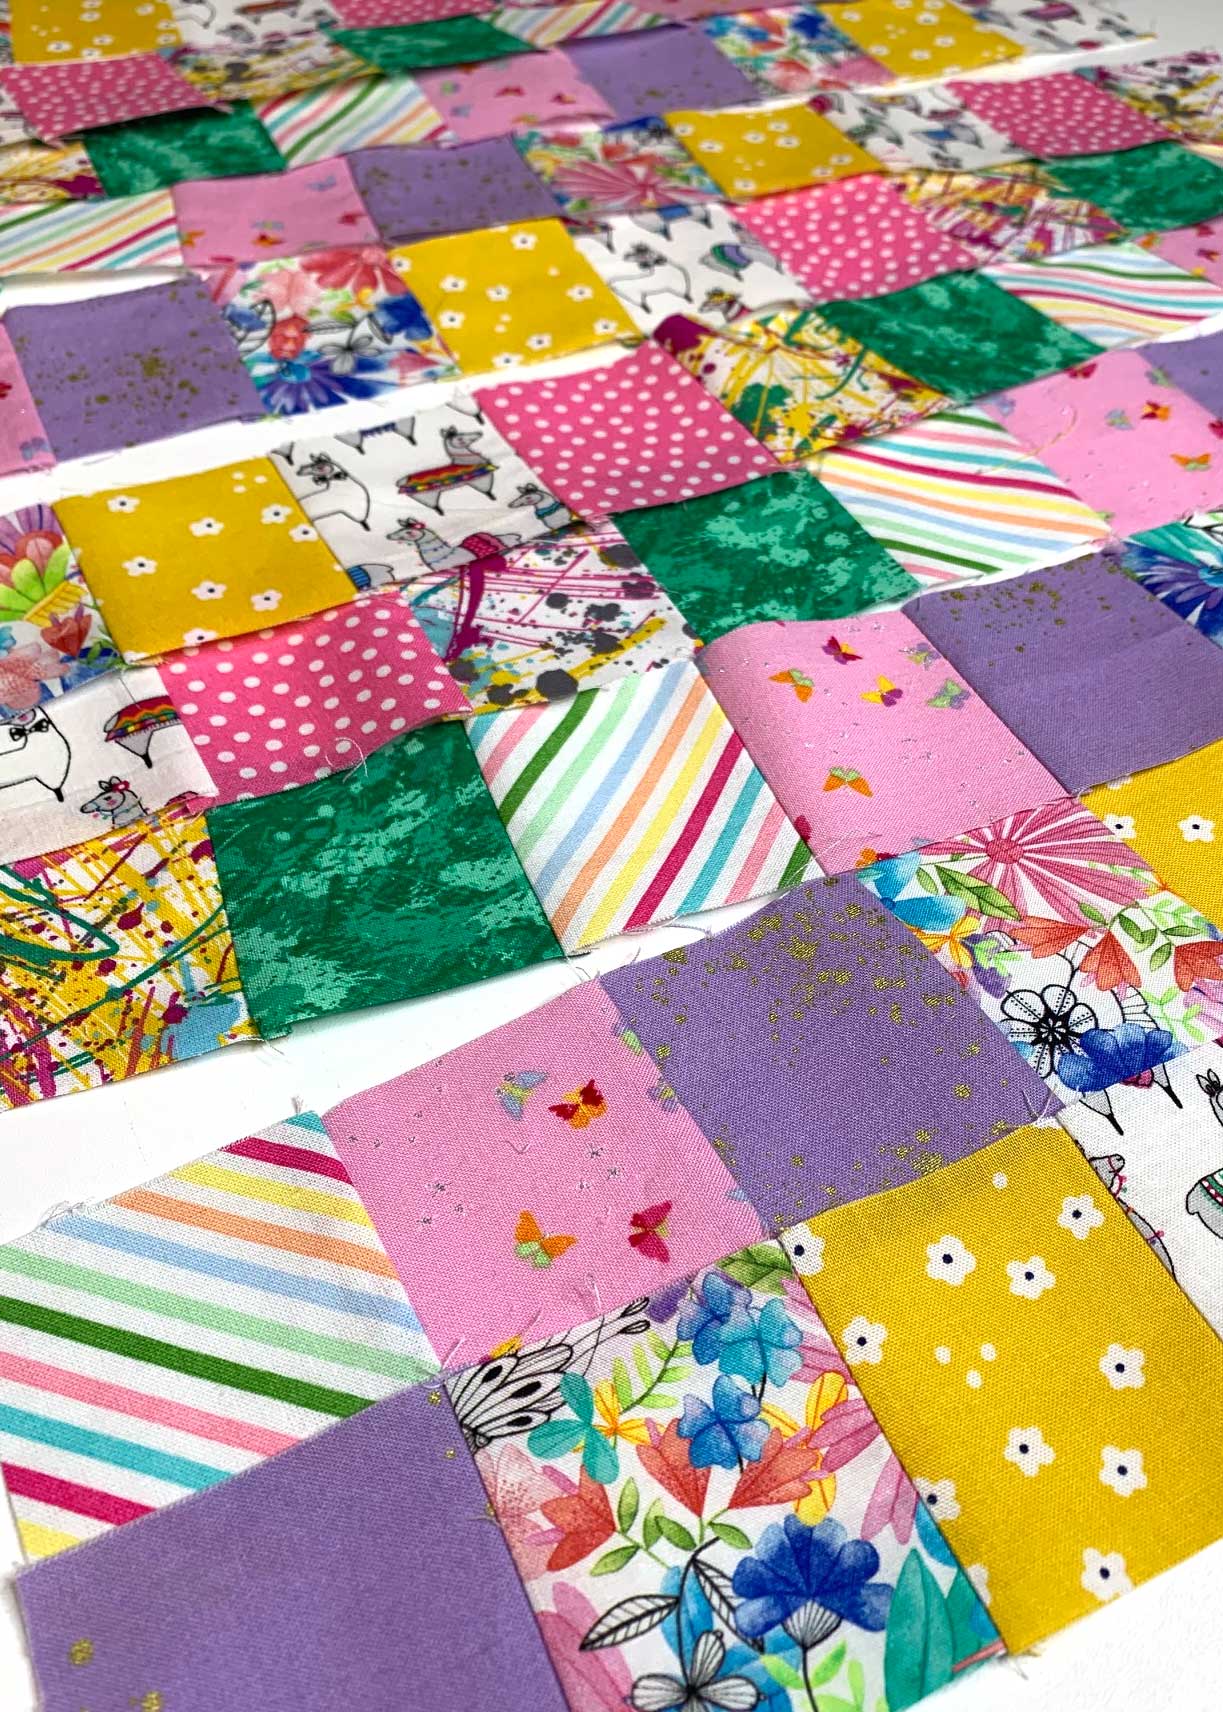
Be sure to press seams of the odd-numbered rows to the right, and the even-numbered rows to the left.
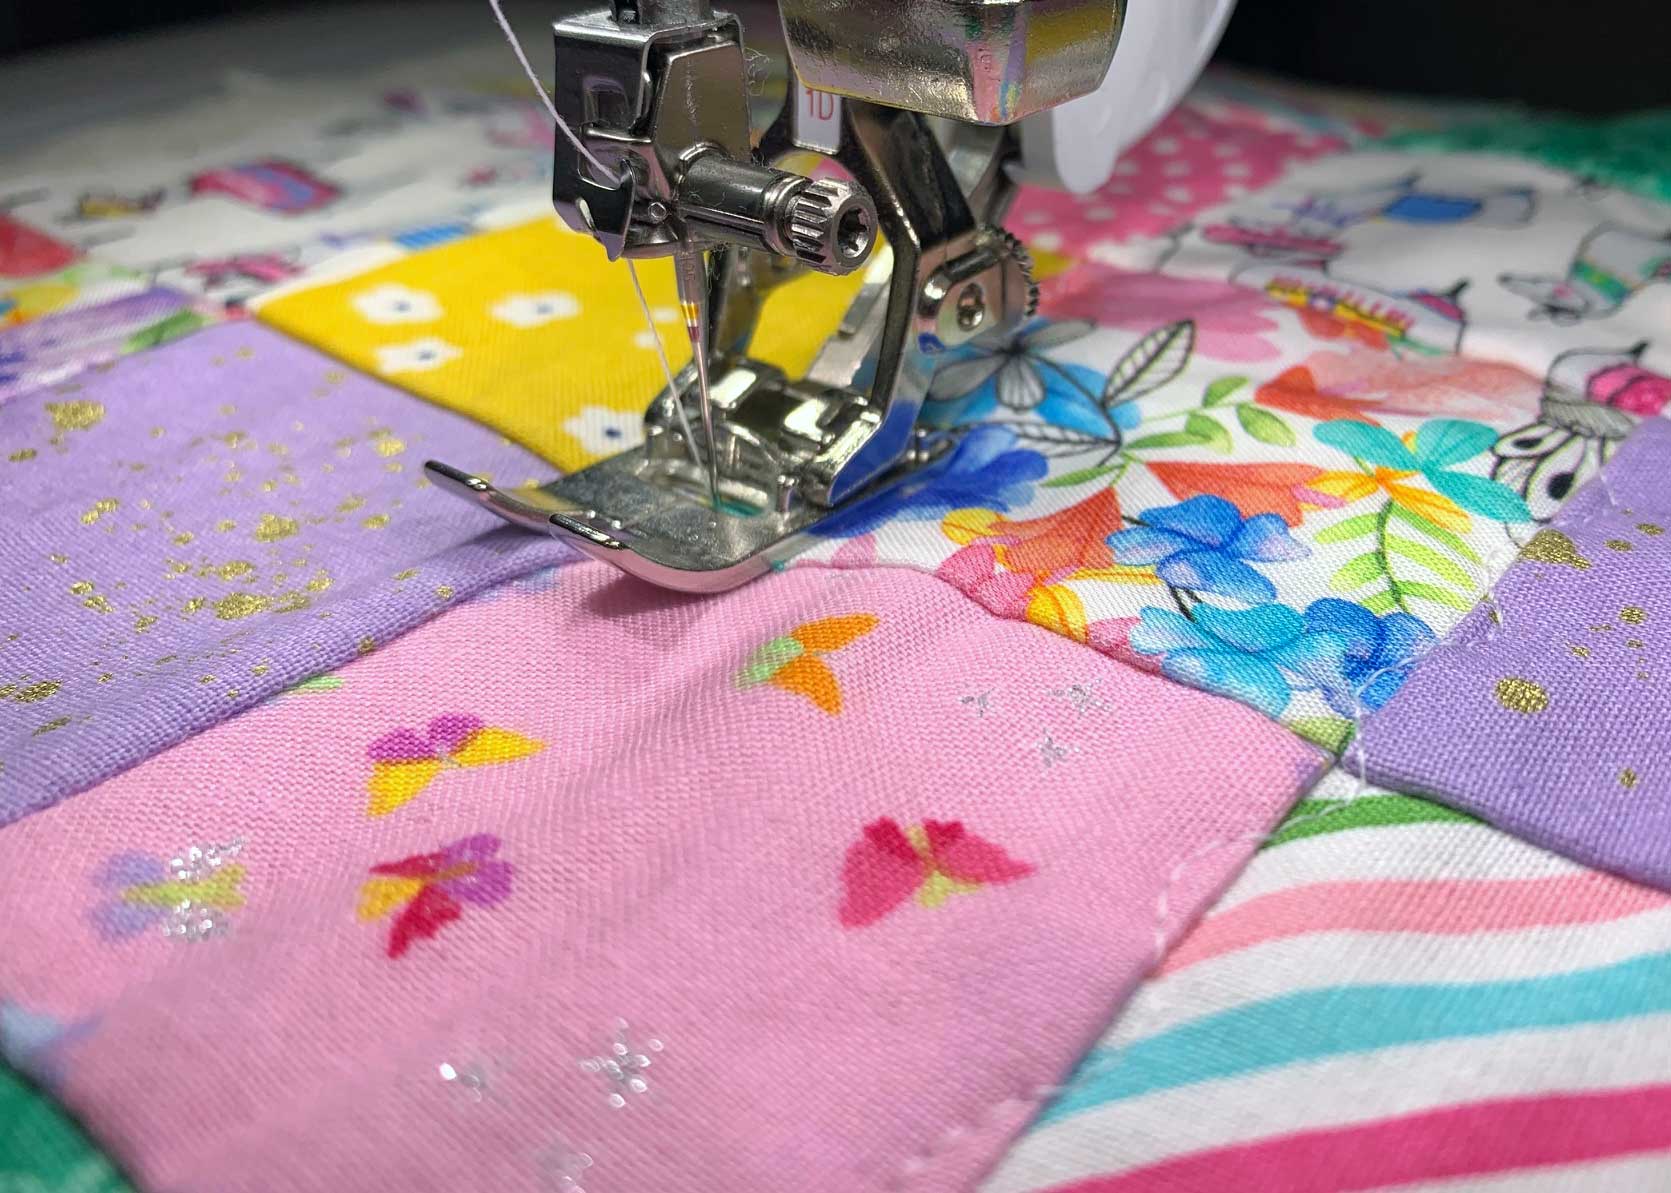
Stitch Rows Together for the Quilt Top
Place the 18-1/2” x 2-1/2″ strip right side up on a flat work surface. Place your first row on top of the strip with right sides together. Pin along one 18-1/2” side. Stitch using a 1/4” seam allowance. Press the seam toward the patchwork row.
With wrong side together, pin row number two to row number one. Be sure to match up the squares at the seams.
Stitch using a 1/4” seam allowance and press the seam down toward row number two.
Continue with rows three, four, five, six, seven, eight, and nine.
Quilt the Patchwork Top to the Batting
Place the batting on a flat work surface. Lightly spray one side of the batting with a temporary spray adhesive.
Place the wrong side of the patchwork top on top of the batting. The batting will be slightly larger than the patchwork top. Use your hands to smooth everything down. If you don’t have a spray adhesive you can use safety pins to hold everything in place.
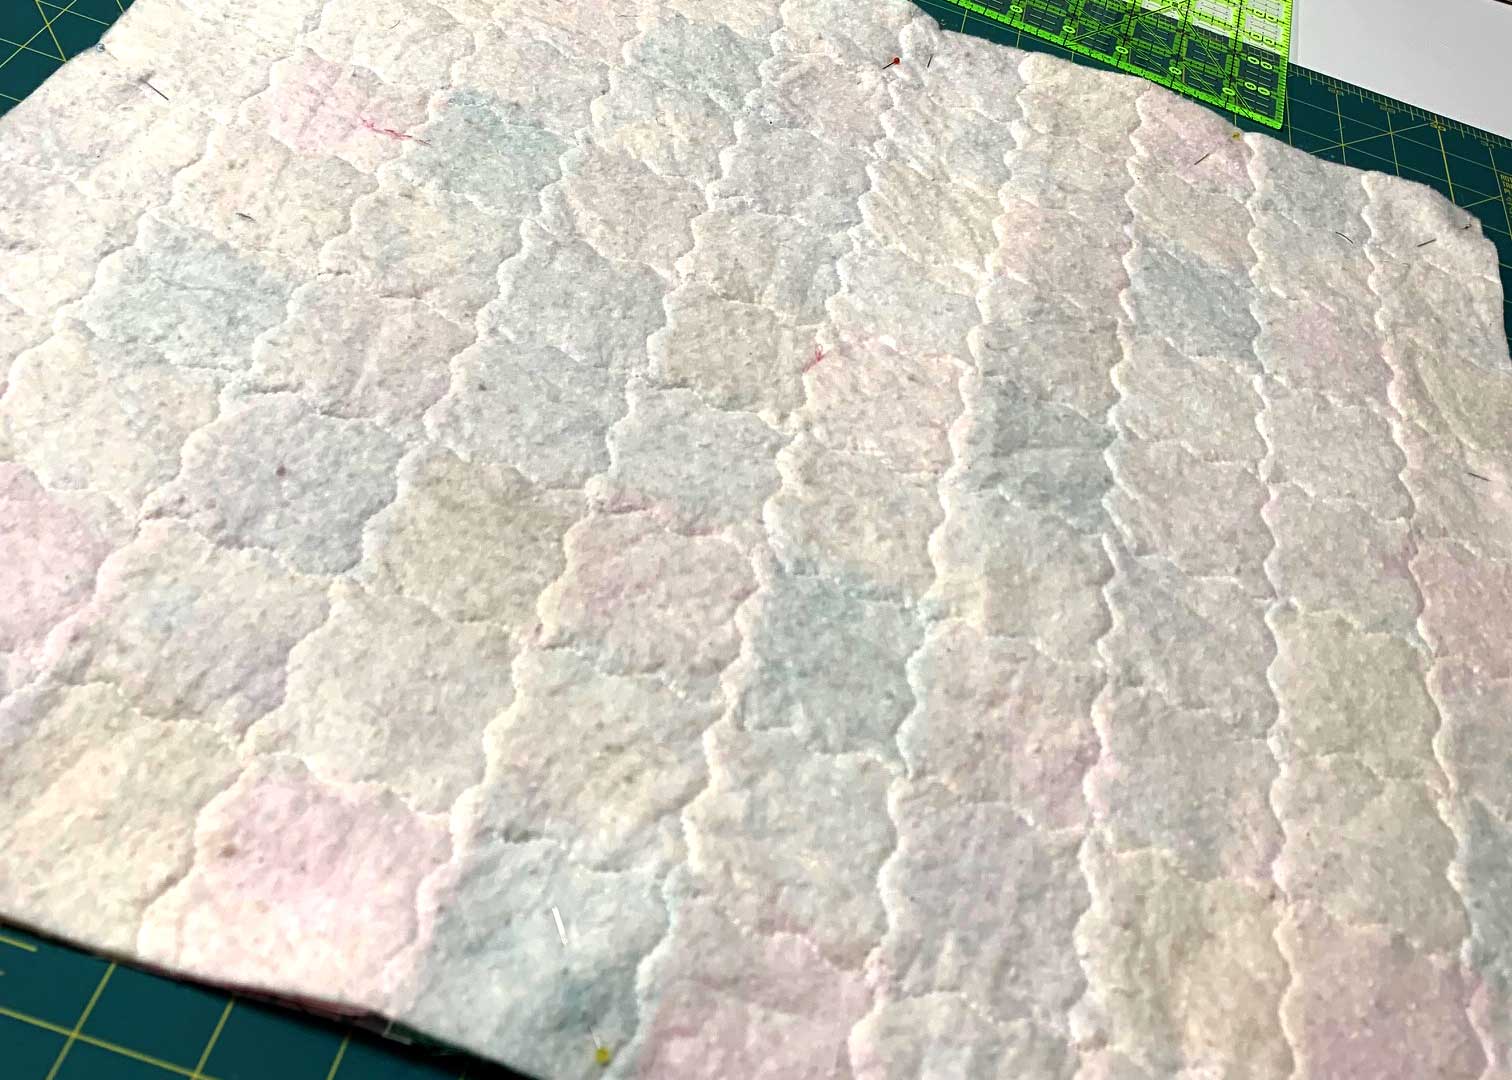
Set your sewing machine to a stipple stitch. On my BERNINA 770 QE, it is stitch number 4. If you prefer you can use a straight stitch.
At the sewing machine, place the patchwork top right side up, line up the needle with the first vertical seam, and stitch along the seam using the stipple stitch.
Repeat for the remaining vertical seams.
Next, stitch along each horizontal seam using the stipple stitch. This is what it will look like on the backside when you’re done stitching.
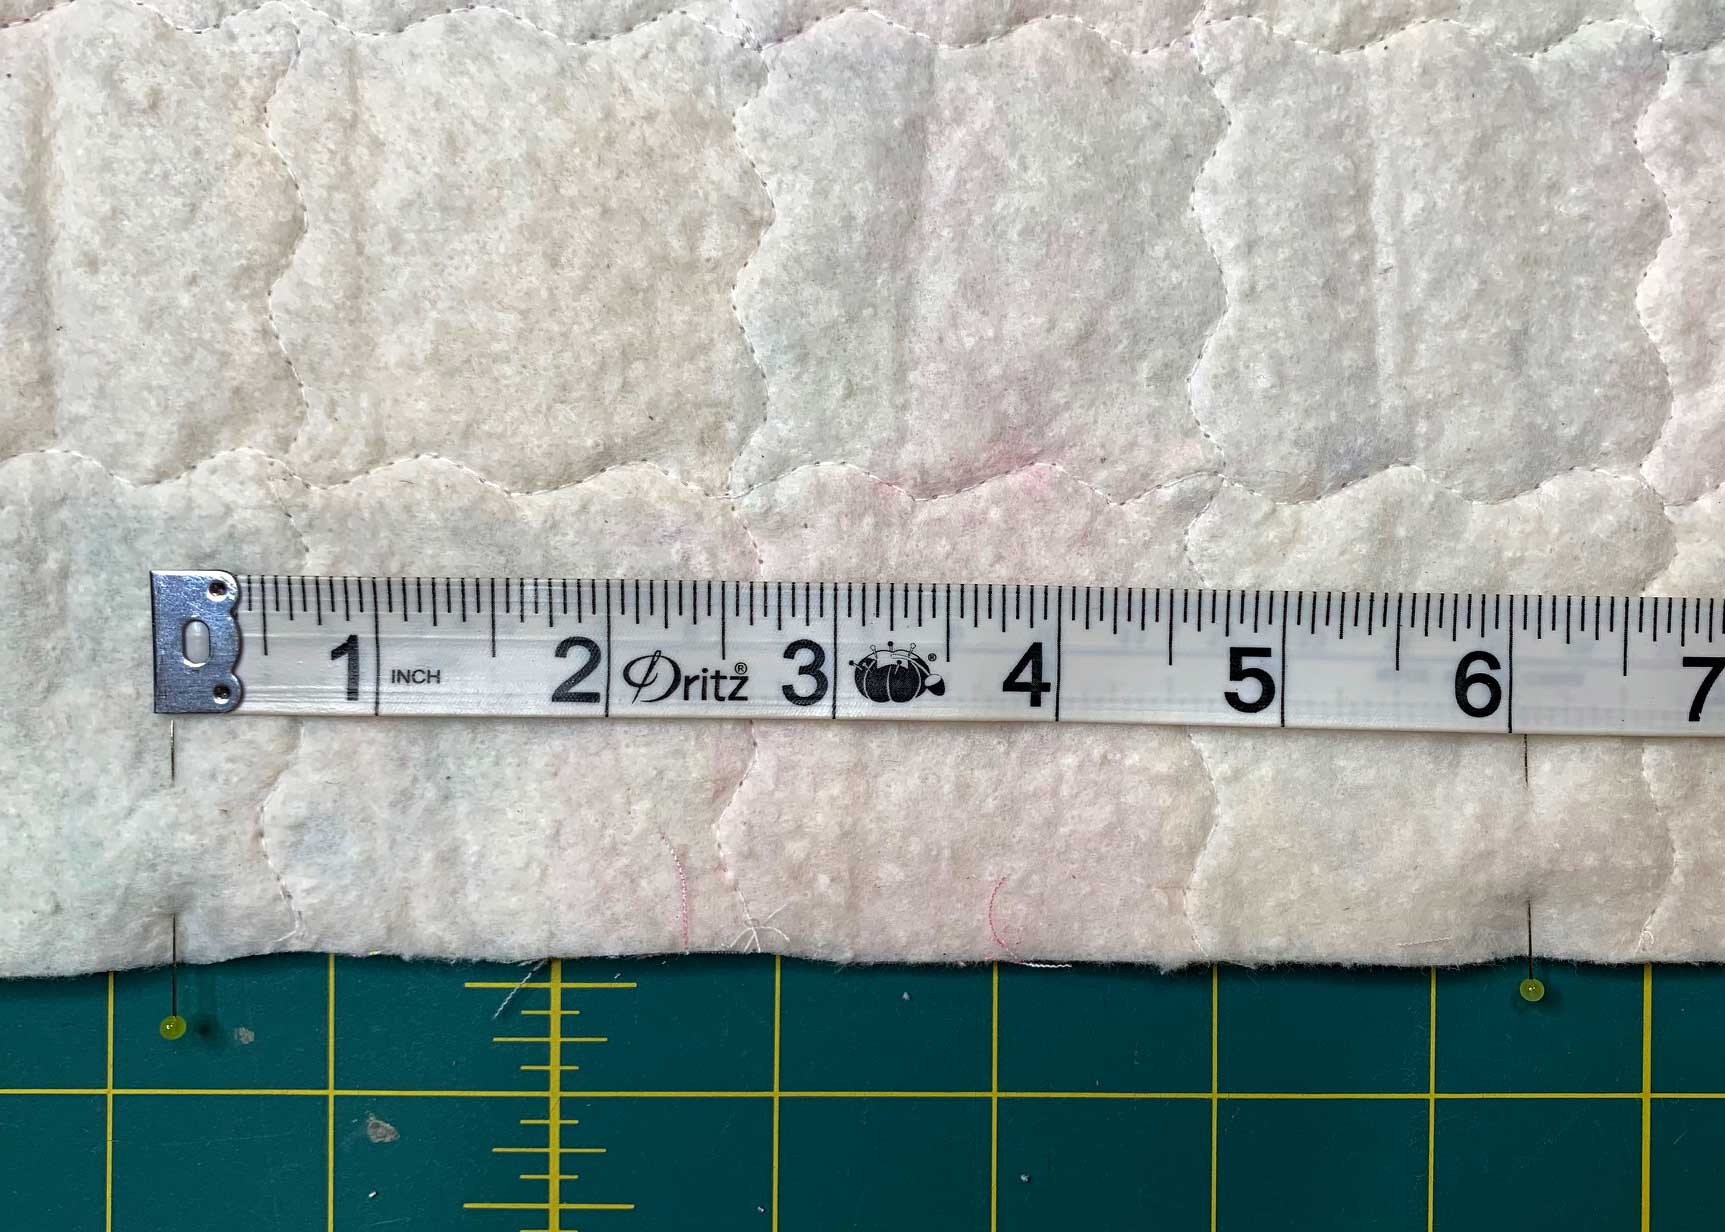
Trim the Batting
Place the doll patchwork quilt on a flat work surface right side facing up. Carefully trim off the excess batting so it is even with the edge of the quilt top.
Finish Sewing the Patchwork Quilt
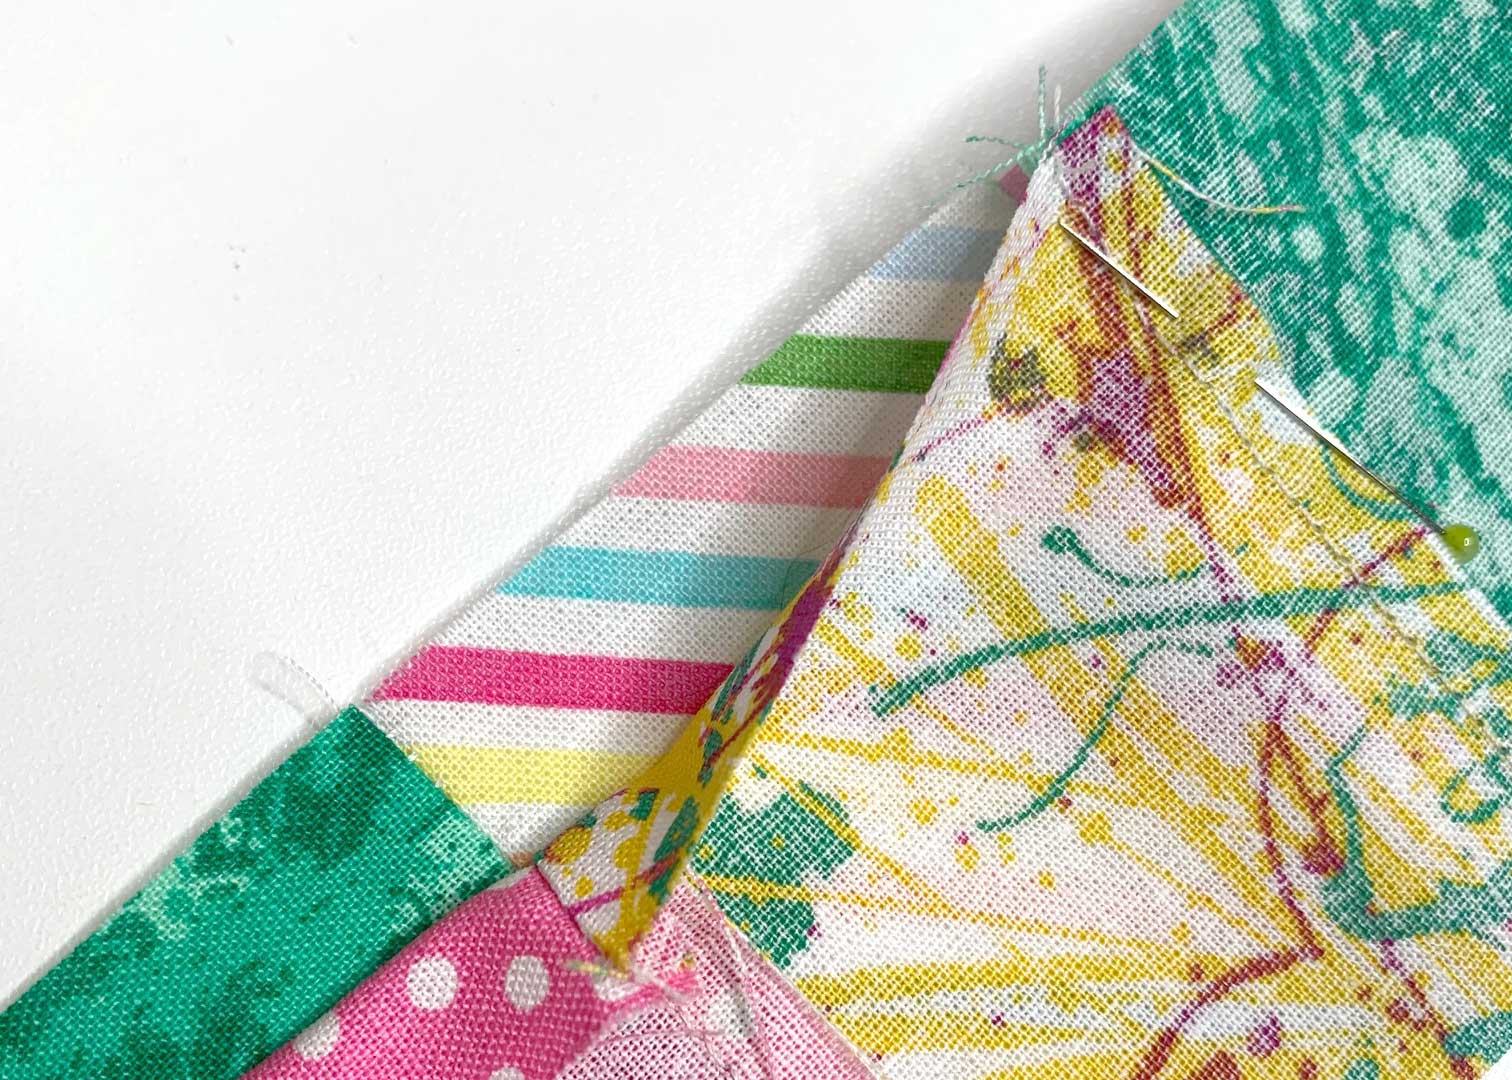
Place the backing piece of fabric on top of the patchwork quilt with right sides together. Pin along all edges, leaving a 6” opening at the bottom.
Starting at one end of the 6” opening, stitch using a 1/4” seam allowance. Stitch around all four sides, ending at the other end of the 6” opening. Be sure to backstitch at the beginning and the end. This will keep your stitches from coming apart when you turn the quilt right side out.
Insert your hand into the opening and turn the doll patchwork quilt right side out. Gently poke out the corners.
Press the edges of the 6” opening in by 1/4”. Pin closed.
Edgestitch around all four sides of the doll patchwork quilt, closing the opening in the process.

When I did this, I used the BERNINA Edgestitch Foot #10D and moved my needle three positions to the left of the center of the foot.
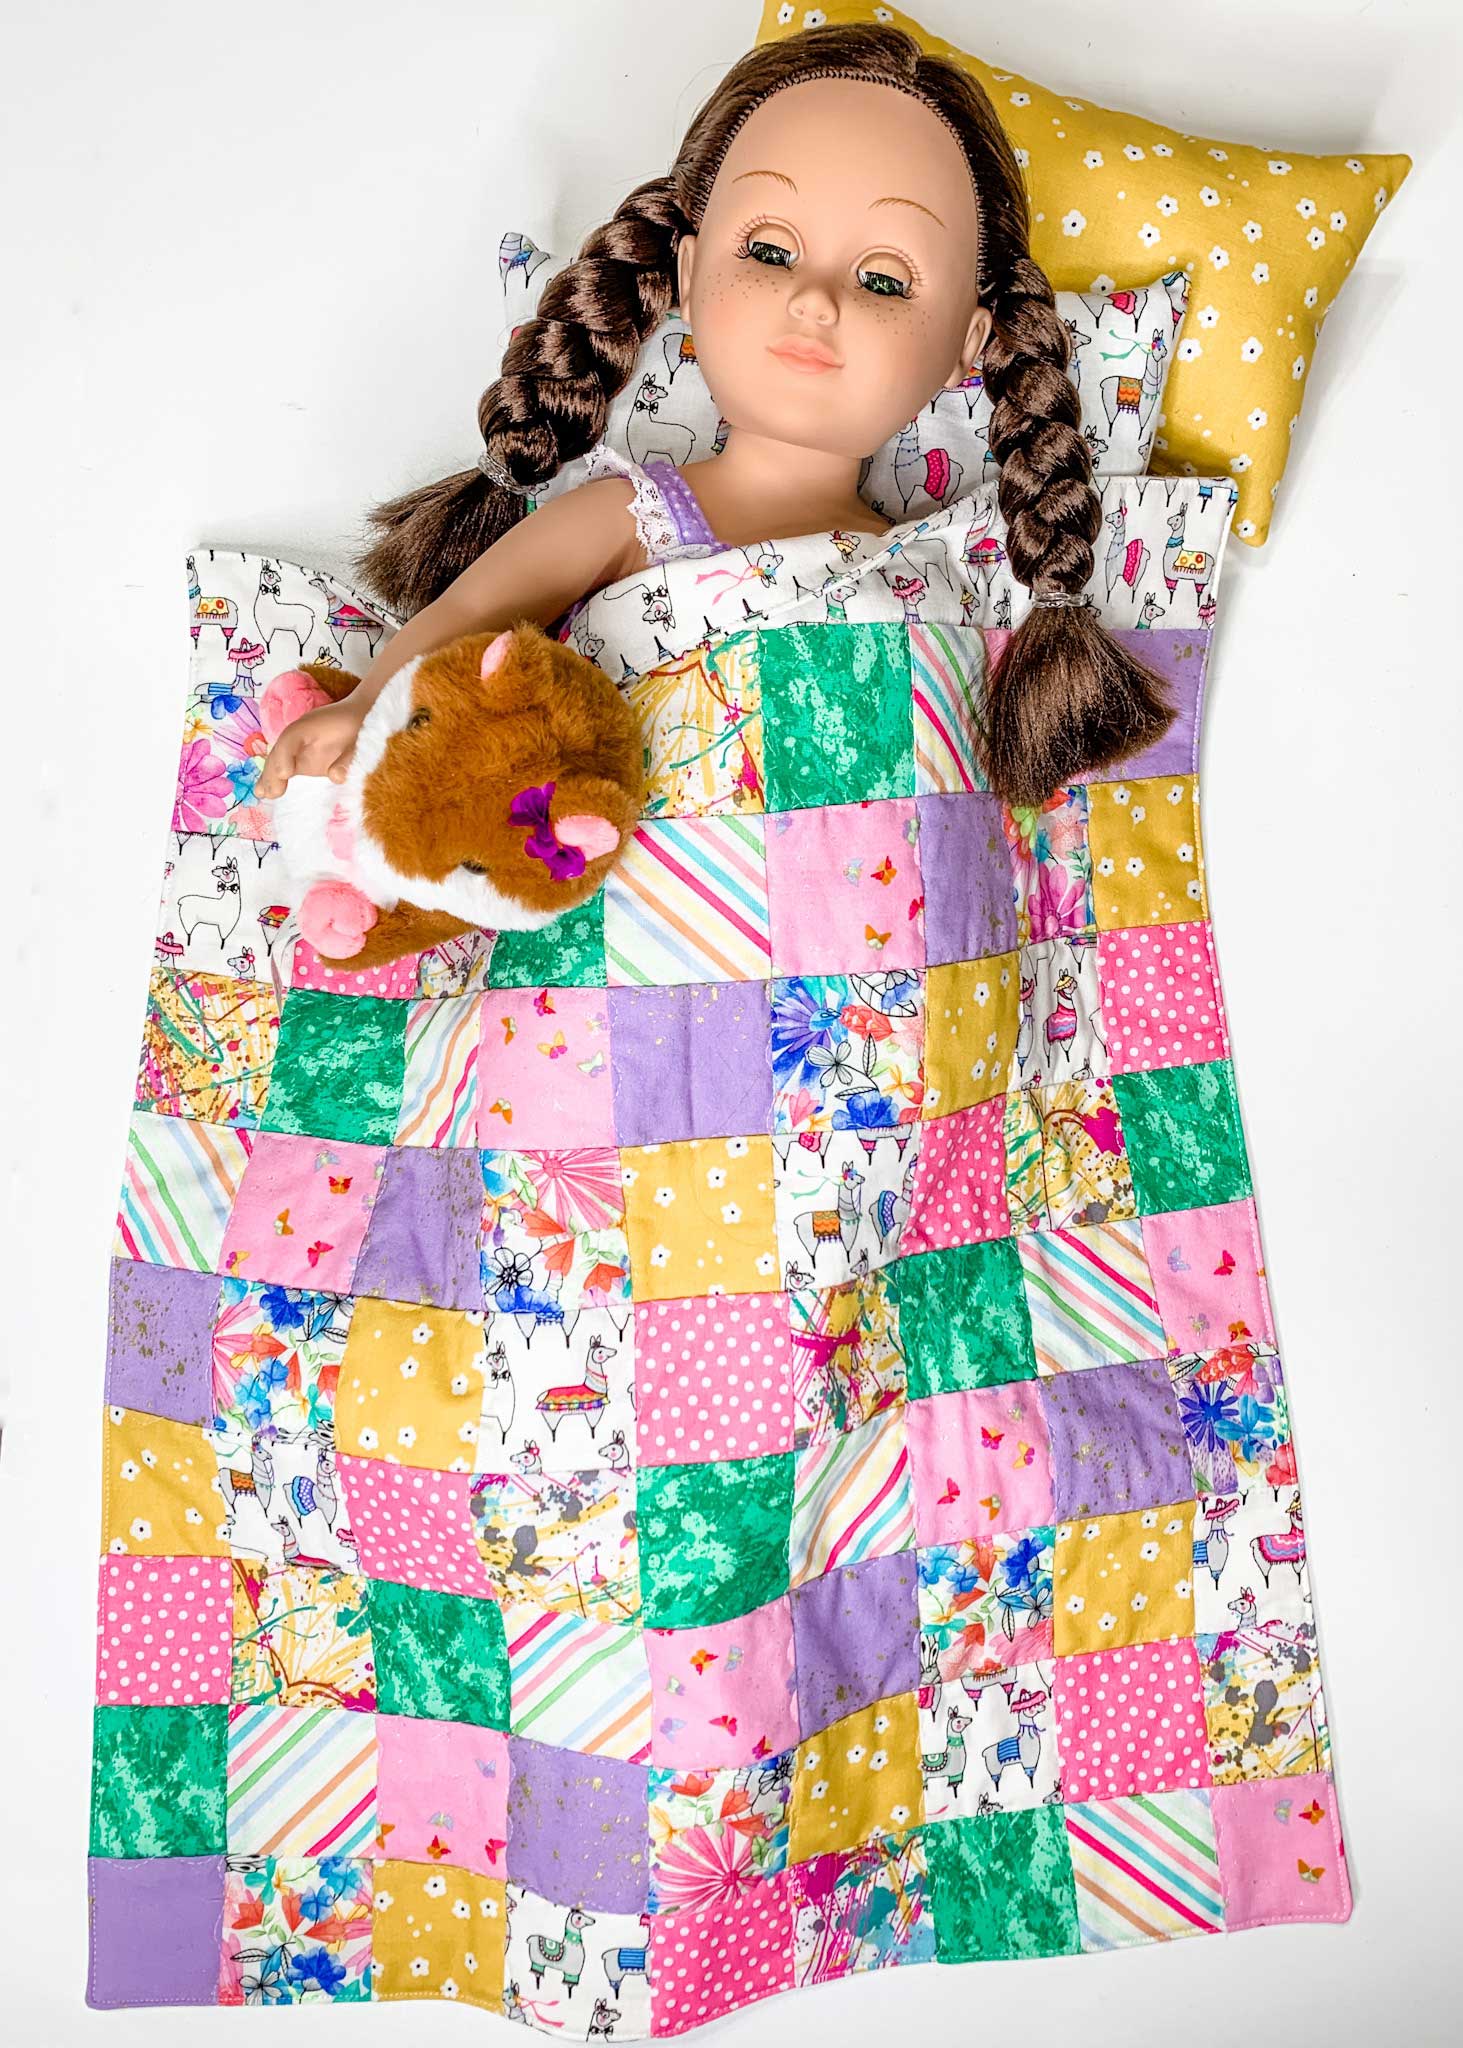
You’re done! Your 18″ doll patchwork quilt is sure to delight any little one!
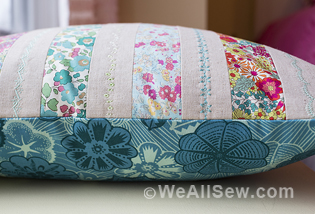
Sew a Coordinating Pillow
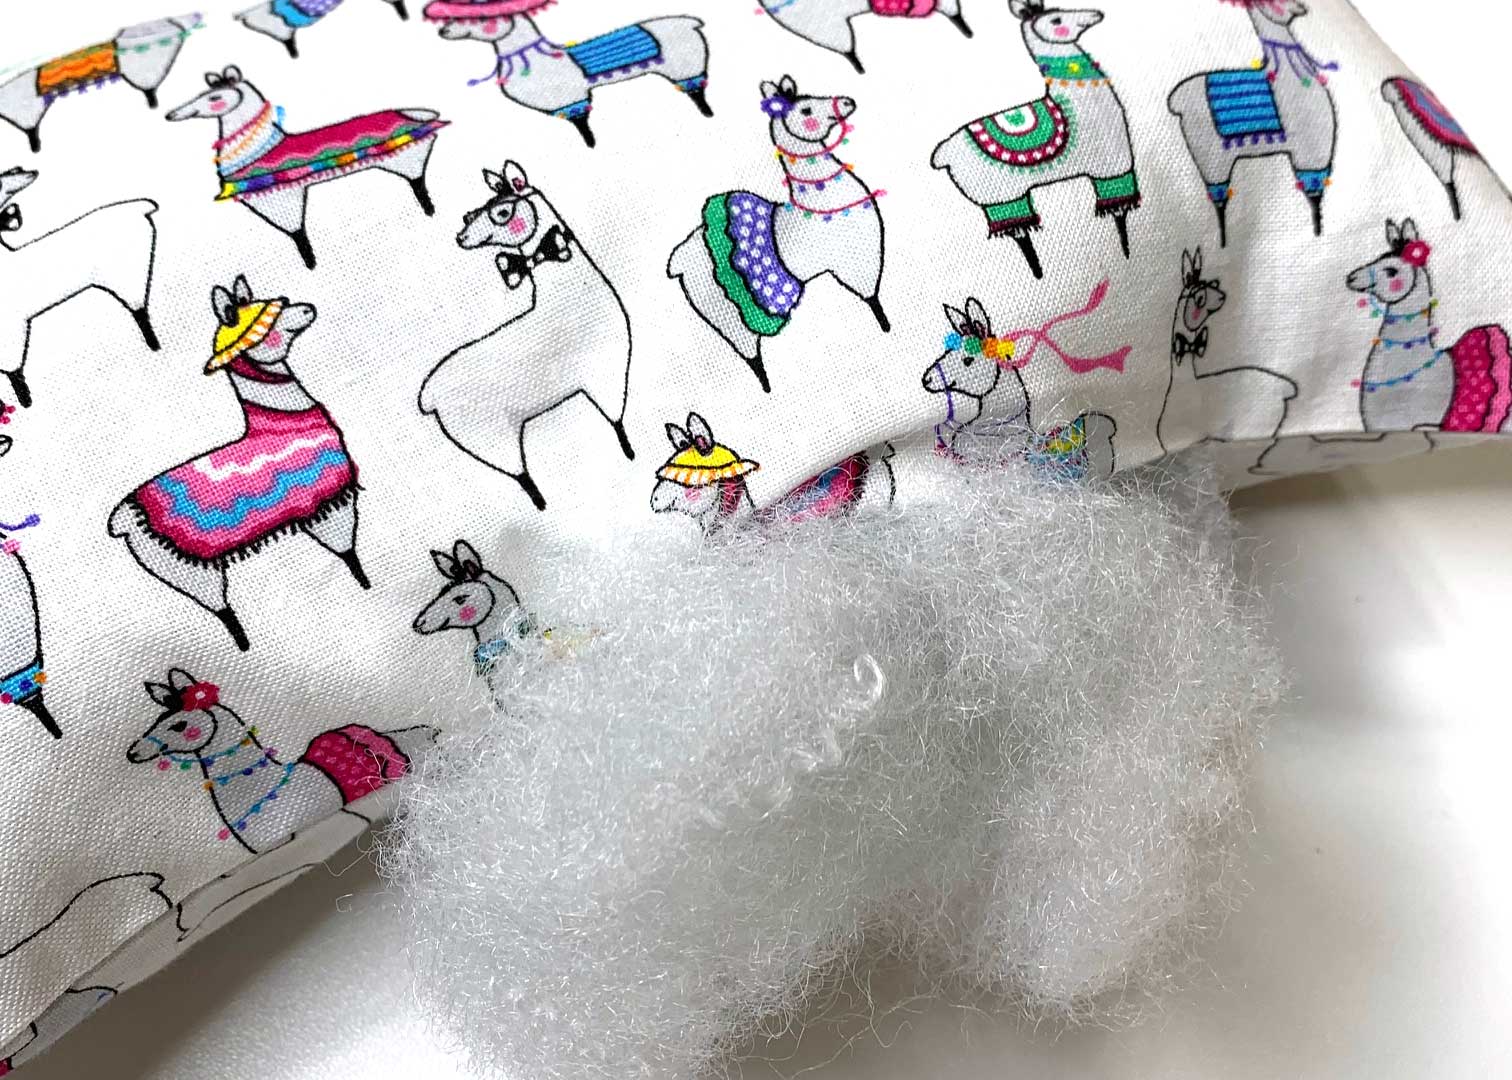
Now that the doll patchwork quilt is done, why not sew a coordinating pillow or two? All you need is fabric, thread, a hand sewing needle and fiberfill stuffing. 
Cut two pieces of fabric measuring 6-1/2” x 10-1/2” each.
Place the pieces right sides together and pin. Using a 1/4″ seam allowance, stitch around all edges leaving a 3” opening along one long edge. Remember to backstitch at the beginning and end of the 3″ opening.
Turn right side out. Carefully poke out the corners. Press the opening 1/4″ to the inside.

Stuff the pillow with fiberfill. Don’t overfill or it will be more difficult to stitch the opening closed.
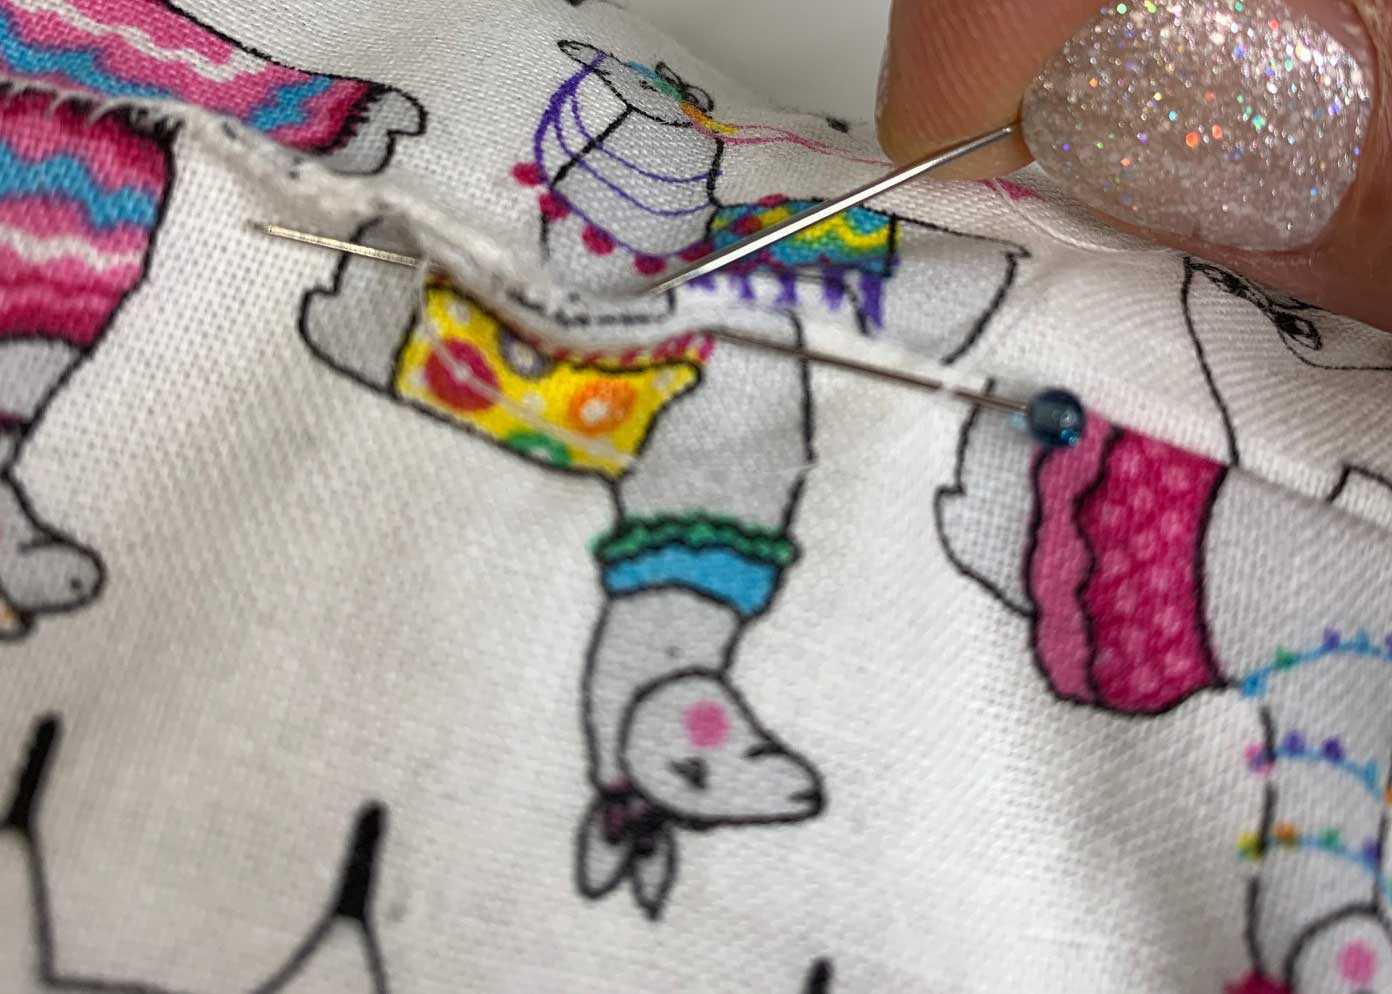
Pin the opening closed and hand stitch to secure.
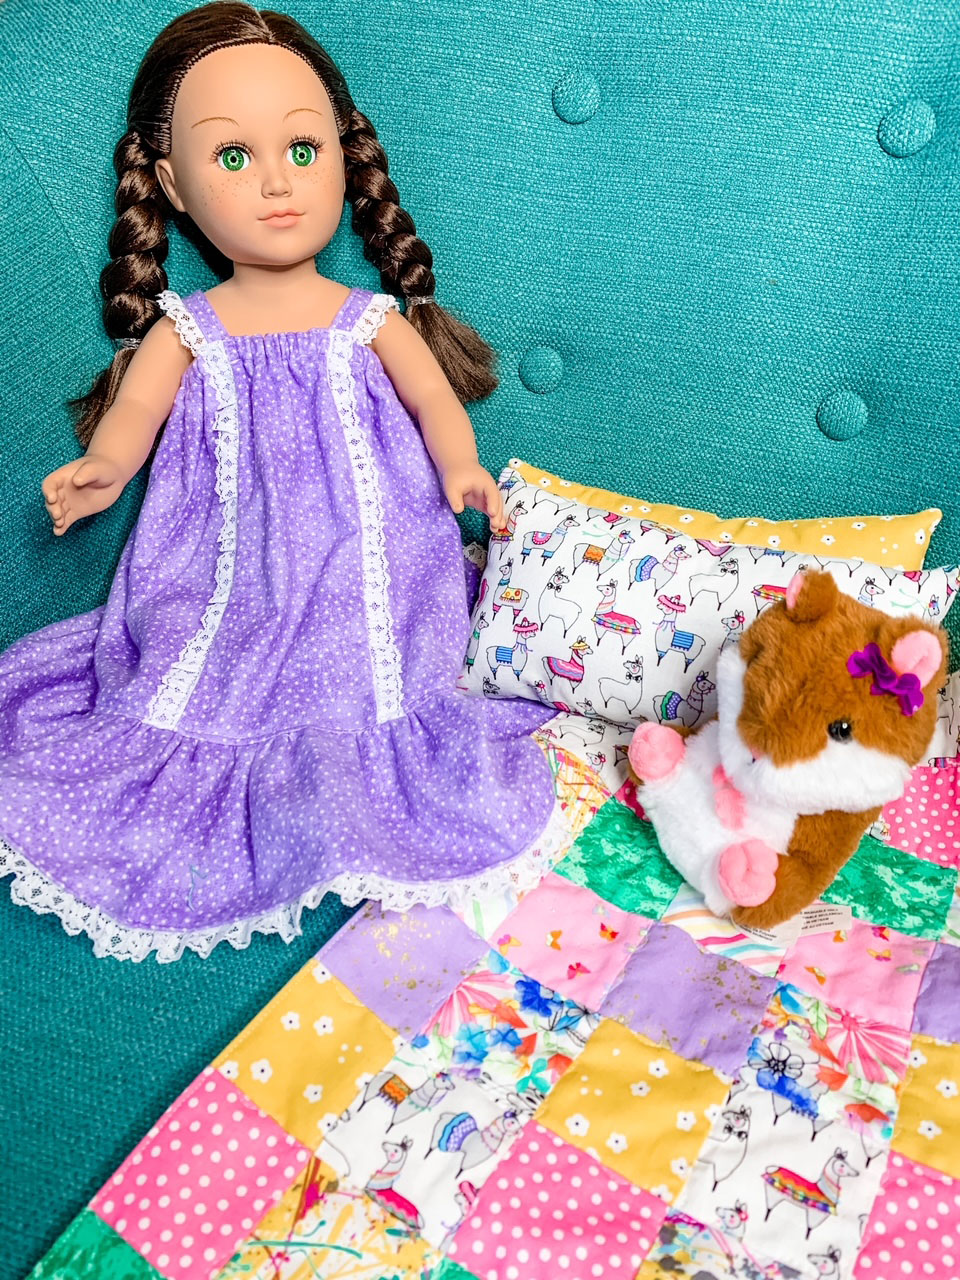
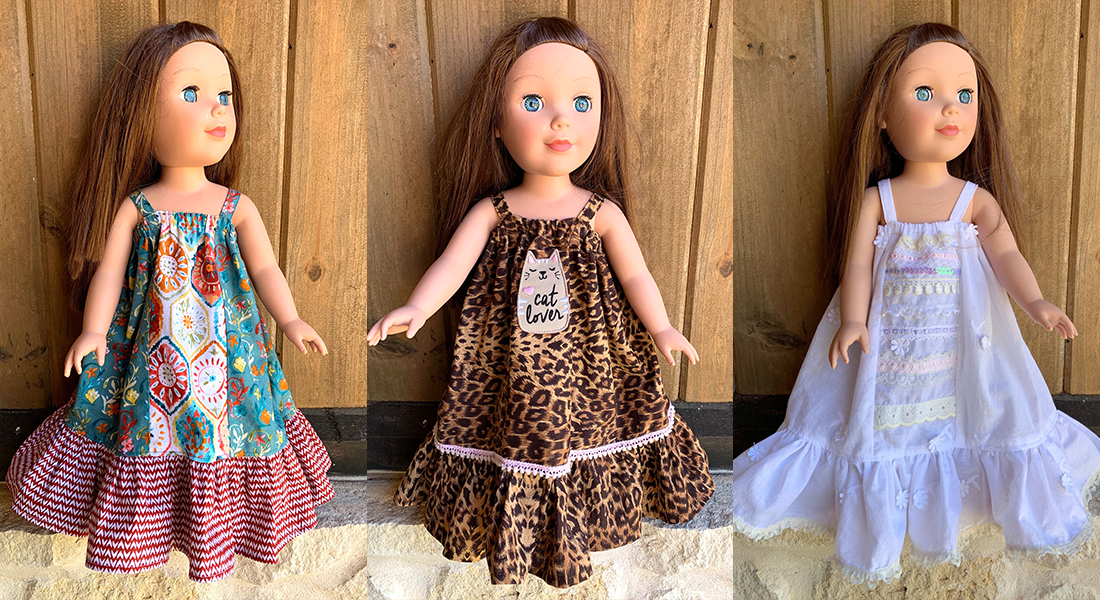
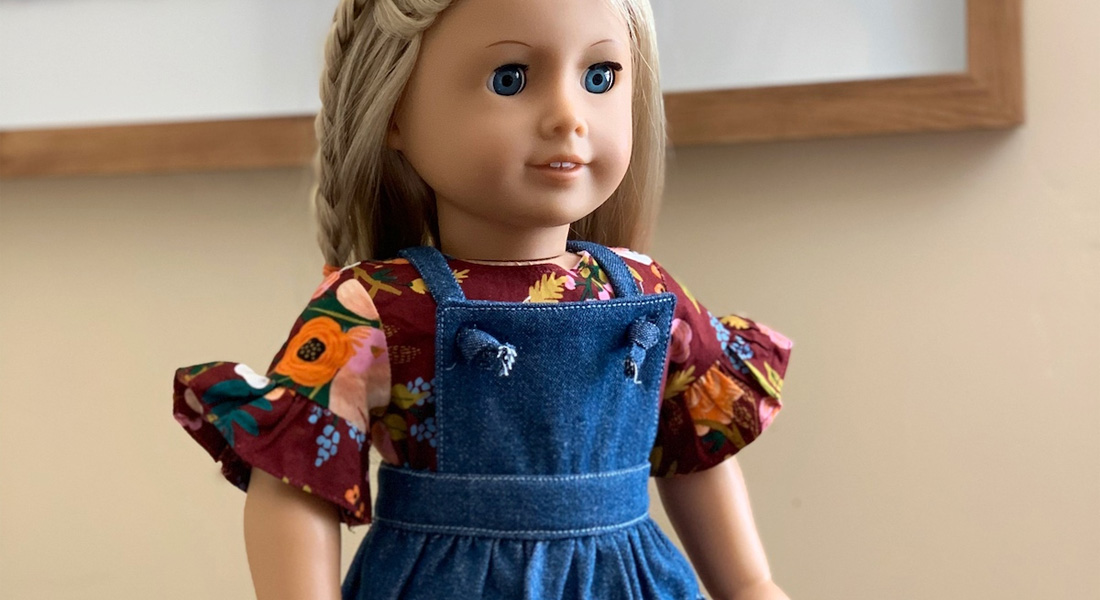
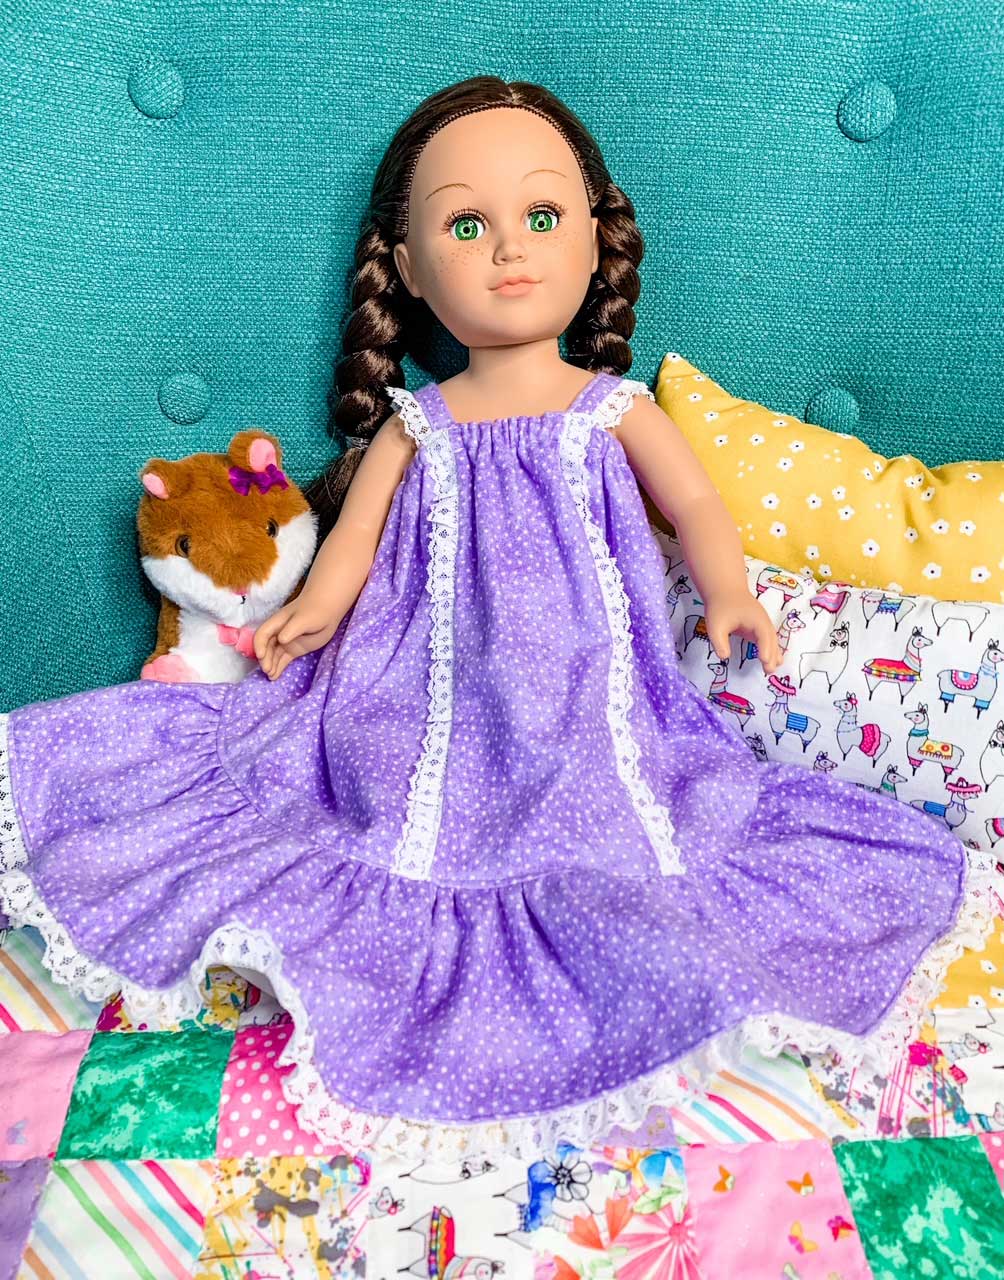
Sew the 18″ Doll Nightgown
The 18″ Doll Ruffled Maxi Dress makes a great nightgown with just a few minor changes! Simply use flannel and add some lace trim.
Instead of quilting cotton, you’ll need flannel (5/8 of a yard will provide plenty of fabric) and 2-1/2 yards of lace trim. All of the other supplies are listed in the original blog post which can be found here. The blog post also includes step-by-step instructions.
Adding the Lace
Place lace right side up along one short edge of the dress front. Baste in place and then continue stitching the dress per the blog post. 
After creating the straps, stitch a row of lace along one edge. Continue stitching the dress per the blog post.
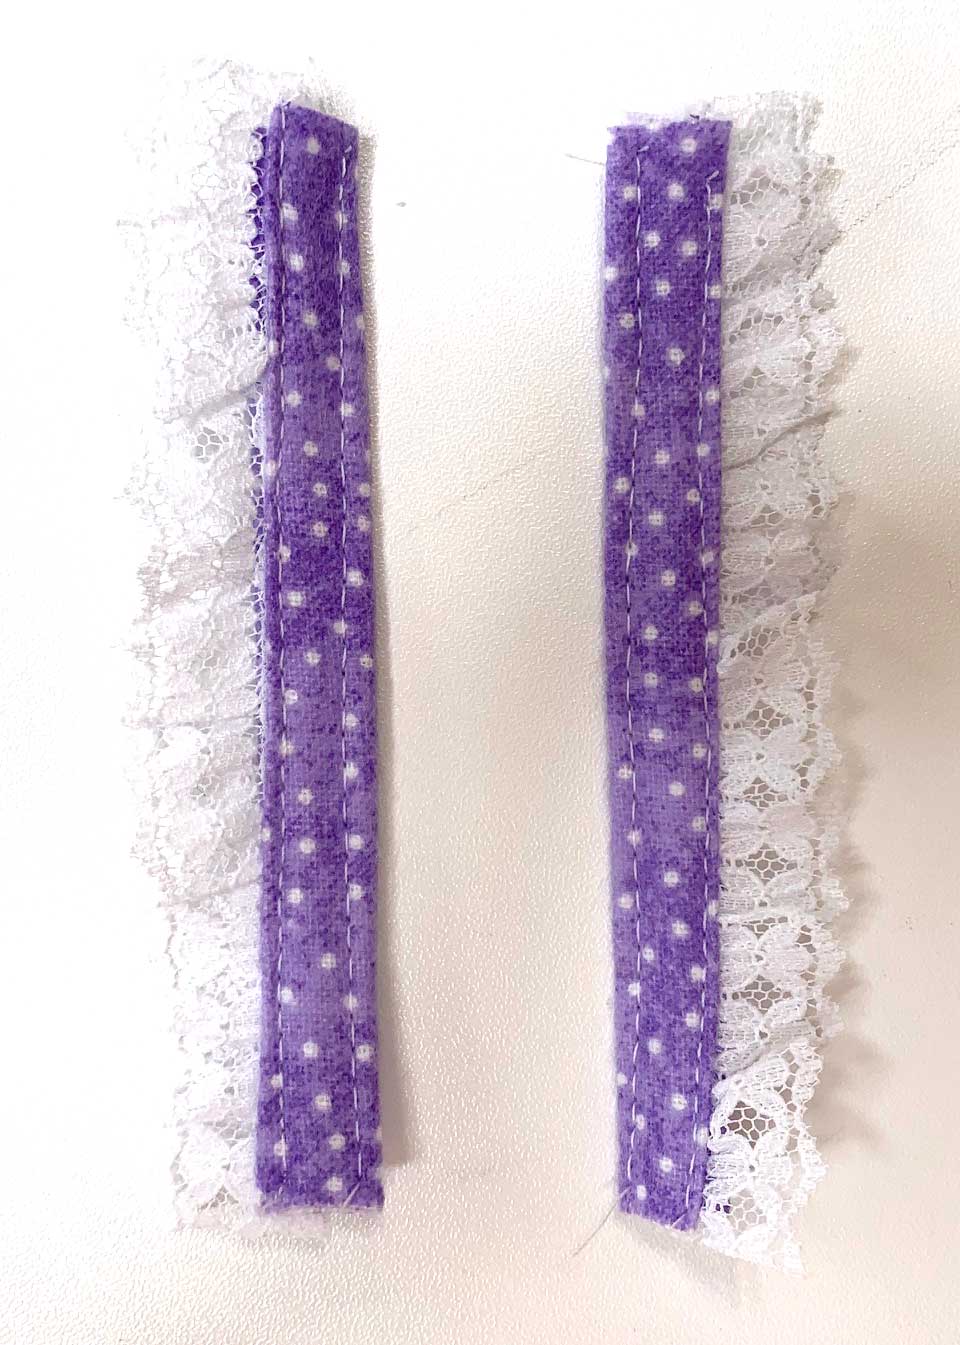
Add lace to the bottom of the skirt ruffle. Finish stitching the dress per the blog post.
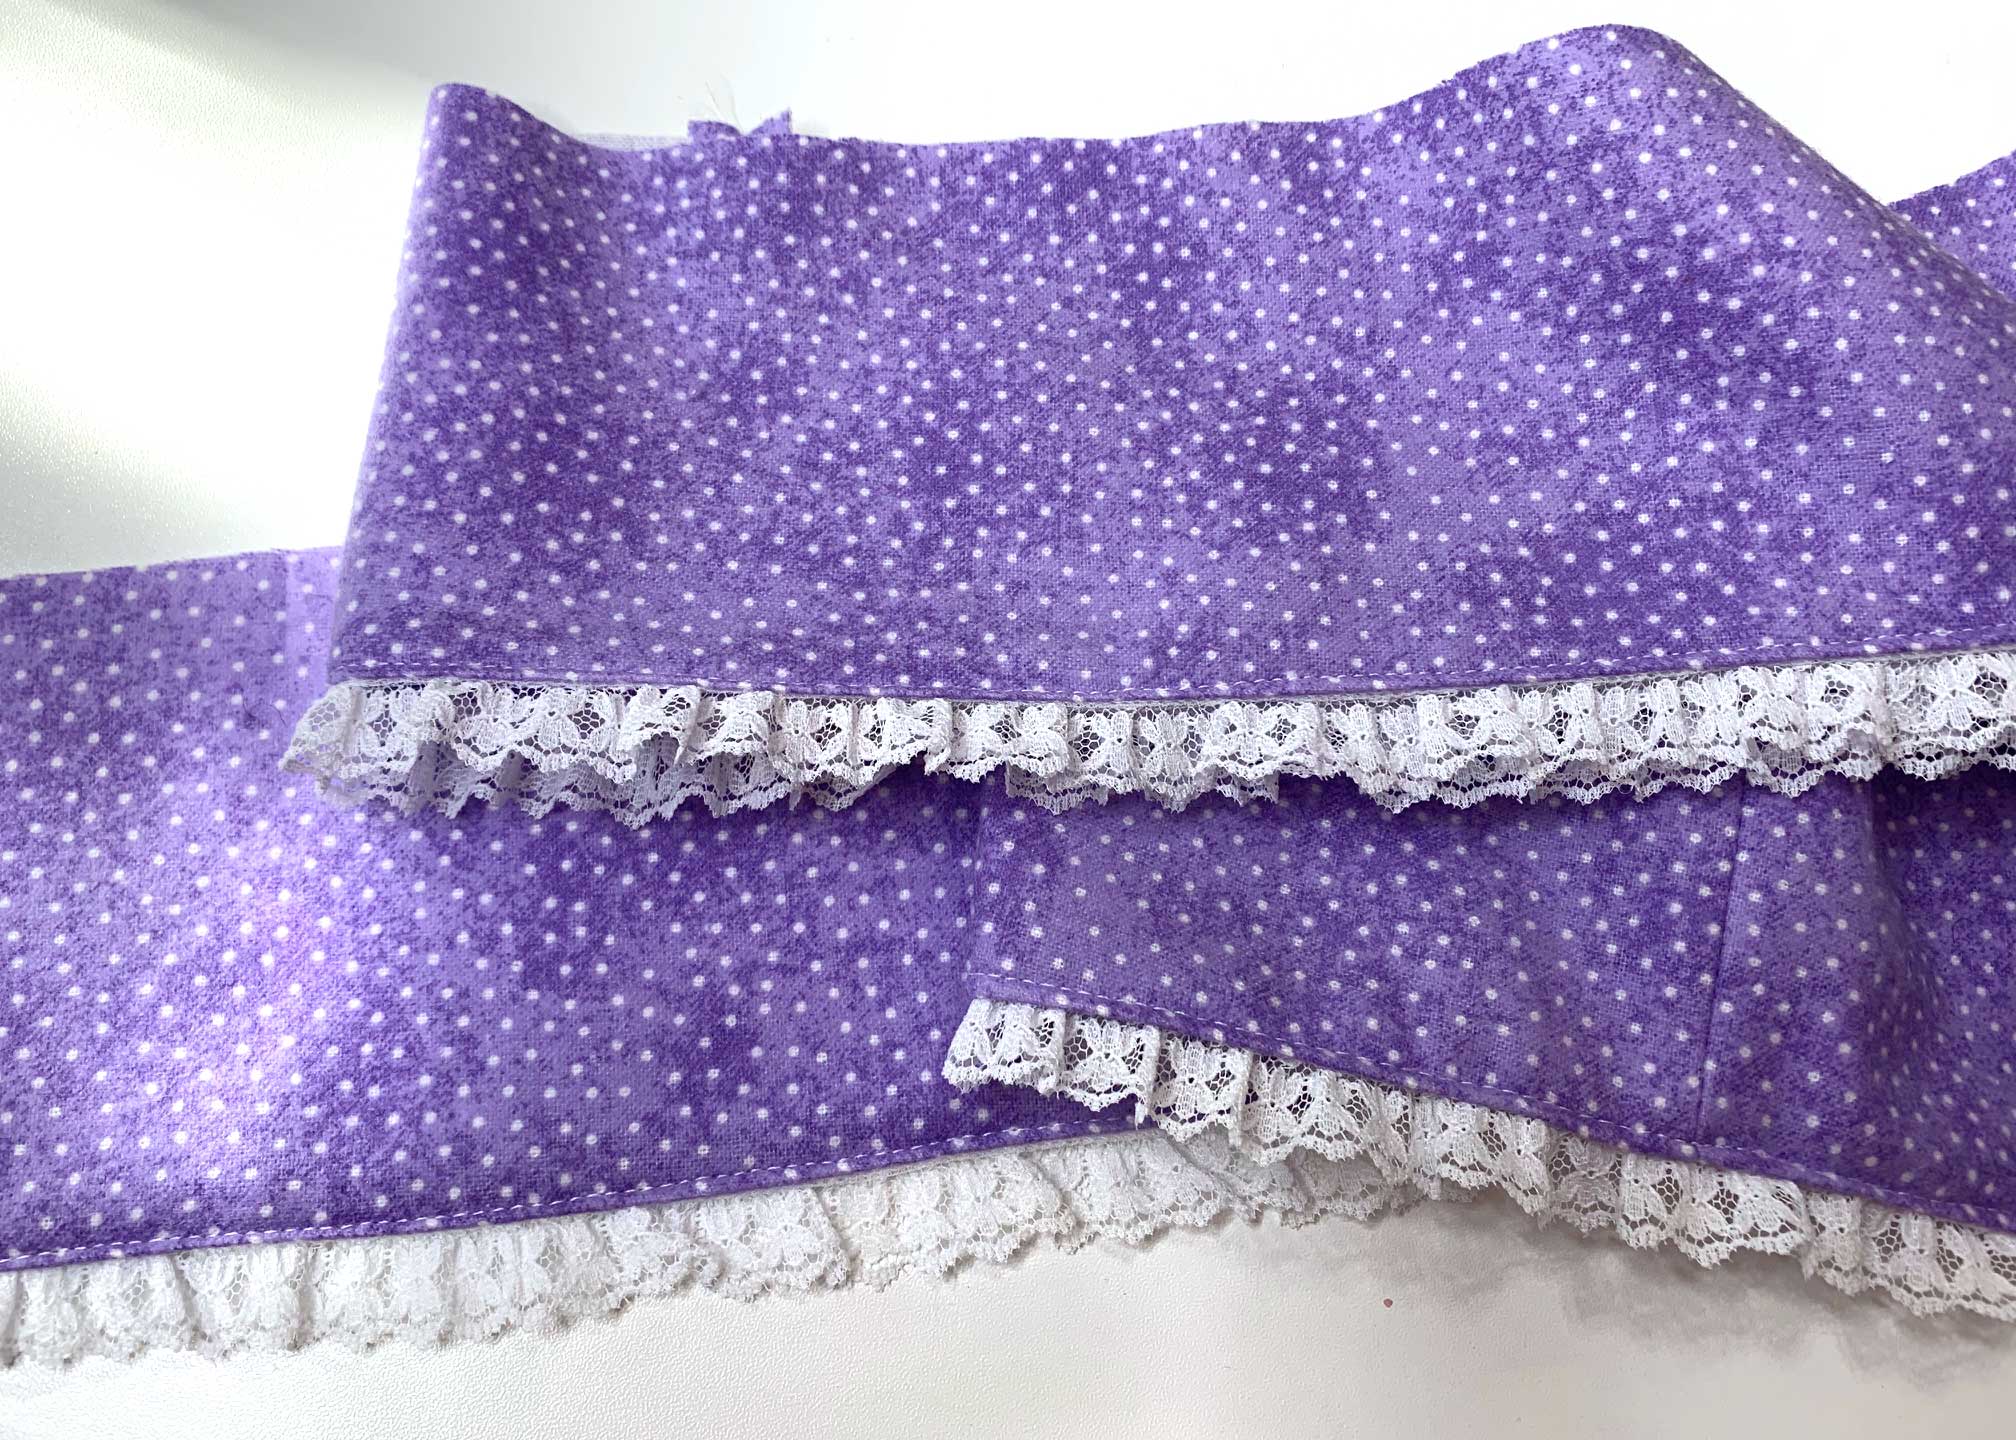
By using flannel and adding lace you now have a nightgown for the 18″ doll.
The patchwork quilt, pillow and nightgown make a great gift for someone special!