Sew and Tell
The Project
I’ll be hosting an Instagram live with my friend and fellow BERNINA Ambassador Paige Plihal. We will be sewing the same dress pattern and then discussing which techniques we used to achieve unique results. If you can’t make the Live event, it will be posted to the BERNINA USA Instagram page afterward. It will be a fun watch! We will be chatting about sewing and we’ll end up with very different garments from the same pattern.
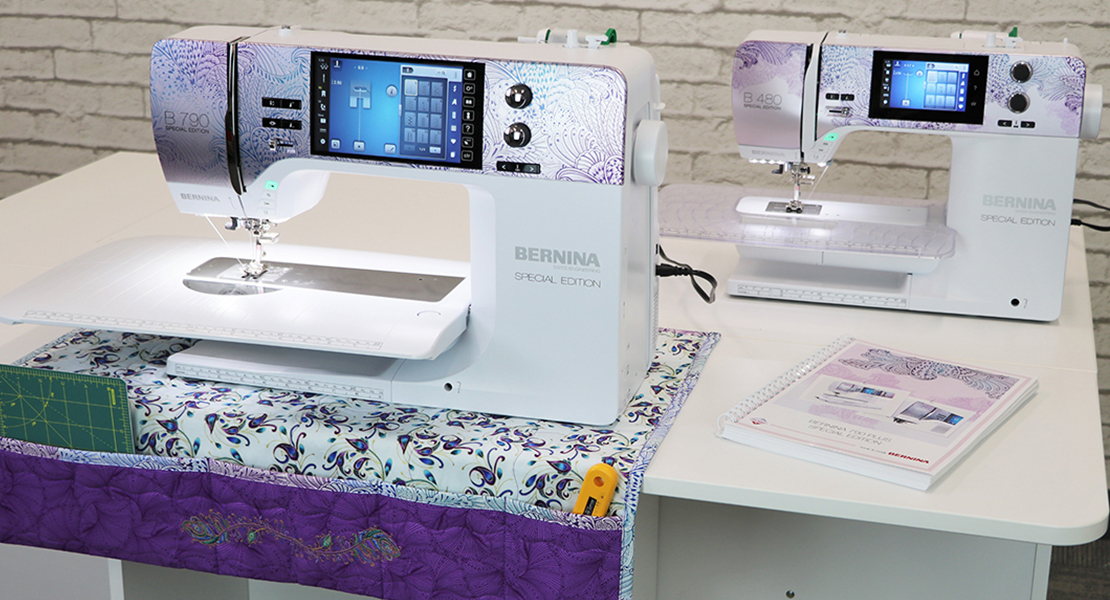
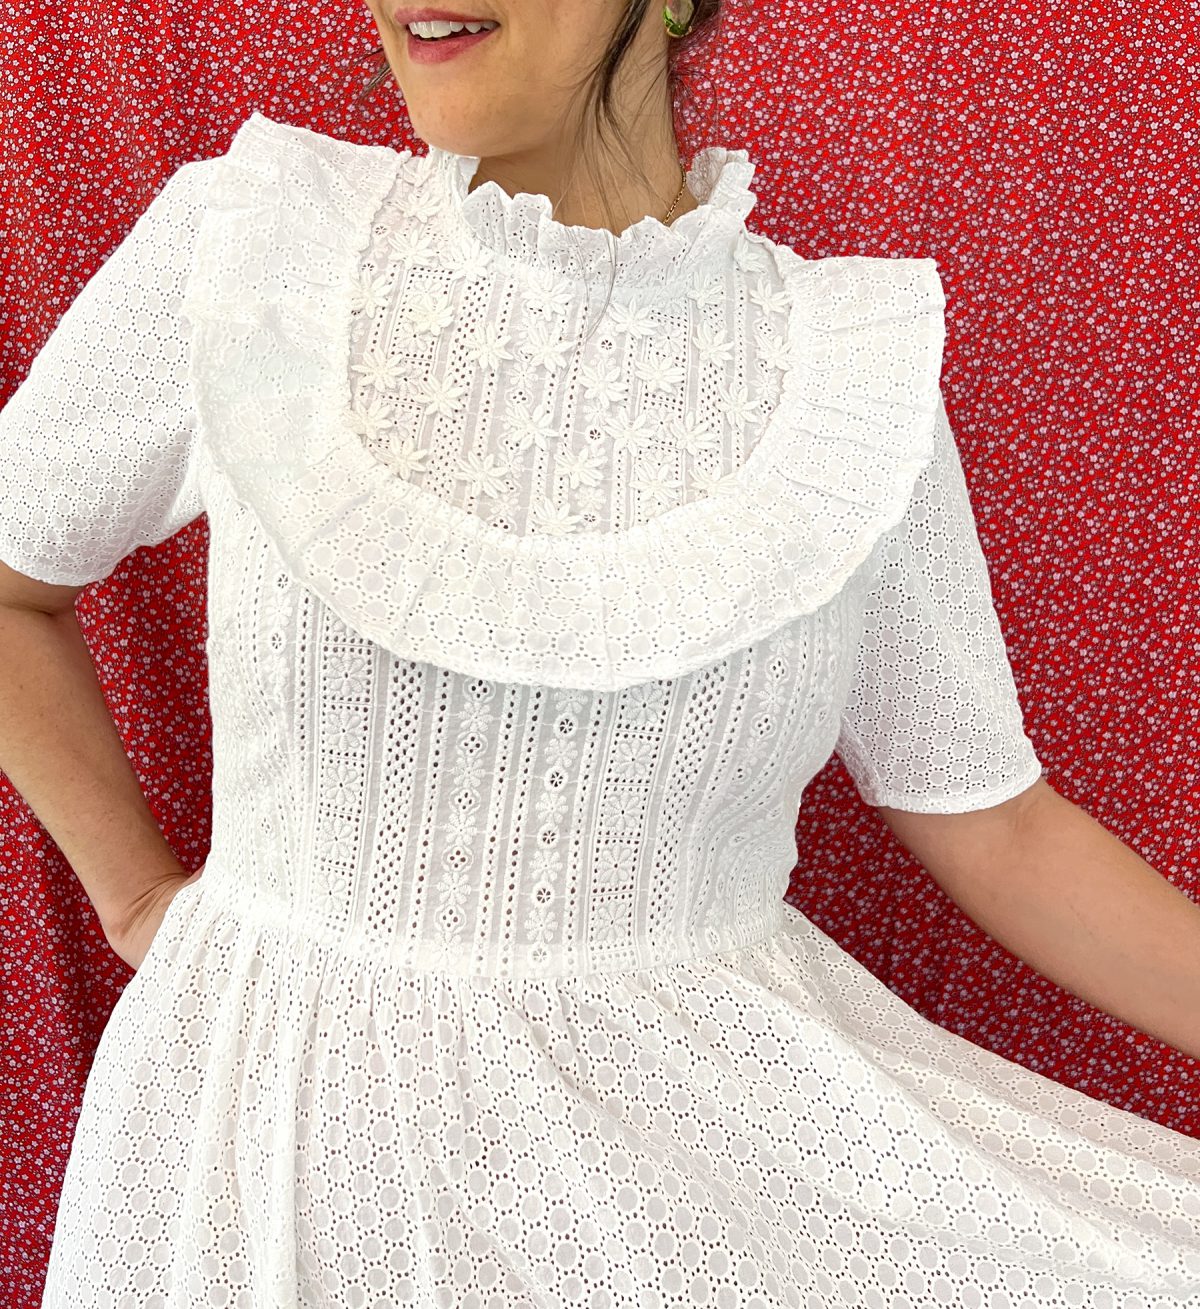
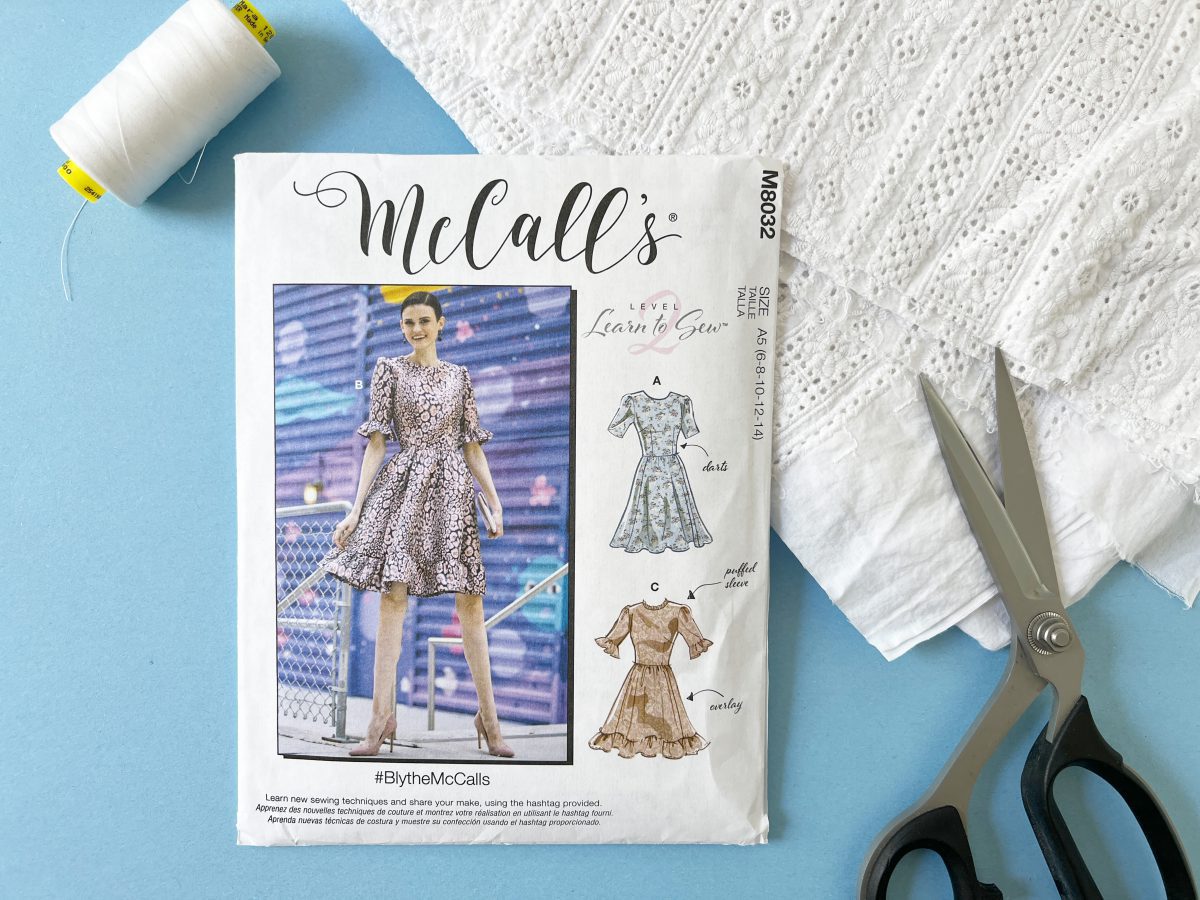
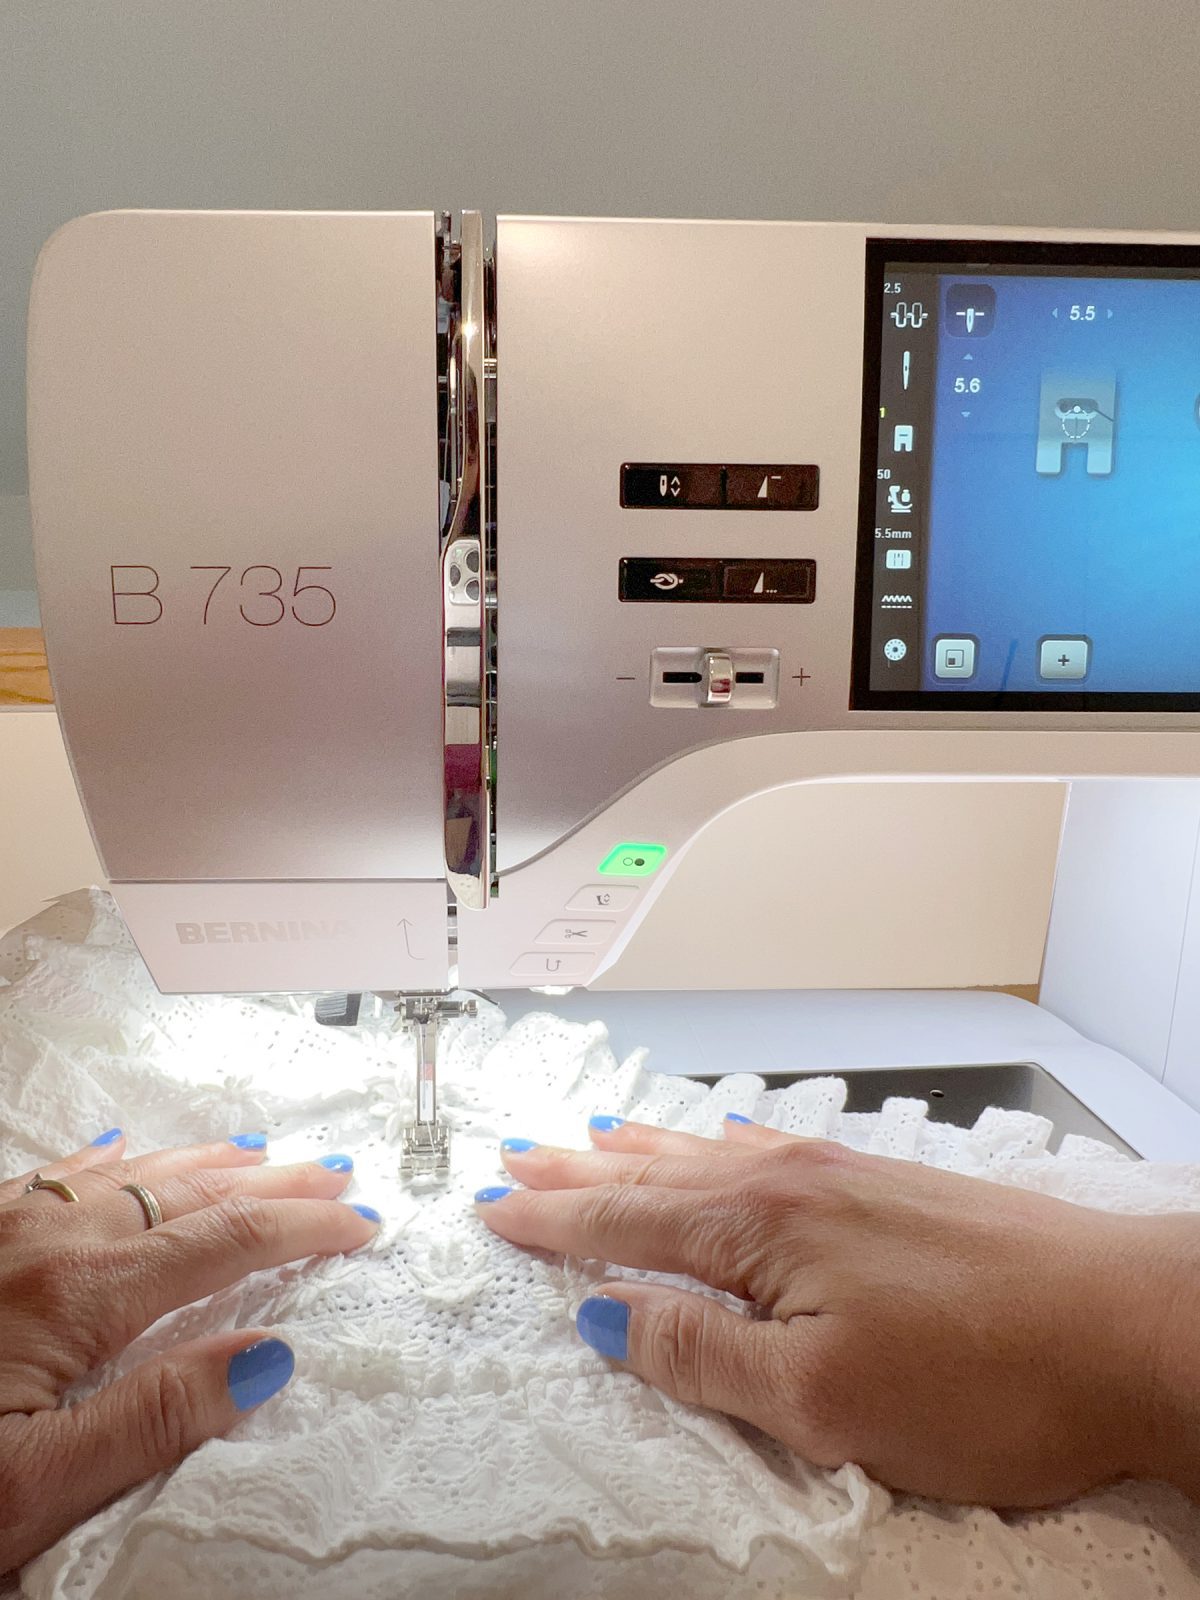
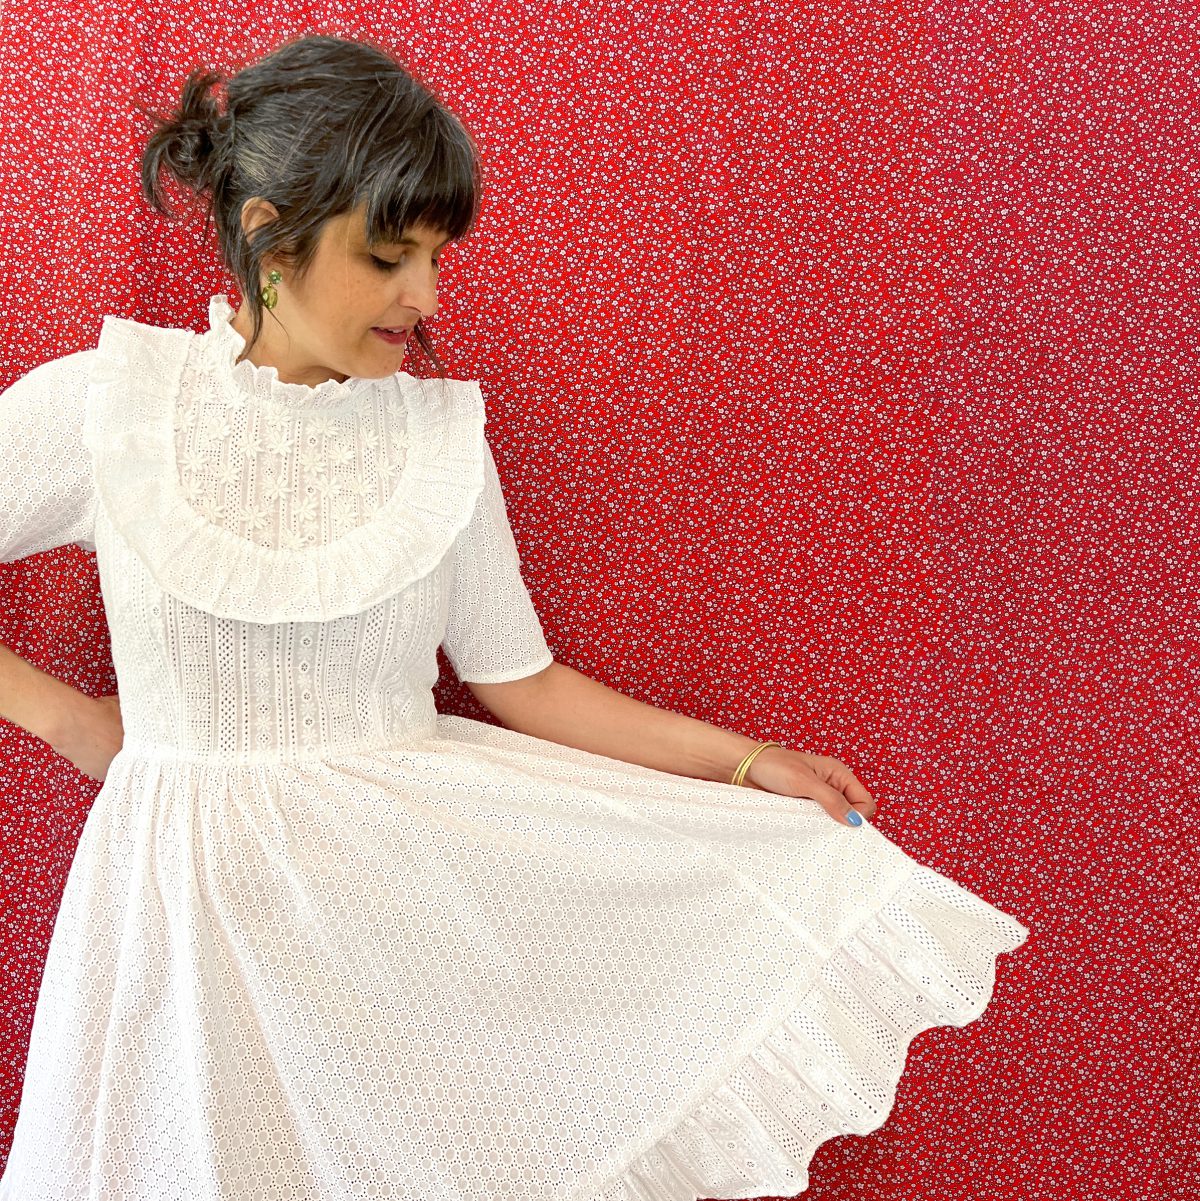
Paige and I chose McCall’s 8032 because it is a simple dress pattern with mega potential for customization. As a ruffle enthusiast, I was drawn to the neckline treatment and sweet, feminine silhouette. I immediately began rummaging through my stash for a fabric that would work for this pattern. I was eager to sew this dress using my B 735.
Fabric Selection
When planning any garment project, I choose my fabric first and allow it to dictate some of my choices. For this dress, I was drawn to a gorgeous cotton broderie anglaise with a striped embroidery design. Of course I didn’t have enough for a full dress. No worries, my stash always has something more to be found! I pulled a coordinating cotton eyelet, and decided to combine the two fabrics.
While these fabrics are visually light – a little sheer, and full of eyelets – they are bulky under the needle. I considered this when planning my seam finishes and which presser feet to use. Speaking of needles, you’ll want to use a fresh, sharp Microtex one, to pierce through the dense areas of embroidery. My B 735 has excellent piercing power and stitched through multiple layers with ease.
Seam Finishes
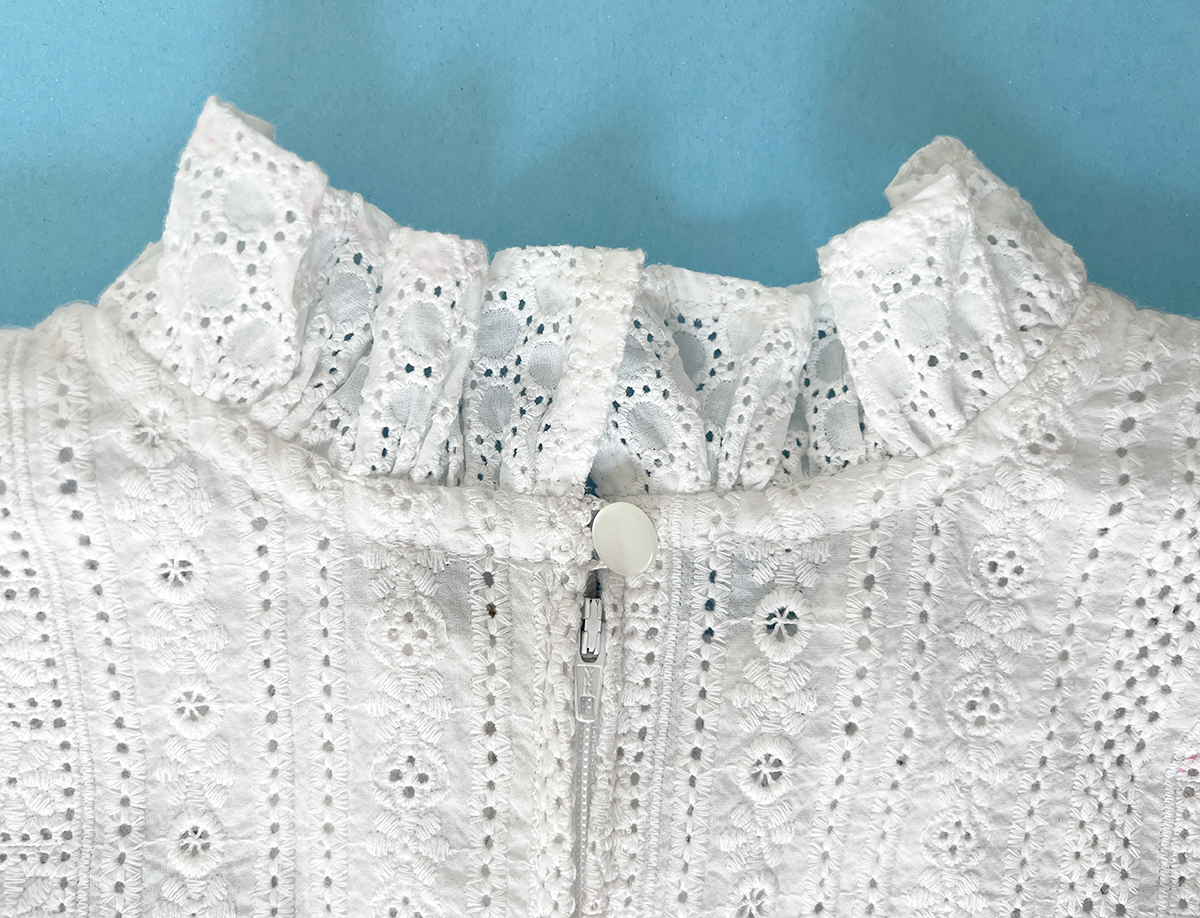
This pattern calls for a lined bodice. I chose to eliminate the lining to preserve the peekaboo effect of the fabric. This meant I’d need to take extra care when planning seam finishes in the bodice.
French Seams
I used French seams on most of the construction. French seams require sewing each seam twice. I use the markings on the needle plate to accurately sew the first pass at ¼”, and the second pass at a scant ⅜”
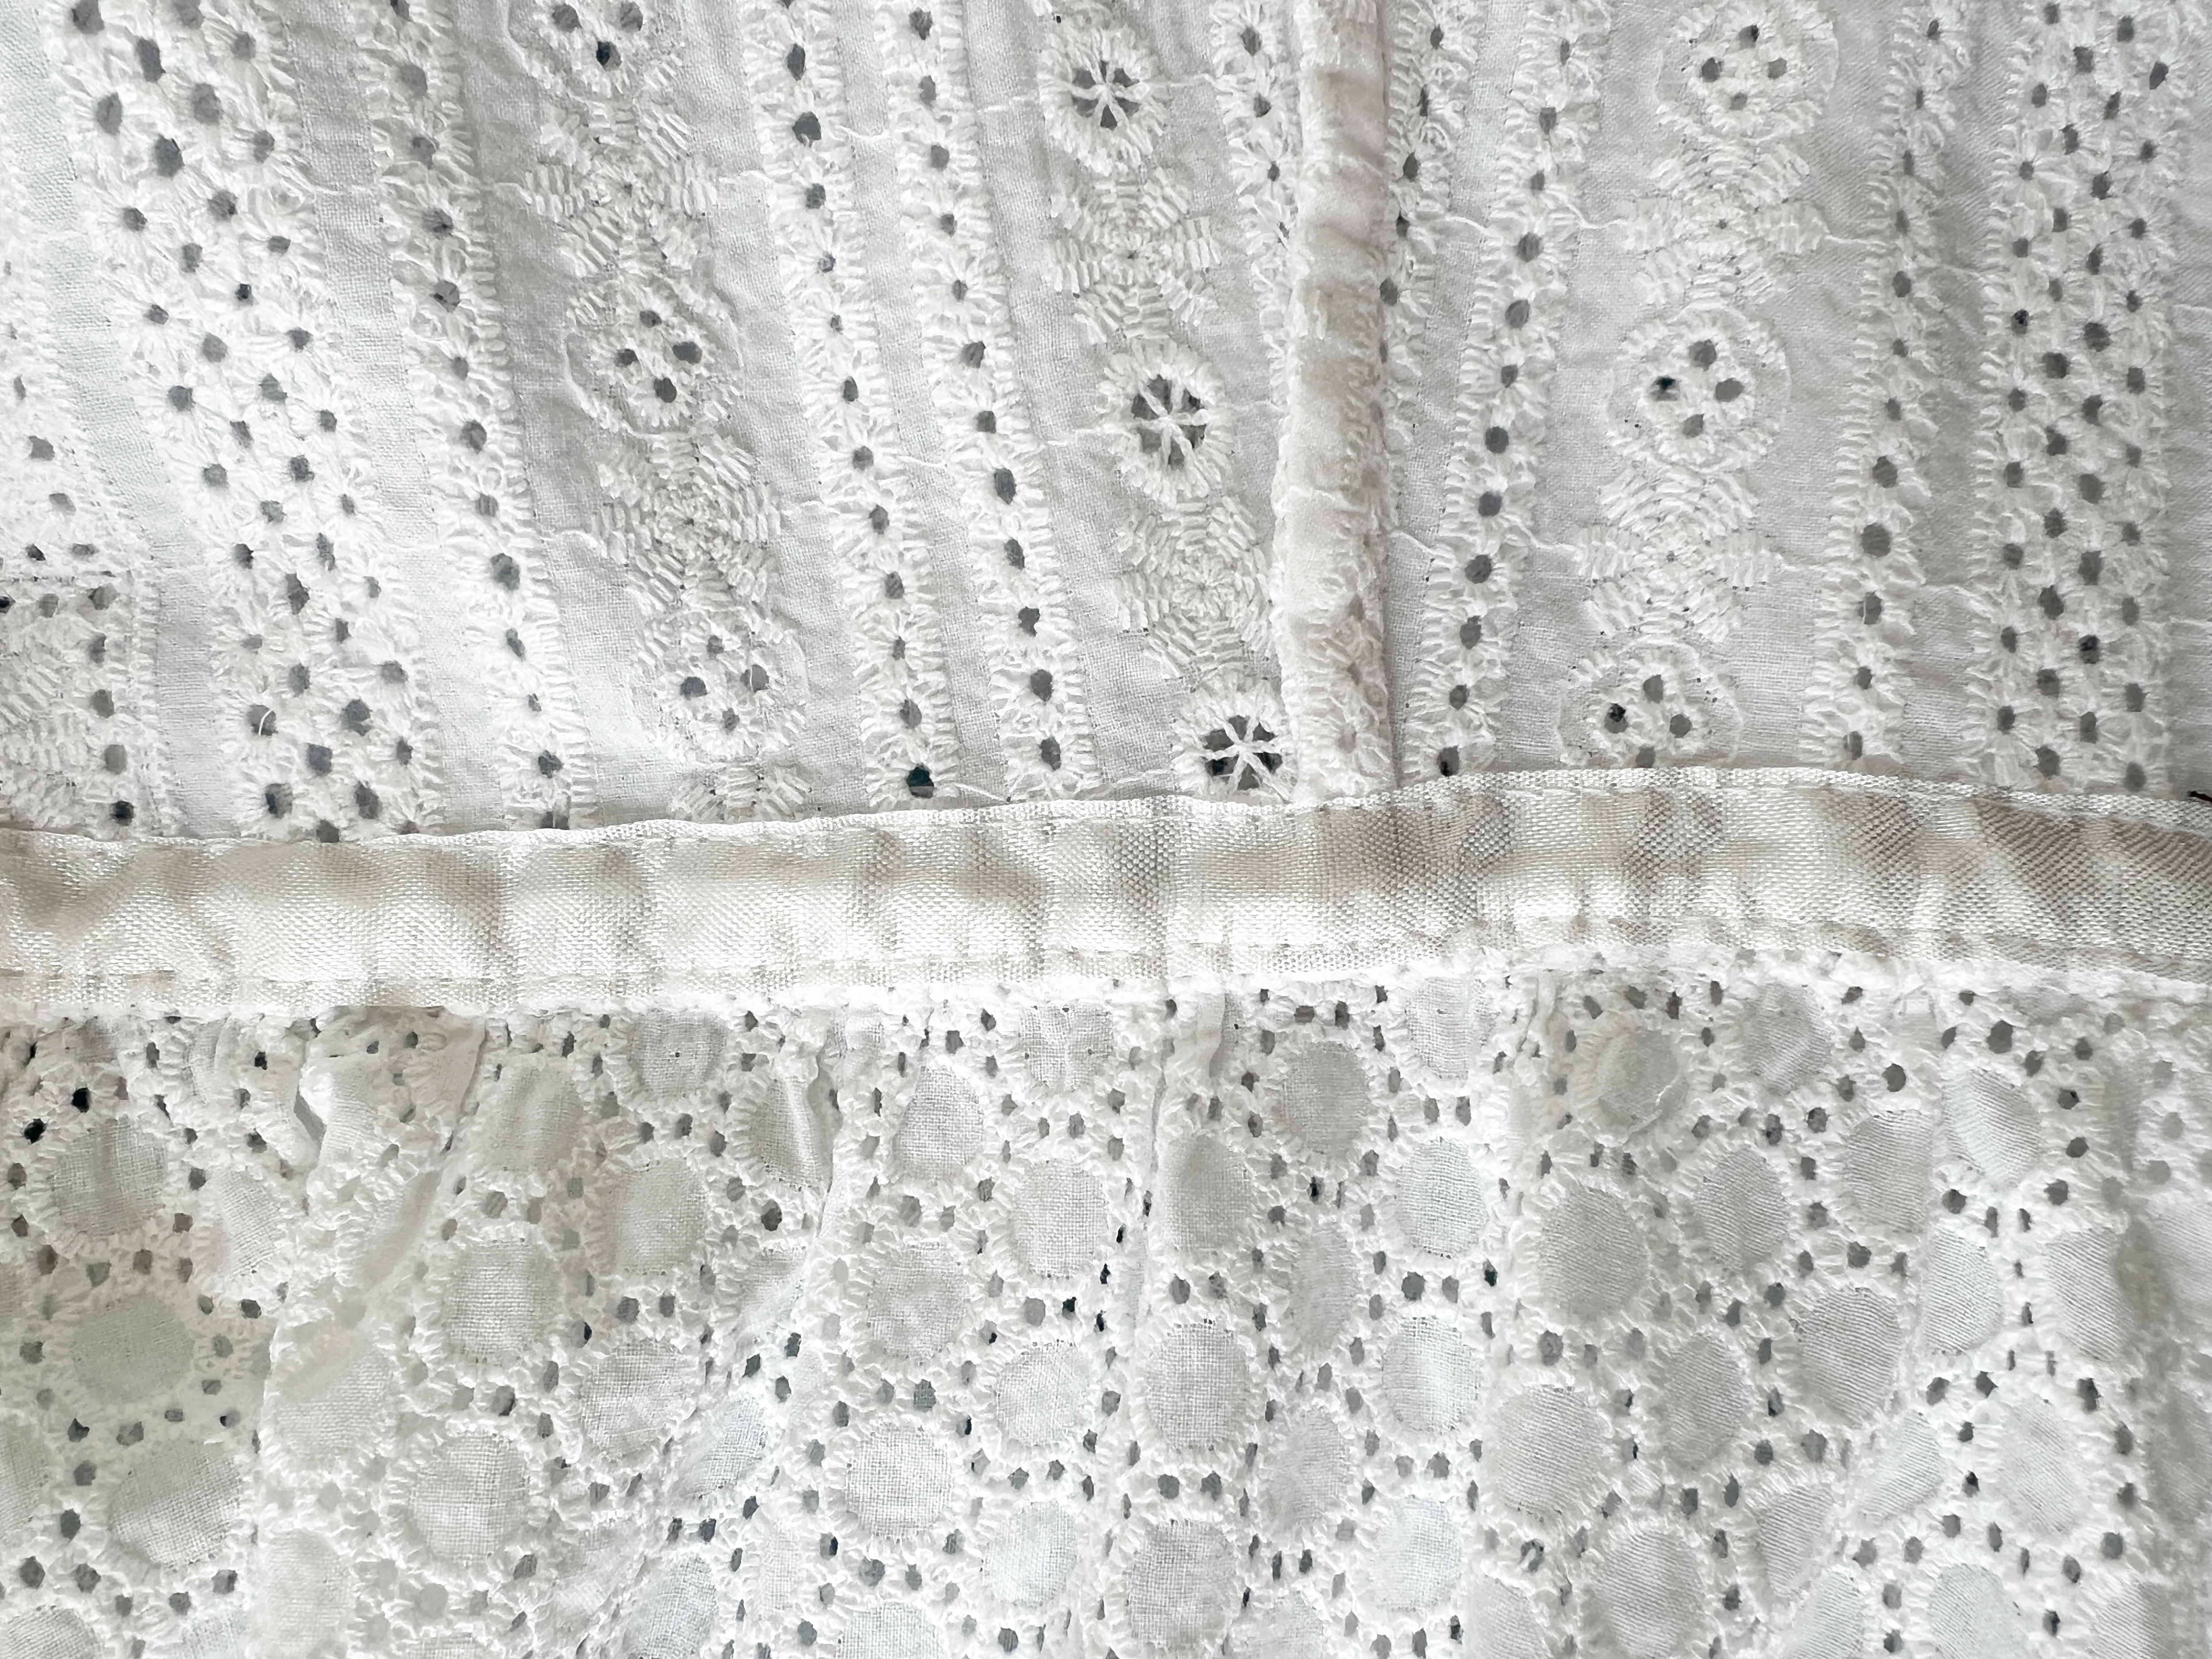
Seam Binding
The waist seam of this dress would be too bulky for French seams, and I wanted a finish that would lay flat against the body. I chose to bind this seam in rayon seam binding. This is a very thin rayon ribbon that can be wrapped around raw cut edges for a super clean and pretty finish.
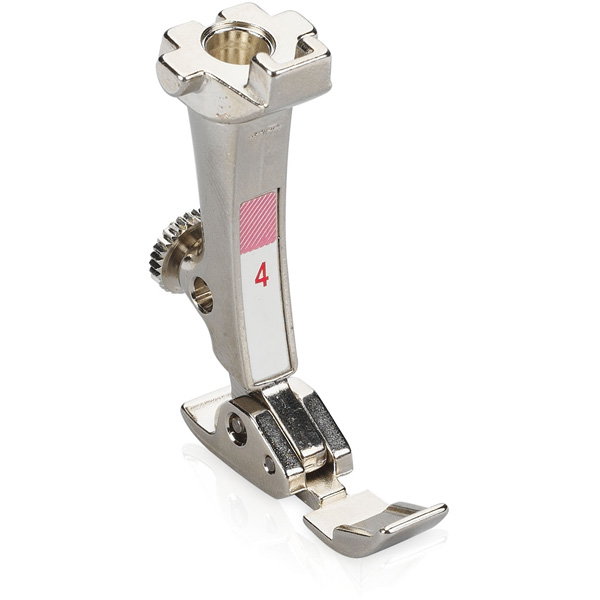
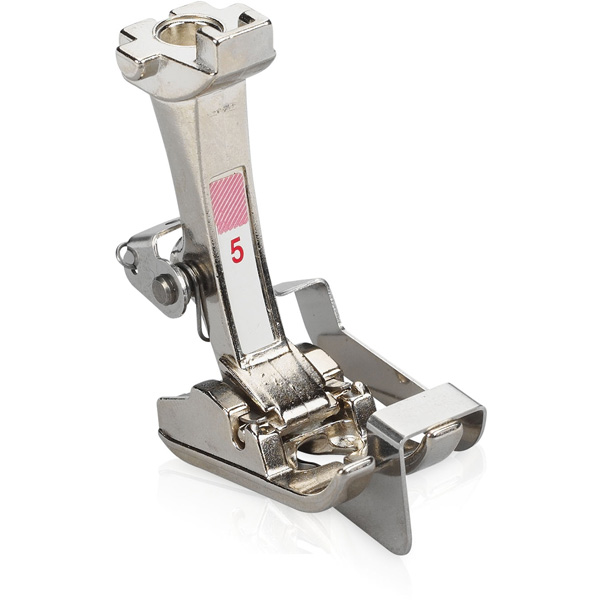
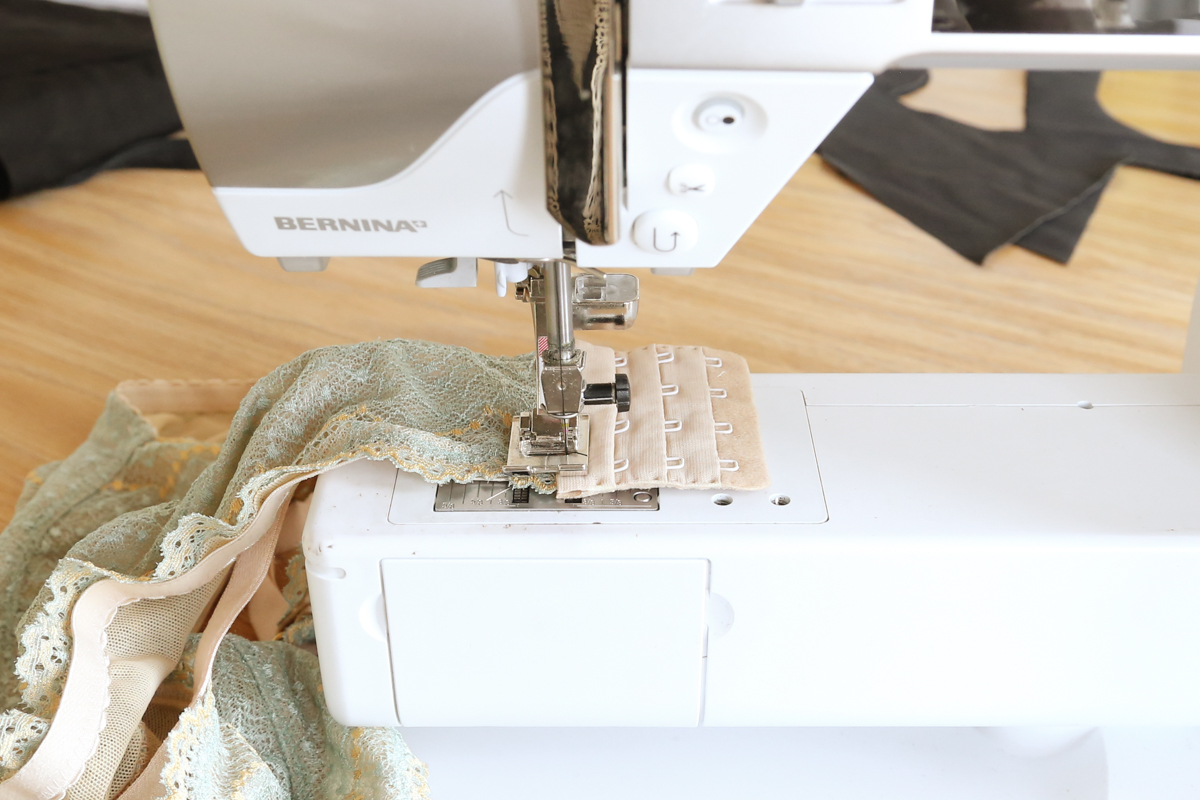
To ensure tidy, secure results, I use Blindstitch Foot #5 to sew right along the edge of the ribbon. I used the foot’s blade as a guide and moved the needle position to either -5 or 5. This allows me to sew close to the edge and maintain a straight stitch line.
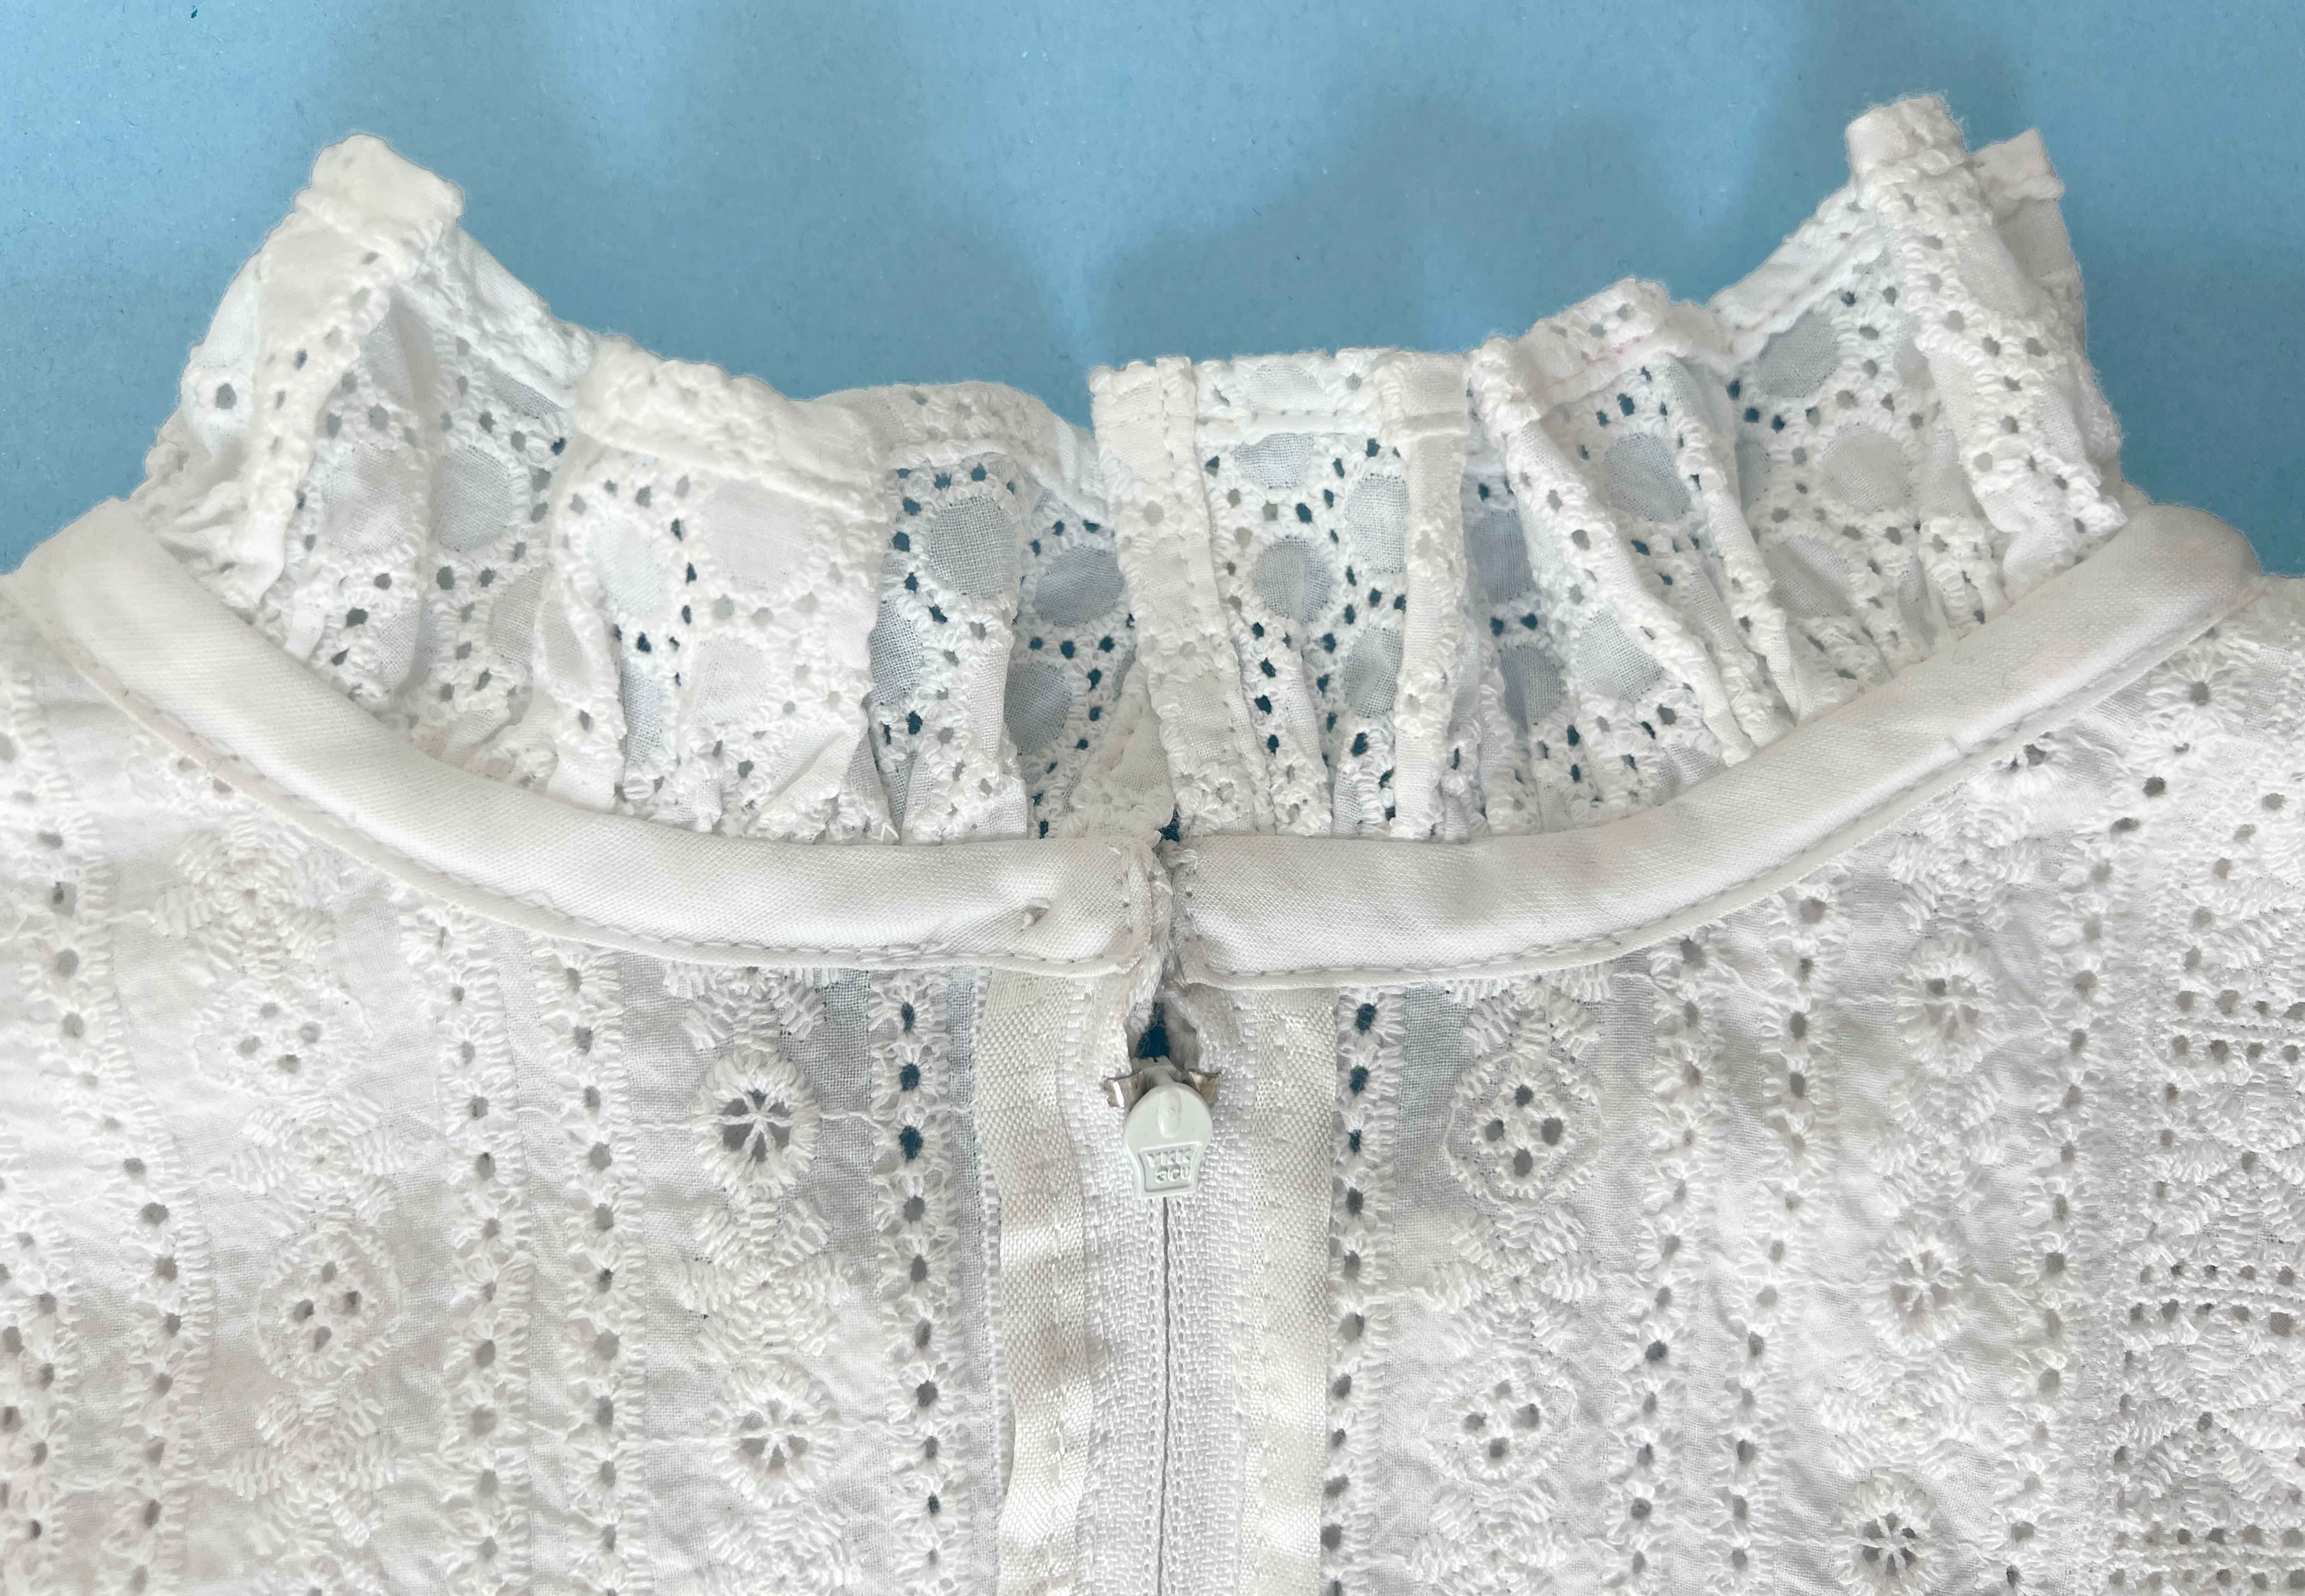
I also applied rayon seam binding to the edges of my zipper tape. For this I used Zipper Foot #4 to maneuver along that narrow edge of zipper tape. The 5.5mm feed dogs are amazing when sewing in the tight spaces sometimes found when creating garments. Even with such a narrow amount of fabric under the foot, the feed dogs fed it evenly.
For curved areas such as the neckline, used this same technique, but used bias tape instead of rayon seam binding. Bias tape can be shaped around the curves, where the rayon only works on straight lines. In both instances, using Blindstitch Foot #5 is indispensable for accurate lines of edge stitching.
Ruffles, Gathers & Narrow Hems
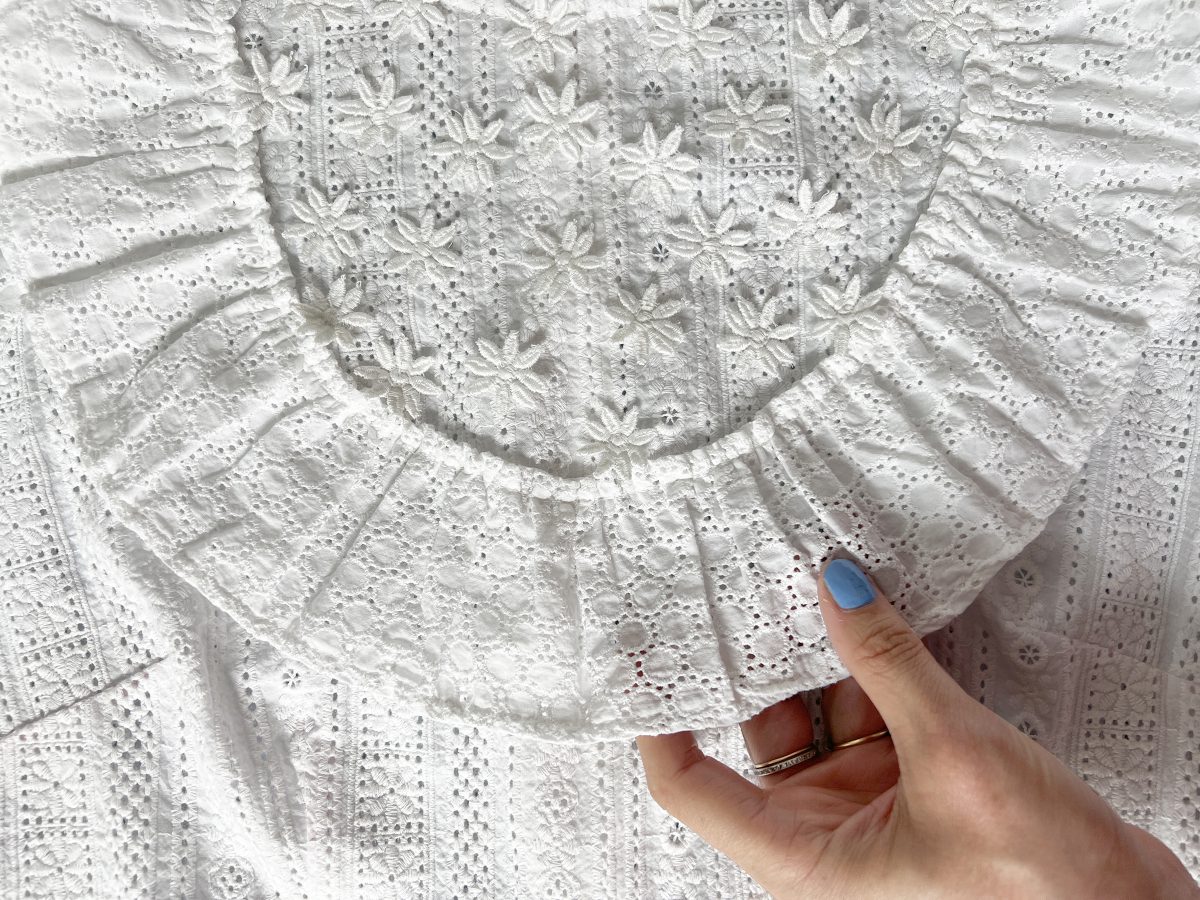
The ruffled neckline of this design immediately sparked my interest, and I decided to take it further and add an applied ruffle to the bodice as well. I know some people avoid ruffles because of all the hemming and gathering. Why don’t you make presser feet do the work?
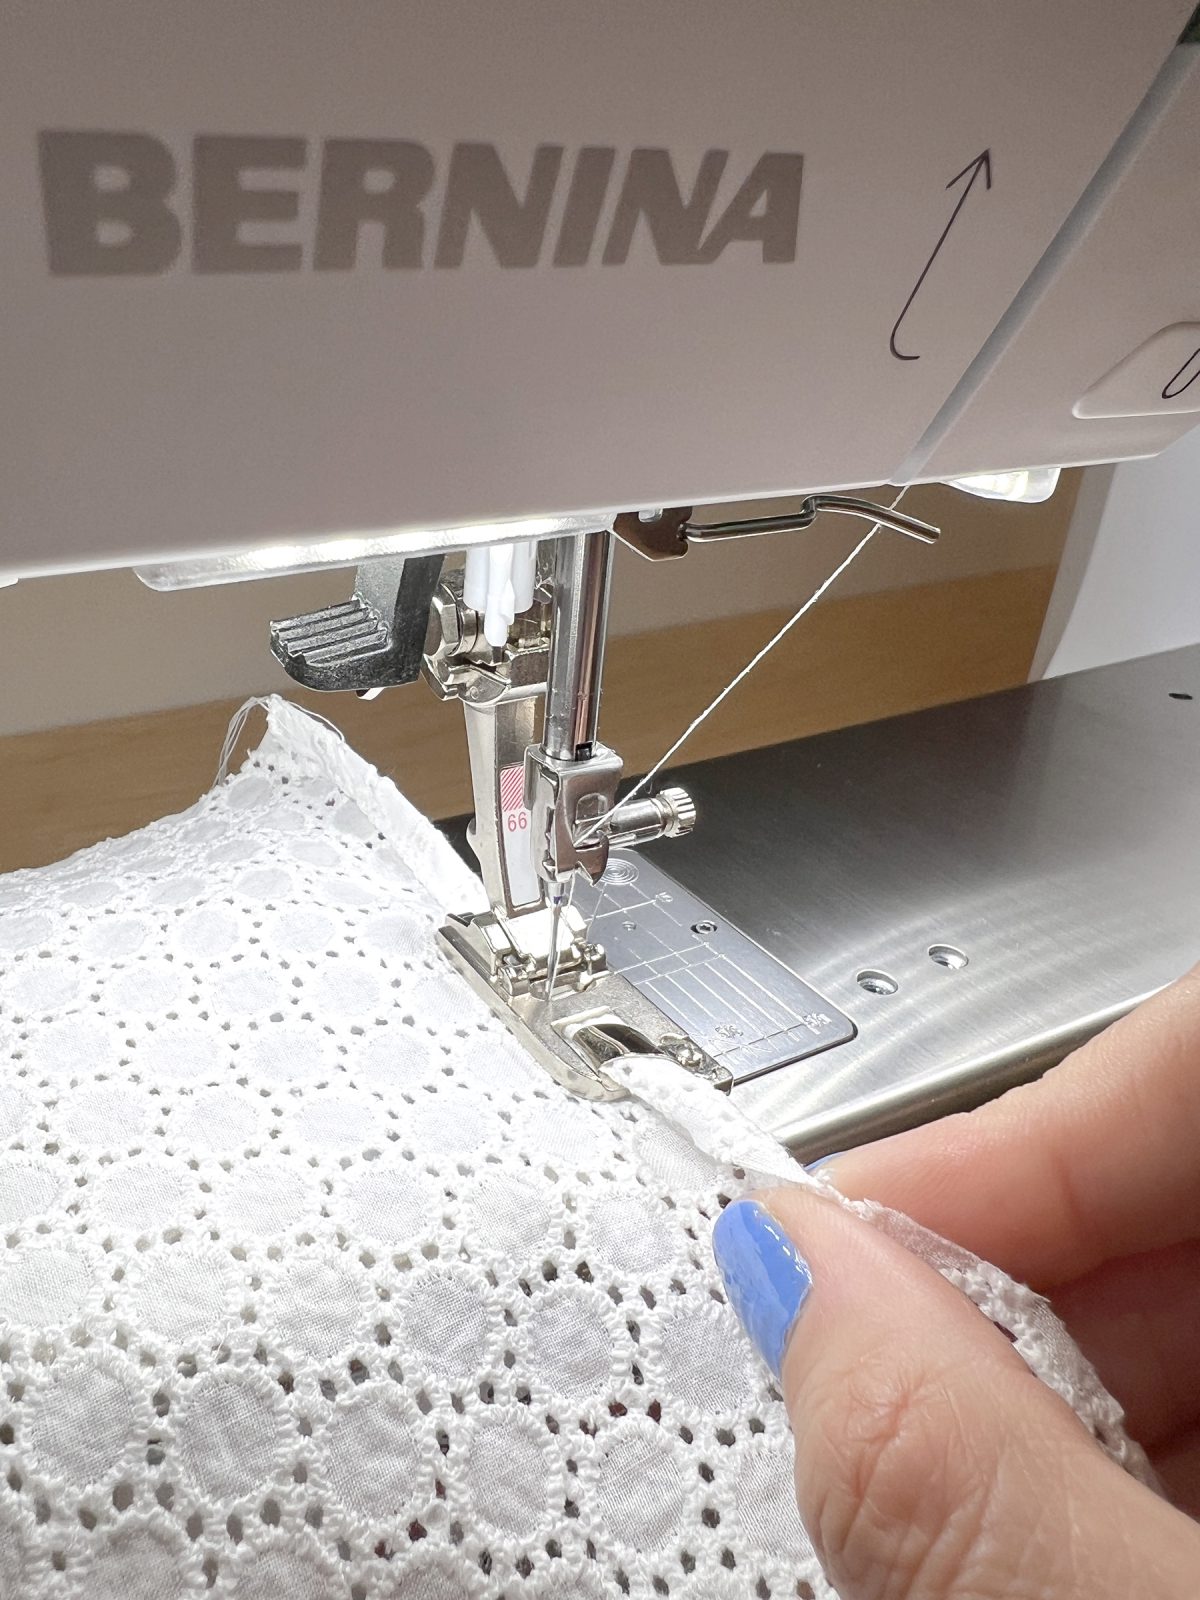
Hemming Ruffles
I hem ruffles first when my fabric is still flat. Though the base of this broderie anglaise is a lightweight cotton voile, the embroidery makes it much thicker. I kept that in mind when selecting my hemmer foot, and went with Hemmer Foot #66. This foot creates a 4mm wide hem, and it can handle thicker fabrics than the more narrow Hemmer Feet. This foot also allows for a zig zag stitch, meaning you can move your needle position.
If you move your needle to position -4 with Hemmer Foot #66, you will get an even more professional hem than if you leave the needle centered. Moving the needle position puts your stitch line close to the edge of the rolled fabric. Before you know it, you’ll have an even 4mm hem, perfect for a ruffle or delicate dress hem.
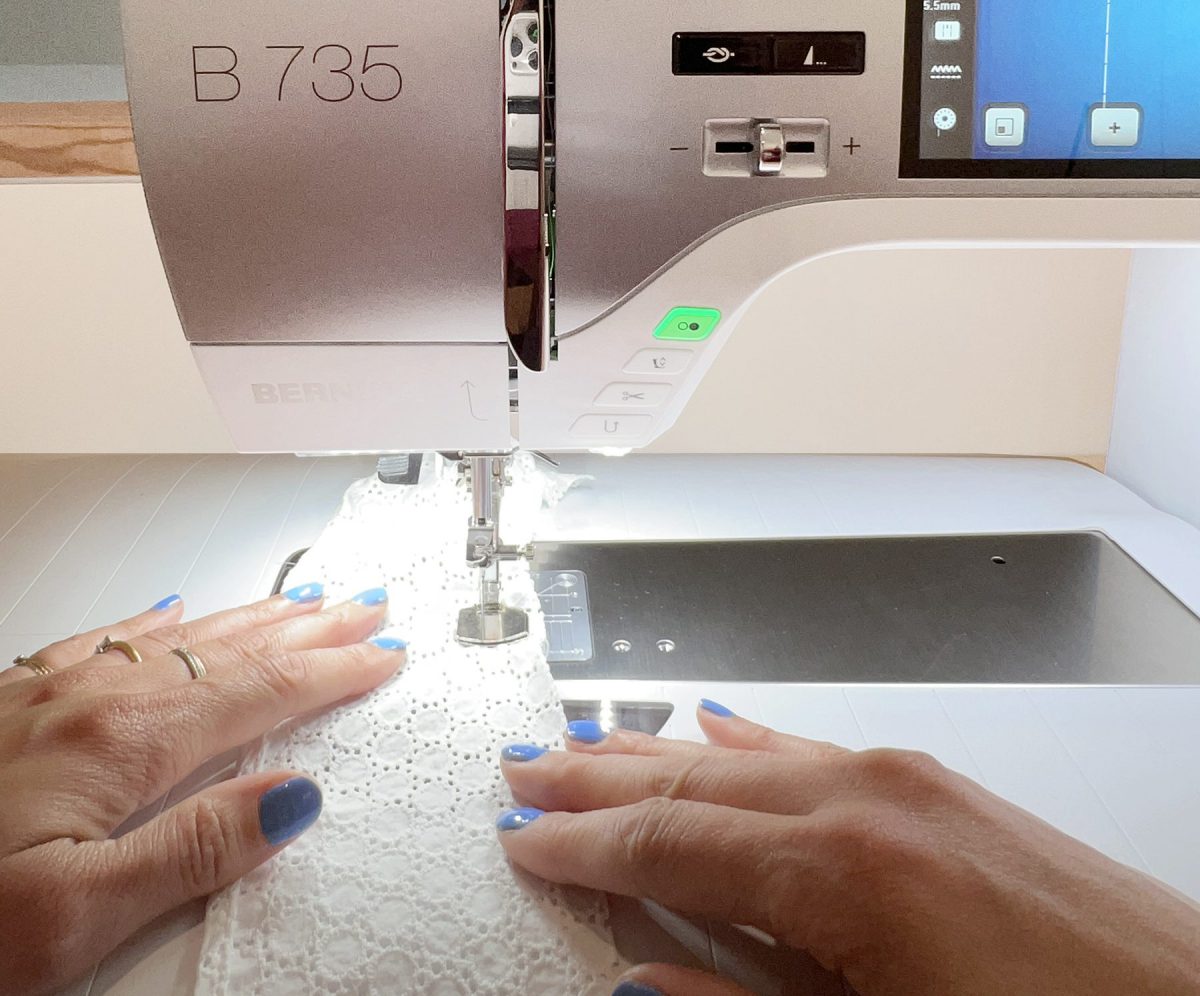
Ruffles
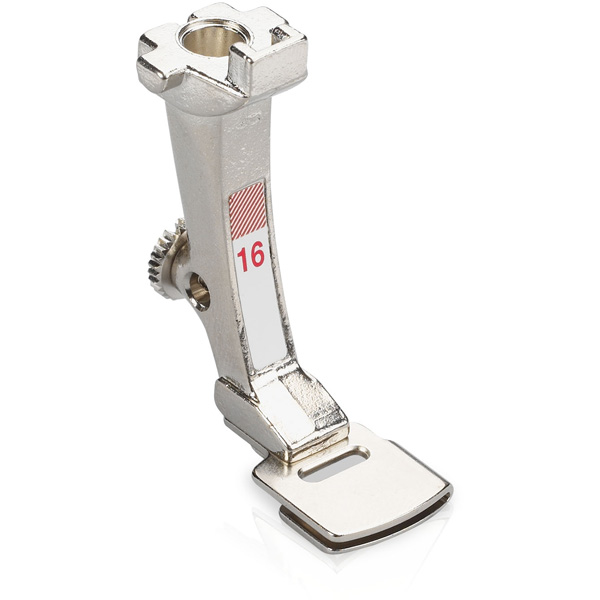
Once the fabric is hemmed, it’s time to ruffle it up! The famous BERNINA basting stitch is wonderful here. I turn my stitch length up to 6mm, and clip on Gathering Foot #16. After one super fast line of stitching, you’ve got a ruffle. I’m serious – just one pass and the fabric gathers up! It feels like magic every time.
Applying Trim with Eyelet Stitches
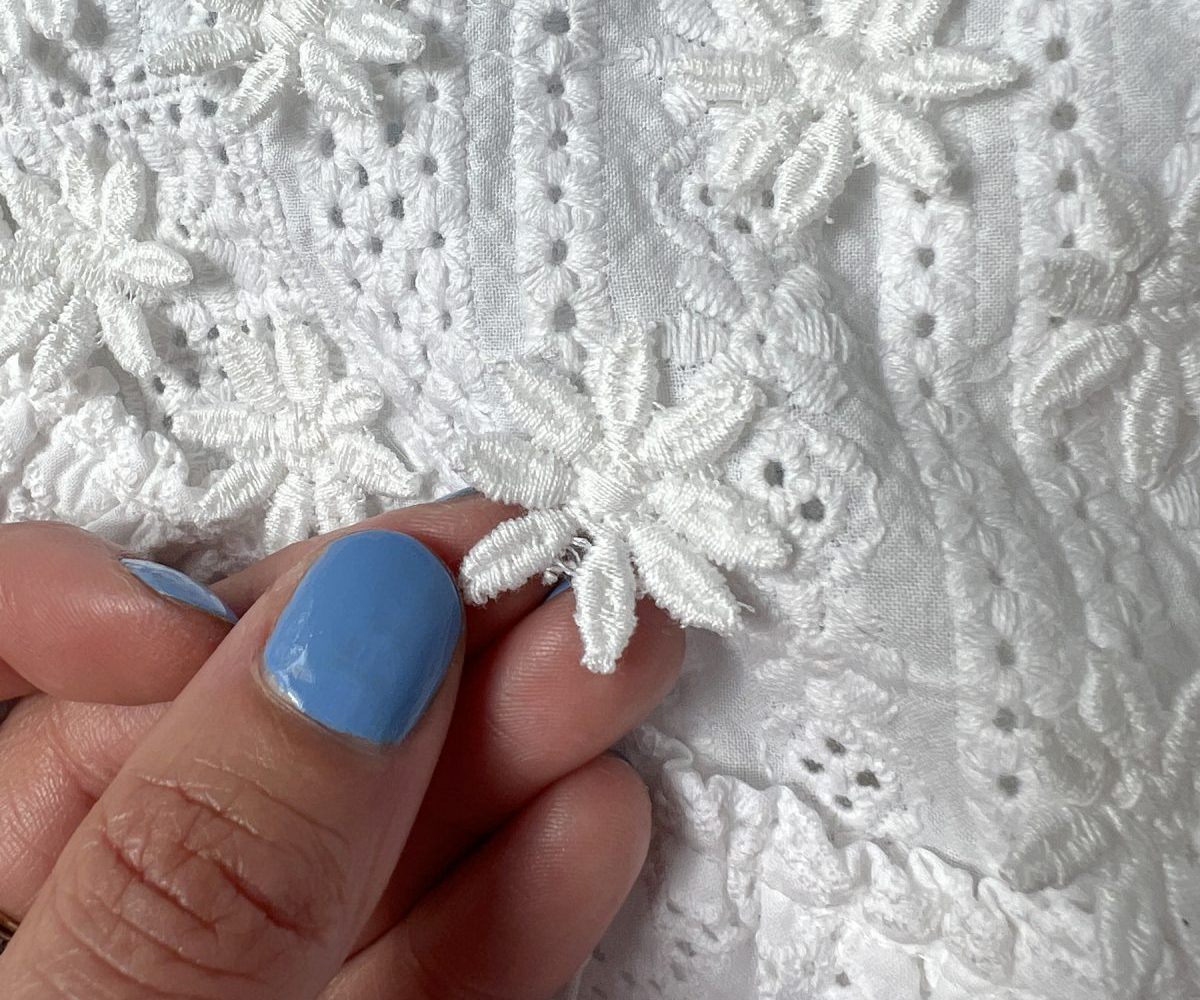
Between the sweet eyelet and soft ruffles, this dress was coming out delightfully textured. Could I add one more element? I took a peek at my ever-growing trim stash and found scraps of an embroidered flower trim. Just a few short lengths, not enough to apply along the bodice ruffle. It occurred to me I could cut them apart into individual flowers.
With Reverse Pattern Foot #1 and eyelet stitch £££££, I sewed down the center of each flower, while leaving the petals free. It was a wonderful coincidence that the eyelet is almost the exact same size as the center of each flower.
I needed both hands to position each flower, and then rearrange the dress bodice before moving to the next one. The Free Hand System allowed me to use both hands and never lose control of my project. The result is very secure, invisible stitching. These flowers are the perfect addition of texture to this dress!
Final Results
I don’t know about you, but maybe the only thing I enjoy more than sewing is thinking about sewing. As I imagine my way through each project, I think about which foot I will use, which stitch I’ll select, and how those choices will come together to make the best finishes. This dress was no exception. I loved reaching into my accessory box and pulling out the different feet. It was fun to move my needle position to make my rolled hems nice and tidy, and my edge stitching flawless.
If you’d like to see more of my garment sewing adventures, check out my blog or my Instagram profile. Do you have a few feet you are reaching for all the time or stitches you can’t live without? Let me know your favorites, I’d love to give them a try on my next project! Happy sewing, Martha