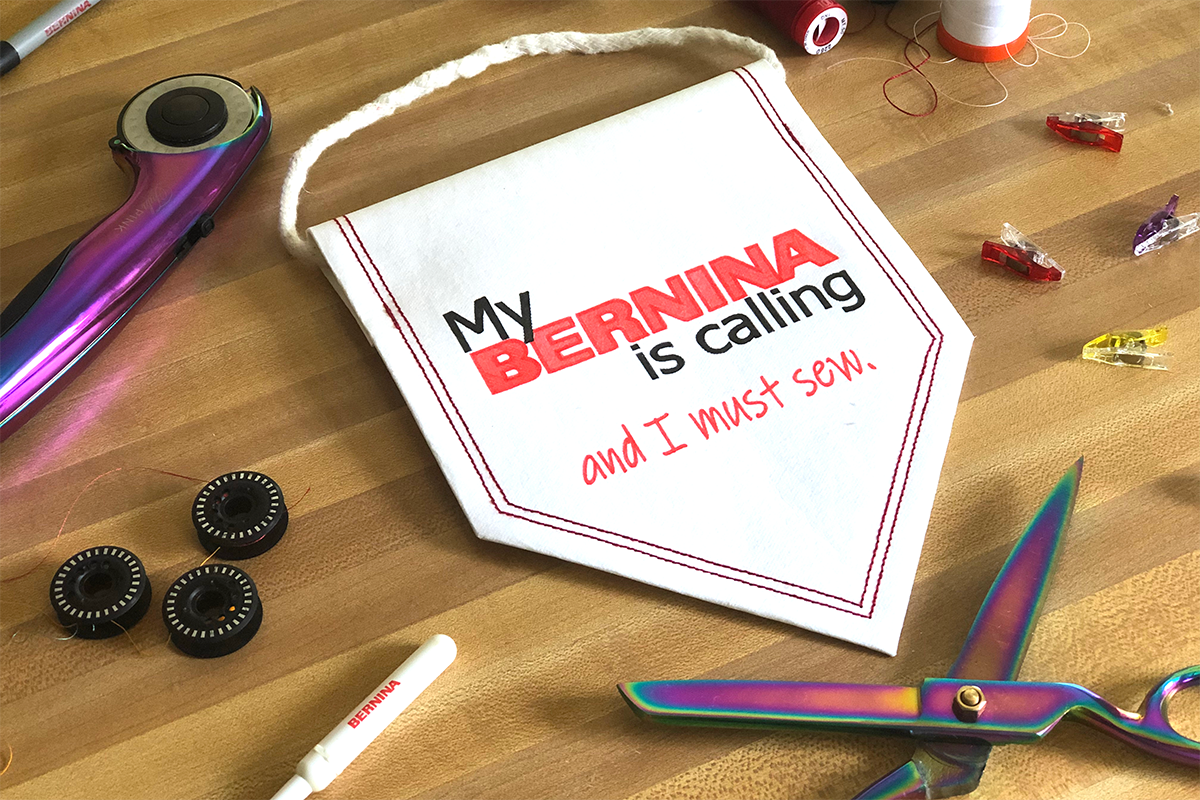
My BERNINA is Calling and I Must Sew
I think we all know the feeling! You start to get that itch…everywhere you look you’re seeing colors and shapes that inspire you…ideas are flowing to you en masse and then…you can hear it! The sound of your BERNINA is calling your name! It’s time to get into your sewing room to use your superpower and make some cool stuff.
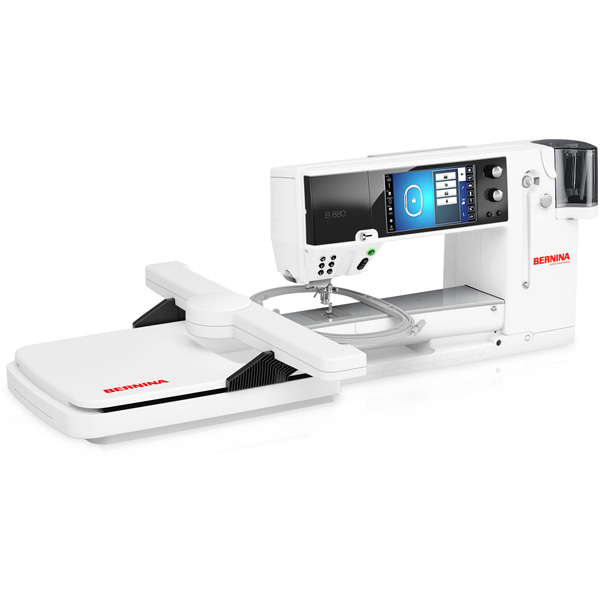
I love the feeling of creating something unique and I am always so excited to explore the amazing things my BERNINA 880 PLUS can do! The BERNINA PaintWork tool is just the tool to bust out when you want to have a great time making and create something that is so fun you even wow yourself. No matter how many times I digitize with BERNINA DesignWorks Suite Software and paint with the tool, it’s still exciting to watch my sewing machine draw something I have designed, and I gotta be honest, I just eat up the wide eyed look on people’s faces when I tell them how I made it.
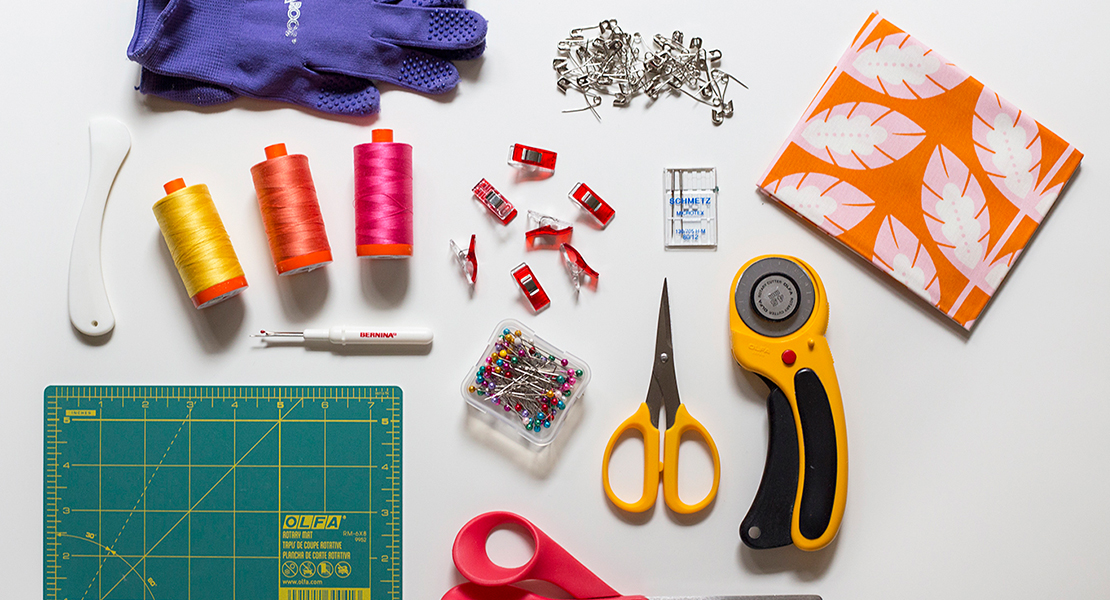
- White kraft-tex Paper Fabric
- Fine point markers in black and red
- Reverse Pattern Foot #1D
- Edgestitch Foo#10D
- BERNINA PaintWork tool
- BERNINA DesignWorks Suite Software
- BERNINA made to create PaintWork Design from Embroidery Online (NOTE: When purchasing this design, be sure to download all formats since you will need the .Draw file for this project.)
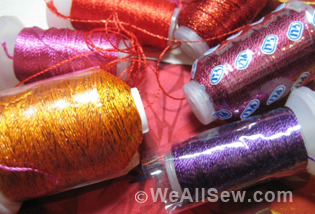
- 12 weight Aurifil Thread in red (2260)
- 50 weight Aurifil thread in white for bobbin
- Topstitch needle 90/14
- Scrap of yarn or rope
- Rulers
- Pencil
- Rotary cutter
- Scissors
- Cutting mat
So let’s get to it shall we?
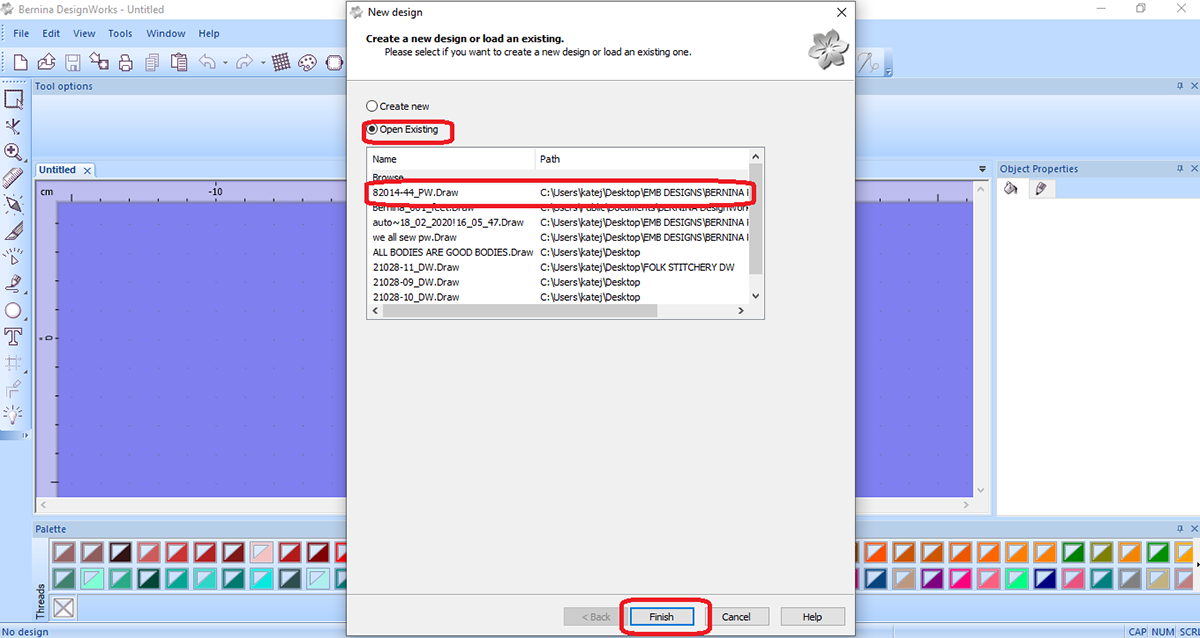
Open DesignWorks Suite Software and select “Open Existing” then choose the BERNINA made to create file (82014-44_PW.Draw) from your files. You may need to select “Browse” to find your design. Select Finish.
Now that your design is open, let’s save it in a folder of your choosing via File>Save As. It’s a good habit to get into to save early and save often.
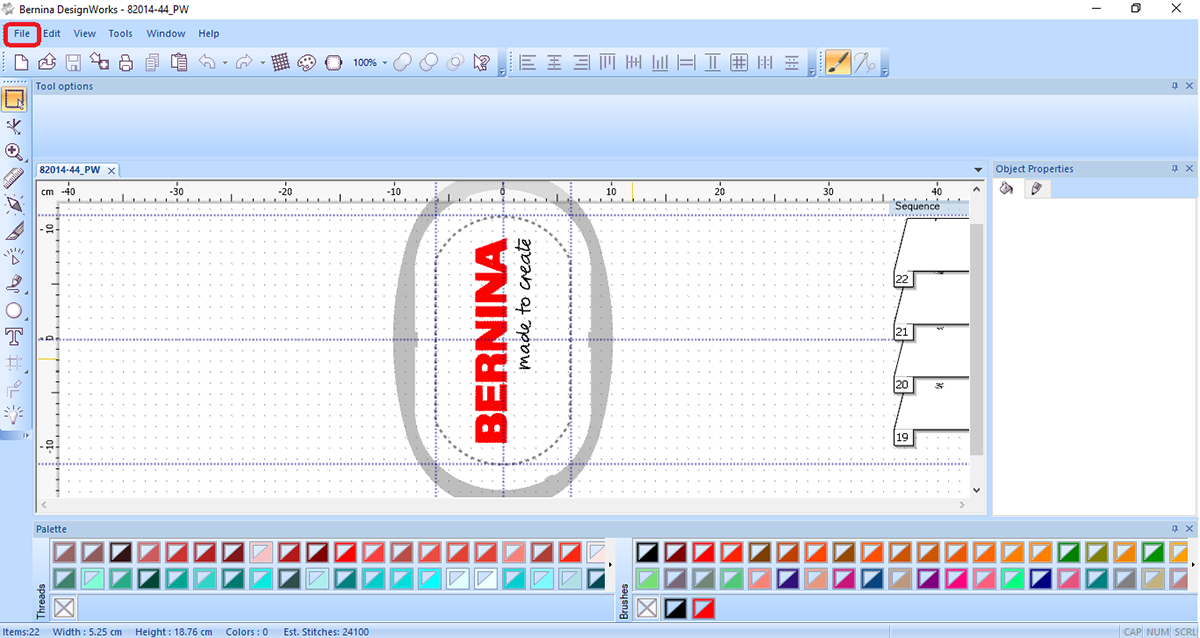
Using the Rectangle Selection tool, select your whole design. Right click and choose “Ungroup”
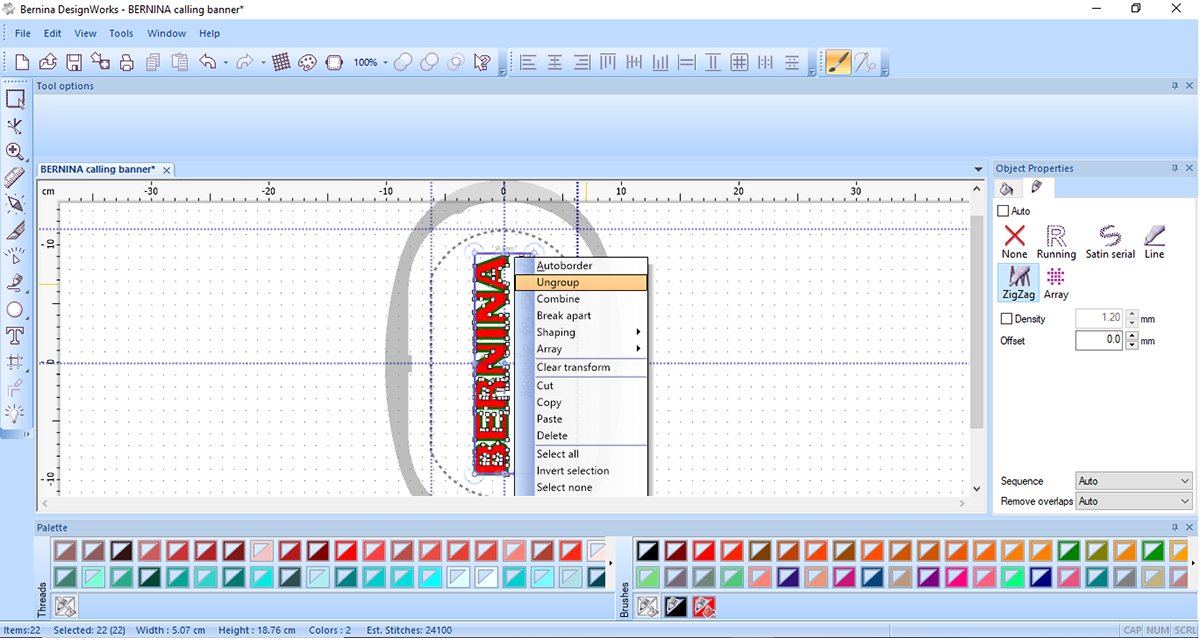
Now you can select just the “made to create” portion and delete it. We will only be working with the “BERNINA” logo.

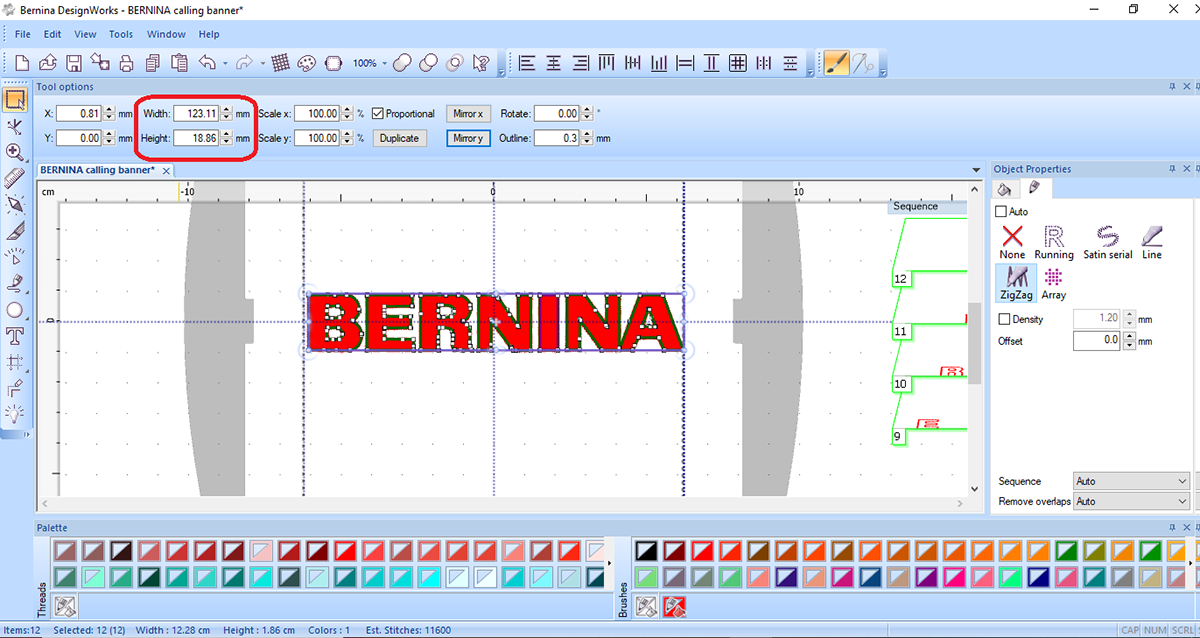
Now select the BERNINA logo, right click and select “Group”. Then go up to the “Rotate” portion of your toolbox, type “-90” and hit enter.

With the design still selected resize it down to be roughly 123 mm x 18 mm and drag it to the center of the hoop. We need our BERNINA Logo to be just inside the dotted borders of the hoop.
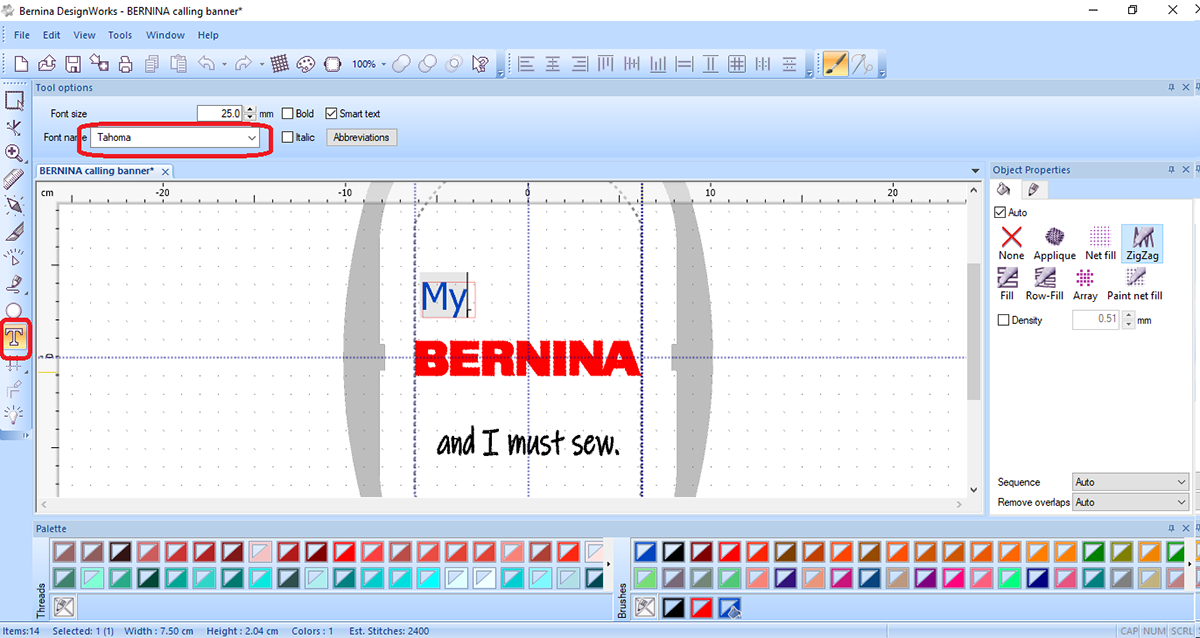
Select the Text icon and choose “Ink Free” from the drop down menu.
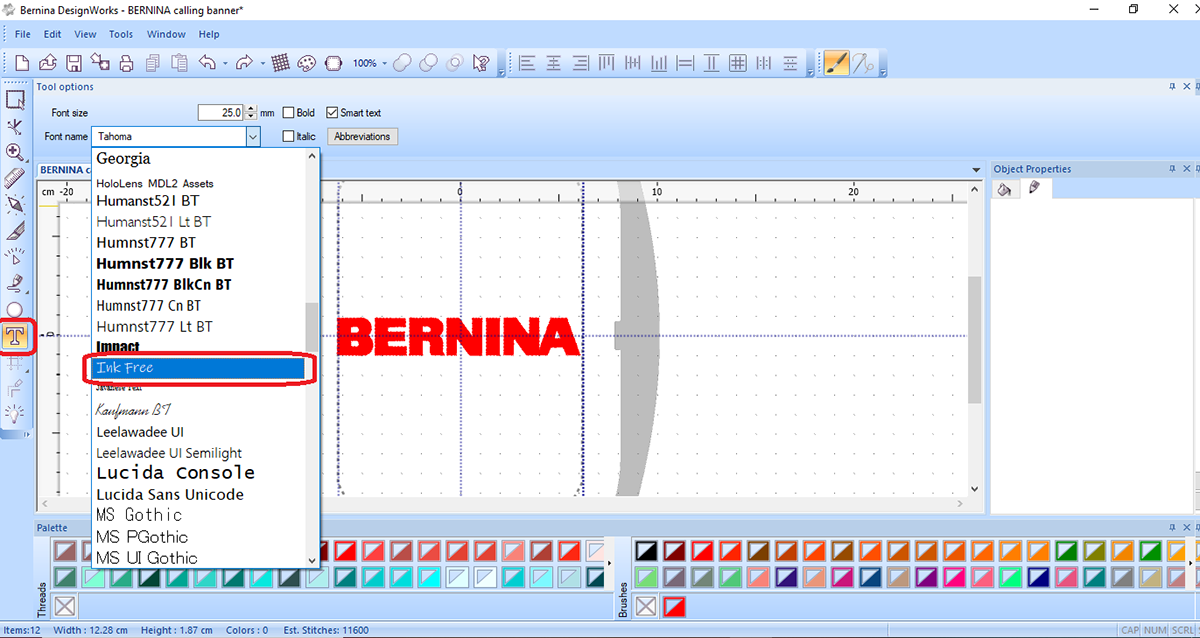
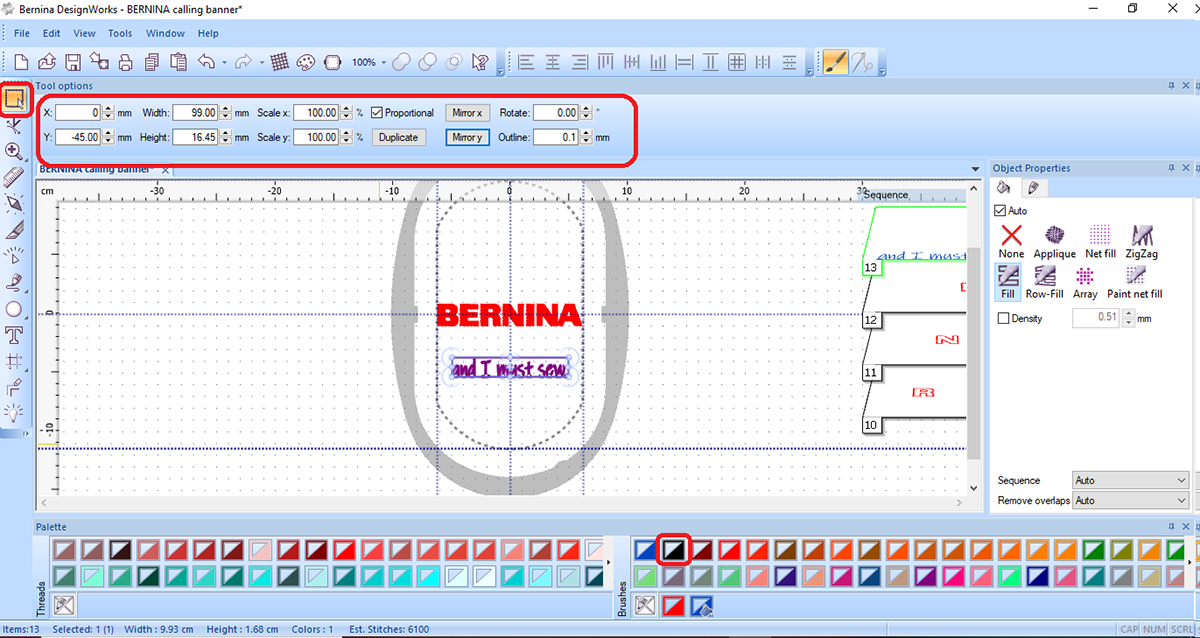
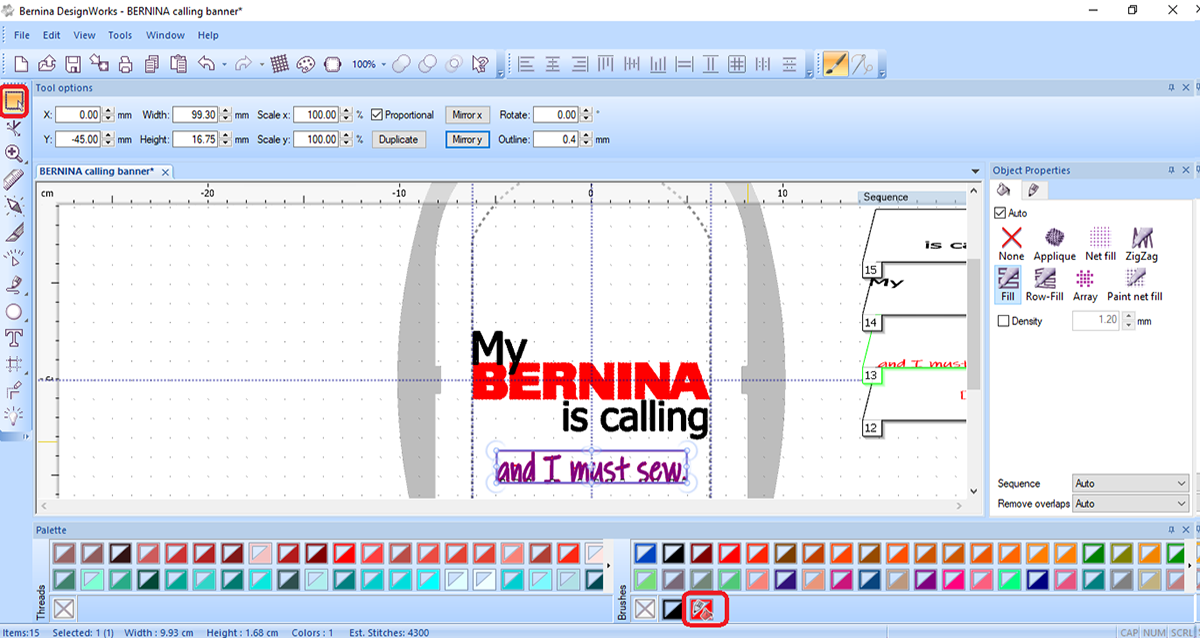
Select anywhere on the work space and type “and I must sew.” Then hit enter on your keyboard. Use the Rectangle Selection tool to highlight this text so we can edit it. Change the width to 99 mm, outline to .1 mm and -45 in the Y axis.
Then at the bottom of the screen, with the text still highlighted, select black fill and outline by clicking the black triangle and then the white above it. Deselect the words.
Now let’s head back to our Text Tool and choose the font “Tahoma” Type the word “My” and hit enter.
Reminder: Don’t forget to save as you go!
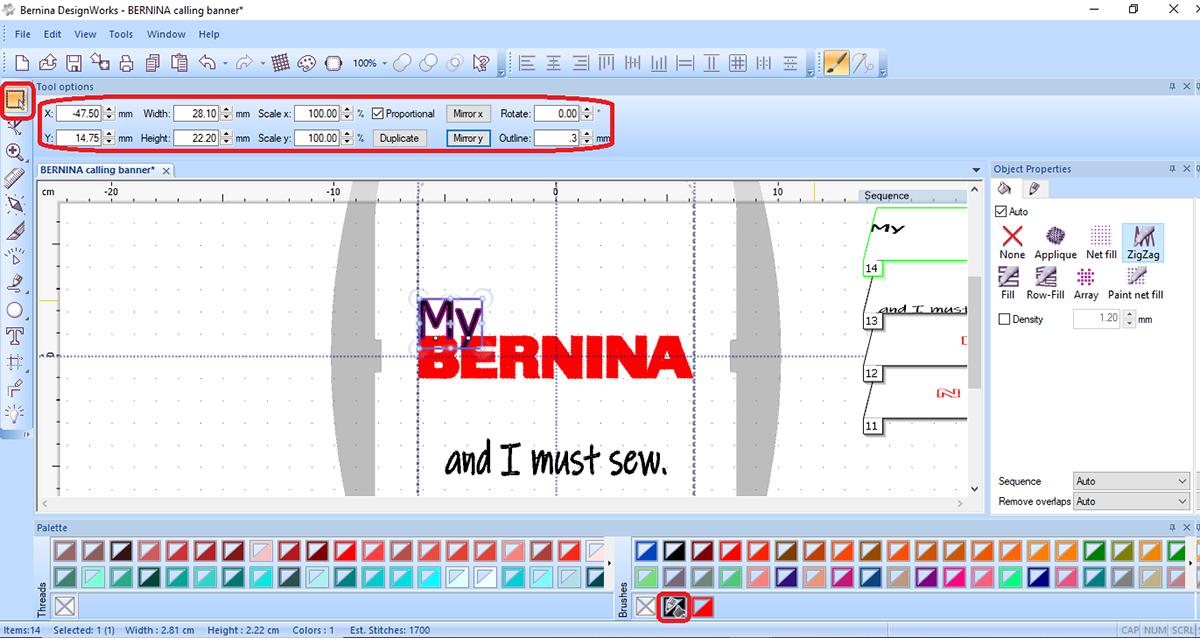
Once again we will go back to our Rectangle Selection tool and select the word “My” Match your object properties to mine below: X Axis: -47.5, Y Axis: 14.75, Width 28.2, Height, 22.29, outline .3.
Then make the fill and outline black as we did before by clicking the black triangle and then the white above it. Deselect the word.
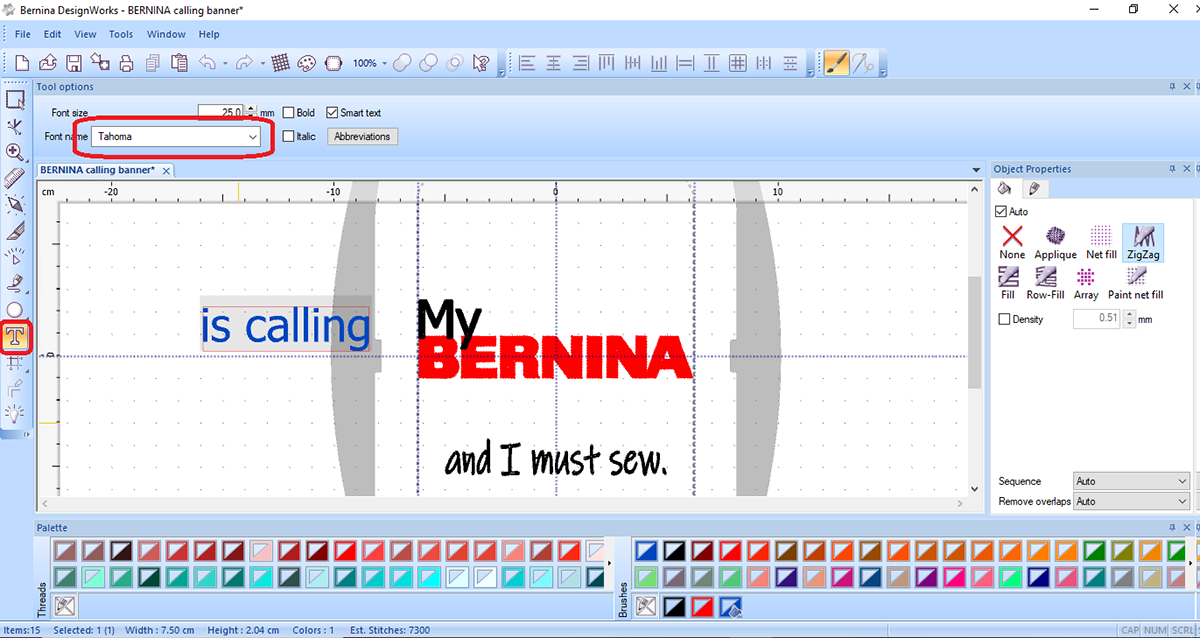
Almost there! Let’s add our last bit of text! Select the Text Tool, “Tahoma” font and type out “is calling” then hit enter.
Now we will go back to the Rectangle Selection tool, and select the text we just created. Once again make your object properties match mine: X Axis: 23, Y Axis: -20, Width 74.89, Height, 20.30, Outline .3.
Then make the fill and outline black as we did before by clicking the black triangle and then the white above it.
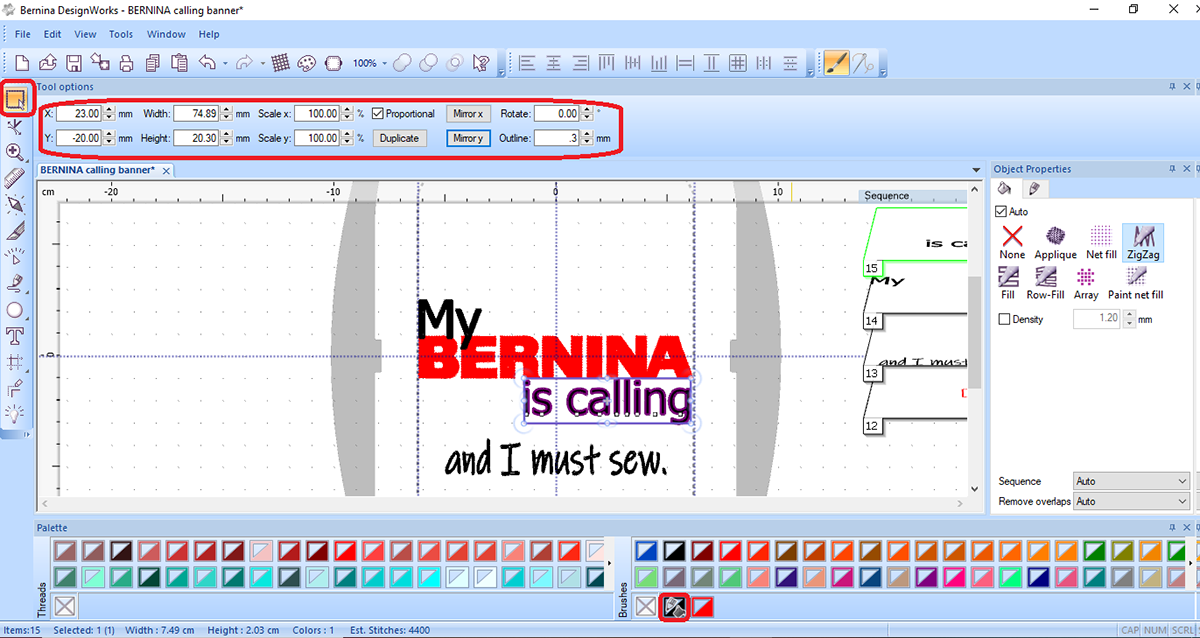
At this point I realized the design was missing something and changed the “and I must sew” text to red to match our BERNINA logo. Perfect!
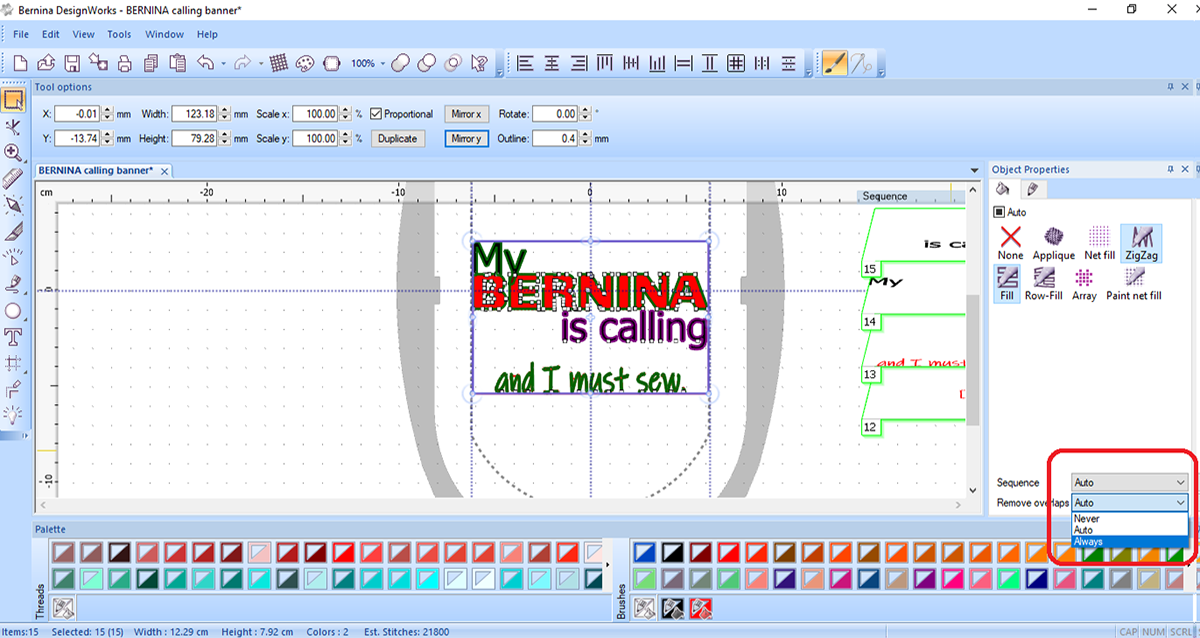
Select the whole design and then over on our Object Properties docker, go to the “Remove Overlaps” drop down list and select “Always” I also moved the design as a whole to the center of the hoop.
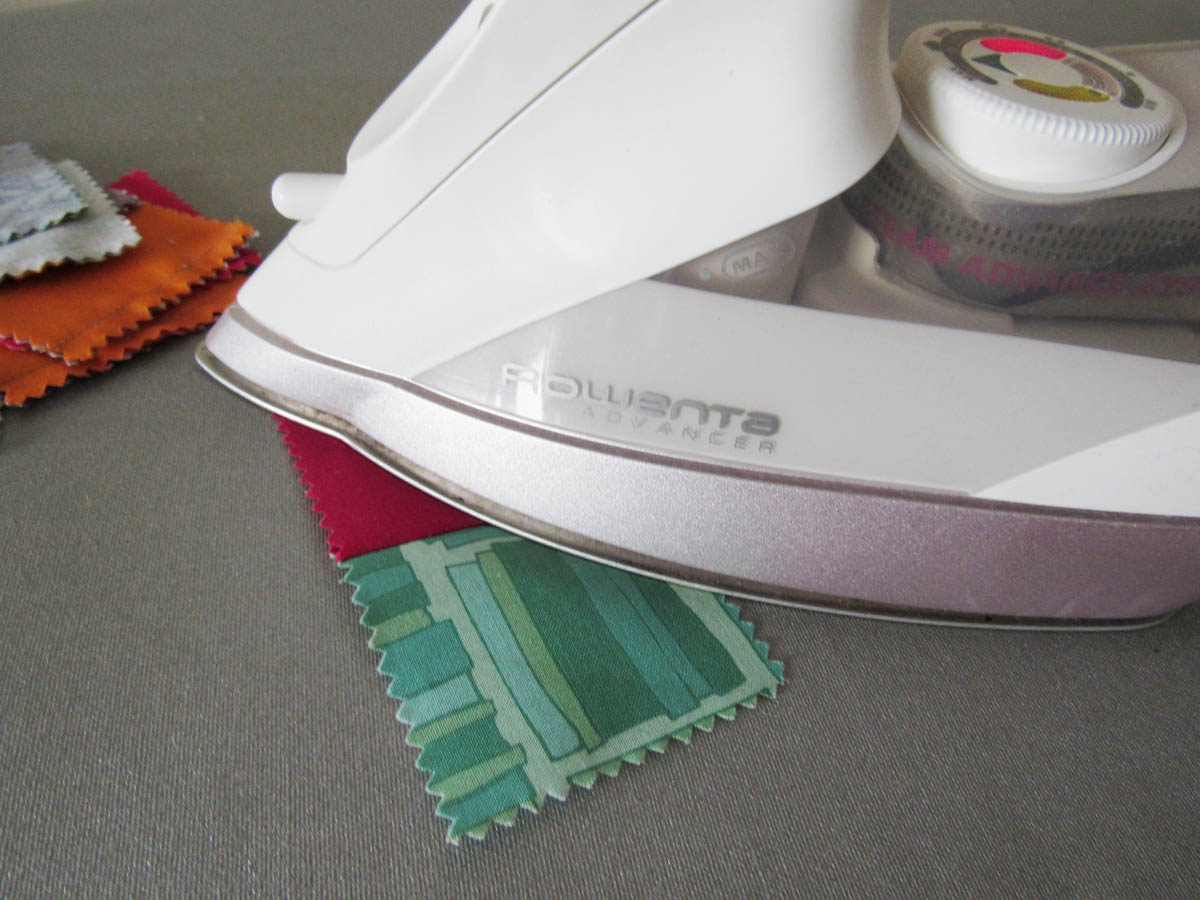
I always test out my PaintWork designs on scrap fabric or scrap Kraftex before I start my final project; this way I can be sure the look and quality are exactly what I was wanting.
After some trial and error with the various markers I own, I learned that for this particular design, using fine tip markers from my local craft store gave me the printing quality I liked most on the Kraftex. However, when using such a fine marker we have to change the density of our fill, which is something we have to change for each individual part of our design.
Select the text using the Rectangle Selection tool, then deselect “Auto” under the fill tab (the one that looks like a paintbucket), select the “Density” box and input “.5” in the box.
You will notice some fills may be different, I did change the fill on “and I must sew” to “zig zag” but left everything else with its default fills. Once again this was after some trial and error, so don’t be afraid to try things out until you are happy with what you have created.

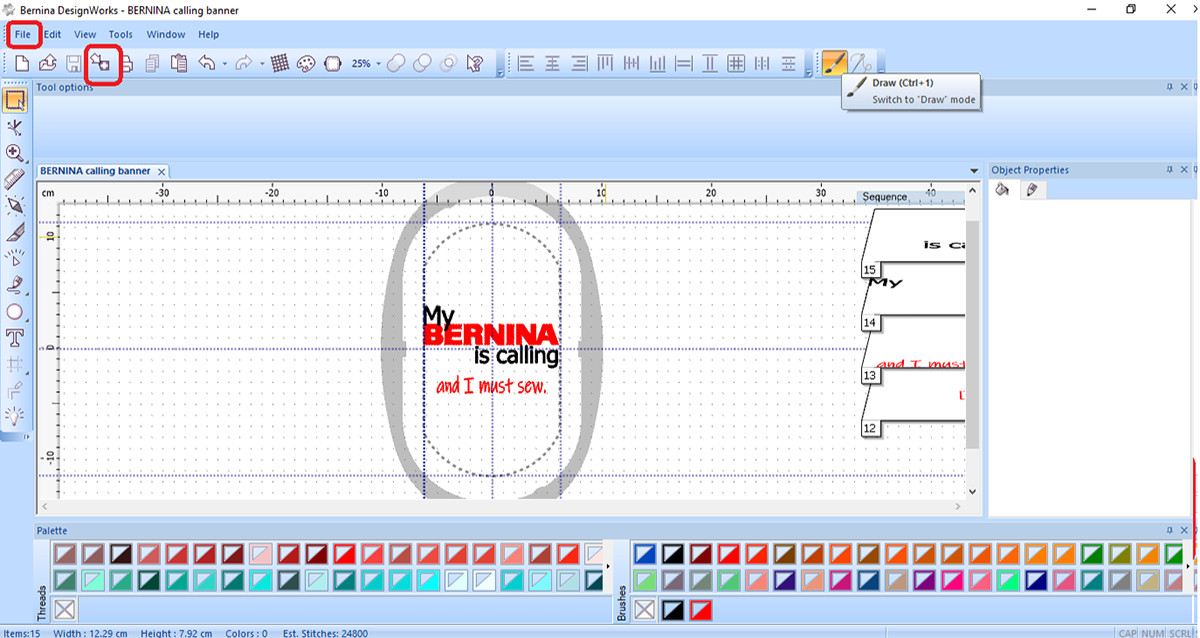
Finished! I always take a minute to do a final check and make sure everything looks exactly how I want it. Once you’re satisfied with your design, do a final File>Save and click the Export icon. From here you will choose how you are exporting the file to your machine.
Now that you are a DesignWorks genius, let’s prep our hoop and get ready for phase two of this project!
Take the inner ring of the hoop and place it on the kraft-tex. Trace the inside of the ring onto your kraft-tex.
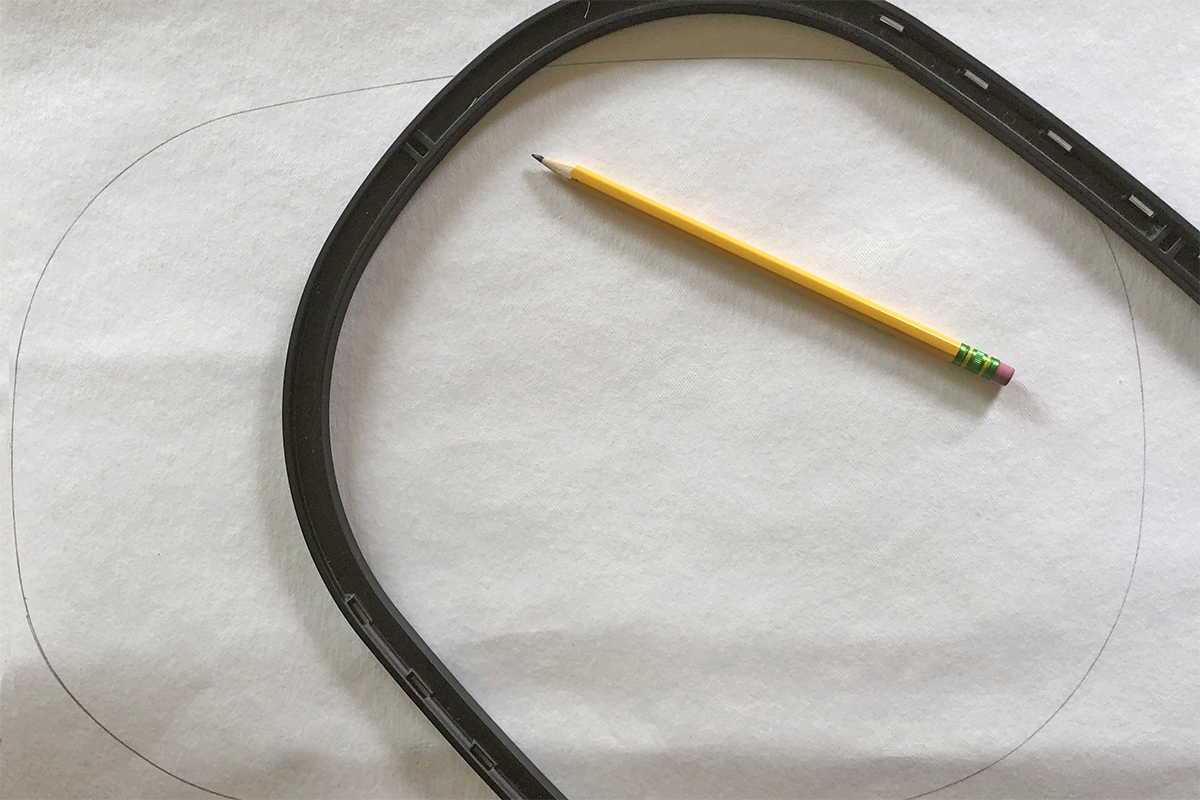
Cut out the kraft-tex about 1/8” inside the drawn line so it will fit inside your hoop.
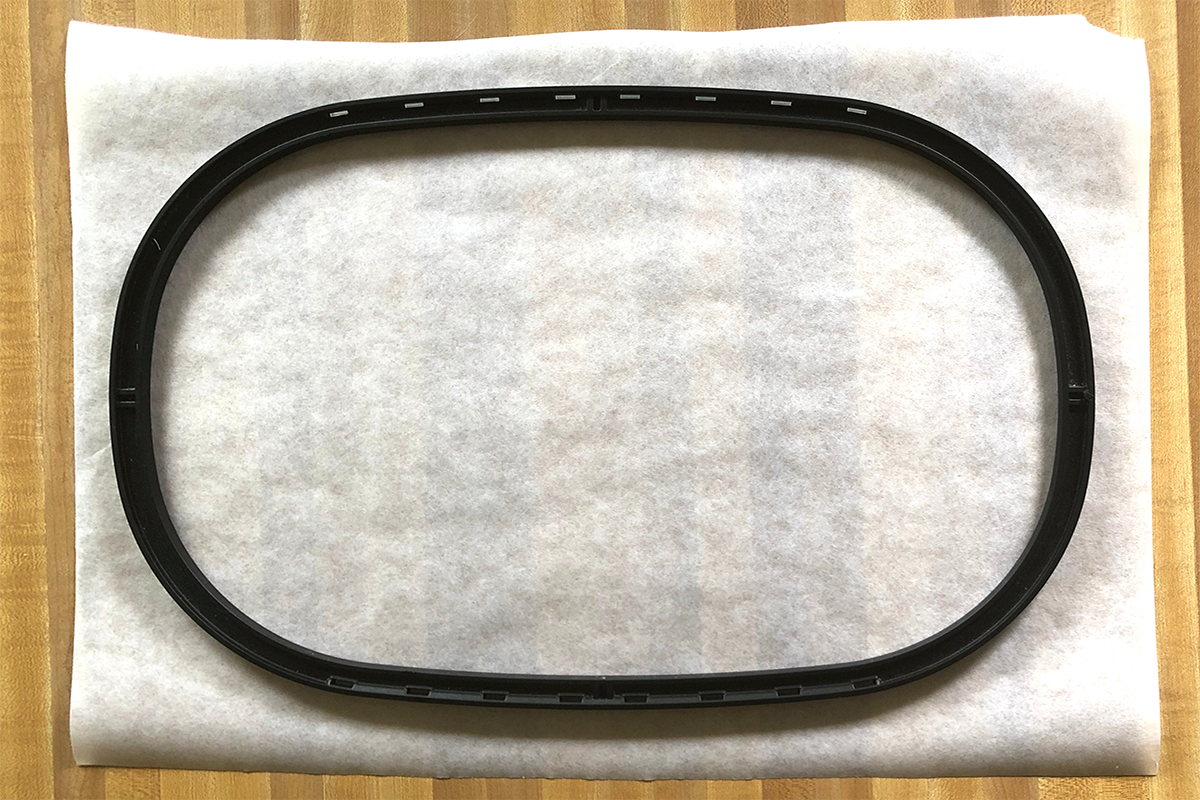
Cut a piece of StabilStick Stabilizer to fit your hoop and hoop your stabilizer.
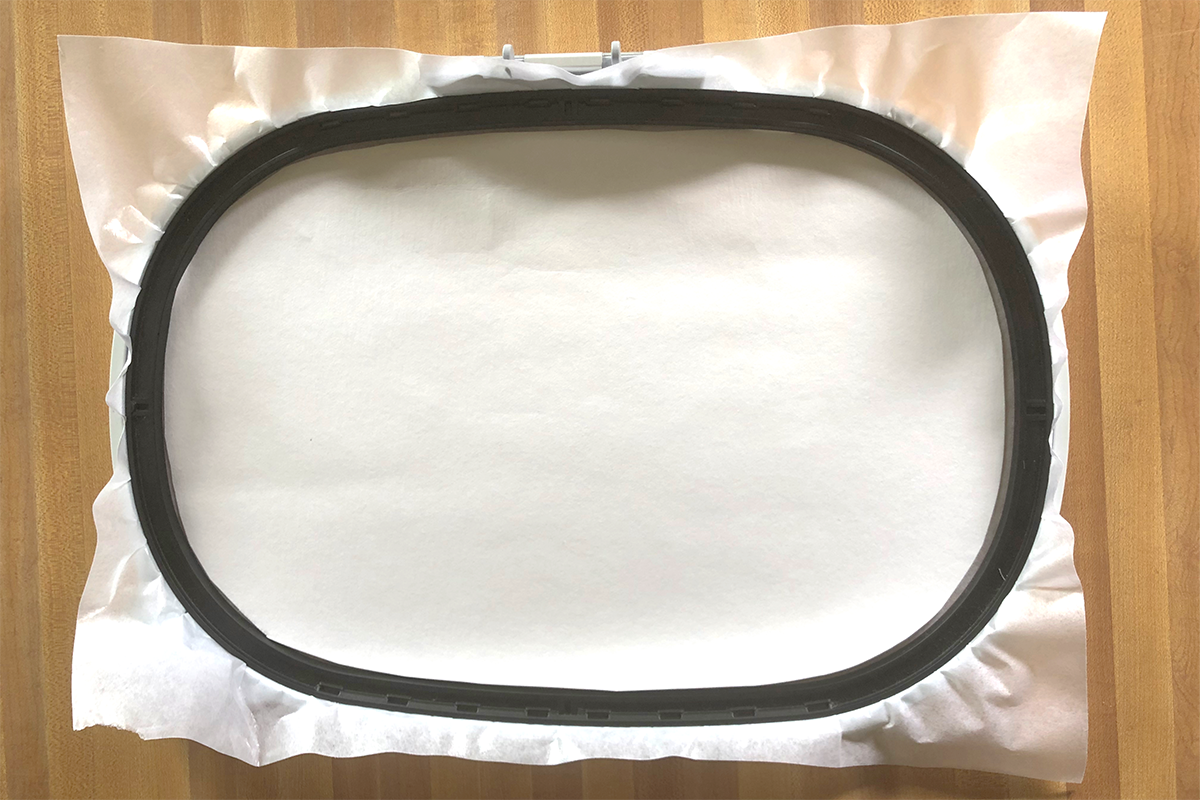
I like to do it by peeling away the entire paper backing to reveal the sticky stabilizer. With the sticky side up, place your inner ring in the middle of the stabilizer and push down to secure it to the paper (you can actually lift the hoop up by the paper if done correctly…just a fun little party trick to impress your friends and family).
Place the hoop’s inner ring into the outer ring. Place your Kraftex inside the inner ring, smooth side up. Press hard all over the Kraftex to secure it to the sticky stabilizer.
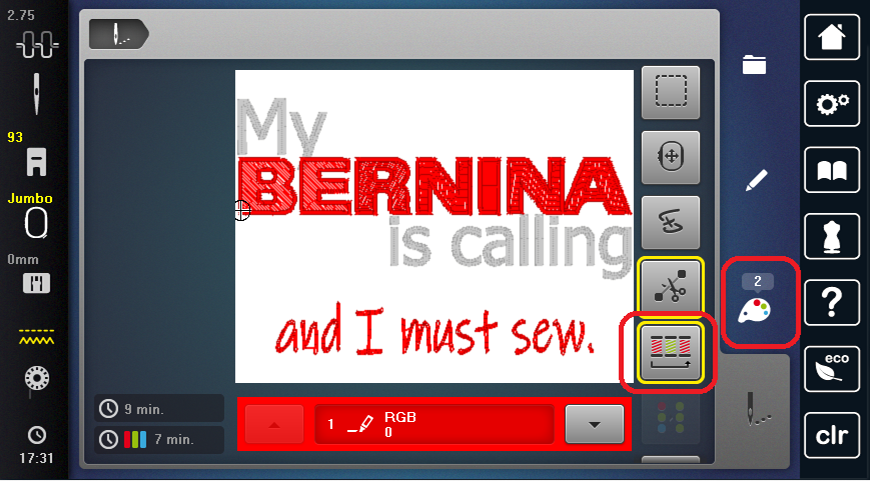
Set up your machine by removing the needle and thread and telling the machine you have your PaintWork Tool #93 on. Bring up your design.
Go to the OK Embroidery screen and, when prompted, put your hoop on the machine.
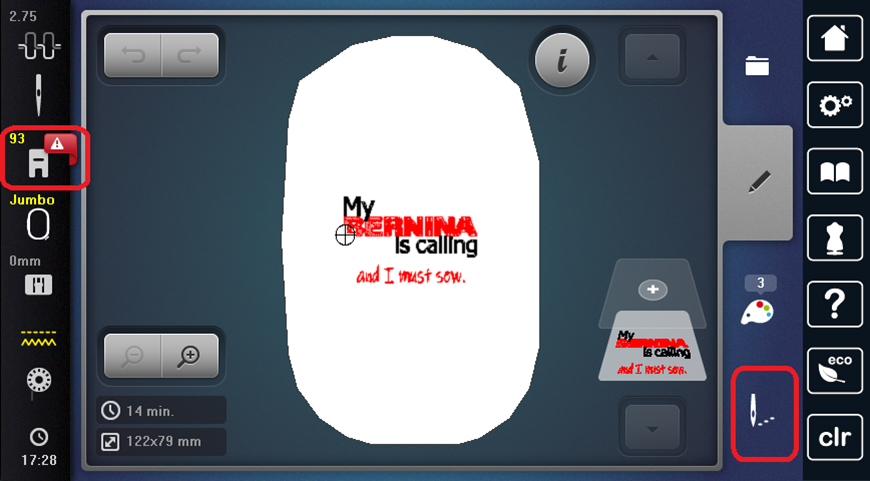
Select Color Resequencing. This makes it so the machine will do all the red at once then the black, limiting your color changes.
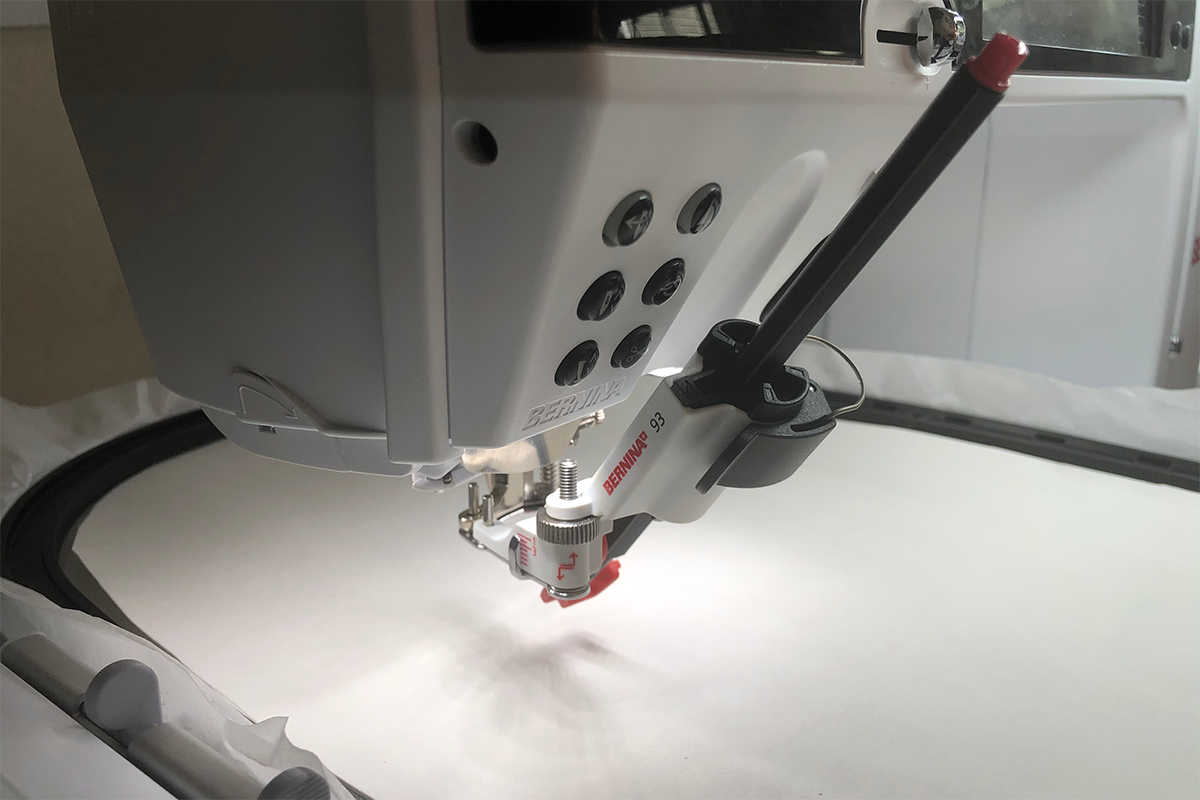
It’s easiest to set up your foot before you put it on the machine. Open the clamp, lower the red guard, put insert number 4 in the foot and slide your red marker into the foot until the tip touches the red guard. Once the marker tip just meets the guard, close the clamp and put the foot on the machine.
Once you’re ready, pull back the red guard and start the machine by pressing and holding the green button (same as you do for embroidery). Stay close to the machine while it draws so you can trouble shoot anything that goes wrong. I don’t often have issues with the machine, but anytime I do, it seems to happen the one time I get out of arms reach of the machine while it’s running.

Once finished with the red marker, swing the red guard back into place. It’s most important that the last thing you do before hitting “go” is remove the red guard and the first thing you do when the machine is done stitching is put that guard back. This is a good habit to get into, as it will prevent you from accidentally drawing on your project.
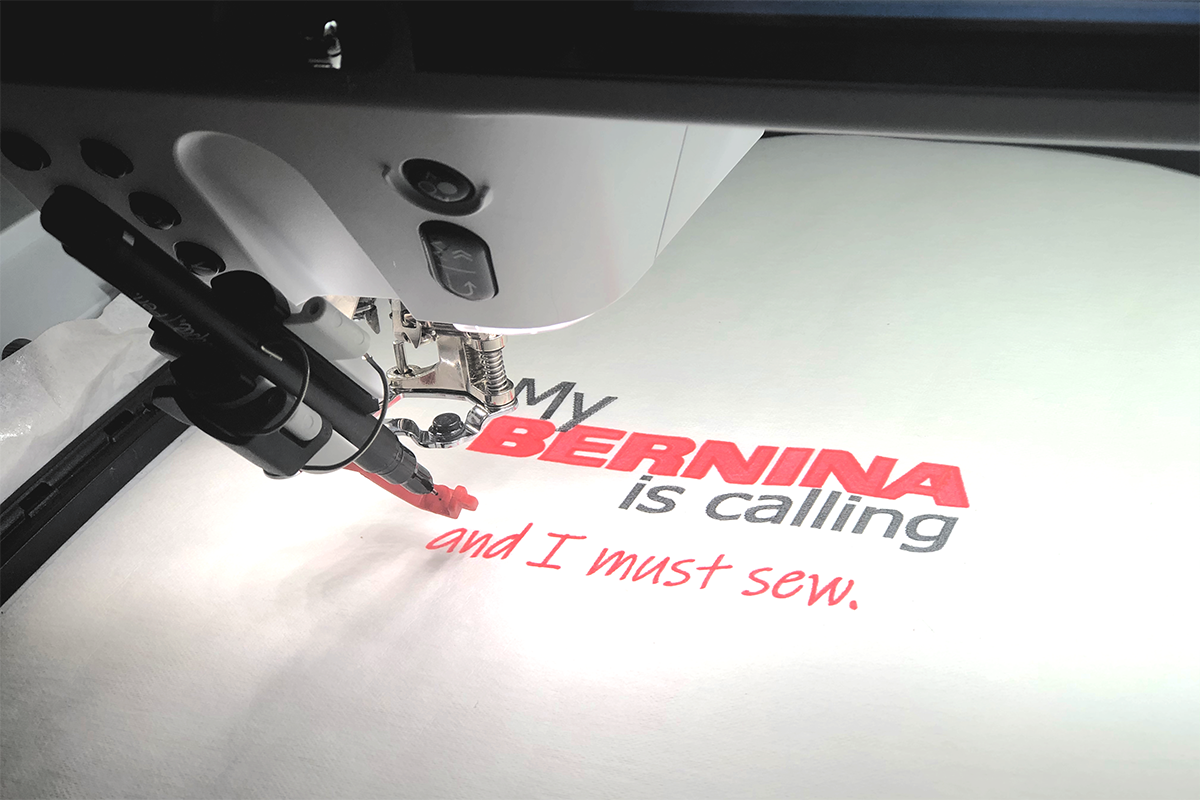
Change to your black marker, pull back up the red guard and press and hold the green button once again to finish up your design. Remember, when the black is finished, put the red guard back down.
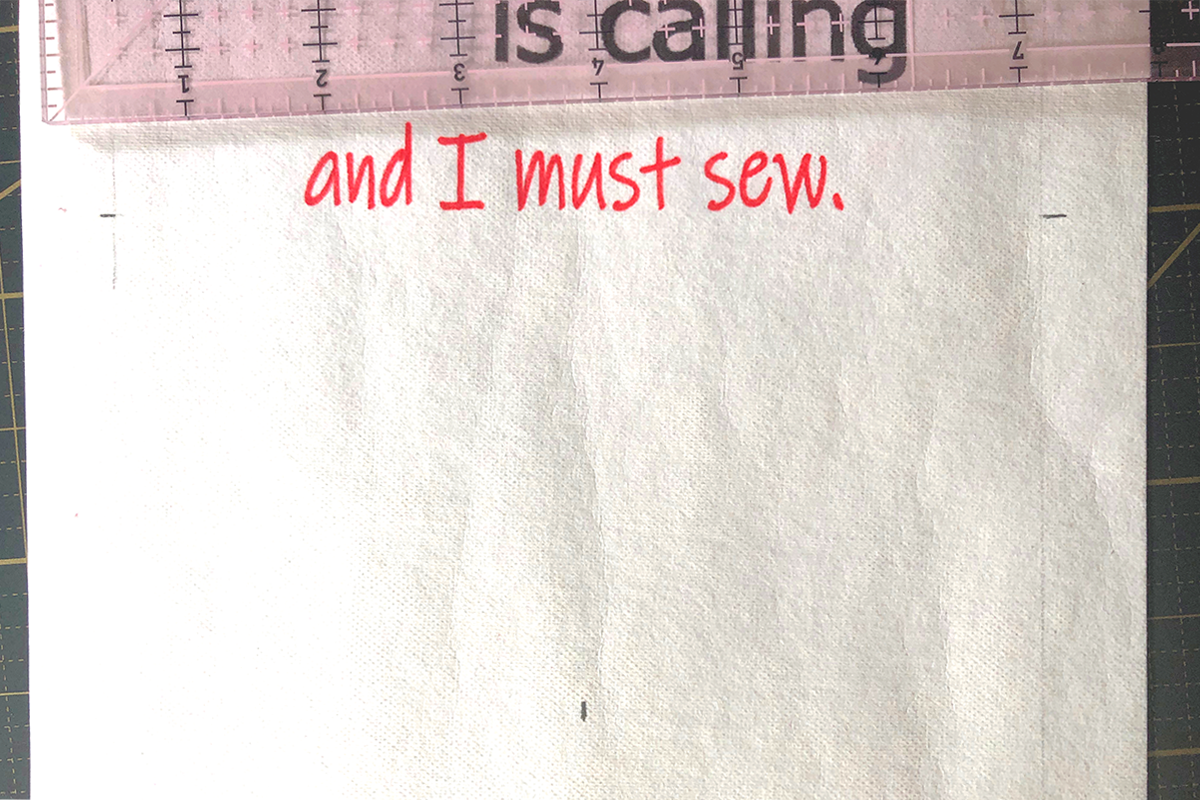
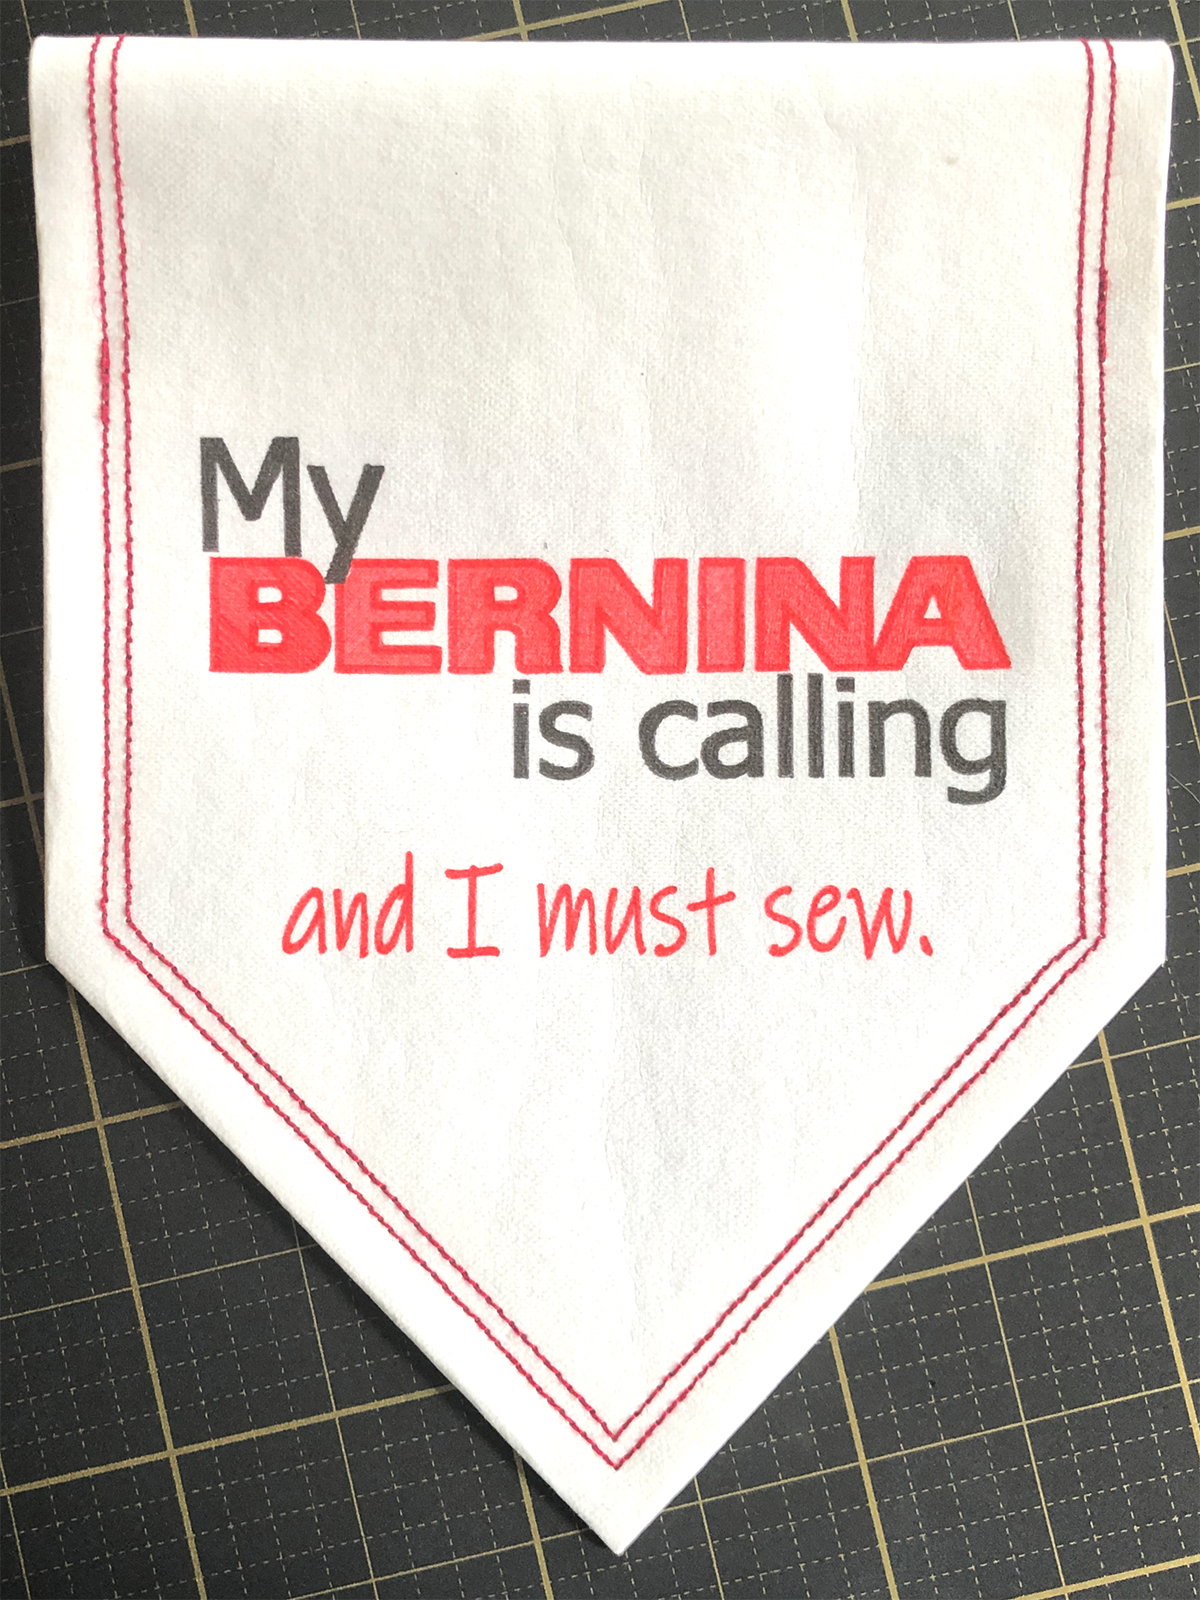
Once the design is finished, you can remove your hoop from the machine and the kraft-tex from the hoop.
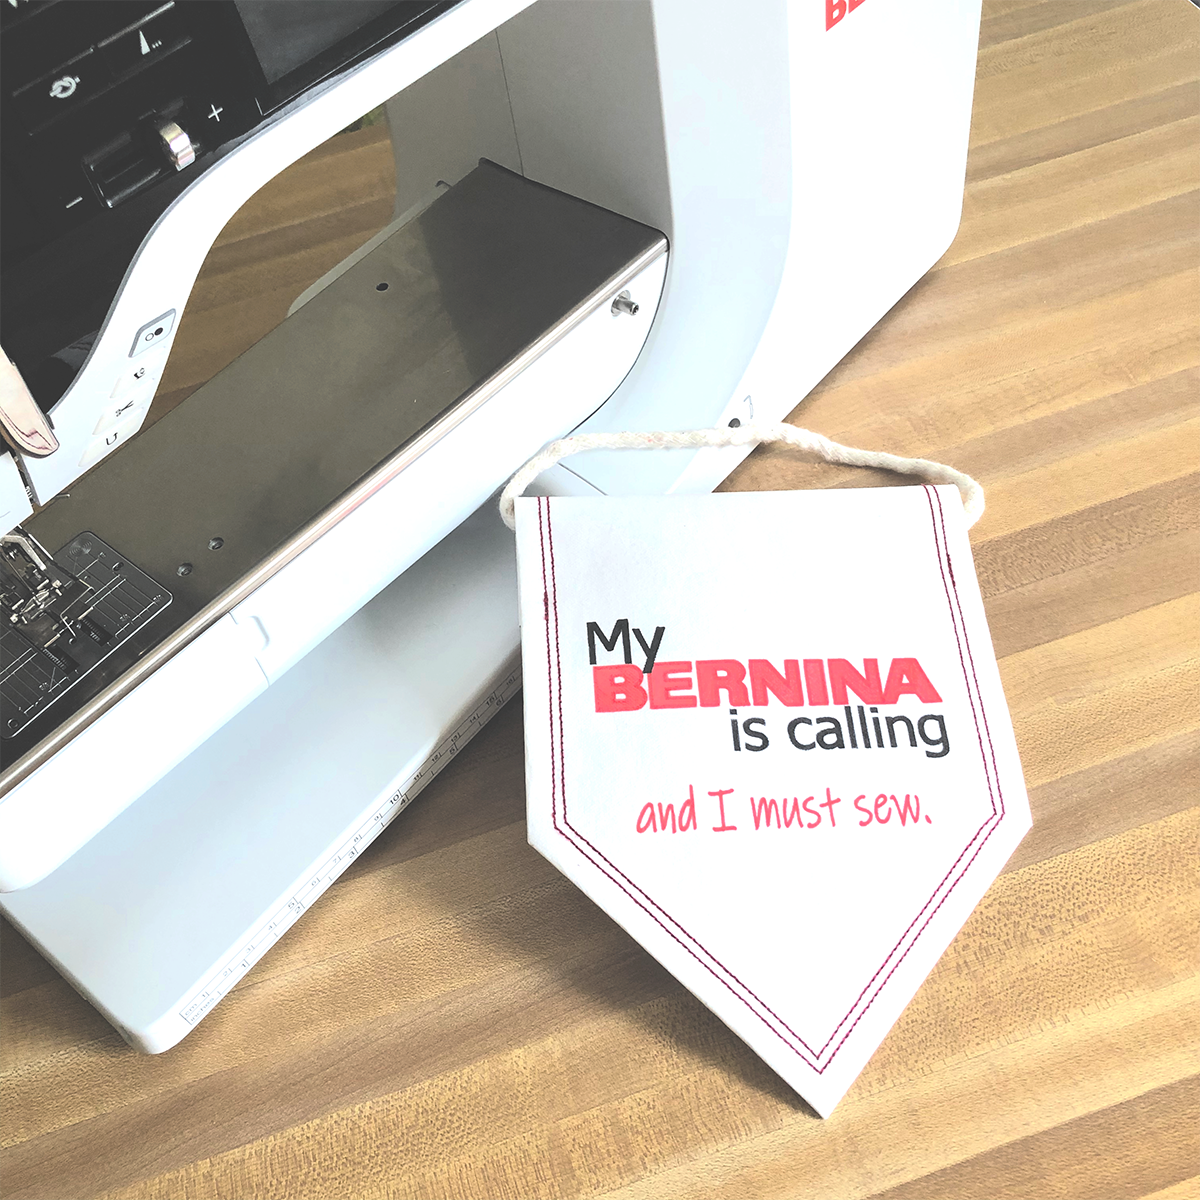
Beautiful! The fun of the painting this design on the kraft-tex is that you can do pretty much anything with it; you can sew it into a machine cover, applique it to a tote bag or simply frame it next to your machine. Today we are going to make a cute little banner to hang in your sewing room.
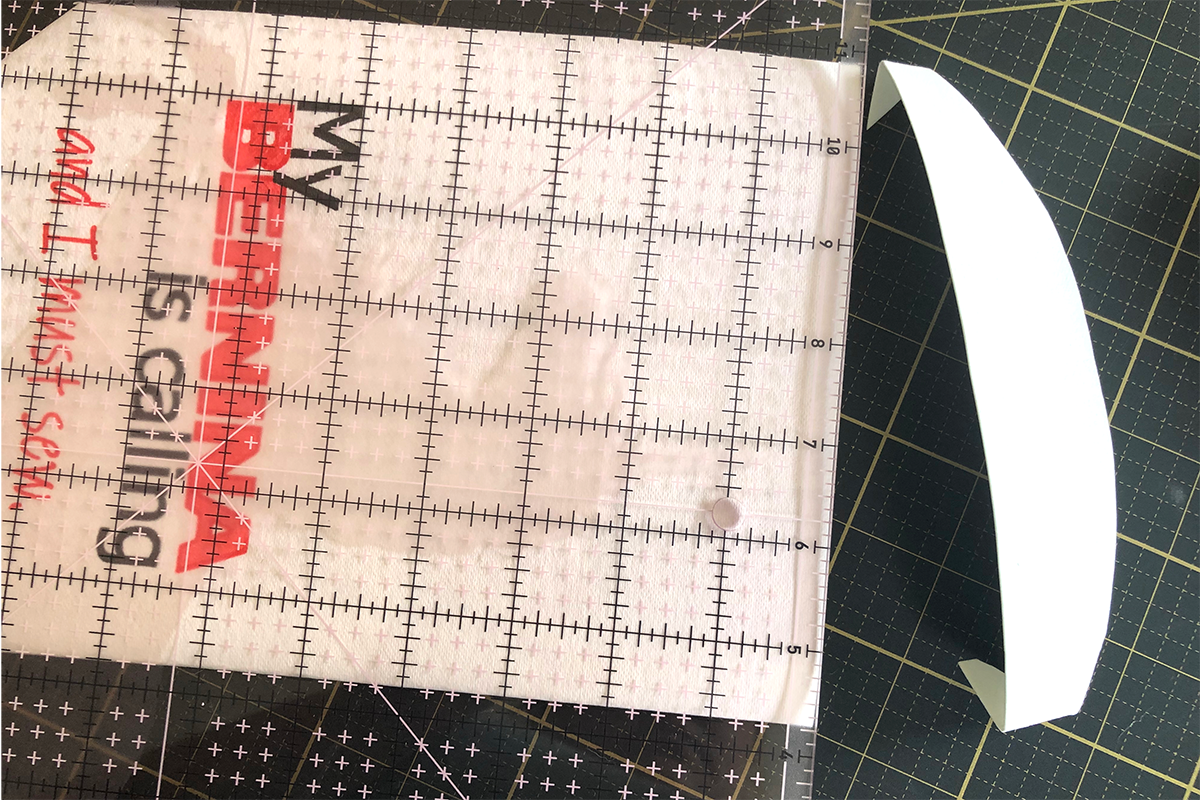
We need to square up the Kraftex and we can use our BERNINA logo to do that. Line up your ruler with the bottom of the logo and 1 3/4″ away from the side of the ”A” in BERNINA. Lightly draw a line.
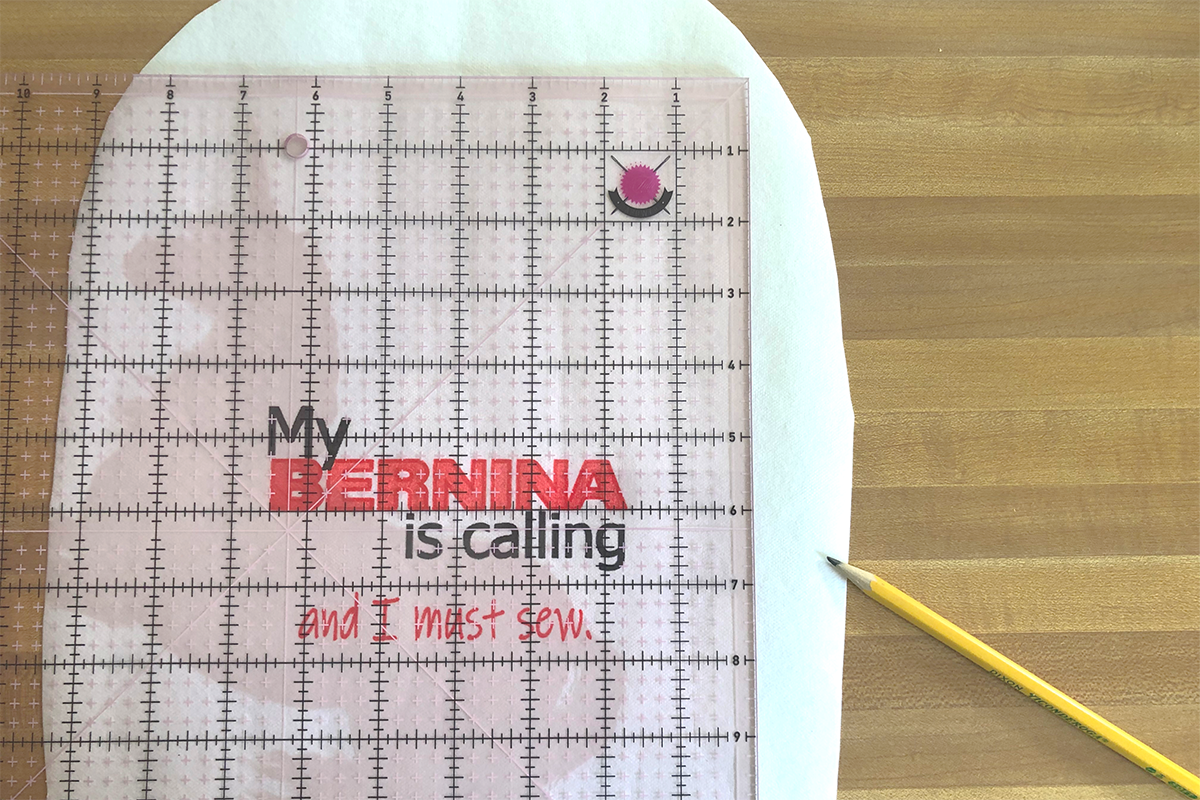
Flip your kraft-tex and do the same on the other side; lightly draw a second line. Double check that it looks centered and that you like the size of your banner. Once everything looks great you can cut off the sides on the drawn line with your rotary cutter.
And no, you’re not imagining things! This Tula Pink ruler has the image of a unicorn on it!

Draw a line 3/4″ from the outside edges. Draw very lightly as we do not want this to show at all on our project

At this point our banner is 8 ¼” wide. We are going to mark a line that is 4” from the top of the words ‘and I must sew’ and 4 1/8” from either side of the kraft-tex. Then we will mark two reference lines that are in line with the bottom of “and I must sew”, just outside of the lines we drew on either side of the Kraftex. (see below)
Using the ruler, connect the lines in a V shape. Mark these two lines very lightly.
Draw two more lines ¾” away from the lightly marked lines we just created. These are our cut lines (so it’s okay if they are dark). Cut away the Kraftex at the outermost line.

Using our lightly marked lines as a guide, fold the kraft-tex back on itself and crease it as best as you can. It’s easiest if you fold back one side at a time so you can get a good crease.
Some of our lines will overlap, I have outlined them here in pencil so you can see them better. We are going to cut those away to reduce bulk. Cut the three areas away with your scissors. You can do so with a rotary cutter, but it’s easy to overcut so, be careful.
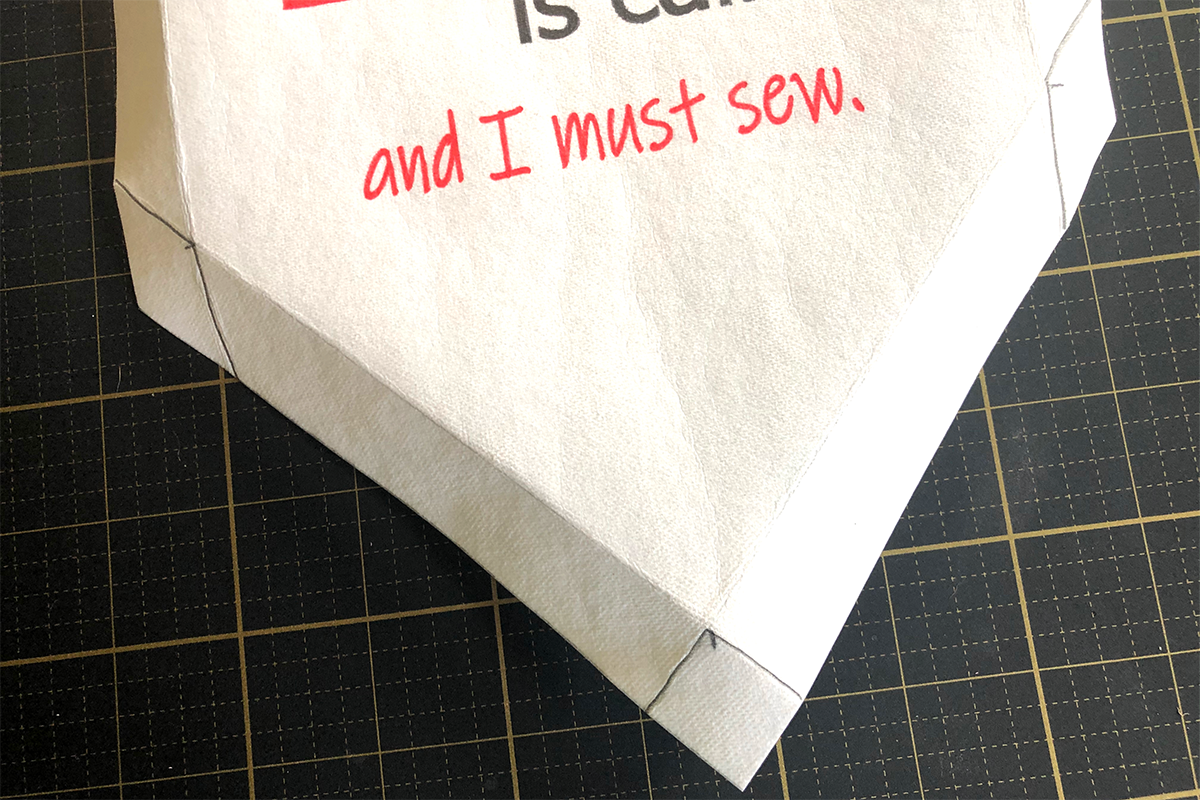
We still have too much bulk at the point, so we will need to fold either side back, allowing the excess krat-tex to pop up. We can finger press these excess triangles to either side so we have fold lines to cut away.
Trim away both triangles.
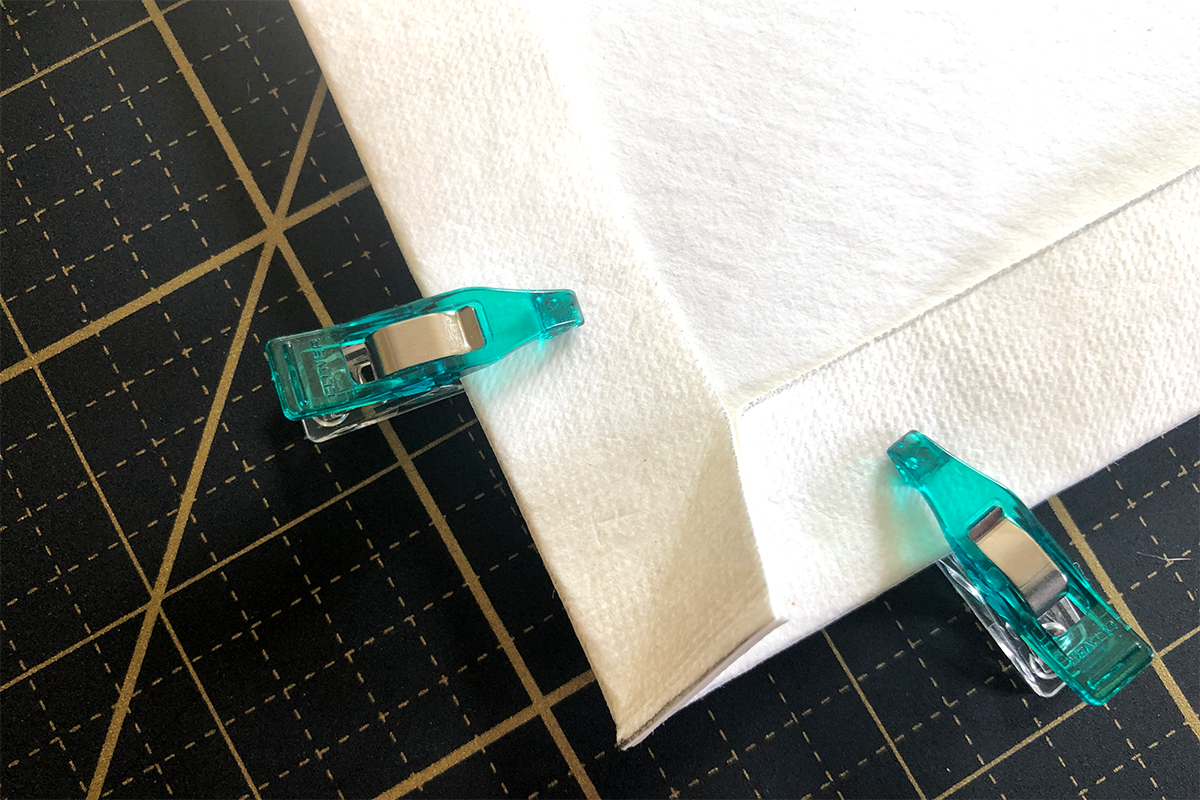
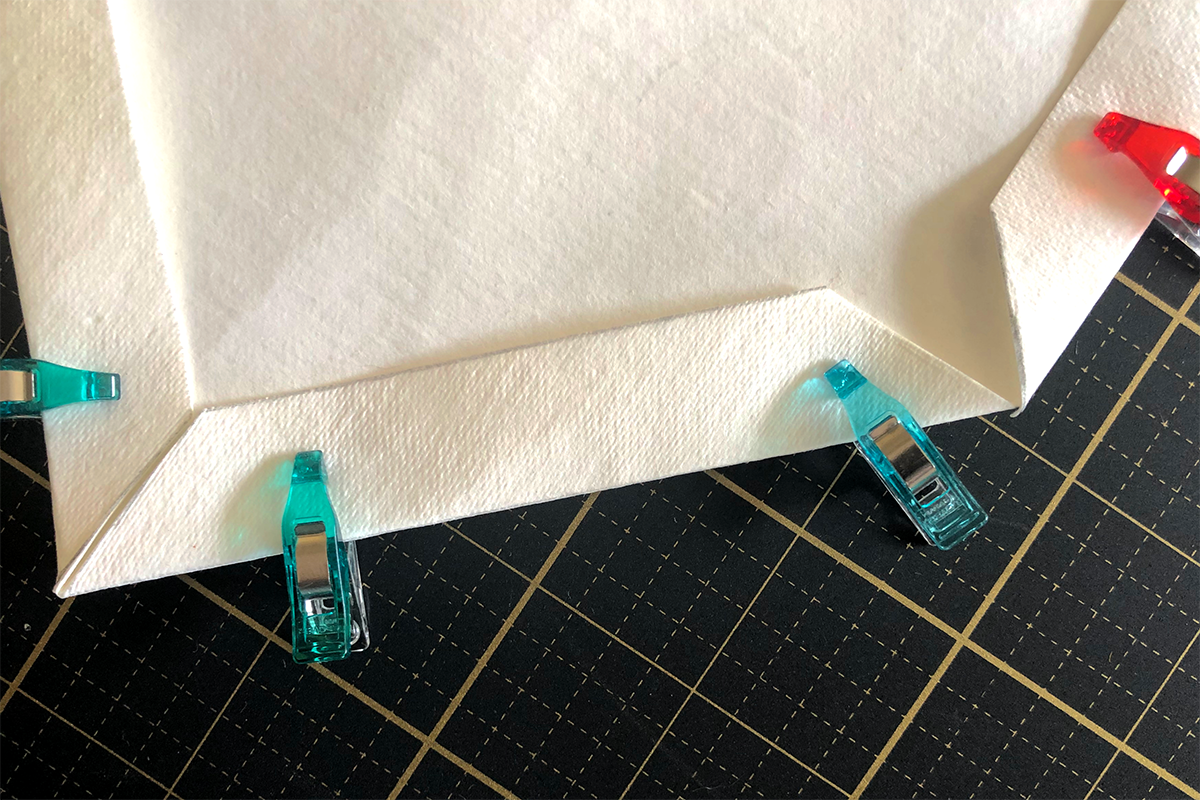
Now our point lays perfectly flat. I used Clover Wonder Clips to hold things in place while I double checked that nothing was overlapping. However, I didn’t keep them there for long because I did notice they were indenting my kraft-tex.
Oh! I almost forgot! One more chop to go. Use your rotary cutter to cut your Kraftex off, 5” from the top of the word “My”.
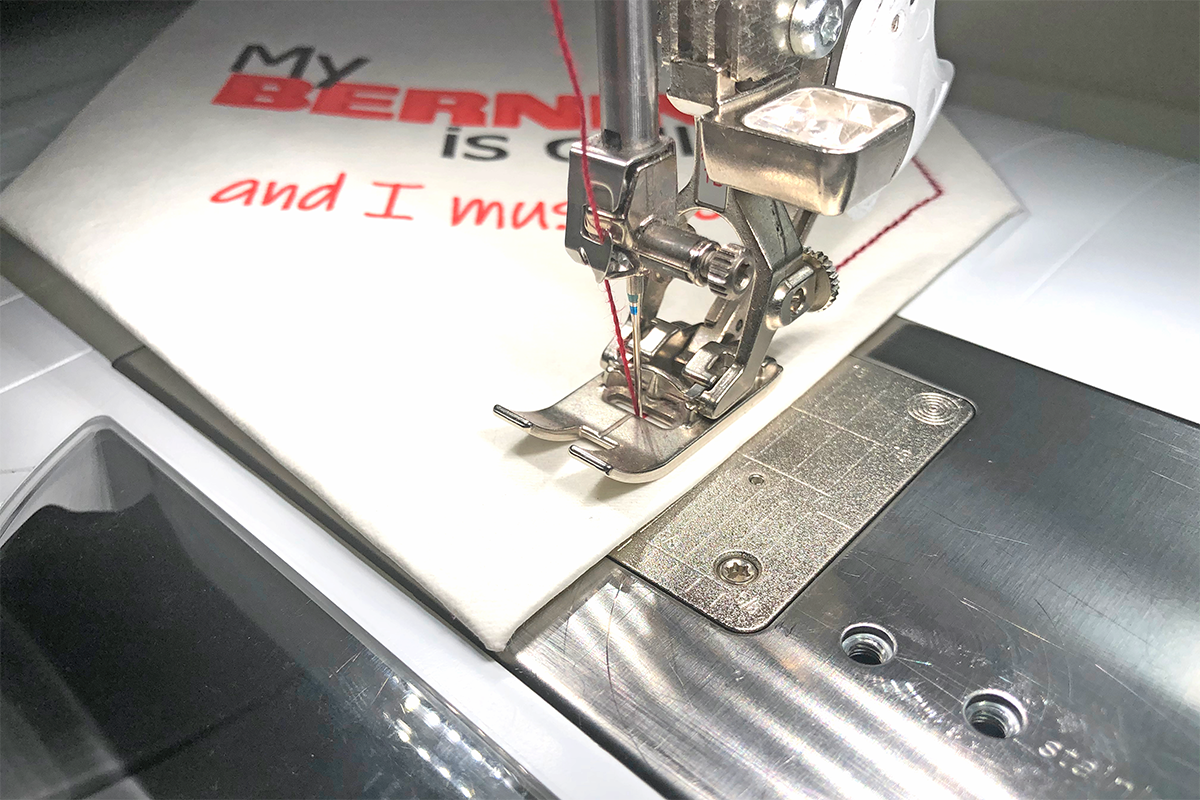
It’s time to head back to our machine.Take your machine to the “Sewing” function and put in a topstitch needle 90/14, attach Straight Stitch Foot #1D foot, Aurifil 12 weight cotton thread in the color 2260 (a 1/2″ seam guide on the throat plate, stitch around the sides and point of your banner. I used Straight Stitch #1, but feel free to use a triple stitch if you’d like an even more prominent line.
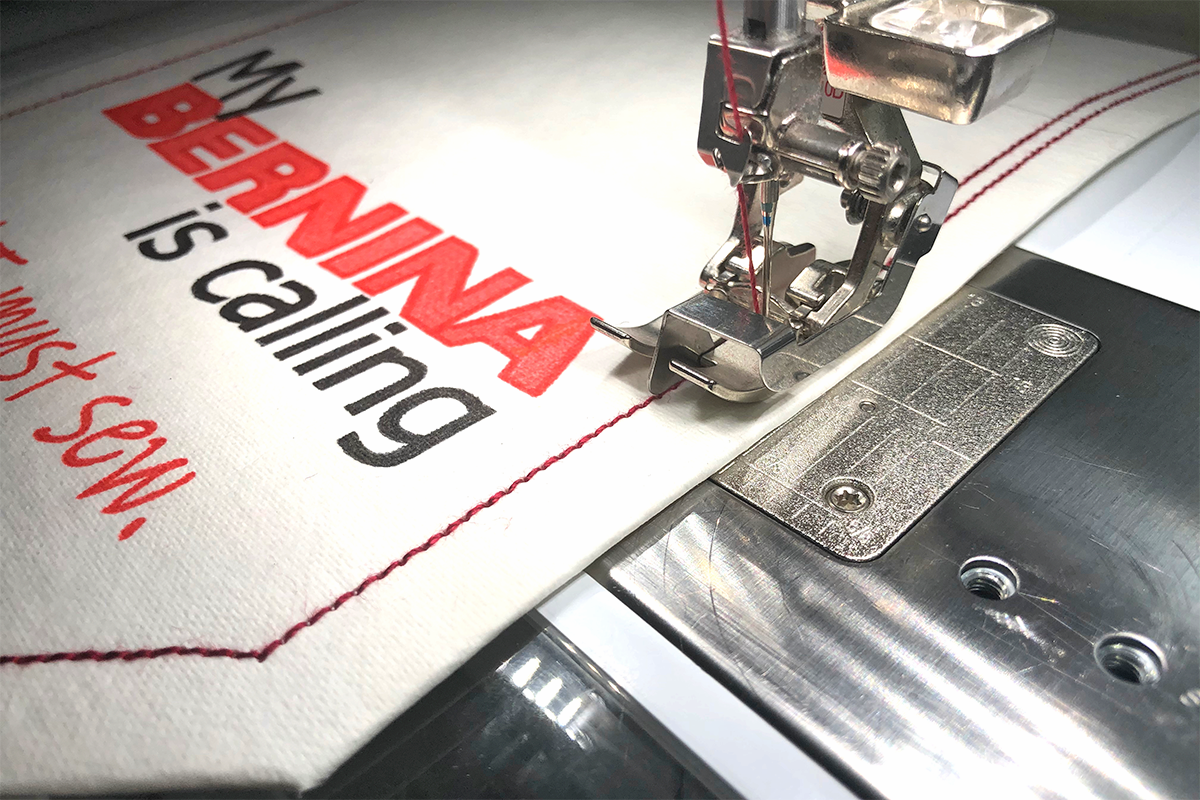
Put on Edgestitch Foot #10D and move your needle position to 5 (farthest right). Align the guide with the previous stitch line and stitch around a second time.
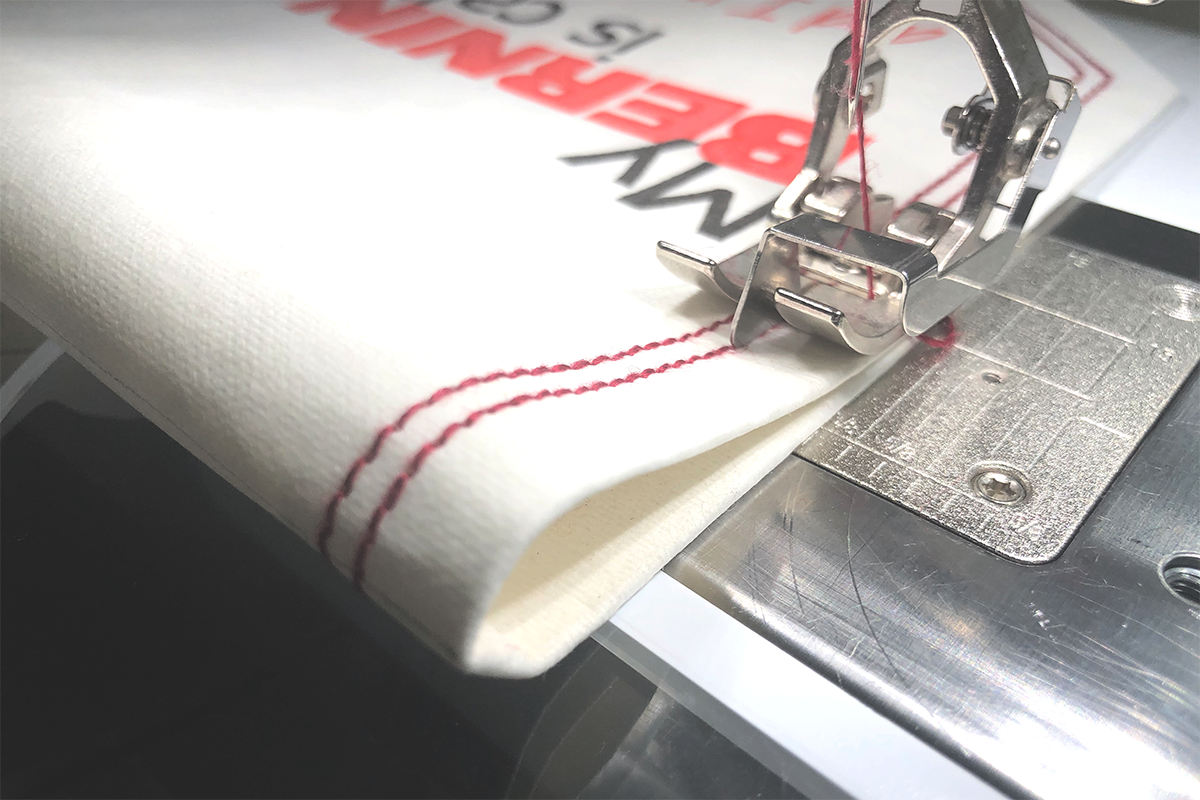
Fold the top of the banner down about 2 ½”. Be careful to fold it evenly so the edges and your stitching aligns.
Take your banner back to the machine and with your needle position at 0 (center) stitch back over the previous stitching to secure your fold for about 1/2″.
Repeat on the other side of your banner.
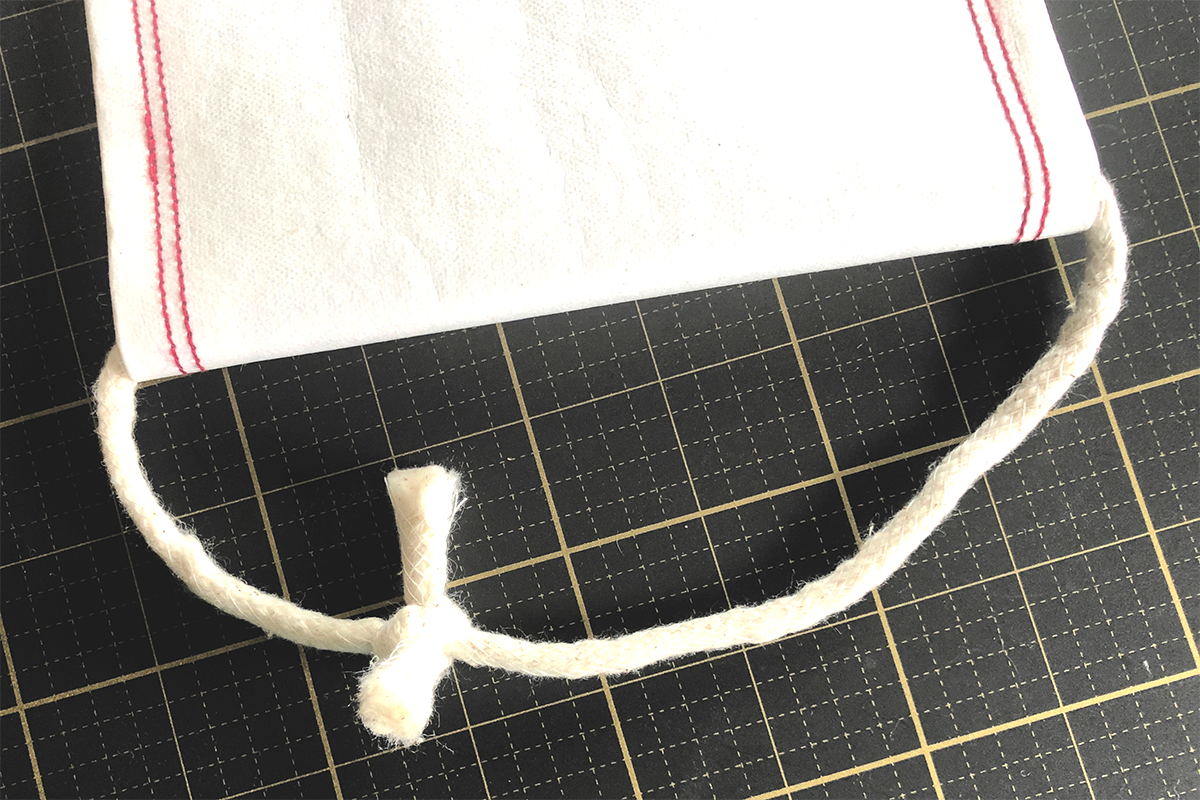
HOORAYYYY! Banner is complete! Now you just need to finish it how you see fit. You can add a dowel and string, yarn, sew or braid some fabric. I had cording for piping lying around and thought it was perfect for the look I wanted, but I have previously used a length of yarn.
Tie a knot in your cord and then slide it so the knot is hidden inside the banner.
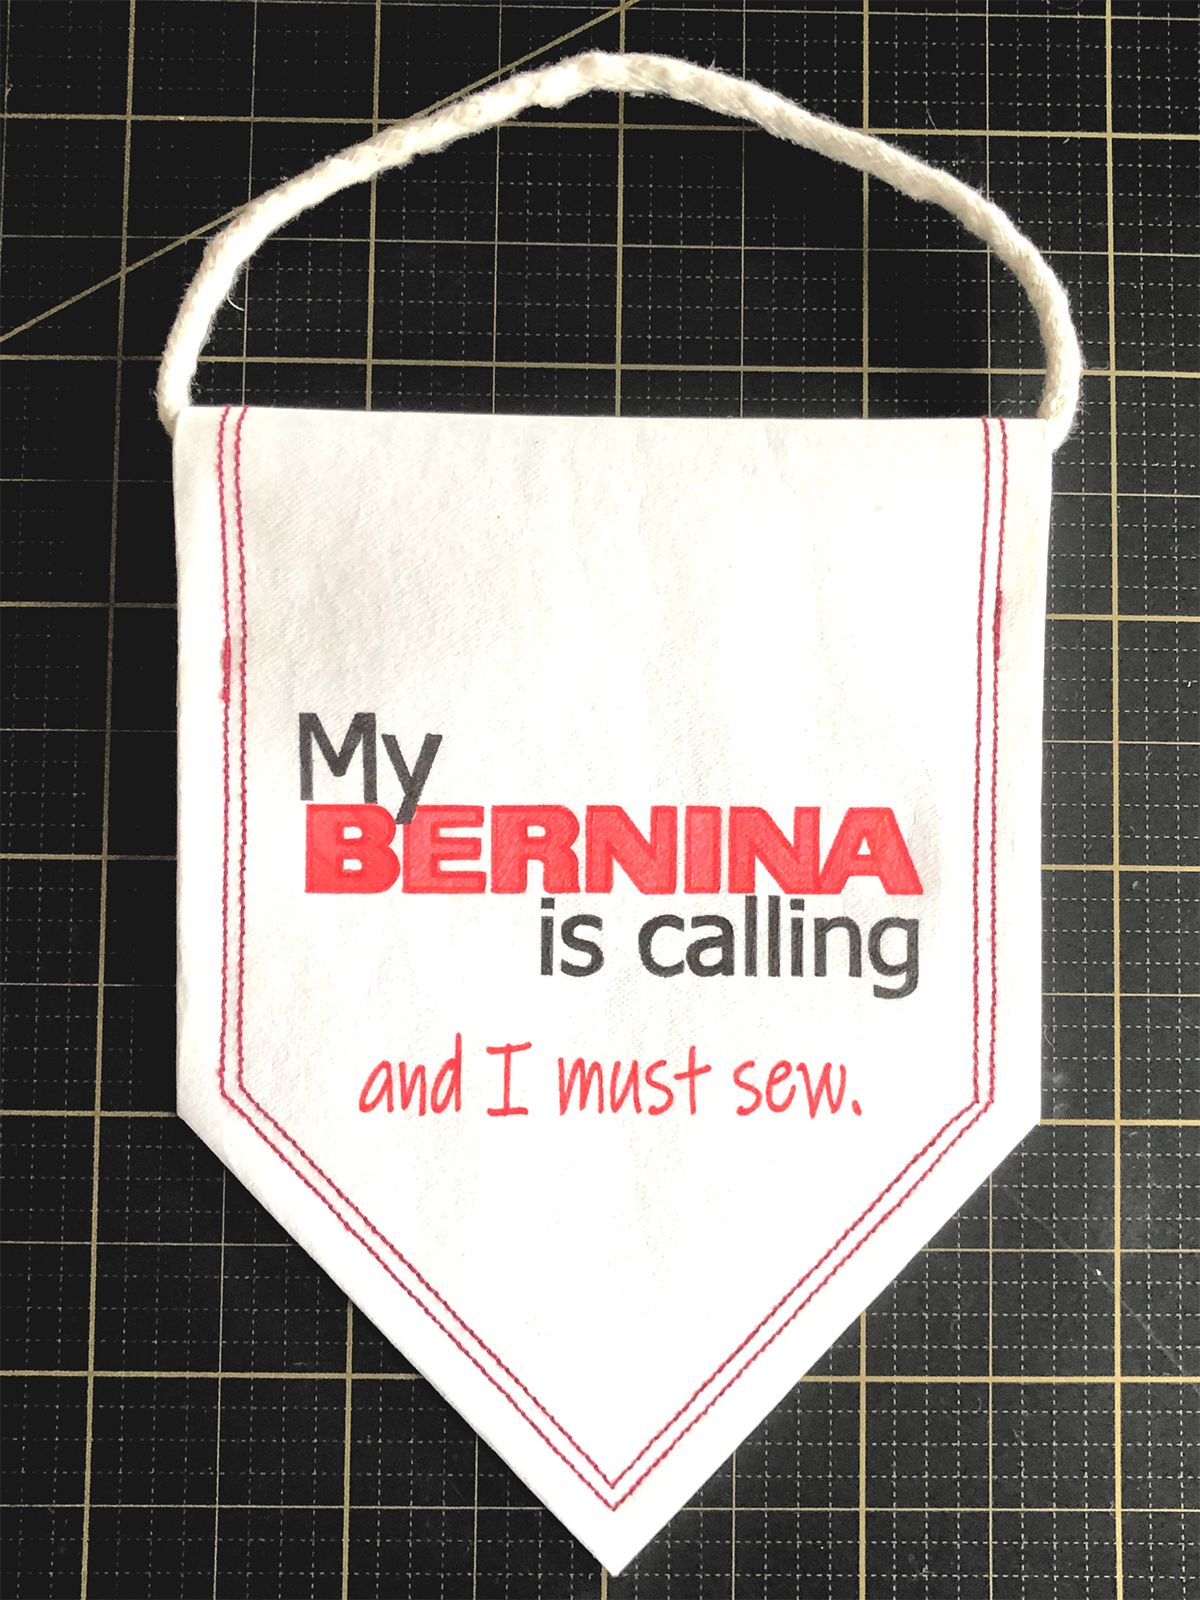
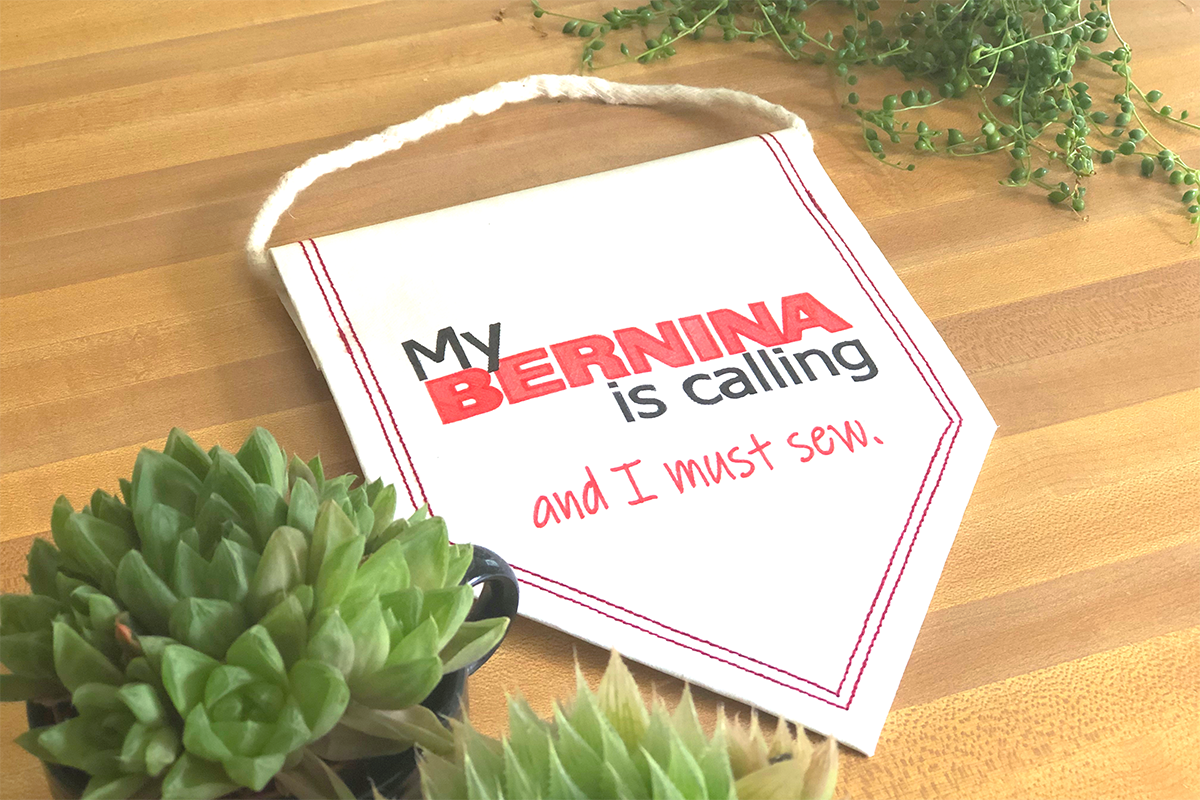
And that’s it! Now I think the sewing room will be happy to have such a cute banner, though it may be a good idea to hang it in another room to remind you to steal some alone time for you and your BERNINA.
Don’t forget to tag me in your banners if you share them on Instagram @ToughKittenCrafts. I can’t wait to see what you create!
Used Products


What you might also like


5 comments on “My BERNINA is Calling and I Must Sew”
-
-
I too would love this in an embroidery design 🙂
-
I did get the logo from OESD’s BERNINA collection, you can get that design and other great BERNINA embroidery files here: https://www.embroideryonline.com/products/designs/licensed-collections/the-bernina-edition/
I can definitely digitize the other parts of the design for you, though, and the. You can just pop in the logo yourself. I’ll make the rest of the design available free on my website http://toughkittencrafts.com. Happy embroidering!-
Hi Kate, Did you digitize the design for “my Bernina is calling and I must sew?
-
-
-
-
Hi can you tell me how to combine colors in PaintWorks? My Christmas Card has too many color changes. Thank you.
Leave a Reply
You must be logged in to post a comment.

For those of us who don’t have paintworks or software, how about an embroidery design for this banner. I know I’d love it.