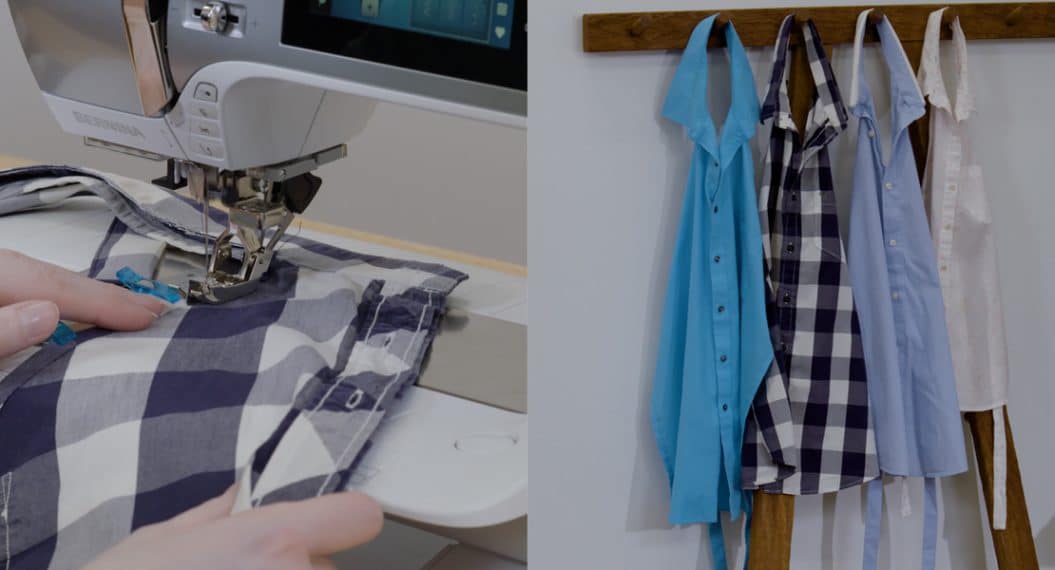
How to Set In a Sleeve
Have you ever struggled to complete a top? Did you stop and put the project away when you got to the sleeves? Let me be the first to admit that I have. Setting in sleeves can be very difficult! You are working with a limited amount of space, with an abundance of fabric that has to be eased in. Throughout my beginning stages of garment sewing, setting in sleeves was by far one of the hardest things for me to learn. It takes preparation, patience, and practice.
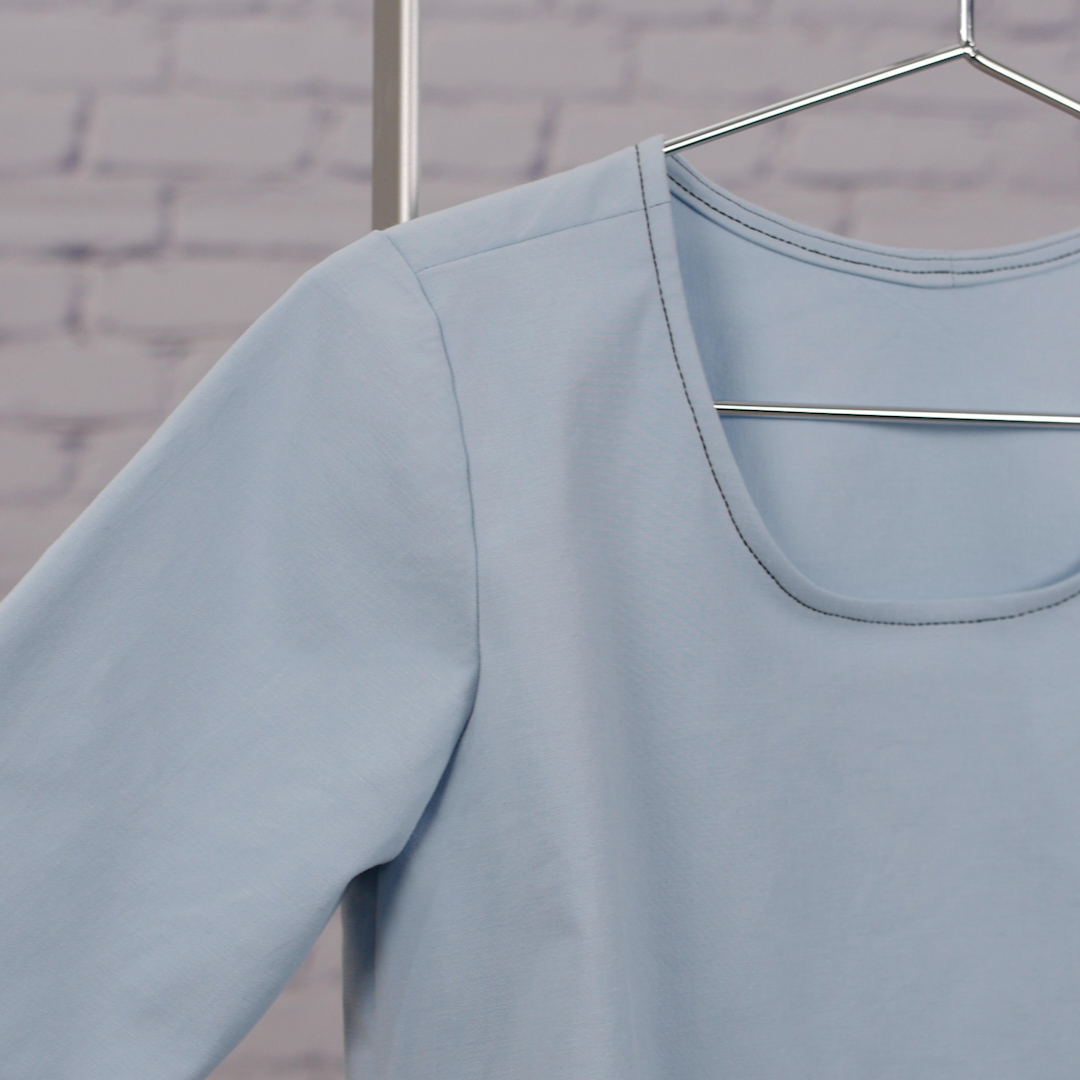
A true set-in sleeve is constructed after the body of the garment is already completely sewn (excluding hems and a finished neckline). This means that the side seams and shoulder seams have already been stitched and what is left is a closed, circular armhole. To make sure the sleeve pieces are properly fitted into the armholes, we will use ease stitching to create fullness, or waviness, that will be eased in. It is the extra fullness that allows the shirt and sleeves to move with the wearer, with less restriction.
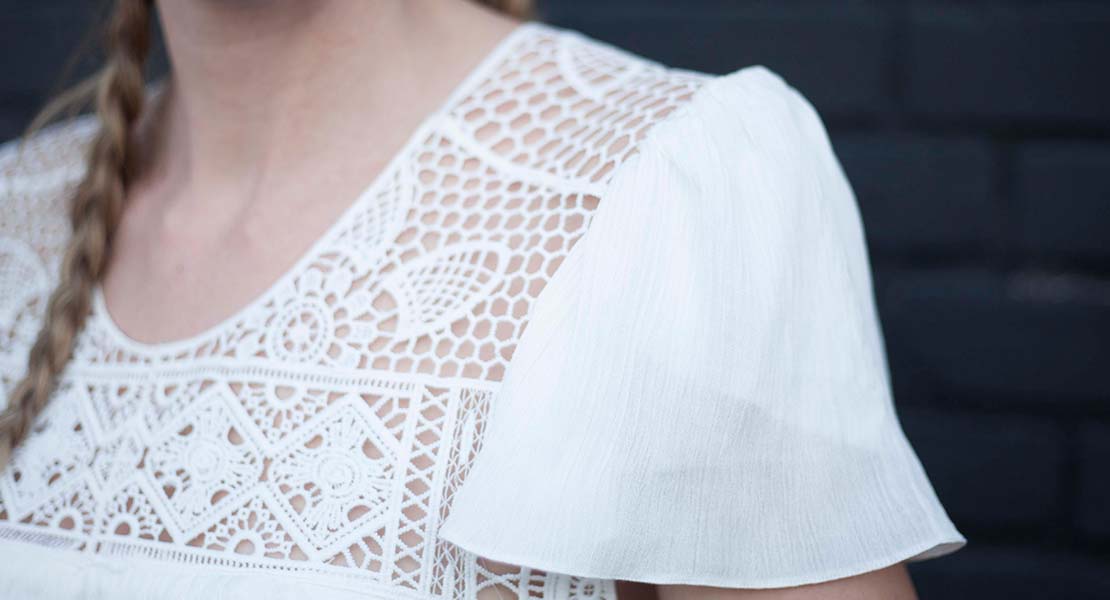
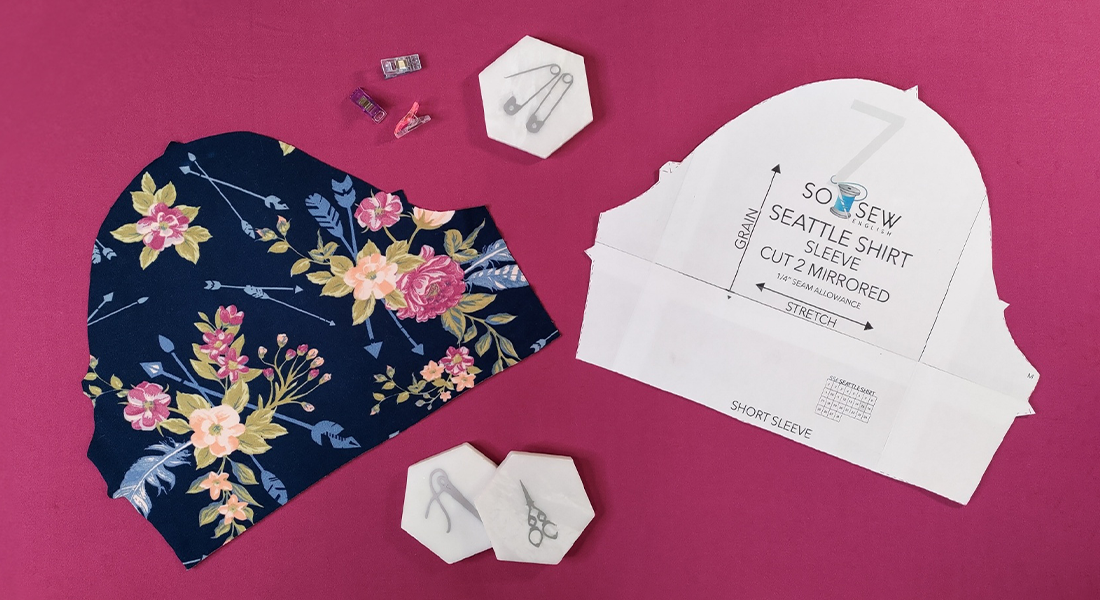
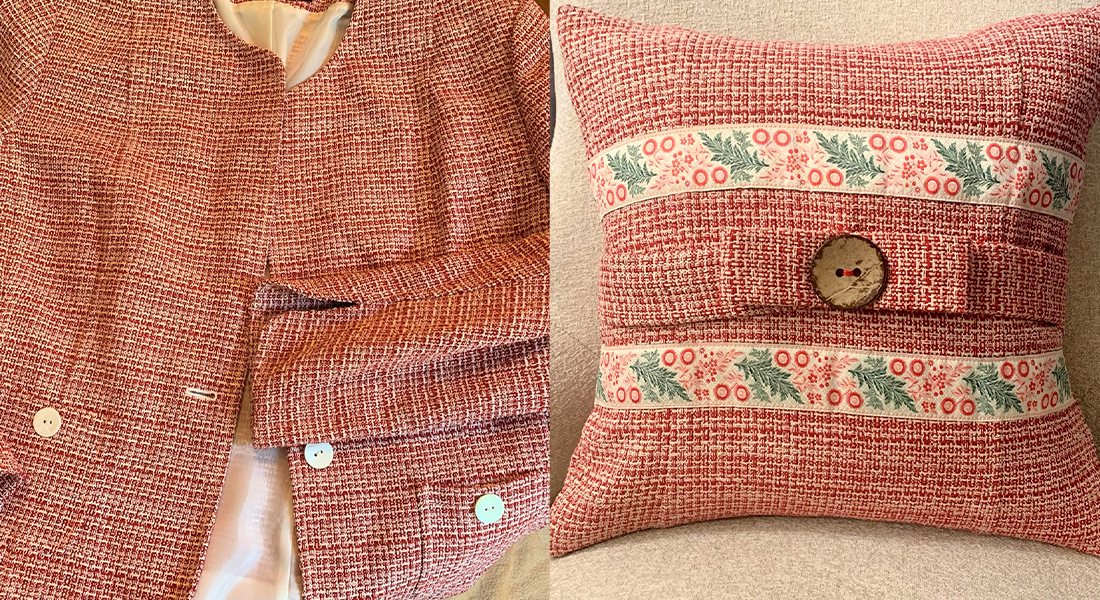
The three most important parts about setting in a sleeve are the ease stitching, sewing the sleeve to the armhole on the shirt, and reinforcing the underarm with a second row of stitching. Below is a step-by-step tutorial on how to set in a sleeve using the Grainline Studio Scout Tee pattern with the alternative sleeve package. I went a step further and altered the alternative by making the shirt with ¾” sleeves.
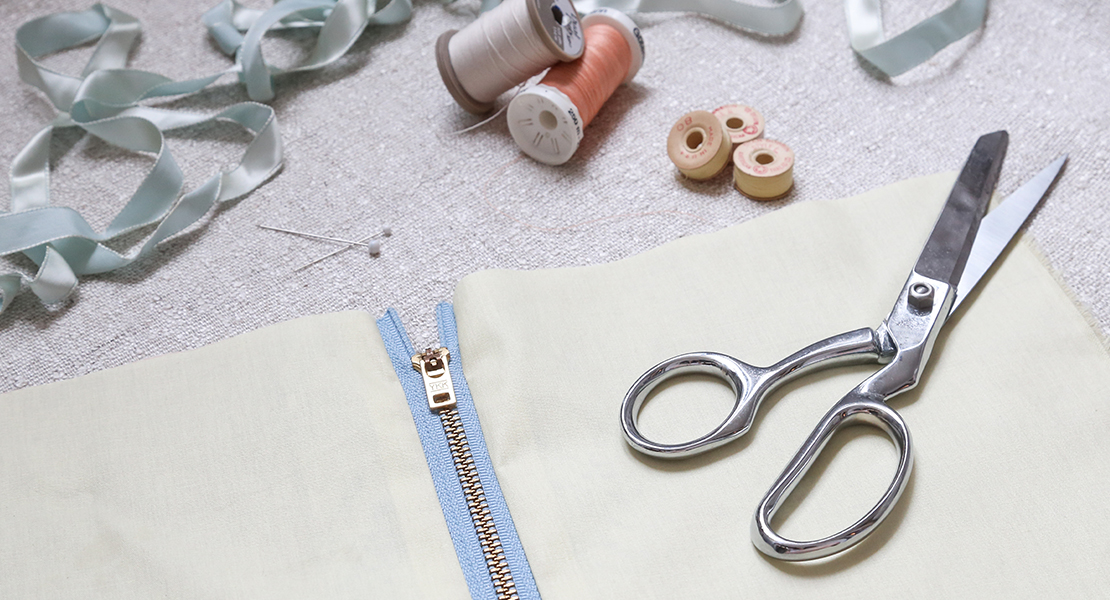
Supplies for Setting a Sleeve
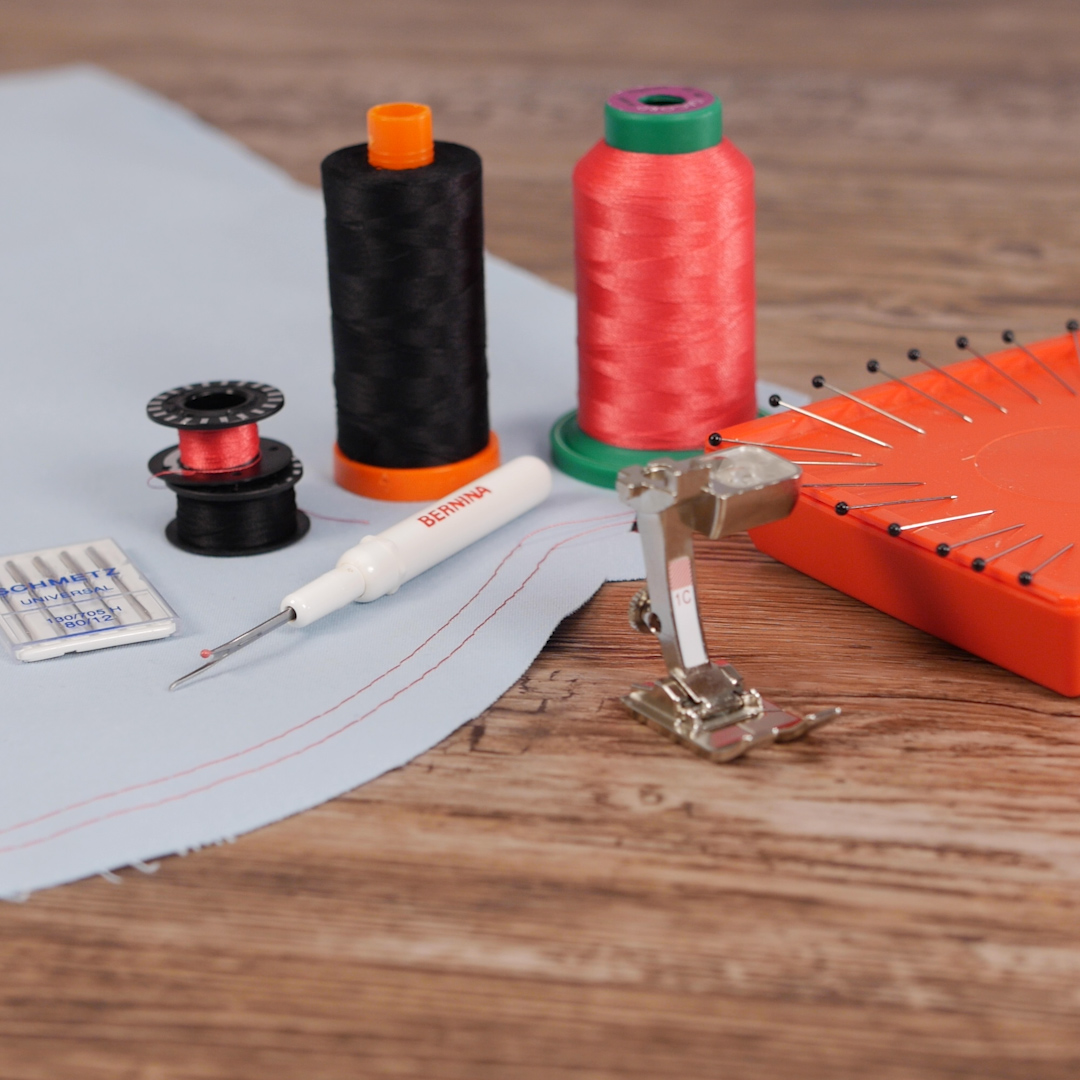
- BERNINA 480
- Reverse-Pattern Foot #1C
- Grainline Studio Scout Tee
- Schmetz Universal Needles Size 80/12
- Isacord thread – color of choice
- Aurifil cotton thread – color of choice
- Pins
- Seam ripper
Instructions on How to Set a Sleeve
All steps leading up to setting in the sleeves should be completed according to the instructions provided with the pattern, and all seams finished as desired.
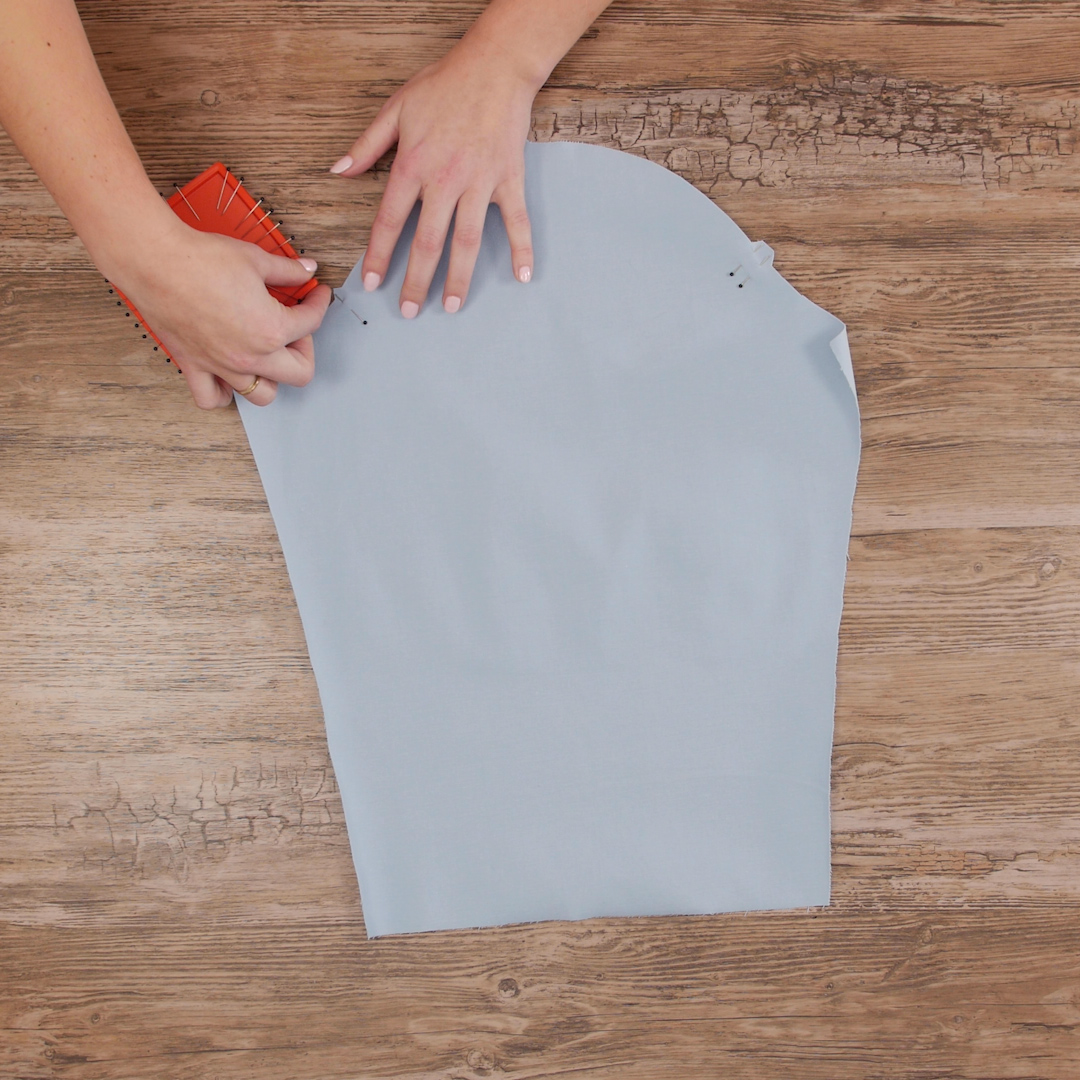
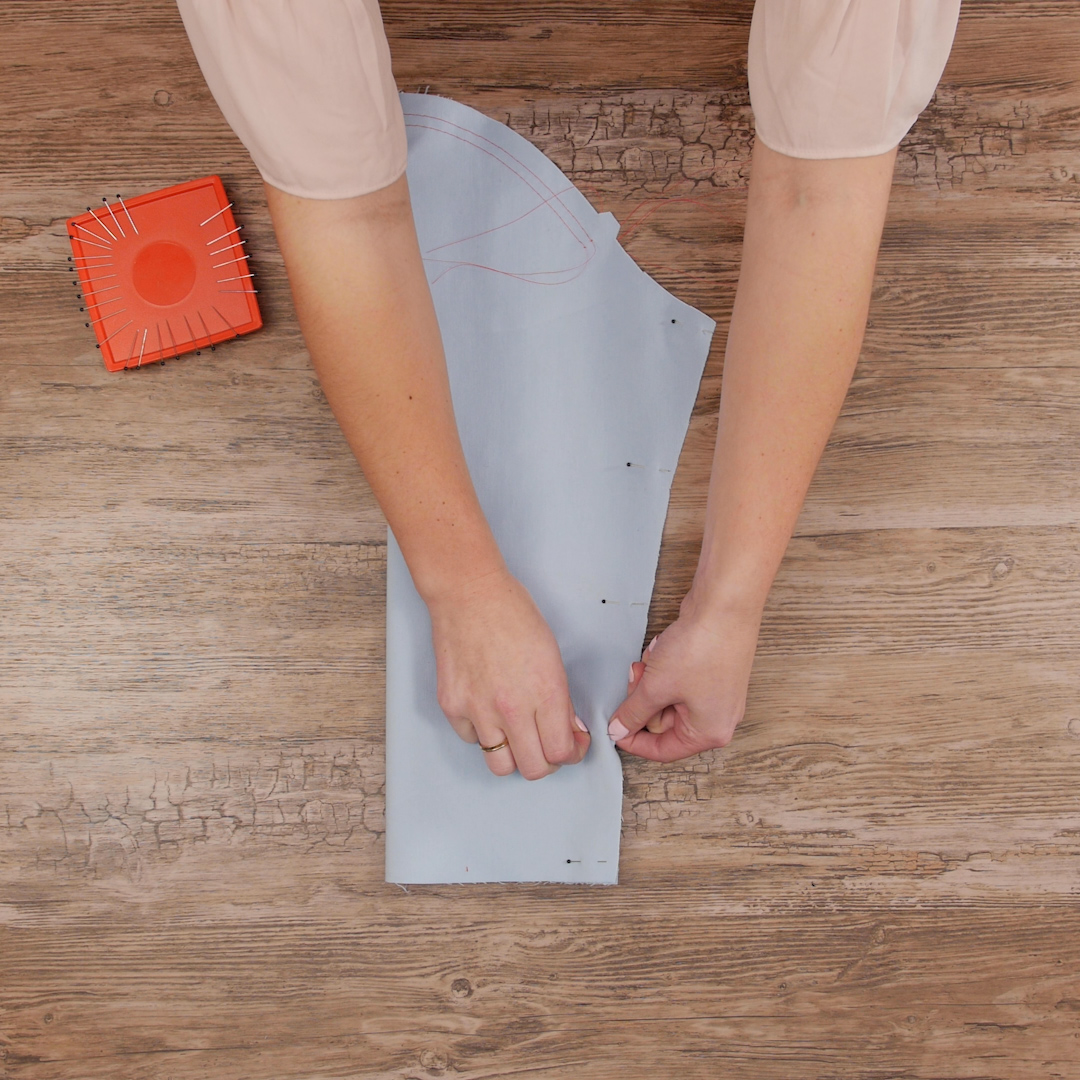
For the sleeves, start by marking the notches for the ease stitching. Since I tend to over sew, I find it helpful to mark where to begin and end. How the sleeve is marked is up to personal preference. Most often, I use two pins, but I have also used a water-soluble marker and FriXion pen.
The sleeve typically has three notches: a single one at the very top that matches up with the shoulder seam, a single one to signify the front of the sleeve, and a double notch to call out the back of the sleeve. These notches correspond with different alignment points around the armhole of the garment. We want to mark the single notch at the front of the sleeve and the double notch at the back of the sleeve. To remember that, those two notches will match up with the only other notches on the armhole of the shirt.
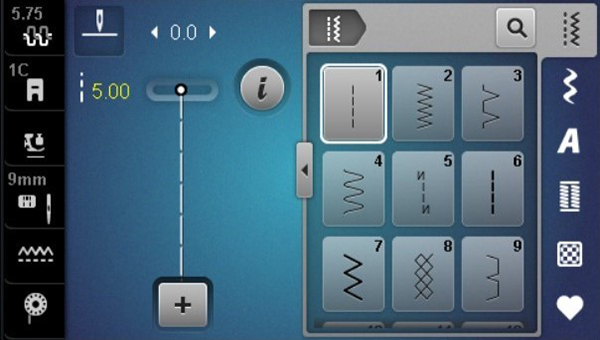
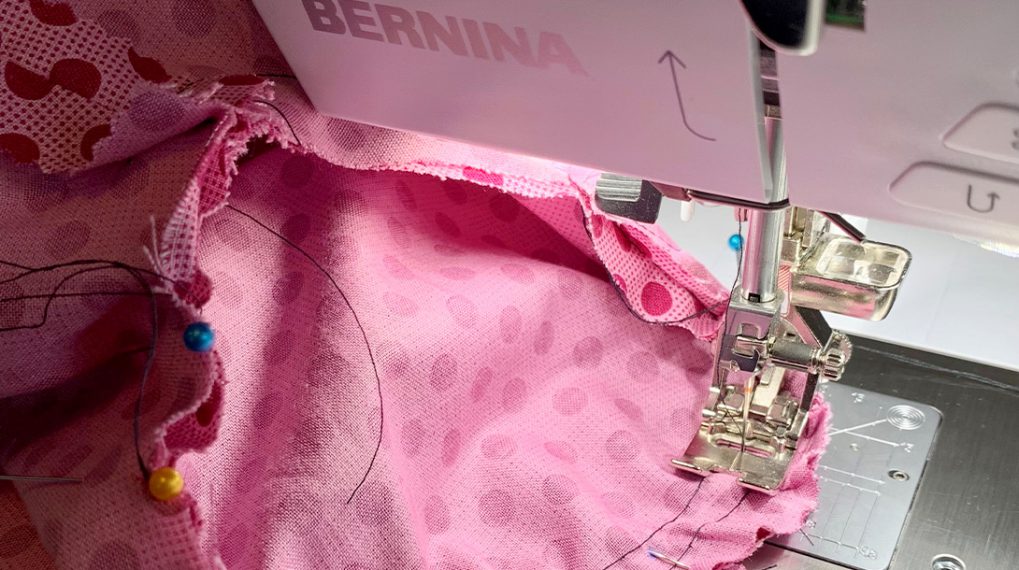
Two rows of ease stitching are needed to properly gather the sleeve enough to ease it into the armhole. Ease stitching is created by increasing the stitch length of the straight stitch to 5.0 mm, which turns it into a basting stitch. The two rows of stitching should be on both sides of the seam allowance. For this shirt, I am using a 5/8” seam allowance to attach the sleeves, therefore my rows will be stitched at 1/2″ and 3/4″.
Insert your needle of choice into the machine, and attach Reverse-Pattern Foot #1C.

Thread the machine with Isacord thread. This type of thread is strong, but also easy to remove with one pull. The color of thread does not matter because it will be removed once the sleeve seams are set. I use something bright and contrasting so I can find it after the sewing is complete. Be sure to increase the stitch length to 5.0 mm, or whatever you prefer for a basting stitch.
Begin stitching at the marked point following the 1/2″ line on the stitch plate for the narrower seam allowance first. It does not matter what side of the fabric you are stitching on. Do not backstitch! The ease stitching is meant to be easily removed after the sleeve is set in, and that task would be more challenging if the stitching is secured. Leave the thread tails long, as they will be pulled to create the fullness. Repeat the process following the 3/4″ line on the stitch plate, again stitching notch to notch.
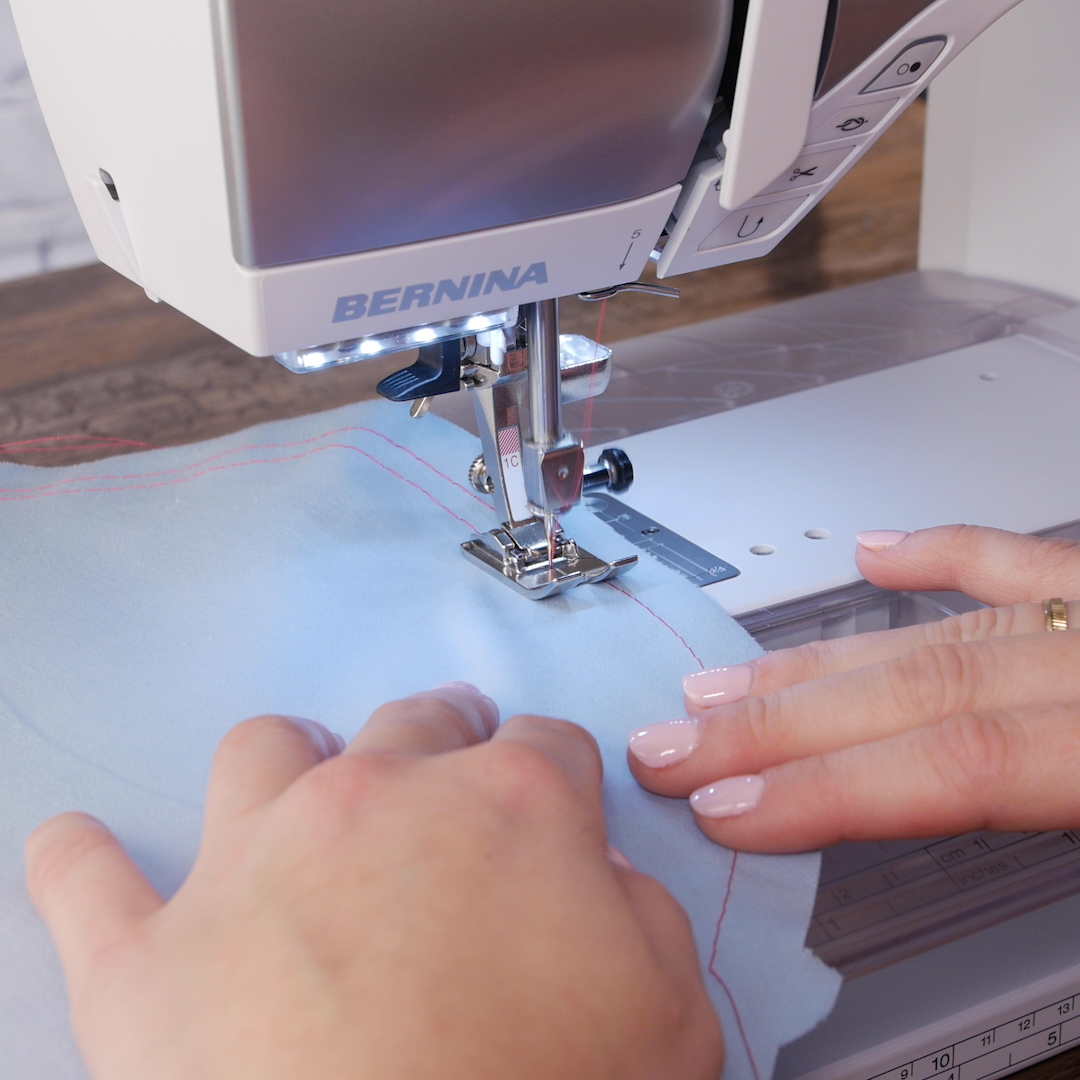
The key to making sure the stitching is rounded like the upper part of the sleeve is to rotate the fabric as you are stitching. Do not stop to pivot the fabric, but rather make the rotation one continuous motion.
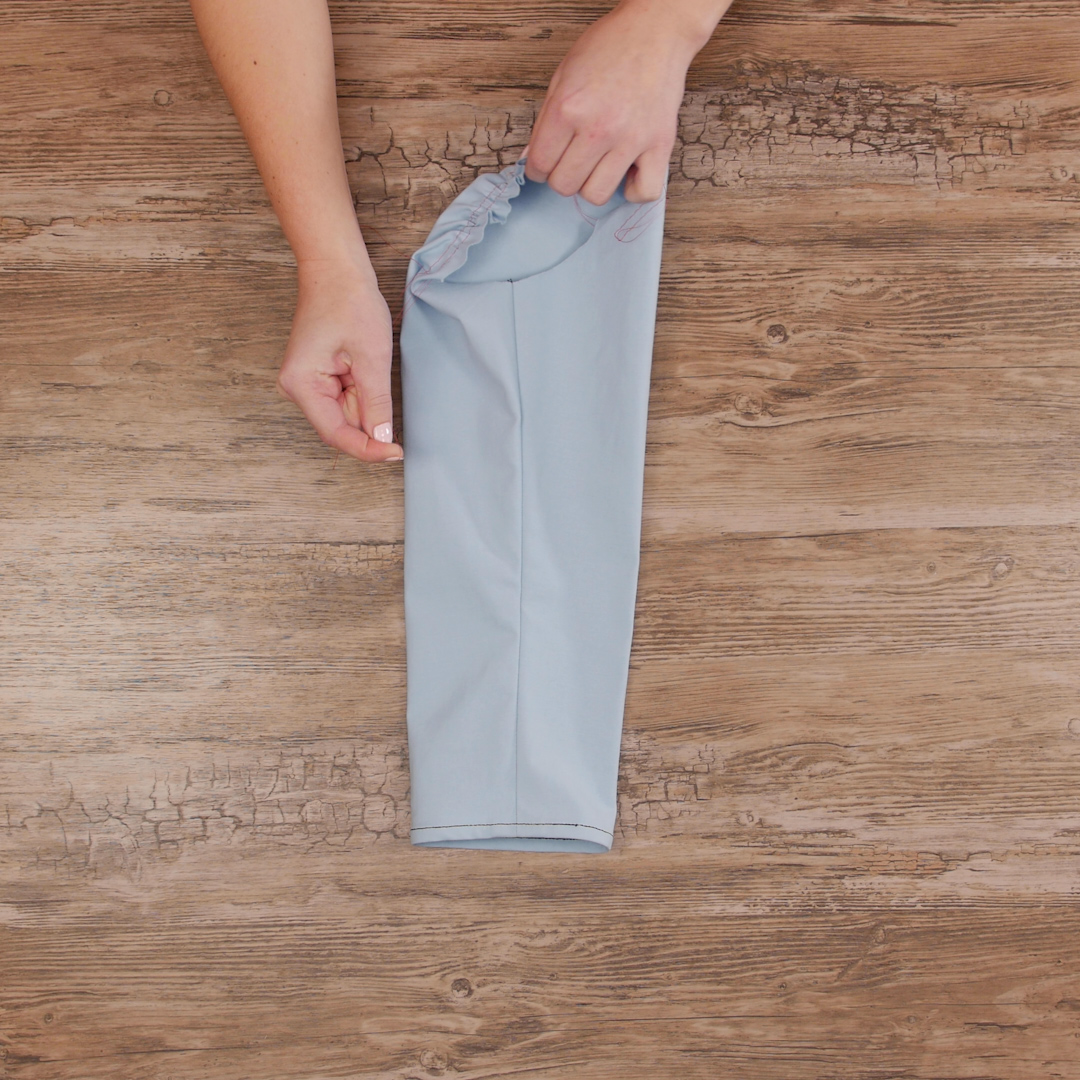
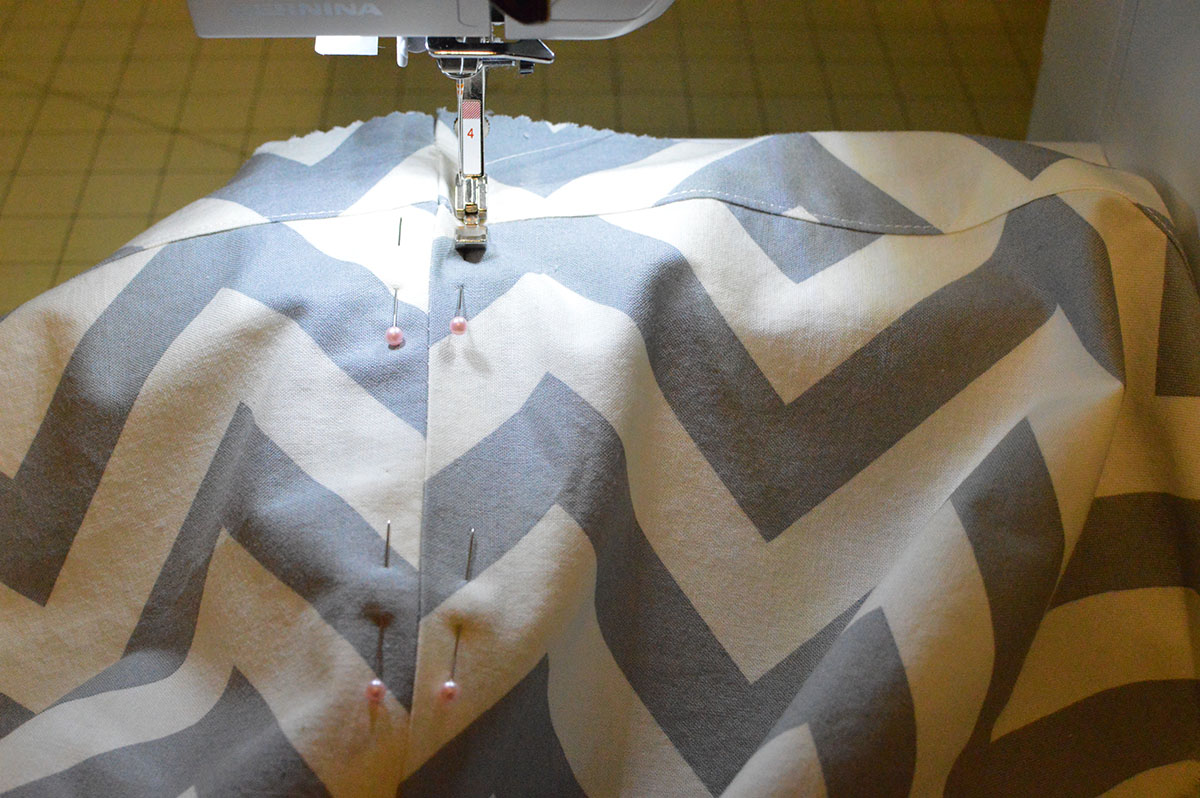
After both rows of ease stitching have been sewn, stitching the inseam of the sleeve is the next step. Match the raw edges of the sleeve together, with the right side on the inside, and pin in place.
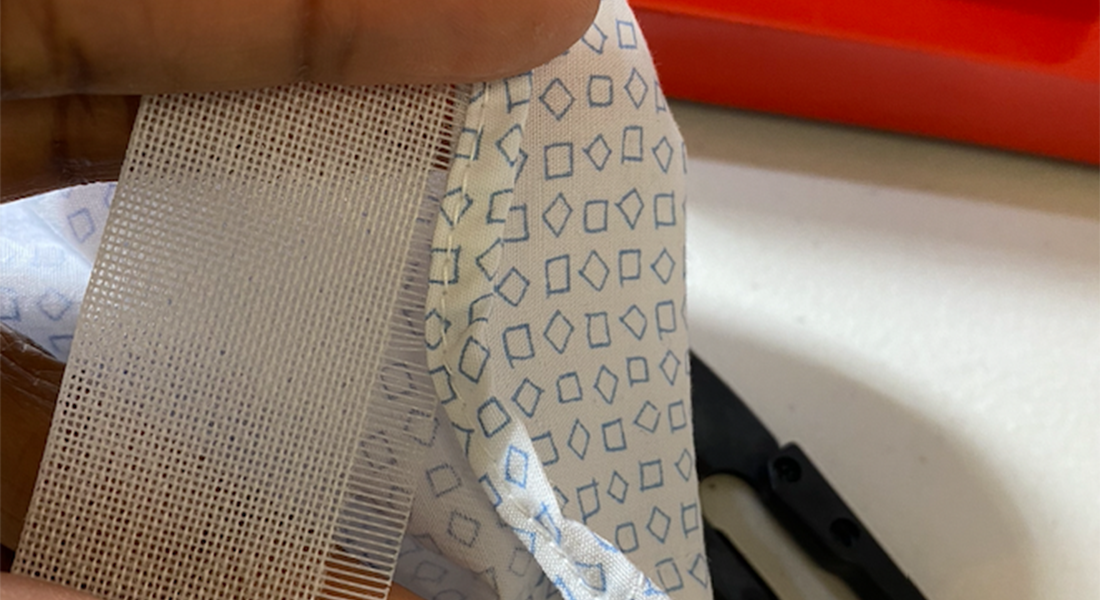
Stitch according to the seam allowance called for in the pattern and finish the edges as desired. Press the seam allowance open to spread out the bulk.

Now comes the fun part! Hold either the top threads or bobbin threads of the ease stitching nearest one of the notches. It does not matter which side you begin the easing on, as long as you are holding both the threads on the same side of the fabric. As you are holding the threads with one hand, use the other hand to push the fabric in the opposite direction of the threads. Notice the waves that form in the fabric. Distribute the fullness evenly, while checking that there are no major gathers that will cause tucks when the sleeve is actually sewn to the shirt.
Repeat using the threads closest to the other notch. There is not an exact measurement of how much easing is needed until the sleeve is inserted into the armhole, which comes next.

The next step is to pin the sleeve to the armhole. Flip the shirt wrong sides out while keeping the sleeve right side out. Insert the sleeve into the open armhole.
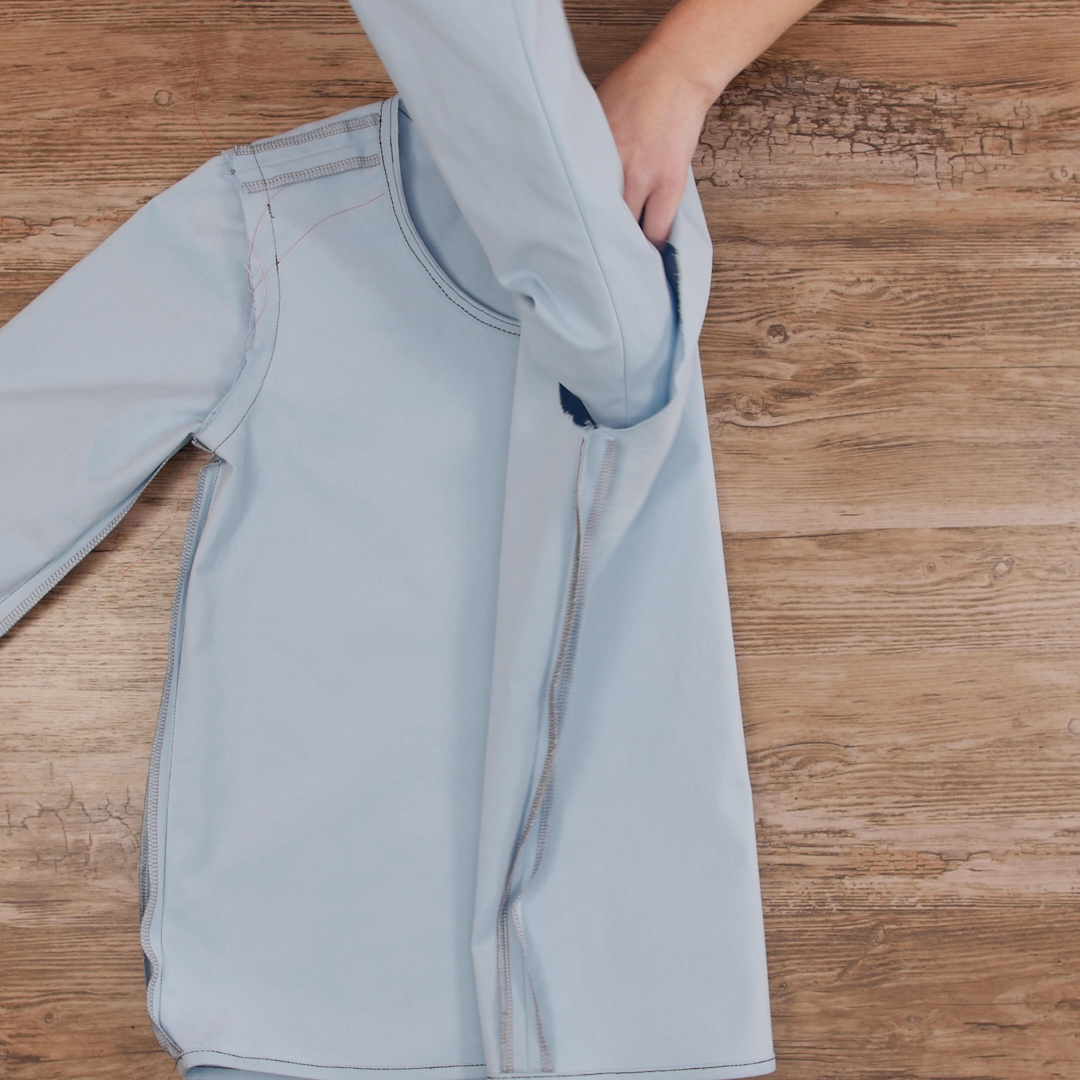
Then begin to align the notches to each other and the seam allowances.
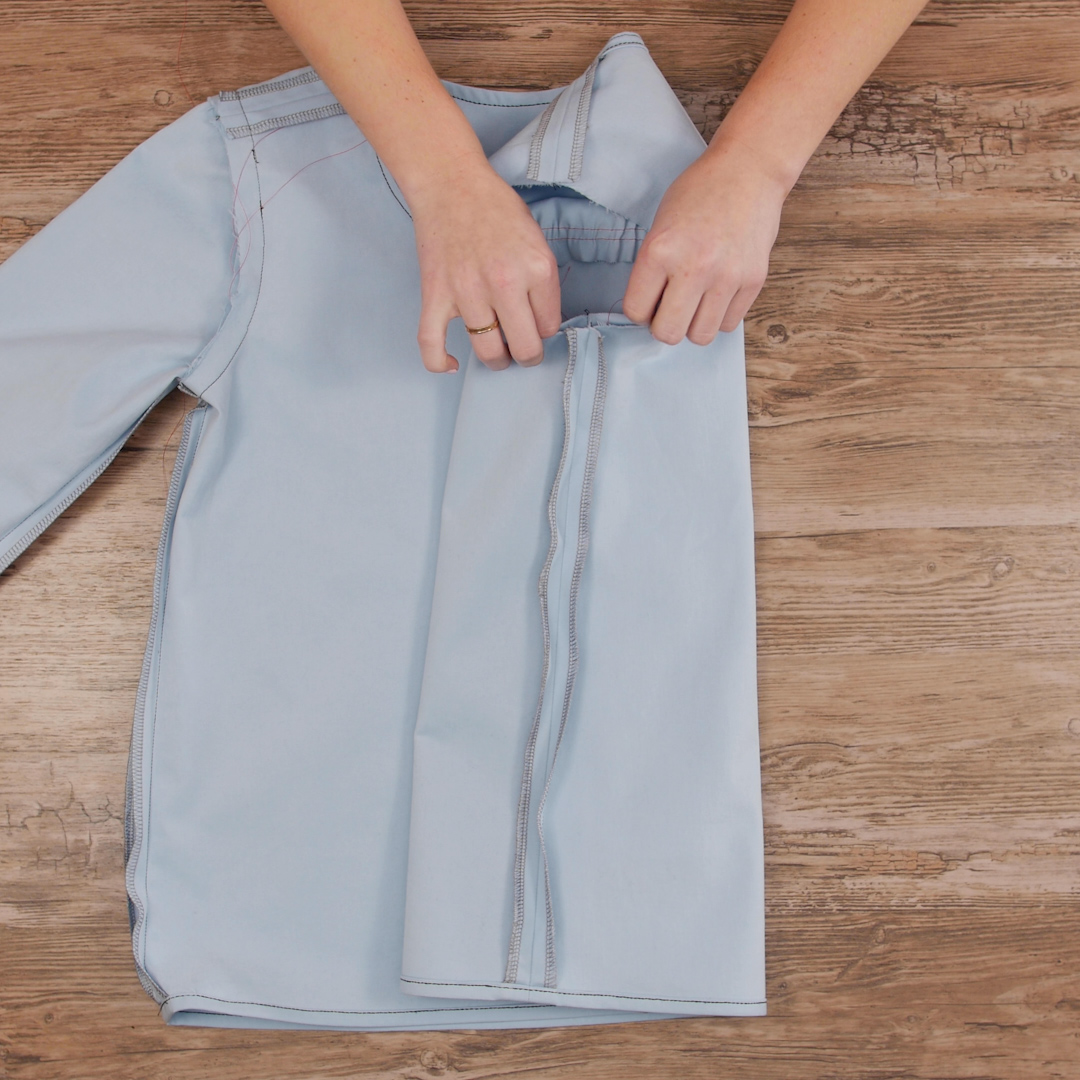
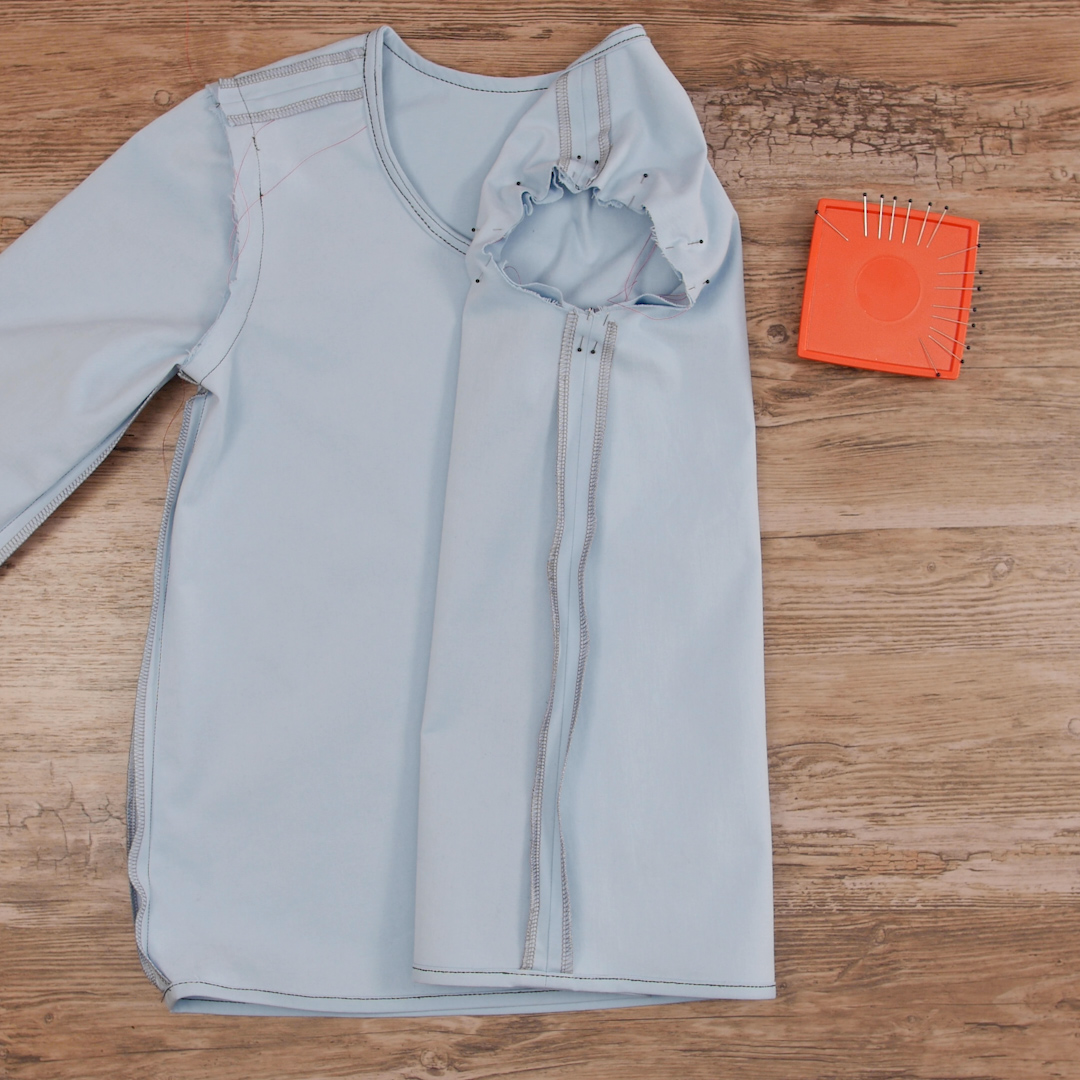
Start by pinning the top notch from the sleeve to the center of shoulder seam of the shirt. Center the inseam of the sleeve with the side seam of the shirt and pin both sides of the seam allowance flat. Next, try to match up the notches. Based on their alignment at this point, you may need to create more ease by pulling on the threads again, or releasing some of the fullness by gradually pushing the fabric back towards the threads. Once they match up evenly, pin the notches together. Continue pinning around the rest of the armhole, making sure the ease of the sleeve is even.
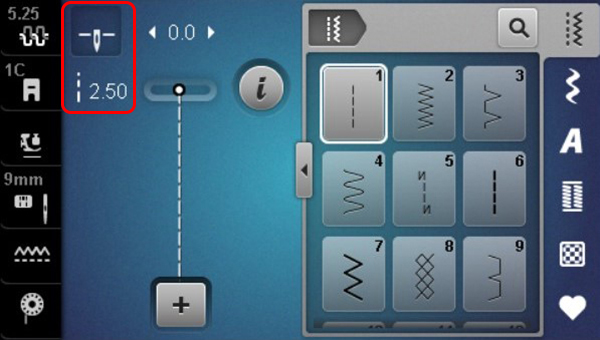
Remove the Isacord thread from the machine, and replace it with Aurifil cotton thread. Revert the stitch length back to 2.50 mm and select the Needle Stop Down icon. Setting the needle to stop down will help when the fabric needs to be readjusted or the shirt needs to be rotated midway through the stitching.
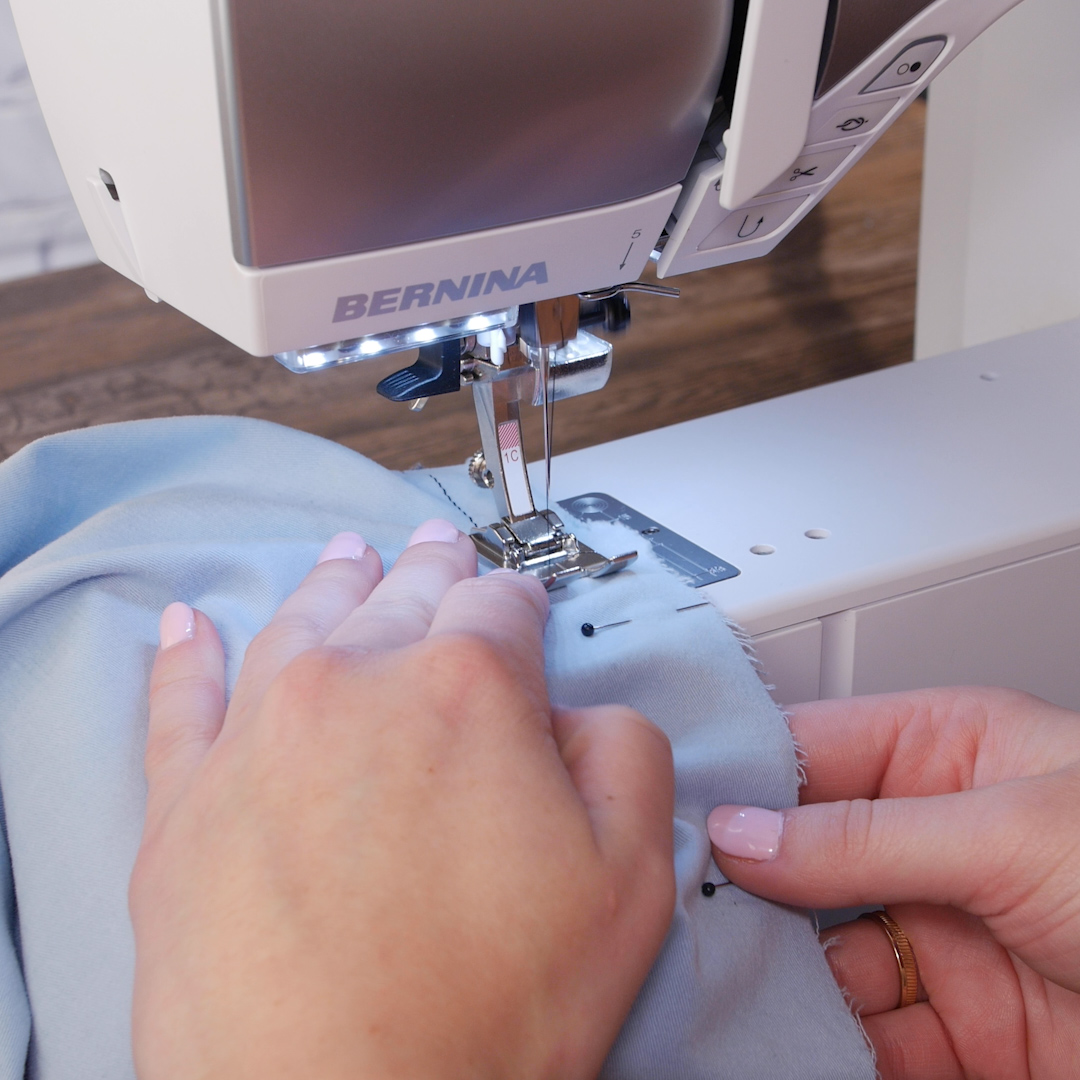
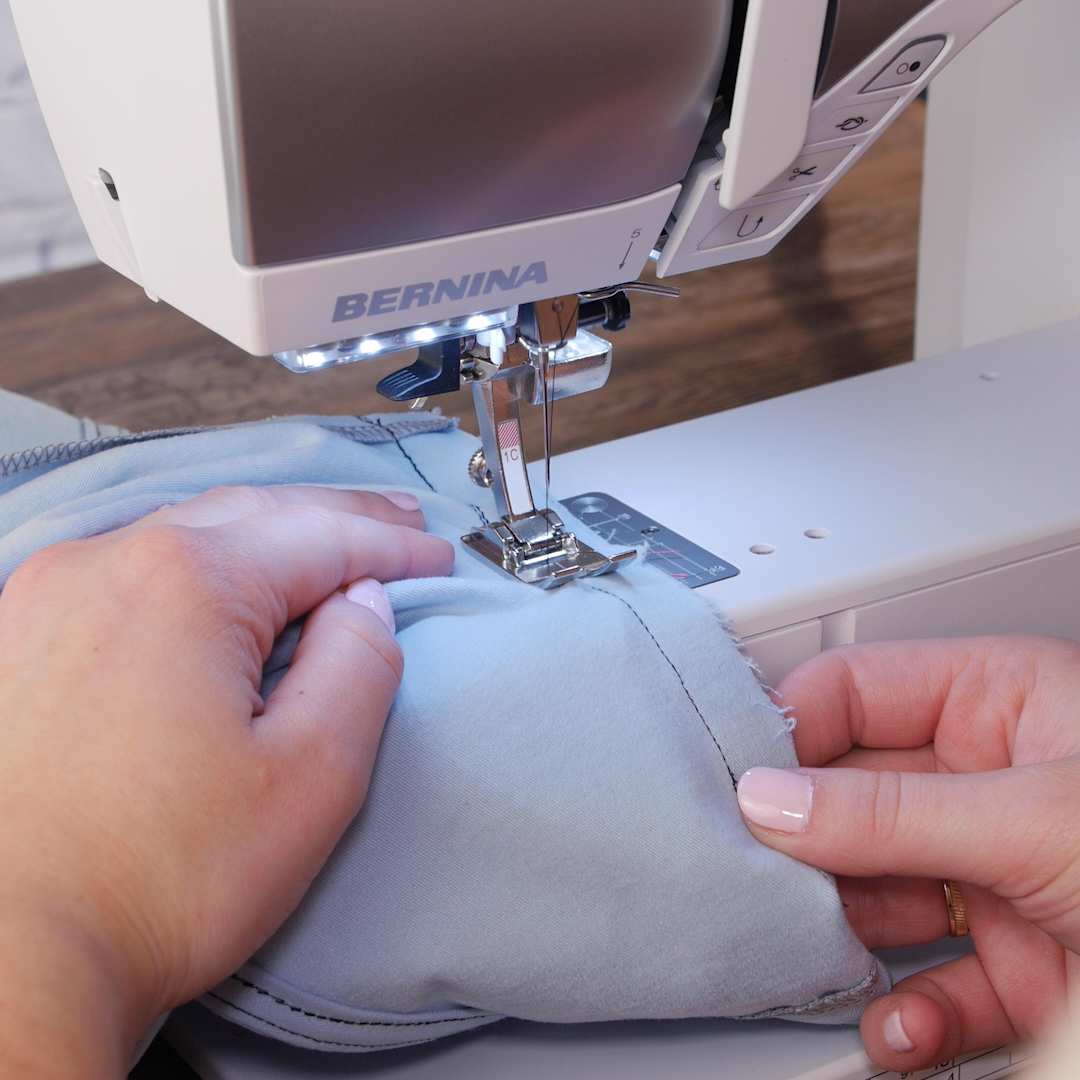
Carefully slide the garment and sleeve onto the freearm of the sewing machine. Line the garment up with the needle to begin in an inconspicuous spot, perhaps near the side seam in the underarm. The difficult part here is that you cannot see the easing on the inside, so you must check the spacing by feeling it. Stitch the sleeve to the shirt using a 5/8” seam allowance (traditional for garment sewing) or what is called for in the pattern. Use one hand to guide the fabric, and the other to feel underneath on the sleeve so that no tucks or gathers are forming. Maintain an even distribution of the fullness as you are stitching.
When approaching where the stitching began, determine how you would like to secure the seam. I personally stitch four or five stitches over the previous stitching, and then press the tie off button on the front of the machine.
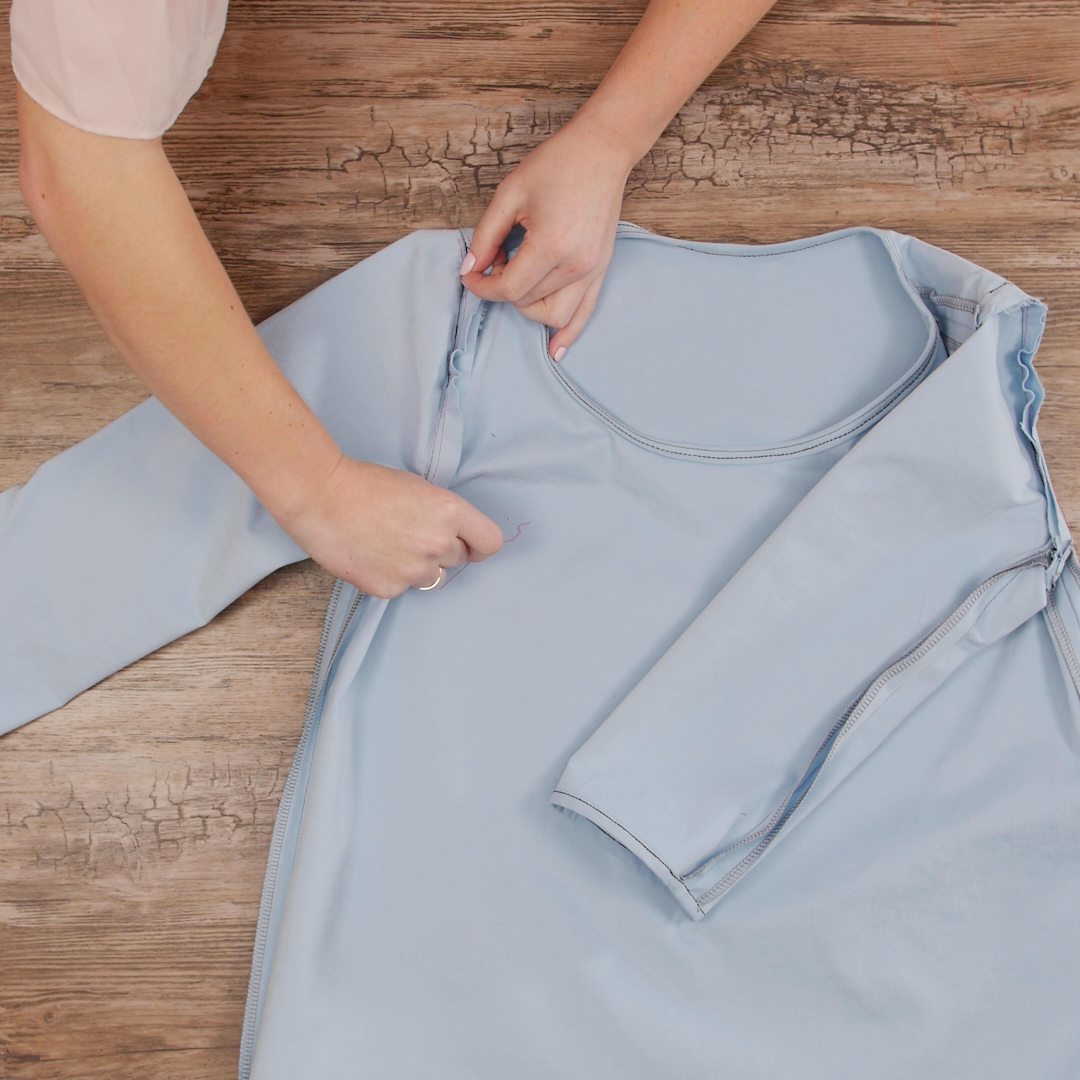
Remove the shirt from the freearm and clip any threads. Check that there are no tucks in the seam allowance, then slide the garment back on the freearm. A second row of stitching needs to be stitched around the underarm as reinforcement. The underarm is where a lot of the motion in the sleeve occurs, so the second row will add an extra layer of security. This next row will be stitched directly on top of the previous line of stitching, at a 5/8” seam allowance, from notch to notch around the UNDERARM. Do not stitch between the notches around the upper part of the seam where the ease stitching is.
Once the reinforcement stitching is complete, it is time to remove the ease stitching from the upper part of the sleeve. For easy removal, use a seam ripper to break the stitching at one or two points, then pull on the long thread tails. Remove both the top and bobbin threads from both rows of stitching.
Finish the raw edges of the seam as desired. Do not forget to repeat the instructions above for the other sleeve!


Thank you, this is such a good tutorial. Really clear.