Tips for Sewing a Basic Tee: Alterations and Setting a Sleeve
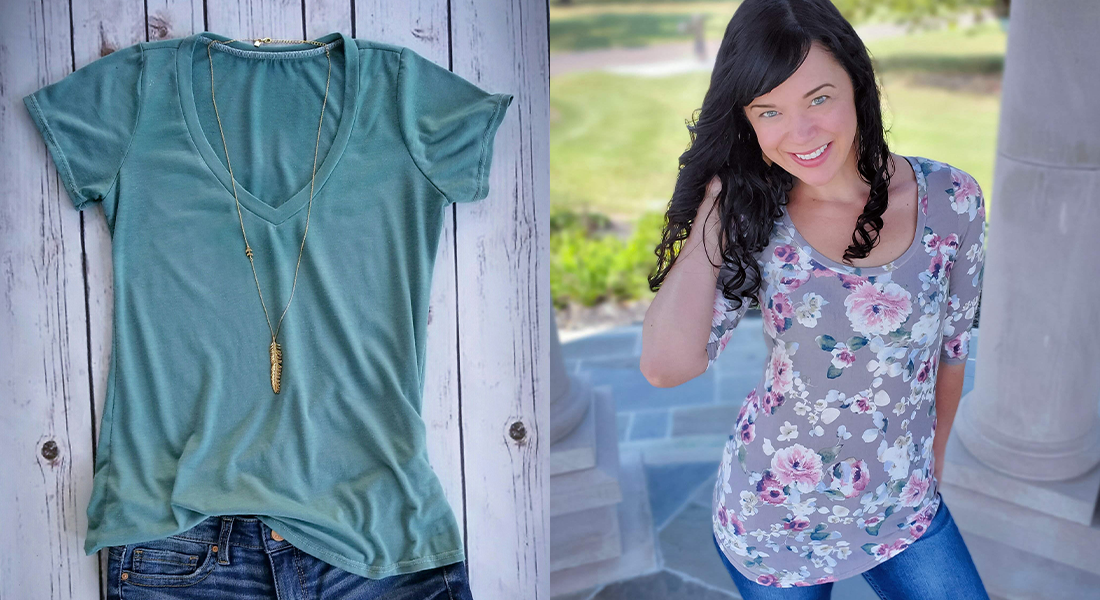
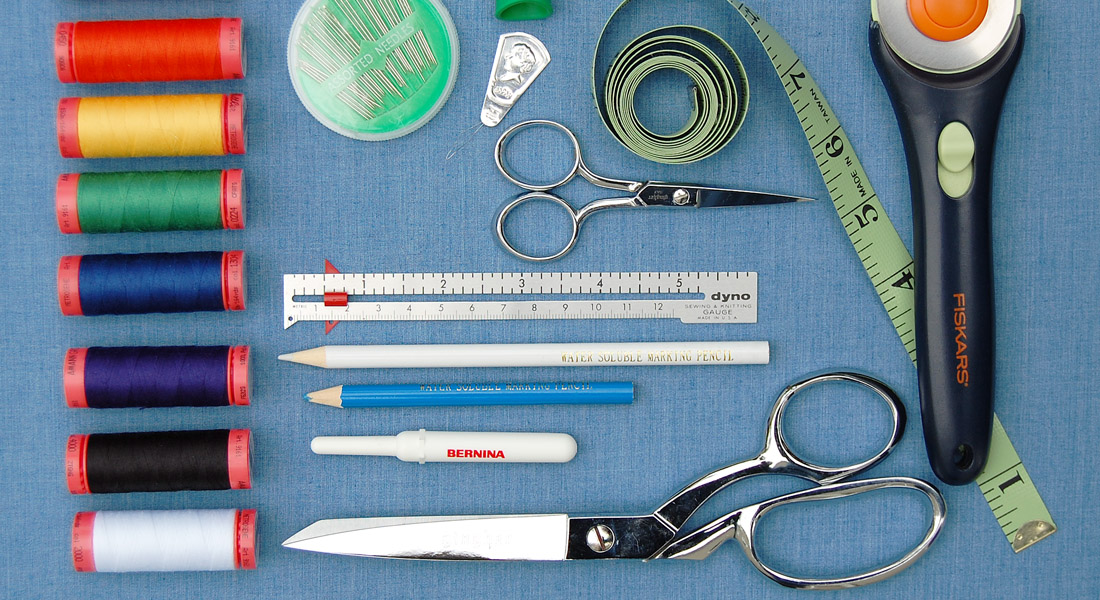
Welcome to the second post in the series, Tips for Sewing a Basic Tee. Today, we will be making any necessary alterations to our T-shirt pattern and begin construction by setting a sleeve. In the previous post, we discussed fabric choice. Now that you have selected just the right fabric for your project, let’s dive in!
First, let’s adjust our pattern for fit . . .
Alterations to Your Pattern
You may need to make a few small alterations to your pattern. The pattern will have height recommendations, and it’s possible that you will need to add or subtract length to accommodate your height.
Lengthen/Shorten
I am using one of my favorite tee shirt patterns, the So Sew English Fabrics Seattle Shirt. You can grab it free using the code BERNINASEATTLE.
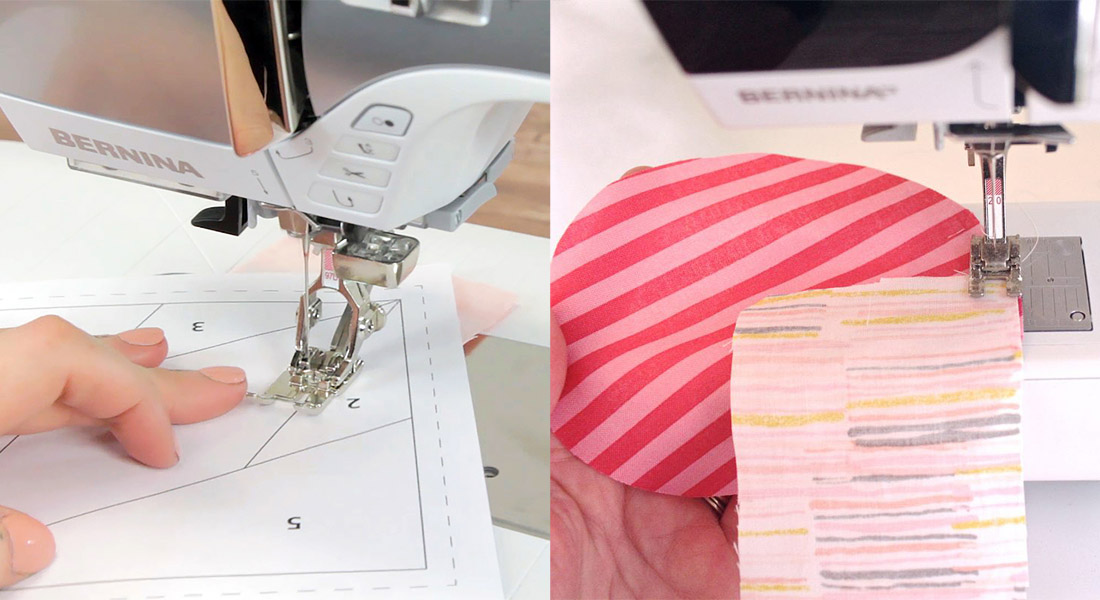
It is drafted for a height of 5’5” and I am 5’9”. Generally, when sewing a top, we want to add or subtract half of the discrepancy, which in my case would be 2”. However, I know that I have a short torso and will be adding 1” in length to my pattern. In the video below, I will go over a brief explanation of assembly and then cover, step-by-step, how to lengthen and shorten your pattern.
Grading Between Sizes
One of the joys of sewing garments is achieving a customized fit. We all have unique shapes, and we are usually not one size from head to toe. Take a look at the size chart for your pattern and determine the size range that you fall into. If you fall into more than one size range, you may wish to grade between sizes. If you are sewing the SSE Seattle Tee, you can reference the size chart here:

Watch as I walk you through a how-to grade between sizes:
Cutting Out the Fabric
When preparing to cut your fabric there are a few important things to consider.
- First, ensure that your cutting surface is large enough to support your fabric without letting the excess hang off. Fabric that extends beyond your cutting surface may cause your fabric to stretch, causing distortion when you cut.
- Pay special attention to the pattern pieces you will cut on the fold. For our tee, the front and back bodice as well as the neckband will be placed on the fold. The sleeves will be cut mirror image.
- Ensure that you cut out all notches indicated on the pattern, as these will help you avoid error during construction,
- When you place your pattern pieces atop your fabric, ensure that the arrow indicating stretch is going in the same direction as your fabric’s greatest direction of stretch. The greatest direction of stretch almost always runs from selvage to selvage. Once your pieces are placed on your fabric you can begin cutting! In the next blog post in this series, we will cover constructing your neckband. We will be making a small modification to the neckband pattern piece. So, wait to cut the neckband pattern piece. We’ll do that step together.
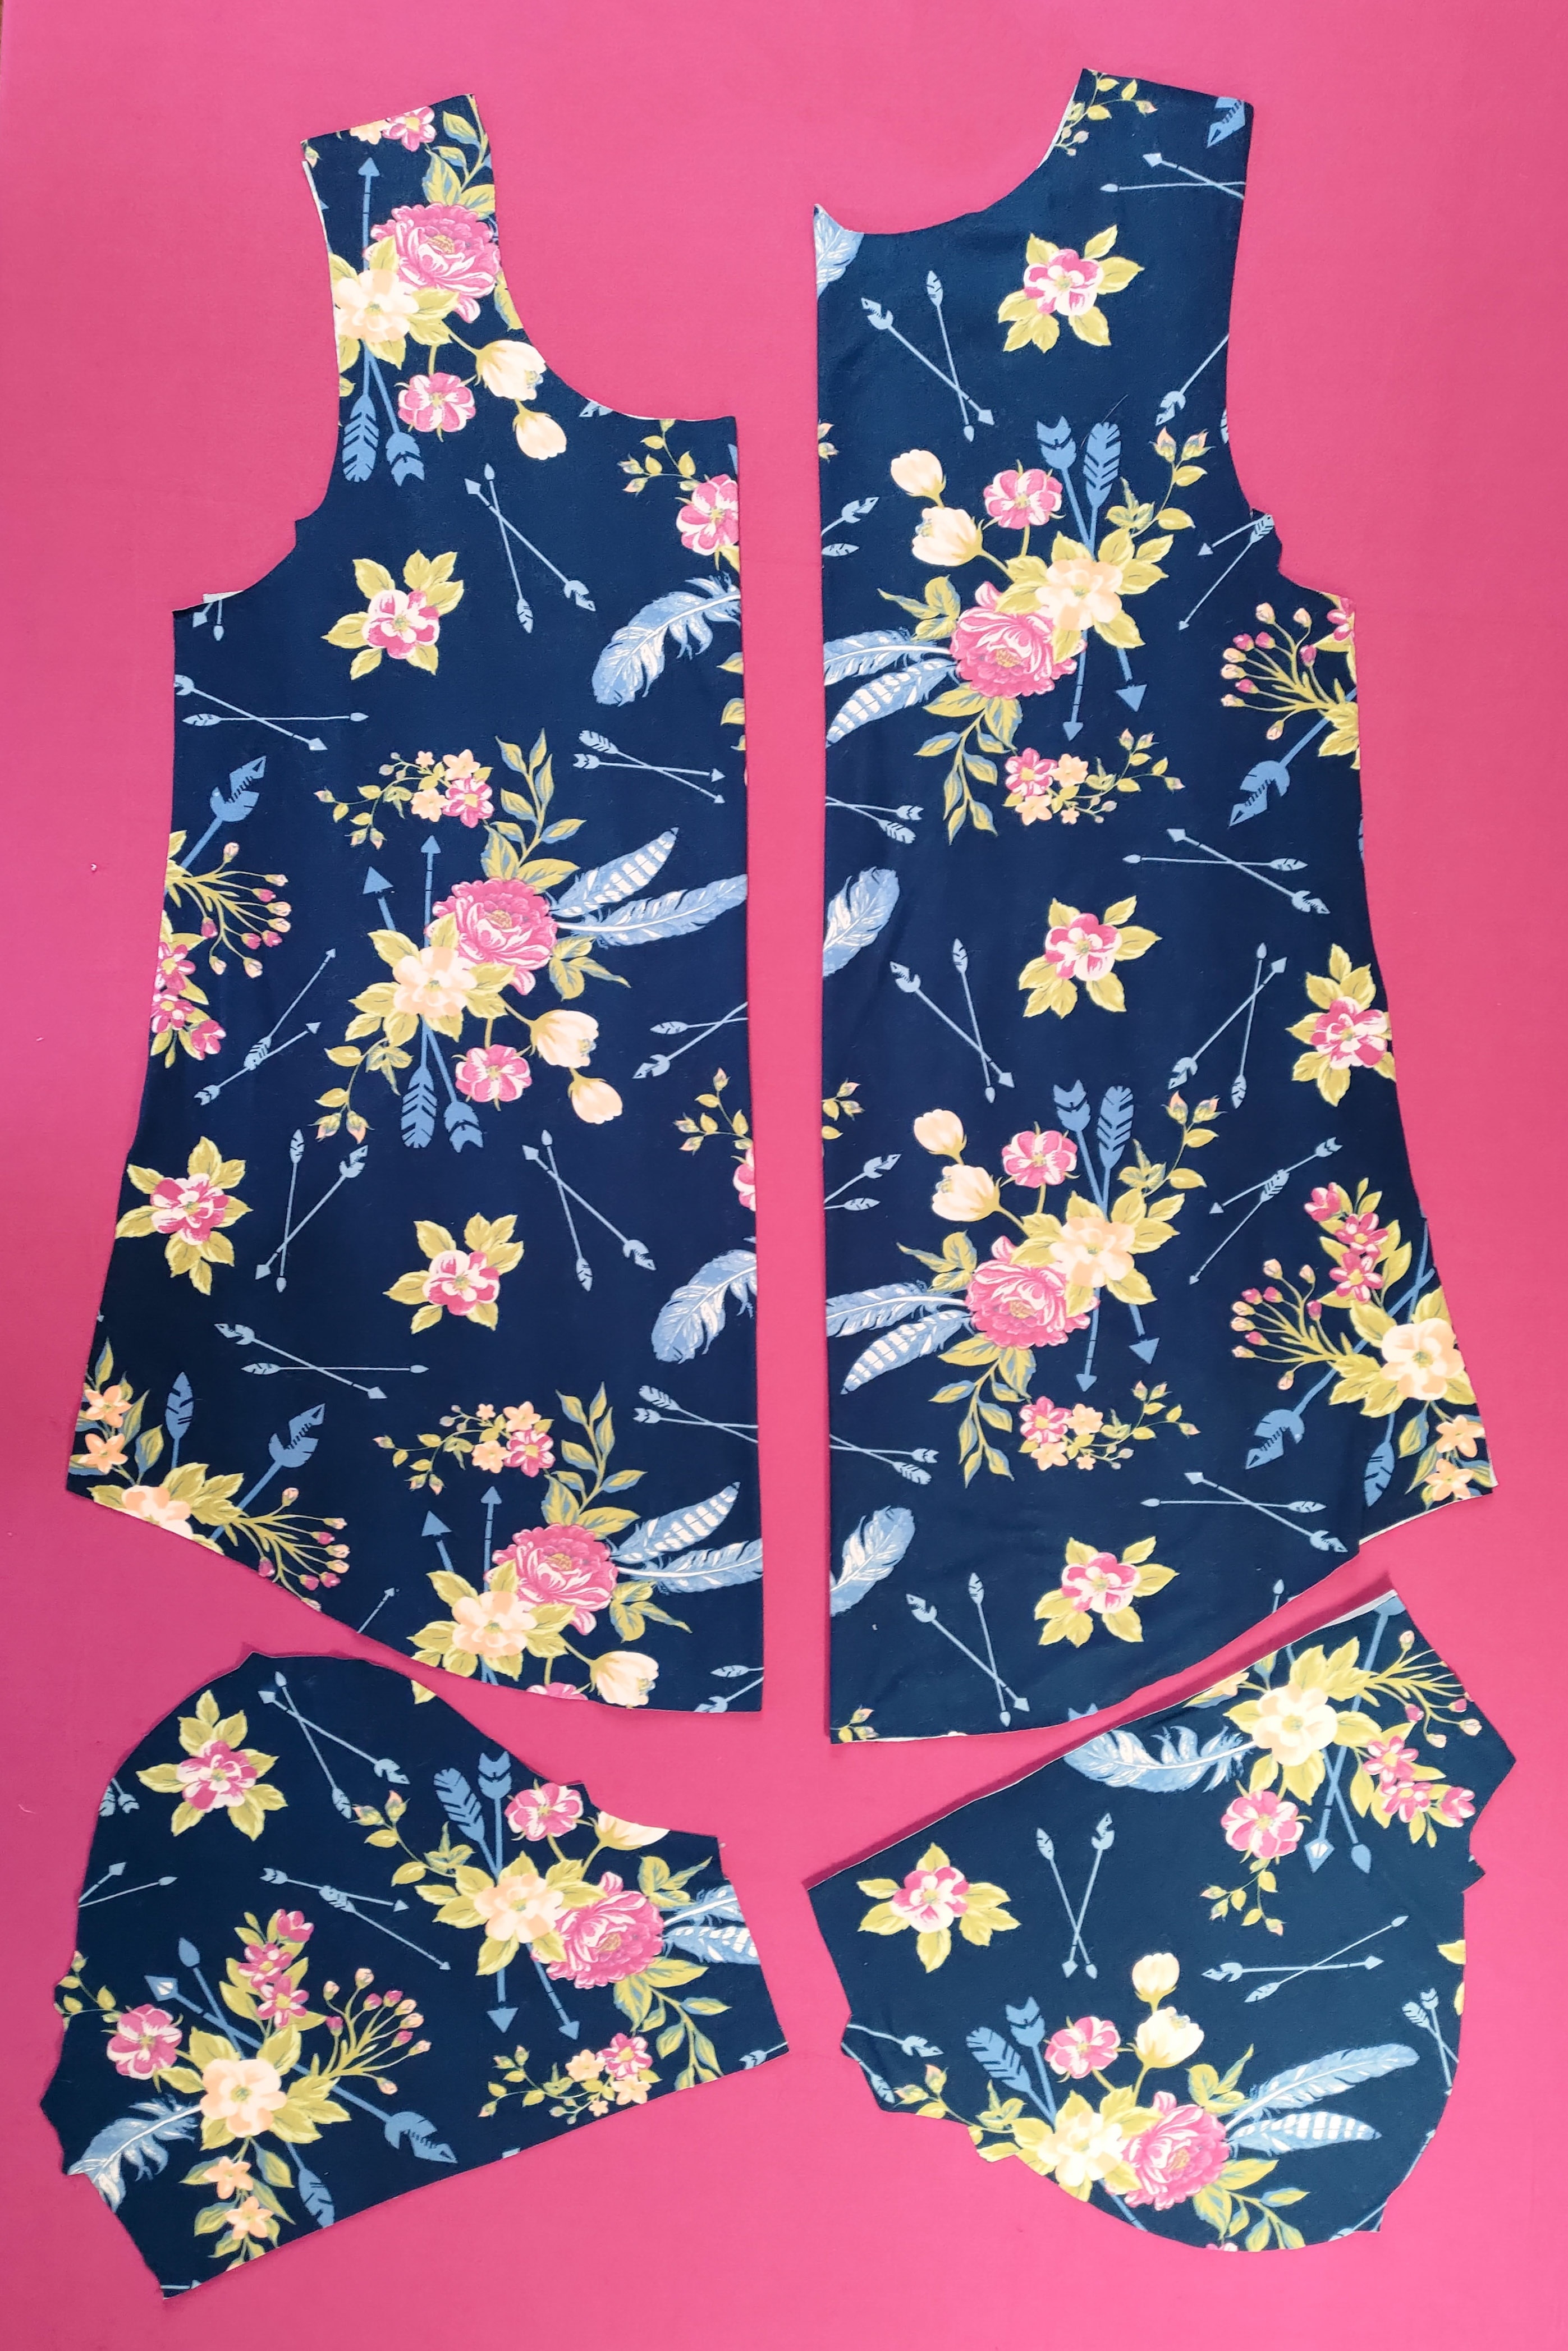
- Once your fabric pieces are cut out, you will have a front and back bodice and two mirror-image sleeve.
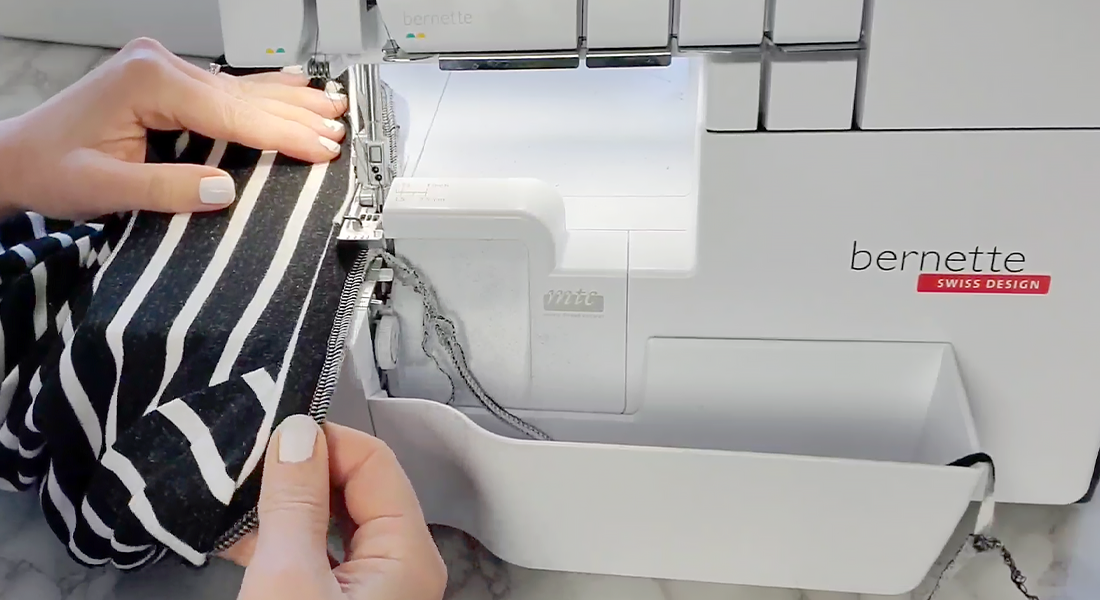
Machine Set-up
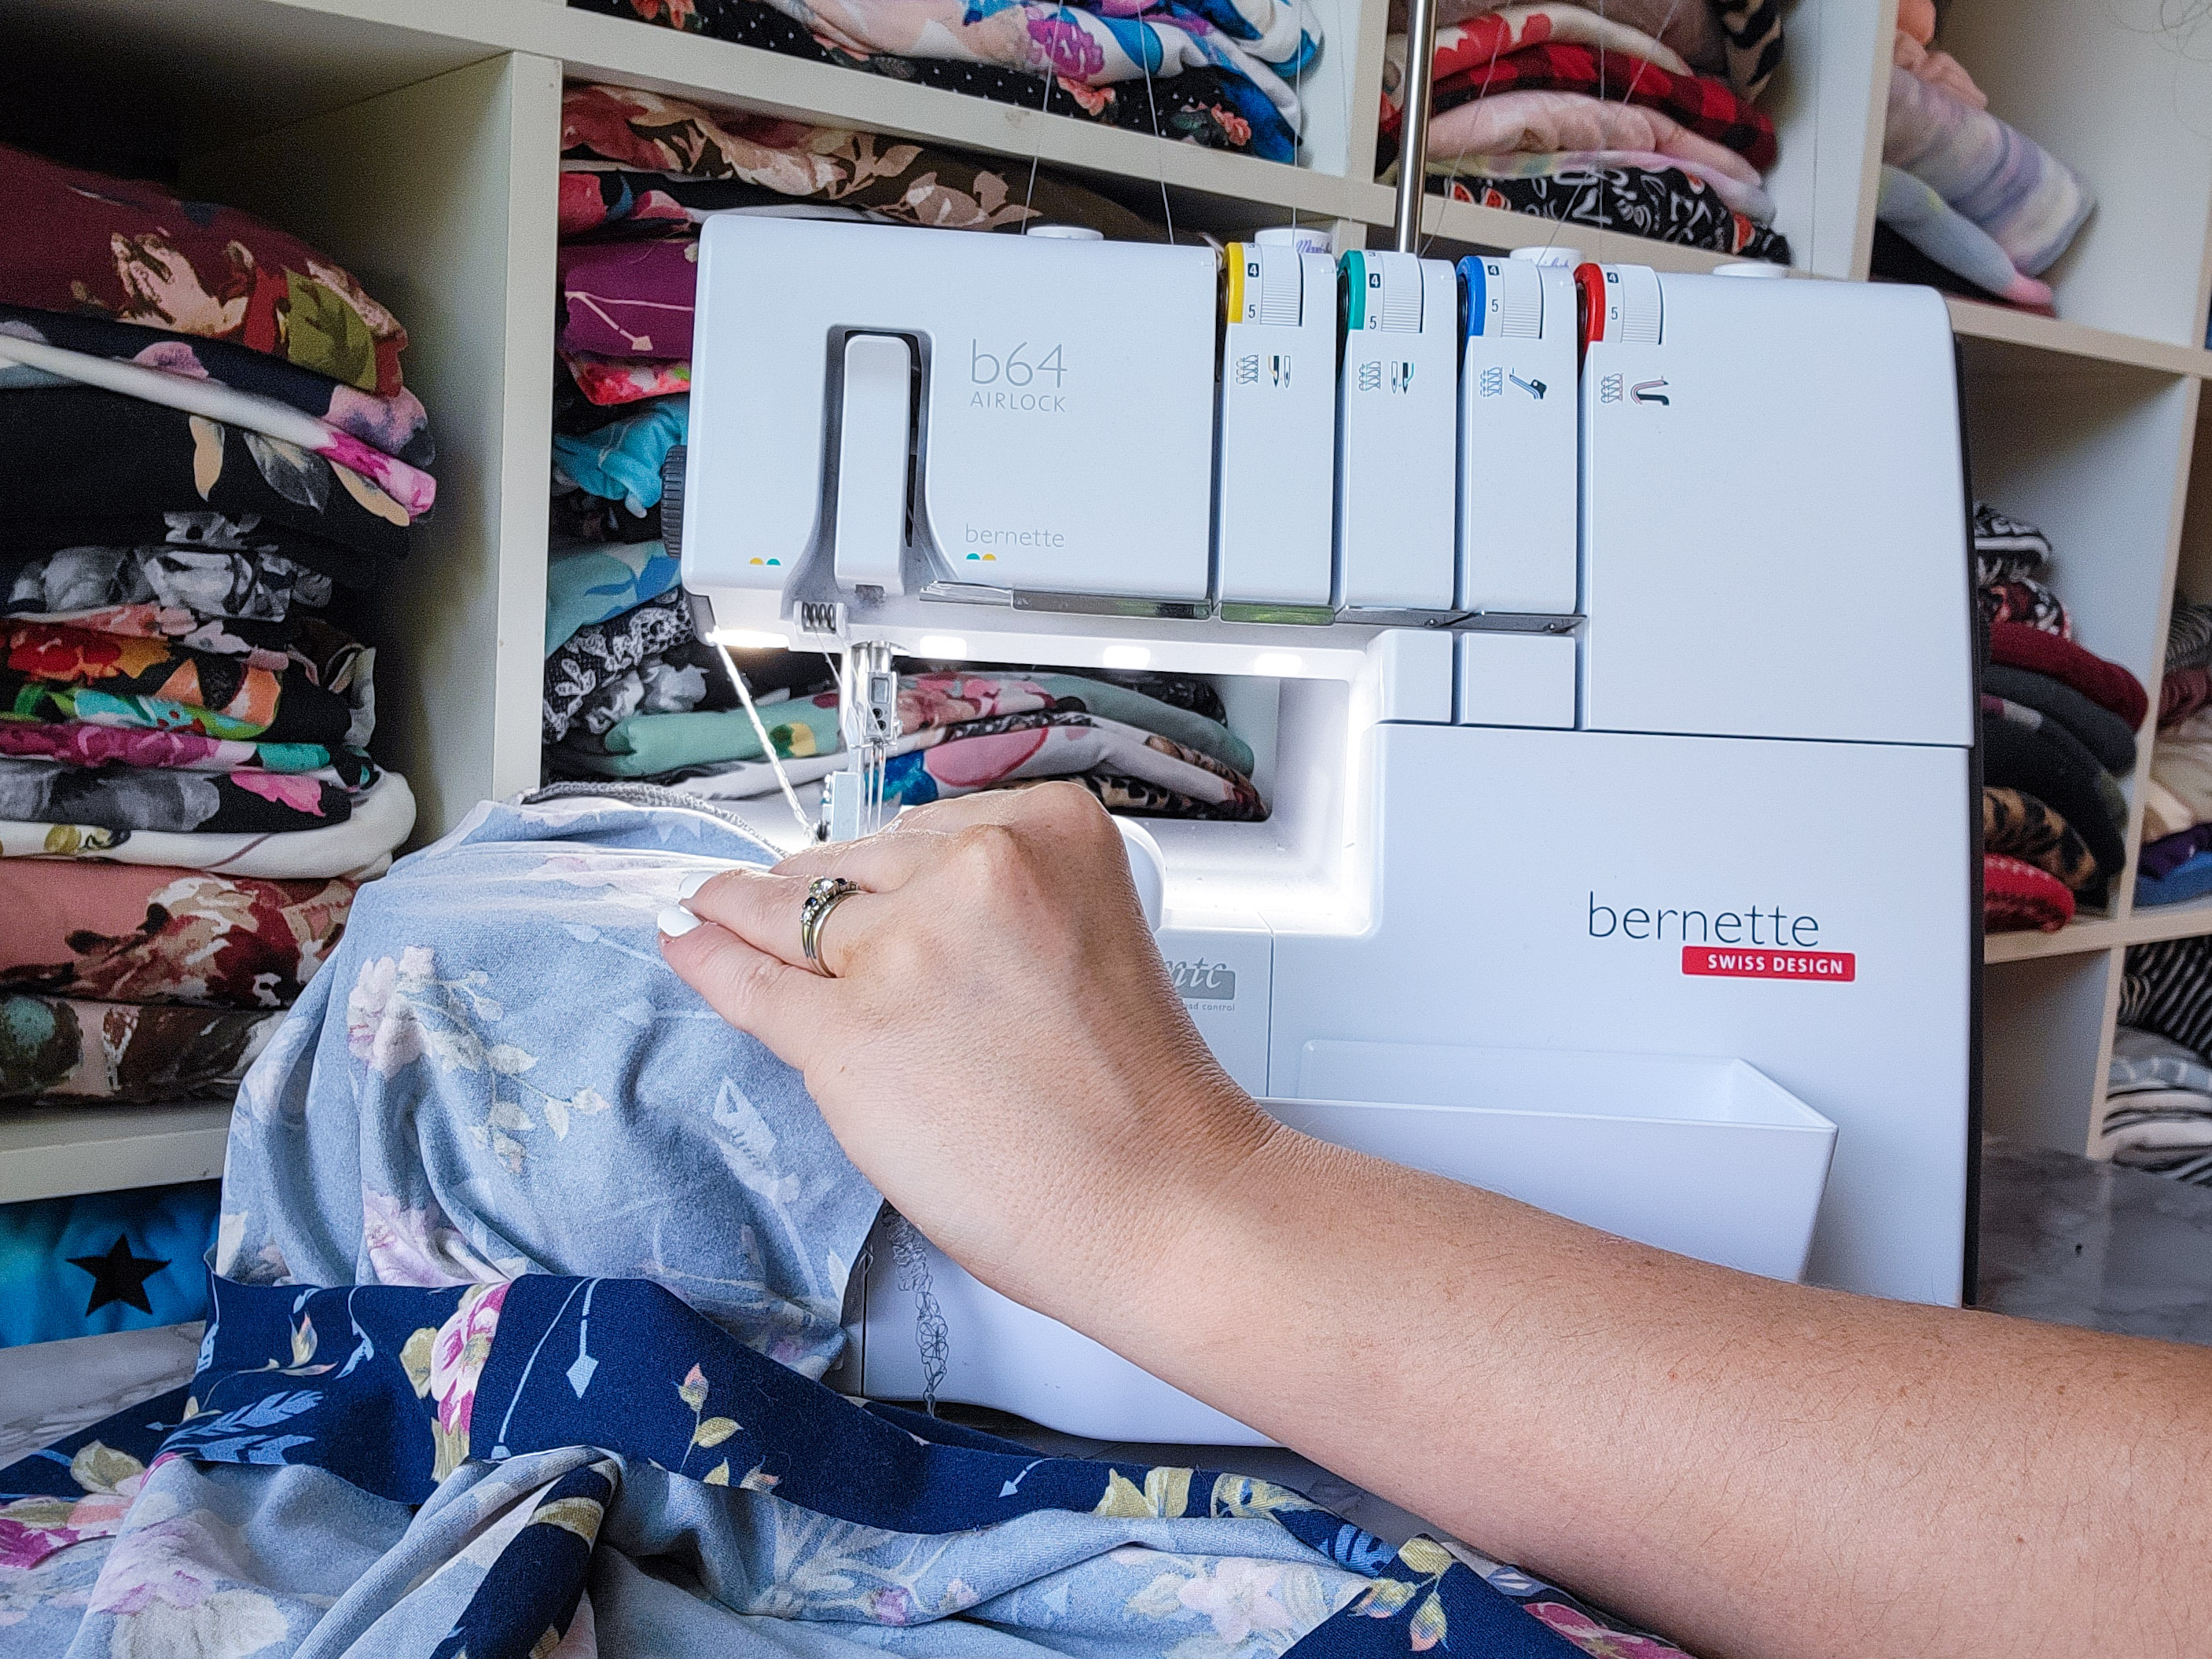
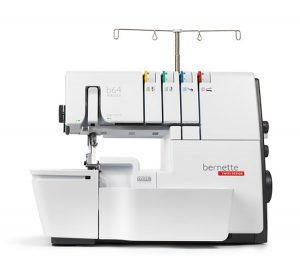
Before we begin construction, make sure your serger is set up for a 4 thread overlock, threaded with polyester thread and equipped with stretch, jersey, or ballpoint needles. I always test my serger stitches on a scrap of the same knit fabric that I’ll be using in my project. I am using my bernette 64 AIRLOCK, and I love that the micro tension allows me to easily adjust for each individual project. Once the tension is set, you are ready to begin.
Construction
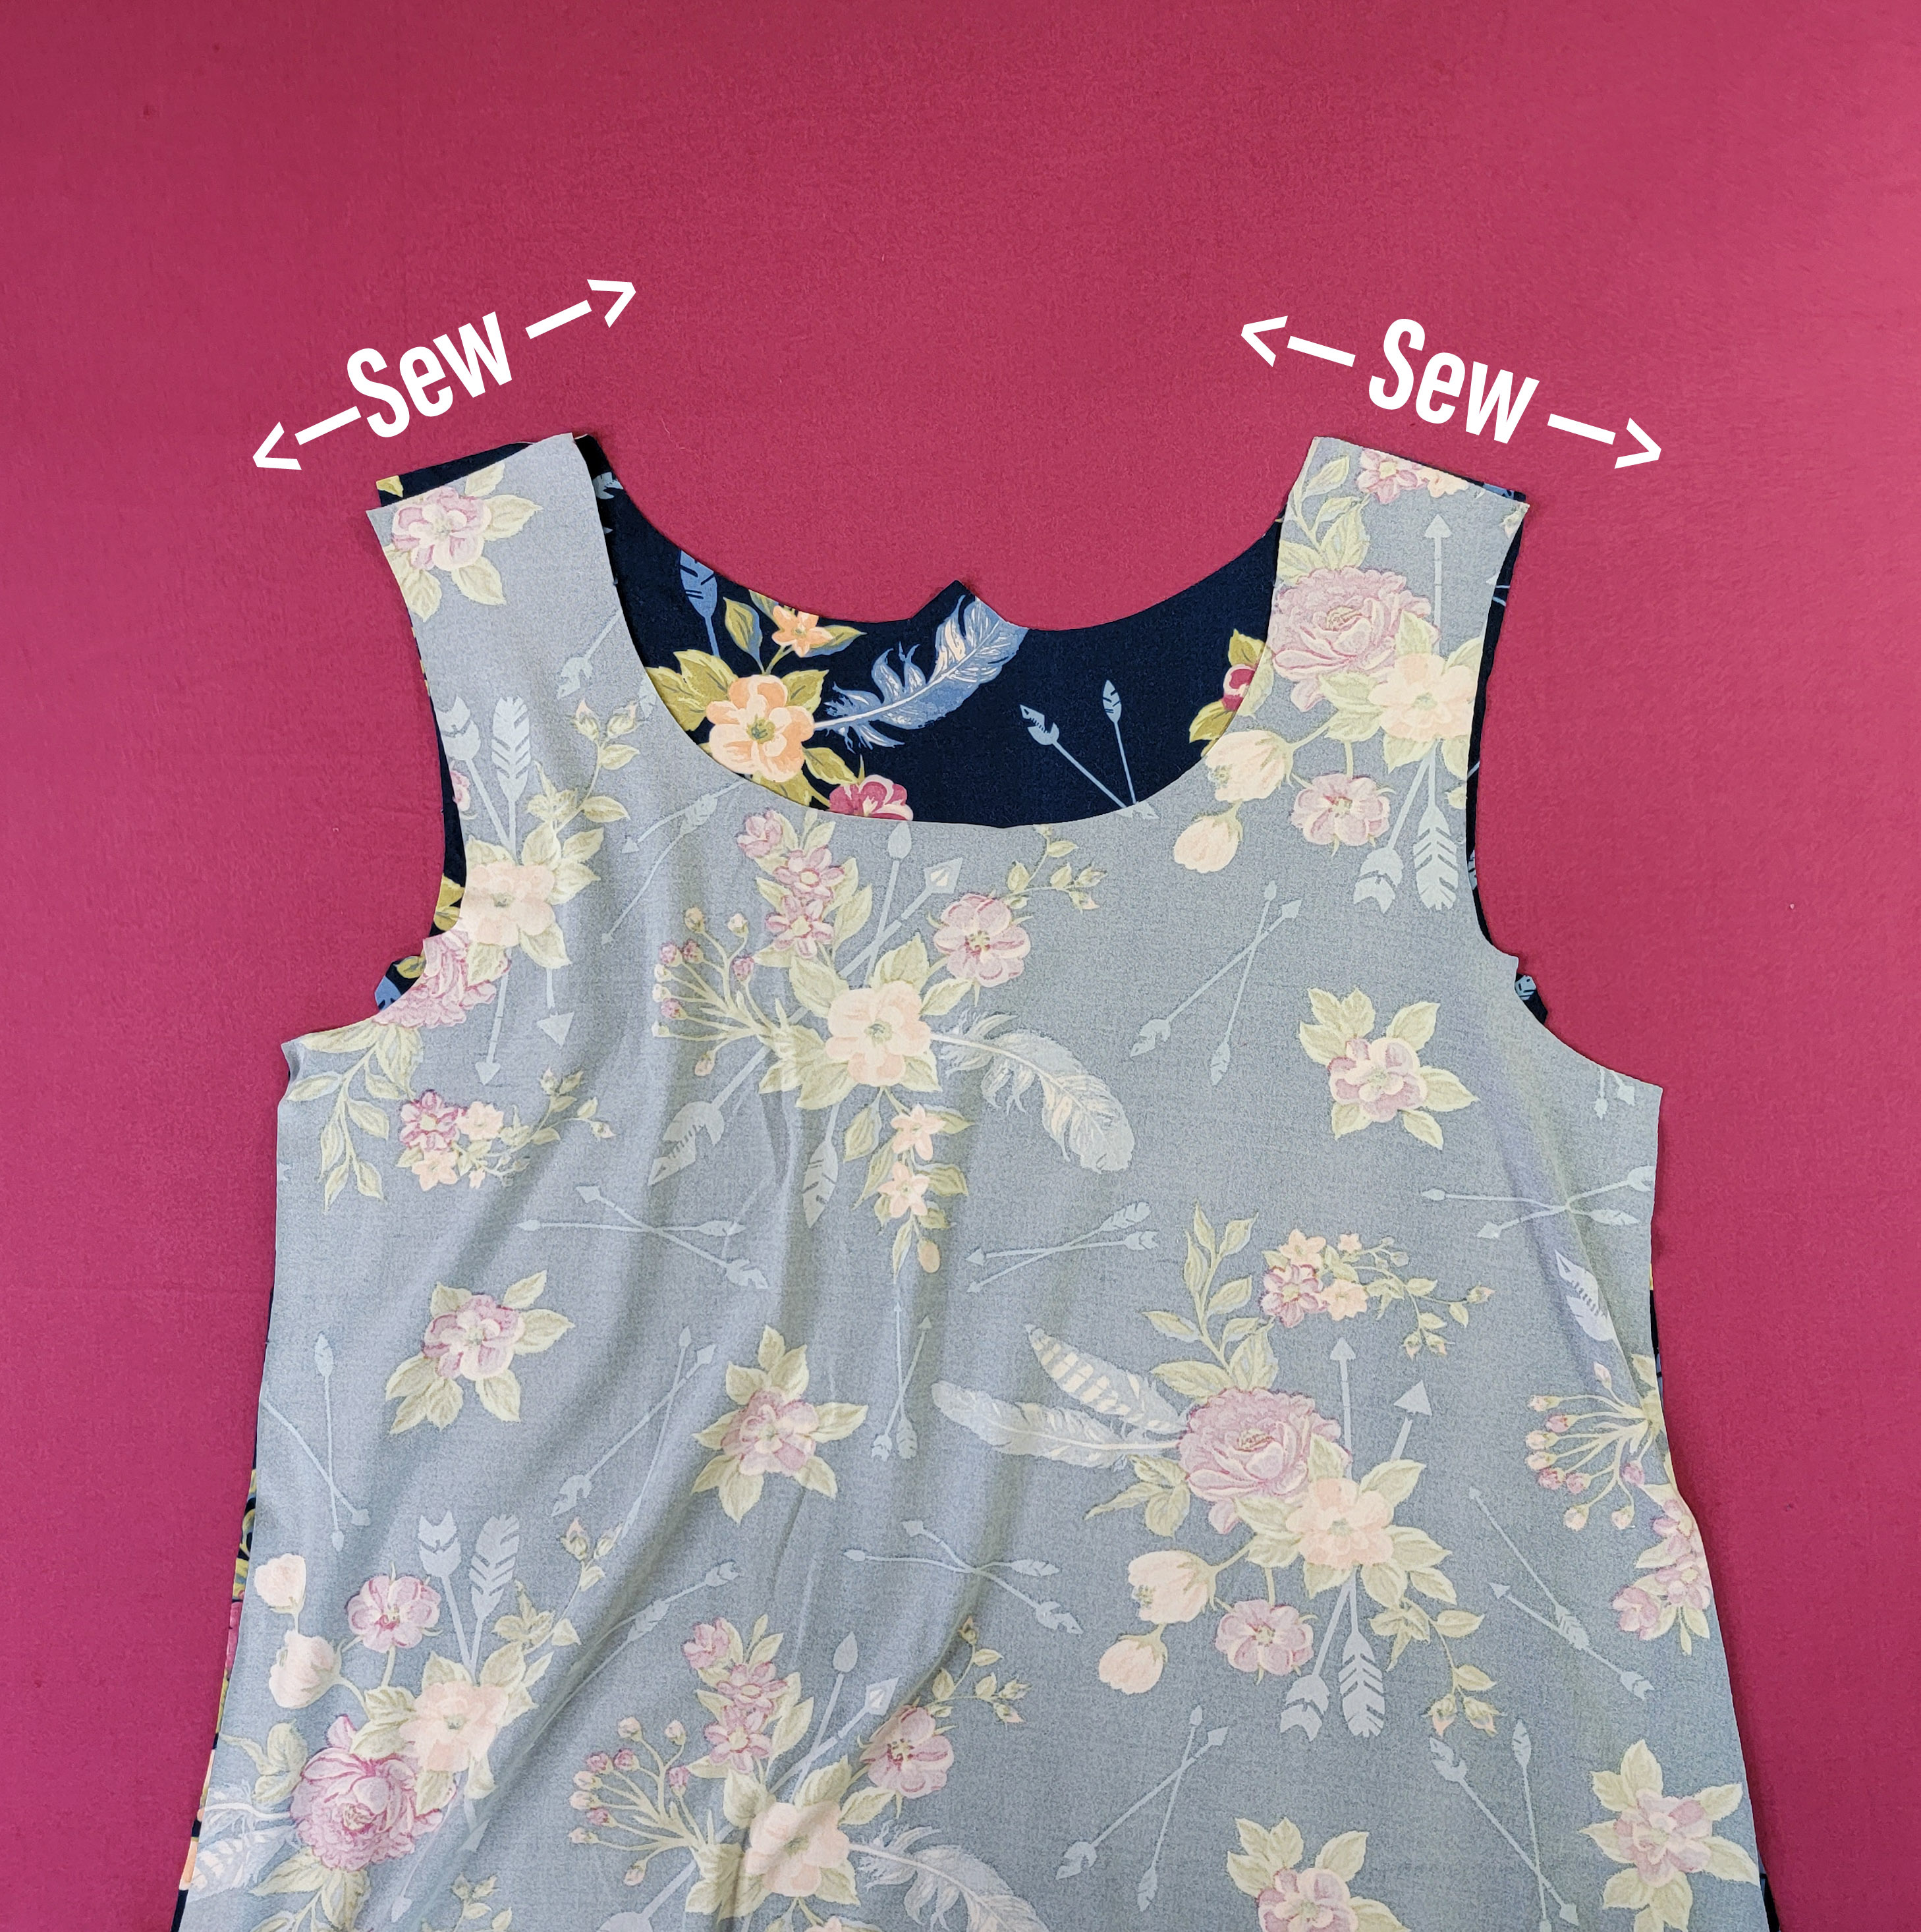
We will begin construction by placing our front and back bodice pieces right sides together and serging the straight line across the top of the shoulder with a ¼” seam allowance. If you’ve not used a ¼” seam allowance before, you will be removing only a small sliver of fabric with your serger knife. The ¼” seam allowance makes it easier to navigate around curves and simplifies setting a sleeve.
Once the shoulder seam is sewn, open your bodice pieces and place them on your surface right sides up.

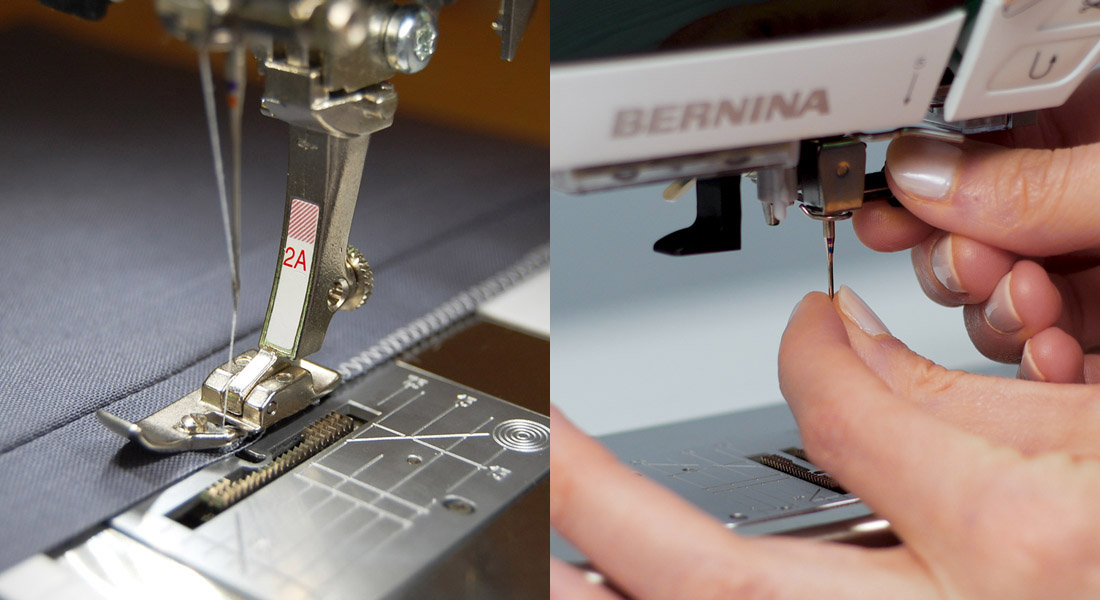
Setting the Sleeve
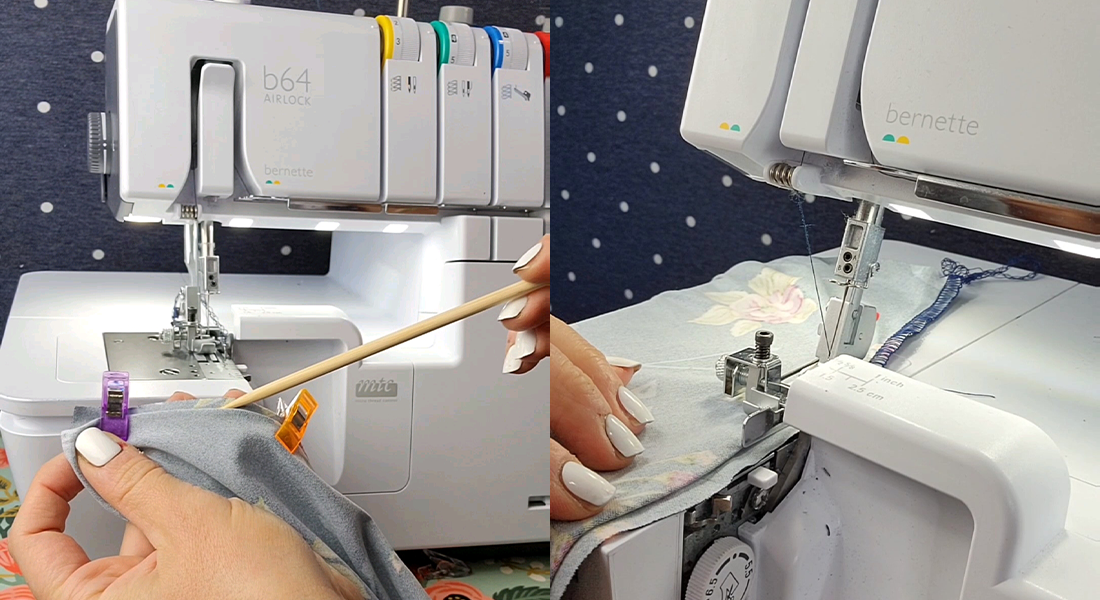
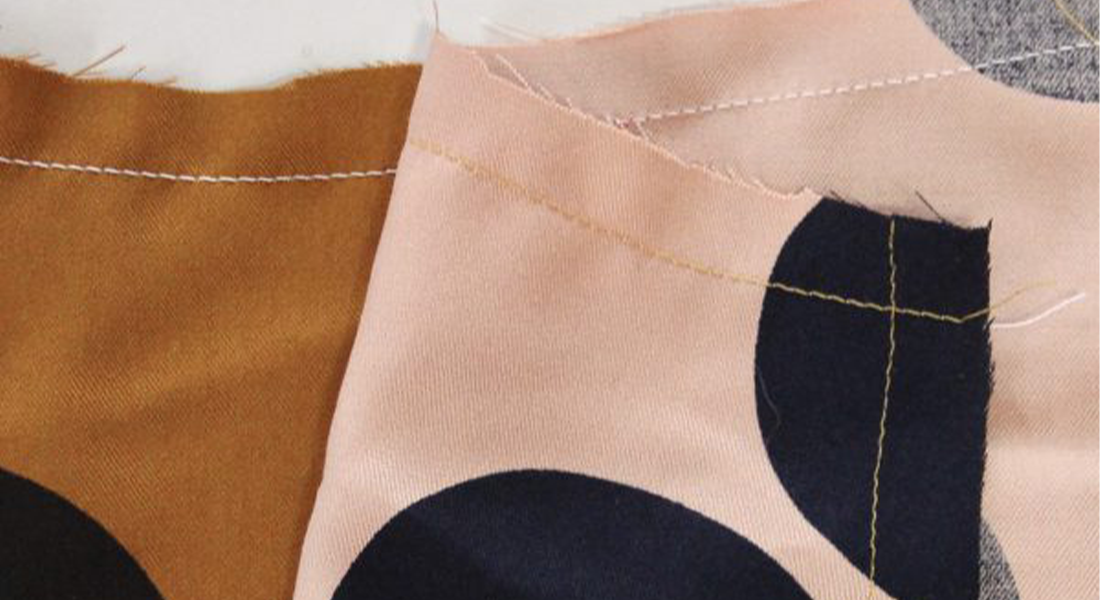
To begin setting our sleeve, we will be lining up our notches on the sleeve cap with the notches on the armscye. Pin or clip the shoulder seam center notch and then the front sleeve notch. The notches help us to easily identify the front and back of the sleeve and avoid the error of sewing our sleeves backward. Finally, pin the end of each sleeve to the underarm point. Once your sleeve is pinned or clipped in place you can move over to your serger and begin sewing from one underarm along the curve of the sleeve cap and down to the other underarm. And voila! You’ve set your sleeve!
Watch each step up close here:
You’re halfway there and doing great! You won’t want to miss the next post in the series, where I share my tips for constructing and applying a neckband. Neckbands can be intimidating, but I will show you how to take the guesswork out of it!
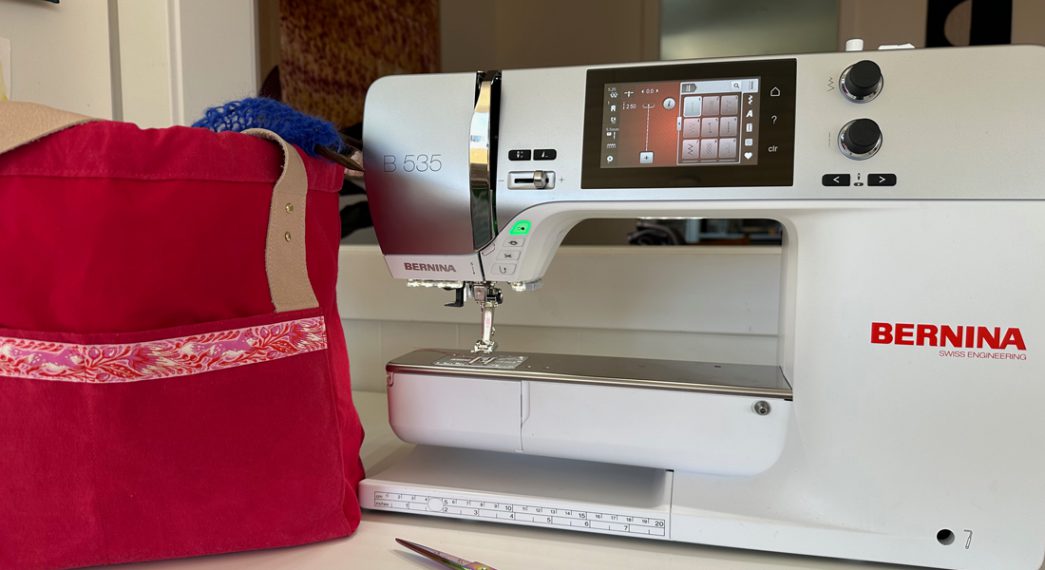
Tips for Sewing your Tee with a Standard Sewing Machine
Although sergers and knit fabrics go hand in hand, you can certainly achieve professional results using a standard sewing machine. Here are a couple of quick tips that will help you along the way.
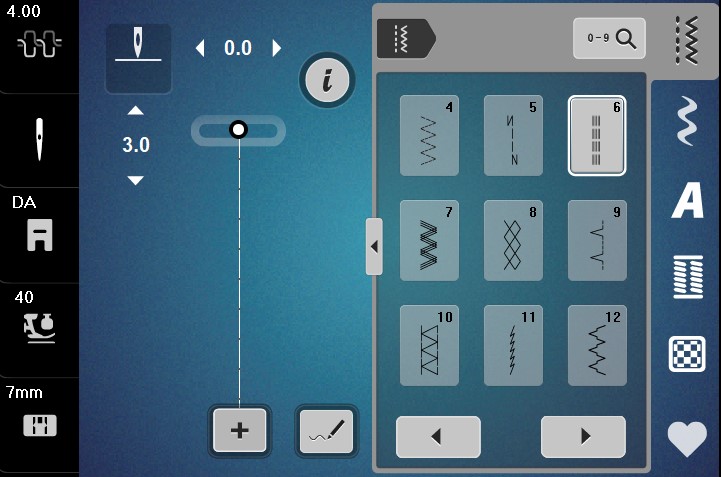
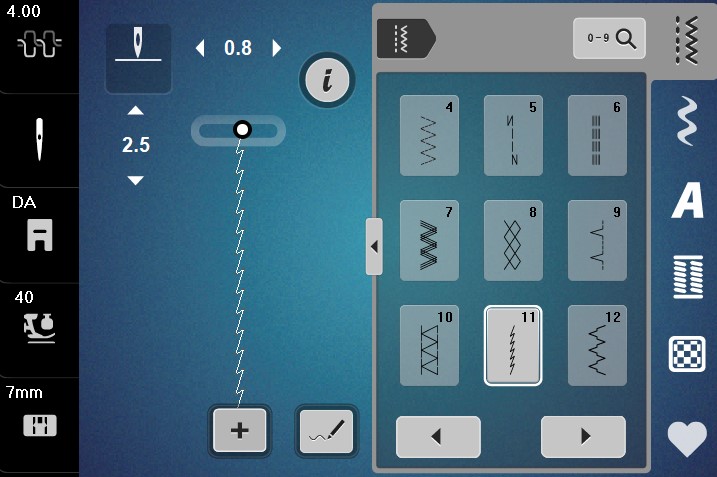
- Chose a stretch stitch on your sewing machine. Here you can see the stretch stitches available on the bernette 79:
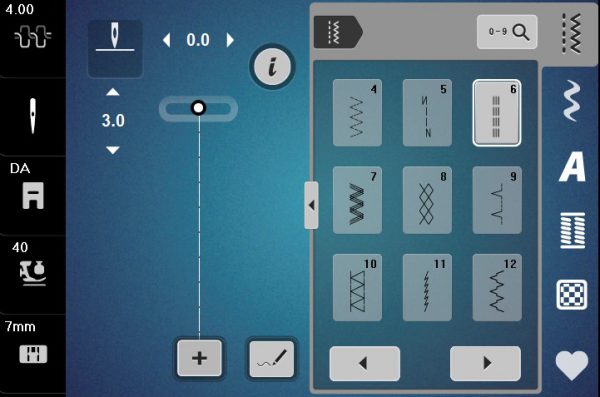

- Elongate your stitch length to a length of 5
- If possible, reduce your pressure foot pressure.
- Test your stitches on scrap knit fabric to ensure that the fabric is not being stretched while sewing.
- A walking foot can help to evenly feed the fabric through the feed dogs and avoid stretching the fabric, or you can use the Dual Feed on the bernette 79.
- When we hem on the final day of this series, I will be hemming on my serger. I will mention alternative methods that you can use on your standard sewing machine.
Tips for Working with Digital PDF Patterns
If you are new to working with digital PDF patterns you can find additional help in downloading, printing, assembling, and accessing the convenient layers feature here:
Tips for Sewing a Basic Tee
- Fabric Selection
- Alterations and Setting a Sleeve
- Construct a Neckband
Used Products
What you might also like


2 comments on “Tips for Sewing a Basic Tee: Alterations and Setting a Sleeve”
-
-
I see every month in fact I see almost every day if not for myself than for someone else. This month I have been helping my sister sew knit tops from the fabric she bought last year and never got to. I need to show her the video on how to sew a knit top which I just finished watching it was everything I learned from over 50 years age. That is how long I have been sewing. I attended classes from a Bernina dealer. Didn’t have the technology we have today
Leave a Reply
You must be logged in to post a comment.

National Sewing Month is an ideal time to reflect on my sewing life. I have such dear and precious memories of my mother teaching me how to sew and create garments. Home Economics was such a special time to delve further into garment construction and venture out by using wools, vinyl, and knits. Years later (1978) my sweet husband bought me a Bernina 810 and I continued my adoration of creating with this marvelous sewing machine. In celebration of National Sewing Month, I’m going to organize and make the casita in our new home into my sewing studio. Thank you for asking! ?