Tips for Sewing a Basic Tee: Serging a Blind Hem
Welcome to the fourth and final post in the series Tips for Sewing a Basic Tee. Today we will be wrapping up our garment construction by hemming our garment on a serger with a blindstitch foot. For this method we will be hemming in the flat and then sewing our side seams. This will allow us to hem while the garment is still able to be placed flat on your surface. Generally, garments are hemmed in the round and this technique may be new to you. Let’s jump in and take a closer look at how hemming in the flat differs from hemming in the round and then move on to serging a blind hem.
Hemming your Tee in the Flat
The first step to hemming your garment in the flat is to check that your bodice lengths are exactly the same on the front and back bodice. Begin by lining up your sleeve hem and pinning. Then follow along the side seam, lining up the front and back bodice, pinning as you go. Once you reach the hemline, you will be able to see if there is any discrepancy in length. Trim away any discrepancy so that both hemlines are even.
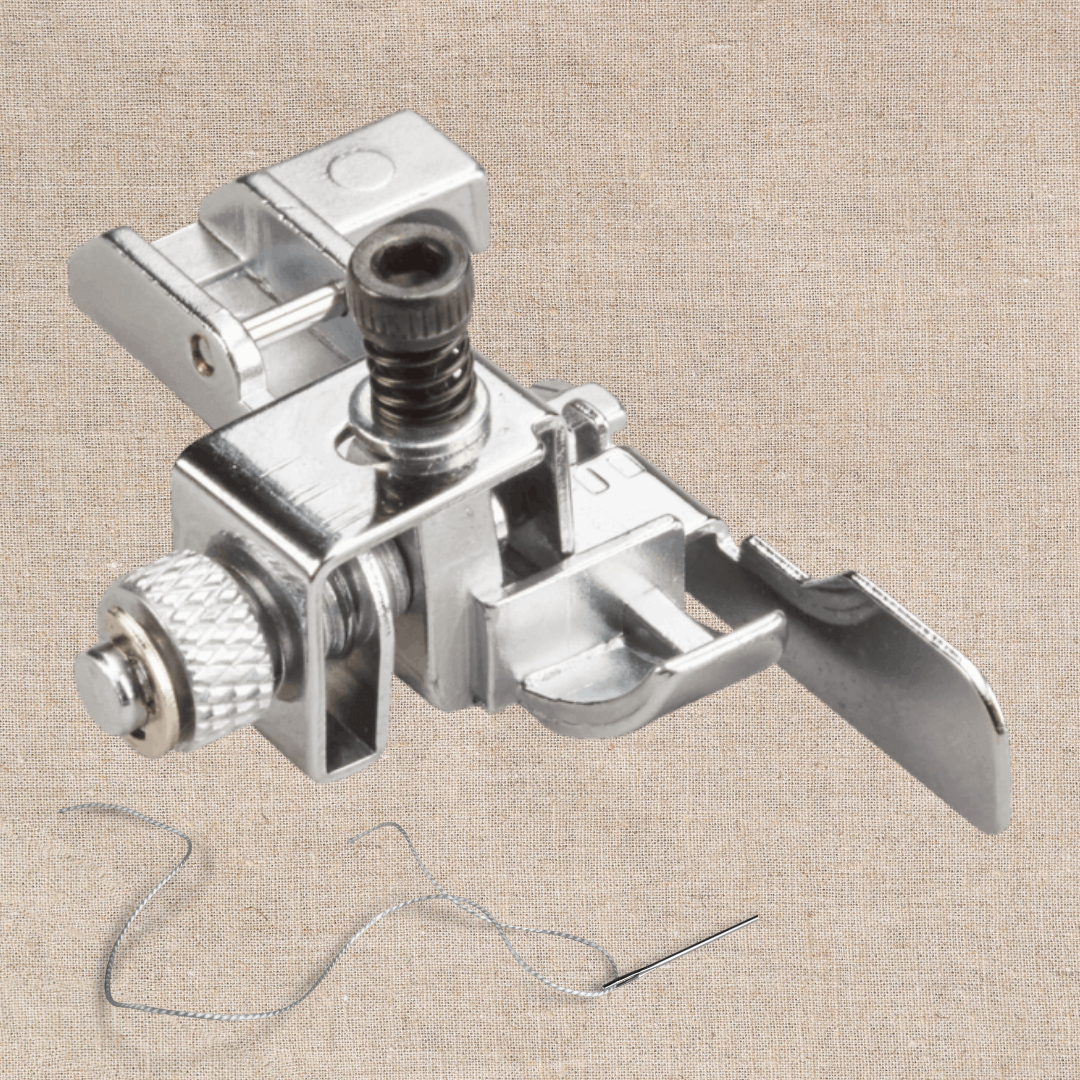
Now that our hemlines are even in length, we can jump into hemming our garment. There are many methods to choose from when hemming a knit garment, and I love playing around with new techniques. I was recently introduced to the Blind Stitch foot, and it has quickly become one of my favorite accessories! Hemming with blind stitch foot produces a hem that is nearly invisible and accommodates the stretch in knit fabrics beautifully. I love being able to achieve professional results with minimal effort! For today’s project, I will be using the blindstitch accessory foot on my bernette 64 AIRLOCK.
Hemming with a Blindstitch Foot
Serger Settings
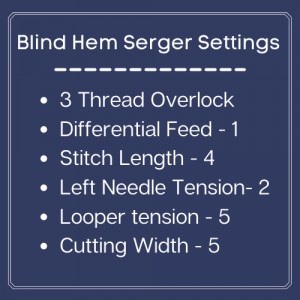
First, we need to attach the blindstitch foot and make a couple of adjustments to our serger settings. Set up your serger for a three-thread overlock, removing the right needle, and then adjust the settings according to the chart pictured here. I set my left needle tension to a 2 but have heard that a 1 works better for some. Practice your blind hem on a scrap of knit fabric first to find the settings that work best for your serger. When you finish your hem you should be able to pull the fold open and, with stretching and steam pressing, get it to lay flat. If it does not, you may need to lower your left needle tension a bit.
Prepare and Serge Your Hemline
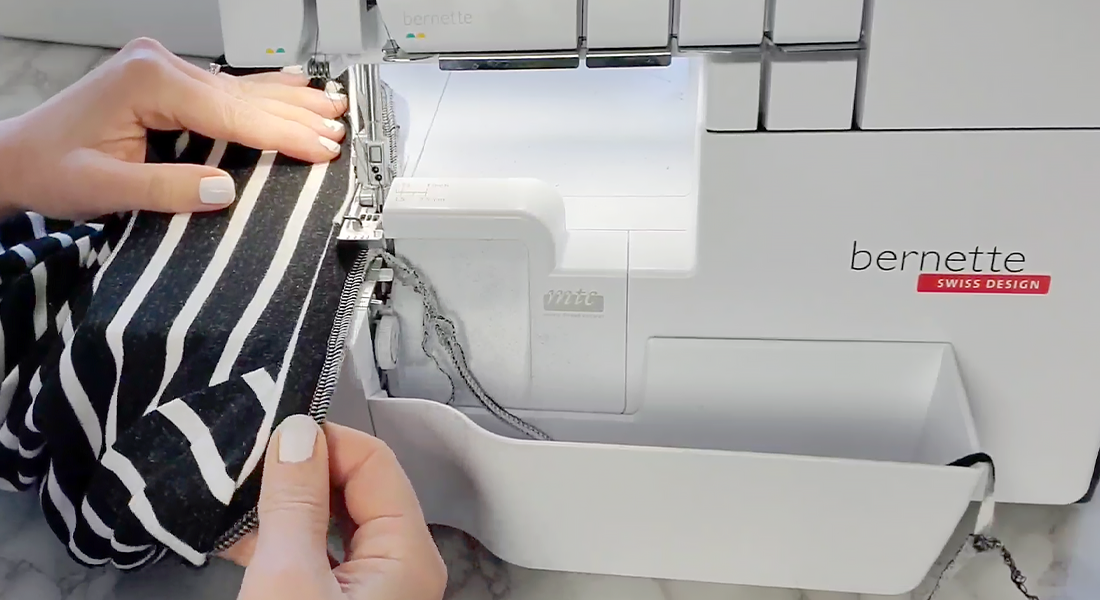
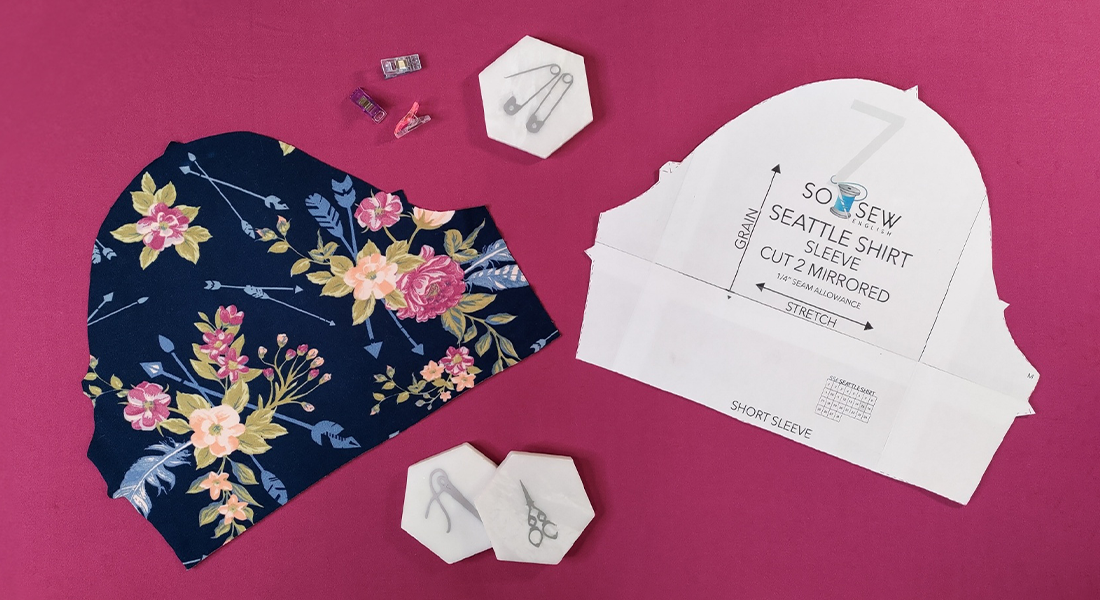
To begin your blind hem, place your tee on your surface with the wrong side facing up. Fold your hem back and press well. I will be sewing the Seattle Shirt which you can download for FREE using the code BERNINASEATTLE.
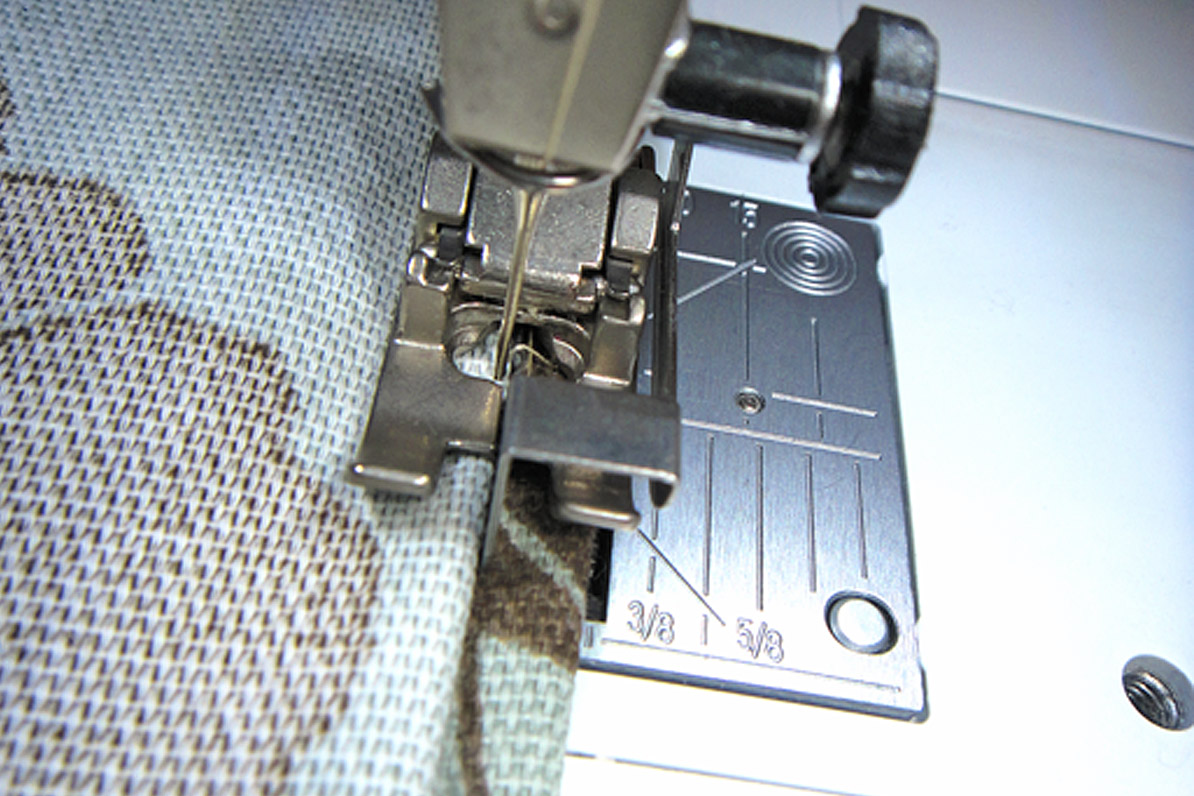
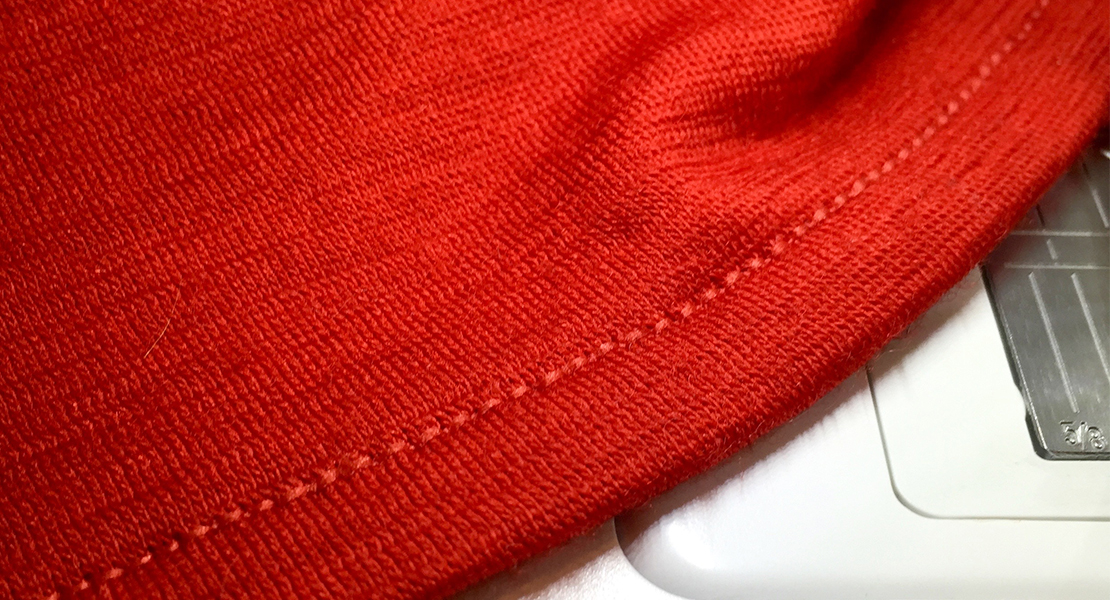
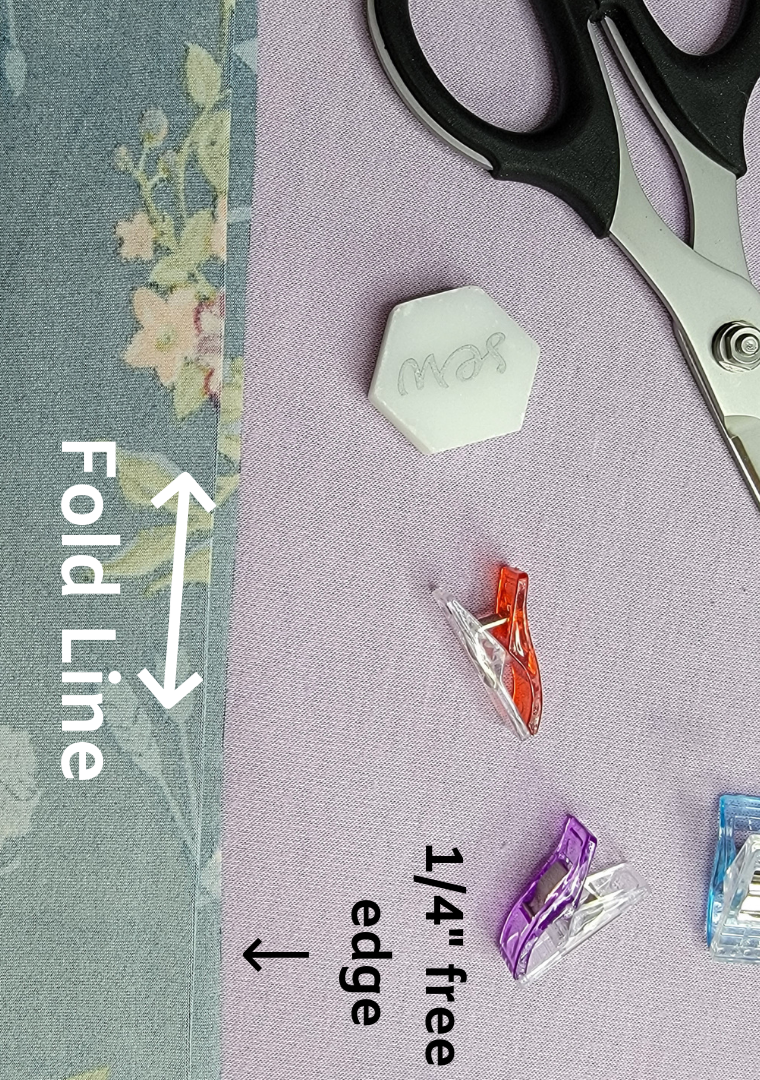
I will be using a 5/8” hem allowance rather than the 1” hem allowance recommended in the pattern. I have found that this works better along curved hemlines. I have also found that using spray starch helps the hemline hold a crisp press and stabilizes your hemline during construction. Next, flip your hemline under, allowing a ¼” portion of the free edge to peek out beneath the fold. Press well one more time and clip or pin to hold your hemline in place. Carefully move your project over to the serger and serge along your folded edge. Keep the fold just to the left of the guide on the blindstitch foot. Your needle will be piercing the very edge of your fold. Serge slowly and carefully following along your fold line. Finally, pull the hem open and press well.
Watch here as I walk you through just how easy is to create your own blind hem with your serger:

I love the finished look of the blind hem! Plus, it’s strong and very stretchy, perfect for knit garments!
Tips for Hemming on a Standard Sewing Machine
If you are constructing your garment on a standard sewing machine, you have a couple of hem options to choose from.
Stretch Stitch
You may choose to use a stretch stitch. I prefer the triple straight stitch, but the lightning bolt stitch is another popular choice. Using a wash away hem tape can help stabilize your hemline and avoid wavy seams.
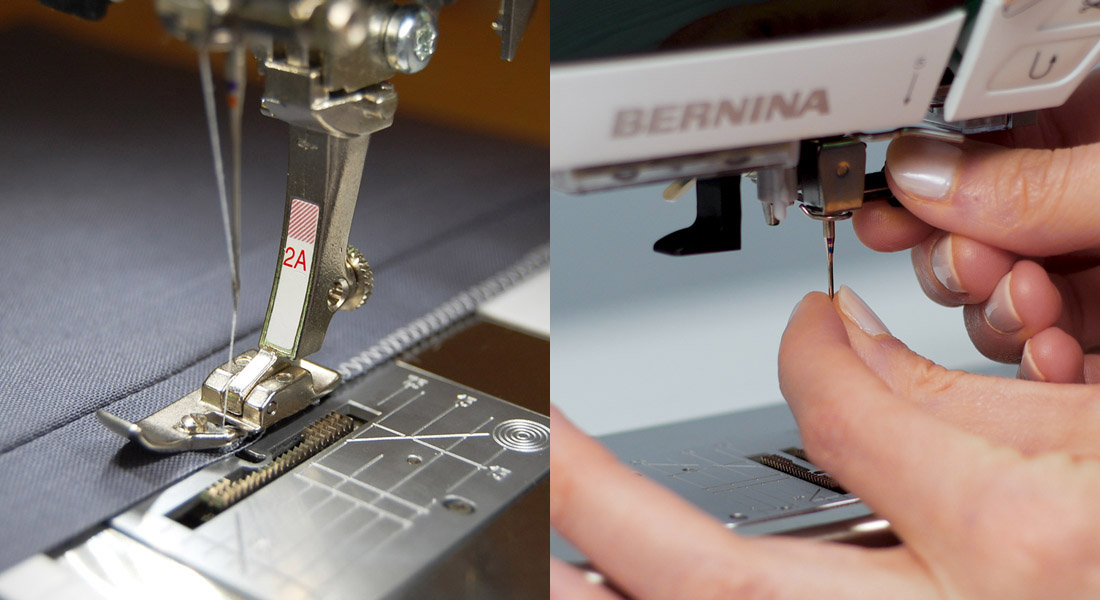
Twin Needle
You can also choose to use a twin needle. A twin needle is inserted in your machine the same way as a standard sewing needle, except it offers two needles rather than one. I prefer to use a stretch twin needle in the size 4.0/90. When using a twin needle, you will simply use two separate spools of thread, one for each needle, as well as a bobbin thread. I always elongate my stitch length to a length of 5 and lower my presser foot pressure.
Sewing the Side Seams
Once your garment is hemmed, we will sew the side seams. Simply, place your tee with the bodice front and back right sides together, lining up the side seams and pin or clip along the side seam from hemline to sleeve hem. Serge the two together with a ¼” seam allowance.
When beginning your seam and placing your project under the presser foot, lift the presser foot and slide the garment as far under the foot as possible. This will help it to begin feeding evenly and keep your fabric lined up correctly.
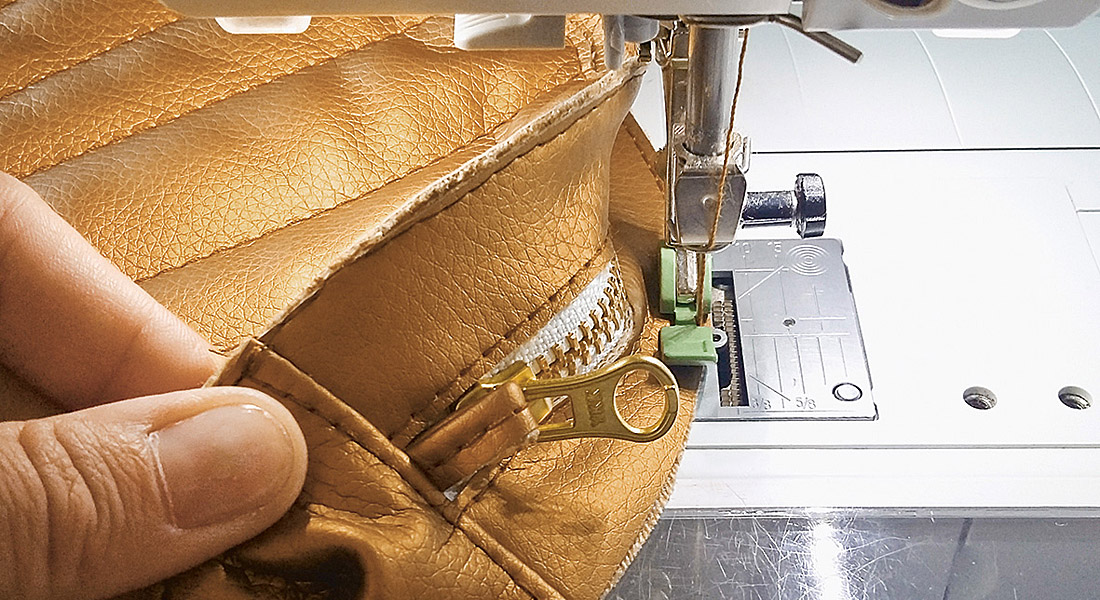
Navigating around corners such as the one at the underarm point, can be tricky and often result in the serger knife cutting a “notch” out of your seam. We want to avoid this, and I’m going to show you, in the video below, how to create a straight line with your side seam to avoid this issue. Once you’ve sewn your side seam, you can tuck your serger tails in using your preferred method. I like to use a “knit picker” to pull them back into the seam allowance, securing them in place.
Now you can try on your tee and admire your work!
If you find any fit issues, I like to make note of them on my pattern at this time so as not to forget for your next T-shirt. I love waking up the next morning excited to wear my me-made garment!
Practice styling it with different bottoms, shorts, jeans, pants, even skirts. Then, look for pieces that you already own that you can layer over your tee such as cardigans, blazers, sweaters, and sweatshirts. Imagine the options you can now create that will fill the gaps in your wardrobe and begin planning your next tee! You can increase the versatility of your basic tee pattern by playing around with sleeve and hem lengths, as well as adding color blocking and pockets. You can refer back to the video from the first post in this series for more ideas on how to alter and style your tee.

Have fun with color blocking and pockets!