Tips for Sewing a Basic Tee: Construct a Neckband
Welcome to the third post in this series, Tips for Sewing a Basic Tee. Today we will construct a basic tee neckband. I know neckbands can be intimidating, but I’ll be here with you each step of the way. Trust me, you’ll do great!
Altering the Pattern Piece
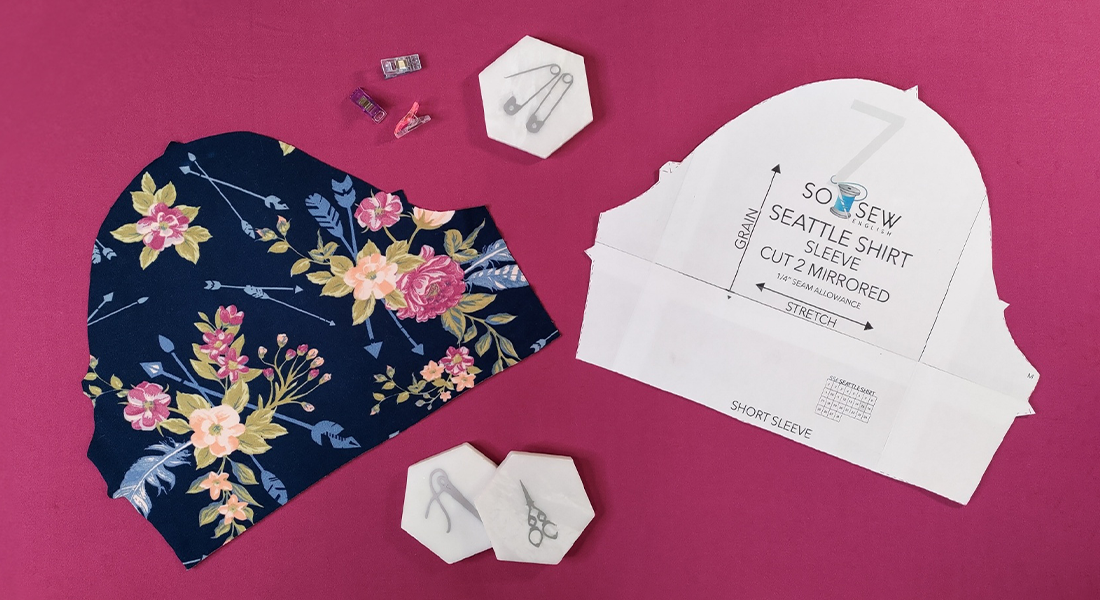
For the neckband application method I plan to show, we will need a 2″ neckband or wider.
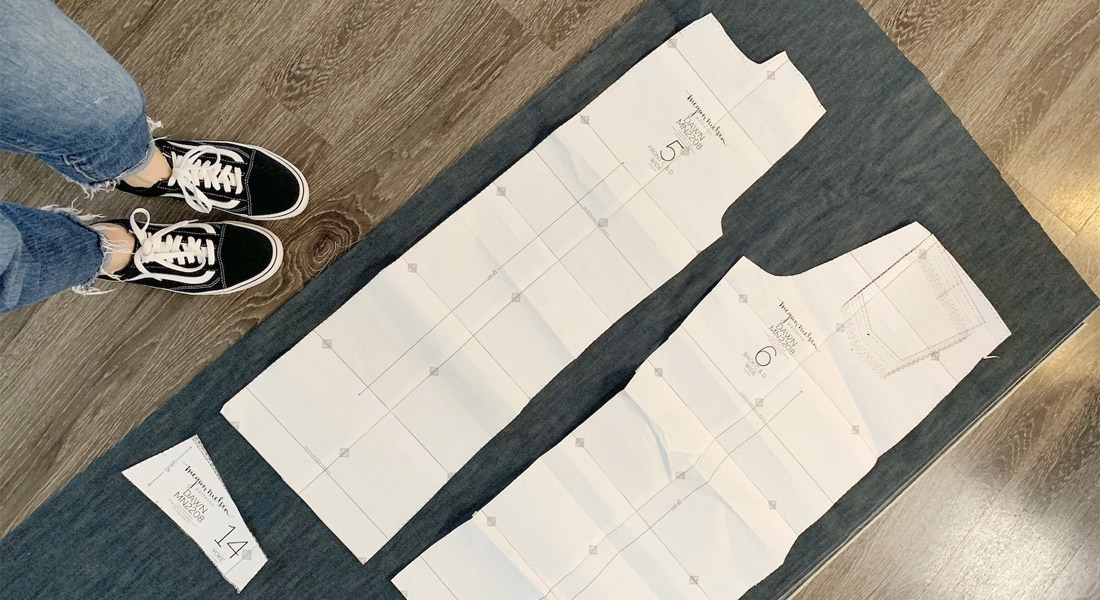
I am using the Seattle Shirt from So Sew English Fabrics. You can use the code BERNINASEATTLE to download the pattern FREE.
My current neckband pattern piece is 1 1/2” in width. So, before we begin, we are going to make a small modification. We are going to cut our neckband 2″ in width. If you are sewing the Seattle and have already cut out your neckband pattern piece, simply place your pattern on a piece of blank paper and trace around it. Measure ½” up from the top of the neckband and draw a line across the length of the neckband ½” above the existing line. It’s as simple as that! Watch here as we do it together:
Neckband Construction
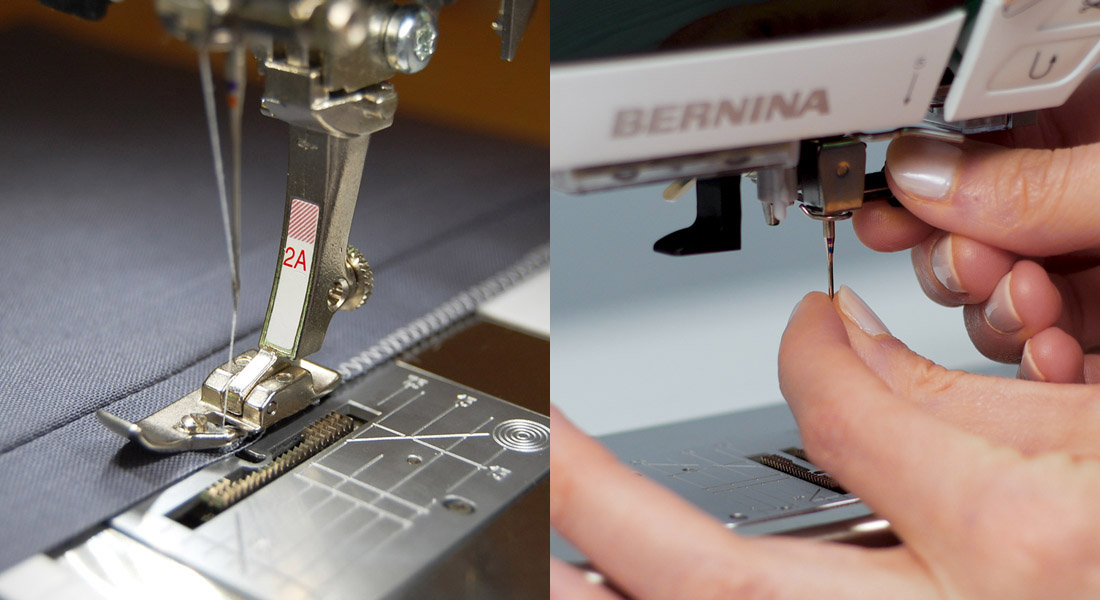
We will begin construction by folding our neckband in half lengthwise right sides together. Line up the short ends and serge across the short end, adhering the two together. You should now have a circle of fabric. We will form our neckband by folding the fabric in half around the circumference, wrong sides together, and pressing with a medium iron. Anytime you press synthetic fabrics, always test on a scrap first to ensure that your iron isn’t too hot.
Baste the Neckband
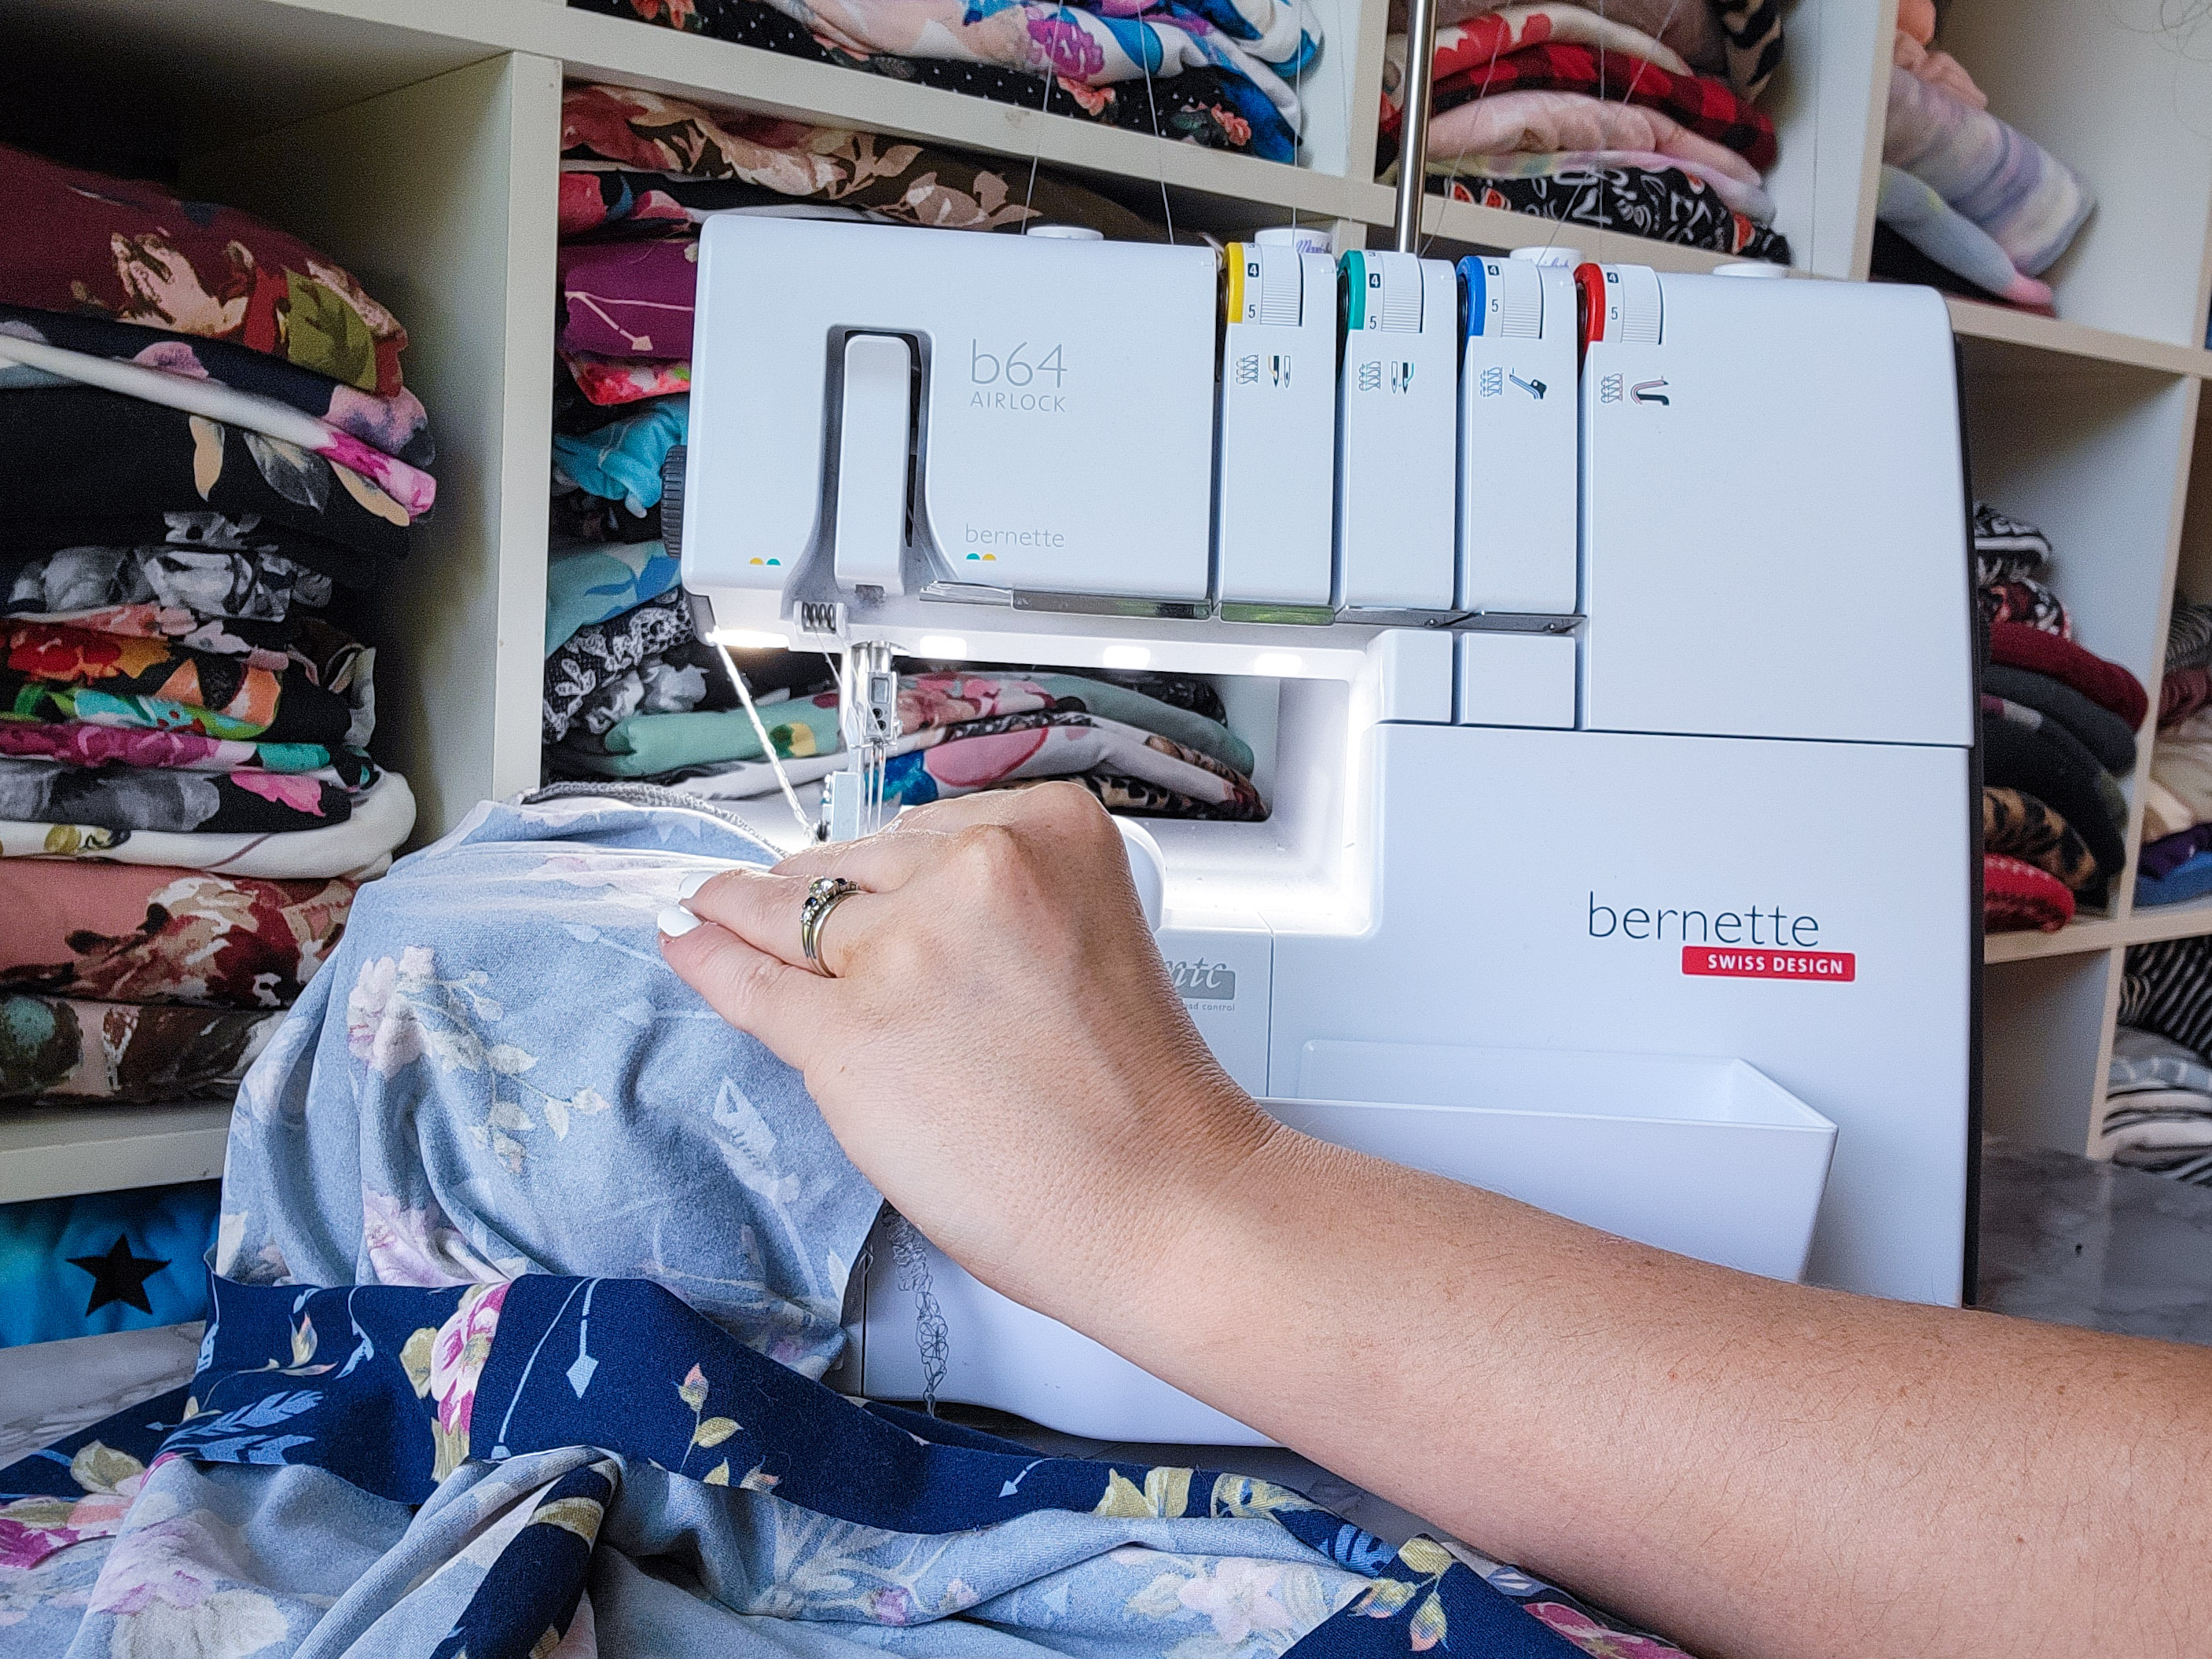
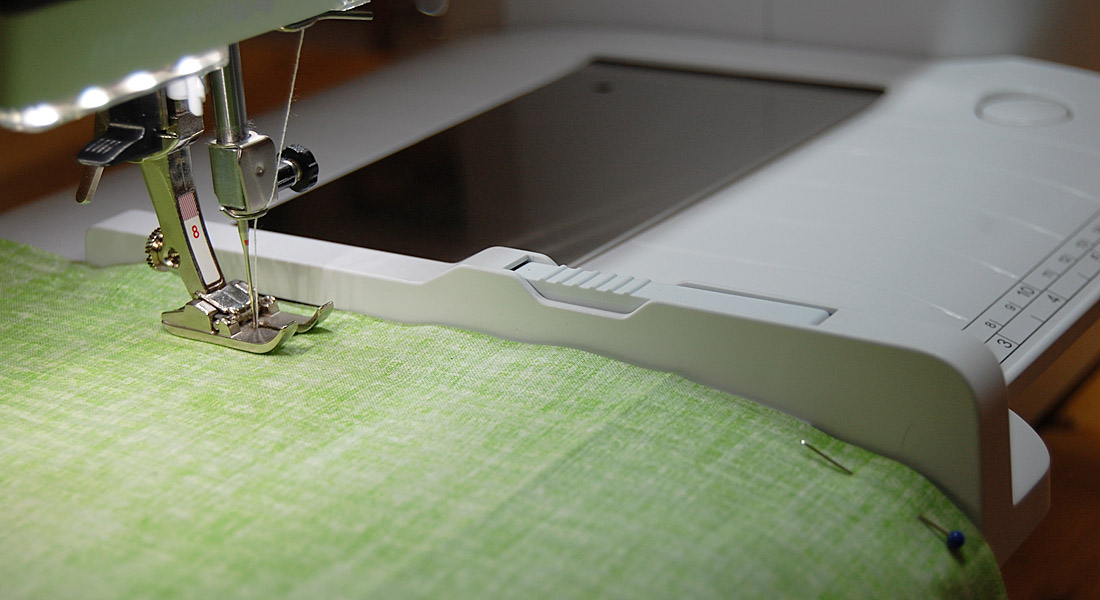
We will now baste our neckband on the serger. You will be sewing along the free edge with a zero-seam allowance. Keep your fabric just to the left of the serger knife, not removing any of the fabric. Simply allow the stitches to catch the edge of the fabric adhering the two free edges together. If you are using a standard sewing machine, you can use an elongated zig-zag stitch to baste the edge of your neckband. Try to keep your zig-zag stitch as close to the free edge as possible. Now that your neckband is basted, you can see how much easier it is to manipulate. The edges no longer curl! See this helpful tip up close here:
Quarter and Pin the Neckband
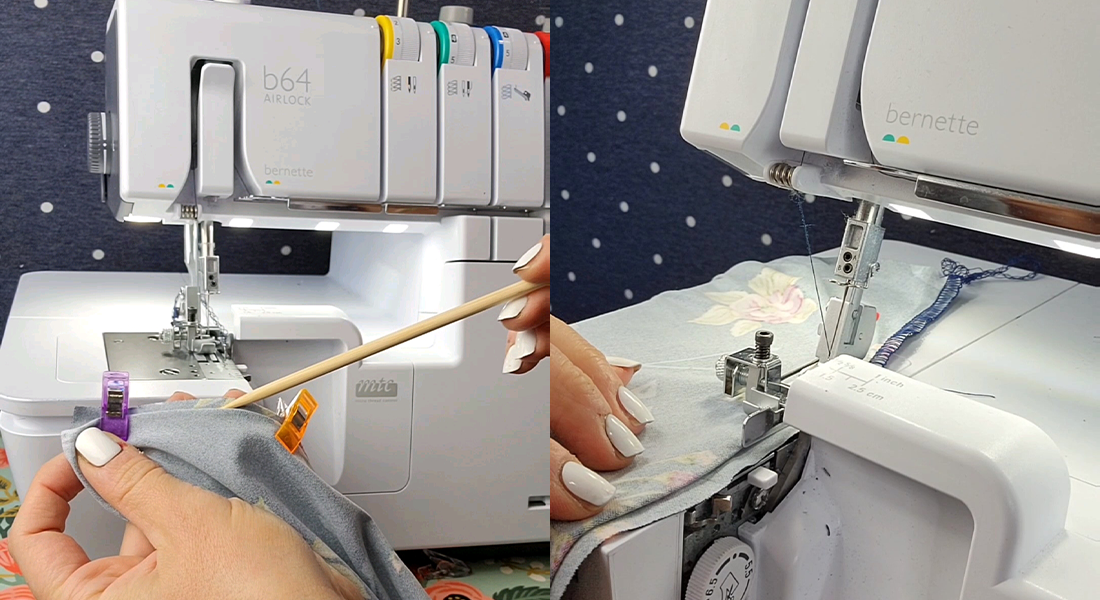
Now we will quarter our neckband. This means we will place a pin or clip at the center front, center back, and side points of our neckband. Once quartered, we will move over and pin or clip the neckband to the neckline. Begin at center back; transfer the clip, move to center front, and finally pin the side points. Once your neckband is clipped in place you will be able to see that the neckband is slightly shorter in circumference than the neckline. The neckband will need to be stretched slightly while serging it on. It is important to stretch only the neckband and not the neckline. Watch as I quarter and pin my neckband:
Sewing the Neckband to the Neckline
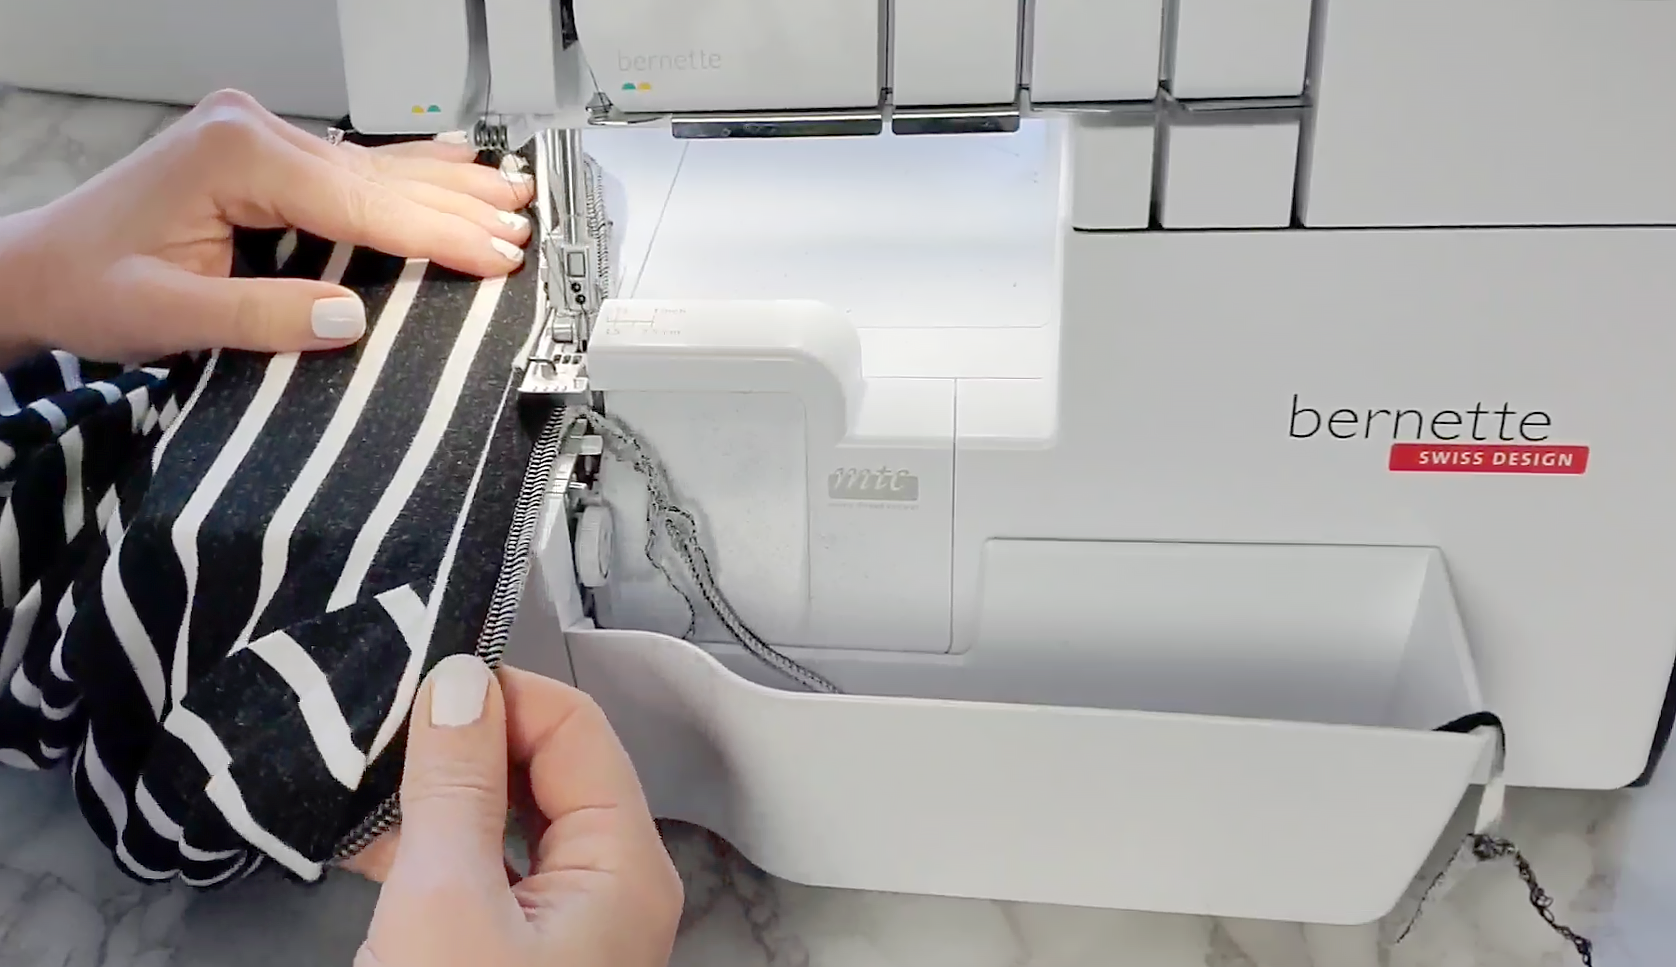
You will be serging the neckband on with a ½” seam allowance, removing the basting stitches with your serger knife. Serge in small sections, stretching the neckband just slightly. Stop frequently to ensure that the neckband and neckline are perfectly lined up. Taking time to do so will help your finished neckband to be uniform in width all the way around. Once you reach the point where you began serging, you can simply ease off. If you are using a standard sewing machine you will use a stretch stitch and sew with a 1/2″ seam allowance; you simply will not remove the seam allowance with the basting stitches.
Watch here as I show you up close how I sew the neckband on with my bernette 64 airlock:
For our final step, we will press the neckband. This step helps your neckband hold it’s shape and lay flat, ensuring professional results. Lay the tee on your ironing board and smooth the neckband as flat as possible. Ensure that the seam allowance of the neckband is facing down and press well with a steam iron. Let the garment cool completely. You may wish to topstitch around your neckband, but it is completely optional and I usually choose not to. If you are using a standard sewing machine, you may wish to topstitch the basted seam allowance down. I prefer to topstitch with a triple straight stitch.
And you’ve done it! You have conquered constructing a neckband! Stand back and admire your work! In the next post in this series, we will go over hemming our tee on the serger with a blind hemstitch. If you are using a standard sewing machine, never fear! I will discuss hemming options for that as well.
Tips for Sewing a Basic Tee
- Fabric Selection
- Alterations and Setting a Sleeve
- Construct a Neckband
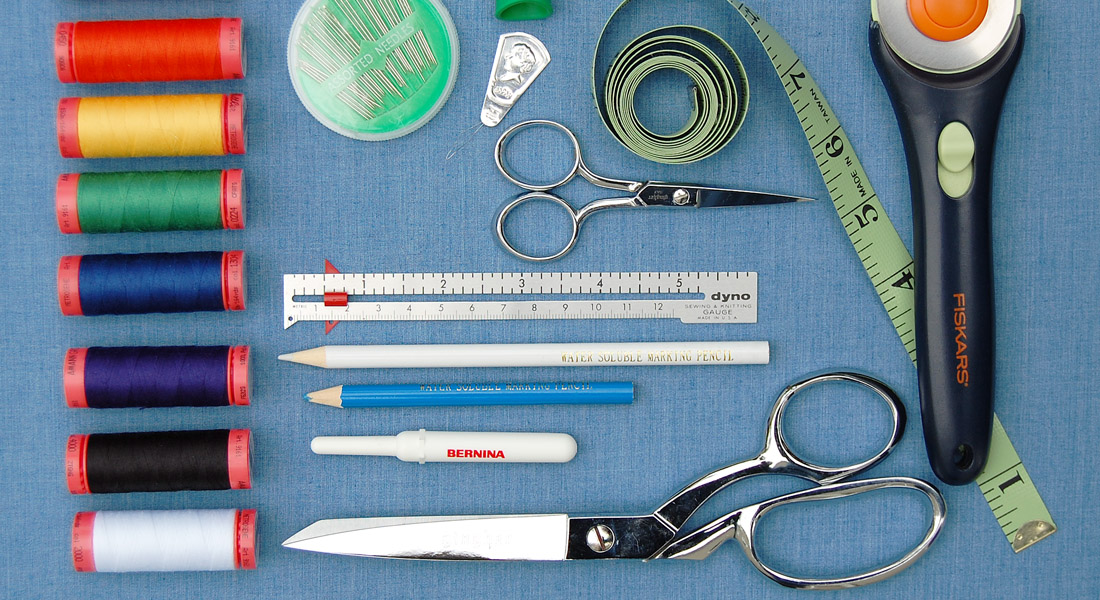
Used Products
What you might also like


2 comments on “Tips for Sewing a Basic Tee: Construct a Neckband”
-
-
Downloaded the pattern. Thank you. I am going to conquer knits!
Leave a Reply
You must be logged in to post a comment.

Very helpful. Thank you.