Tips for Sewing Collars and Cuffs
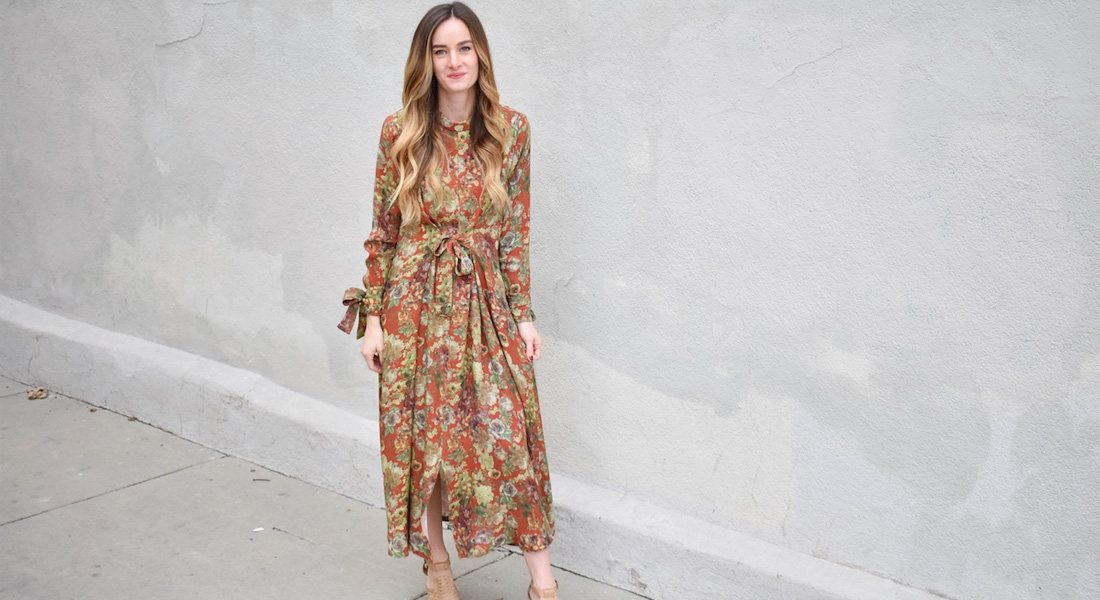
Hey fellow sewists! I’m excited to be back with another tutorial for you. With fall just a few weeks away, I’ve been focusing on planning my cool weather wardrobe and what I will be adding to my ever-growing sewing wish list. I find inspiration from runway images and browsing through designers seasonal look books. For fall 2016 I’m totally loving a style that I’ve noticed over and over again: bold, contrasting collars and long sleeves with cuffs. Here’s a few designer pieces showing these themes:

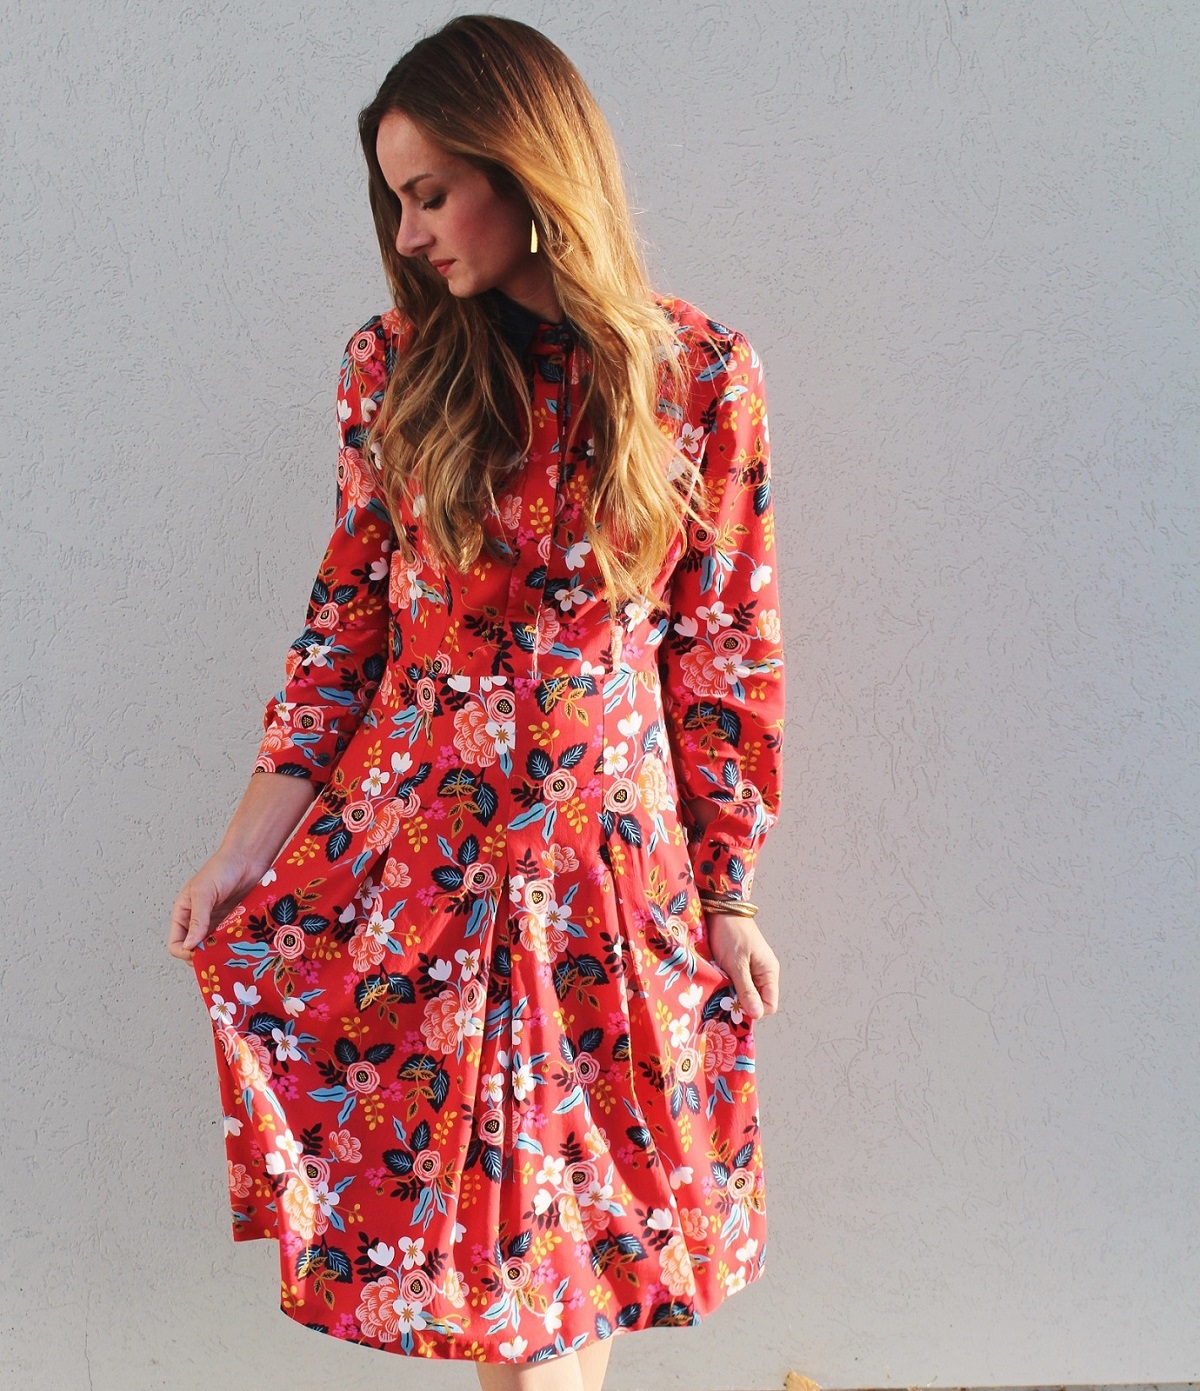
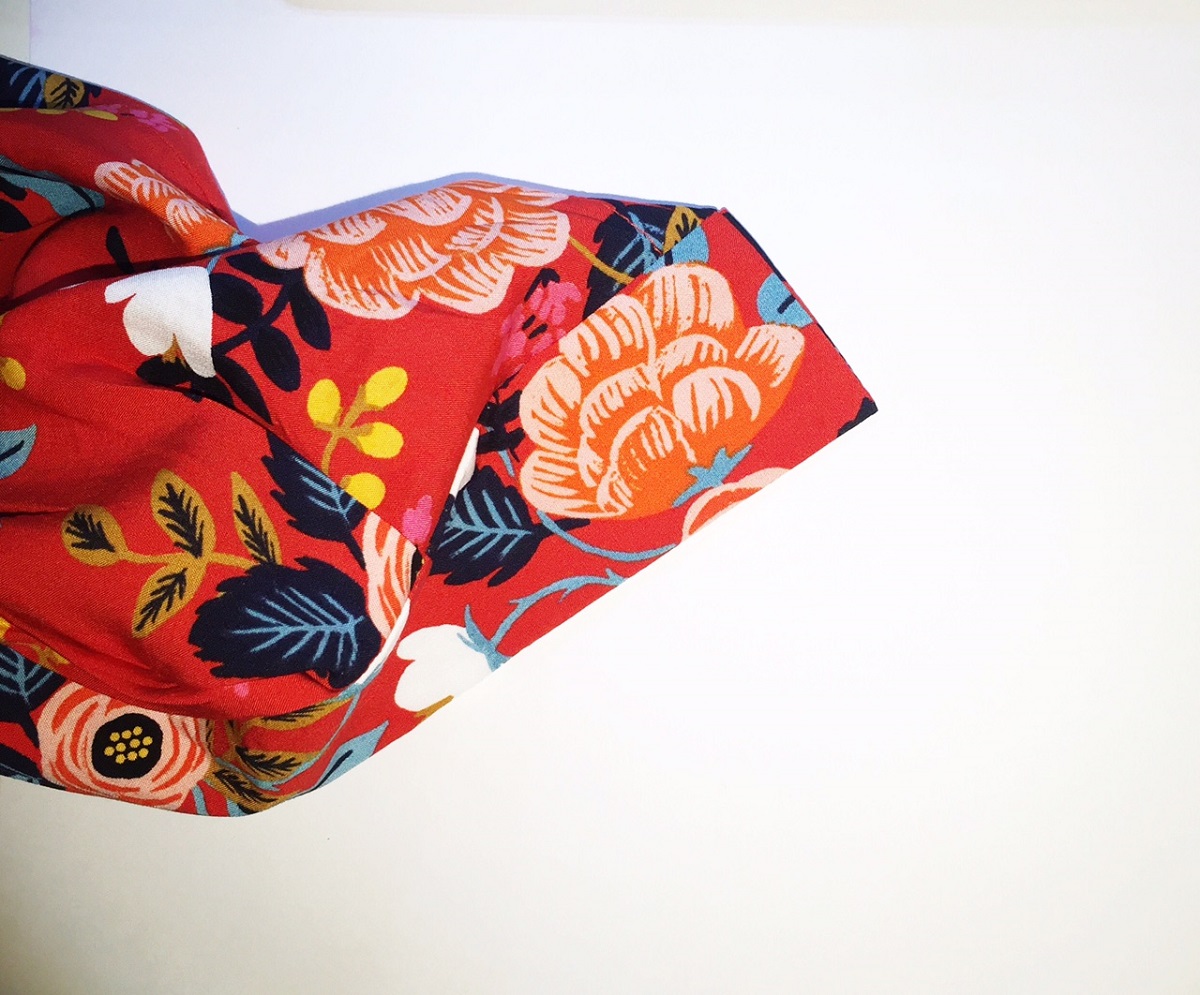
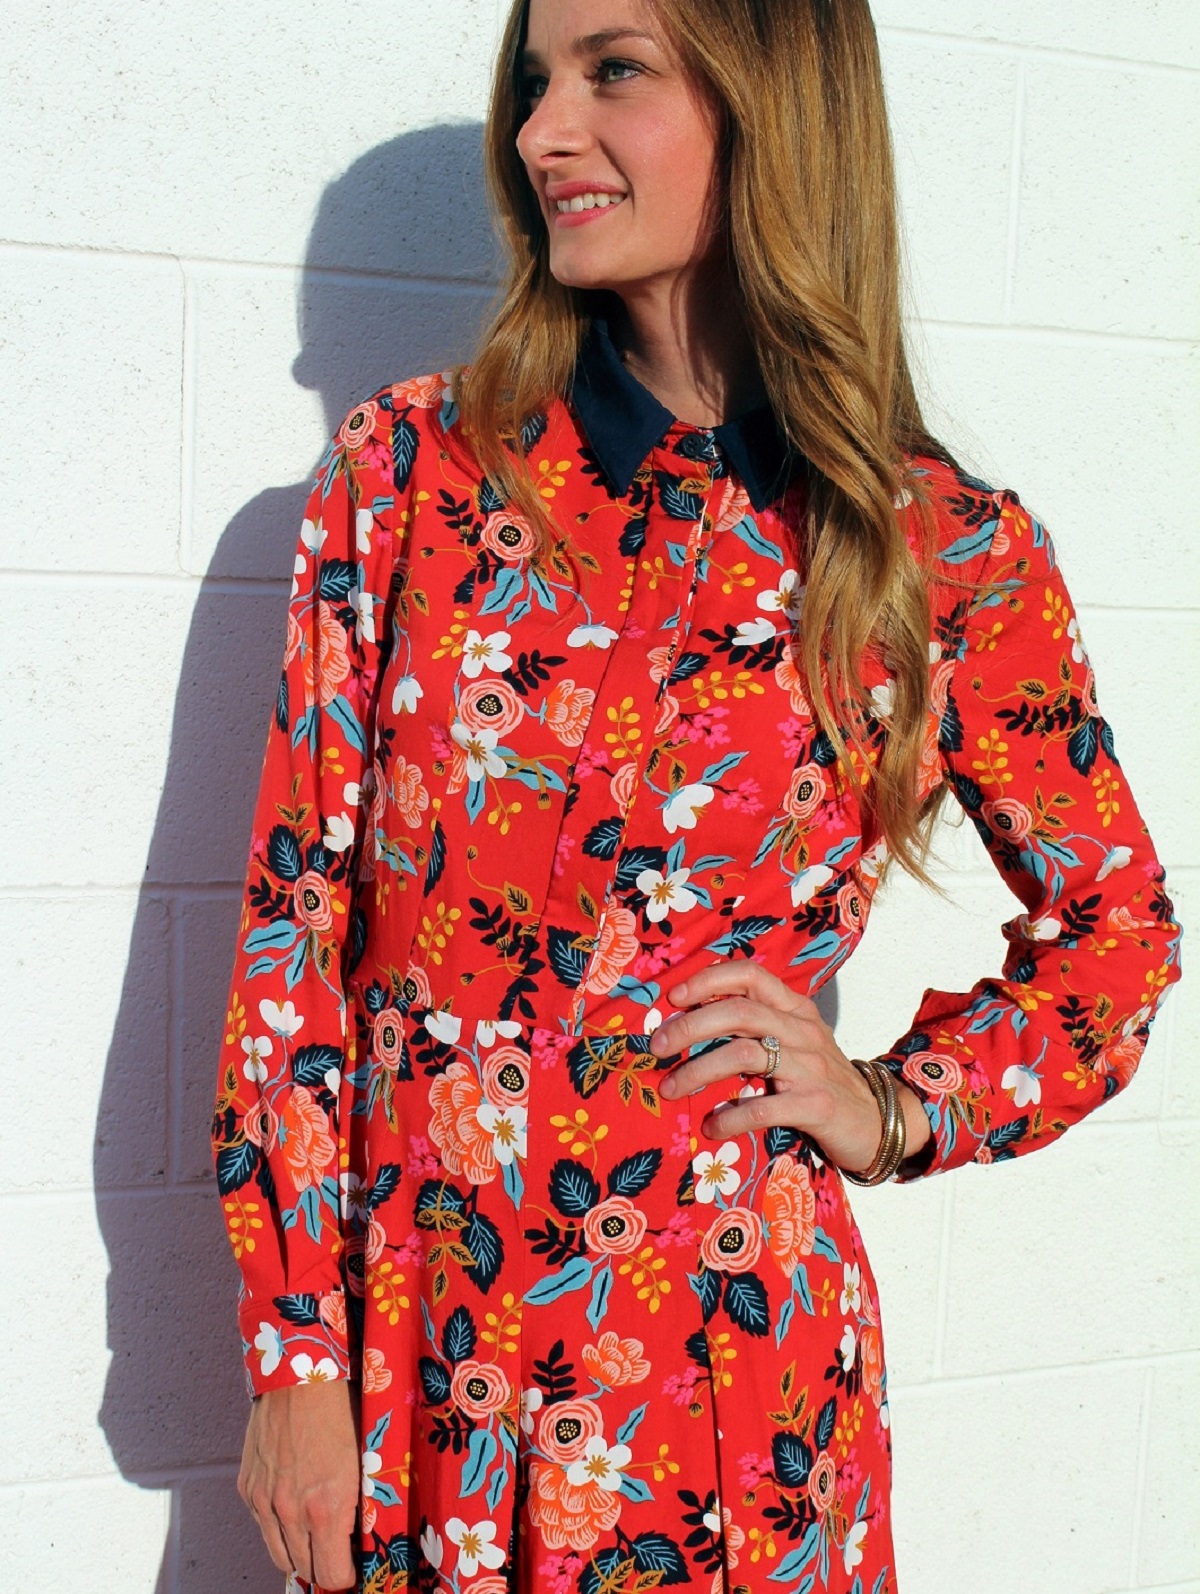
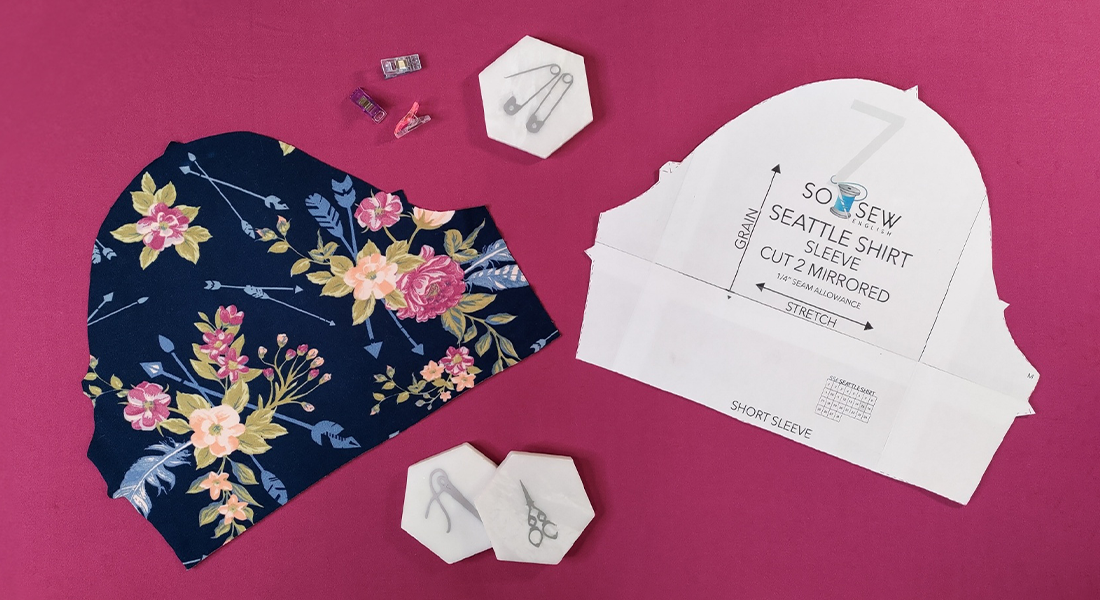
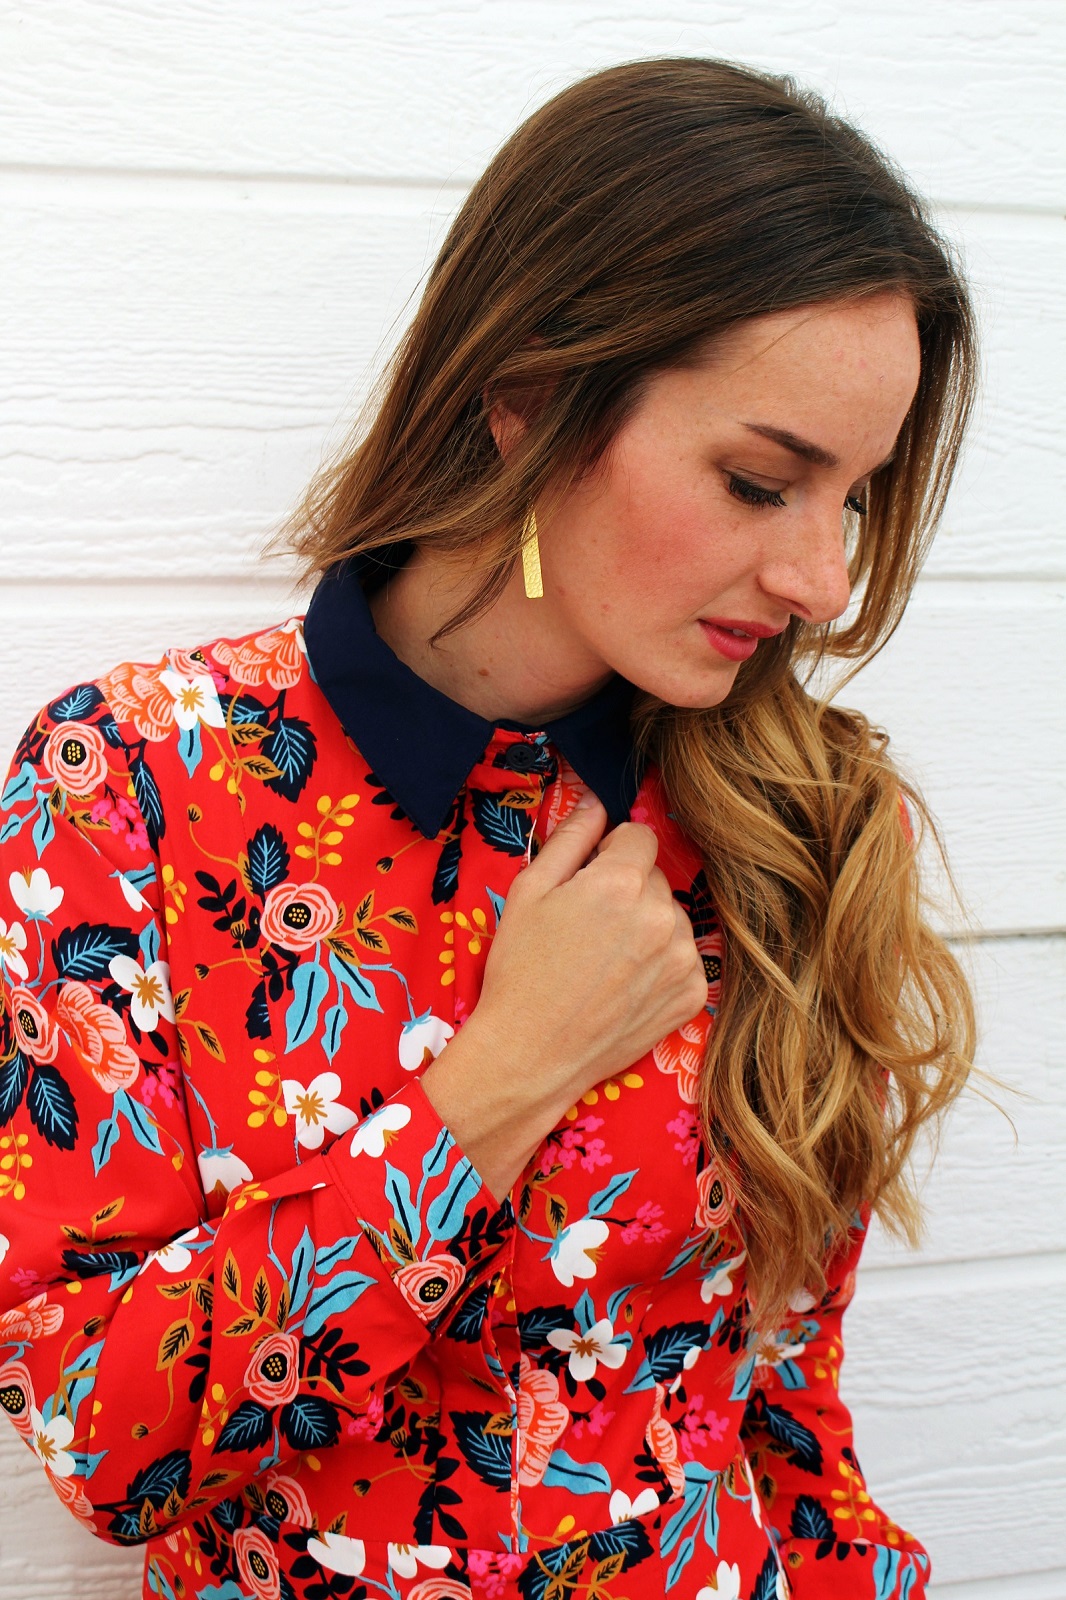
To create this look I chose McCall’s Vogue Pattern V9201, considering my style goal I knew right away I just HAD to sew up view B, the collar in this pattern is made to be detachable from the dress, so it can be worn with or without, two styling options for the win! I’m currently obsessing over the prints in the new Rifle Paper Co Les Fleurs for Cotton and Steel fabric collection… with this combination my dress vision began to take shape! I love the big, bold floral prints seen in a lot of the dresses from the fall collections, so I felt like the beautiful Les Fleurs Birch Floral Enamel in rayon from the Cotton and Steel line would be a perfect. It was!
So this brings me to my tutorial! There are many sewing elements in this dress pattern, button holes, pleats, gathers, invisible zipper, darts, placket, collar and cuffs. Yes, this garment is not for the beginning sewist, but don’t let these components intimidate you! Taking each element of construction step by step, you can take on any sewing project. It boils down to two things, techniques and tools. So in this tutorial I’d like to share an easy how-to technique for tailored looking collars and cuffs.
Materials Needed:
- Any pattern featuring a collar and/or cuffs (I used McCall’s Vogue V9201)
- Fabric and notions according to your pattern requirements (for my contrasting fabric collar I used a Navy Rayon I found at Joann’s)
- Fusible interfacing
- Matching thread
- Contrasting thread
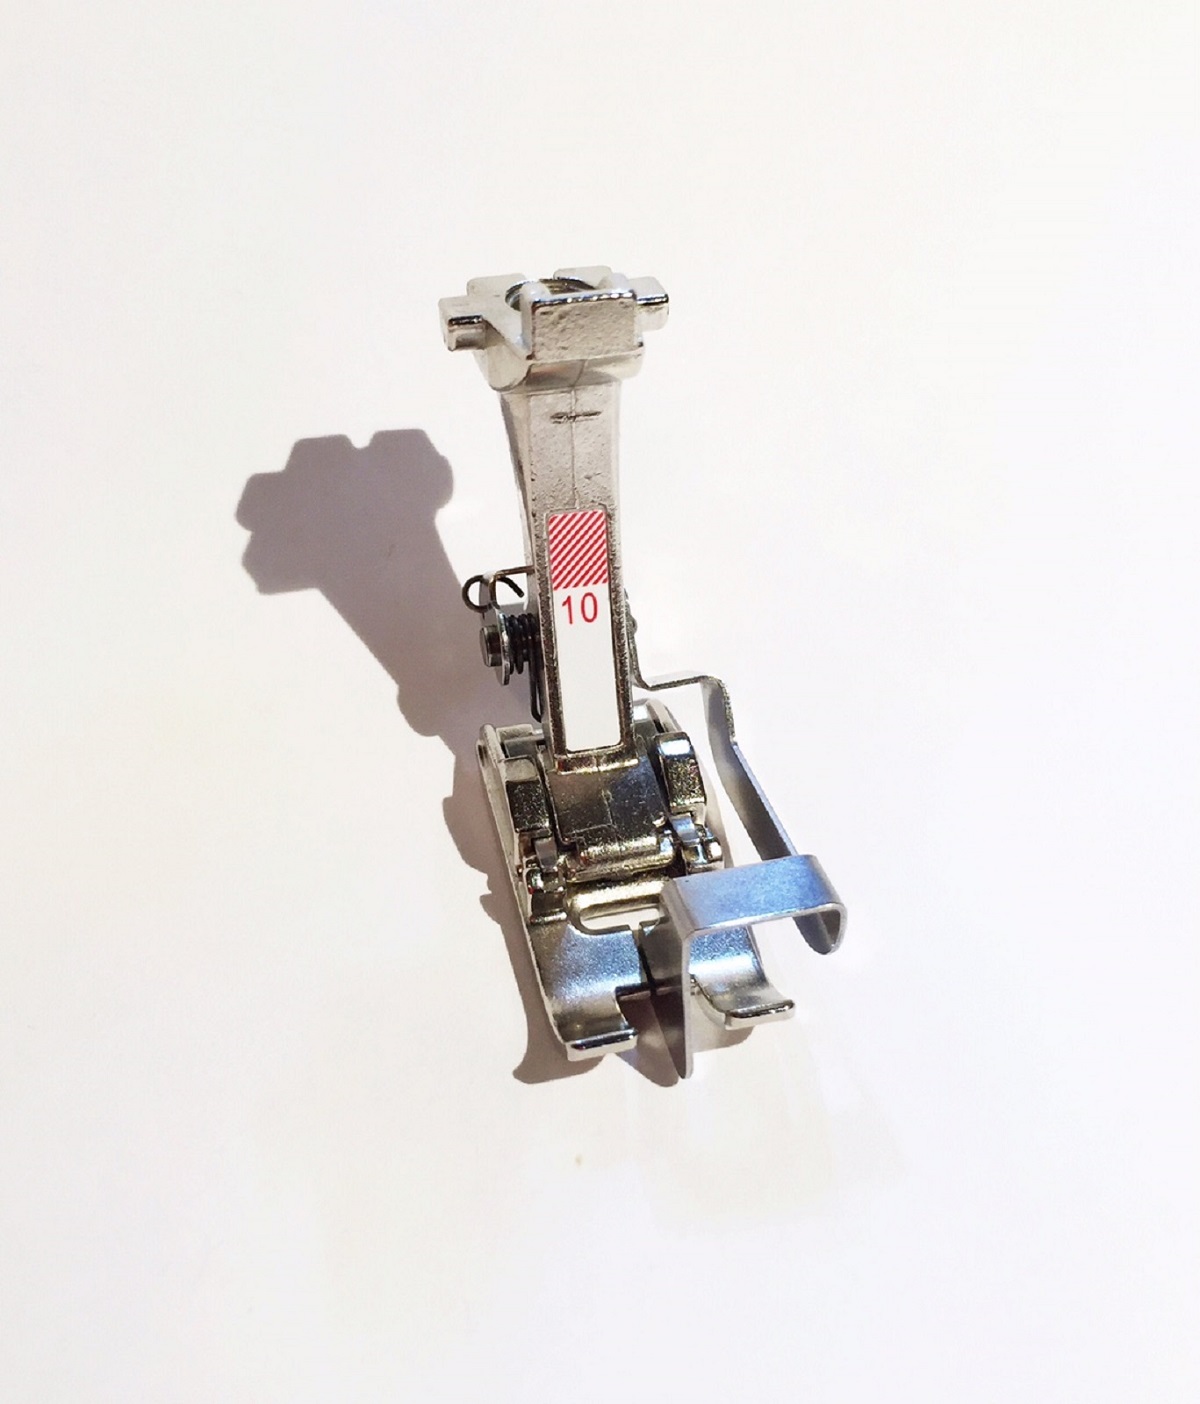
- Reverse pattern foot #1/#1C/#1D
- Edgestitch foot #10/#10C/#10D
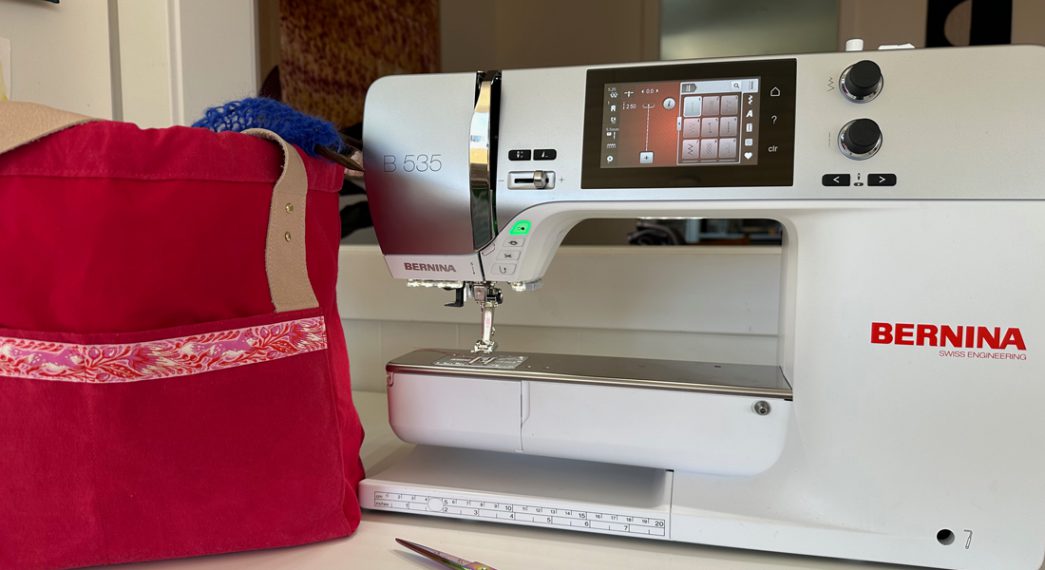
- Sewing Machine (I use the BERNINA B350 PE)
- Scissors
- Hand Sewing Needle
Instructions for Sewing Cuffs:
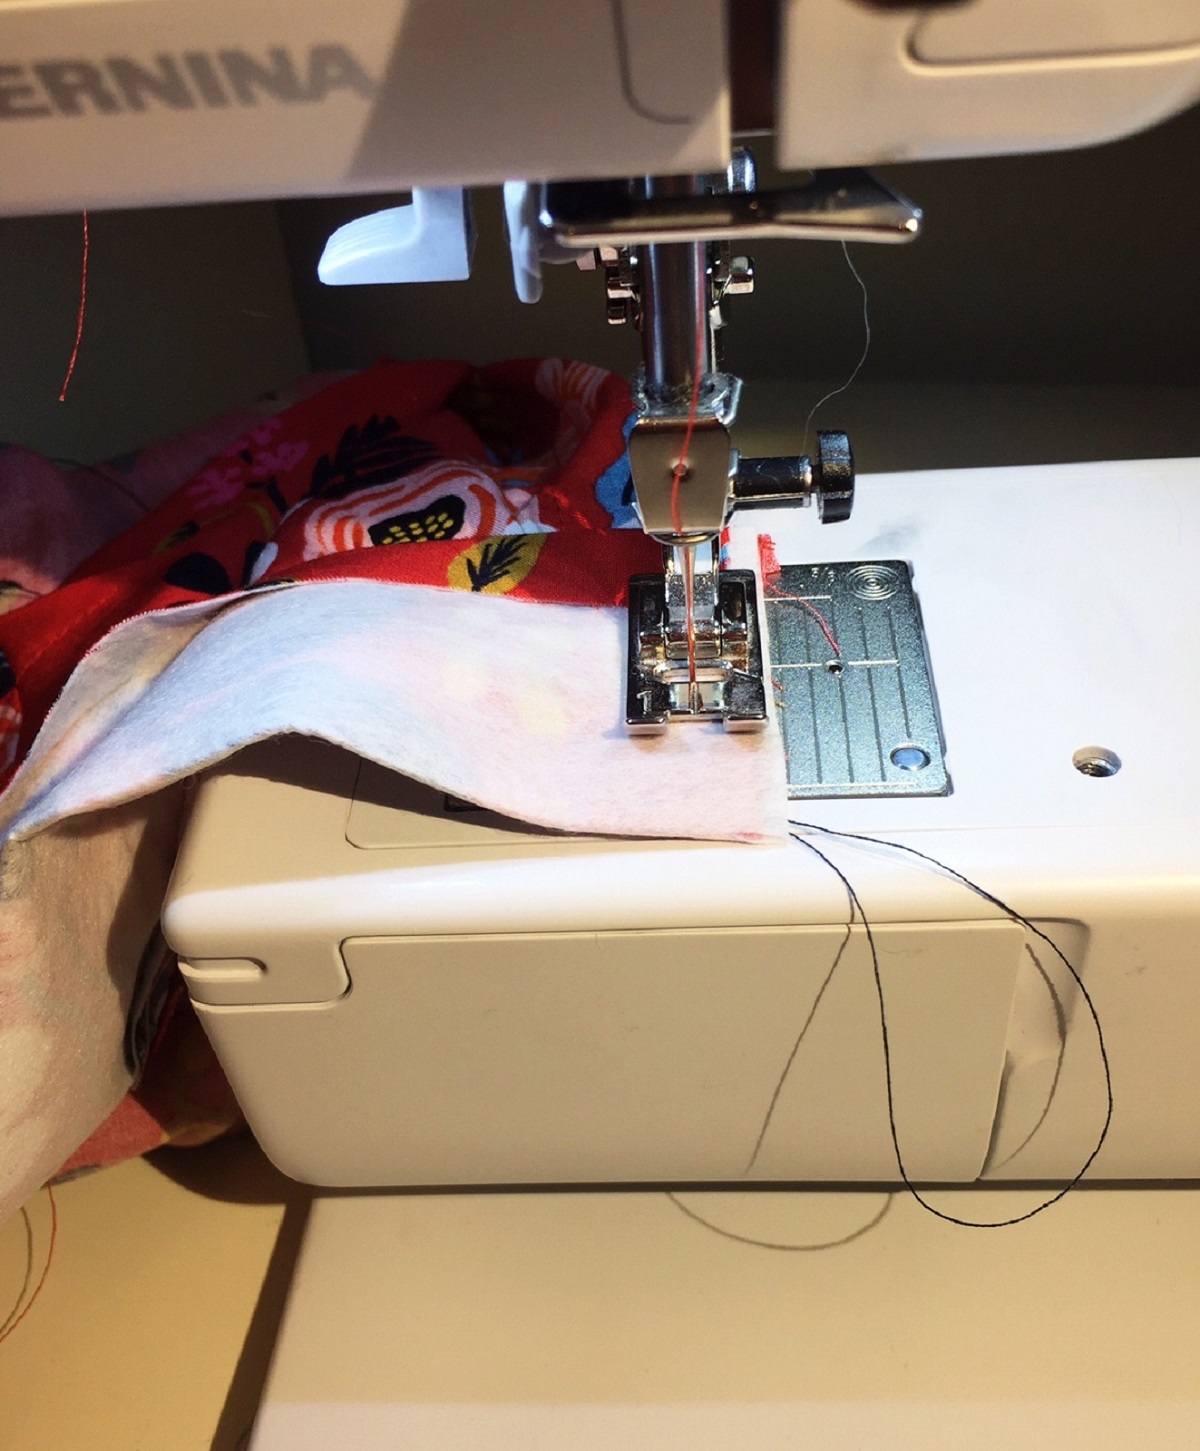
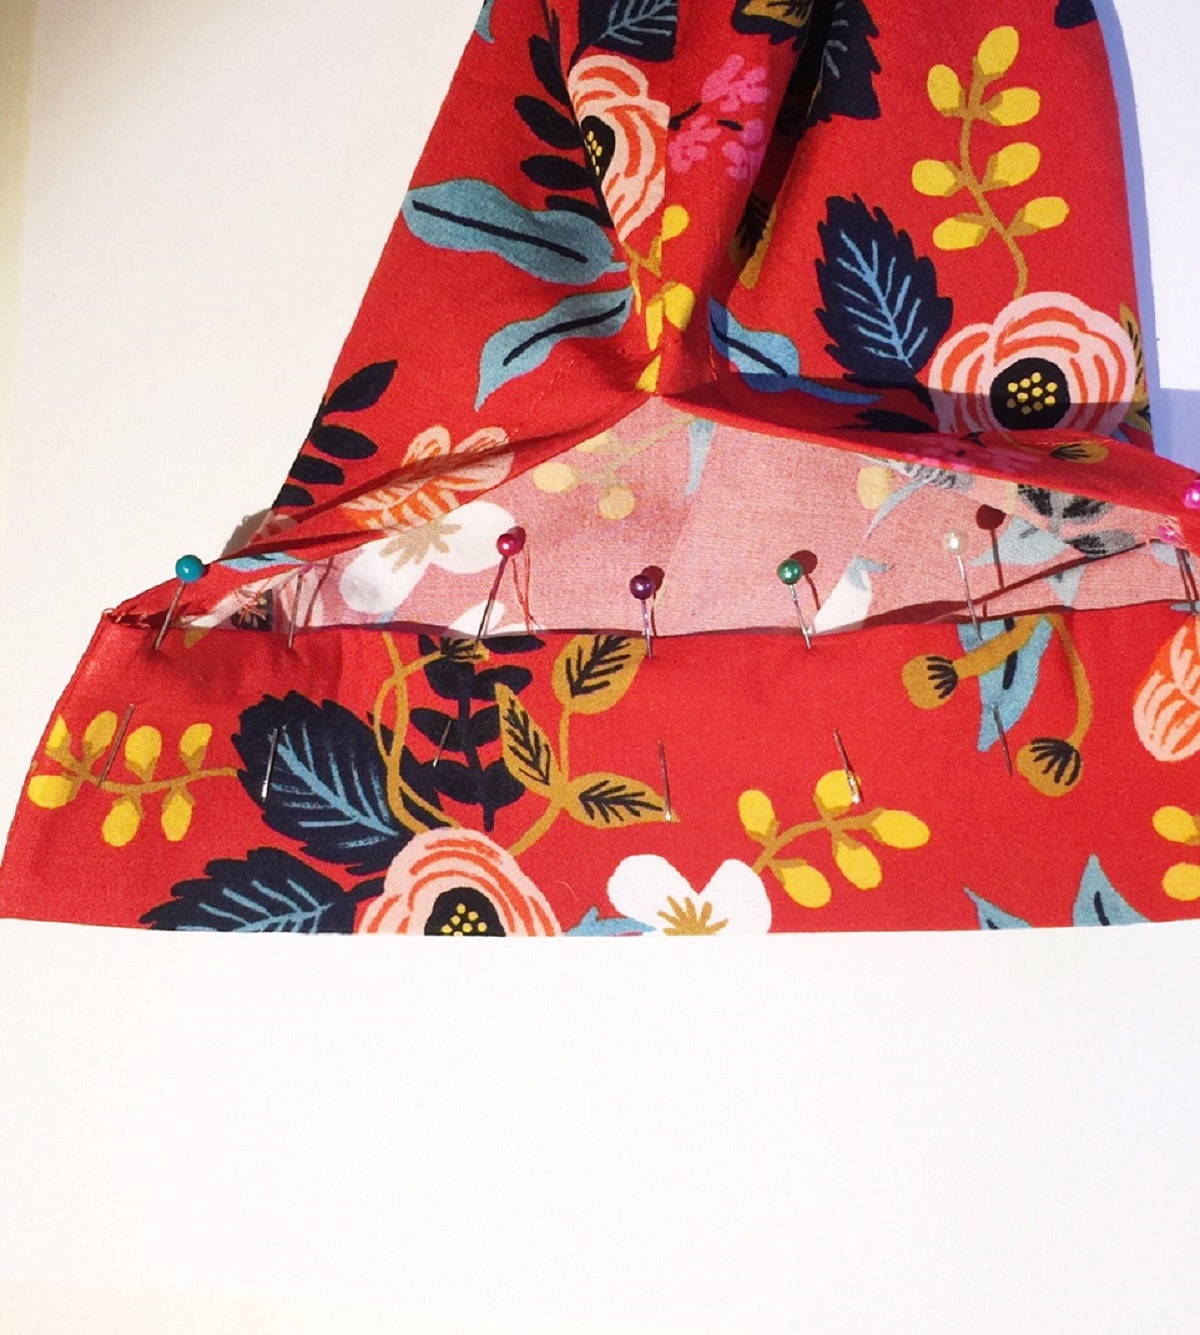
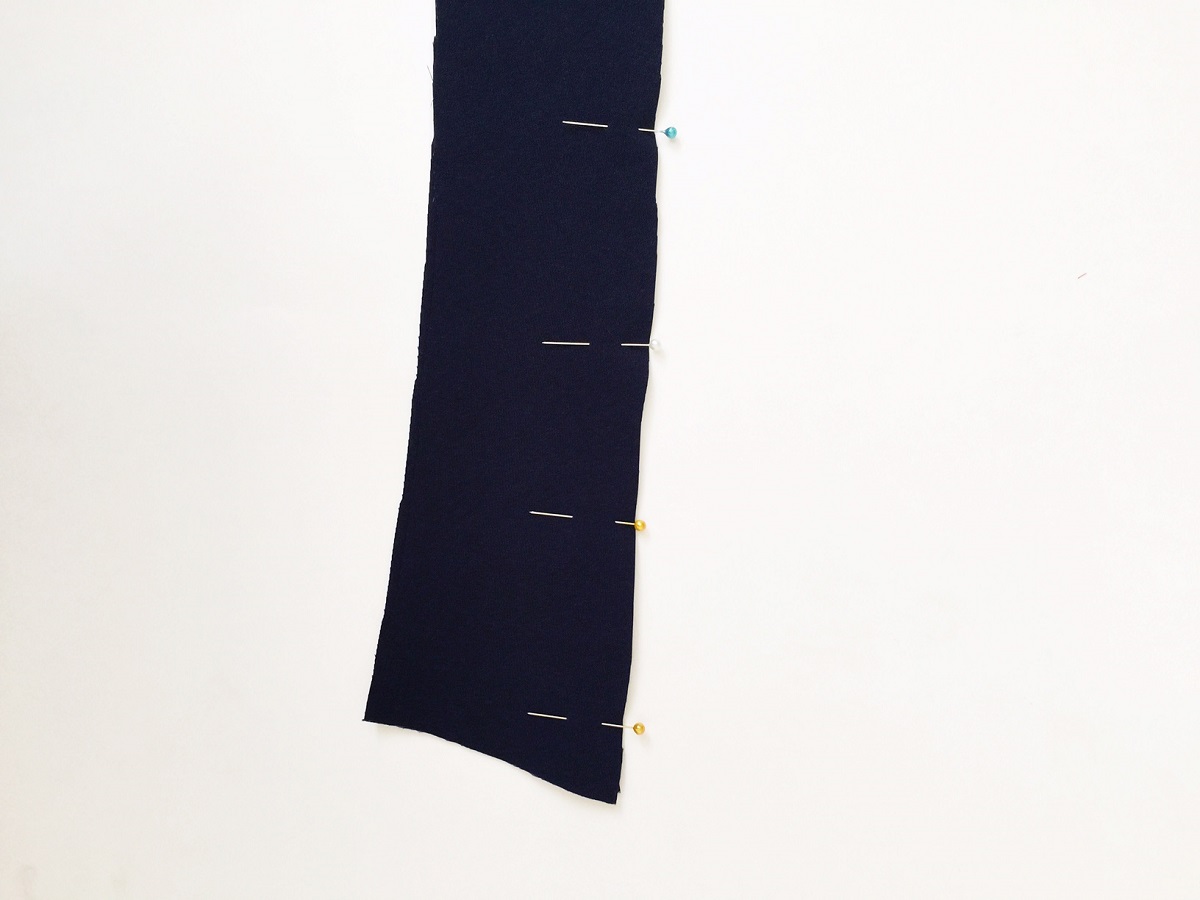
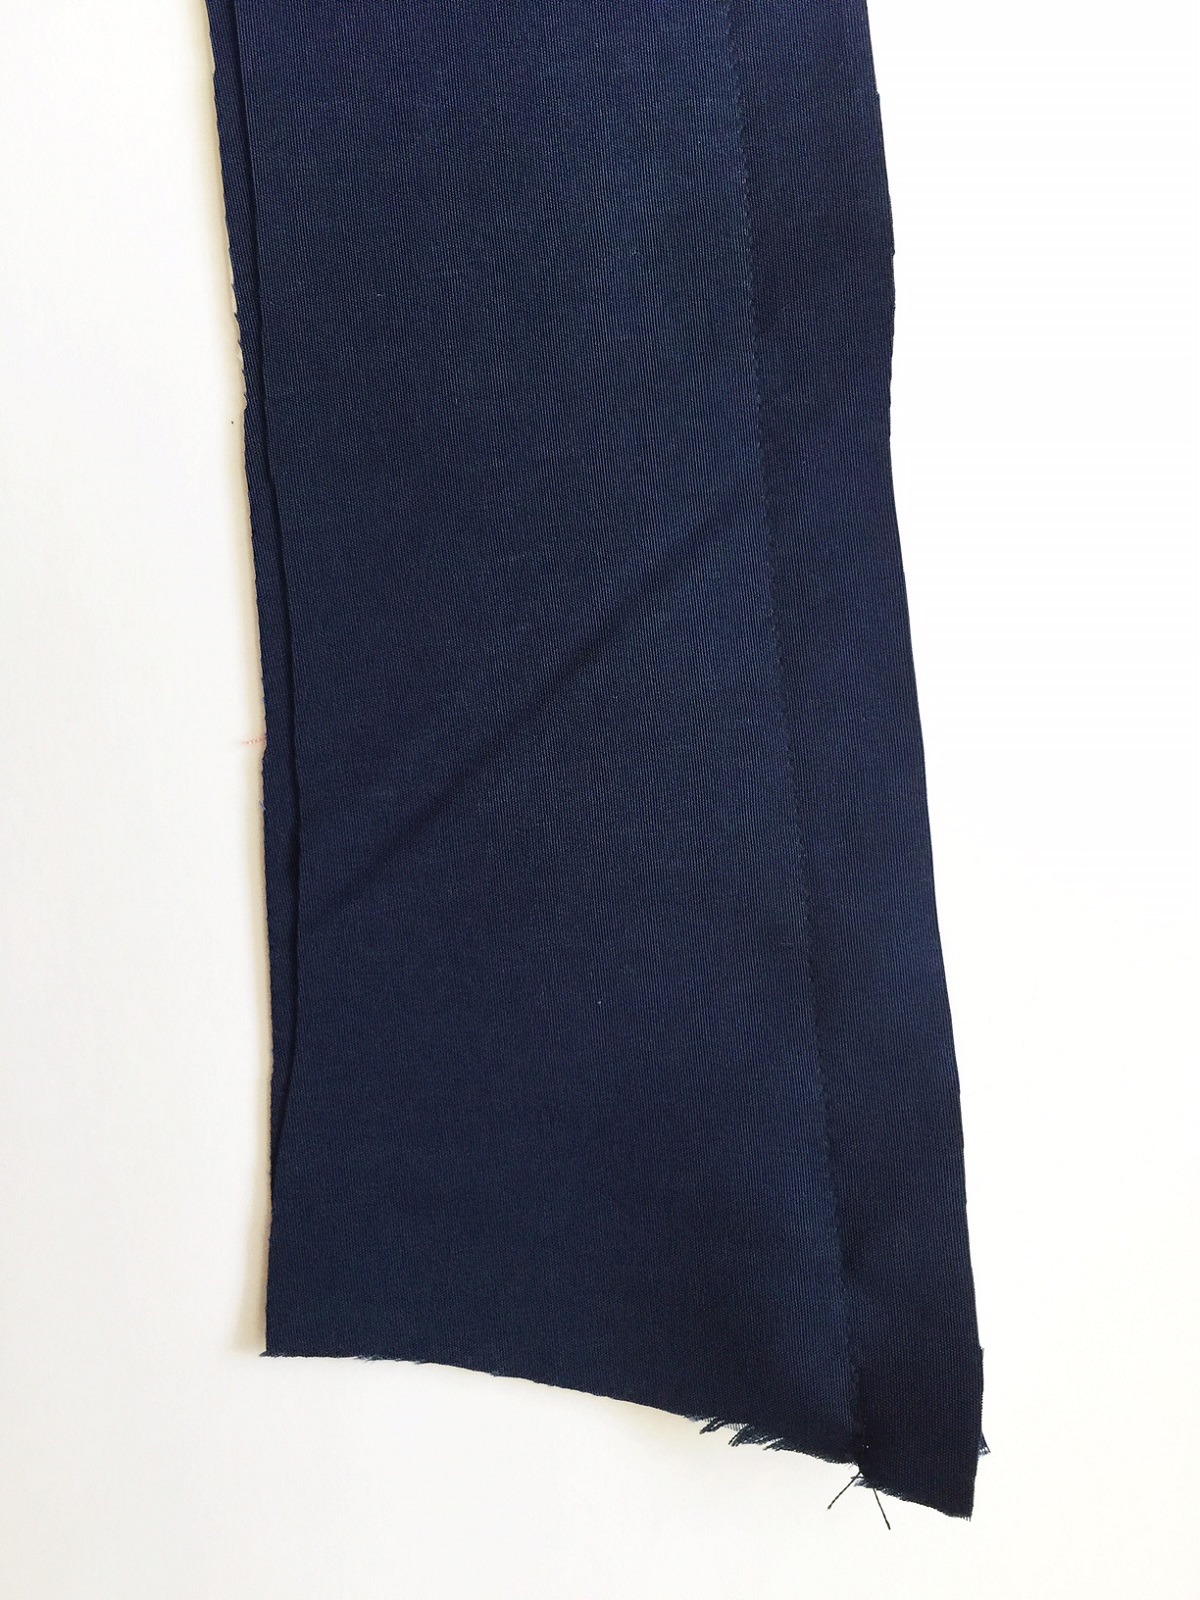
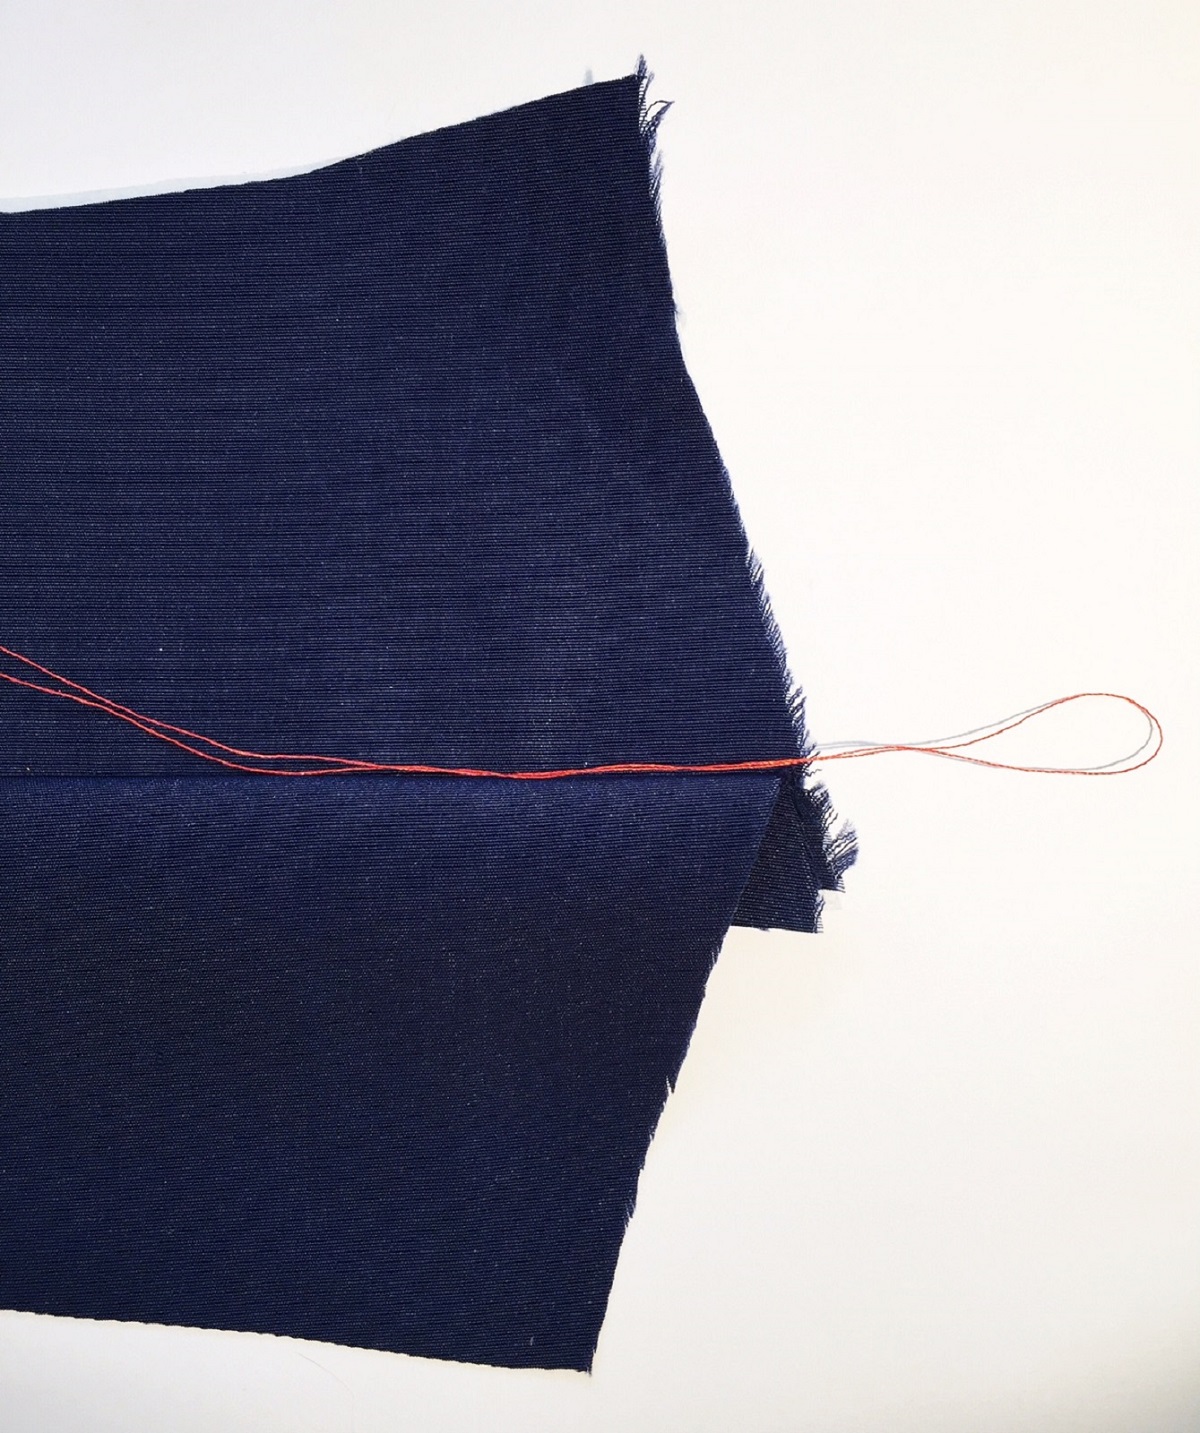
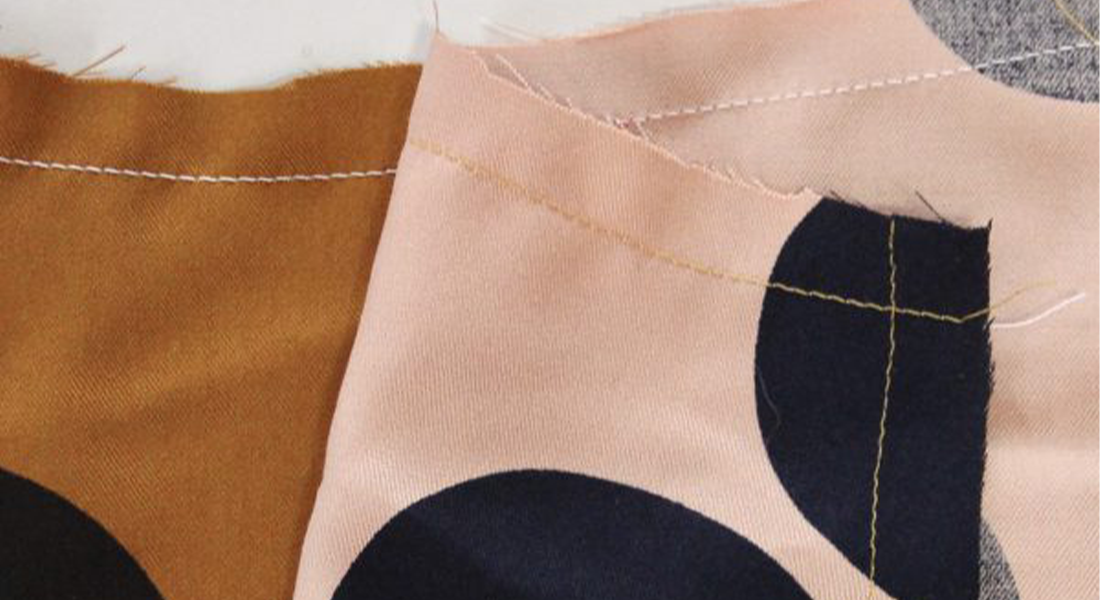
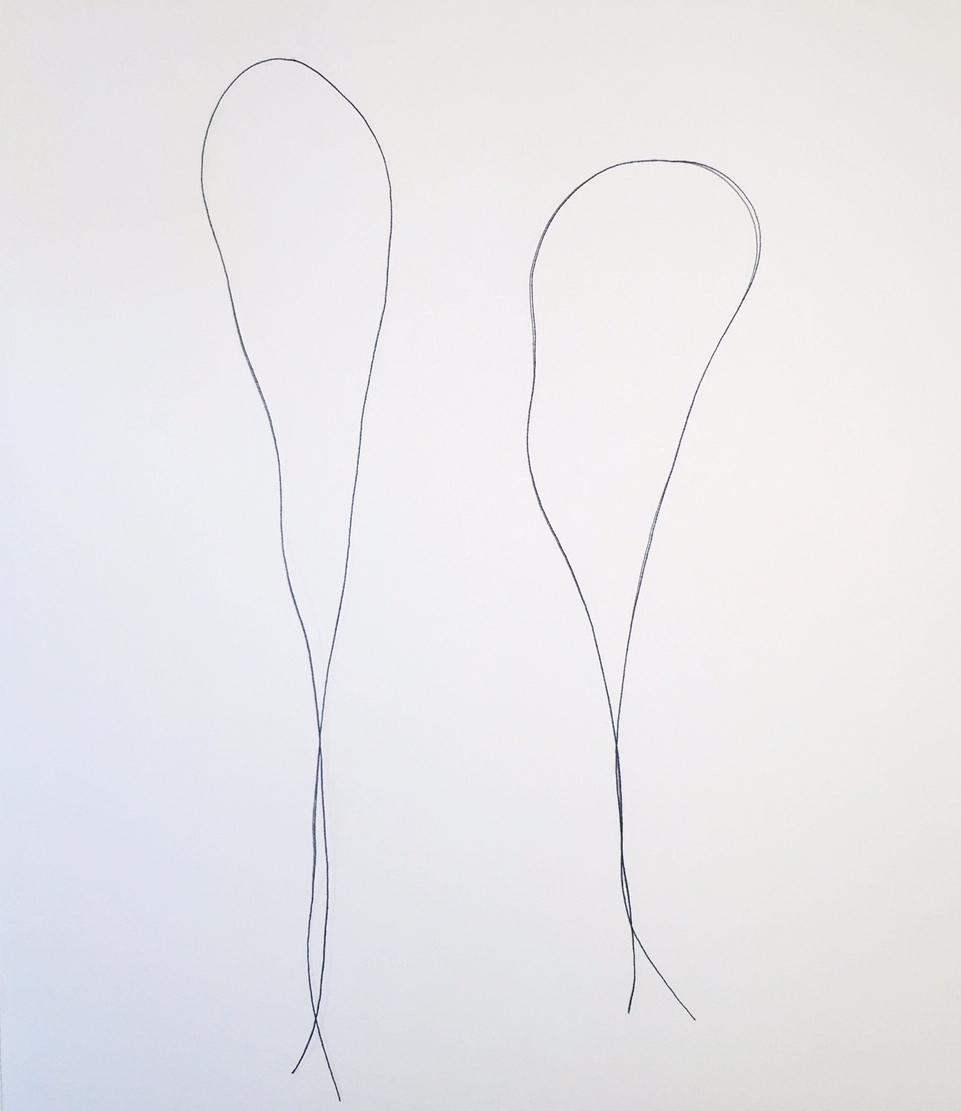
Step 1: We will begin on step 65 of the V9201 pattern, but this technique works for any squared cuff (not rounded). With right sides together, fold cuff along fold line according to your patterns markings, but basically fold it in half exactly. Before moving on to the next step, cut two long strands of contrasting threads and create a loop as shown in the picture below.
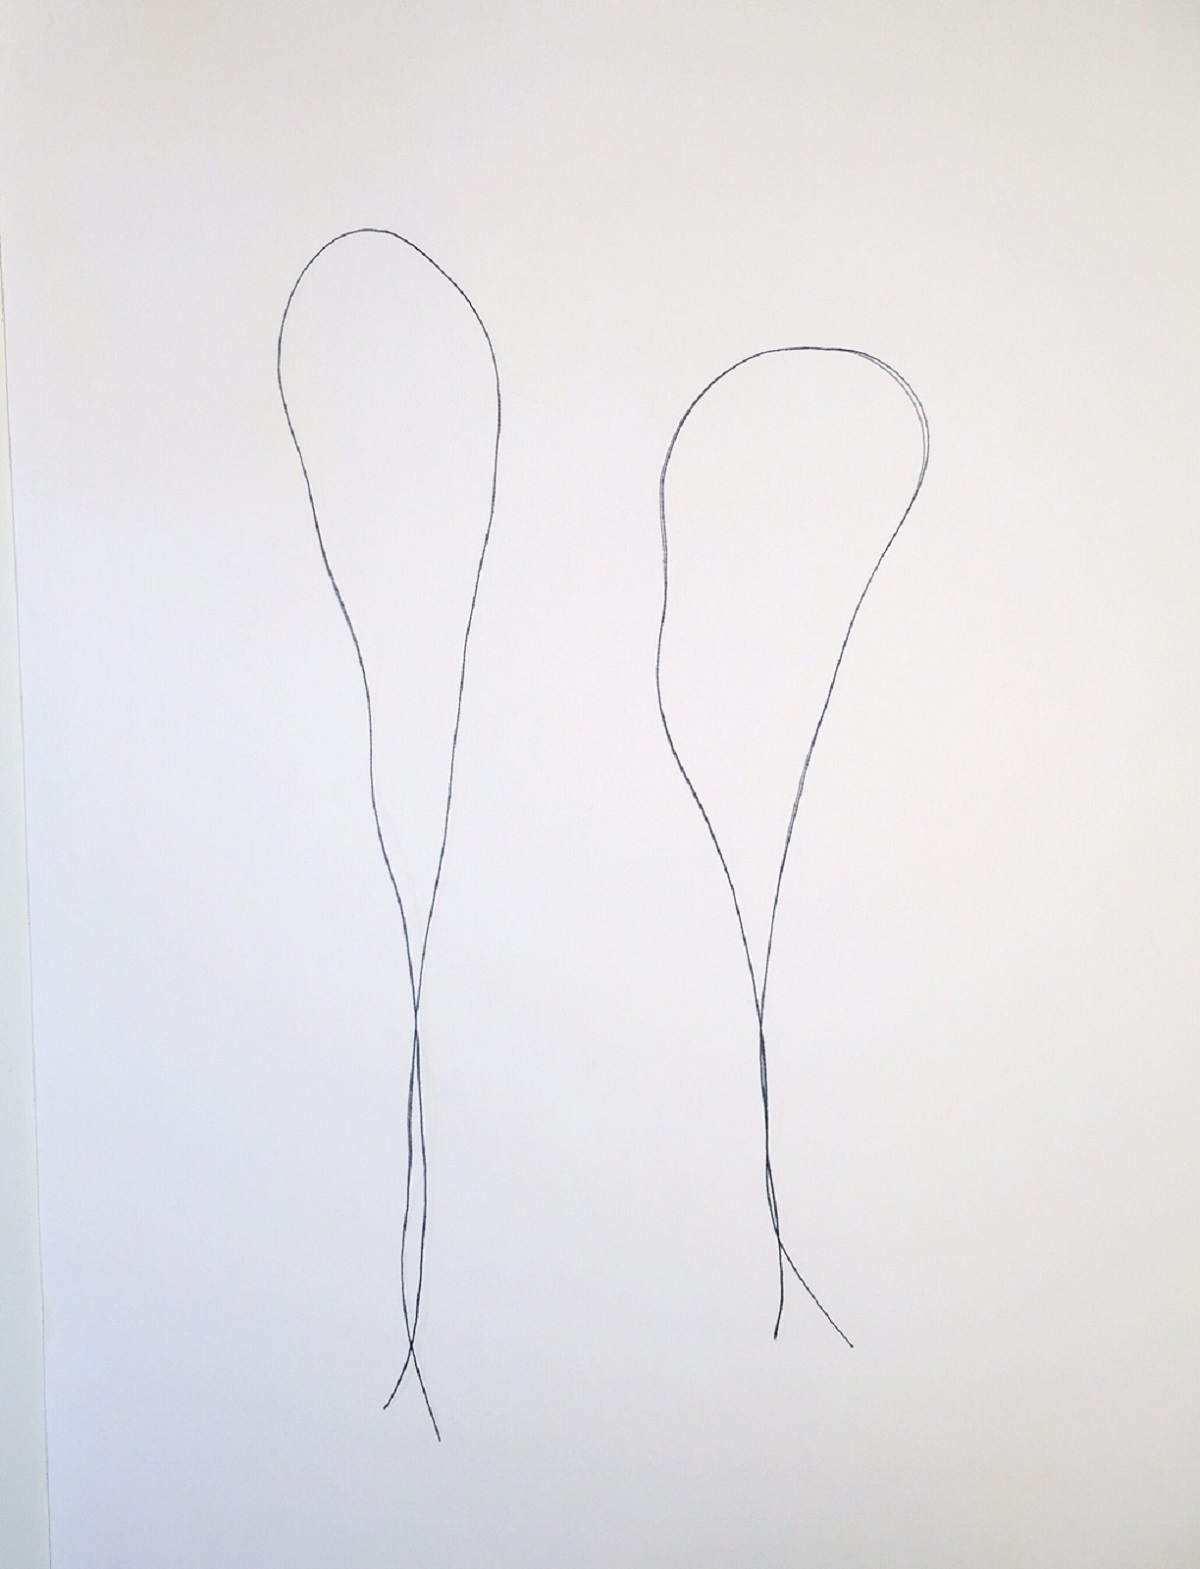
Step 2: Lay your looped contrasting thread in the crease you just created by folding your cuff in half right sides together.

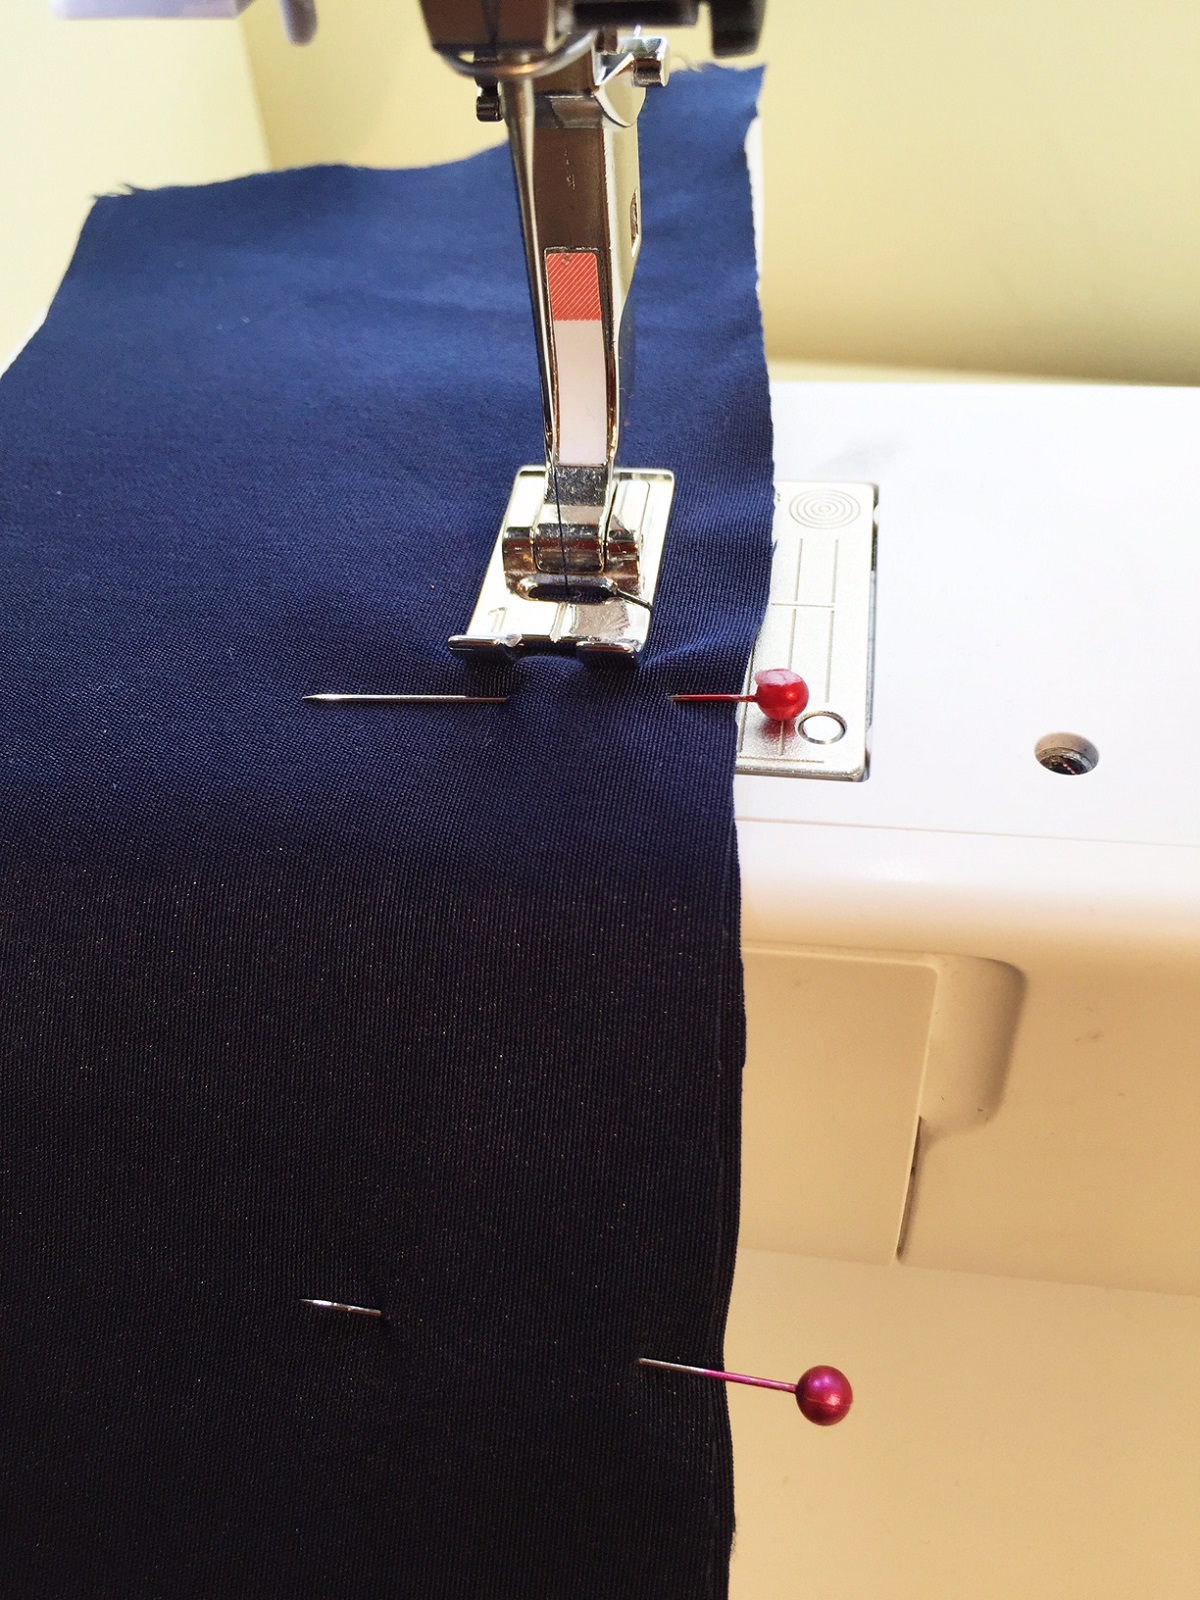
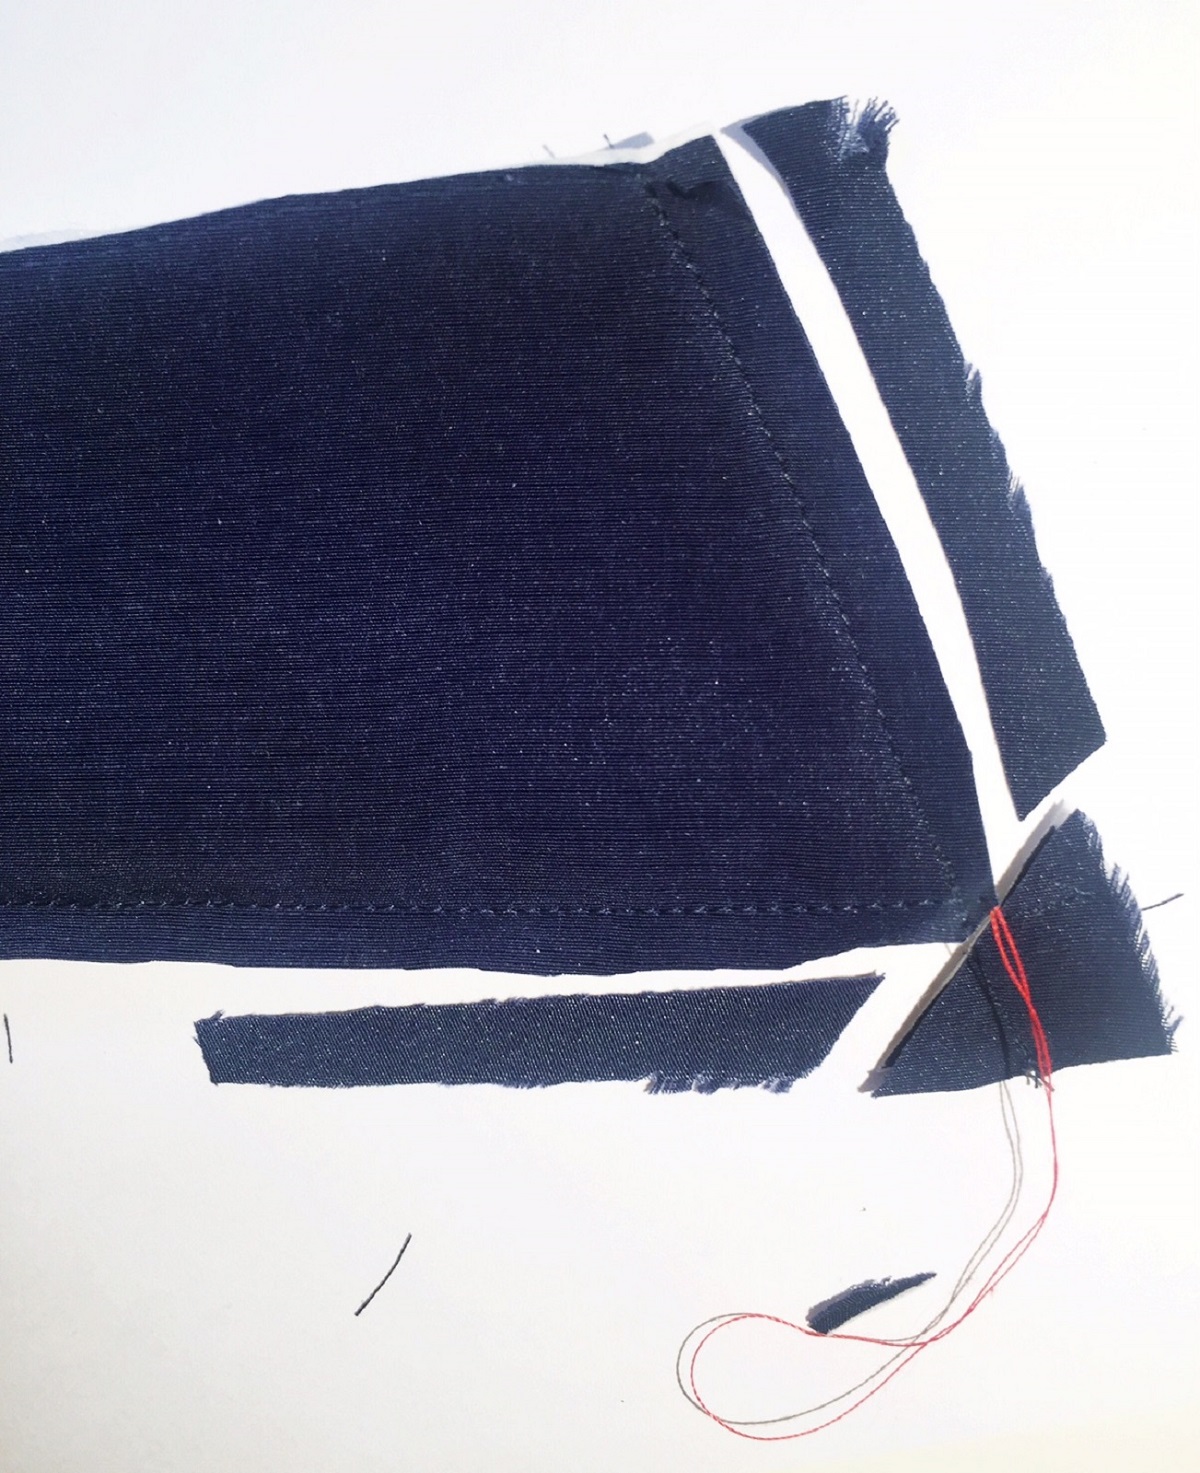
Step 3: Fold the cuff in half again, right sides together, keeping your loop pulled down in the bottom corner edge. Pin.
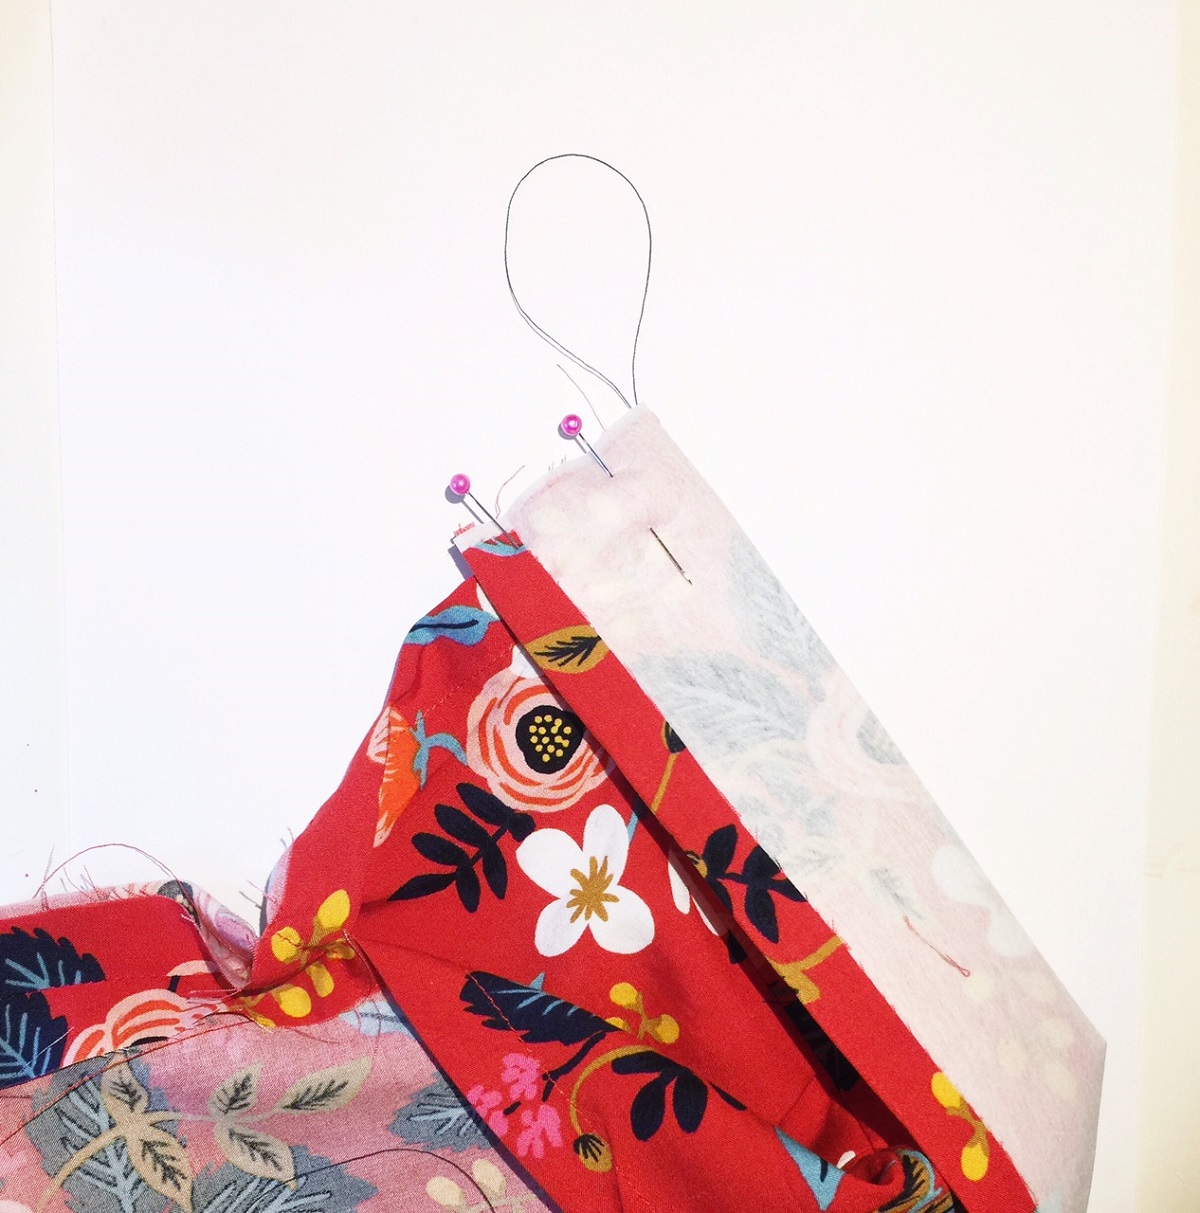
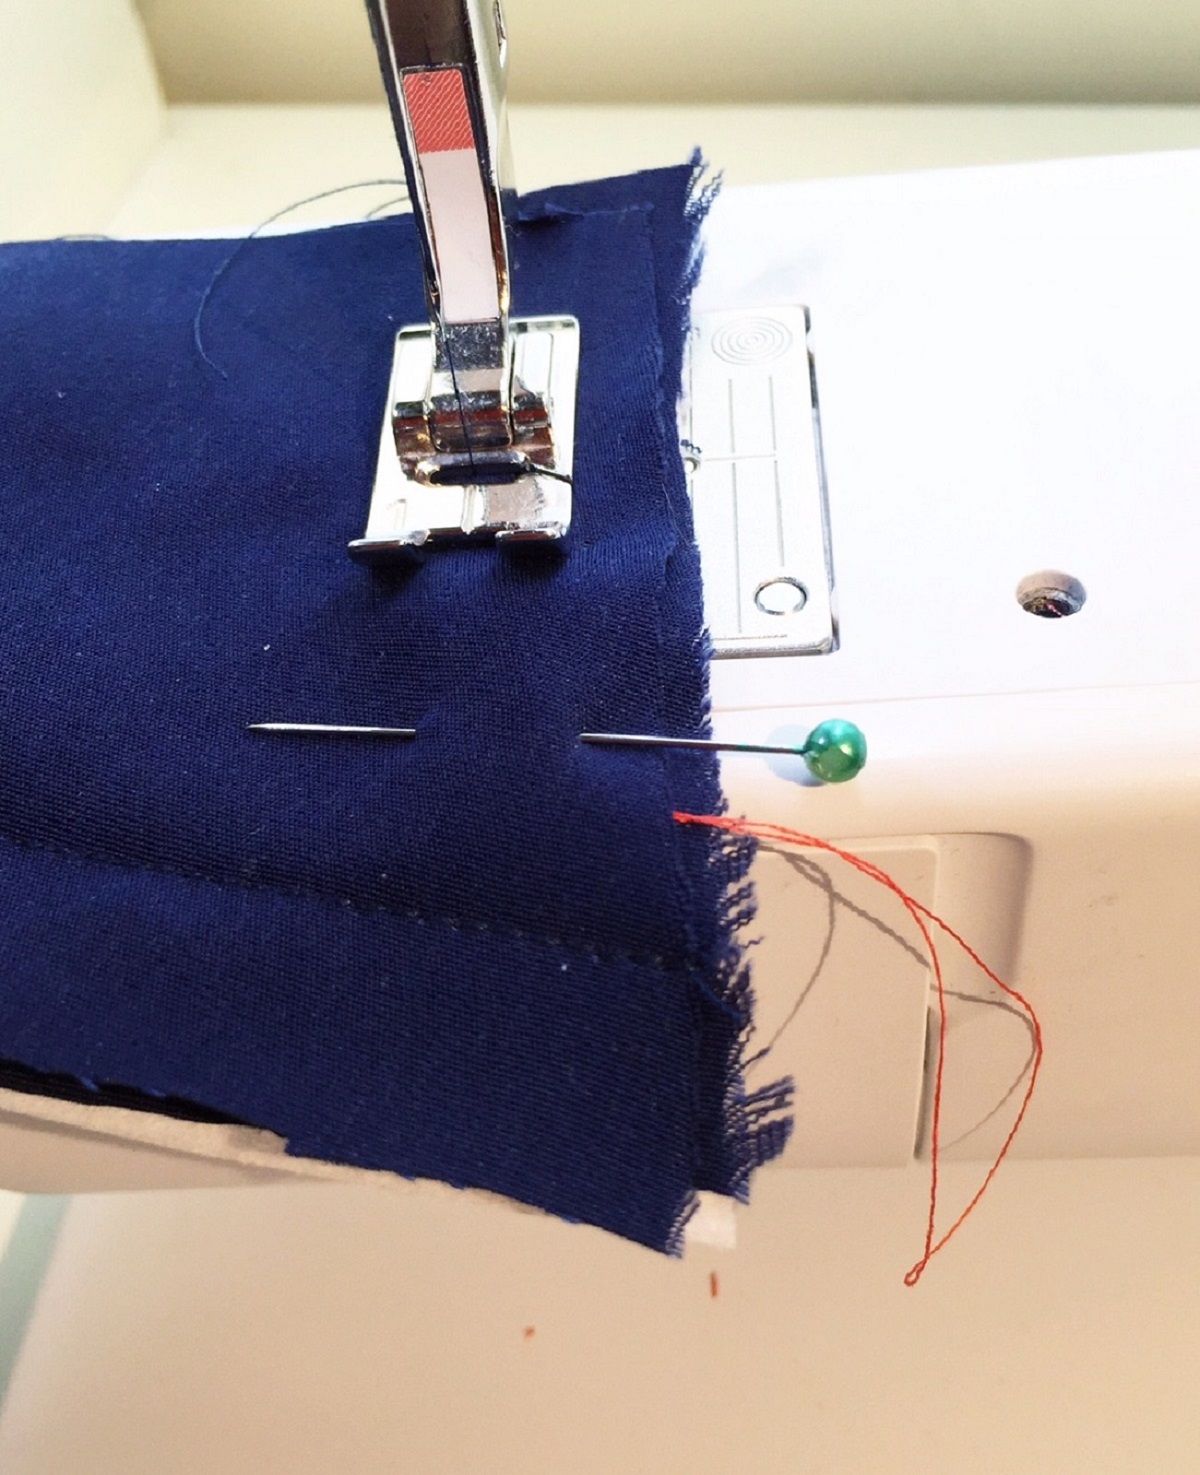
Step 4: Sew and make sure to shorten your stitch length to about 1- 1.5mm about a ½” before you sew the bottom edge where your loop is hanging out. (This will ensure that you catch the loose contrasting threads in your seam). Make sure to keep your loop down the bottom corner edge as you sew.
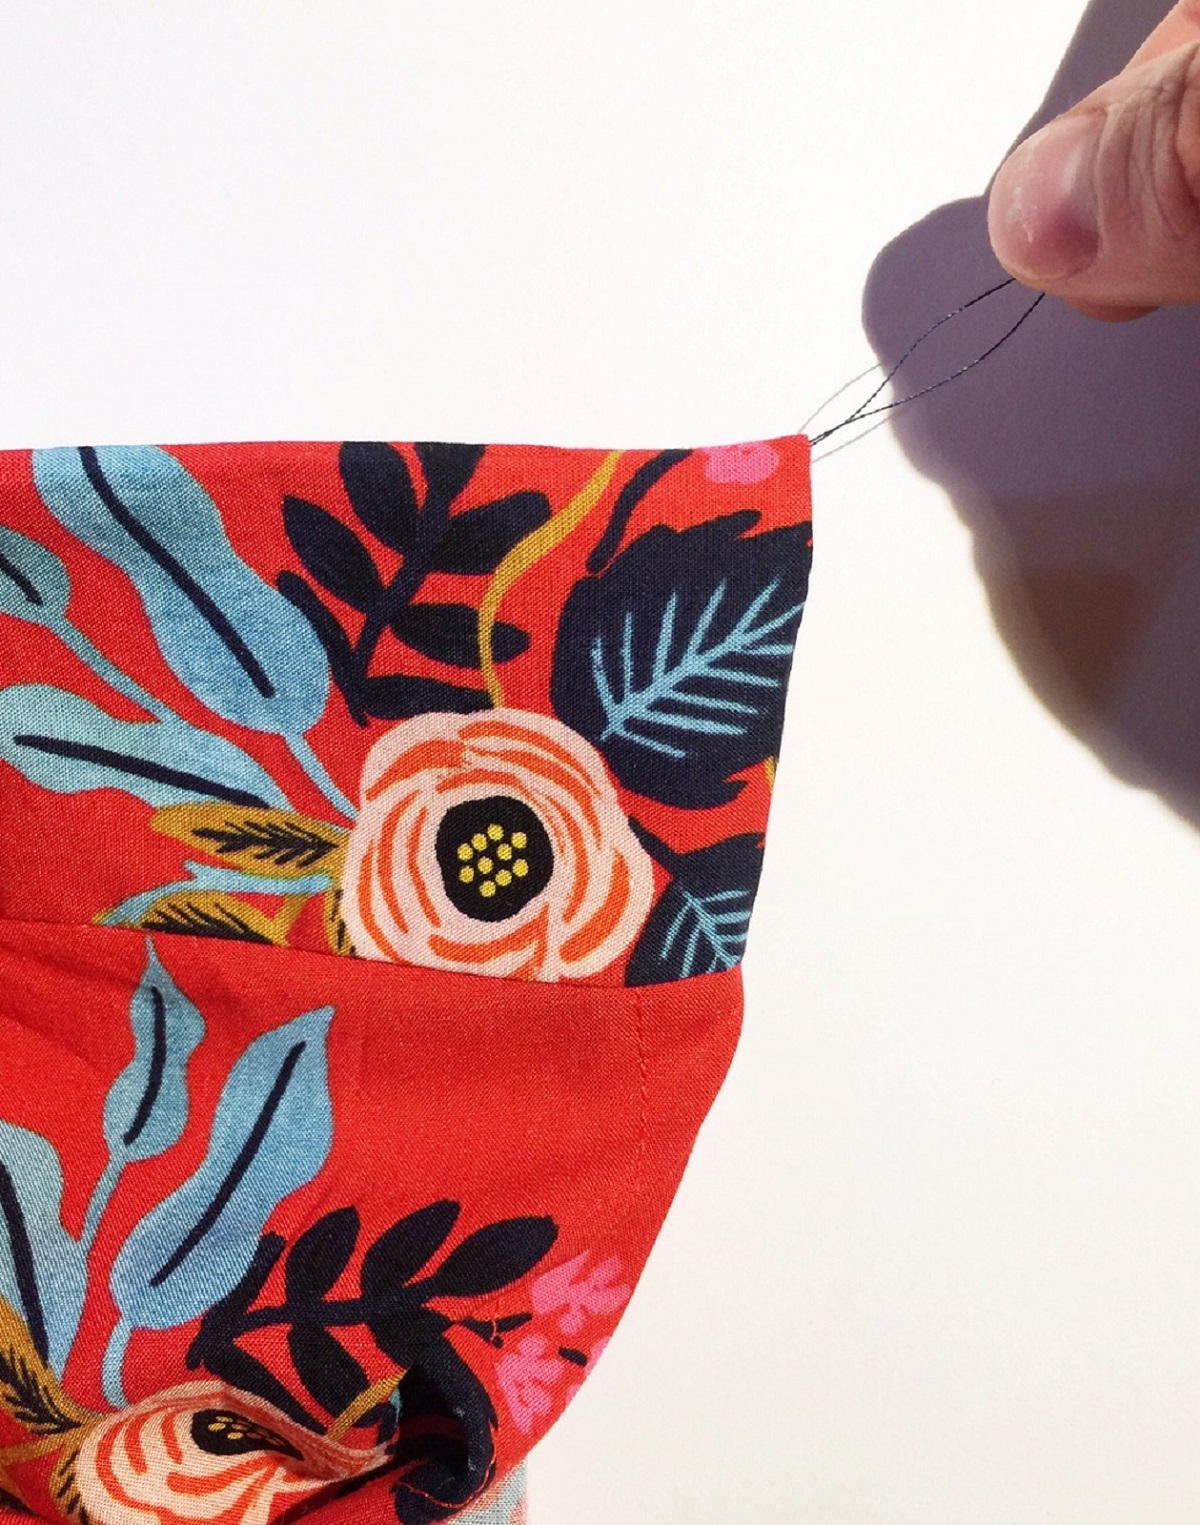
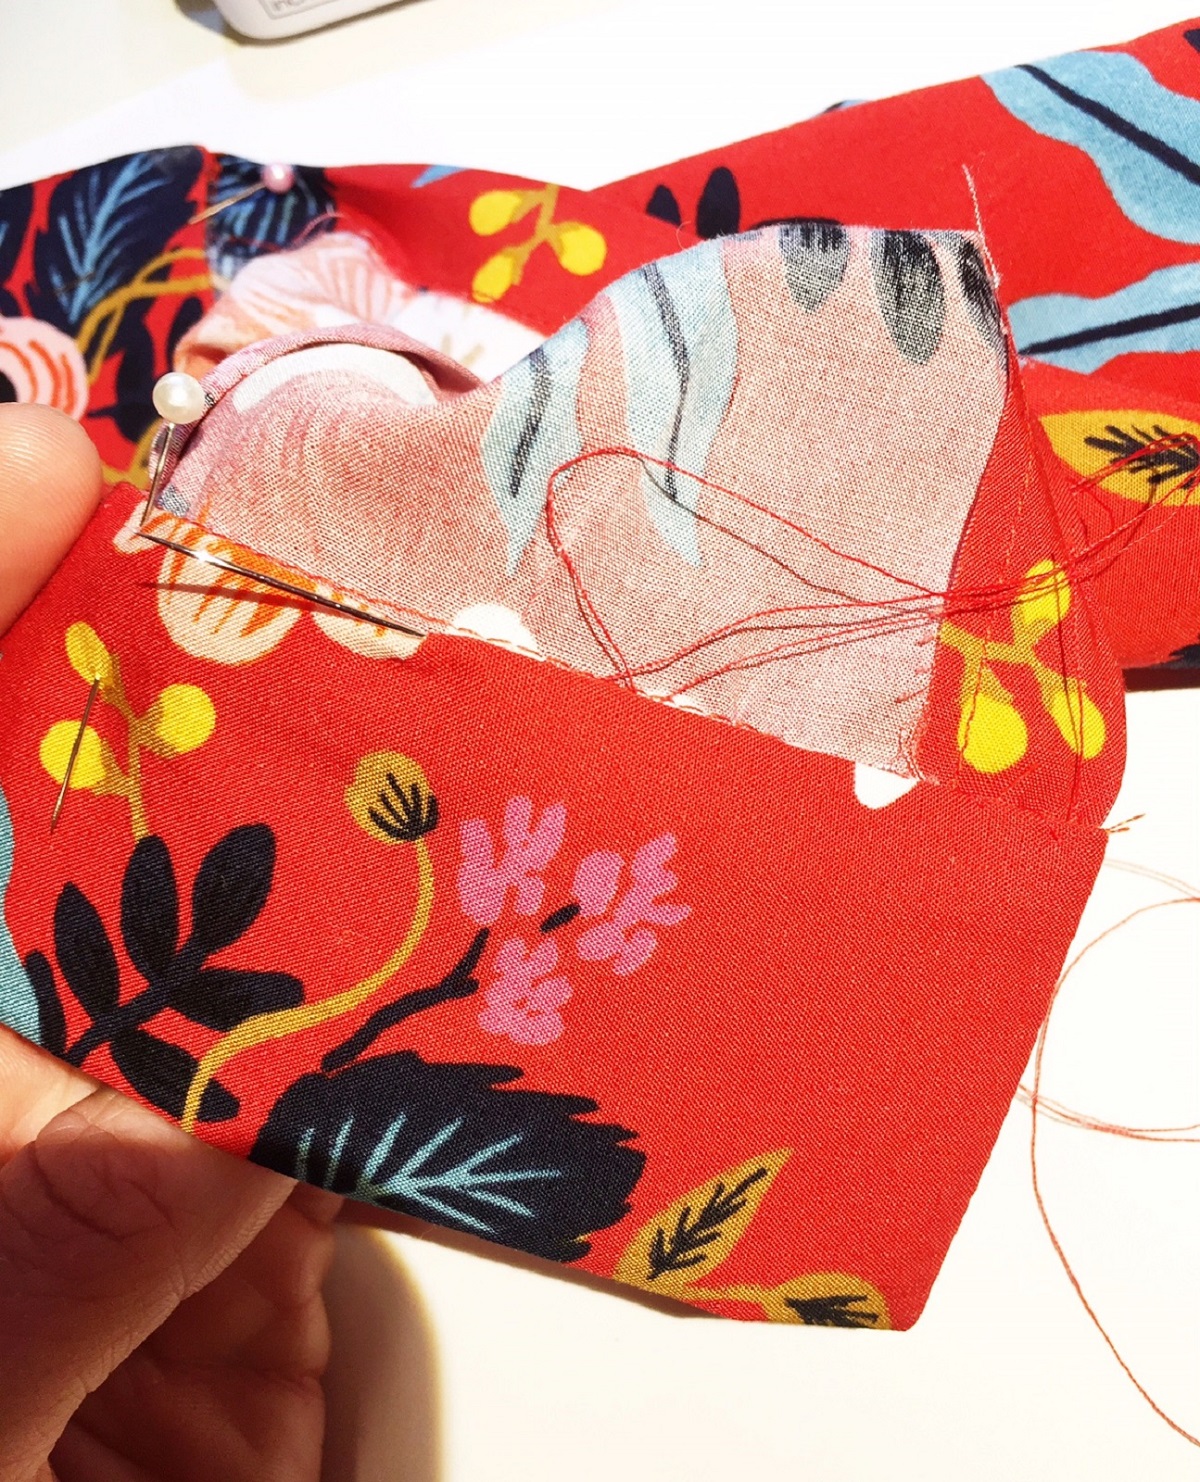
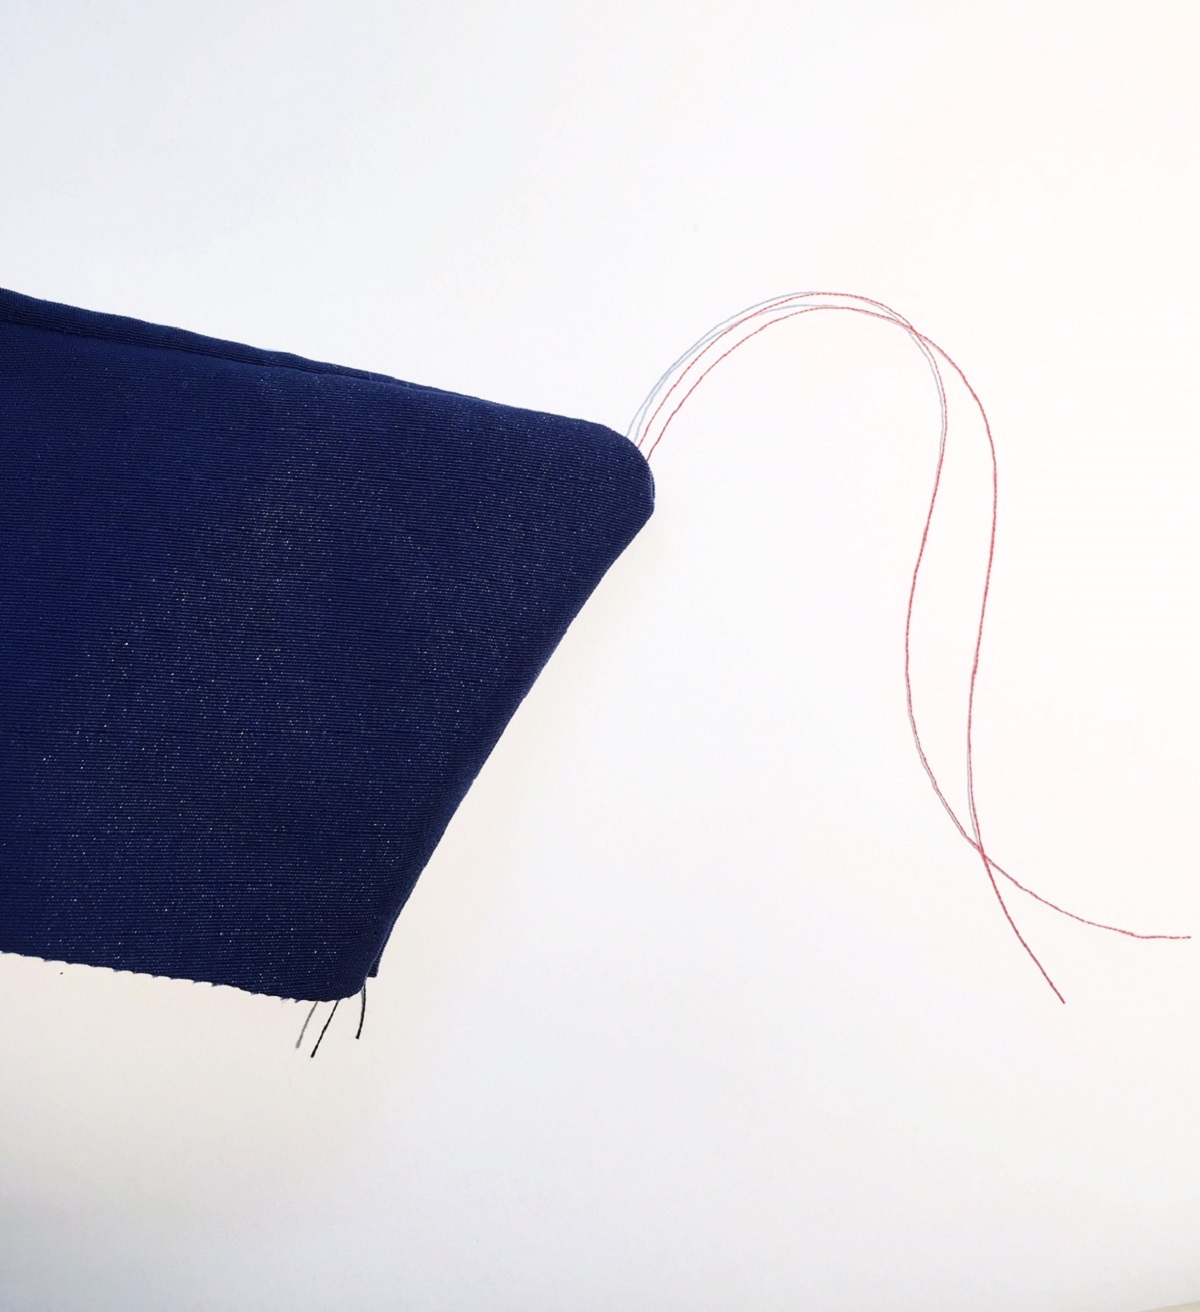
Step 5: Trim the edge, making sure not to cut your looped thread. Flip your cuff right sides out.
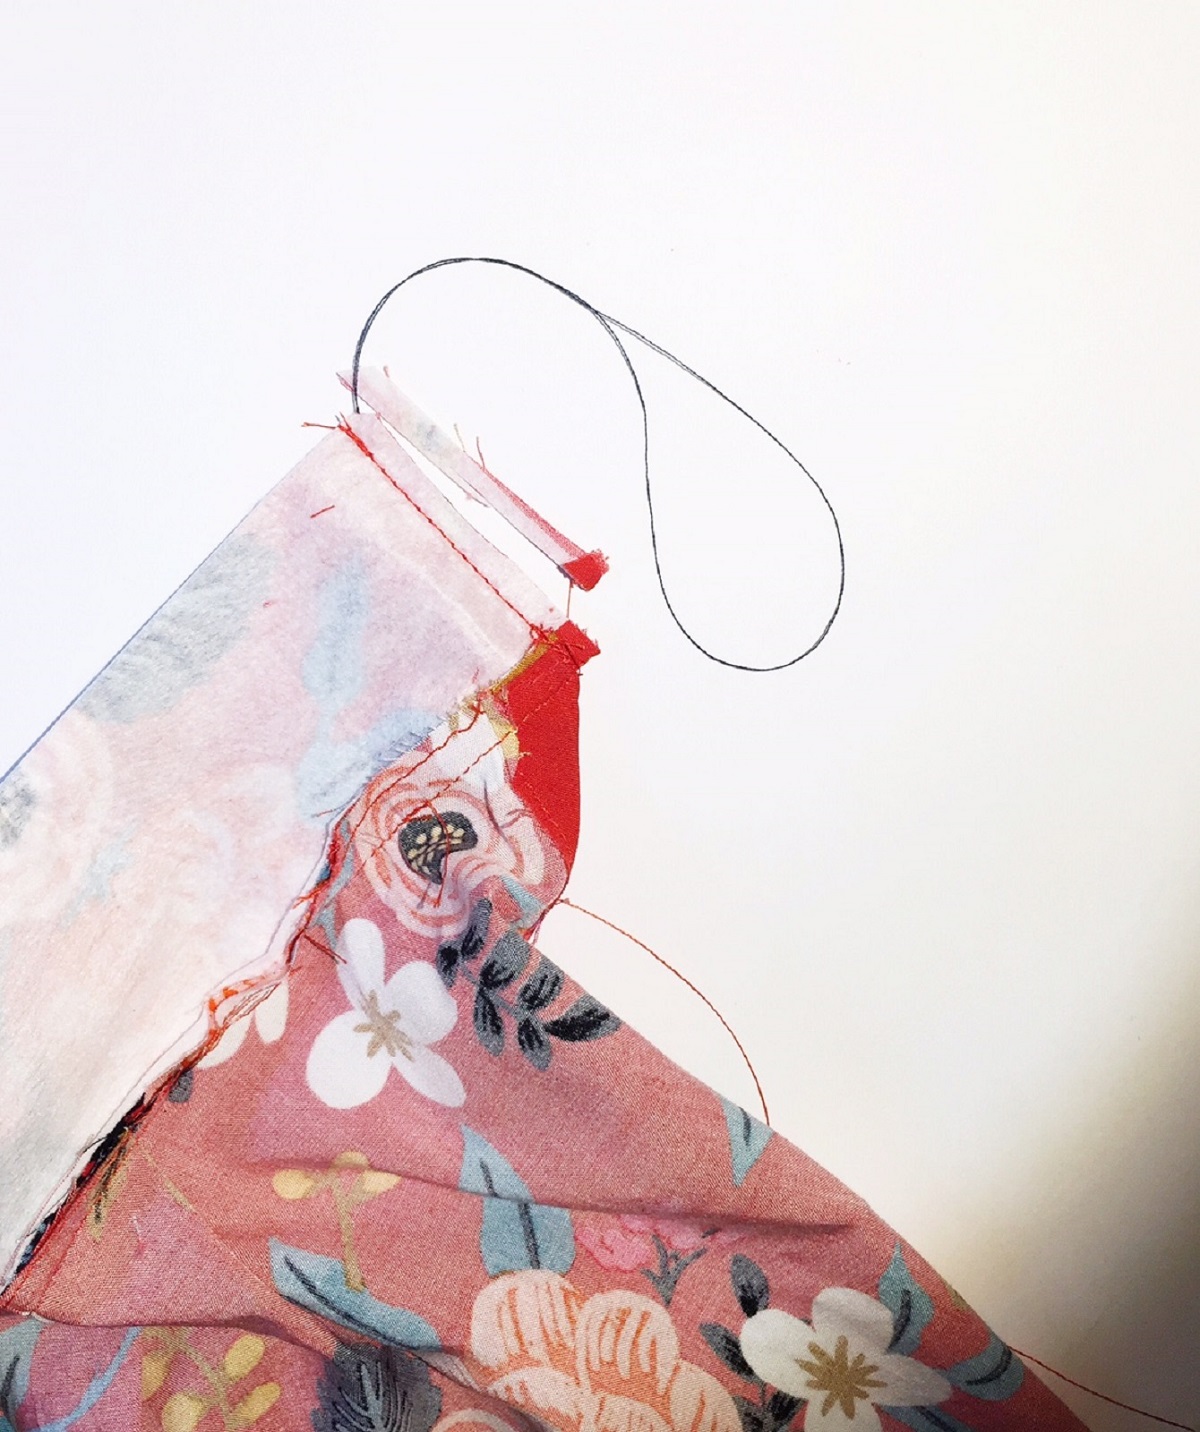
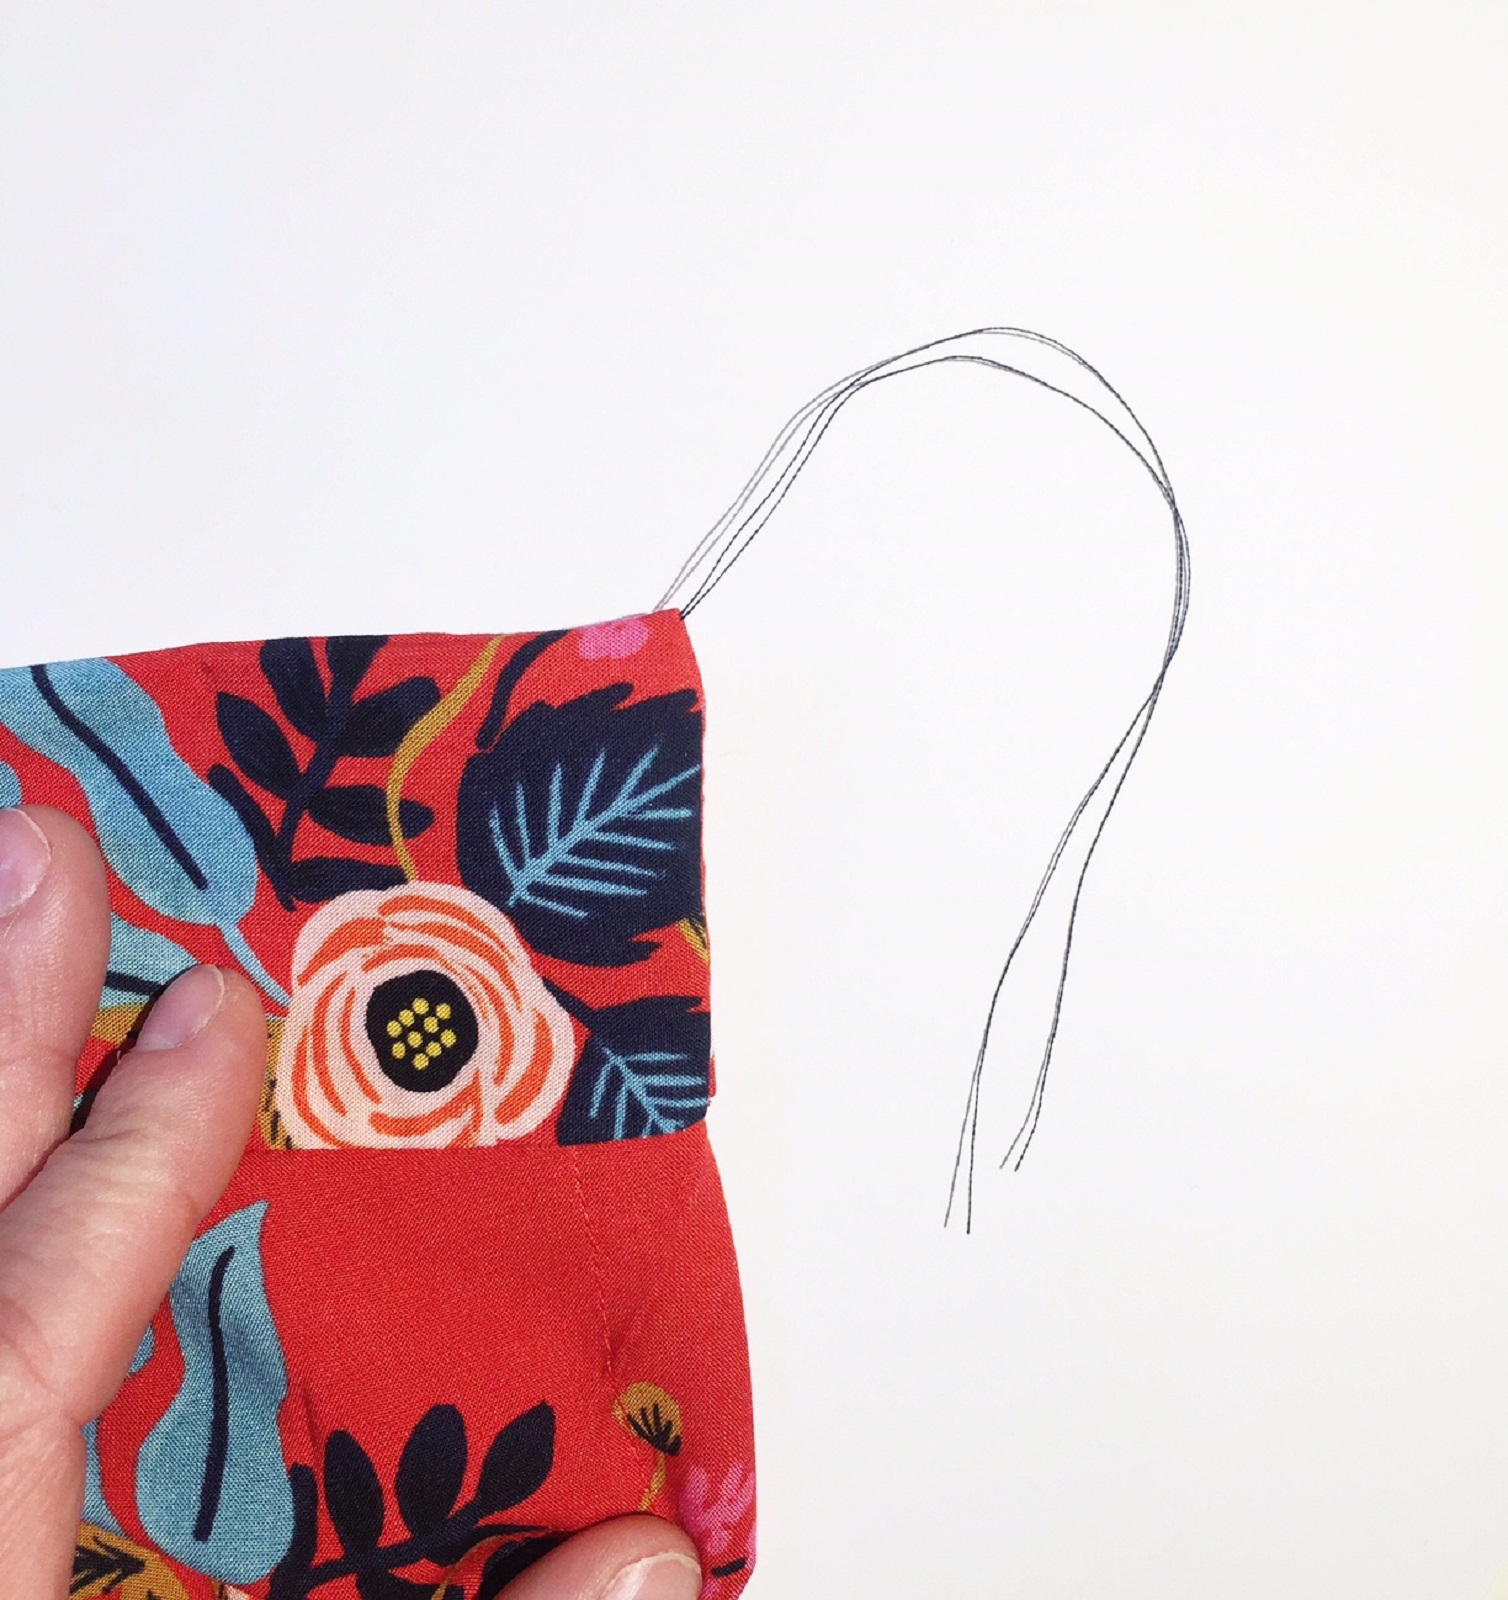
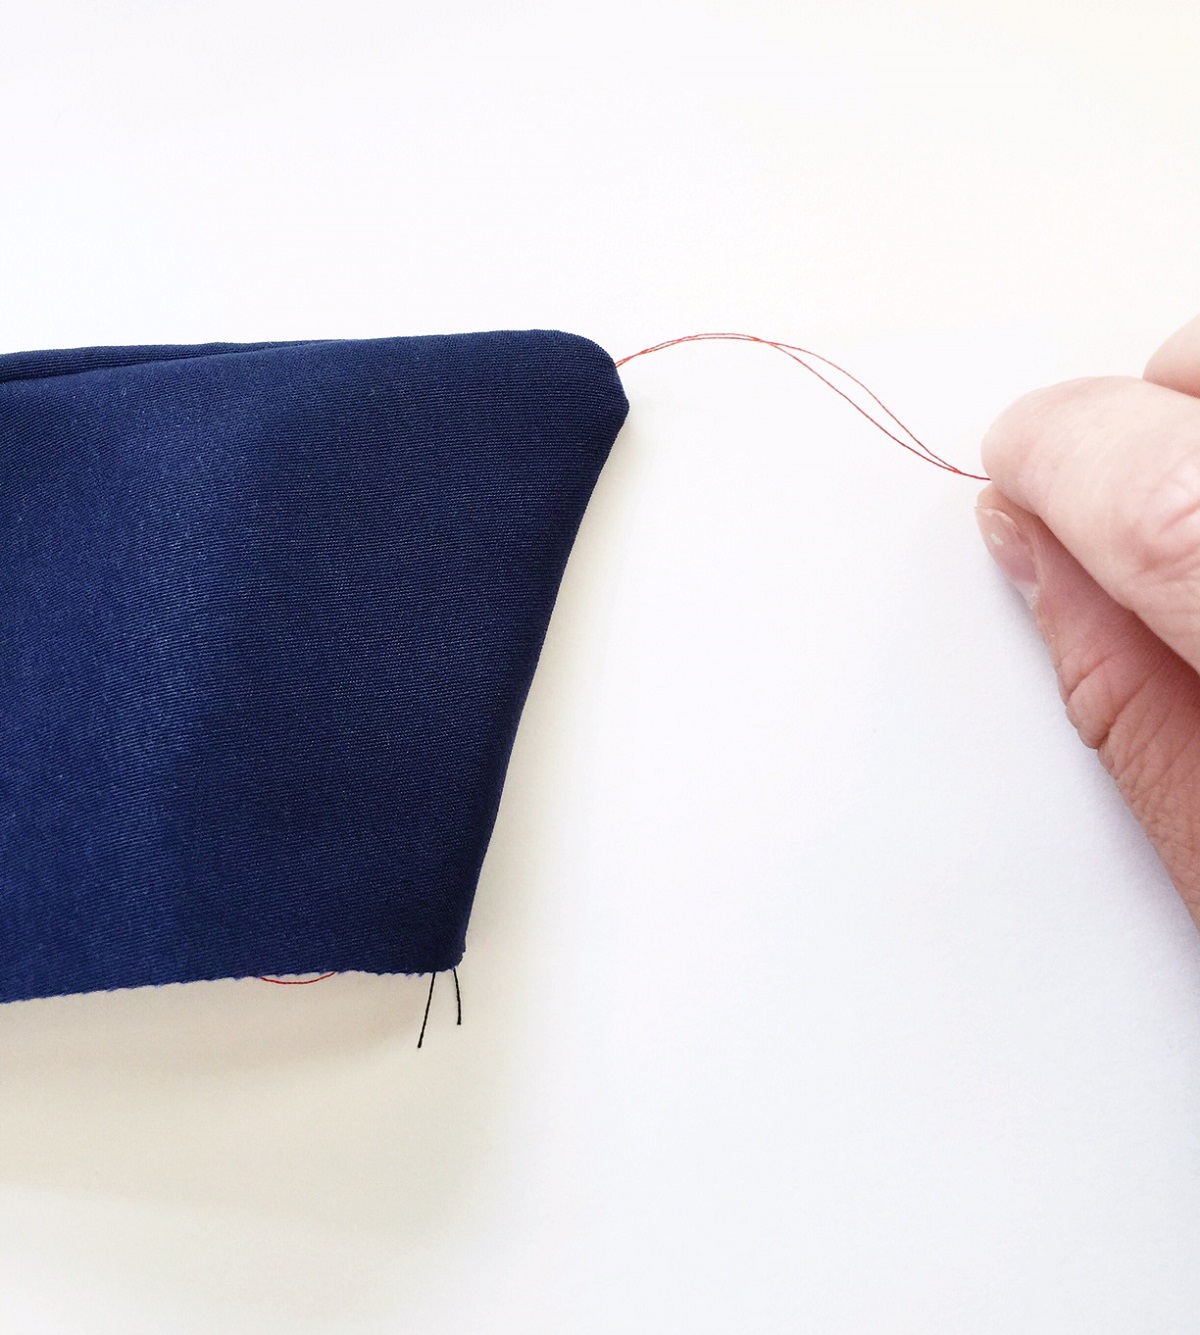
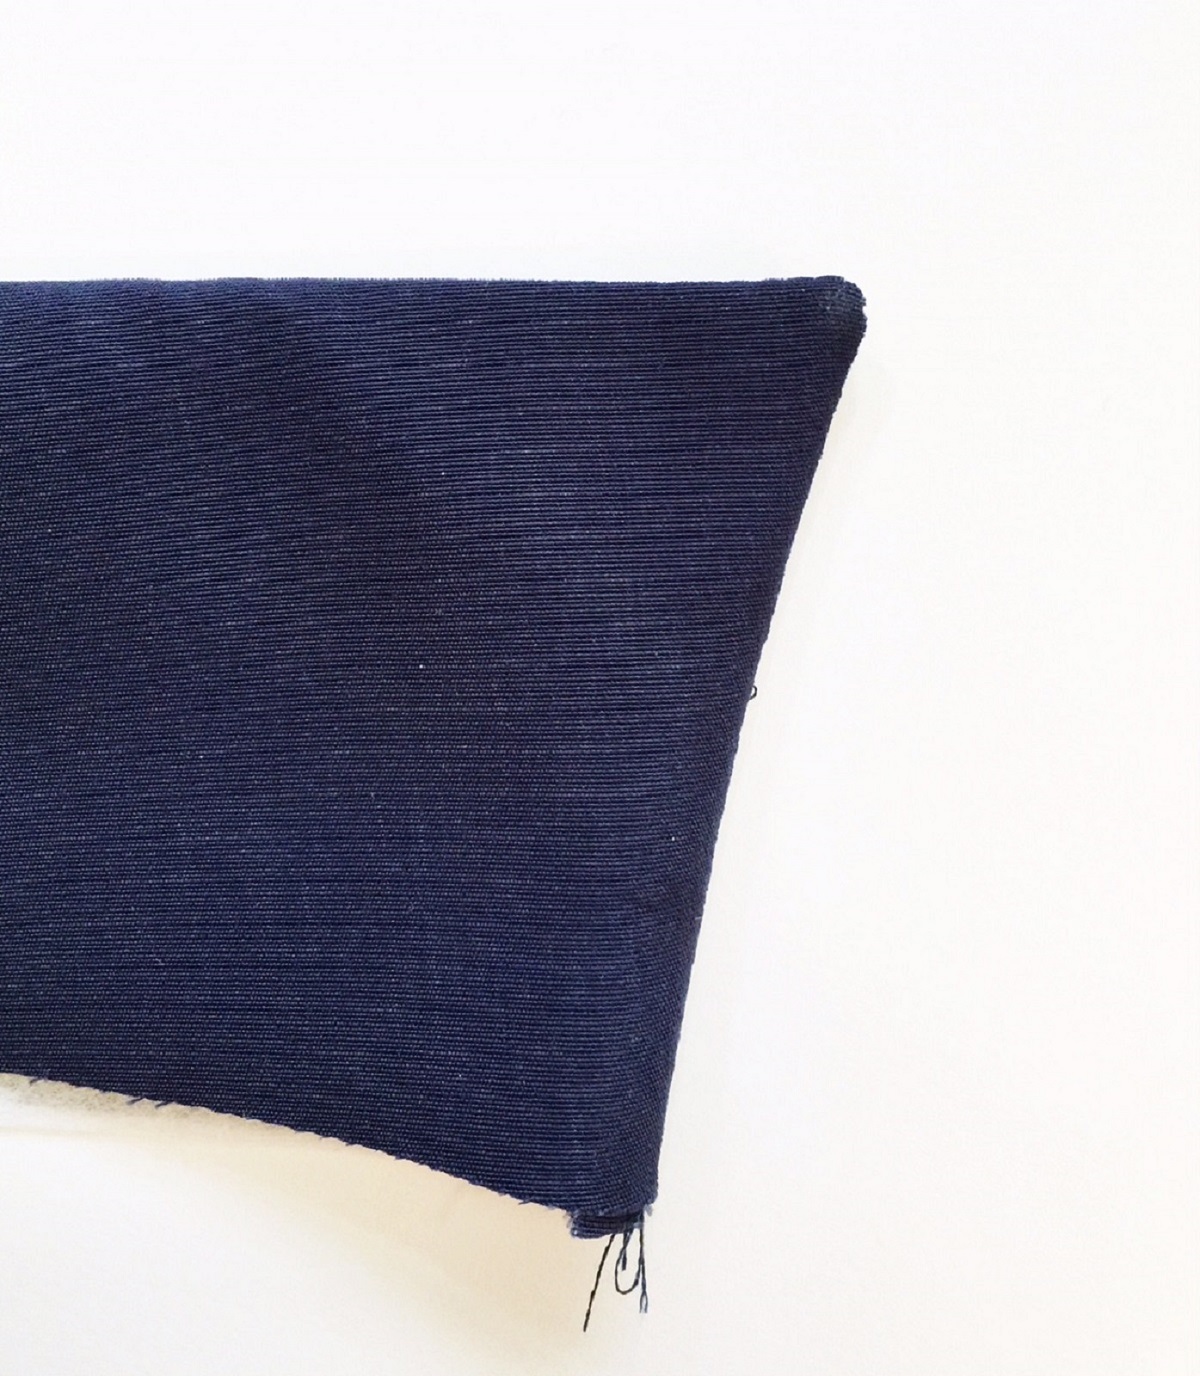
Step 6: Gently tug your contrasting thread, pulling out your corner as you tug. Once you are satisfied with your point, grab one end of your contrasting thread, and pull the thread out of your seam. Now you have your perfect point! (It’s important to make sure your stitches are small enough to catch this loose thread, if they are not your thread won’t pull your corner out for you and instead slip right out of the seam).
Step 7: To finish off your cuff, match the unfinished outer edge of your cuff to the seam on the other side of your cuff, press in place. Pin and slip stitch to finish. Here’s a great video showing how to create a slip stitch.
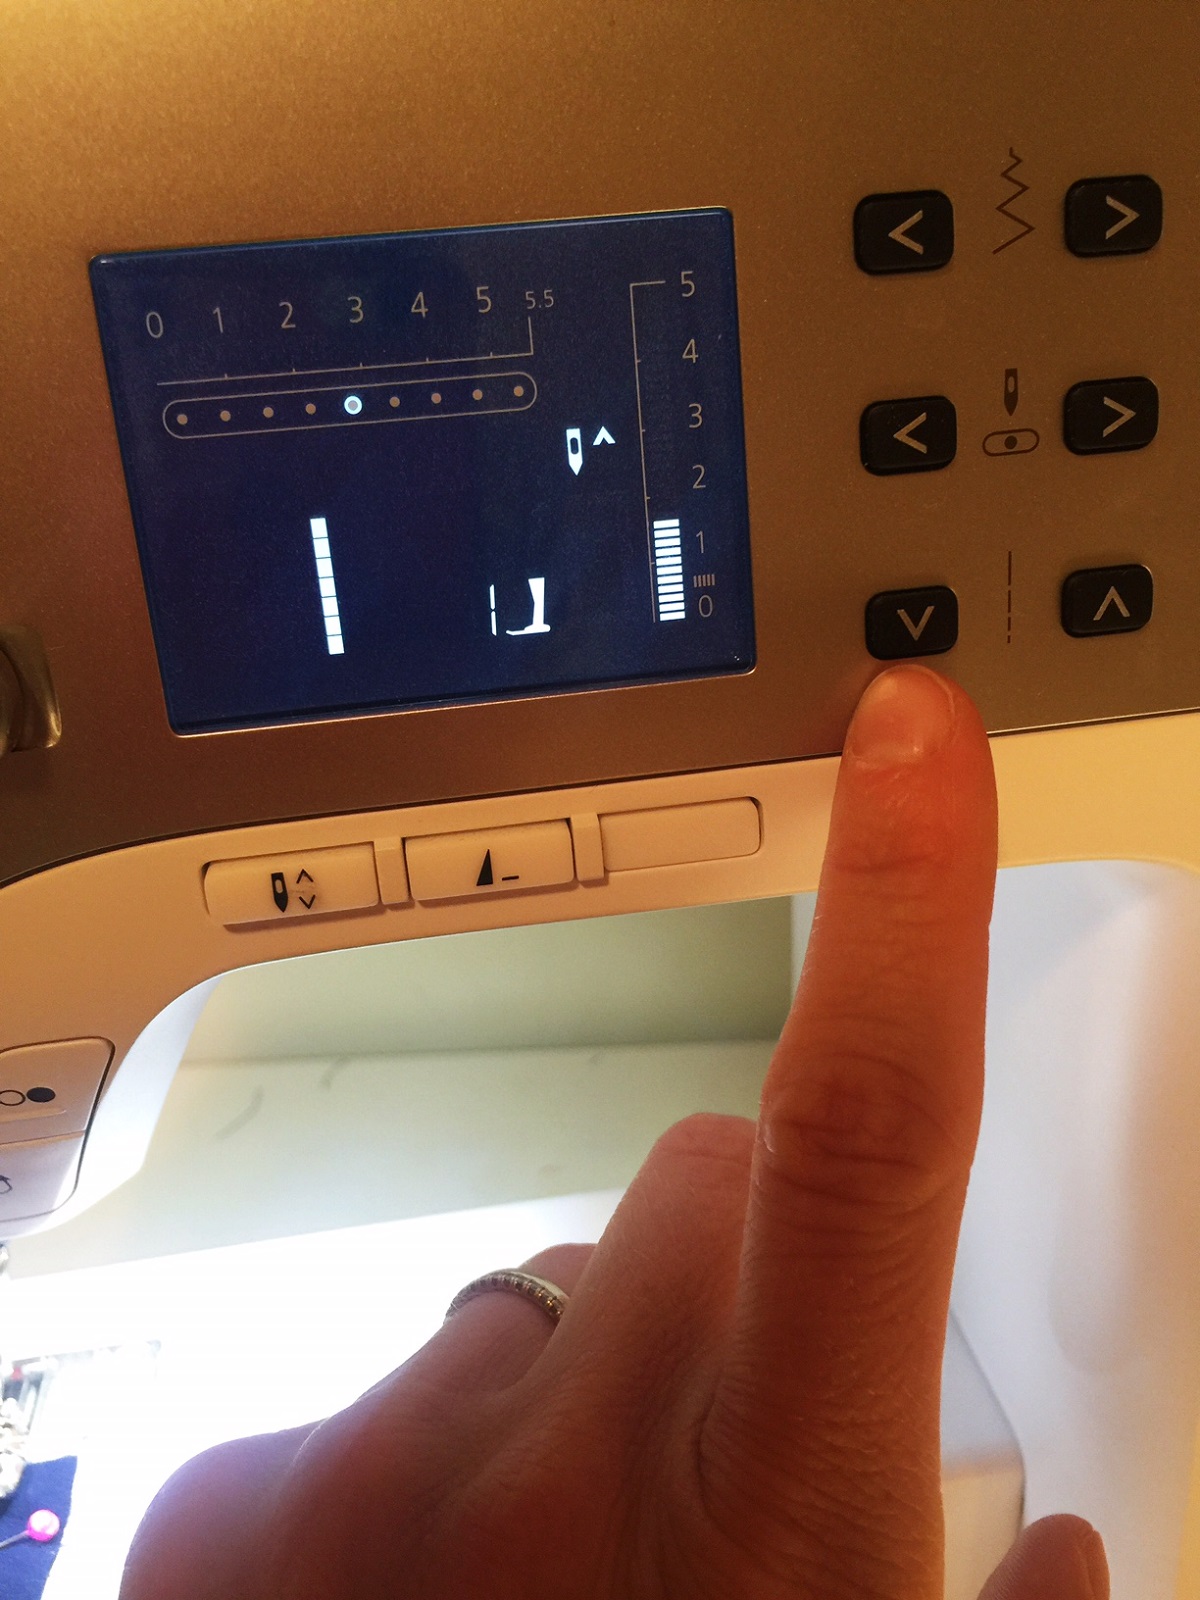
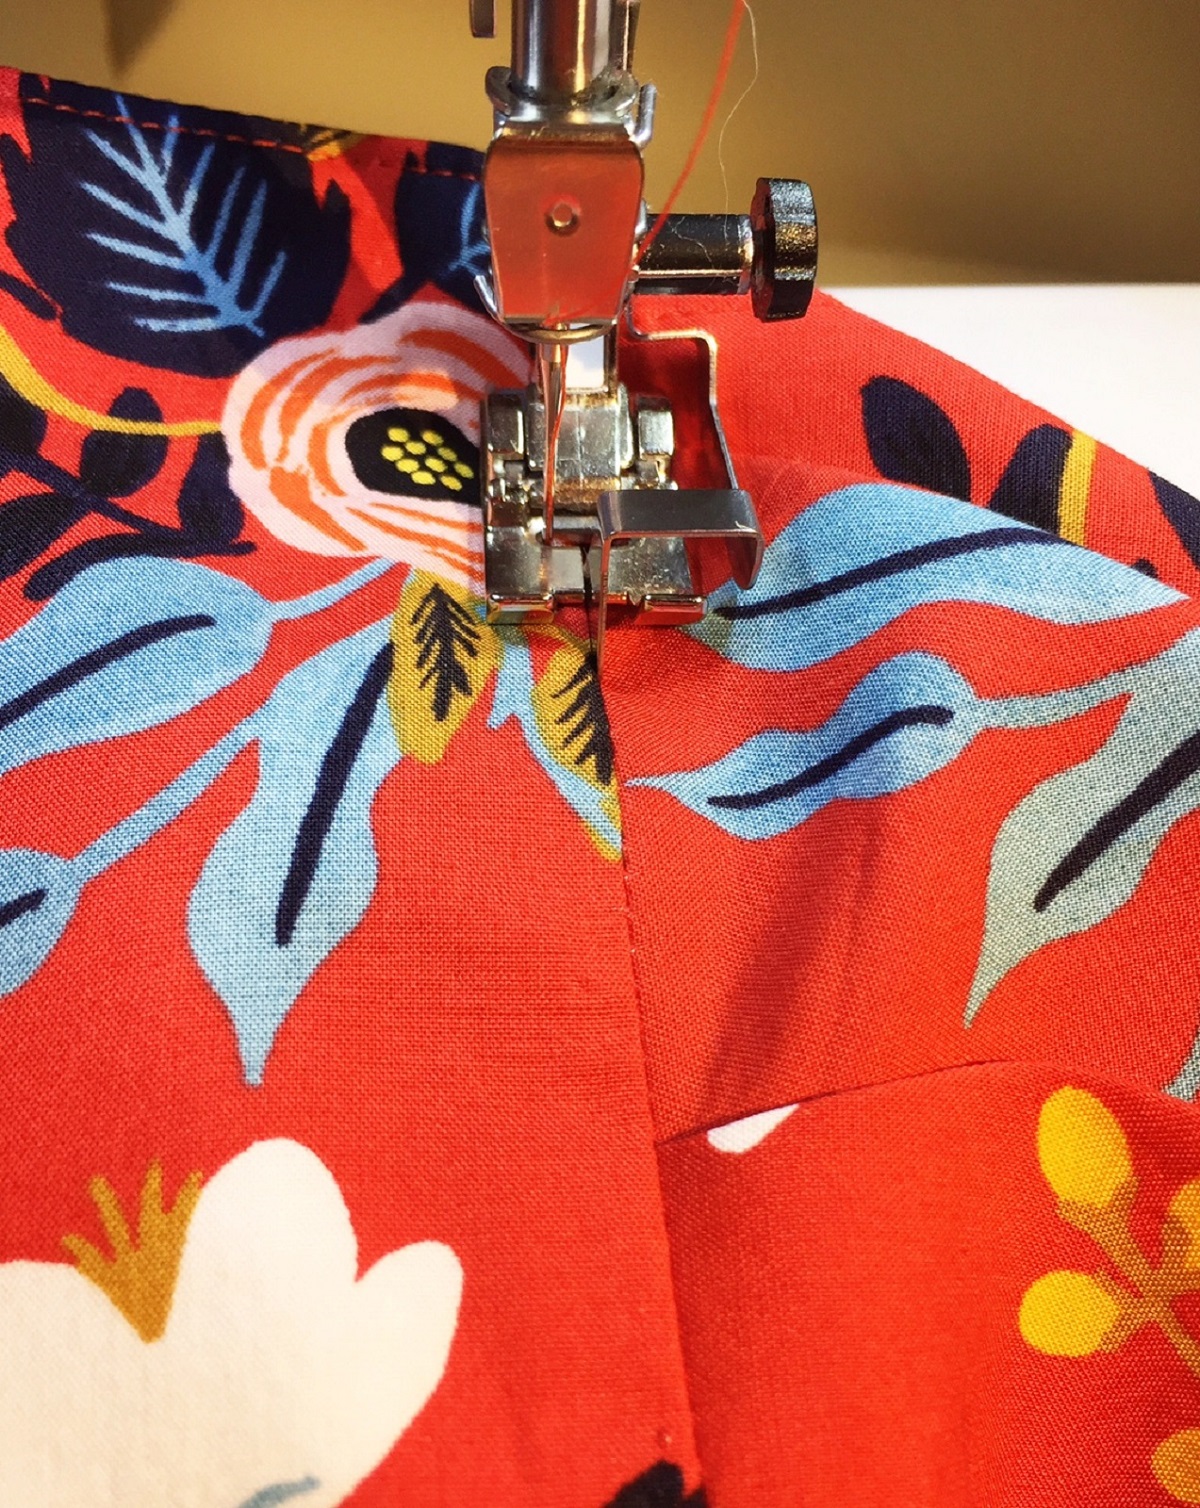
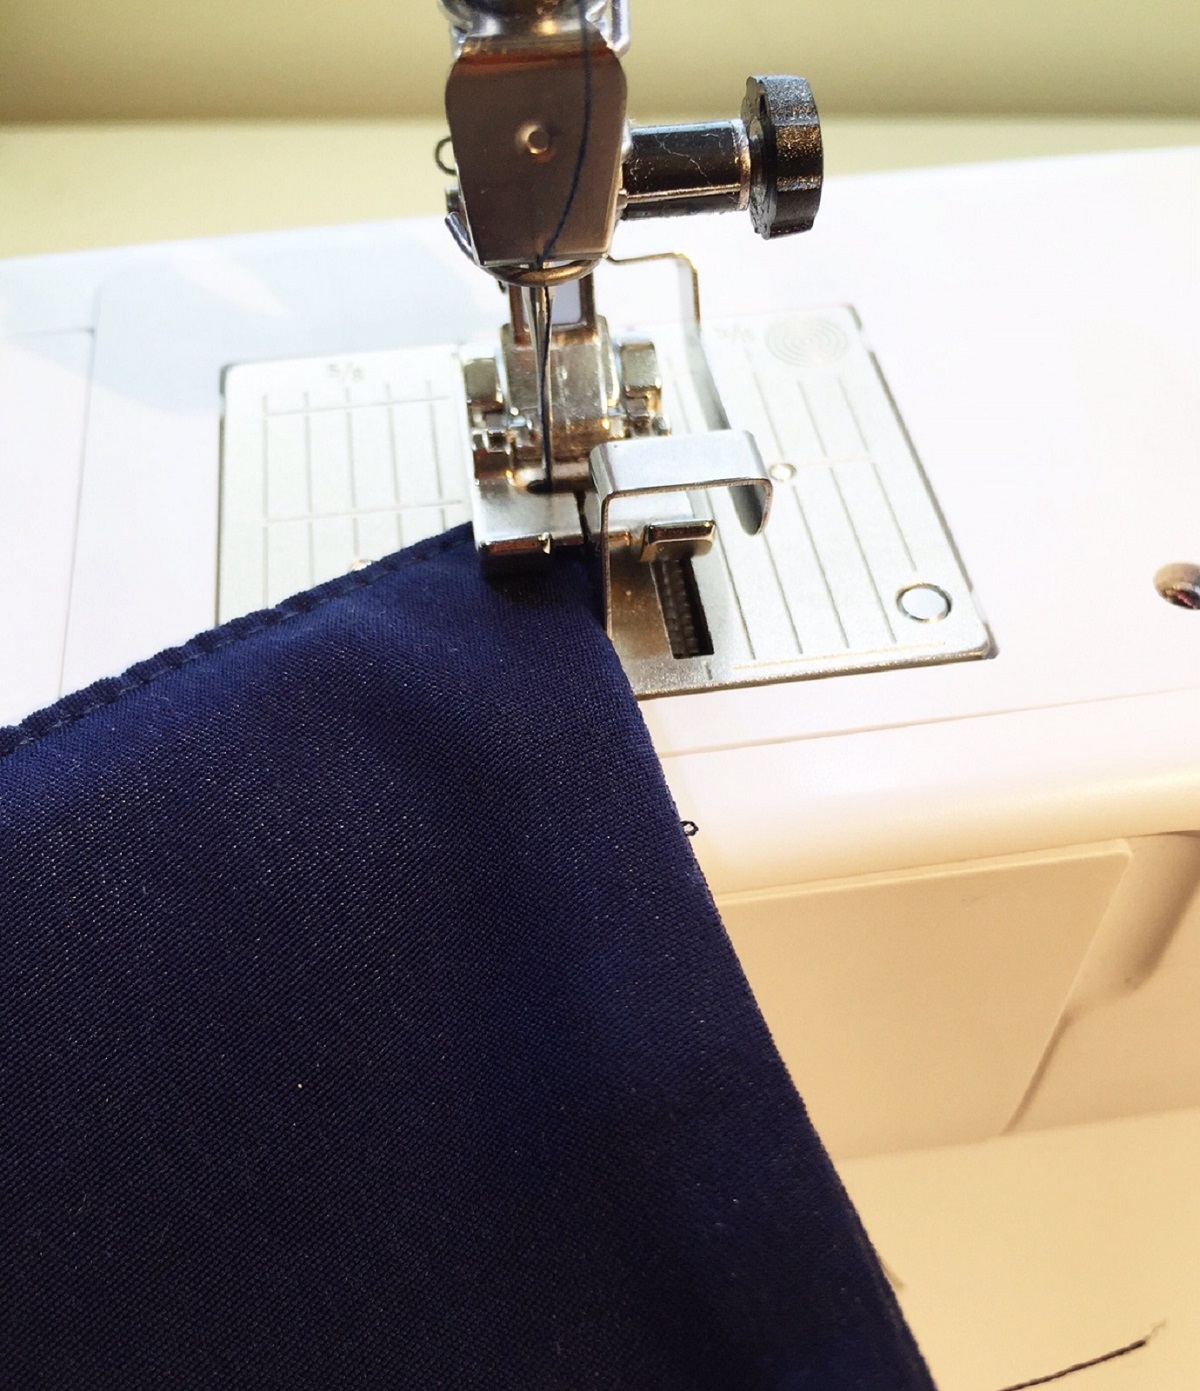
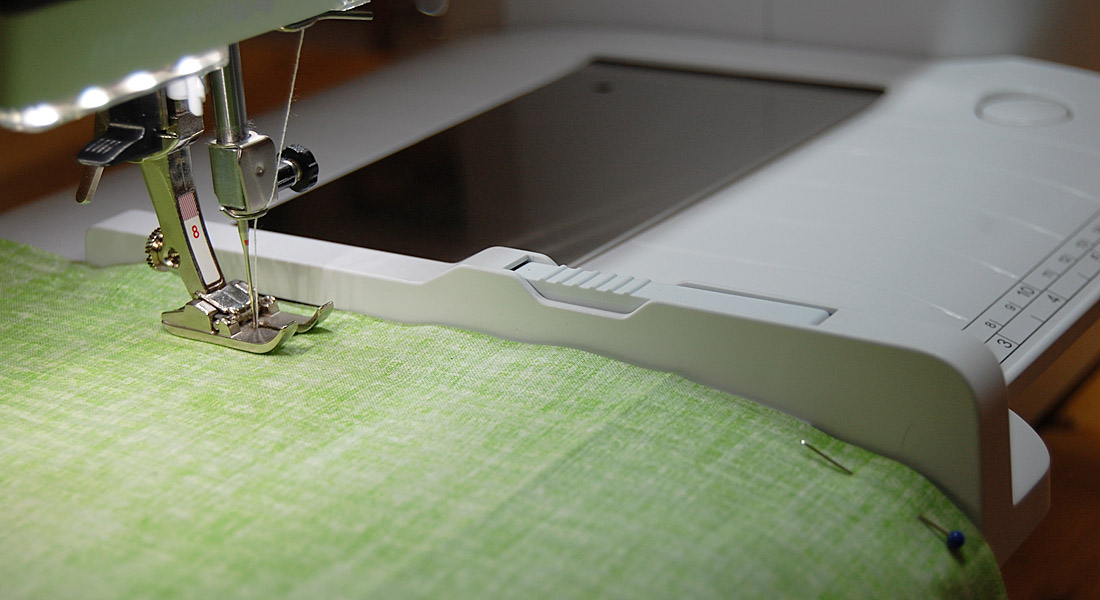
Step 8: Edgestitch around the outer edge of your cuff to finish. A few tips about edgestitiching with your BERNINA: Using the Edgestitch foot #10, (personally my most used foot aside from the Reverse pattern foot #1), place the center bar of the foot right up against the edge of your fabric, or directly on the seam line as shown below.

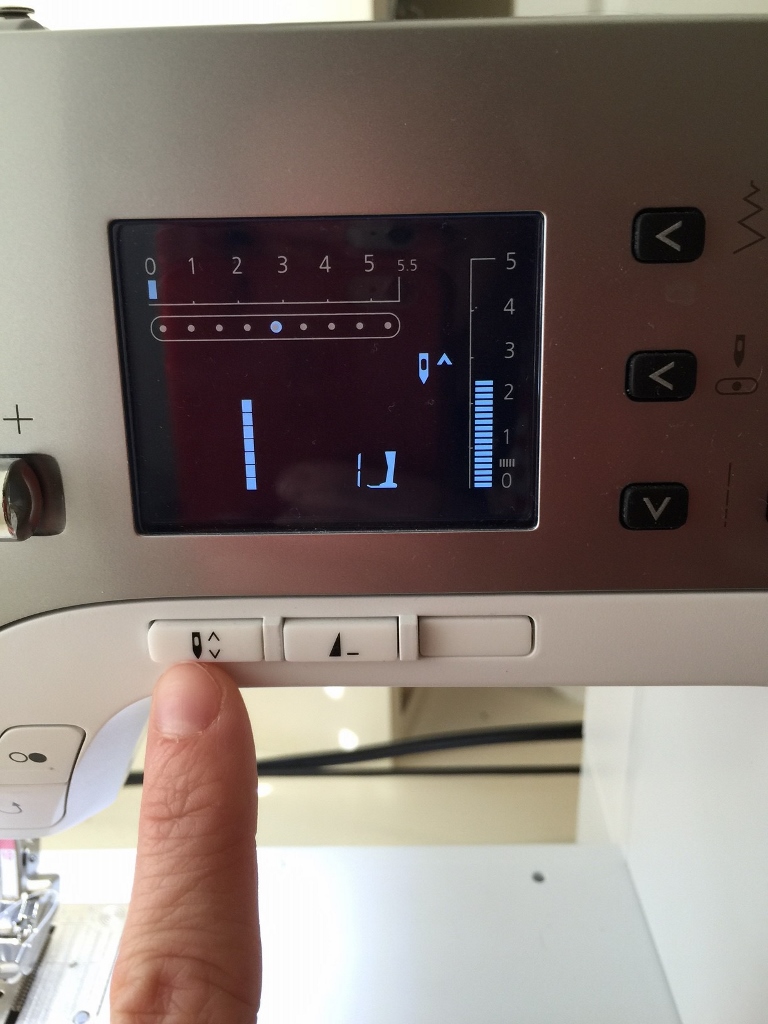
Before you sew make sure to move your needle over two or three times to the left.
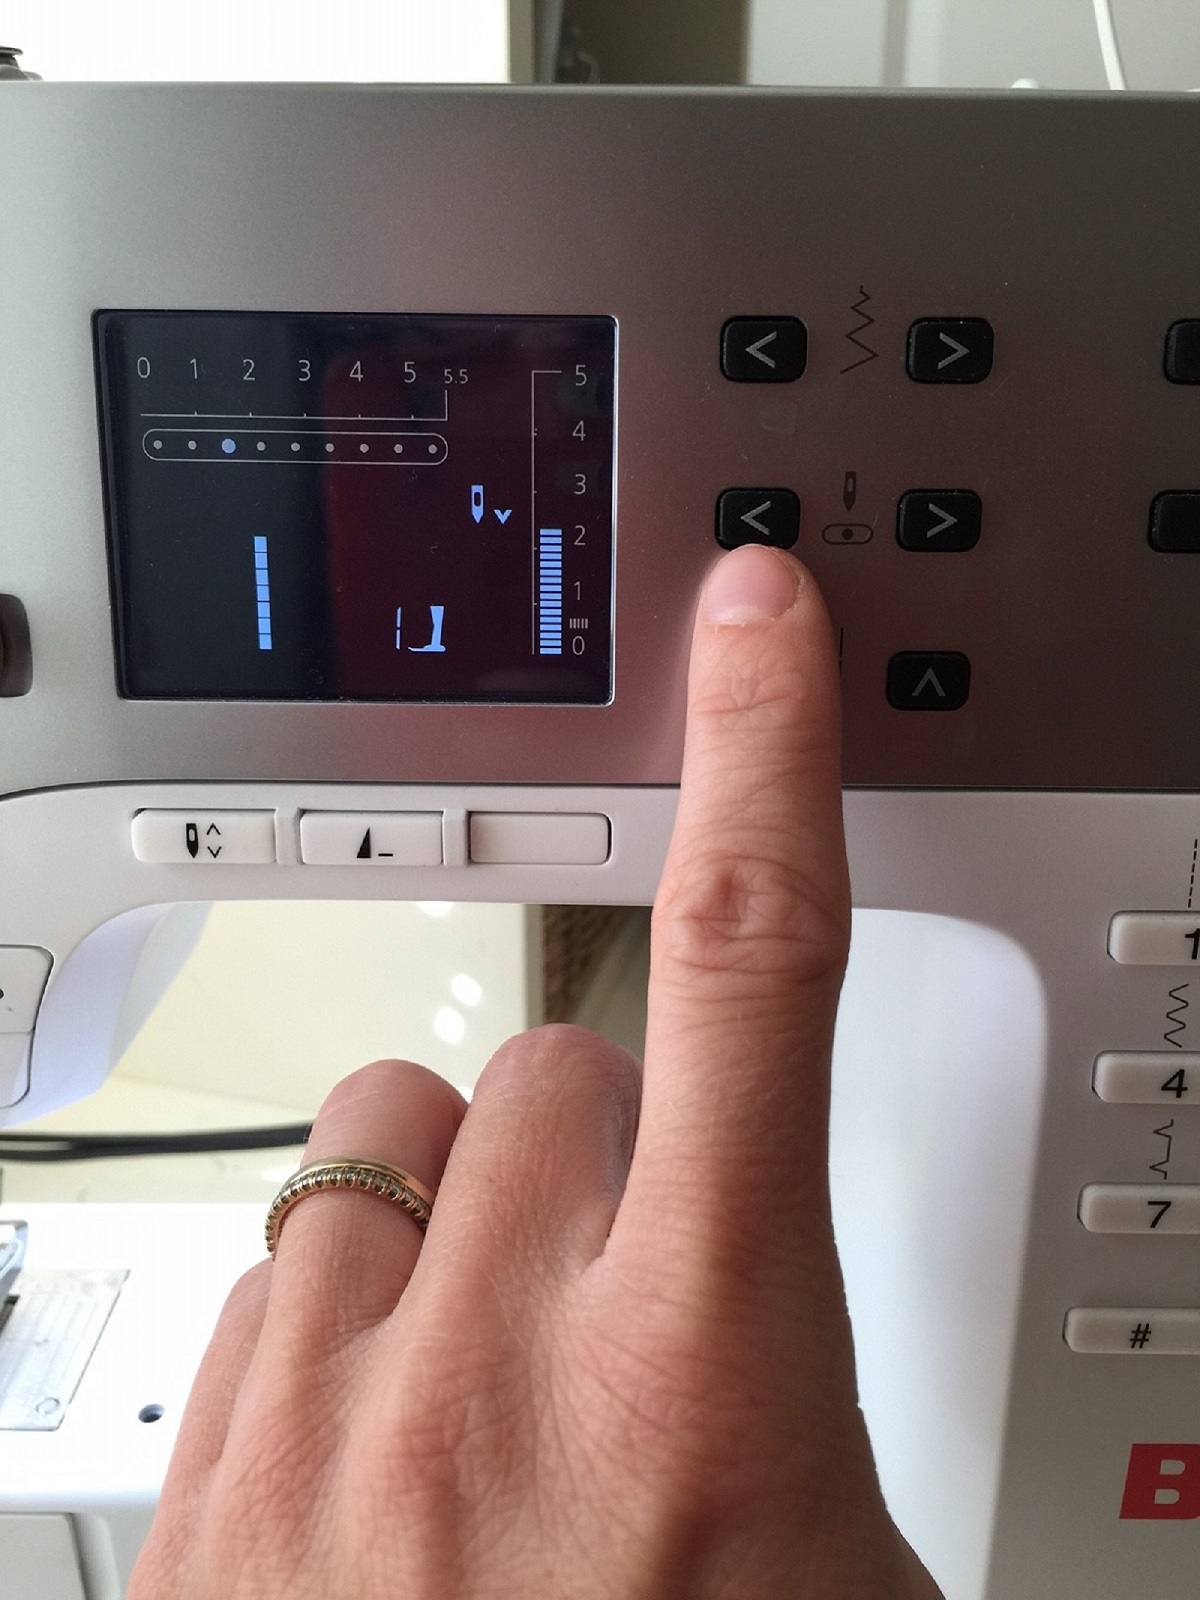
Also make sure to adjust your needle to end down and not up for when you are rotating around the corner edges.

Then, stitch all the way around the front side of your cuff, making sure to turn at the corners instead of sewing straight though to the edge.

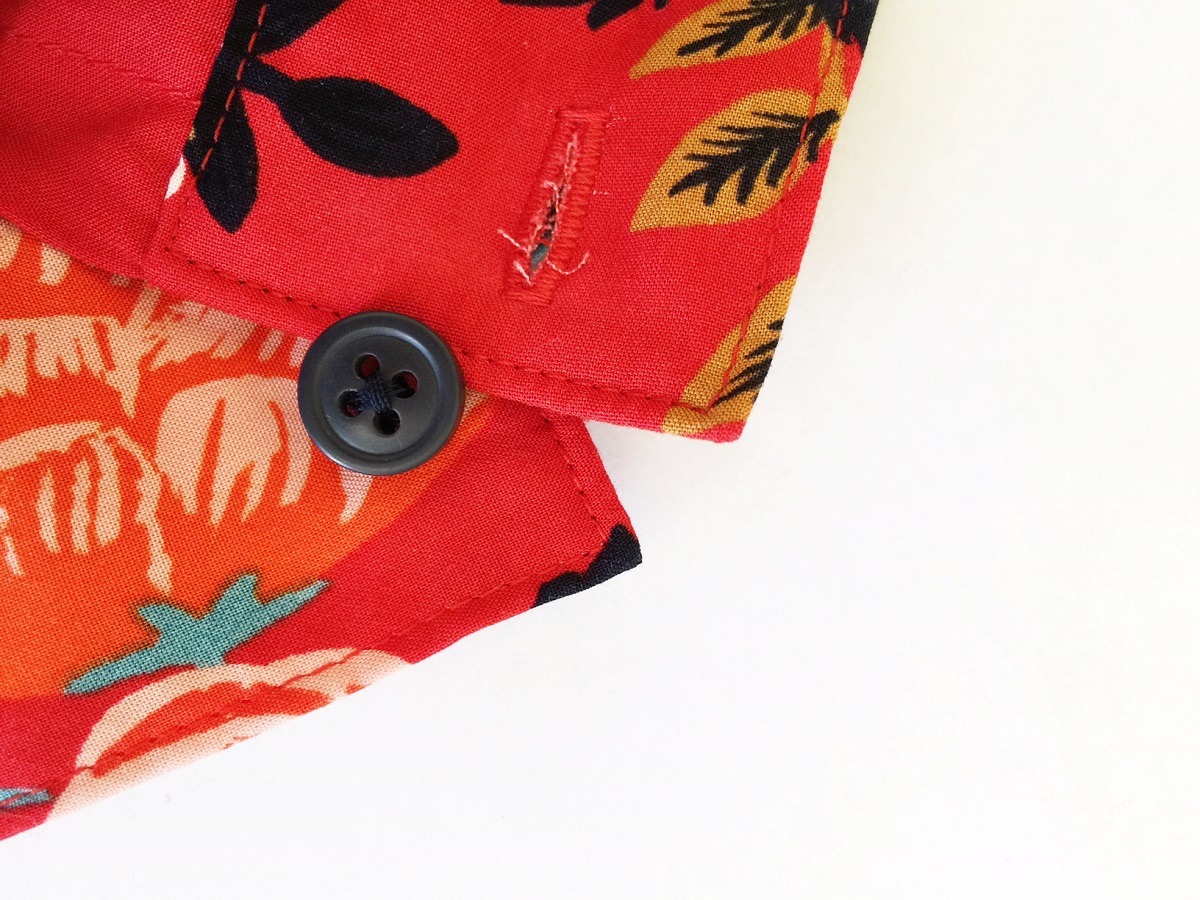
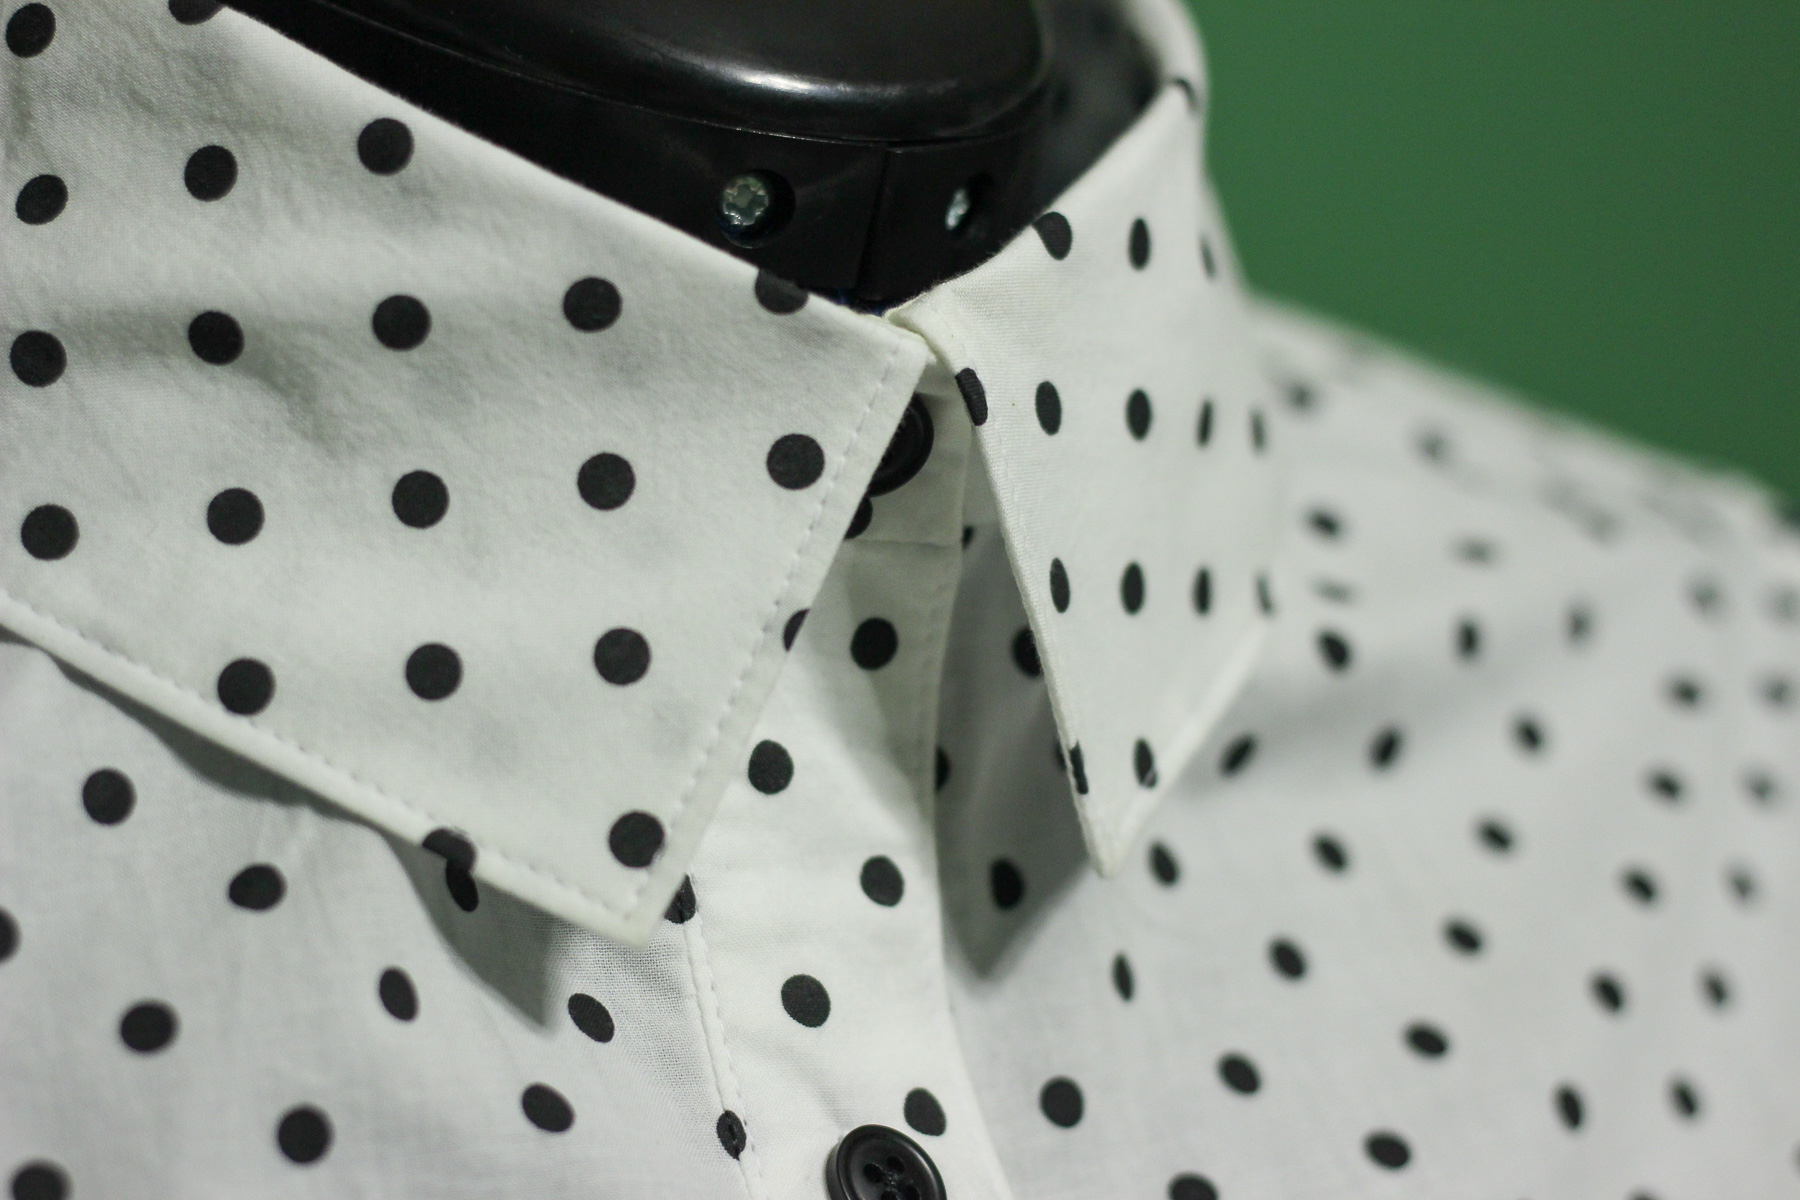
You have a perfect cuff! (This is my finished cuff after edgestitching and adding my button and buttonhole according to my pattern).
Instructions for Sewing a Collar:
So now we are going to use the SAME technique with the looped thread for the collar. Beginning at step 71 of the Vogue V9201 pattern (again this technique works for any squared collar).
Step 1: Pin collar right sides together and sew along the top long edge of your collar using Reverse pattern foot #1.
Step 2: Cut two long pieces of contrasting thread. Form a loop with each as shown below.

Step 3: Open up collar, and place looped thread within the right side of the seam (sandwiched between the two collar pieces we just sewed together).
Step 4: Pin the side edges of your collar right sides together with your loop hanging out.
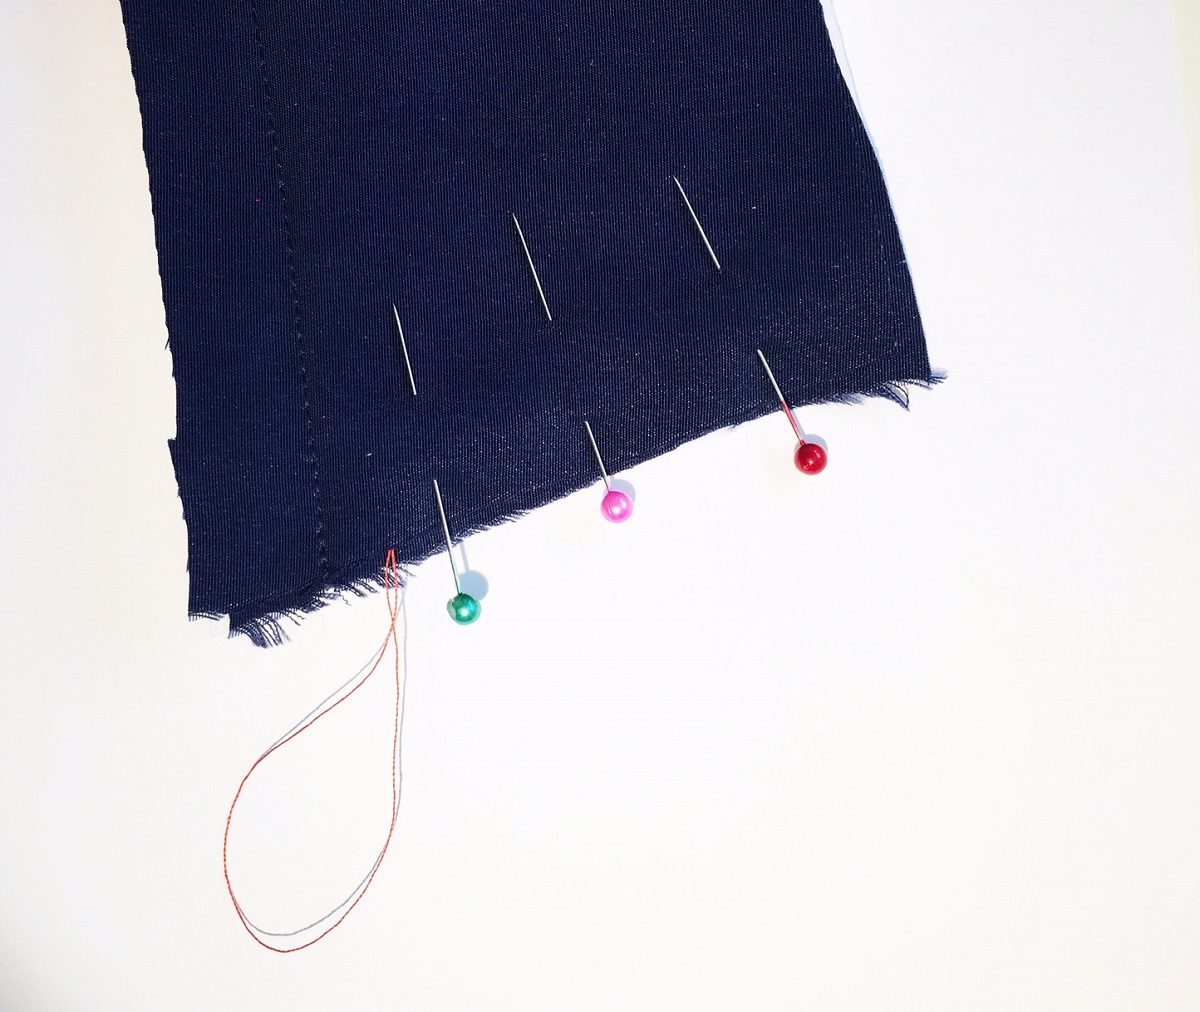
Step 5: Sew the sides together, making sure to keep loop pulled to the bottom, and shortening the length of your stitches about ½” before you hit the edge (making sure to catch the looped contrasting thread within your stitches).
Step 6: Trim the sewn edges of your collar, being careful to pull your loop out the way as you do so.
Step 7: Flip your collar right sides out.
Step 8: Gently pull of the contrasting thread to pull out the corner of your collar. Once you are satisfied with your corner point, pull one strand of your contrasting thread, pulling the thread out of the seam.
Step 9: Edge stitch your collar using the Edgestitch foot #10 again.
Step 10: Re-position your needle over two to three spots to the left.
Step 11: Set your needle to stay positioned downward.
Step 12: Then, edgestitch all the way around your collar (except for the open neck edge), making sure to turn at the corners instead of sewing straight through to the edge. You have a perfect collar!

This is a super simple technique to create perfect points. I find a lot of satisfaction as I pull on my contrasting threads and watch my perfect finished points give my garment a tailored crispness, and I hope you will too! So here’s to some beautiful collared shirts and dresses to add to your fall sewing list! Happy sewing!


What you might also like


3 comments on “Tips for Sewing Collars and Cuffs”
-
-
Hey Bev!
You just wan to make sure your looped thread gets sewn in the shortened stitches, if not the technique won’t work and thread will just slip out. The stitches hold the looped thread in the seam so once turned right sides out, you can pull out your corner. Does that make sense?
-
OK I must catch the looped thread at the point when sewing down the short side so when turned right side out and just pull on to bring point out. Then just cut the loop and discard?
-
-
Leave a Reply
You must be logged in to post a comment.

What a great tip. Please expand on “make sure short stitches catch the looped thread”. I am a little confused. Thanks. Bev