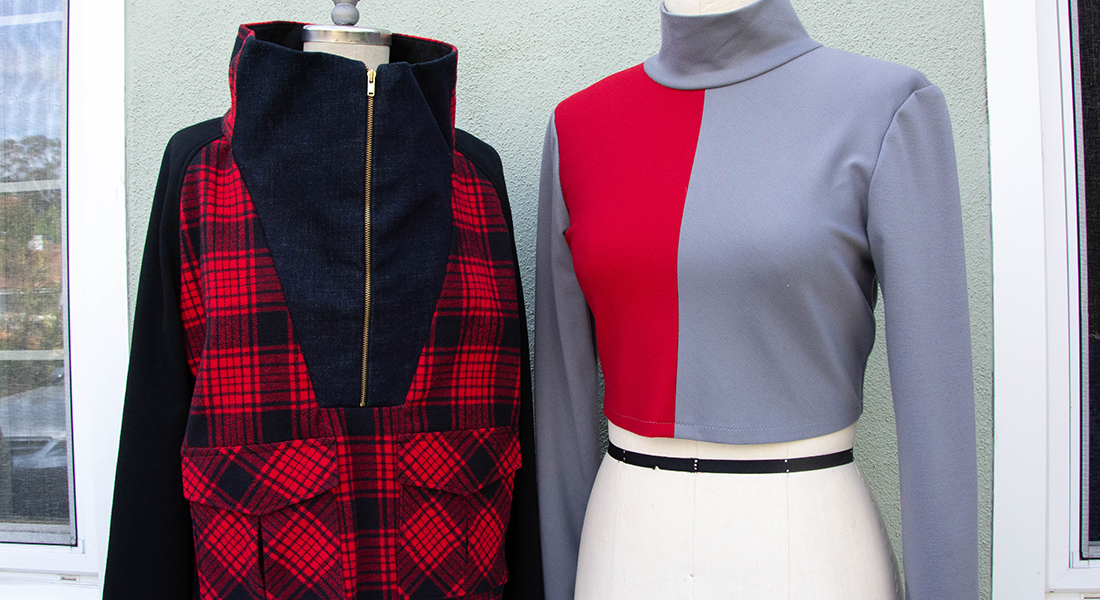
Tips for Sewing Heavy Fabrics
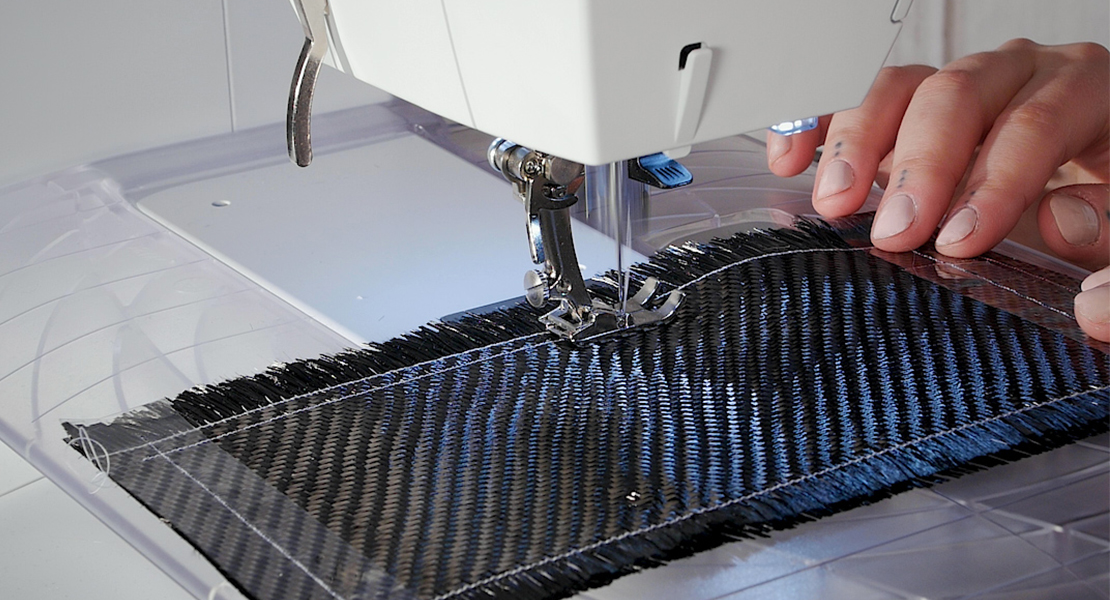
Sewing on heavy fabrics like denim and canvas has a reputation for being difficult, not to mention dangerous for sewing machine needles. It doesn’t have to be that way at all! With a few key tools and settings, it’s very straightforward and enjoyable. In this article, I will share with you my key tips for successful … and fun sewing on heavy fabrics.
On the plus side … Heavy fabrics are usually stiffer, which can make them more predictable under the sewing machine foot.
On the minus side … Their bulk and weight can challenge the needle and cause the project to shift unpredictably if not positively controlled at all times.
With these considerations in mind, let’s review some key factors that will make sewing on heavy fabrics easier, with better results.
Key tools and settings to sew on heavy fabrics
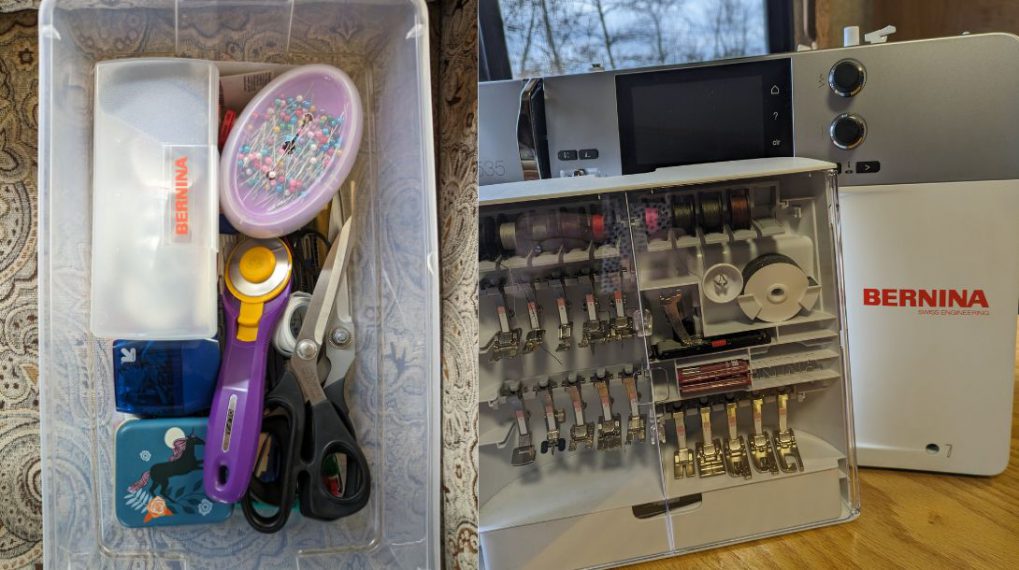
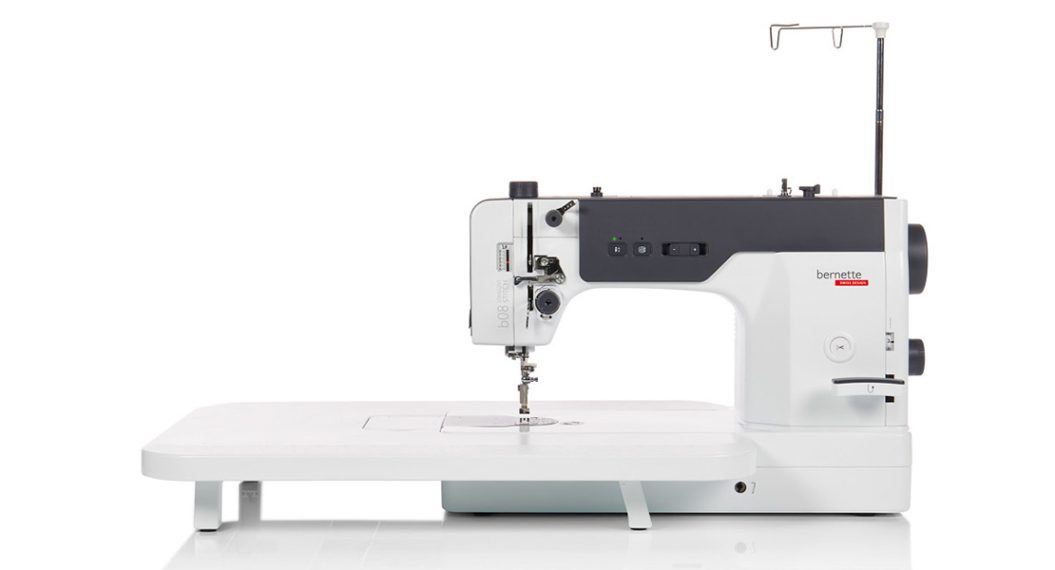
Sewing Machine
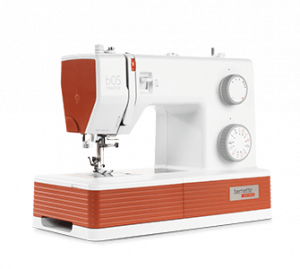
You will need a reliable sewing machine with consistent thread tension. For this article and companion video clip, we used a bernette 05 CRAFTER. It features some key attributes that make it especially suitable for sewing on heavy fabrics:
- Heavy duty motor that can handle the heaviest fabrics.
- Consistent thread tension, with fine and heavy threads alike.
- Movable needle position (great for edge stitching and topstitching)
- Adjustable presser foot pressure helps optimize fabric feed.
- For larger projects, its top speed of 1100 spm helps with productivity.

Needles
It’s import to select the right needle type and size. A jeans or topstitch needle are both strong and will go over cross seams relatively easily. Size 80 will do for two layers. Size 90 will usually accommodate overlaps with four layers. For anything thicker than four layers, a size 100 may be necessary depending on the density of the fabric.
Whenever the needle size needs to be upgraded above a size 90, a topstitch needle is a good choice as it offers a larger eye and deeper groove that allows the thread to flow more freely through the multiple layers, for a more consistent seam.
Thread
The right thread makes a big difference for the project and fabrics. Heavy fabrics like canvas typically cause more friction on the sewing thread due to their bulk, coarser fiber composition, and relative rigidity. Projects using such fabrics are also typically subject to more stresses from use, wear, etc.
Polyester thread (e.g. Mettler Metrosene) is strong and more abrasion resistant, on average, compared to cotton sewing thread. It has a 10-15% stretch before it breaks so it will resist stress without breaking, where a cotton thread is more likely to snap under stress.
For specialty applications like outdoor projects, upholstery, etc., it is recommended to research the fabric(s) used and the project type to select a dedicated thread suitable for the application. A good example is sewing outdoor articles that require UV resistant thread.
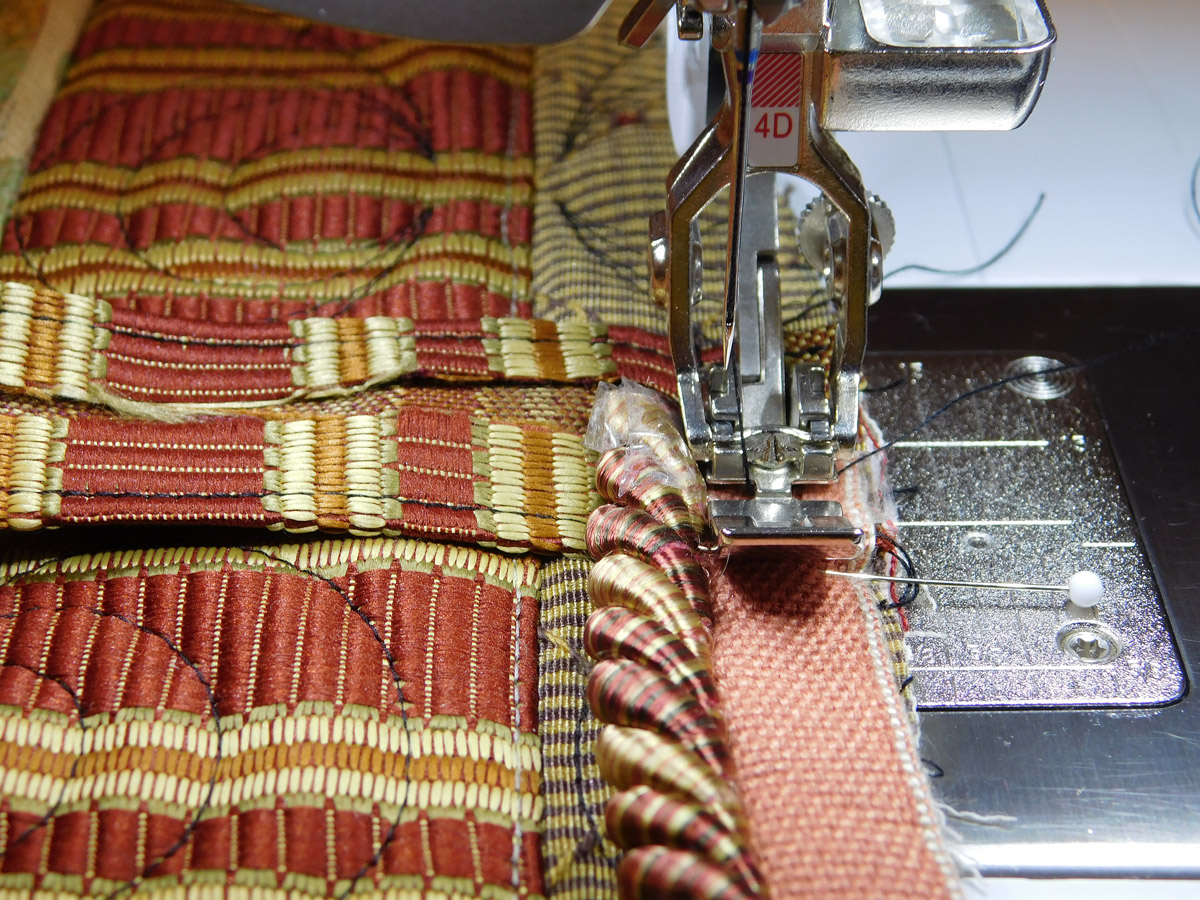
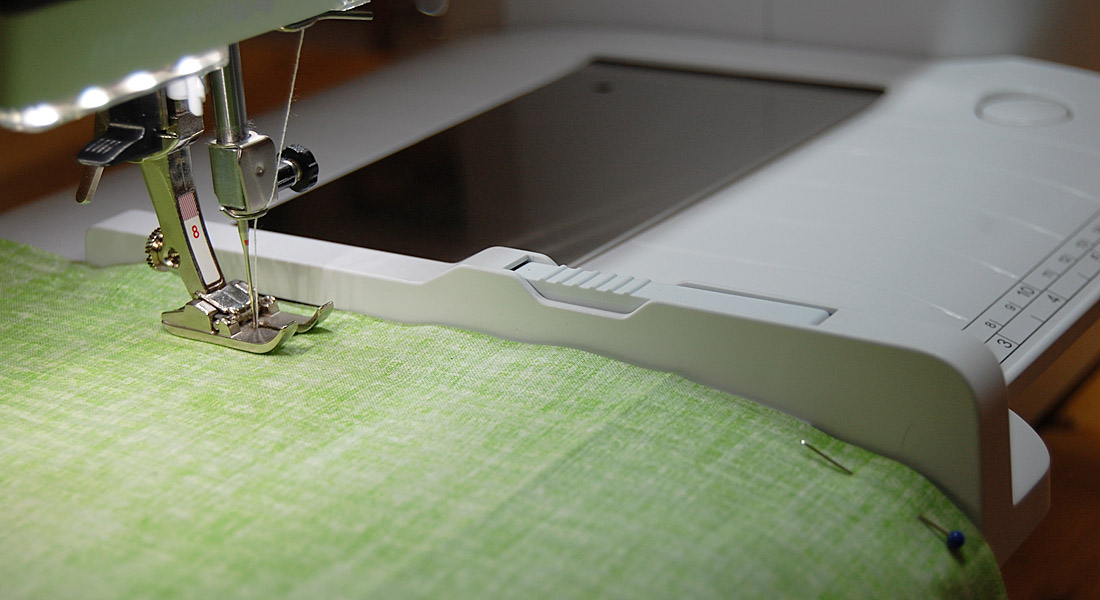
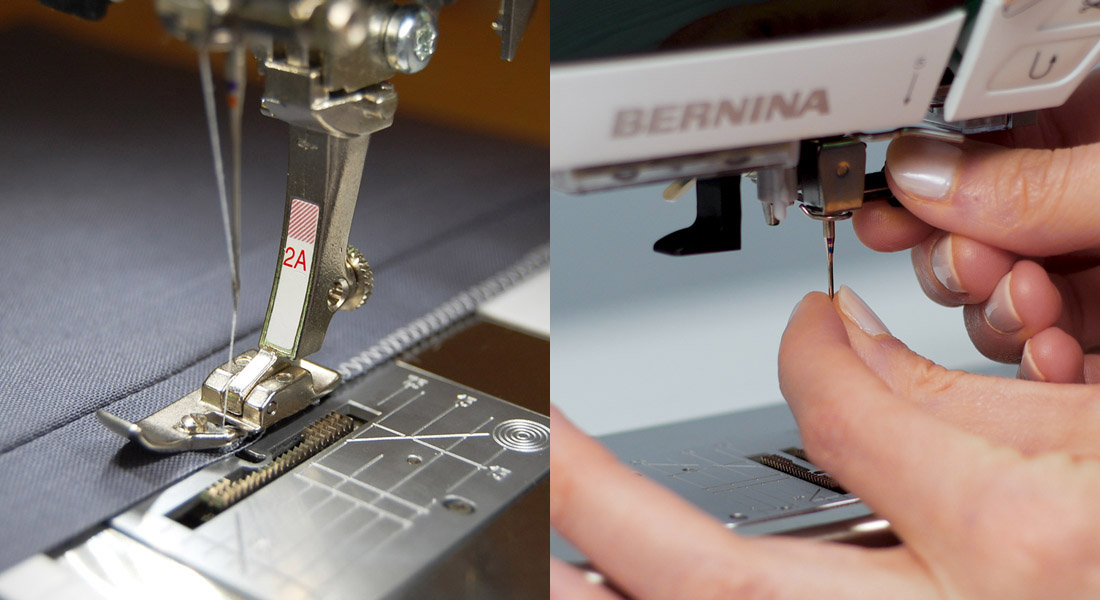
Presser Feet
Use the right presser foot for each stage of the project. It is essential for good seams.
For plain seaming, a regular zigzag foot will usually do. However, it’s always a good idea to use a straight stitch foot when using a plain straight stitch.
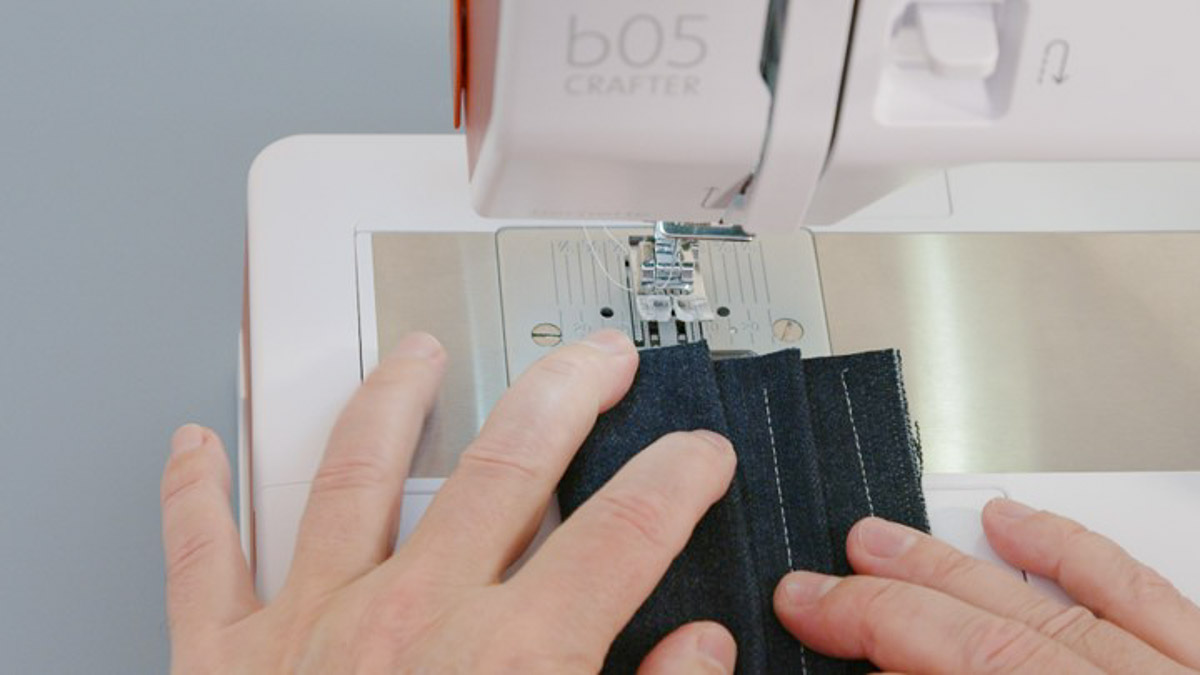
Consider using a straight stitch plate also, especially if seaming over bulky cross seams (e.g. like when hemming jeans). The combination of a straight stitch foot and plate will help guide the needle and prevent needle breakage when traversing extra thick layers. This would also apply to boxing the bottom of tote bags, where layers tend to add up fast.
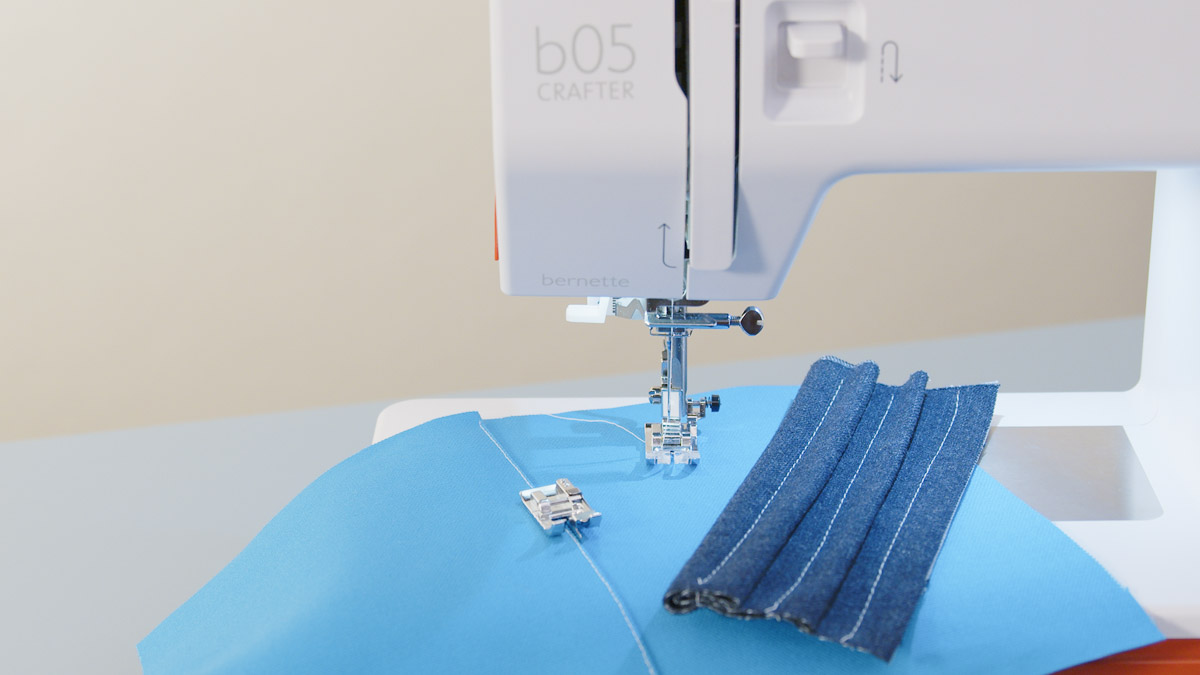
For topstitching, an edge stitching foot with a guide is a must to obtain an even and linear topstitch.

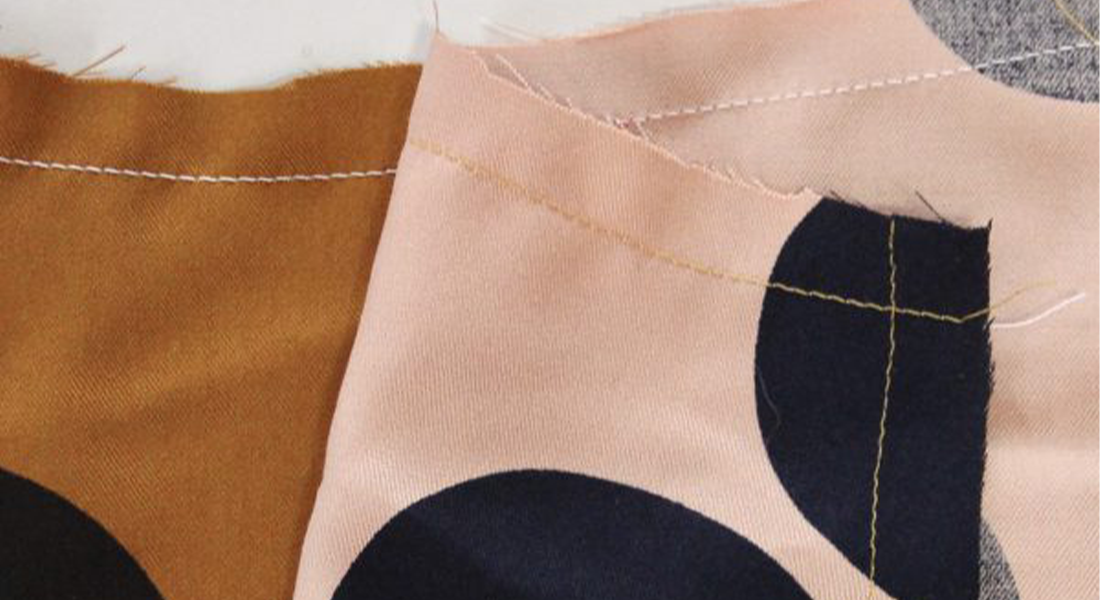
Stitch Settings
And, of course, make sure to choose the right stitch settings for the different stages of the project. It’s always a good idea to test the stitch on representative examples of the fabric and layers that will be used on the project.
- For seaming two layers of heavy fabric, a stitch length of 2-2.5 mm yields a strong and secure seam.
- When additional layers are added, like for topstitching, increase the stitch length to 3-3.5 mm based on the fabric thickness.
- For topstitching on bulkier projects like chair cushions, a longer stitch is preferable (~4 mm or longer).
When stitching on very bulky layers, the finished stitch will often look shorter than the setting used on the machine. It is largely due to an optical effect, where the thread almost disappears at the needle penetrations. The stitch length can be increased slightly if a longer stitch visual appearance is desired in the finished seam, especially for topstitching.
For more definition in a topstitch on heavy fabrics:
- Consider using a triple stitch. It will add density to the stitches, making them stand out on the surface of the fabric.
- If your machine has a smocking stitch, which is in effect a quintuple straight stitch, it will create a topstitch with the look of heavy upholstery thread, without any of the hassles that can come with such heavy threads. It makes for an outstanding topstitch.
- Using an ‘easy flow’ thread, like Isacord 40 weight polyester embroidery thread, with the triple or smocking stitches makes for a smooth stitching process, with beautiful definition, in any color you need to match or contrast with the base fabric.
Tips for handling heavy fabrics while stitching
Heavy fabrics inherently present a higher-than-average bulk under the presser foot. To help ensure a good seam, consider the following:
- Start with a slow speed to establish proper control of the layers and their bulk, then ramp up the speed gradually to maintain control of the layers.
- When pausing in the middle of a seam or topstitch, make sure you stop with the needle in the DOWN position. Heavy projects tend to shift easily if not held in place at all times.
- Use clips to help keep the layers together as pins are likely not strong enough to secure heavy and stiff fabric layers together.
- If the bulk of the fabric layers is causing them to buckle under the foot when you start sewing from the edge, begin the seam approximately 1/2 inch into the fabric and reverse to the leading edge to secure the layers together before sewing forward again. This will anchor the seam and secure the layers together from the start. From there, you can sew the seam without any shifting of the layers.
- Once the seam is started, let the machine feed the fabric (and do not help).
- If the project is very large and bulky, consider enlarging your sewing surface on the left. A folding table can help support the bulk of the fabric waiting to pass under the foot, reducing drag and helping maintain an even seam. Some sewing machine cabinets already have an option to extend their surface on the left, so it is an option definitely worth exploring.

In conclusion, sewing on heavy fabrics doesn’t have to be difficult. It can be very rewarding, especially when making DIY projects. There is a pleasure in putting a project together with such substantial materials. The key is to be prepared and to test seams first on representative samples of the materials used. The rest is then sewing enjoyment.
Used Products
What you might also like


One comment on “Tips for Sewing Heavy Fabrics”
Leave a Reply
You must be logged in to post a comment.

It would be helpful to add which presser feet are good to use with bulky projects.