Tips for Sewing Laminated Fabrics
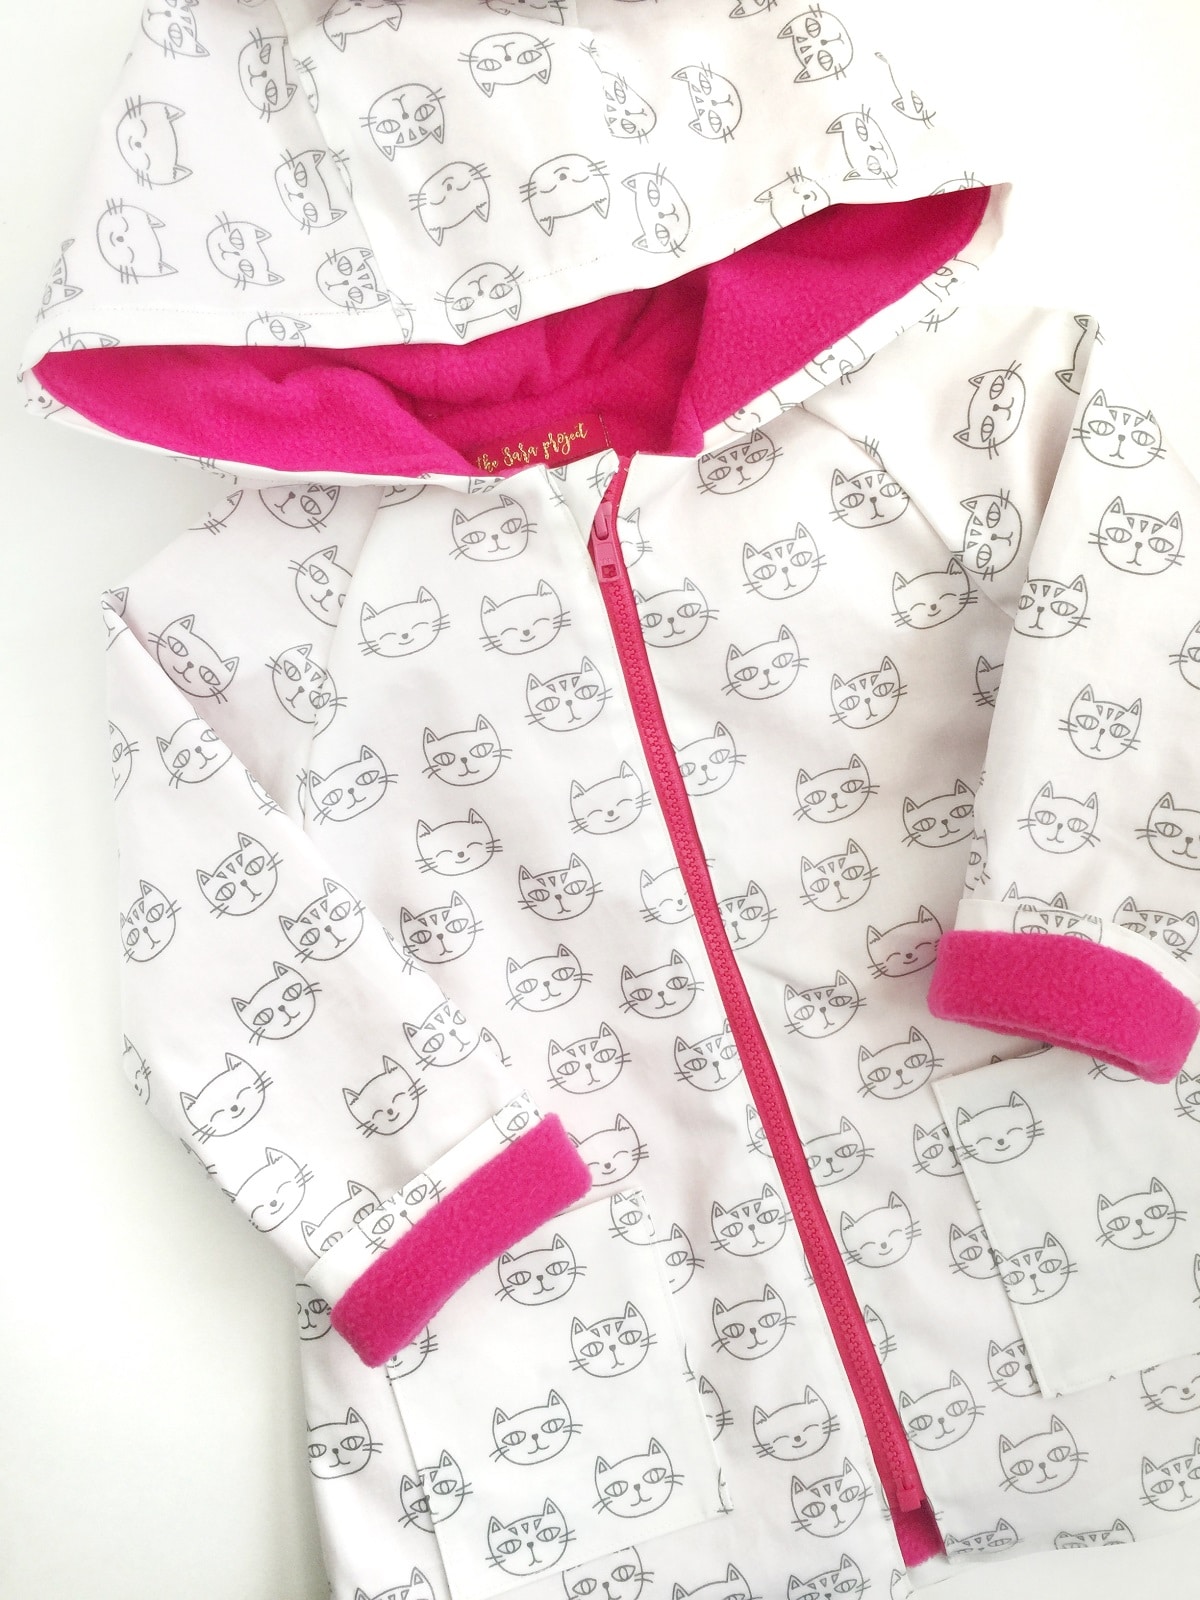
Hey everyone! Sara from thesaraproject.com here with another great post for you! I’ve been making all the things for spring this month! One project in particular are two little raincoats for my children using laminated cotton fabric, perfect for waterproof projects. (I’m also thinking I need to make my water-obsessed two year old’s entire wardrobe out of laminated fabrics. This means no more wet clothes… genius! 😉 ). I’m super excited to share some tips and tricks for working with this seemingly tricky fabric as you prepare for spring sewing, too.
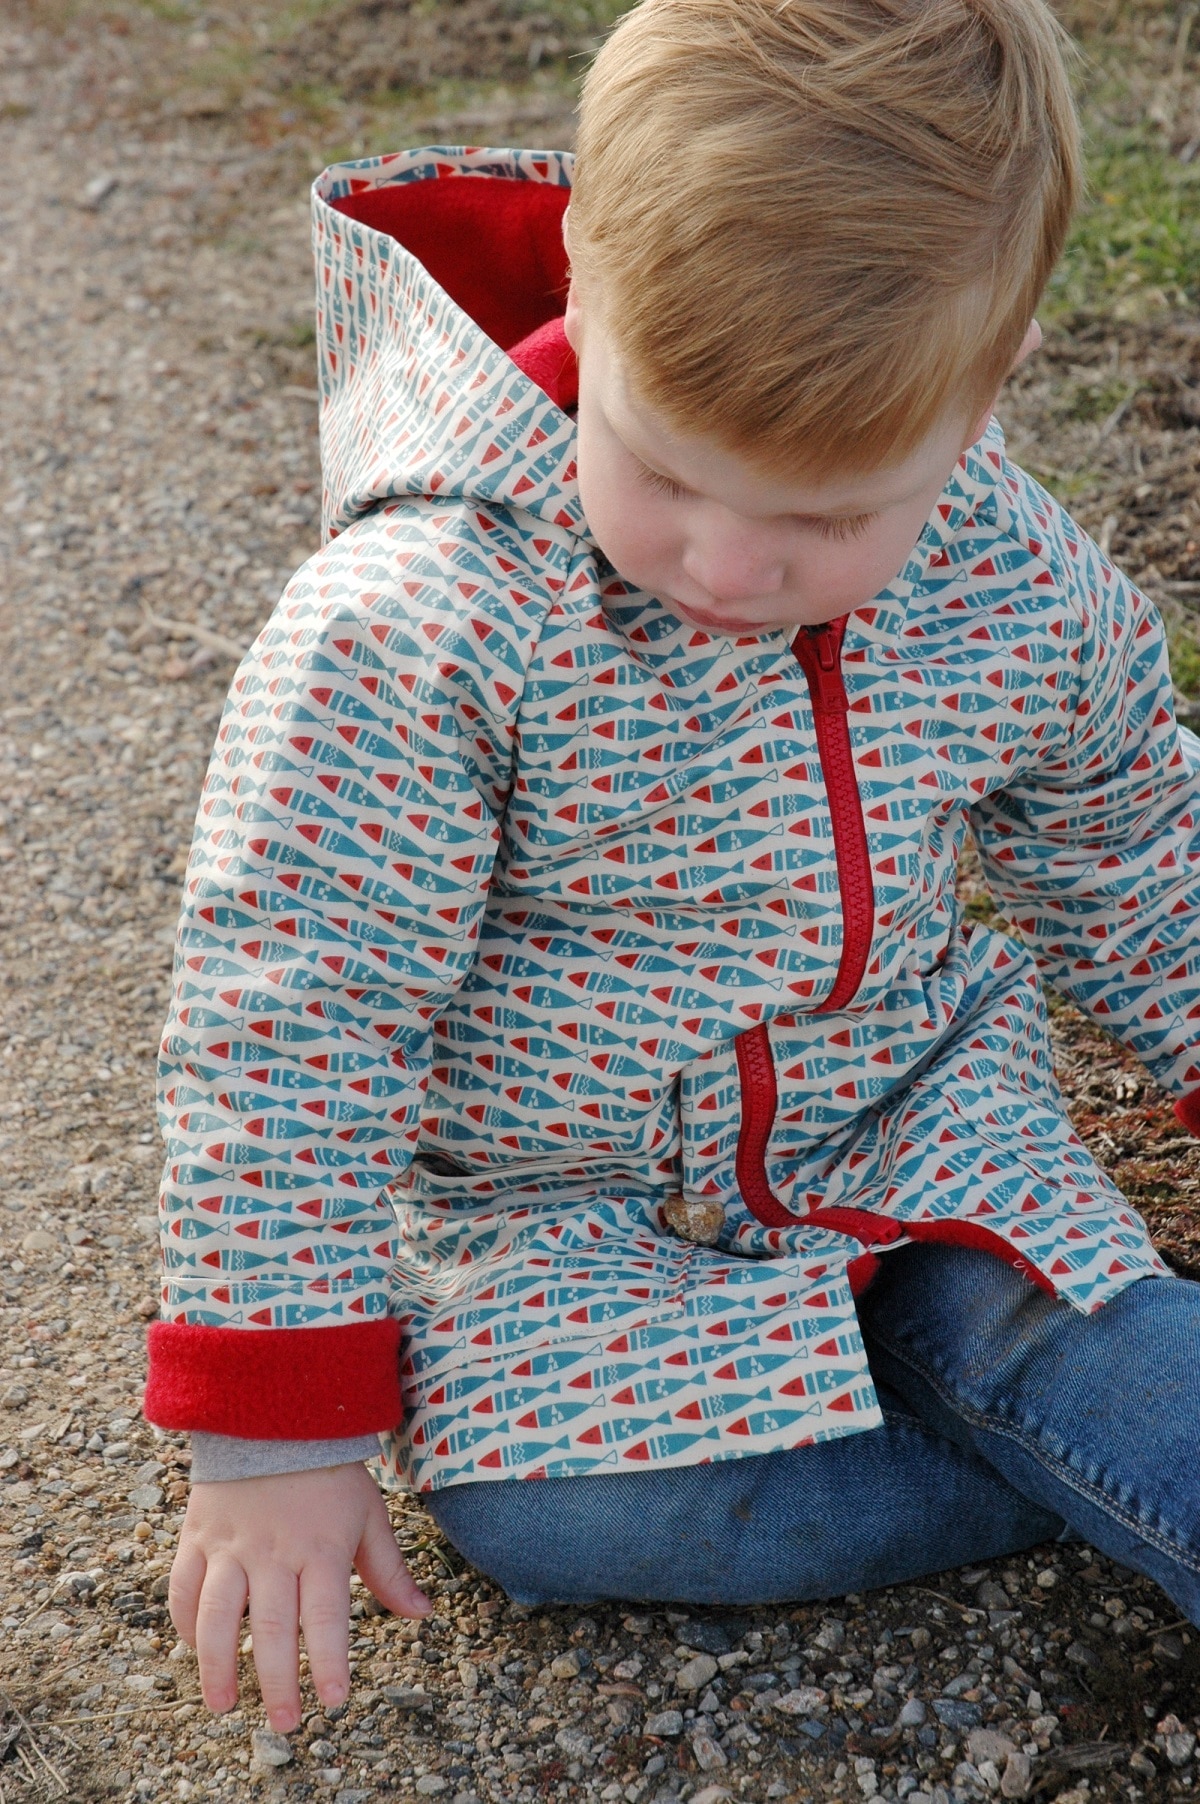
I used Lara Sanner’s kids coat pattern, and laminated cotton fabric from Lanofoh.com.
Lets begin!
First of all, there’s a few tools you will need to have handy:
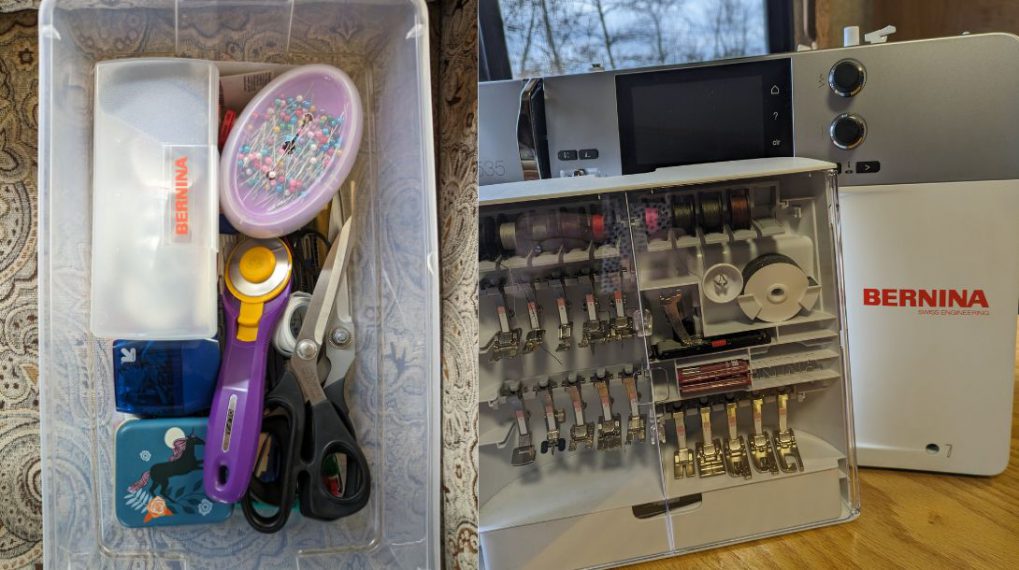
Materials for Sewing Laminated Fabric
- Sewing machine (I use a BERNINA 350 PE)
- Wonder Tape (This is a great tool to have on hand anyways, but it’s really great to have when working with laminated fabrics for things like patch pockets, hems, etc. Wonder Tape is a double-sided adhesive that dissolves when washed).
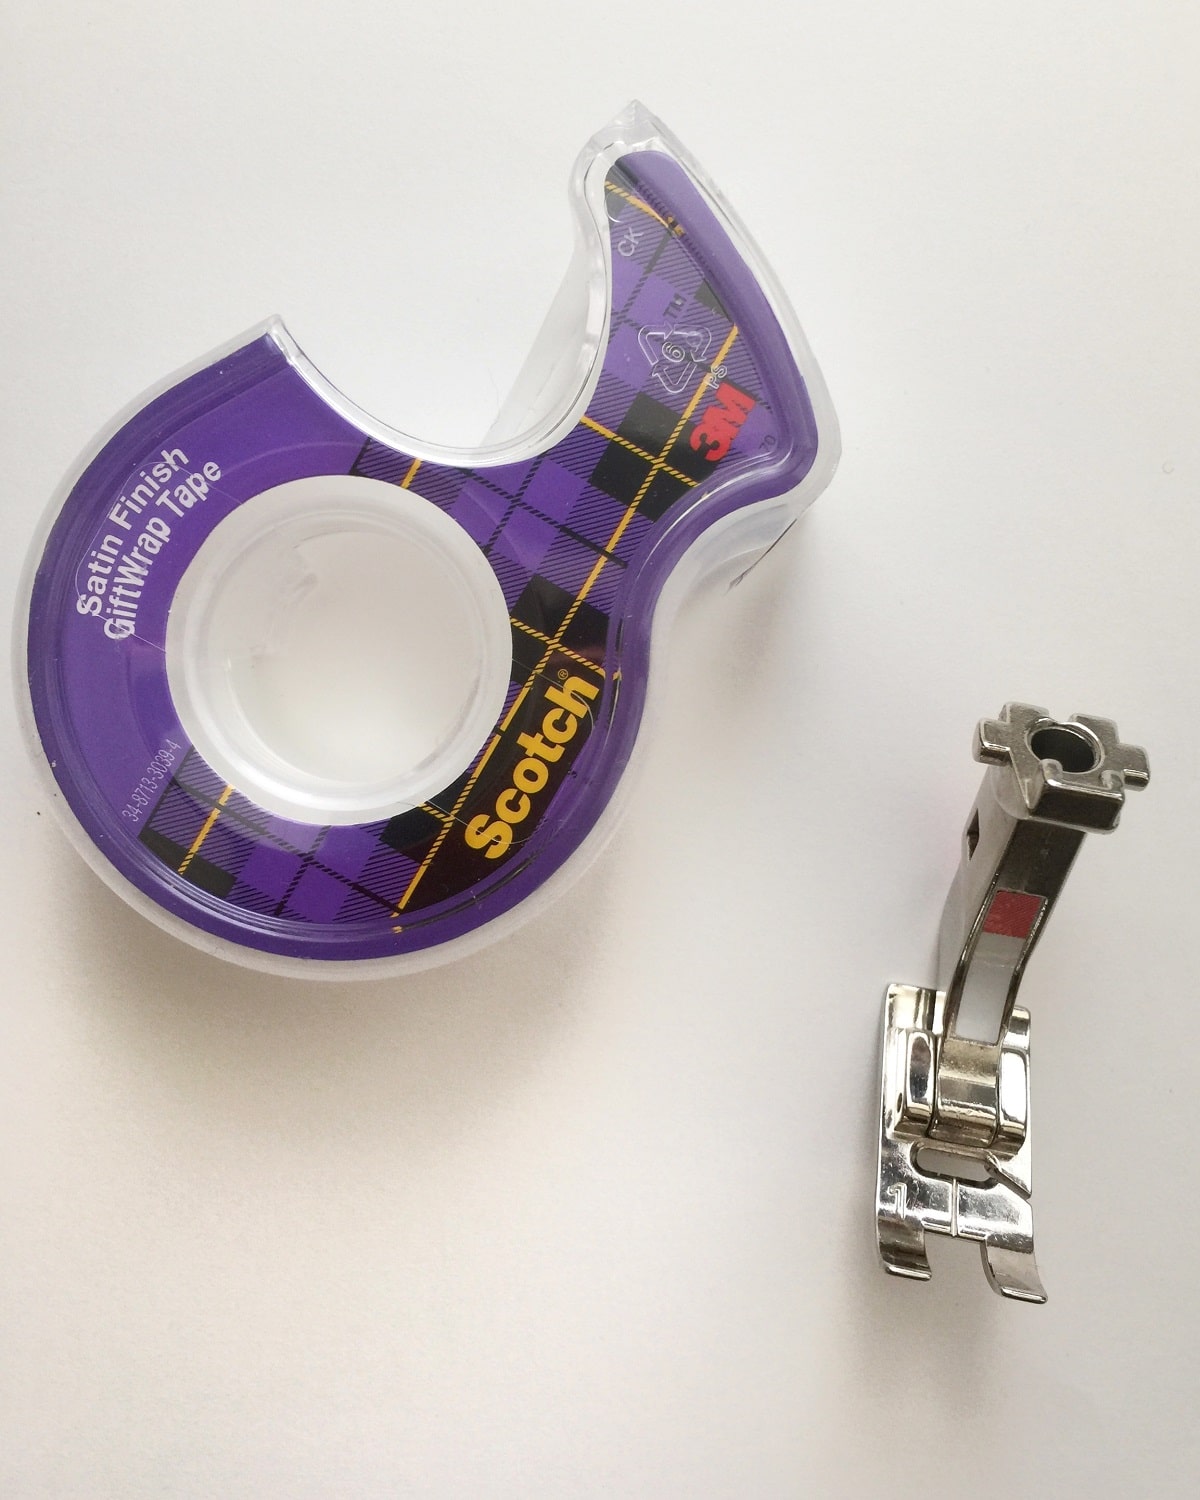
- Scotch Tape (depending on what type of presser foot you use)
- Polyester Thread (It’s important to use polyester thread because it is water repellent and holds up well with waterproof projects).
- Universal needle size 12 or 14
- Reverse Pattern Foot #1/#1C/#1D, Zig Zag Foot with non-stick sole #52/#52C/#52D, or Walking Foot #50
- Craft/Wonder clips (It’s really important to use these for “pinning” your pattern pieces together as you sew. Using regular pins will leave permanent holes).
- Pins
- Sharp scissors
Tips for Sewing Laminated Fabric
Let’s talk tips! I’ve broken up my advice into a few categories to best advise you on how to use and work with laminated fabrics.
What are Laminated Fabrics exactly?
It’s a fabric sheeting with a thin layer of polyurethane film adhered to the right side of the fabric. It’s great for raincoats, make-up pouches, backpacks, bags, etc.
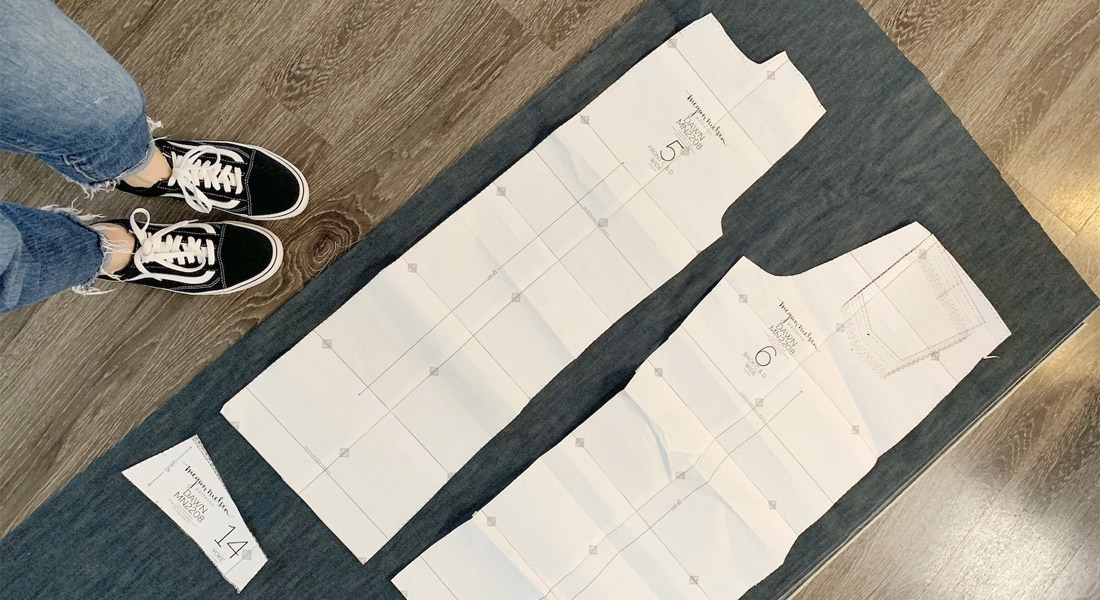
Cutting and Pattern Prep:
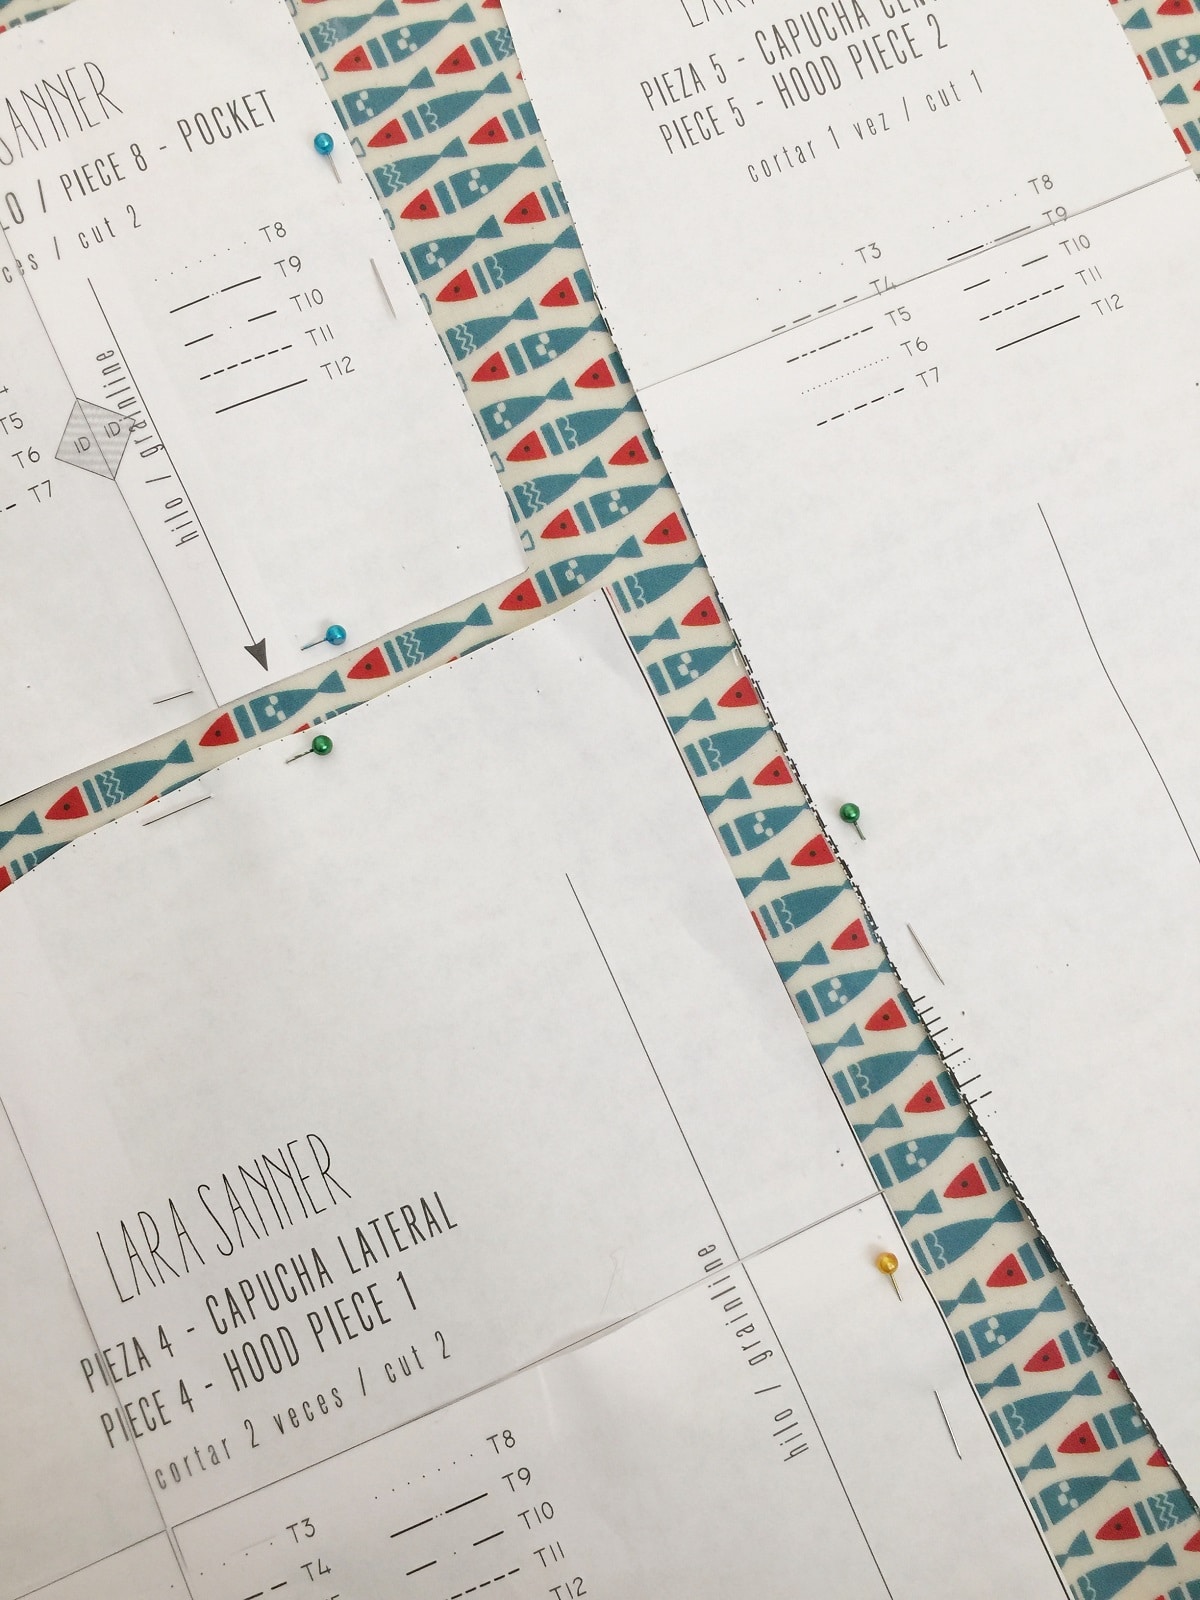
Once you have your pattern pieces all prepared and ready to pin to the fabric, make sure to only use pins within the seam allowance of your pattern pieces because the holes that are created from using pins in laminated fabrics will be permanent. You can also try using pattern weights and a rotary cutter as an alternative option. I used pins within the seam allowance and it worked great.
Also, you do not need to worry about the grain of your laminated fabric because the coating keeps the grain from shifting.
Ironing:
You can iron on laminated fabrics, but ONLY on the wrong side of the fabric on a dry/low setting and with a press cloth. Make certain that you don’t accidentally catch the laminate lining that might be hanging off the edge of your fabric as you iron; this will ruin your fabric and your iron.
The most preferred and safest method for flattening your seams is by simply using your finger to gently press open and flatten each seam. (This is the method I used for my raincoats, and it worked out great. I didn’t need to use an iron at all.)
Sewing:
Once you are ready to start sewing your project together, there’s a few things to keep in mind before you begin. Make sure you are using a universal needle size 12 or 14.
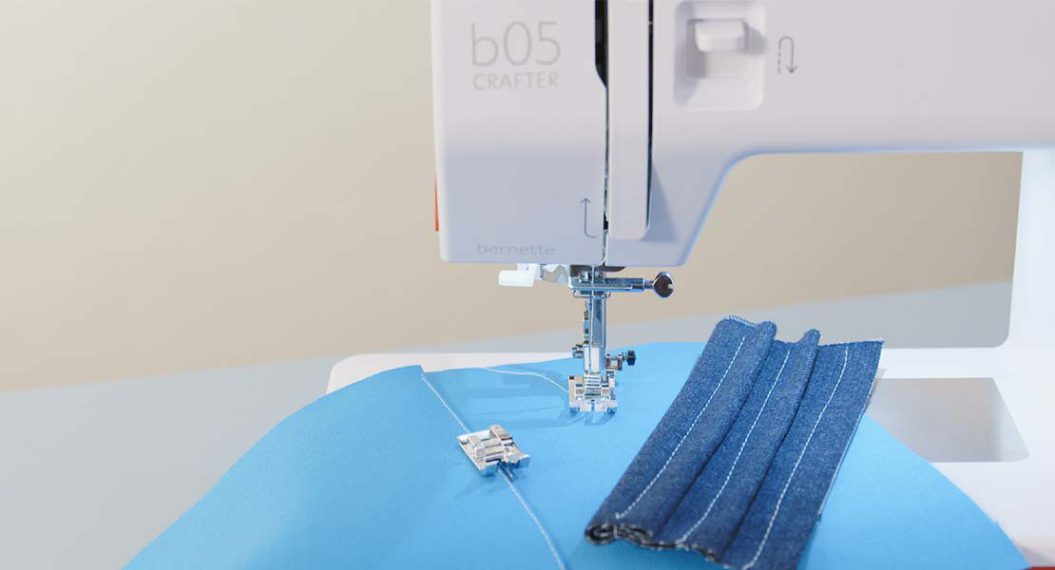
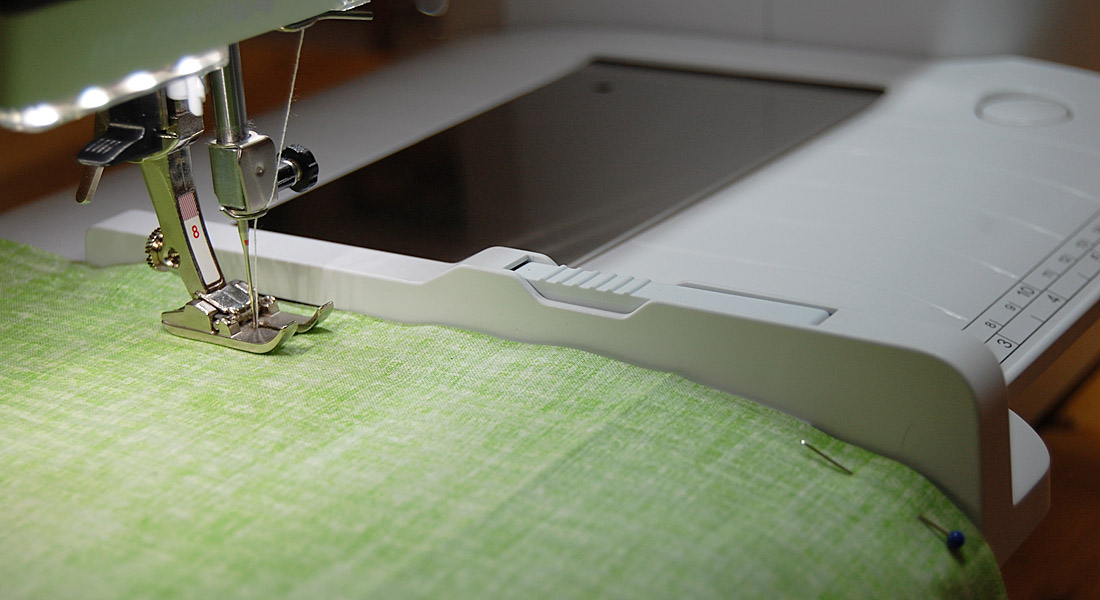
Depending on the fabric you are using, you might need a specific foot for working with this specialty fabric. Laminated cotton can be slightly sticky on the right side of the fabric, making it difficult for your foot to slide across the surface as the fabric passes underneath. Here’s a few options I would suggest using: Reverse Pattern Foot #1, Zig Zag Foot with non-stick sole #52/52C/52D, or Walking Foot #50. The laminated cotton I used had a matte finish to it, so I didn’t have an issue with my Reversible Pattern #1 or Walking Foot sticking to the fabric. Unfortunately, most laminates are shiny and sticky on the right side, and if this is the case for you, I would suggest using the Zig Zag Foot with non-stick sole #52/52C/52D. The non-stick sole makes this foot suitable for gliding across sticky fabrics.
If you aren’t quite ready to commit to purchasing one of these non-stick feet for your sewing machine, or maybe you aren’t planning on working with this fabric very often, you can try the scotch tape method. Taking your Reversible Pattern Foot #1, simply take a short piece of scotch tape and stick it to the bottom of your foot.
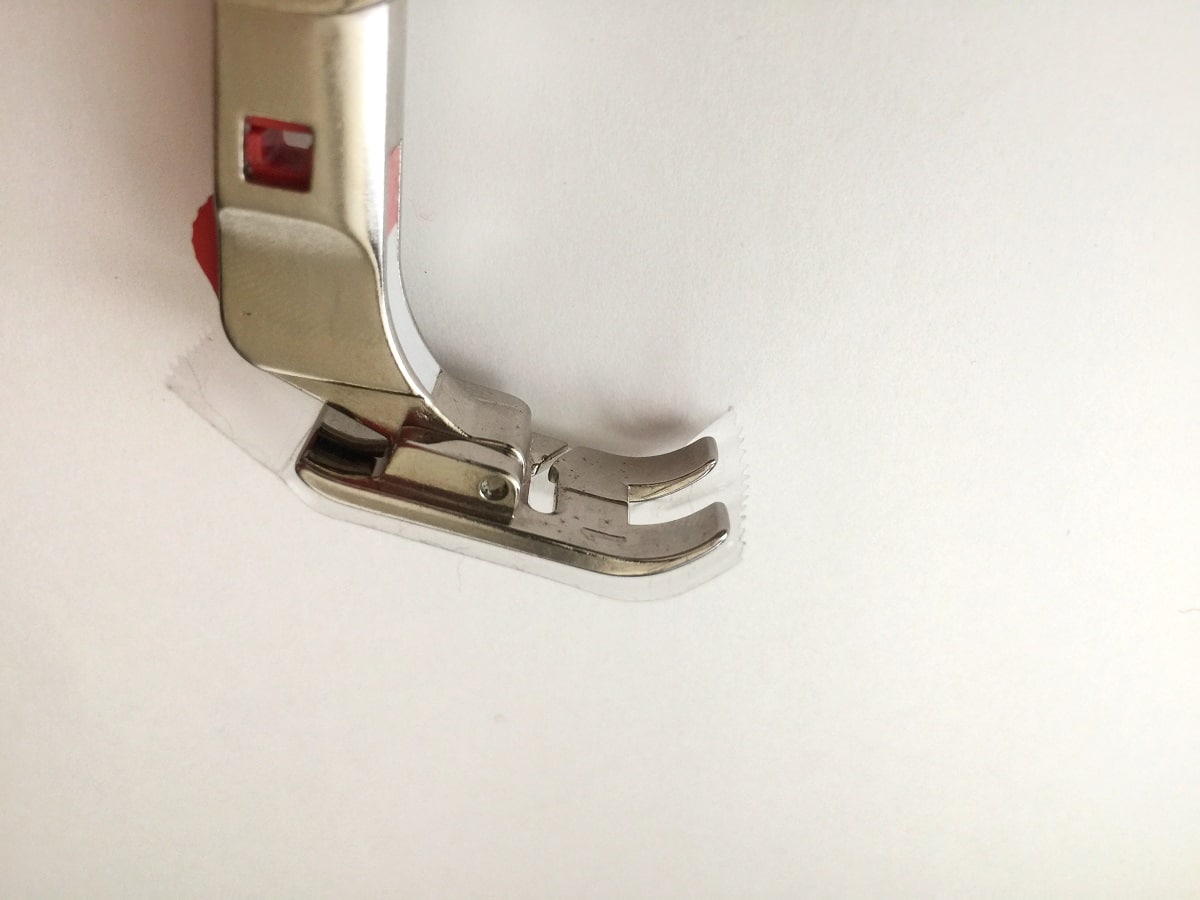
Next, using your scissors, cut off the excess tape around the entire edge of your foot as best as you can.

This alternative method works really great. If you also find the fabric is sticking to the arm of your sewing machine while you are feeding the fabric through, you can try wrapping wax paper or even computer paper around the arm to prevent “stickage” there, using tape to secure it underneath your machine.
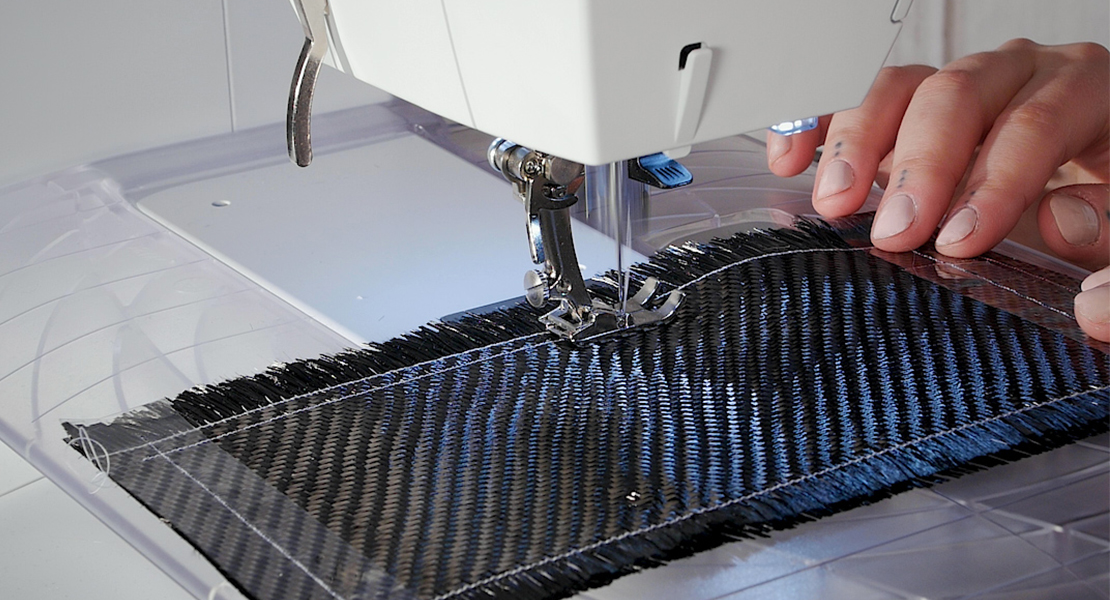
You’ll also want to make sure to use a slightly longer stitch length of 3.0 or 3.5 when working with this fabric. Shorter stitch lengths create too many holes and can weaken the seam.
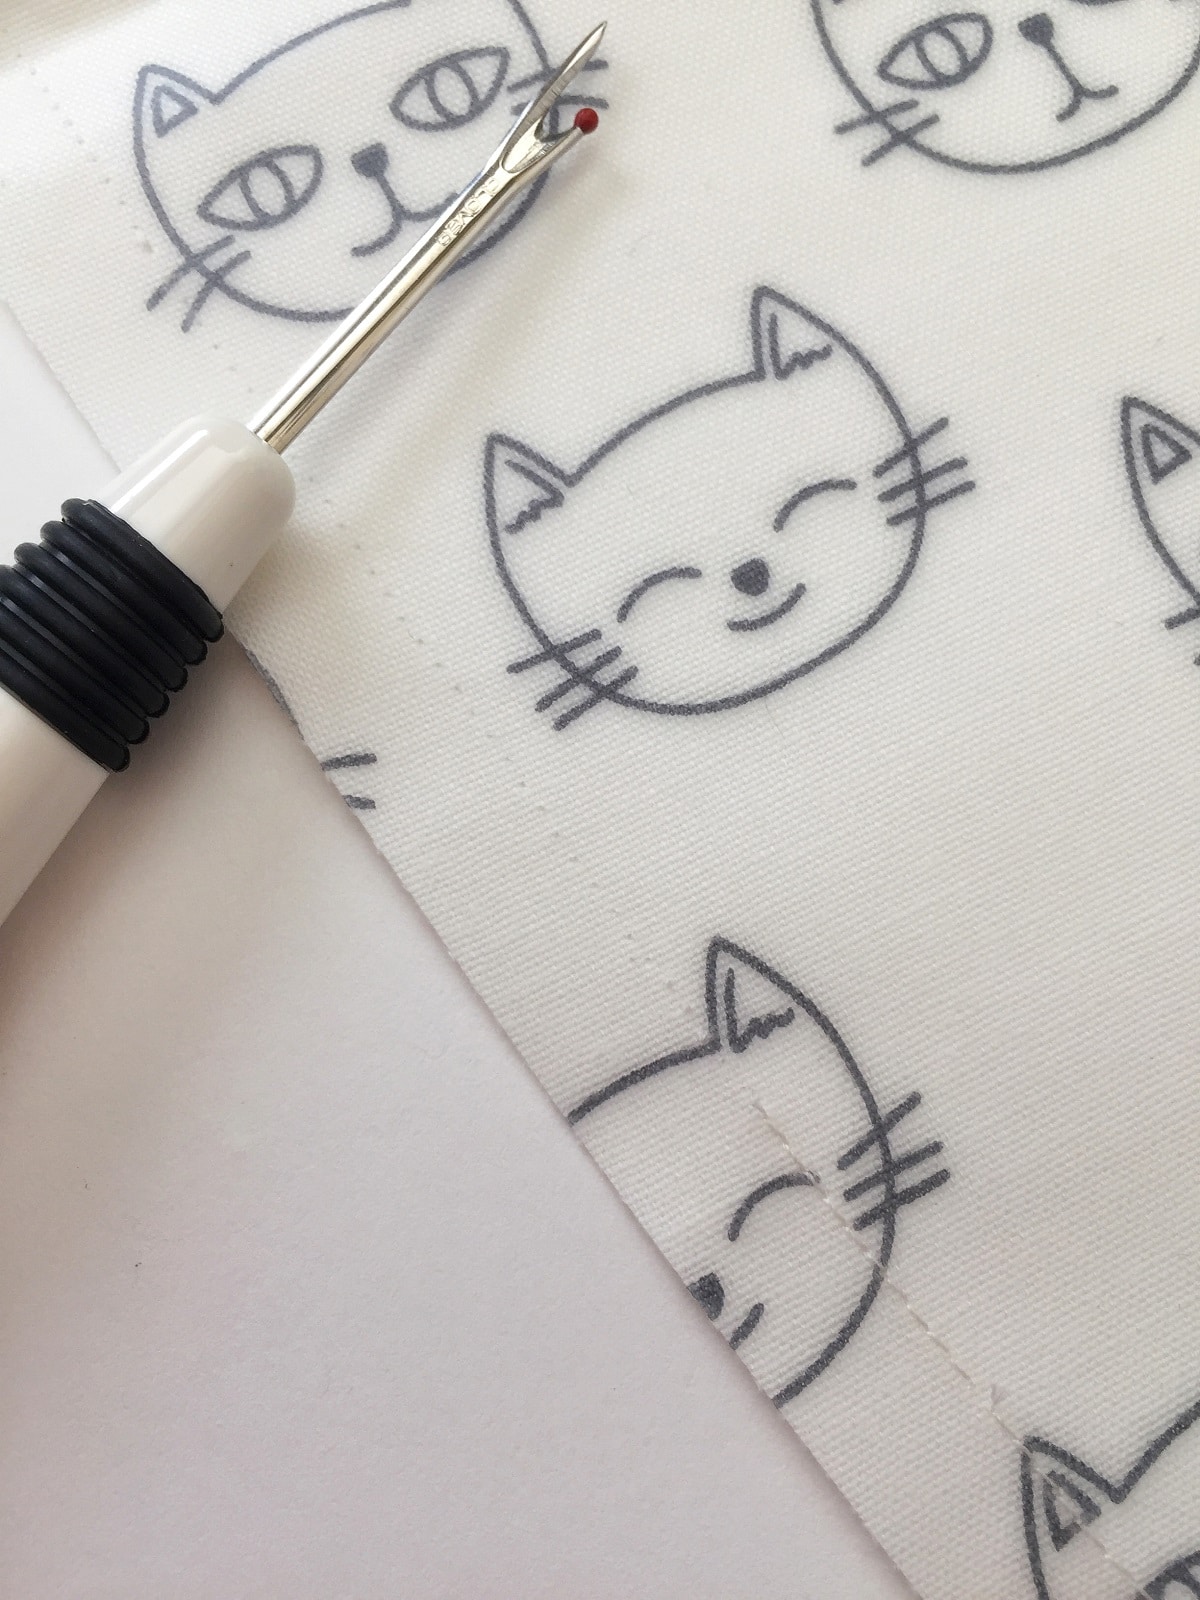
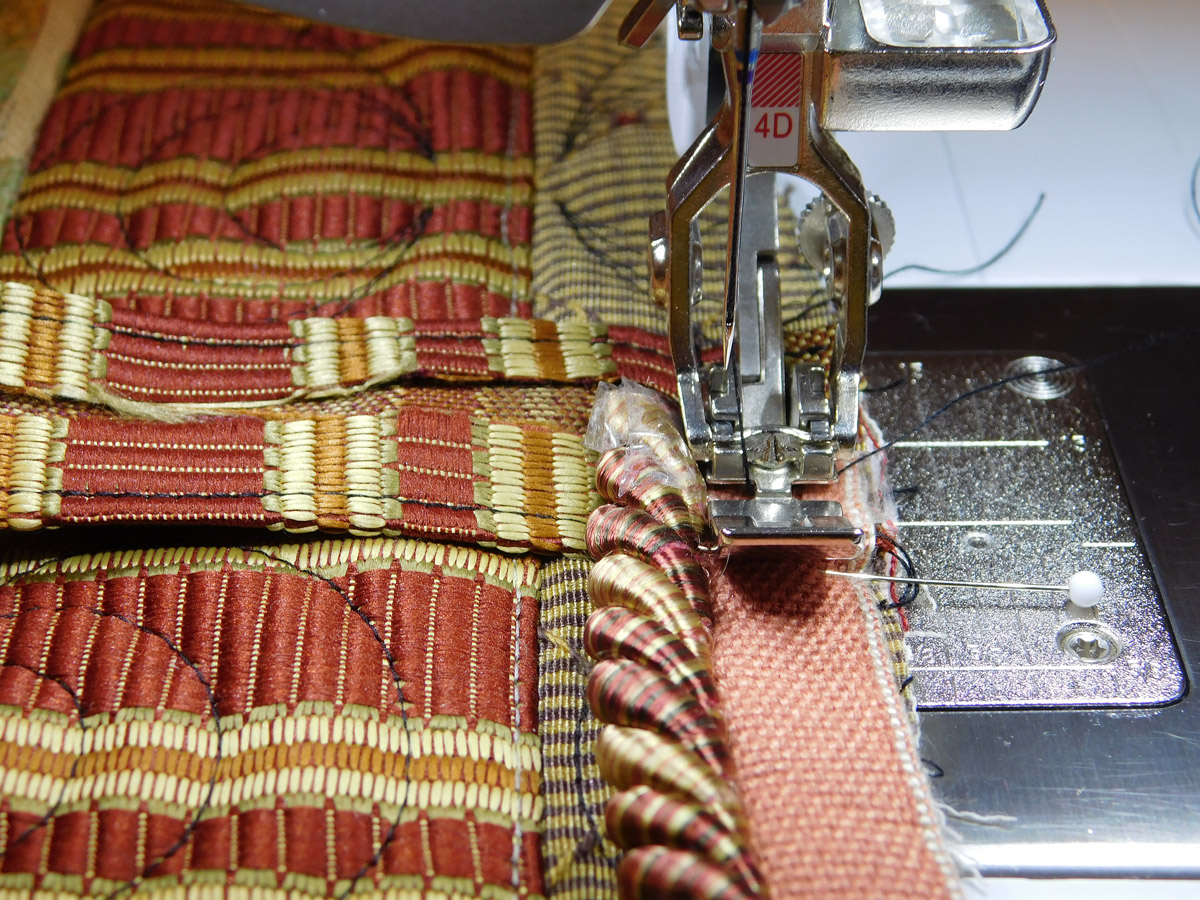
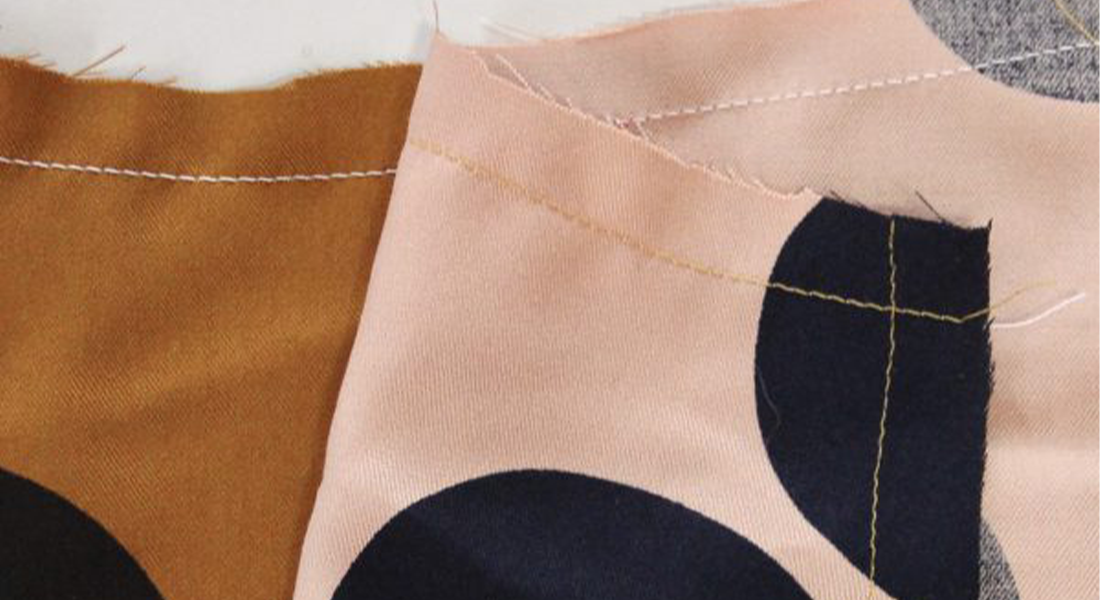
When sewing with laminated fabric, there isn’t much room for error. As I have said before, any holes created by your pins or needle will be permanent. Be sure about your needle and stitch placement before sewing each seam or top stitching. This is how it will look if you unpick any stitches:
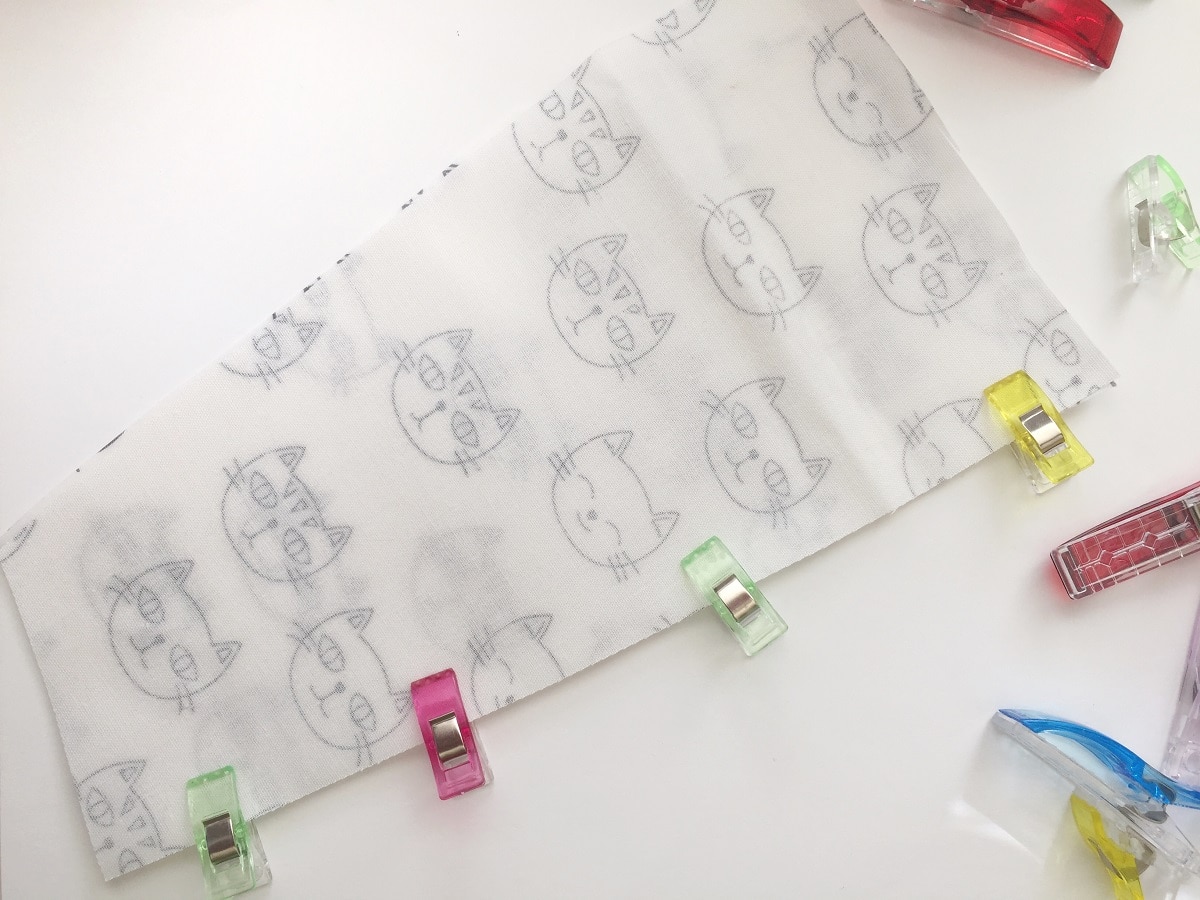
Also, make sure to use Craft Clips to “pin” your seams together as you sew. This will also prevent permanent holes from pins, and I found that they work really well with this sturdy fabric.
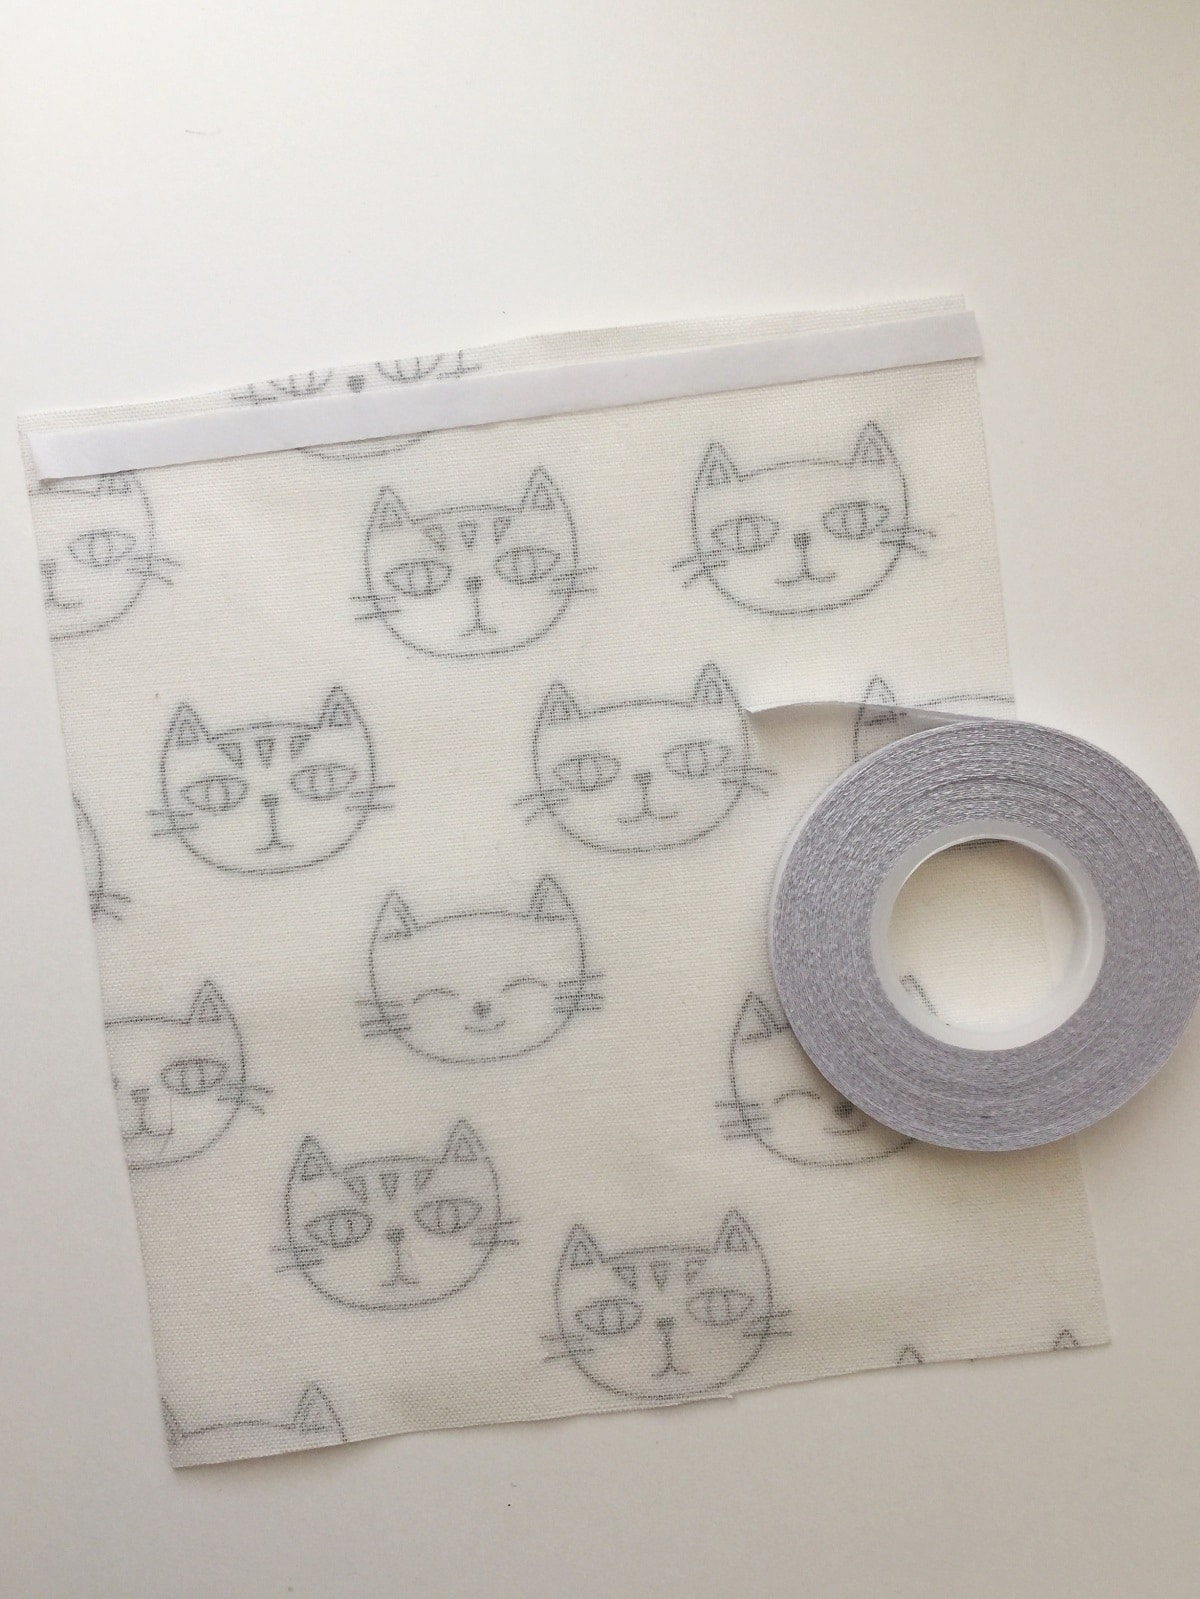
Wonder tape is a really great resource to use when working with laminated fabrics. I used it for prepping the edges of my patch pockets, as well as for securing the pocket on to my coat to top stitch it in place. In case you’re not familiar with Wonder Tape, I’ll show you how I used it.
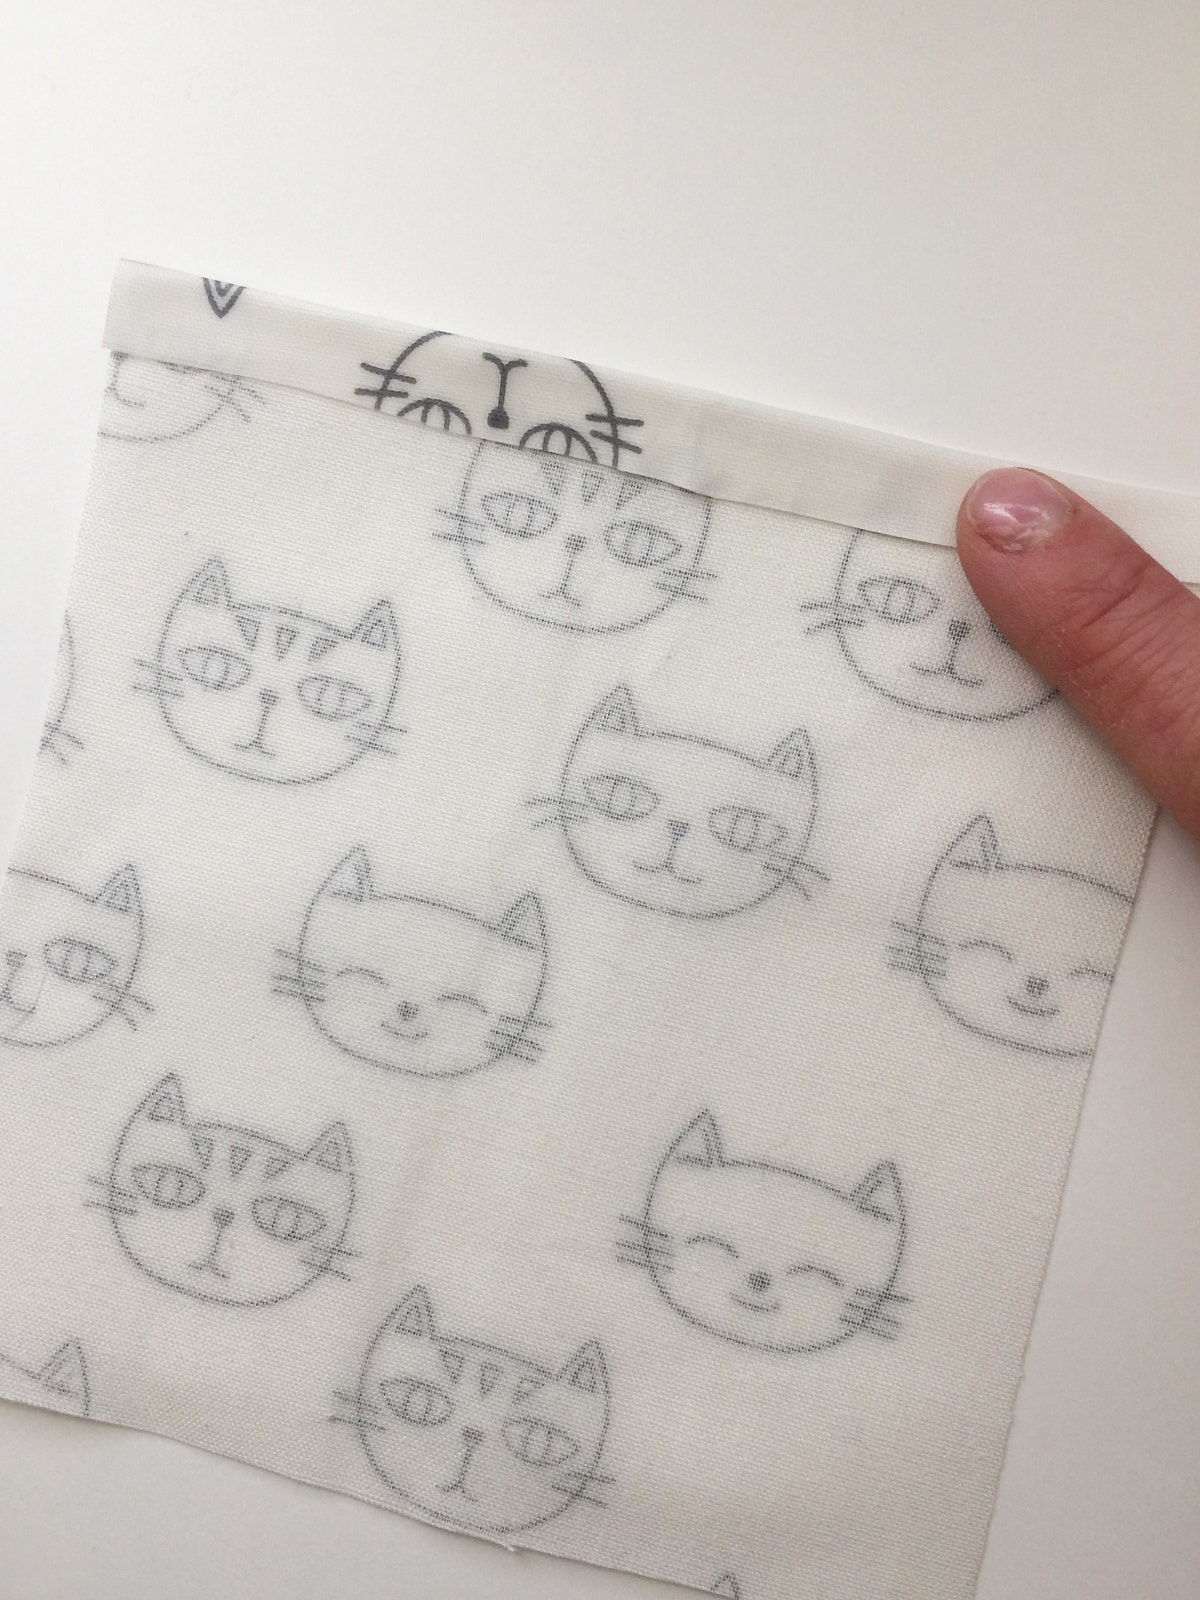
Cut a piece of wonder tape the length of the edge you will be adhering it to, and stick along this edge. I began with the top edge of my pocket.
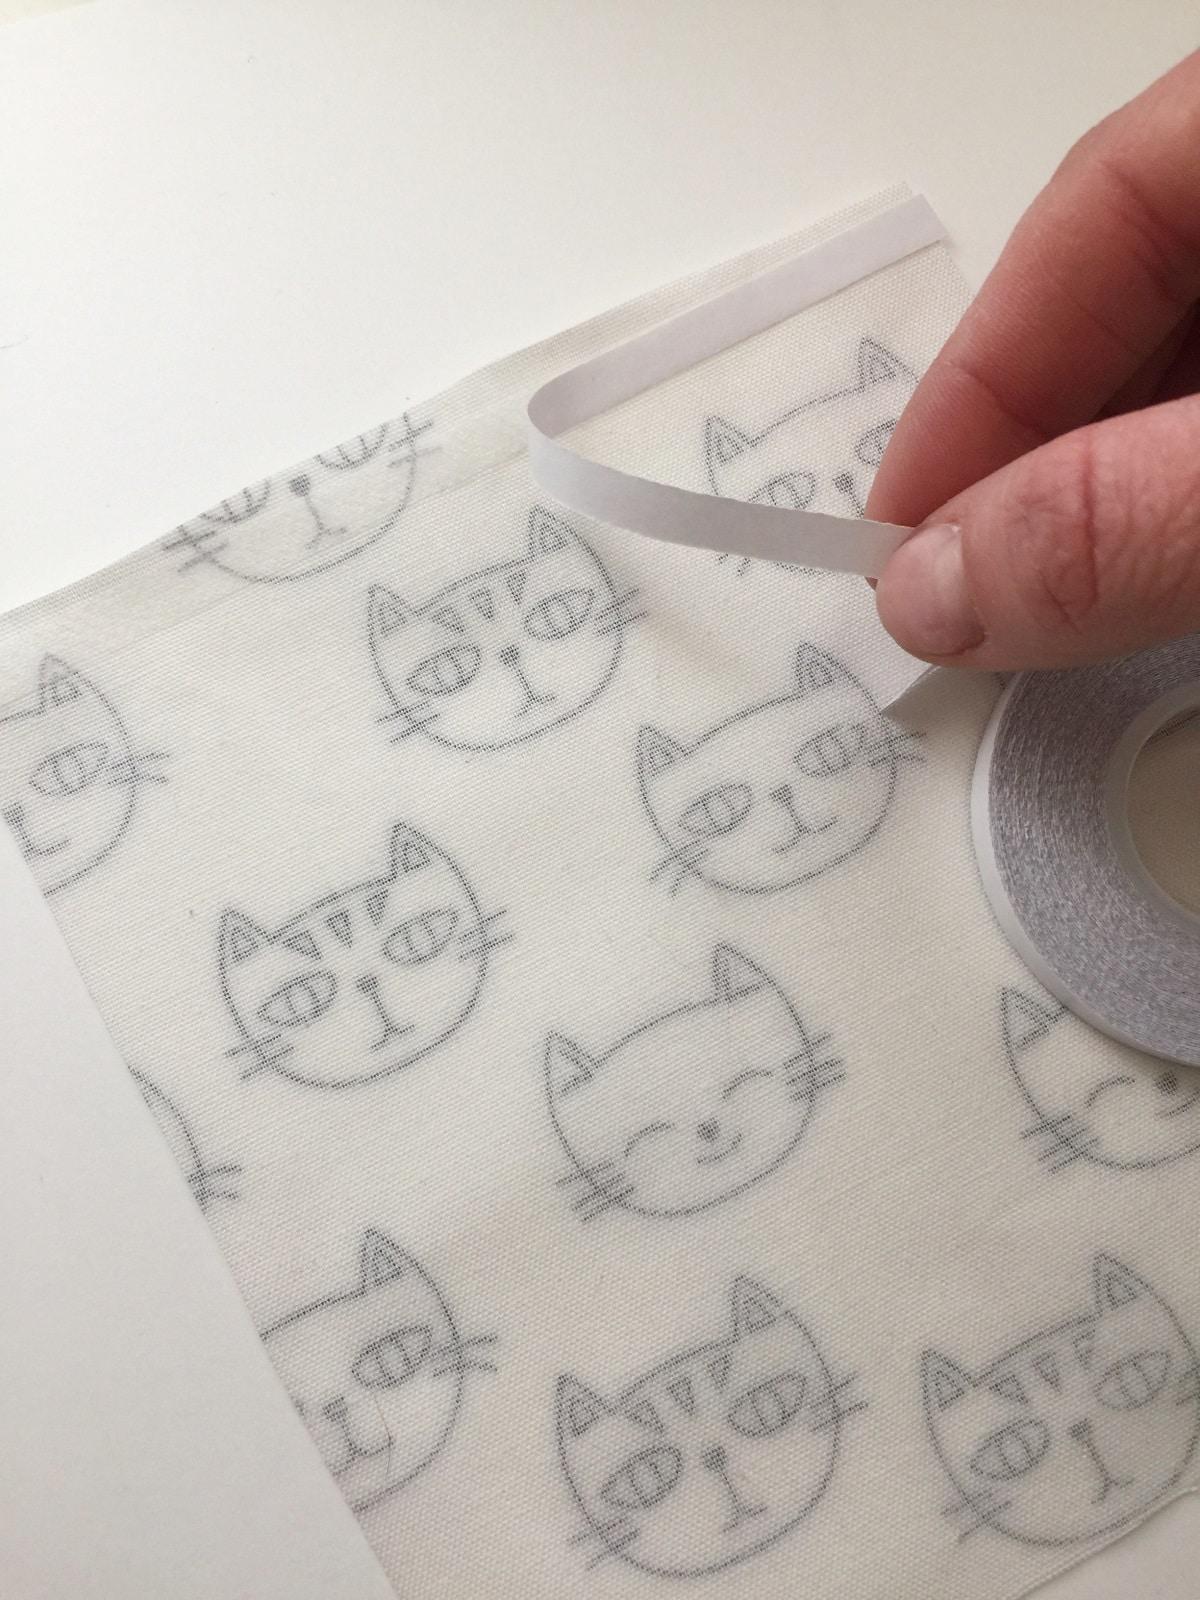
Next, peel off the white paper to reveal the other adhesive side of the wonder tape.
Now, fold the edge of the fabric over to finish the edge and press the edge flat using your finger. After this step I topstitched the top of the pocket along this edge.
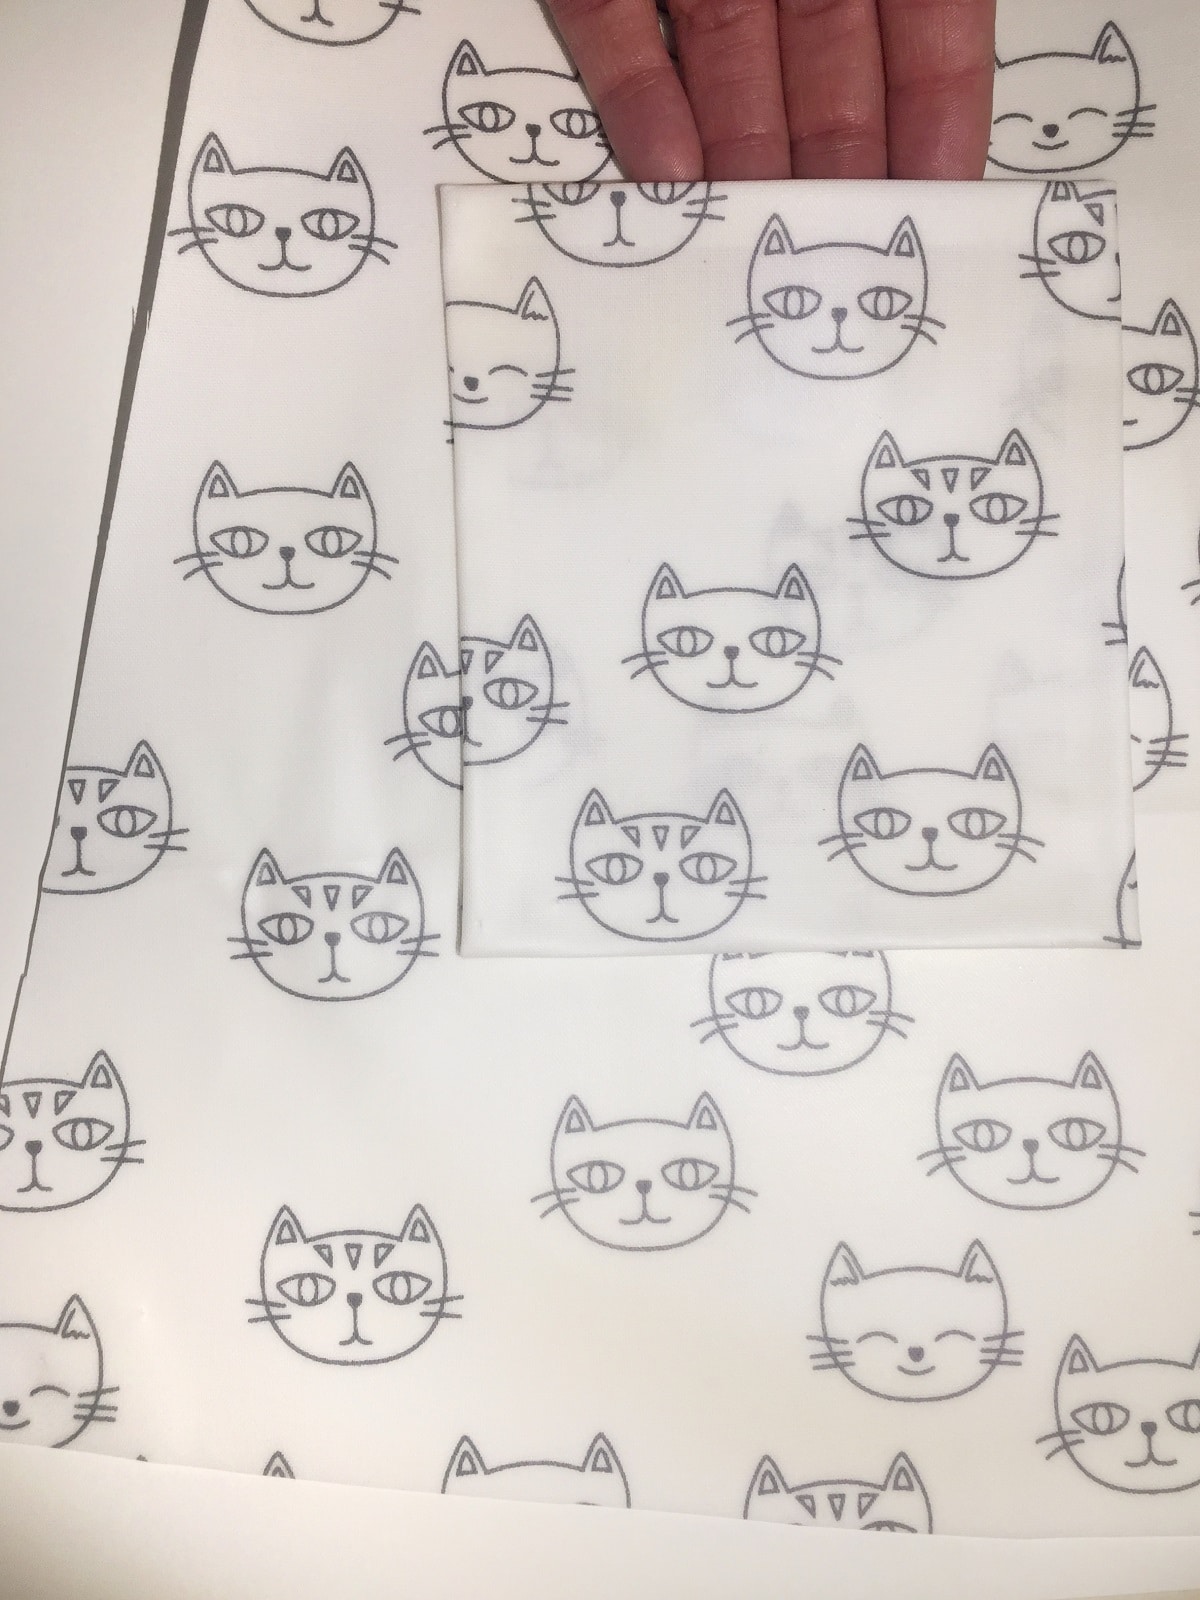
To finish the rest of the pocket, repeat these steps by cutting the tape to match the length of the side and bottom edges of the pocket. Then fold each side inward to finish each edge. Now cut a few more strips of wonder tape for the sides and bottom of your pocket. Adhere the pocket to the garment you will be top stitching the pocket onto. This method prevents any permanent holes from using pins, and doesn’t require an iron to keep the edges folded down.
Finishing:
You do not need to worry about finishing your laminated fabric because the coating on the right side of the fabric keeps the fabric from fraying. If you prefer a neater looking finish, you can finish the edges using a serger (before sewing pieces together), pinking shears and even french seams.
Storage and Care:
When folded, this fabric will create creases that can be hard to get out. (Especially since it’s a little bit trickier to use with an iron.) So when you order your fabric ask the seller to ship the fabric rolled rather than folded. Most companies are happy to do this. You will also want to make sure to store this fabric rolled instead of folded.
When it comes to caring for this fabric, it’s recommended to wipe it clean with a damp cloth. You could also try washing a test scrap in your washing machine. Then, air dry it to see how it washes up. Make sure to NEVER dry this fabric in your dryer.
Thank for reading along! Now you know everything you need to know to start working with this fun fabric. There are so many fun projects you can make with laminated fabrics. Enjoy and happy sewing!


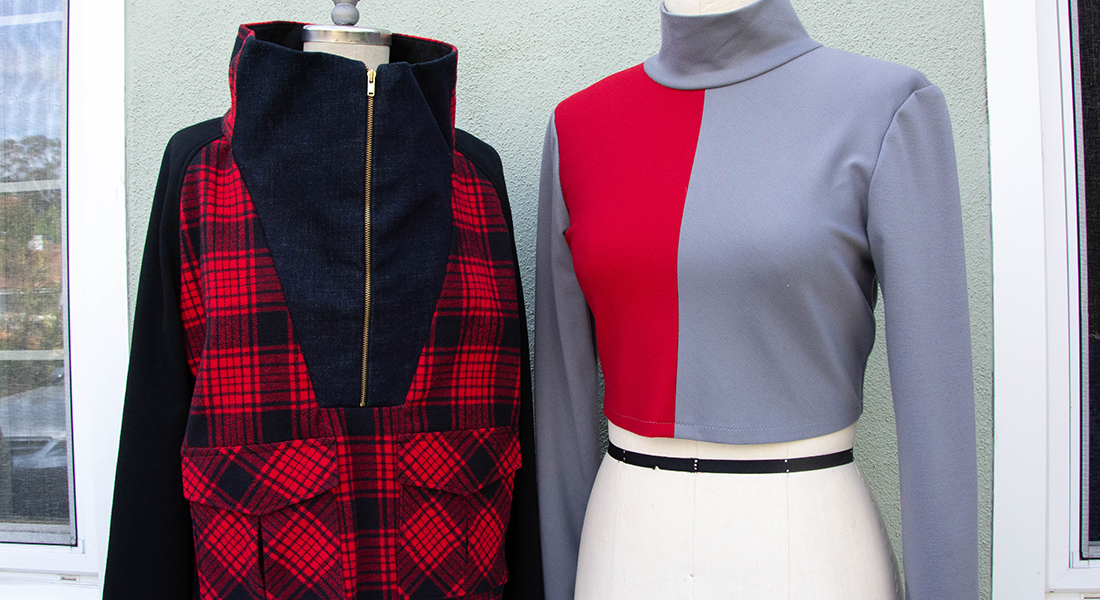
What you might also like


One comment on “Tips for Sewing Laminated Fabrics”
Leave a Reply
You must be logged in to post a comment.

What beautiful rain coats for your children. And what wonderful tips for sewing this slightly tricky fabric. Thanks for sharing Sara! I shared this post on Facebook, too!