Tips for Cutting a Sewing Pattern
Hey everyone! I’m Sara, the sewing blogger behind The Sara Project, and I have another back to basics post for you today all about how to cut out your sewing pattern. We will cover all of the basics from how much fabric to purchase to what tools to use to cut into your fabric. (See my previous post here all about how to choose a pattern). Let’s begin!
How to Purchase the Right Amount of Fabric
Once you’ve chosen your fabric for your next sewing project, refer back to your sewing pattern instructions to see how much fabric you will need. This will be based off of the pattern view and size you choose. You’ll also want to pay attention to the width of your fabric! Most patterns provide a few width options for reference.

If you are using a plaid, stripe or print that you plan to match up (one example being button up shirt), make sure to order more fabric than the pattern suggests. A good rule of thumb is to buy an extra ½ yard of fabric for separates (example: shirt, skirt, etc) and one extra yard for a dress.
You will also want to allow for fabric shrinkage that can occur when pre-treating the fabric (more on that further down). If you are planning to do any “pattern hacks” (like add a ruffle onto a dress or sleeve, or extra length to a dress, etc), you will also want to make sure you are purchasing extra fabric
How to Pre-Treat Fabric Before Cutting
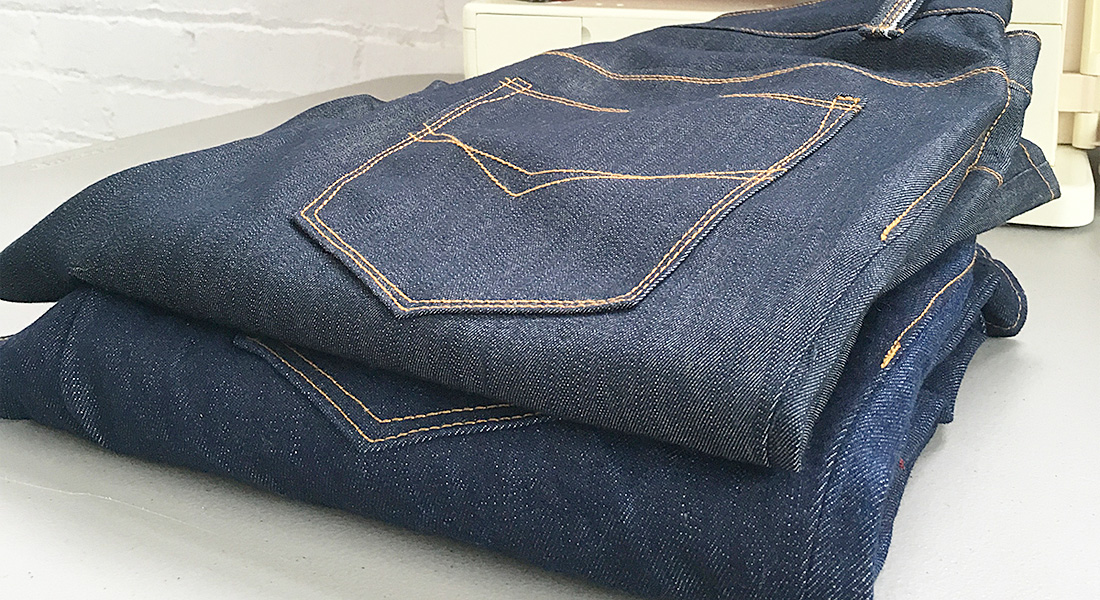
Unless the fabric care suggestions are dry clean only, I always pre-wash my fabric before cutting out my pattern. Personally, I like to always wash the fabric alone to avoid any bleeding. I typically pre-wash the fabric with a gentle laundry detergent, and use the setting on my washing machine and dryer that I would use to wash the finished garment once sewn.
Sometimes I will dry the fabric on delicate in the dryer to shrink the fabric even if I plan to hang dry the finished garment. There is nothing worse than when you hang dry to pre-treat your fabric, and it accidentally gets thrown in the dryer later on and shrinks a whole size or two, (for me, this applies mainly to denim and woven fabrics). I like to hang dry most of my handmade items. If you’re not sure if you should pre-treat your fabric yourself or dry clean it, you can always test a swatch first. Wash the swatch as you would your fabric, taking note of the measurements before you throw it in, and observing how it washed up/shrunk afterwards.
How to Read Layouts, and How to Find the Grainline
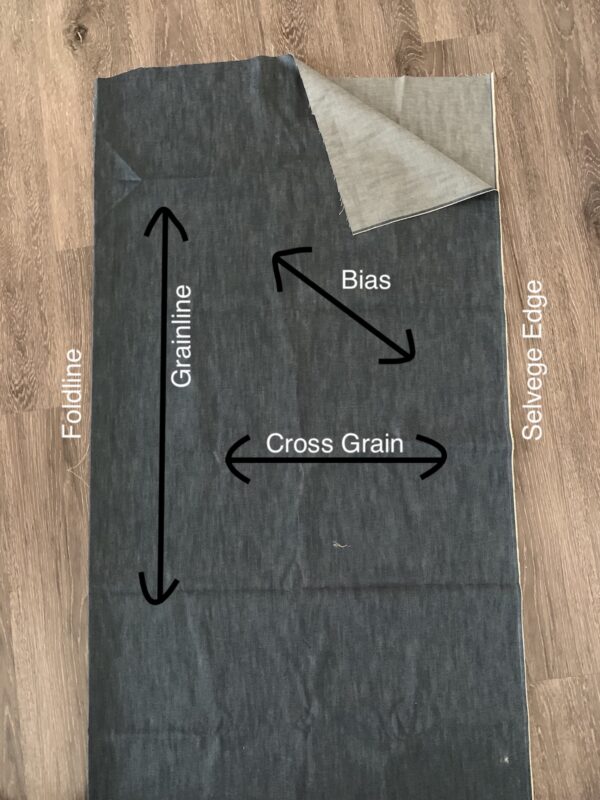
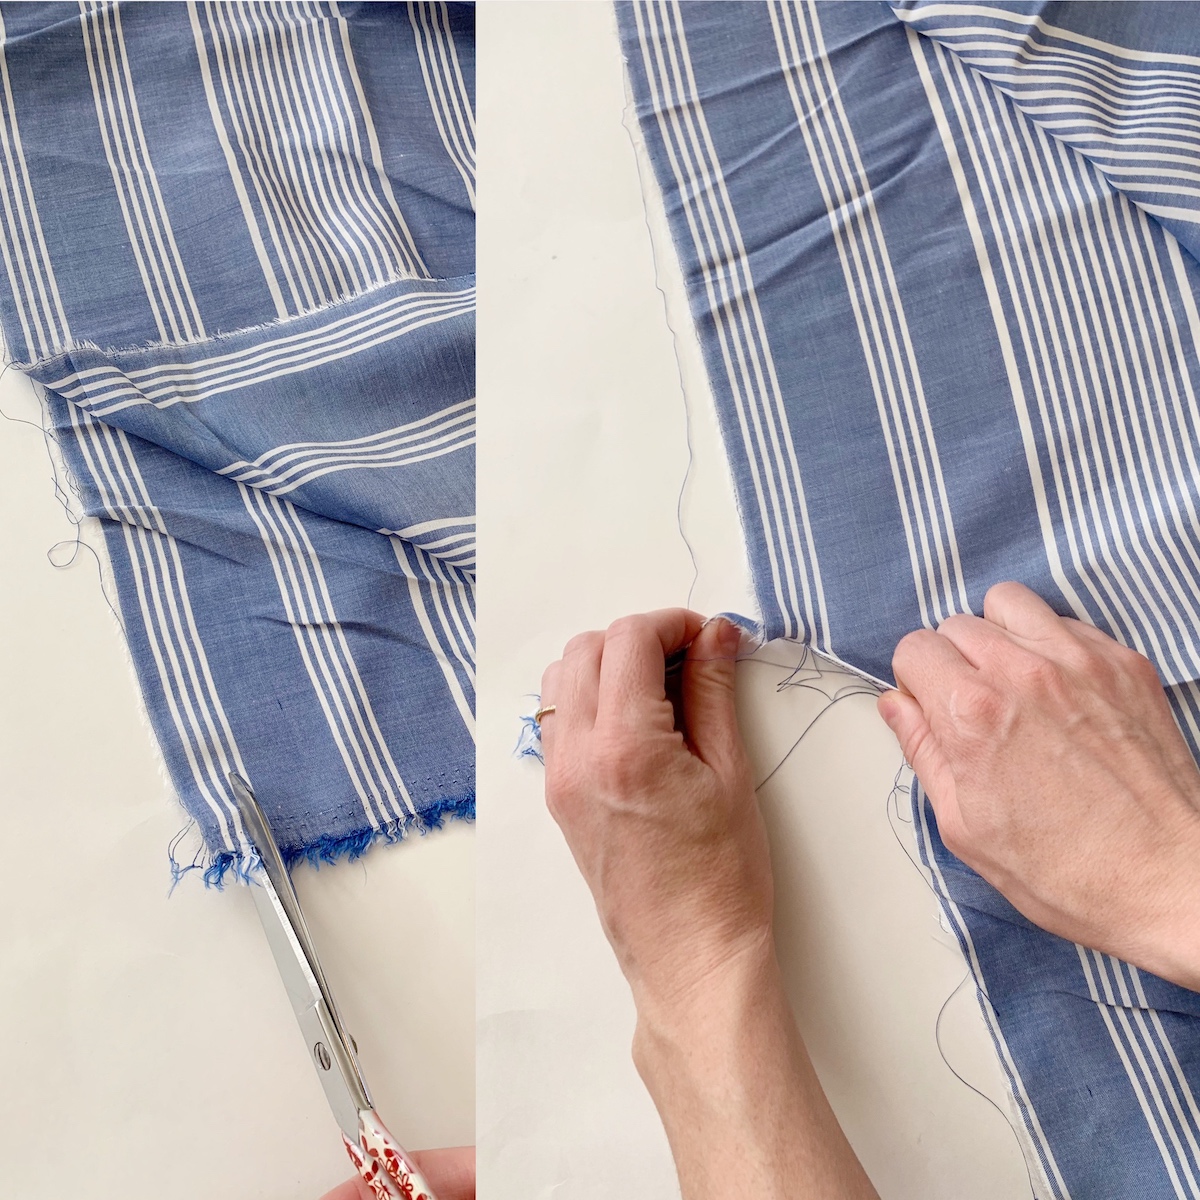
First of all, you will want to prepare your fabric. On your fabric you will notice you have two different types of edges. The selvage or finished edge, and the cut edge. Cut a little snip in your fabric perpendicular to the selvage edge, and pull to rip the fabric off. This will straighten out your edges and help you find the grainline correctly. Fold your fabric in half by lining up your edges hot dog style with either right or wrong sides together. (I typically fold my fabric with wrong sides together but it doesn’t matter). Your grainline runs parallel to your selvage and folded edge.
Next, I like to place all the pieces on the fabric before securing the patterns to the fabric to find the best placement for the layout.

Pay attention to the pattern markings, for example when to cut a pattern piece along a fold-line, or along the bias, etc. The pattern instructions should also have a section that explains all of the pattern’s markings. Make sure to place your pattern pieces following the grainline marking on your pattern. I’ve provided a diagram to show what the grainline along your fabric looks like.
How to Secure a Pattern on Top of Fabric
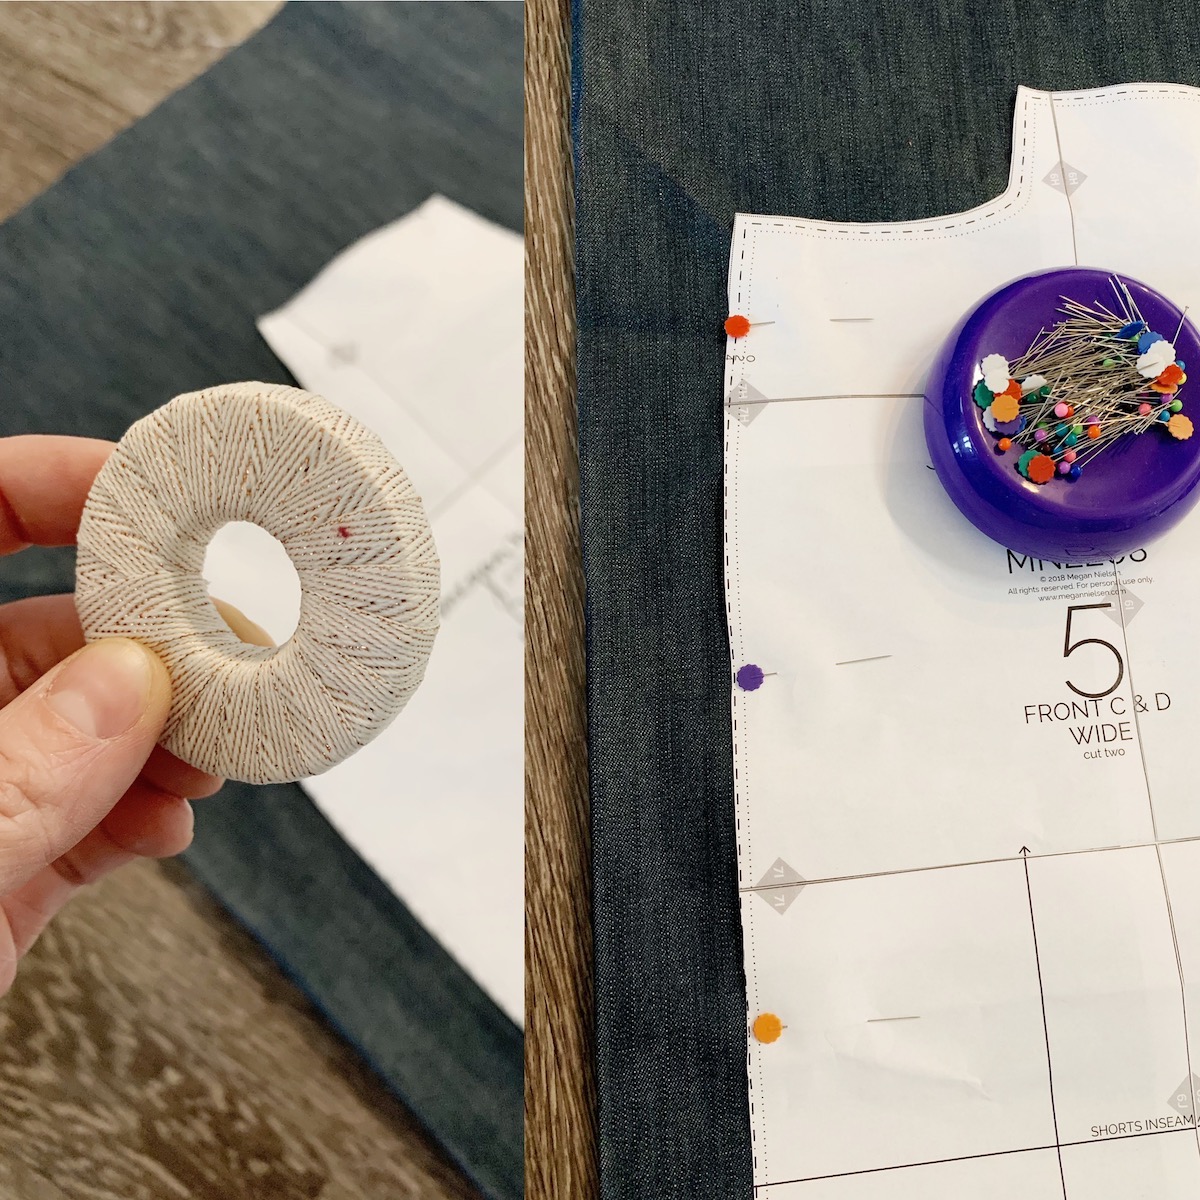
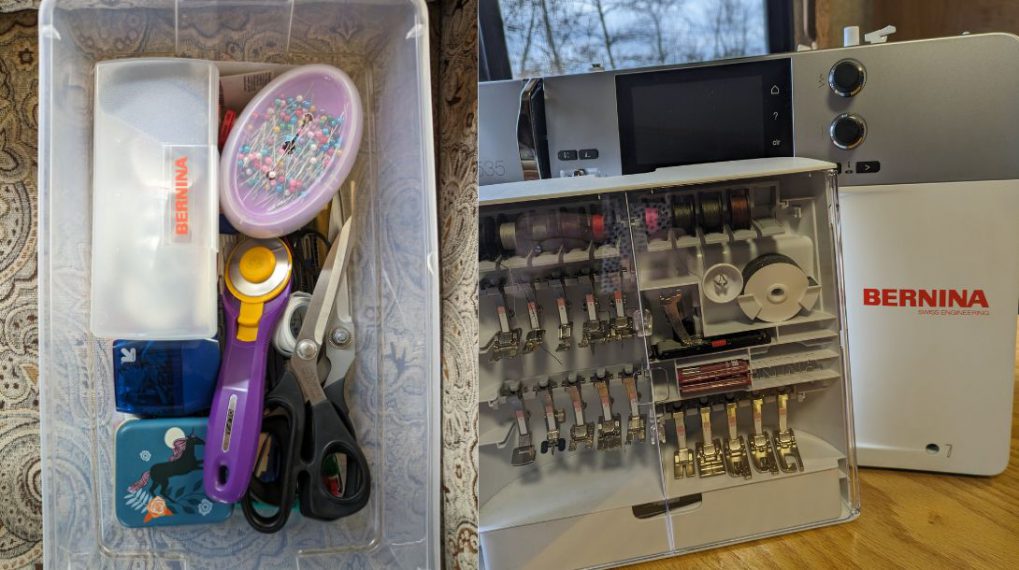
When it comes to securing your pattern pieces onto your fabric, you have a few options! You can use pins by inserting them down into your pattern piece and fabric. Make sure they are perpendicular to your patterns edge.
The other option is using pattern weights. These can be anything from unopened food cans, store bought pattern weights, or handmade patterns weights. (like washers from your local hardware store wrapped in ribbon). I personally use pins more than weights, but I go back and forth between the two.
How to Cut your Fabric
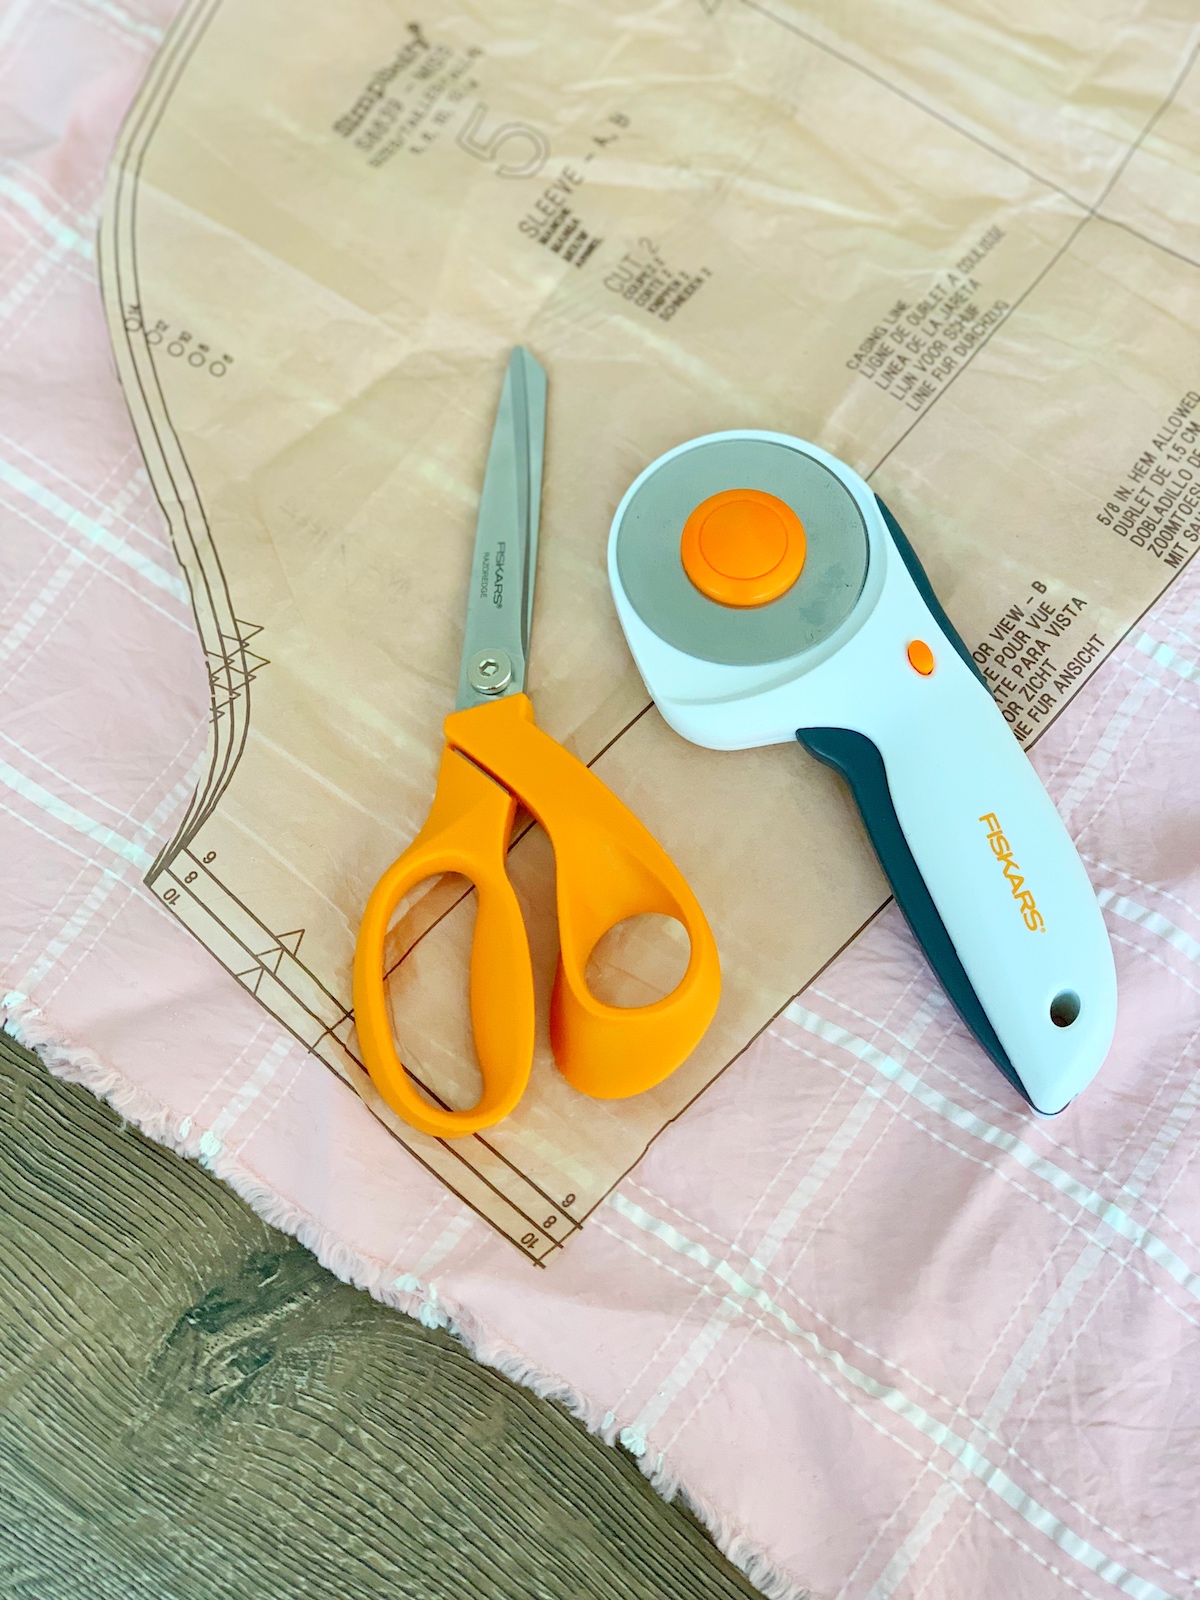
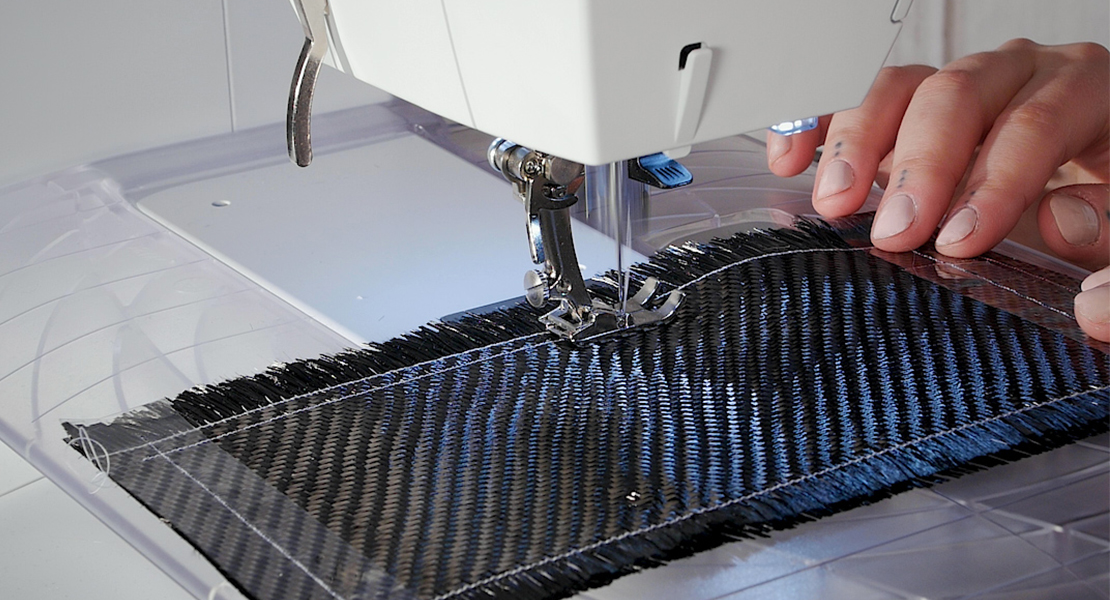
There seem to be two popular methods for cutting fabric for the home sewer: team scissors or team rotary cutter. This comes down to personal preference. If you choose to use scissors, make sure you have a good pair of sharp fabric scissors. I myself am team scissors, but most sewists I know love using their rotary cutter.
After you are all finished cutting out your pattern pieces, always save your scrap fabric until the project is finished. There have been times when I needed to re-cut something, and I was so glad I saved my scraps! Once I’m finished with the project I dispose of any fabric scraps I don’t want to keep.
There you have it! Now you’re ready to cut into your fabric. I hope you found this post helpful and happy sewing to you!
If you would like to follow along with my sewing adventures, you can find more on my Instagram account: @thesaraproject_!


What you might also like


3 comments on “Tips for Cutting a Sewing Pattern”
-
-
Great article but I notice you forgot to mention how to make sure the pattern pieces are on the grainline. When I teach this I mention that they need to be parallel to the salvage. One way is to pin down one end of arrow, measure from the line to the edge of fabric, go to the other end of the arrow and move it to be the same length then pin this side of arrow down . This makes sure that the pattern will be parallel to the grainline.
-
Good comment from sewinmommy about grainline. Another thing I noticed in your photo on pinning the pattern to the fabric in the direction of the pins. I always pin perpendicular to the cutting line with the sharp ends pointing OUTWARD. This gives a more accurate cut. It pushes any excess fabric outward rather than inward. I am a retired Home Ec. teacher and this is how I was taught in college and how I instructed my students.
Thanks for the good info for new/still learning sewers!
-
Leave a Reply
You must be logged in to post a comment.

I’ve not sewn for some time and find this material very useful. Thanks.