Needle Point Laser for Q Series Longarms

I am so excited about the Needle Point Laser for all of the Q Series Longarms from BERNINA. I wanted to give it a try with Free-motion embroidery foot #24 so that I would have the best view of where I wanted to start stitching or mark the block. I looked on the BERNINA website and found a video on how to install and use the new Needle Point Laser. I installed and adjusted the laser to line-up with the needle point as the video had explained. This is going to be amazing!
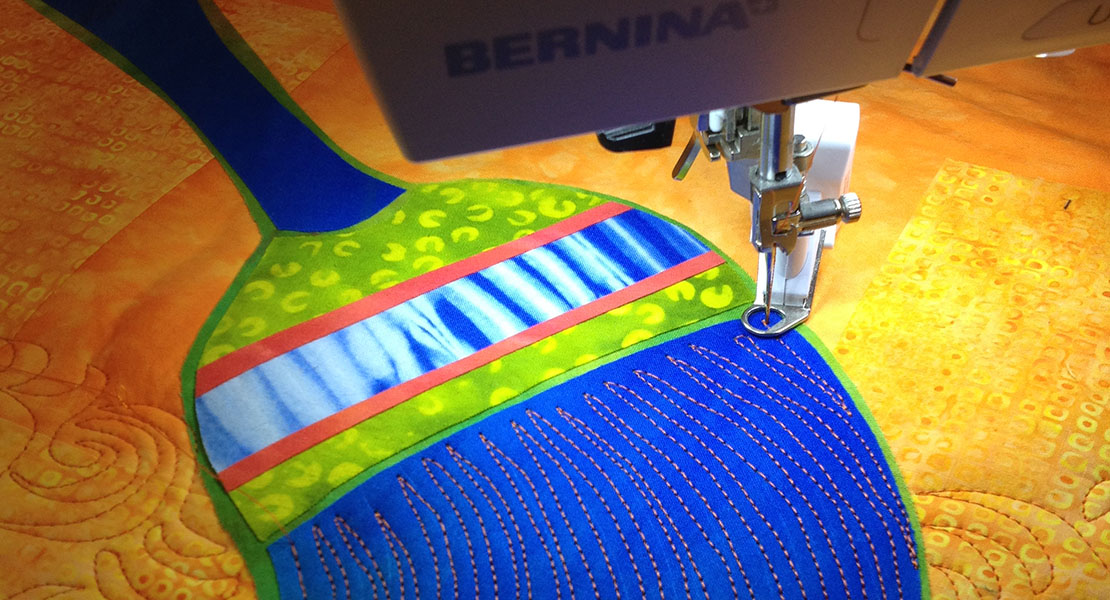
After I installed the laser I put on Free-motion foot #24. I also found a video on the BERNINA website that gave me great insight into this foot and some other free-motion feet.
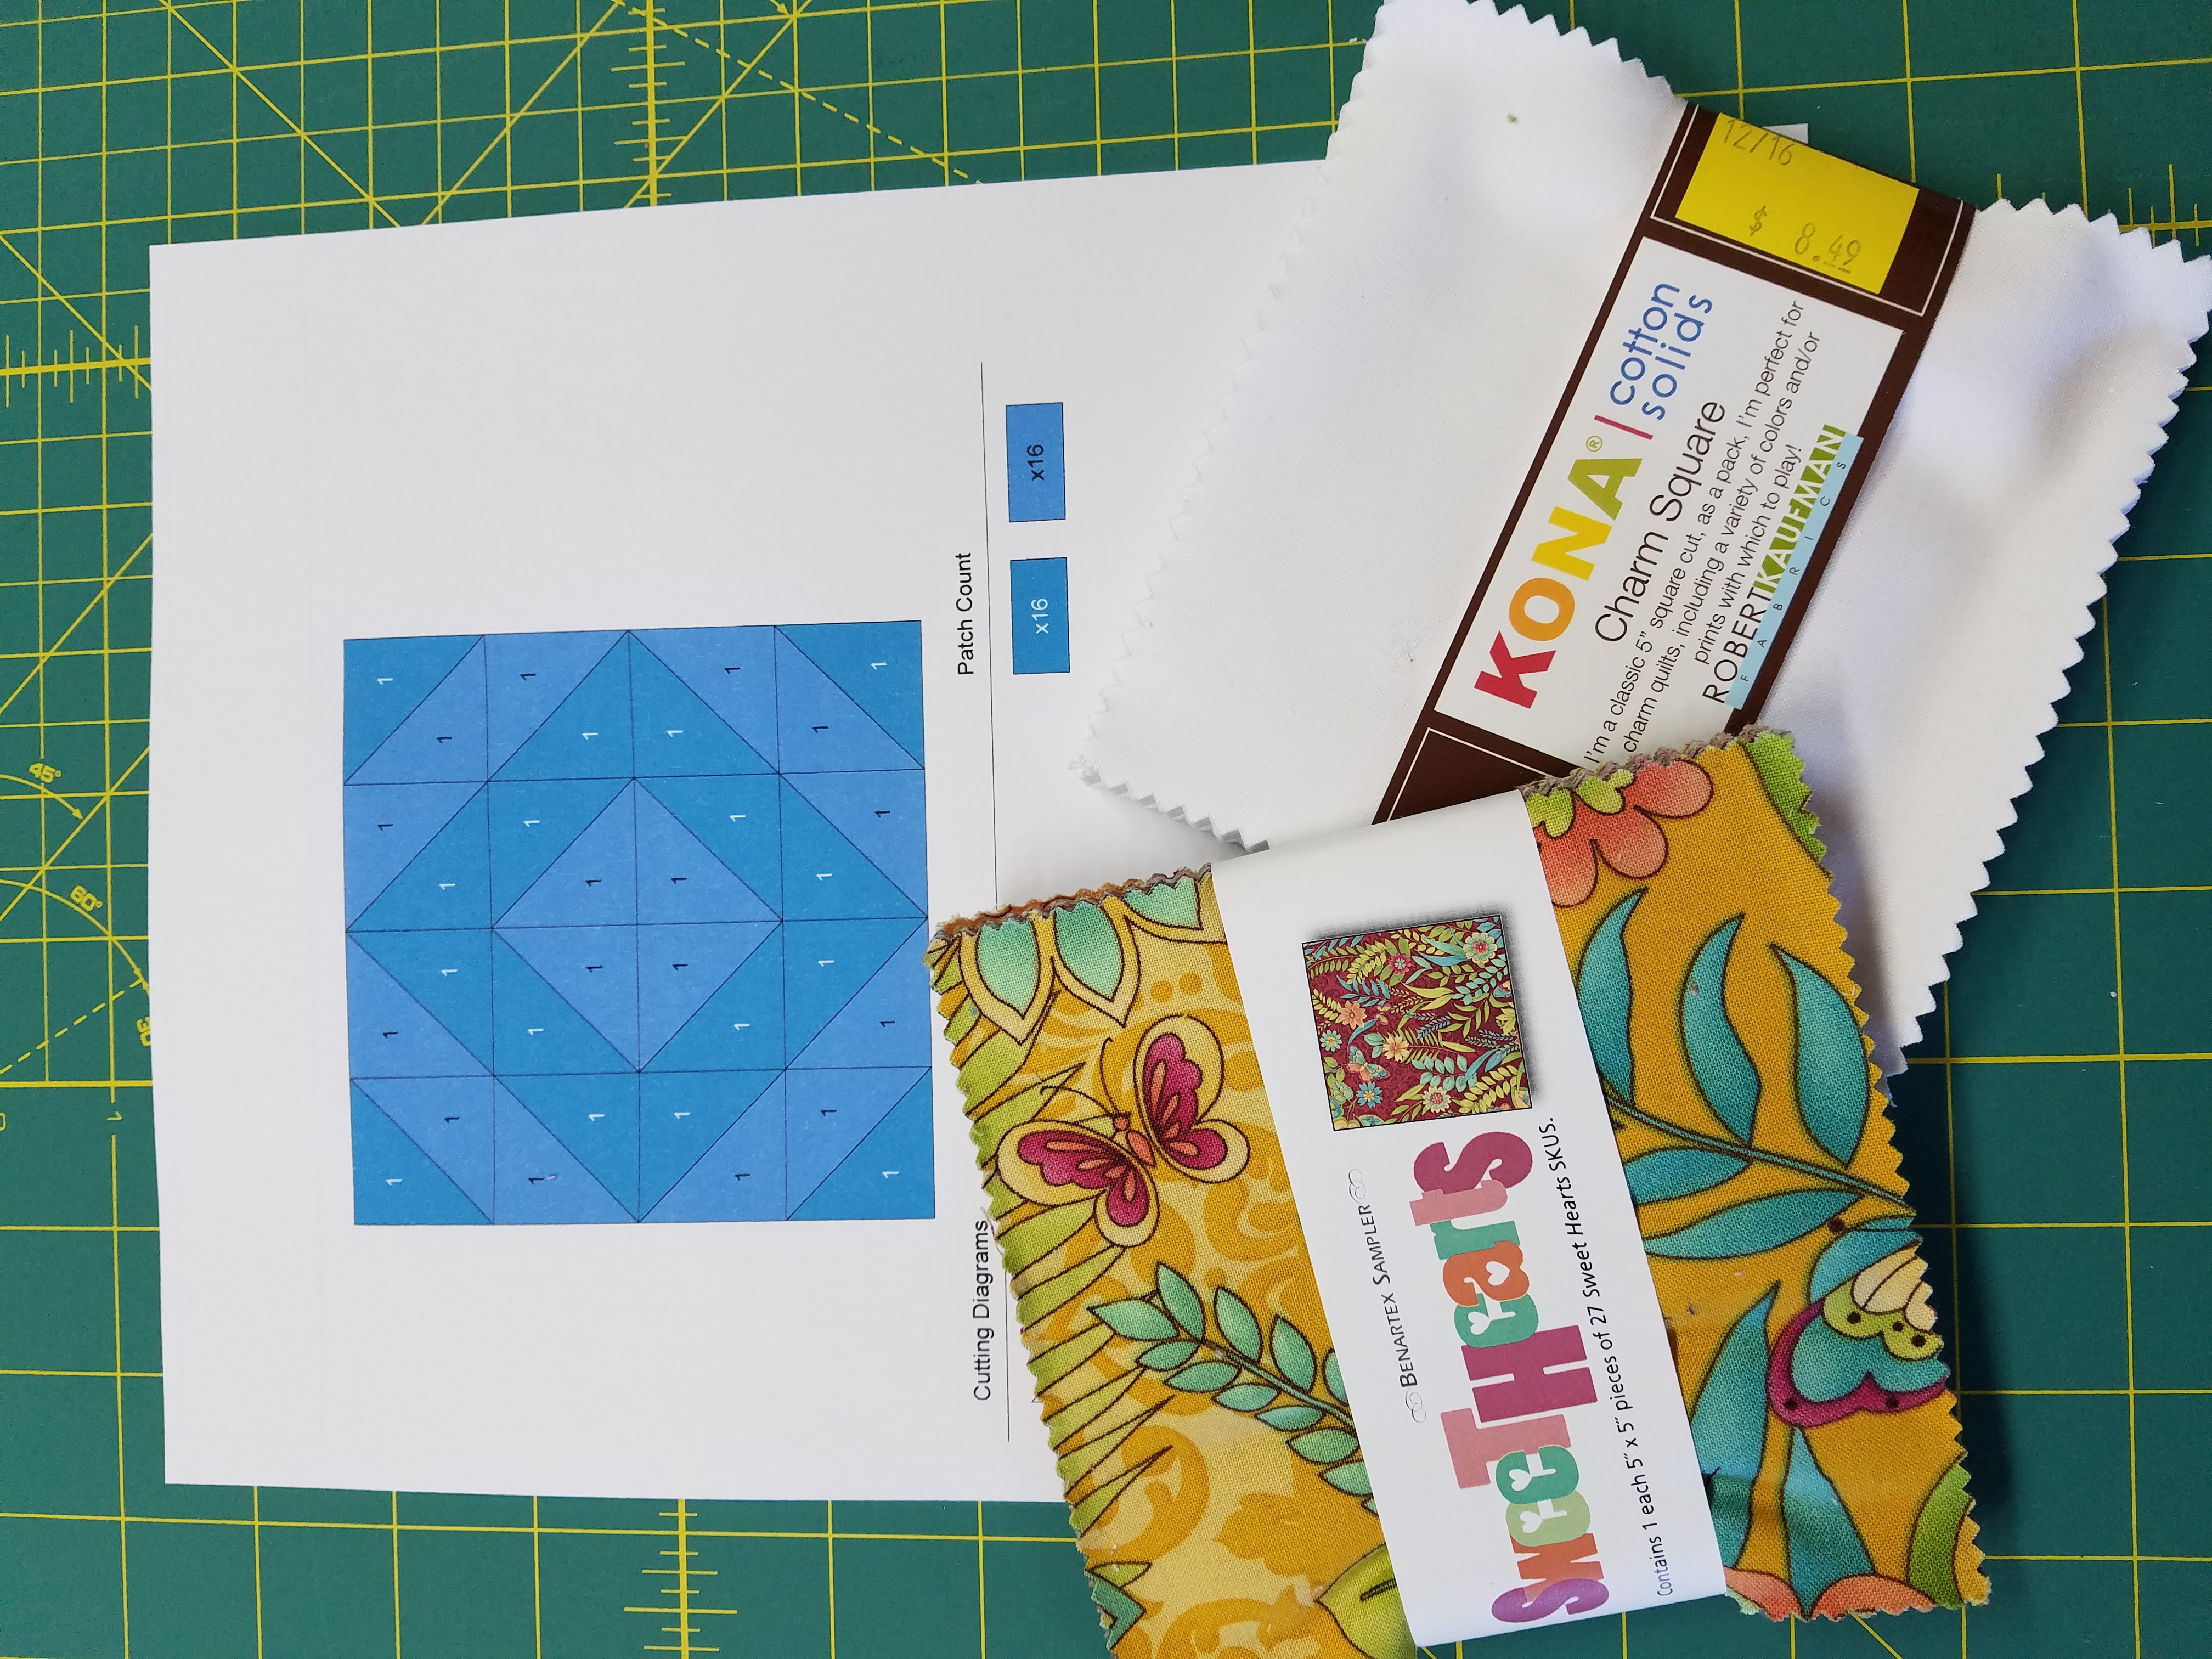
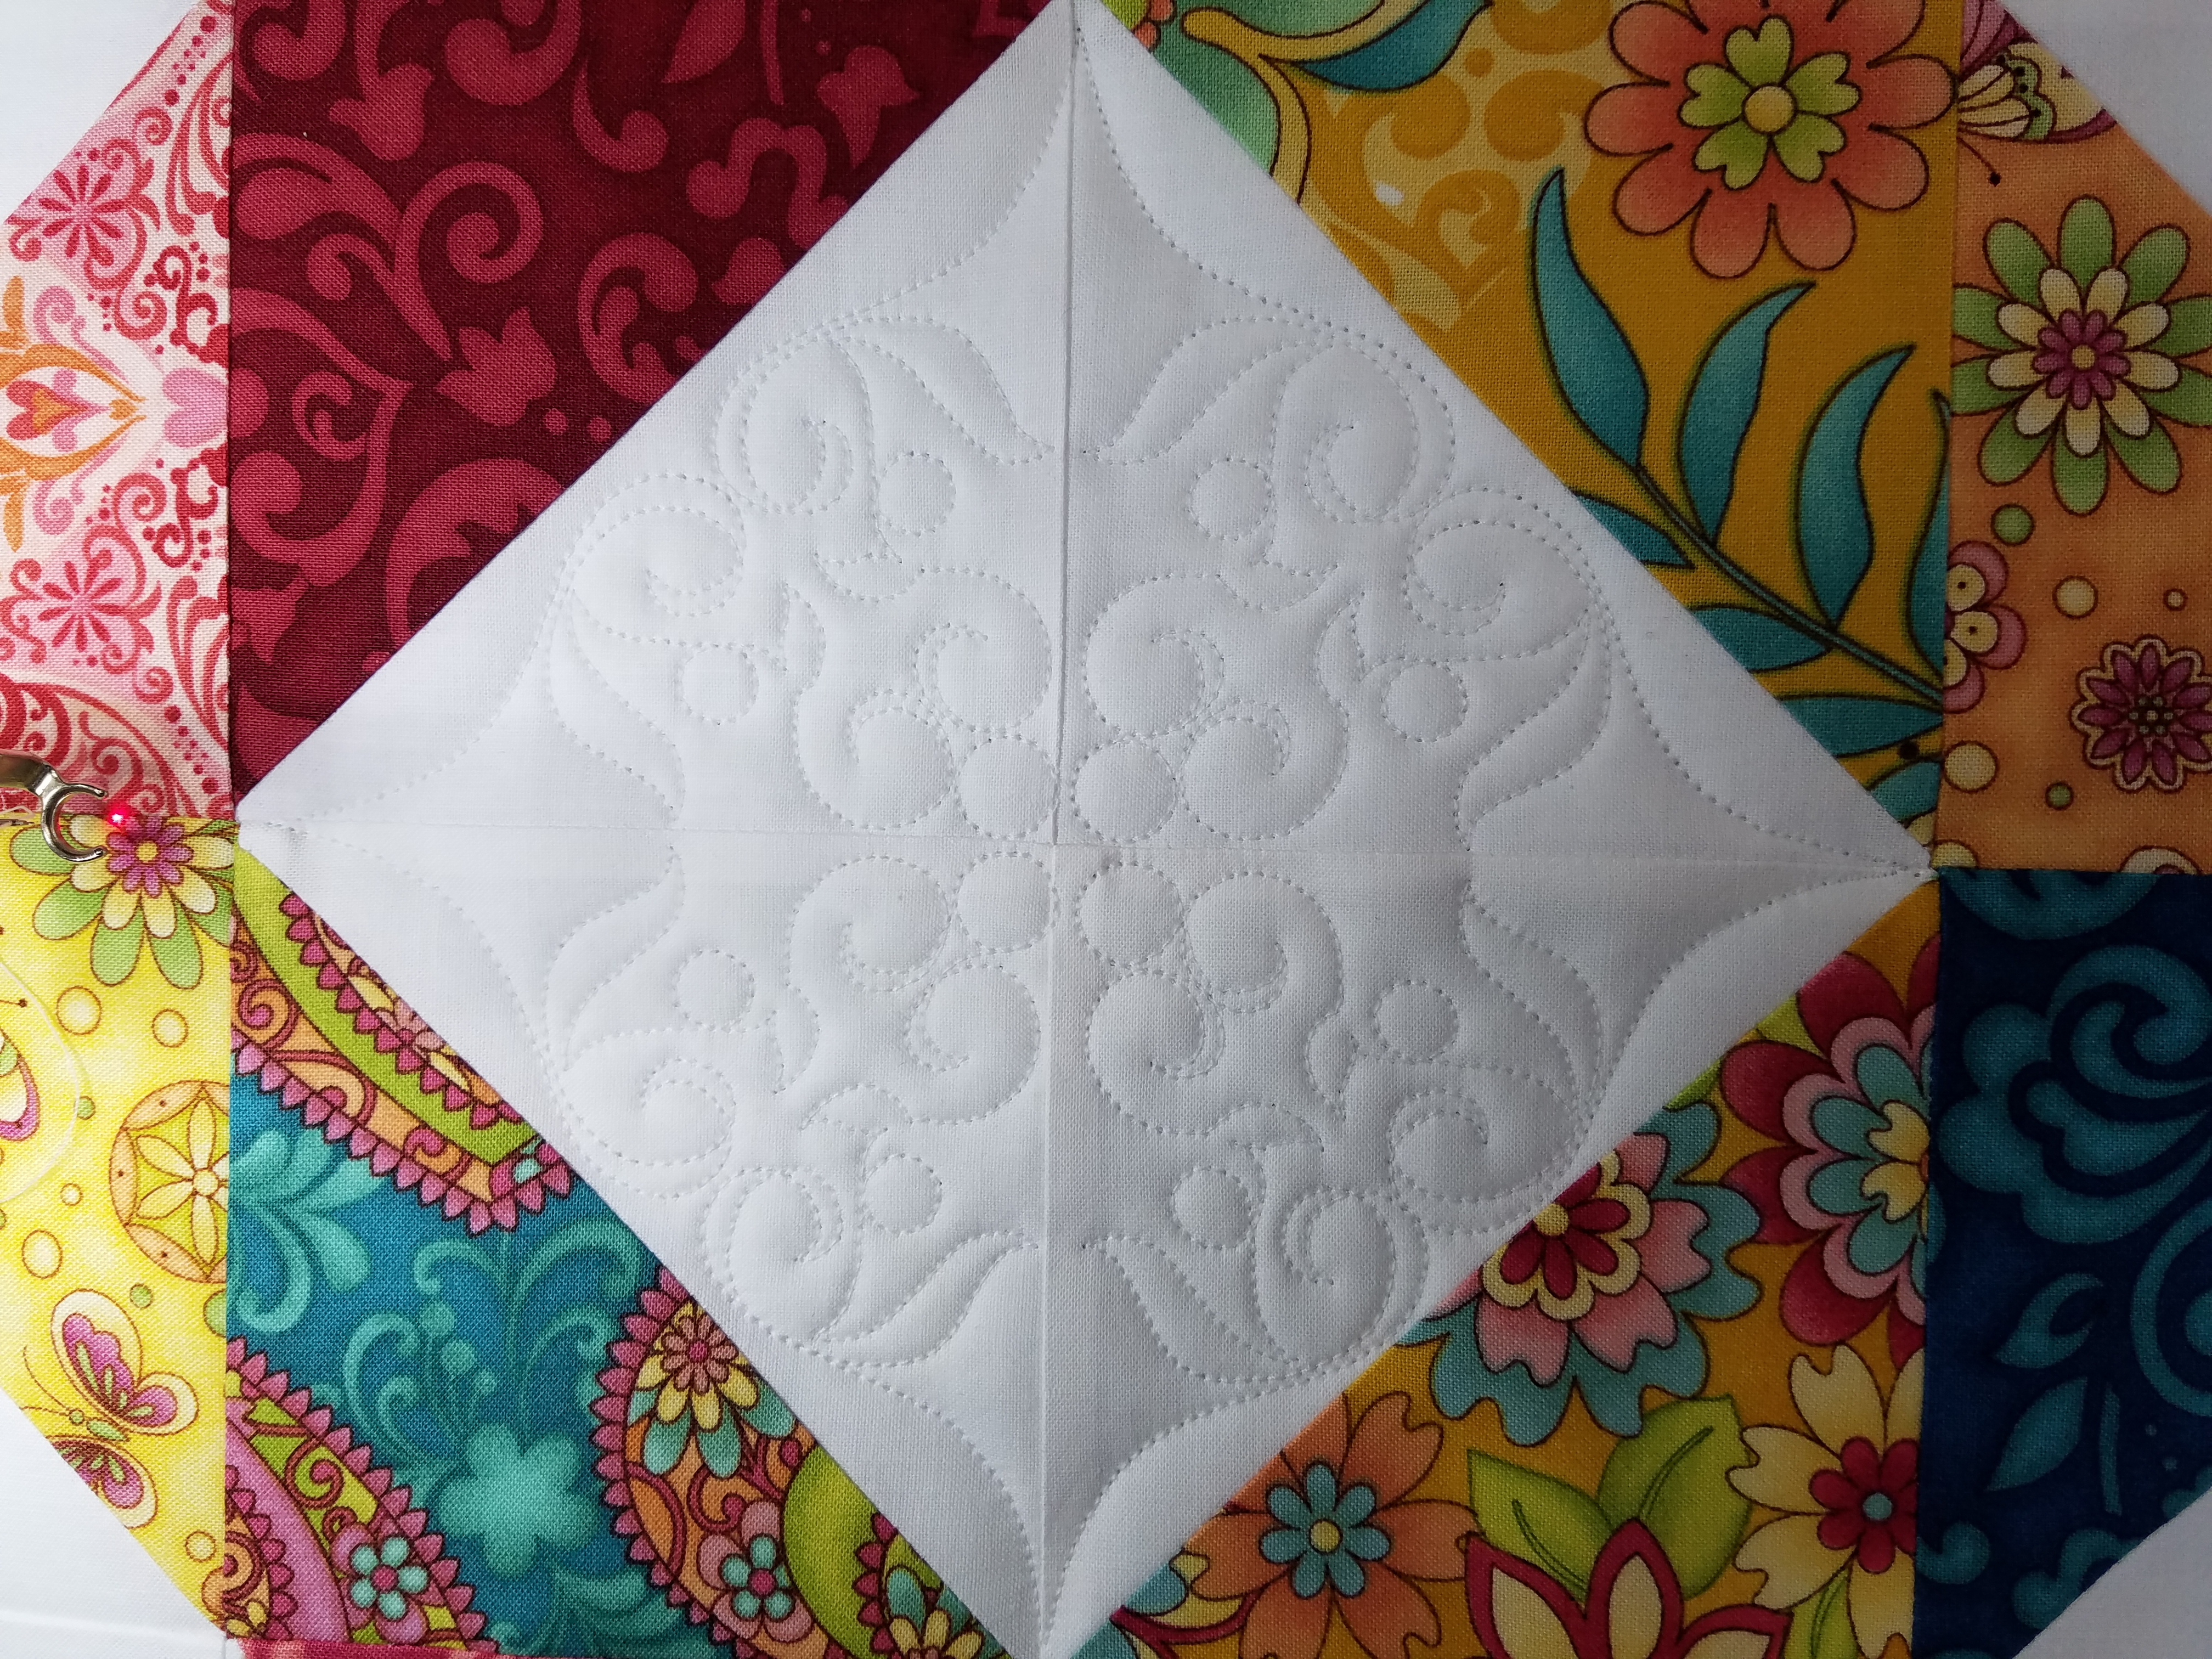
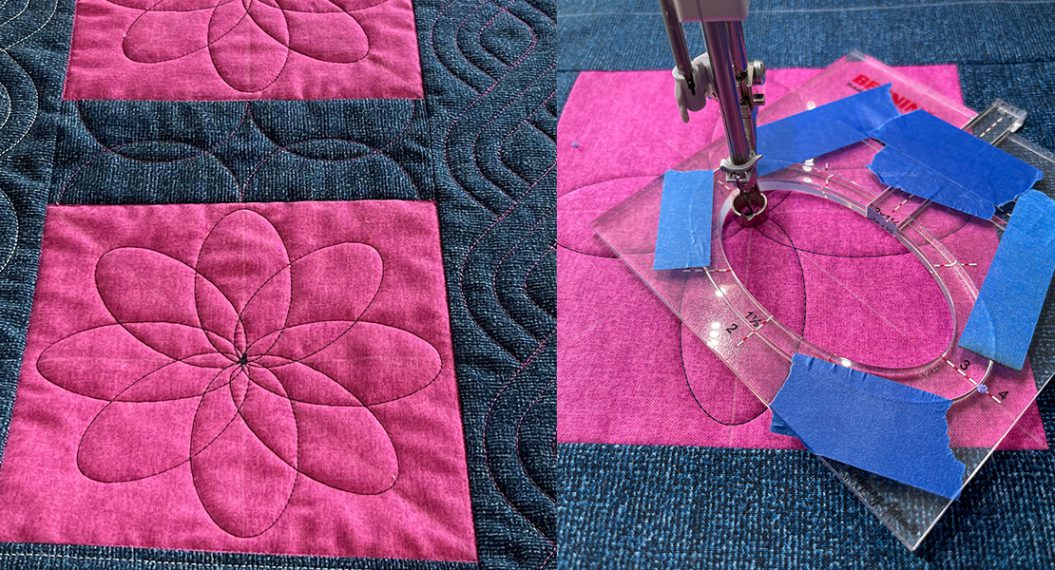
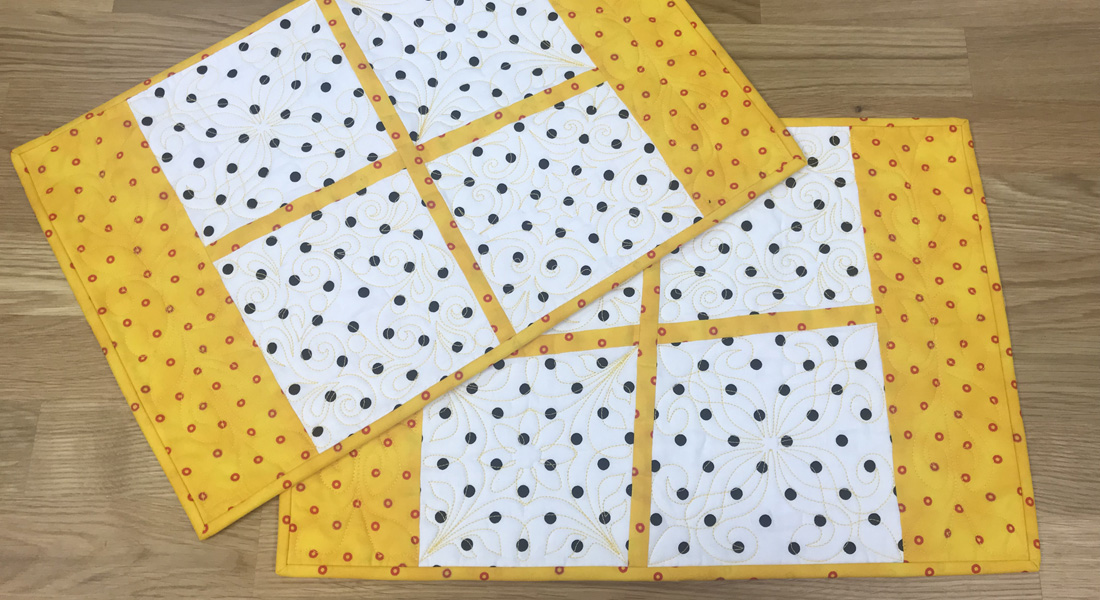
I found some fabric in my stash and created a quilt block and stitched three blocks to make a table runner.
Materials used in this project:
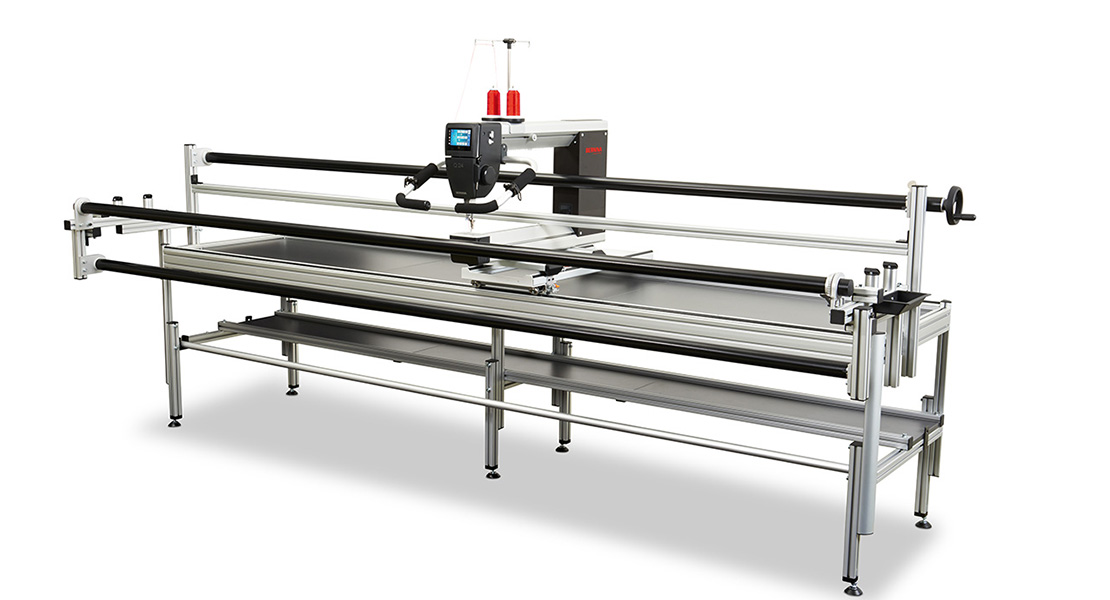
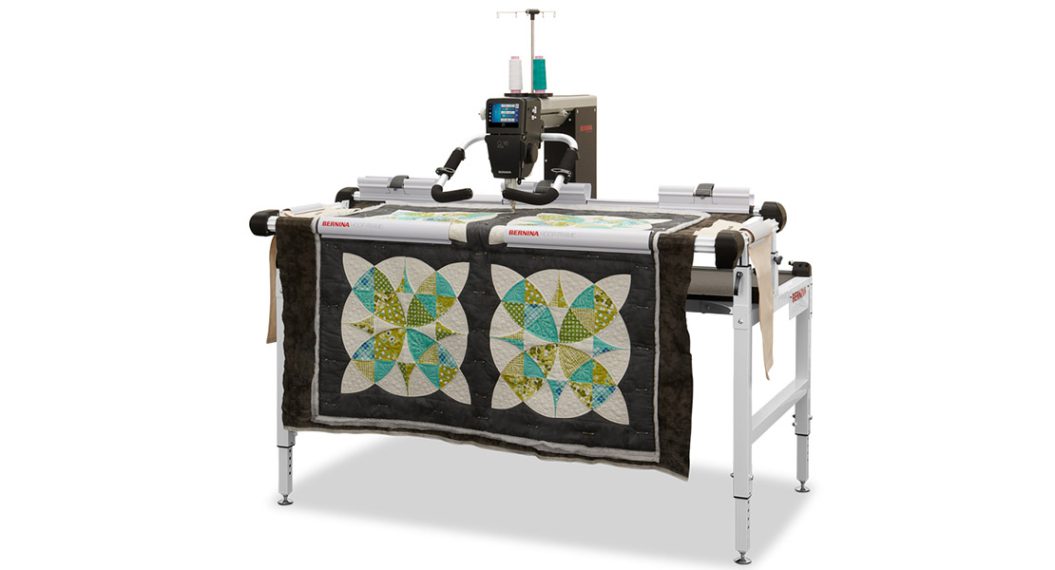
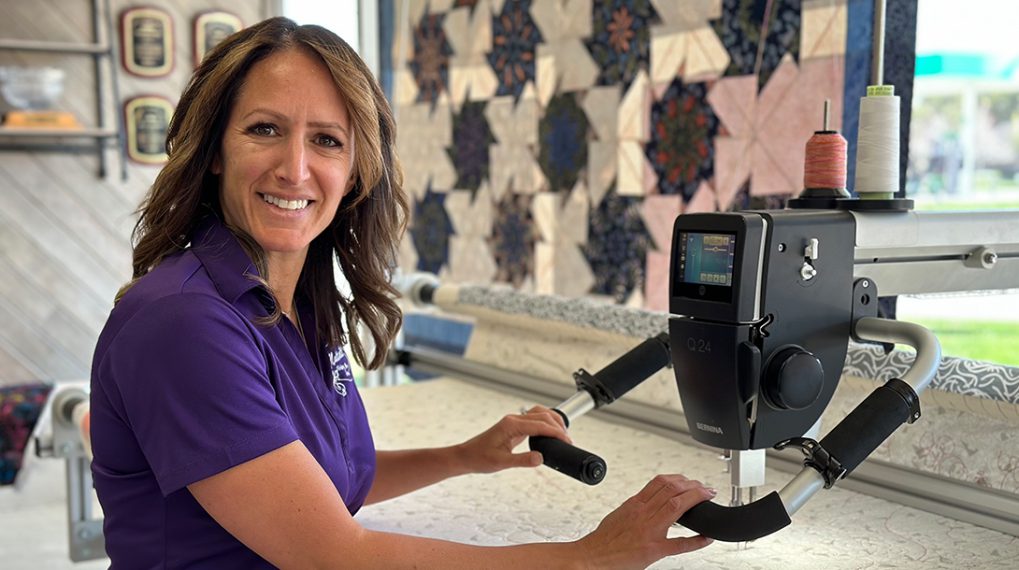
- Q 24 on frame
- Q-matic
- Design-LCPatno27
- Design-VinesBerries_triangle
- BERNINA Embroidery Software
- BERNINA Quilter-block Mosaic1
- Stitched three blocks together and quilted.
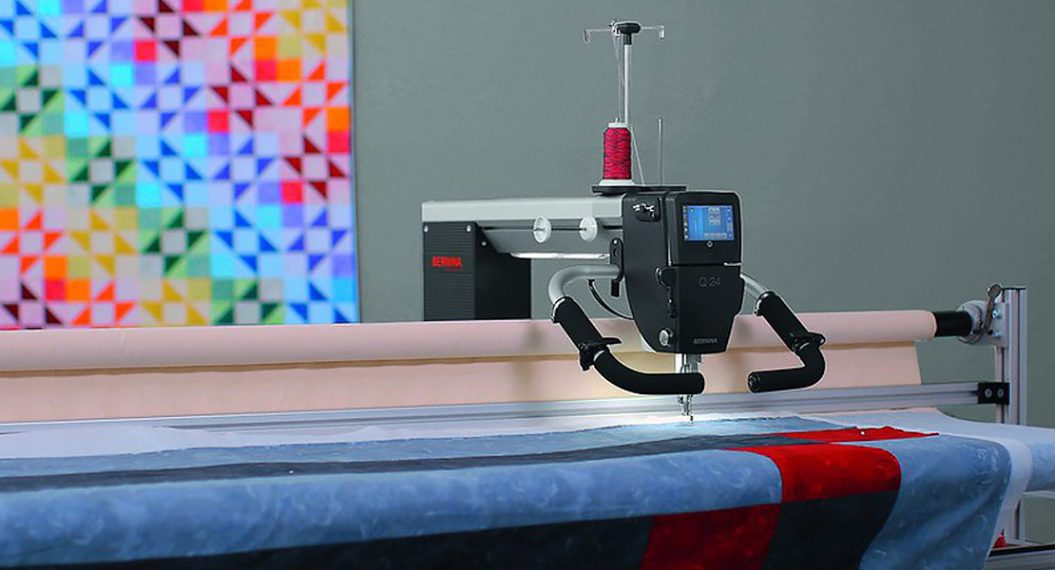
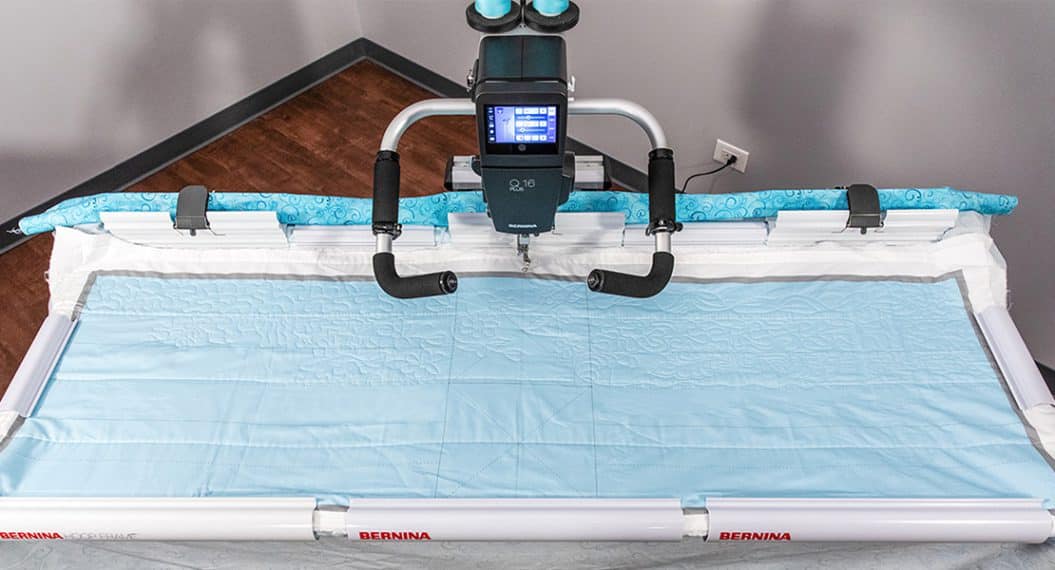
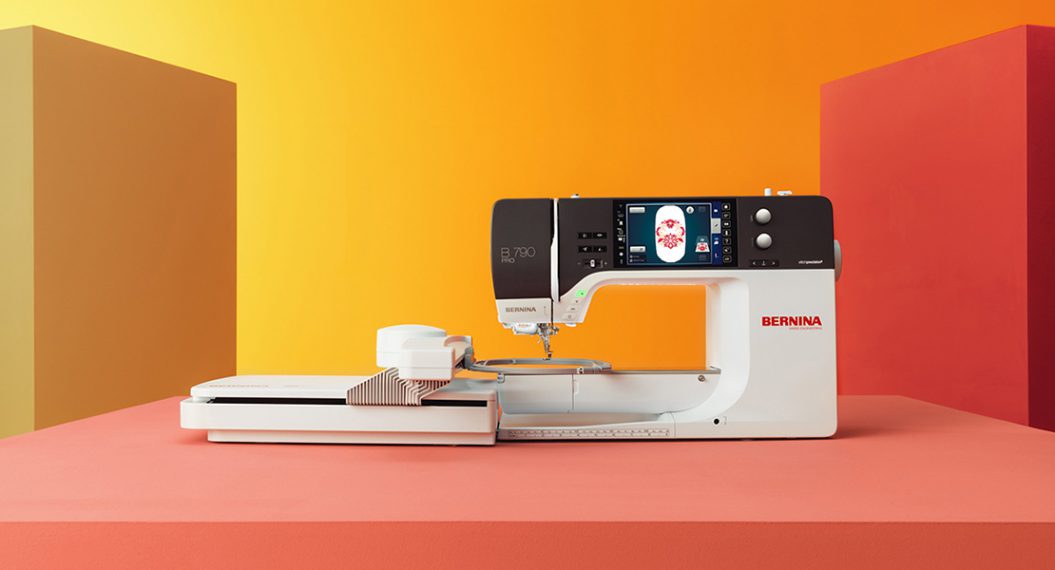
I loaded the frame and got ready to start stitching. I am stitching on a frame but if you have a Q 20 in a cabinet you can do the same thing. The Needle Point Laser works on all of the Q Series machine, frame or cabinet models. As for Free-motion embroidery #24 it is compatible with the Q Series even those it was created for the domestic line of machines. All of the free-motion feet for BERNINA’s current line of machines work on the Q Series.
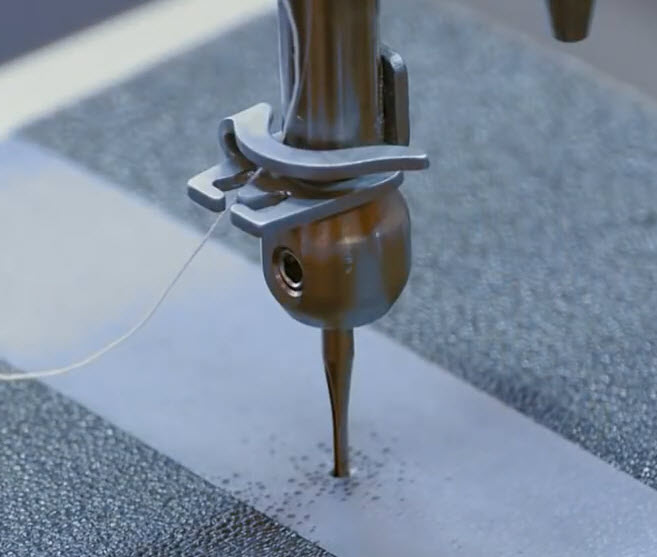
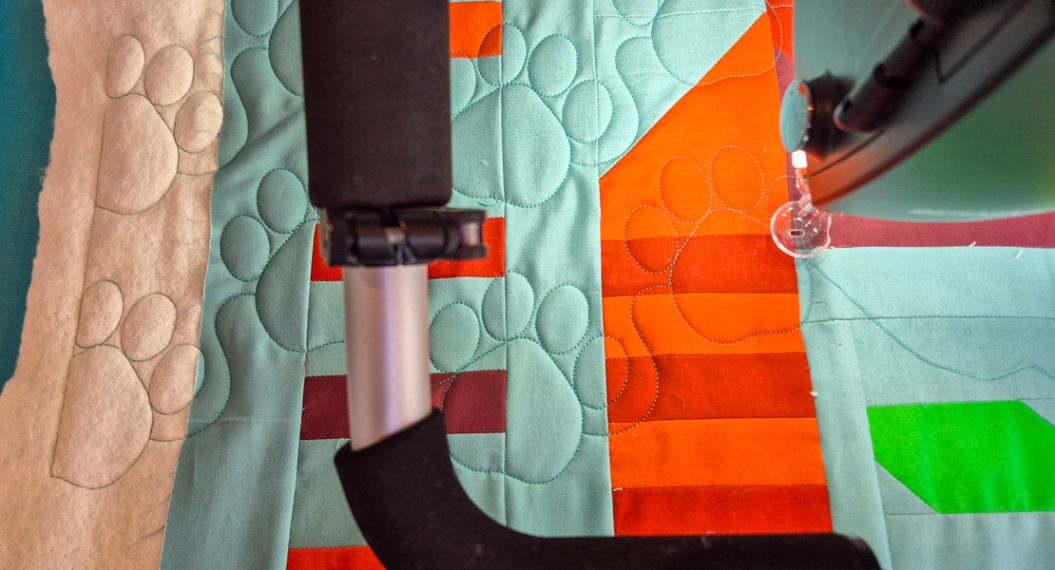
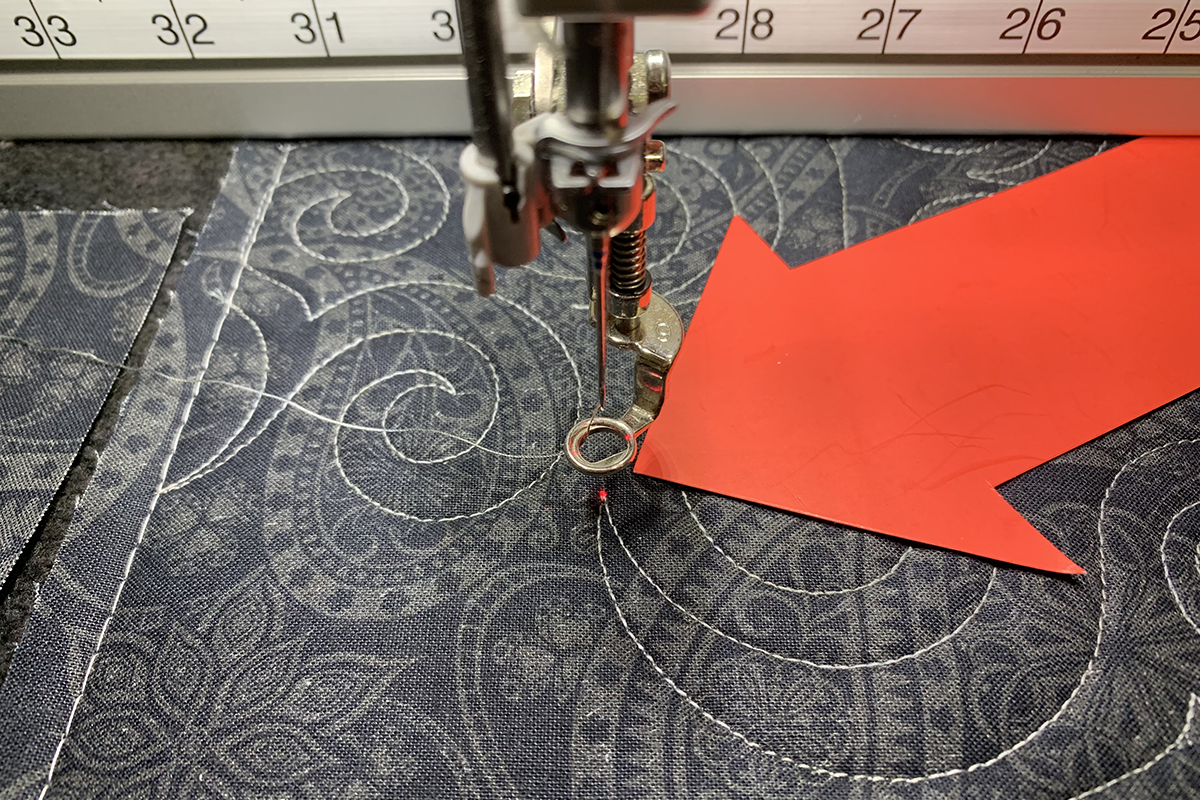
The laser is mounted on the side and behind the needle so it is out of the way.
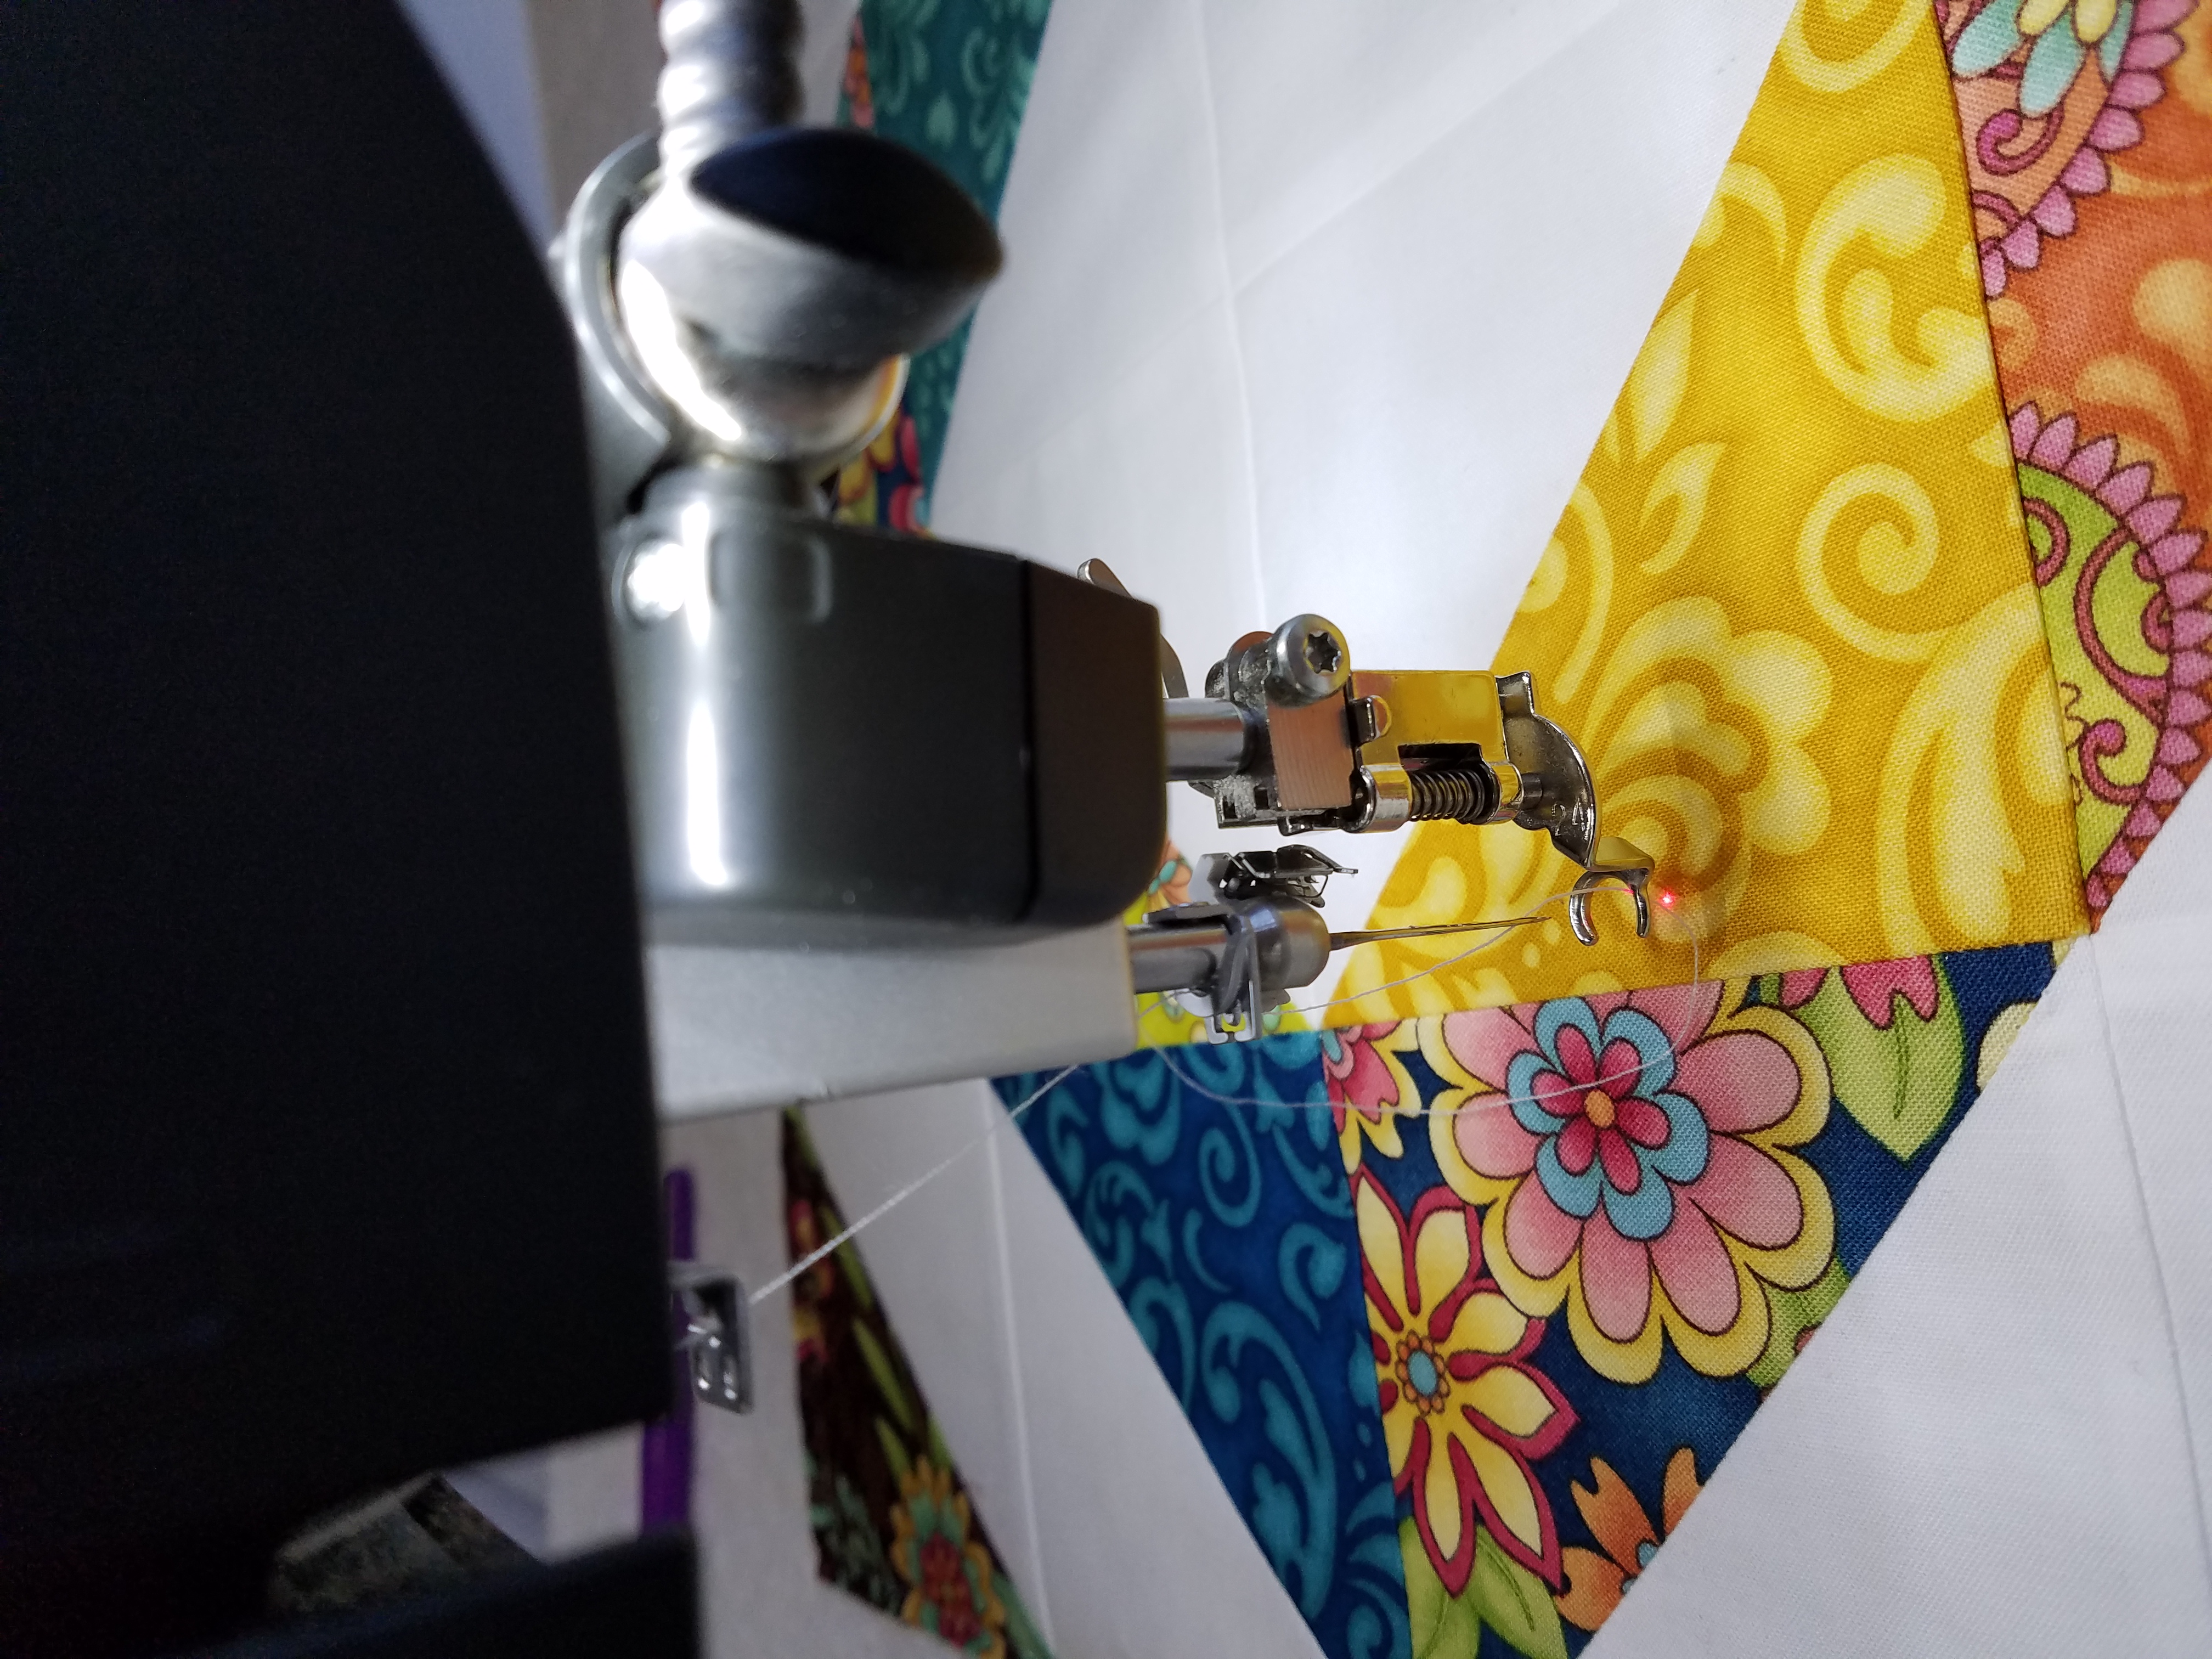
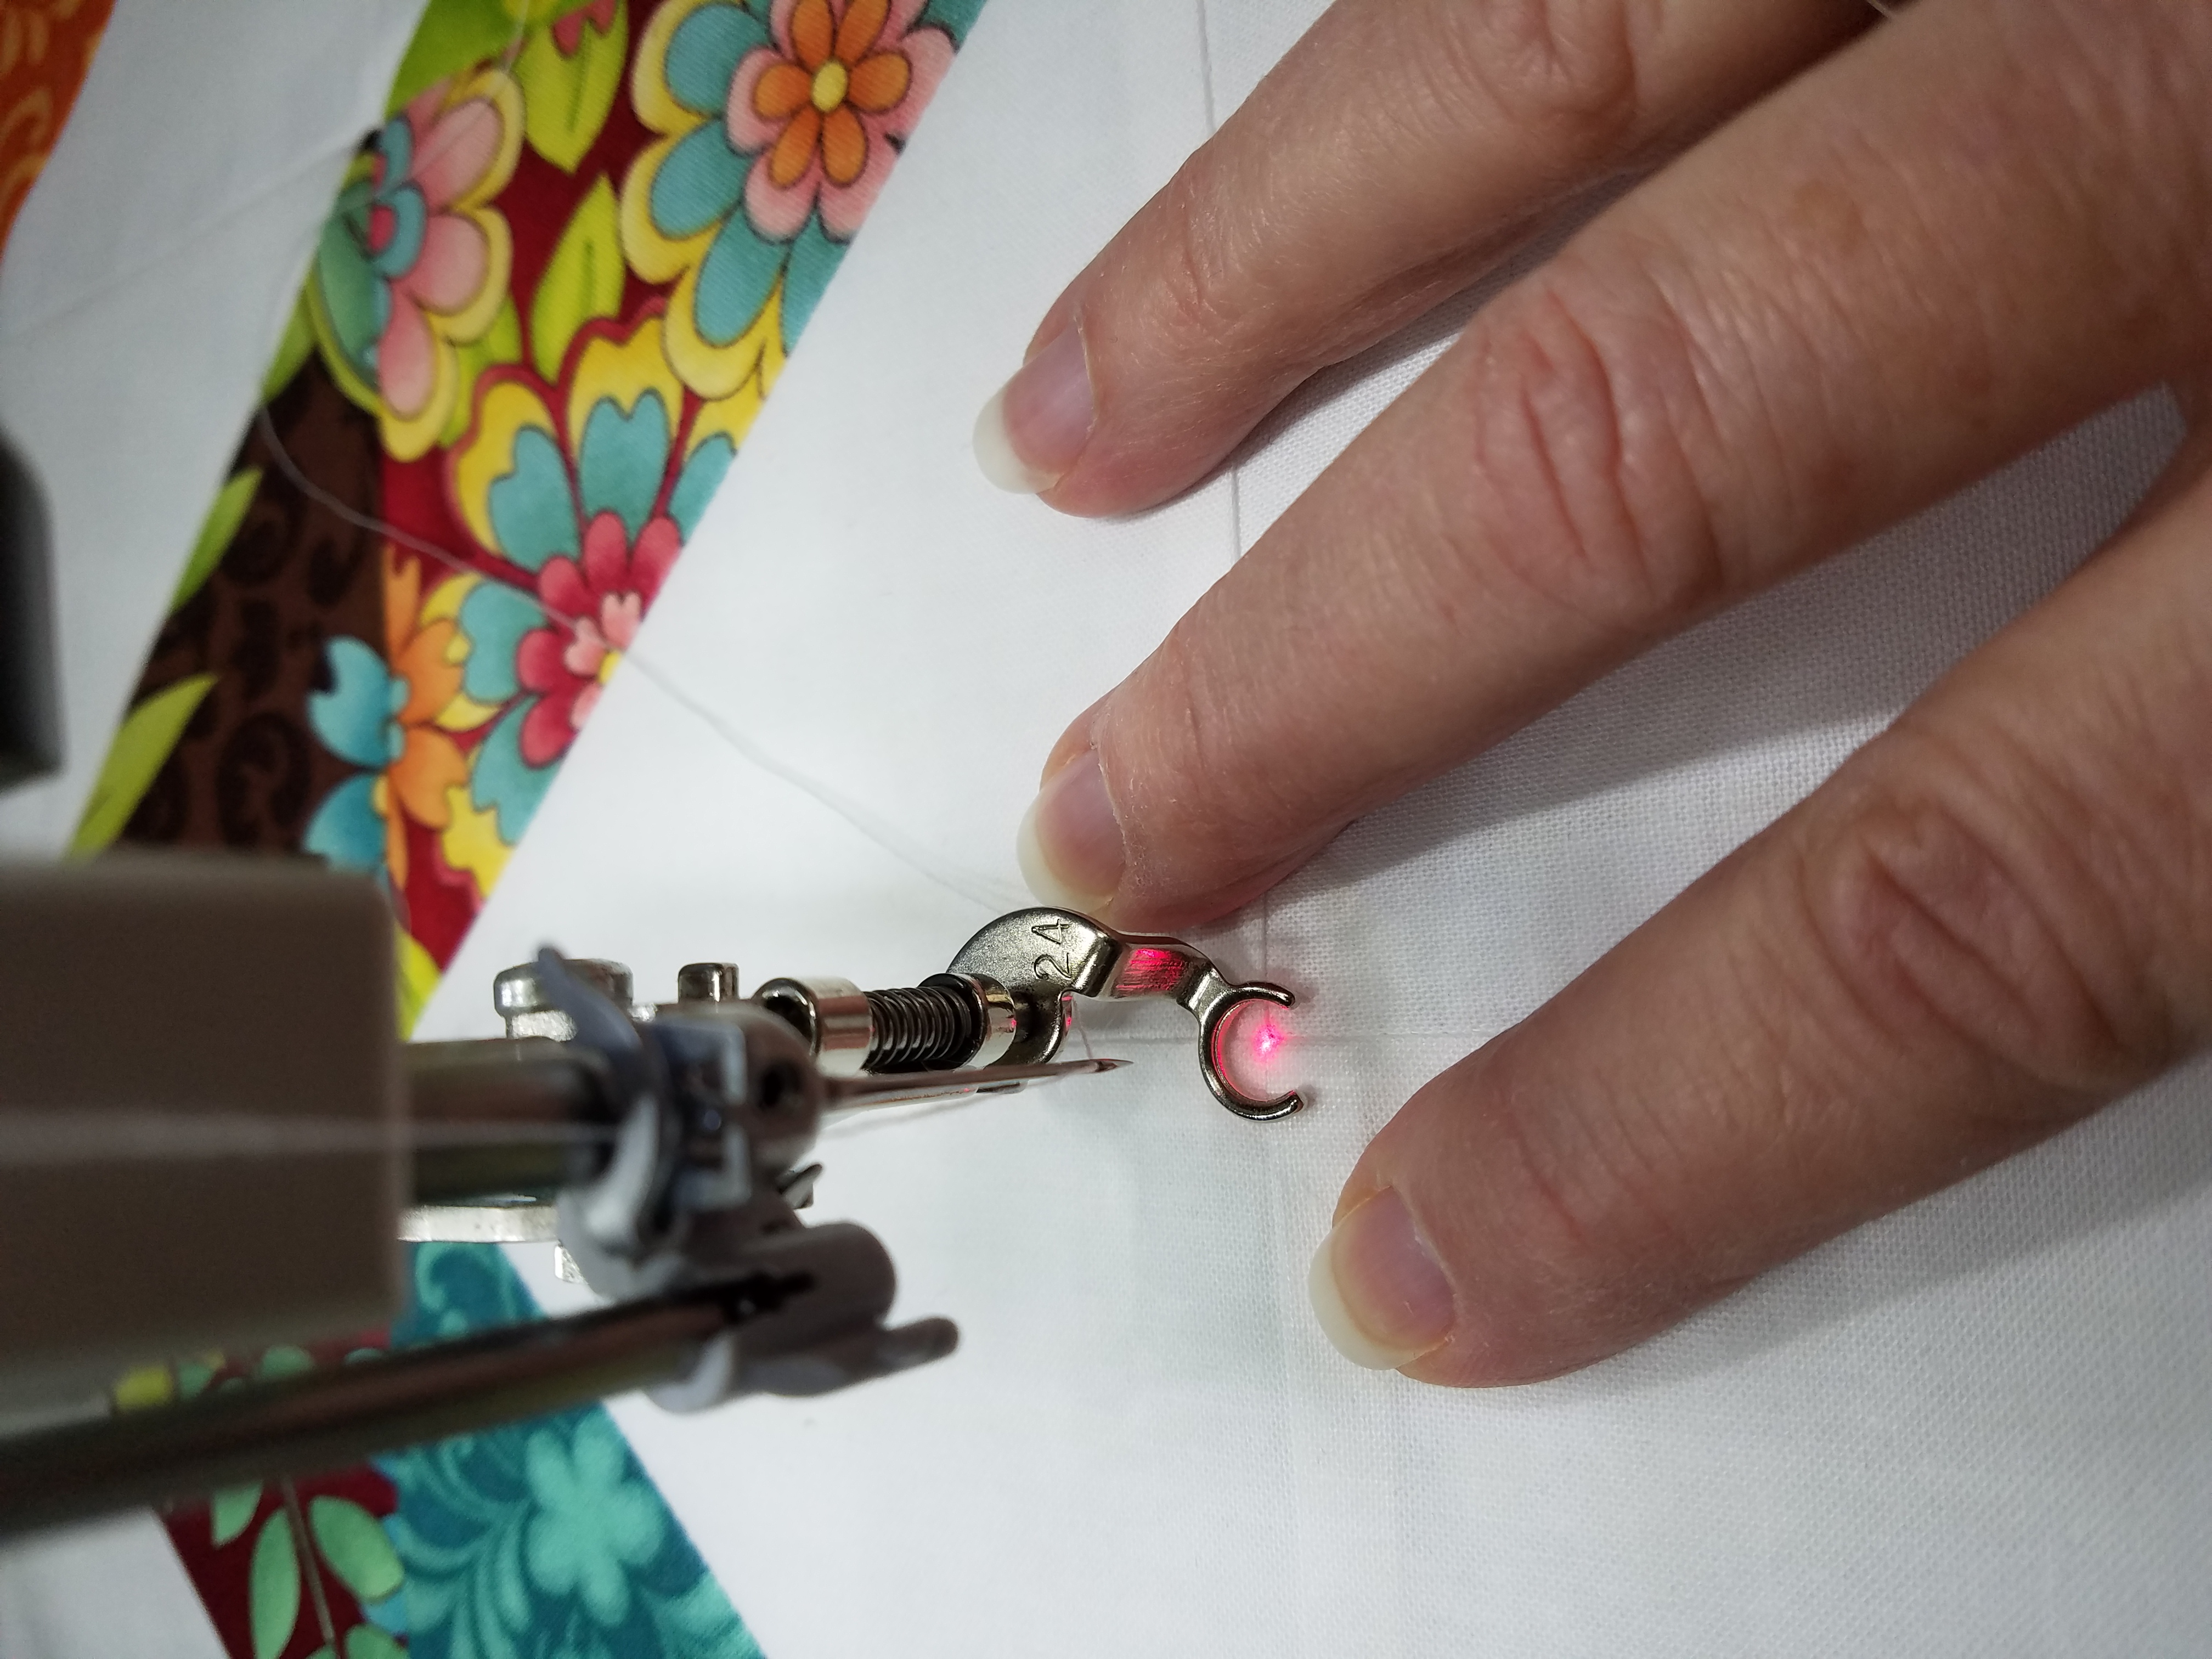
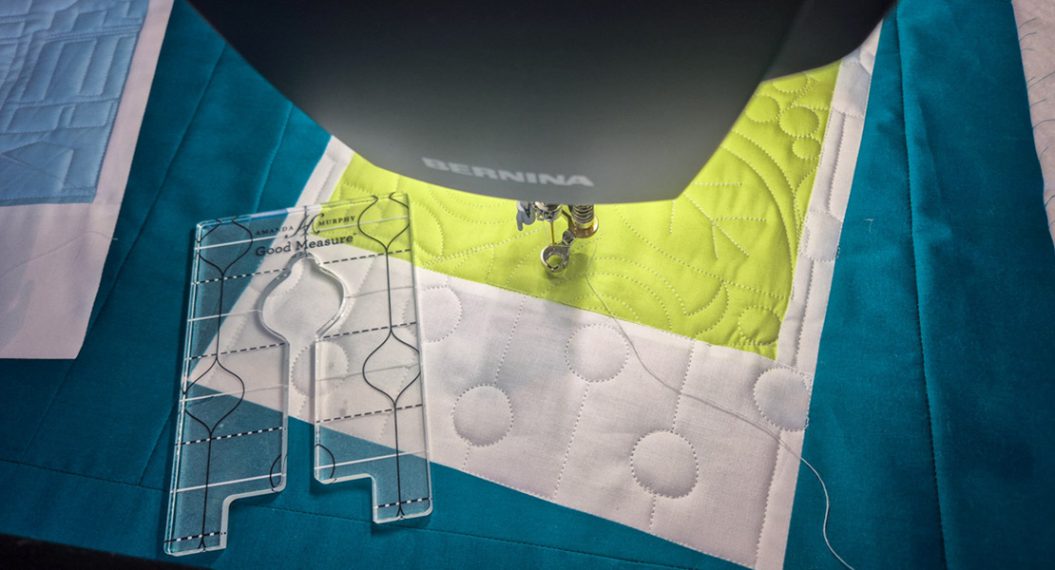
With Free-motion embroidery foot #24 on there is a great view of where you are going to stitch.

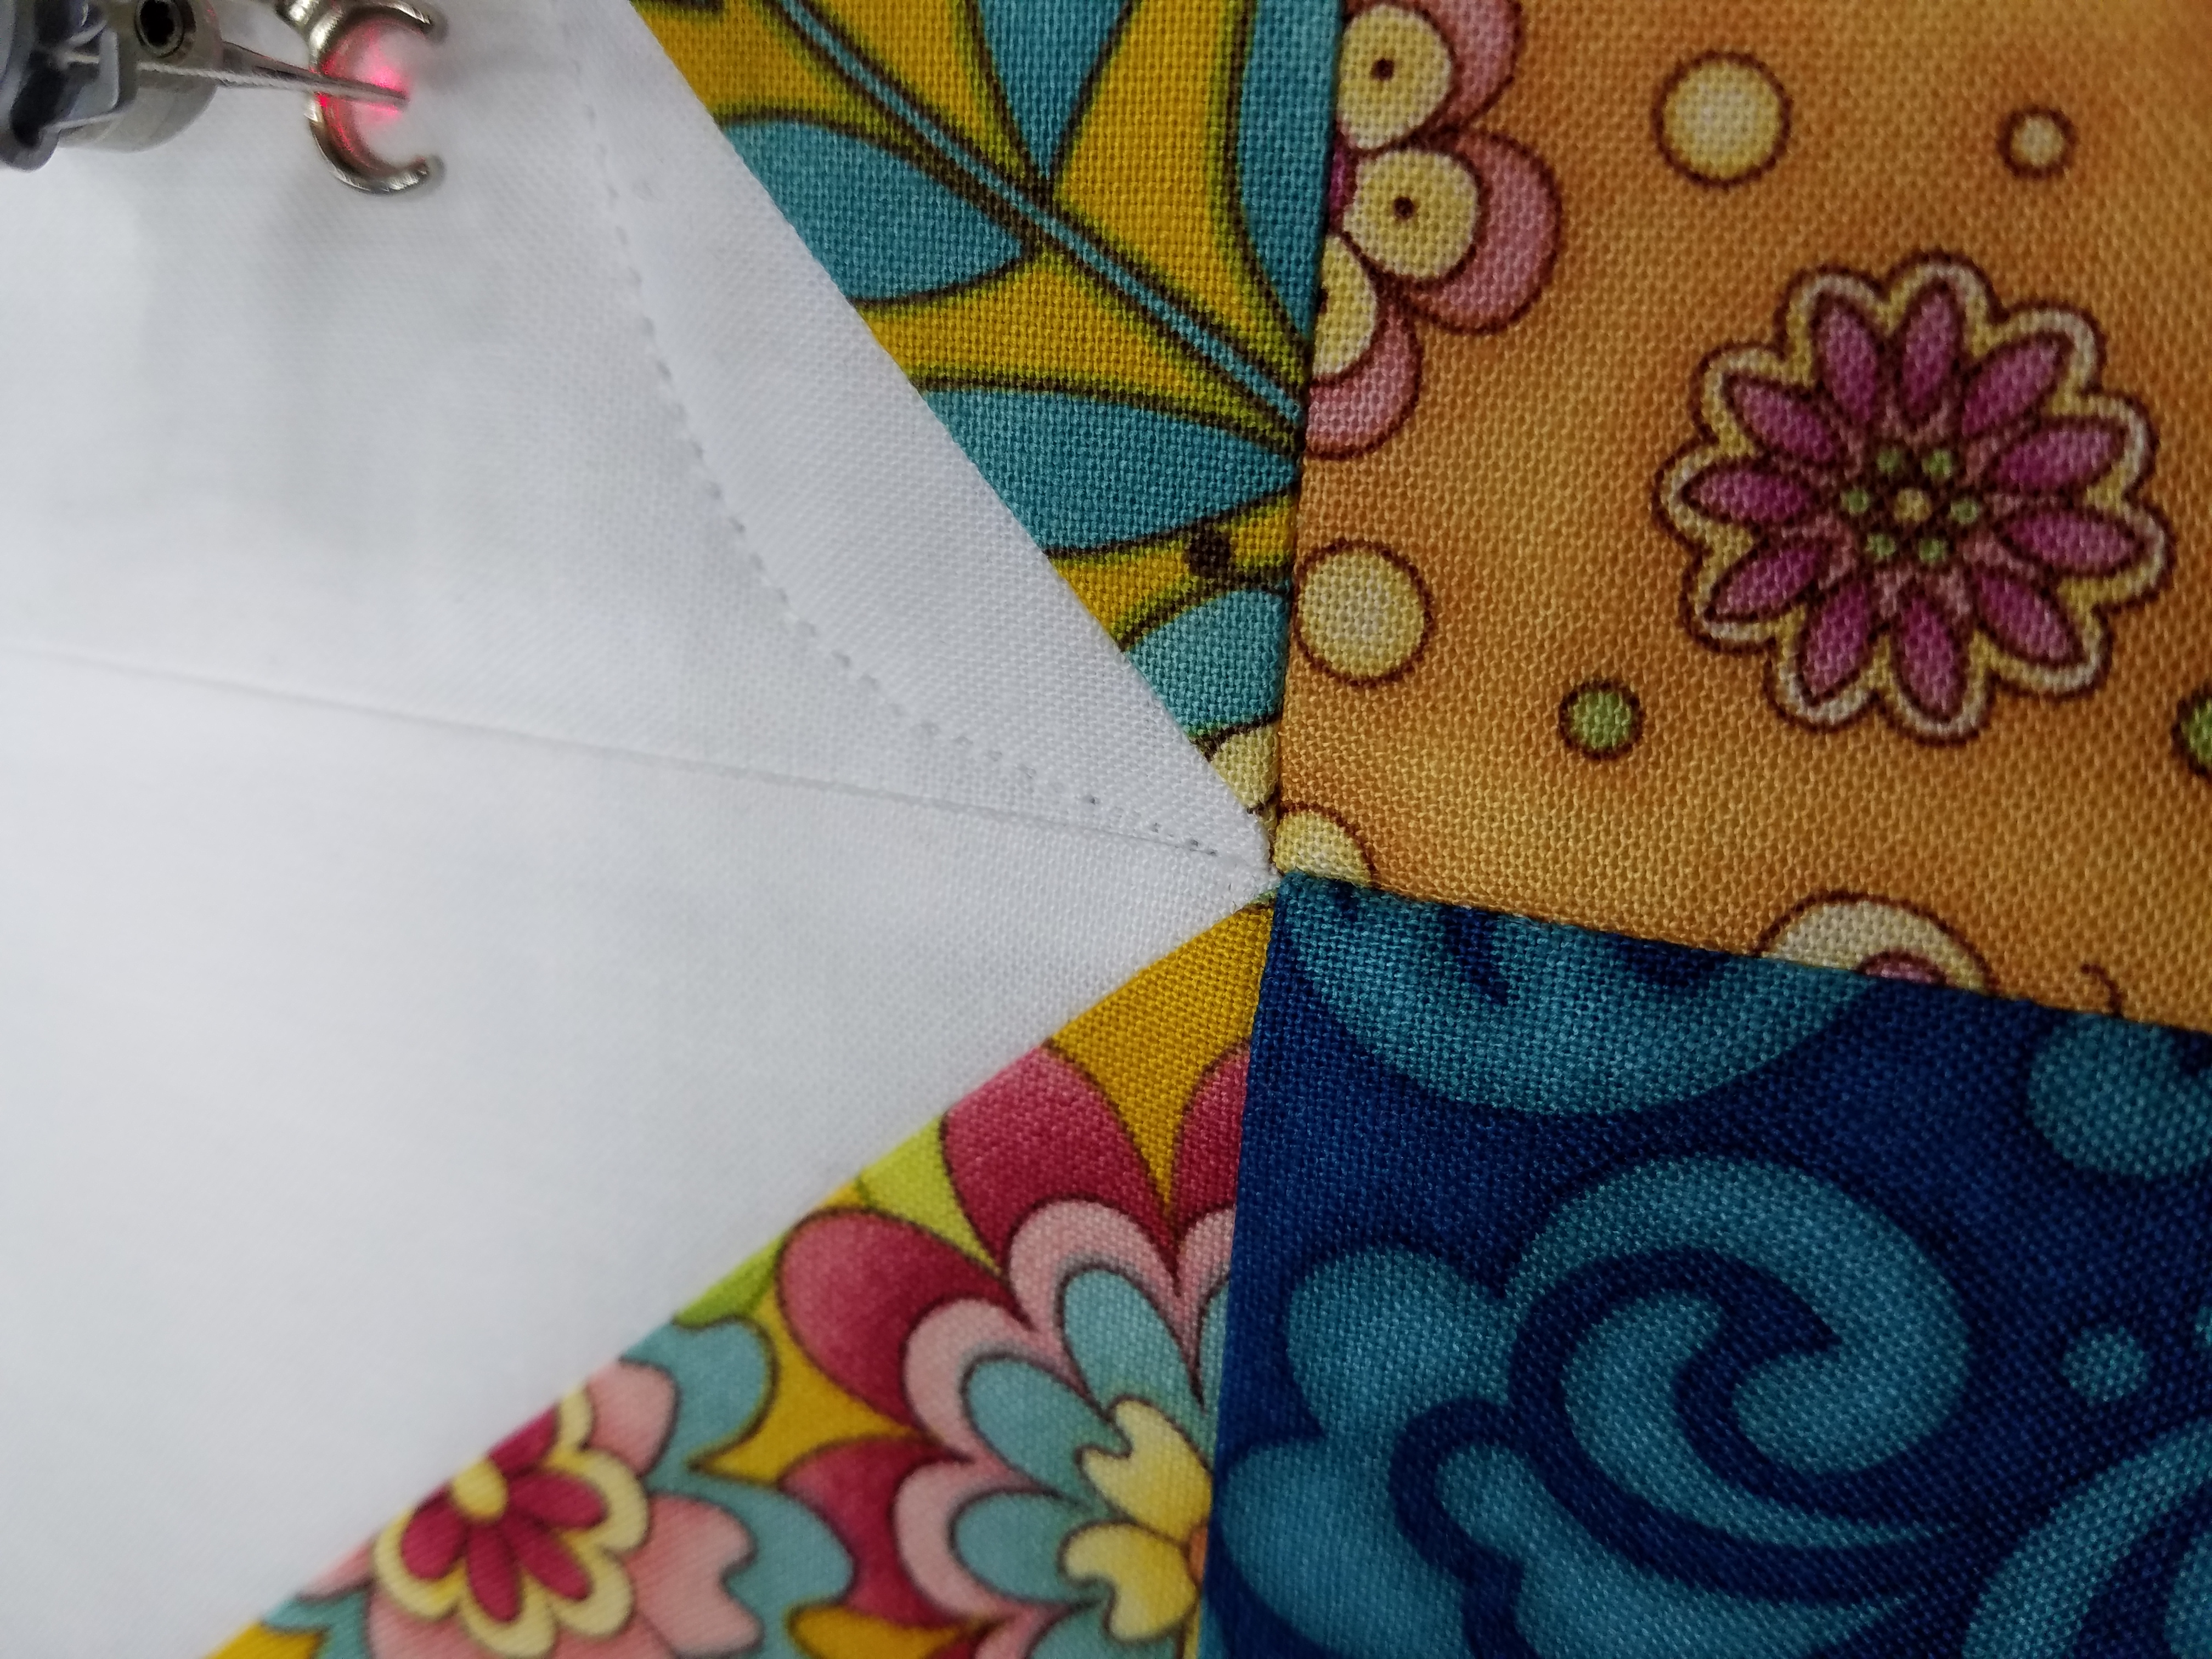
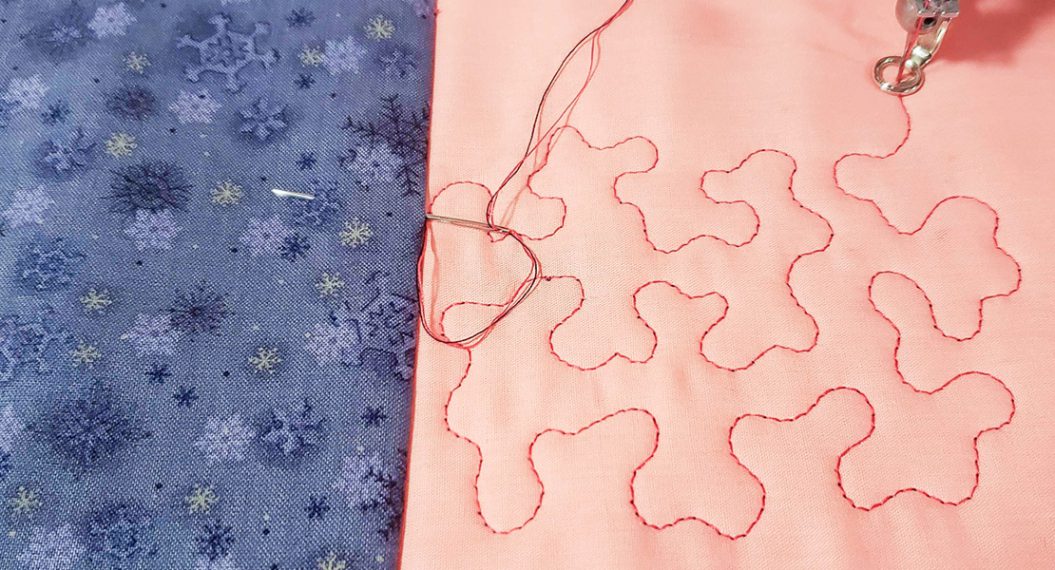
Place the laser on the point you want to mark or start stitching. The needle will hit right at that same point. Make sure you have aligned the laser before you start. This setting will hold for some time but always check to see if things are still lined up before you start another project.
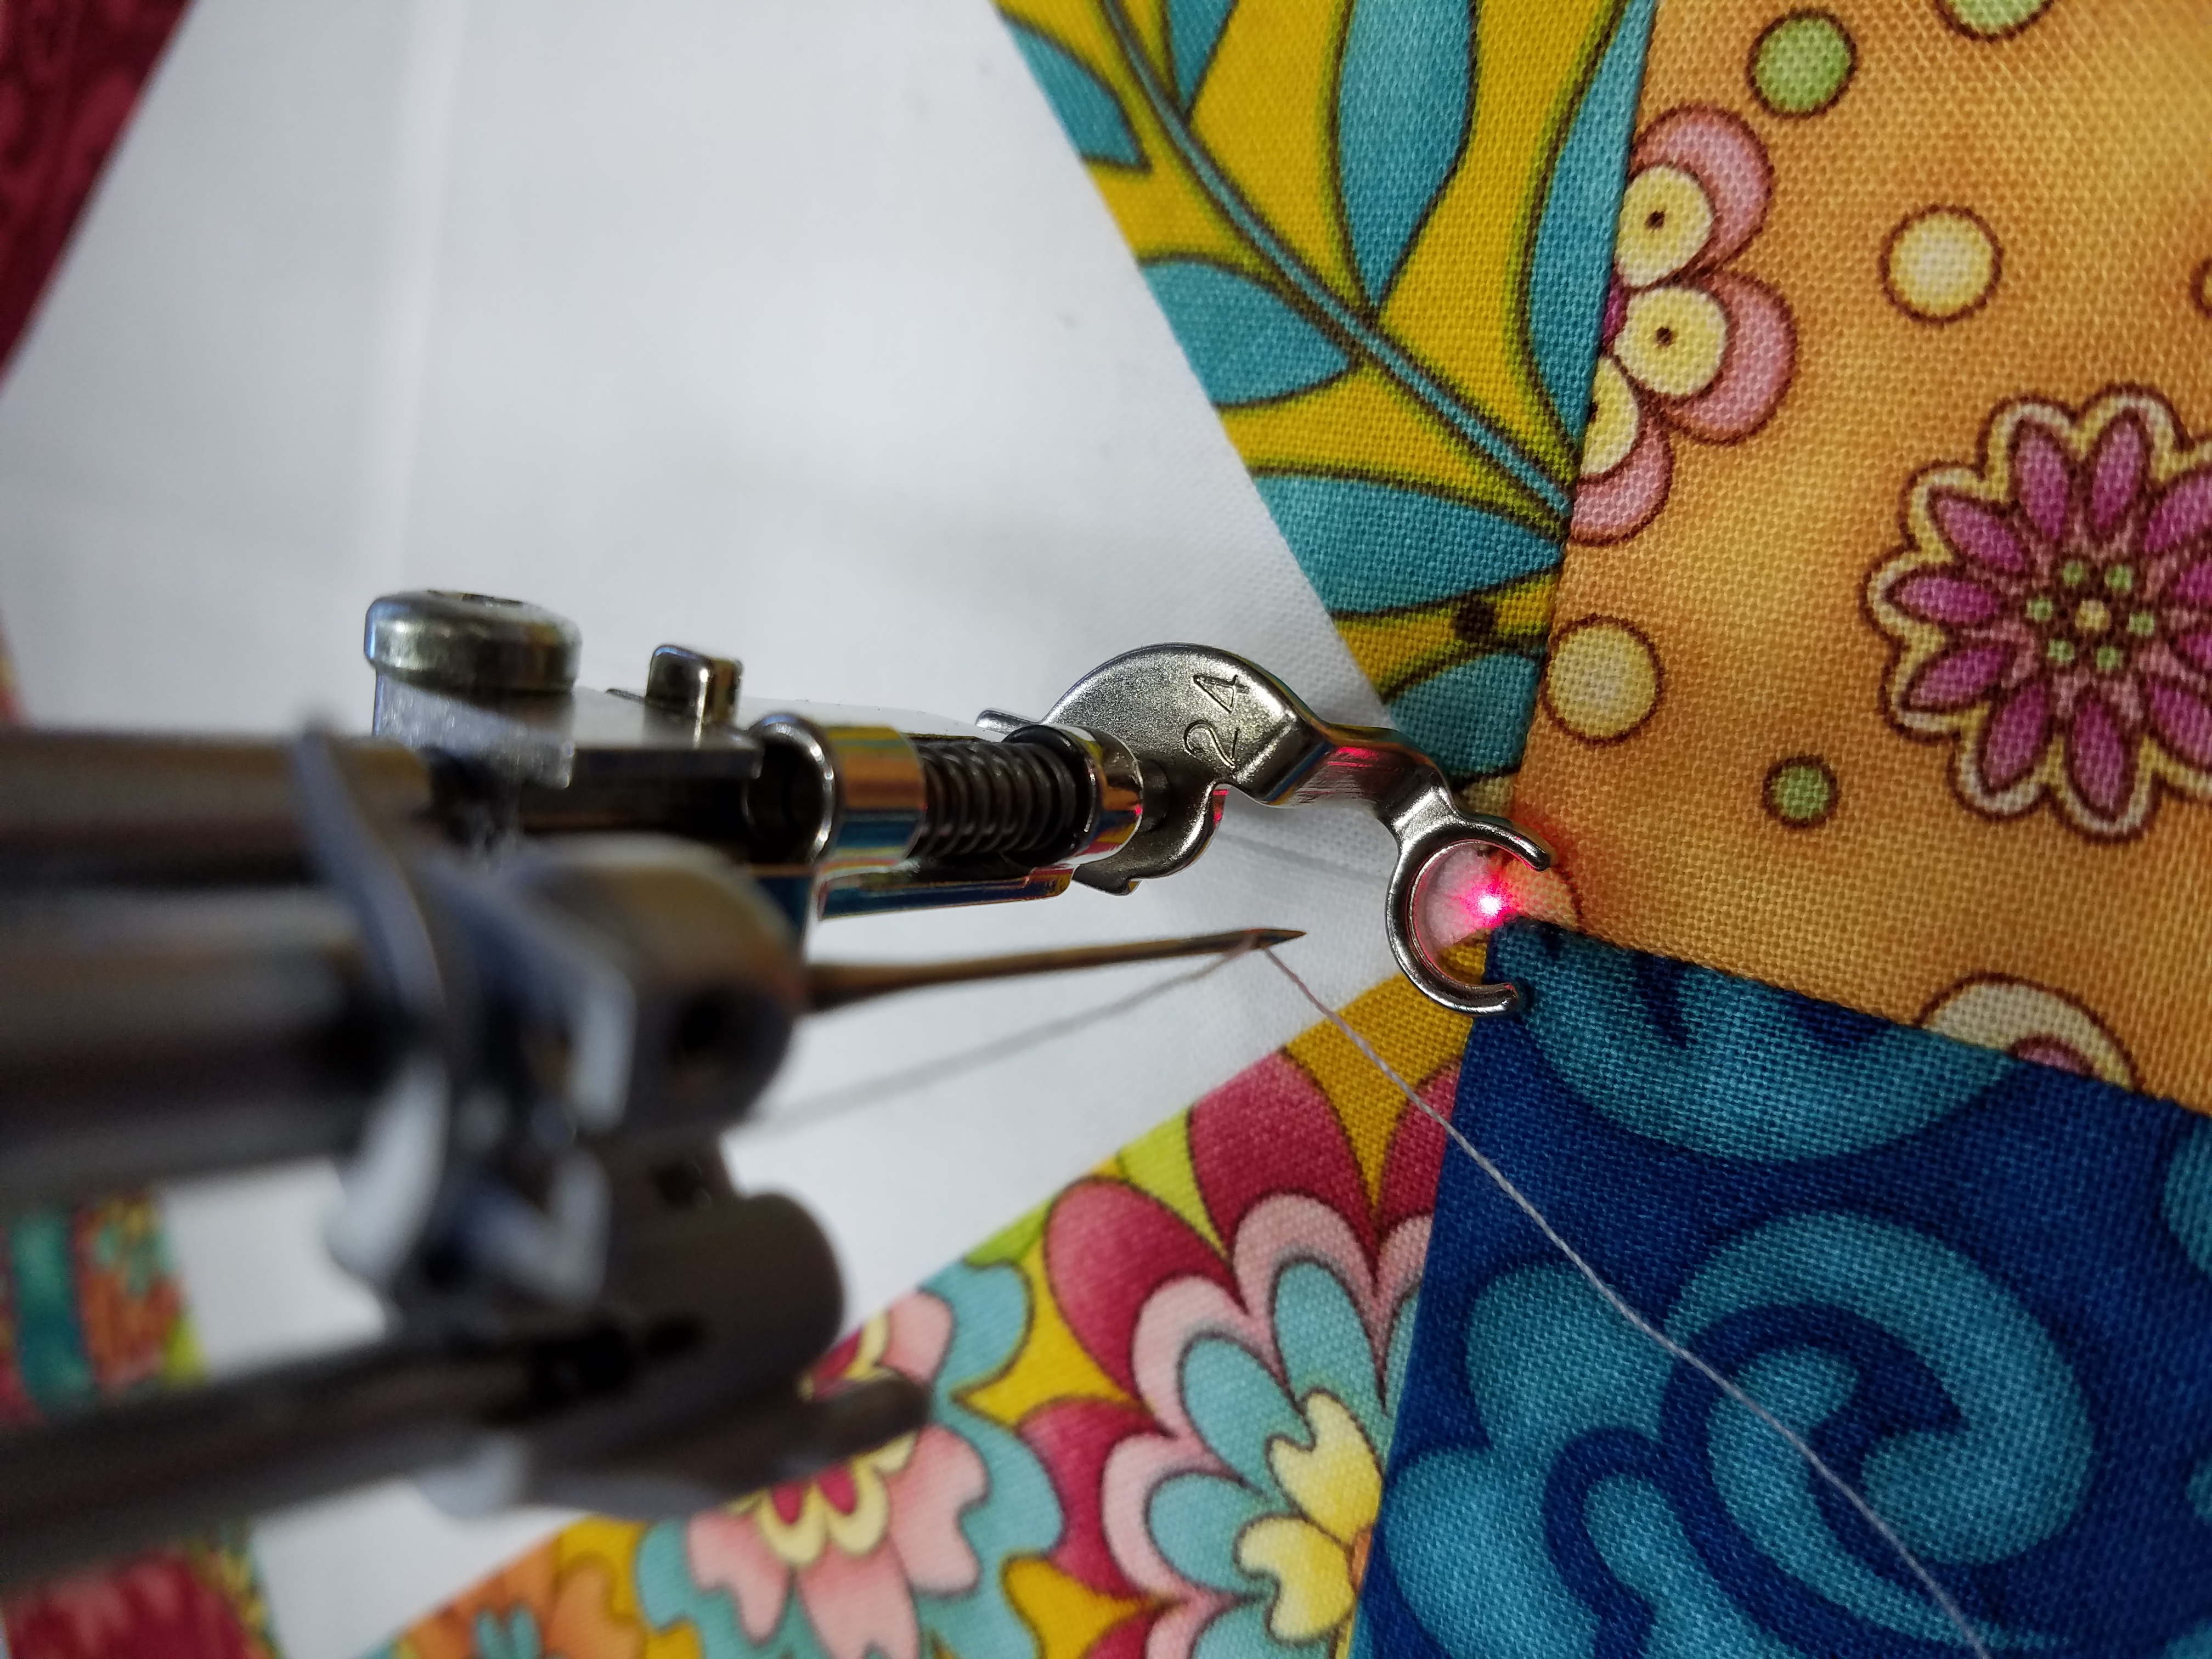
Look how prefect it is.
I had so much fun using the Needle Point Laser with Free-motion embroidery foot #24. I used Q-matic designs to create my table runner but you could use free-motion if you wanted to.
Here are a few tips.
If your batting is lofty you may need to hold the quilt sandwich down with your fingers when working on the frame. This will help you to get a more accurate placing of the needle. If working on cabinet model this may need to be done also if batting is high loft.
Check the alignment of the laser ever so often. You never know what happens when you are not around and if the thumb screws are not tight the laser may shift a little.
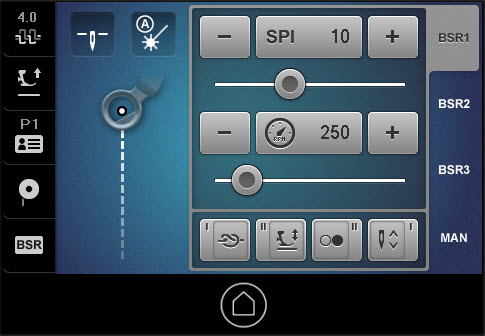
Remember you have the three different settings for the laser, “0” is OFF. This is for when you just don’t need to use the laser.
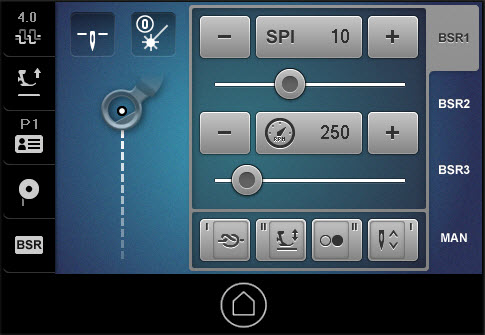
“I” is ON. This keeps the laser on all of the time. So while stitching, using to place design with Boundary or Marker in Q-matic or just so you know where the needle will touch the quilt sandwich.

“A” is AUTOMITIC which turns itself off when you are stitching. If you have no need to see the laser while you are stitching but need it on every time you stop and are ready to place design then this one is for you.


What you might also like


2 comments on “Needle Point Laser for Q Series Longarms”
-
-
So glad to hear you have the Needle Point Laser. It really is awesome.
Happy Quilting,
Denise
-
Leave a Reply
You must be logged in to post a comment.

Excited to put my needle point laser on- just got it over the weekend (love that it is on sale this month ?)
Have been playing some with my Q24 since class a few weeks ago – work gets in the way though ?