BERNINA Q-Matic Markers Feature
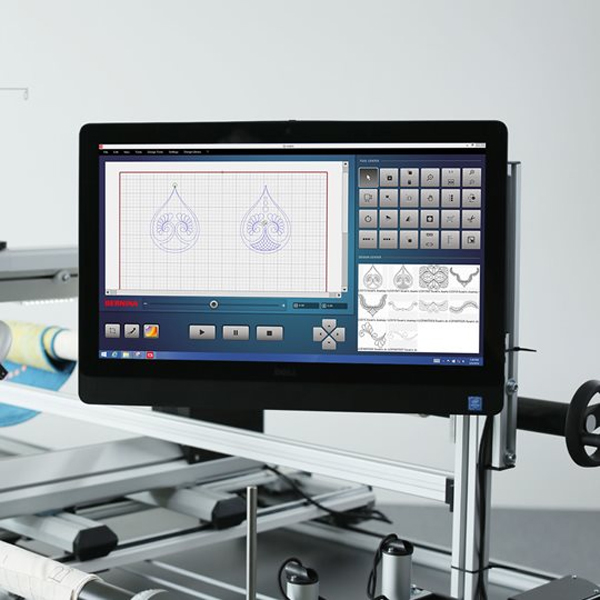
The Markers in BERNINA Q-matic Longarm Quilting Automation System is the way to mark a spot on the actual quilt top and then see it on the computer screen. This function is very handy in placing designs or in creating new designs that are made up of straight lines.
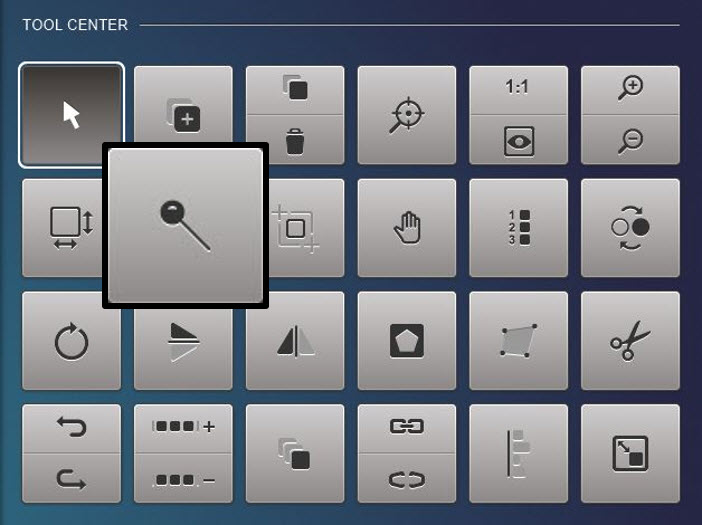
In order to use Markers and see them on the computer screen in the correct location, you must first have a Safe Area set. Open the Markers from the Tool Center.
With Markers open, move the Sewhead to the desired marker position. Click “Set” on the Sewhead Interaction Screen, or confirm with any toggle switch on the handle. You will now see the red square at the corresponding point on the computer screen. Move the Sewhead to the next position and set additional markers until all desired markers are placed.
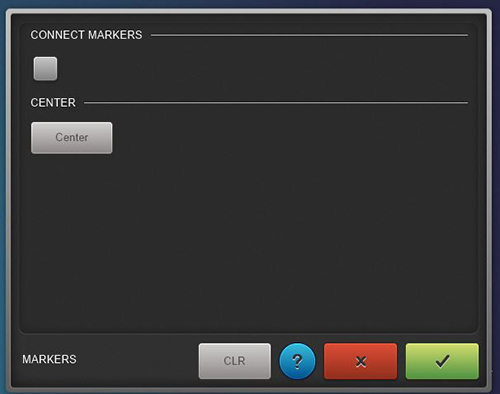
To connect the markers, click “Connect” on the Markers open screen, then click on each marker you would like to connect. Click on “Center” to show the center point of the connected markers. It is a small red plus sign.
To clear or delete all markers from screen click “Clear”.
Click “Confirm” or “Cancel” to close the window.
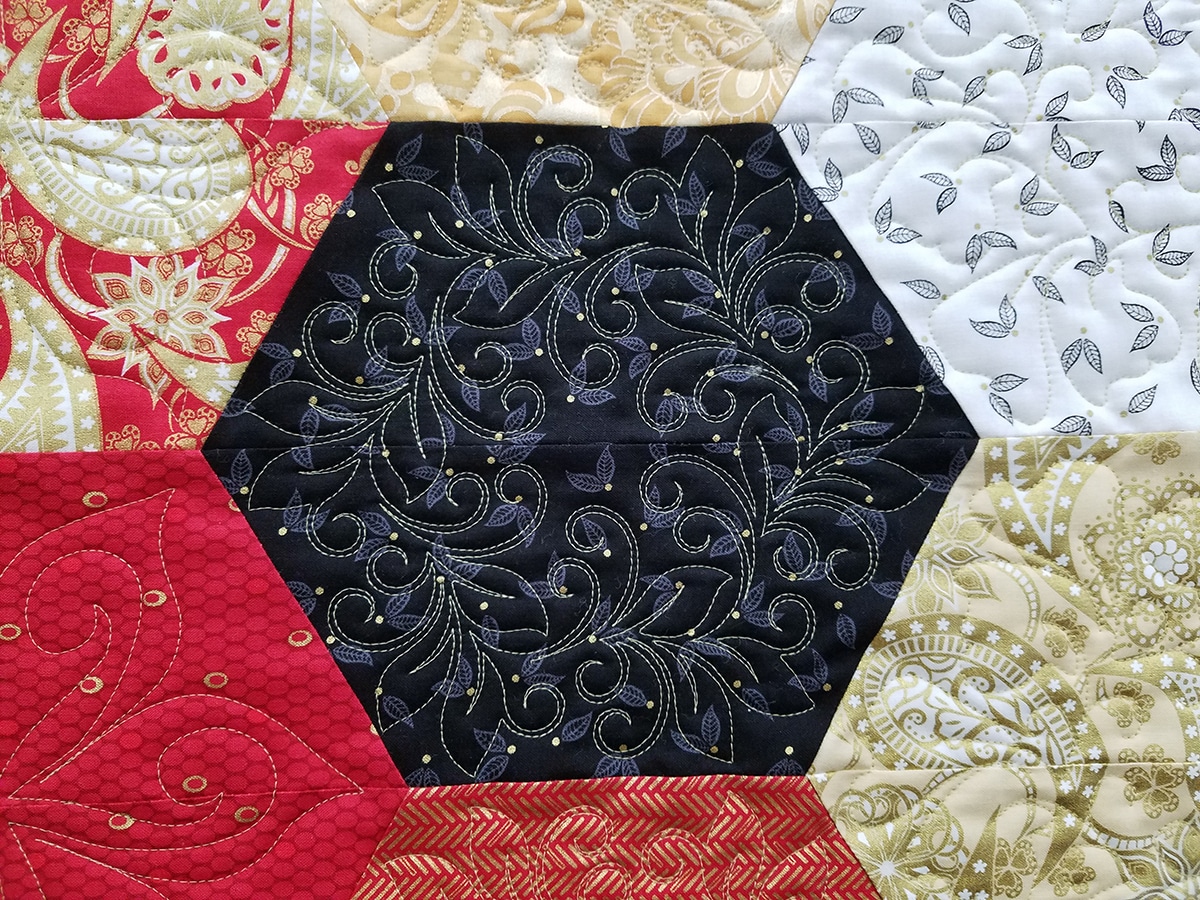
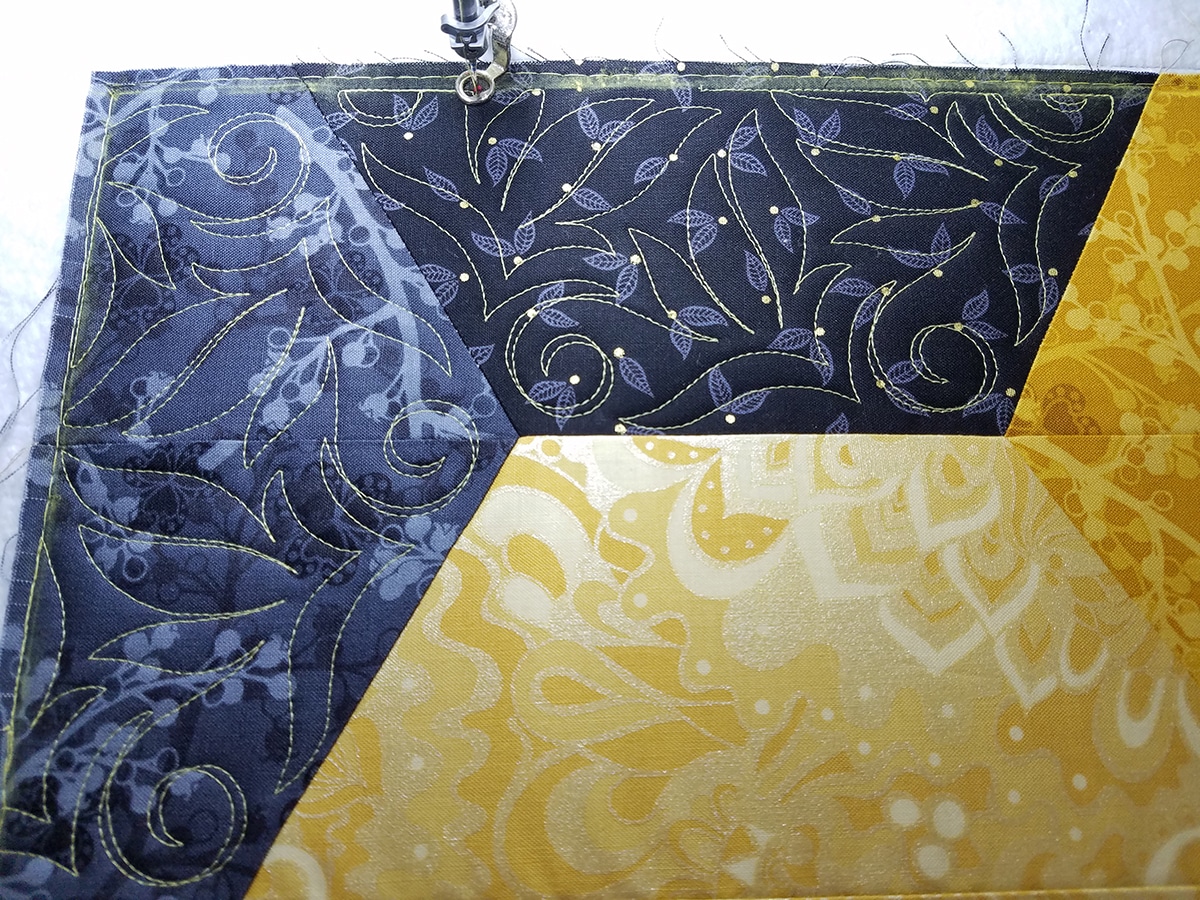
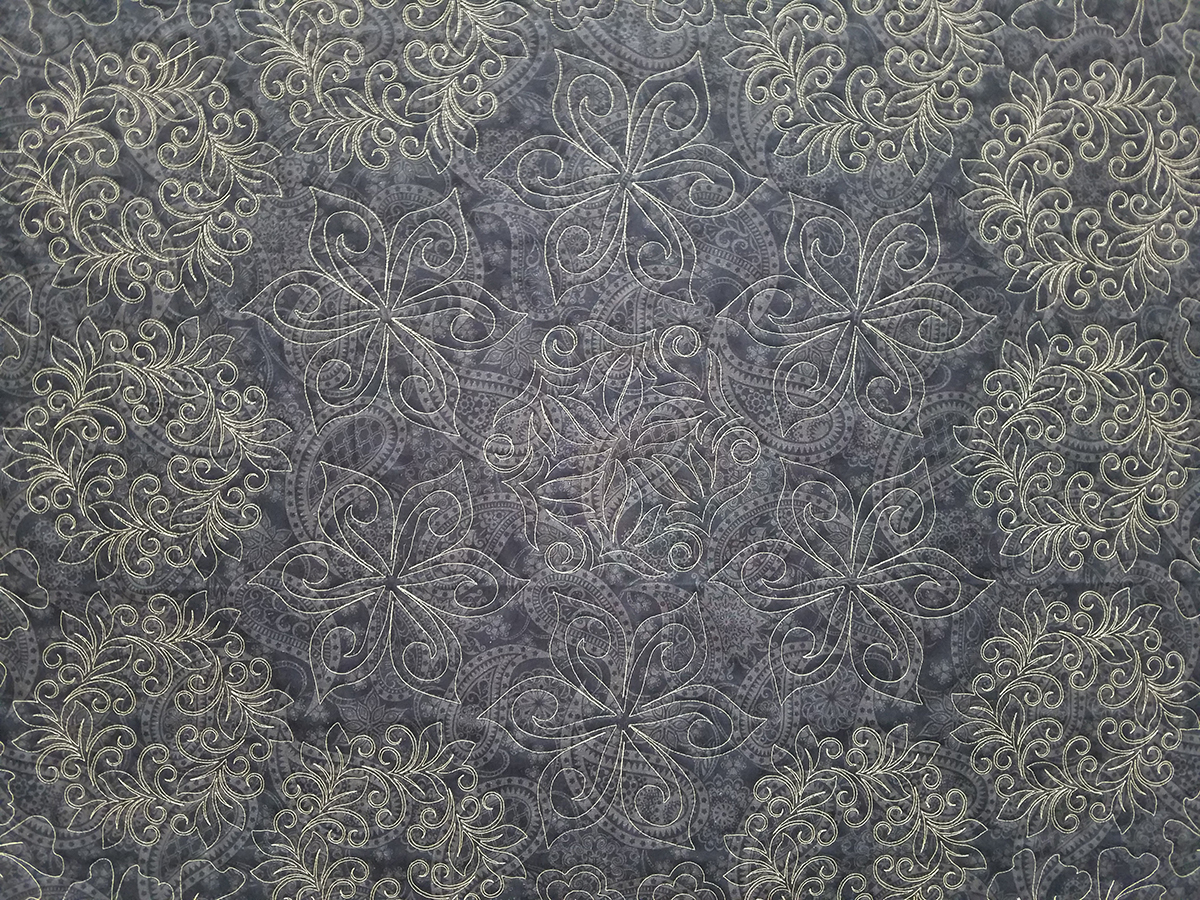
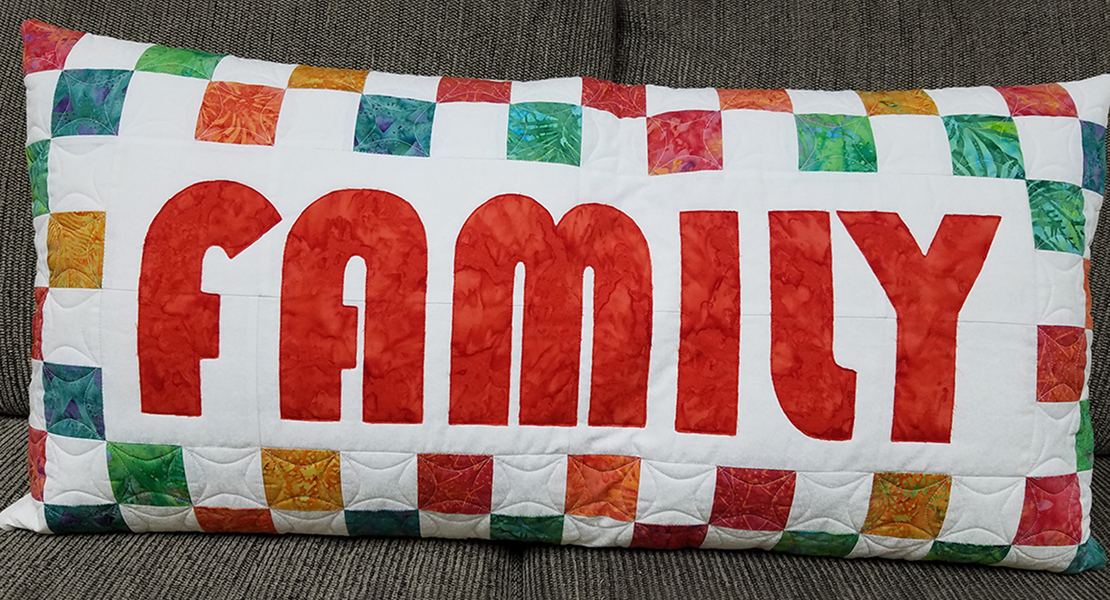
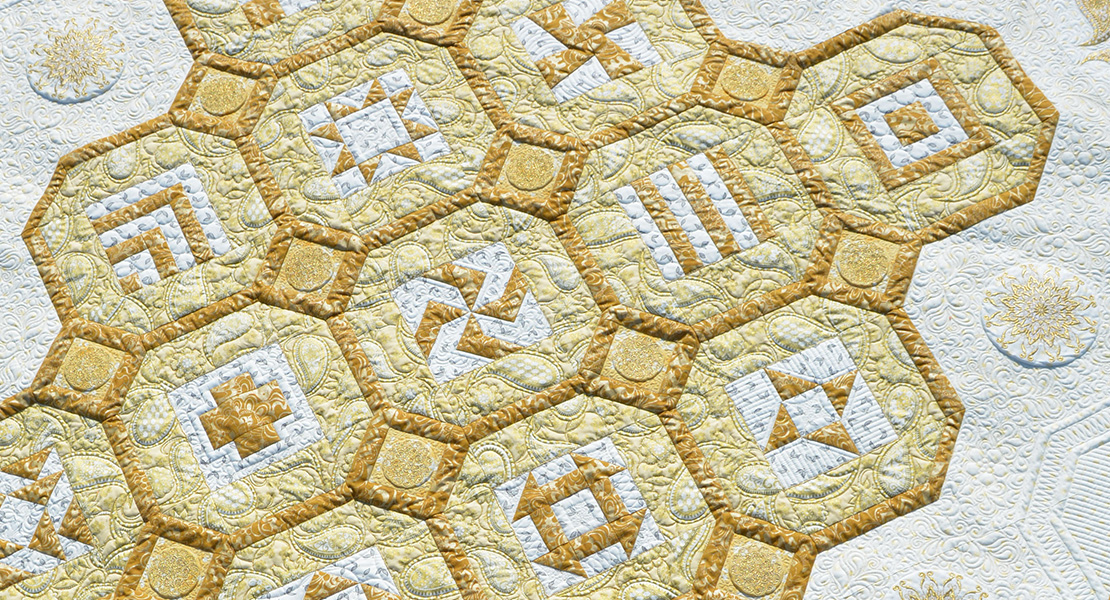
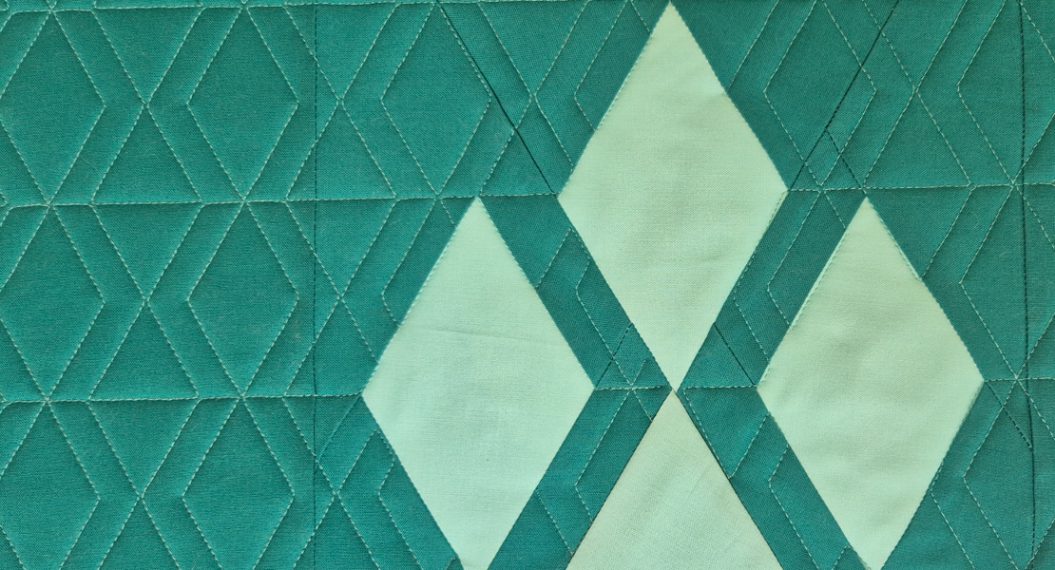
I decided to use the Markers function to place the hexagons designs in my project this month.
Supplies to Sew Hexagons with BERNINA Q-matic
Hexagon Cutter (I used an Accuquilt die to cut half hexagons with 4 1/2 inch sides)
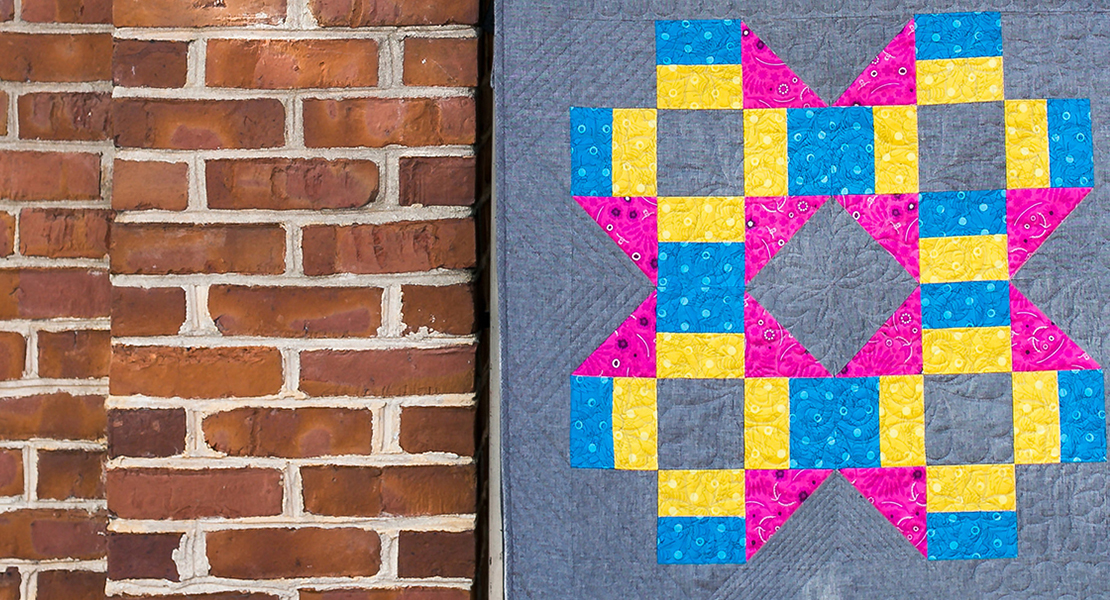
Fabric (I used Jubilee by Amanda Murphy 10” x 10” squares by Benartex Contempo
Thread (I used Mettler Seracor 50wt.)
Needle (I used a BERNINA size 90/14 Jeans Needle)
Batting (I used cotton)
Backing 3 or 4 inches larger on all four sides that the quilt top
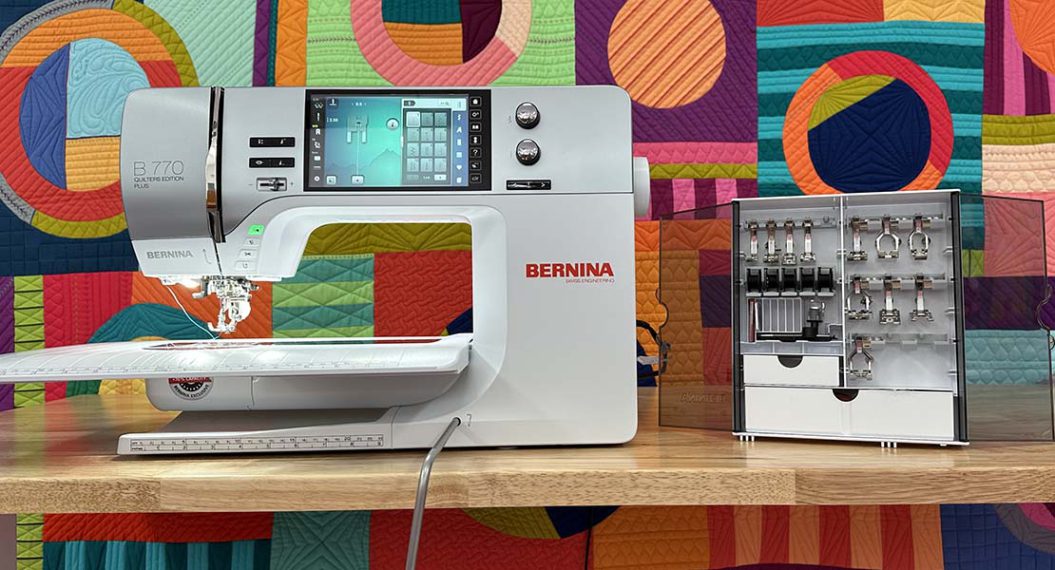
Machine and Accessories used to Sew Hexagons with BERNINA Q-matic
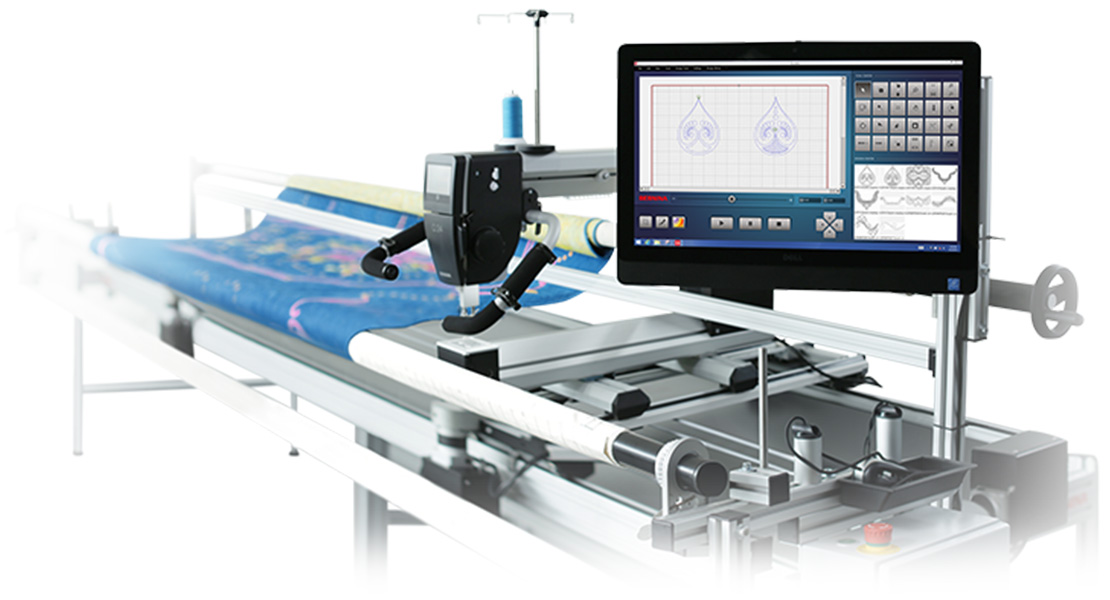
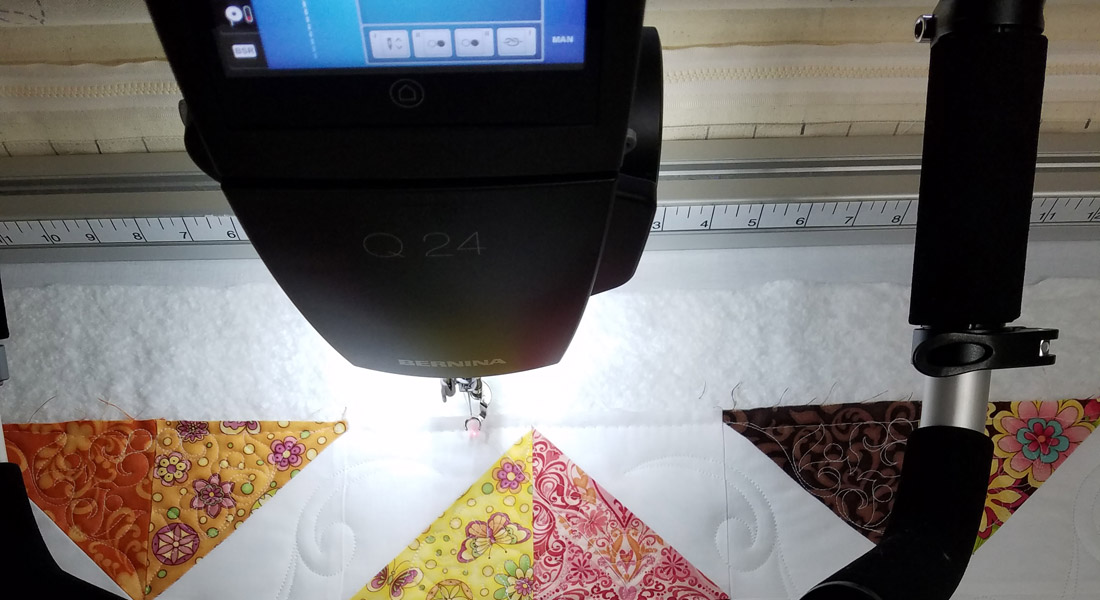
BERNINA Q 20/Q 24 Longarm Quilting Machine on Frame
BERNINA Q-matic Longarm Quilting Automation System
BERNINA Needle Point Laser Longarm Quilting Accessory (optional)
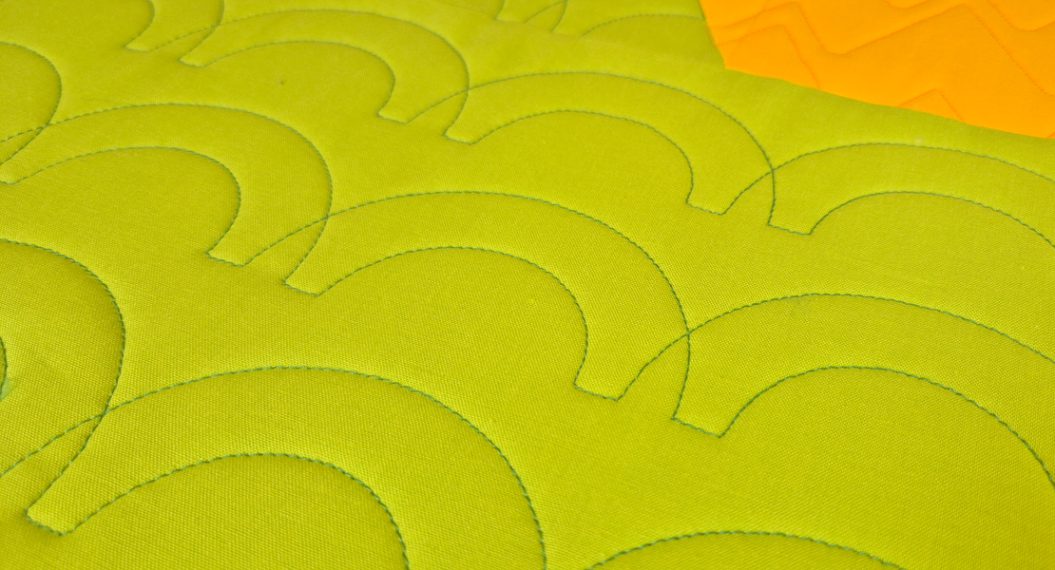
Designs
There are several nice designs in the Design Library; I used “Ayana_block_03” and “Hock block”. I also purchased Soar-Block #1, Pergola-Block #2 and Hyacinth-Block #4 from Urban Elementz. Part of the designs I used were in .bqm format and others were not. To convert to .bqm, I opened the design in Art & Stitch (Art & Stitch is included with Q-matic), and then saved as .bqm before I imported the design into Q-matic.
Construct quilt top. Load frame with project. Baste top and sides of quilt top.
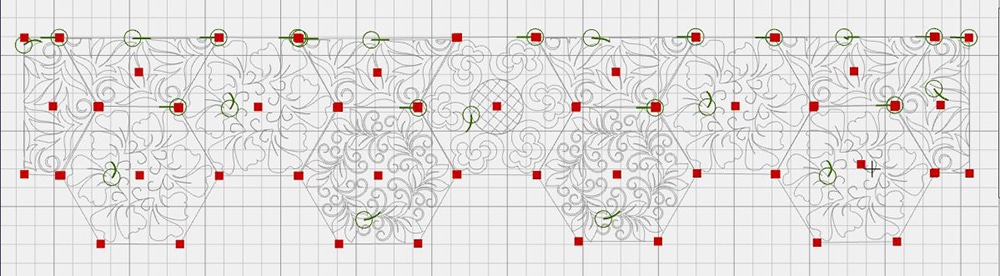
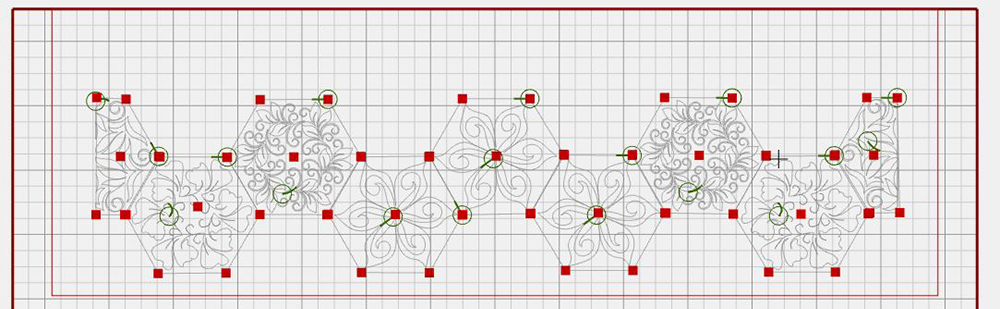
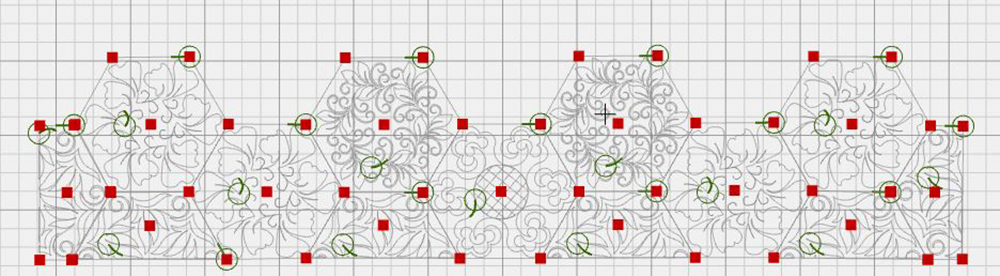
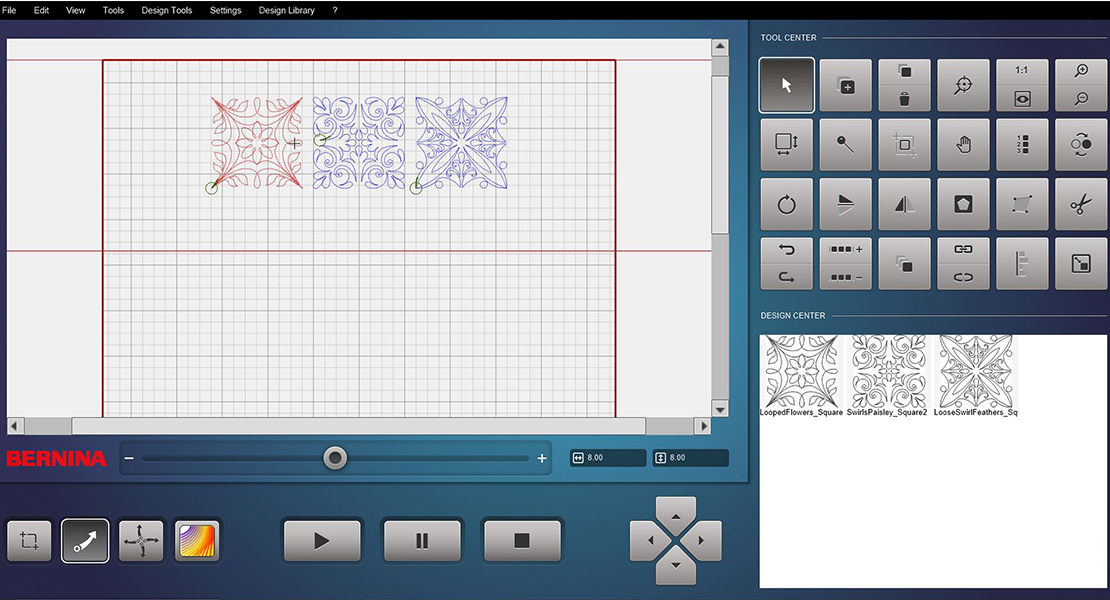
I opened Q-matic and placed one of each design I was going to use on the Quilt Area. Rotate the design if needed. With the hexagon shape I was using, the top and bottom needed to be flat. I then resized each to be approximately 7.5 inches wide. Using Markers, unlike using Boundary, does not change the shape or size of the design, so you can use the same design over and over when placing it. I did duplicate some so that I could visually see how the layout was coming together on screen.
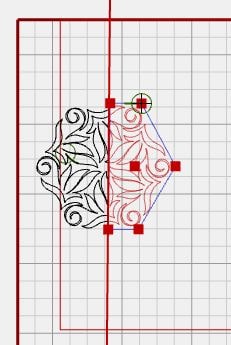
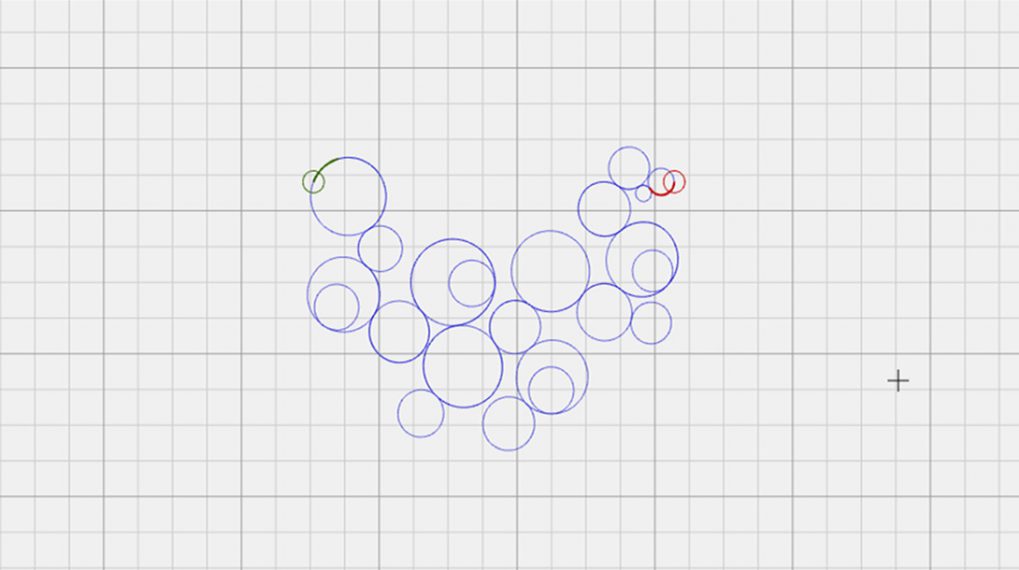
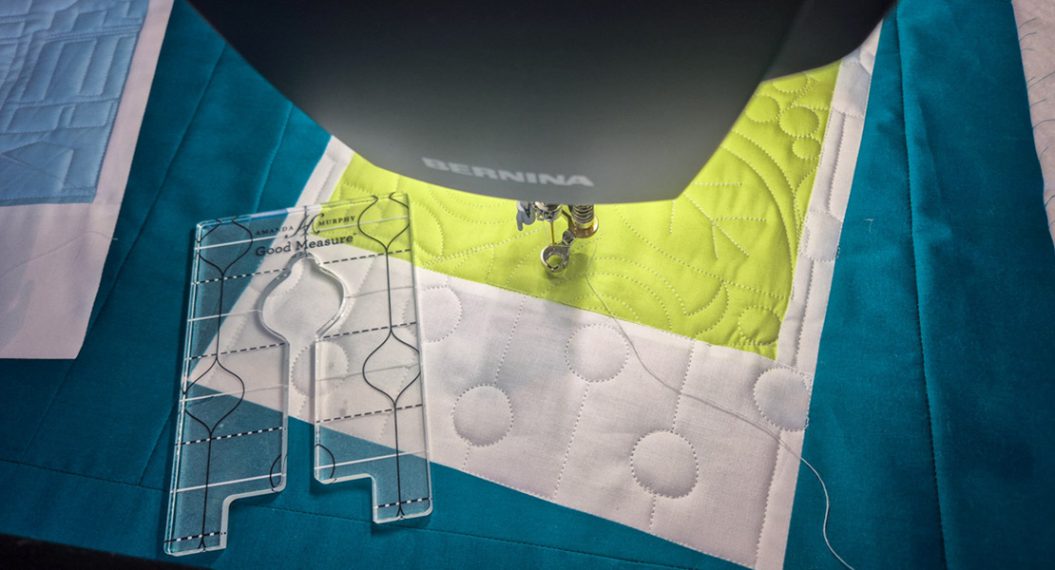
Move the Sewhead to the first hexagon you want to quilt. Open Markers and place markers on all of the points of the hexagon using the Needle Point Laser for accuracy.
Now click on “Connect” and “Center” on the secondary screen that is open. Click on each of the markers on screen to connect and see the center mark. A line will connect each one. This line can be stitched if you want. However, I just used it for placing and did not stitch the line.
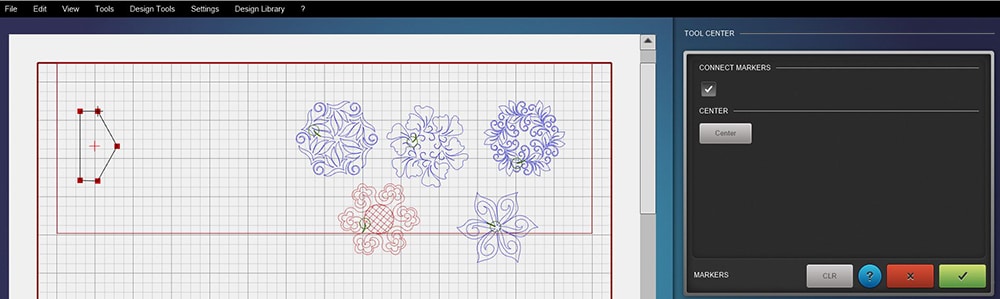
Slide the design you would like to use into the marked area on screen. Resizing if needed.

With design selected, open Trim.
![]()
Select the appropriate features.
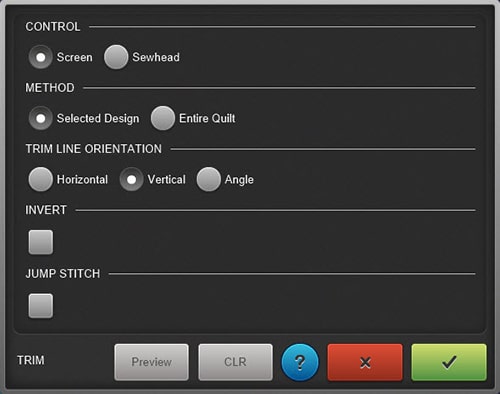
Be sure and “Preview”, and don’t forget if your sides are not real straight you can trim at an angle too. The black part of the design will be trimmed away.
Confirm (check mark in the green box) when you like what you see.
Open Sew Options to “Dequeue All”, and then “Queue” the design you are going to stitch.
Touch Start on the computer and follow the prompts to stitch out the design.

Now it is time to mark the next half hexagon across to stitch.
Follow the same process to place
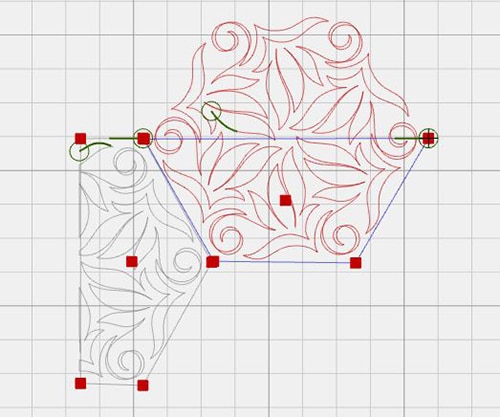
trim
and stitch.
Continue across the quilt top placing markers and trimming design if needed to create a full row across. “Dequeue All” and “Queue” one design at a time to stitch.
After I completed all that, I could stitch in the Safe Area. I deleted all of the markers by opening the tool and using “Clear” at the bottom of the screen. I then deleted all of the lines that I had created using the markers, and also deleted the half hexagon designs. I was not sure that the sides of my quilt top were perfectly straight, so I thought it would be good to start with a fresh design each time I had to trim it.
Continue placing the designs and stitching in the same manner until you fill the Safe Area again. Then delete all markers and lines that connect so you can do the last section.
Last section.
A few things to remember and think about.
- You need a Safe Area to use Markers.
- Markers can only be placed with the Sewhead.
- Rotate or resize design before placing to trimming.
- When designs are placed on Quilt Area, they are blue and queued to stitch. Be sure and “Dequeue All” and “Queue” only what you want to stitch.
- Make sure the Needle Point Laser is aligned before starting. I like to use the “A” setting so that the laser goes off while the machine is stitching.
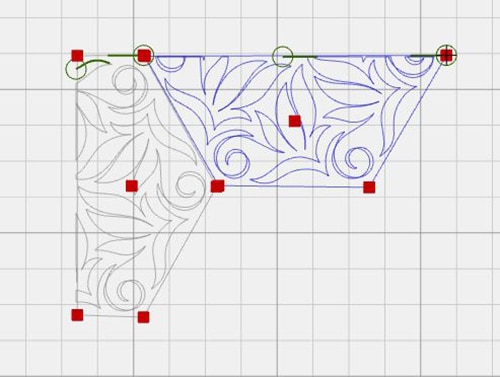
- Set markers and stitch design one at a time because there is always some movement to quilting fabric. You can see from the picture below that the markers and lines have moved when setting them for the next design.

- You can watch the layout come together on your computer screen. If you want to see the full layout even after the quilt has been advanced, you will need to use Realign the Safe Area each time as you advance the quilt.
- Sometimes the back of a quilt is just as pretty as the front.
I know you will have fun with Markers! You can use them to place designs as well as create designs.
Used Products

What you might also like


2 comments on “BERNINA Q-Matic Markers Feature”
-
-
My apologies it’s .csq not .cvq that I would like to convert to a .bqm through art and stitch and wondering if this can be done.
Thank you so much
Leave a Reply
You must be logged in to post a comment.

I would like to purchase a pantograph pattern but it’s only sold in a .cvq format, can I change that to a .bqm through art and stitch?
Thank you so much,
Amber