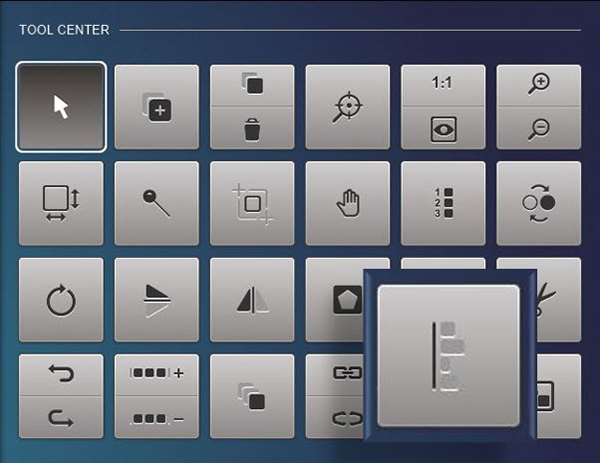
BERNINA Q-matic: Align Feature
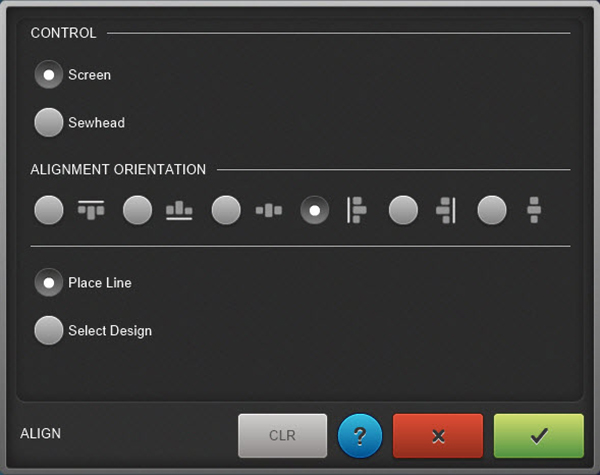
The Align feature in BERNINA Q-matic Longarm Quilting Automation System works much like any aligning feature in other software programs. The alignment can be controlled by either the sewhead or on the computer screen. When using our Q-matic, all you need to do is select the alignment orientation, place the line on screen and then select each design, and then you will see the alignment. When you Confirm or Cancel the window will close.
Let’s play a little with Align. Place a design on the Quilt Area.
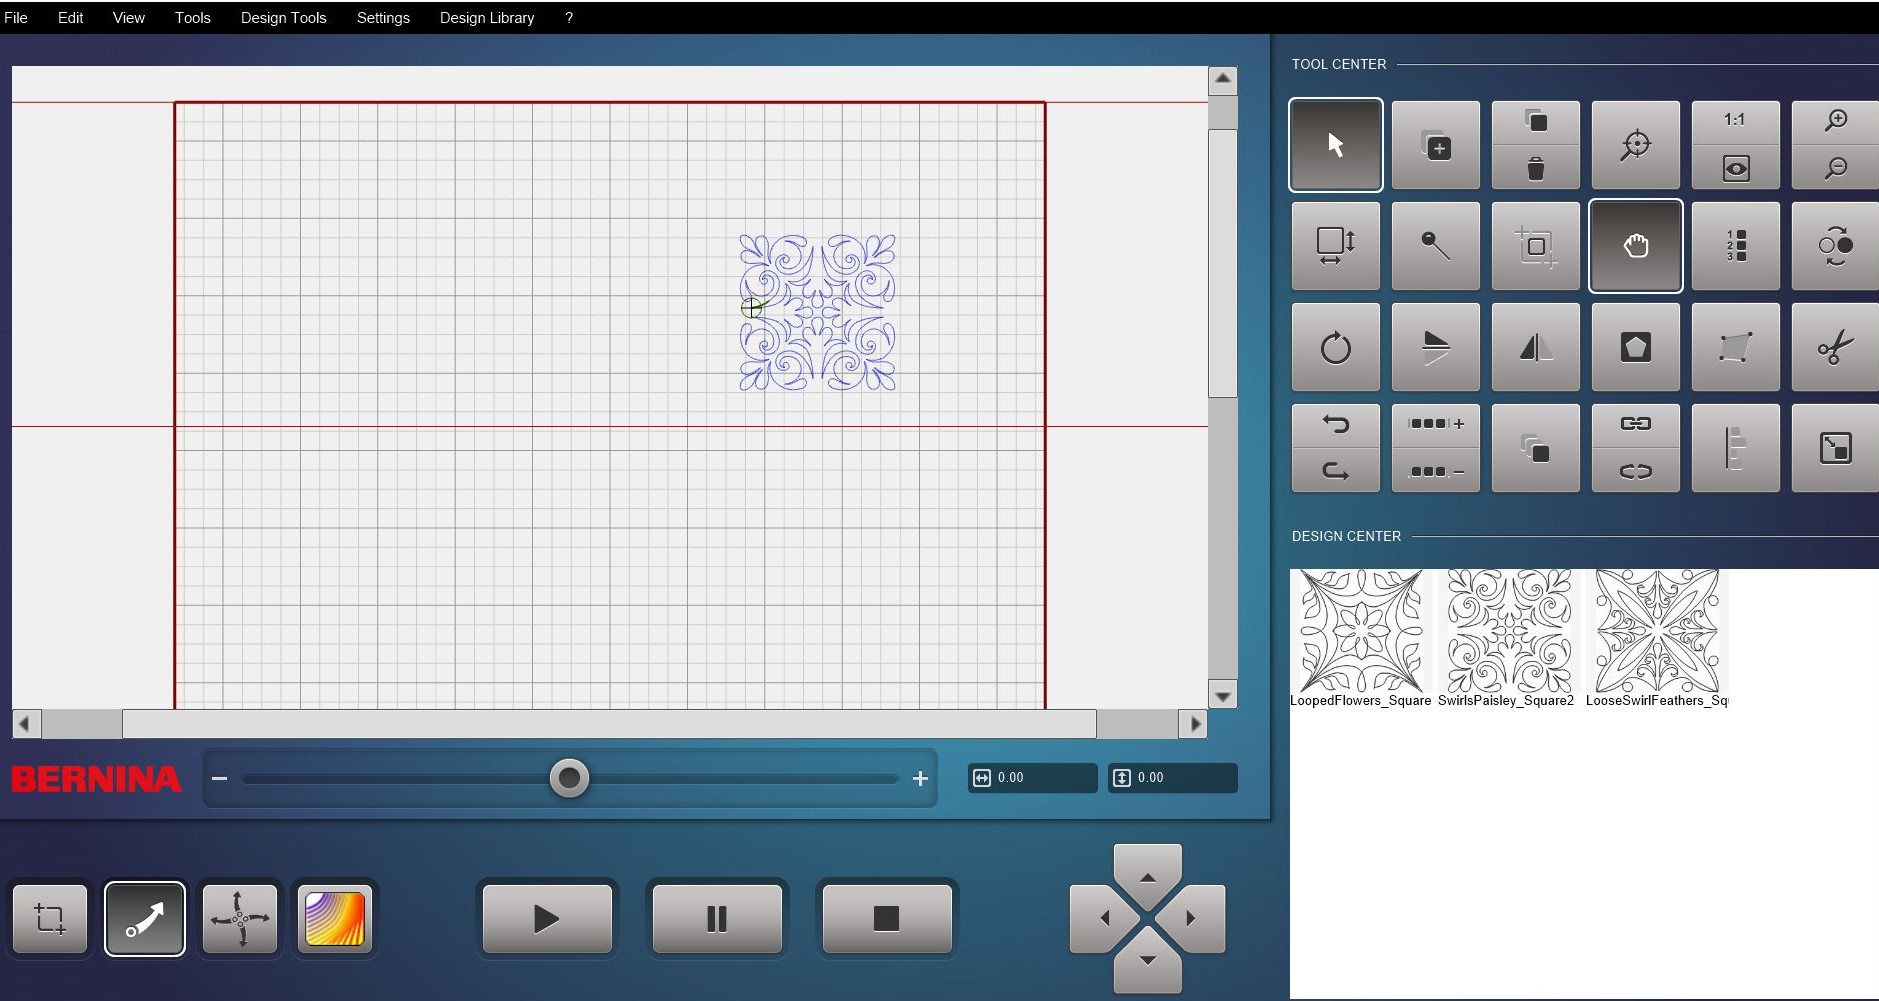
Duplicate the design to create three.
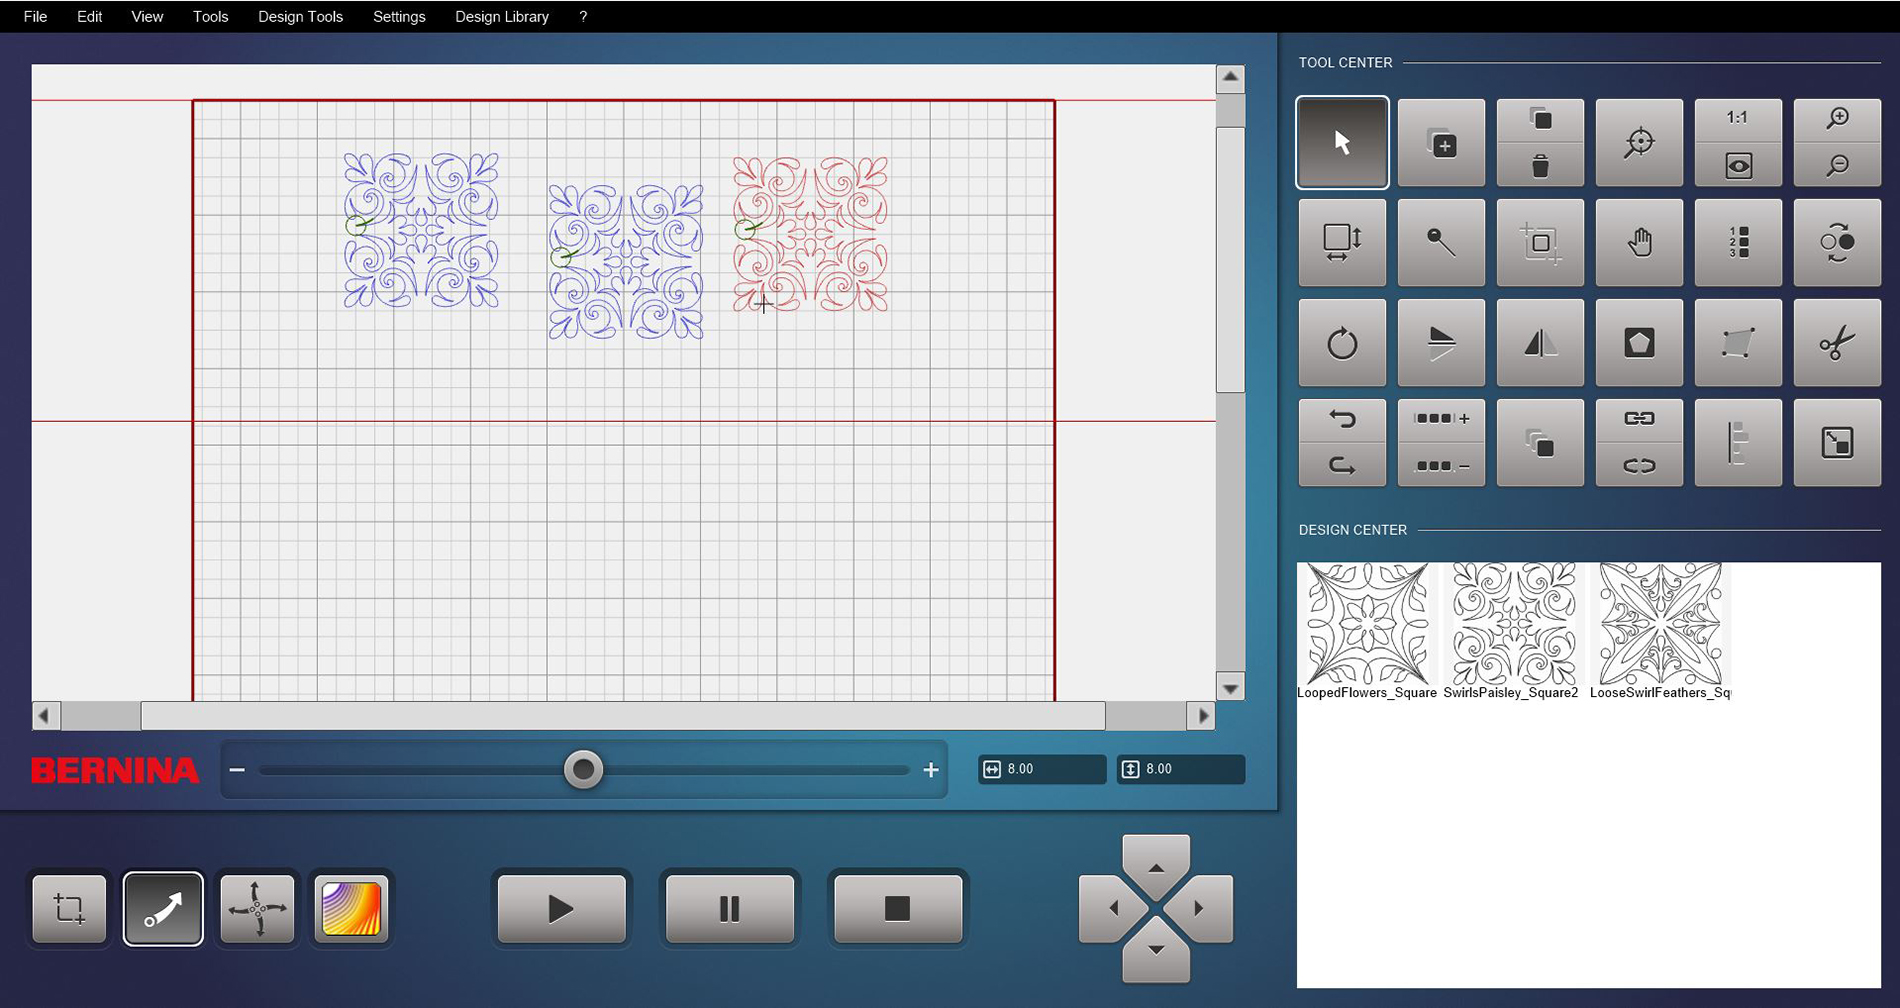
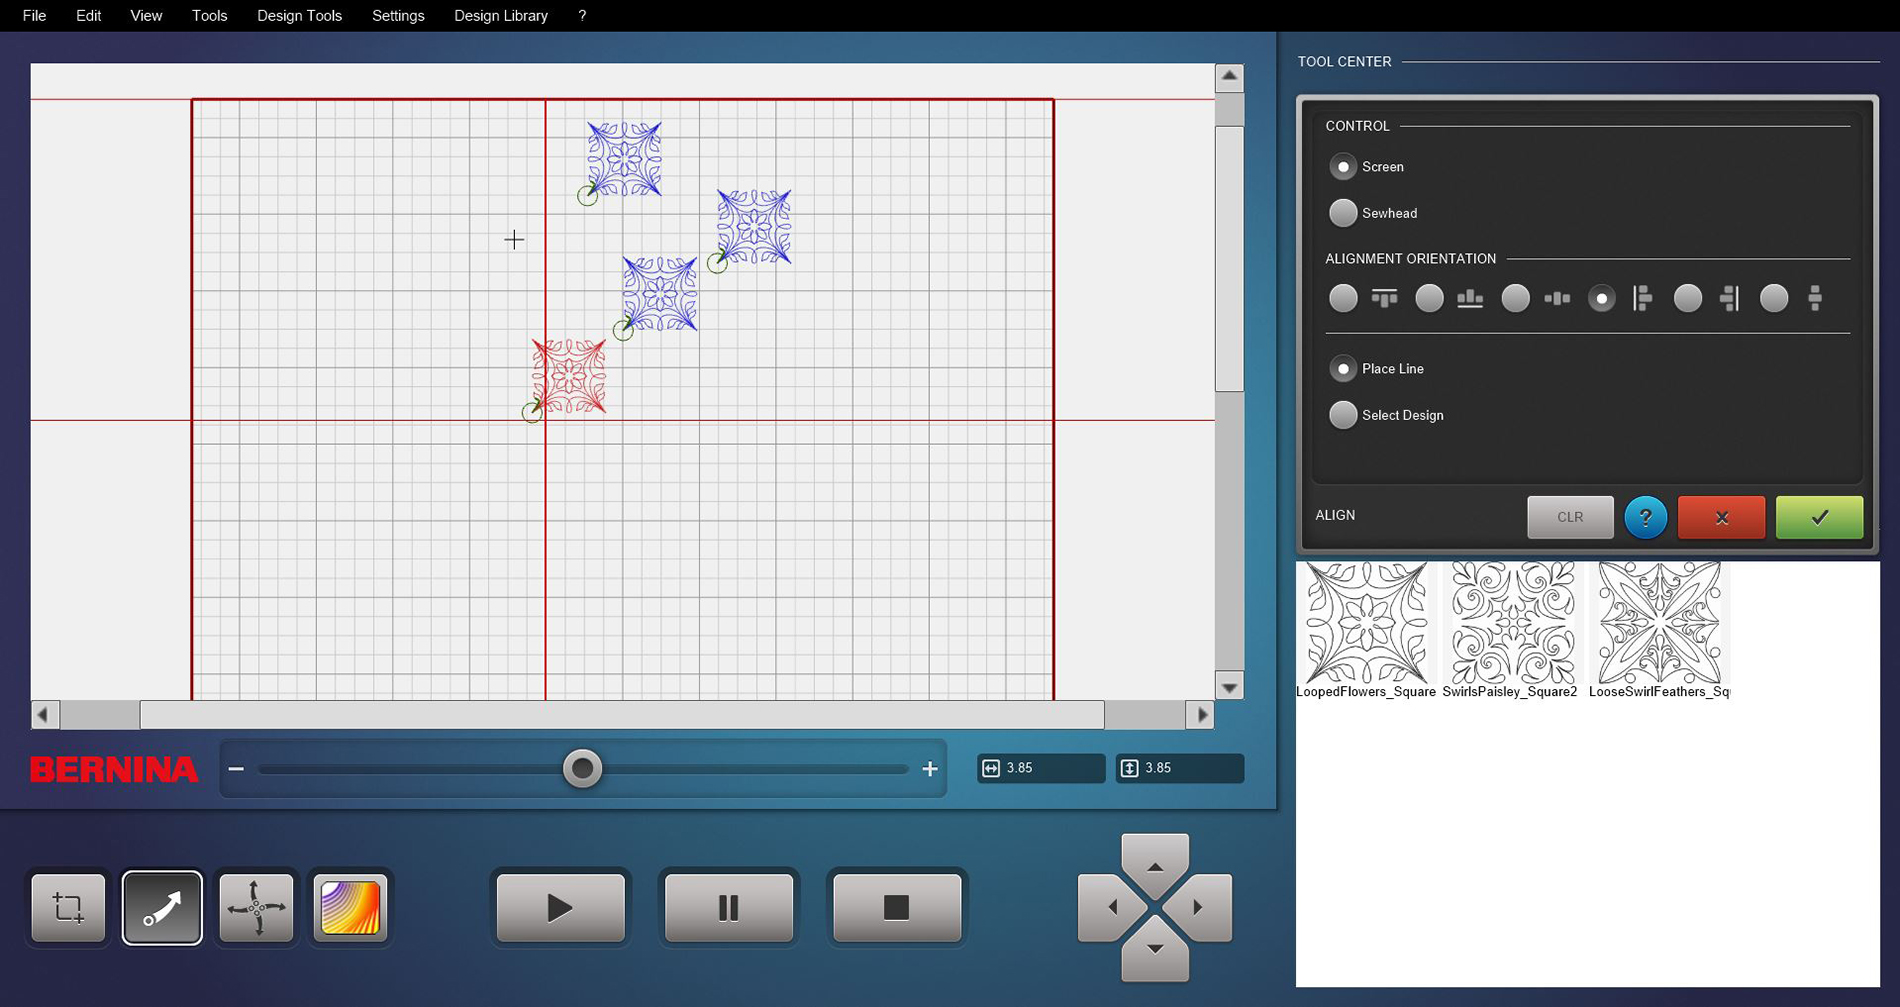
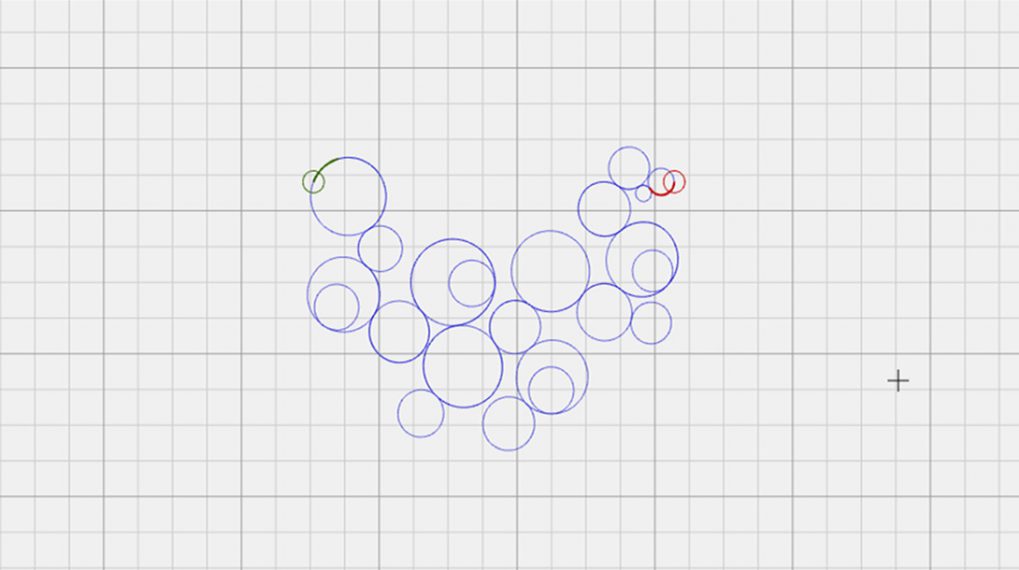
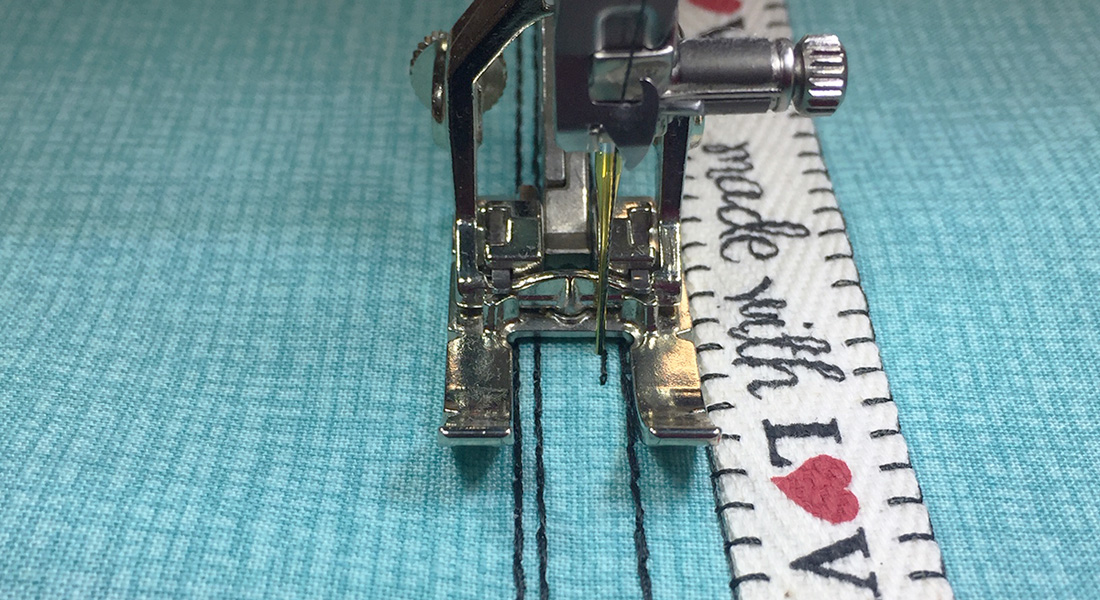
Make sure one of the designs on screen is selected (red) and open Align.
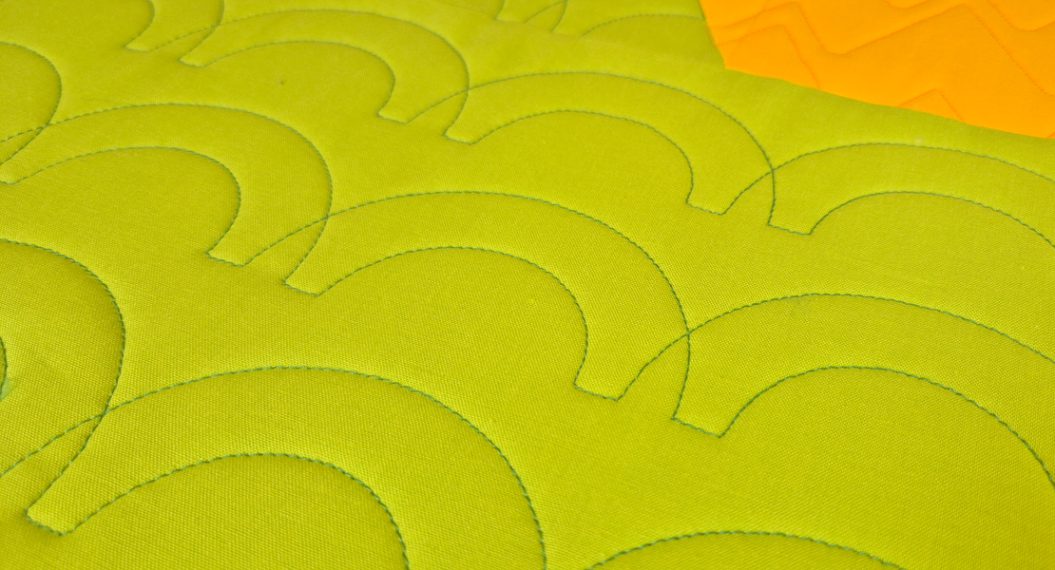
![]()
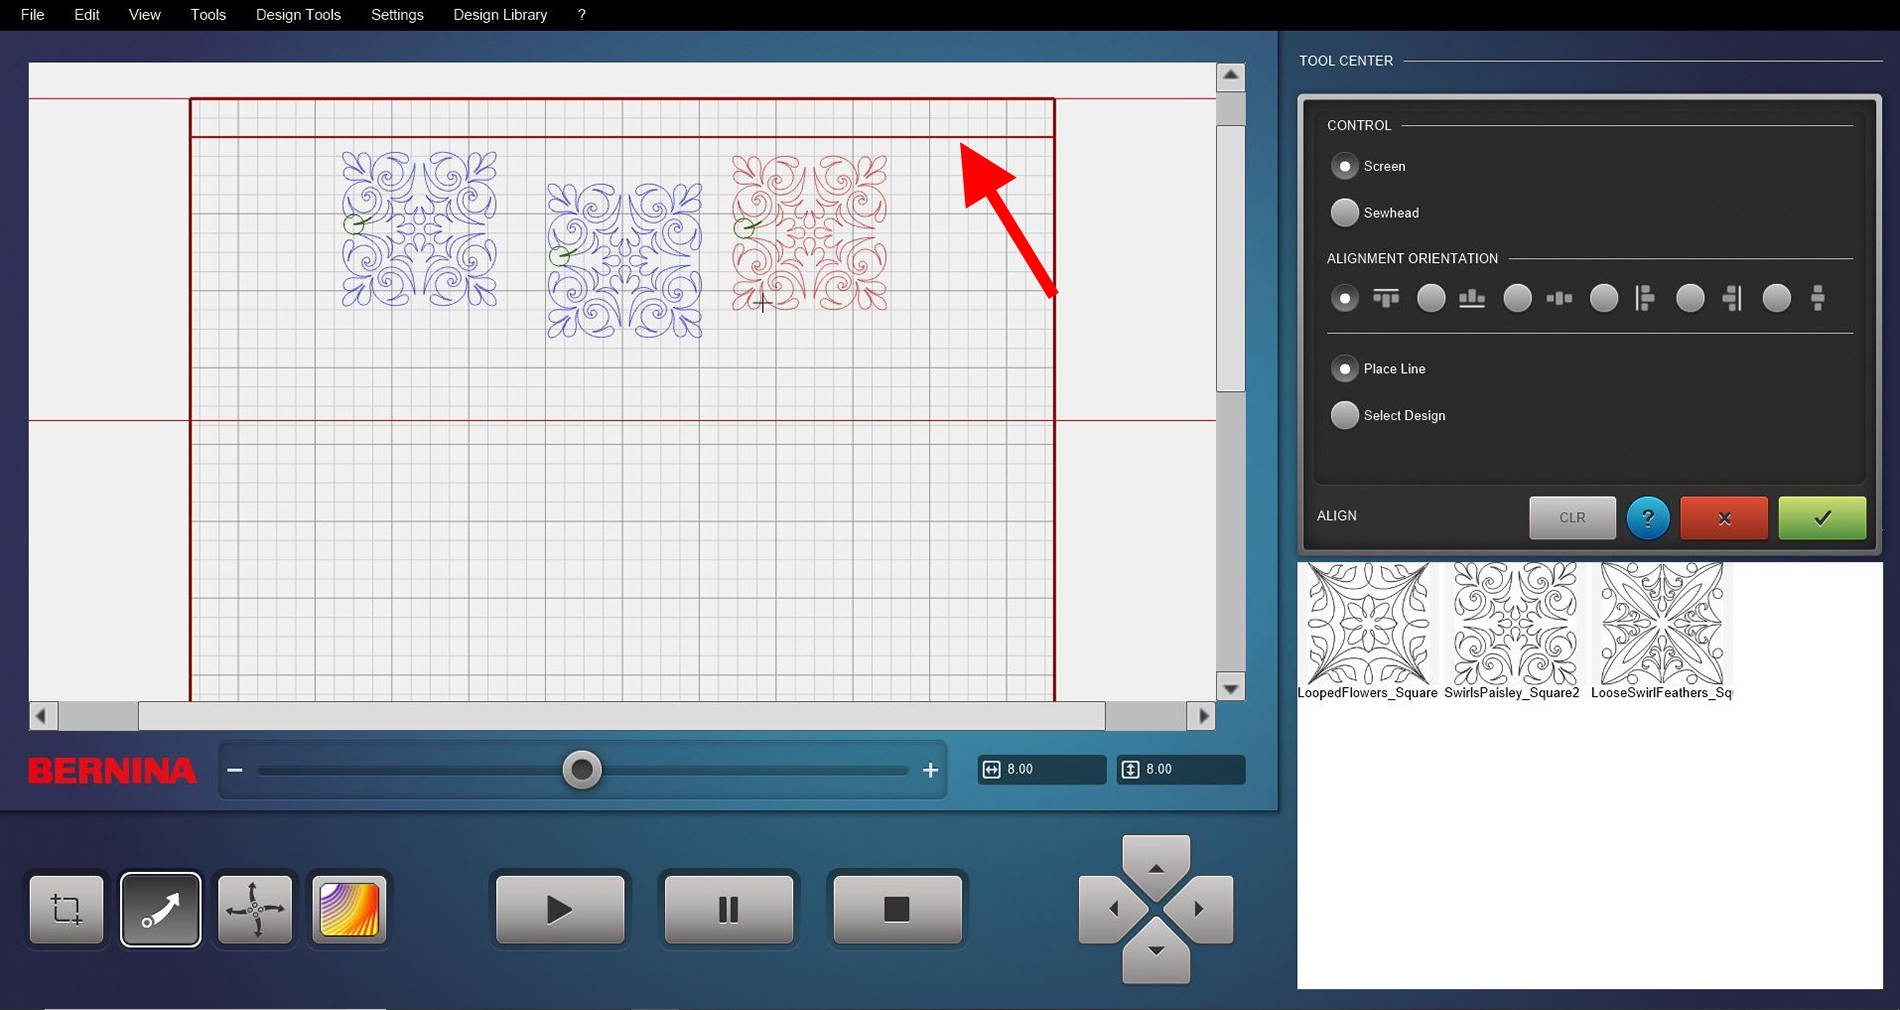
When the secondary window opens, make selections in Control and Alignment Orientation. I used Screen under Control and Top Alignment under Alignment Orientation.

Place the line on your screen.
Click on Select Design on secondary screen, and then click on each design on Quilt Area to have them orientate to the line.
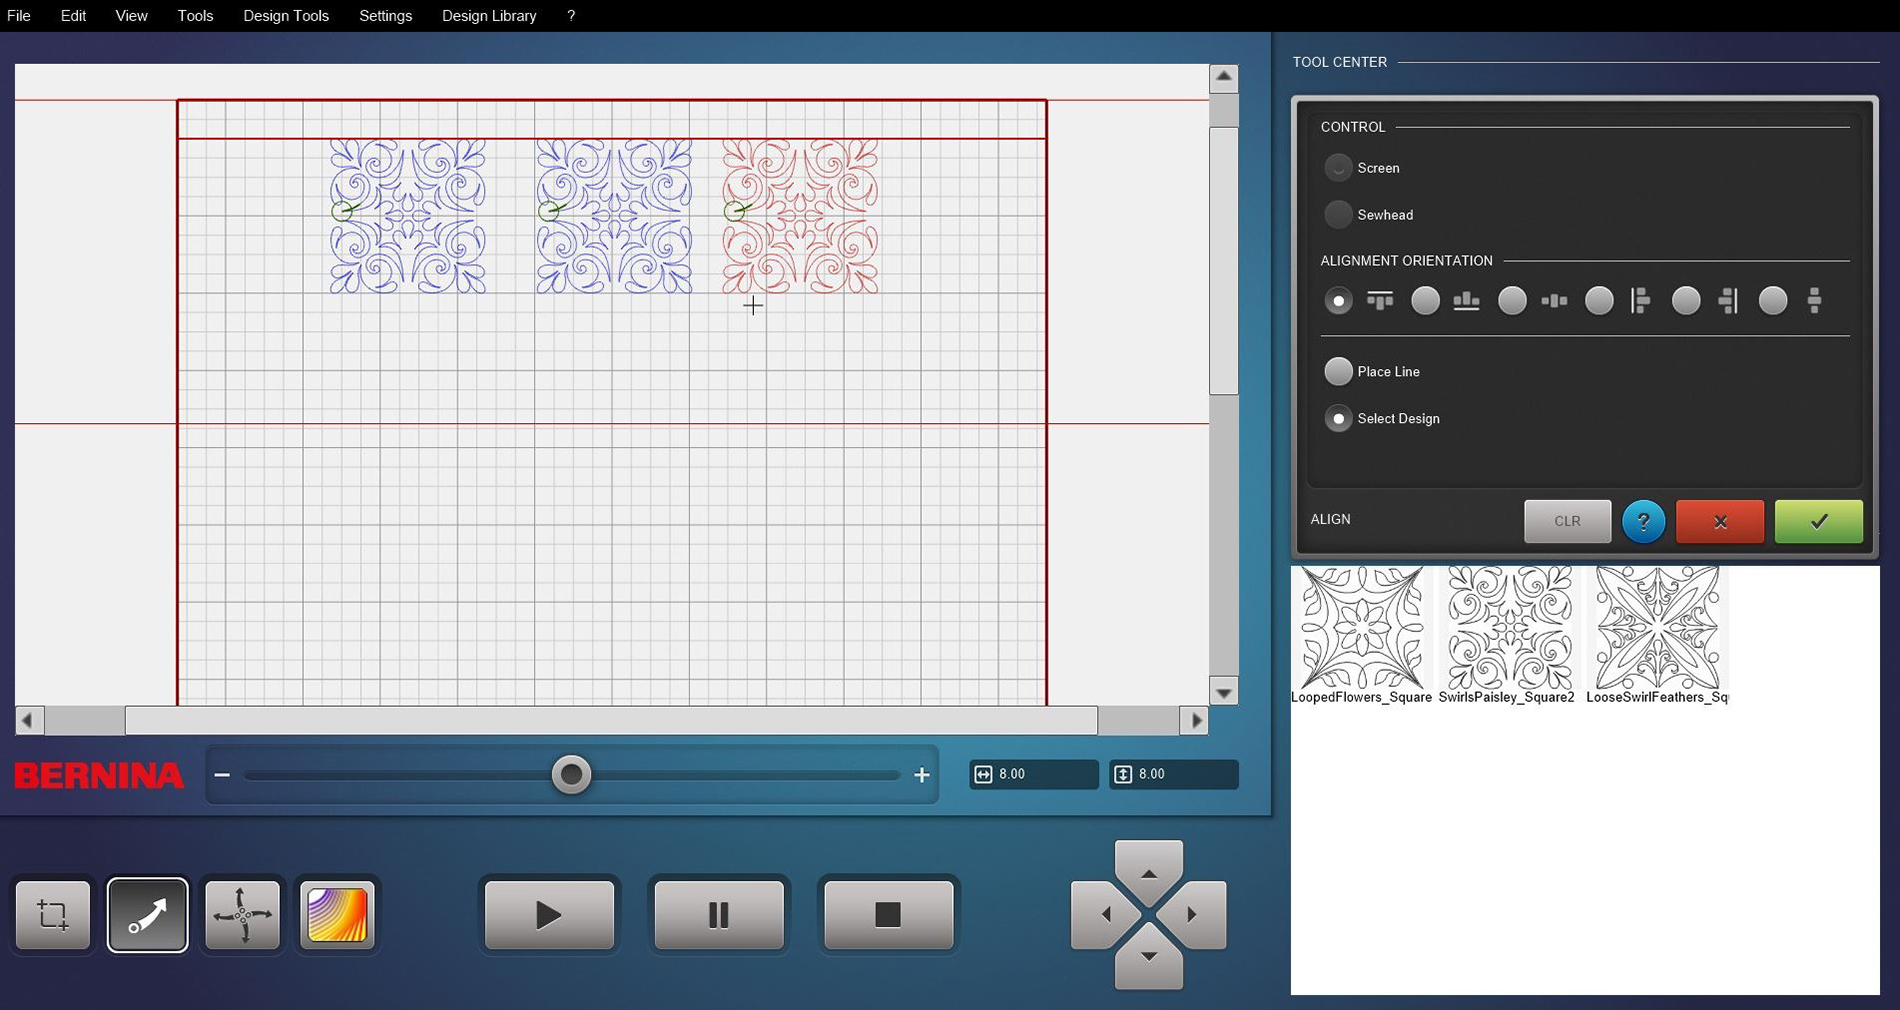
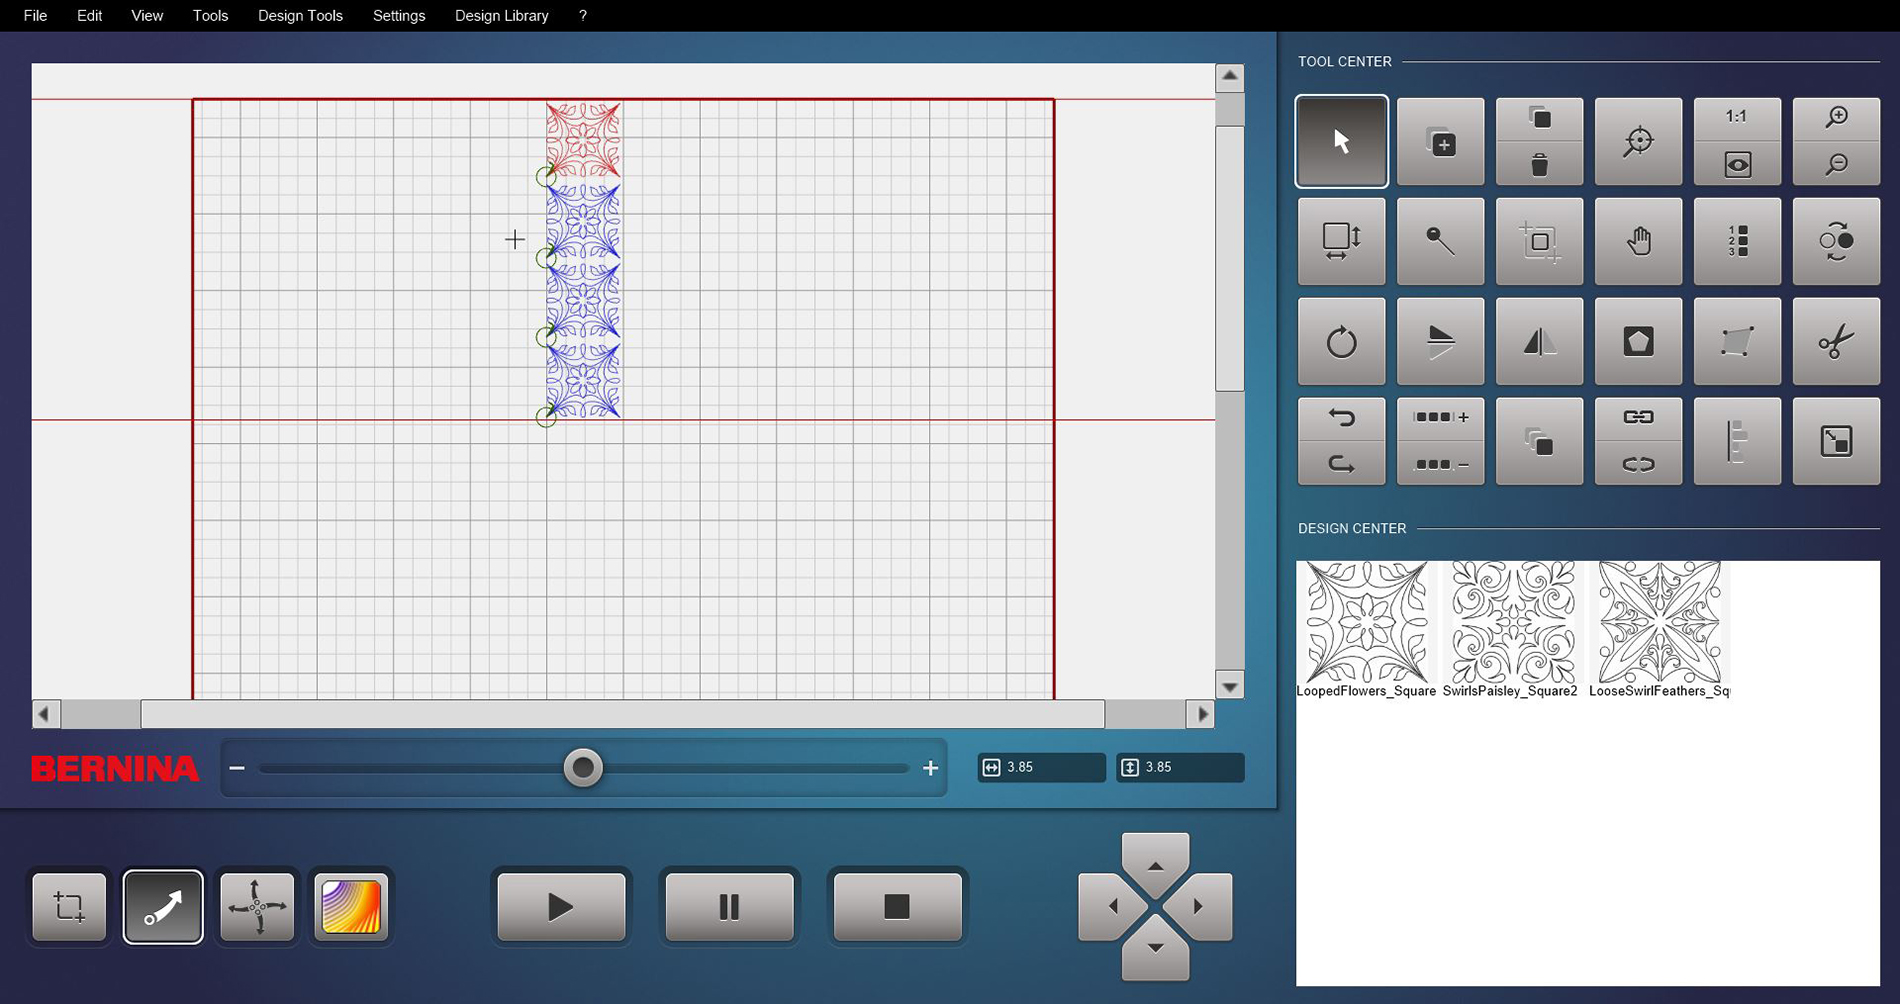
Touch Confirm to close the window and you are ready to stitch.
You can even use the Align feature in Q-matic using different designs.
Place three different designs on the Quilt Area. This time we are going to use our Sewhead to control the placement. Go ahead and chose your Alignment Orientation also. I selected Center Horizontal.

To place the line on screen, look at your Sewhead screen and touch the Set icon.

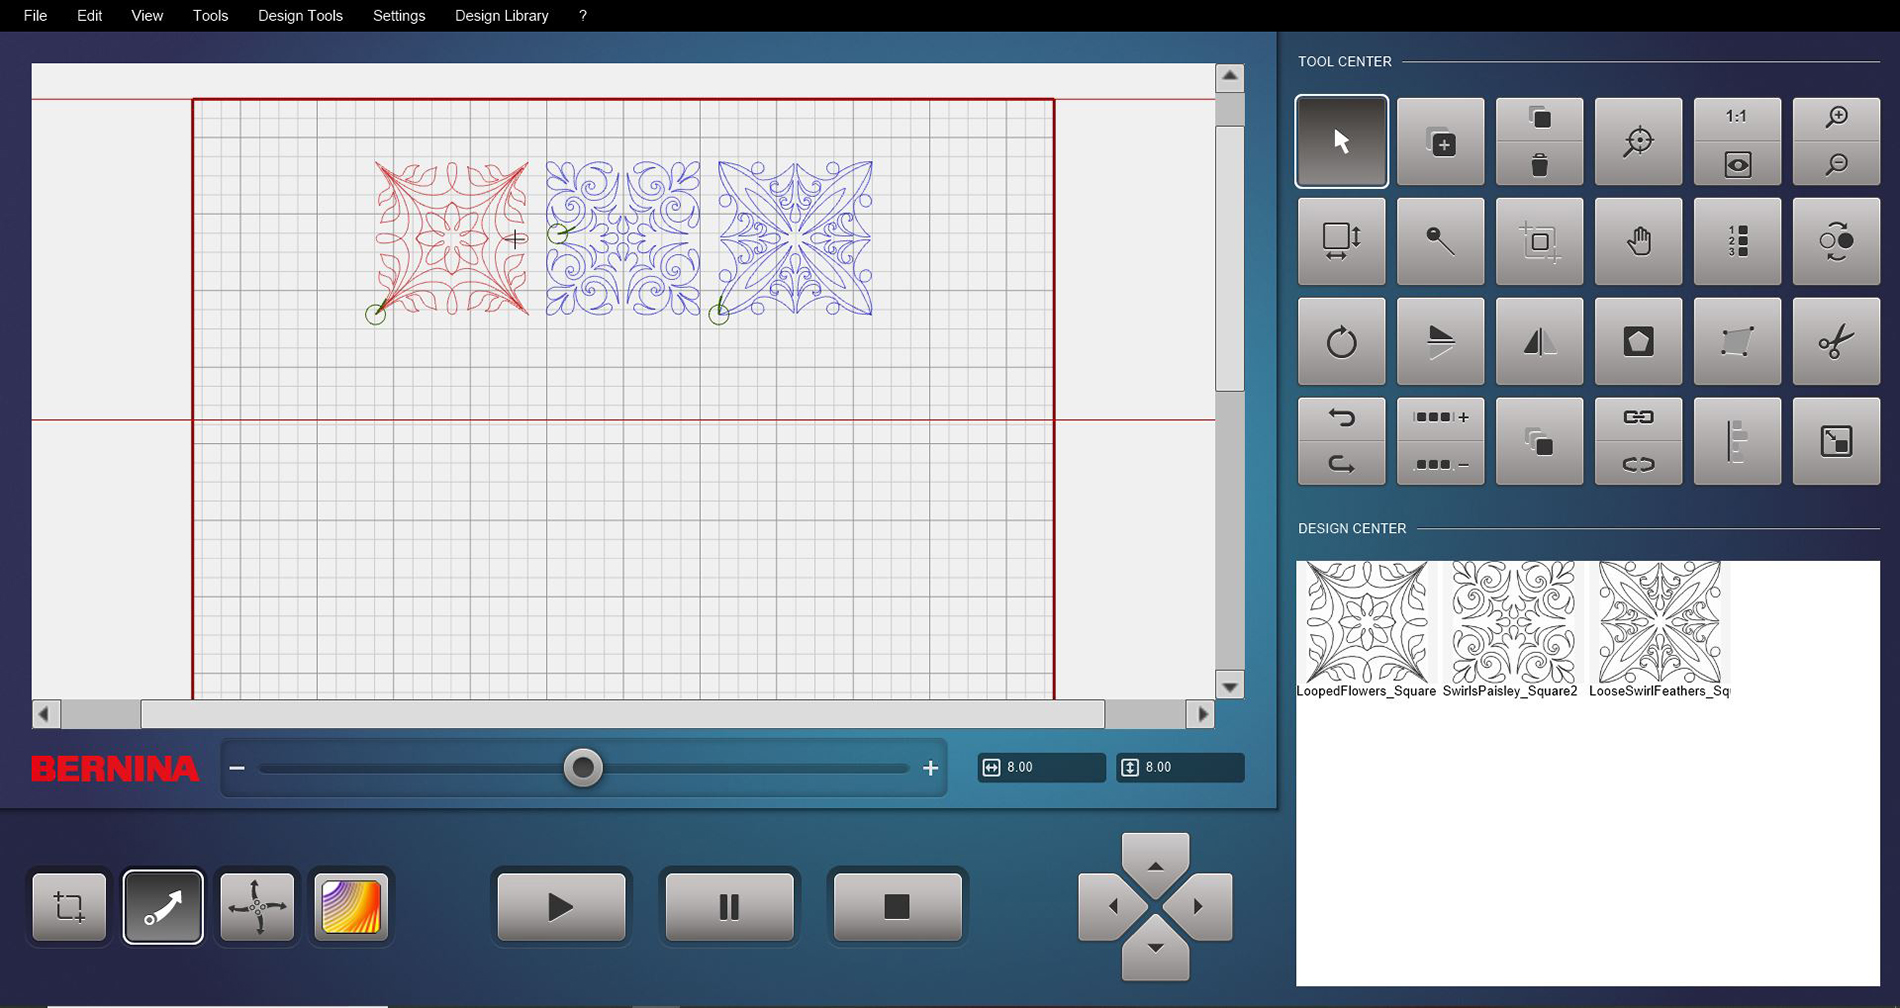
The line is now on your computer screen exactly where the needle of the Sewhead is placed. Now click on Select Design on secondary screen and touch each design on Quilt Area to center on line.
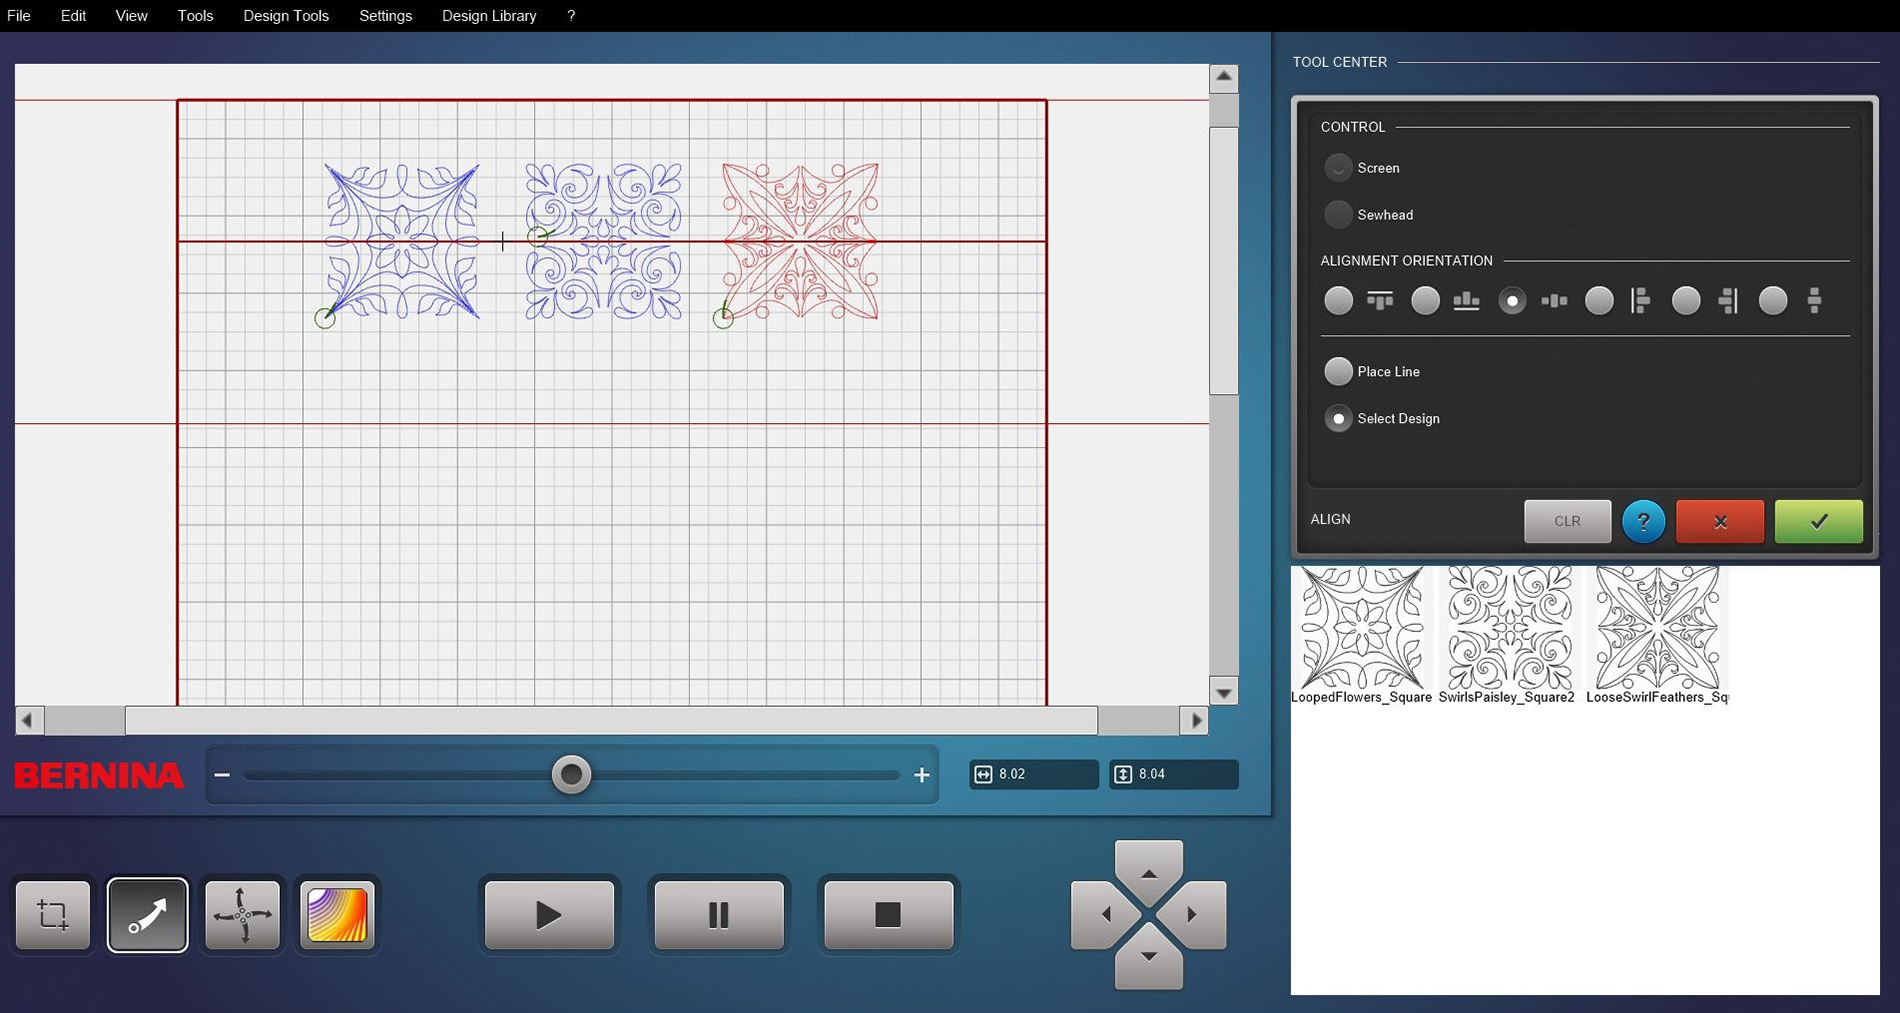
Touch Confirm to close the window.
You can use the grid on the screen to space your designs. These designs are now one inch apart.
The last part of Align I would like to show you is that we can align vertically too. Place three or four designs on the Quilt Area.
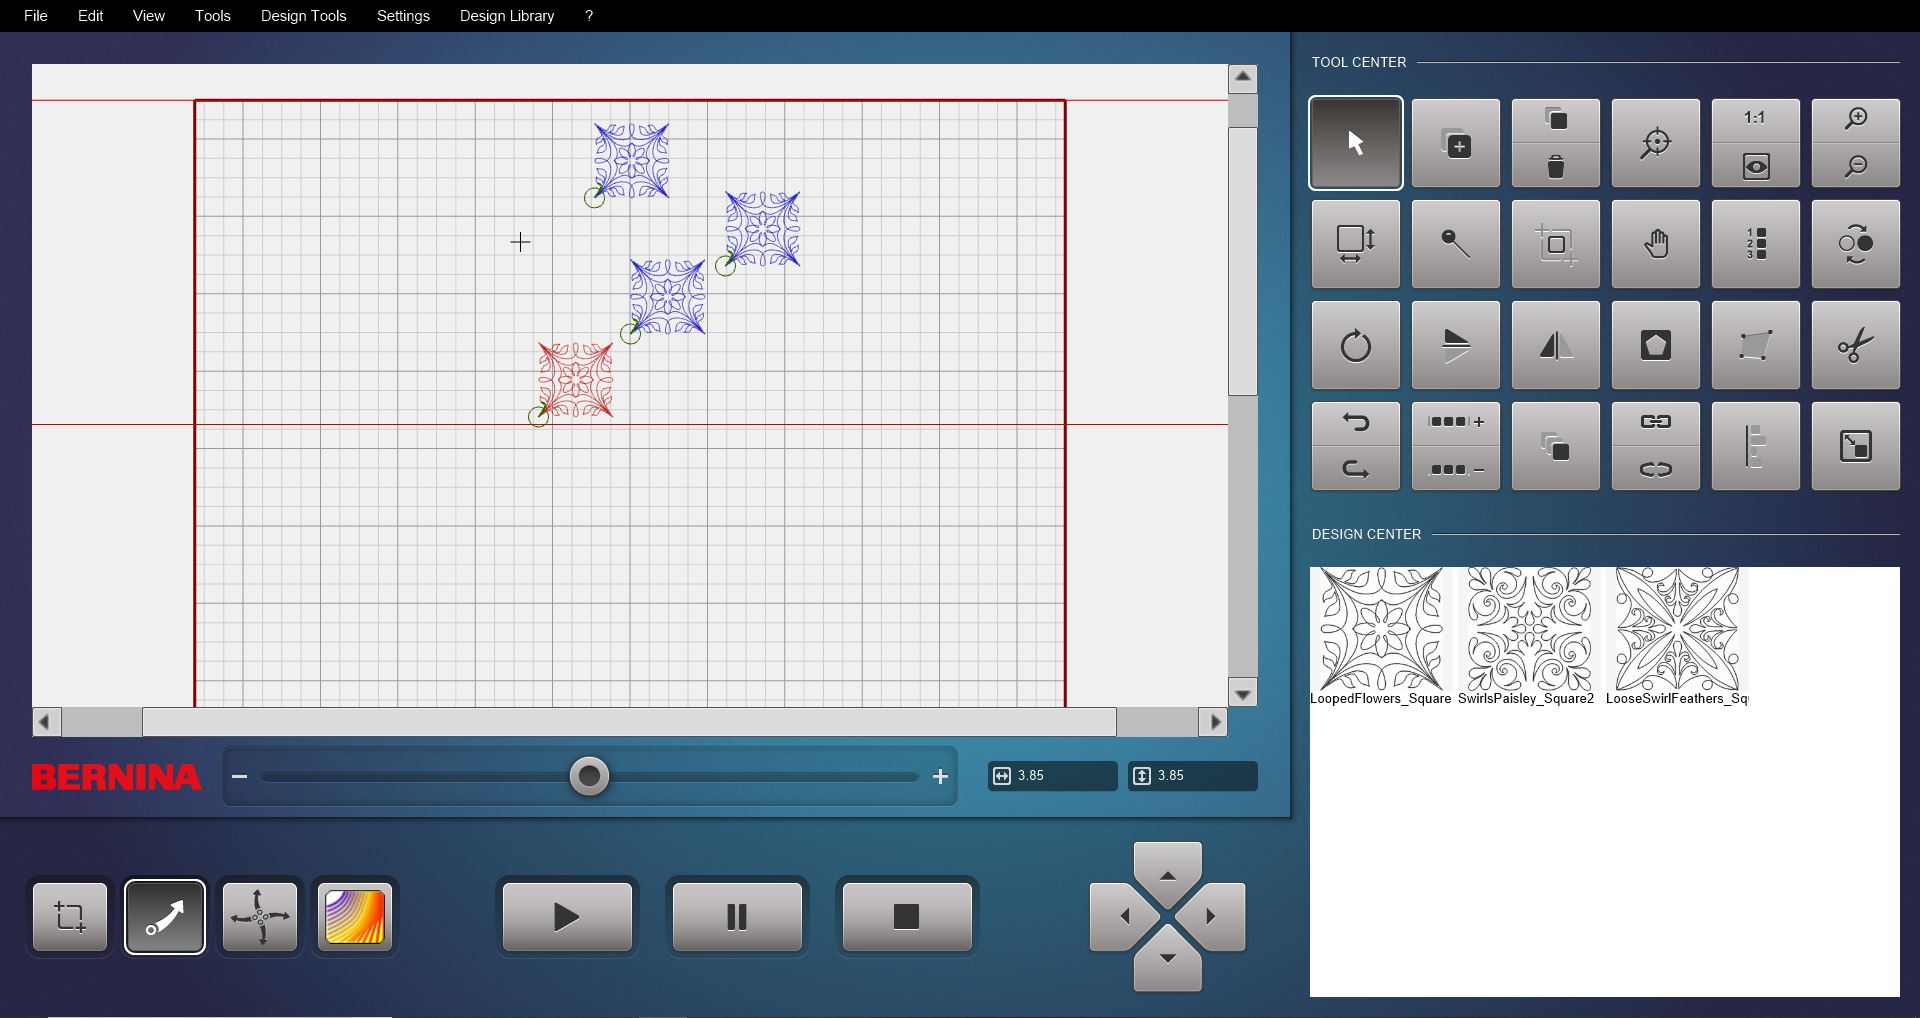
Open Align.
Select the Control method you want to use, and the select Alignment Orientation to be to the left.
Place your line.
Touch Select Design, and then click on each design to place the left side of the design by the line.

Use the grid to space your designs.
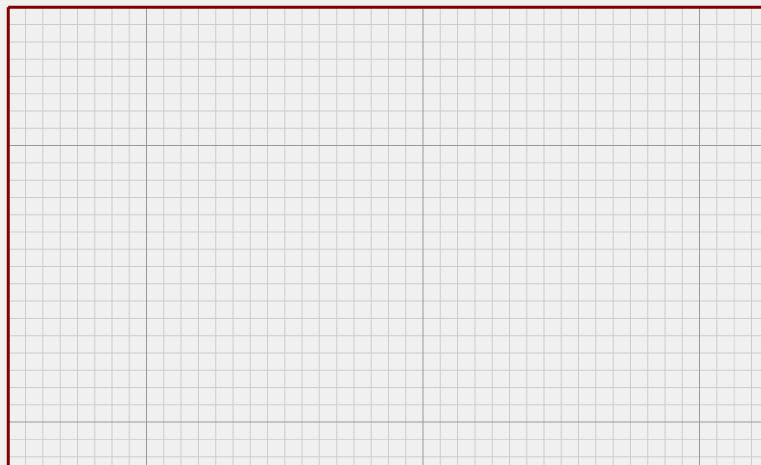
Tips on spacing designs on grid:
- The grid on the Quilt Area changes as you zoom in and out.
- The darker of the grey lines are every 4 inches.

- The lighter grey lines change. If there are 4 between the darker lines, then every line has one inch in between.

- If there are 16 lighter lines between the darker lines then each square is a quarter of an inch.
Used Products
What you might also like


4 comments on “BERNINA Q-matic: Align Feature”
-
-
Thank you so much. Keep watching for more Q-matic ideas and tips.
Denise Jones
-
-
Thank you for Q24 techniques… please keep them coming!
-
Thank you. I hope to have more very soon.
Denise Jones
-
Leave a Reply
You must be logged in to post a comment.

Thanks, Denise. I am comfortable using the Align tool, but the new helpful item was at the end–the spacing of the grid lines. That is so good to know!