Editing a Quilting Design in Q-matic
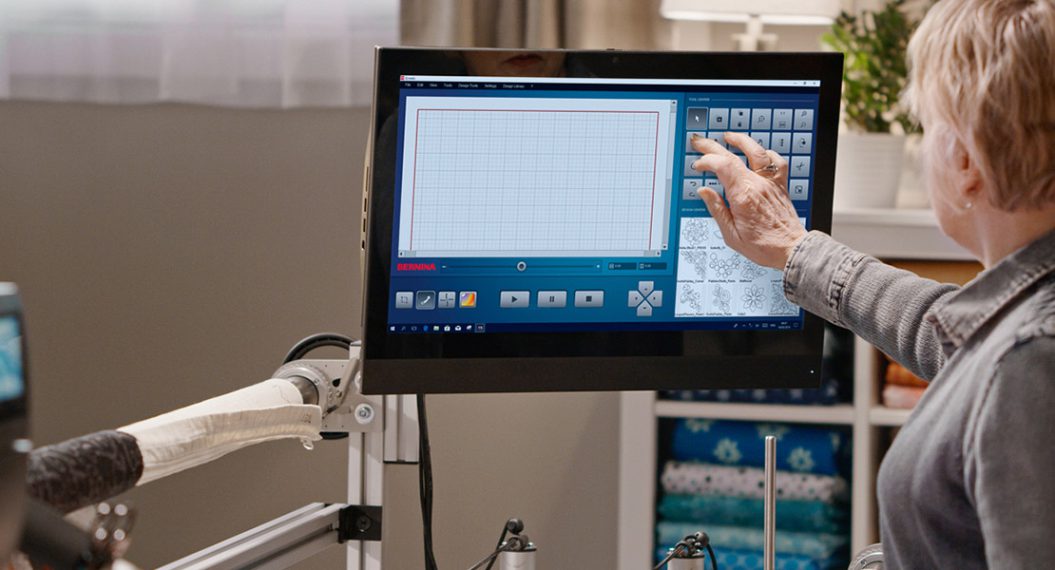
In this post, I will show you how to use the tools in Q-matic to edit a design right on the screen. These edited designs can be saved in .bqm and then Imported into the Q-matic library for use anytime.
Note: Working with BERNINA Q-matic Longarm Quilting Automation System version 2.04.01
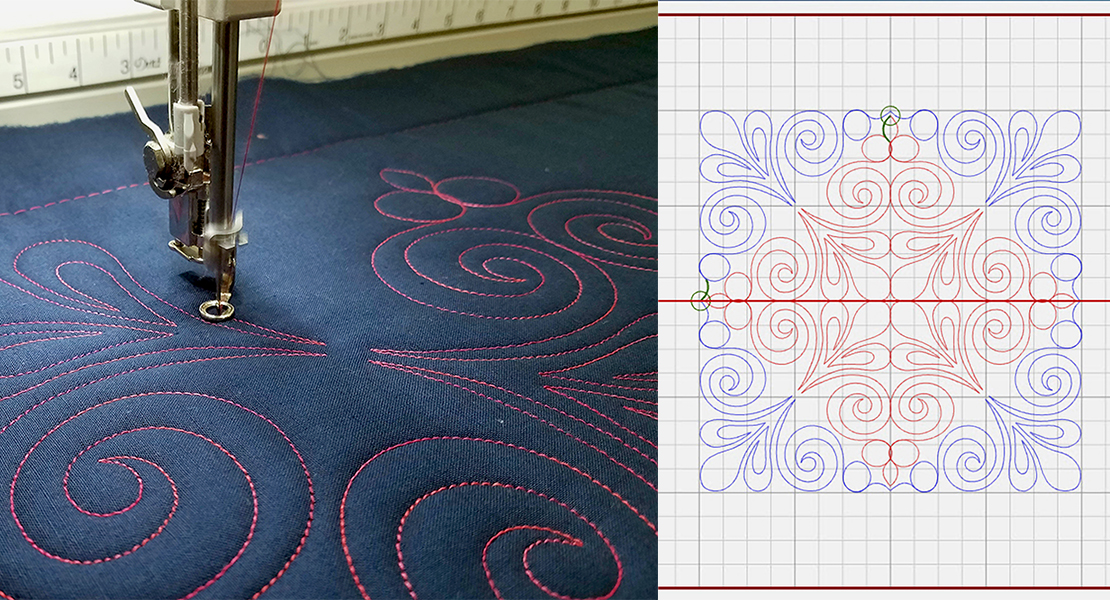
We are going to use the Trim tool first to show how parts of a design can easily be removed.
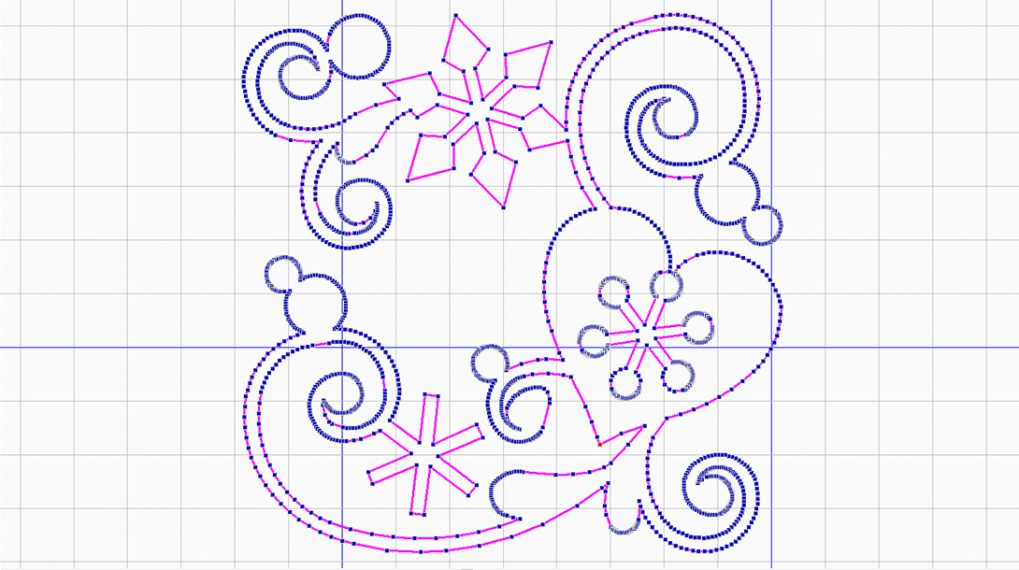
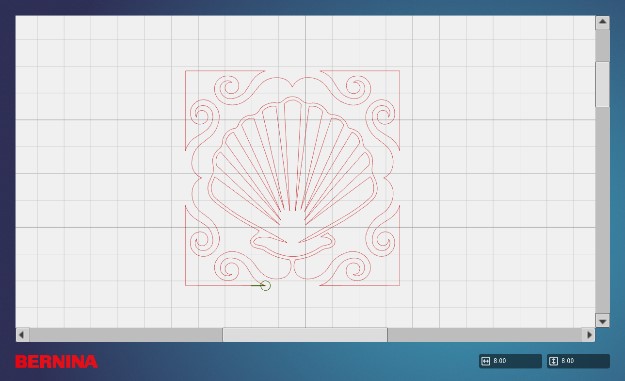
The design being used is design #12860-12L from the OESD collection of Four Seasons Quilting.
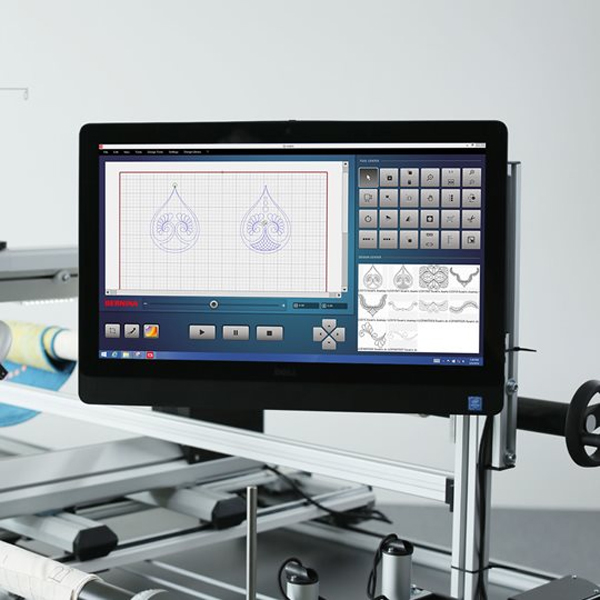
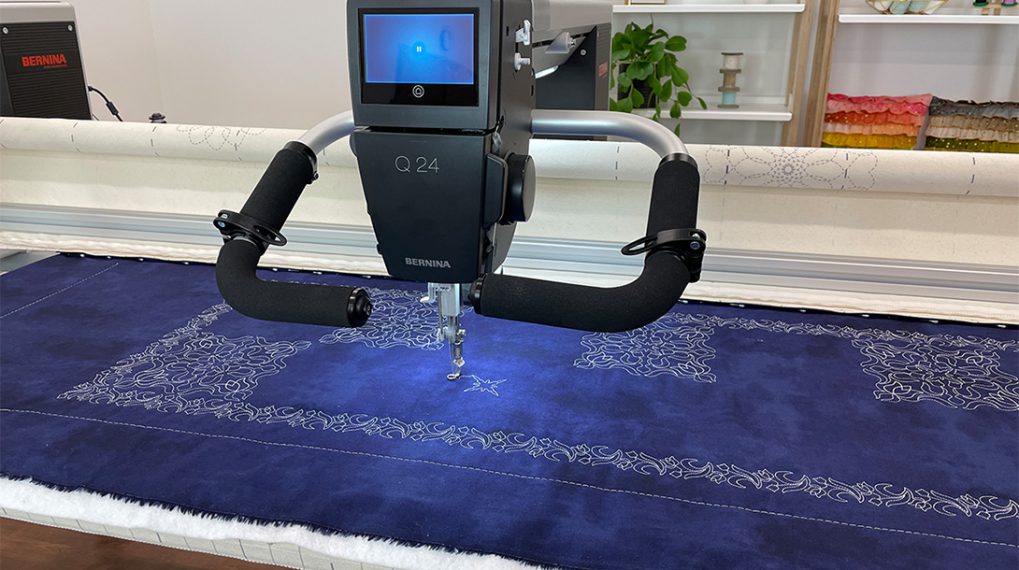
- This design has been converted to a .bqm and then Imported into the Q-matic Library and opened on screen.
- Select design and zoom in.
- With design still Selected, open the Trim tool in the Tool Center:
- Under Control, select Screen.
- Under Method, select Selected Design.
- Under Trim Line Orientation, select Horizontal.
- Under Jump Stitch, place a checkmark there.
- The Invert will be selected and deselected as needed.
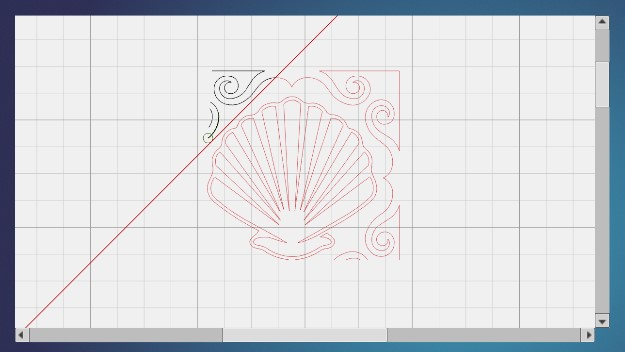
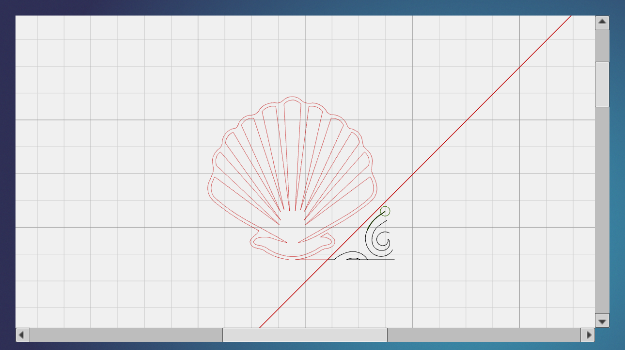
- Place the trim line horizontally first across the bottom of the shell and use Invert to trim the lower part of the design away.
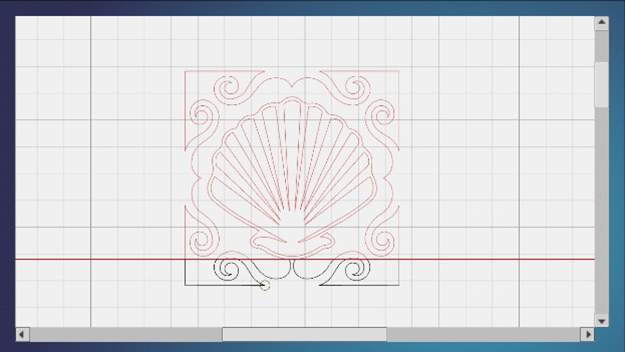
- Preview and Confirm with the check mark in green box. With Jump Stitch selected, you will see that there are no connecting lines after the trim.
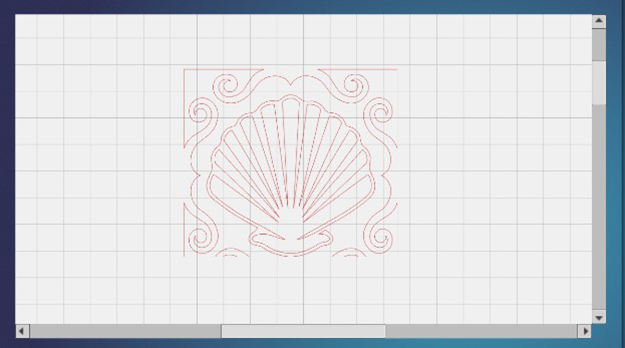
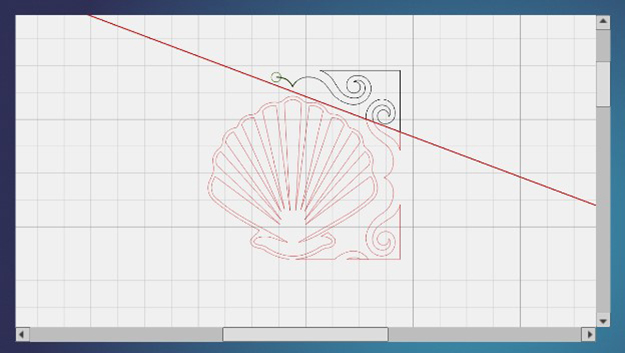
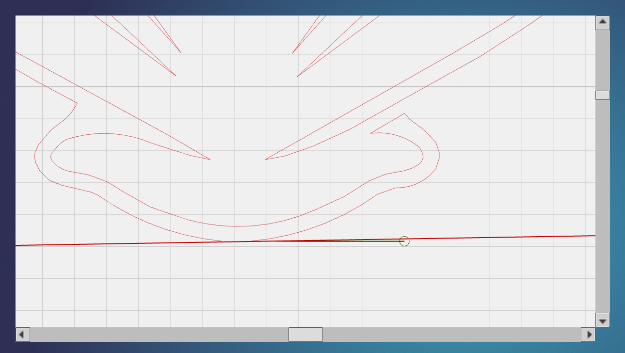
- Select the design again and open Trim; this time use the Angle. Remember the first click on screen is the pivot point and the second one places the line.
- Preview and Confirm with the checkmark in the green box.
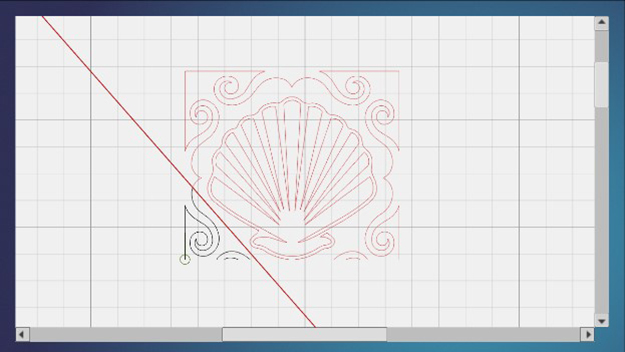
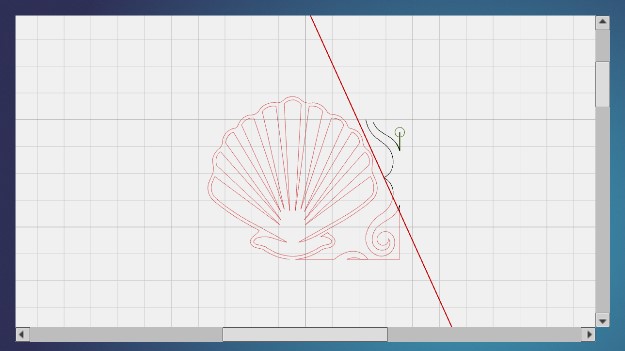
- Select the design again and continue to trim at an angle until you have completely trimmed all of the design away except the shell.

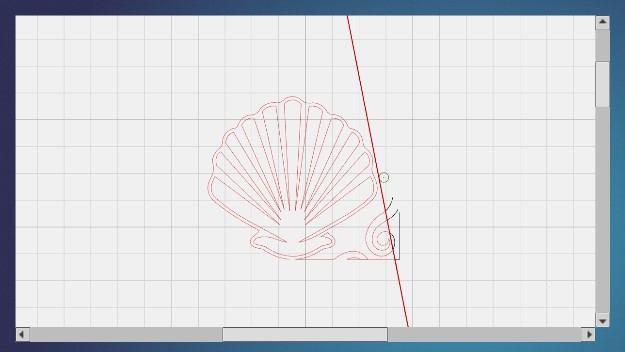
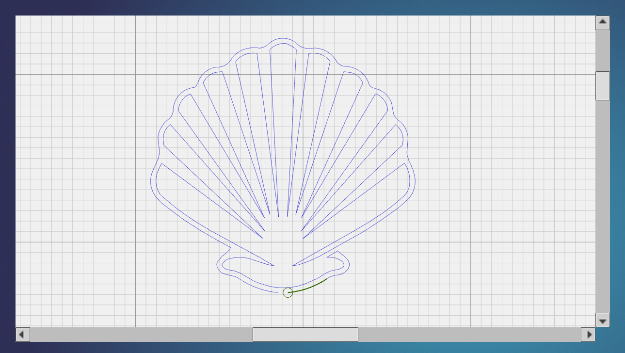
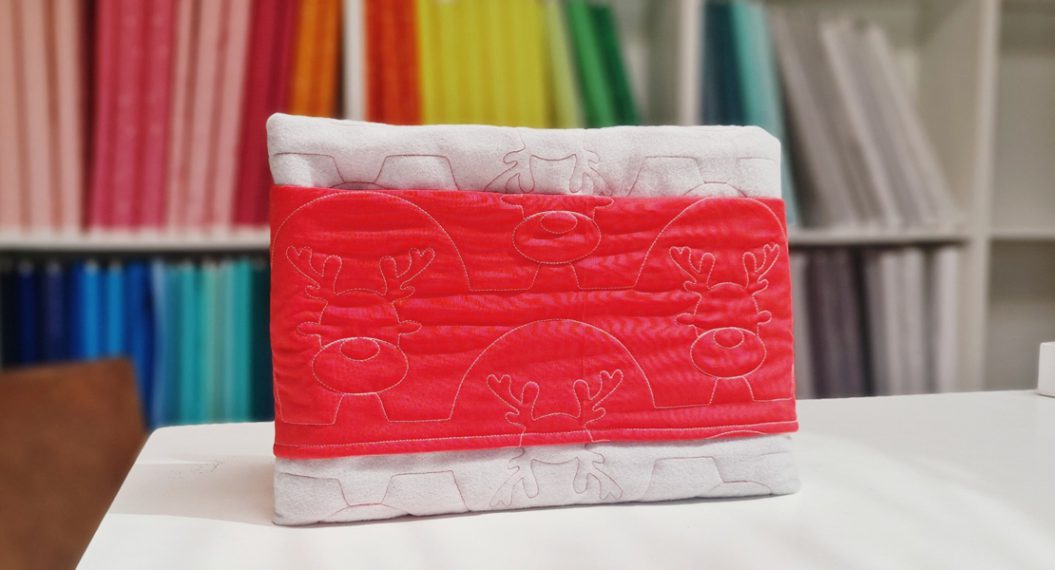
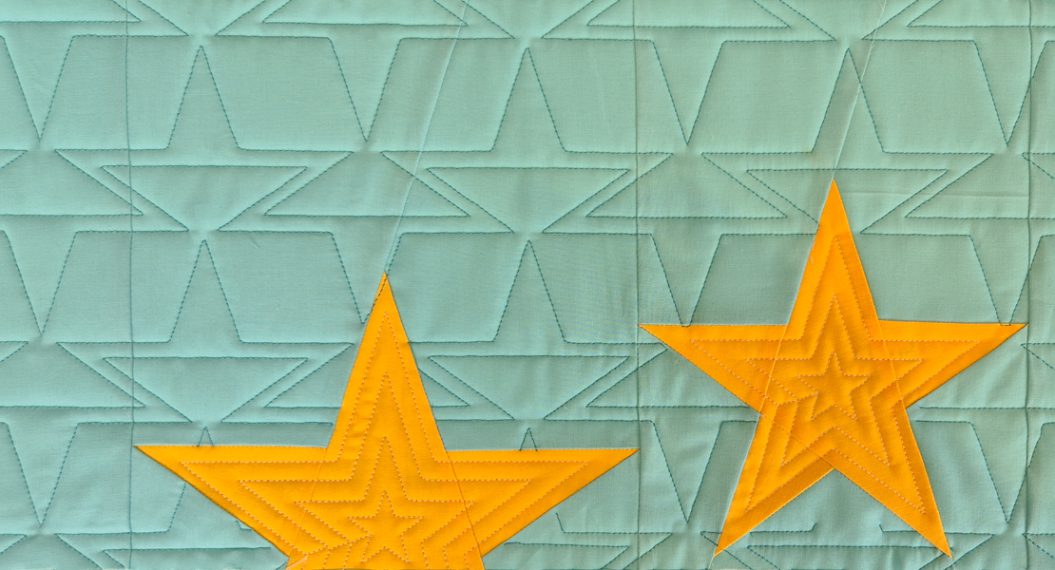
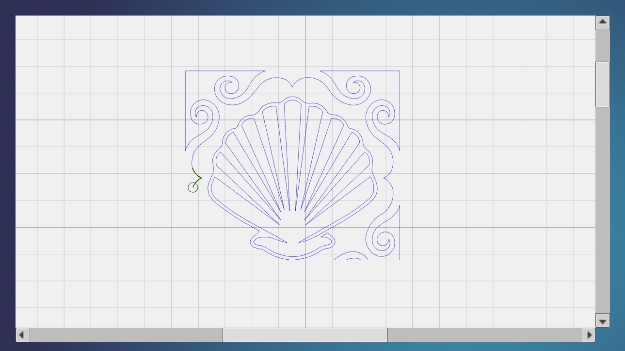
- When you are finished trimming you should only have the part of the design you wanted to use left.
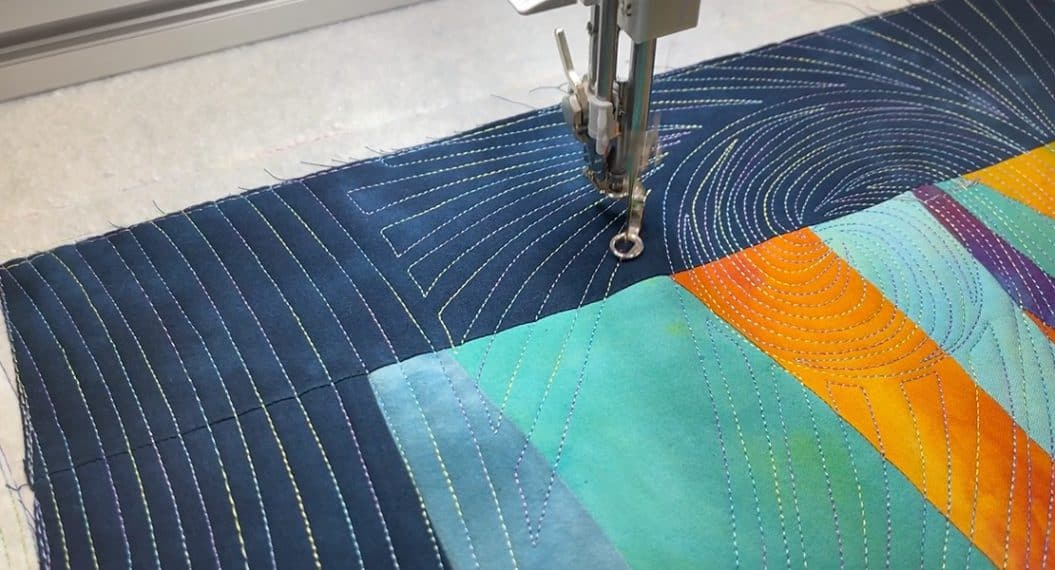
- Now it is ready to stitch out.
- If this design is to be used again in other projects, it may be imported into the Design Library by saving as a design file and then importing.
- See video for more detailed instructions.
Next, we are going to use the Mask feature to edit a design.
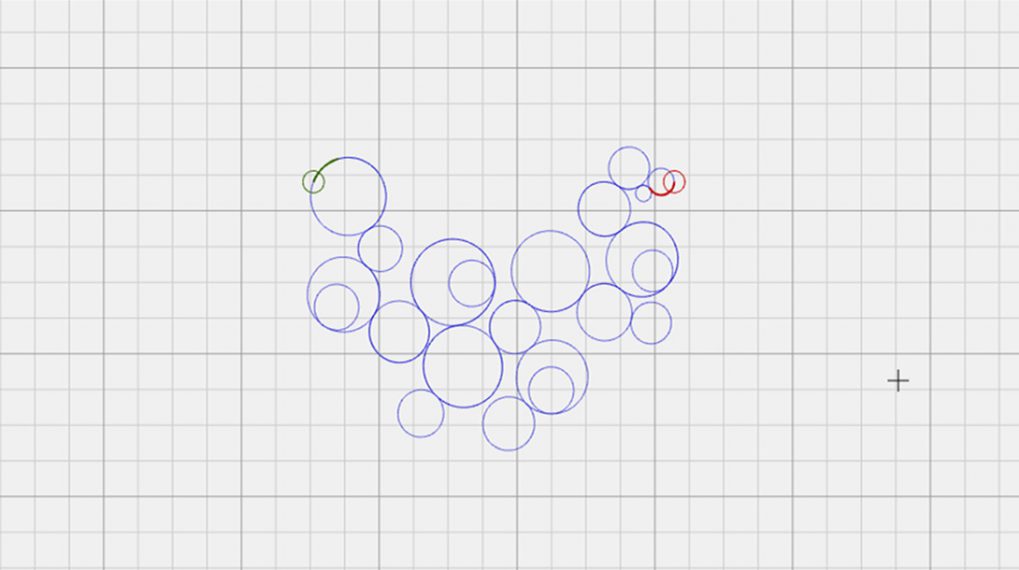
This design is from the OESD collection 12926 Harvest Quilting, #03. I have already taken the design to Art & Stitch and converted it to .bqm and imported it into my Q-matic Library. I have now selected it while placed on my Quilting Area (grid).
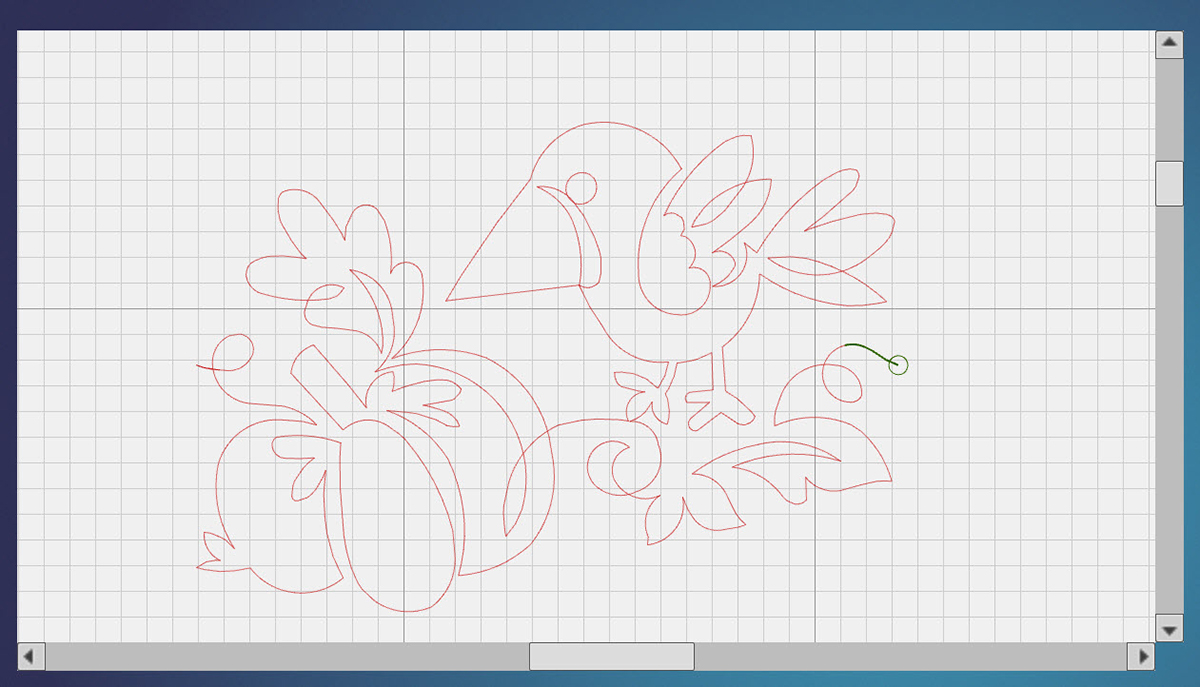
I really only want this adorable bird. So, I will use Mask to remove the rest of the design.
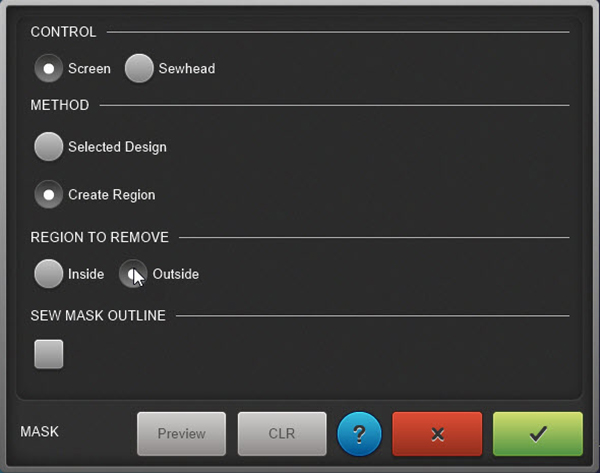
- With the design selected, open Mask.
- Select under Control: Screen.
- Under Method: Create Region.
- Region to Remove: Outside.
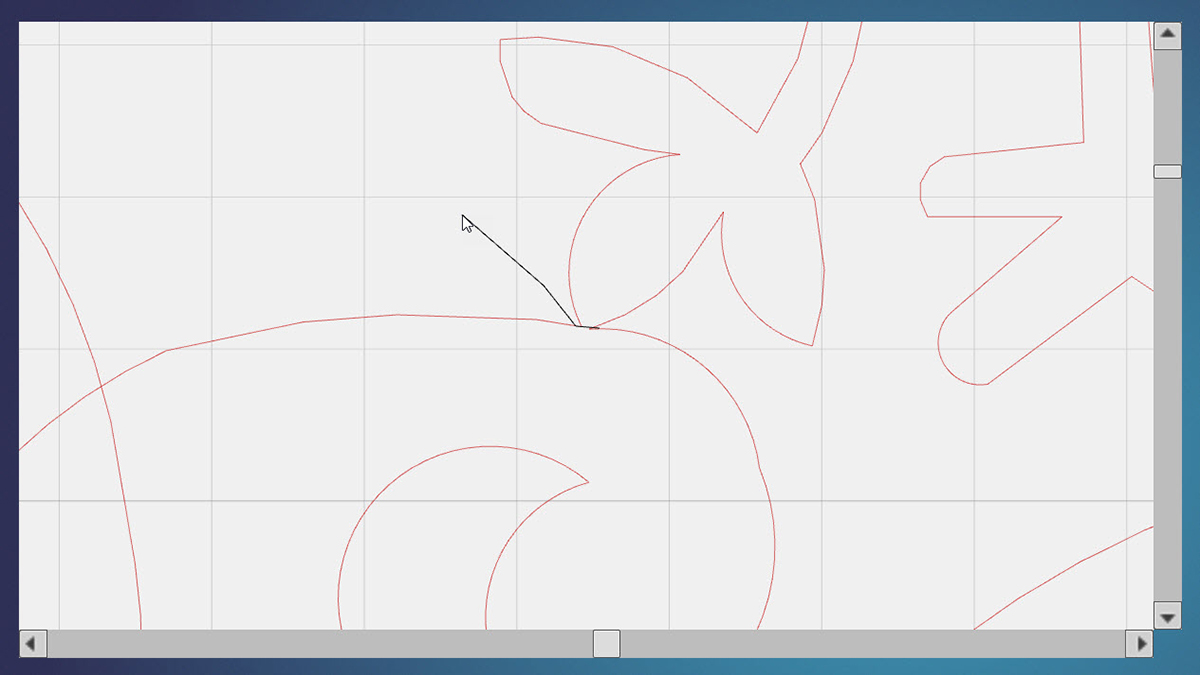
Using your mouse or your finger on the screen, create a region around the bird. Zooming in will help this be more accurate. The foot that is connected to the rest of the design will be the hardest spot to mask. I am going to zoom way in and that will be a small gap at the toe of that foot.
After a few clicks are created, the View in the top tool bar can be used to zoom out to see the rest of the design. Click on the Zoom Out until you can see the full design.
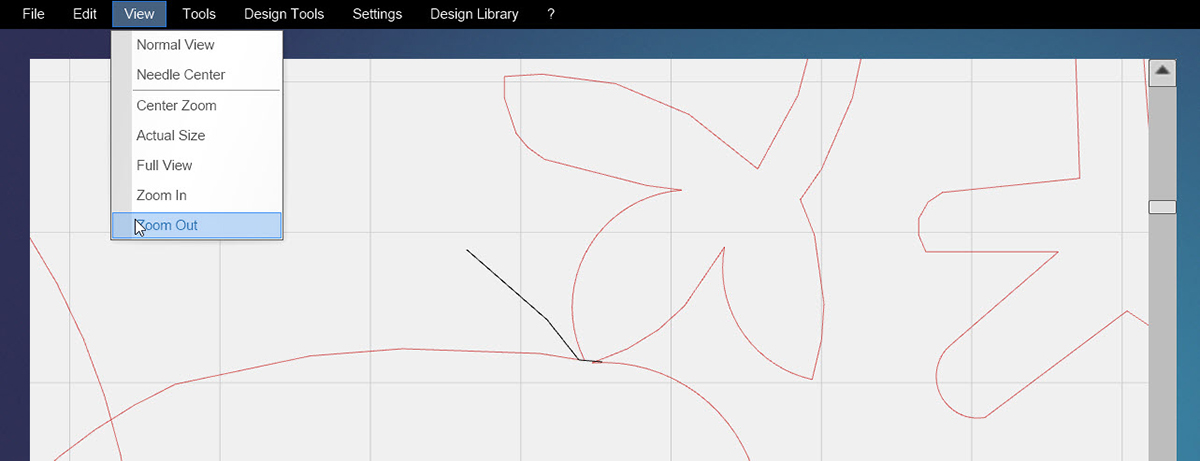
With the screen so that you can see the design continue to click around the bird.

Remember when the action is previewed then Confirmed, the shape will be closed.

The design is now ready for you to use and stitch out. As for the gap, you could take it into Art & Stitch and close the design. But each of the squares on the screen are only one-fourth inch so the gap is really just a stitch or two.
When you only want part of a design to stitch some basic editing can be done right in Q-matic. The Trim Tool as well as Mask can a lot of times do the job you need. Resizing with and without maintaining the ratio will often do what you need as well.
Have fun using all of the tools in the Tool Center for Q-matic.