Q-matic Boundary Tip
This blog post will walk you through how to use the Boundary tool in the BERNINA Q-matic Longarm Quilting Automation System. When using Boundary, you don’t have to worry if your blocks are not exact squares. With this function, you can change the size and shape of your block design to fit right into your block even if it is not perfect.
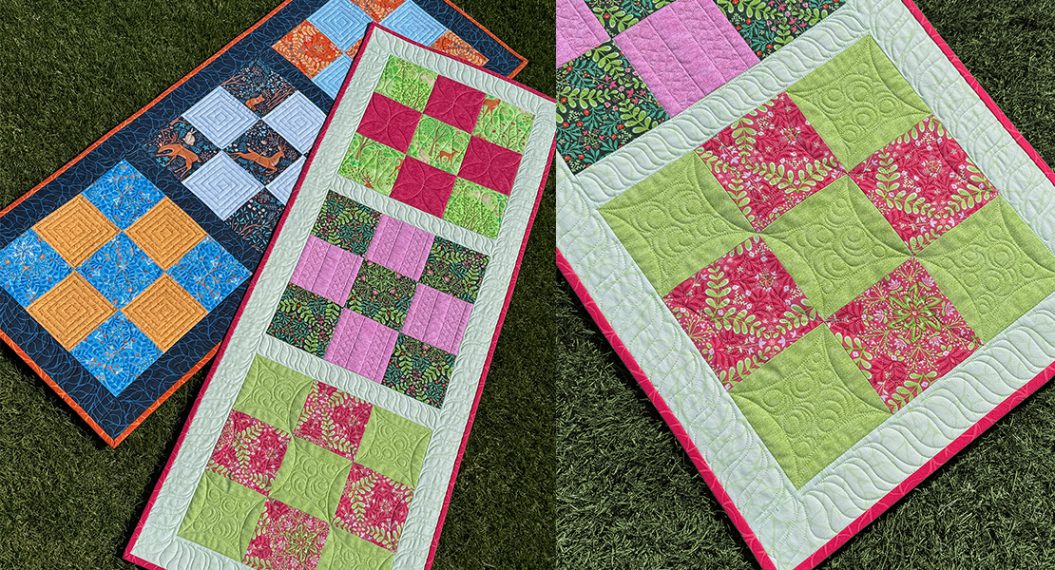
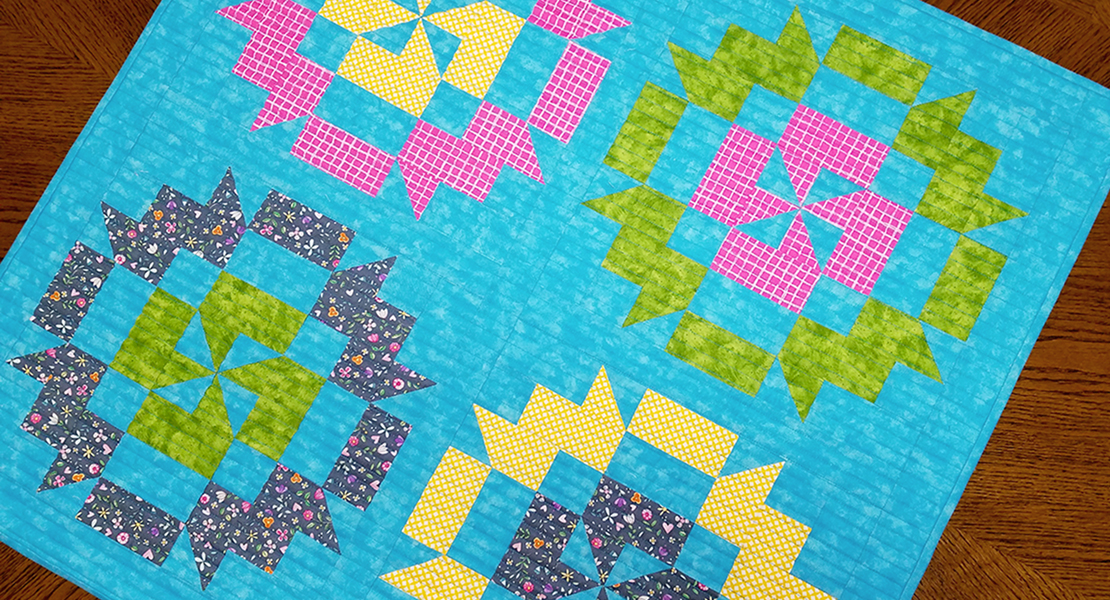
I am going to make placemats with blocks that are purposely not so perfect. This will be to show you how amazing the function works. It will make you look great when the block is placed and stitched, even if your block is not so perfect.

Materials to Make Two Placemats:
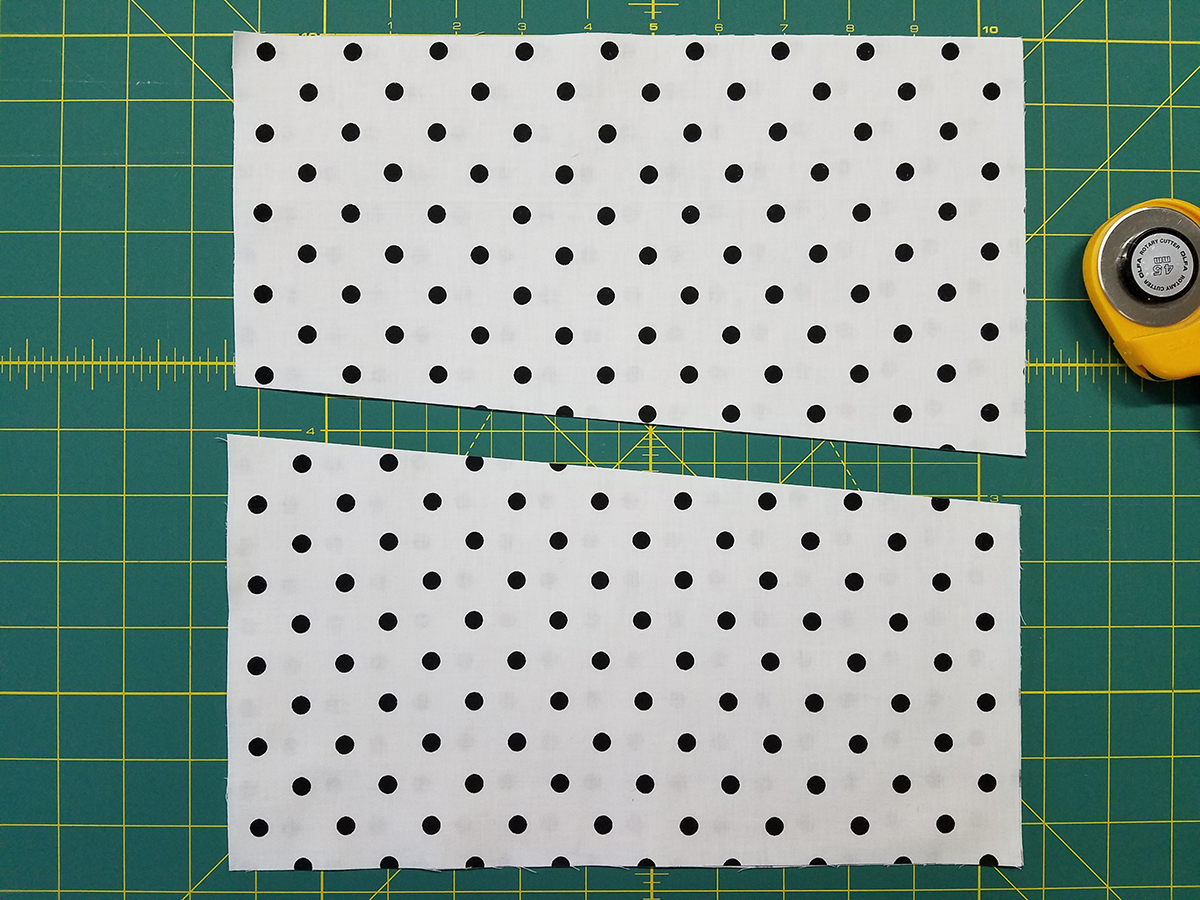
- 2 squares 12.5” x 12.5” (I used white fabric with black dots.)
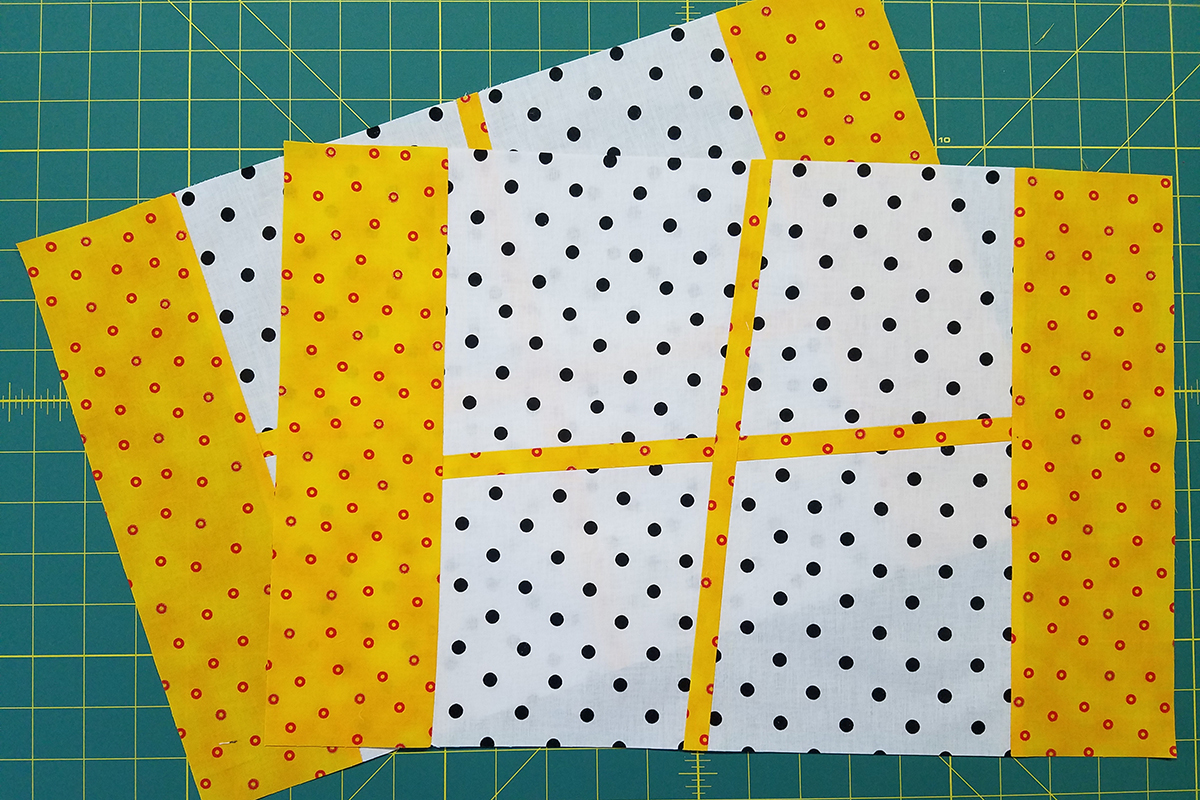
- 4 rectangles 4.5” x 12.5” (I used yellow fabric.)
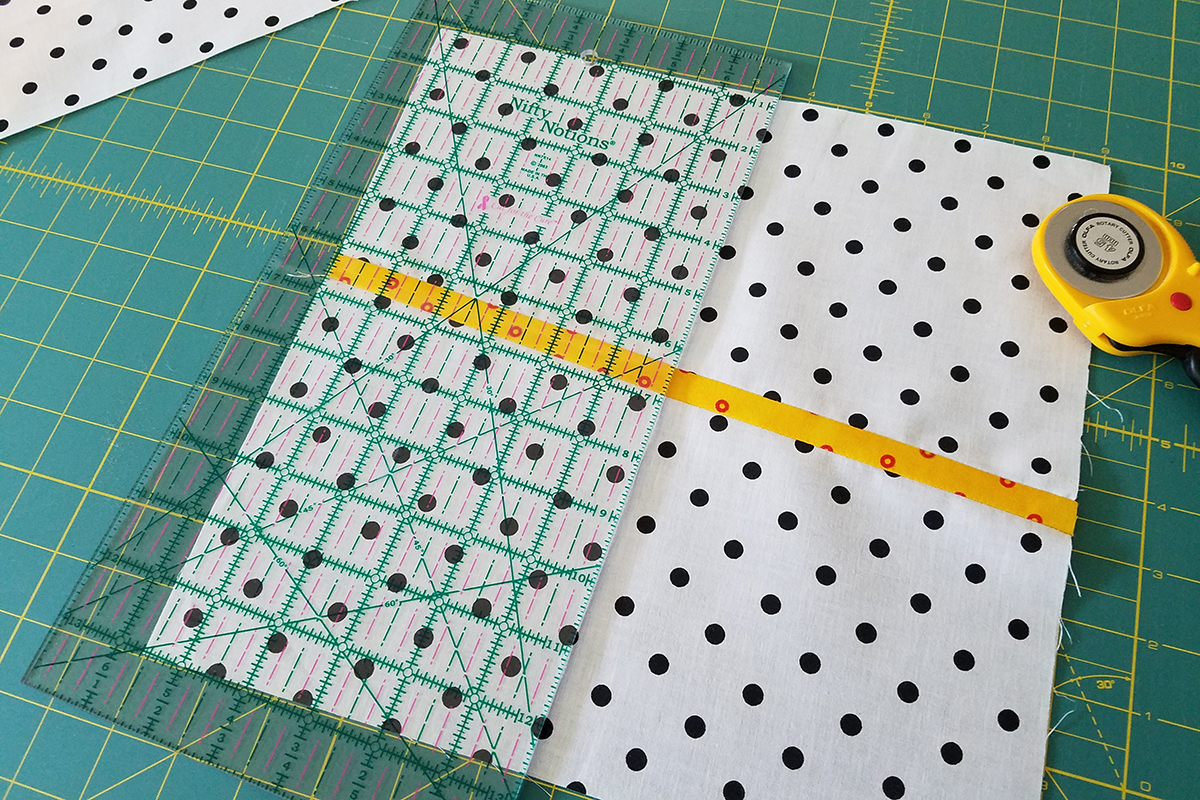
- 4 strips 1” x 12.5” (I also used the yellow fabric here.)
- Fabric for the backing that is about 3 inches larger on all four side than both placemats when placed side by side
- A piece of batting that is the same size as backing
- Thread
Other items needed:
- Sewing machine
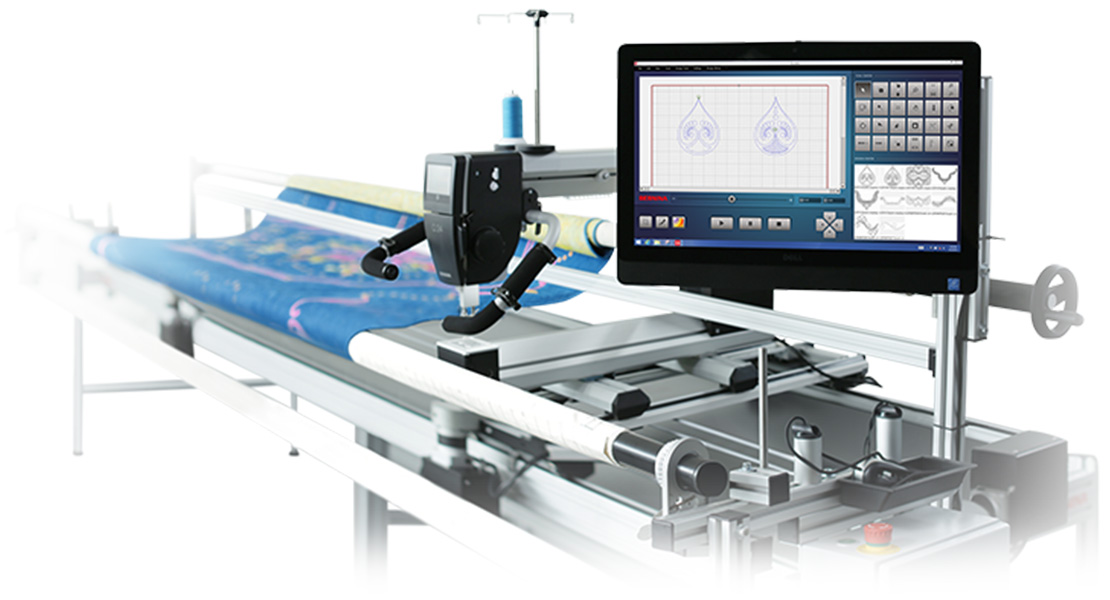
- BERNINA Q 20/Q 24 Longarm Quilting Machine on Frame
- BERNINA Q-matic Longarm Quilting Automation System
- BERNINA Needle Point Laser (optional Longarm quilting accessory)
Let’s make the placemats:
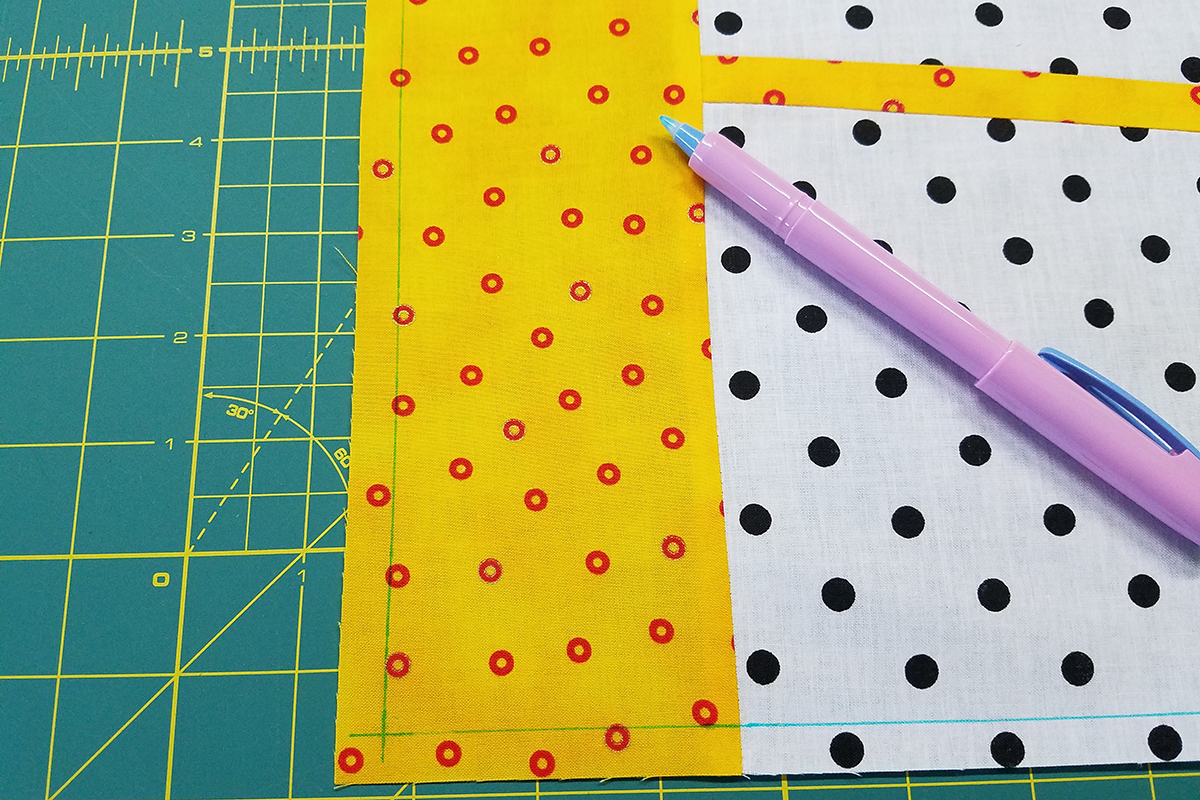
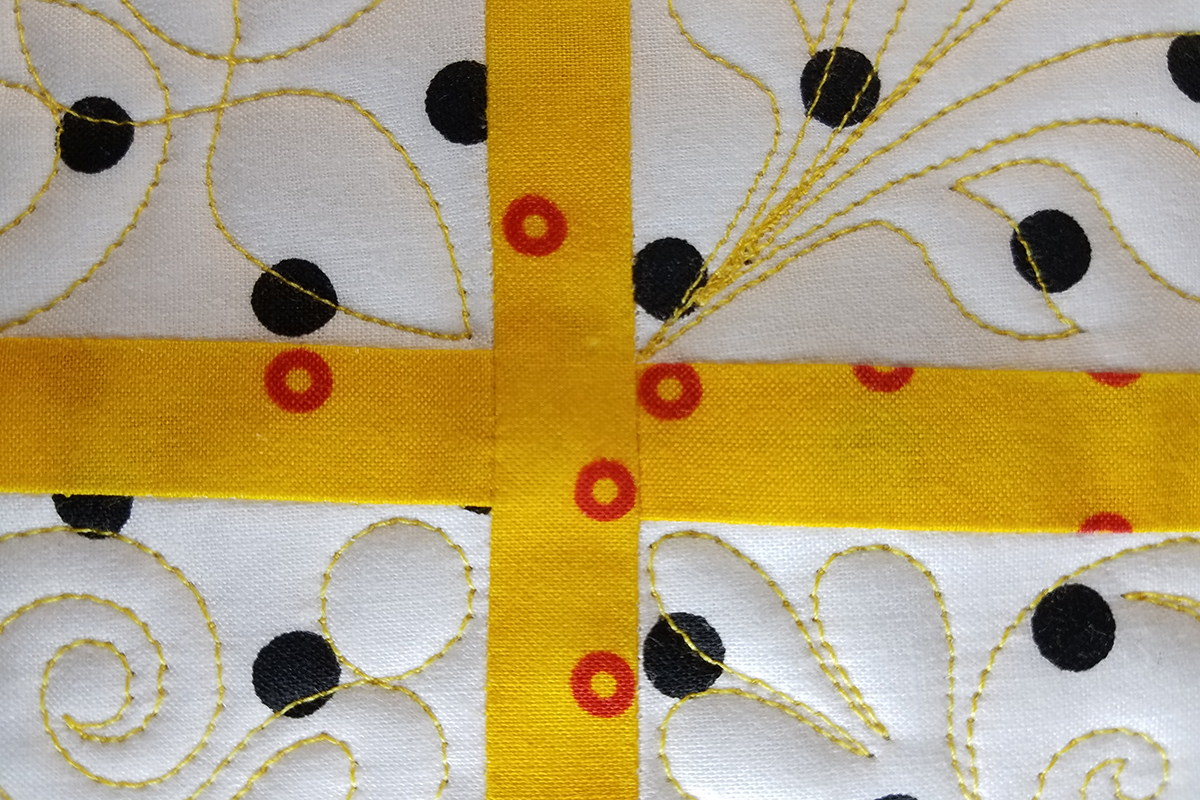
Cut the 12.5 inch square in half at a slight angle across the block.
• Stitch one of the 1 inch strips into the angle you just cut.
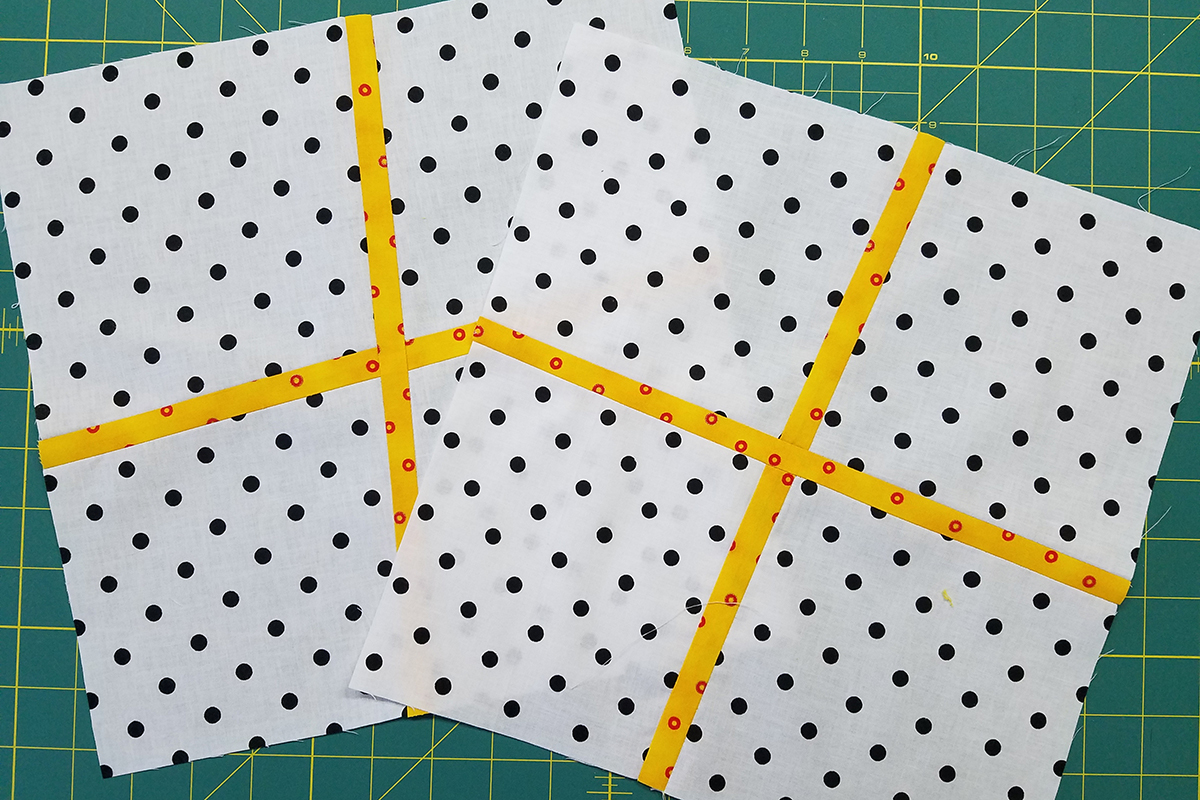
• Make a cut the other direction.
Stitch in another 1 inch strip into the cut. Repeat to complete two sets.
• Stitch 4.5 inch rectangles on opposite sides of each square.
• Trim each rectangle to 12.5 inches by 18.5 inches.
• Mark a line on the outside edge of each placemat to mark where you will be stitching your binding using a temporary marking tool so that the marks can be removed later. (I used a blue water erasable pencil.)
• This mark will help when placing your designs.
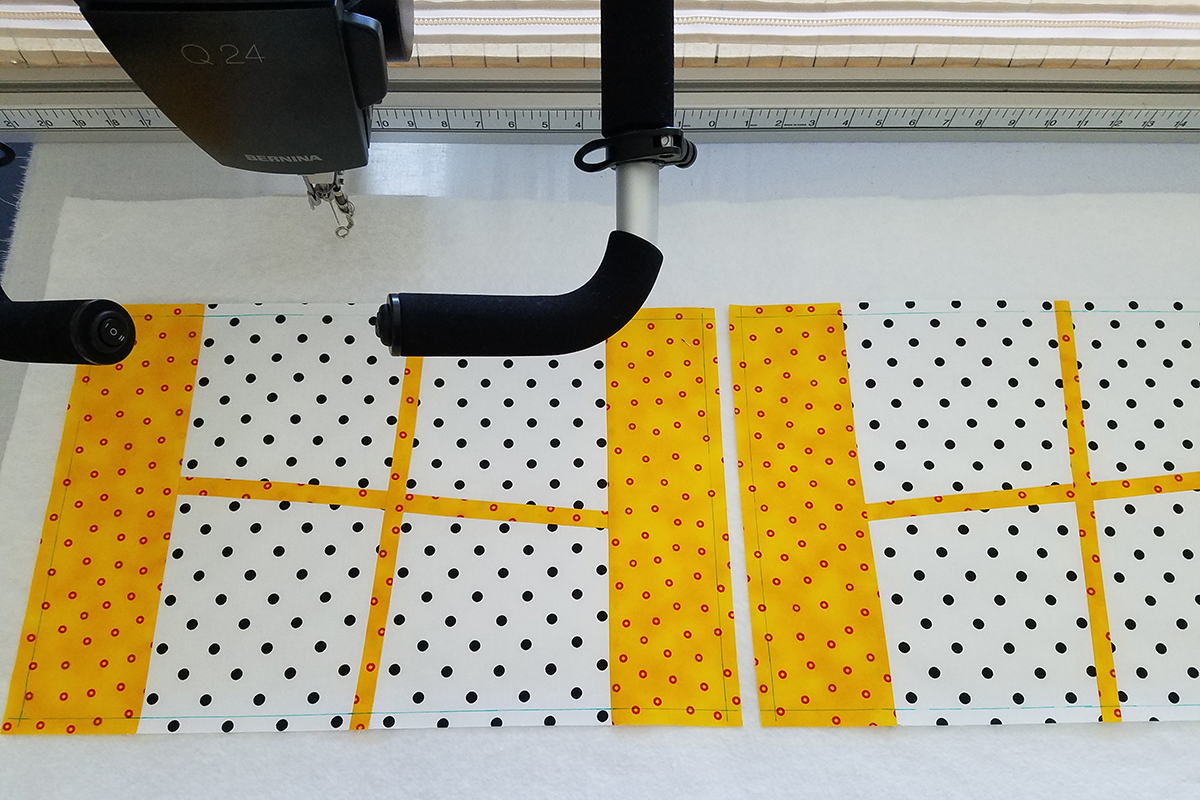
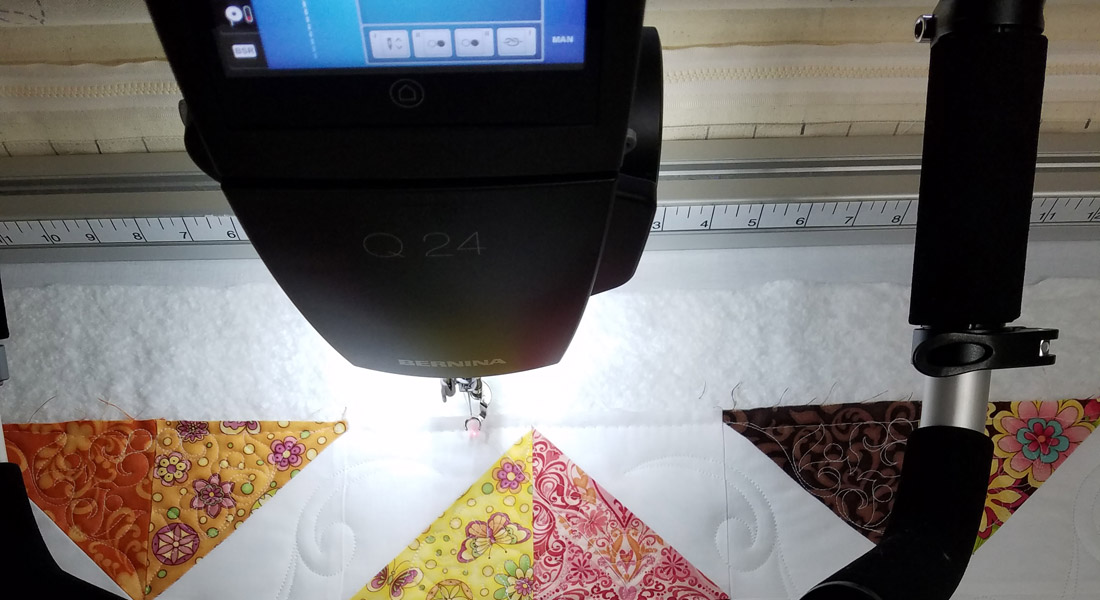
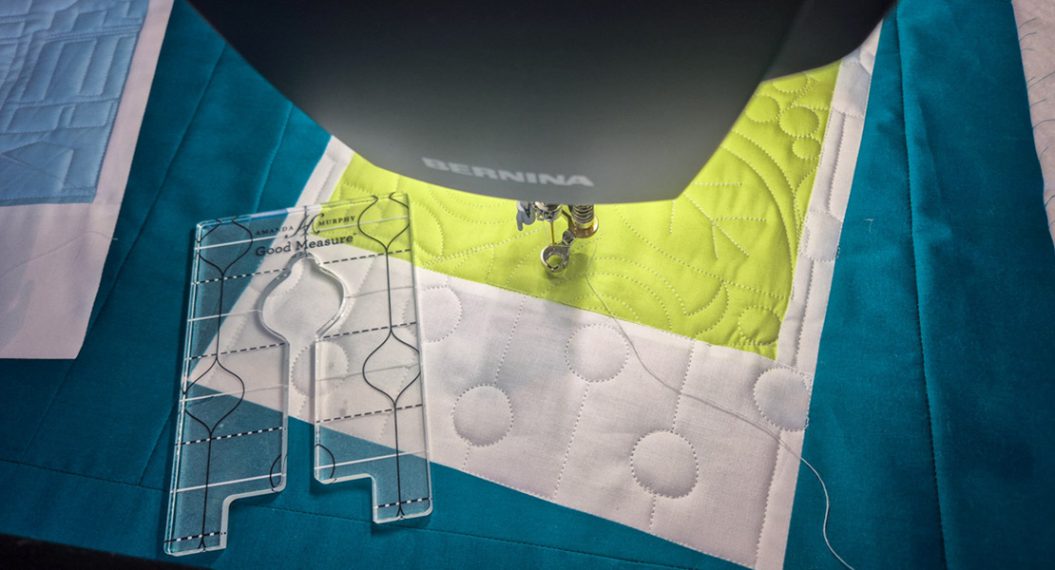
• Baste both placemats side by side onto backing and batting that is loaded onto frame.
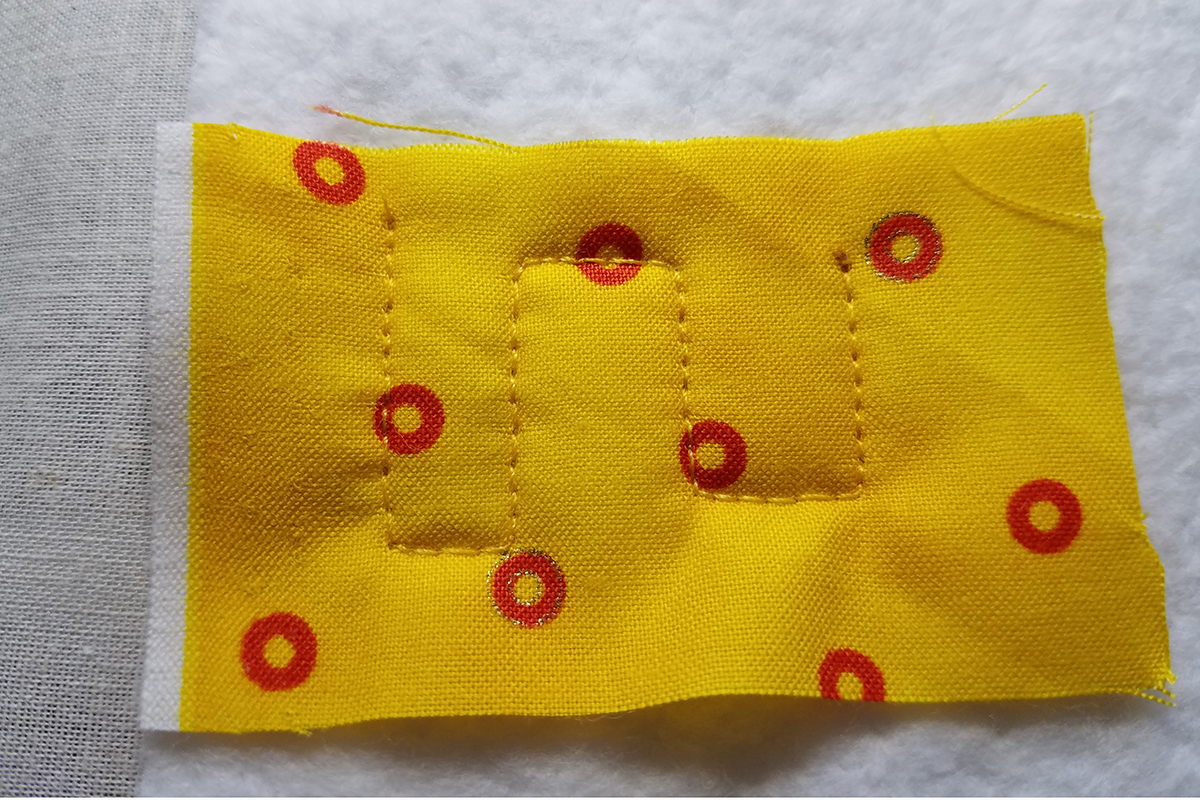
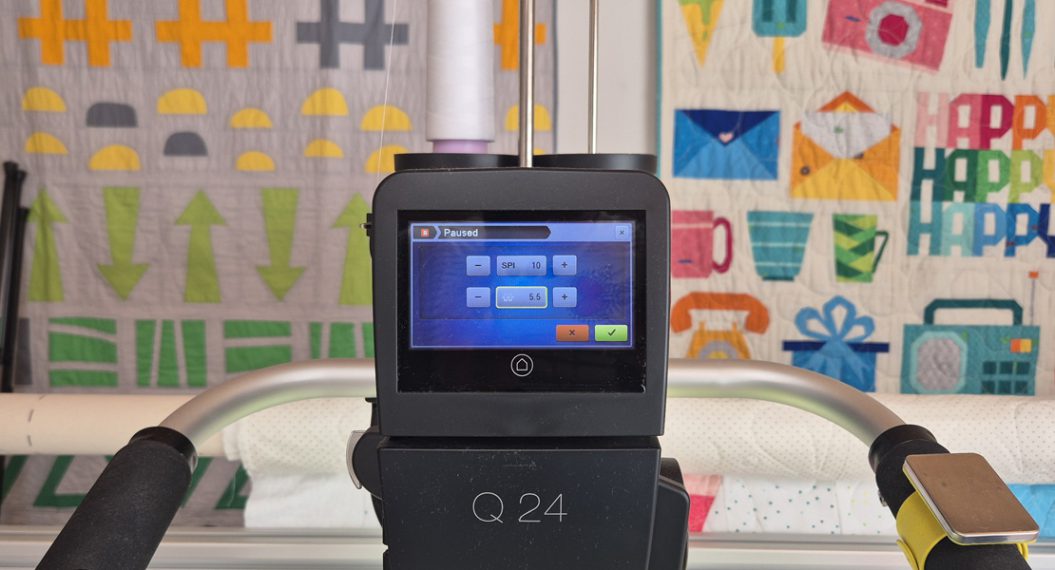
• Use the BERNINA Stitch Regulator (BSR) mode number 3 with 4 Stitches per inch (SPI).
• Always clean and oil your machine before starting each day.
• Test your stitch on the side with the extra batting and backing you have.
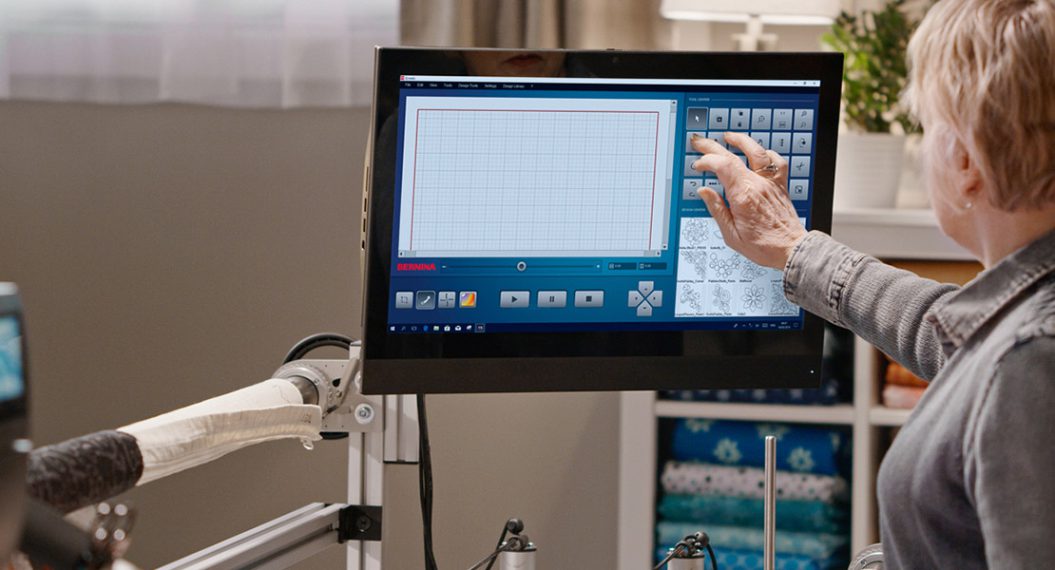
• Open the Q-matic software and add these designs to Design Center:
o Laura Block
o Looped Flowers_Square
o Swirls Paisley_Square 1
o Swirls Paisley_Square 2
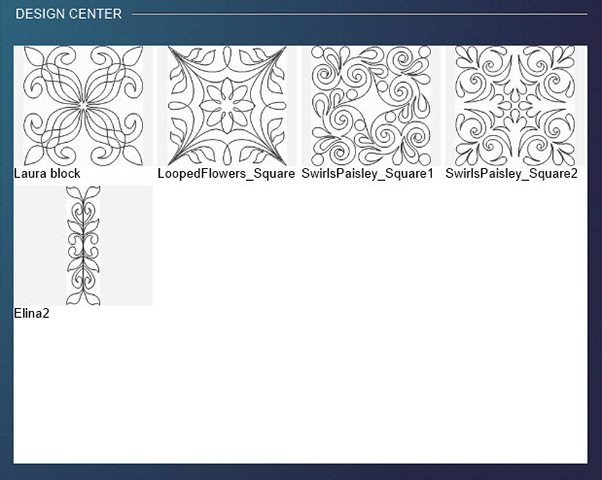
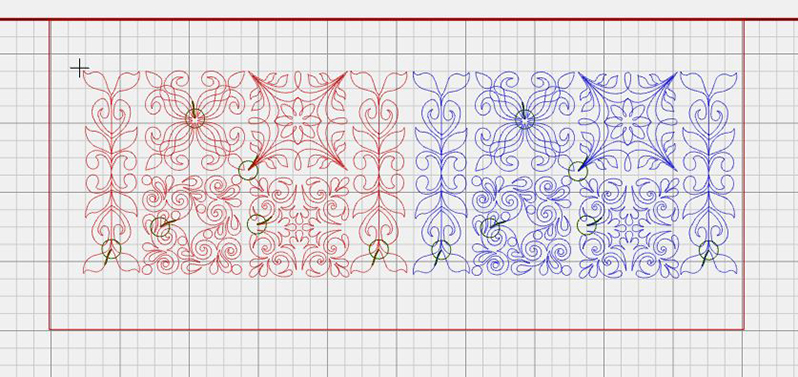
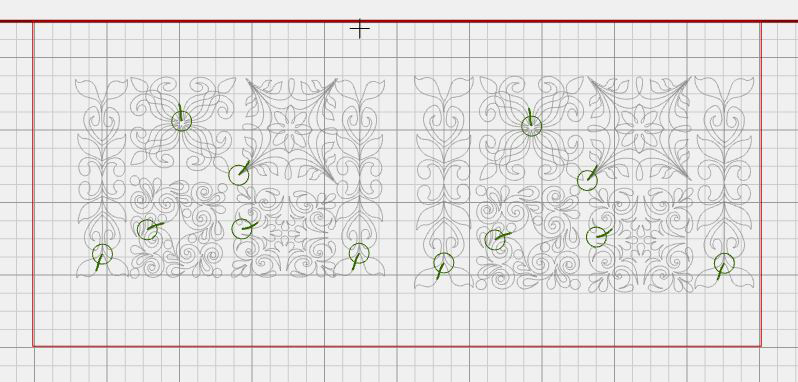
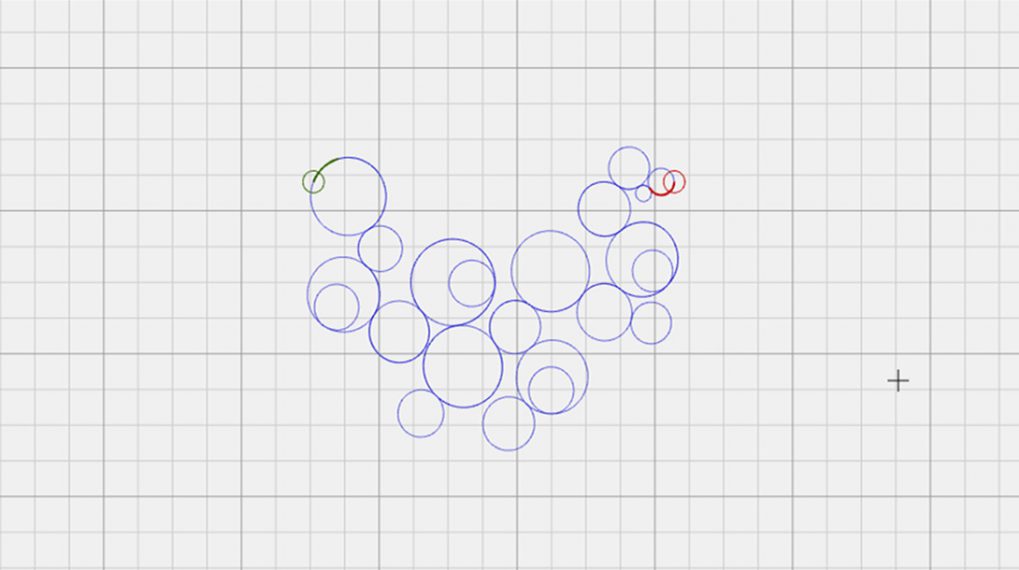
• Place all four block designs on the Quilt Area.

• Arrange designs on screen. Resize all block designs to be a 6 inch square.
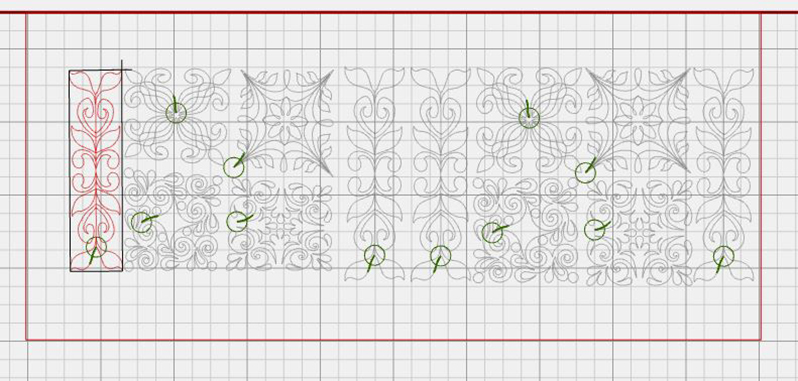
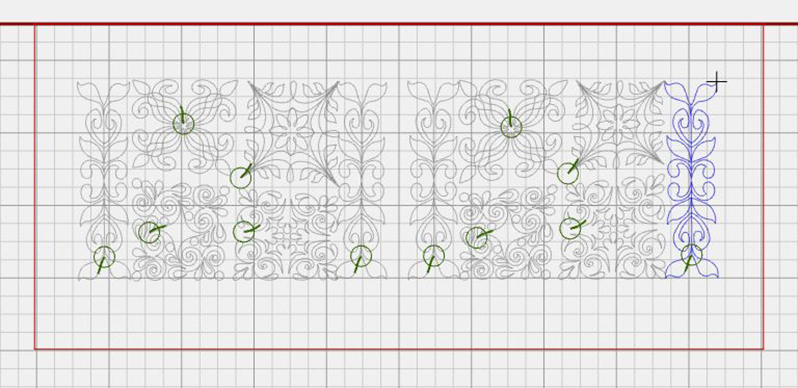
• Add Elina2 on each side, resized to 4 inches by 12 inches.
• Some of the designs will need to be resized with Maintain Ratio unchecked so that you can enter the inches for both width and height.

• Group all of the designs using the Connect tool in Tool Center.
• When all are grouped, use Duplicate to create another placemat design just like the first one.
• Ungroup both using Unconnect so that you can place each design one at a time
• Since we are going to use the side rectangles like borders, we are going to start with the square blocks.
• Select one of the block design.
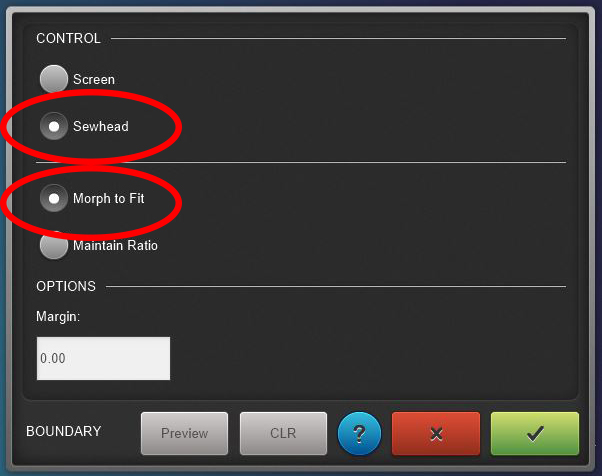
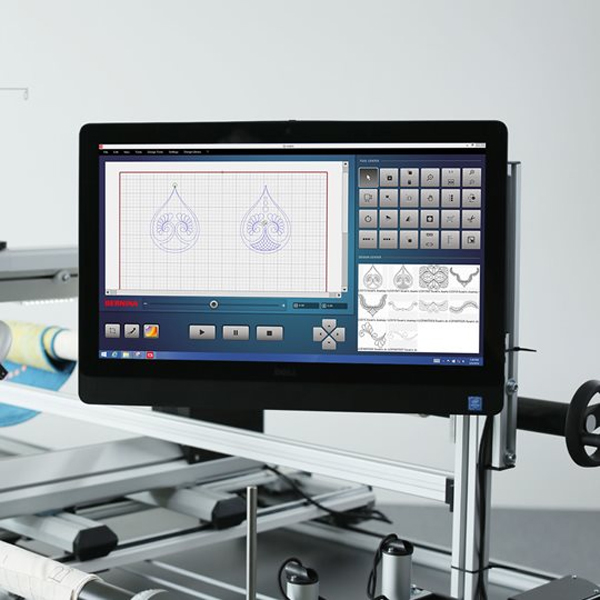
• Open the Boundary tool.
• Select the Sewhead and leave Morph to Fit selected.
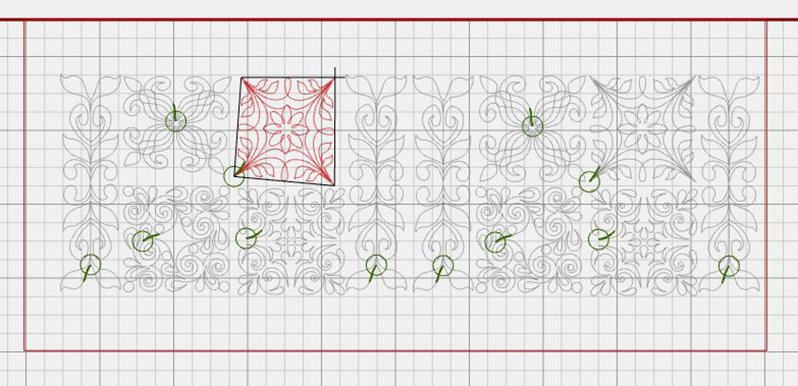
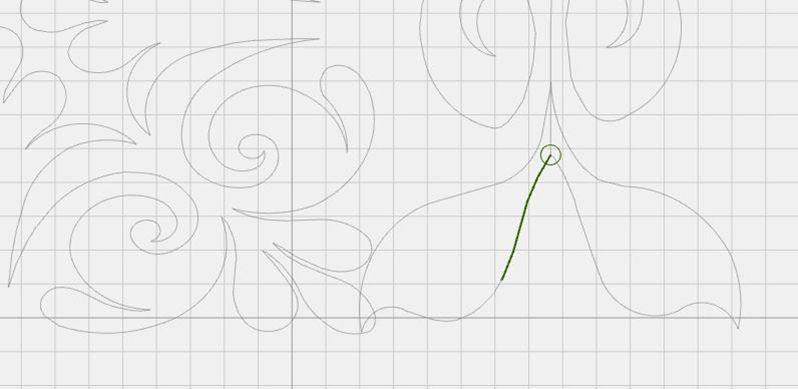
• Move the machine around the block clockwise or counter clockwise marking the corners.
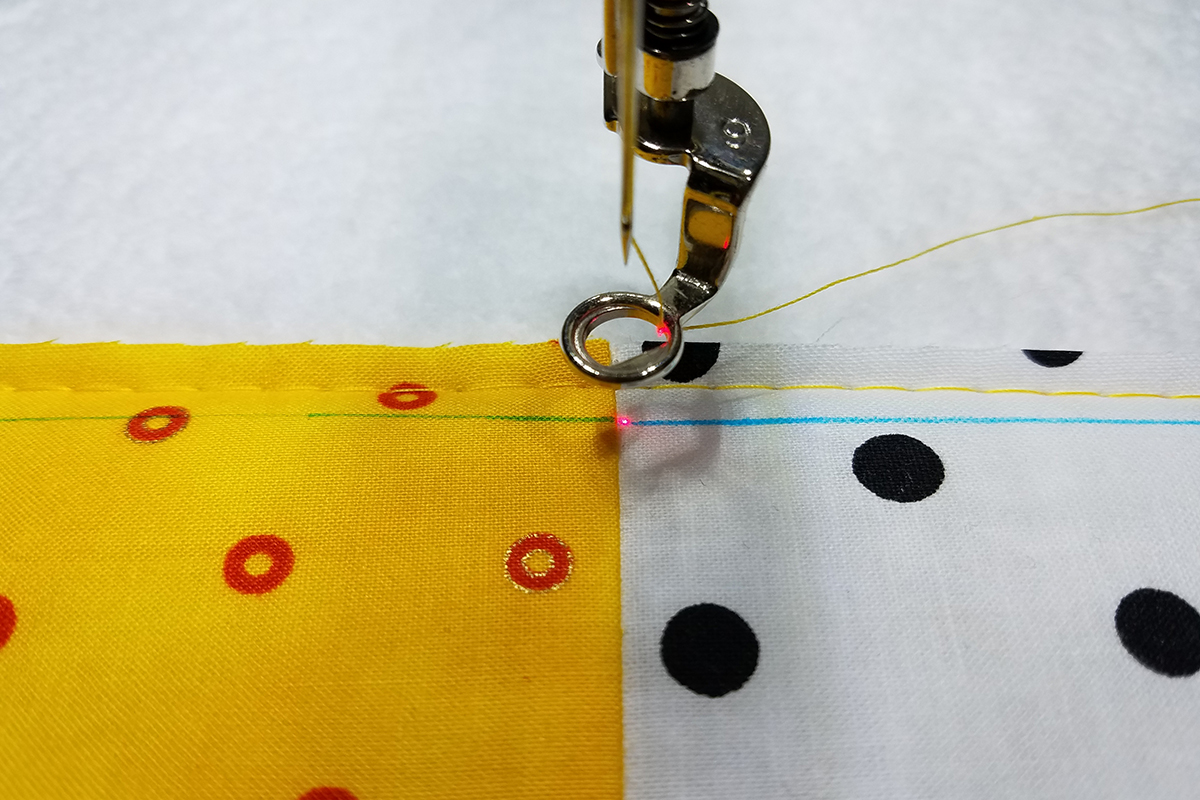
• Place the four points you want the design to fit into.
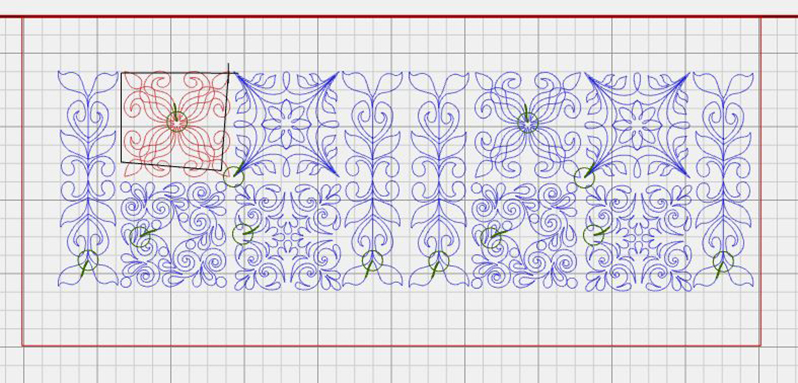
Select Preview.
• If you like the way it looks, confirm with the check mark in the green box.
• Open Sew Options.
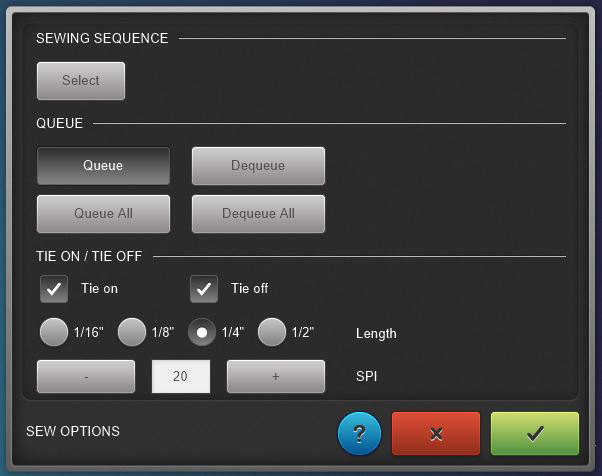
• In Sew Options, you now see that the Tie On/Tie Off can be turned on and off, and the stitch length as well as the length of the tie on/off stitching can be changed. We are going to leave these things as they are.
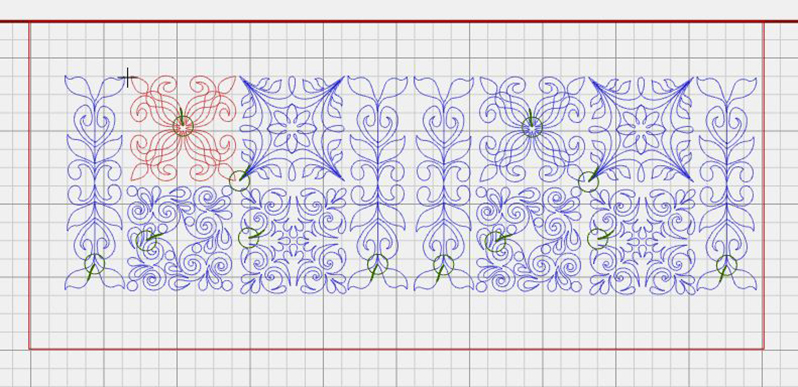
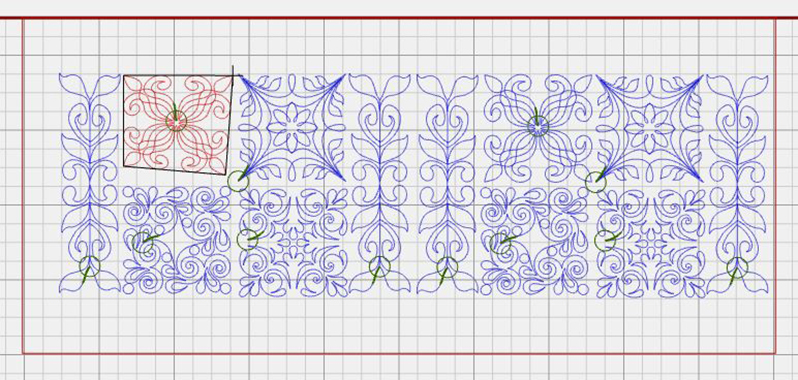
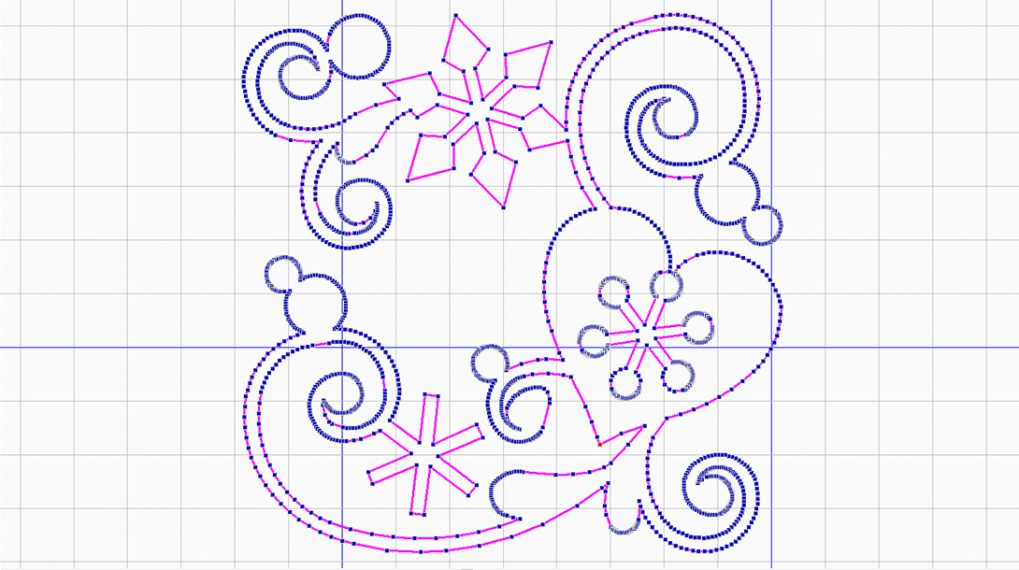
• First, we are going to Dequeue All because the full layout on screen is blue and that means queued.
• Queue only the block design you placed; it will now be the only one blue.
• Start the stitching.
• The design will be grey when it is finished stitching.
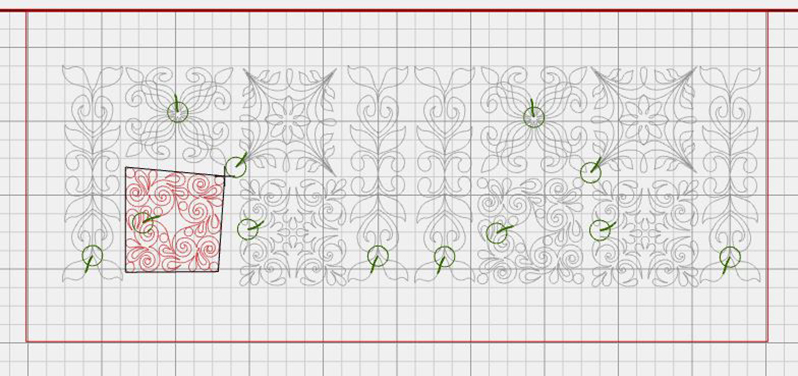
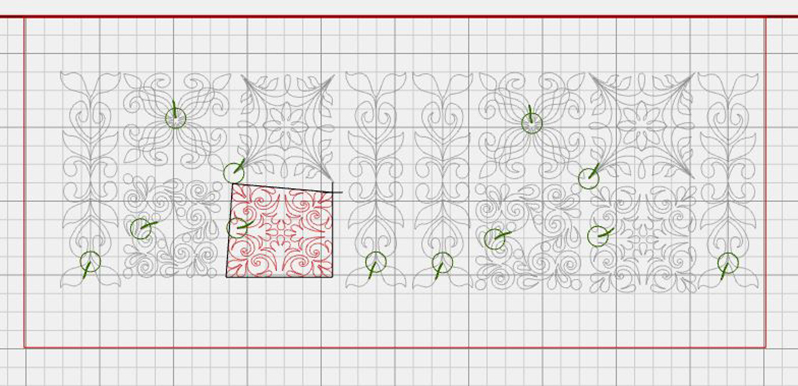
• Repeat the process of selecting the design, placing the design with Boundary and stitching the design until all designs are stitched.
• Repeat for other placemat layout.
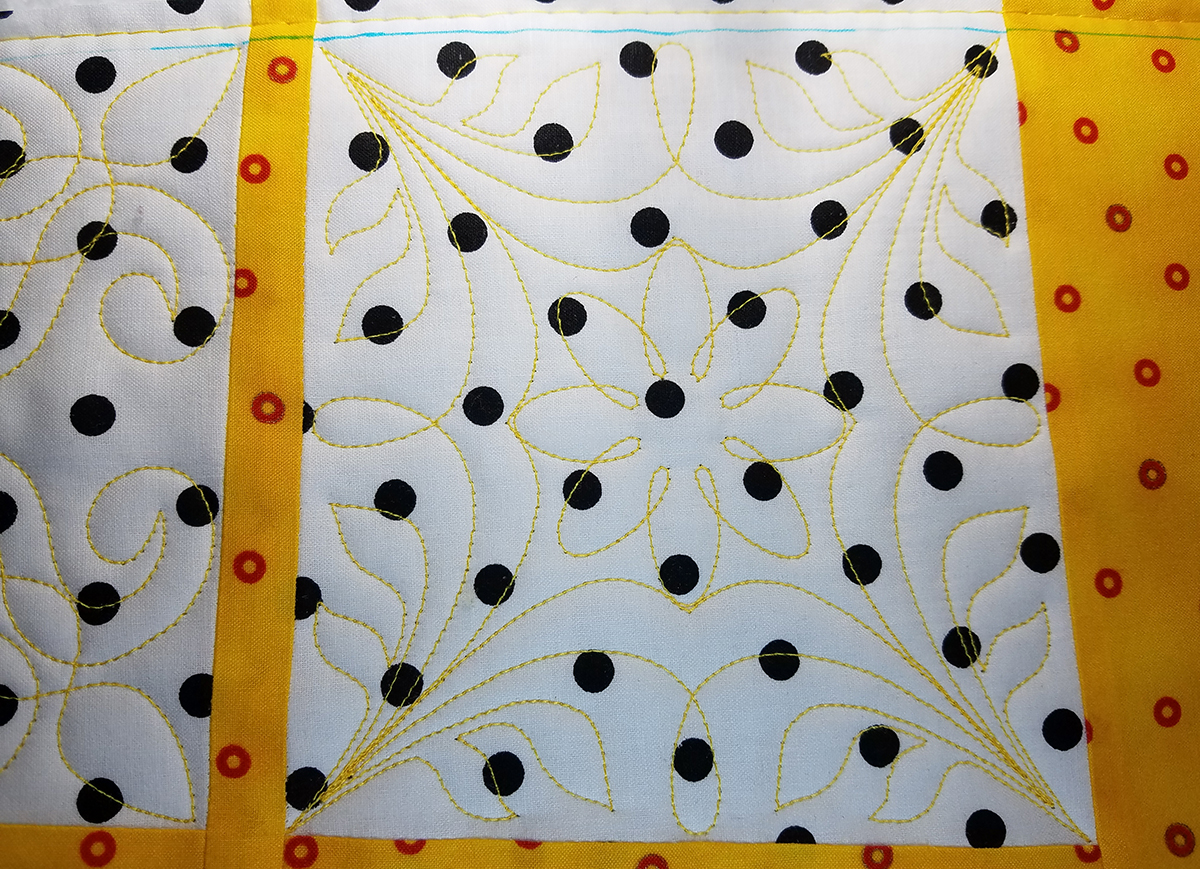
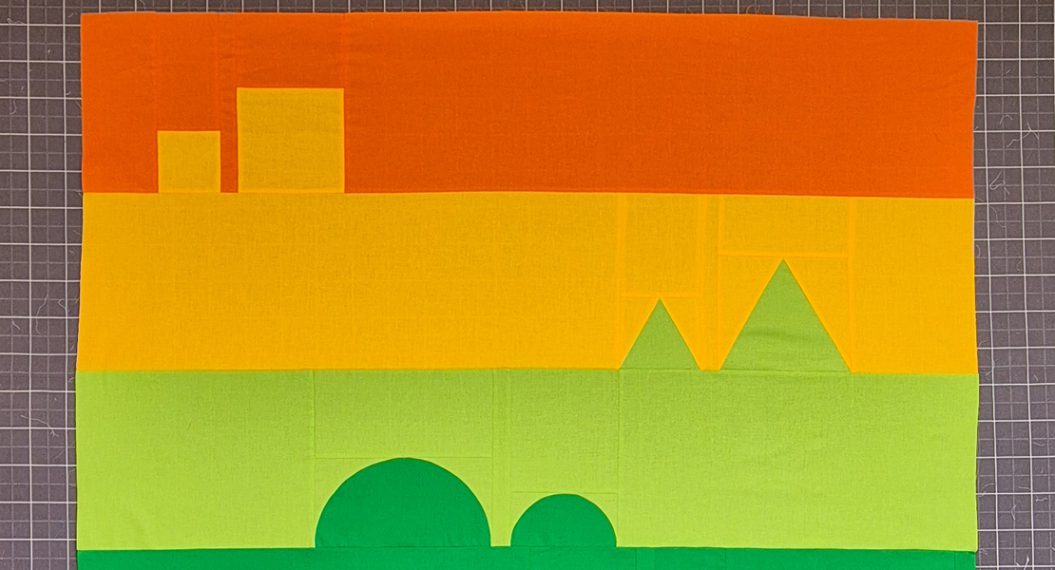
• You will notice that the designs will move on screen, and that some of them may look like they are overlapping.
• Don’t worry if this happens since there is always some movement or shrinkage when you quilt. It will all work out.
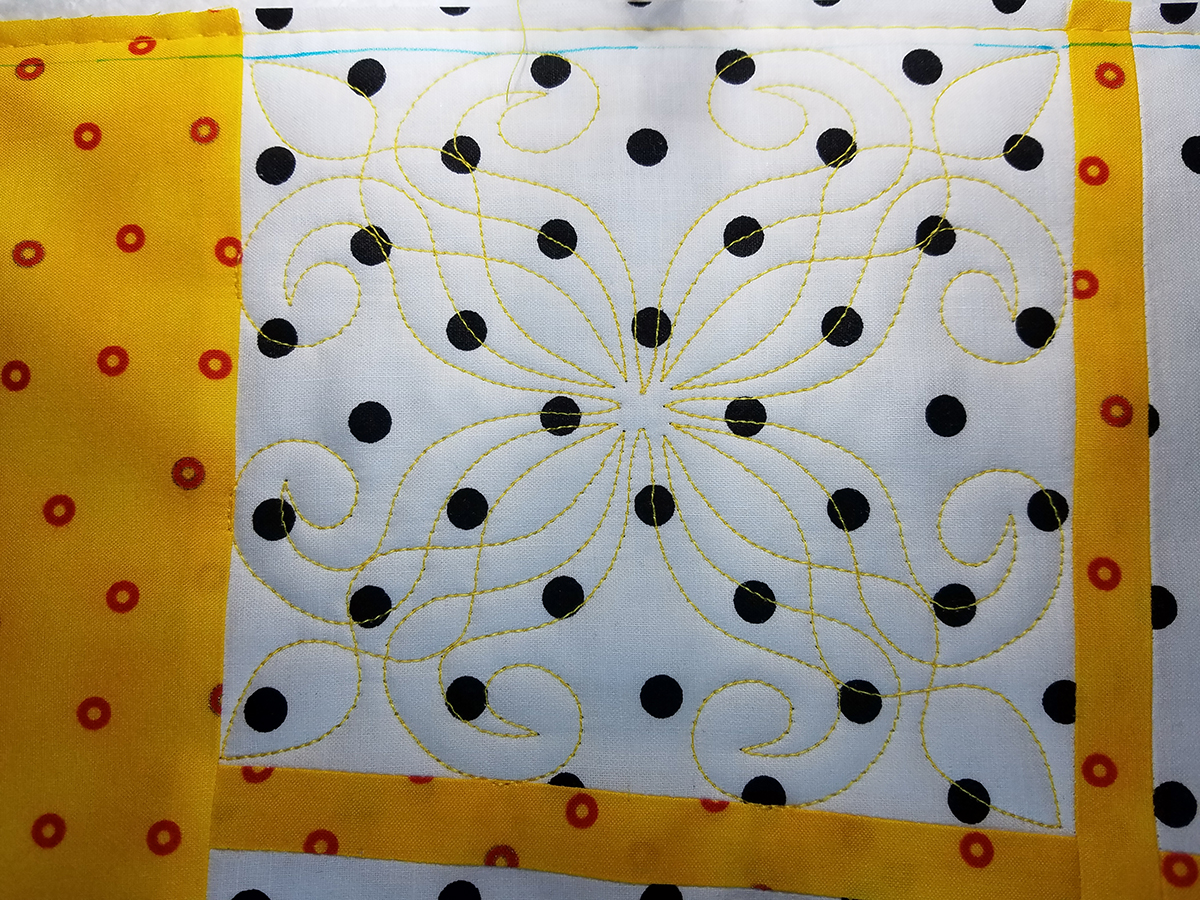
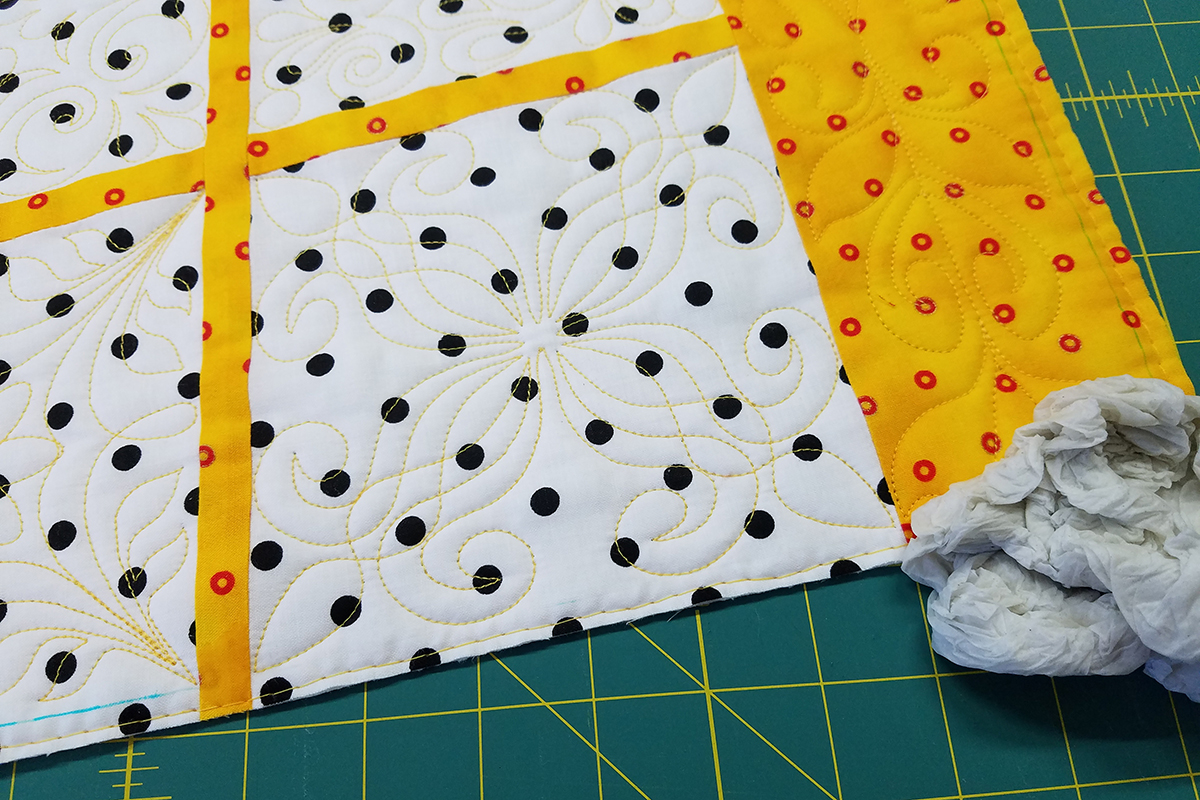
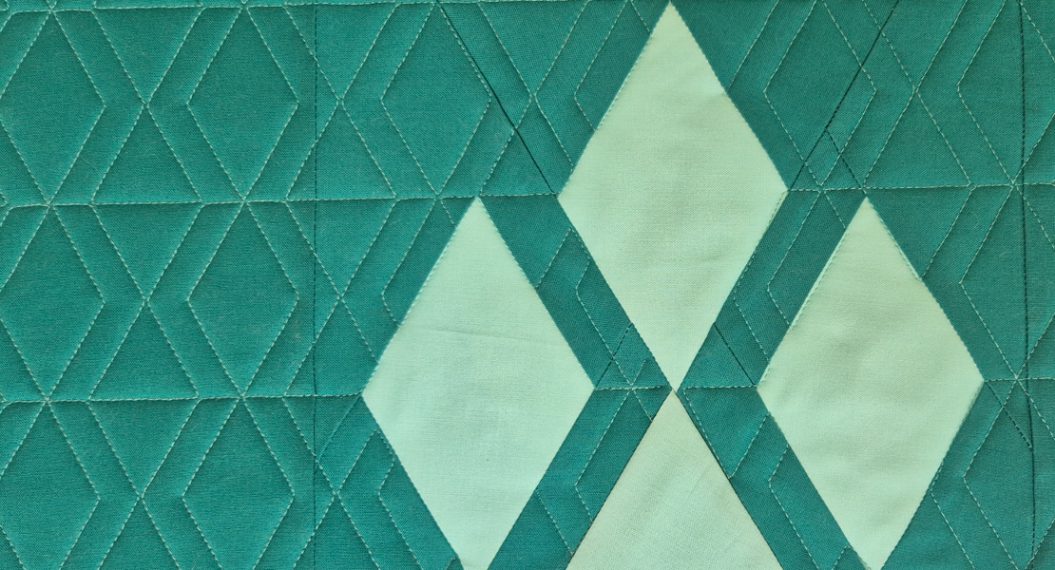
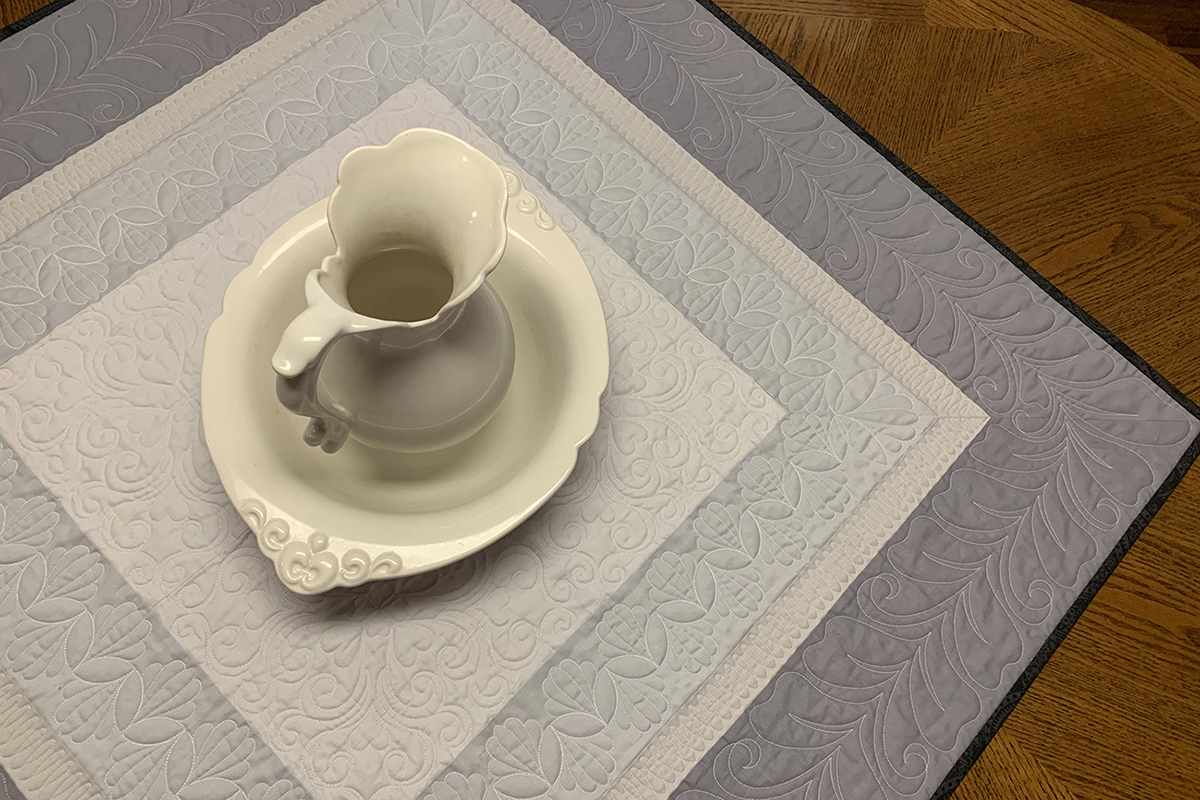
• Look at how great the blocks fit into the “not so square” blocks.
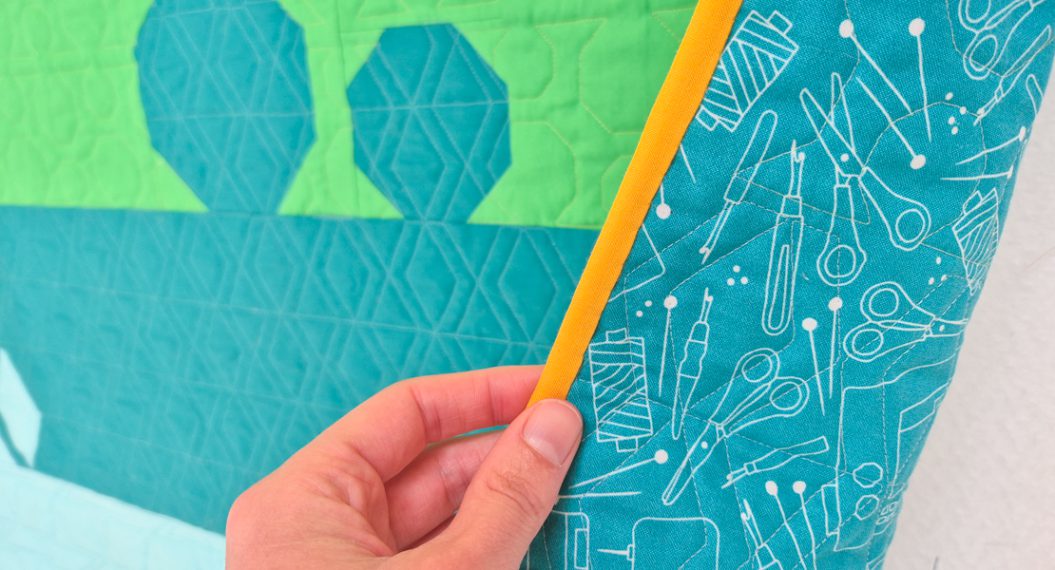
Trim the batting and backing, and remove the blue line marked earlier.
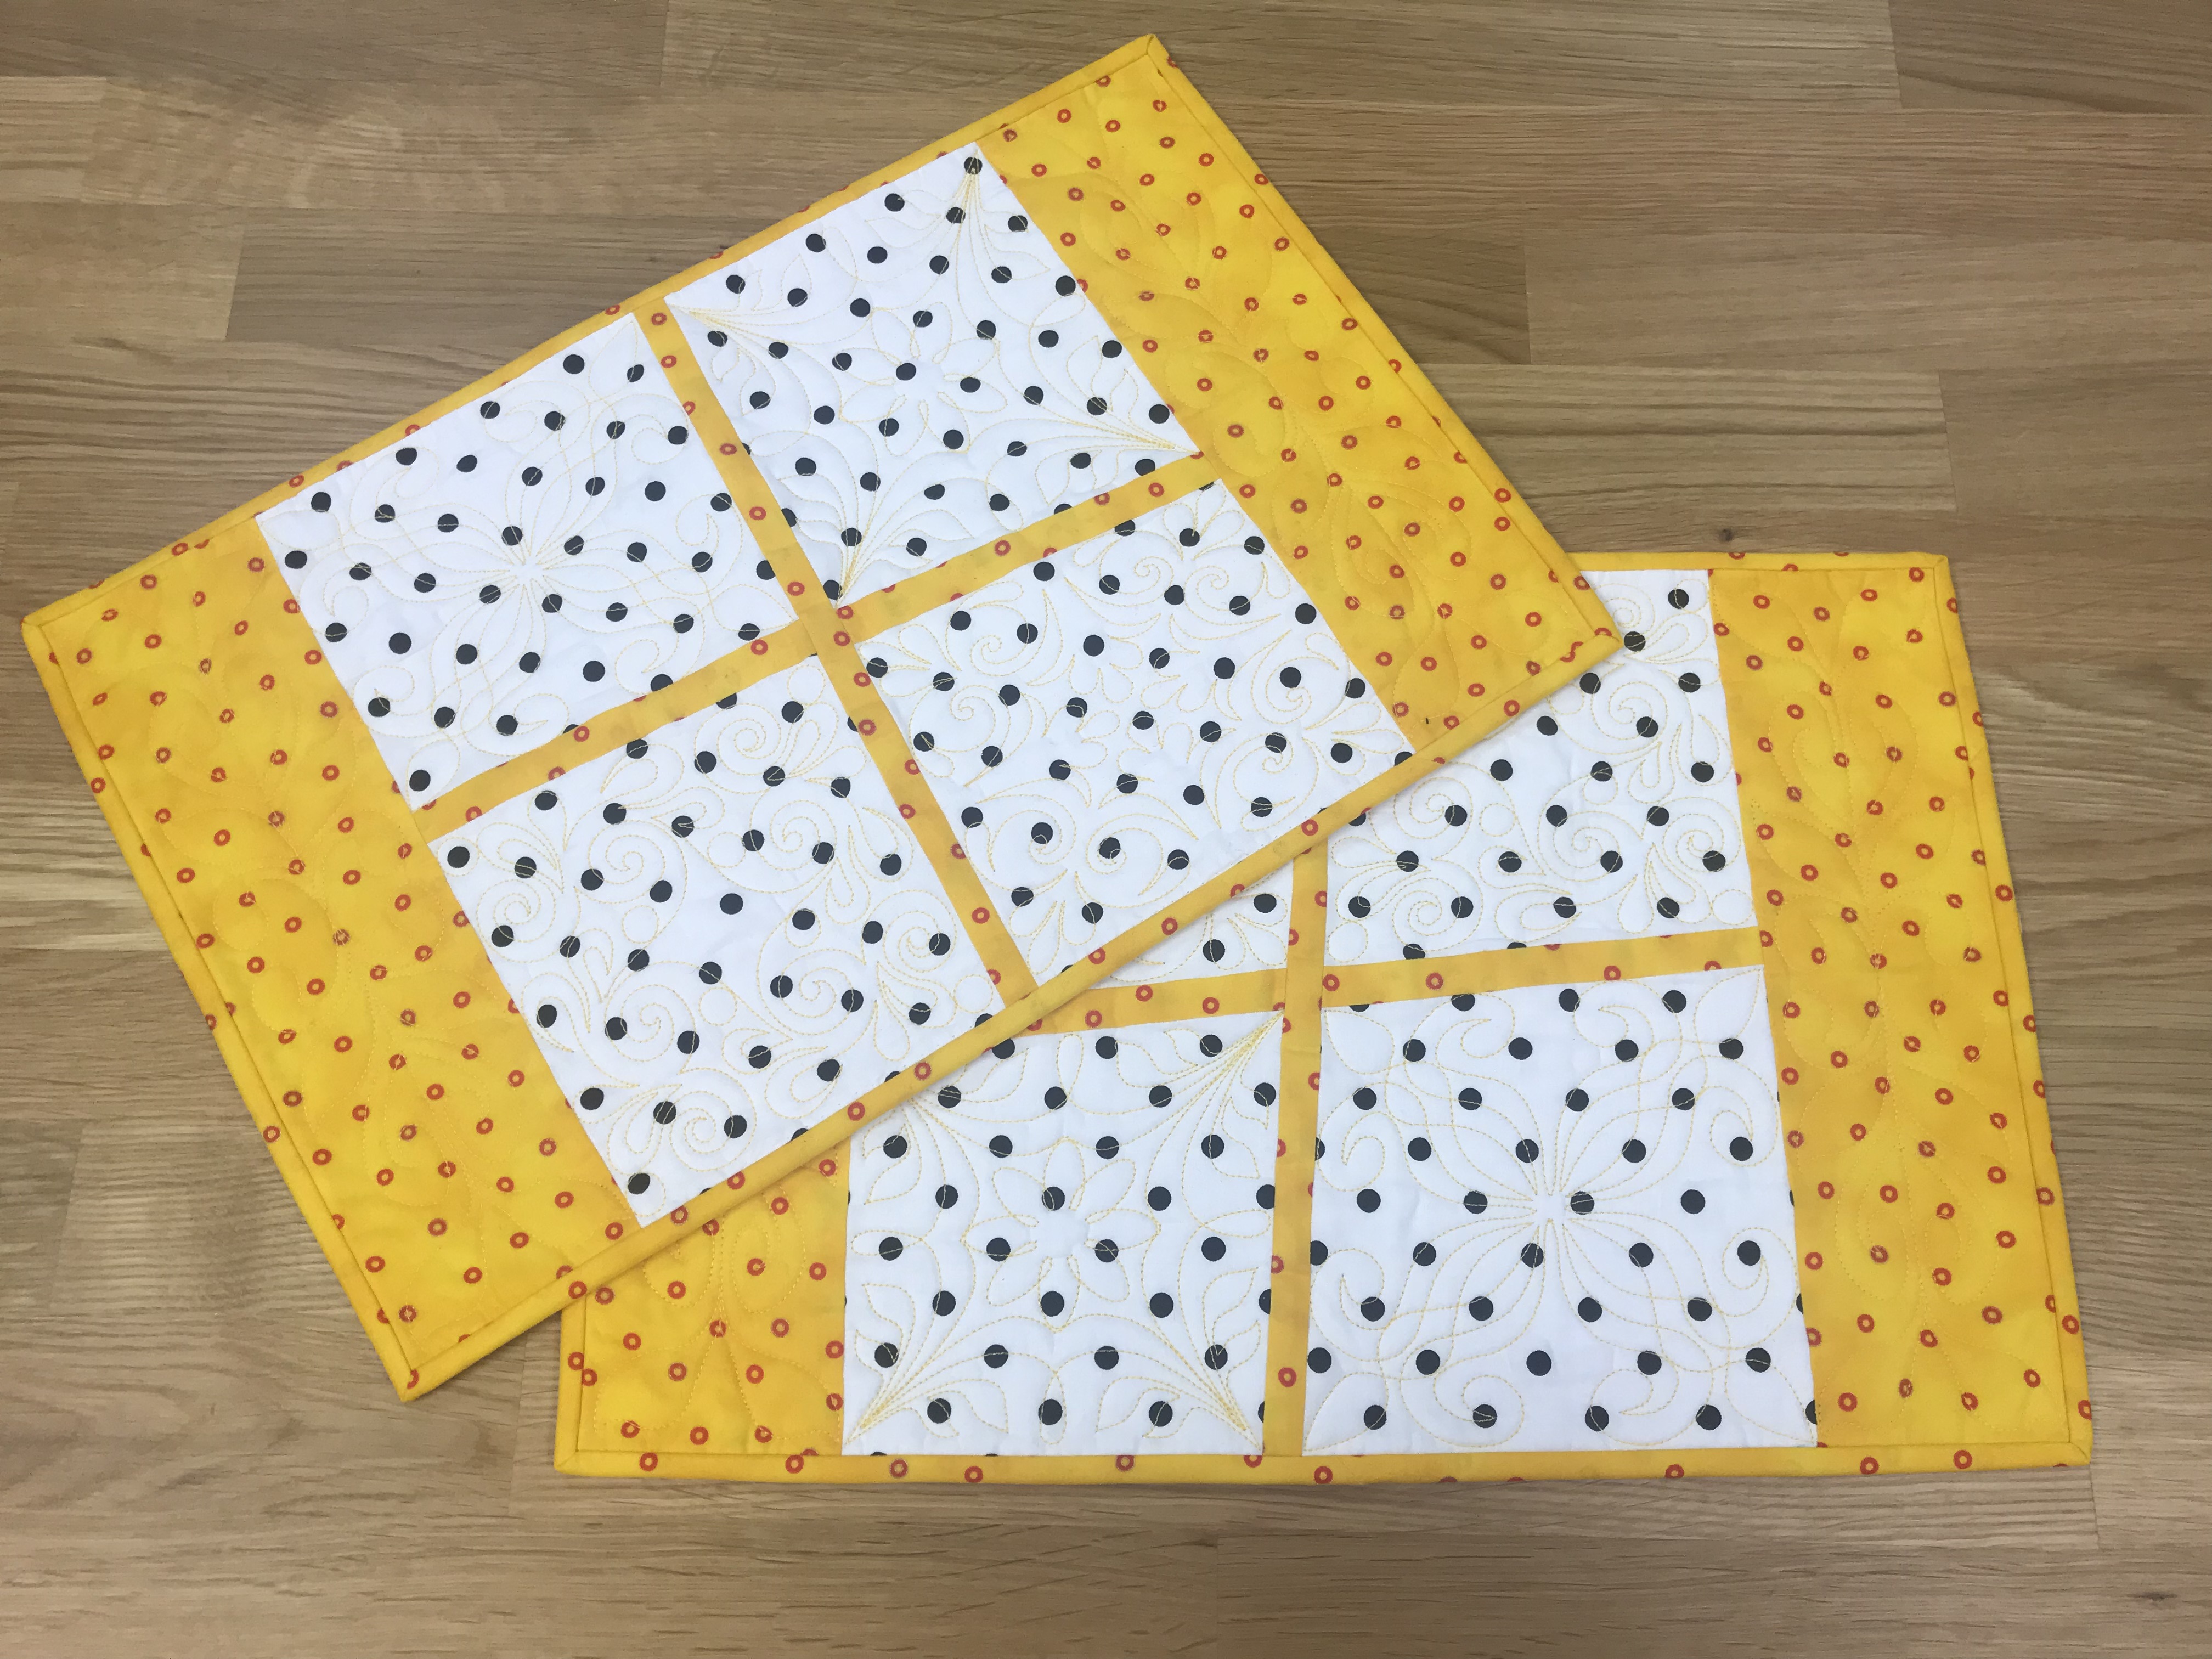
• Bind the placemats using your favorite method, and you are all finished.
• We used a small project to practice placing with Boundary. Now you are ready for a larger project. I hope you enjoy this form of placement for designs with Q-matic!
Used Products

What you might also like


8 comments on “Q-matic Boundary Tip”
-
-
Thank you so much.
Denise
-
-
Can’t wait to get my Q-Matic and give this a try. Thank you!
-
Hope you receive it soon. Have fun with it.
Thanks,
Denise
-
-
Thank you for the great instructions and practice project-will be working on this feature this week! Looking forward to more!
-
Connie you are so welcome. Have fun with this project. I really like using the different functions this way.
Thanks
Denise
-
-
Hello Denise- I need to ask a few questions. I need a few more details to understand components of the process. 1.) Grouping: On page 67 of the instructional manual I read the directions for connecting quilt designs. Is each and every design entered and saved one by one until each has been connected ? Or is there a ‘select all’ feature to connect all the designs? I’m assuming the goal is to eliminate the stops and to have stitches continuous from one design to the next. 2.) On the window with Method: Group, Attach or link seem to have a similar definition. What is the difference ? Clearly I need to gain a better understanding of this grouping process. Help! Please! THANKS. Ruth
-
Hi Ruth,
I will be happy to explain/give more details on how the tool Connect works in the Tool Center. The tool Connect has three ways you can connect designs in your quilt layout. The first on the list is Group. To group a set of design you must select one design (make it red) and then open the tool Connect. Select the Group option and then select each of the other design on the screen you want to group together. There is no select all but the designs will move and act as one design with the exception that they all still have their start and stops. They can be unconnect at anytime you would like by clicking on the bottom half of the Connect tool. This is true with any of the different options. The next option is Attach. This option will take the last stitch of the selected design on screen and connect it to the first stitch of the next design you select by moving the first stitch to the last stitch of the original design selected. This will remove the stops and starts and only leave one of each at the beginning and the end. You can attach as many designs together as you want. The last option in Connect is Link. Link works much like Attach but the design does not move to the other design. So with the selected design on screen and Link selected when you select the next design you want to link to the last stitch of the first design and the first stitch of the second design will have a straight line of stitch to it. Group will keep all start and stop stitches for each design. Attach and Link will remove all starts and stops but the beginning and the end ones in what is attached or linked. I hope this will help you but if you need more information please feel free to let us know.
-
Leave a Reply
You must be logged in to post a comment.

I appreciate these projects that help us use the great features on the Qmatic.