Remove the Tie On/Off on Embroidery Designs in Art & Stitch
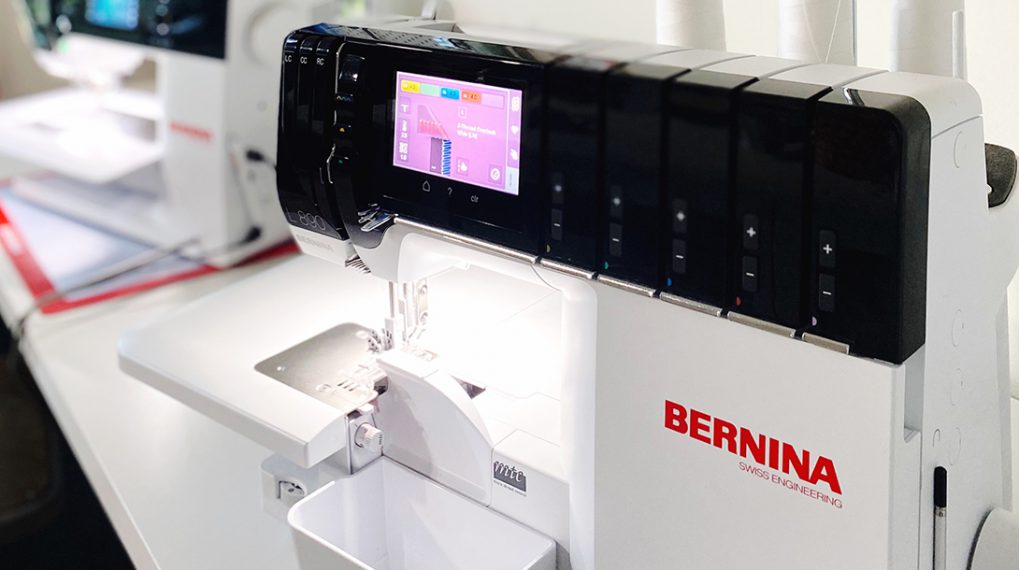
When using a single run stitching embroidery design with BERNINA Q-matic Longarm Quilting Automation System, the tie on and tie off will need to be removed to keep the look of longarm quilting and to let our Q-matic use it’s programmed tie on and tie off. In this quick post, you will see how easy it is to do just that in Art & Stitch. Art & Stitch is a designing program for quilters and it comes with Q-matic. Art & Stitch has great education online and with their very well-written manual. I will be using Art & Stitch version 5.0 in this post.
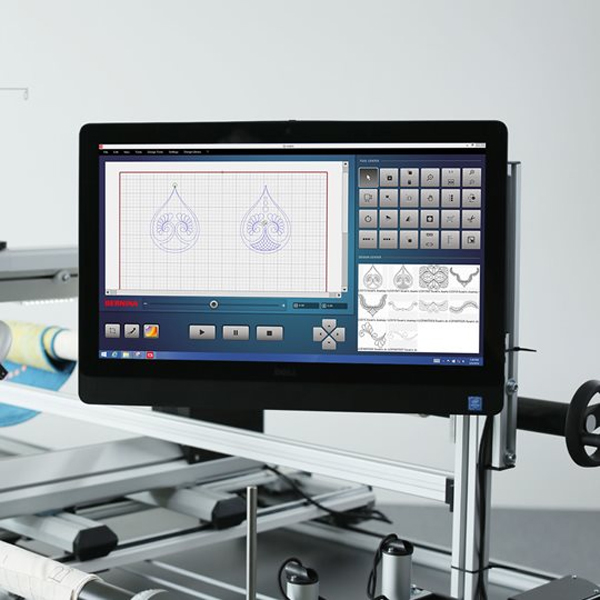
In the video below I will show you how to go from Q-matic to Art & Stitch then back to Q-matic with the design you want to edit.
In the written post we will open in Art & Stitch.
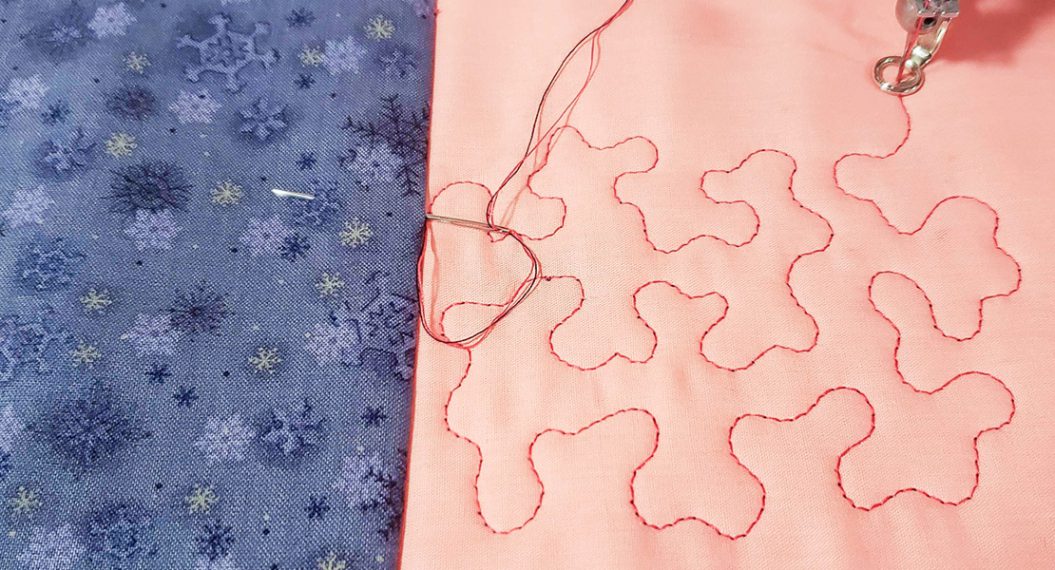
In this example OESD design 12833-12 from Snow Day Quilting collection.
- Open design in Art & Stitch and convert back to artwork if needed.
- Select design, then select Reshape tool.
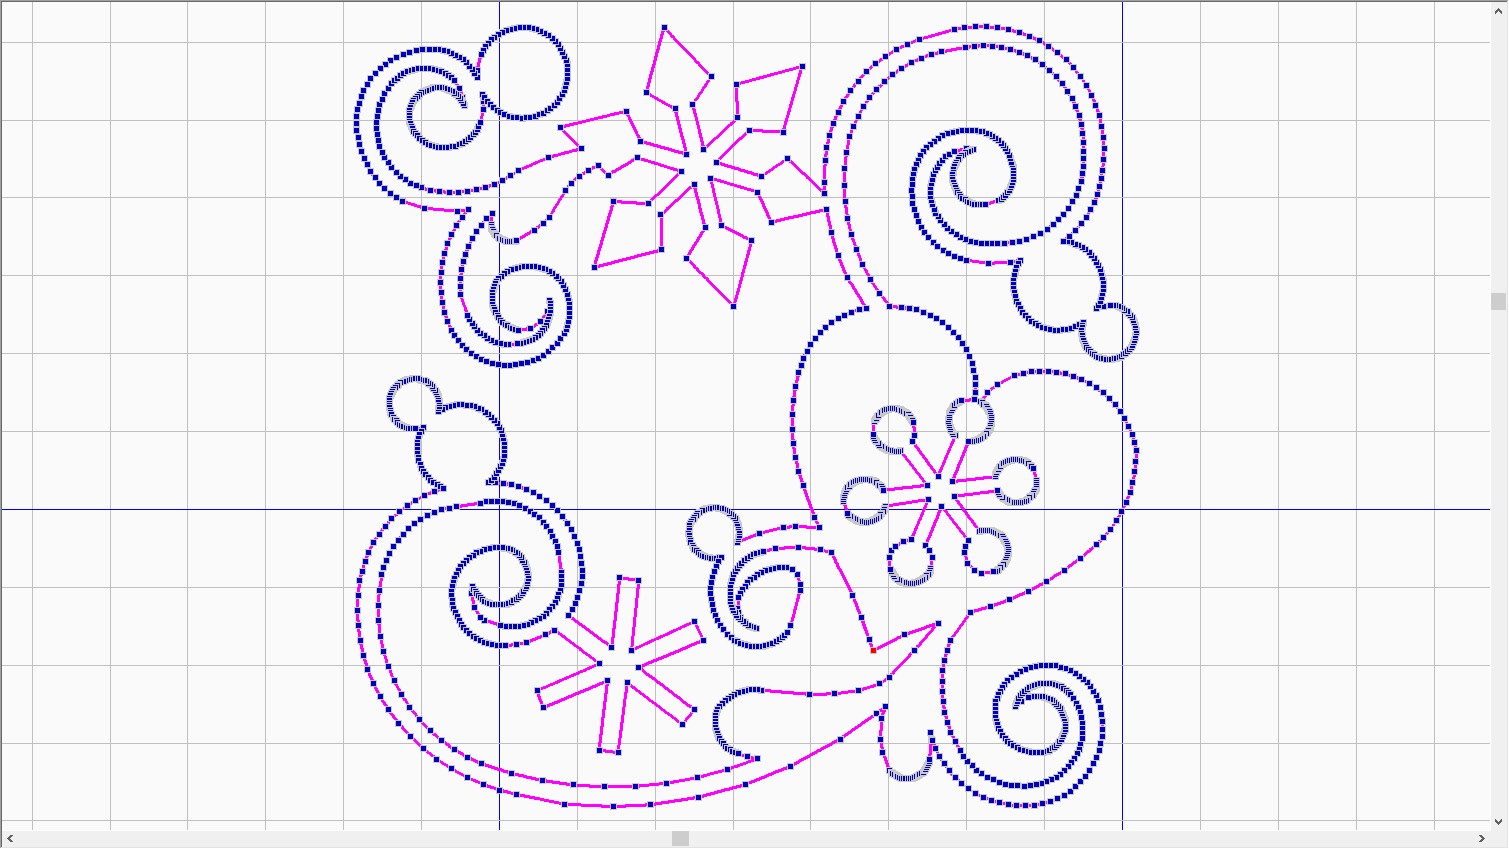
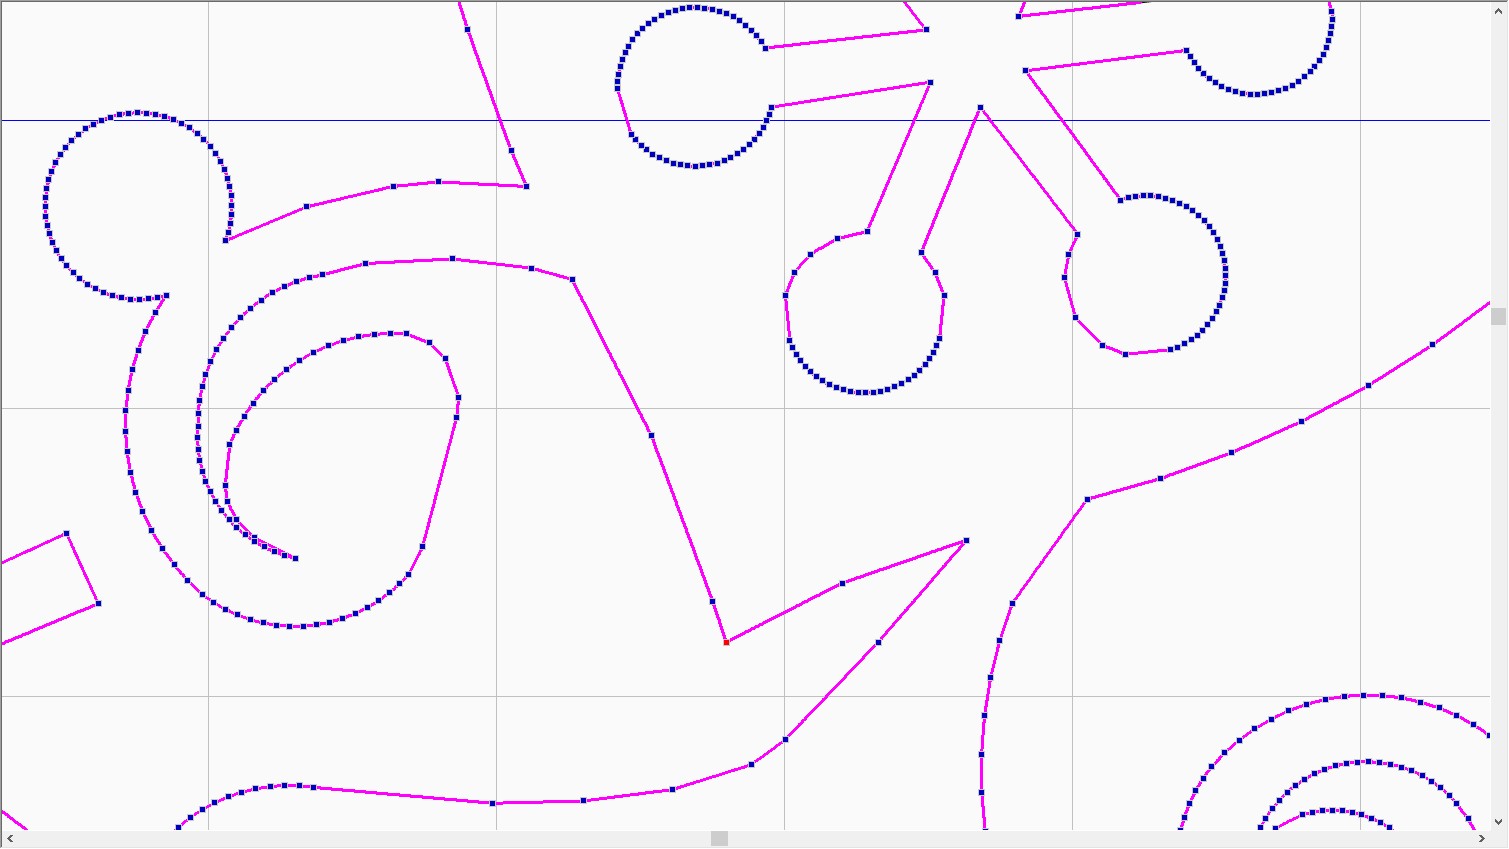
- Zoom in on start and end points of the design. Start is green and end is red.
- Find the tie on or off and move the nodes over.
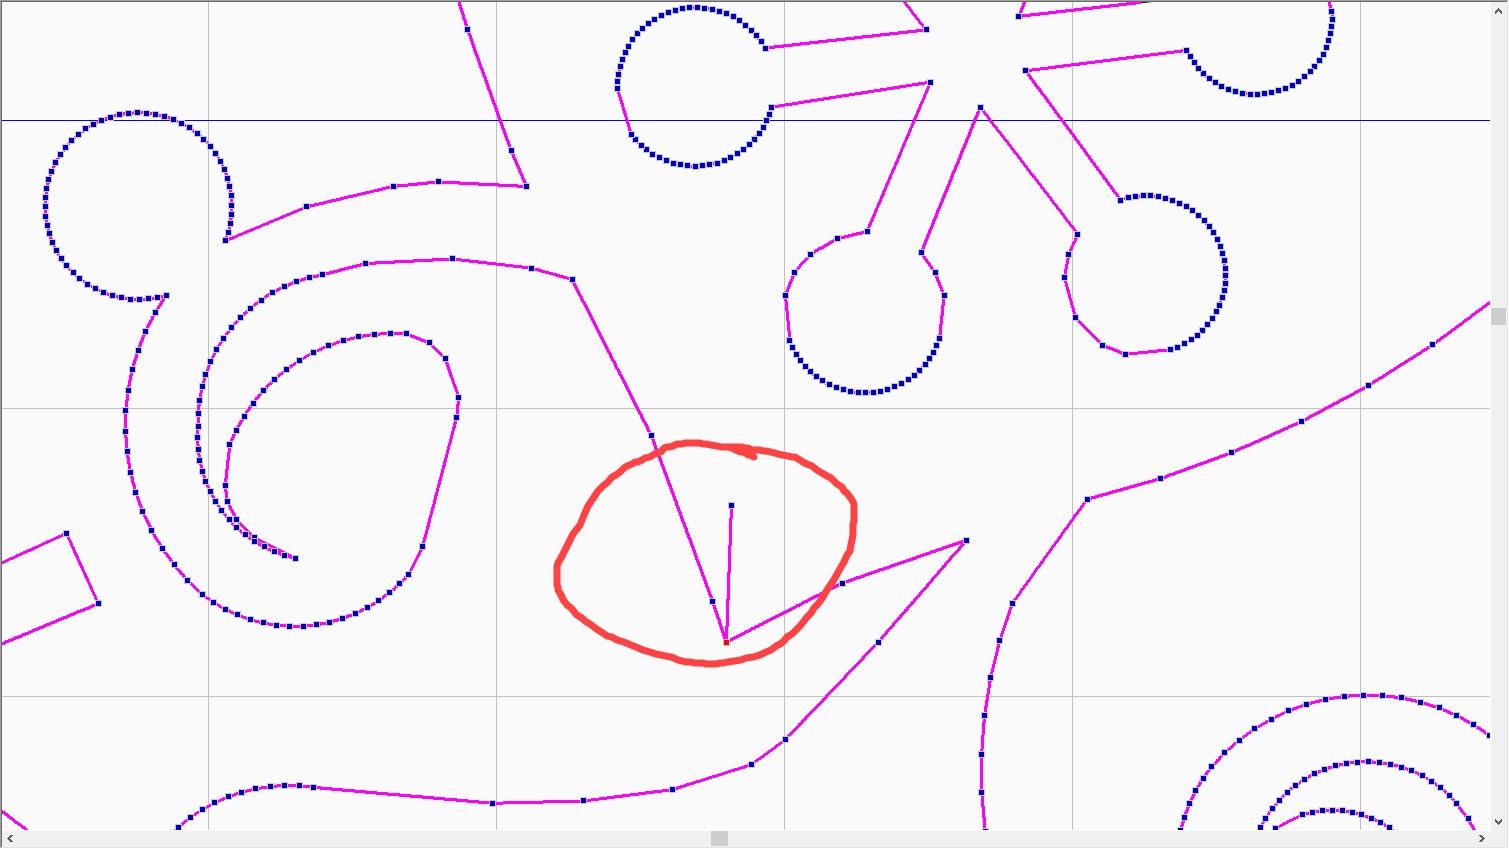
- Right click on that node and select Delete Point. Repeat if there are more nodes in tie on.
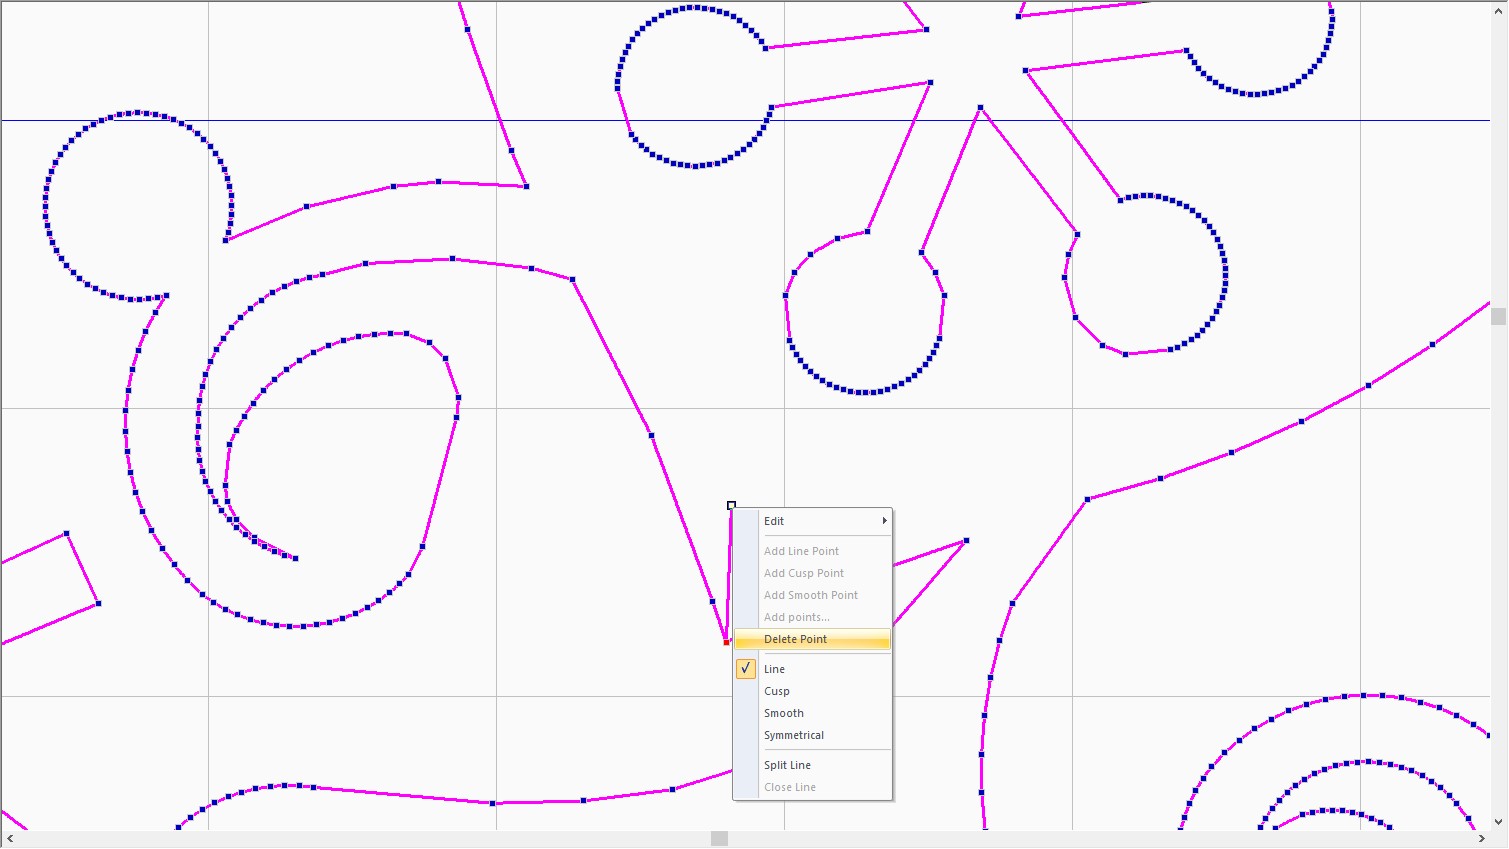
- Find the other tie on/off and click on that node and move it over.
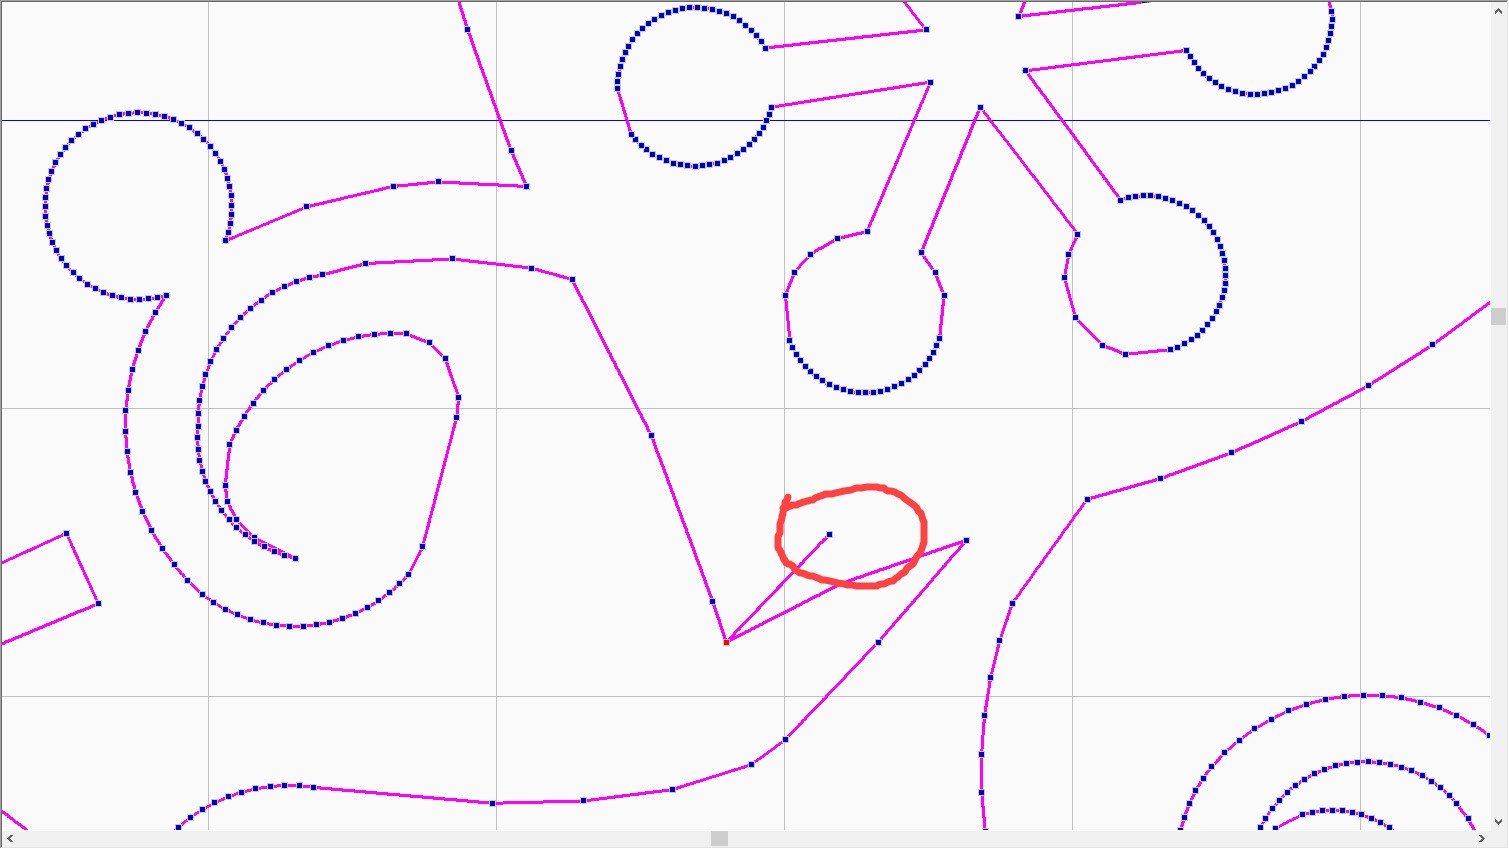
- Right click and select Delete Point. Repeat if there are more nodes in tie off.
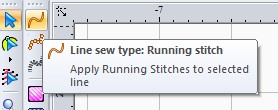
- With design selected add stitches by clicking on Line sew type; Running Stitch
- Use Q-matic shortcut to return to Q-matic. The design will be Queued and in the center of the grid.
- Or save as prompted and then import to Q-matic Library.
- When using the Q-matic shortcut to return to Q-matic from Art & Stitch and you save as an .ans file, it will also save as .bqm so that the file can be Imported if you will be using this in multiple projects.