DIY Reusable Furoshiki Wrapping Cloth
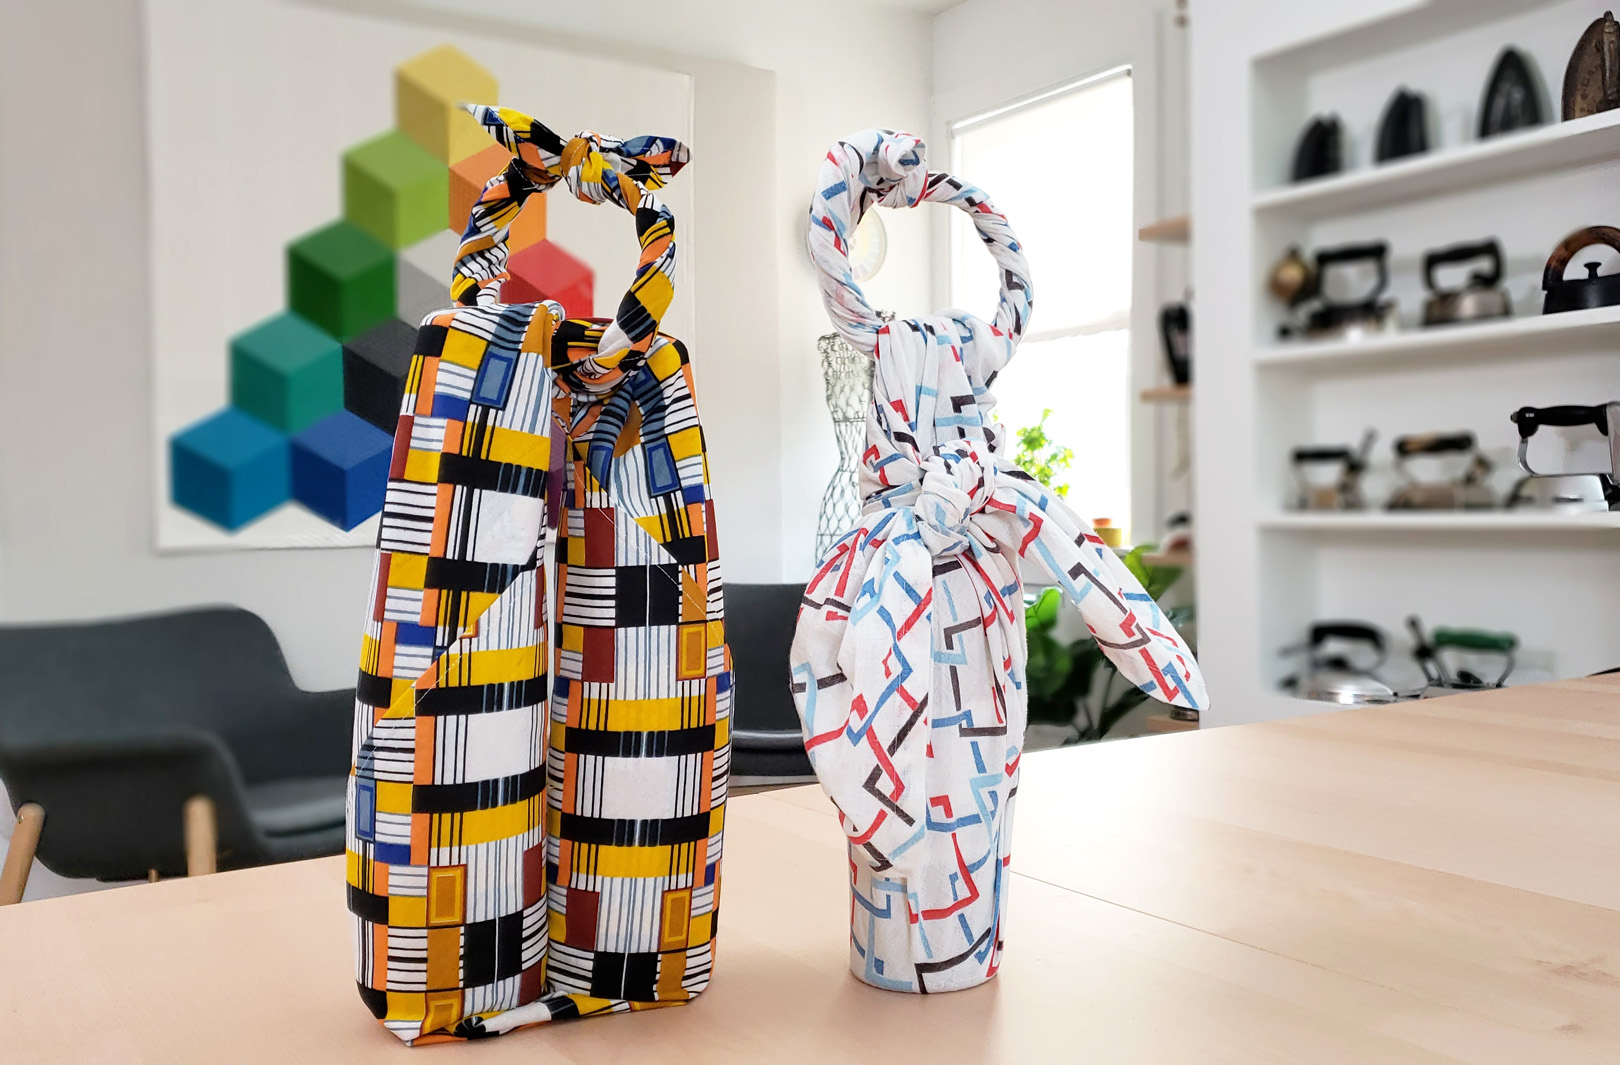
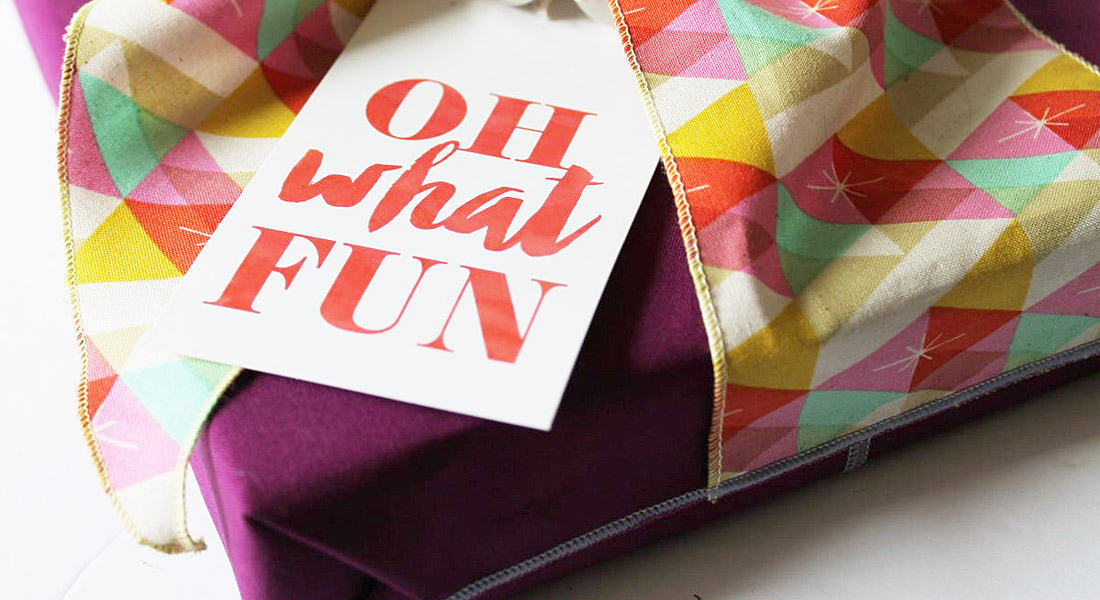
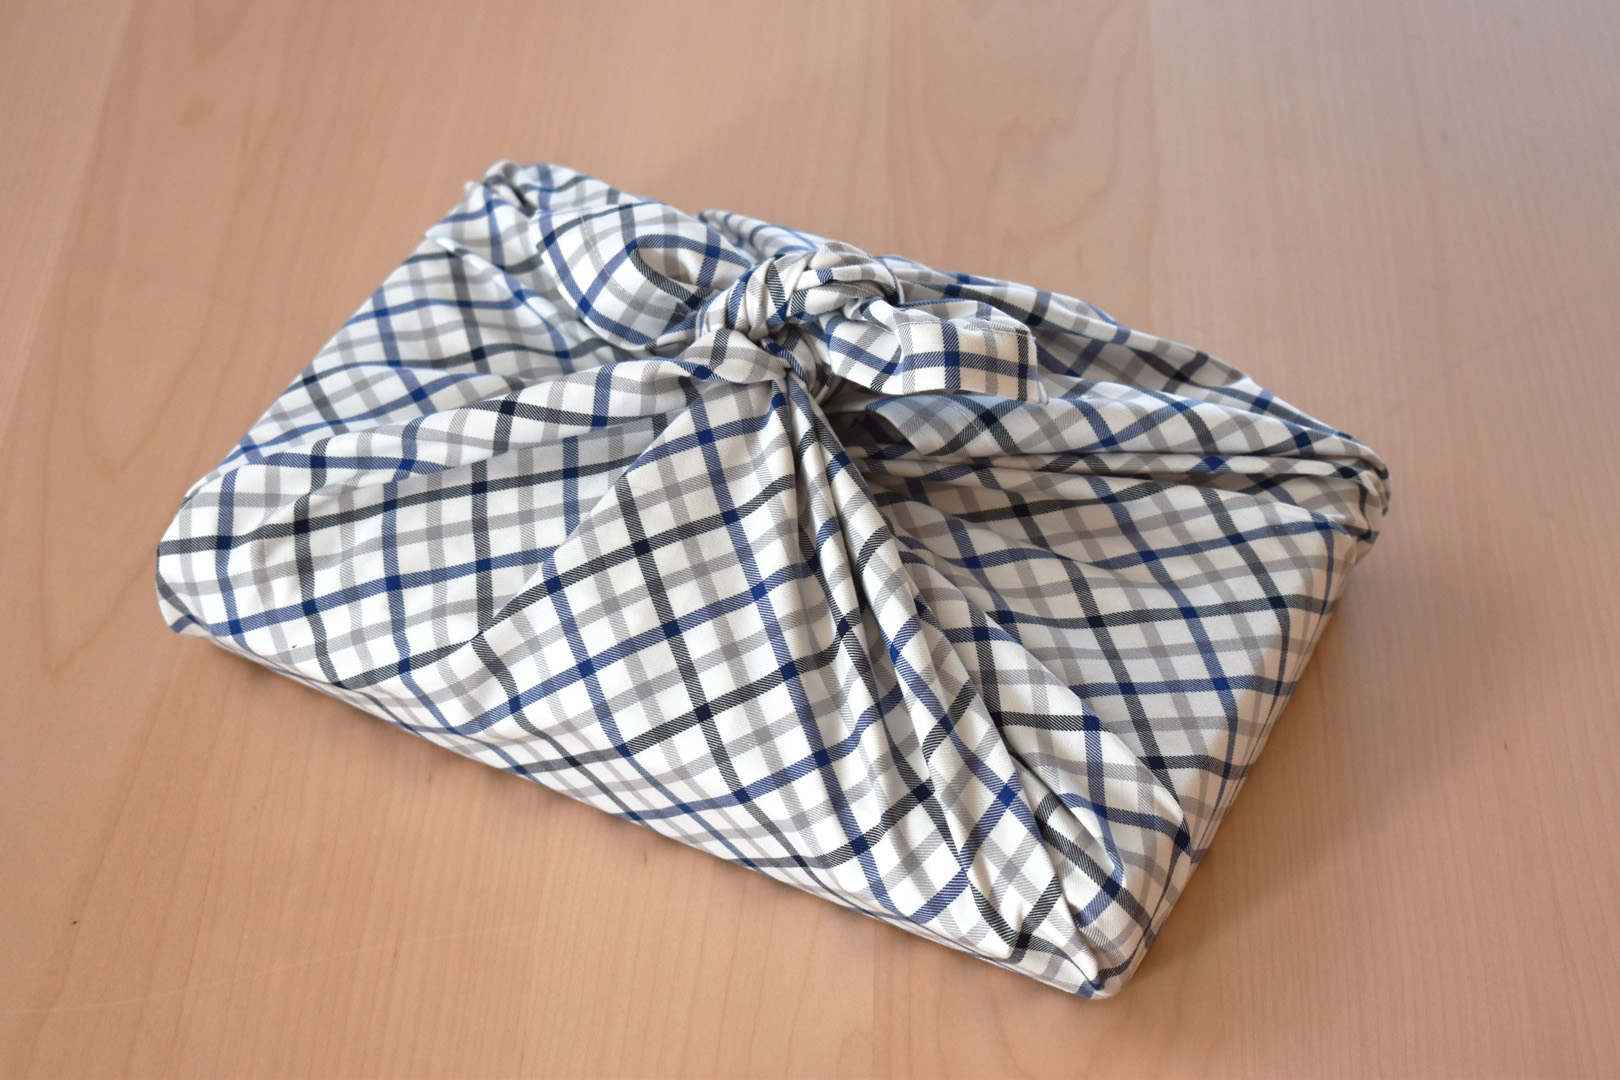
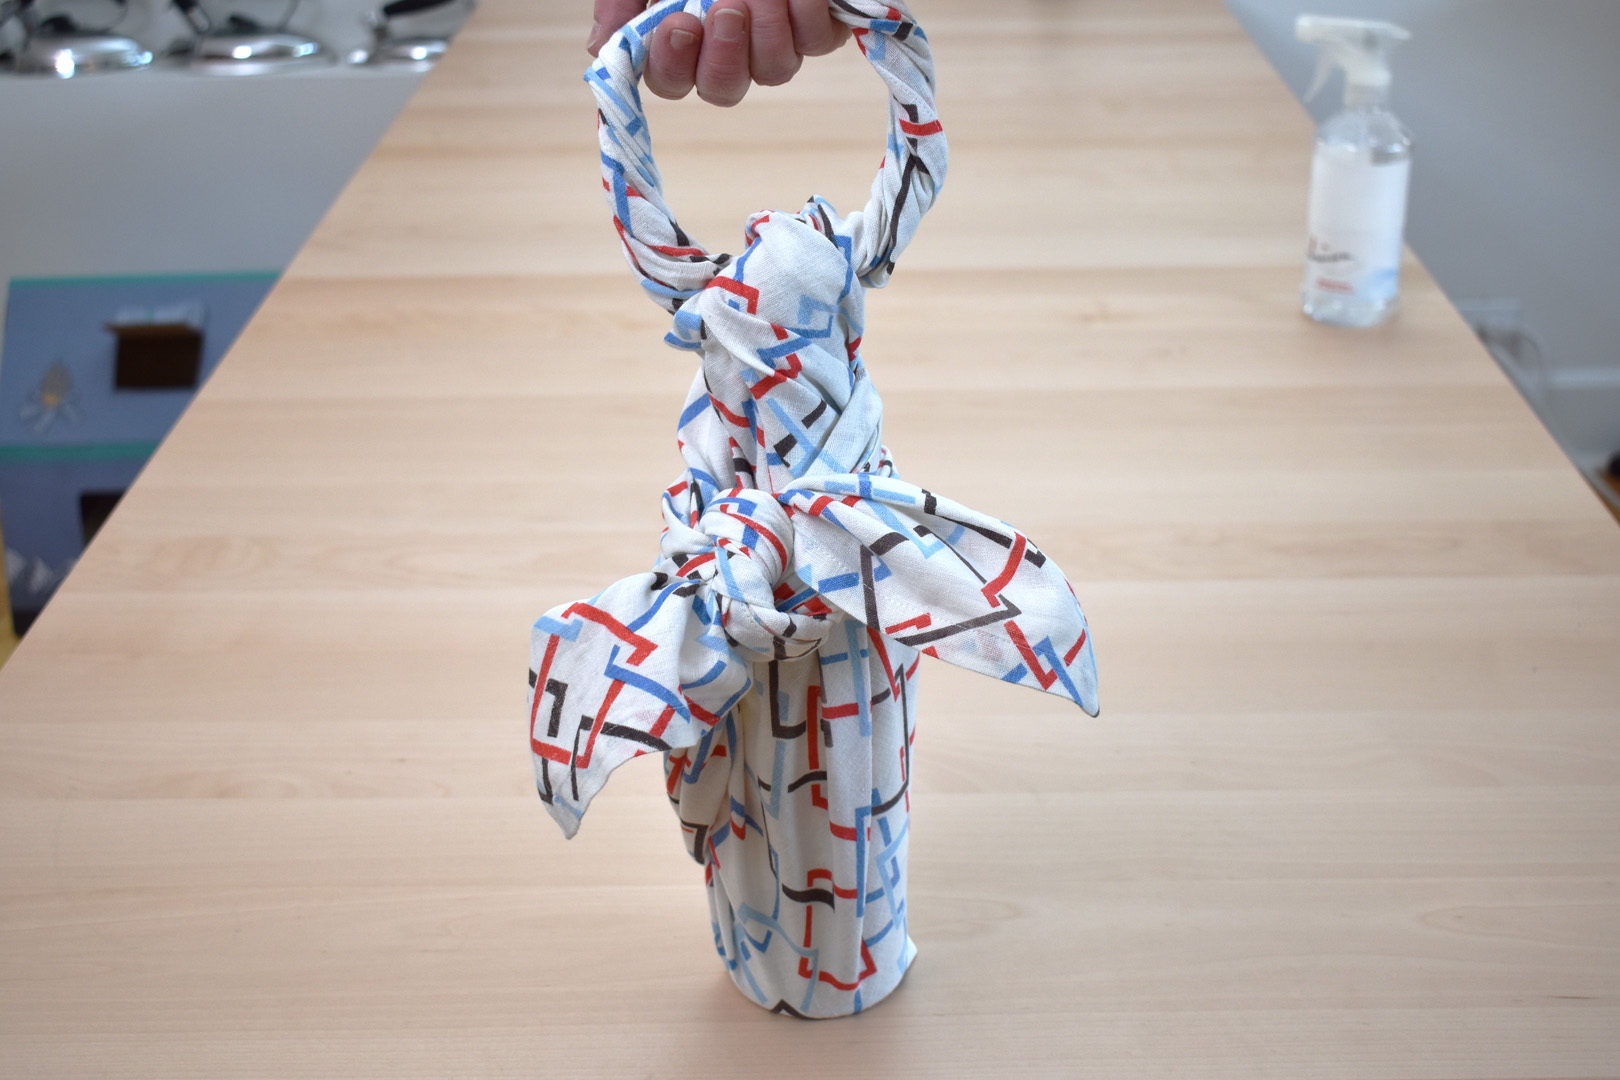
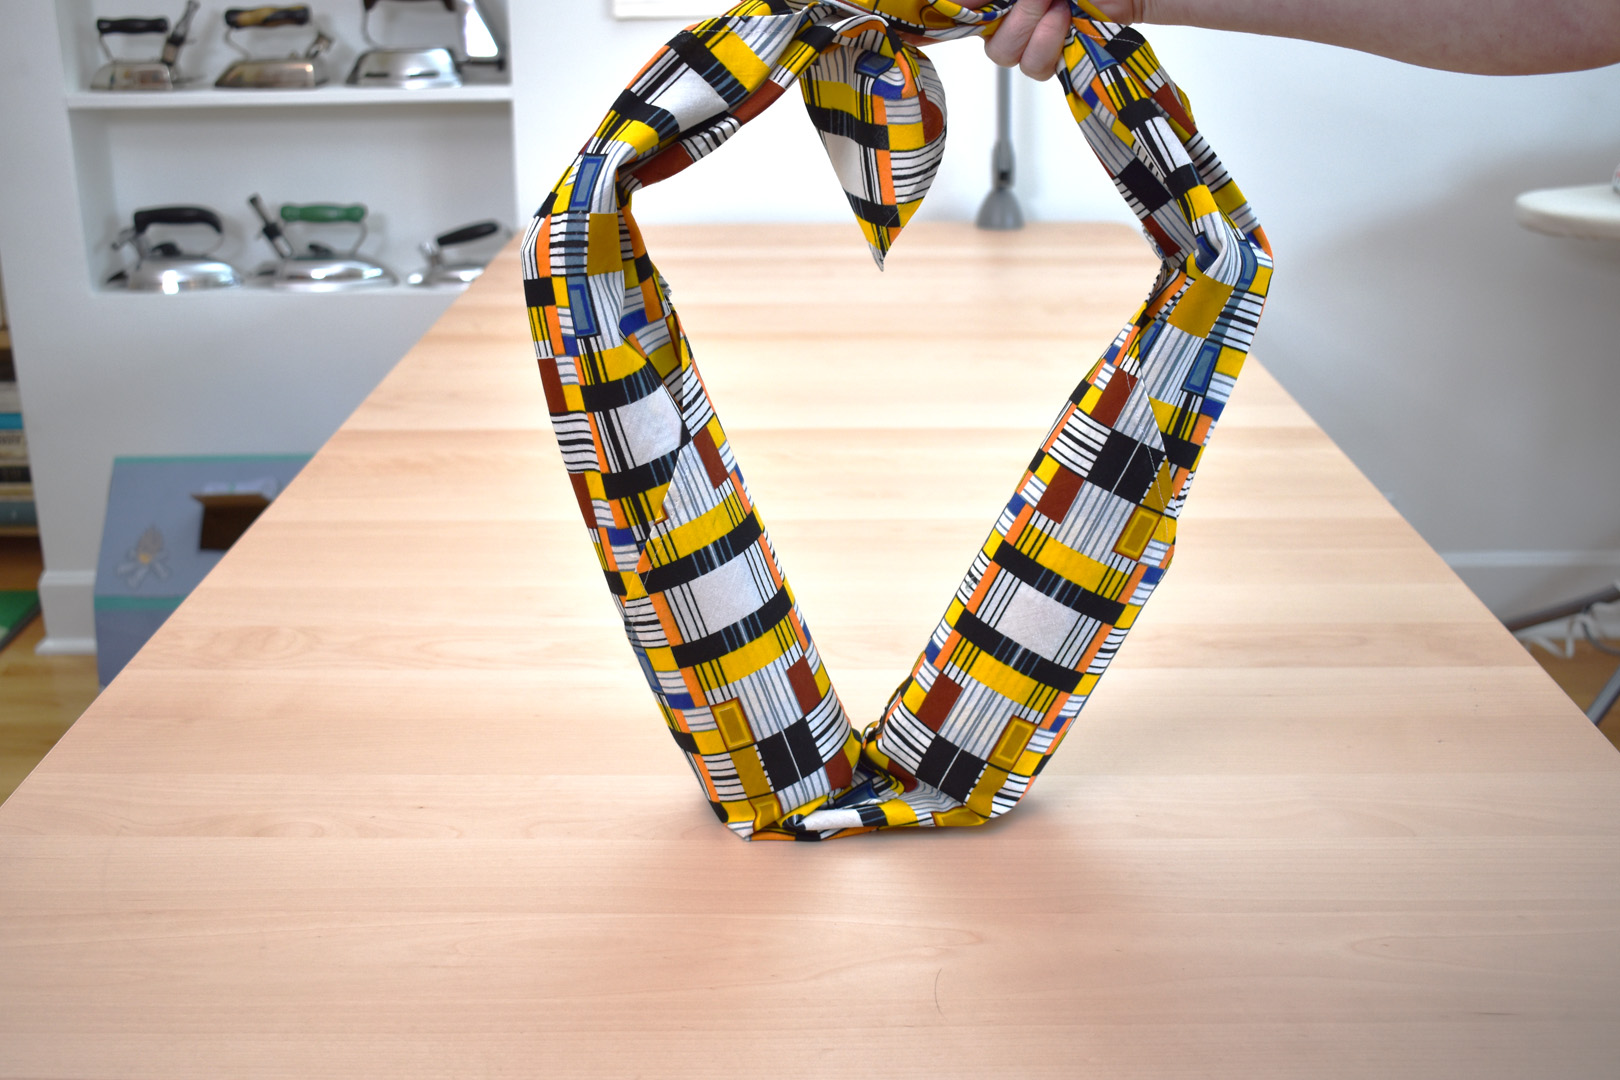
I recently learned about the Japanese tradition of wrapping items and gifts in reusable cloth called Furoshiki, and found some resources for creating different wraps in this simple graphic (which is also a handy downloadable PDF file), and in these printable leaflets. The wraps pictured above have become a favorite for carrying or gifting large bottles in a single wrap (right) or double wrap (left).
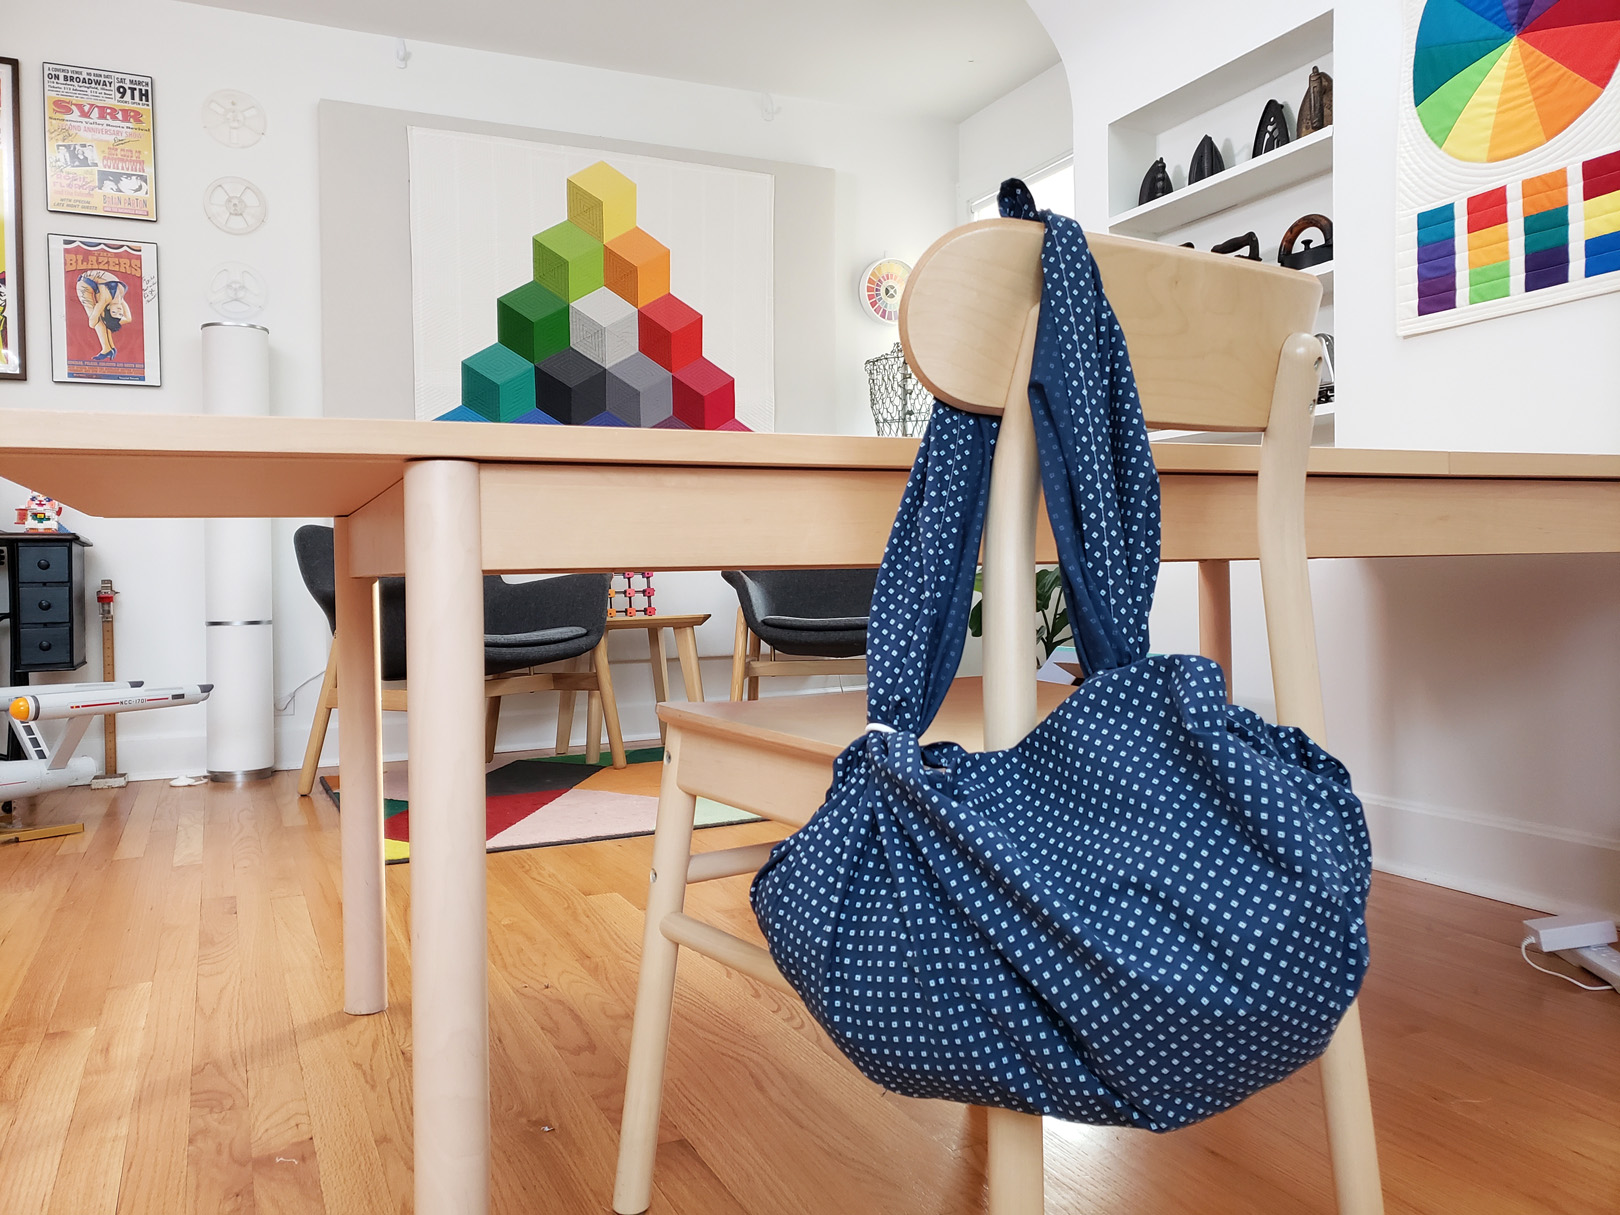
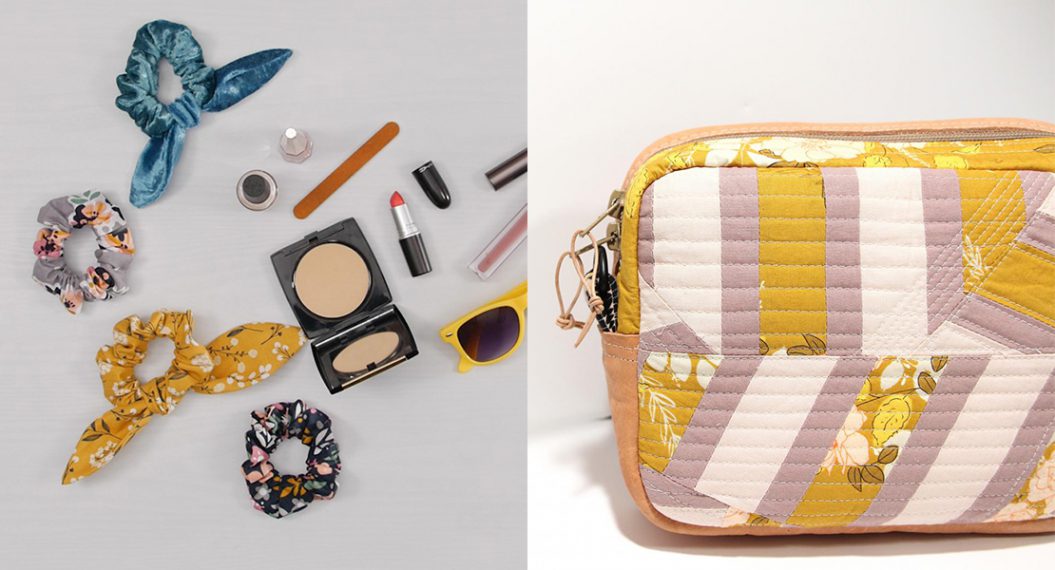
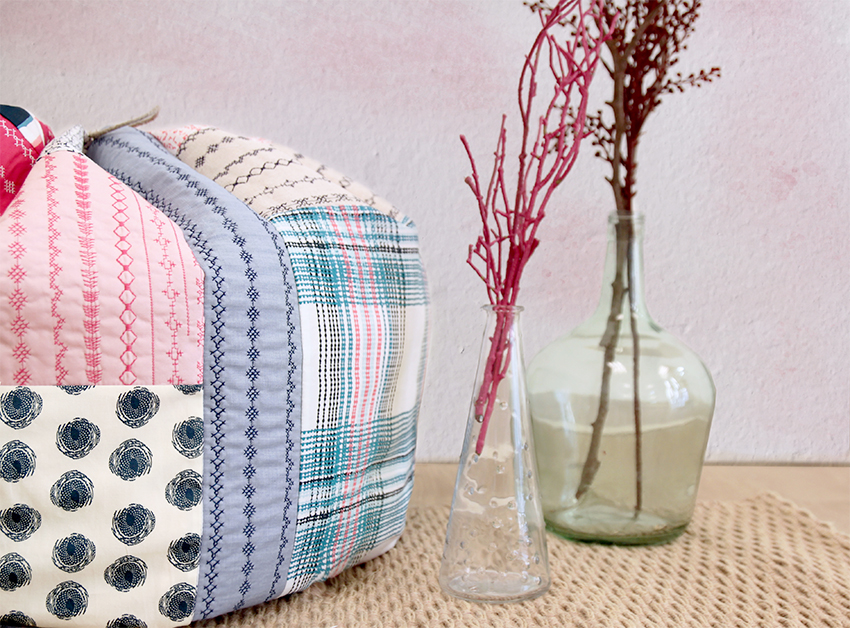
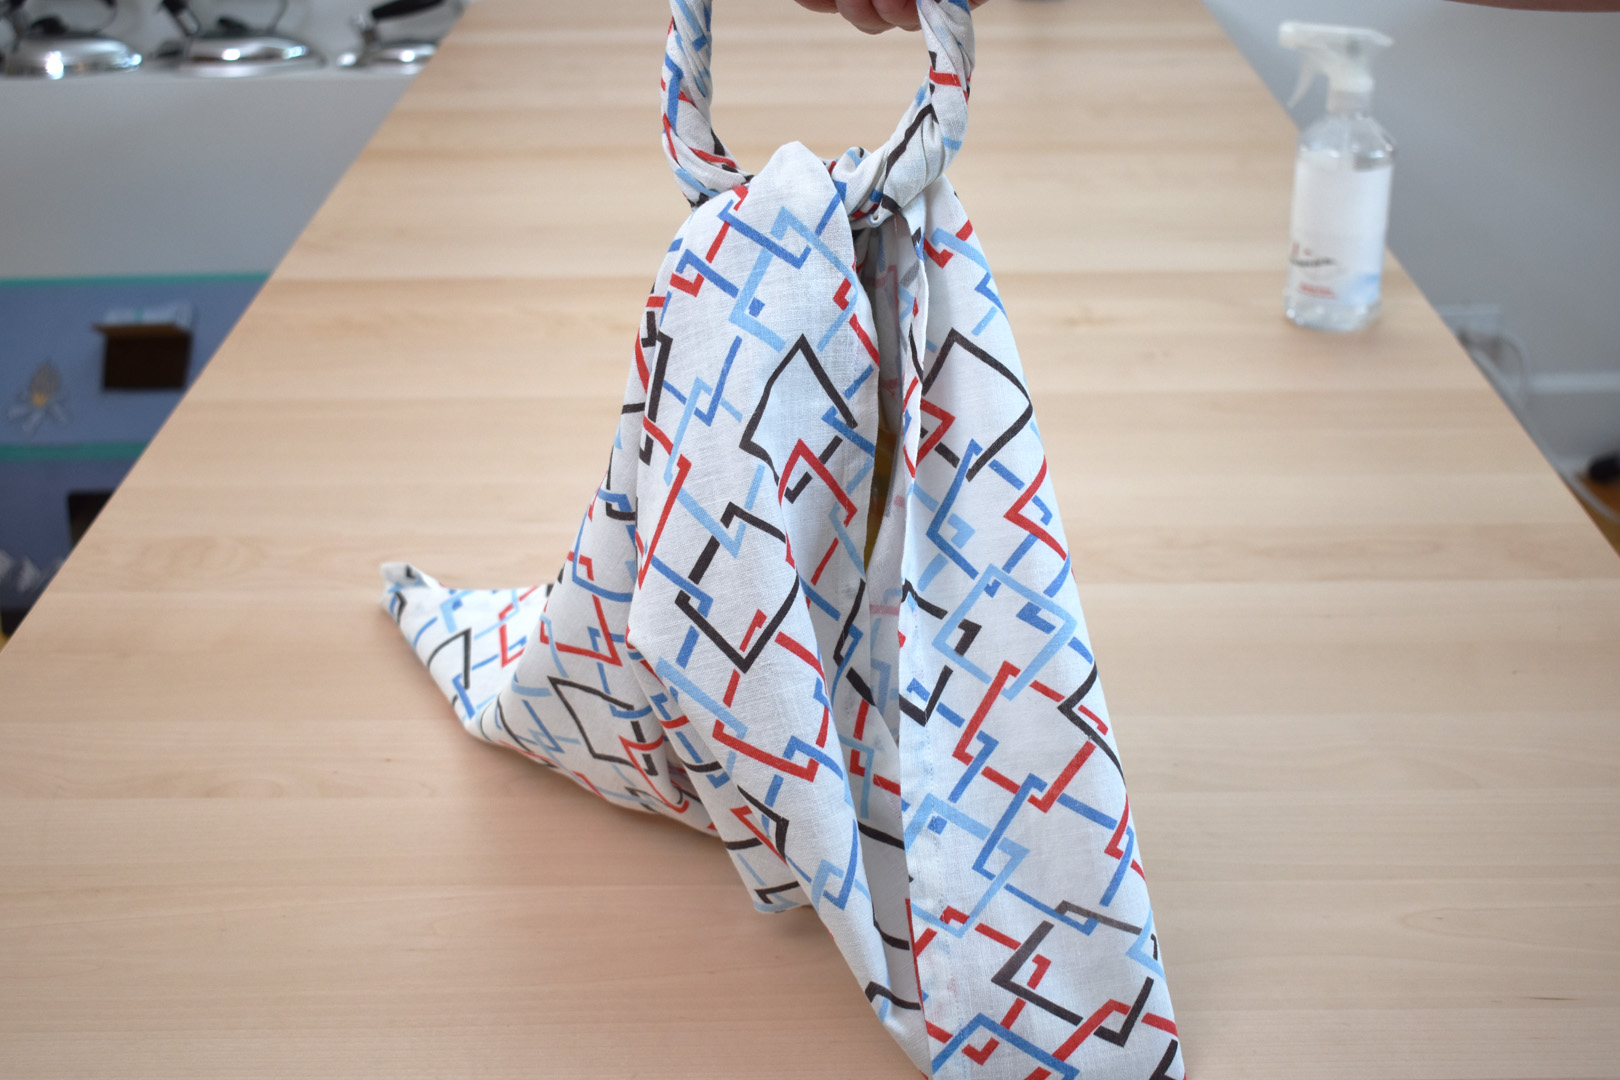
This tied furoshiki shoulder bag is my new favorite way to carry snacks or gifts to a party, or to tote last-minute groceries home!
A large furoshiki measures approximately 43″ square and can be made from any light or medium weight fabric strong enough to tie knots and carry items; linen, cotton, rayon, polyester, silk, or similar. You can also use recycled fabrics like vintage feed sacks or table linens for furoshiki. Learn how to make a large-size wrapping cloth with a clean-finished mitered edge and use the cloth to make a bottle wrap or shoulder bag with this simple tutorial.
Materials to Make a Large Furoshiki
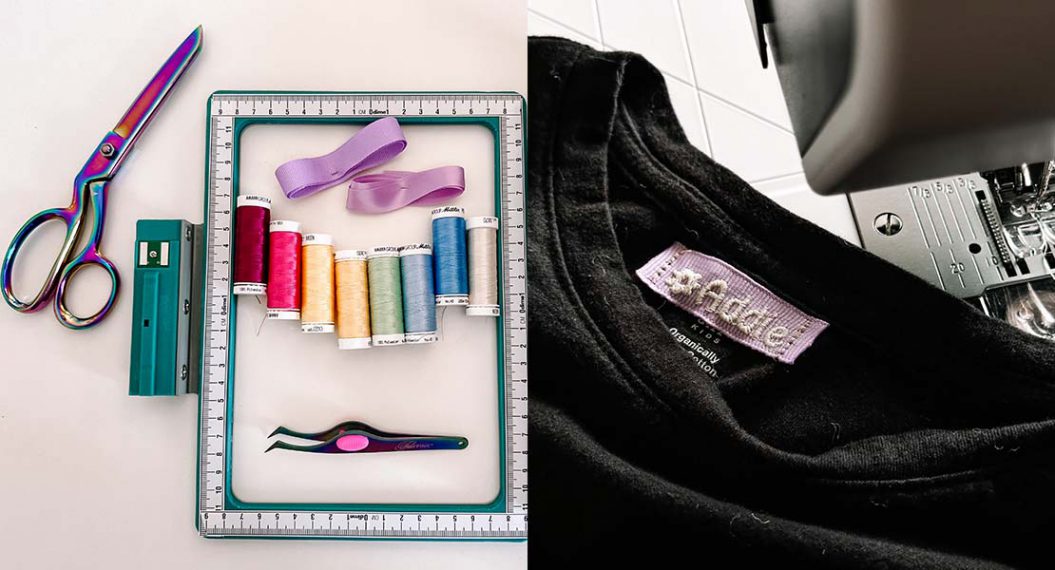
- Sewing machine (I use a BERNINA 570 QE)
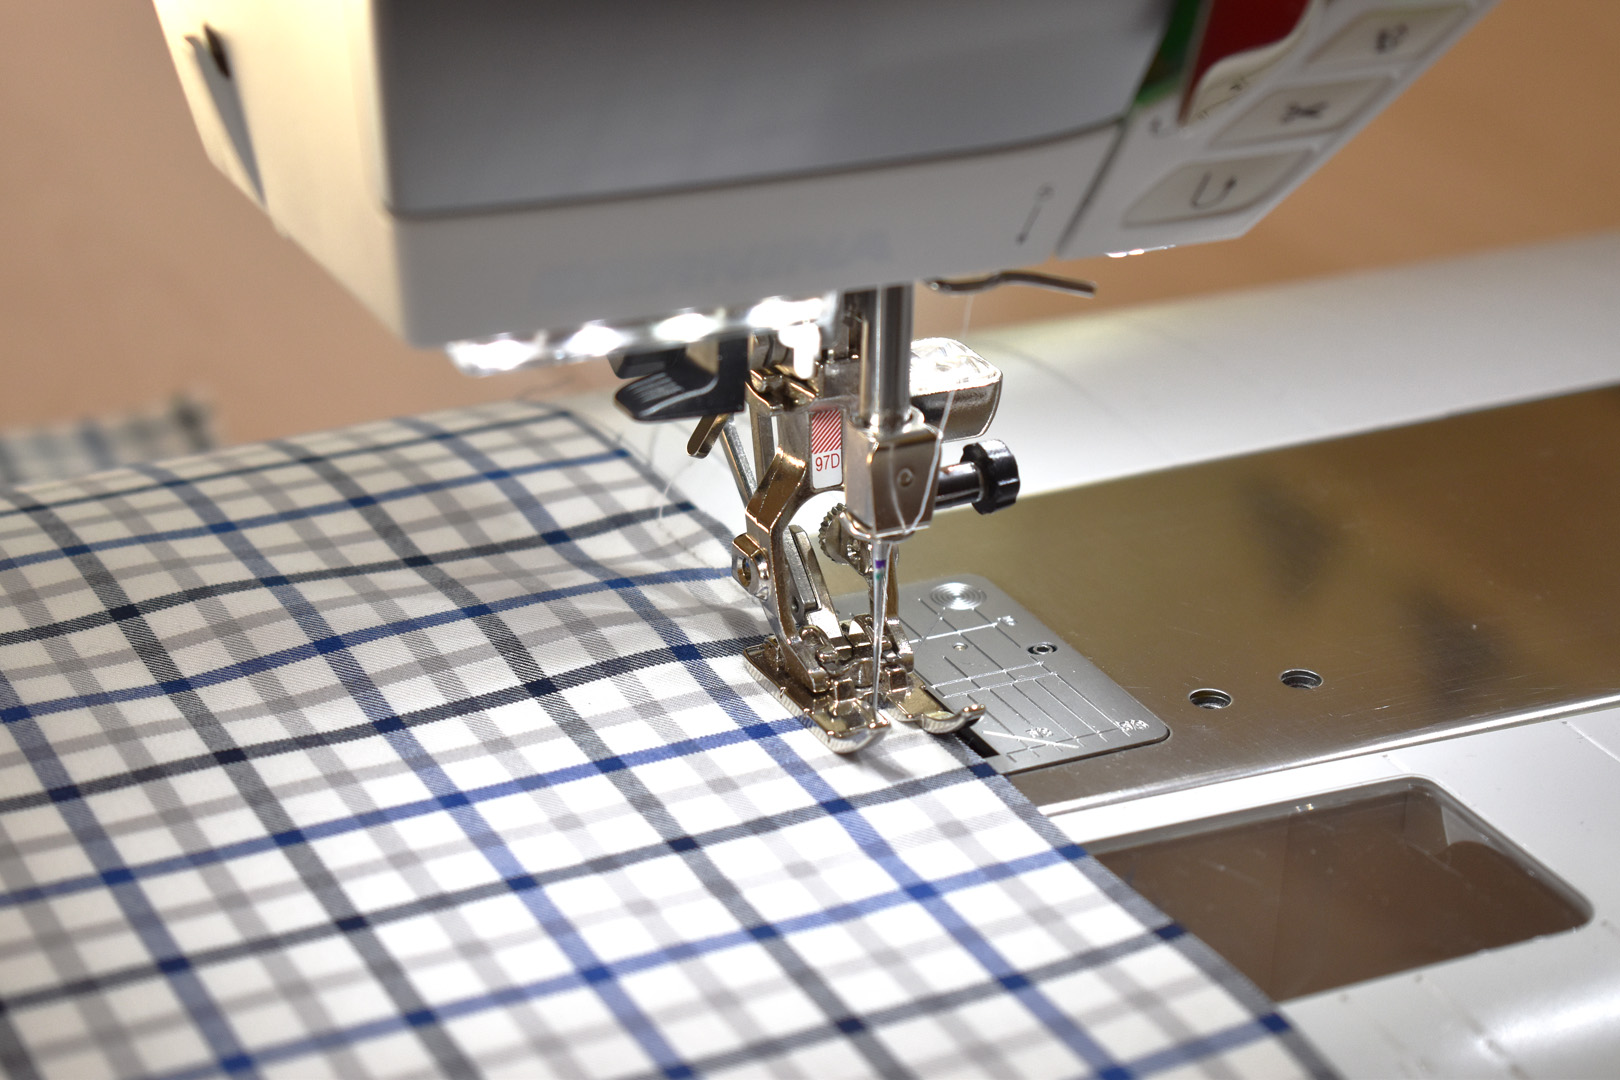
- Patchwork Foot #97D (or similar)
- Straight stitch needle plate
- Enough fabric to cut a 44″ x 44″ square (1 1/4 yards of 45″ wide fabric)
- Rotary cutter, acrylic ruler, and large cutting mat
- Sewing pins
- Thread snips
- Coordinating thread (I use a strong polyester 40 wt. sewing thread)
- Iron and pressing board
- Craft rings 1 1/4″ to 2″ of plastic or metal (optional to create shoulder bag from furoshiki)
How to Make a Large Furoshiki Wrapping Cloth
Finish the edges of the furoshiki depending on the type of fabric you are using. For lightweight fabrics like drapey rayon, silk, or silk-like polyester, try using one of the BERNINA Hemmer Feet to add a delicate rolled hem to the edges (click here to find out all about the hemmer feet and how to use them). If you sew with an overlocker, finish the edges with a decorative rolled hem in this tutorial from WeAllSew (so quick and easy you’ll be finishing up your furoshiki in mere minutes!).
This edge finish how-to works best with light to medium weight woven fabrics (like cotton, cotton blends, linen, and linen blends) to create a clean, sturdy edge finish with a neat mitered corner.

Square-up your piece of fabric to measure approximately 44″ – 45″ on all sides. You can use a large cutting mat, long acrylic ruler, and rotary cutter, or use a long straight edge to mark straight lines with a fabric marking pencil and cut carefully with sharp fabric shears.
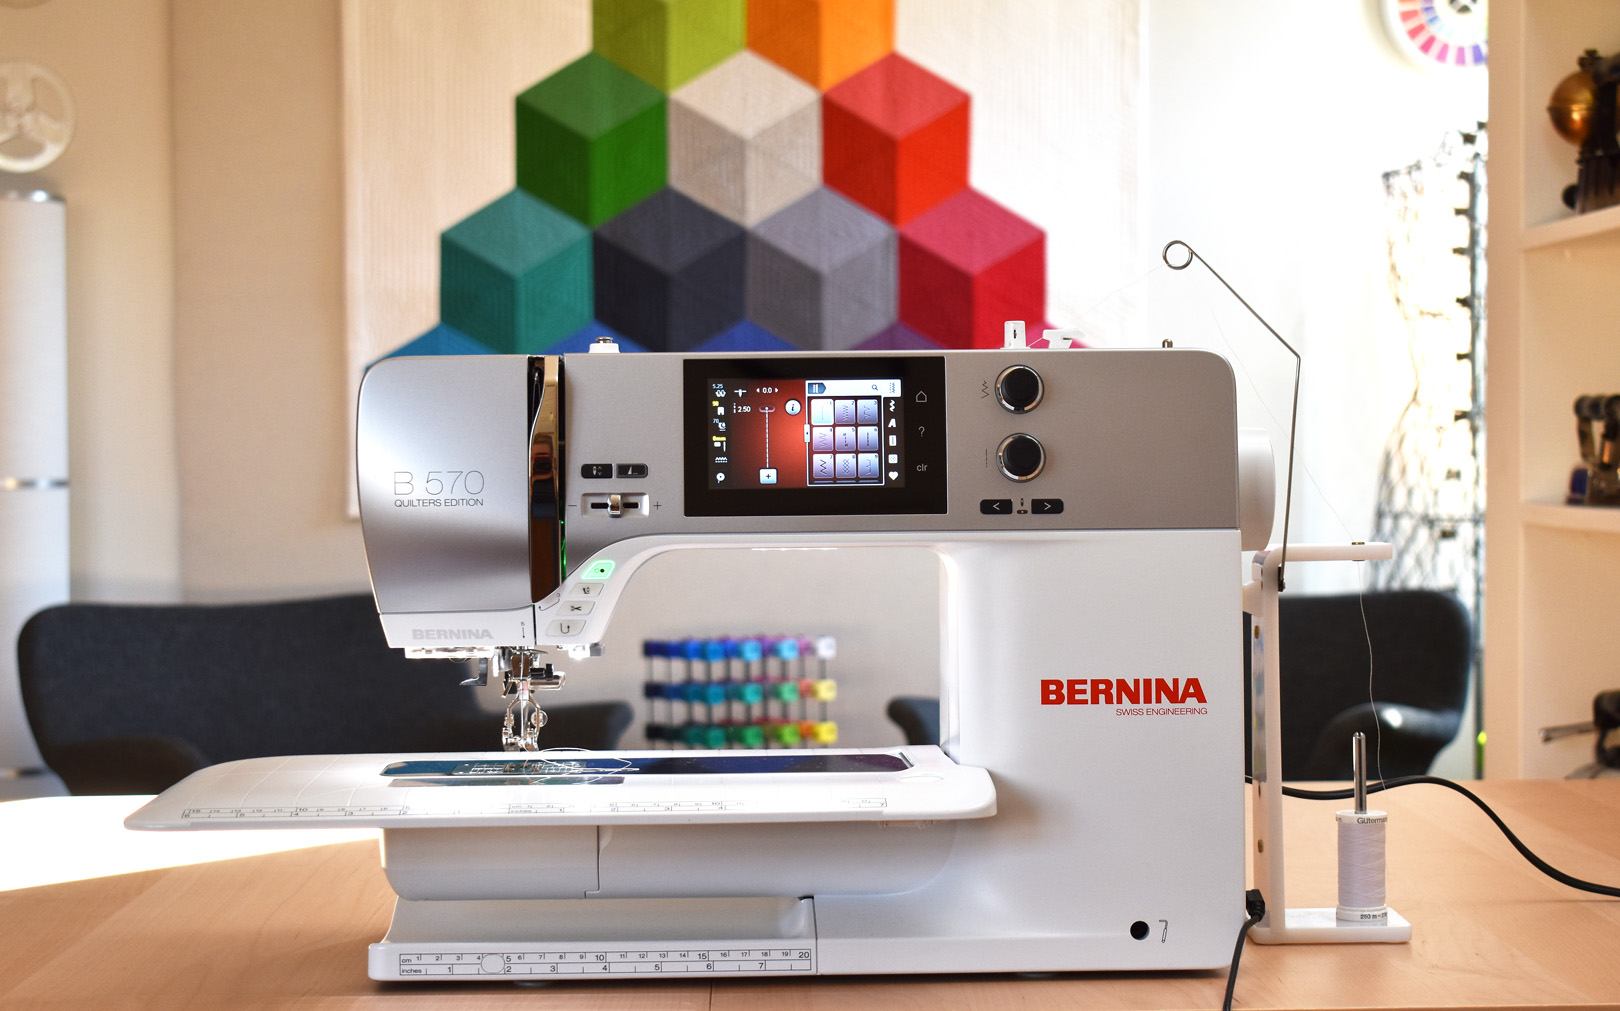
Set up your sewing machine to sew a straight stitch with a quarter-inch straight stitch foot (I am using Patchwork Foot #97D with the Dual Feed feature on my B 570 QE) and a straight stitch needle plate. Use thread that will closely match your fabric.
Sew a 2mm basting stitch all along the outside raw edges of the fabric with a 1/4″ seam. This stitching will baste the edge to turn under and help keep this edge stabilized through the next steps.
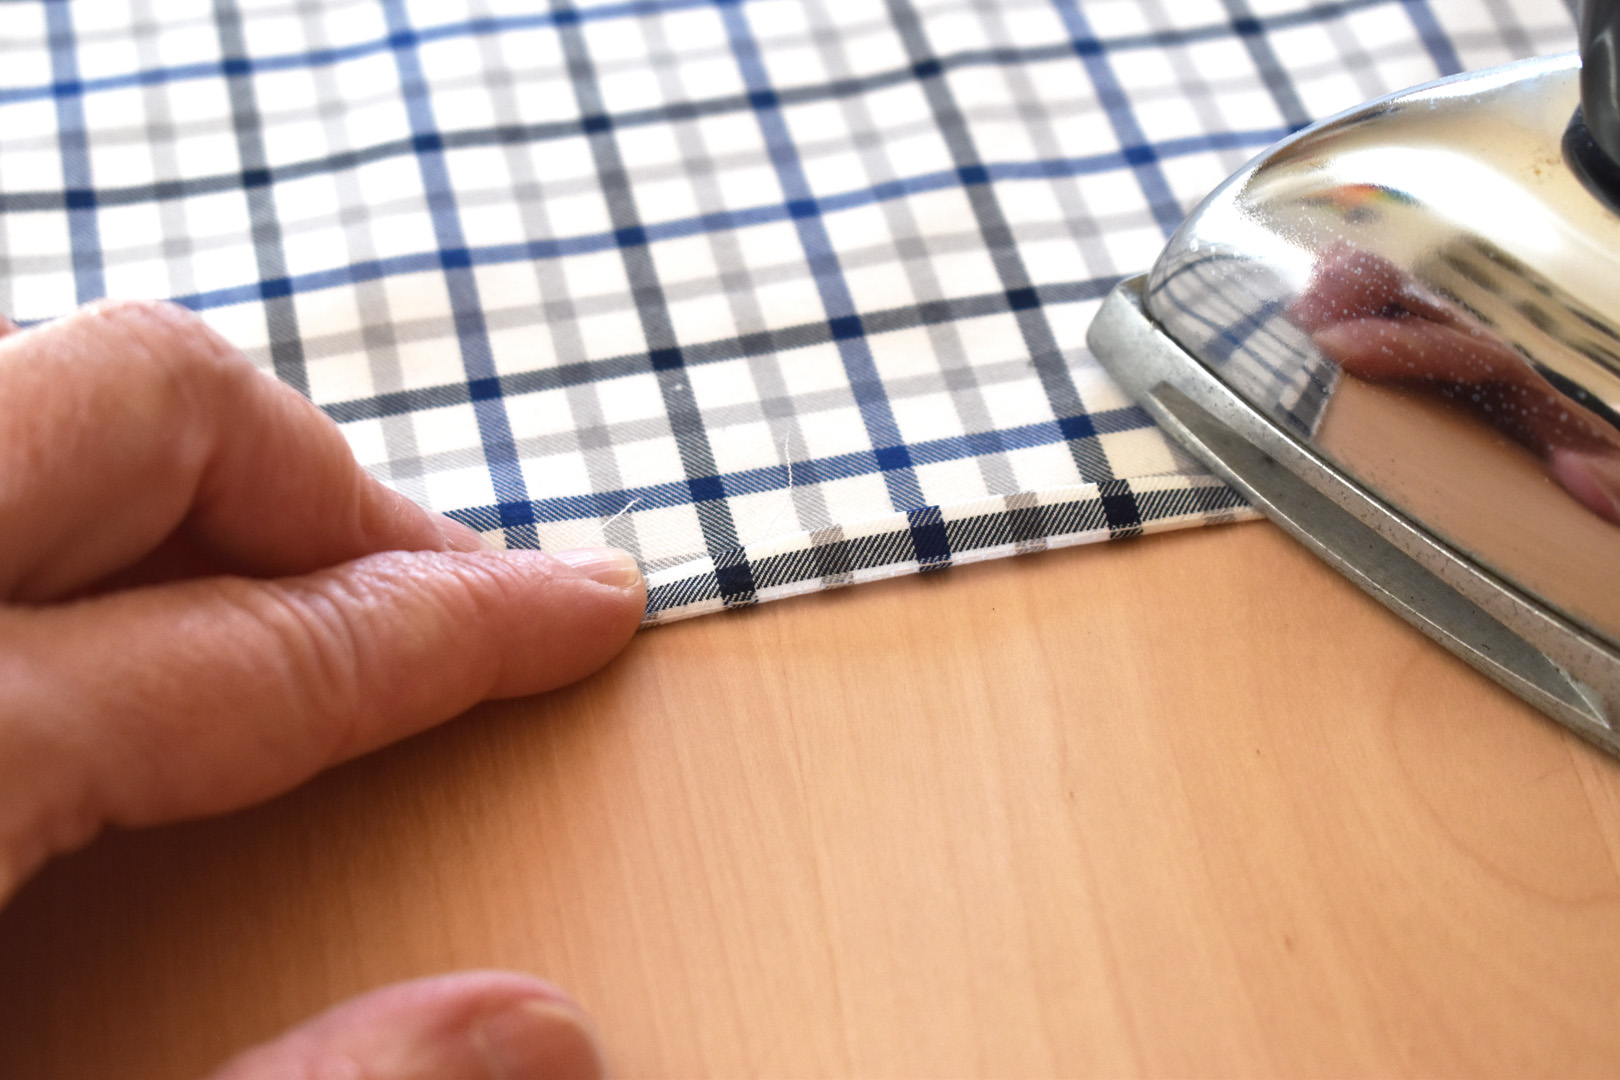
Press the raw edges to the wrong side of the fabric, rolling the stitching so you can see it from the back side.

Then fold the edge over again about 1/2″ all the way around and press well.

Use a small acrylic ruler with a 45° angle and a disappearing fabric marking pen or pencil to mark the corners. Unfold one corner gently leaving the first 1/4″ folds in place. Pay attention to the pressed corner from the second folds, this is where you will be lining up the ruler.
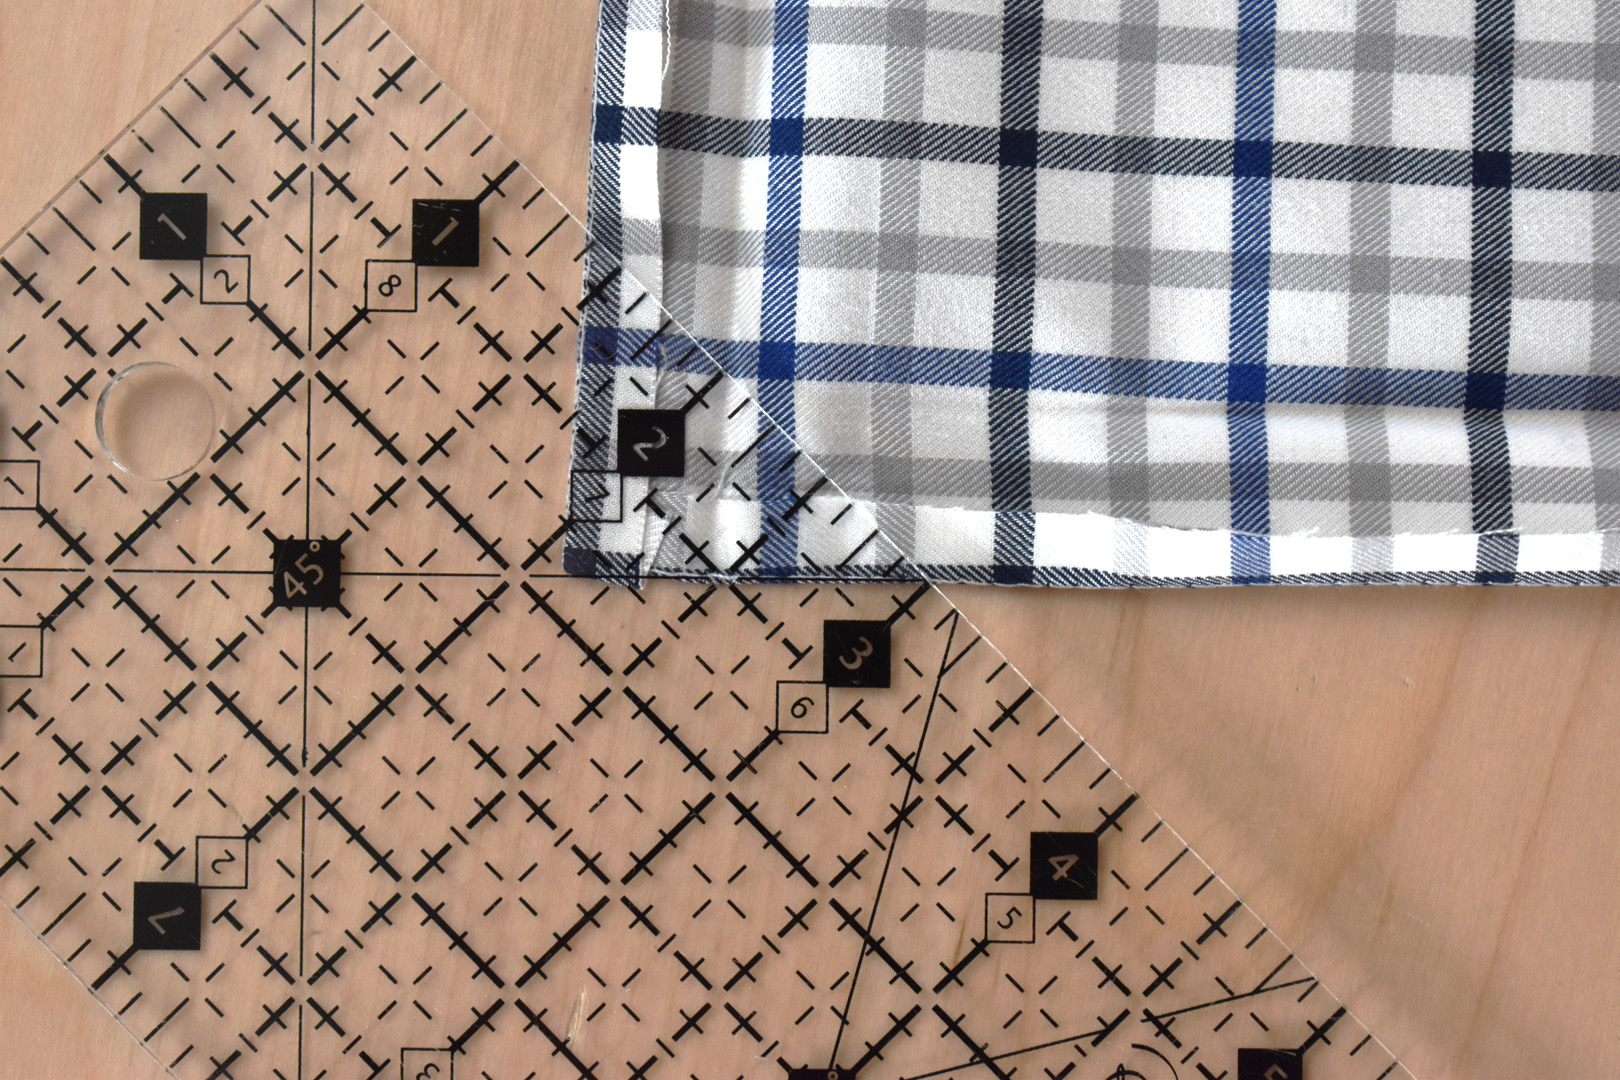
Mark a line across the corner at the exact point where the second folds meet in a point. Use the 45° markings on the ruler to help you find the angle; align the 45° angle with the outside edge, then match the edge of the ruler to the folded corner point.
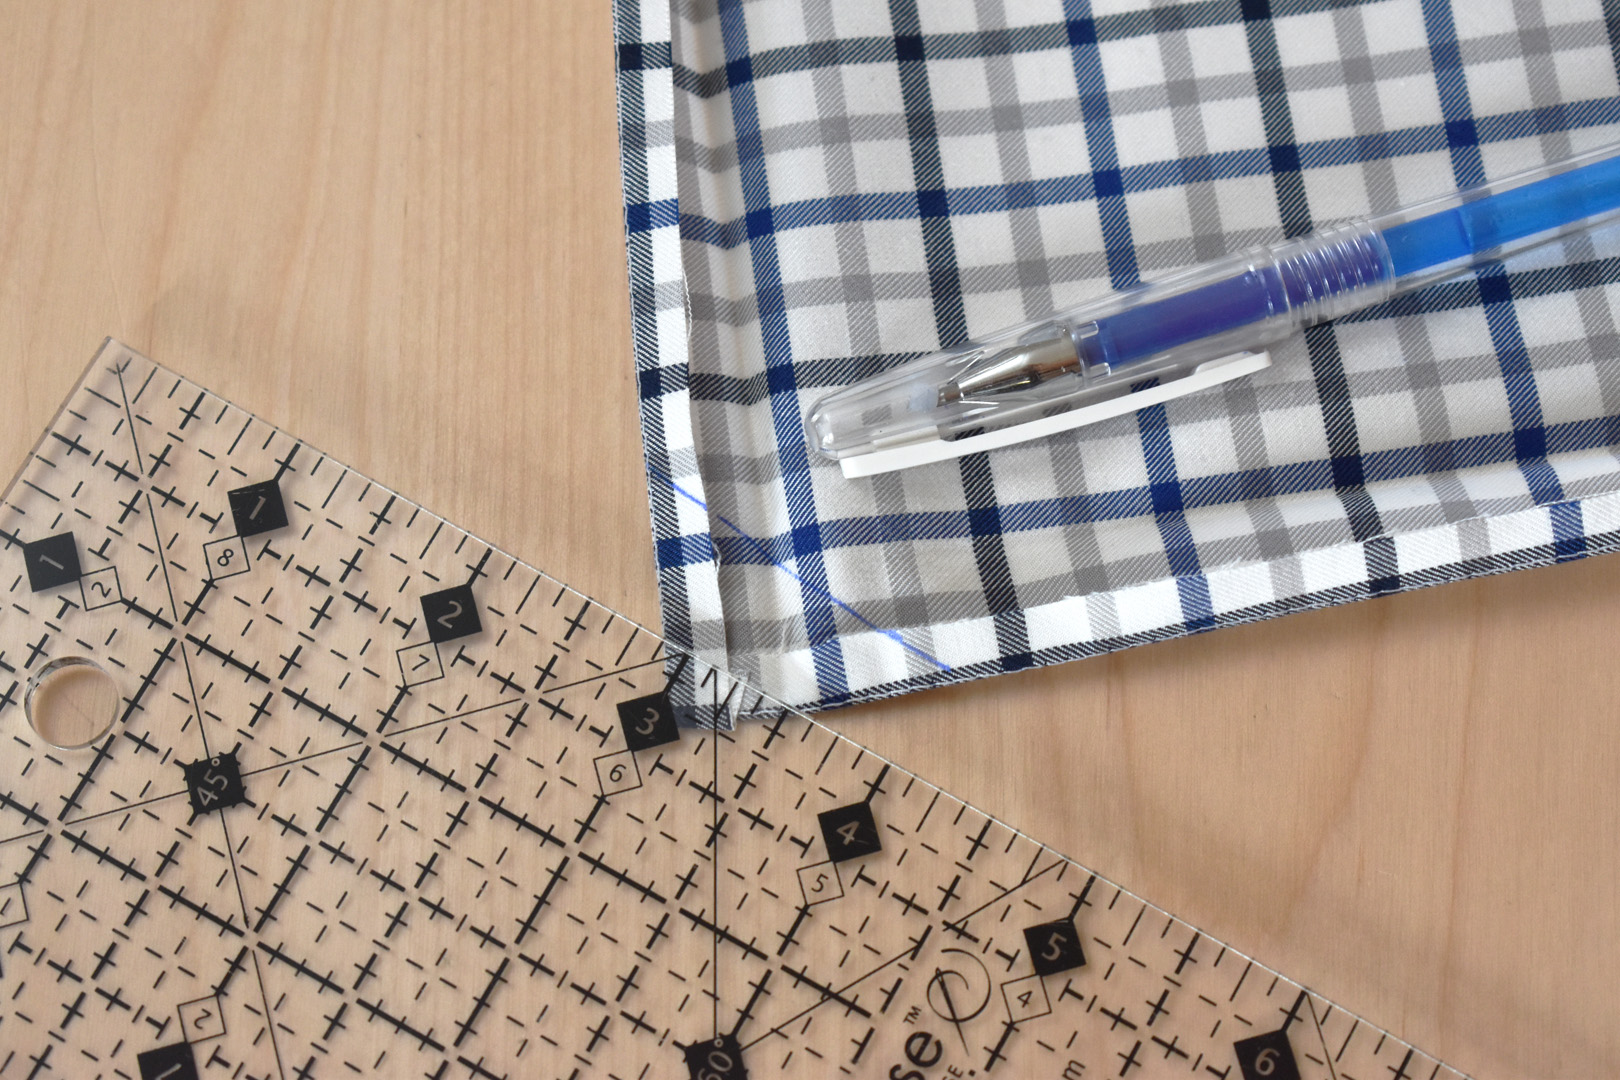
Mark across the corner, making sure to make the mark cross the two 1/4″ folded over edges as pictured above.
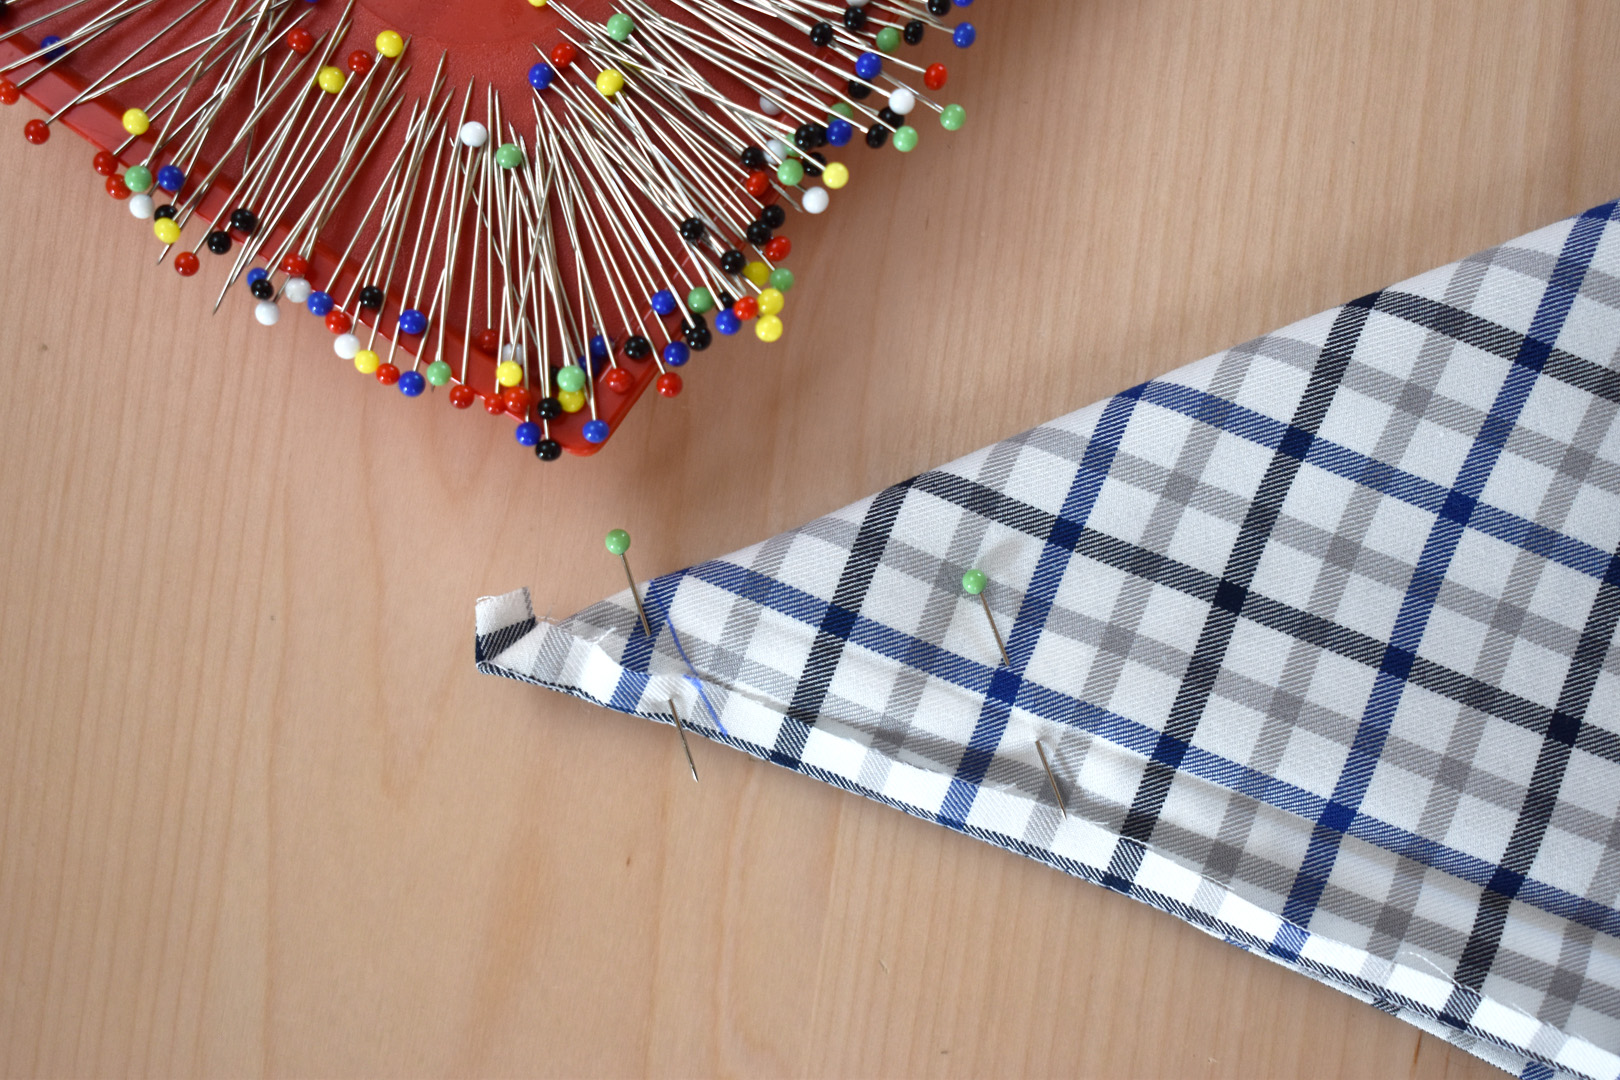
Fold the fabric over at the corner so the two edges meet and hold in place with a few pins. You will be stitching along the marked line to create the mitered edge.
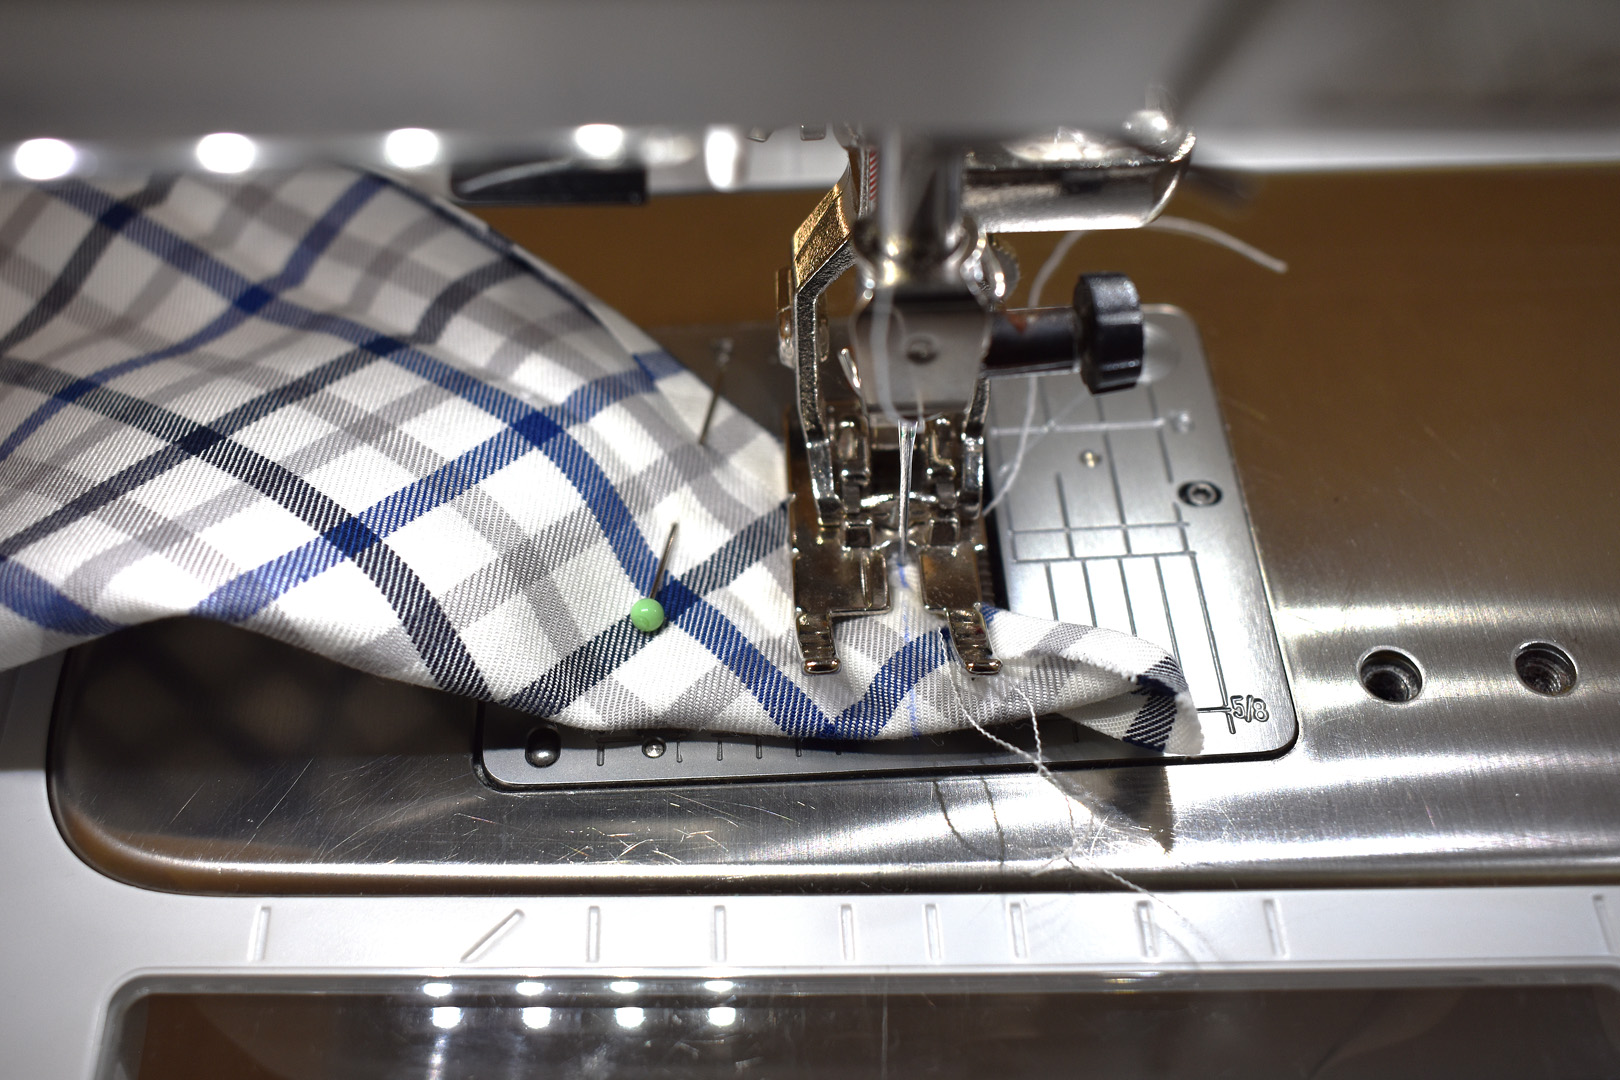
Sew across the marked line, backstitching a few stitches at the beginning and end.
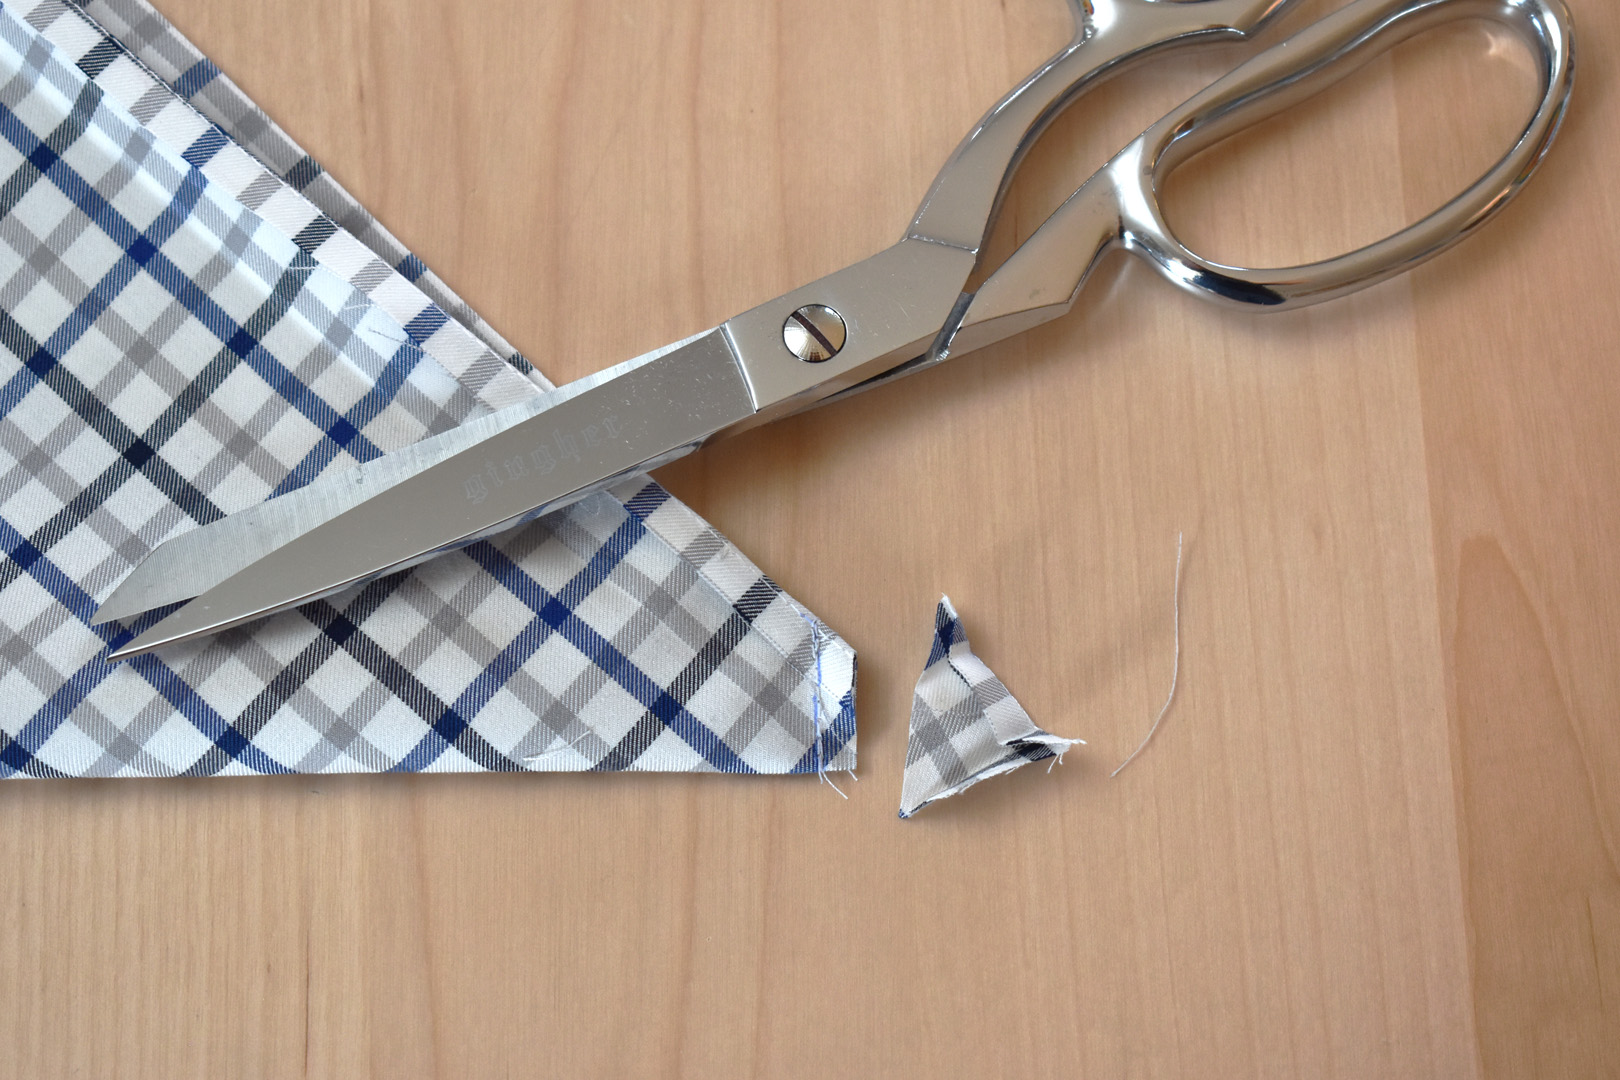
Cut the corner about 1/4″ from the stitching.
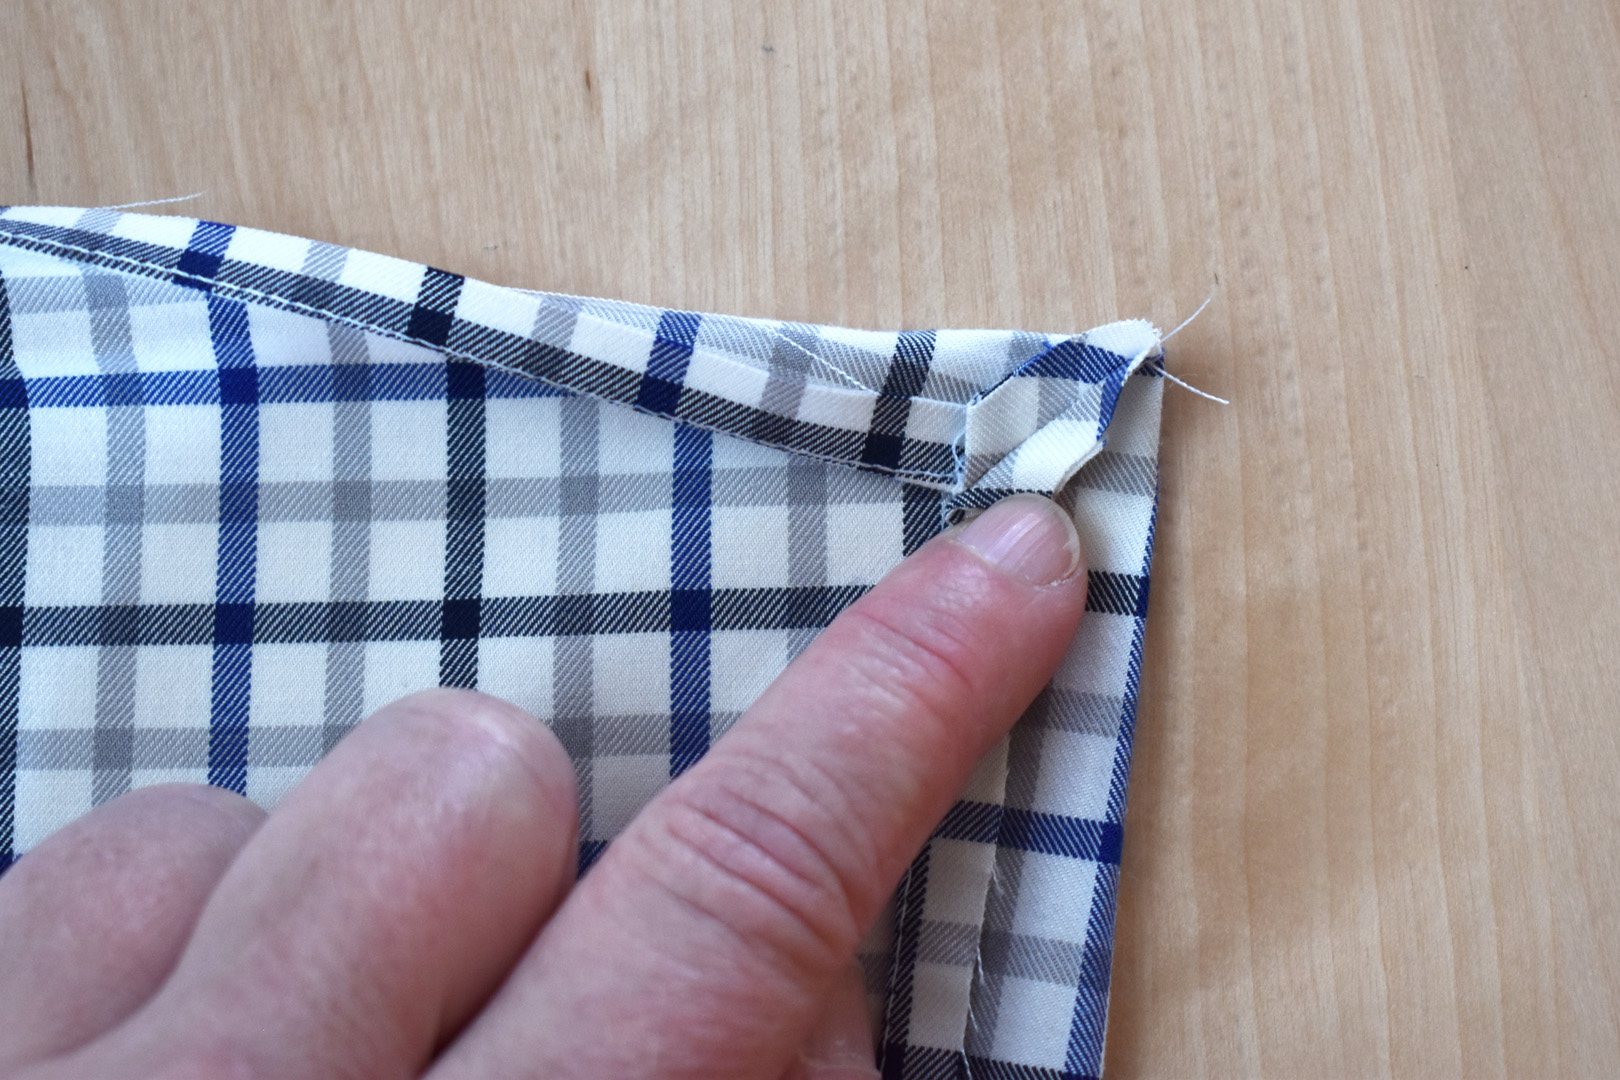
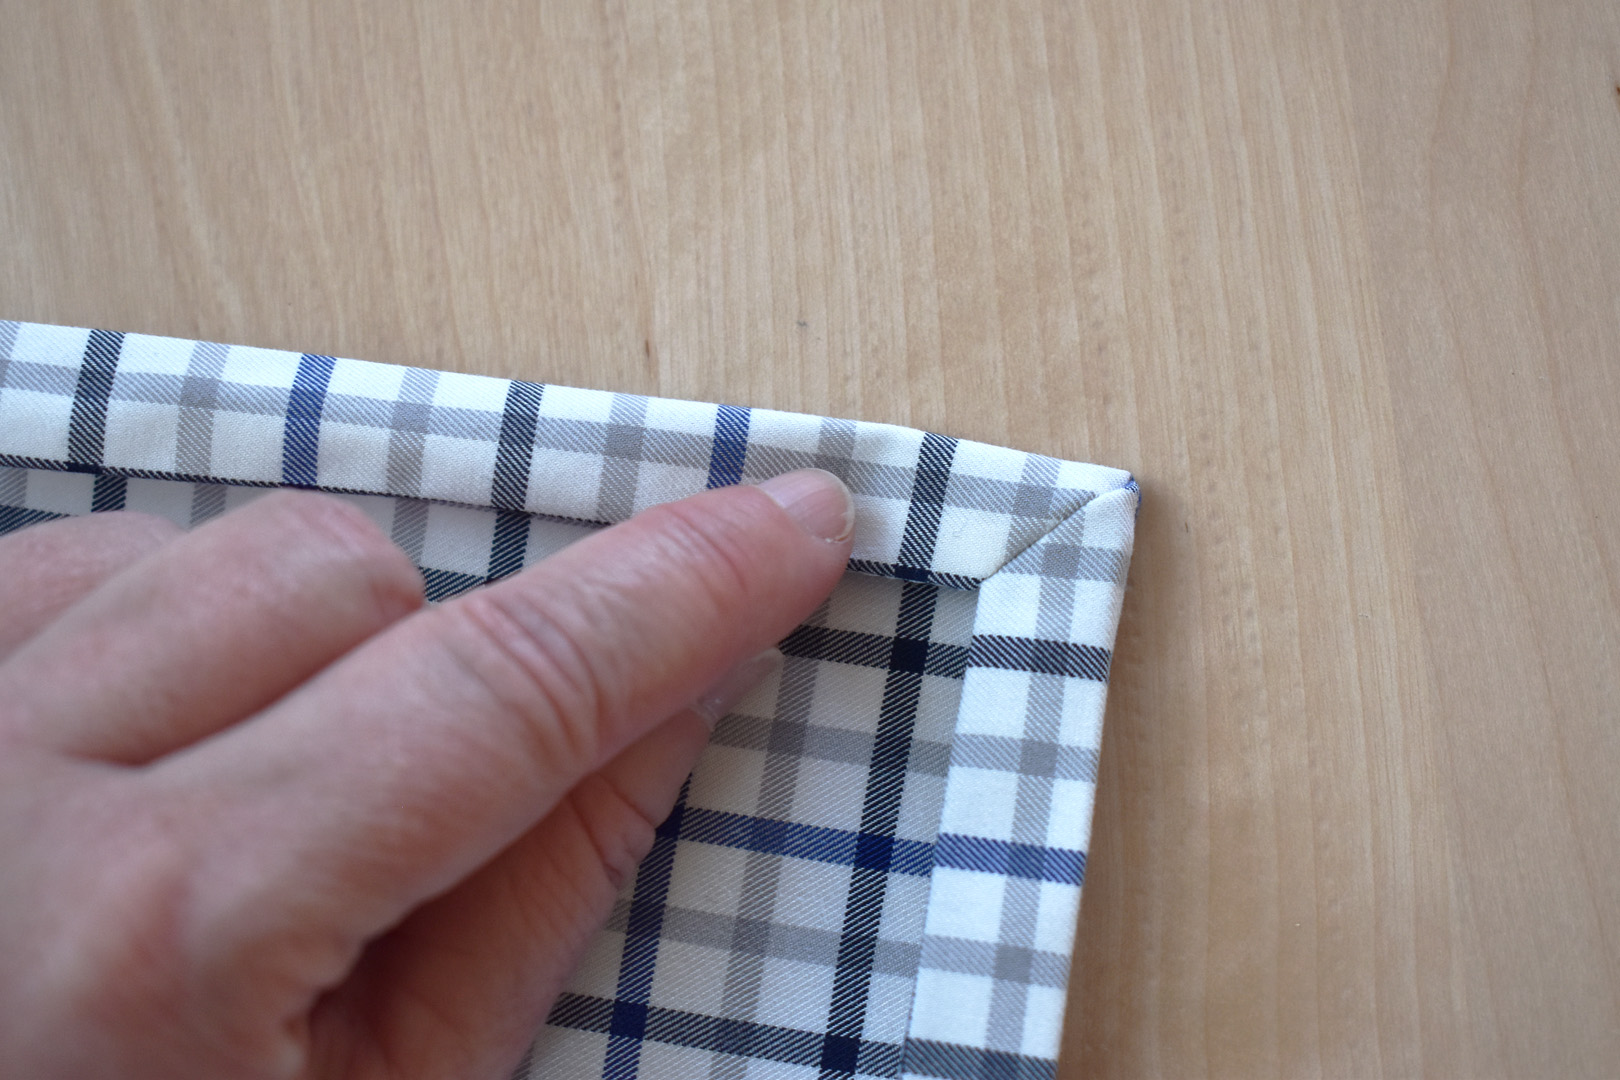
Finger press the seam open and flip the corner inside-out. Press well with the iron.
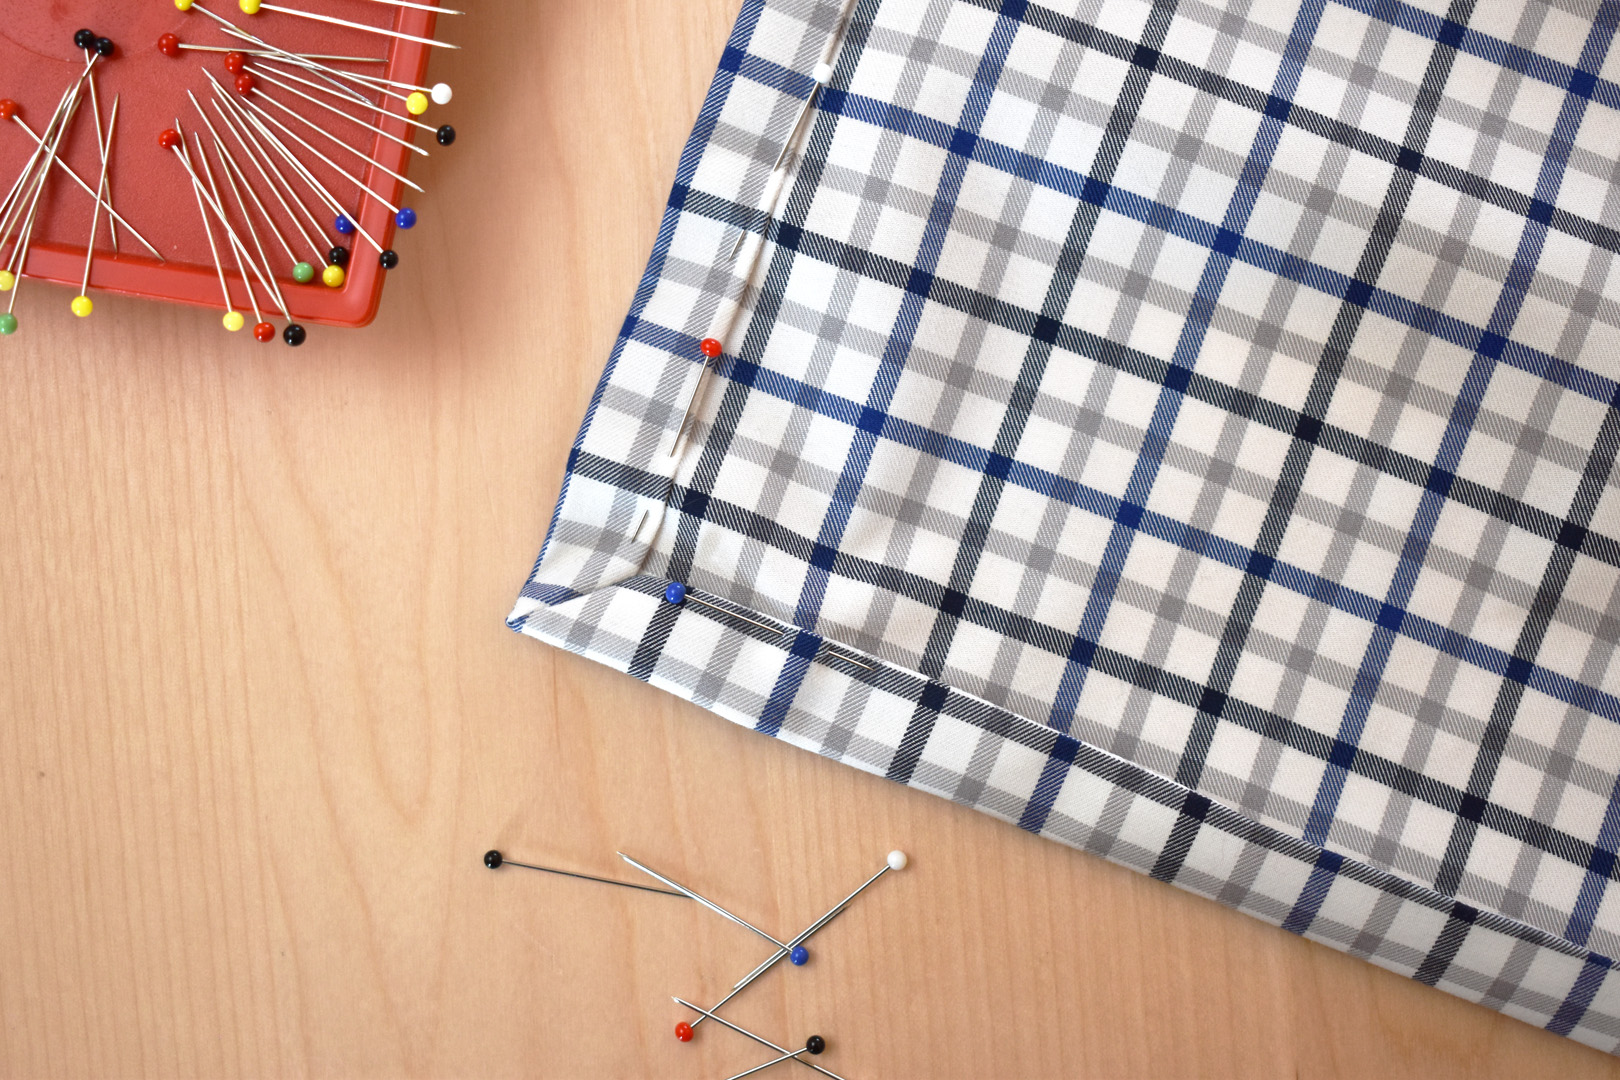
Pin the folded over edge in place all around the fabric.
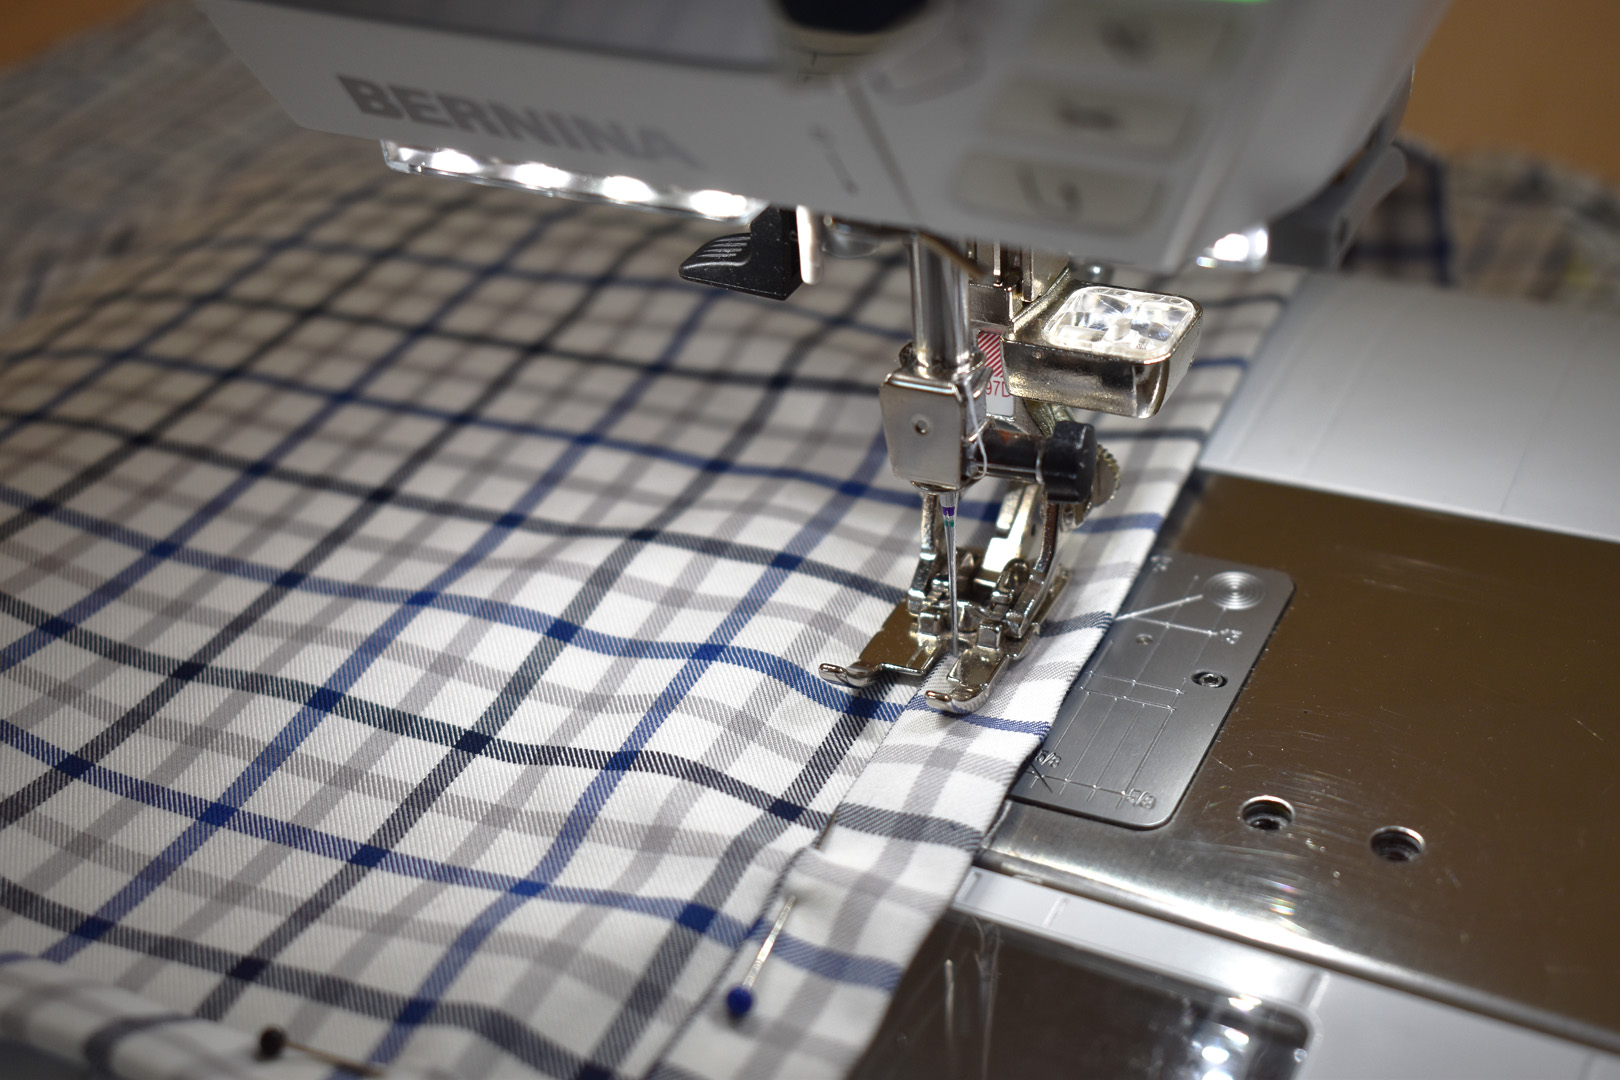
Start sewing on one side of the fabric and straight stitch on the folded edge all around the fabric.

That’s all there is to it, the edges are finished neatly and you’re ready to wrap and go!
Don’t forget to check the link at the top of this post for a free downloadable PDF for furoshiki folding ideas! Now I’ll show you exactly how to wrap and carry bottles with your furoshiki.
How to Make a Furoshiki Bottle Wrap
To make a single bottle wrap, place the bottle in the middle of the furoshiki (this furoshiki is made from a vintage feed sack).
Start by picking up two opposite corners of the wrapping cloth.

Tie a single knot that rests on top of the bottle. Twist the two ends in opposite directions and tie a small knot at the very ends to create a carrying handle.
Take the two free ends of the wrapping cloth and pull them around the back of the bottle, cross them over, and tie them in front.
Pull out the ends and adjust them to look like a pretty bow, and it’s ready to go!
To wrap two bottles, lay out the furoshiki and place the two bottles in the center. This furoshiki is made from a 45″ length of 45″ wide printed cotton fabric.
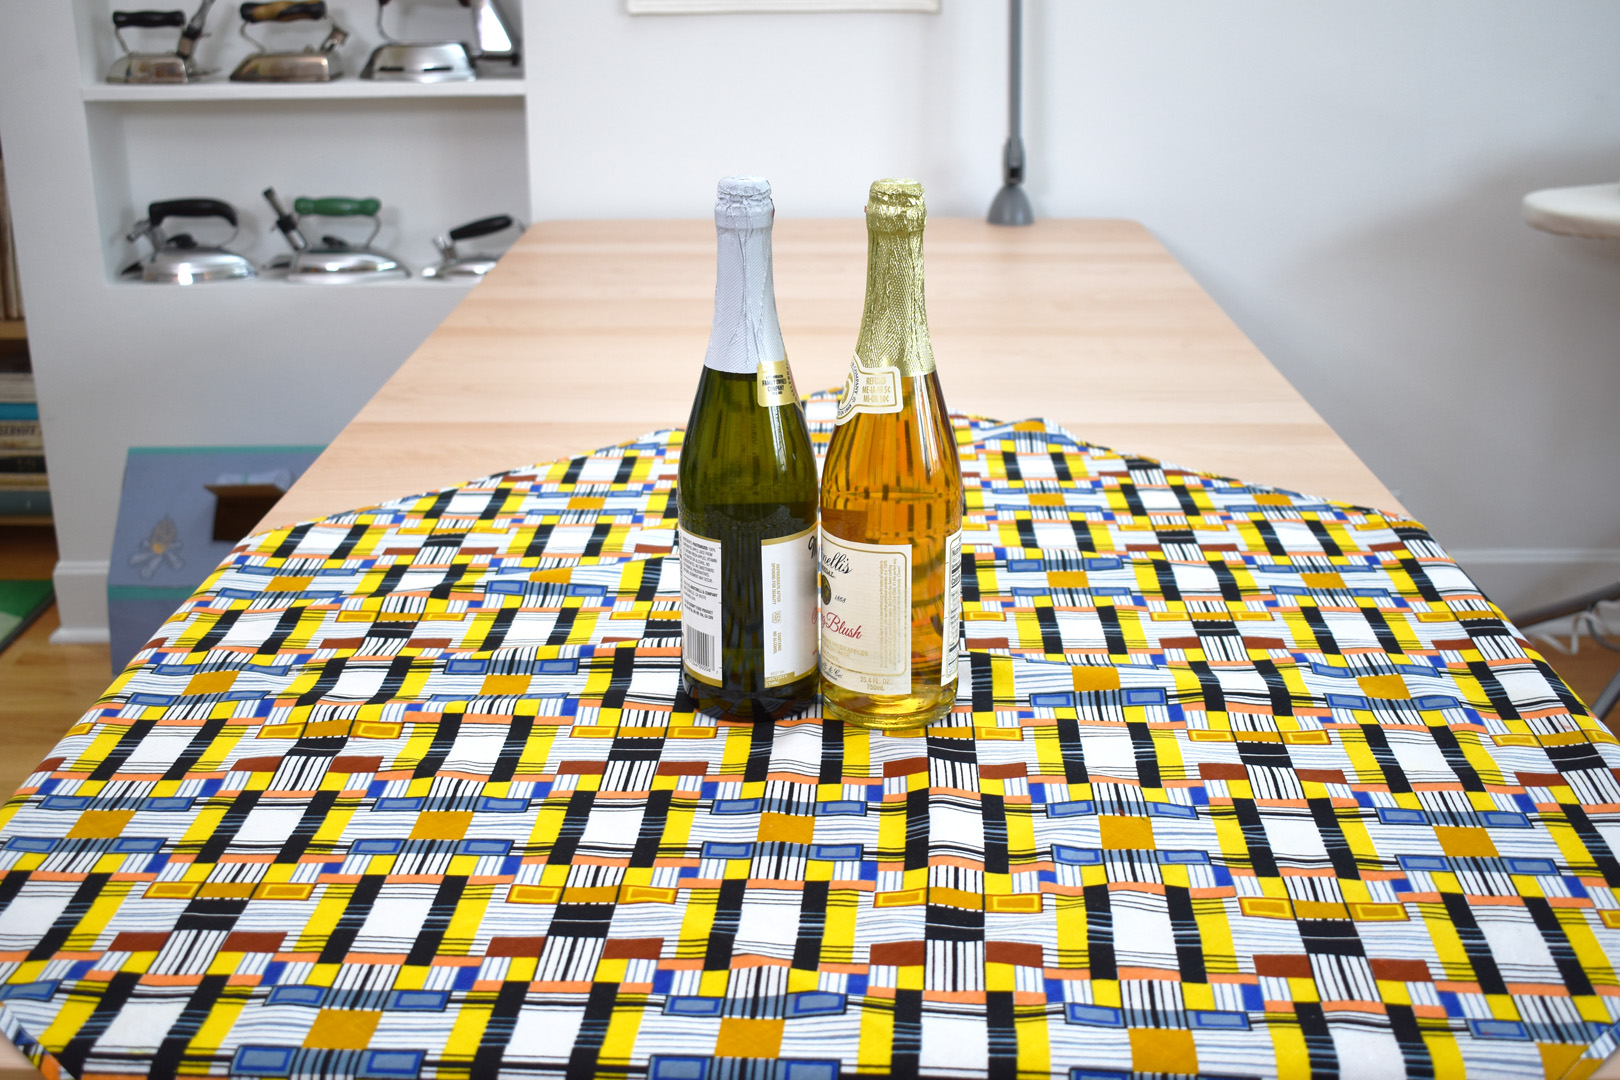
Orient the two bottles so that they are diagonally placed on the furoshiki.
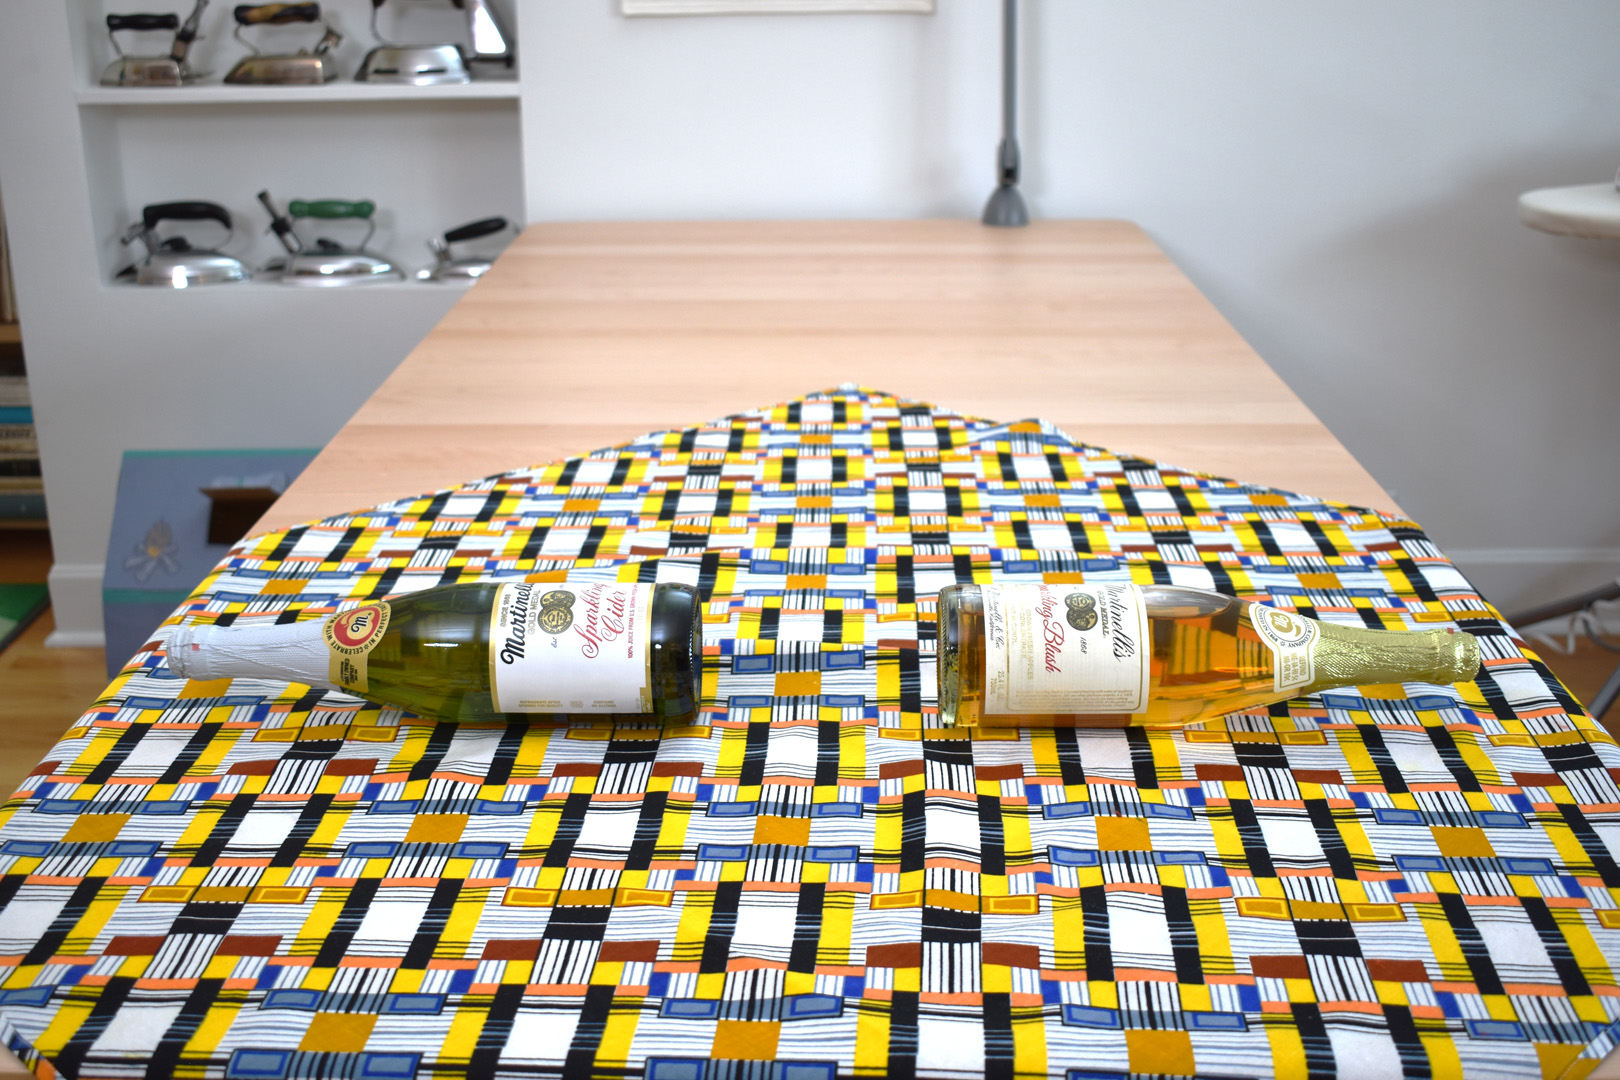
Lay the bottles down facing opposite corners of the furoshiki.
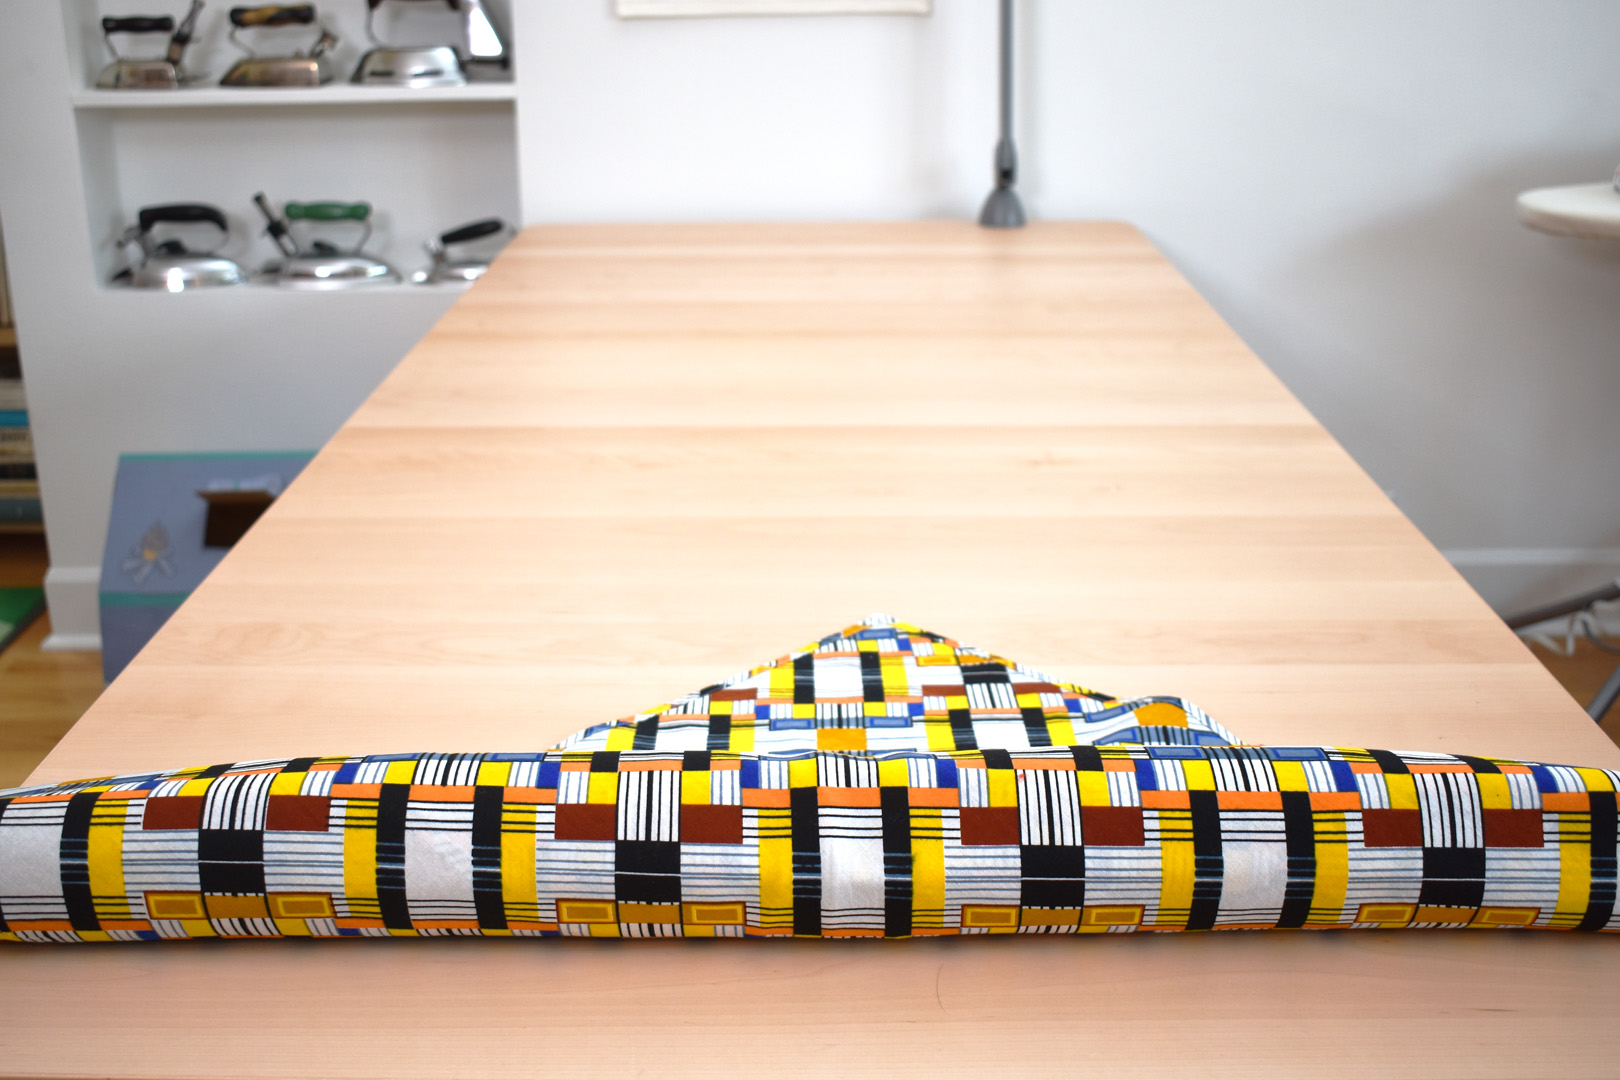
Fold one edge over the two bottles, rolling them up to the other corner of the furoshiki.
Fold the bottles back upright and tie one knot in the top of the two ends to hold the bottles together.
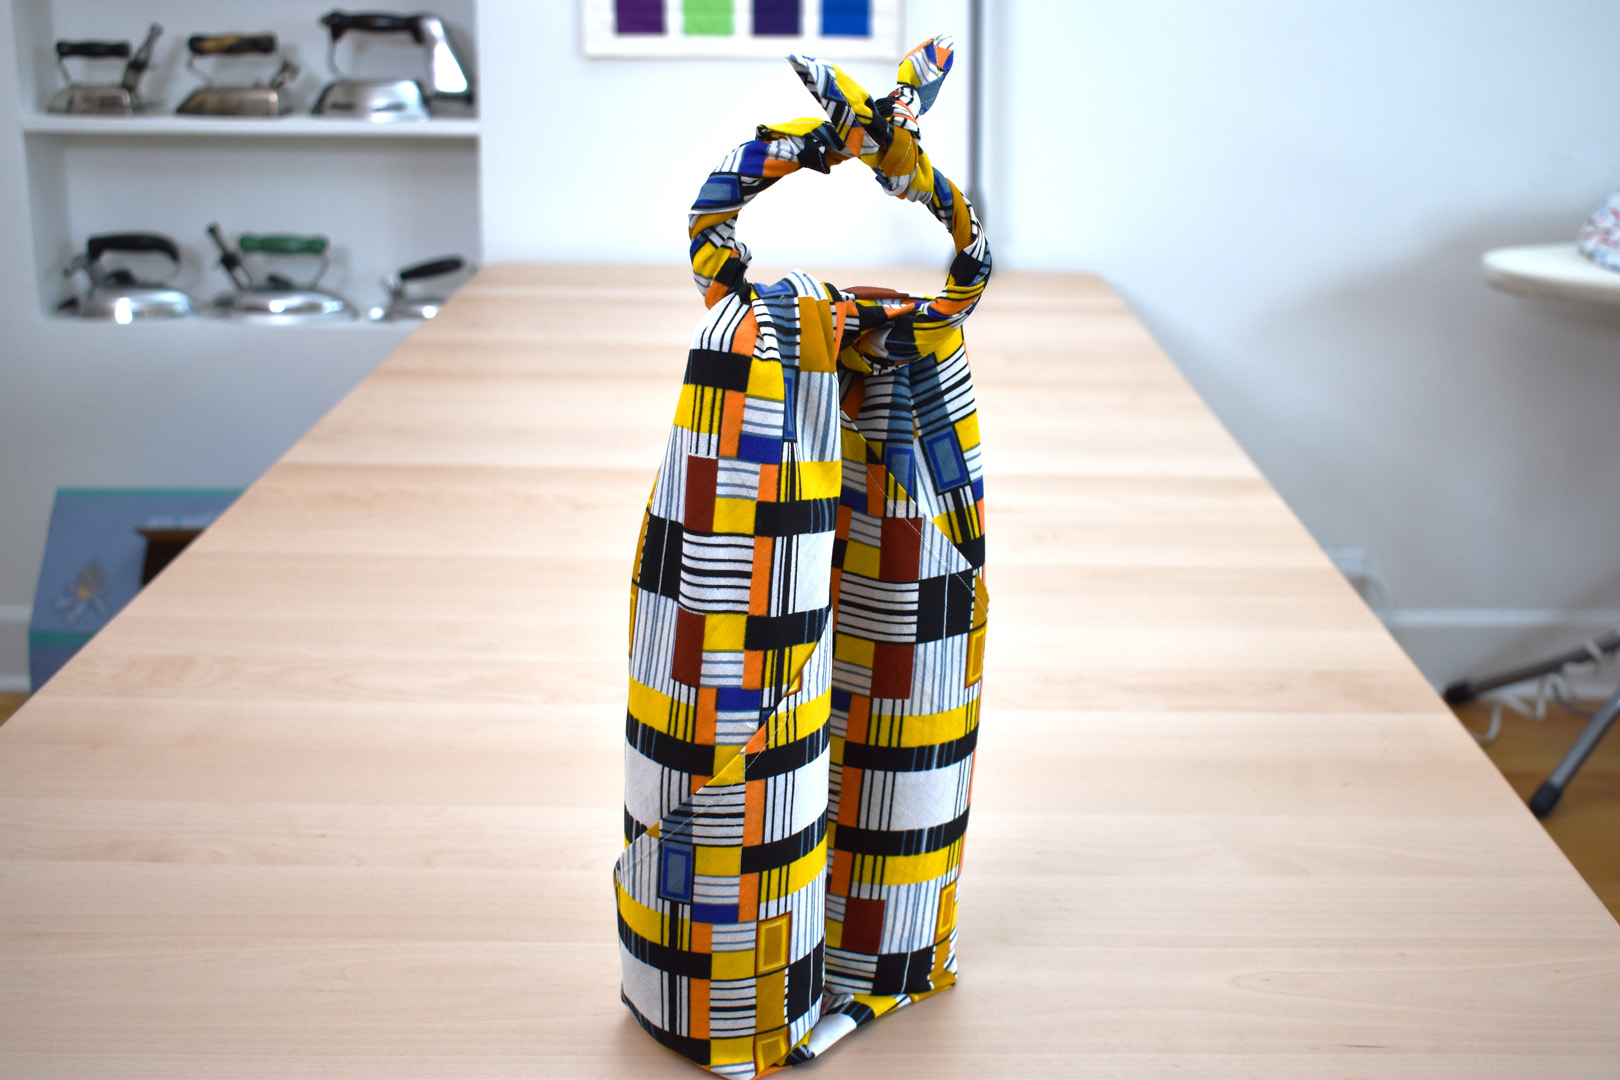
Twist the two ends in opposite directions and tie a small knot at the top to create a carrying handle – ready to go!
How to Make a Furoshiki Shoulder Bag
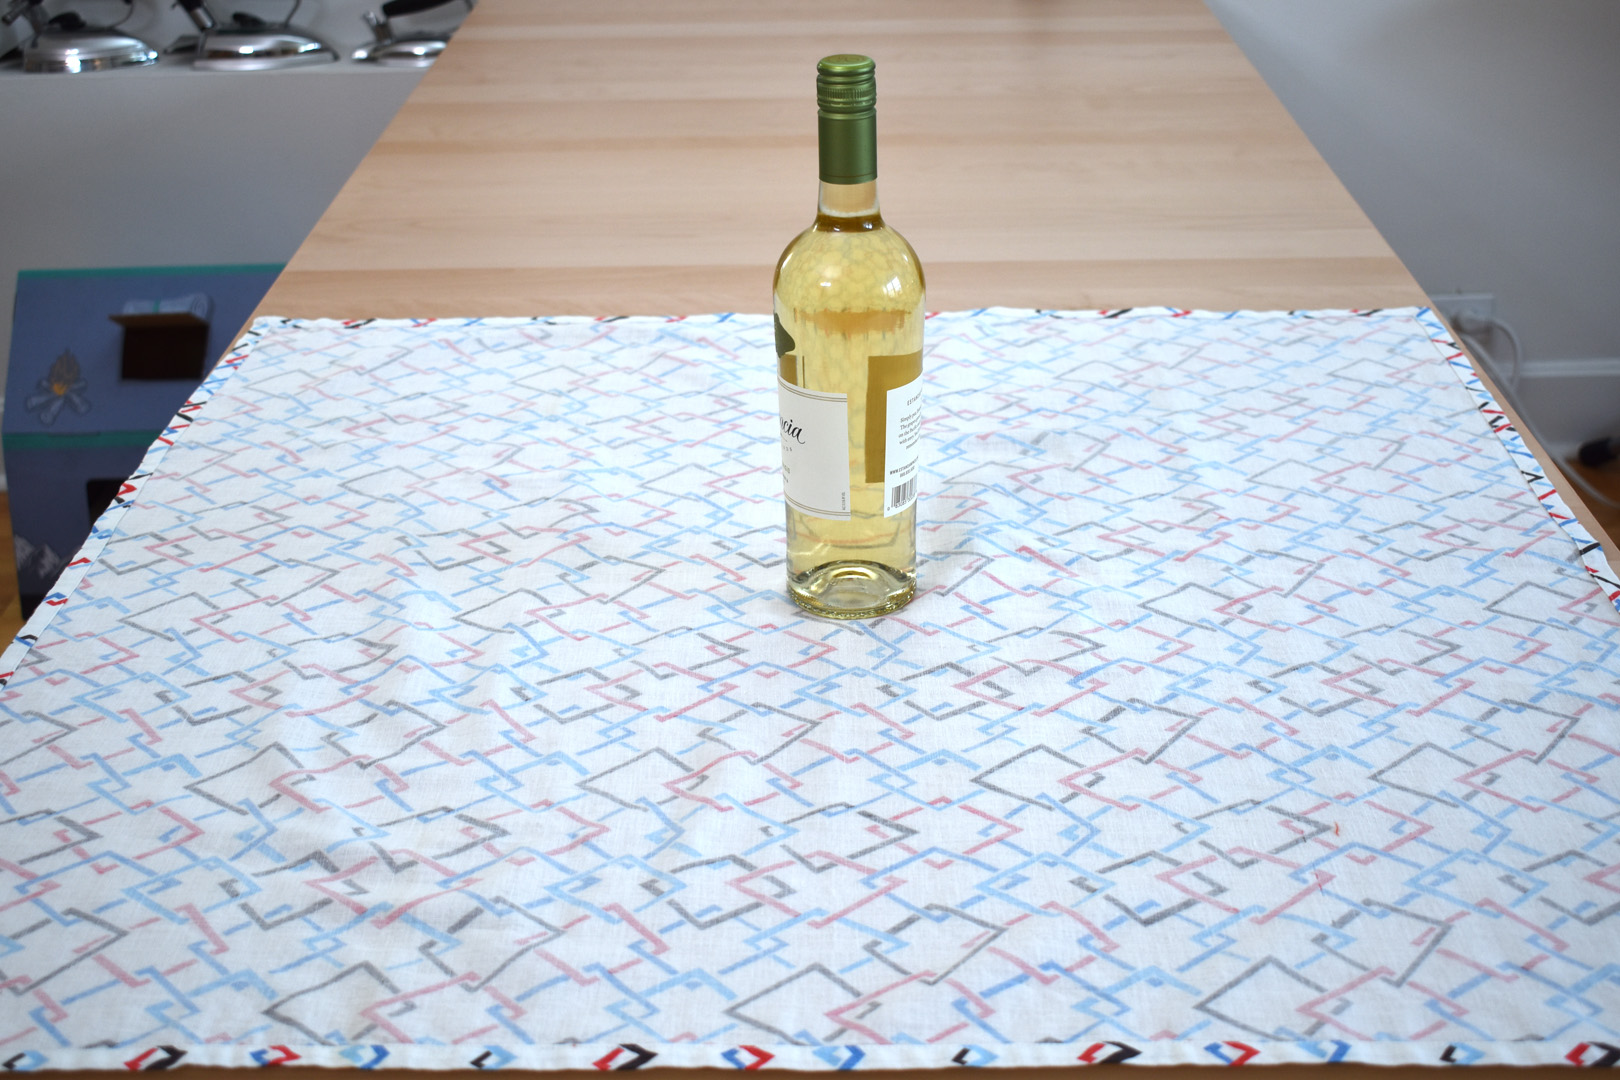
Use a large flat furoshiki and two small craft rings (between 1 1/4″ – 2″ diameter rings in plastic or metal purchased from the craft store) to create an instant shoulder bag.
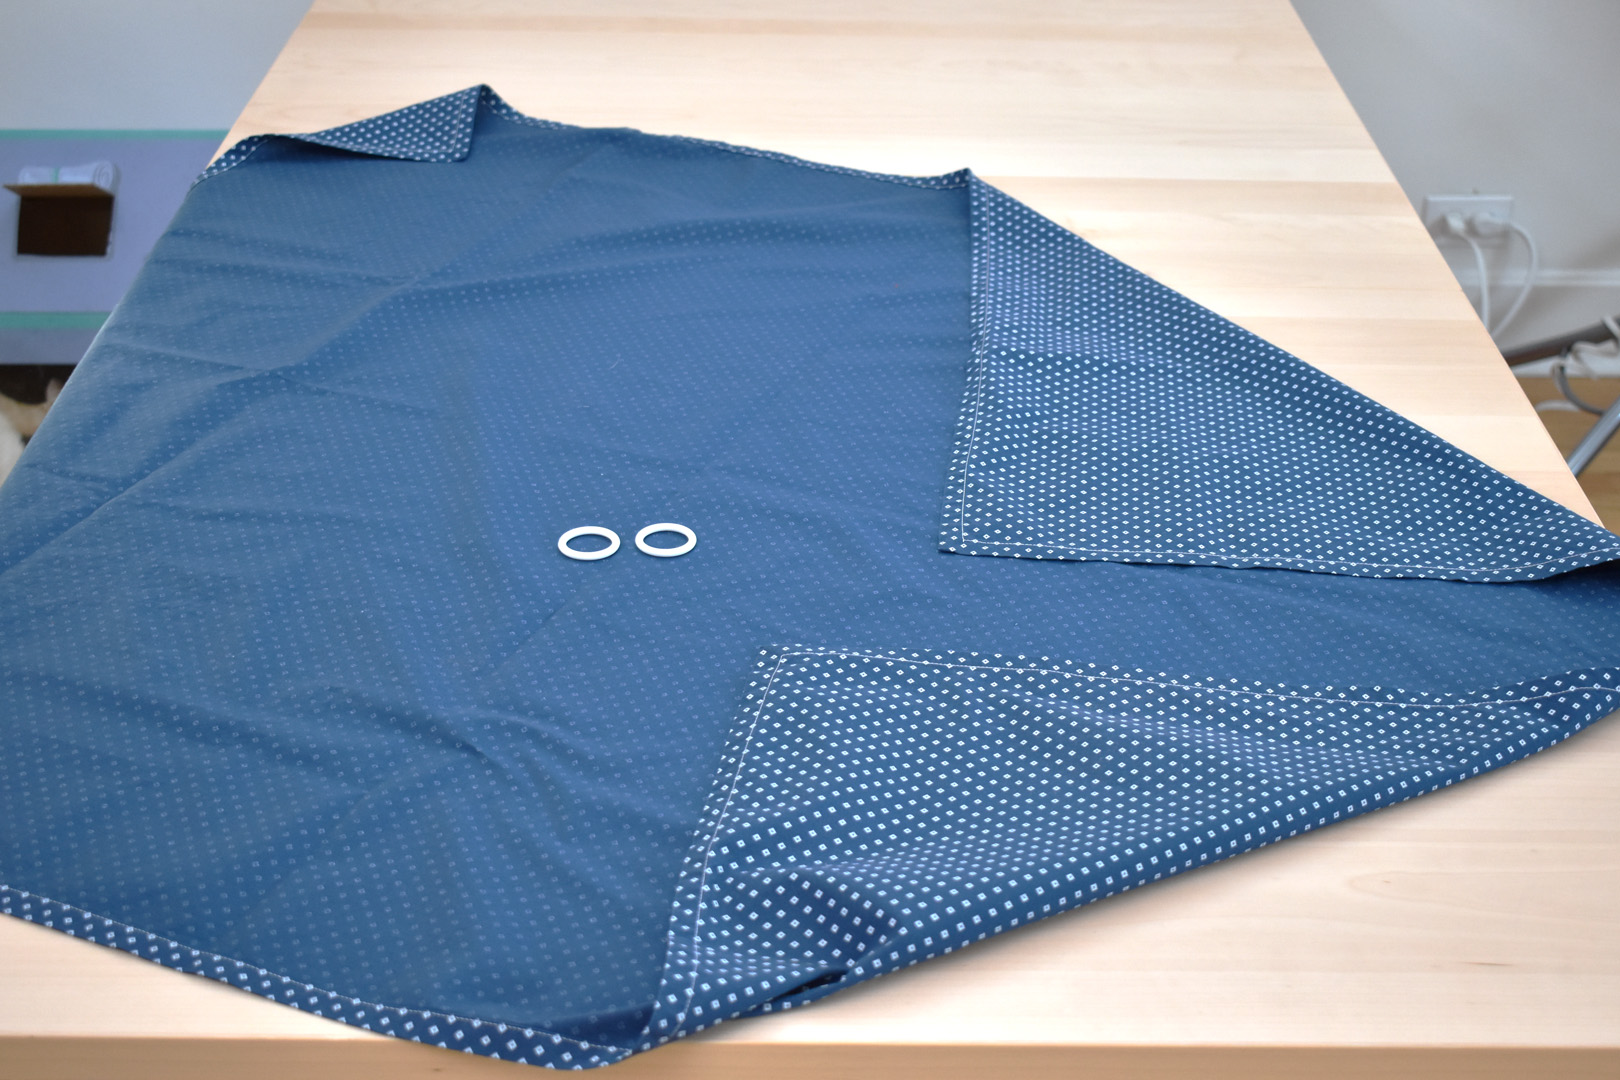
Lay out the wrapping cloth right side down and grab the two rings.
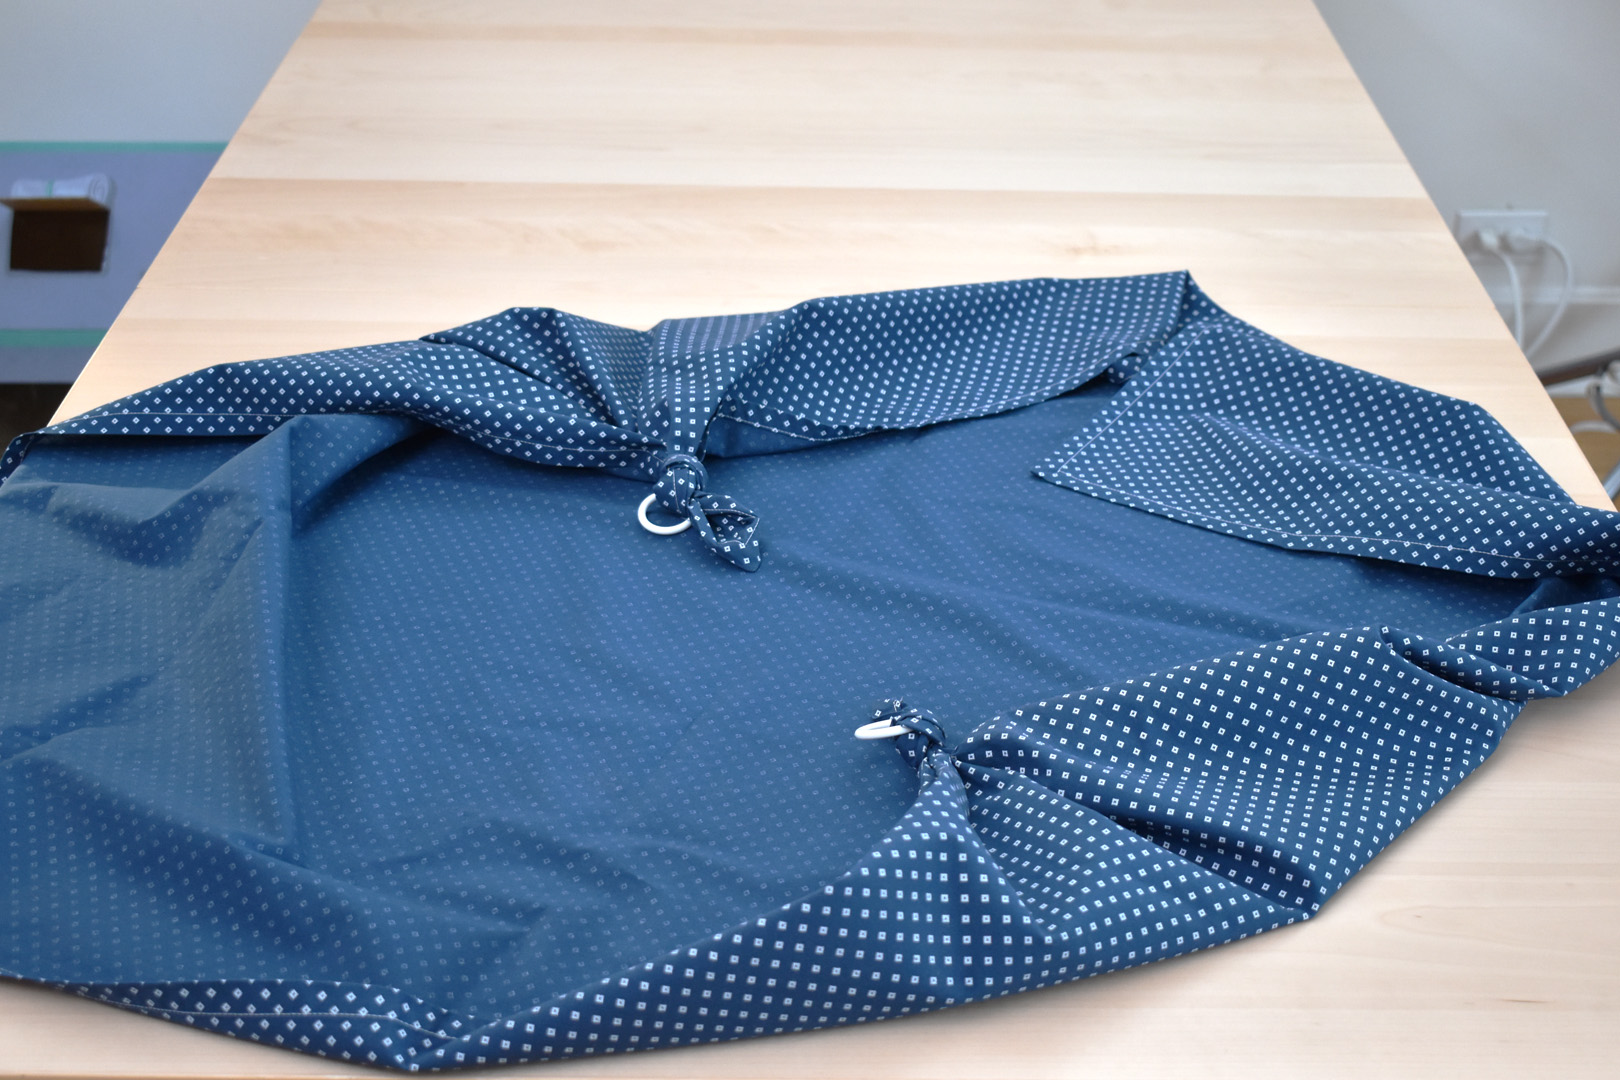
Tie one ring tightly on each opposite corner of the cloth.
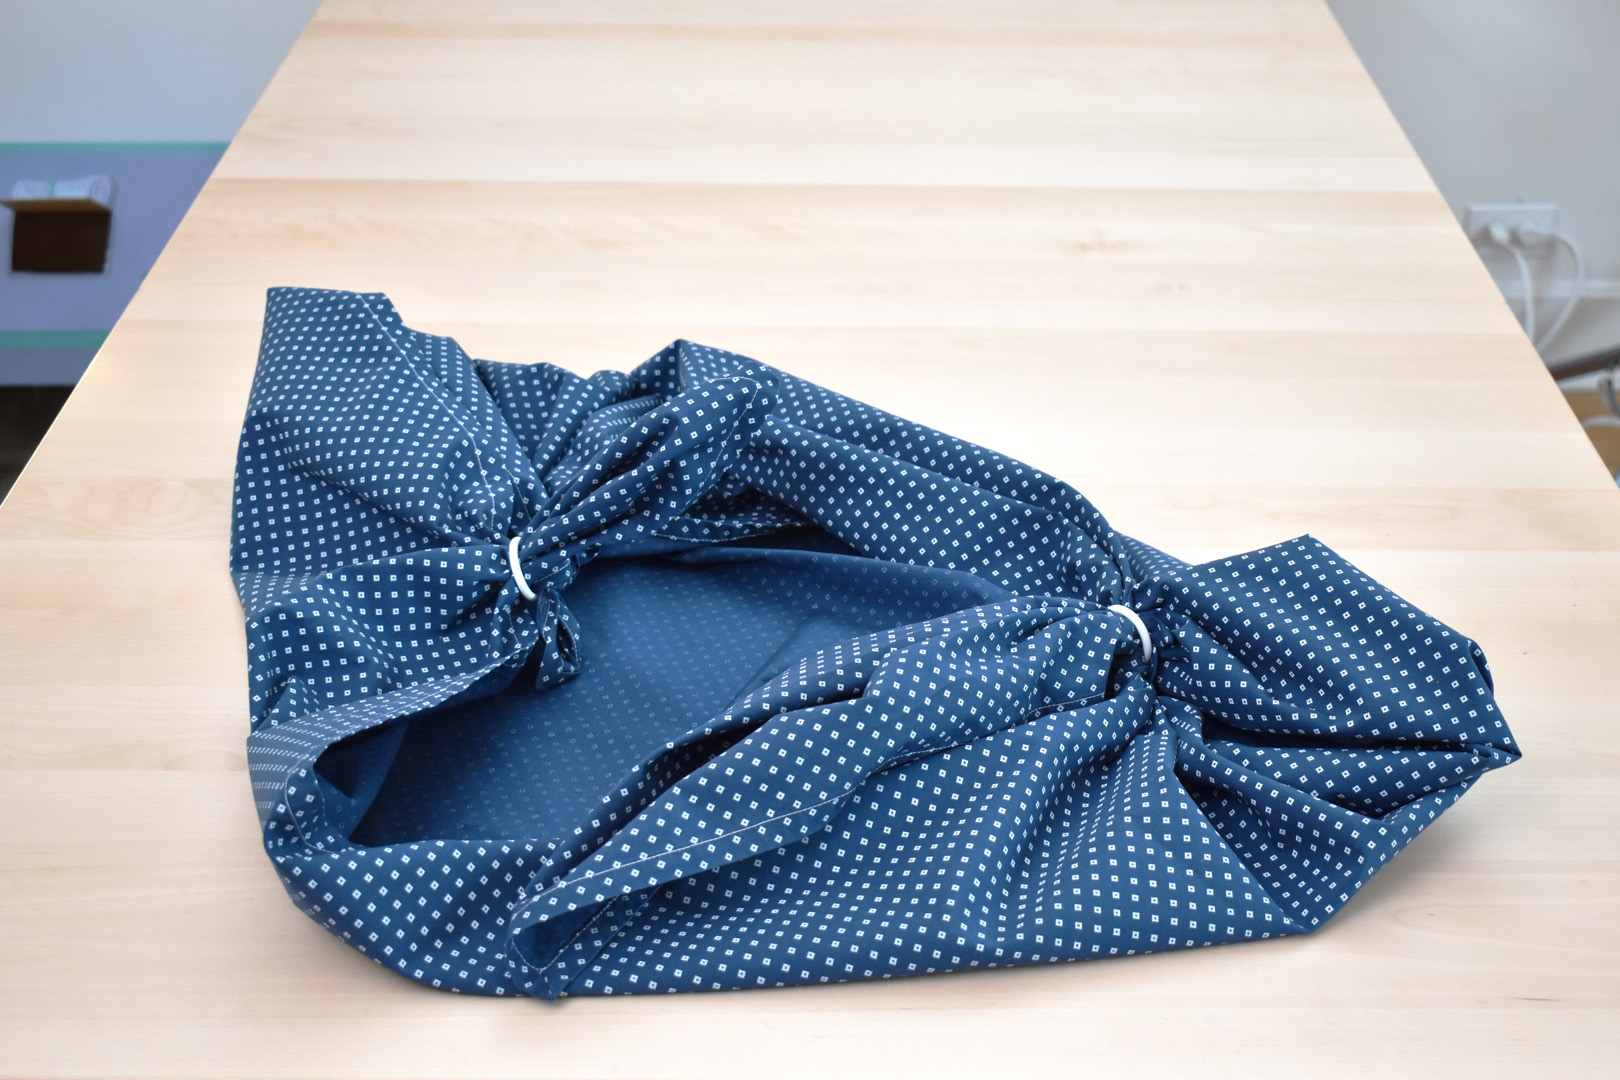
Take one of the free ends of the wrapping cloth and feed the corner through the ring, pulling it through to create a long end. Repeat on the other side.
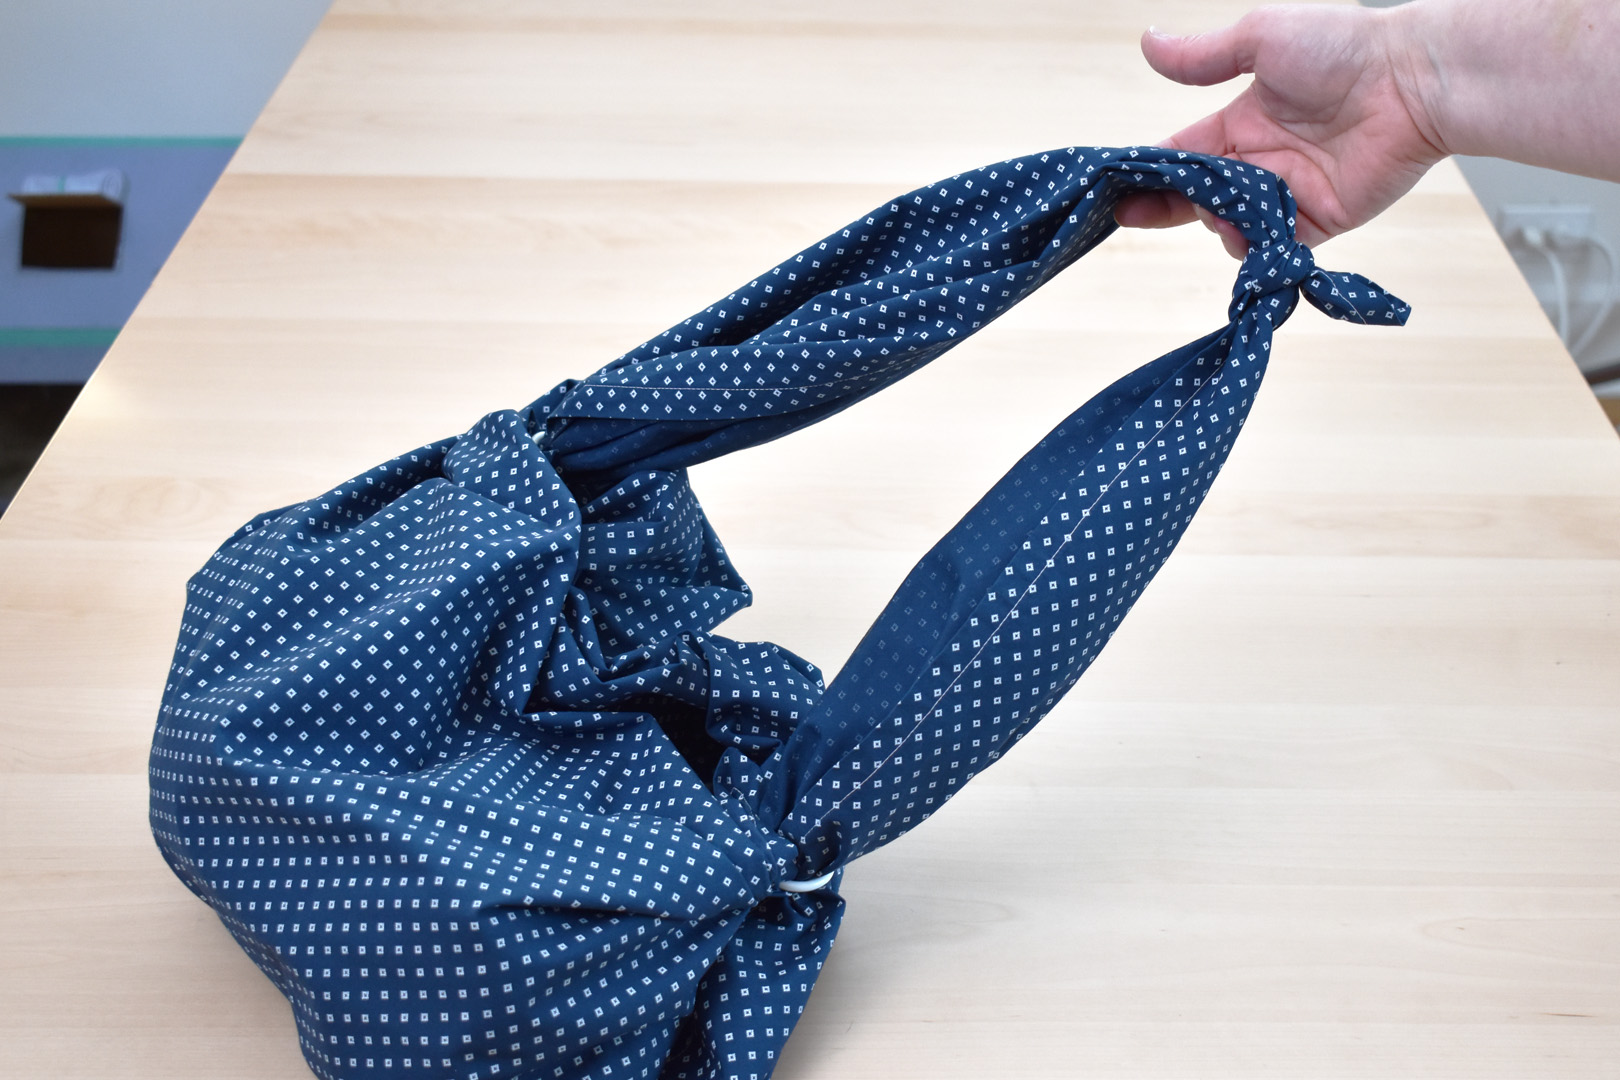
Tie a knot with the two long ends to create the shoulder strap.
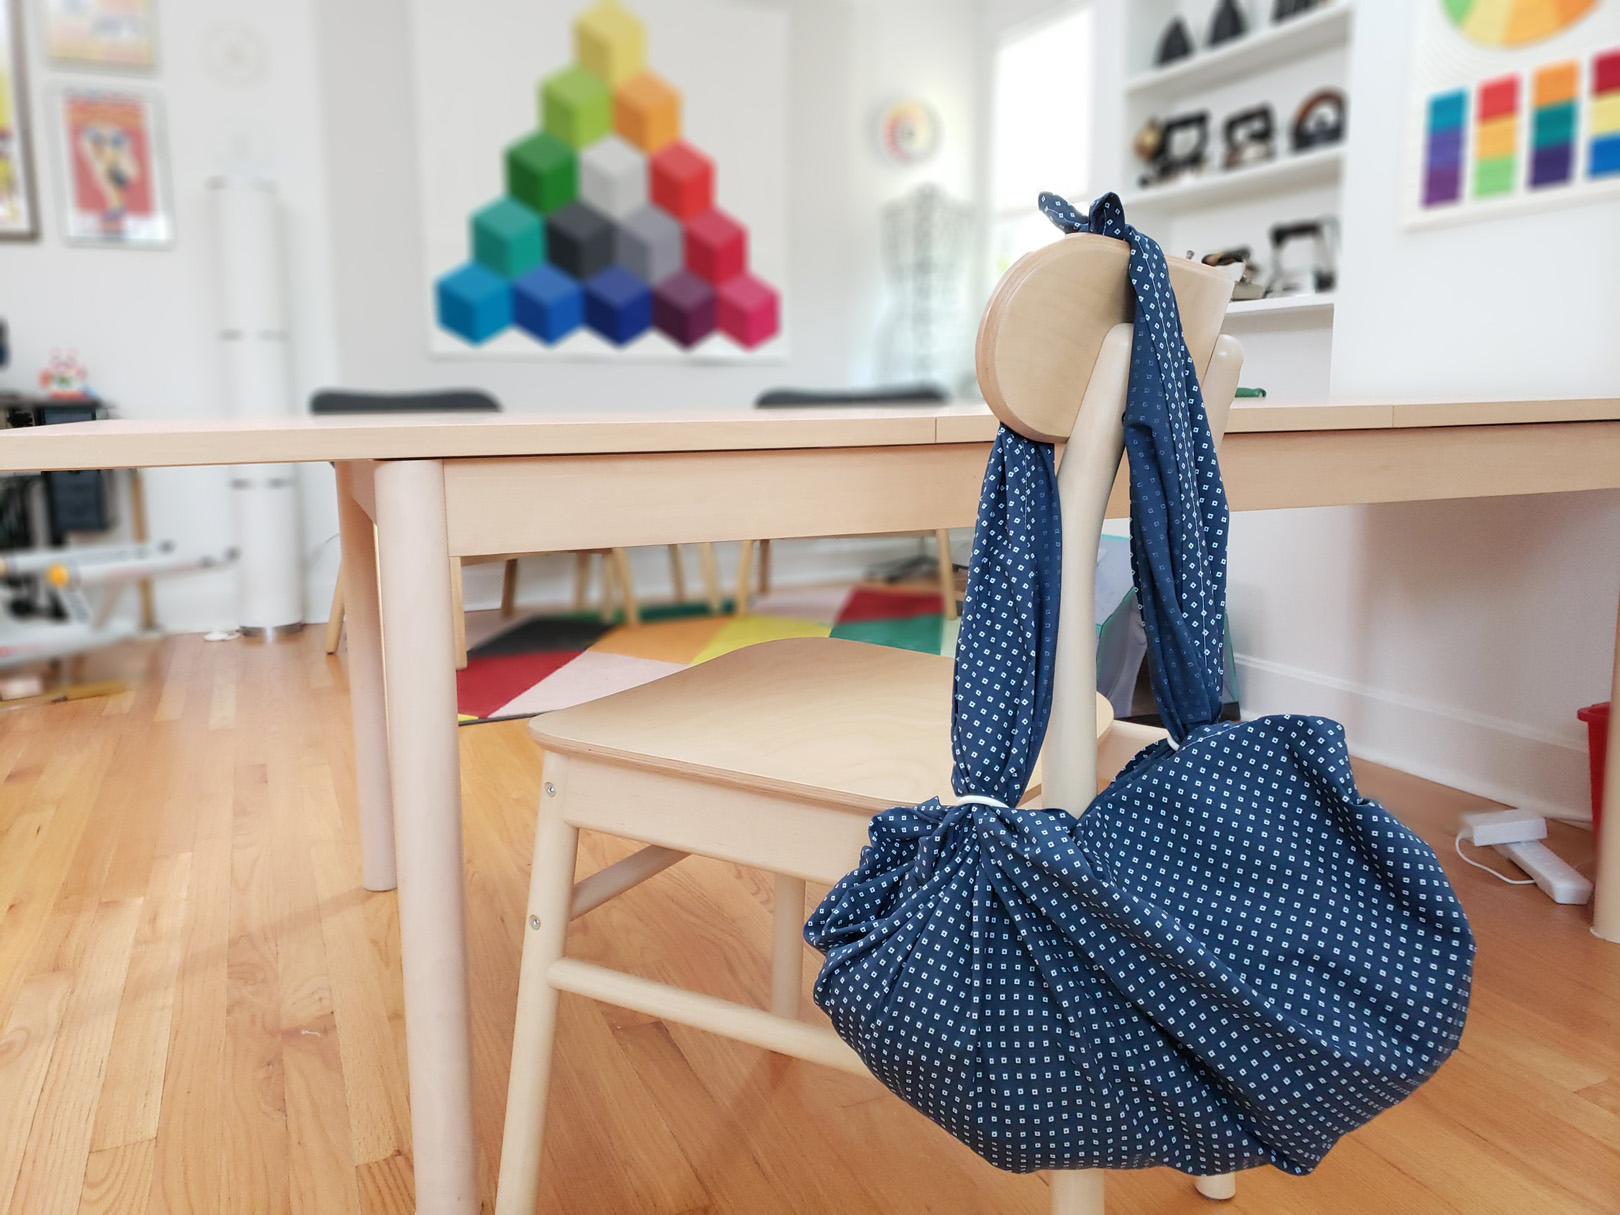
The shoulder bag is ready to tote whatever you need, and believe me it will hold lots of stuff! When you’re finished with the shoulder bag, just untie and store folded up until next time.