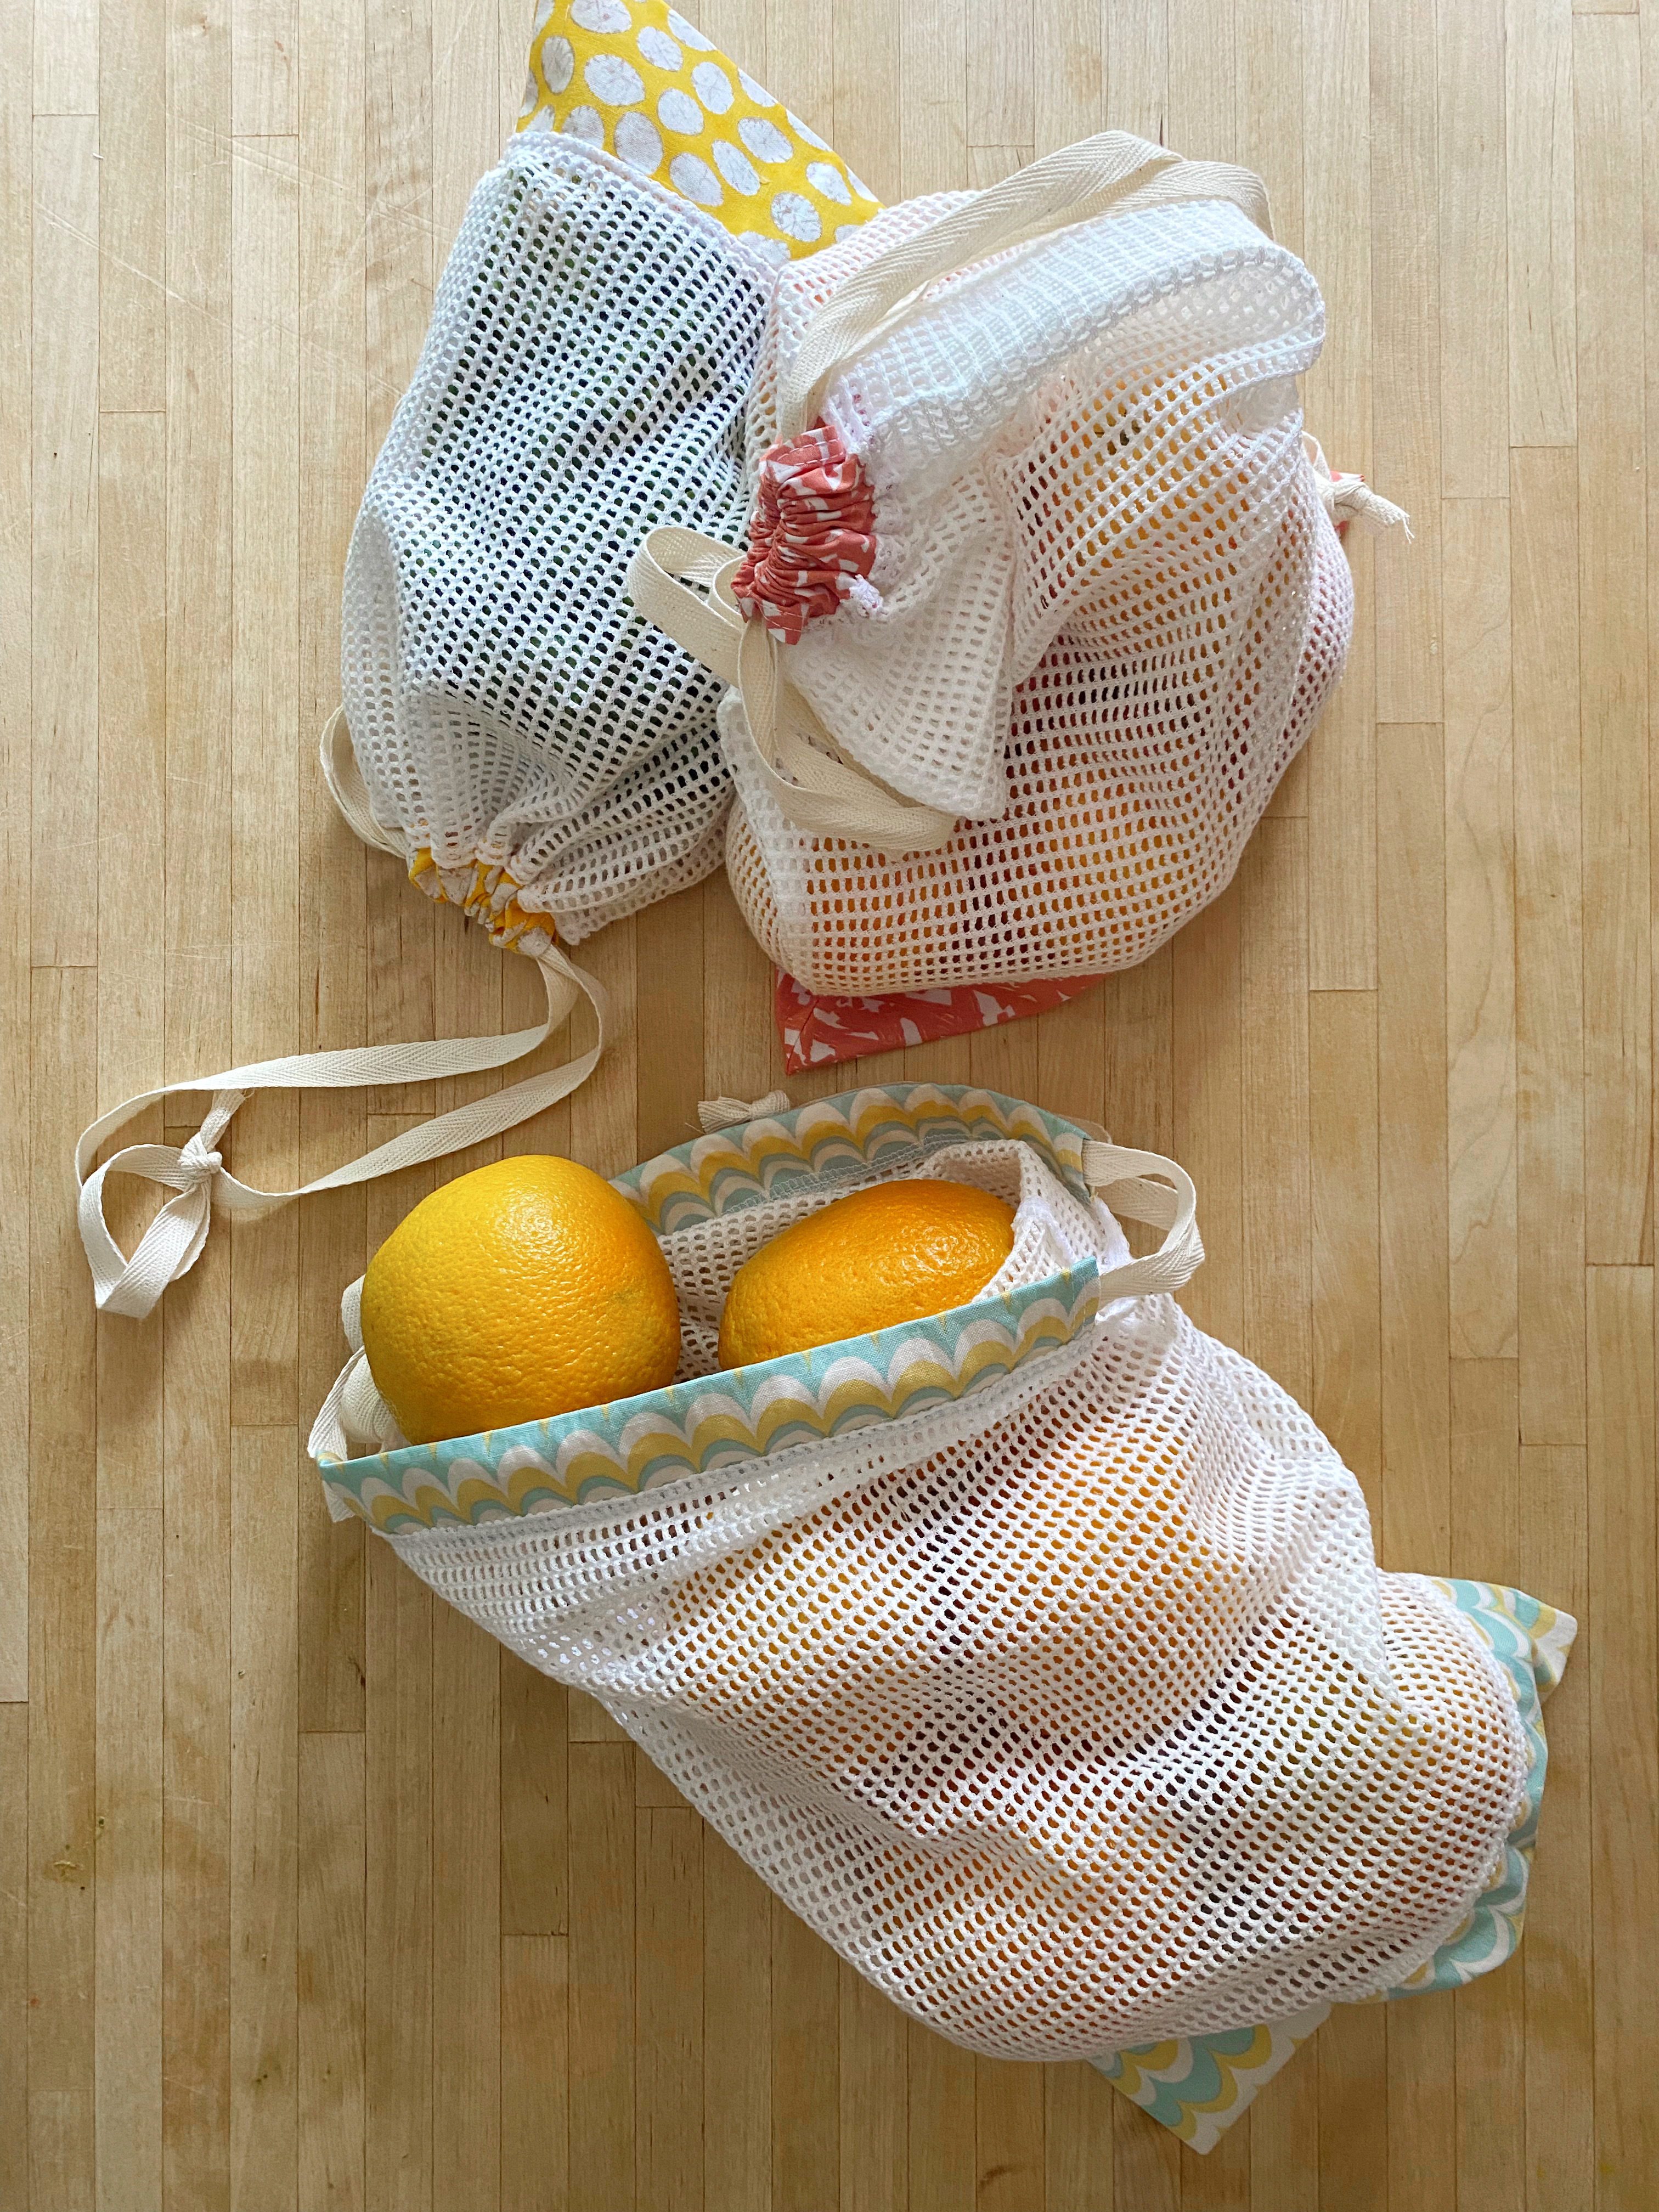
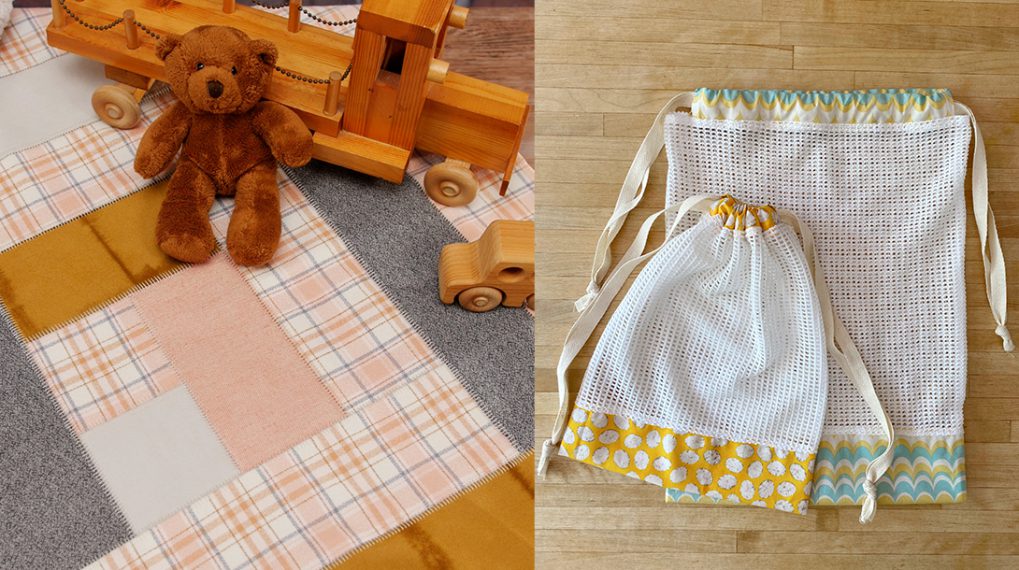
How to Make Reusable Produce Bags
I believe most of us have some reusable shopping bags in hand, but when we need to separate produce be it in the grocery store or the farmer’s market, we reach for some plastic bags. Today, I want to share a quick and satisfying project that will come in handy not just this summer, but on a weekly basis. This reusable drawstring bag for produce is very versatile. You can even use them for other purposes, like a traveling essential bag or kids’ craft organizer.

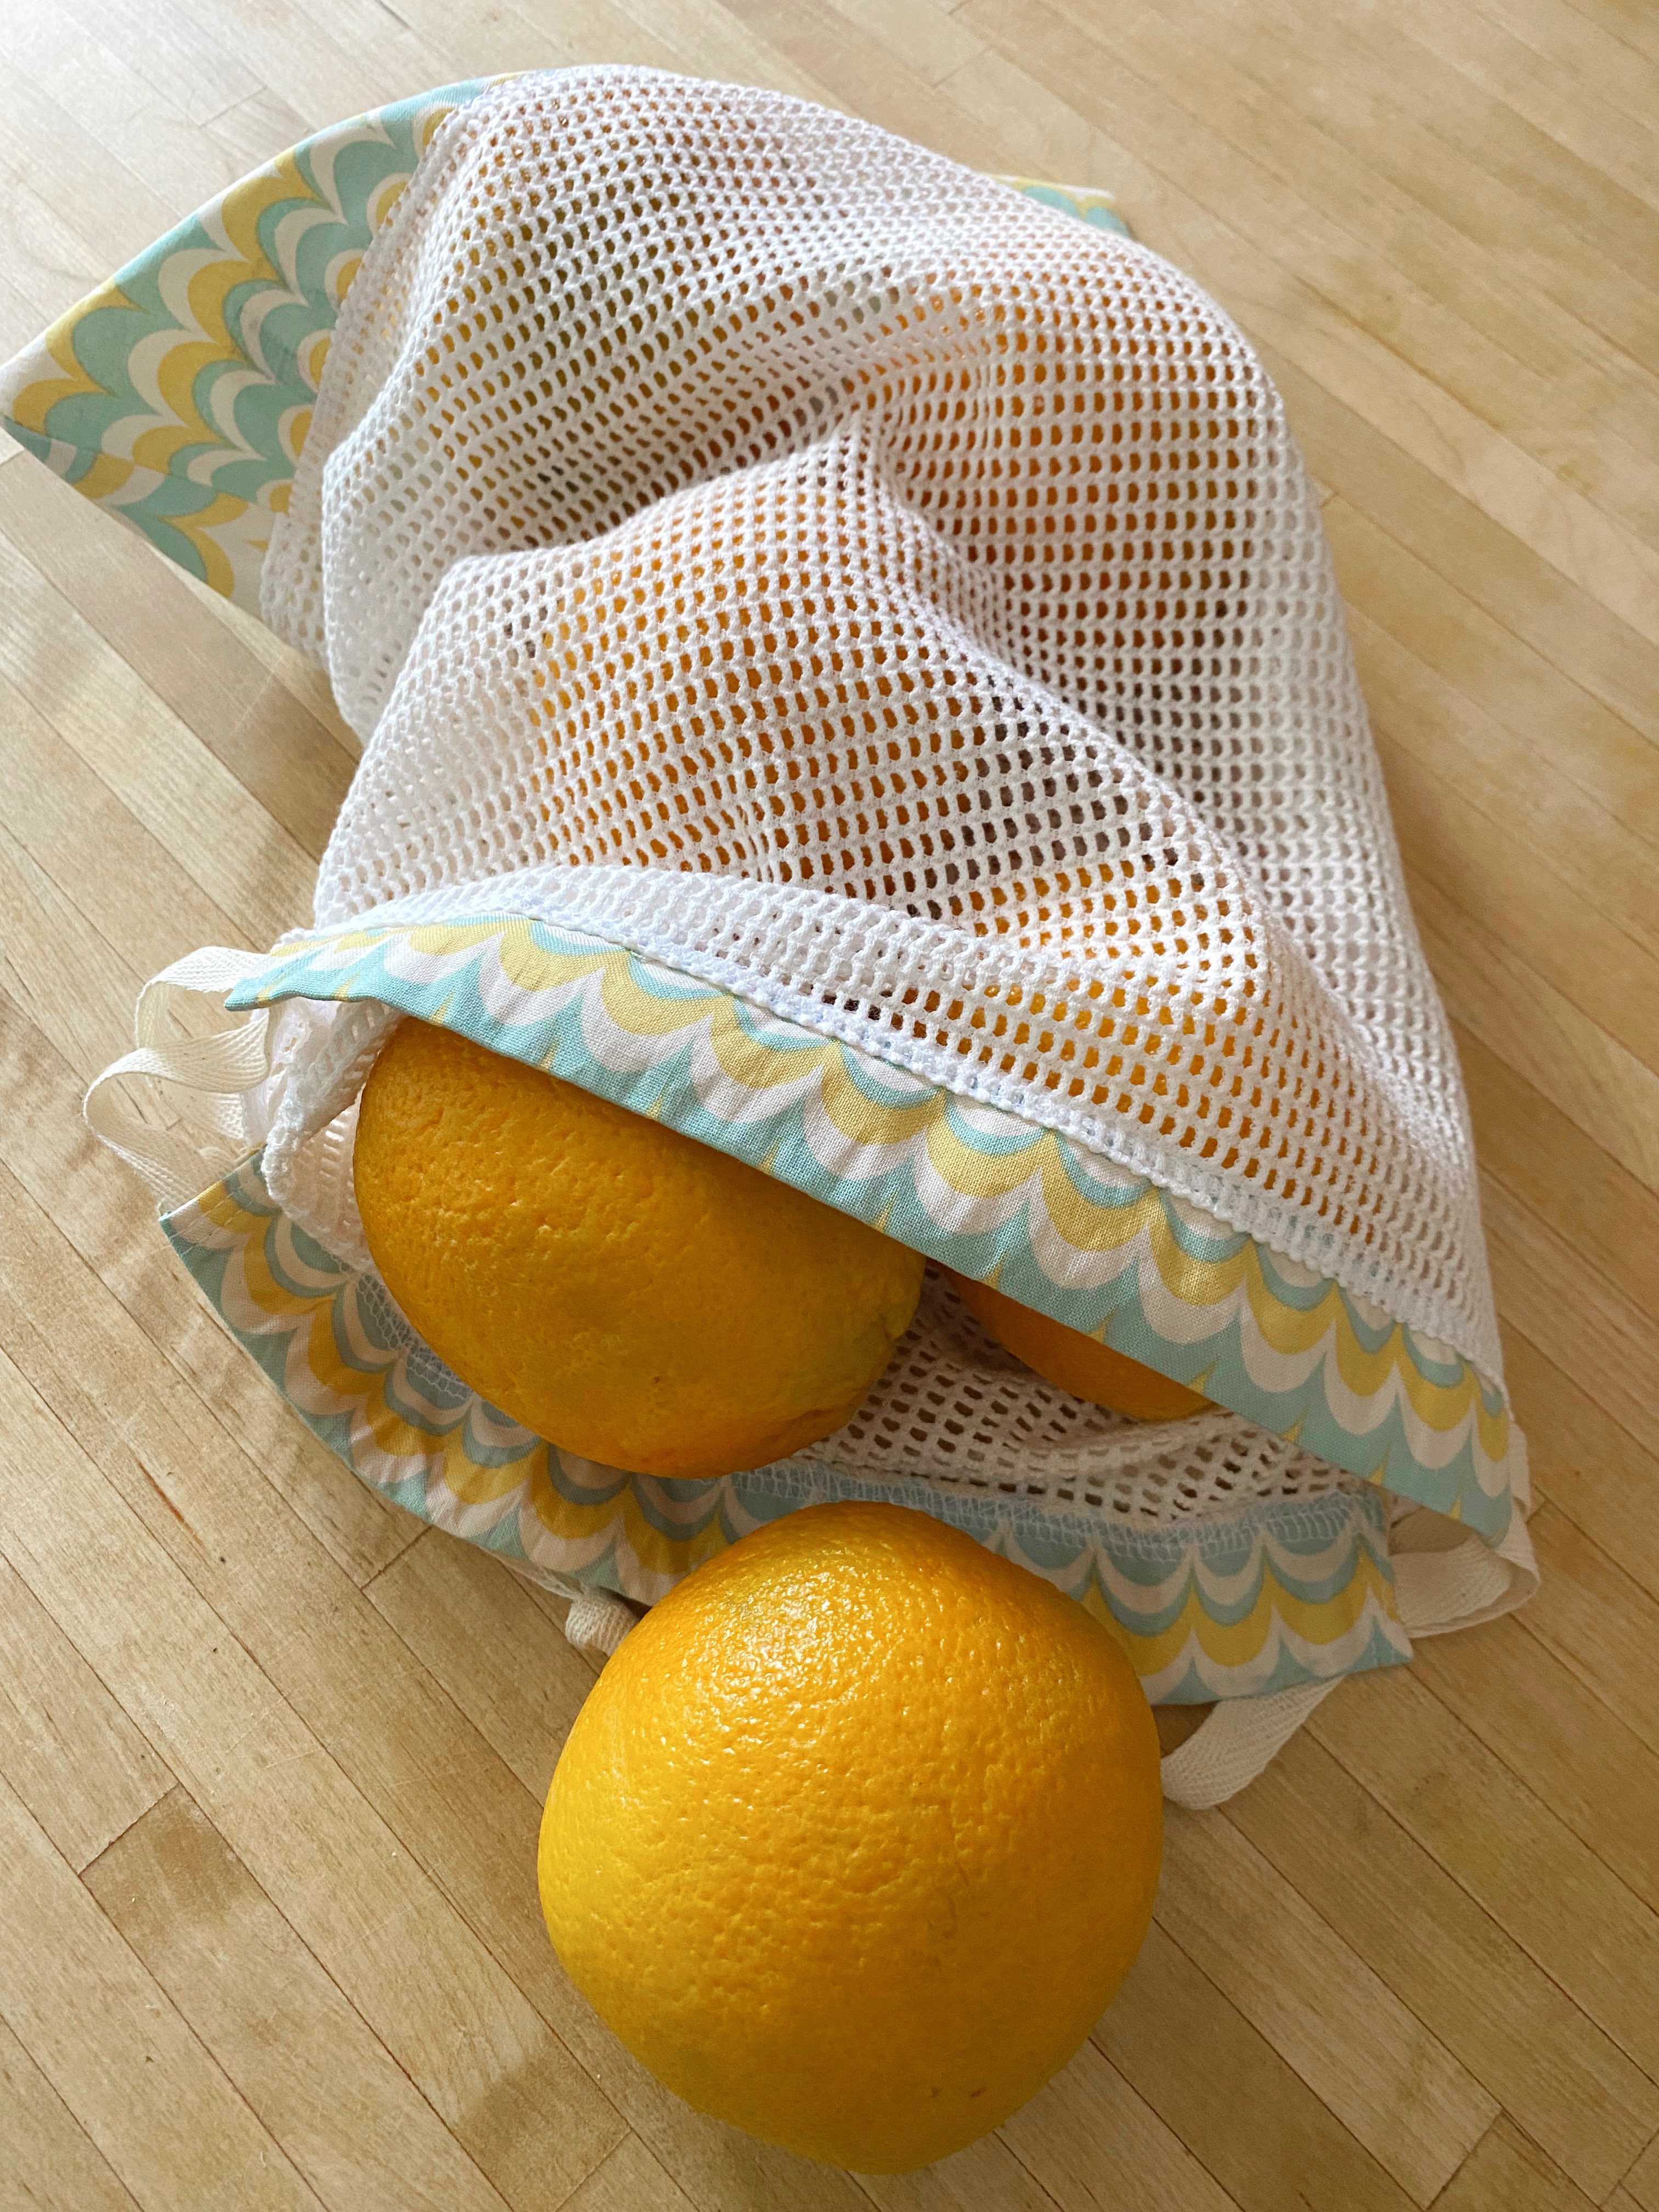
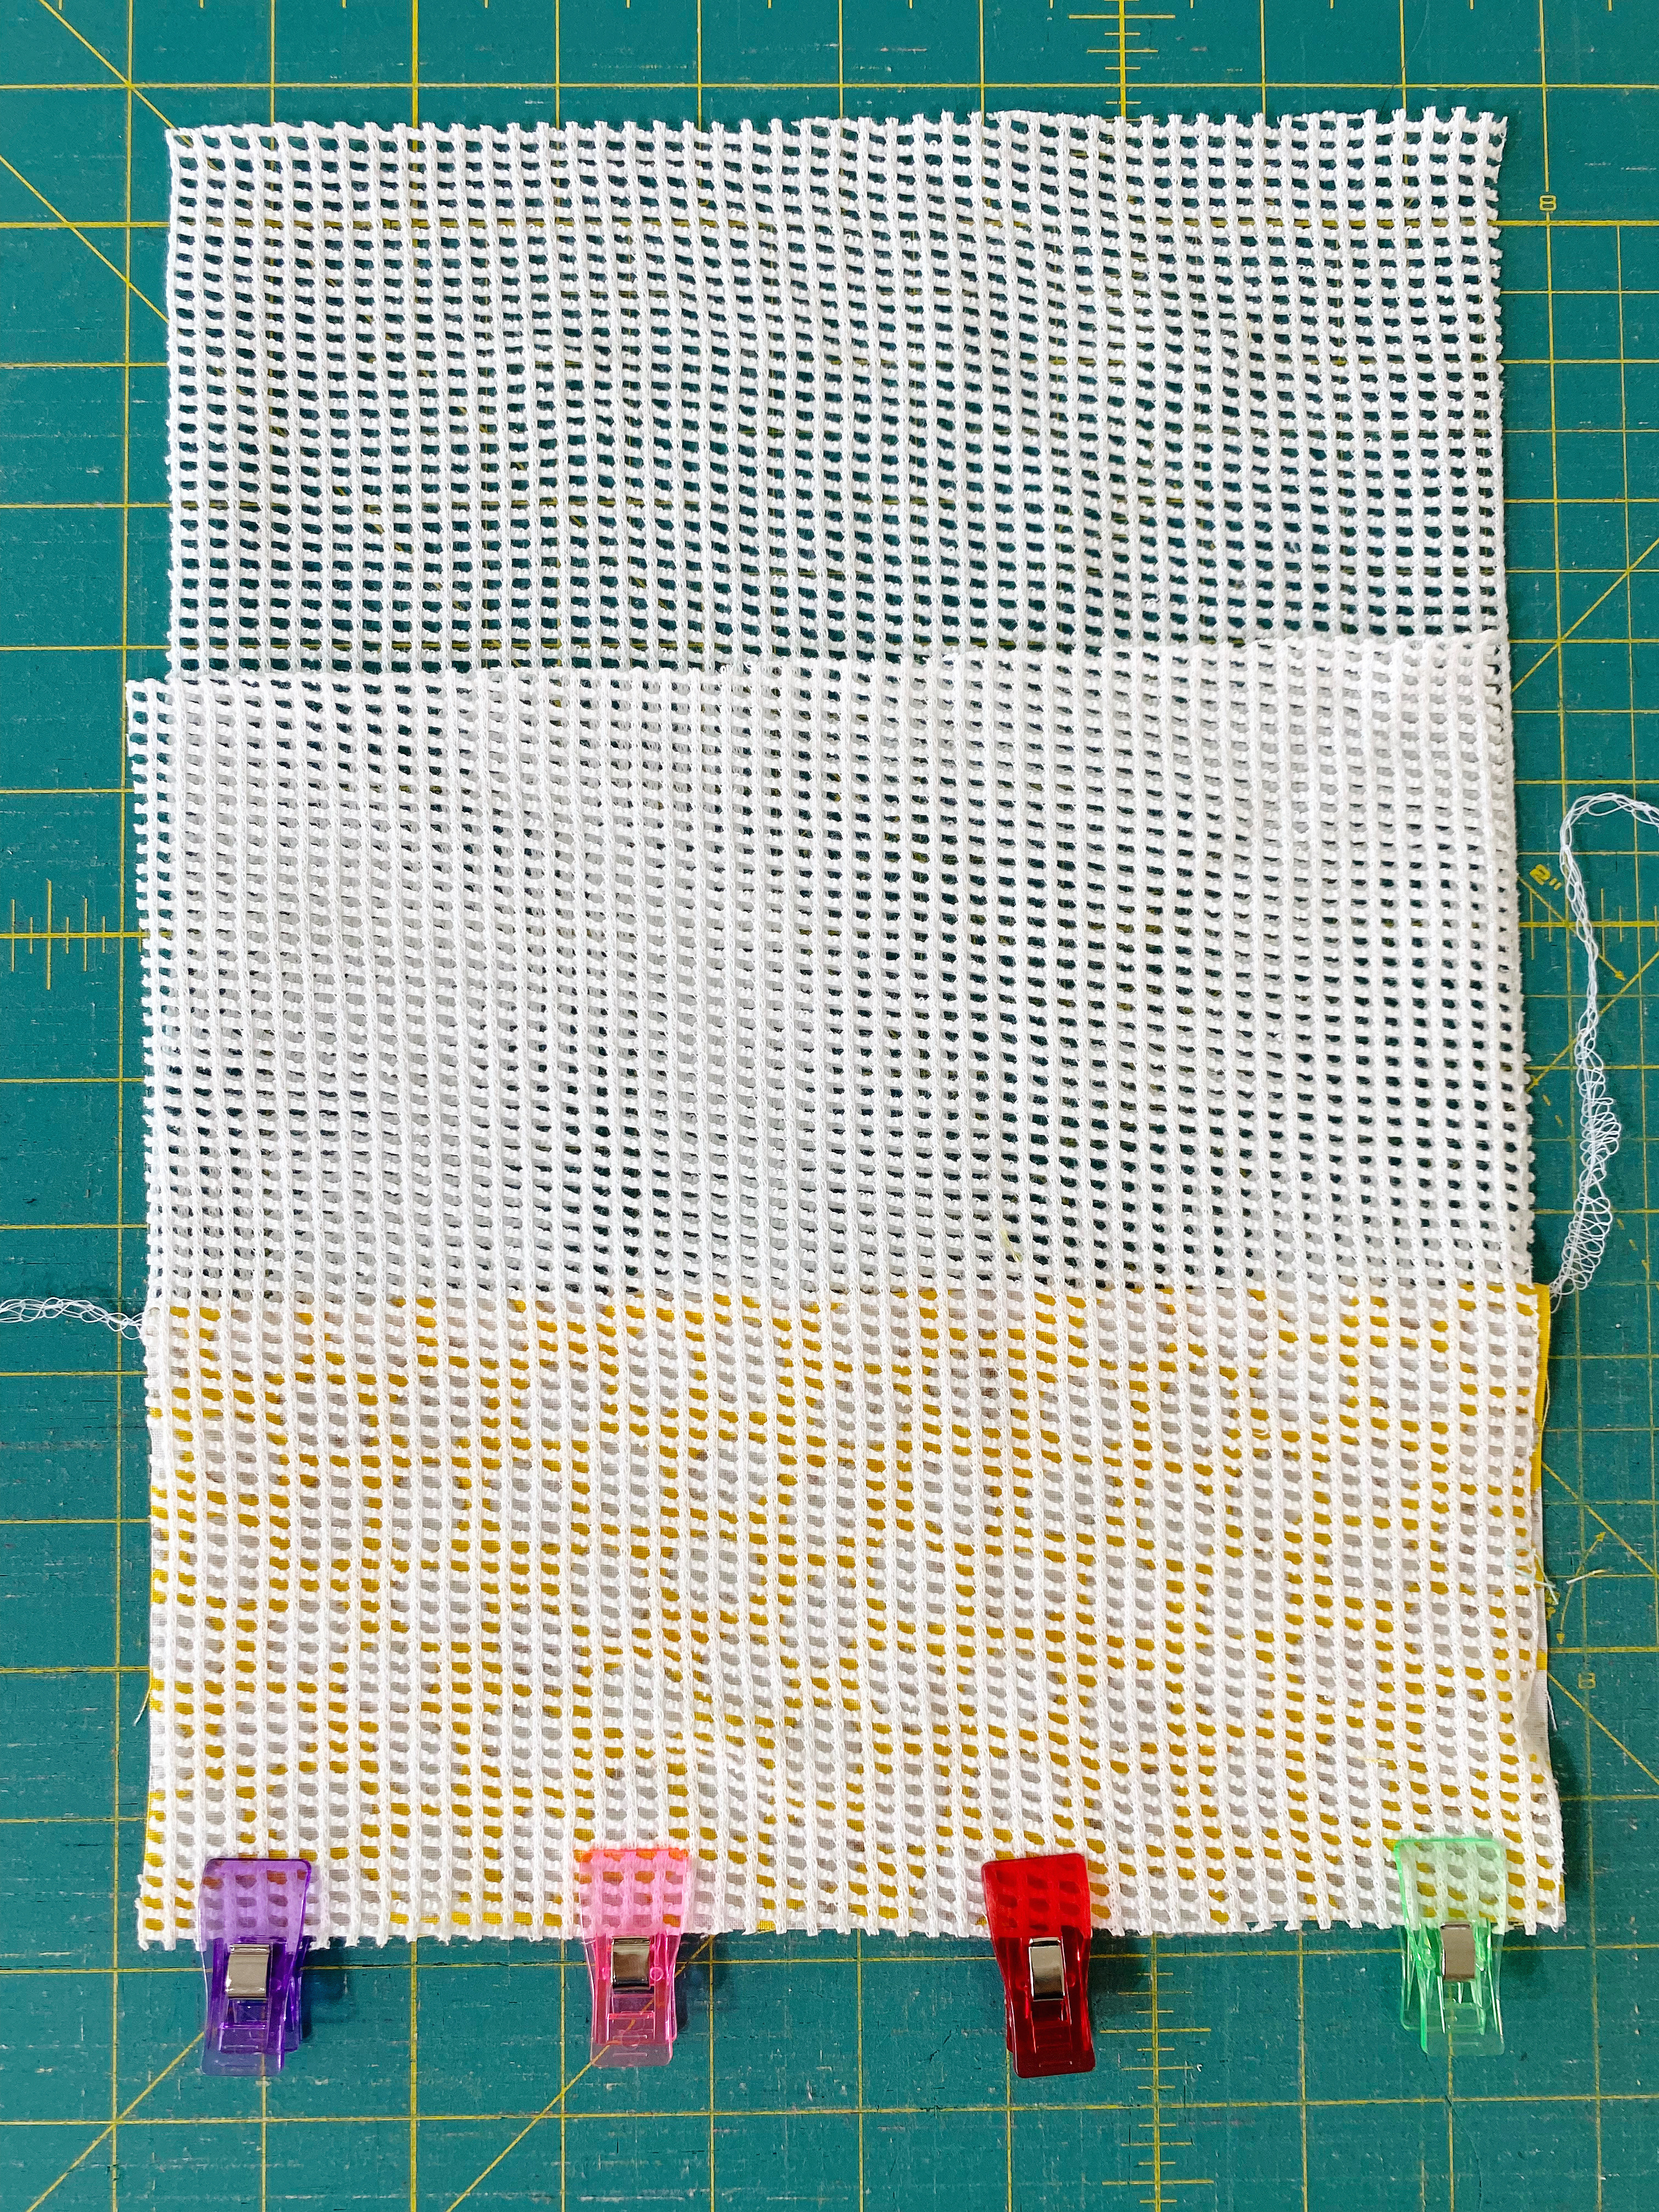
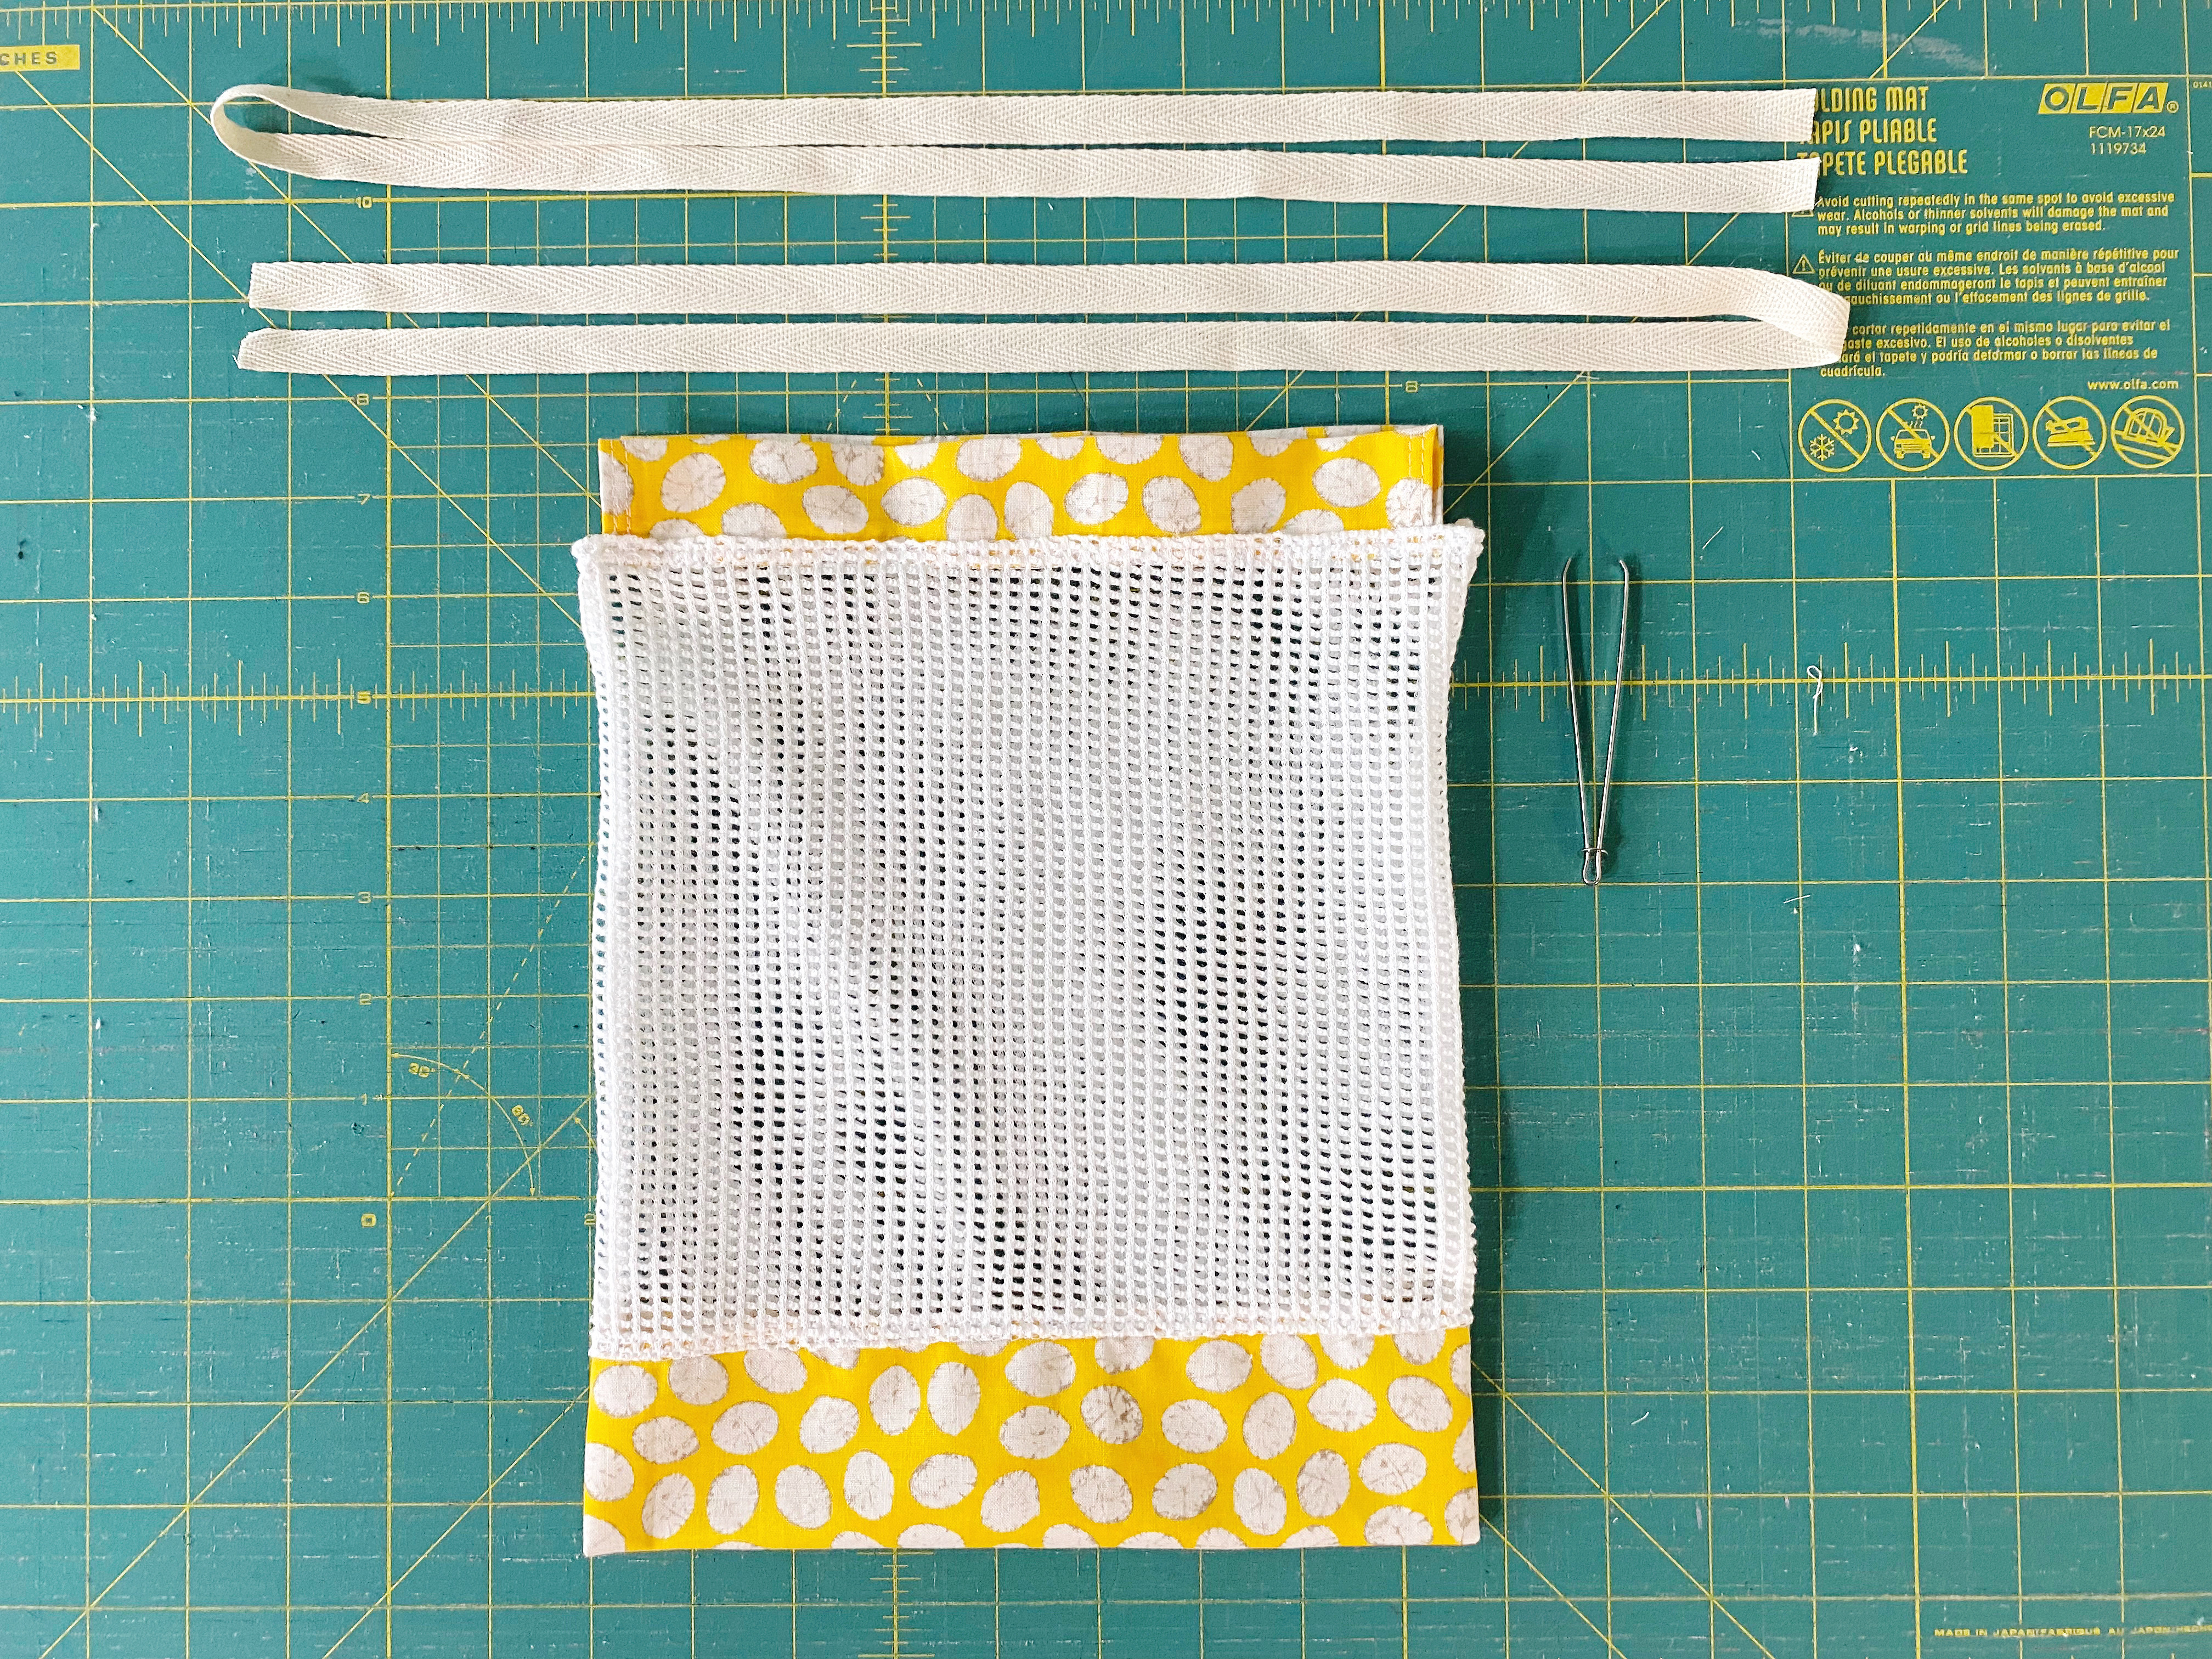
I used a cotton mesh fabric for the body and quilting cotton for the bottom and casing. You can use different materials, but the reason I love the cotton mesh is that it is easy to clean and it is stretchy, which is helpful when it gets filled up with some fruits and veggies.
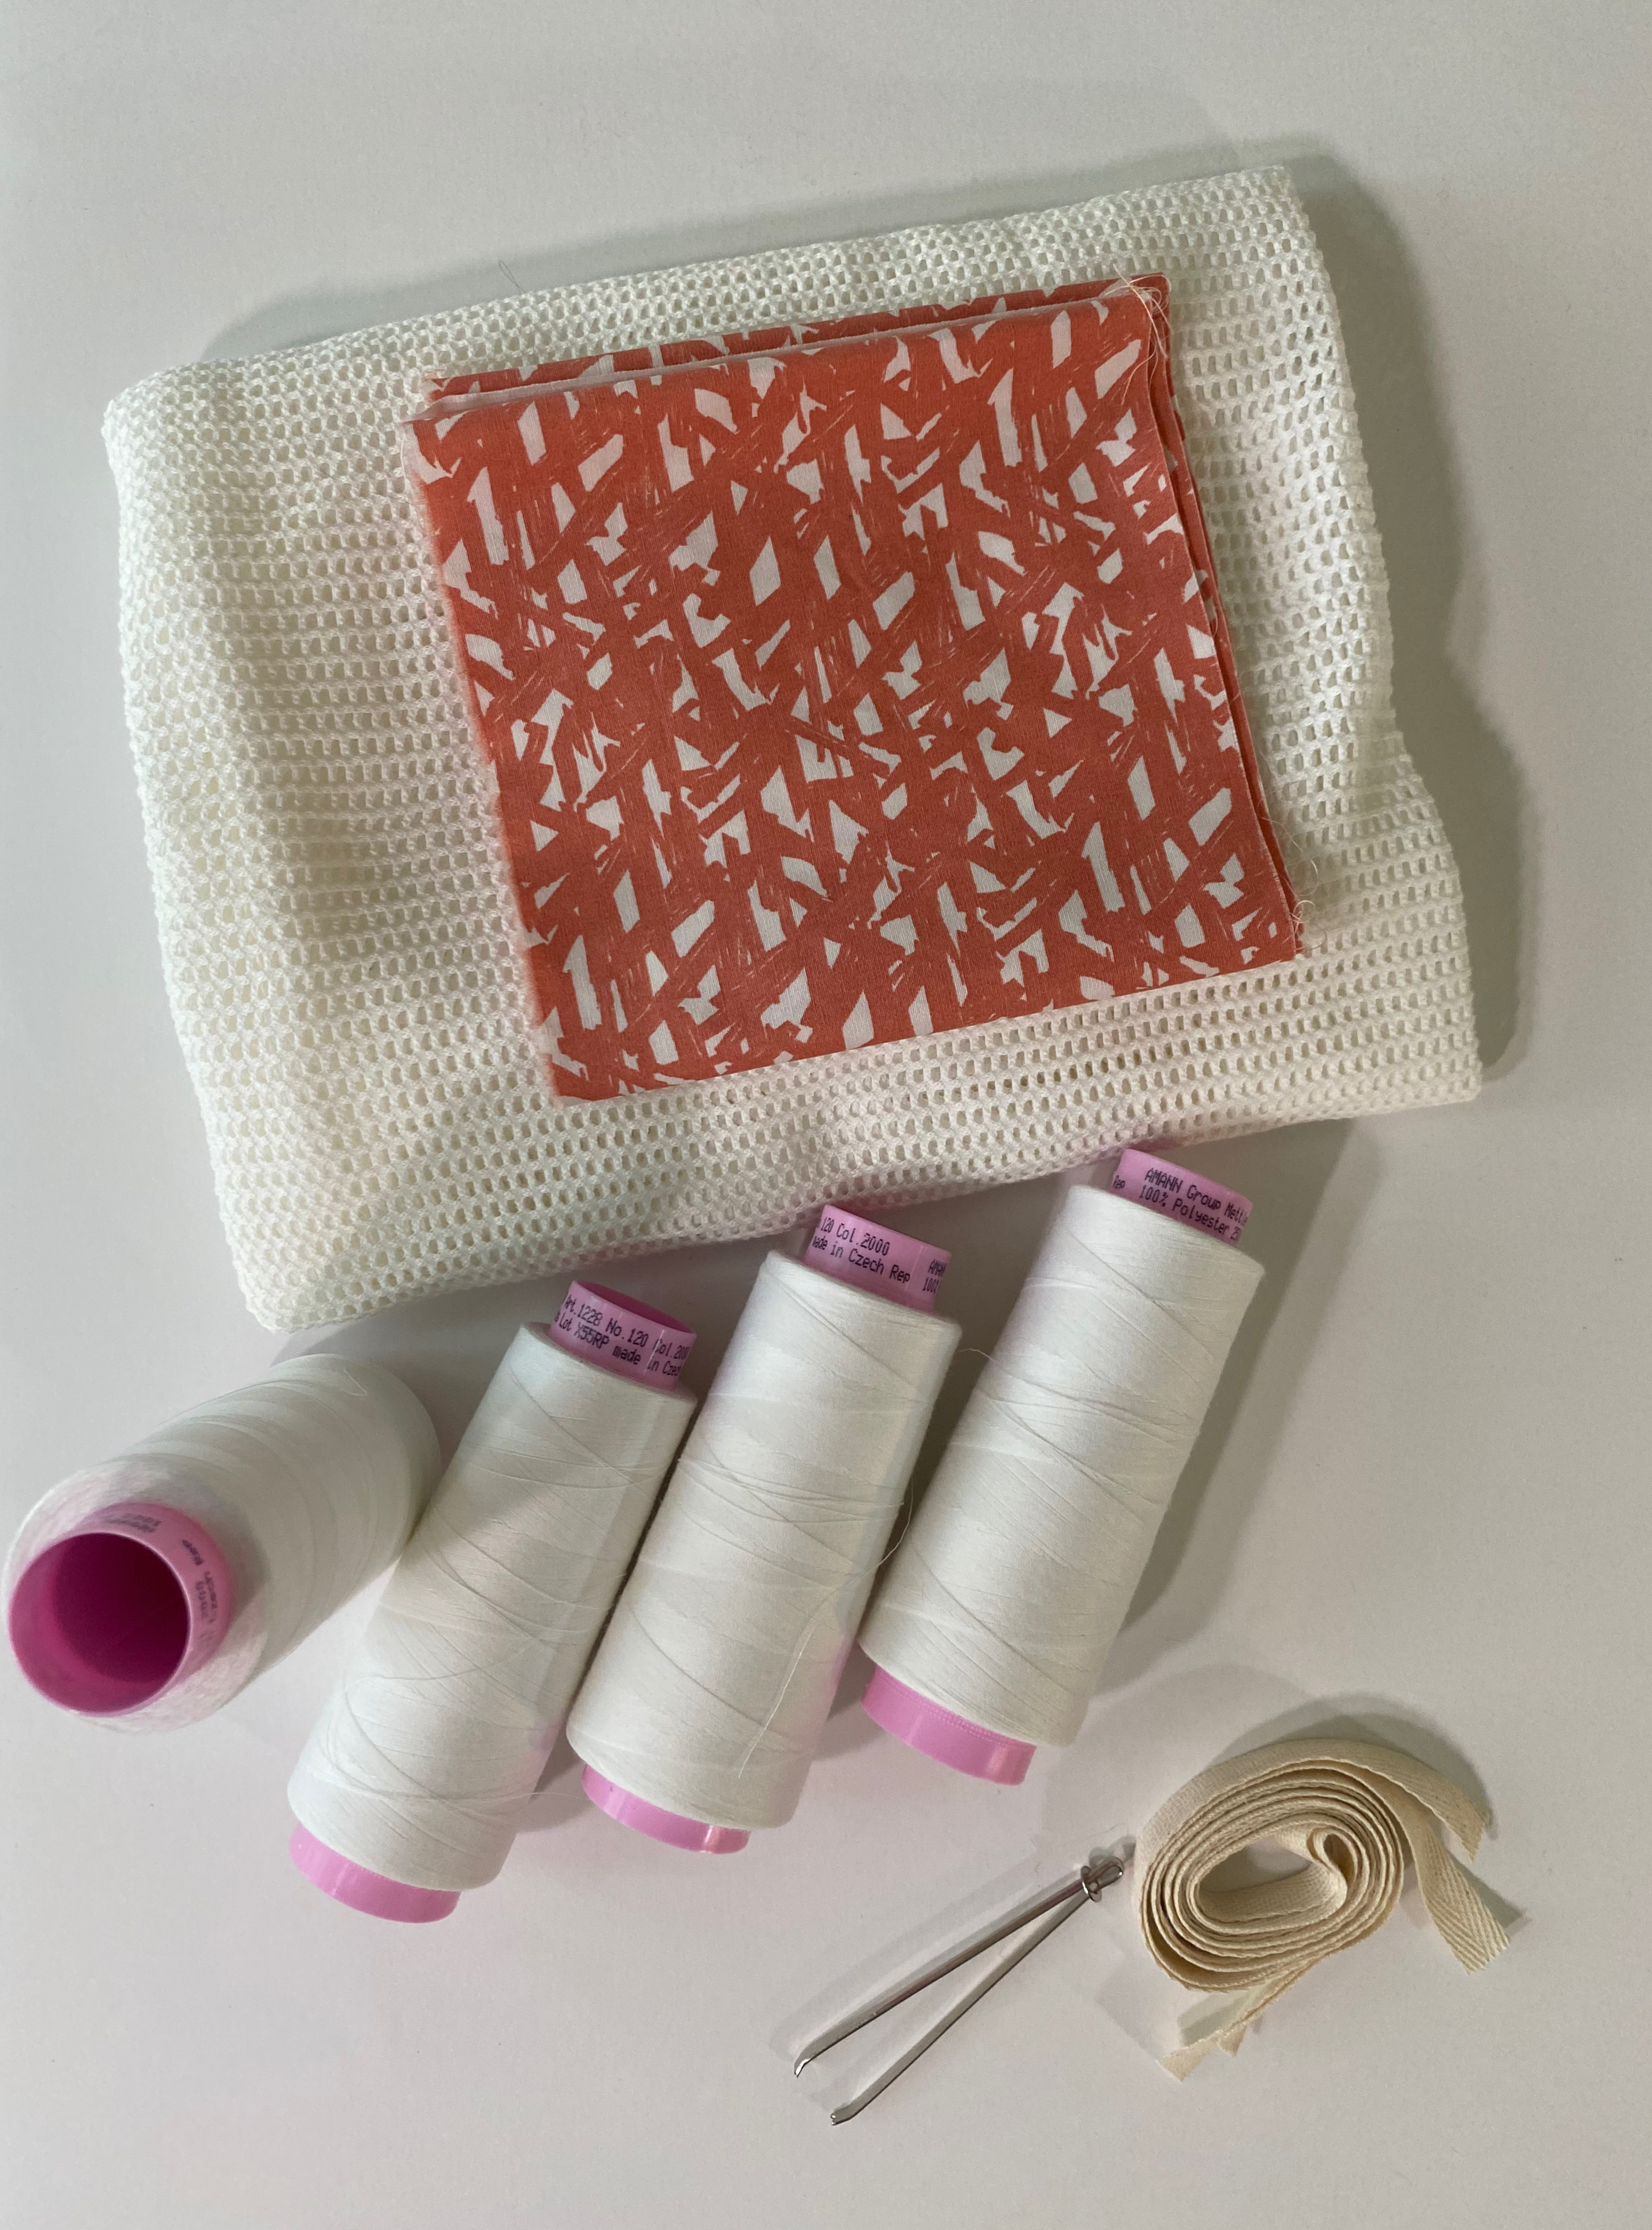
Materials to Make Reusable Produce Bags
- 1/2 yard of cotton mesh
- a Fat-Eighth of quilting cotton
- Serger thread (like Mettler Seracor)
- Cotton drawstring – I used a 1/2″ wide cotton twill tape (you can also make your own out of the quilting cotton)
- a bodkin or safety pin to thread the drawstring
- Fabric clips (I used these Nifty Notions clips from Brewer)
- a tapestry or flat needle for threading the tails
- Wool pressing mat (Optional)
- Clover Hot Ruler (Optional)
- Tailor’s clapper (Optional)
Cutting
Small Bag
- From Cotton Mesh, cut:
- Body – (2) 9 1/2″ wide x 8 3/4″ long
- From Quilting cotton, cut:
- Bottom – (1) 9 1/2″ wide x 4 1/2″ long
- Casing – (2) 9″ wide x 2 1/2″ long
- From cotton cording, cut:
- Drawstring – (2) 32″ long
Large Bag
- From Cotton Mesh, cut:
- Body – (2) 11 1/4″ wide x 11 1/2″ long
- From Quilting cotton, cut:
- Bottom – (1) 11 1/4″ wide x 5 1/2″ long
- Casing – (2) 10 3/4″ wide x 2 1/2″ long
- From cotton cording, cut:
- Drawstring – (2) 38″ long
*1/4″ seam allowance is included

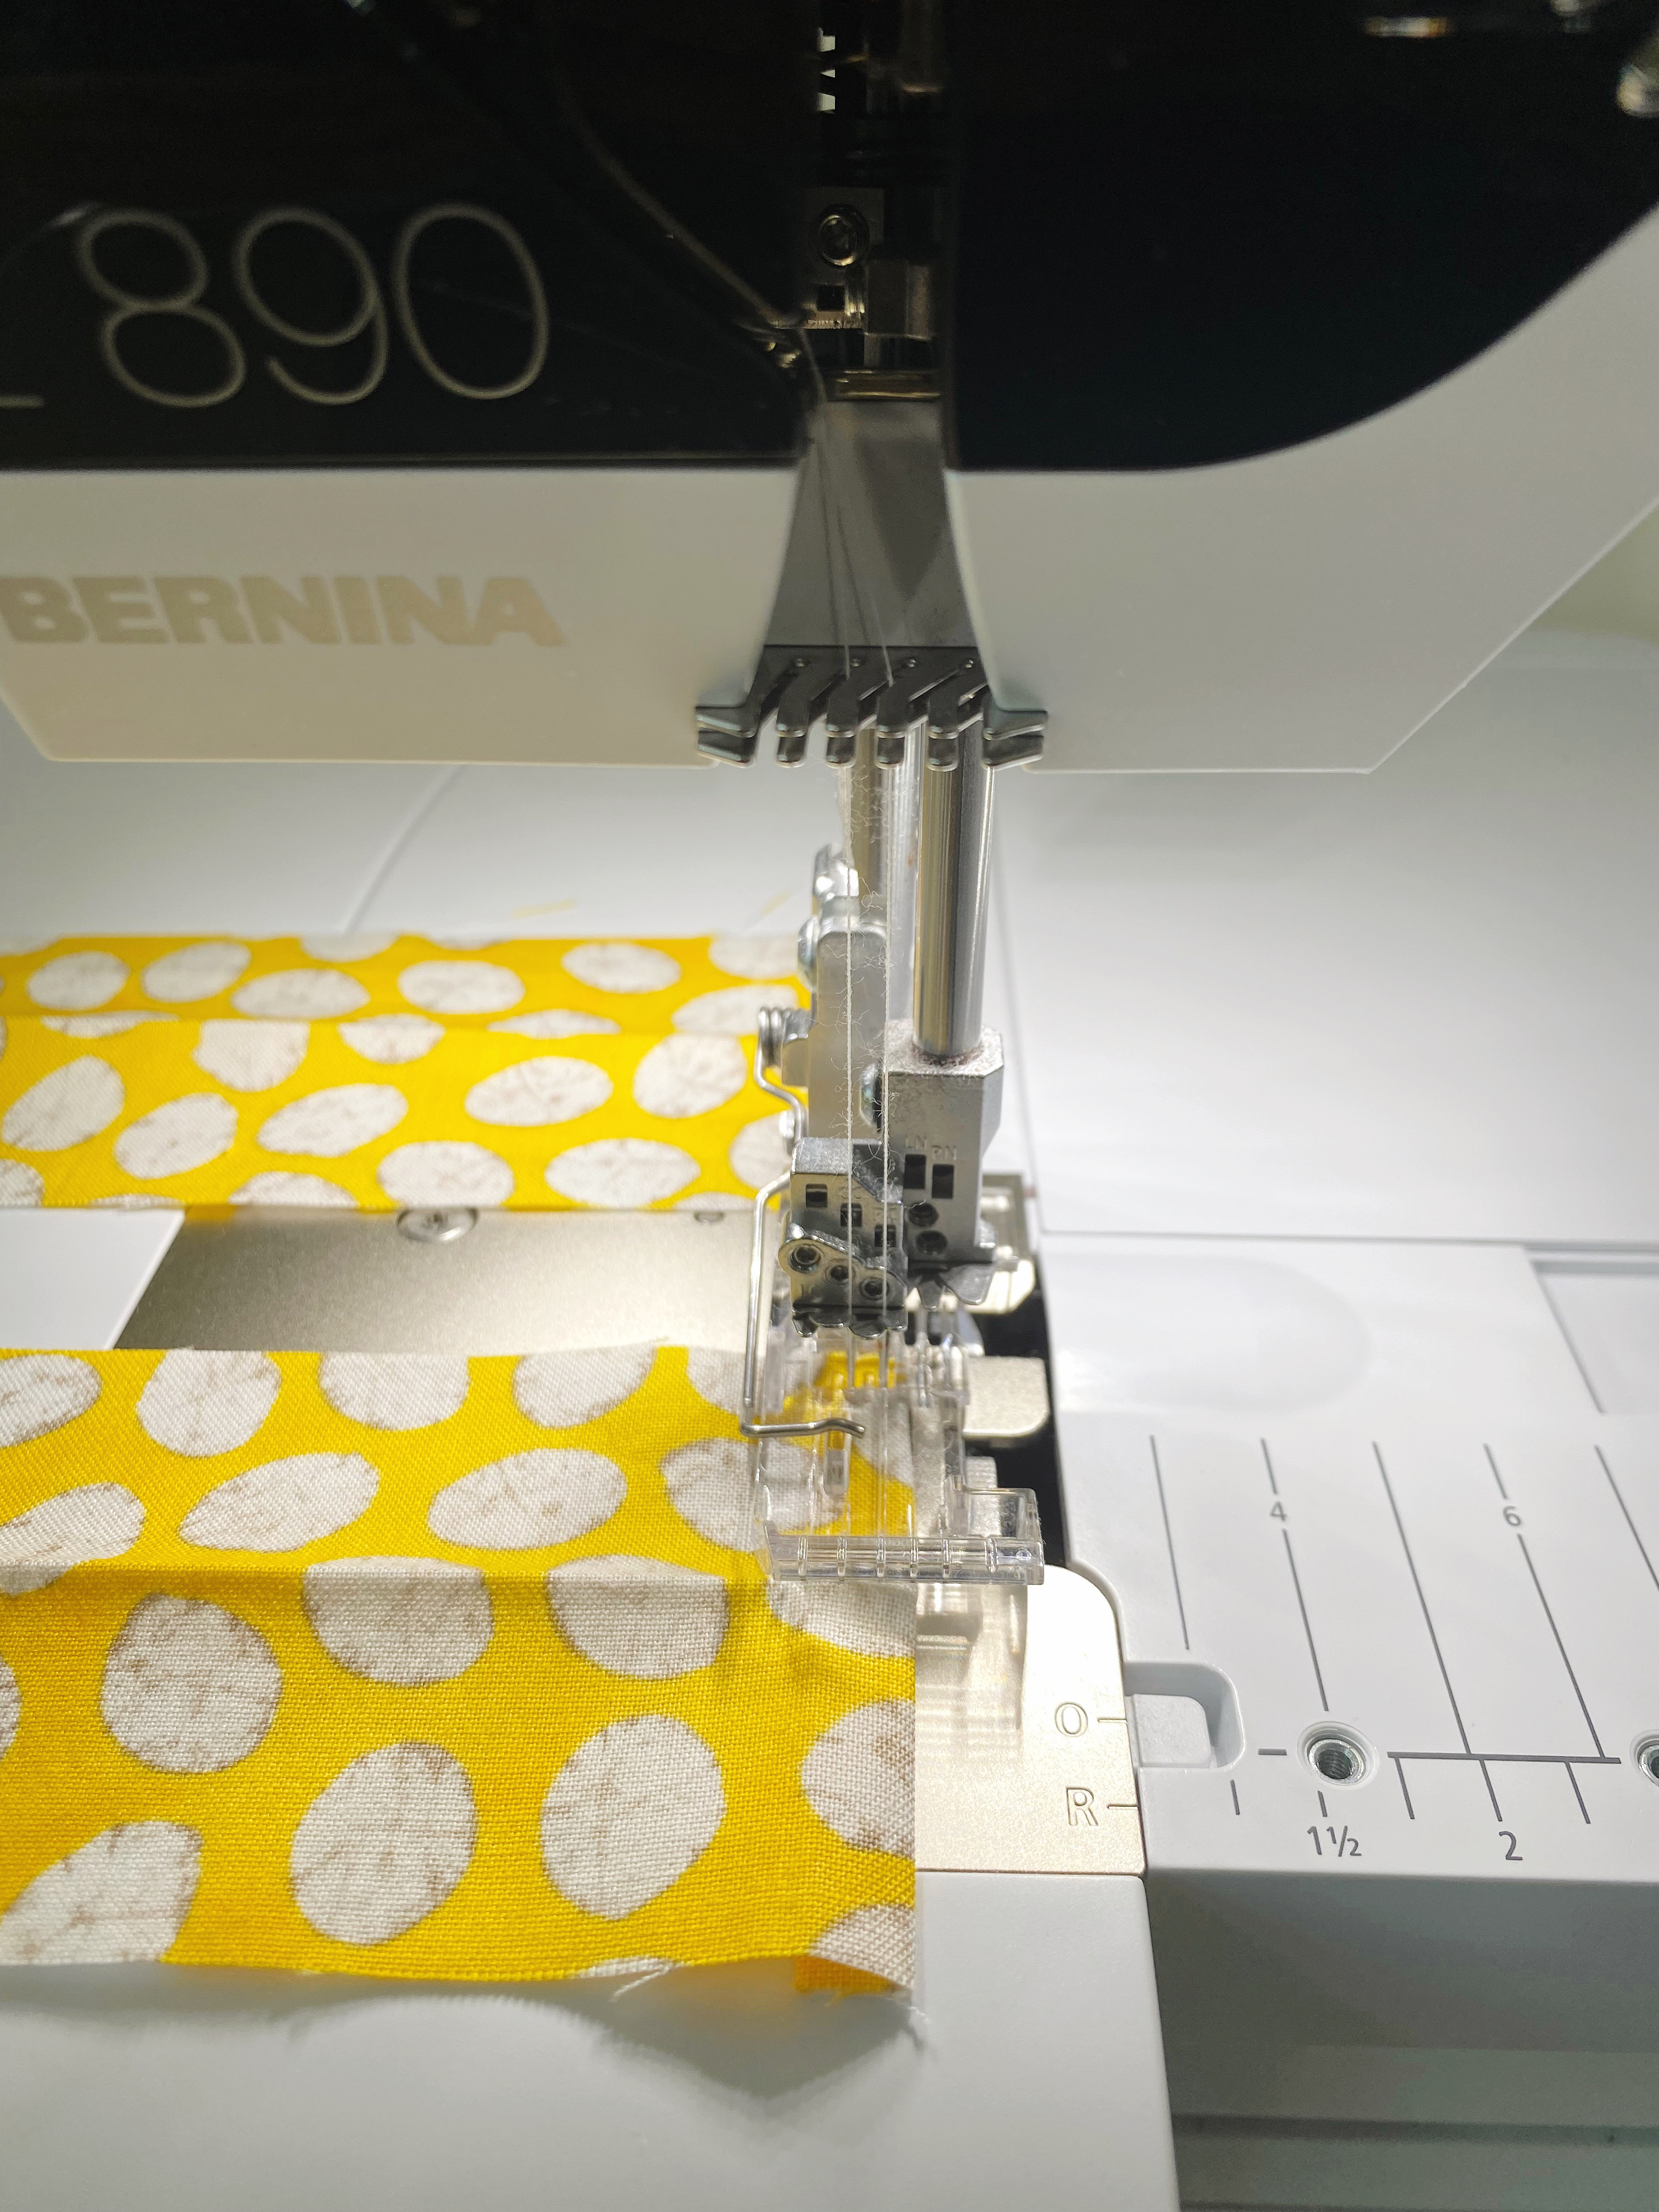
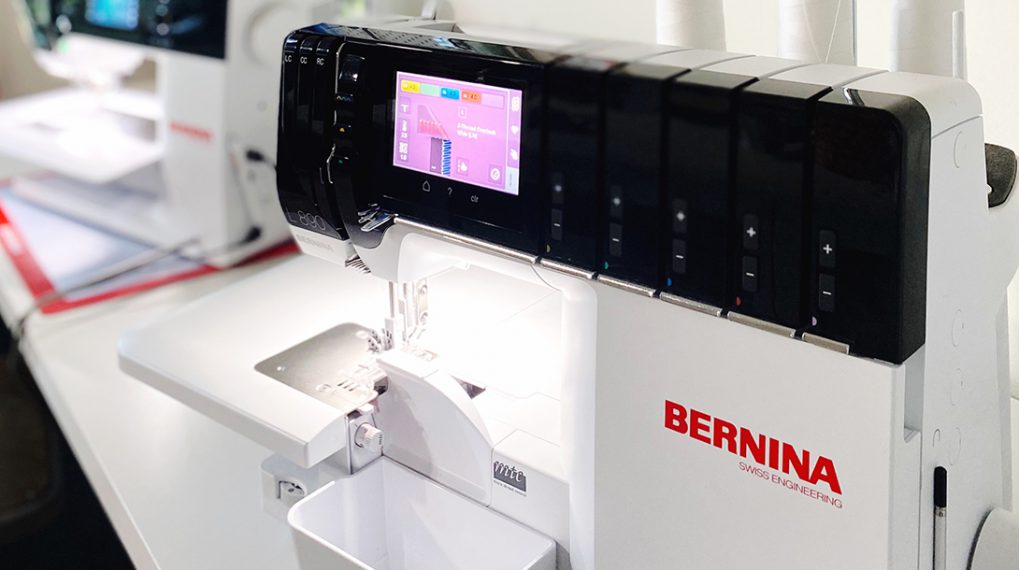
Setting up the 4-thread Overlocker
Note: This project requires going back and forth between the Coverstitch and the Overlock mode. You can choose to use a regular sewing machine for the Coverstitch steps, or if you have a stand-alone Overlocker or Coverstitch, you can set it up and just switch machines.
Start by setting up your Overlocker to a 4-thread stitch. You will use this same setting for all the Overlocking steps, so now is a good time to save this stitch on your L890 Heart icon (Favorites).

I lower the foot pressure to 3 so that the mesh would not get squished and stretched as it was sewn.

Construction
Step 1
With right sides together, clip Bottom band to Body, then serge edge. *I find it helpful to keep the mesh on the bottom, touching the feed dogs to avoid stretching. You can also play with the differential feed if you feel that the mesh is wavy and stretched.
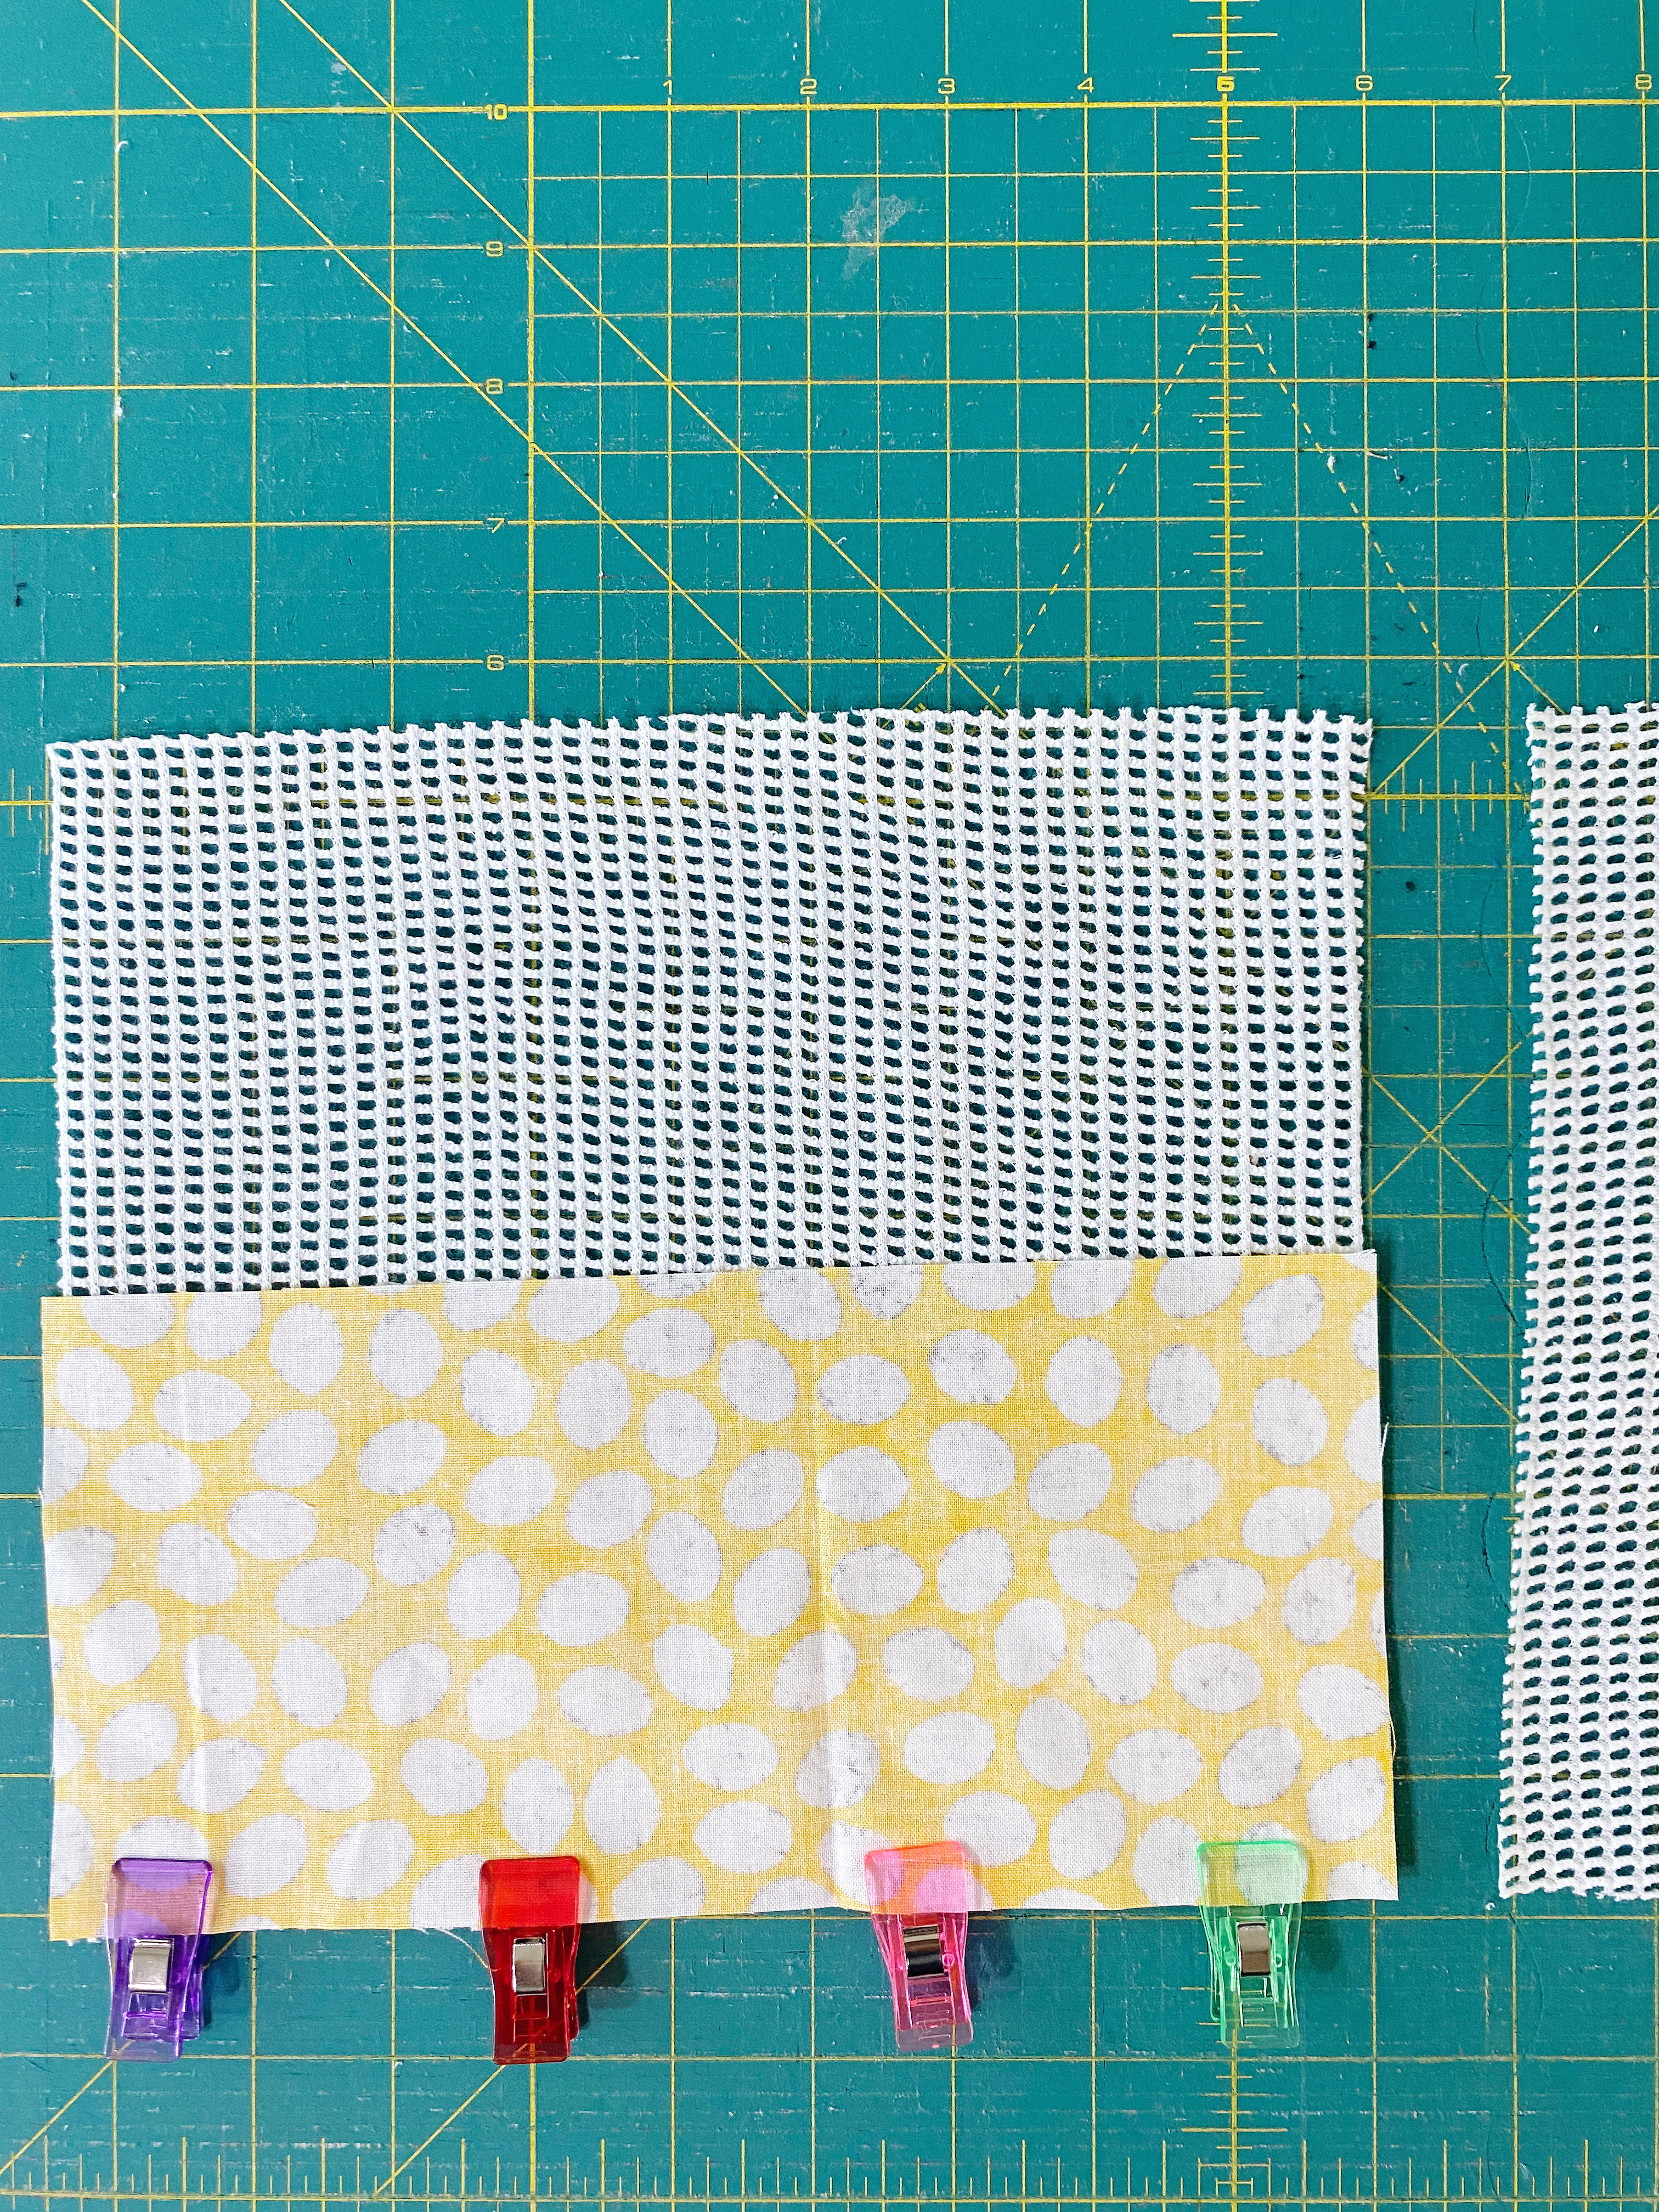
Step 2
Clip the other edge of Bottom band to the other Body piece and stitch. Press seams up towards mesh.

Step 3
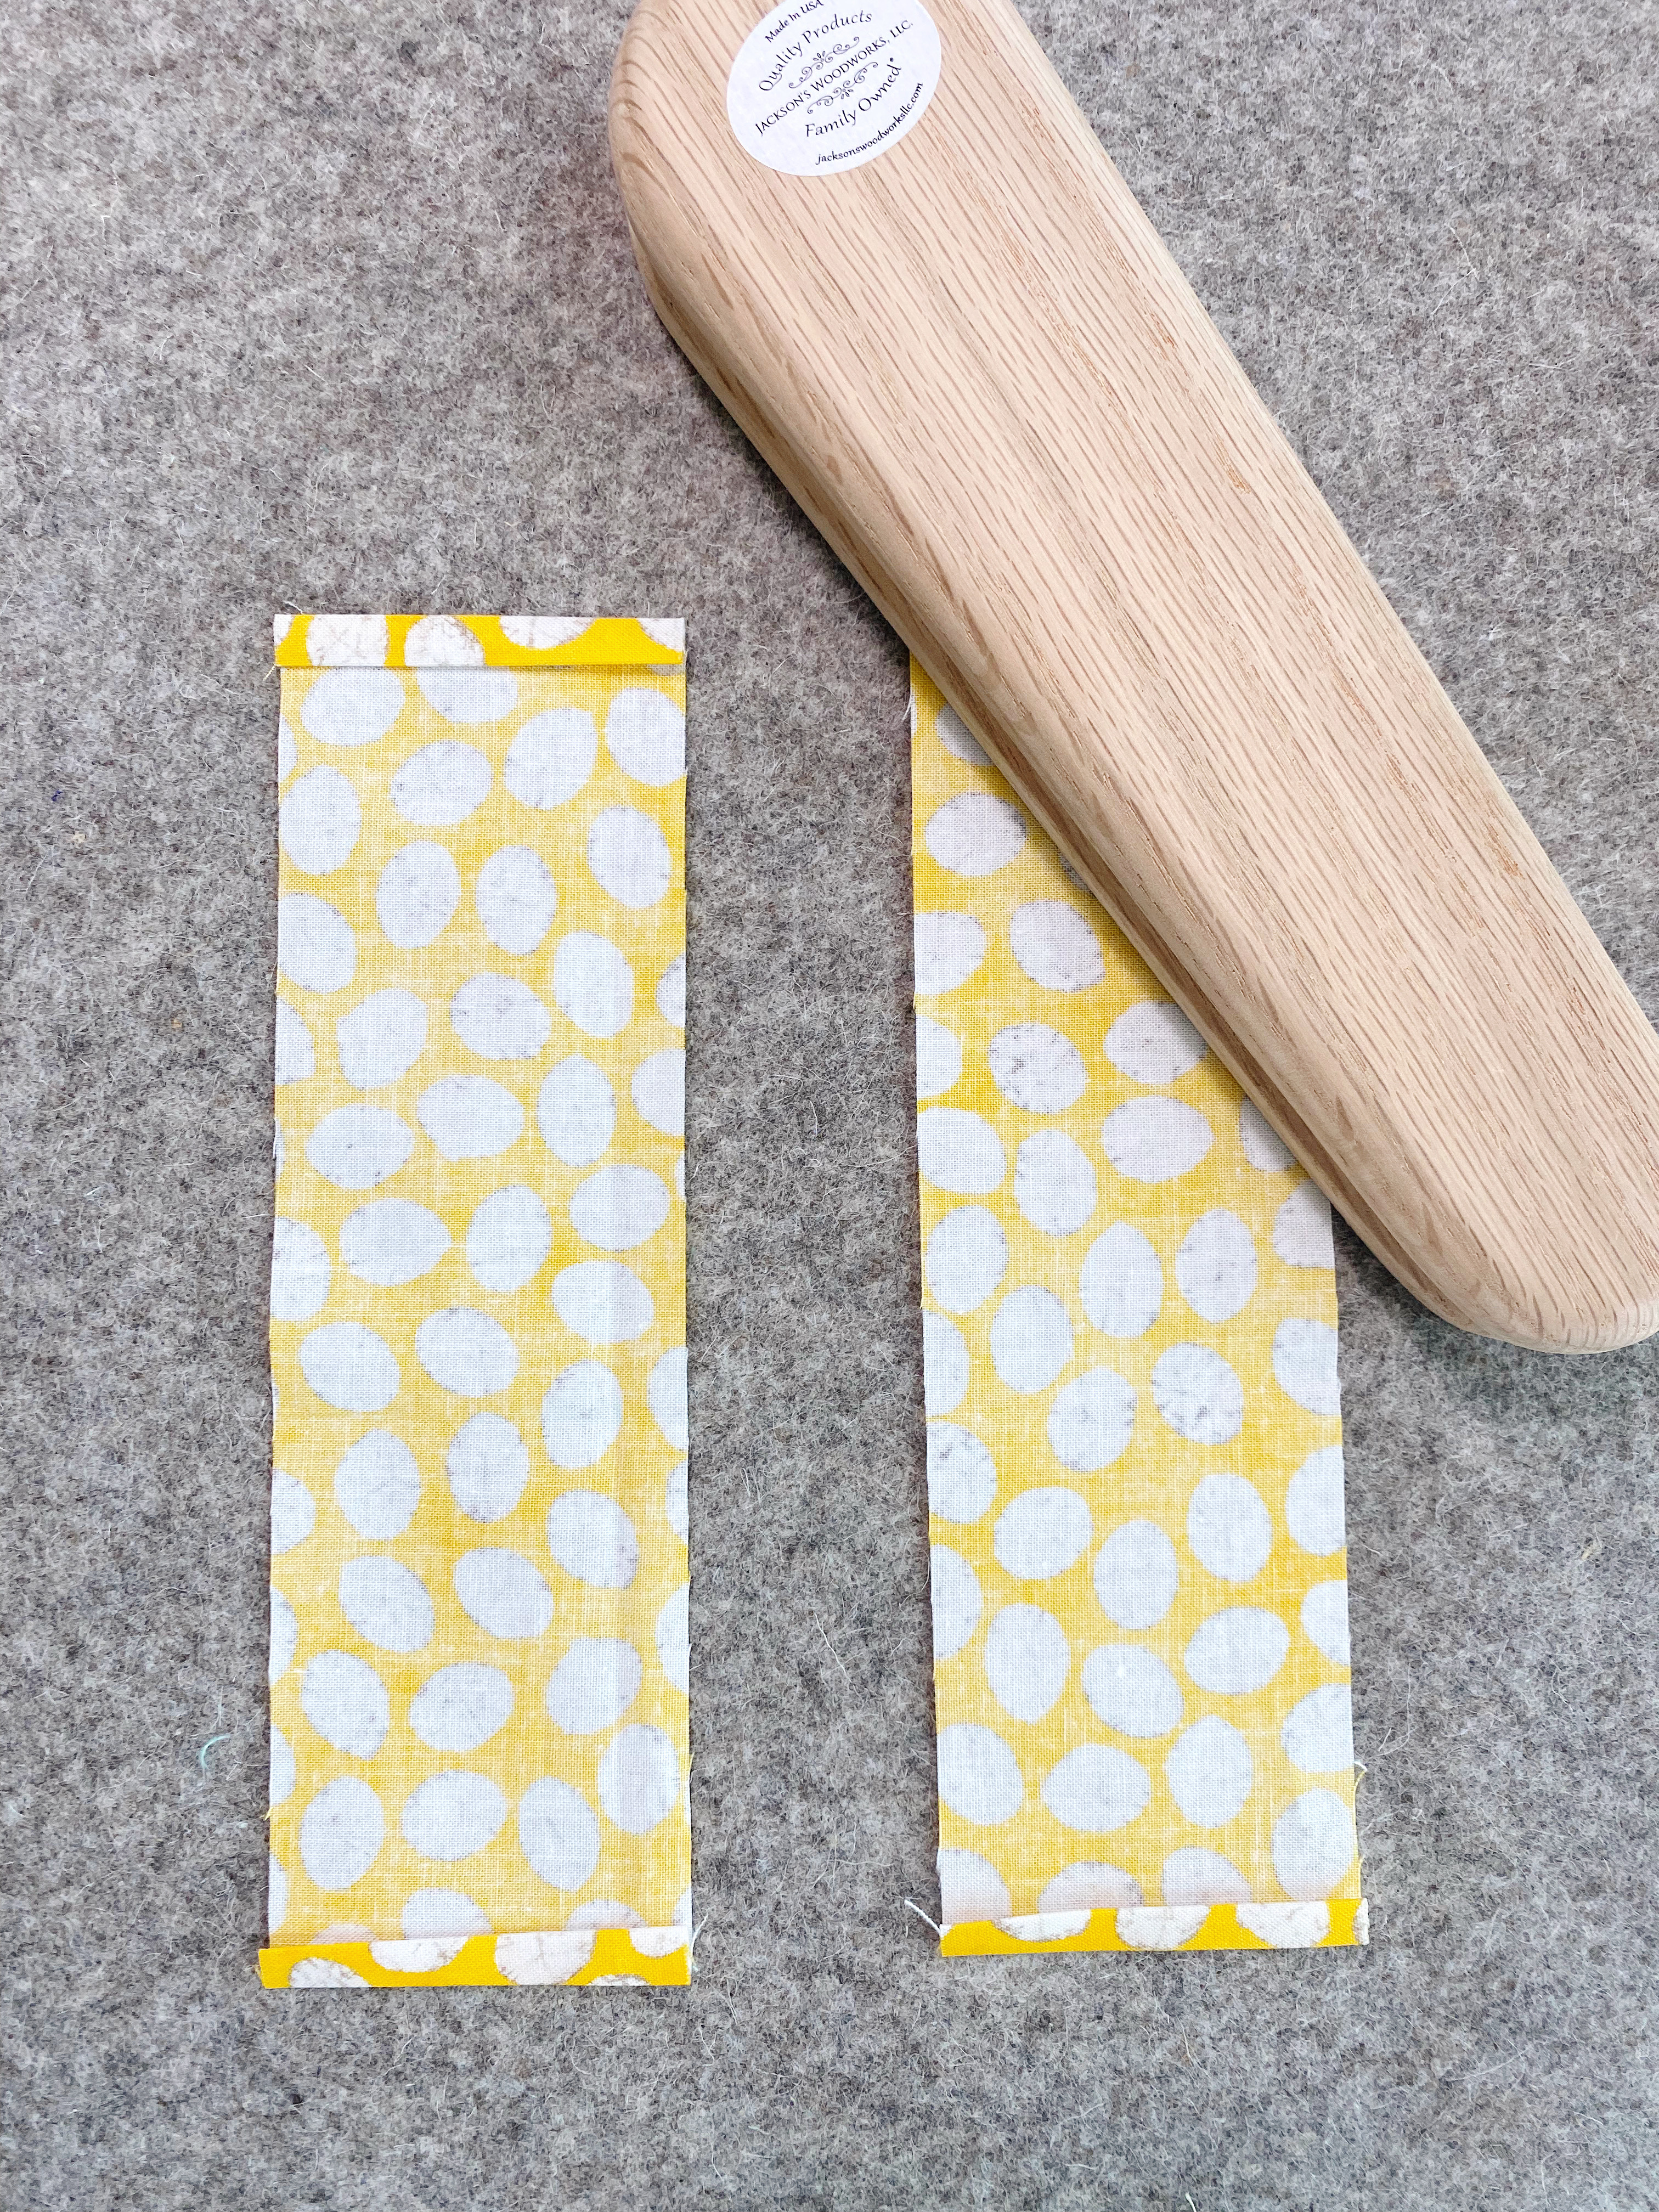
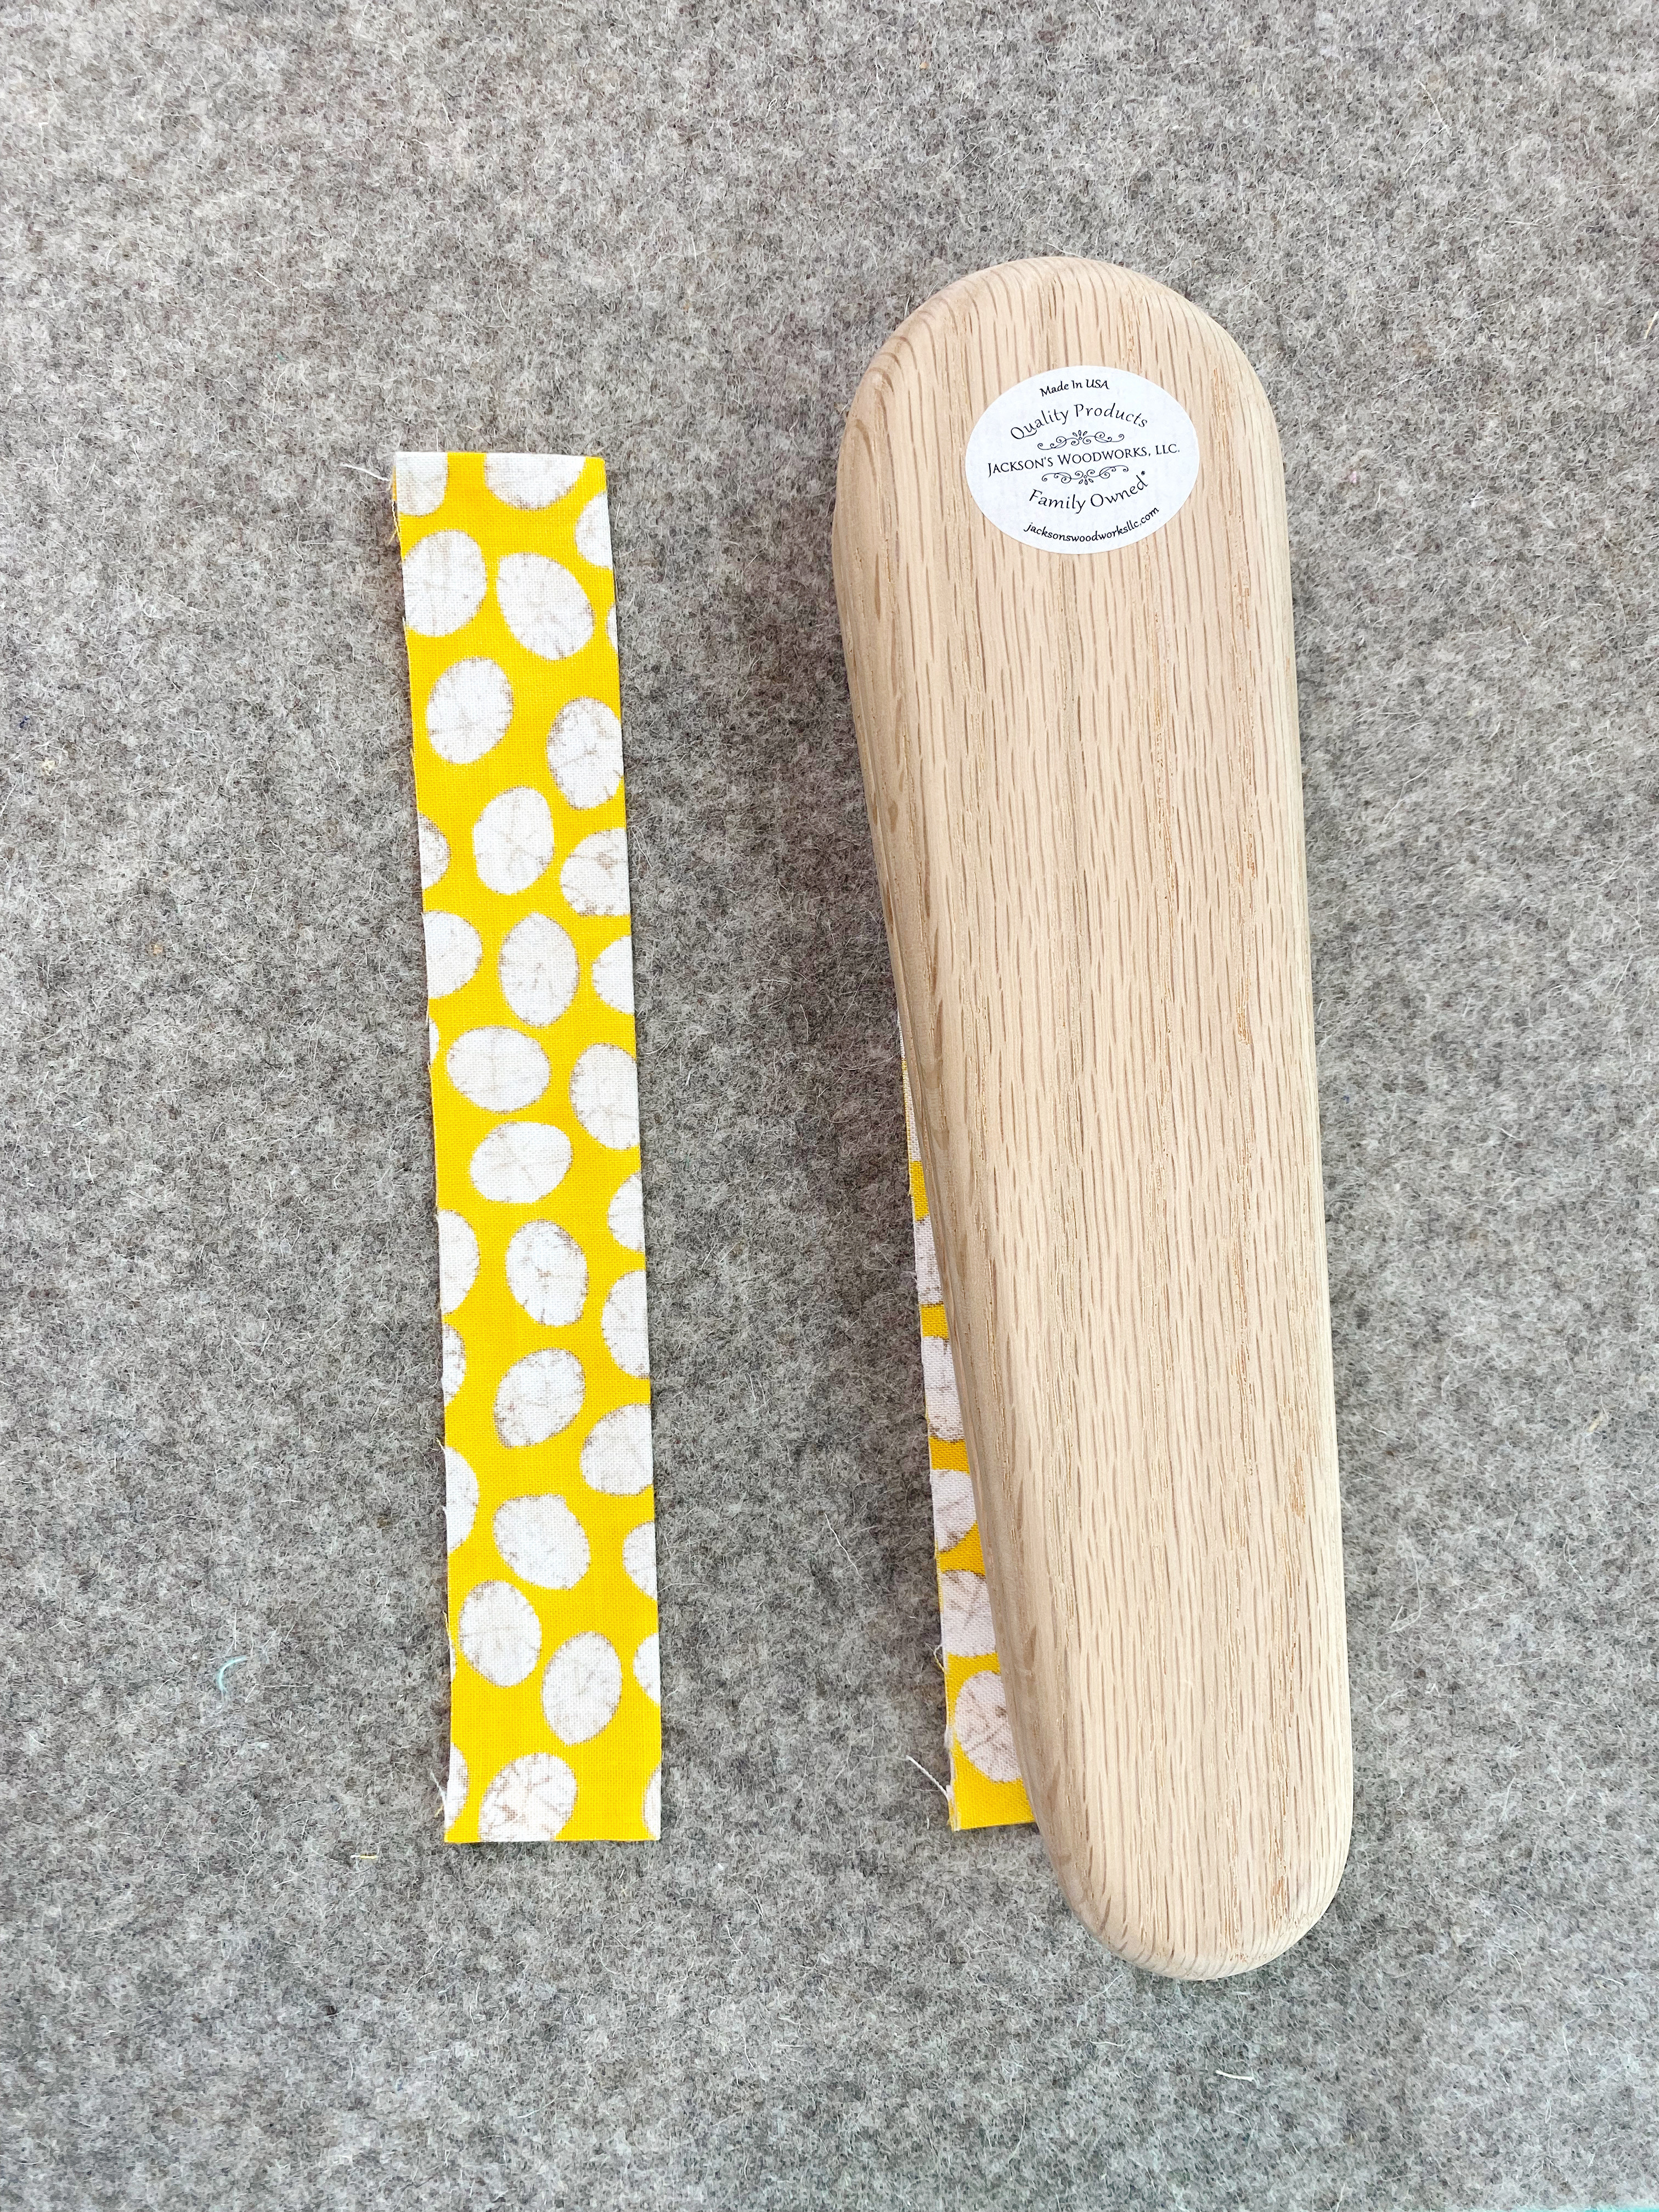
Press the casing short ends 1/4″ in twice, then press the long edge with wrong sides together.
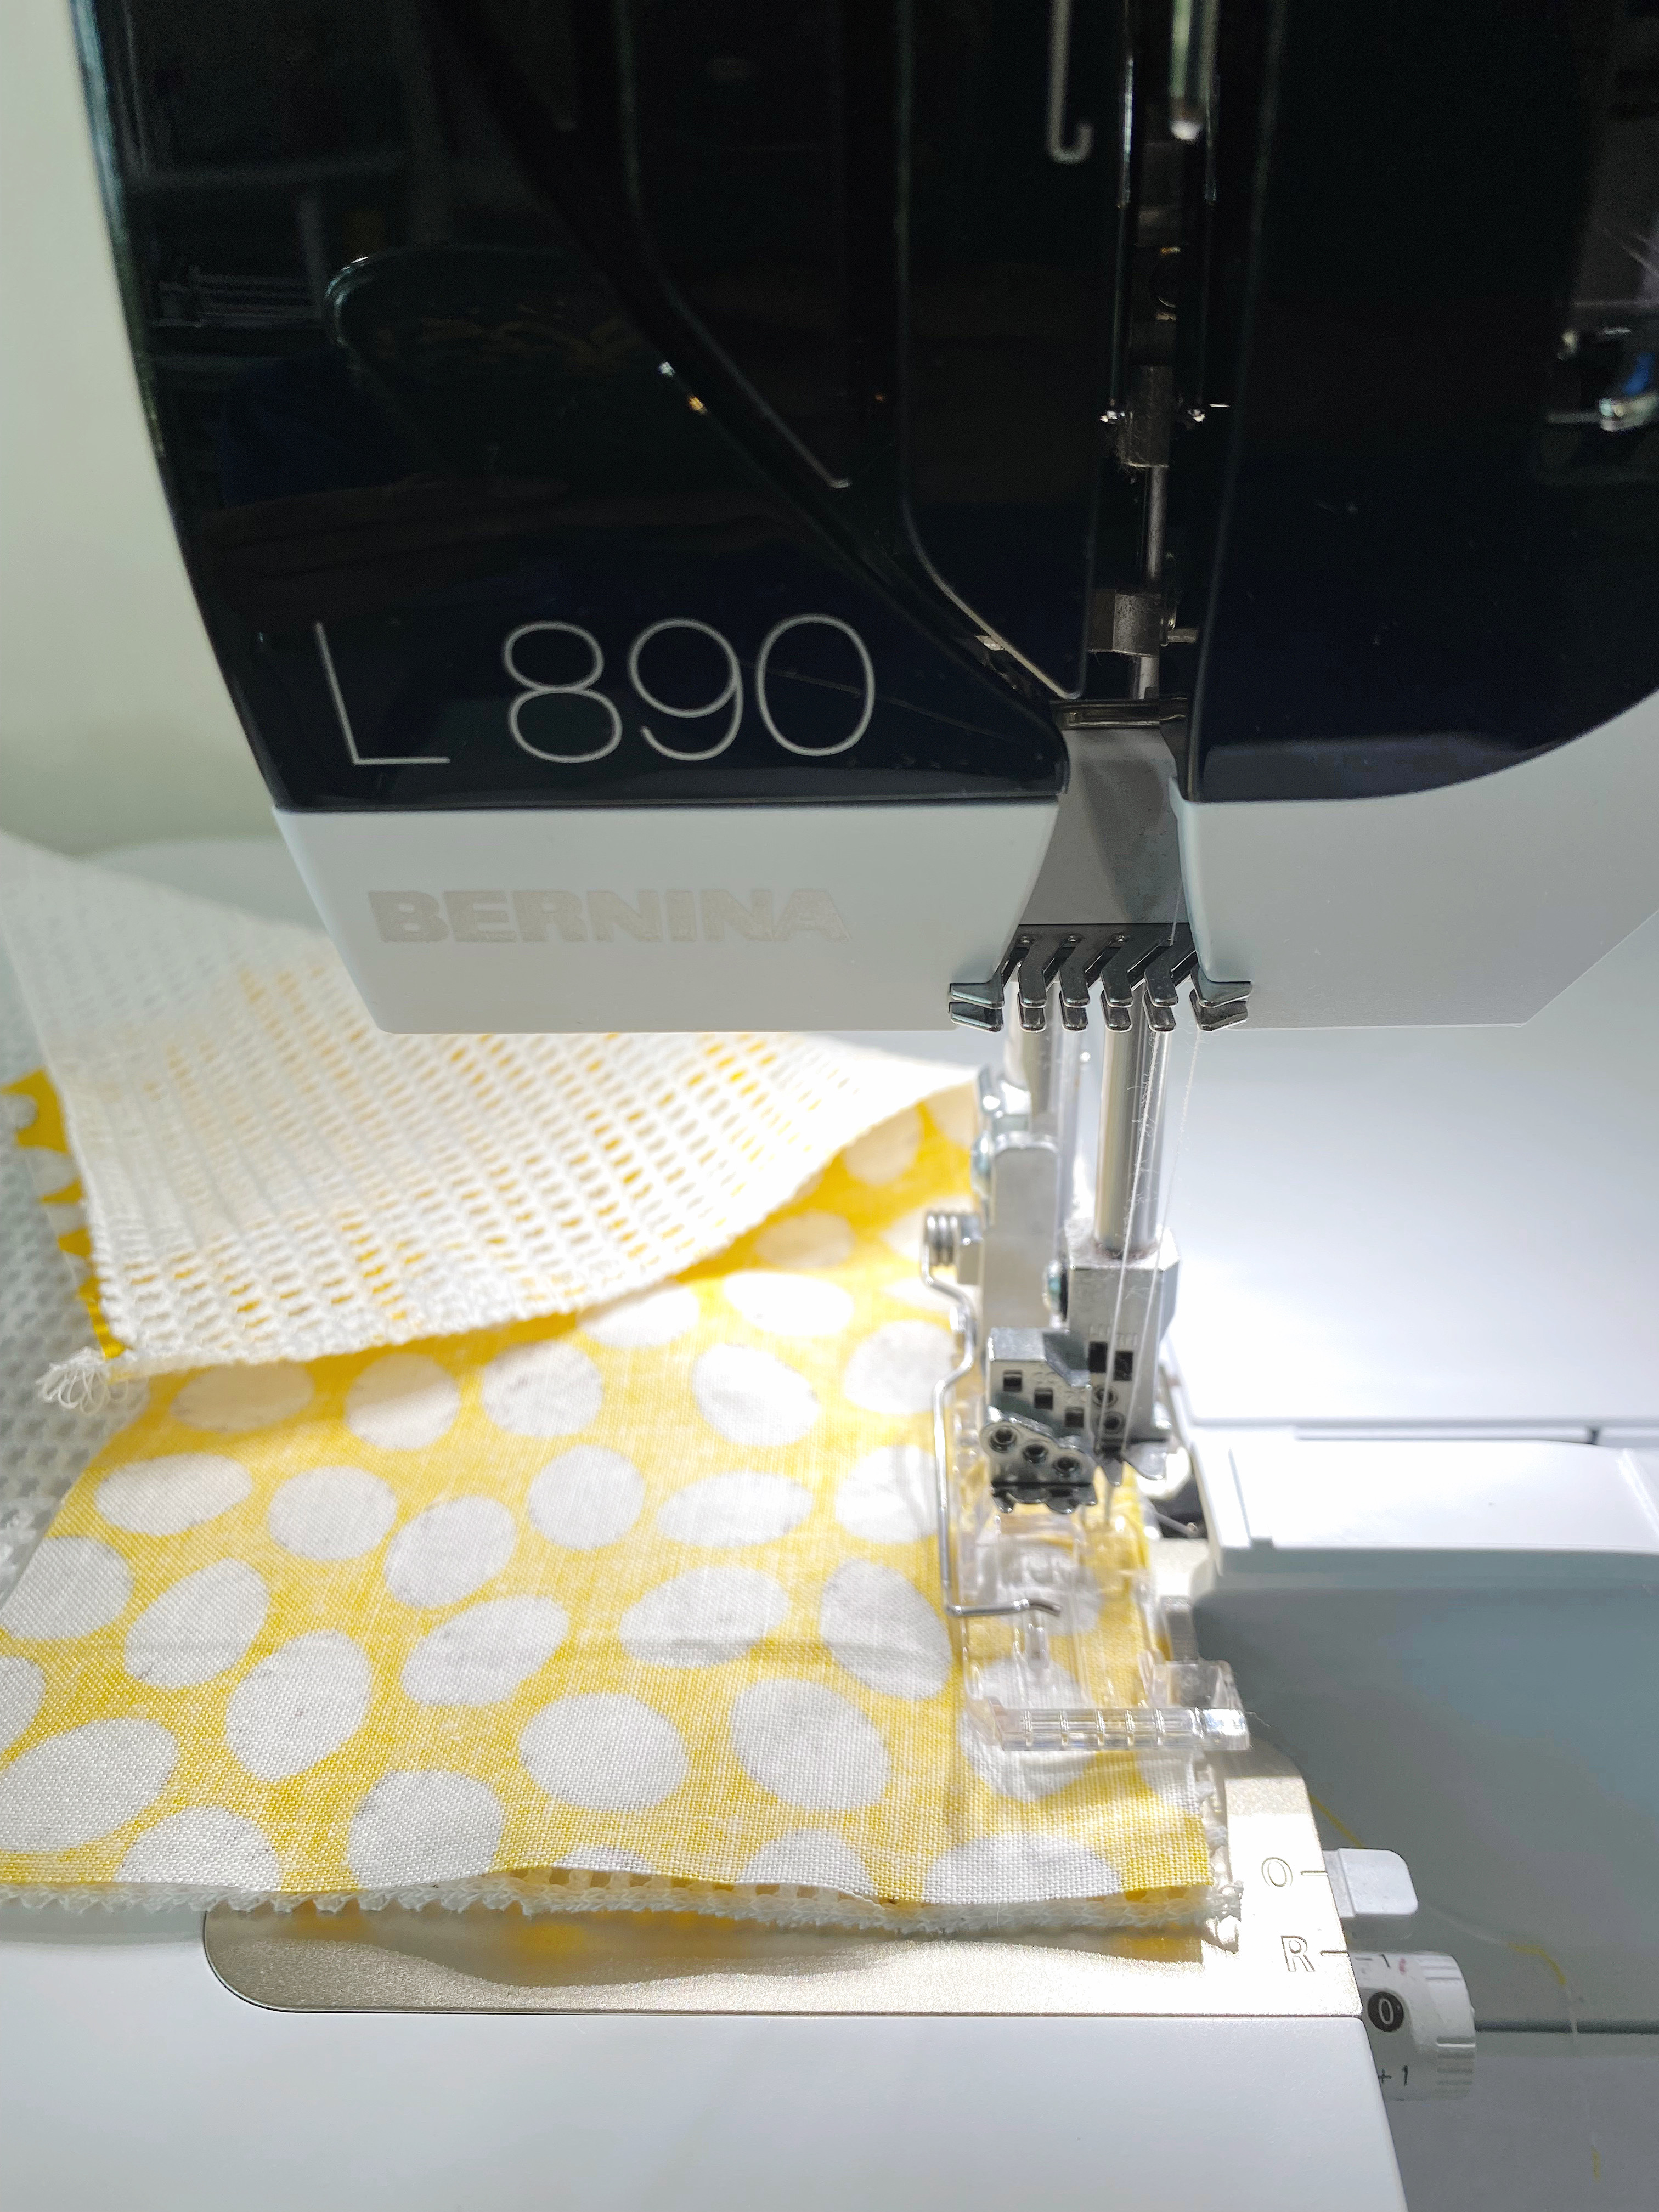
Setting up the Coversticth
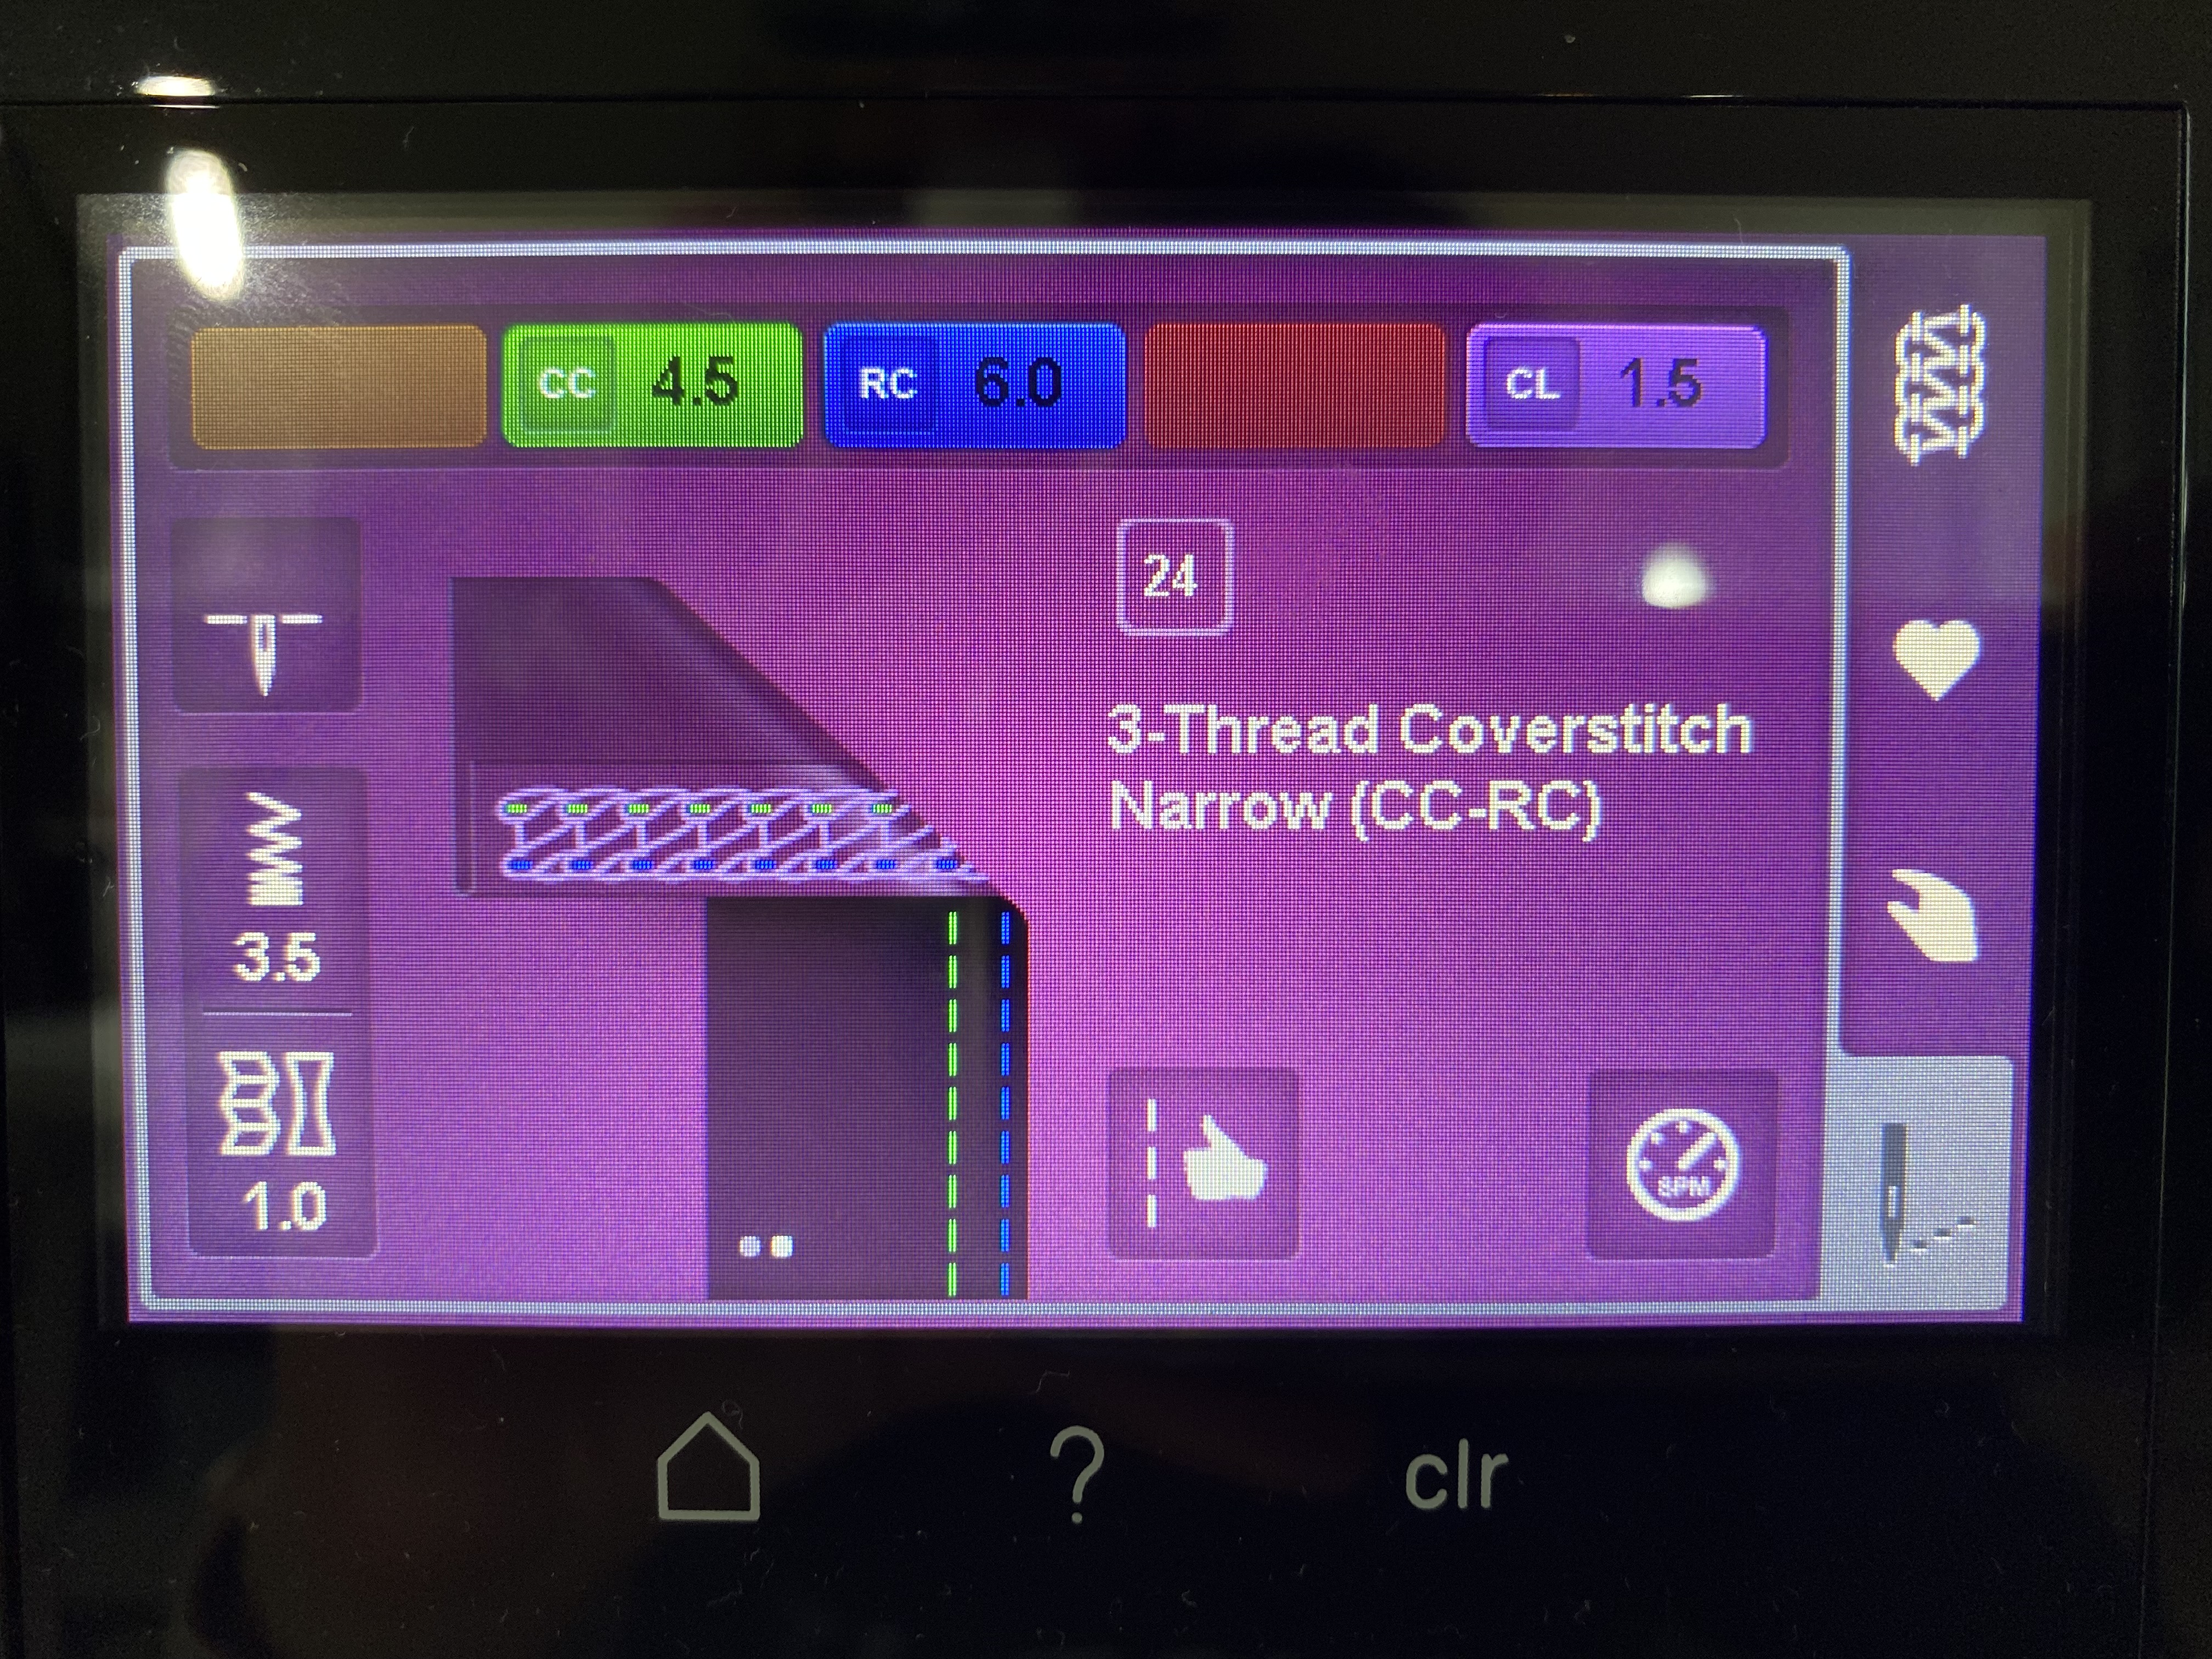
Set up your Coverstitch to a 3-thread narrow stitch – for this I used the CC and RN needle setup. You will use these same settings for all the Coverstitching steps, so go ahead and save this stitch on your Favorites.
Step 4
Coverstitch the folded edge of the casing.
Note: You can chainstitch them! Just add your next piece right after and keep stitching. Coverstitch the Bottom band/Body seam that you serged on Step 2. You can skip this (no one will judge you!), but I think it gives the seam stability and it will be helpful once we join the sides so the seams are not flipping in different directions.
Step 5
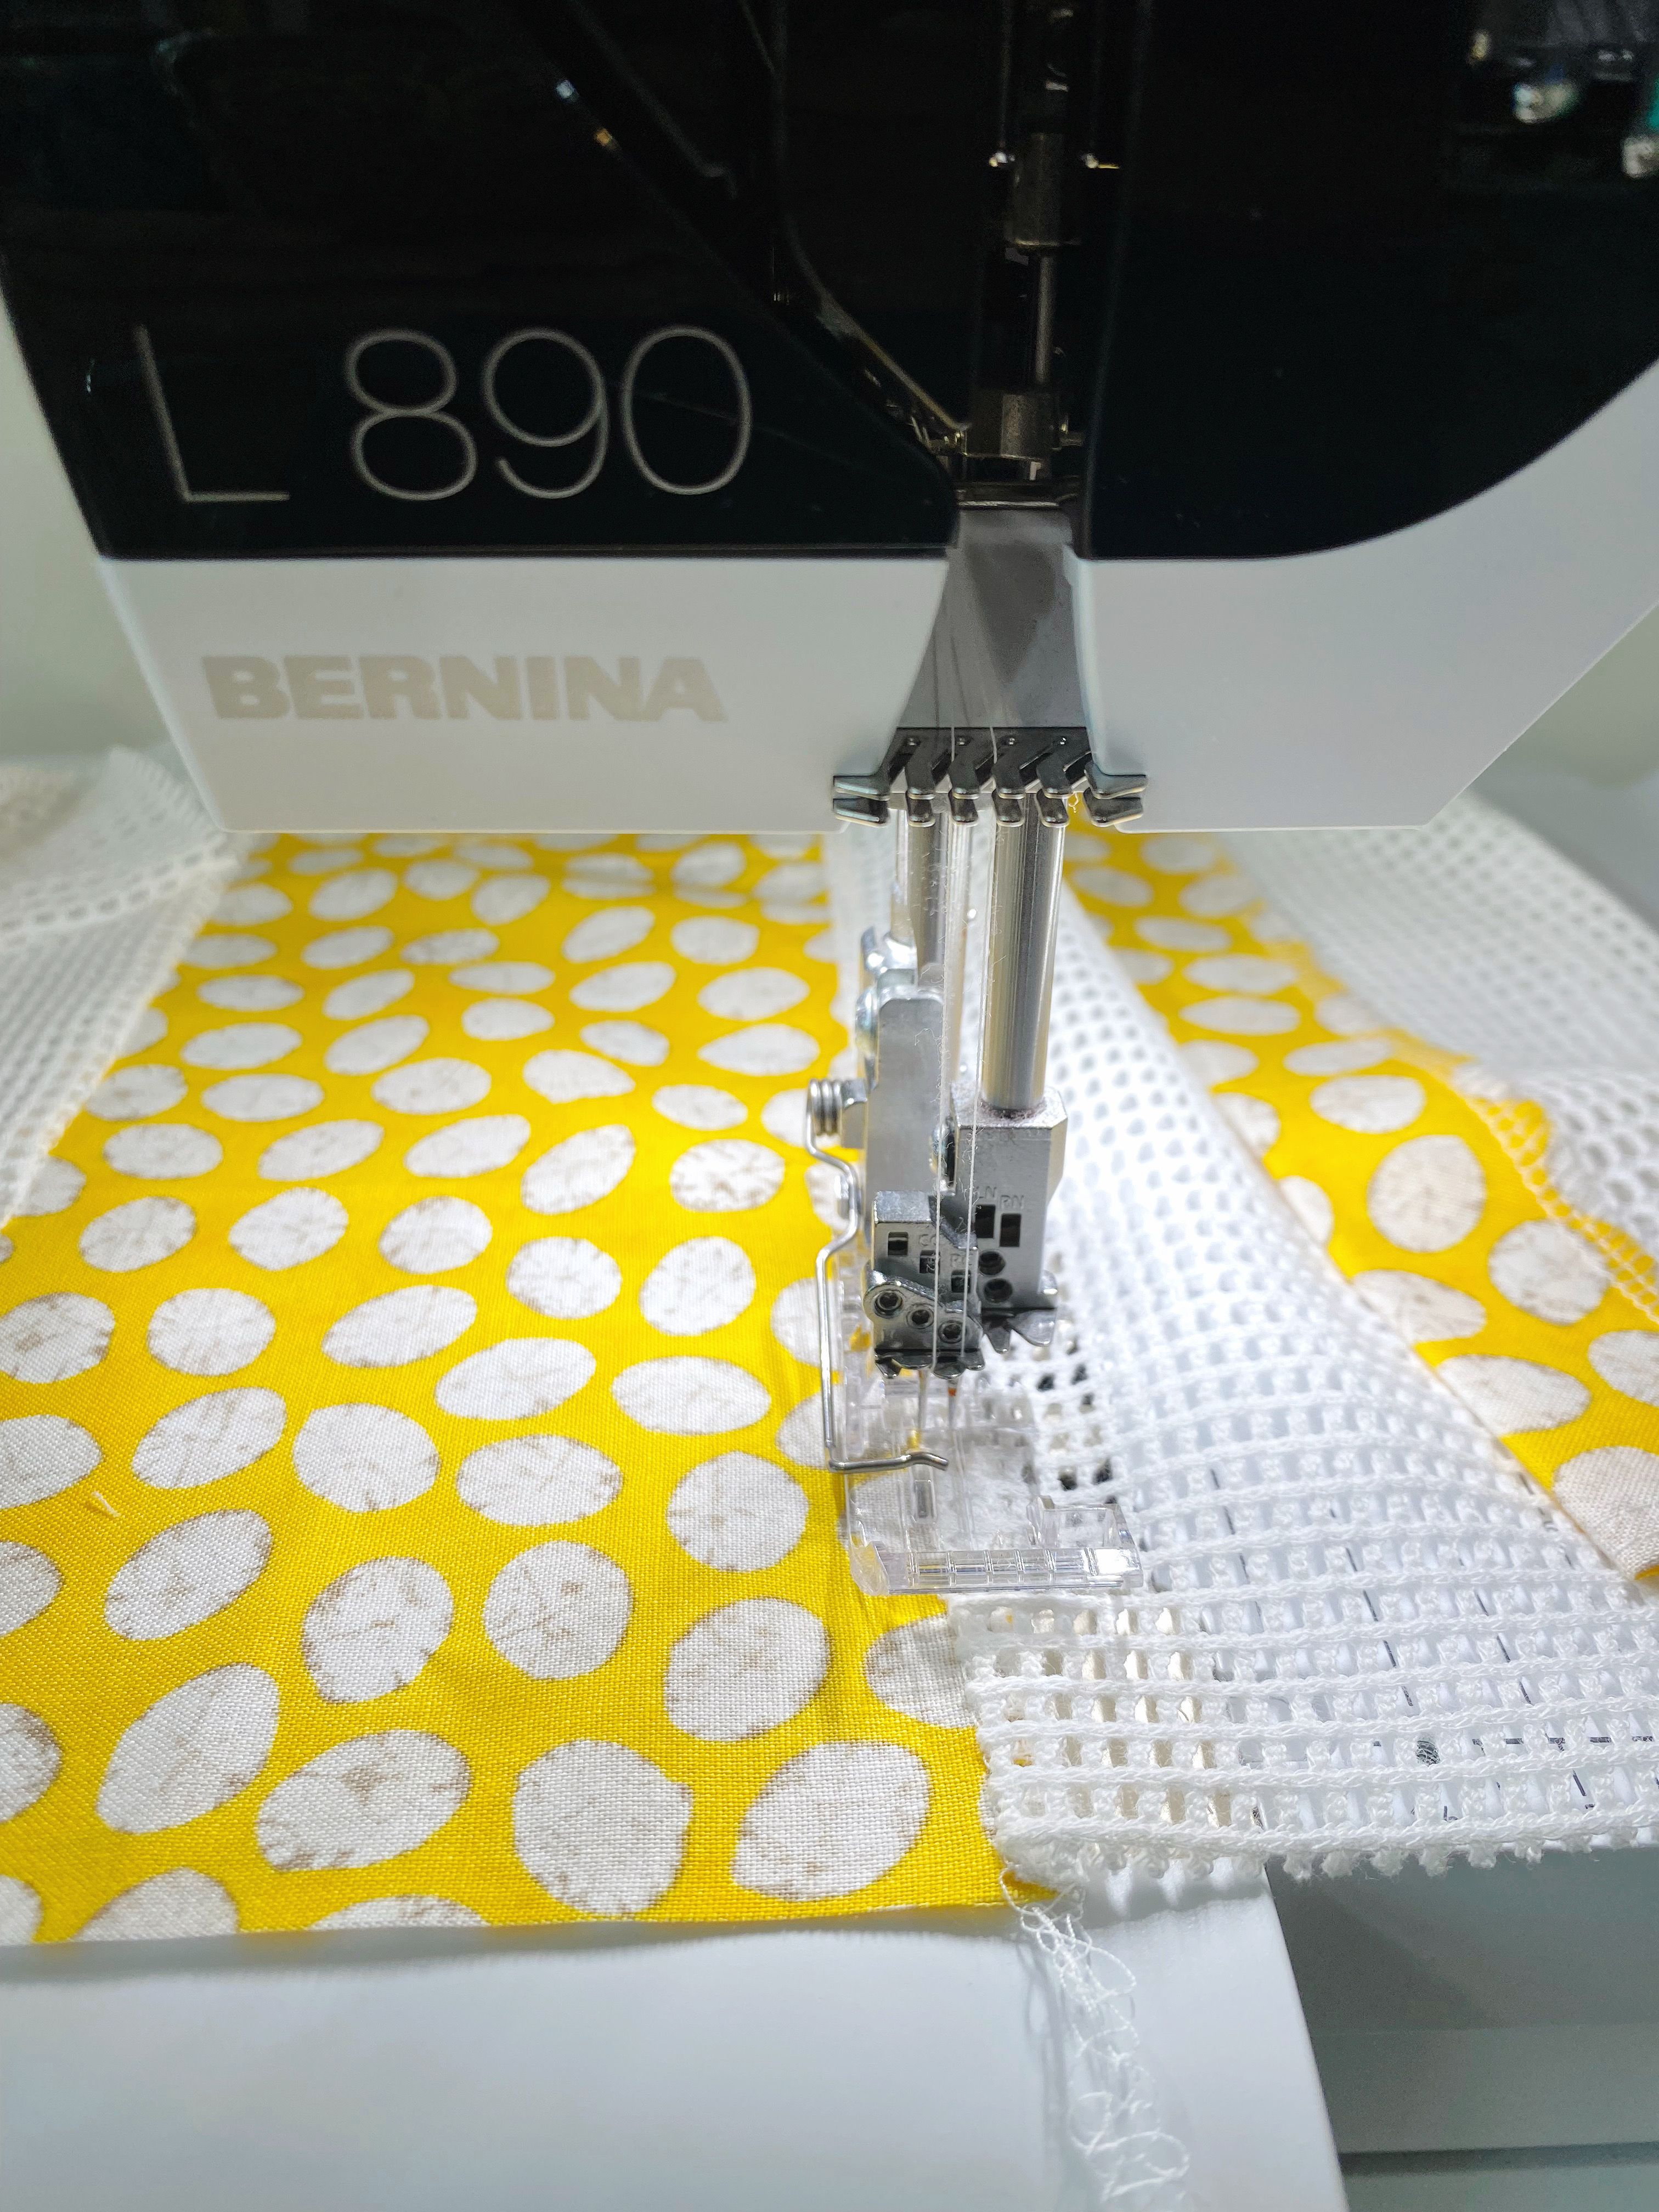
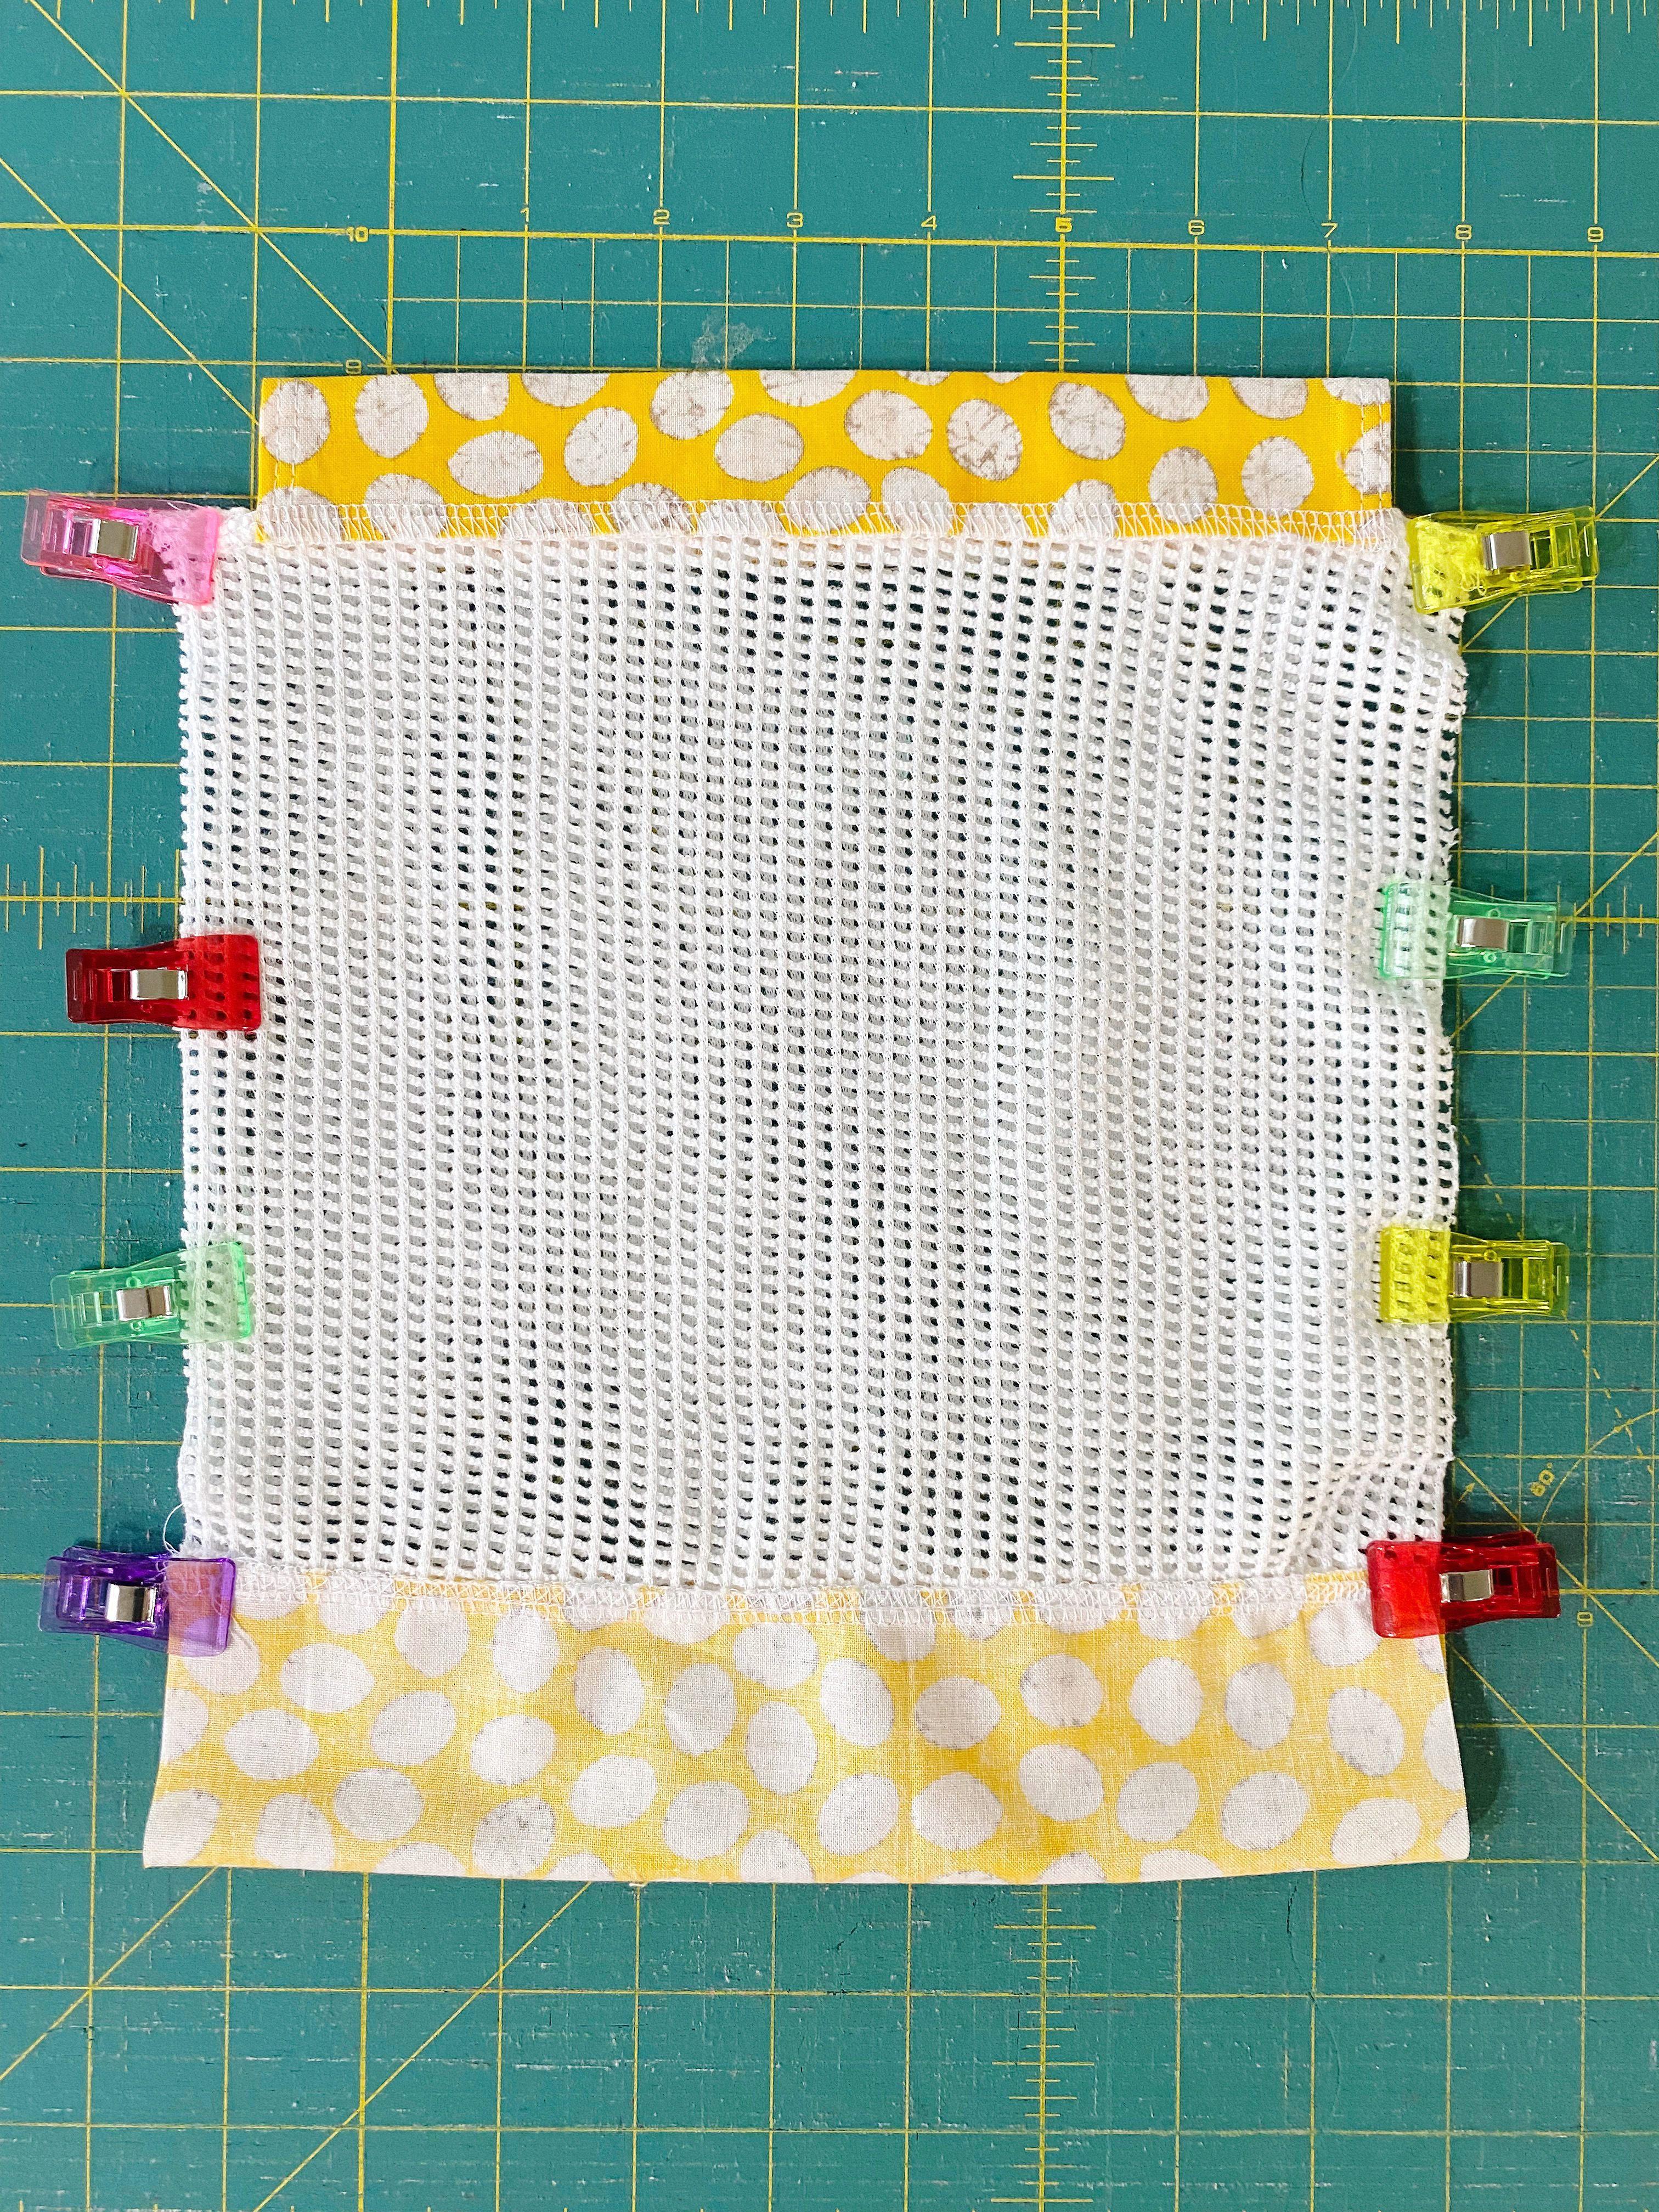
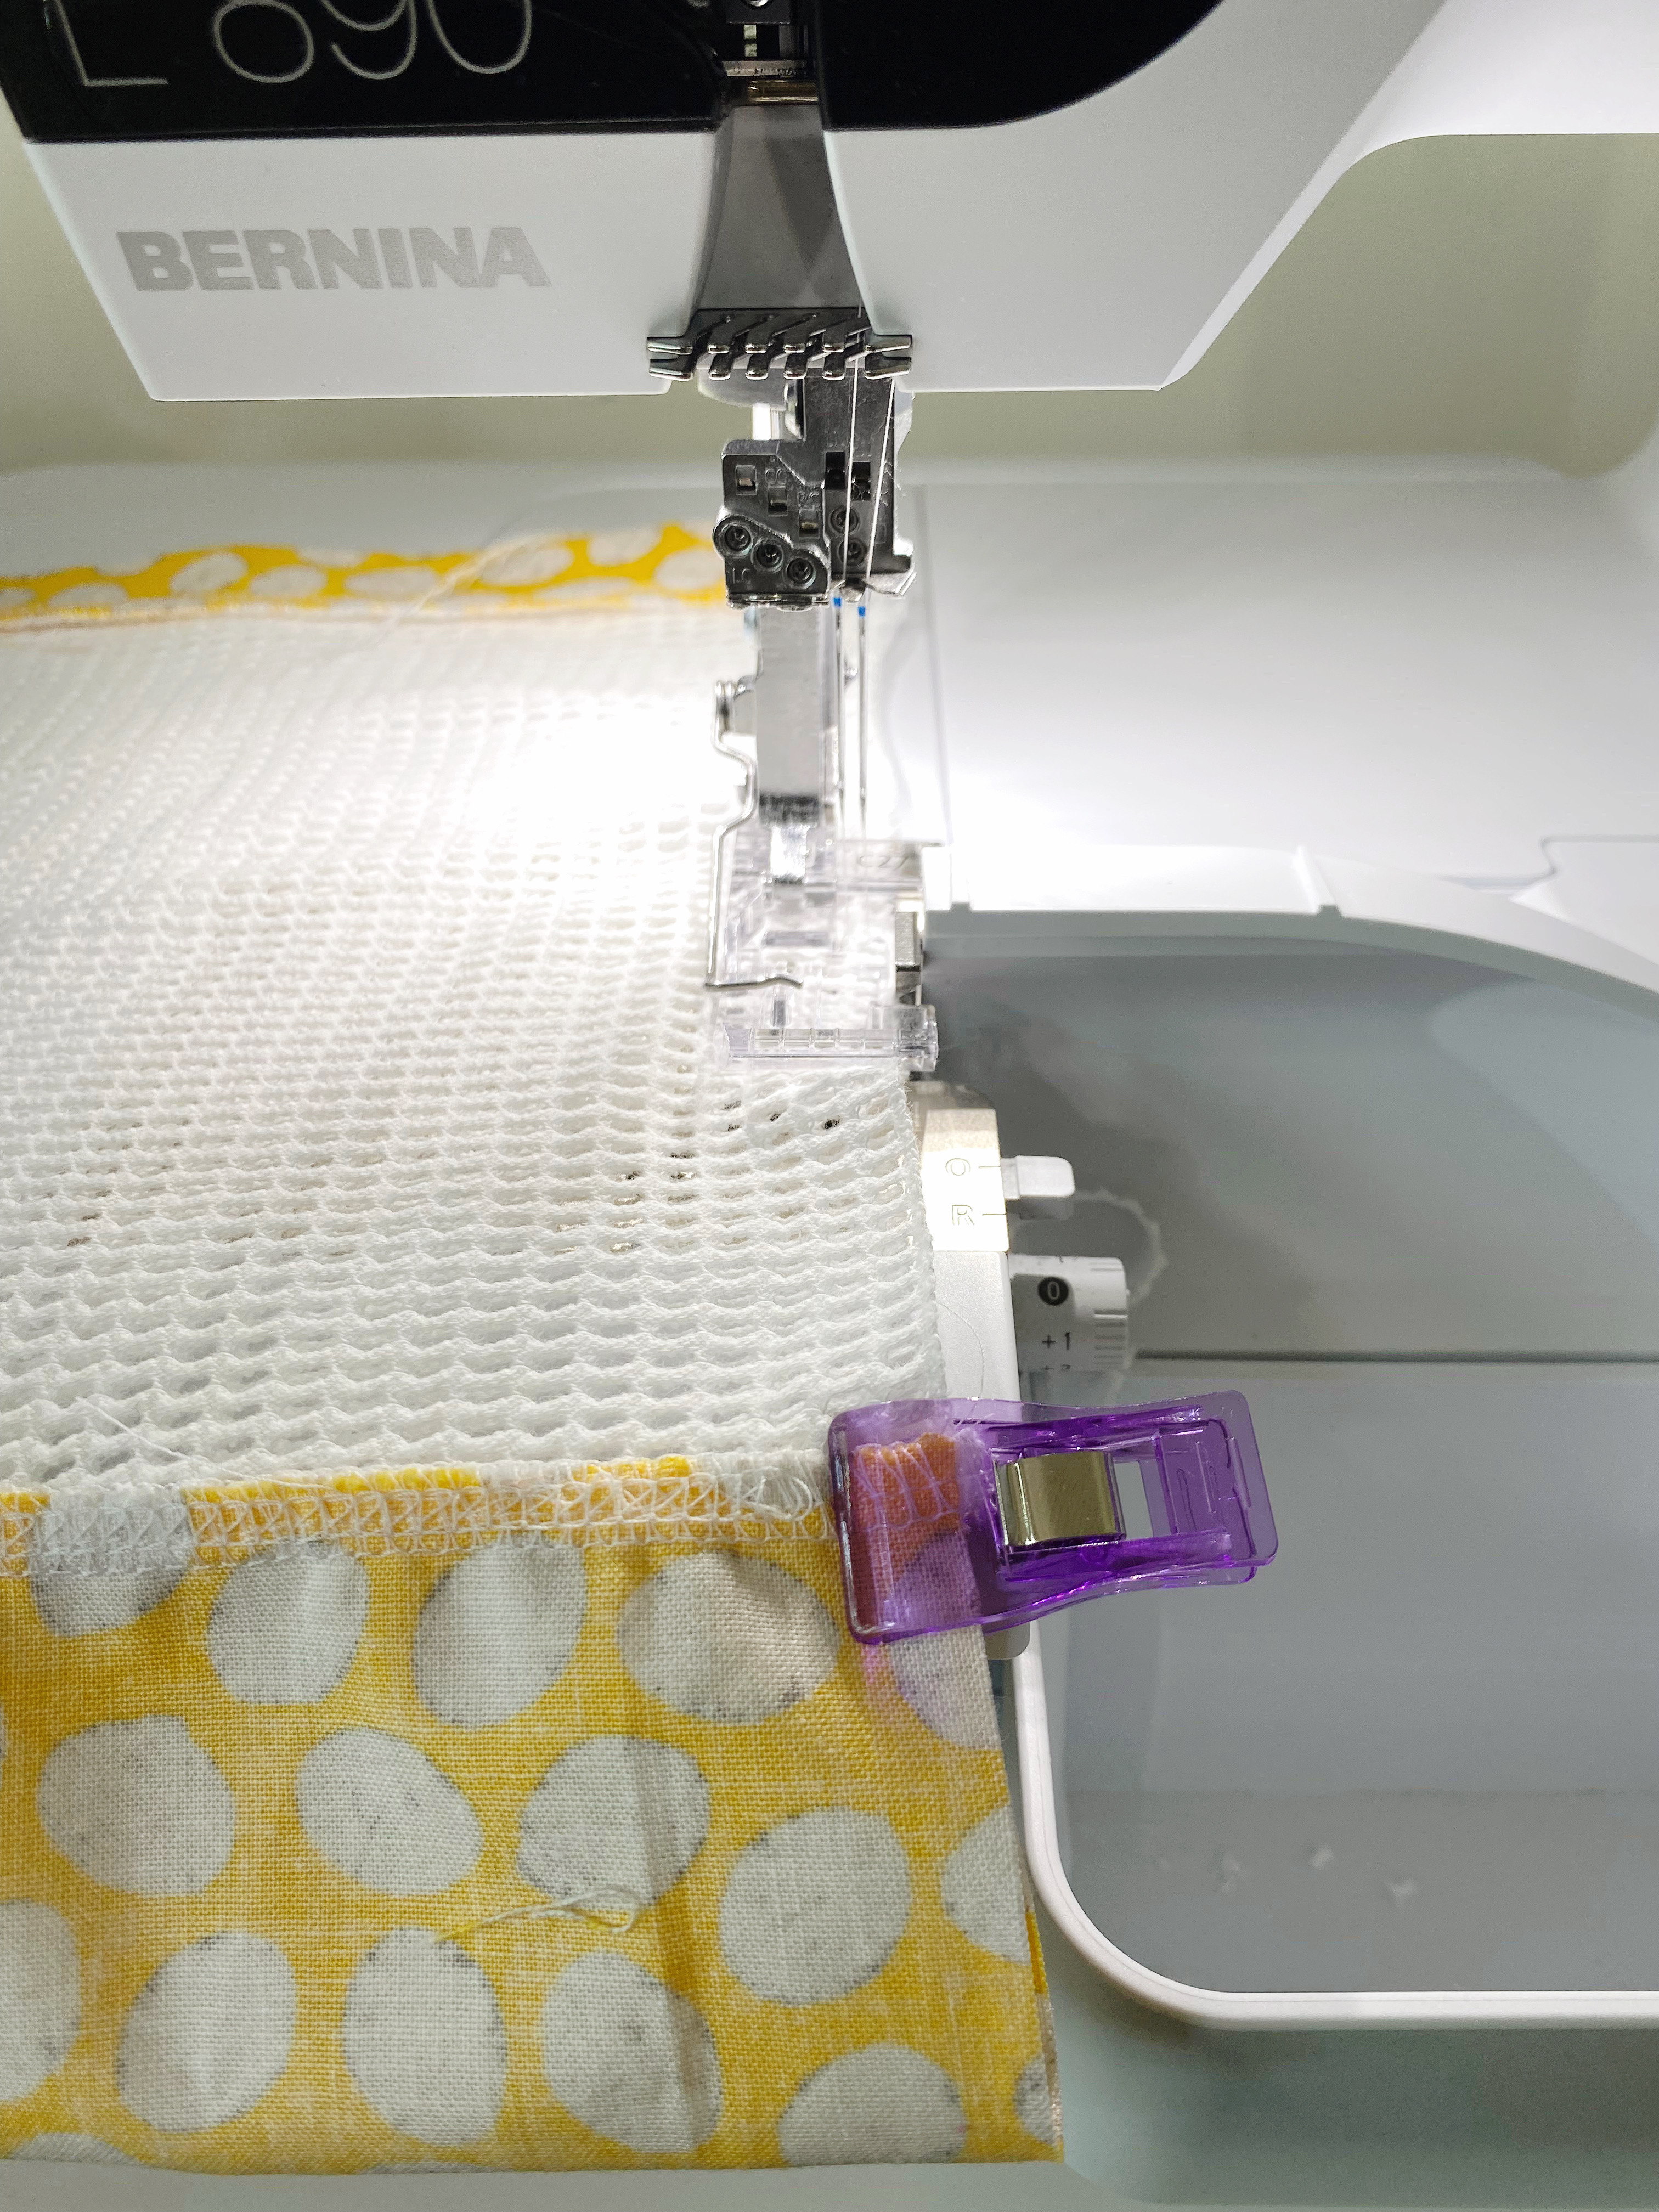
Switch to a 4-thread overlock. Clip casing to the top part of the bag and stitch. Press seams down, away from casing.
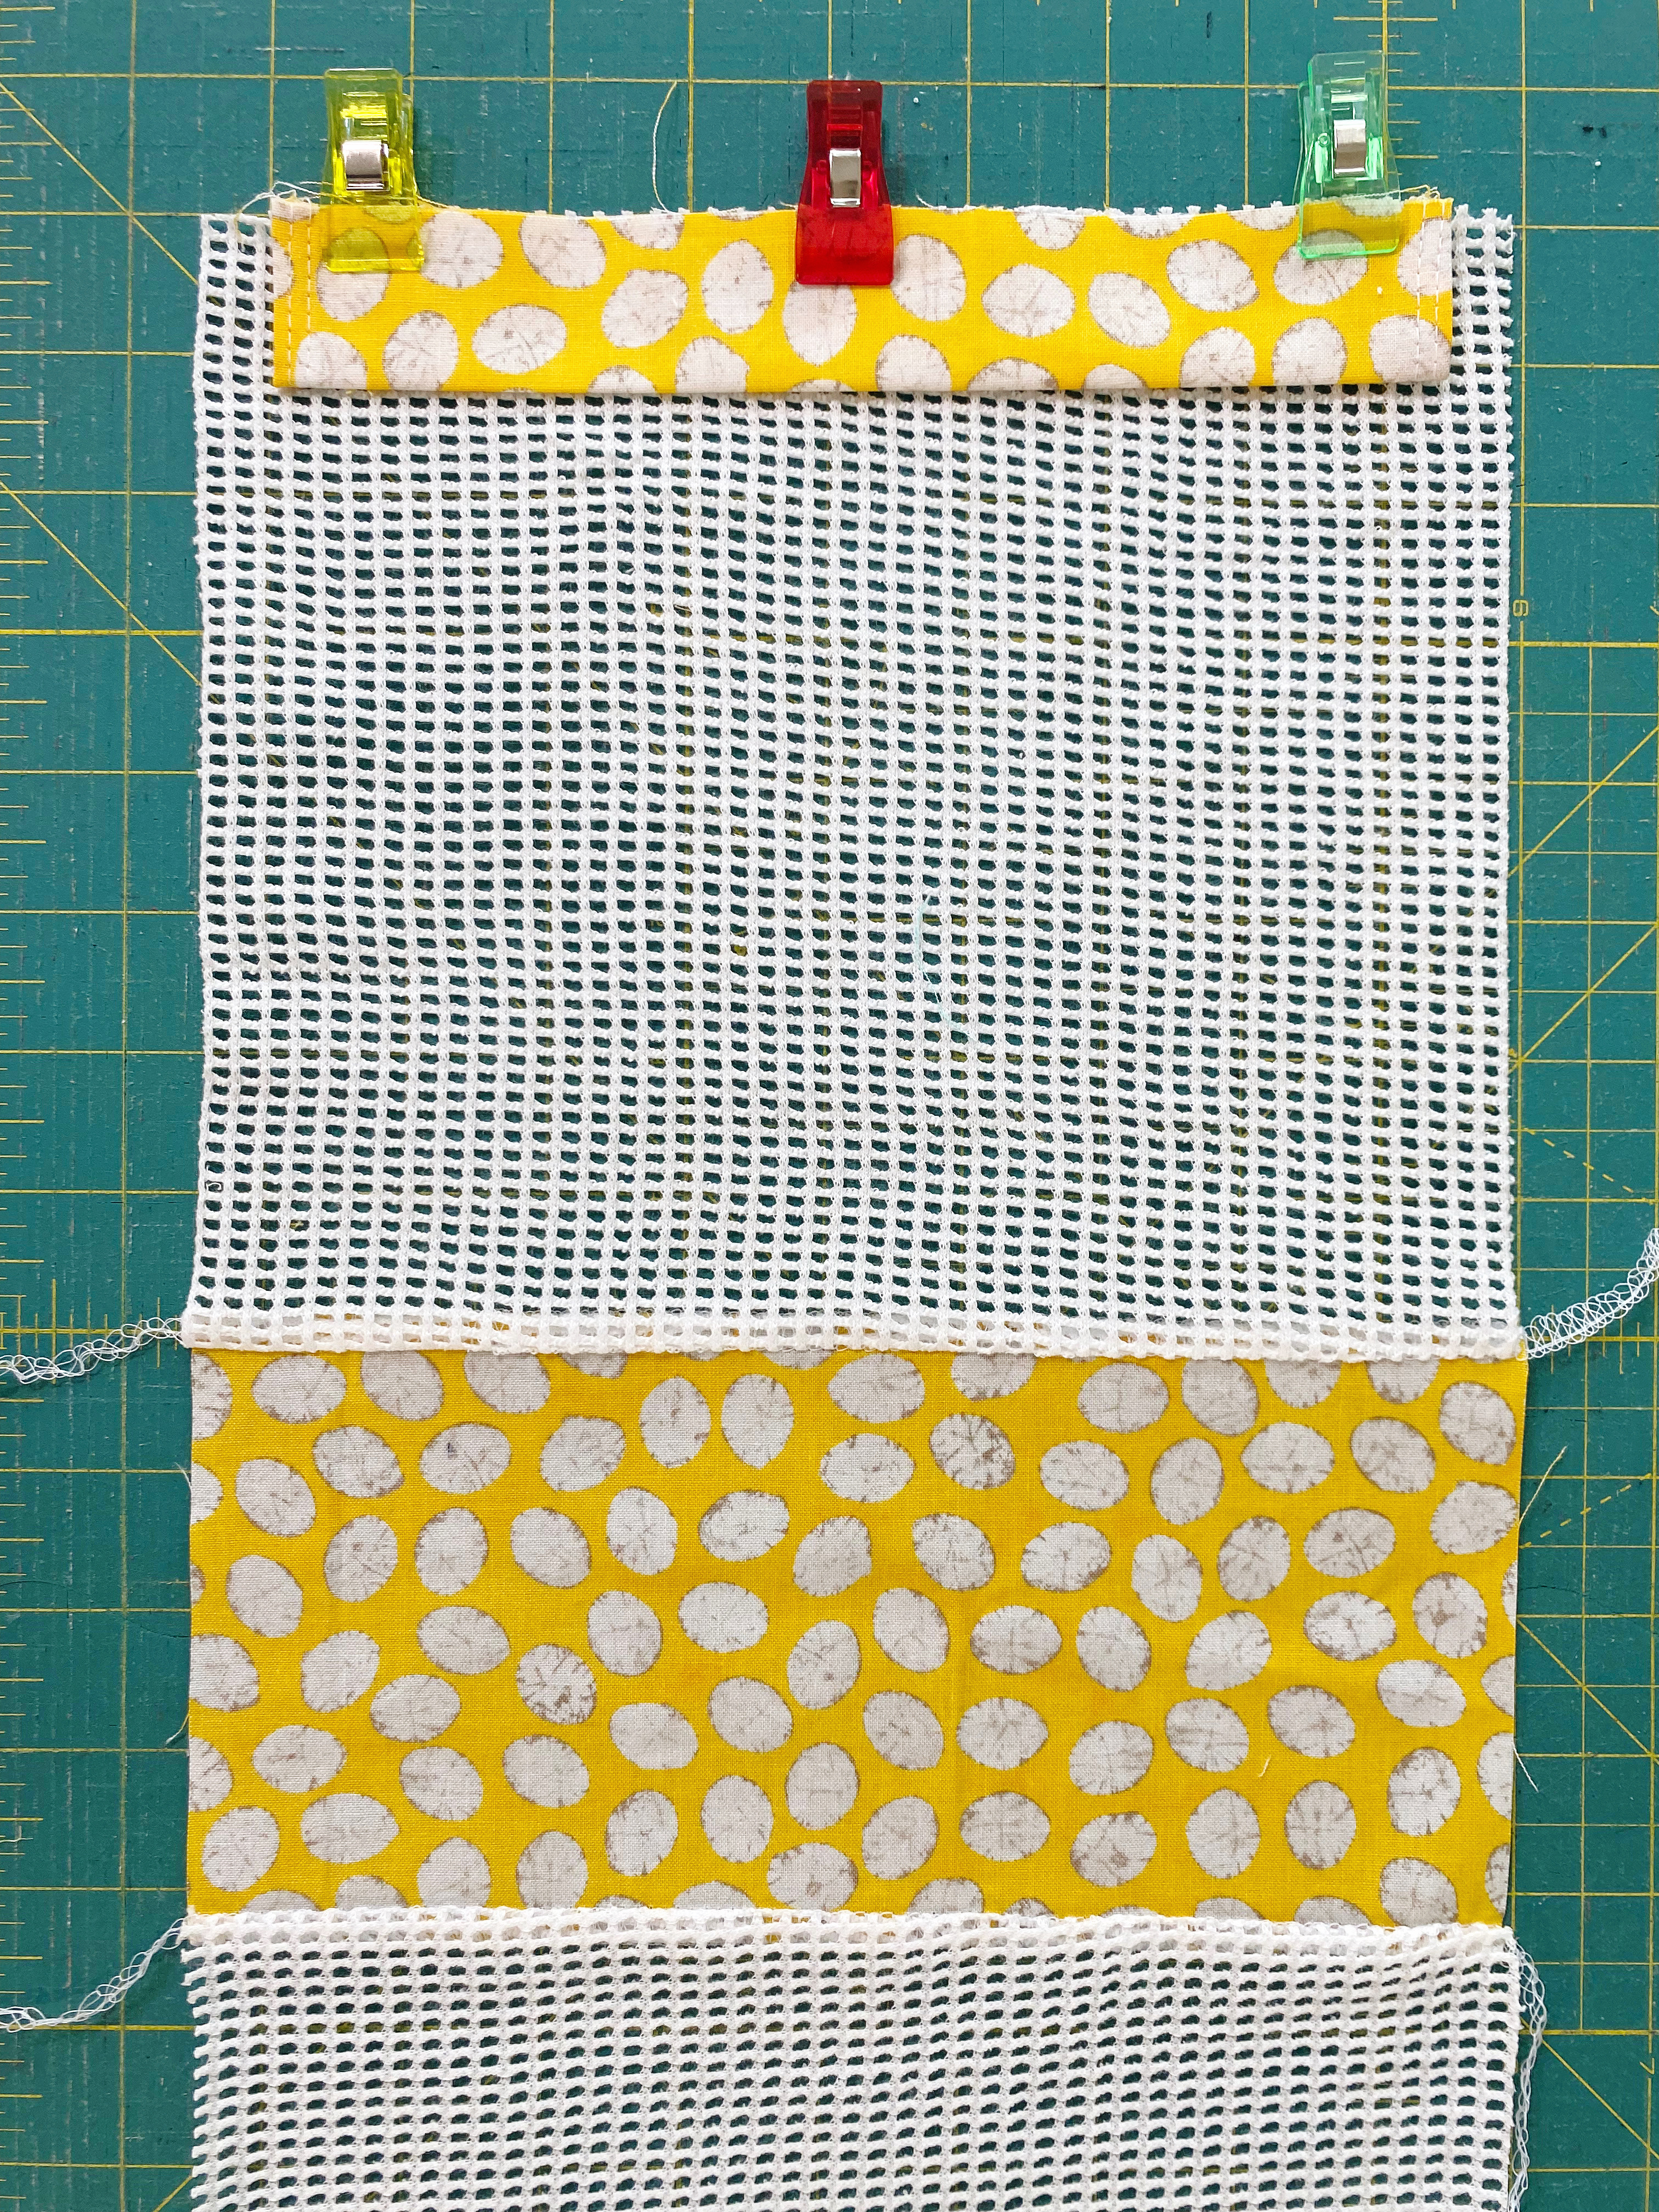

Step 6
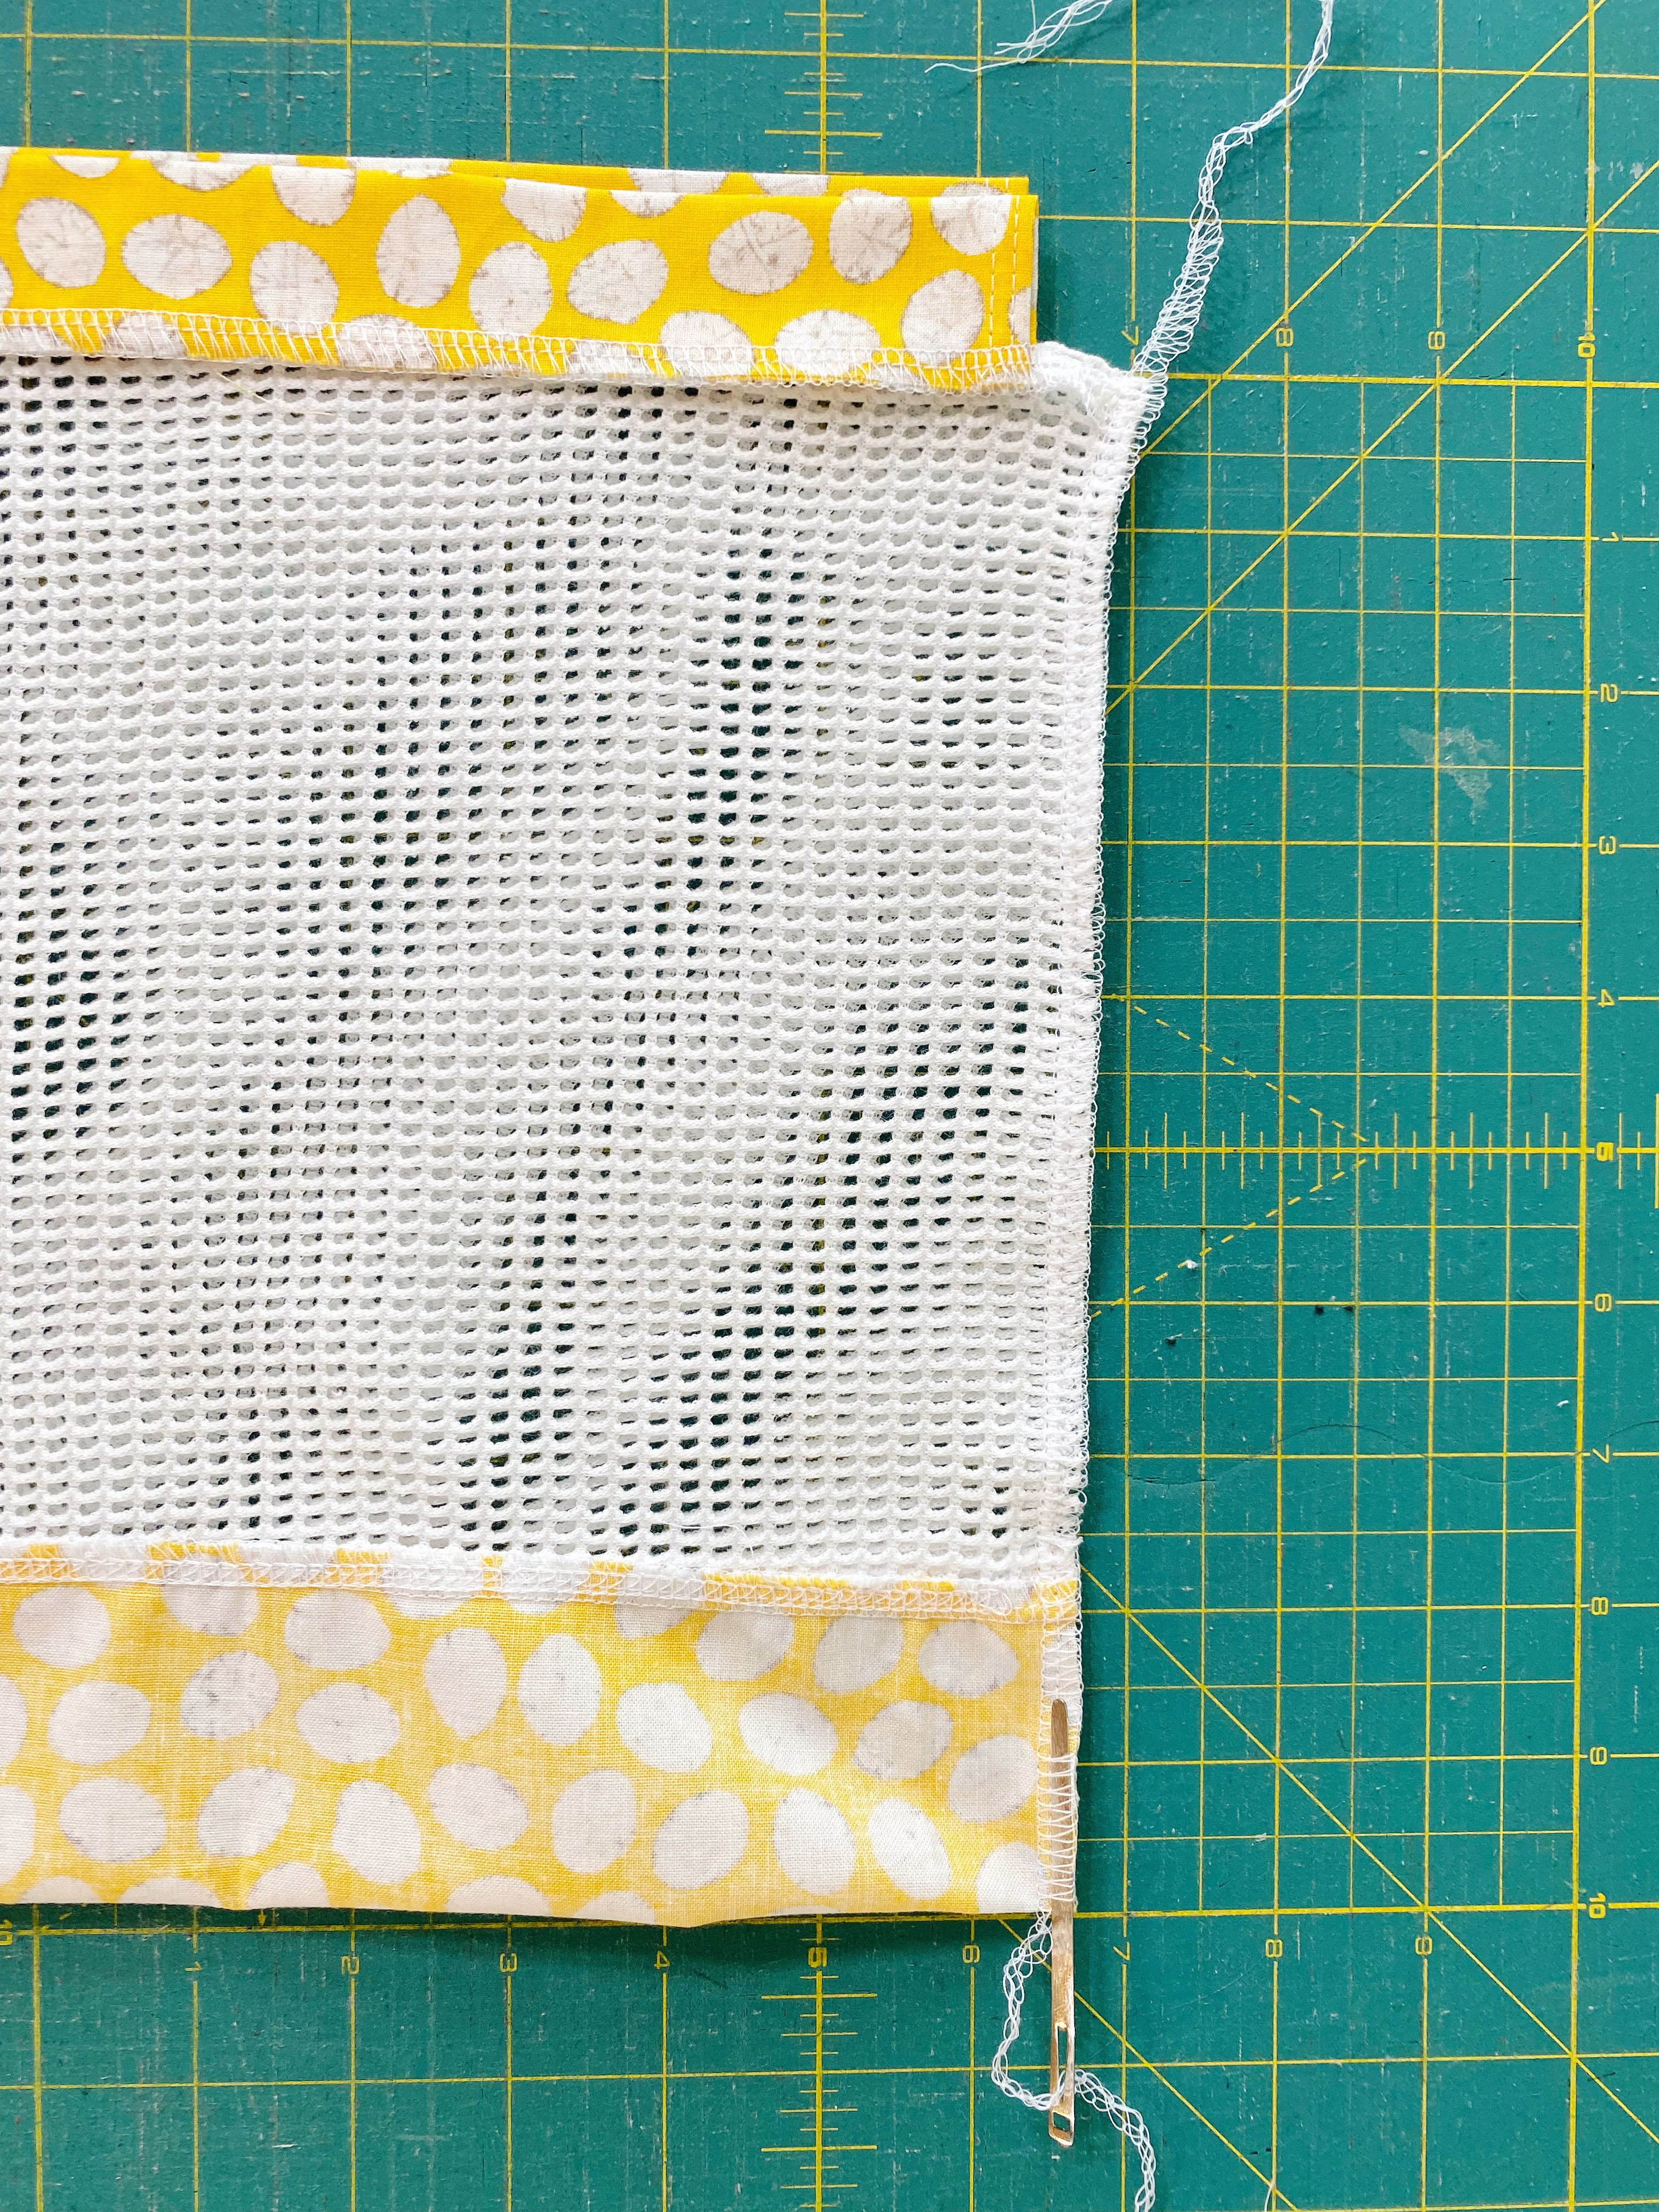
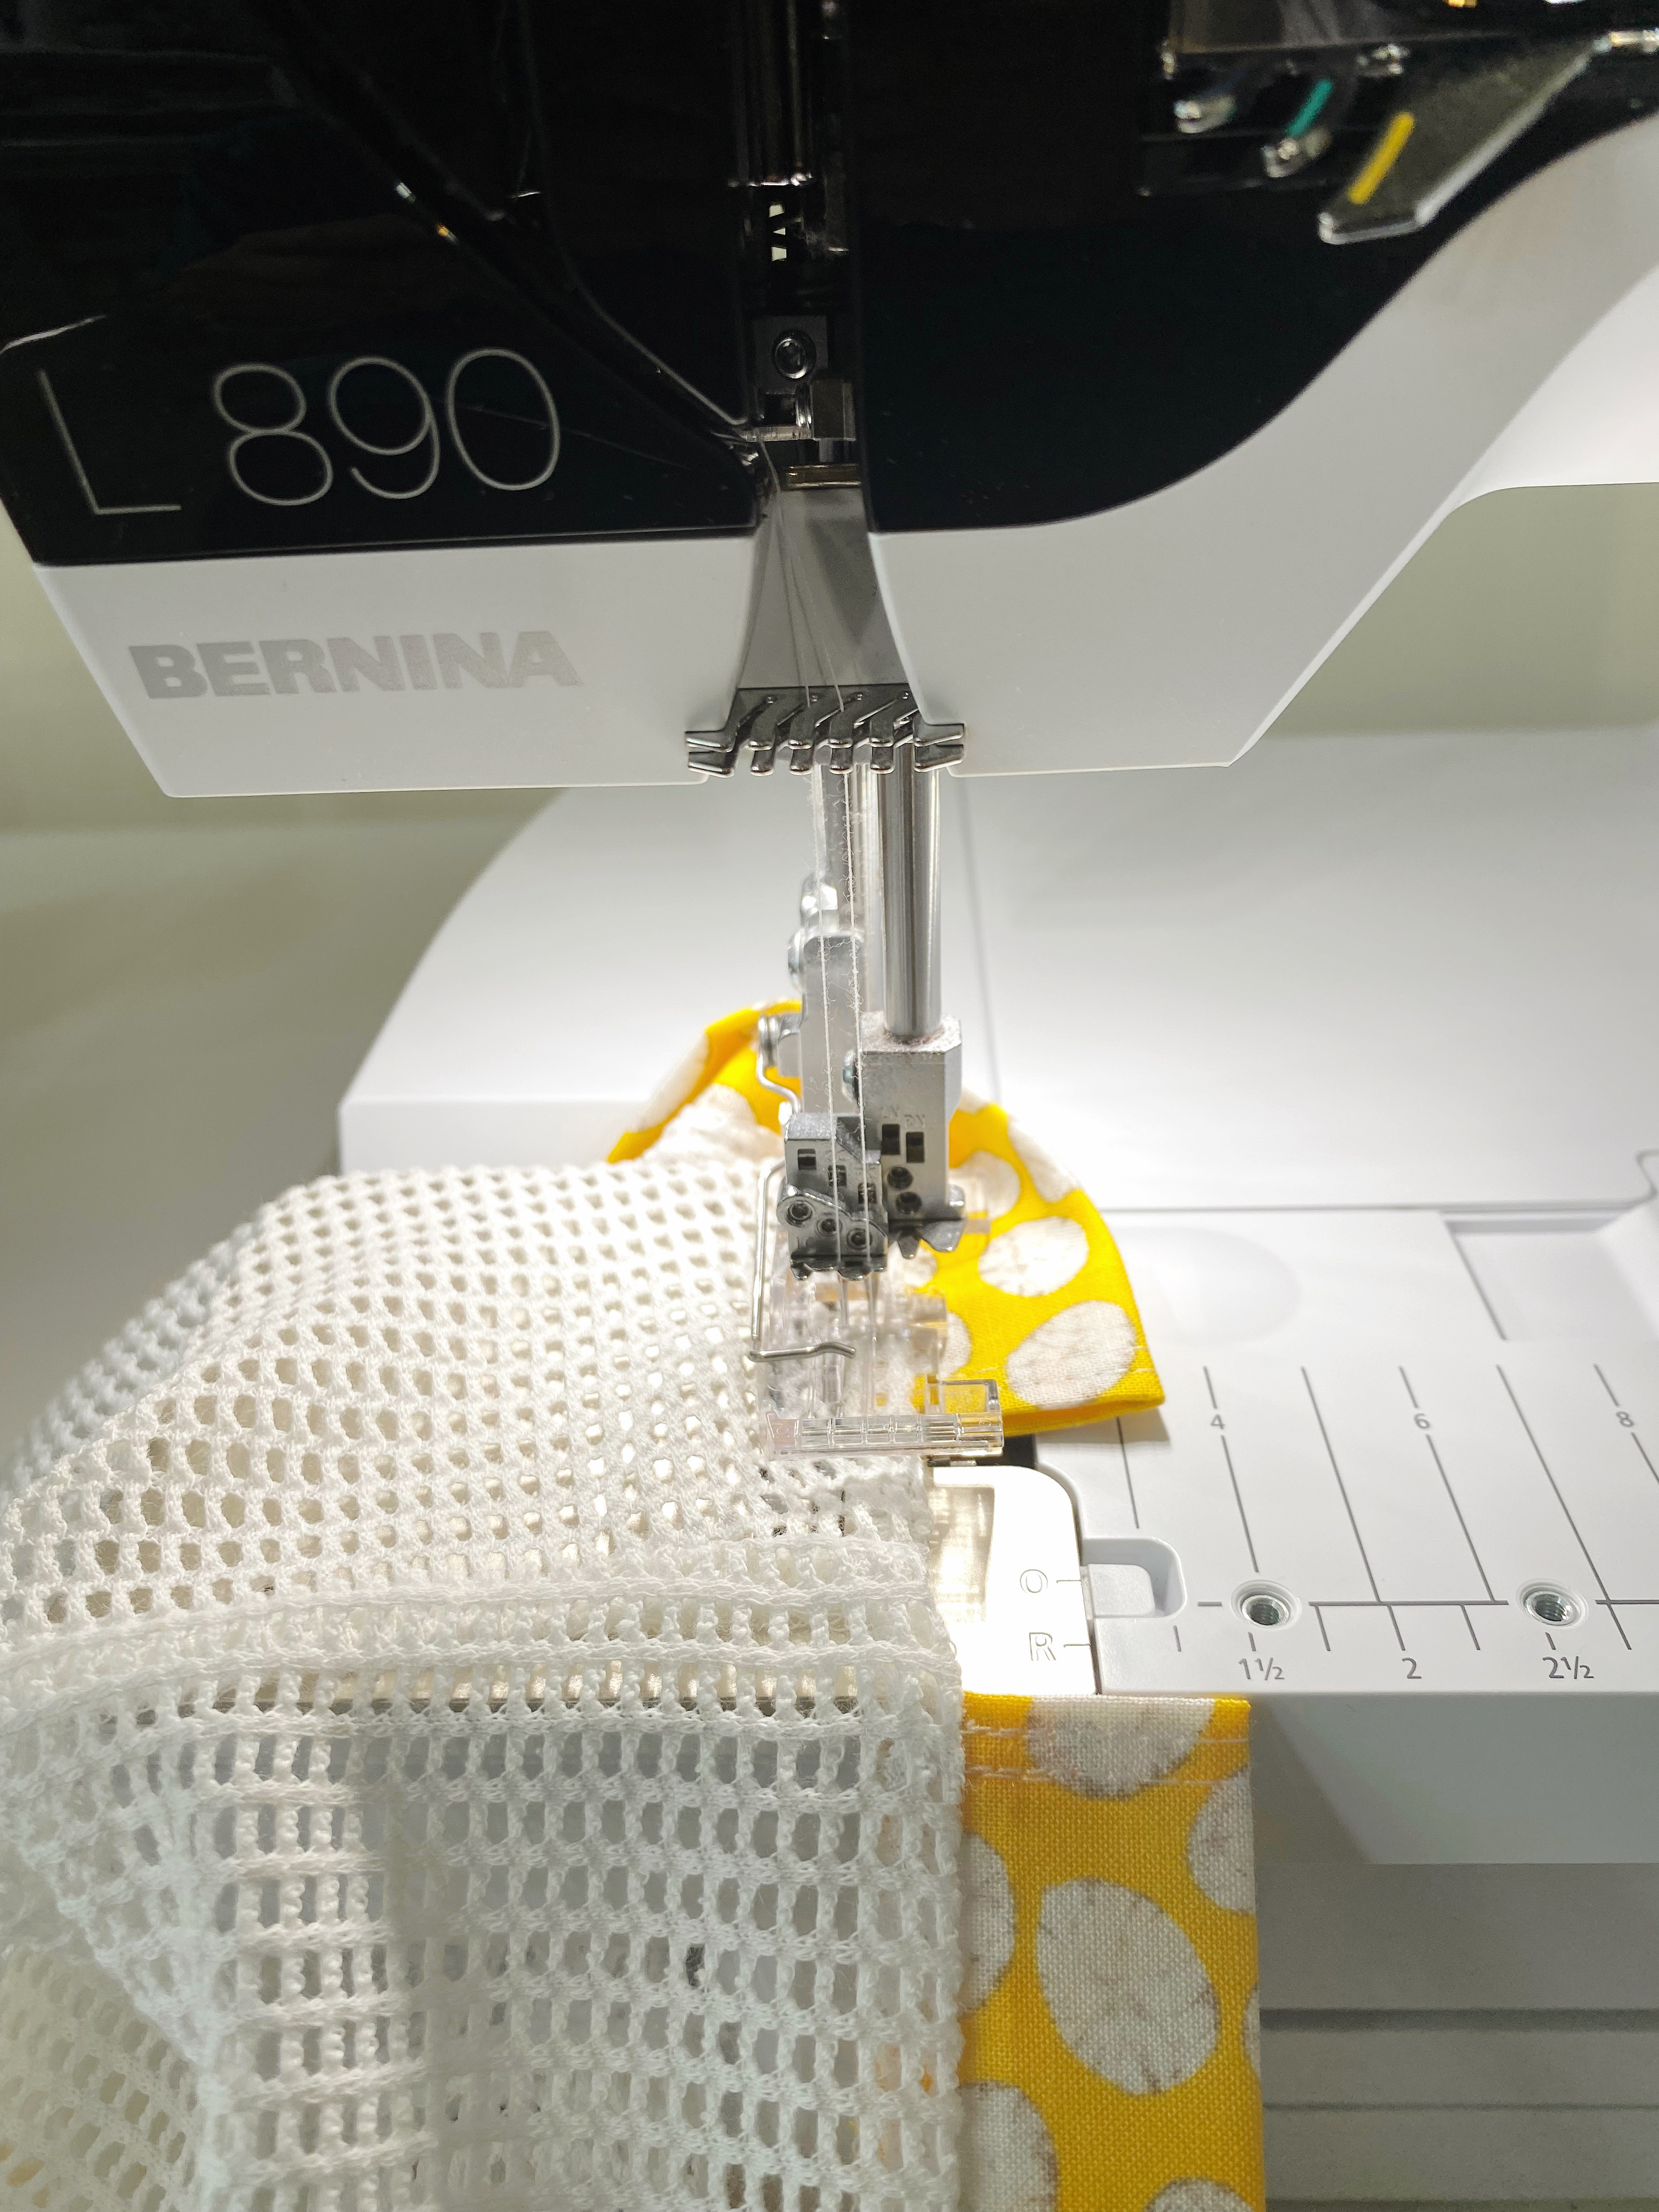
Fold the bag in half, clip the sides and stitch with the 4-thread overlocker.
Step 7
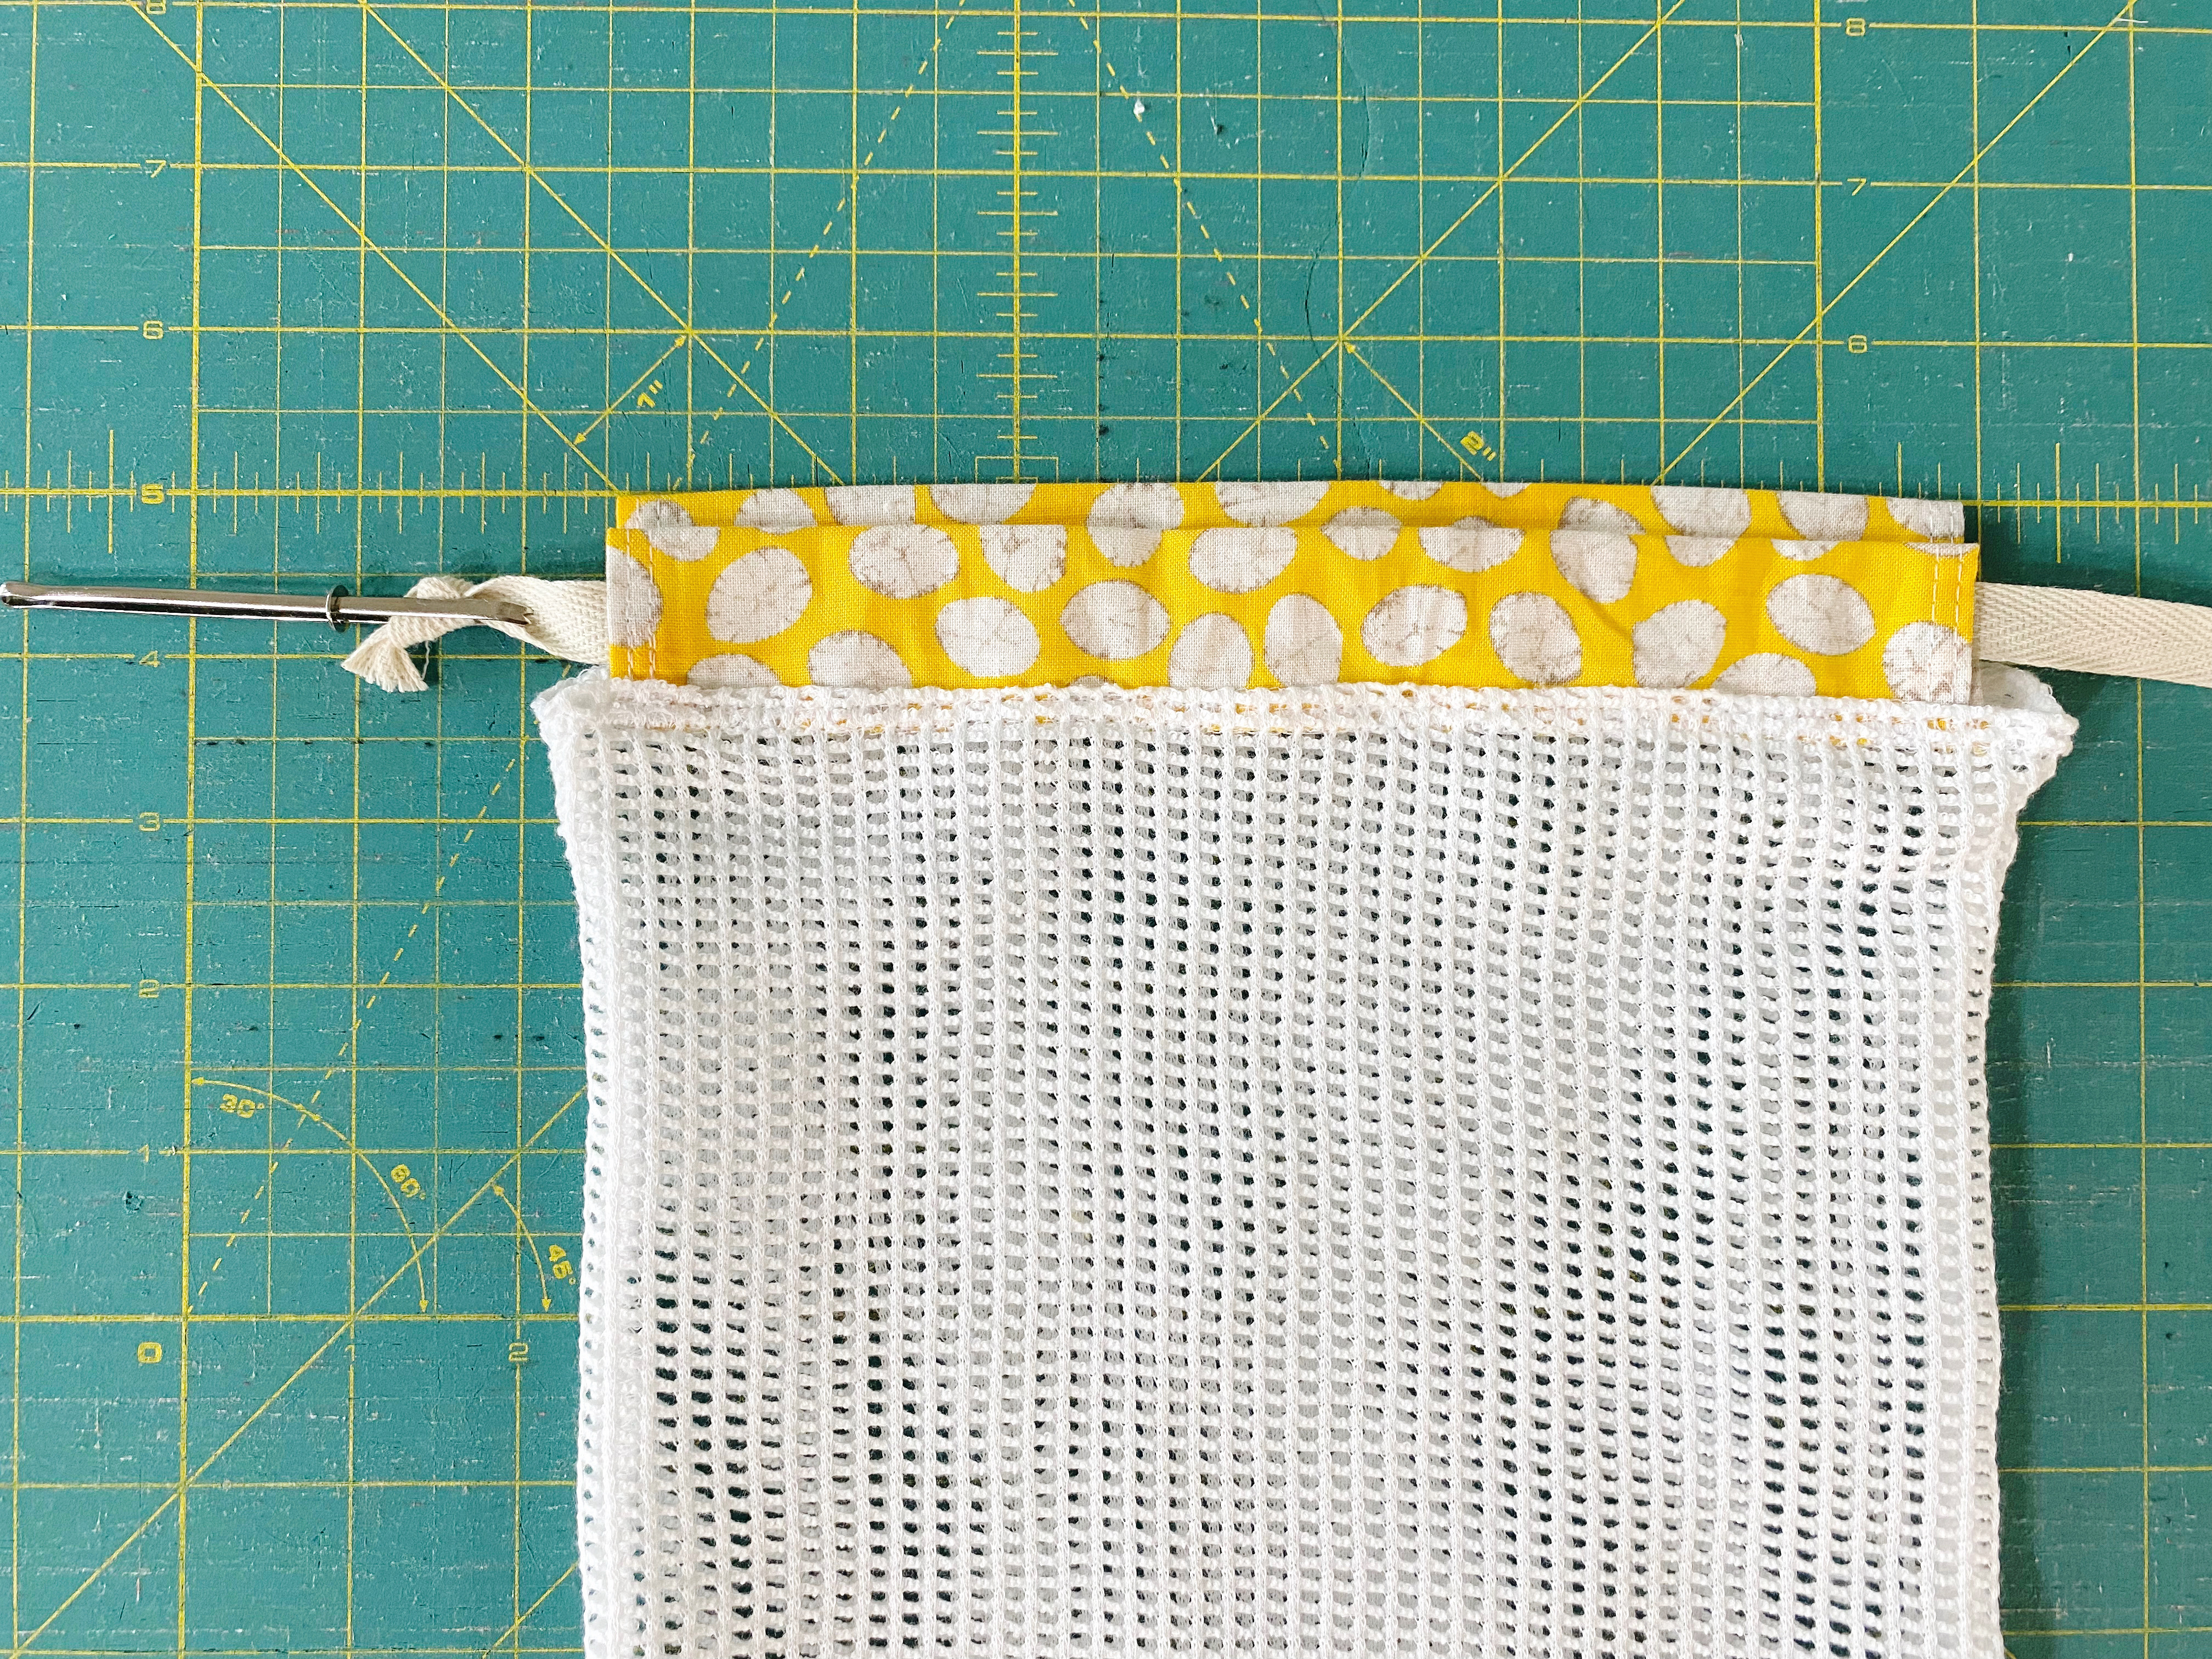
Thread the tails using a tapestry needle or flat needle.
Step 8
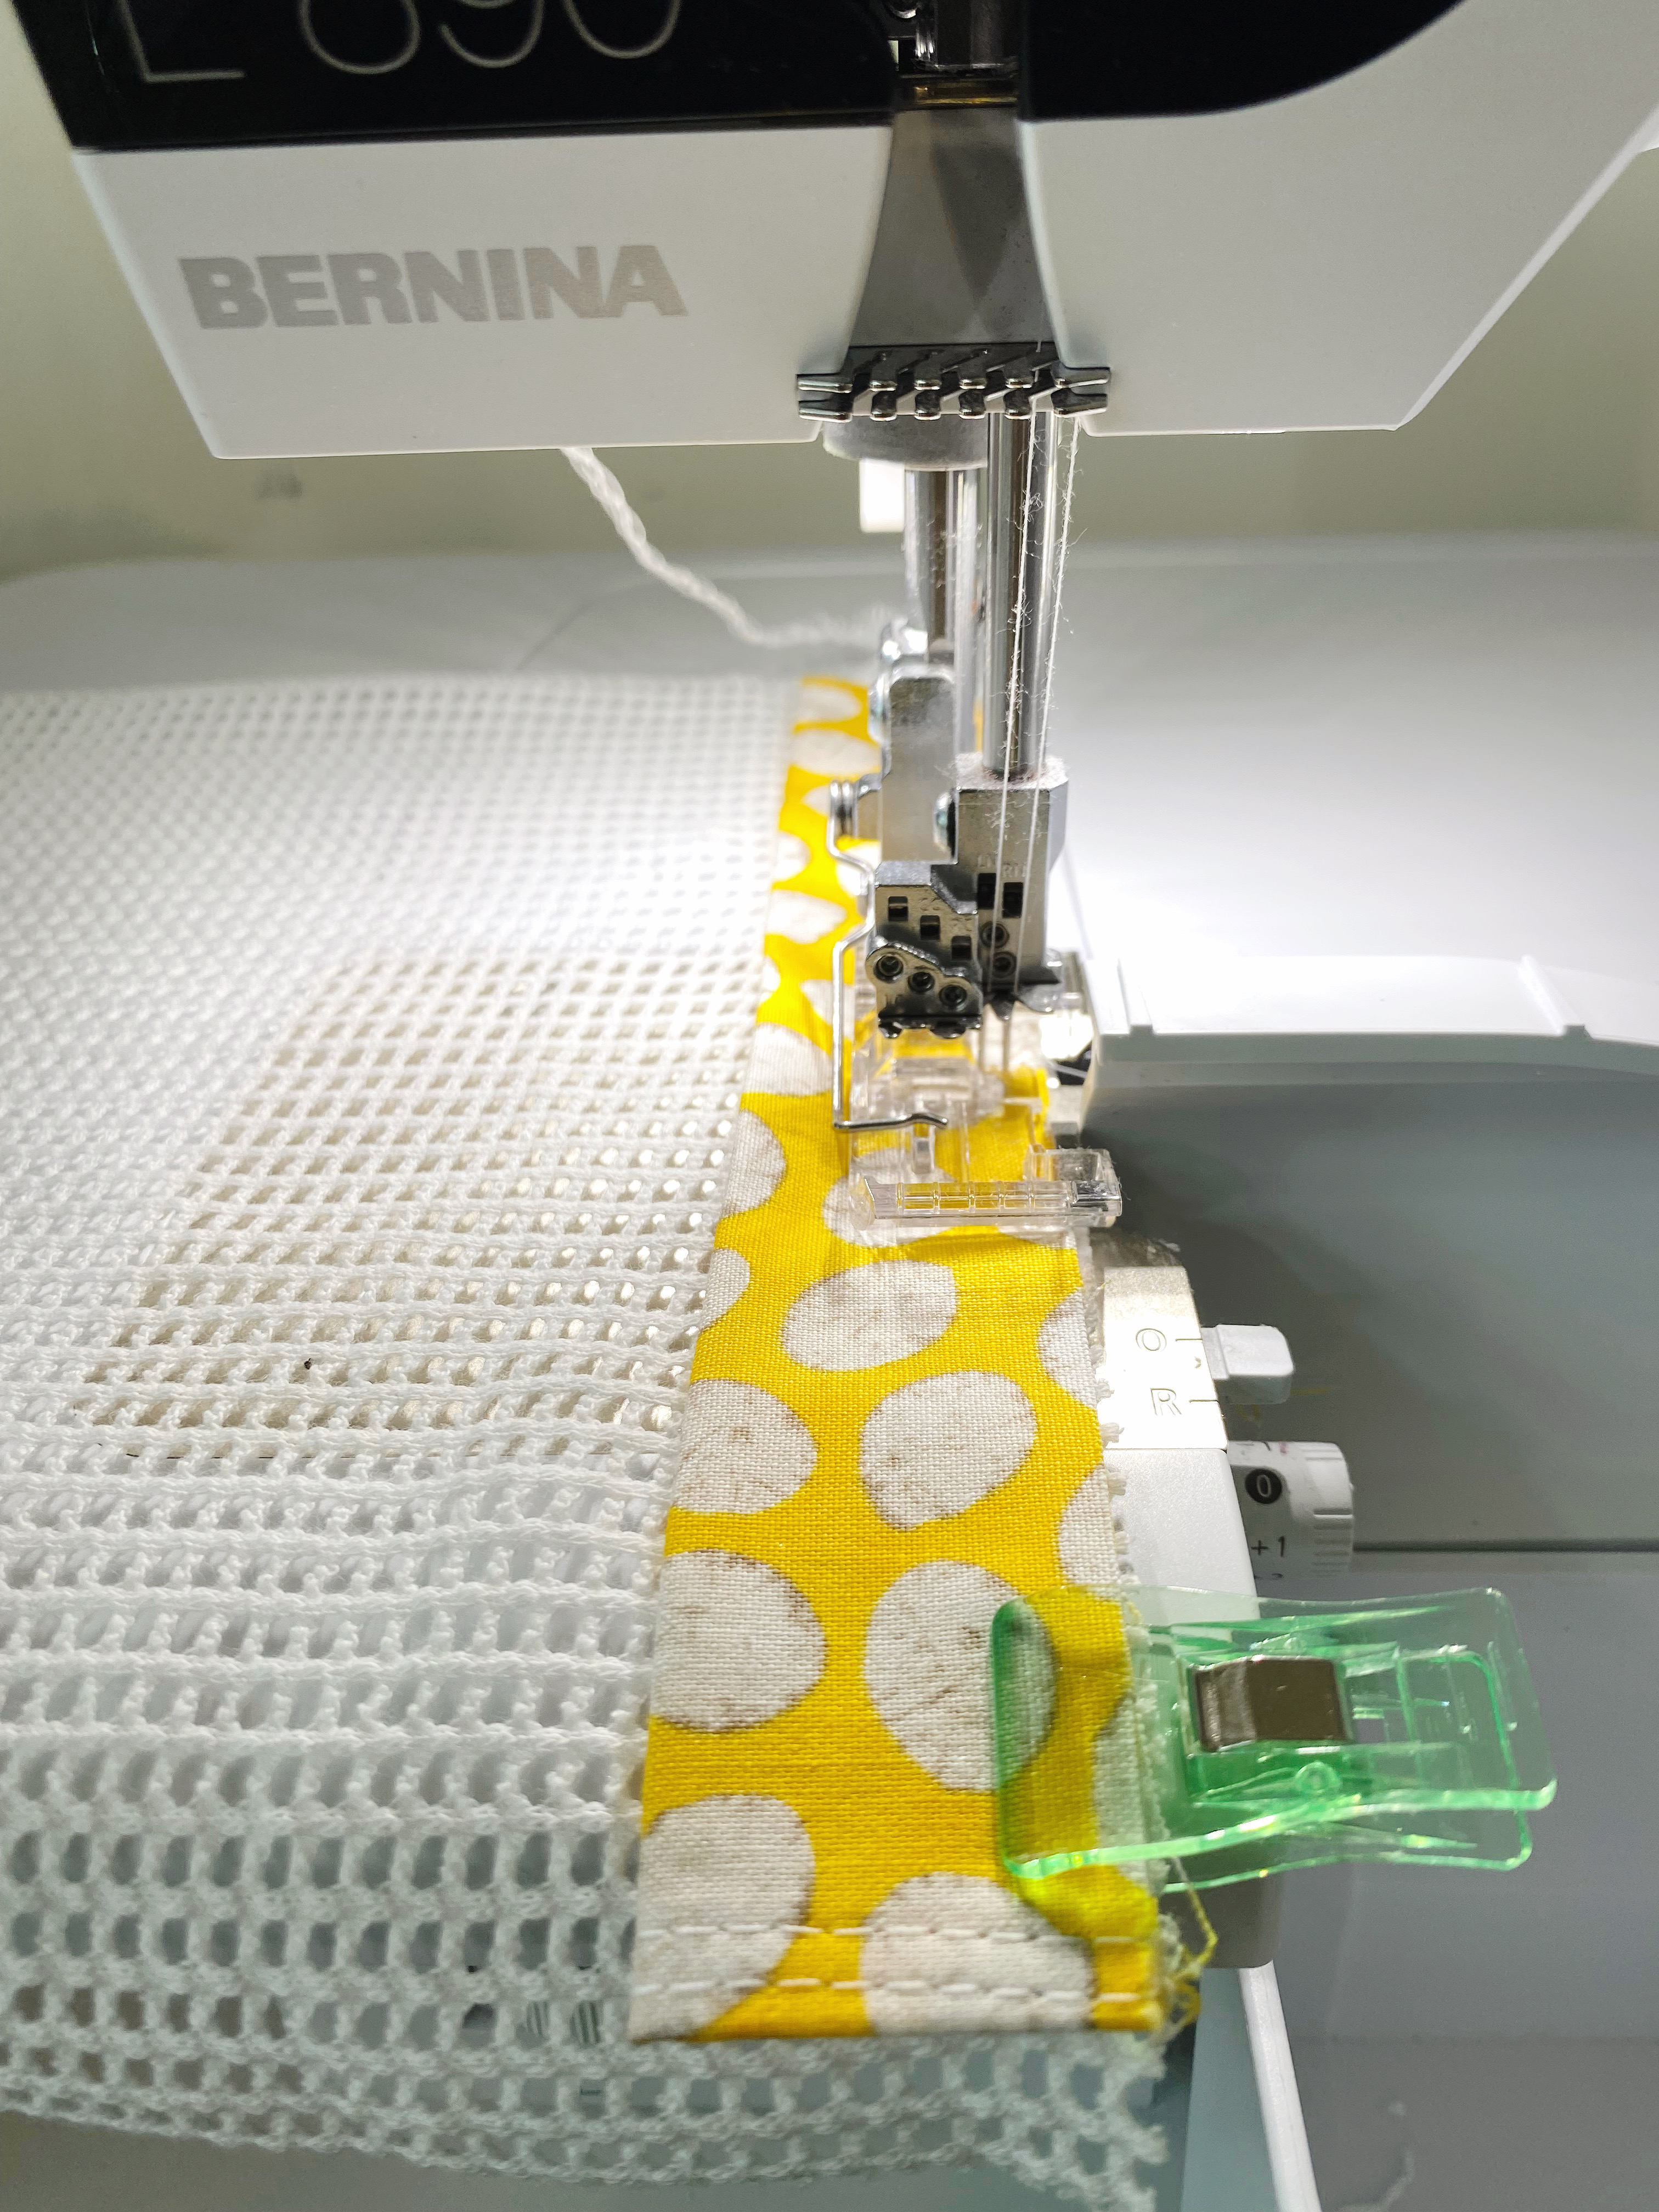
Switch to a 3-thread narrow Coverstitch and sew at the top on the mesh fabric. The casing seams are facing towards the mesh. This will help the seams from flipping and it finishes the edge. I prefer to do this for a neat look, but you could skip this step if desired. The sewing is done! Onto the drawstrings!
Step 9
Collect your two drawstrings and a bodkin (or safety pin). Thread one drawstring through one of the casings, then continue to thread the second casing being careful to not pull the drawstring off the first casing. Match the ends and tie a knot.

Step 10
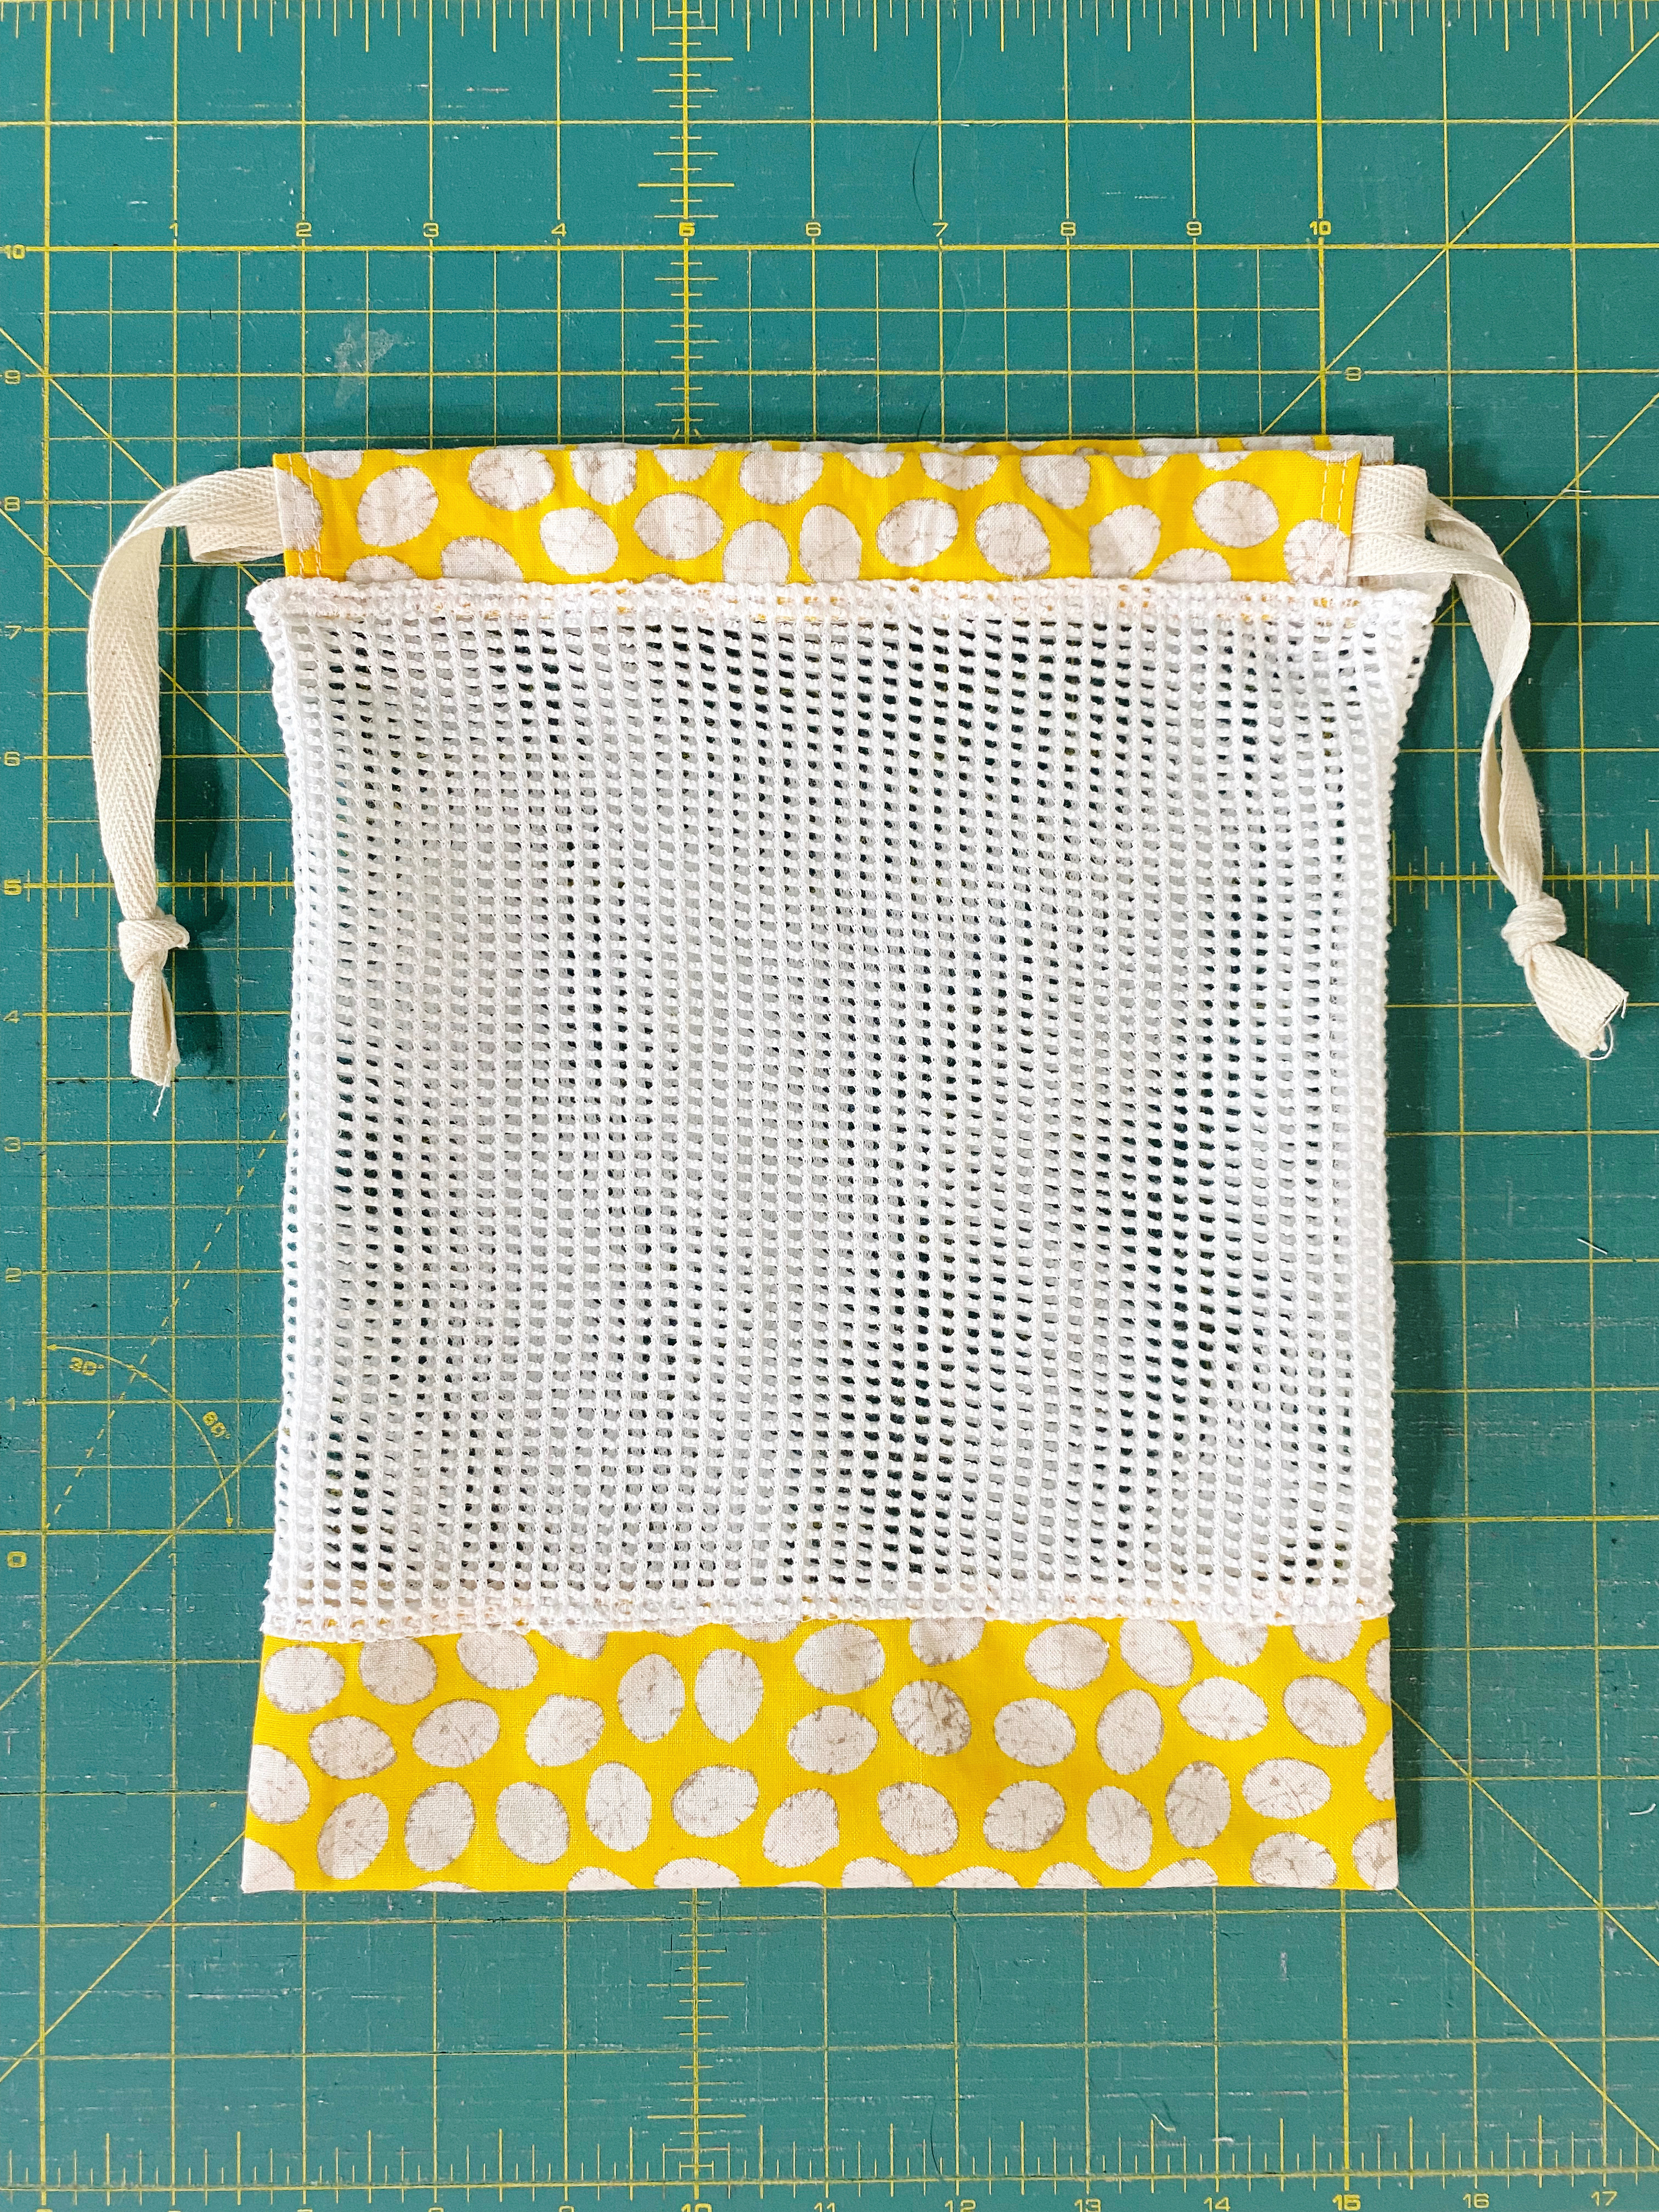
Repeat for the second drawstring, but this time go in and come out from the opposite end. Once threaded, match ends and tie a knot.
The bag is done! Pull strings apart to cinch the top.

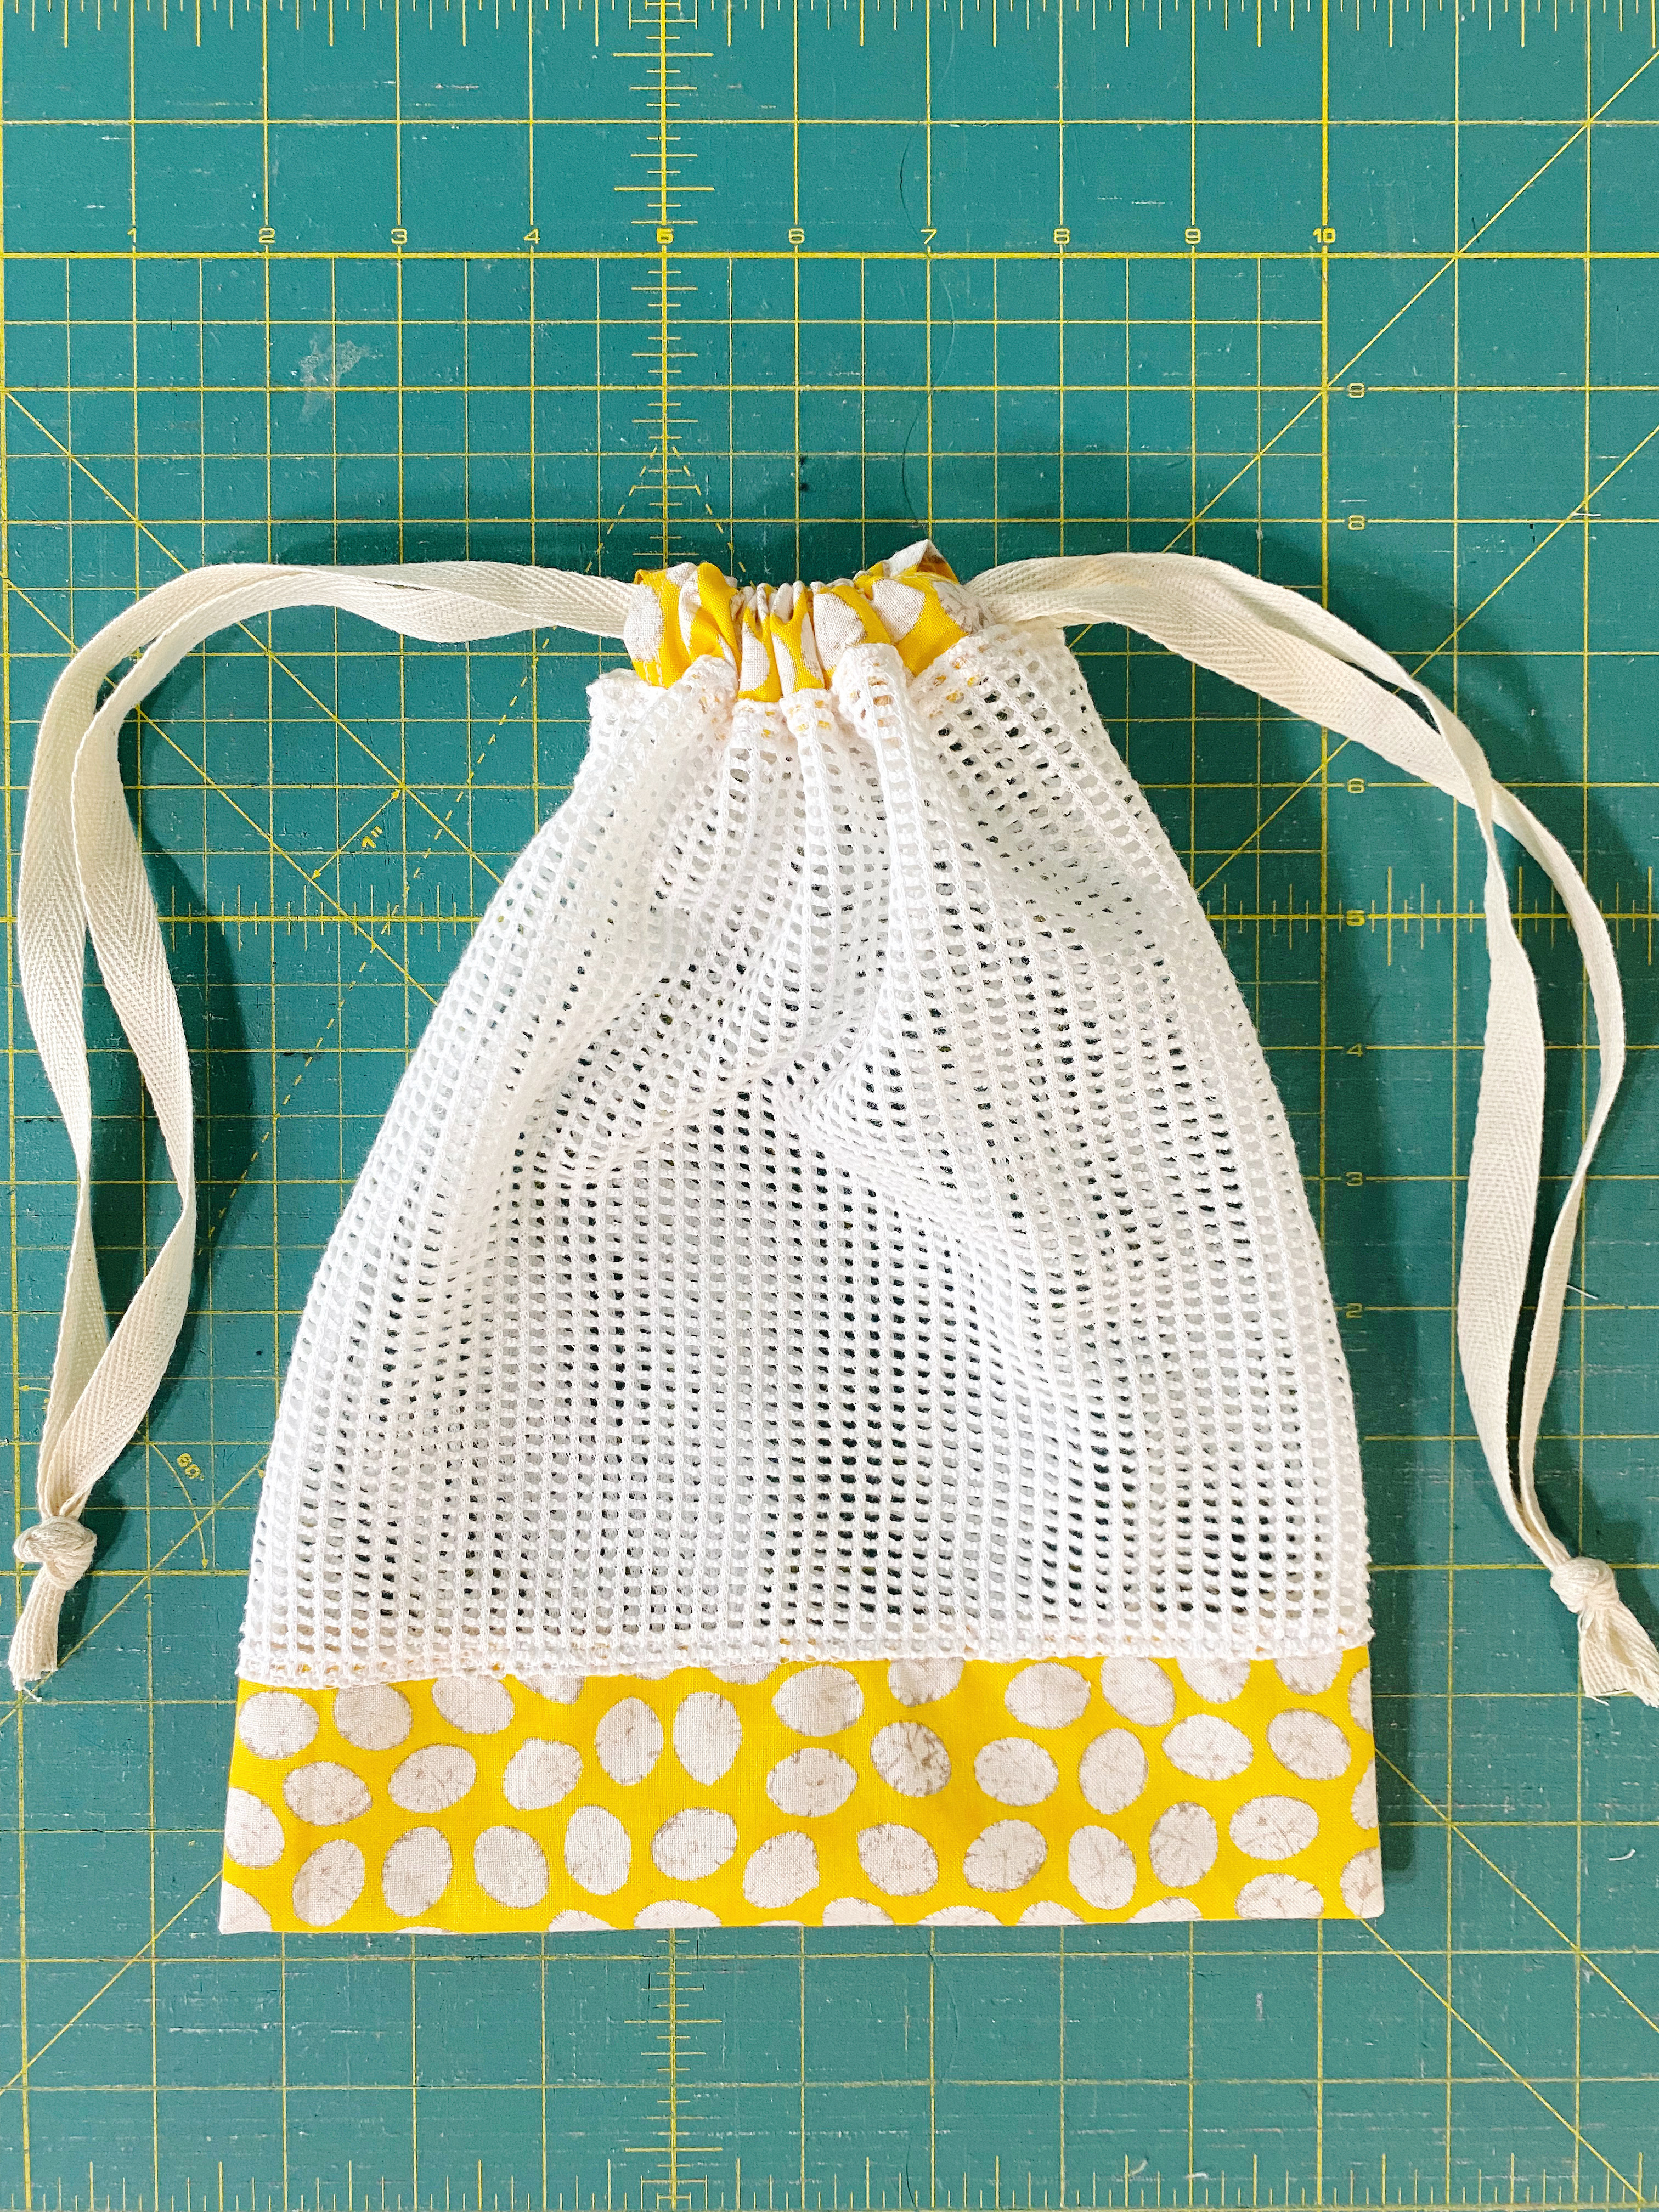
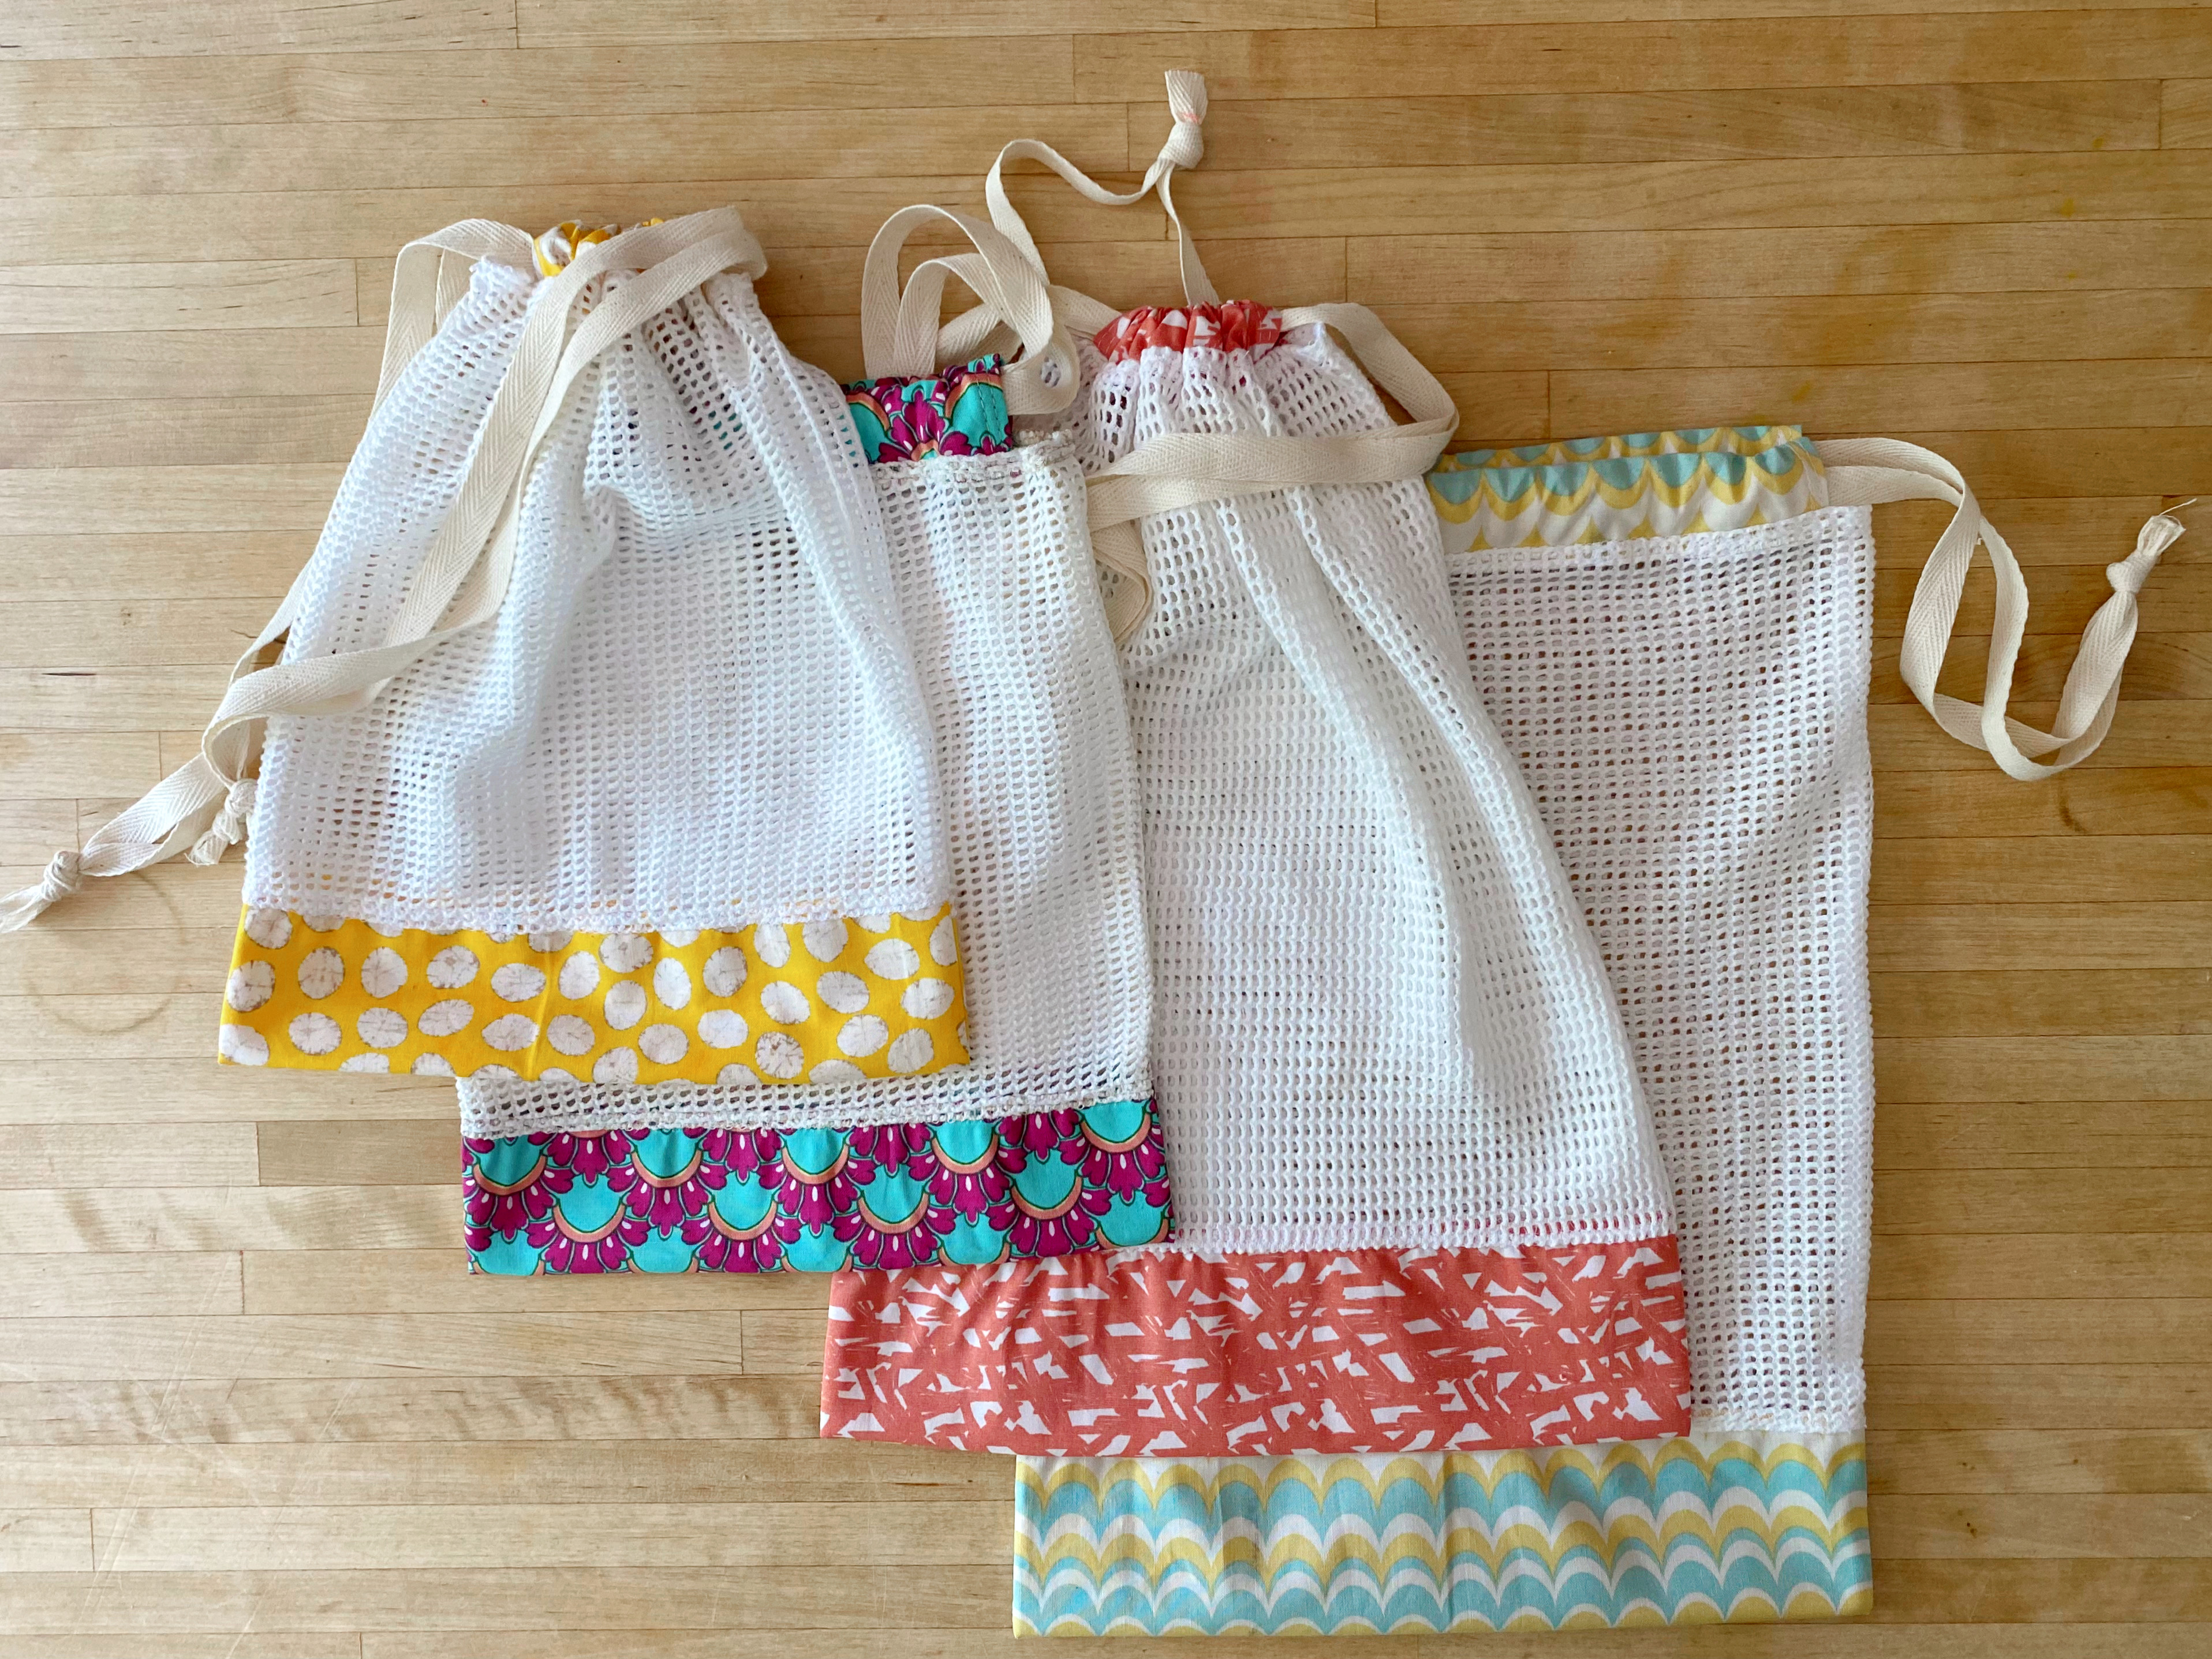
I hope you enjoyed this very quick and easy project. Keep these reusable produce bags in your shopping bags and have fun helping save the environment one plastic bag at a time.
Have fun!
XO,
Silvia
Used Products

What you might also like


3 comments on “How to Make Reusable Produce Bags”
-
-
I got mine on Etsy (shop name was mollipia). It is 100% cotton. Cotton mesh is definitely harder to find, so searching online is the best way to find it. You can also use other type of mesh. And yes, the holes make it very breathable for produce.
-
-
I am wondering if these bags add much weight to the weight of the produce making it cost more???
Leave a Reply
You must be logged in to post a comment.

Great idea but where was cotton mesh found. All places I checked, cotton mesh was listed as 100% polyester! Does it matter? Open holes would allow circulation.