How to Make Personalized Cornhole Bags
I have just recently discovered the game of cornhole. I know you’re probably thinking what rock have I been hiding under, but I’m not a particularly athletic person, so this game is just my speed.
The game of cornhole has actually been around since the late 1800s when it went by the name Parlor Quoits, but it has grown in popularity over the last 15 years. You can now find it everywhere, from backyard parties to ESPN. Cornhole is simple in concept, (throw a weighted bag at a hole in a board) but it can take lots of practice to truly master the game. So, what exactly is cornhole?
How to Play Cornhole
Cornhole teams consist of 1-2 players. The teams take turns throwing the cornhole bag in an underhand motion at a 2-foot by 4-foot board with a hole at the far end. Each team has four bags they can use to score points. Bags are 6 inches by 6 inches and weigh approximately one pound. Each team uses a different set of colored bags so that they can be easily told apart. Points are “earned’ by putting a bag through the hole (3 points), or by a bag that lands on the board and stays there (1 point). The first team to 21 wins.
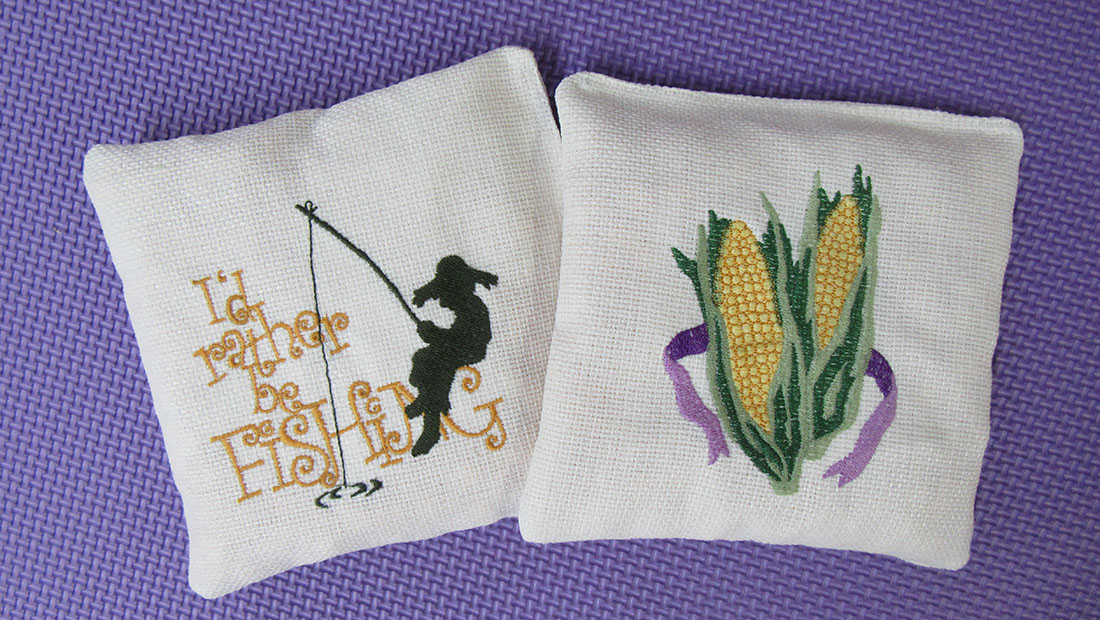
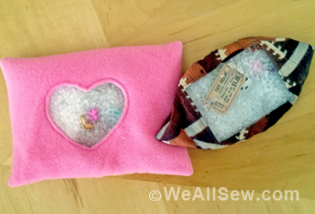
With the growing popularity of the sport, people have started customizing their cornhole bags. There are tons of online sites where you can buy these different bags. Bags range from simple bags of just different primary colors to highly ornate bags. In this tutorial, I’m going to walk you through how to make your own personalized cornhole bag. I embroidered mine, but you could also paint/draw on them instead with fabric paints or ink if you don’t have an embroidery machine. These bags are fast and easy to make and would make great presents for the cornhole lover in your life.
Materials
- 1/3 yard -10 oz duck cloth (I used white to show of the embroidery, but you can use any color)
- 4 lbs- cornfill
- Heavy weight stabilizer for embroidery
- Heavy weight poly thread
- Fabric paint or ink (optional)- if not embroidering
Instructions to Sew Cornhole Bags
Step 1: Cutting the Fabric
If you are going to embroider your bags, cut out 4 squares roughly 7.5 inches by 7.5 inches out of the duck cloth. Cut an additional four squares 7 inches by 7 inches. If not embroidering, cut eight bags 7 inches by 7 inches and skip steps two and three.
Step 2: Embroidering the Bags
Apply stabilizer to the back of each square. You are going to want to use a heavy weight stabilizer with the duck cloth. Find the center of one square and center the square in your embroidery hoop. I recommend picking a design that is between four- and five-inches square. Embroider design on the duck cloth. After embroidering, carefully remove as much stabilizer as possible. I used OESD designs Corn H985 and I’d Rather Be Fishing SR566.
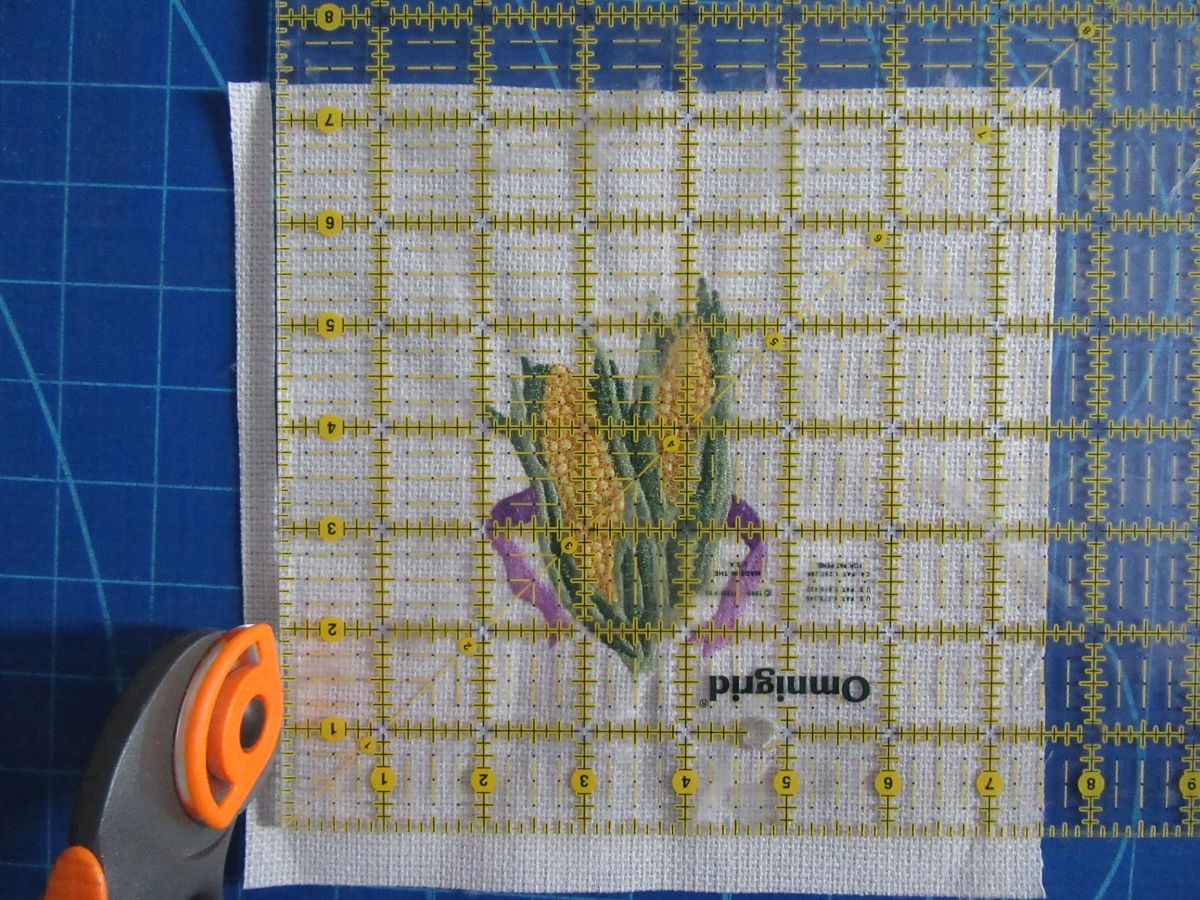
Step 3: Trimming Fabric
Center your design and trim square to 7 inches by 7 inches.
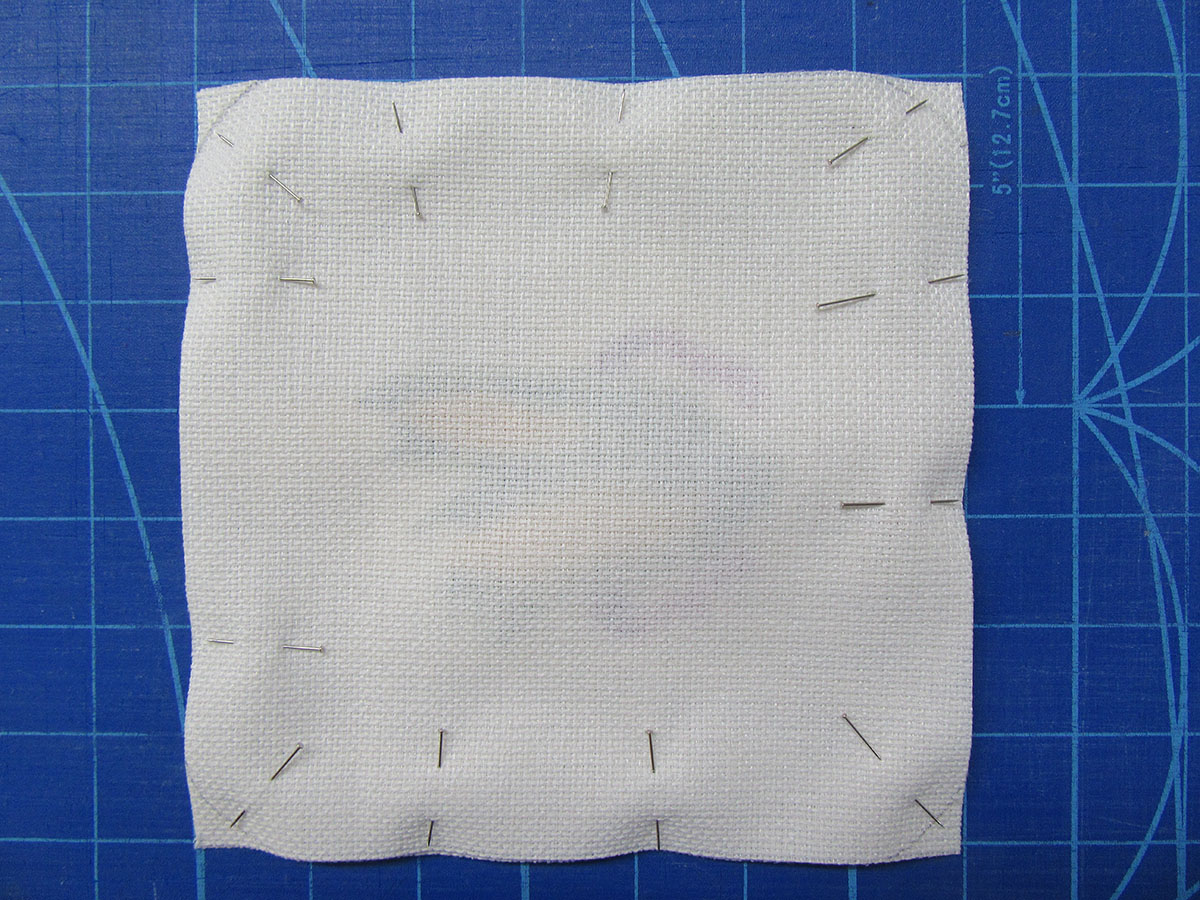
Step 4: Sewing Preparation
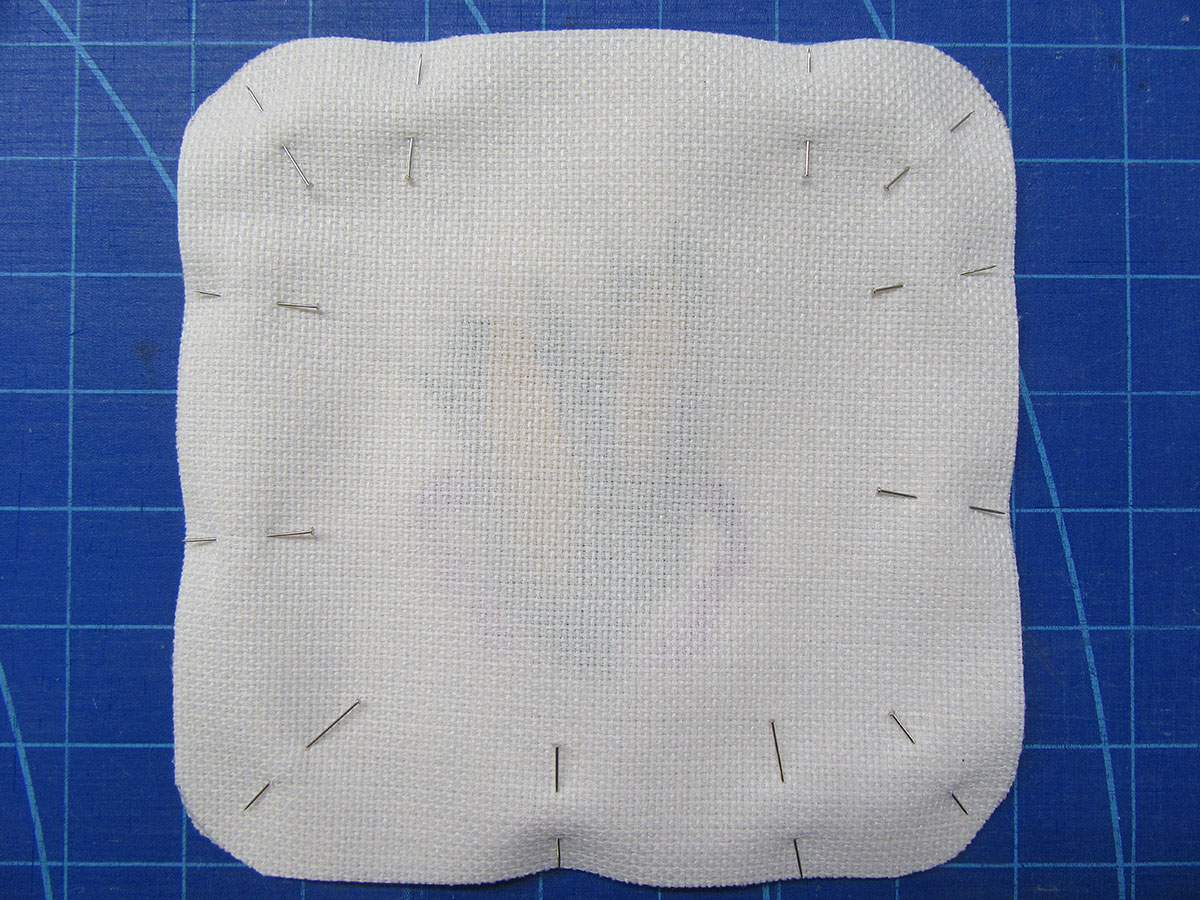
Place one plain duck cloth square on top of one embroidered square right sides together. Pin leaving a section on one side approximately 2 inches long open. This will be used to turn the cornhole bag.
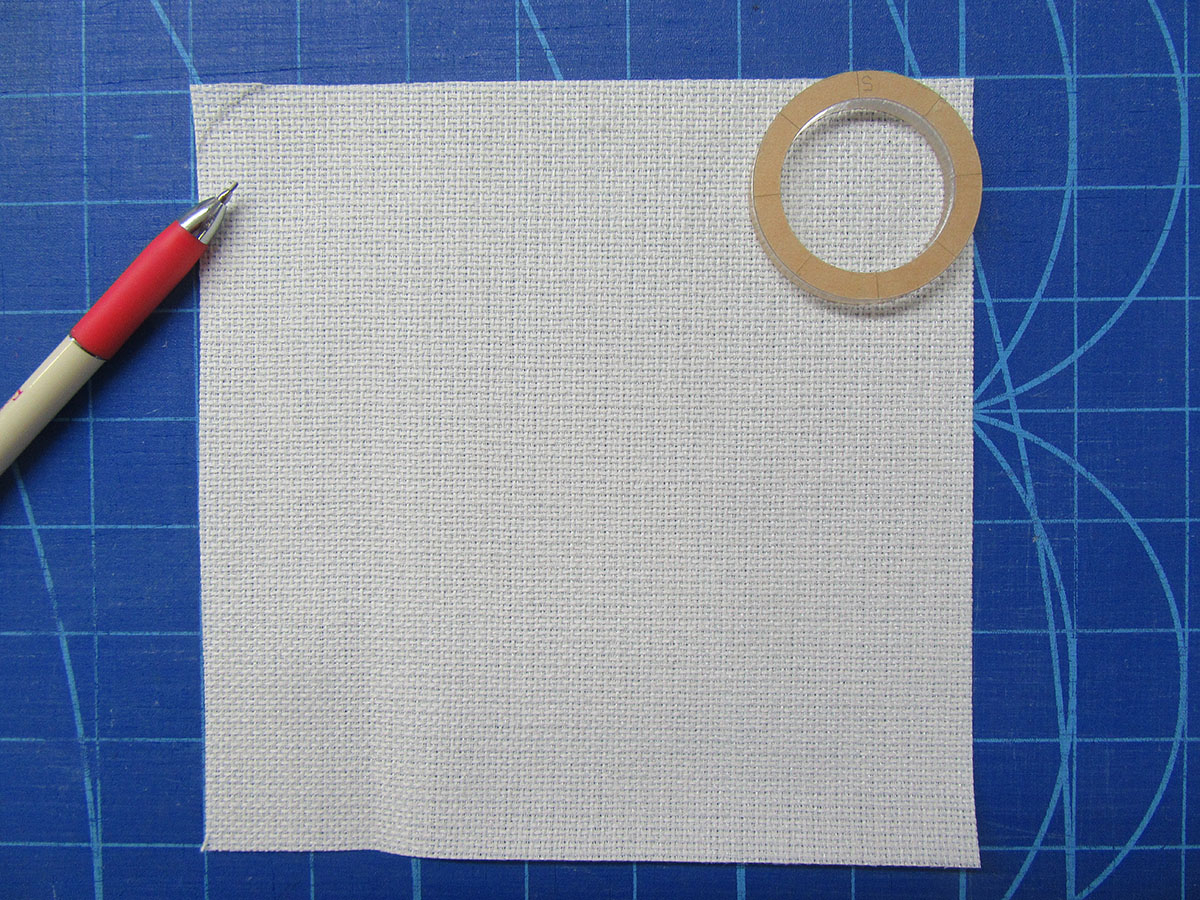
Step 5: Sewing Prep Continued
Place a 2-inch circle template on the of the layered square. Align template with sides of square and trace around the circle from one side to the opposite side. This will create a rounded corner. Repeat on remaining three corners. Cut along traced line making sure to cut through both layers of duck cloth. Repeat on remaining corners. (Pinning layers before cutting ensures that both sides with be exactly the same.)
Step 6: Sewing the Bags
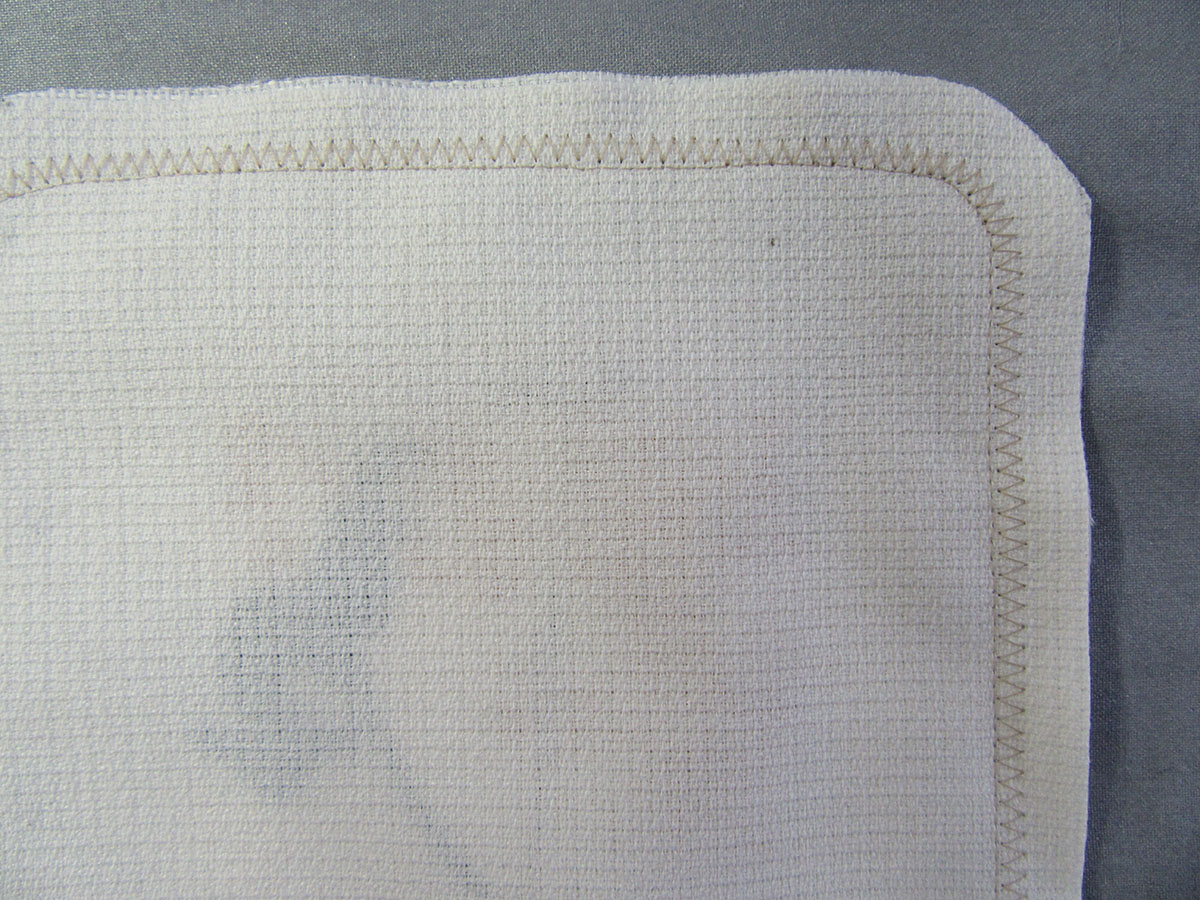
Load your machine with a 40-weight poly thread. Poly thread is stronger than cotton and will be less likely to break with repeated throwing of the cornhole bag. Using a ½ seam allowance, sew around the edges of the square. Back stitch and stopping and starting points making sure to leave a two-inch opening on one side.
Step 7: Sewing Continued
Using a narrow zig-zag stitch, sew close to previously sewn seam line. This will help to reinforce the seams and keep them from breaking open when thrown.
Step 8: Sewing Continued
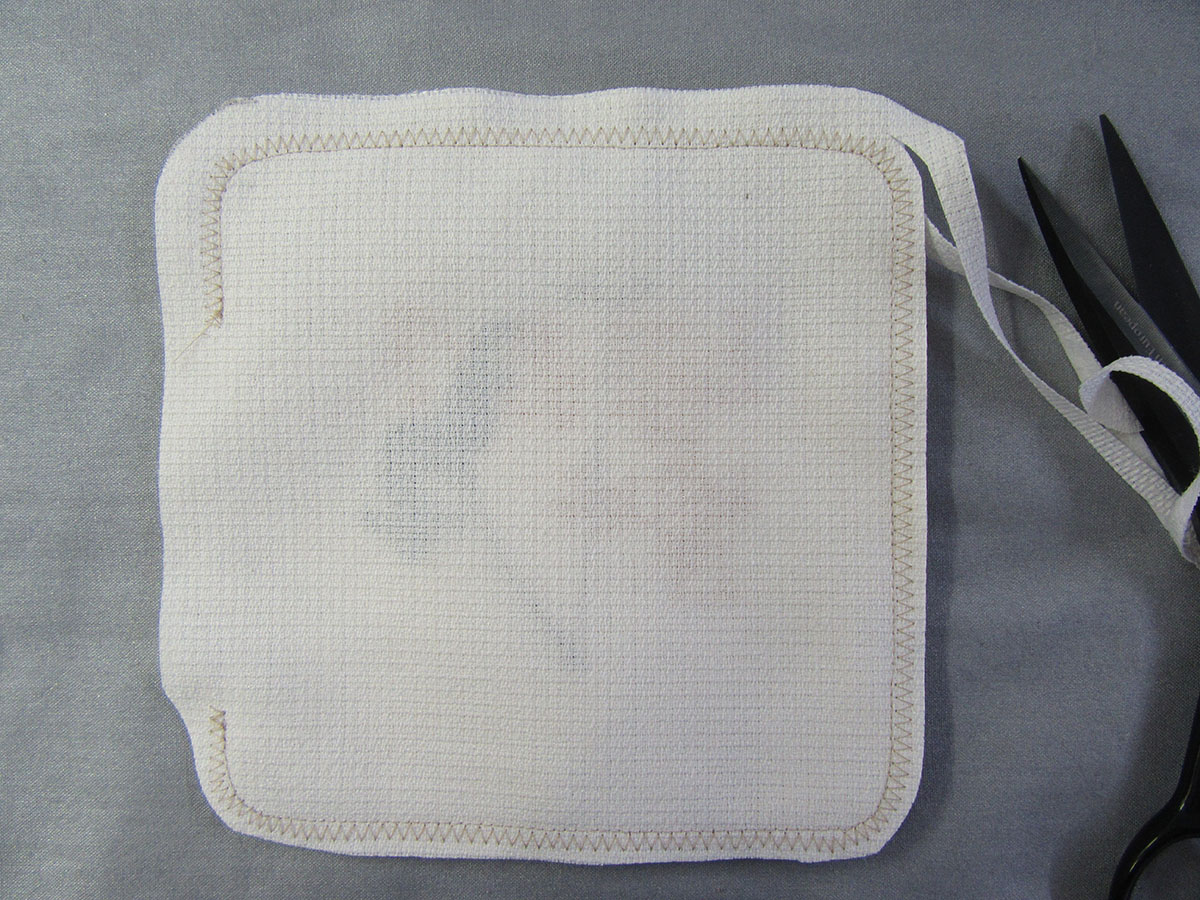
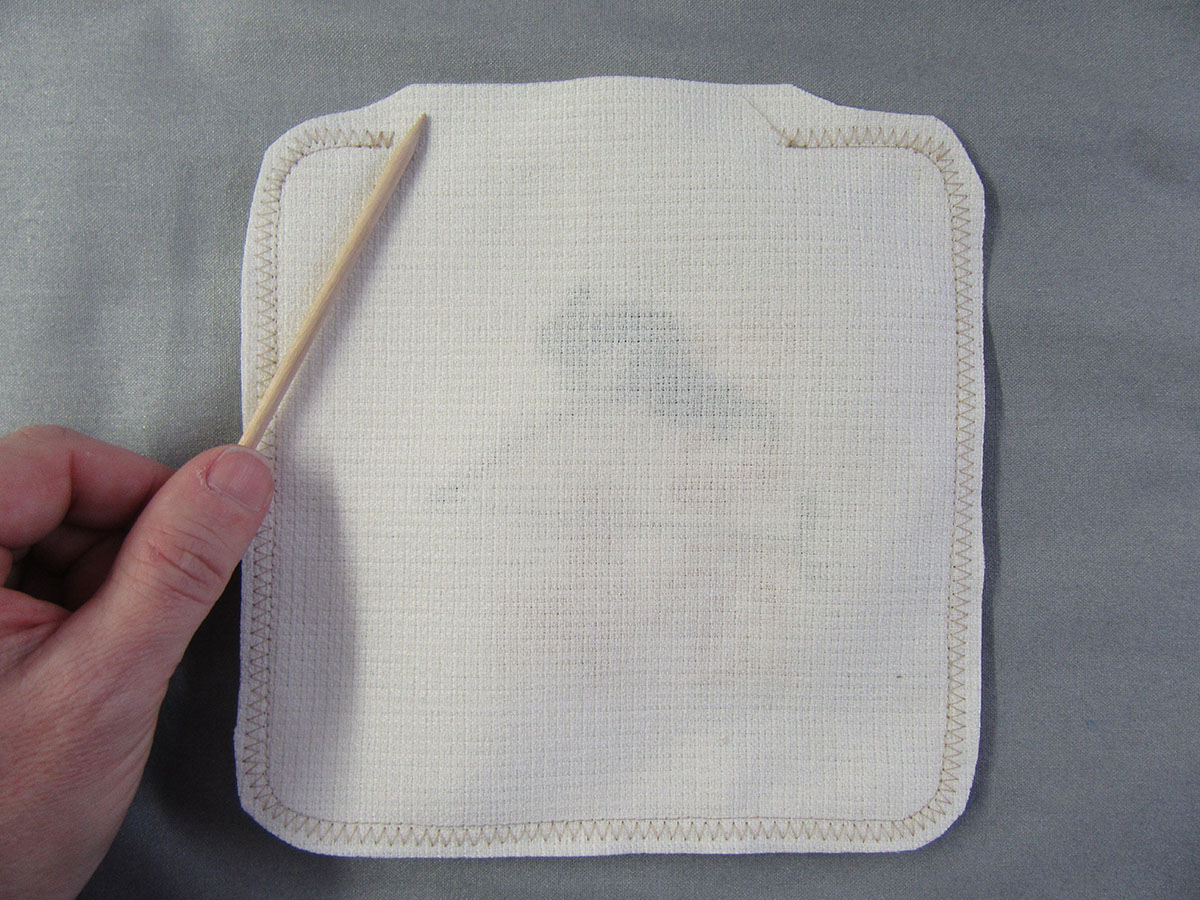
Trim seam allowance to slightly less than ¼ inch. Make sure that you do not trim to closely to seams, as this will weaken them, and they might burst when thrown. Do not trim unstitched opening. Turn bag right side out, and push rounded corner seams out using an orange stick.
Step 9: Stuffing the Bags
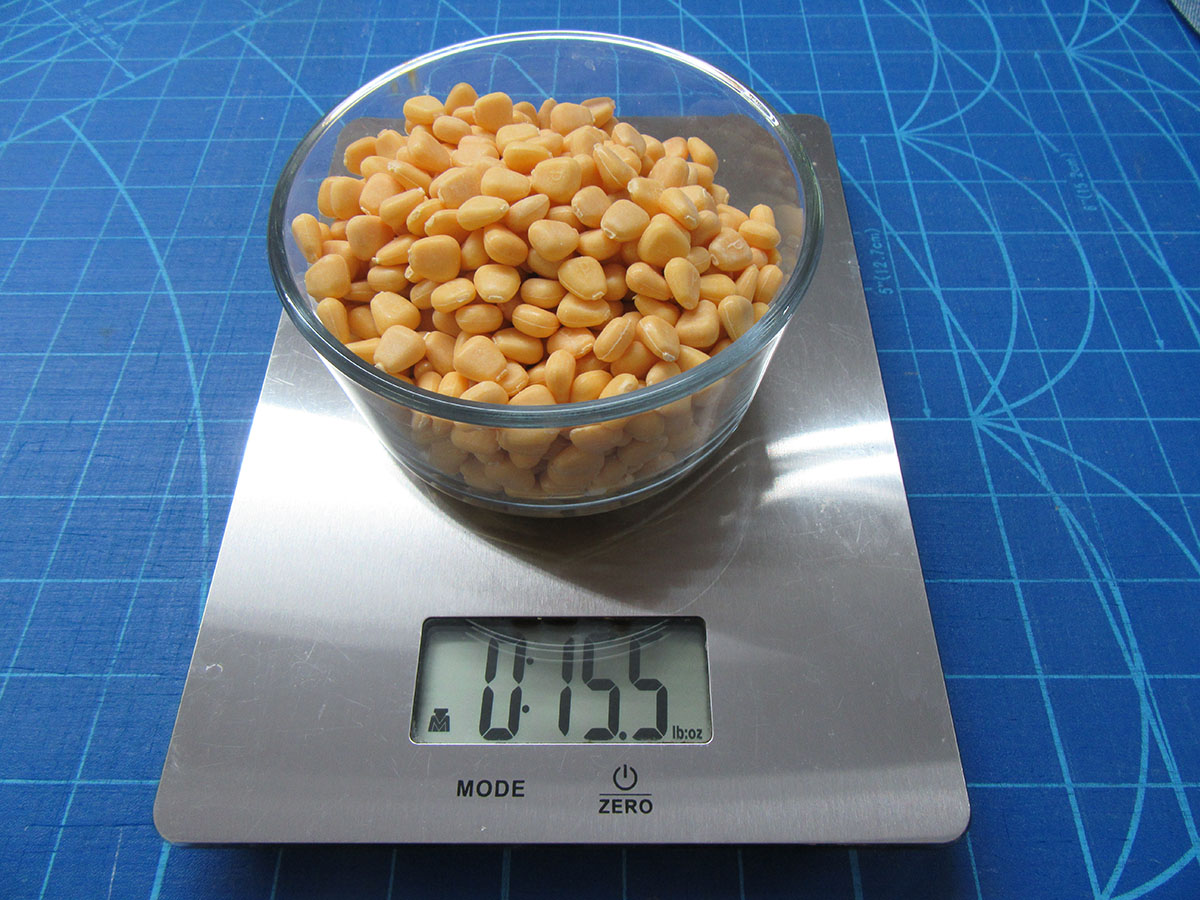
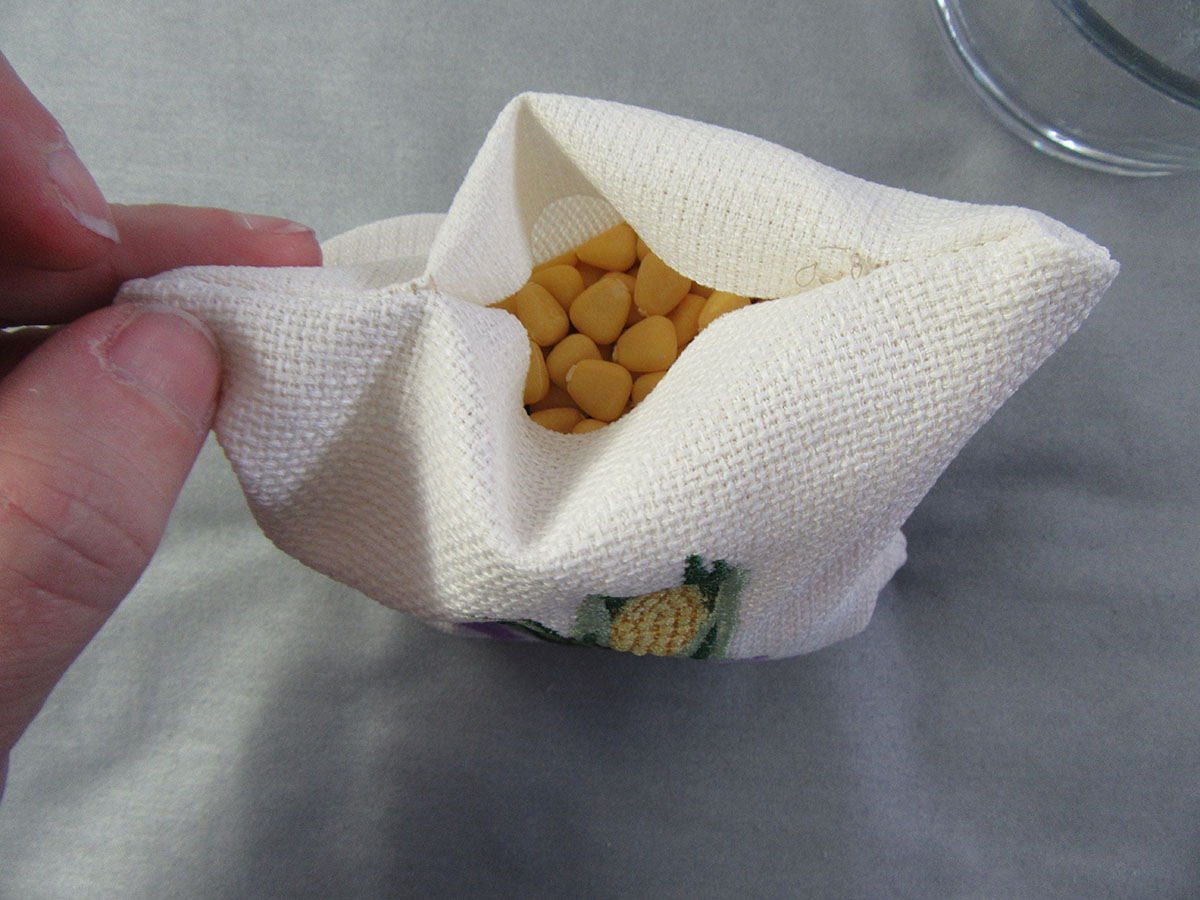
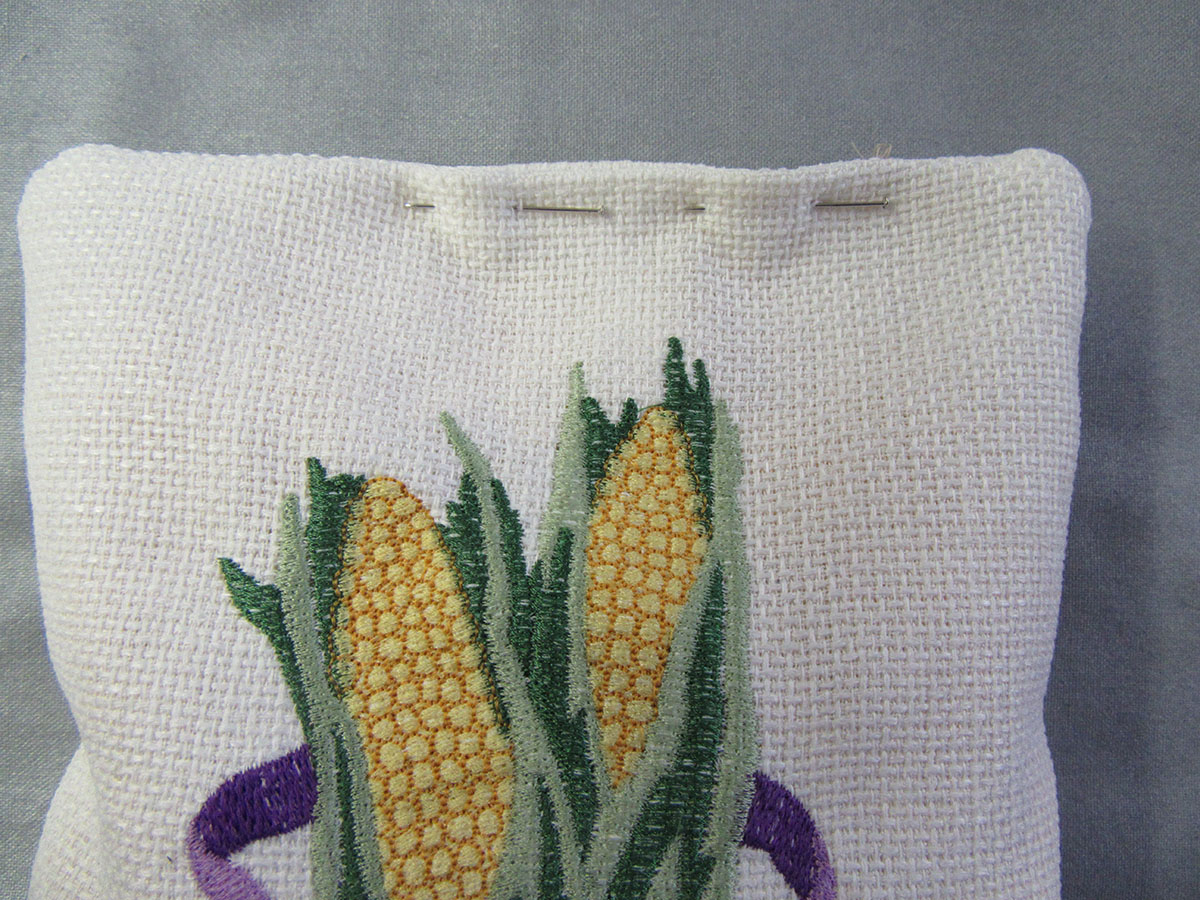
Using a digital scale, measure out 15.5 ounces of corn fill. (Photo 1) The fill, plus the material, will make the regulation one-pound bag. Carefully fill cornhole bag with measured corn. (Photo 2) DO NOT OVERFILL! Turn under opening edges ½ inch and pin together. (Photo 3)
Step 10: Finishing
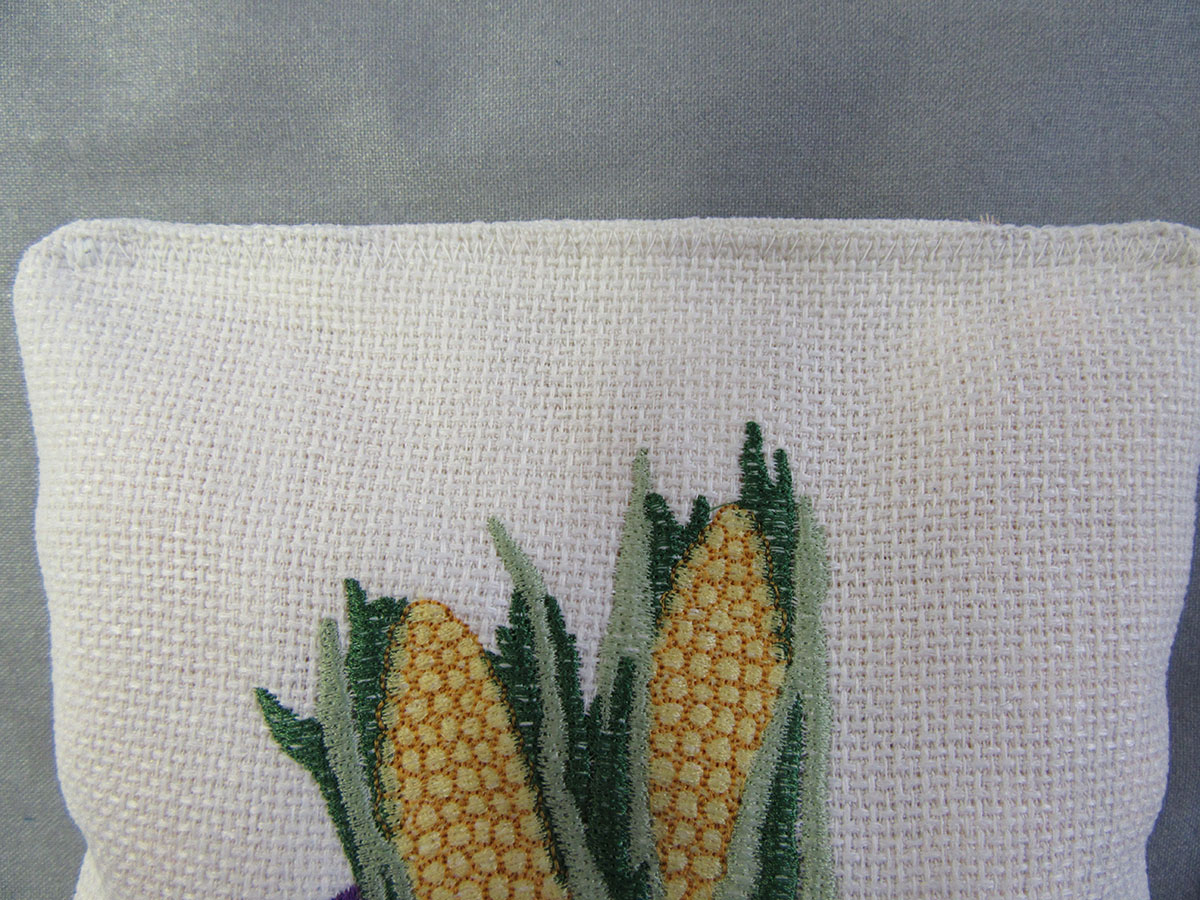
Shake fill to opposite side of bag from opening. Make sure that all corn filling is safely away from the needle. Using a narrow zig-zag stitch, stitch from one corner to the other corner, stitching closed opening in the middle as you go.
Step 11: Finishing Continued
Repeat steps 1 through 9 to make three additional bags. As long as the bags are the same color, you can put any embroidery designs you like on them. Just make sure they are easily identifiable as a group so that there is no confusion as to which bags belong to your team when you are playing the game.
Now that you have your own fun personalized bags, all you need is to find a buddy, and you can play to your heart’s content.
To find out more about cornhole, and all the official rules, check out the American Cornhole Association’s official website.
Any plastic corn fill will work. I found this one at Amazon.com


What you might also like


2 comments on “How to Make Personalized Cornhole Bags”
-
-
The original design came from OESD and was called corn H985. Unfortunately, they don’t seem to carry it anymore, but here is a link to a similar one. Hope it works for you. https://oesd.com/corn-stitch-n-turn/
-
Leave a Reply
You must be logged in to post a comment.

Tried to find embroidery design for corn ears and no luck. Suggestions on how to search other than the design @ given or the name?