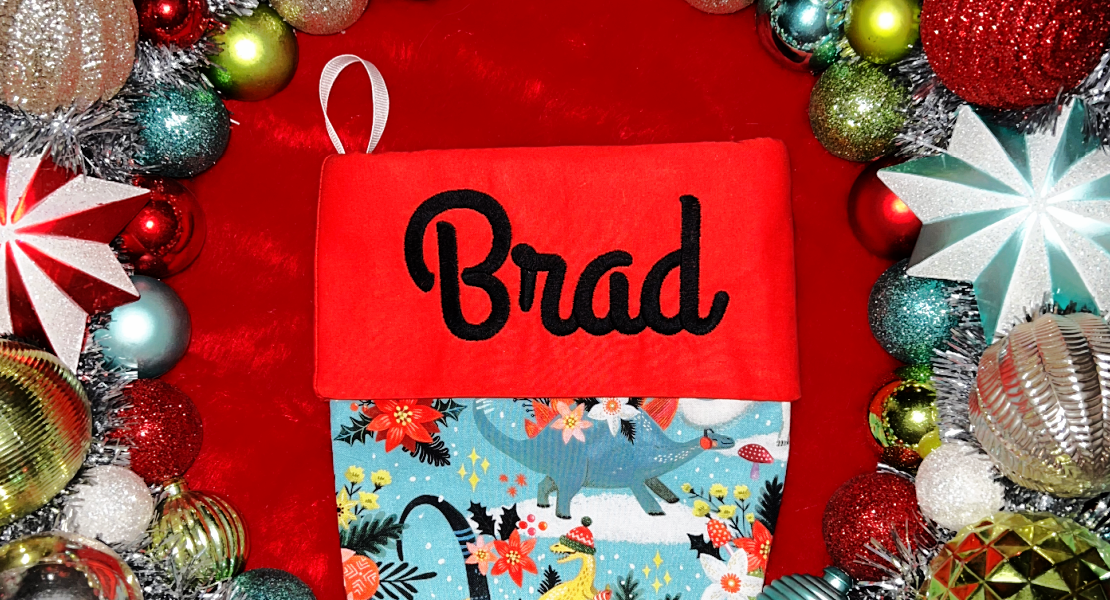
How to Sew a Personalized Flannel Christmas Stocking
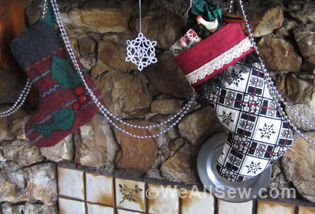
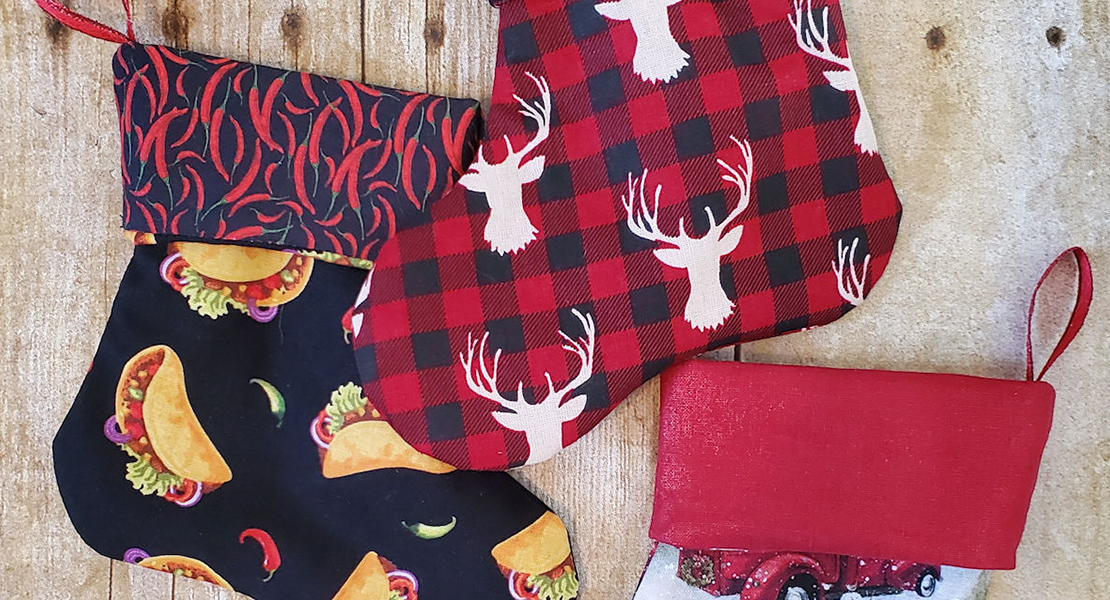
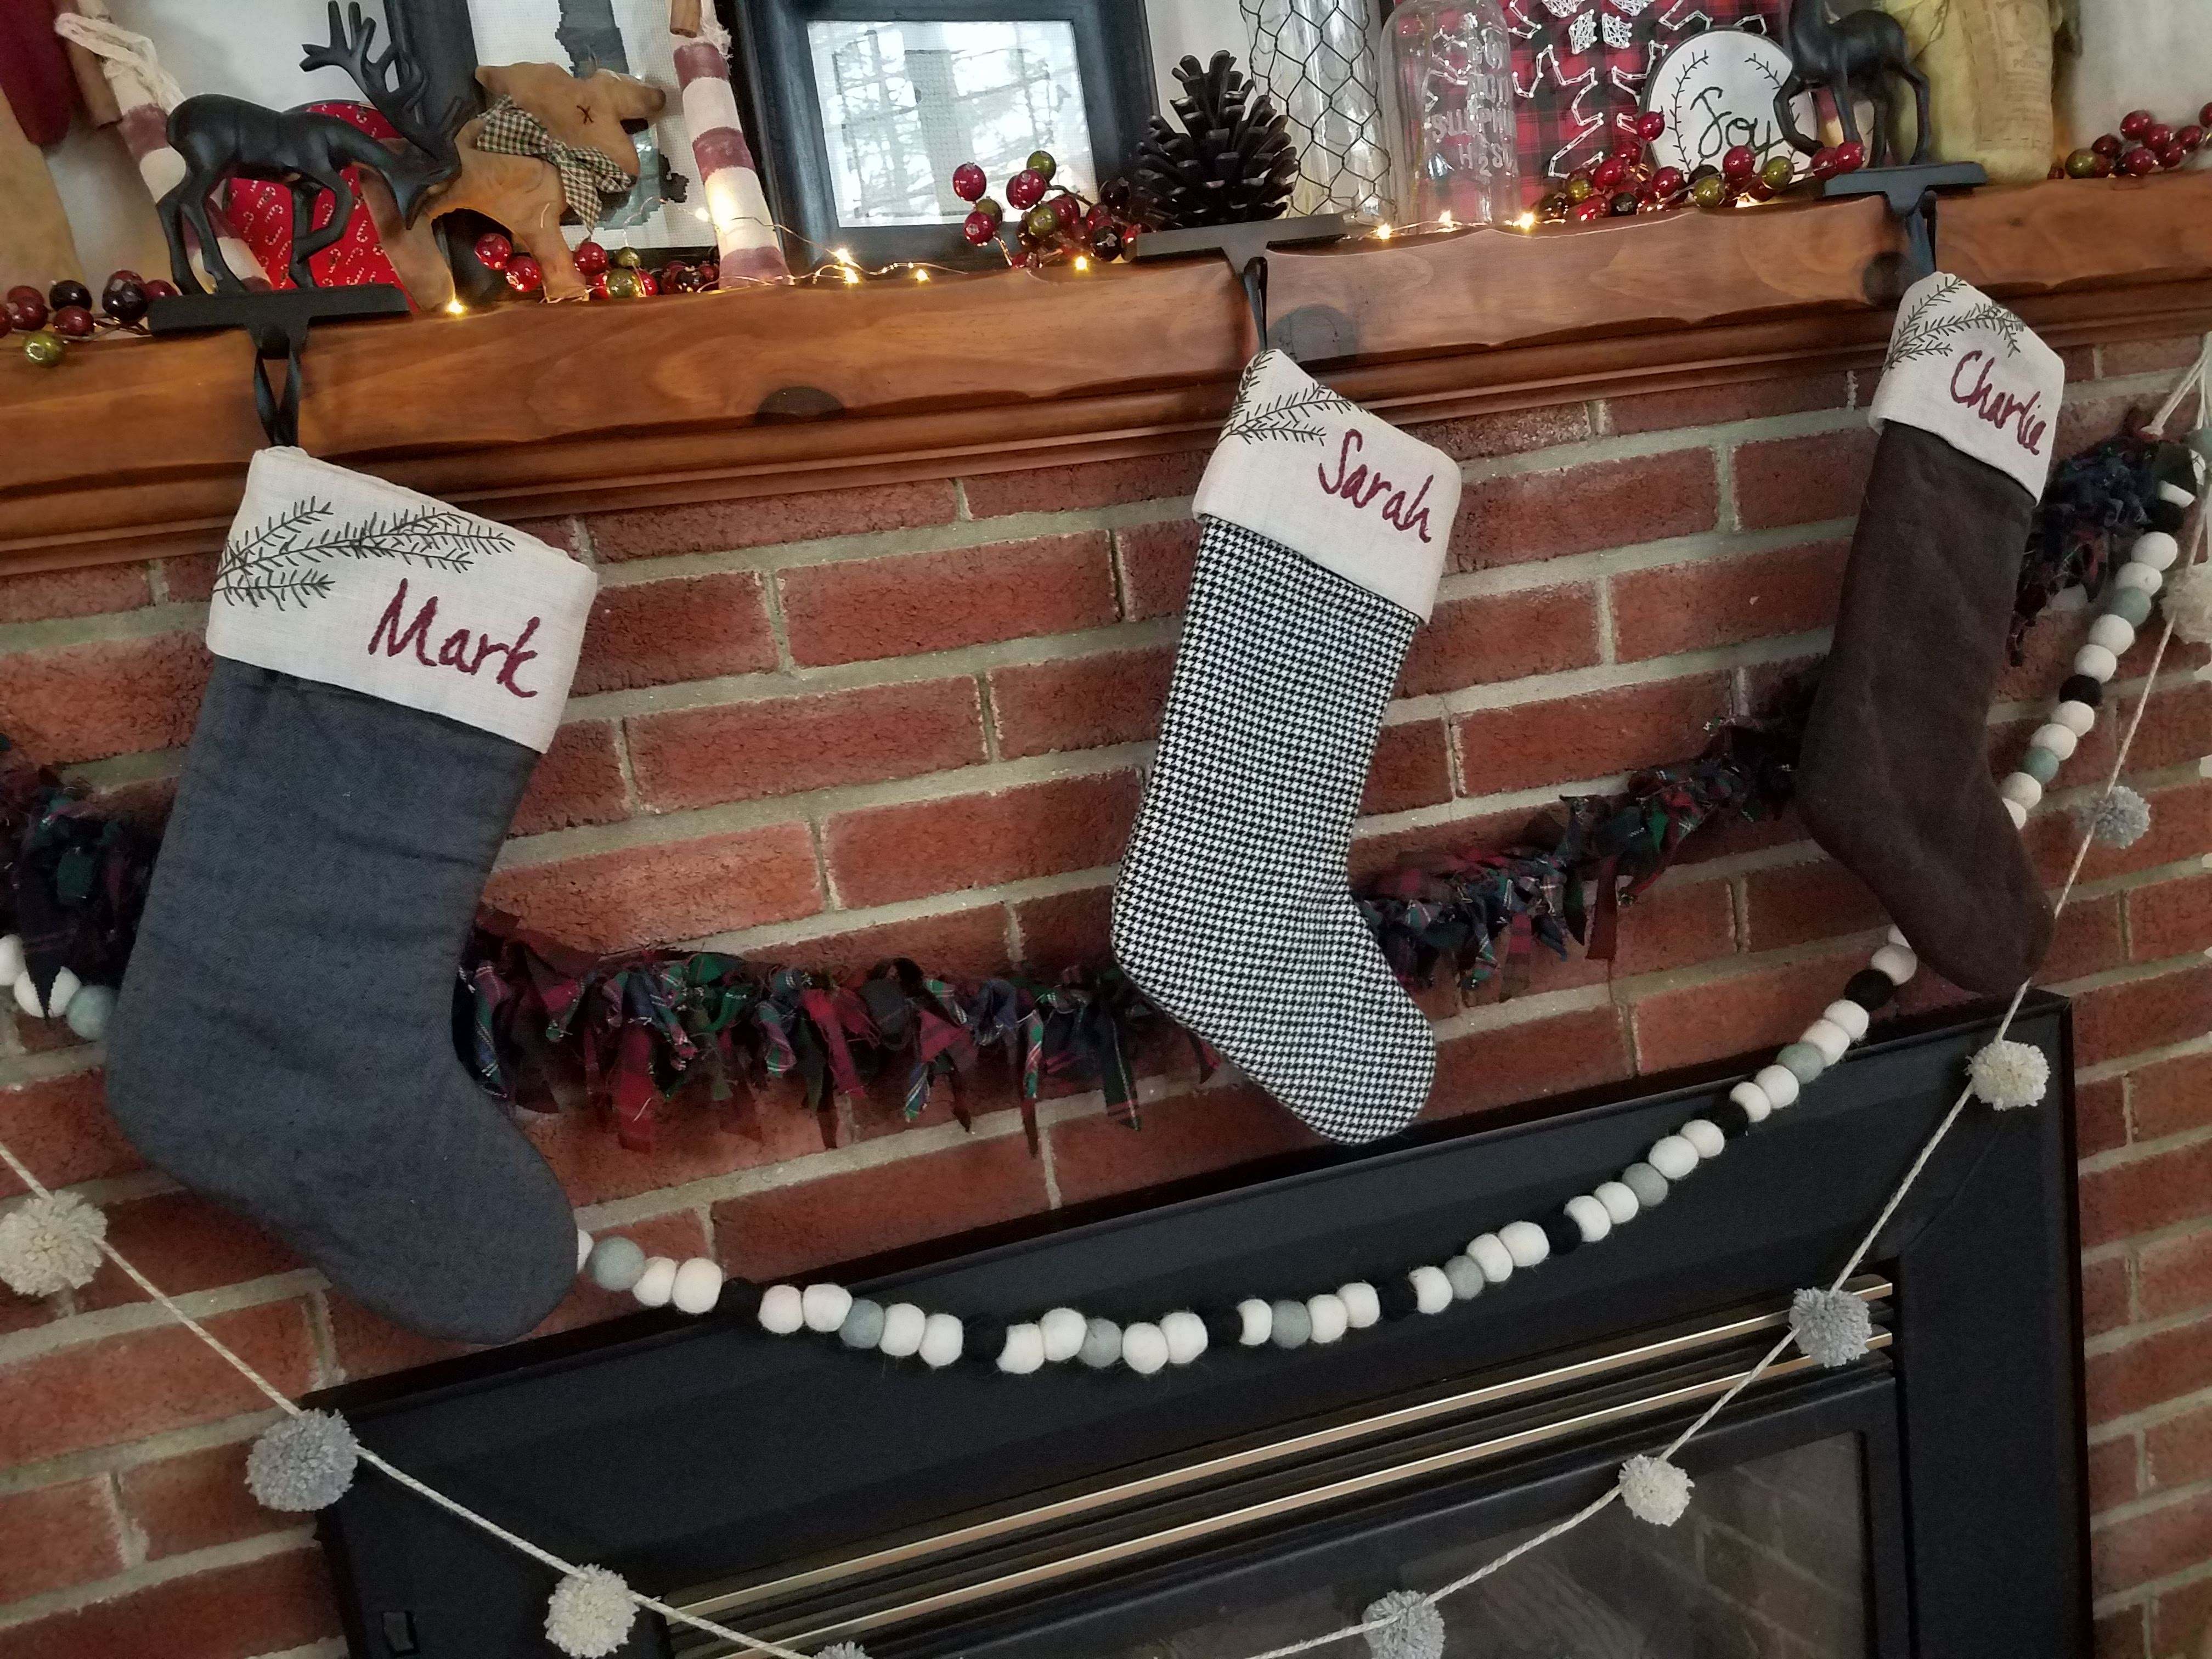
When searching for Christmas stockings for our family, I knew I wanted something a little less traditional. When I couldn’t find what I had in mind, I decided to make my own. In this post, I’m going to share that tutorial and pattern with you so that you can make personalized Christmas stockings for you and your family.
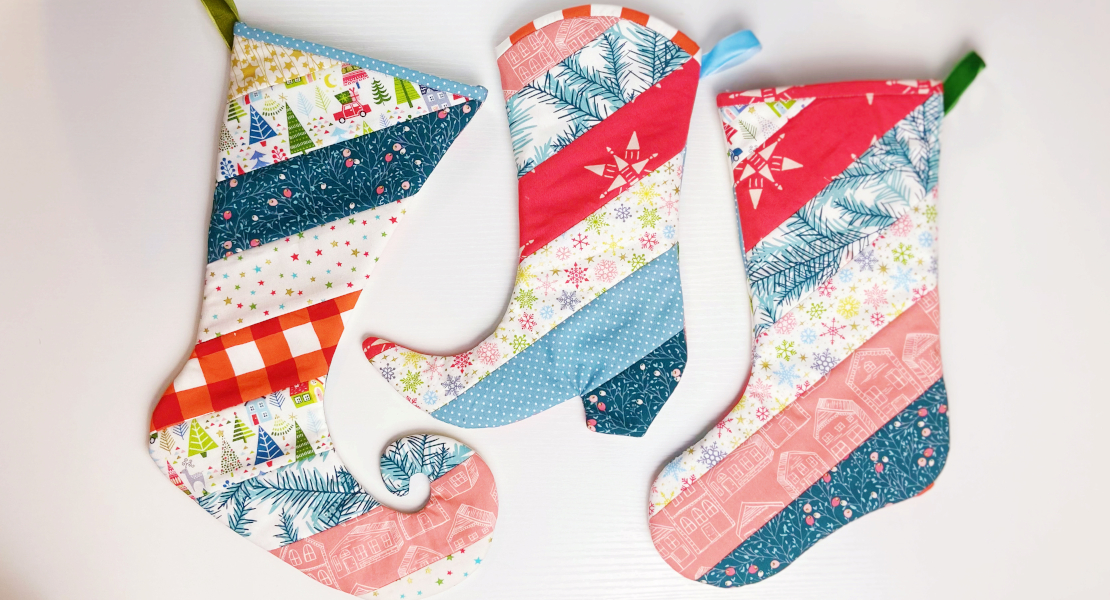
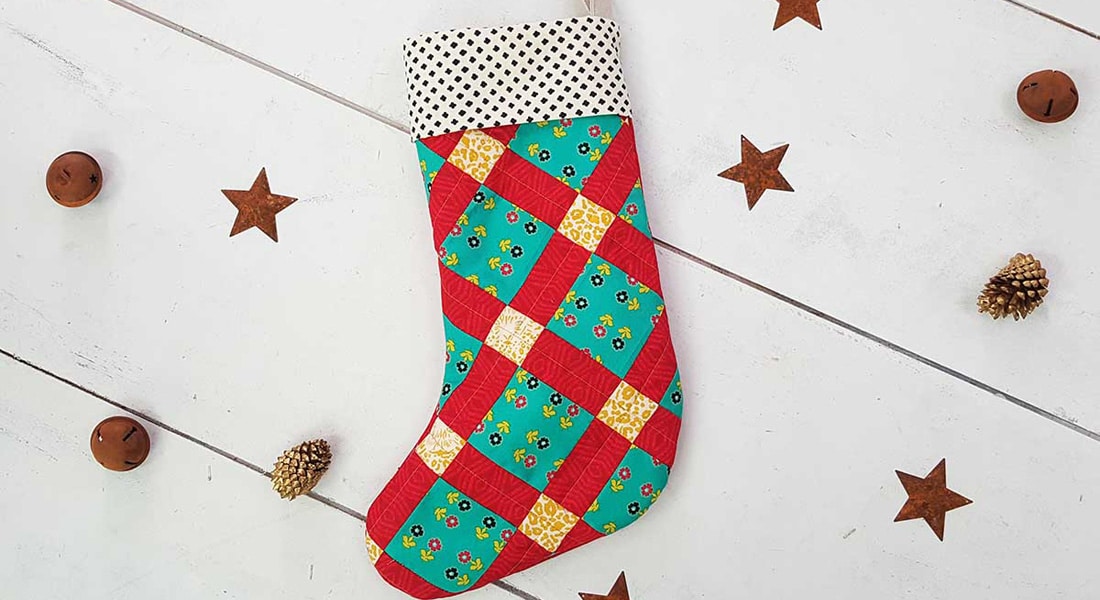
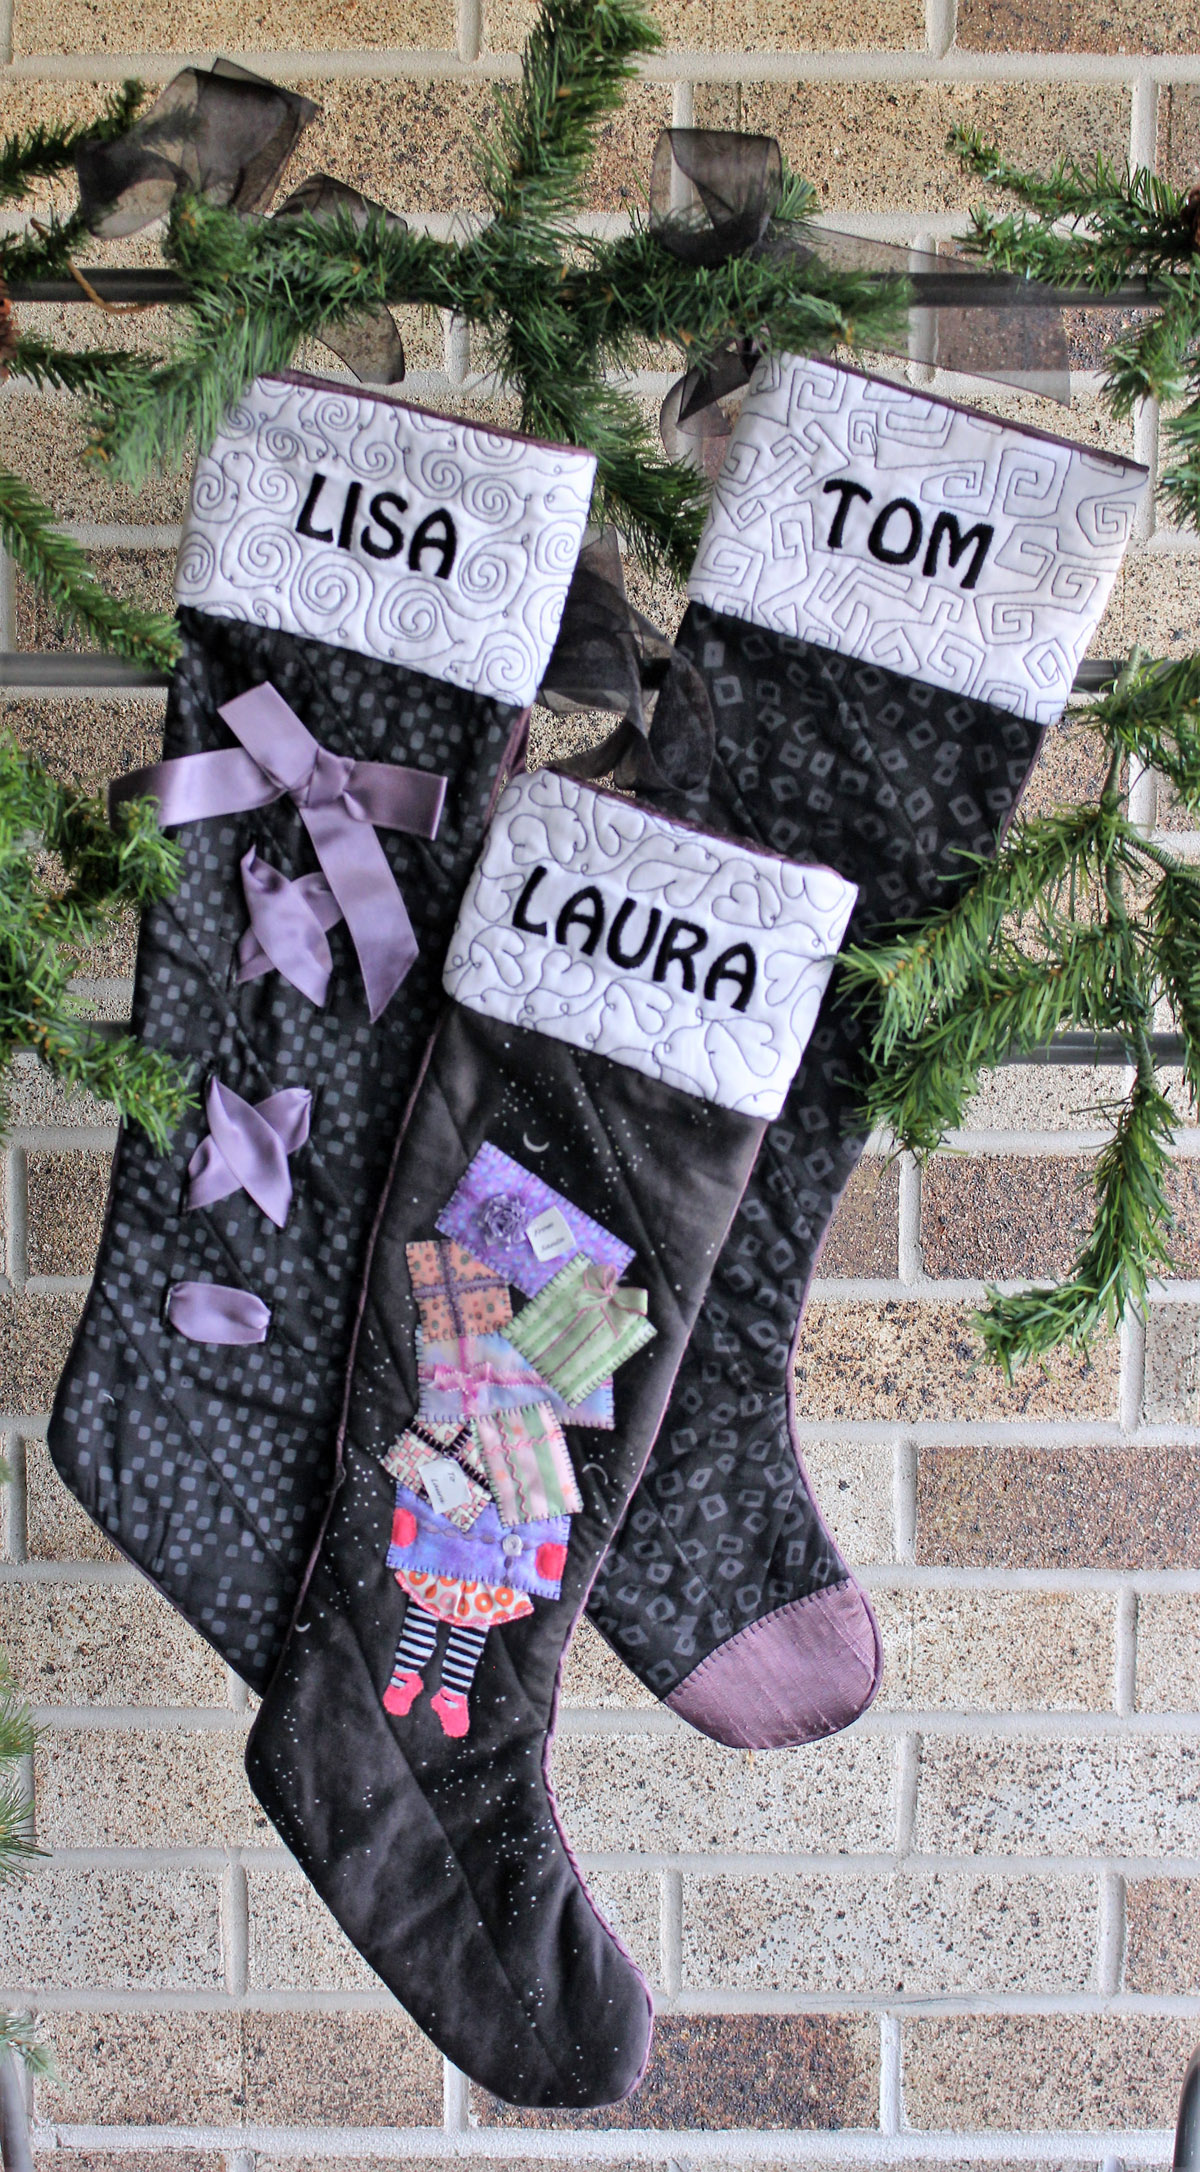
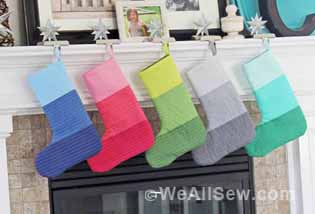
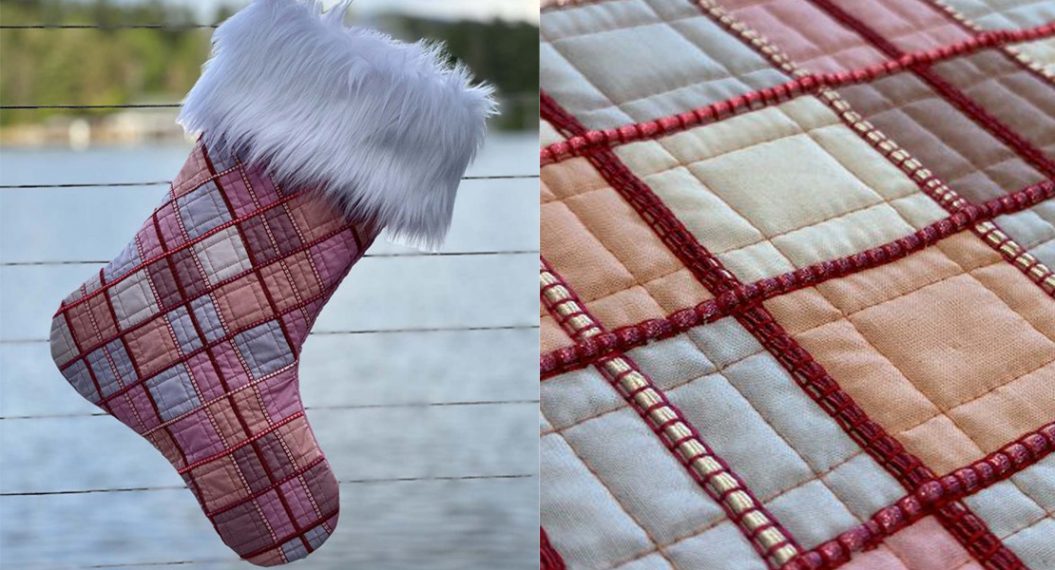
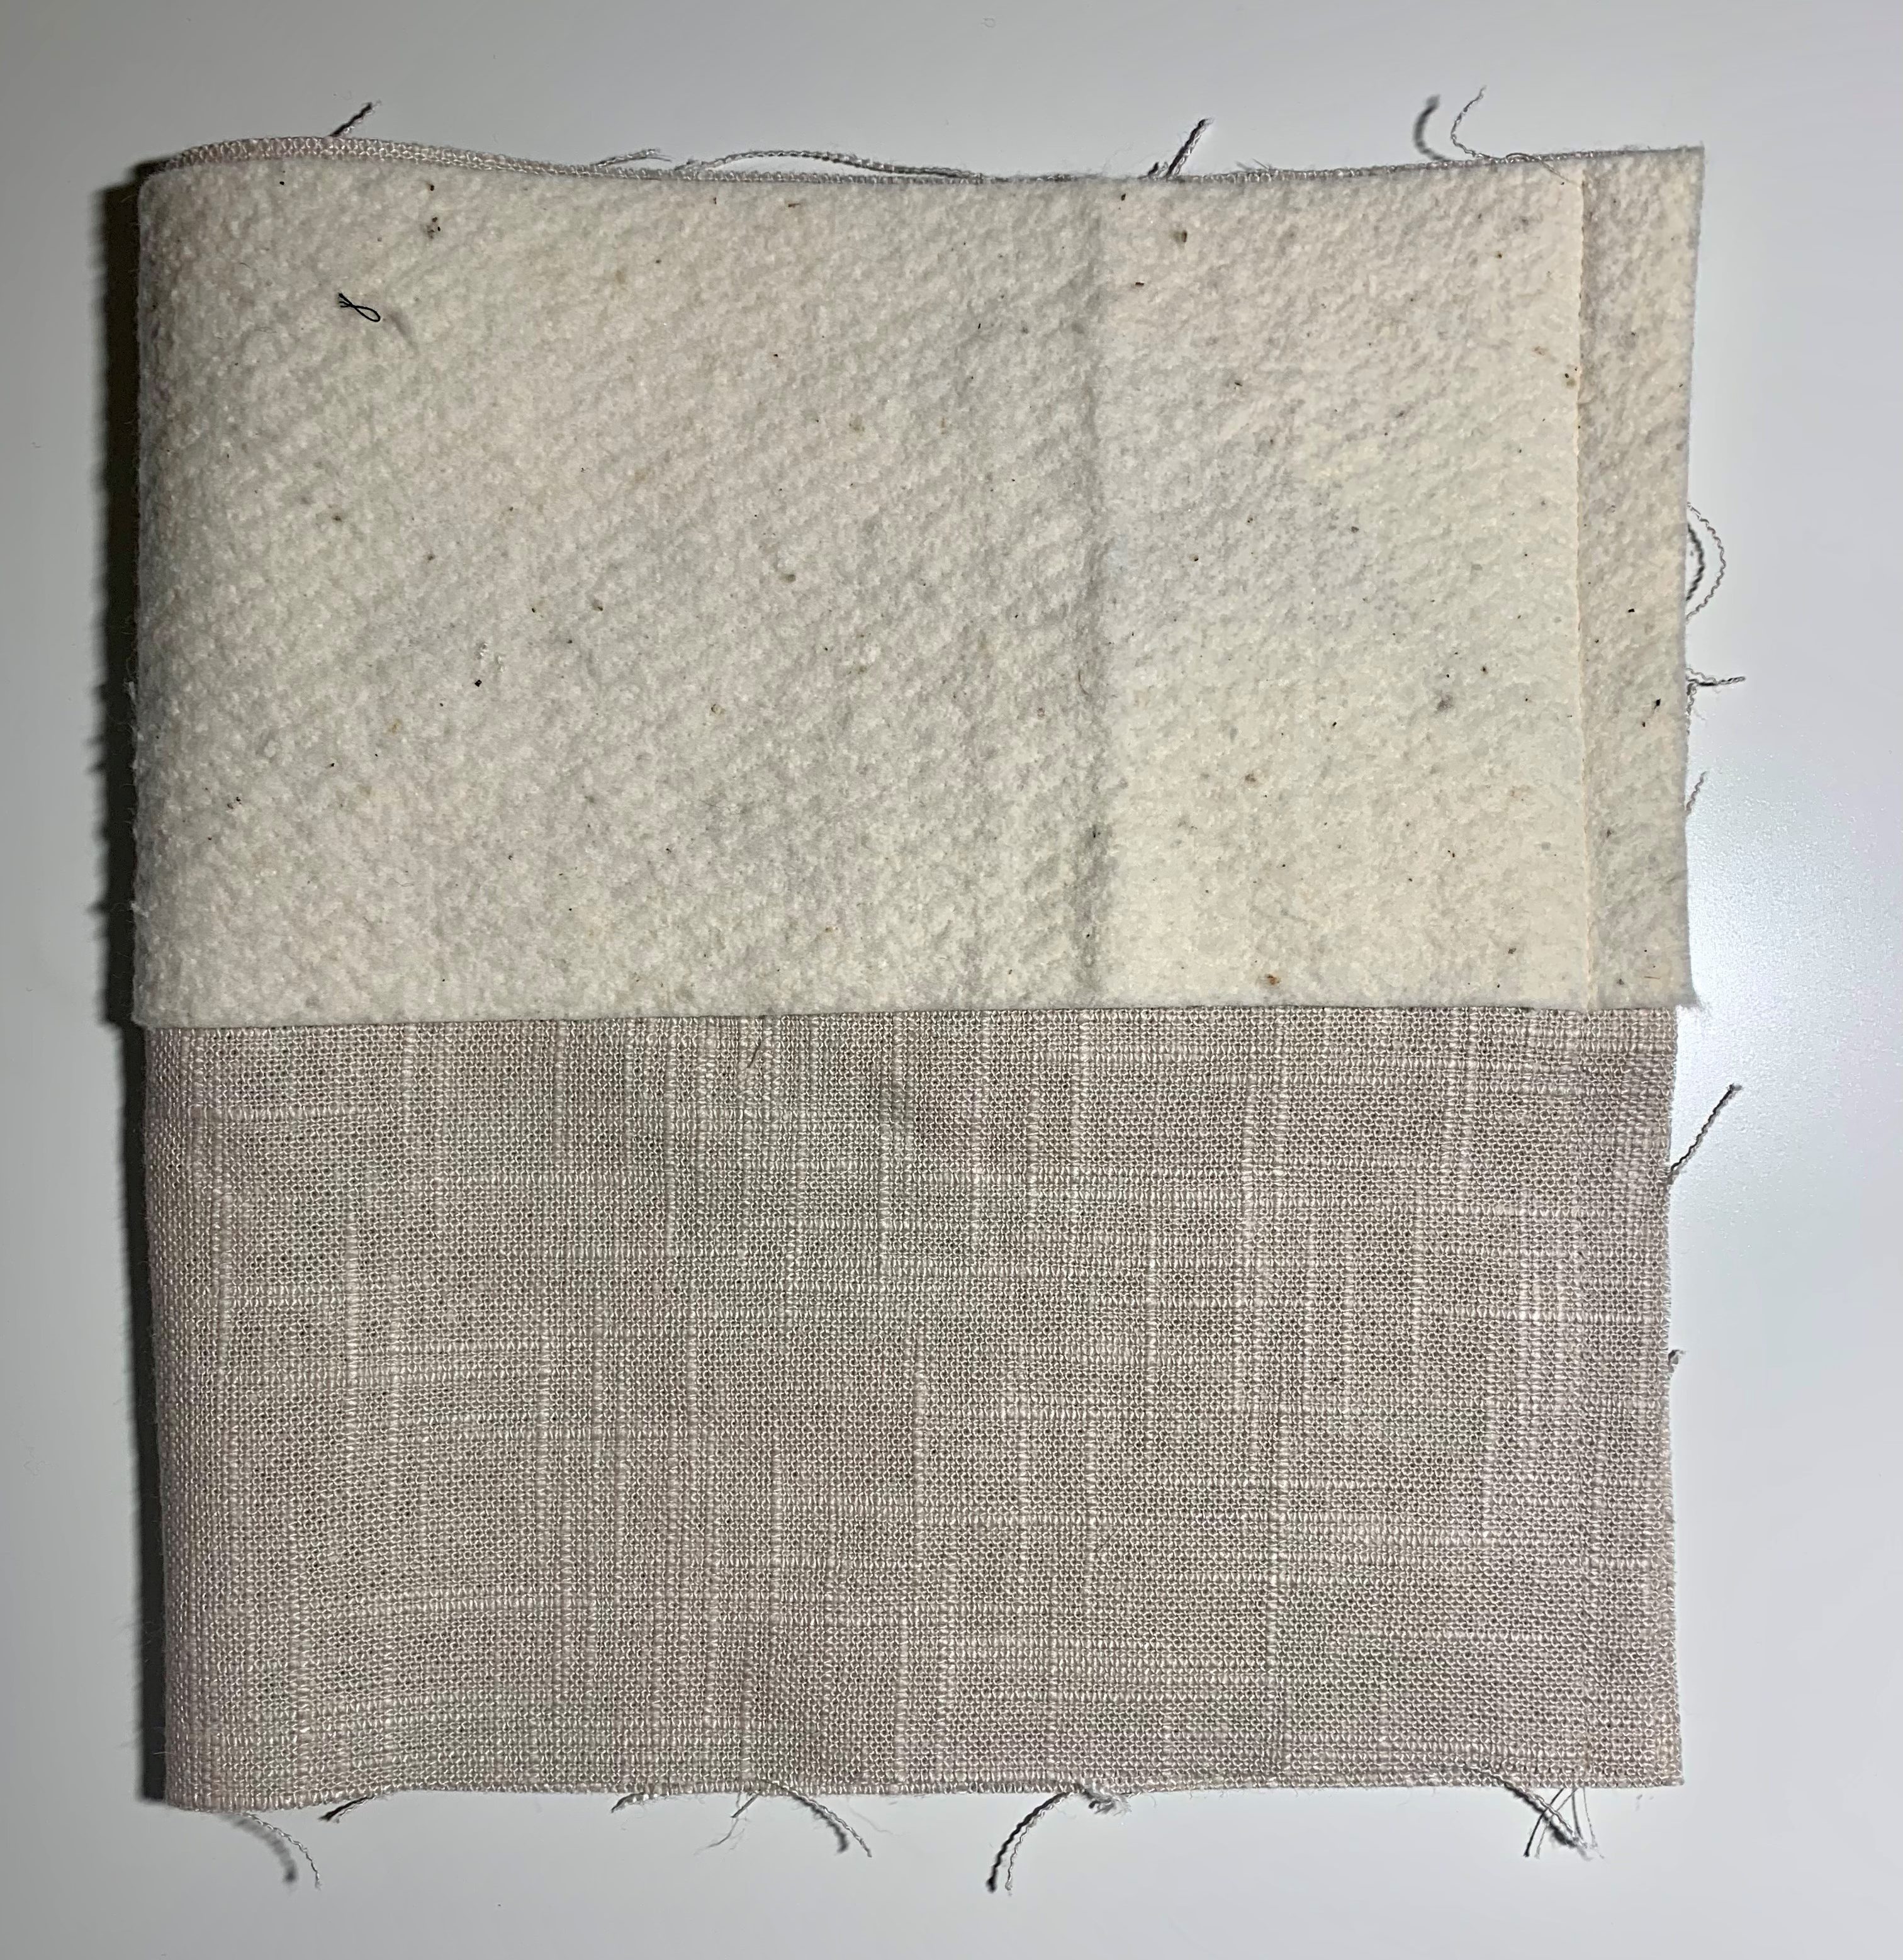
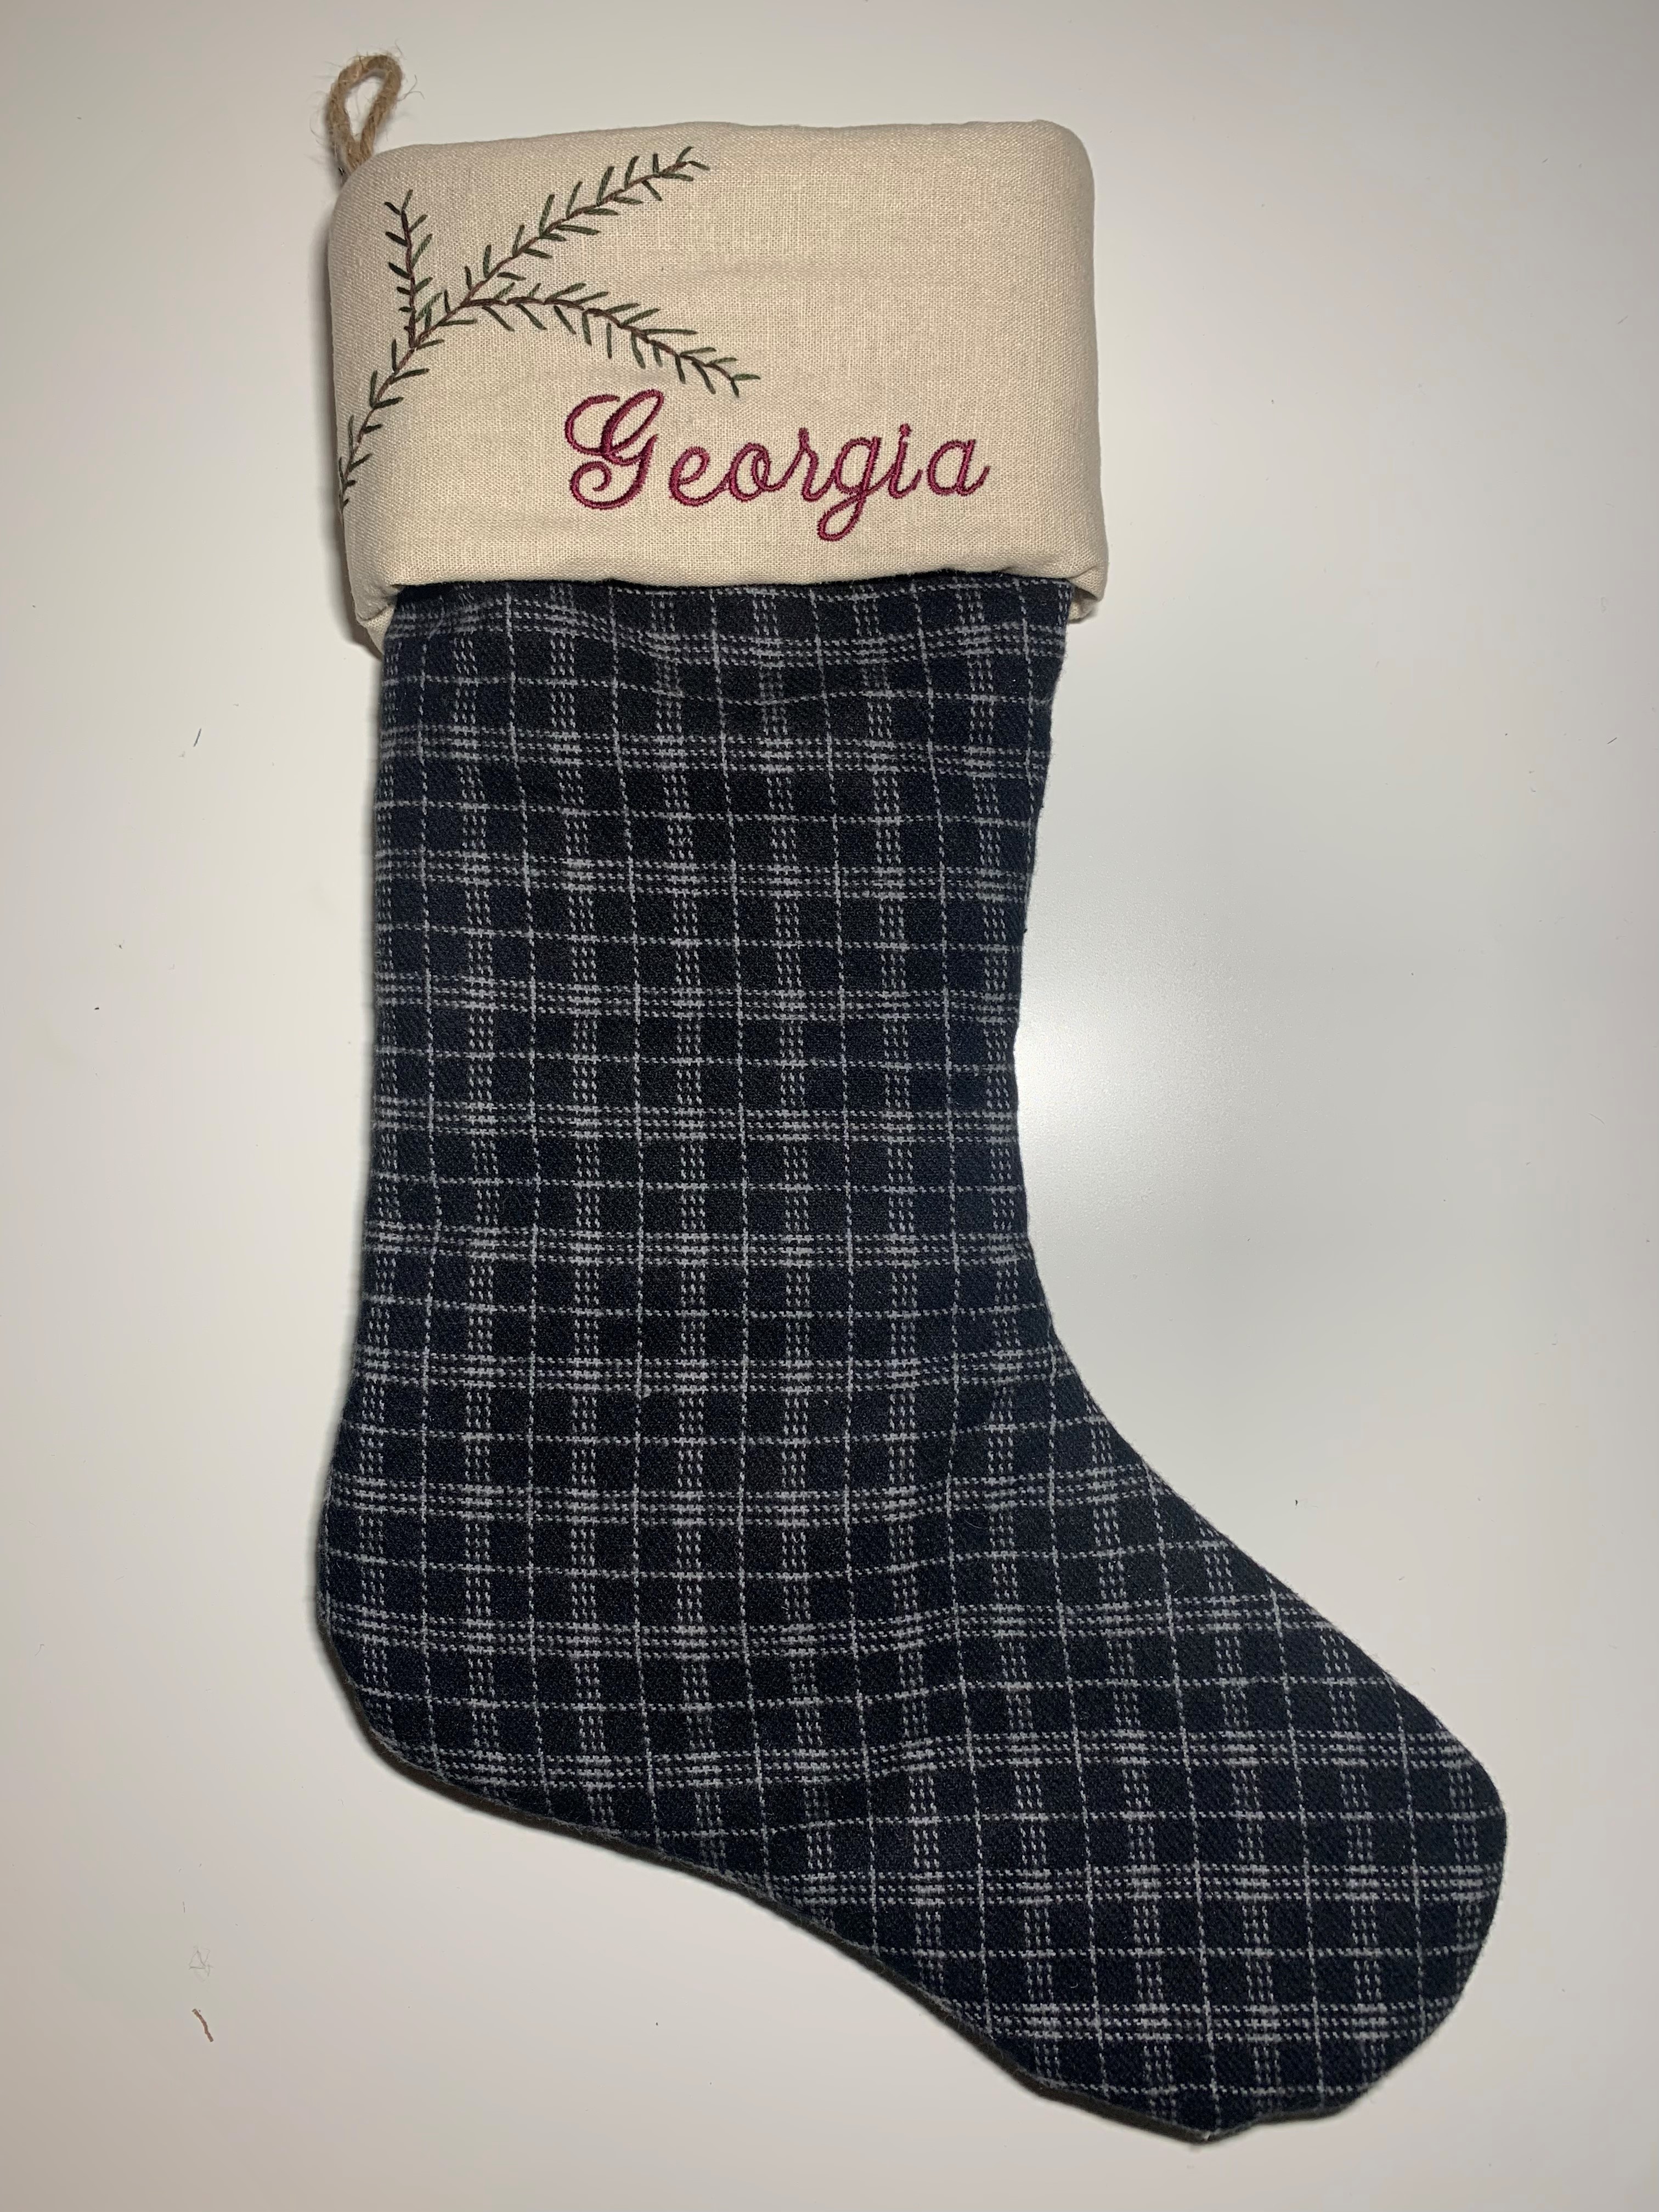
You can use any fabric combination you’d like for this pattern, but I like to use a flannel or wool for the outer and a linen or linen blend for the lining and cuff. I love the look of different but coordinating fabrics, which allow you to easily add stockings as you add family members or pets without the worry of finding the same fabric again years later. With the cuff, you can embellish with personalization using machine or hand embroidery and layer of batting provides some structures and makes these stockings a little more substantial.
Materials to Sew a Personalized Flannel Christmas Stocking
Required Materials for Stocking Construction
- Christmas Stocking Pattern
- Outer fabric (1/2 yard)
- Lining Fabric (1/2 yard)
- Batting (1/2 yard)
- Twine or ribbon for the stocking hanger

Optional Materials for Personalization
- Embroidery floss
- Hoop and needle for hand embroidery
- Marking tool/pen
- Machine embroidery module
- Thread for machine embroidery
- Stabilizers appropriate for cuff fabric
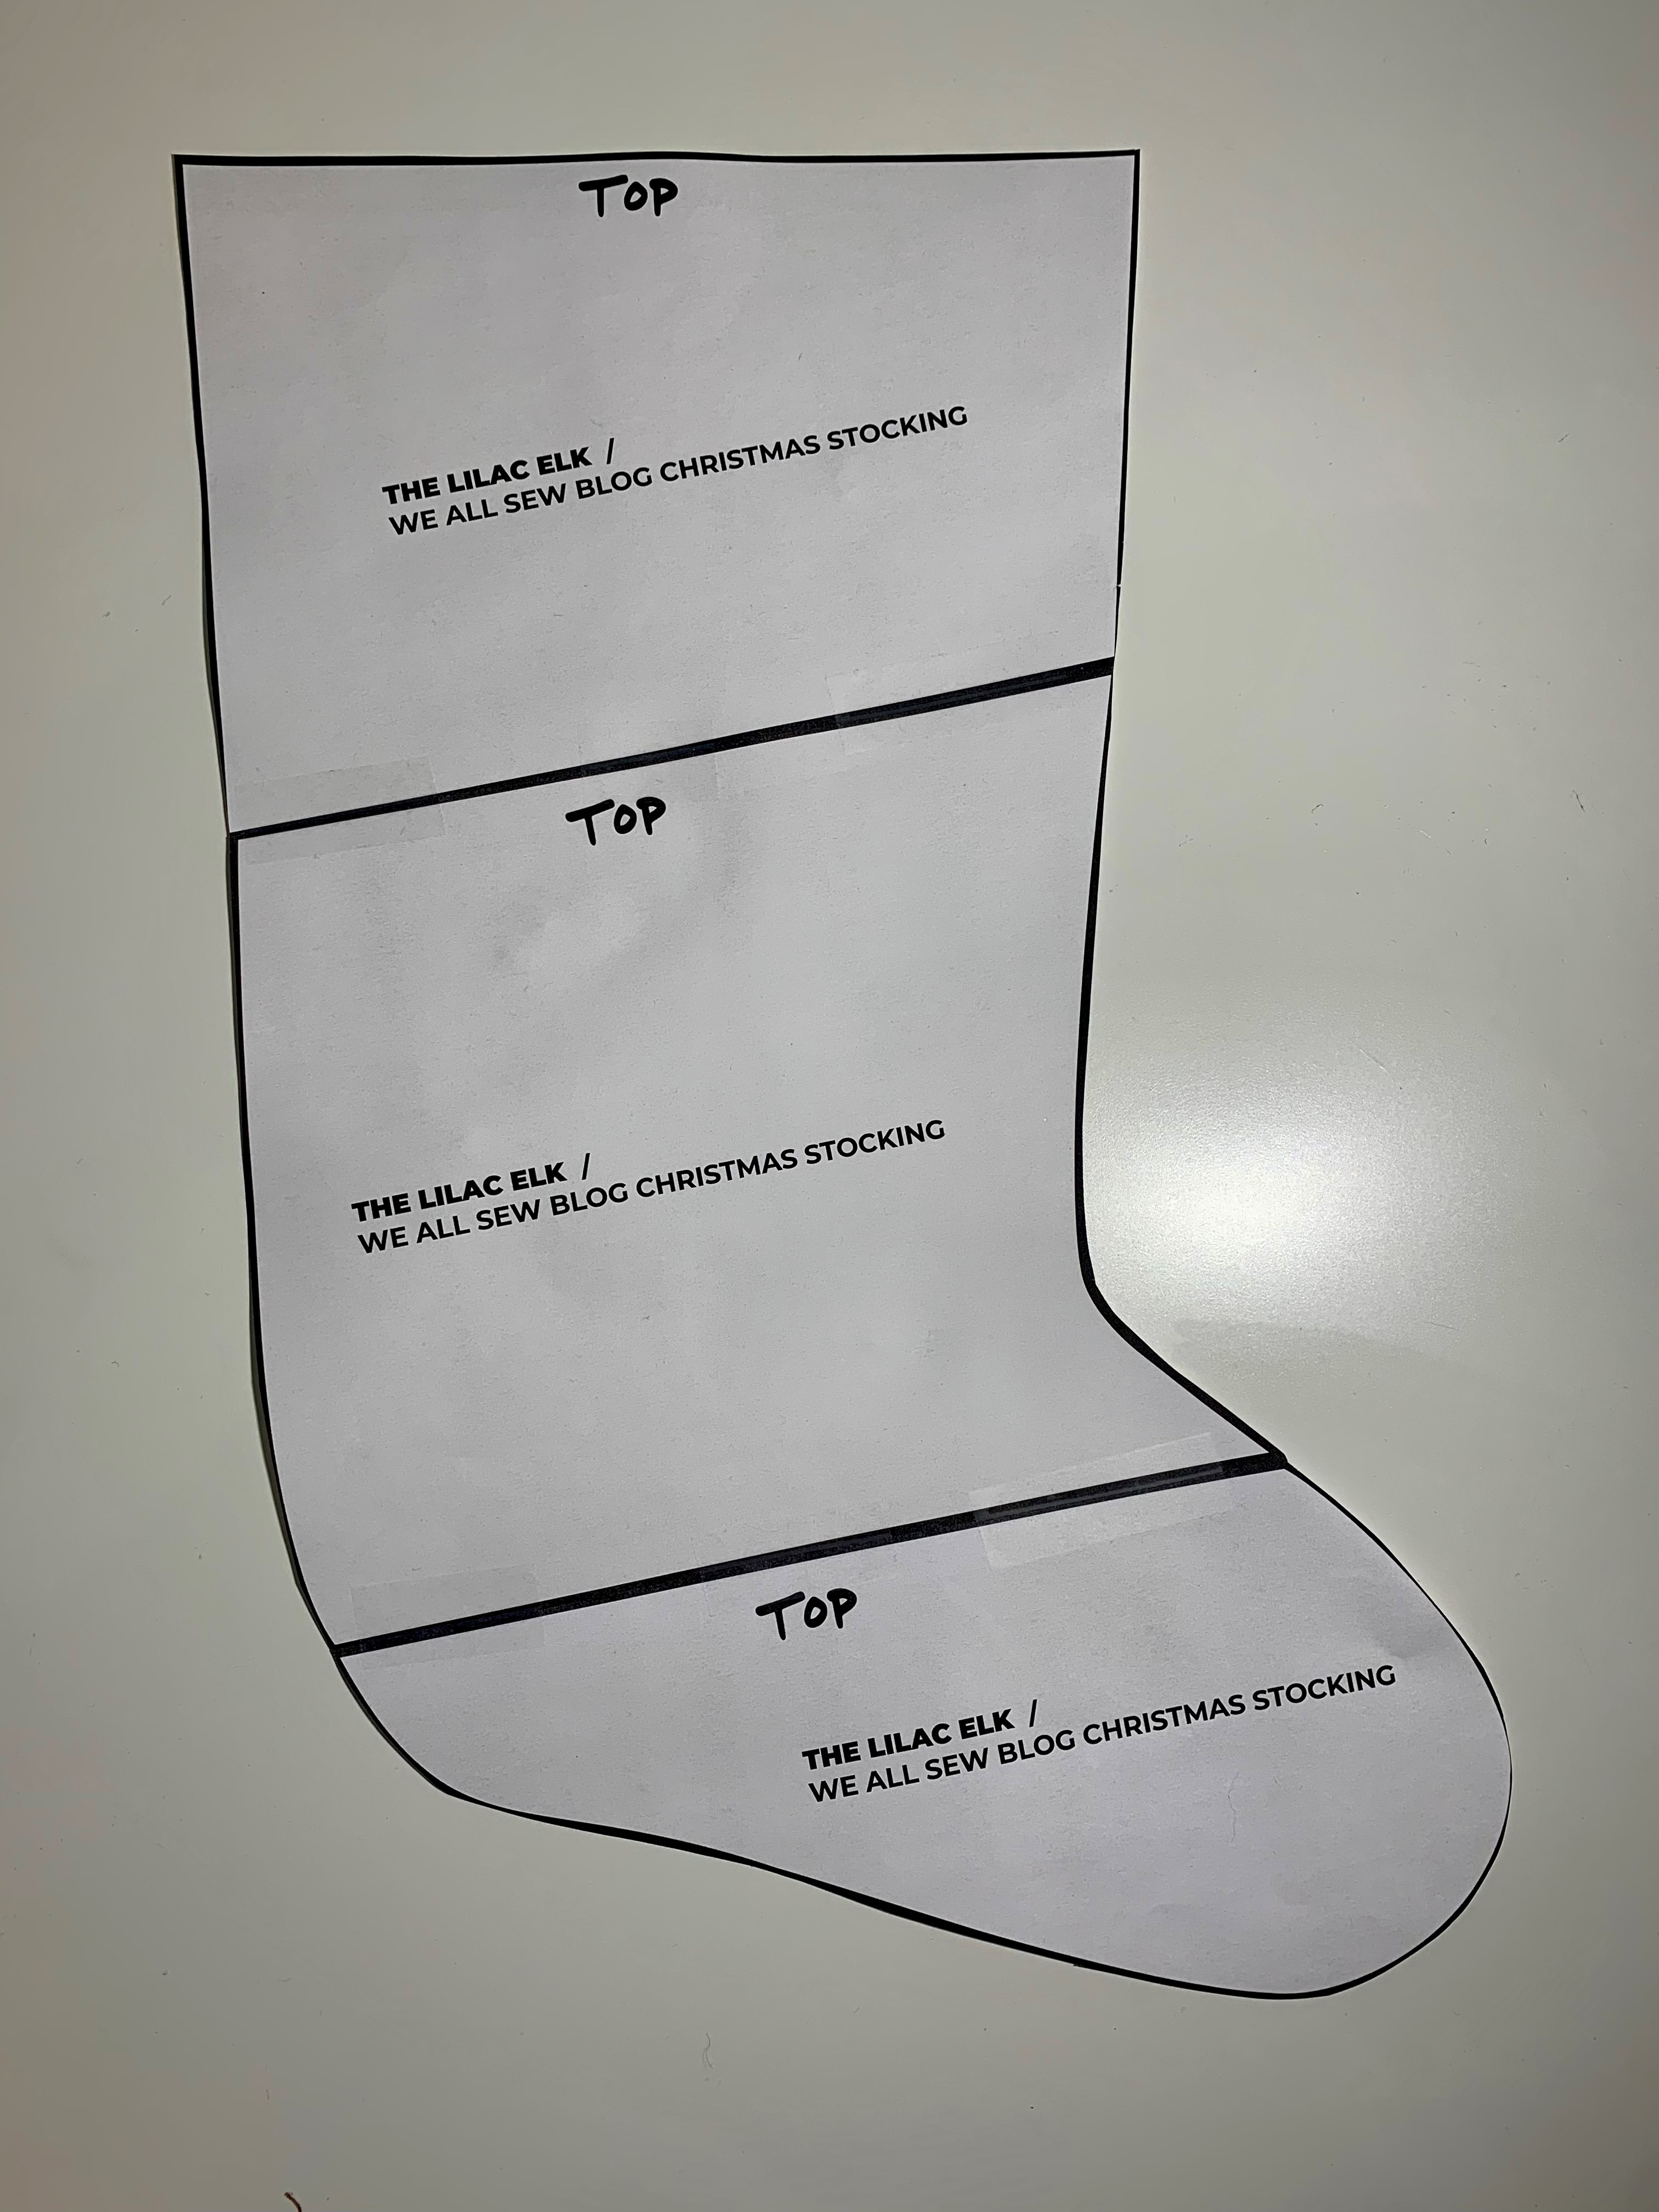
Stocking Pattern Assembly Instructions
The pattern pieces for the stocking are attached by trimming the edge of the paper and taping the pieces together with the “top” indicator facing up.
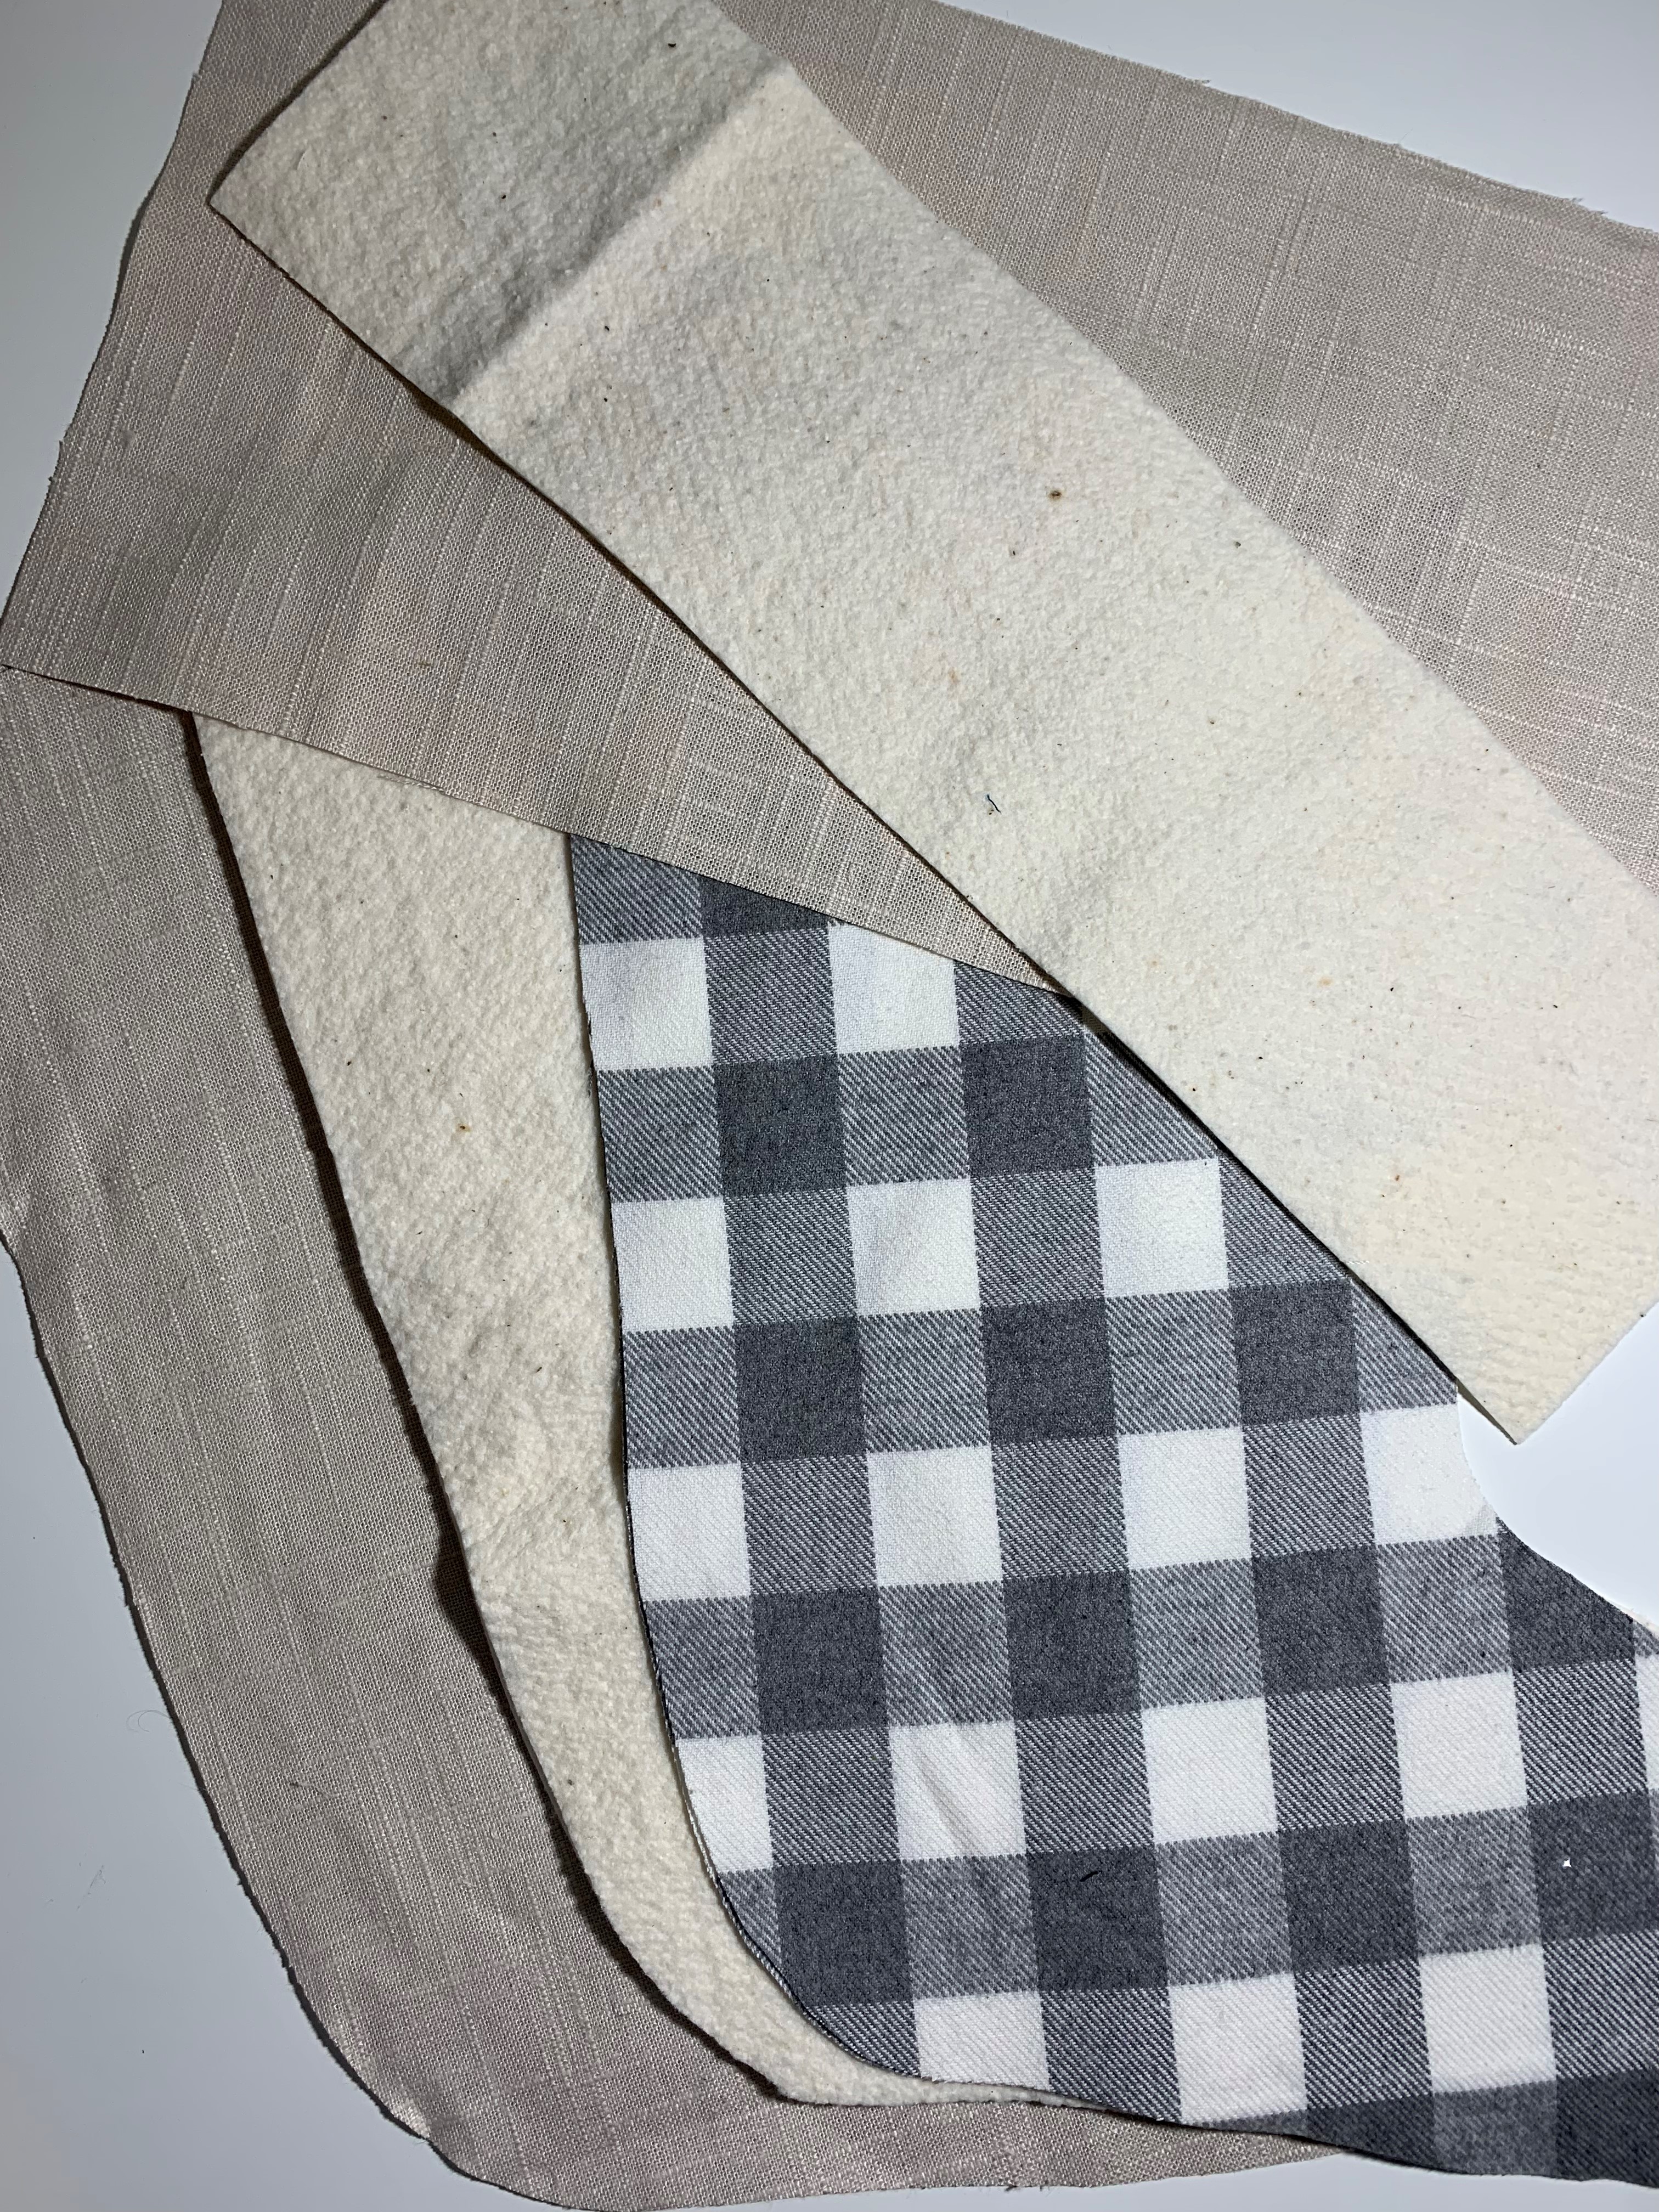
Stocking Cutting Instructions
Cut each of the following:
- Two stocking pattern pieces each from the outer fabric, lining fabric, and batting.
- One 17″ x 9″ rectangle from lining fabric for the cuff.
- One 17″ x 4.5″ rectangle from batting for the cuff.
- One 6″ piece of ribbon or twine for the stocking hanger.
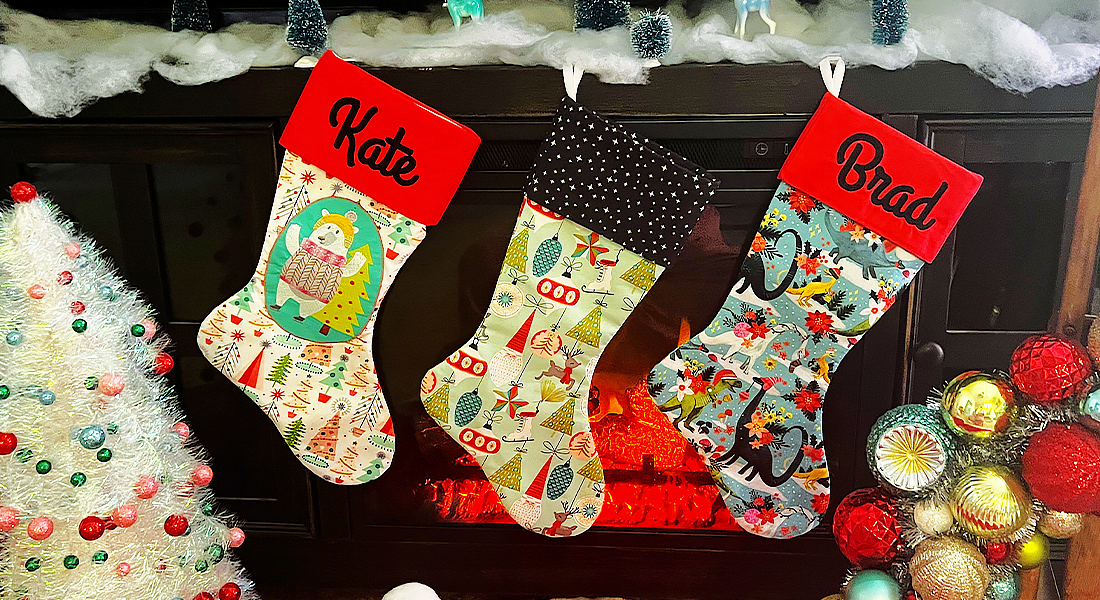
Stocking Cuff Personalization (Optional)
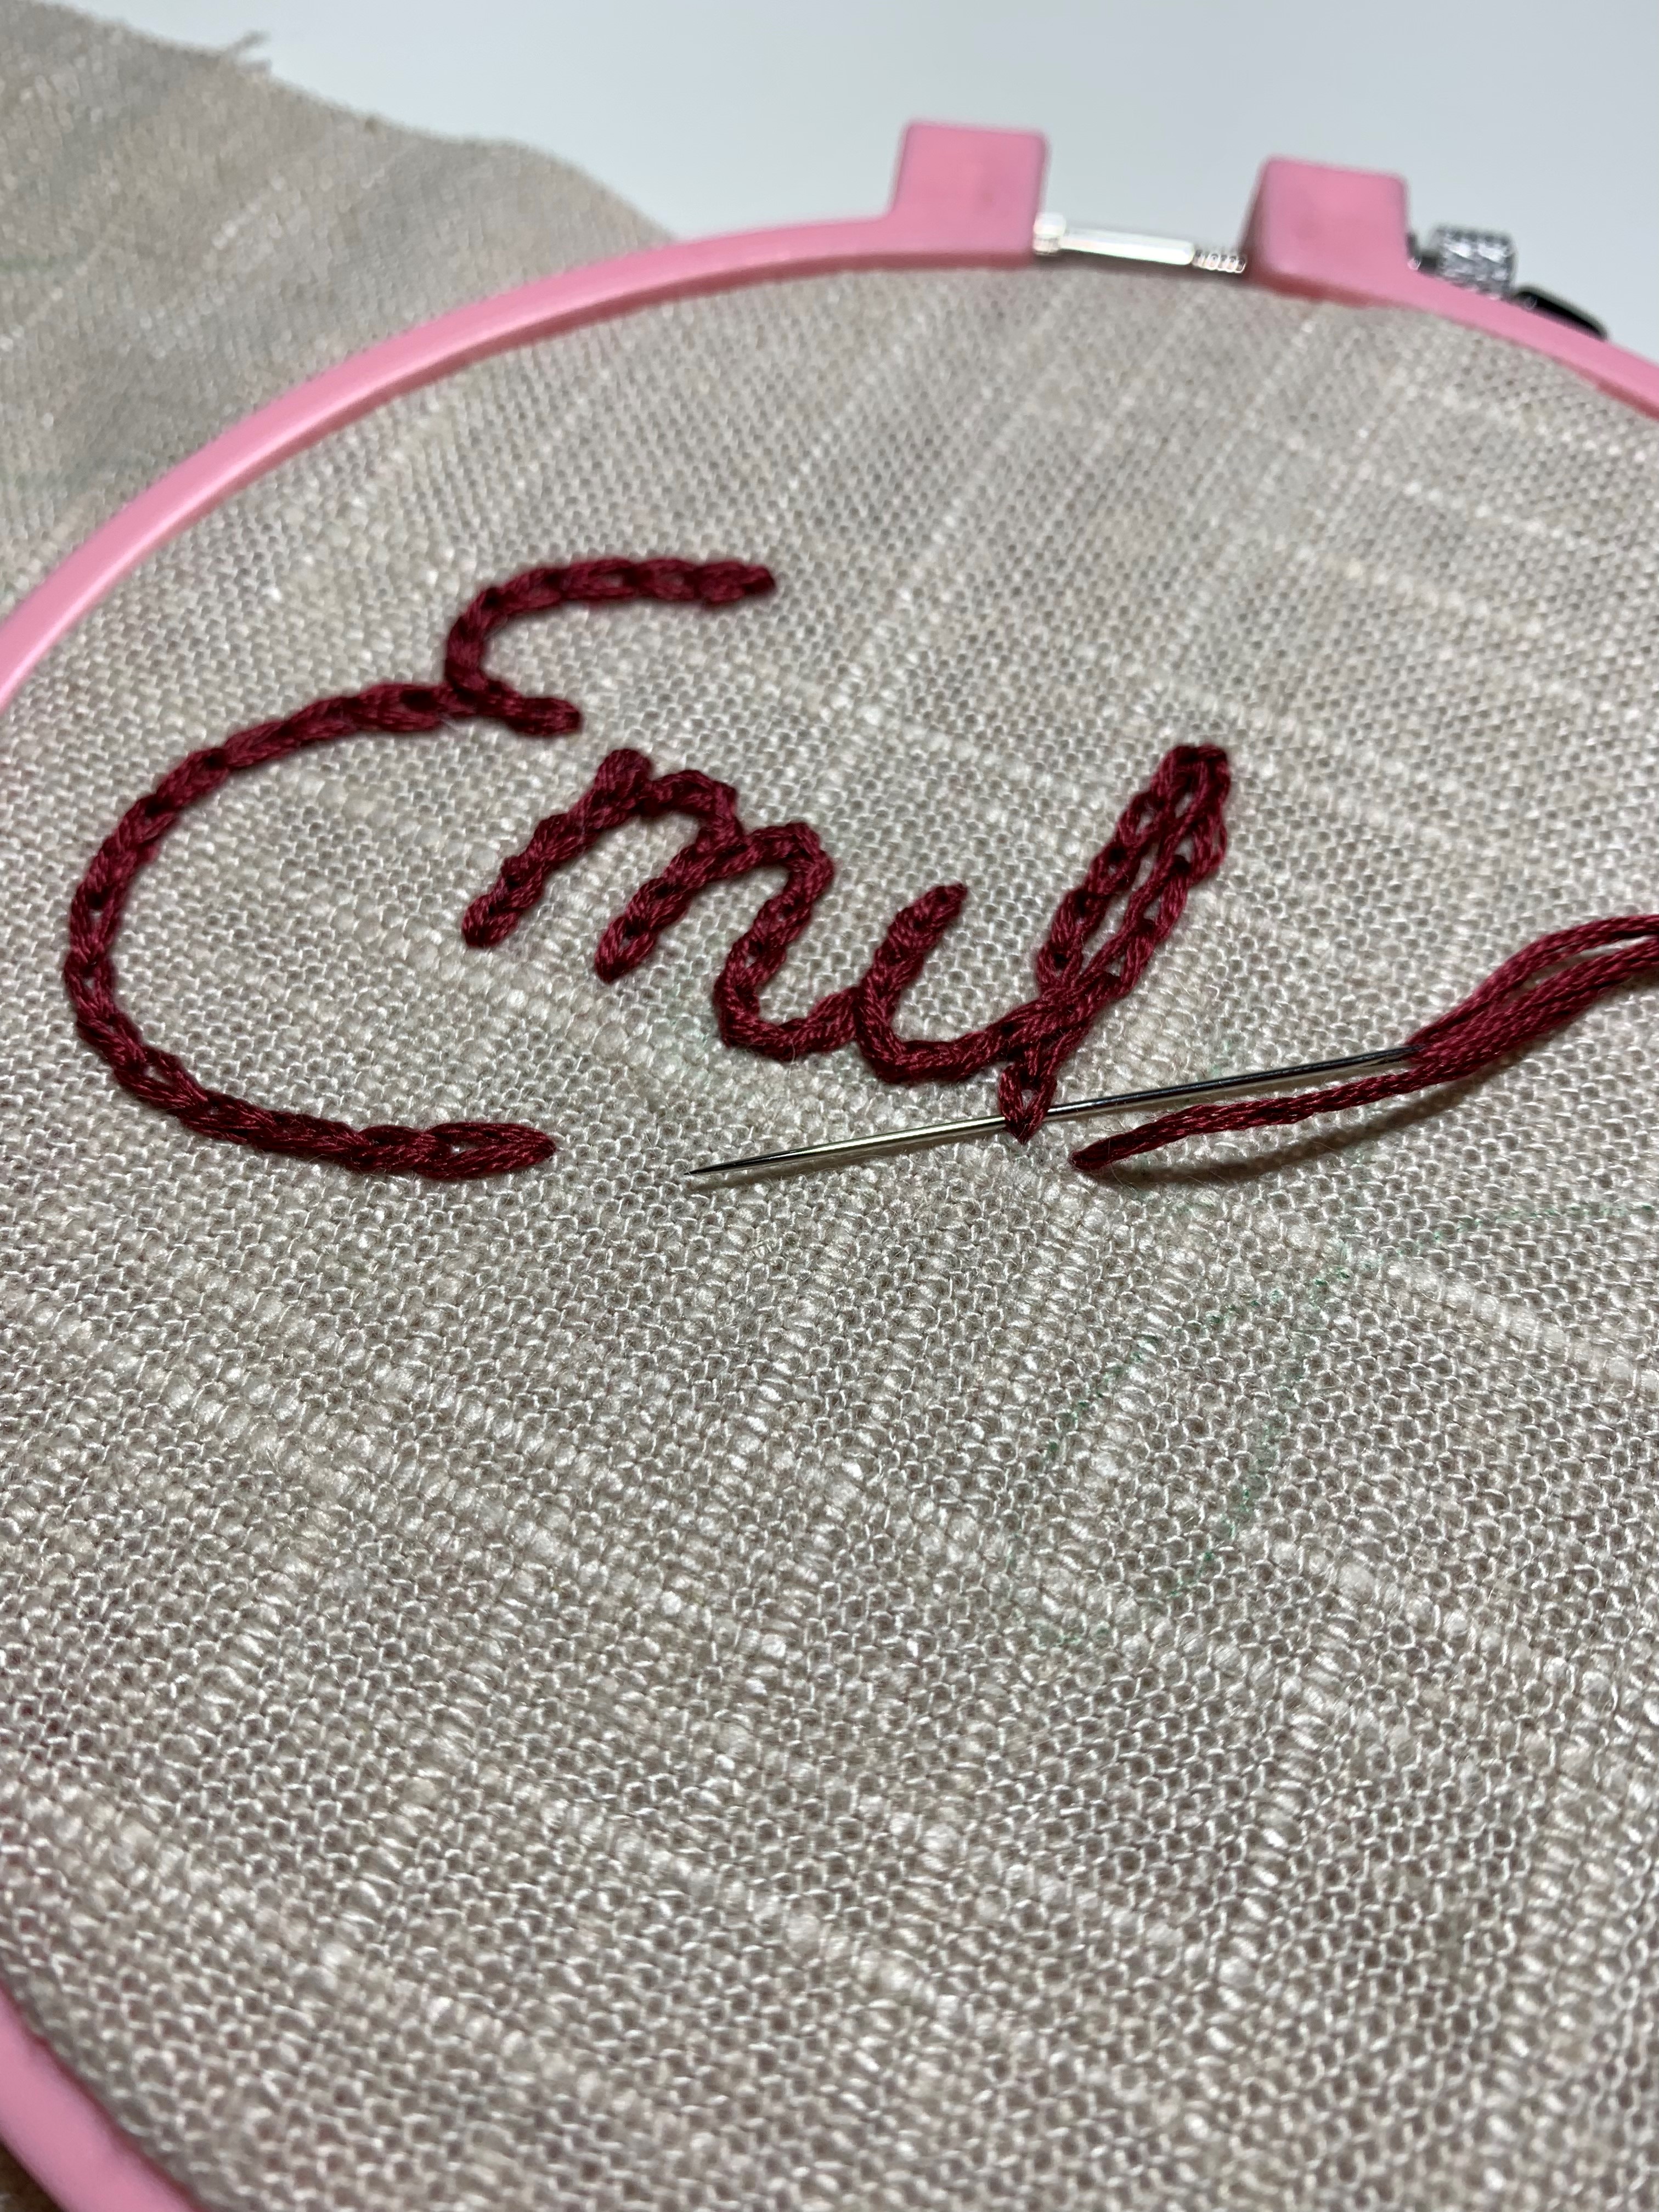
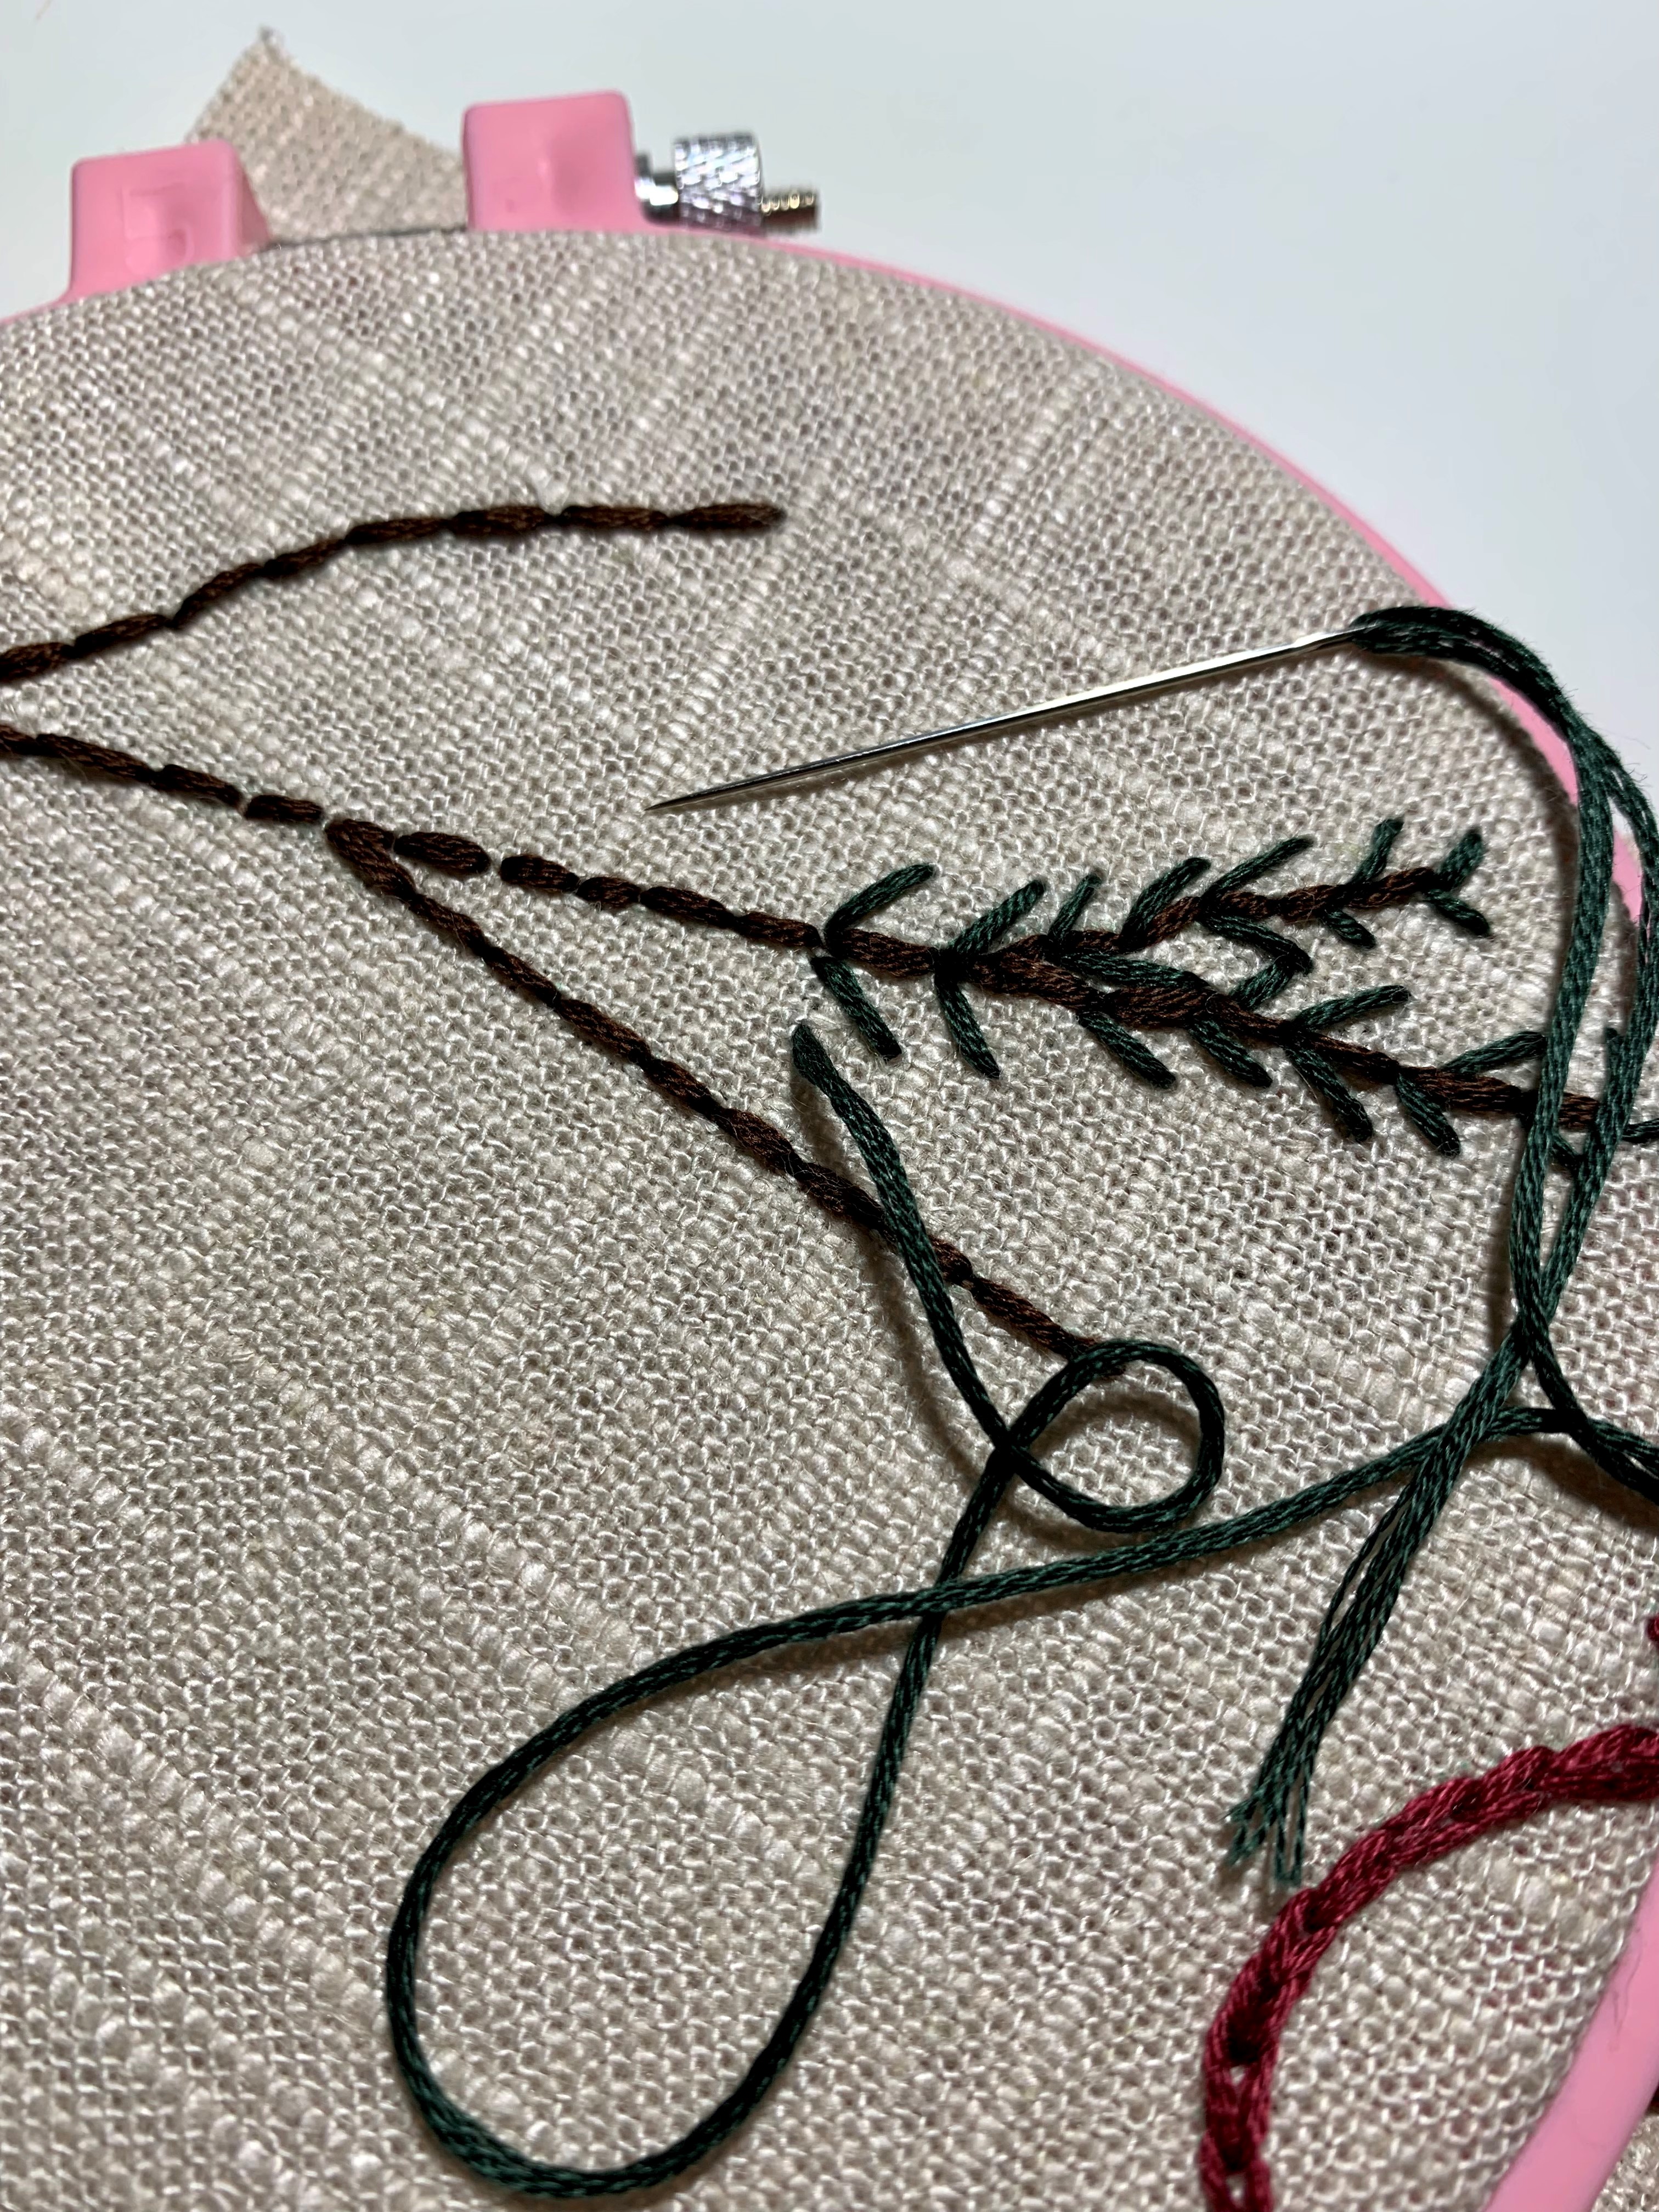
Before sewing your stocking, you can personalize the upper left quarter of the cuff pieces. I like to add a name and a pine branch. For hand embroidery, I start by writing the name and drawing a few lines for the base of the pine branch.
When hand embroidering the name, I like to use a chain stitch because it adds a little texture. Play around with what stitches you like best!
For the pine branches, I start by stitching the base of the branch with a backstitch. I then add straight stitches for the pine needles.
The finished embroidered cuff will look something like this. Make sure you keep embroidery to the upper right quarter, as that is the part that will show on the stocking front.
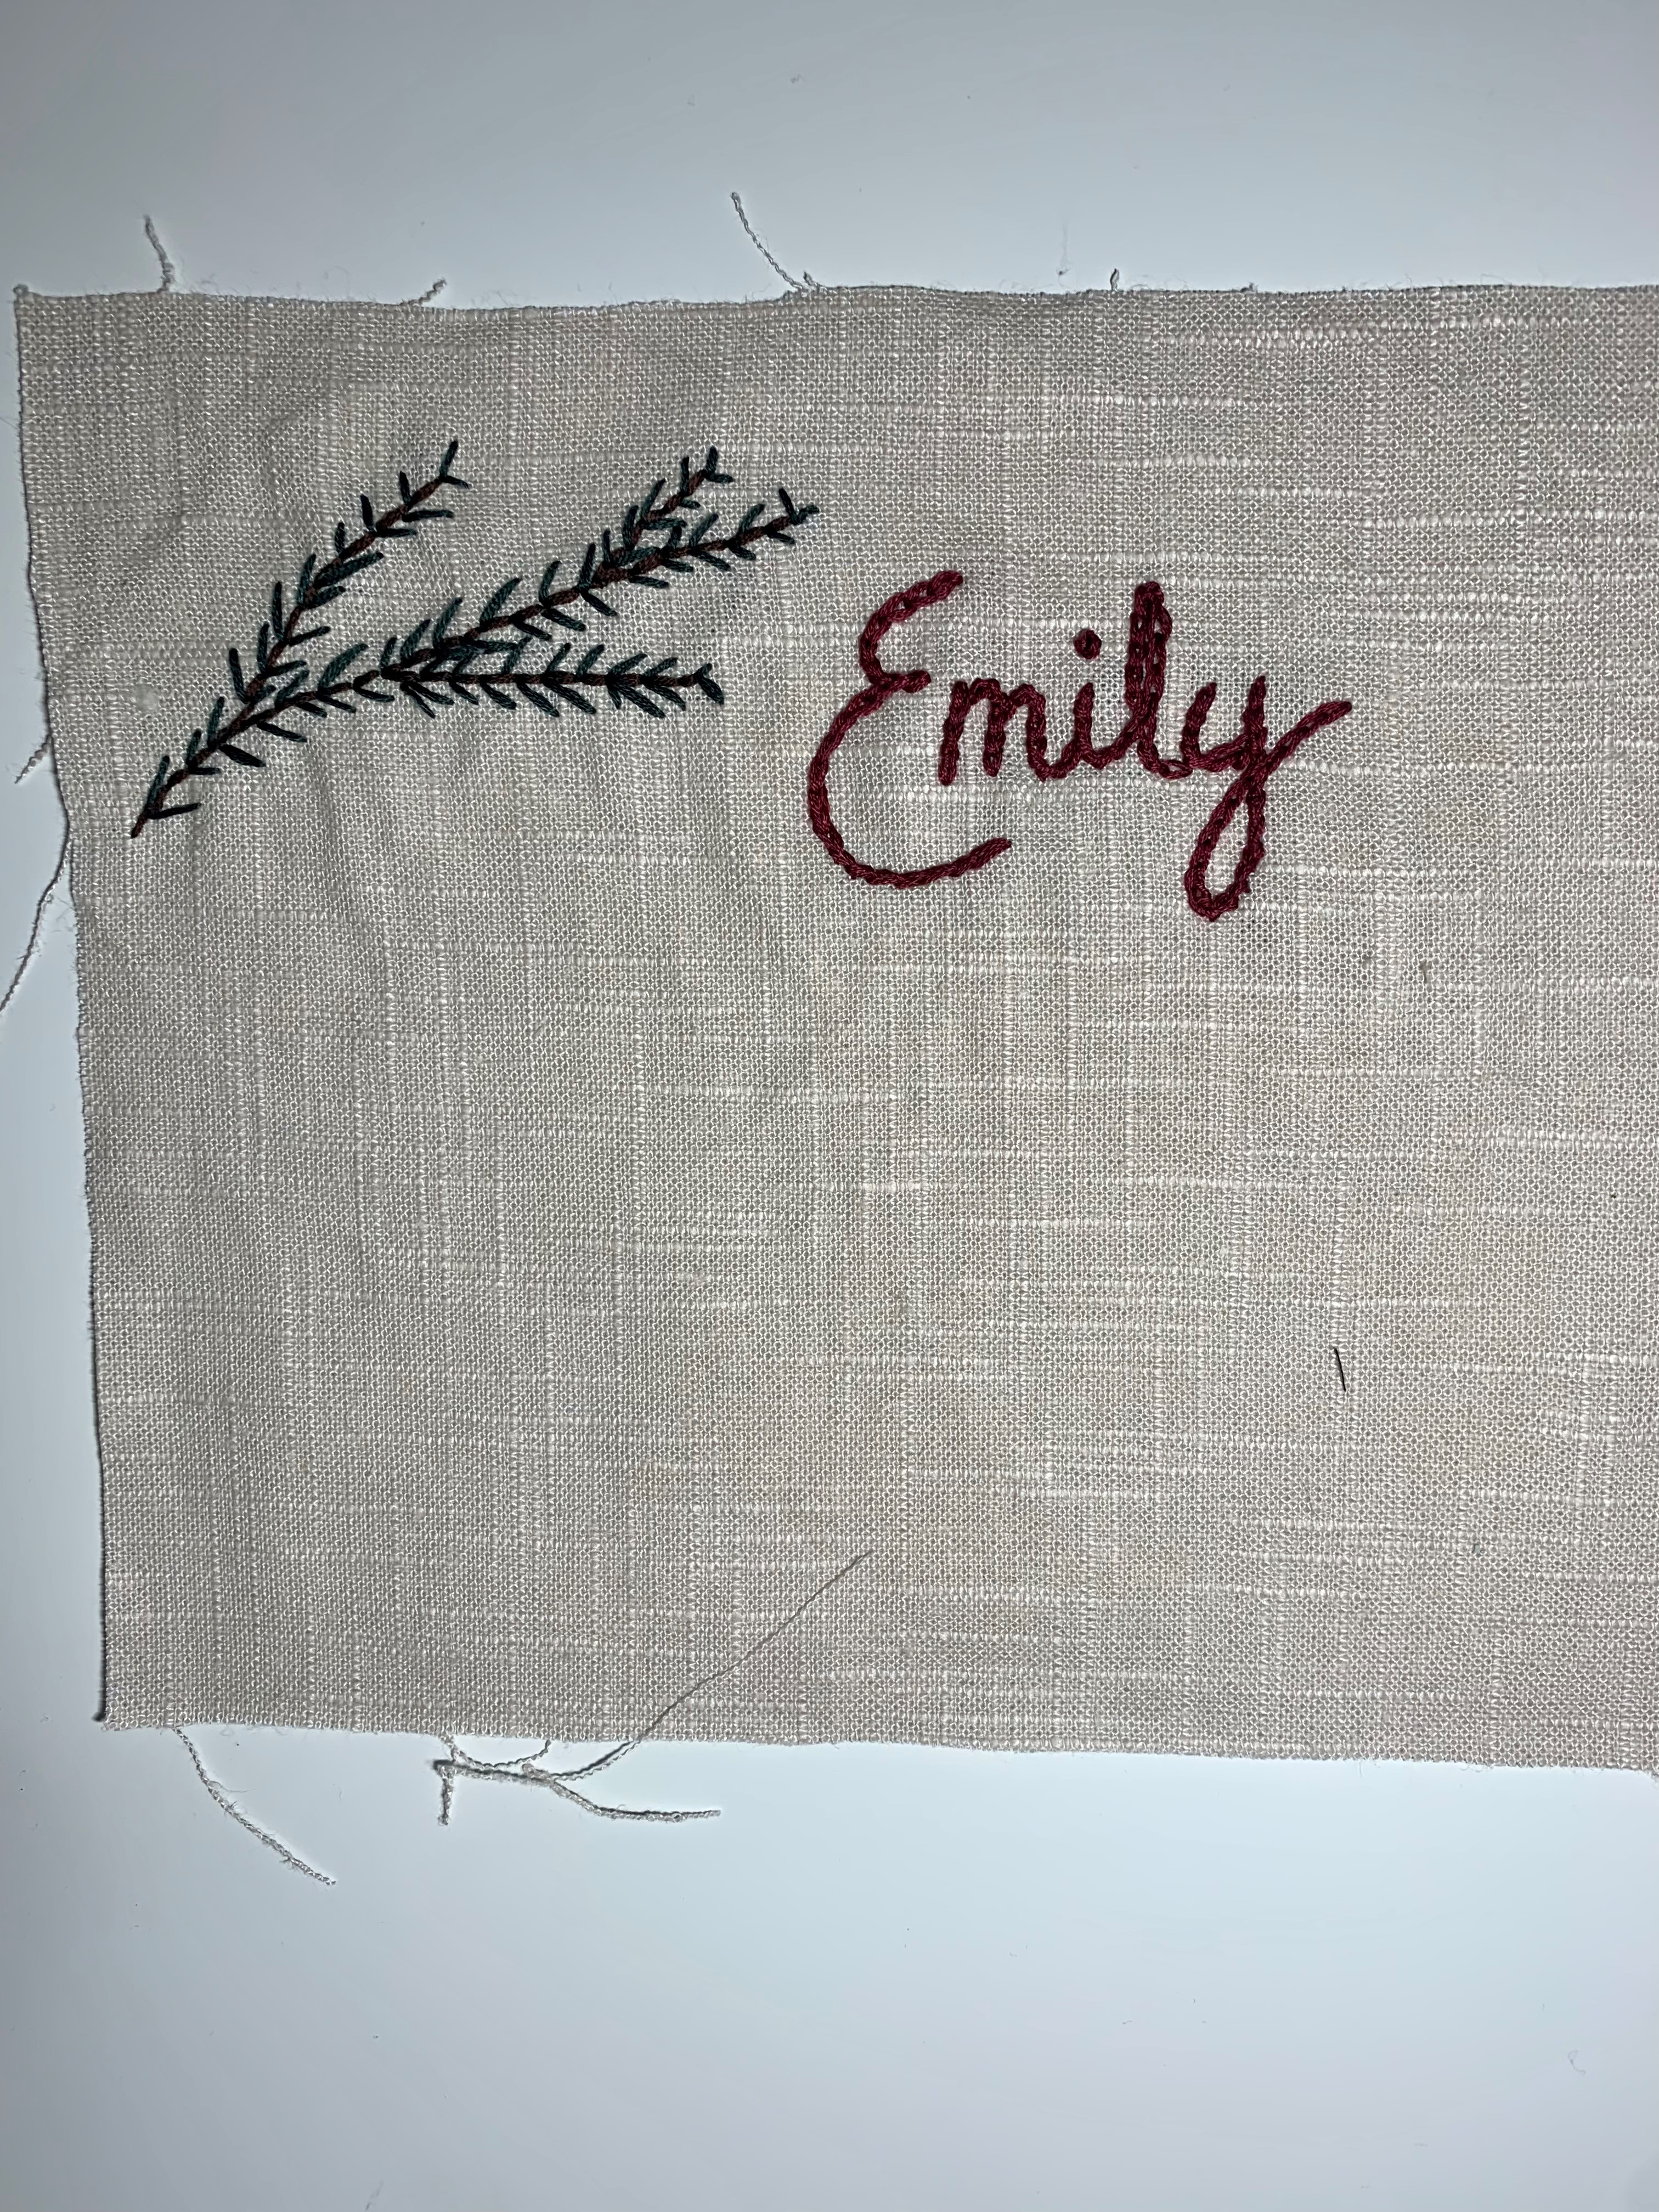
When using machine embroidery for the name, I still like to include the hand-embroidered pine branches. Pinpoint placement will make it so easy to place the name perfectly underneath. Here, I rotated the name to be oriented in the correct direction on the cuff and used pinpoint placement to have the name start just below the pine branch.

Once your cuffs are personalized, it’s time to start sewing the stocking!
Stocking Sewing Instructions
Seam allowances for this pattern are ½” throughout.
Sew the Outer Stocking
- Layer the batting and outer stocking pieces by placing the outer stocking pieces right sides together. On each wrong side, place a piece of batting. Your stack of pieces will be layered (1) batting (2) outer fabric, right side up (3) outer fabric, wrong side up (4) batting.
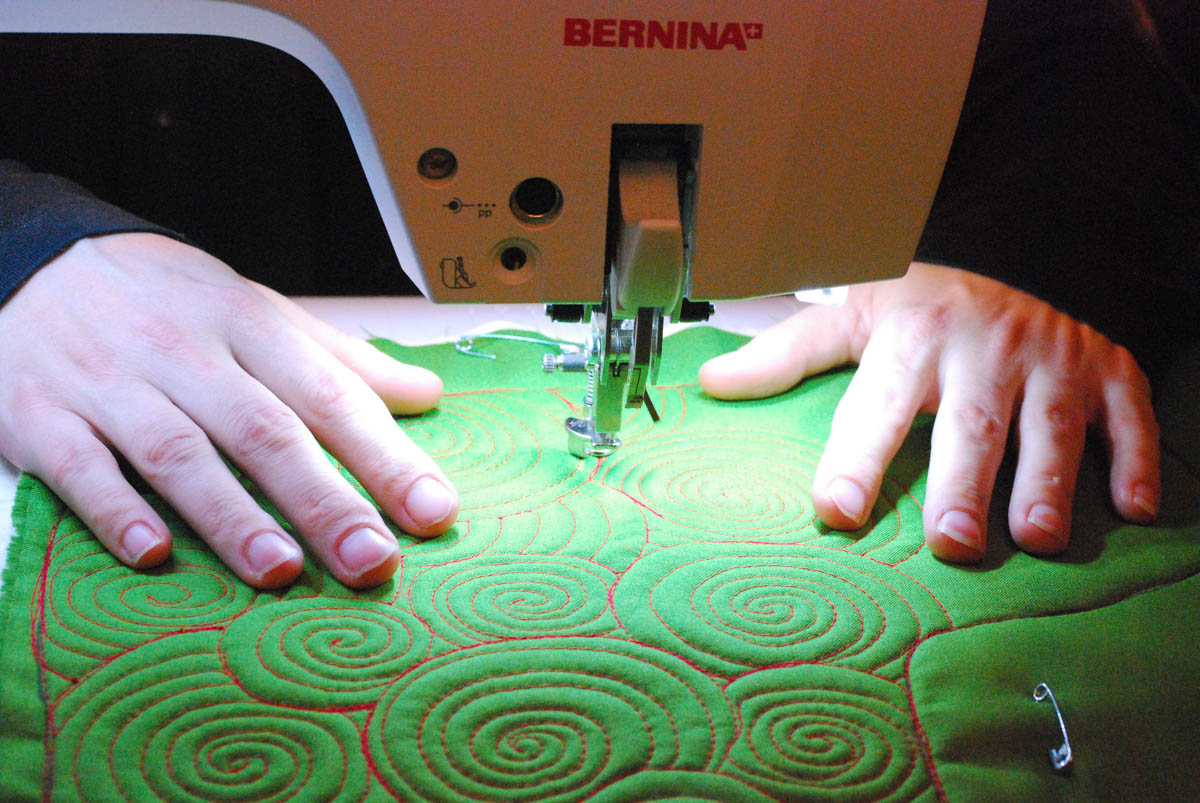
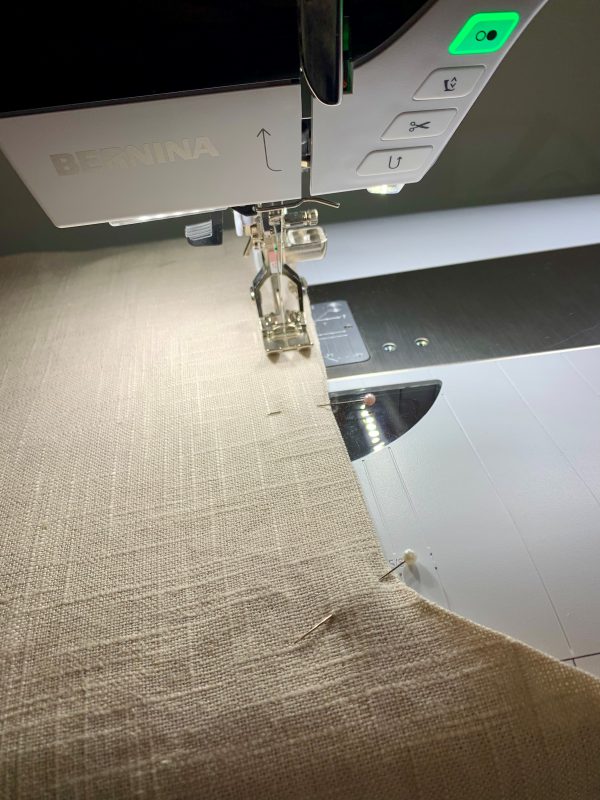
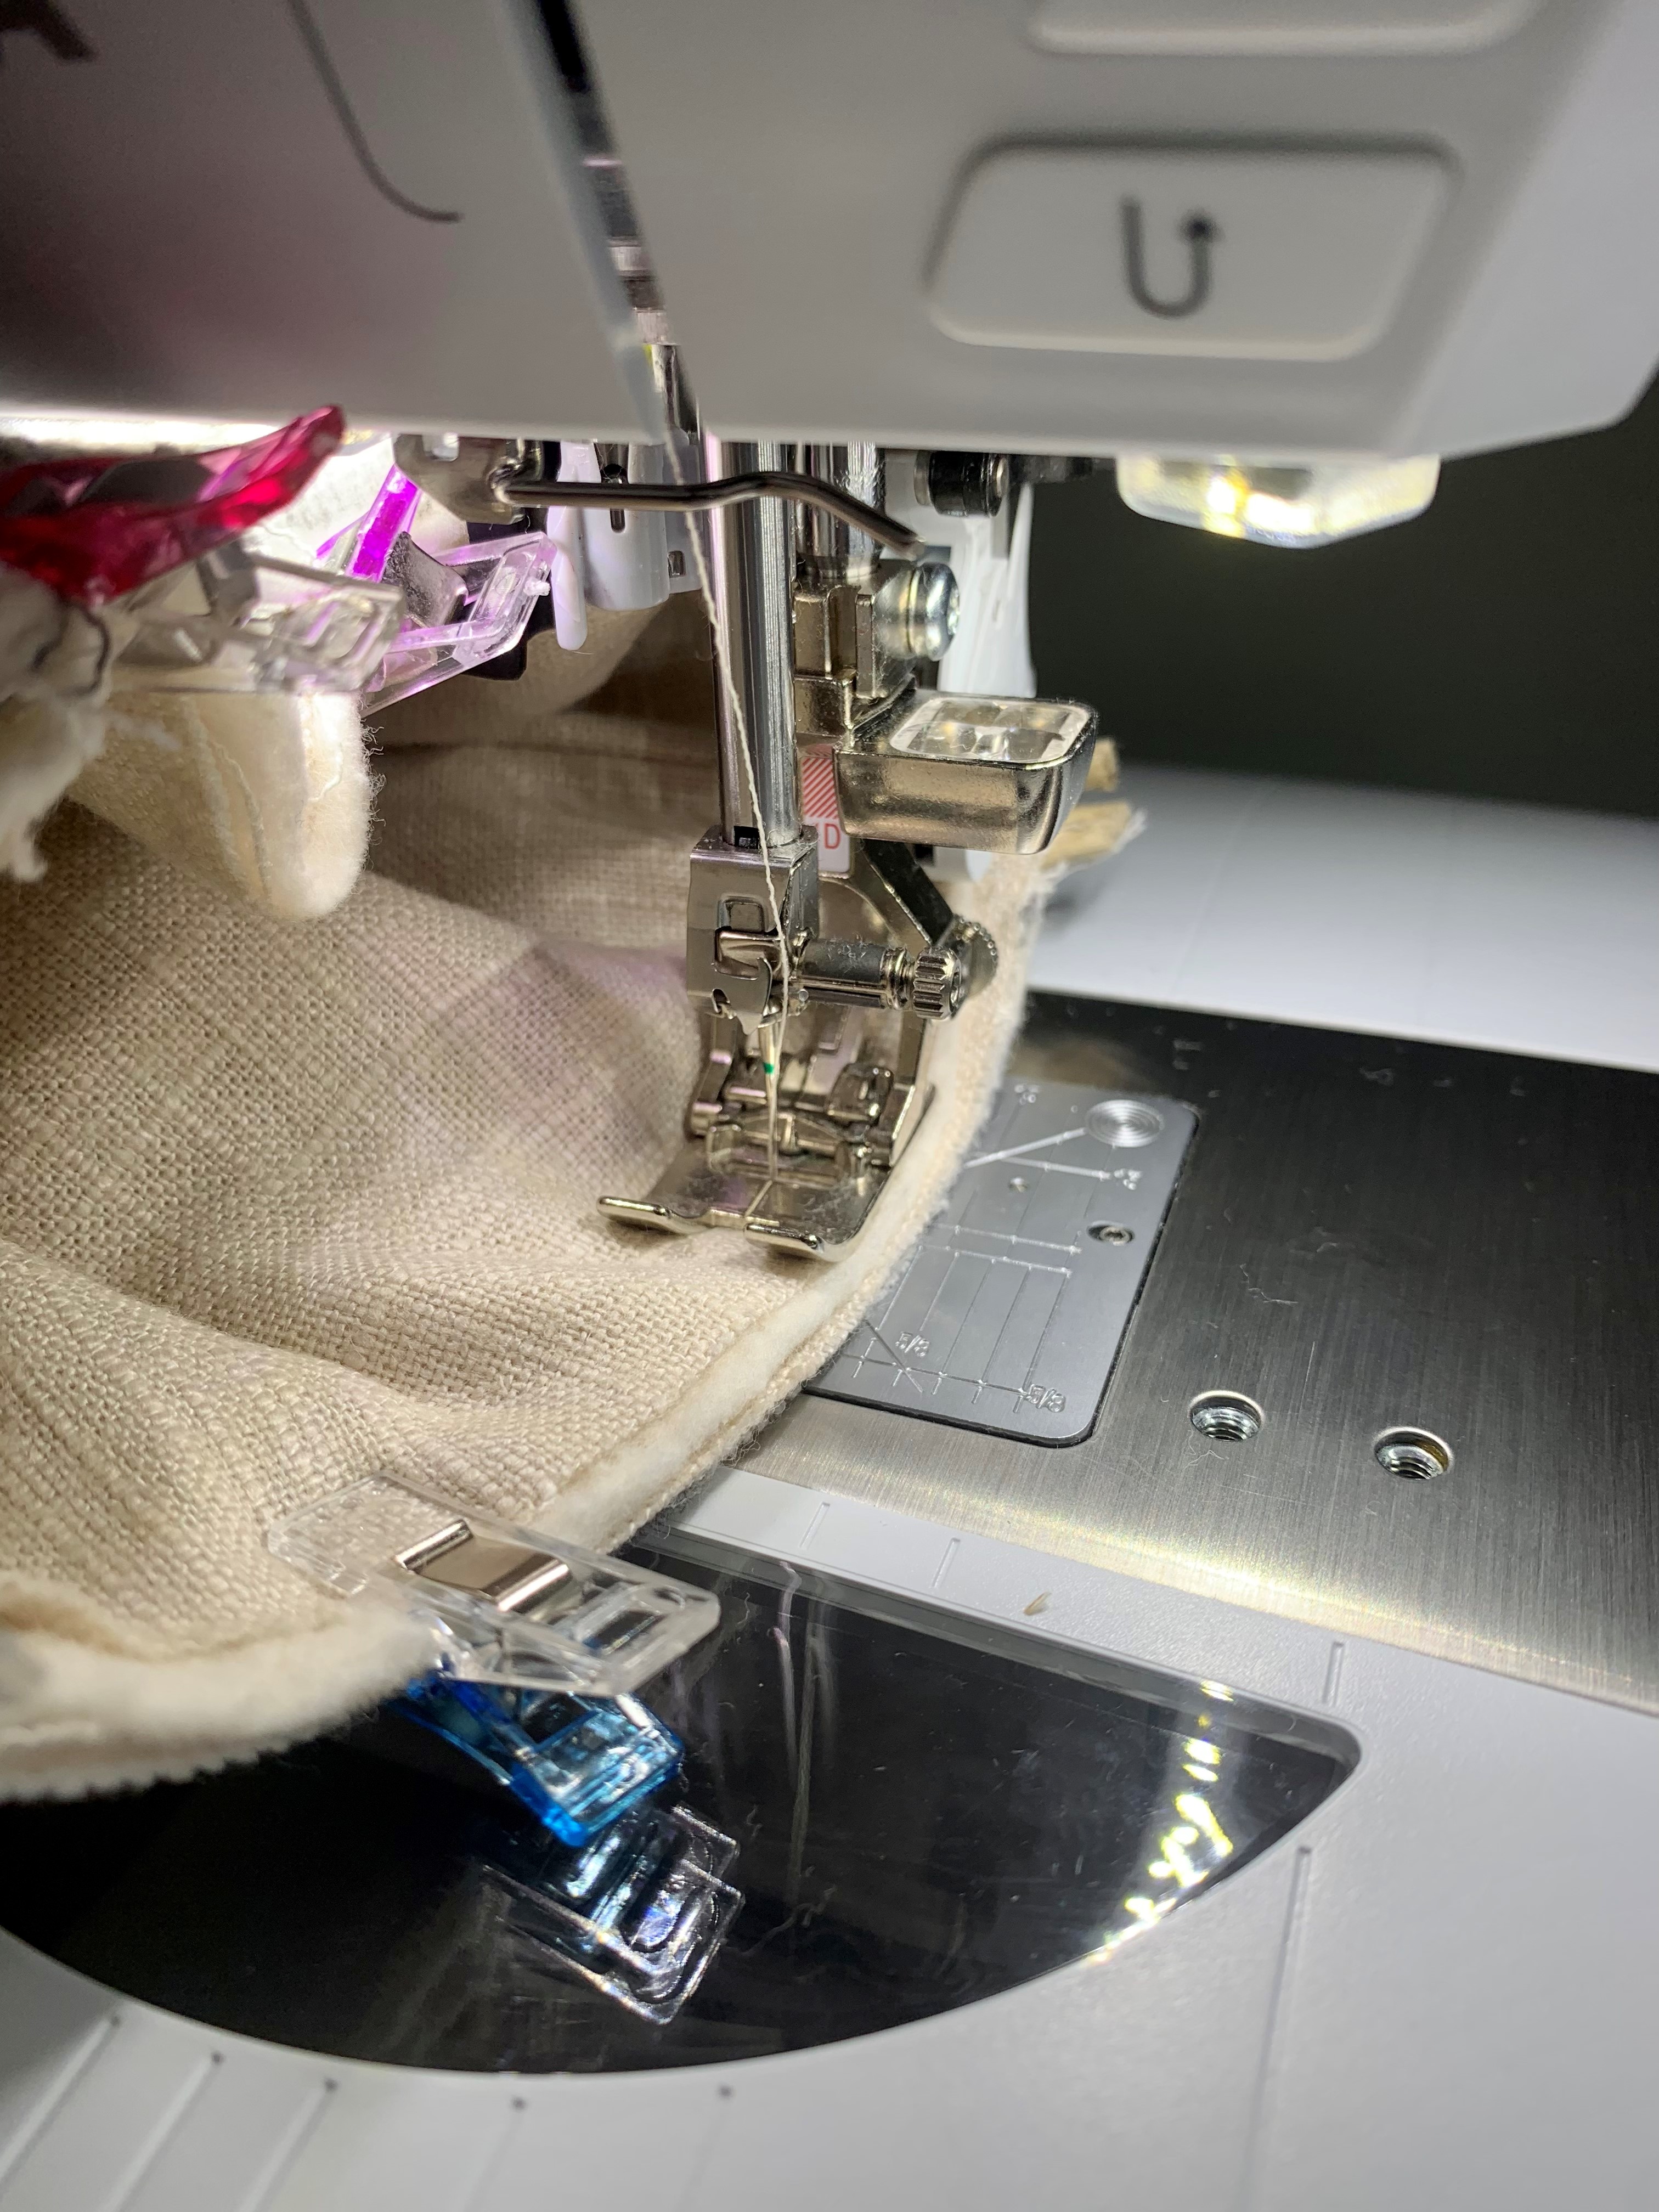
- Sew all four layers together using a ½” seam allowance, leaving the top open. I used the Reverse Pattern Foot 1D to sew my stocking. Dual feed or a walking foot will be so helpful when sewing all these layers.
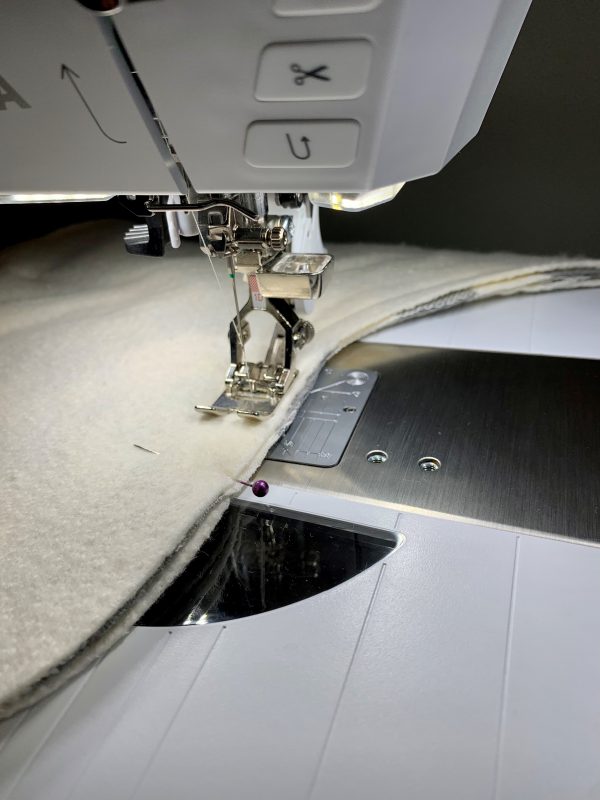
- Grade the seam allowance to reduce bulk by trimming the batting seam allowance in half. Turn the stocking right side out and press.


Sew the Stocking Lining
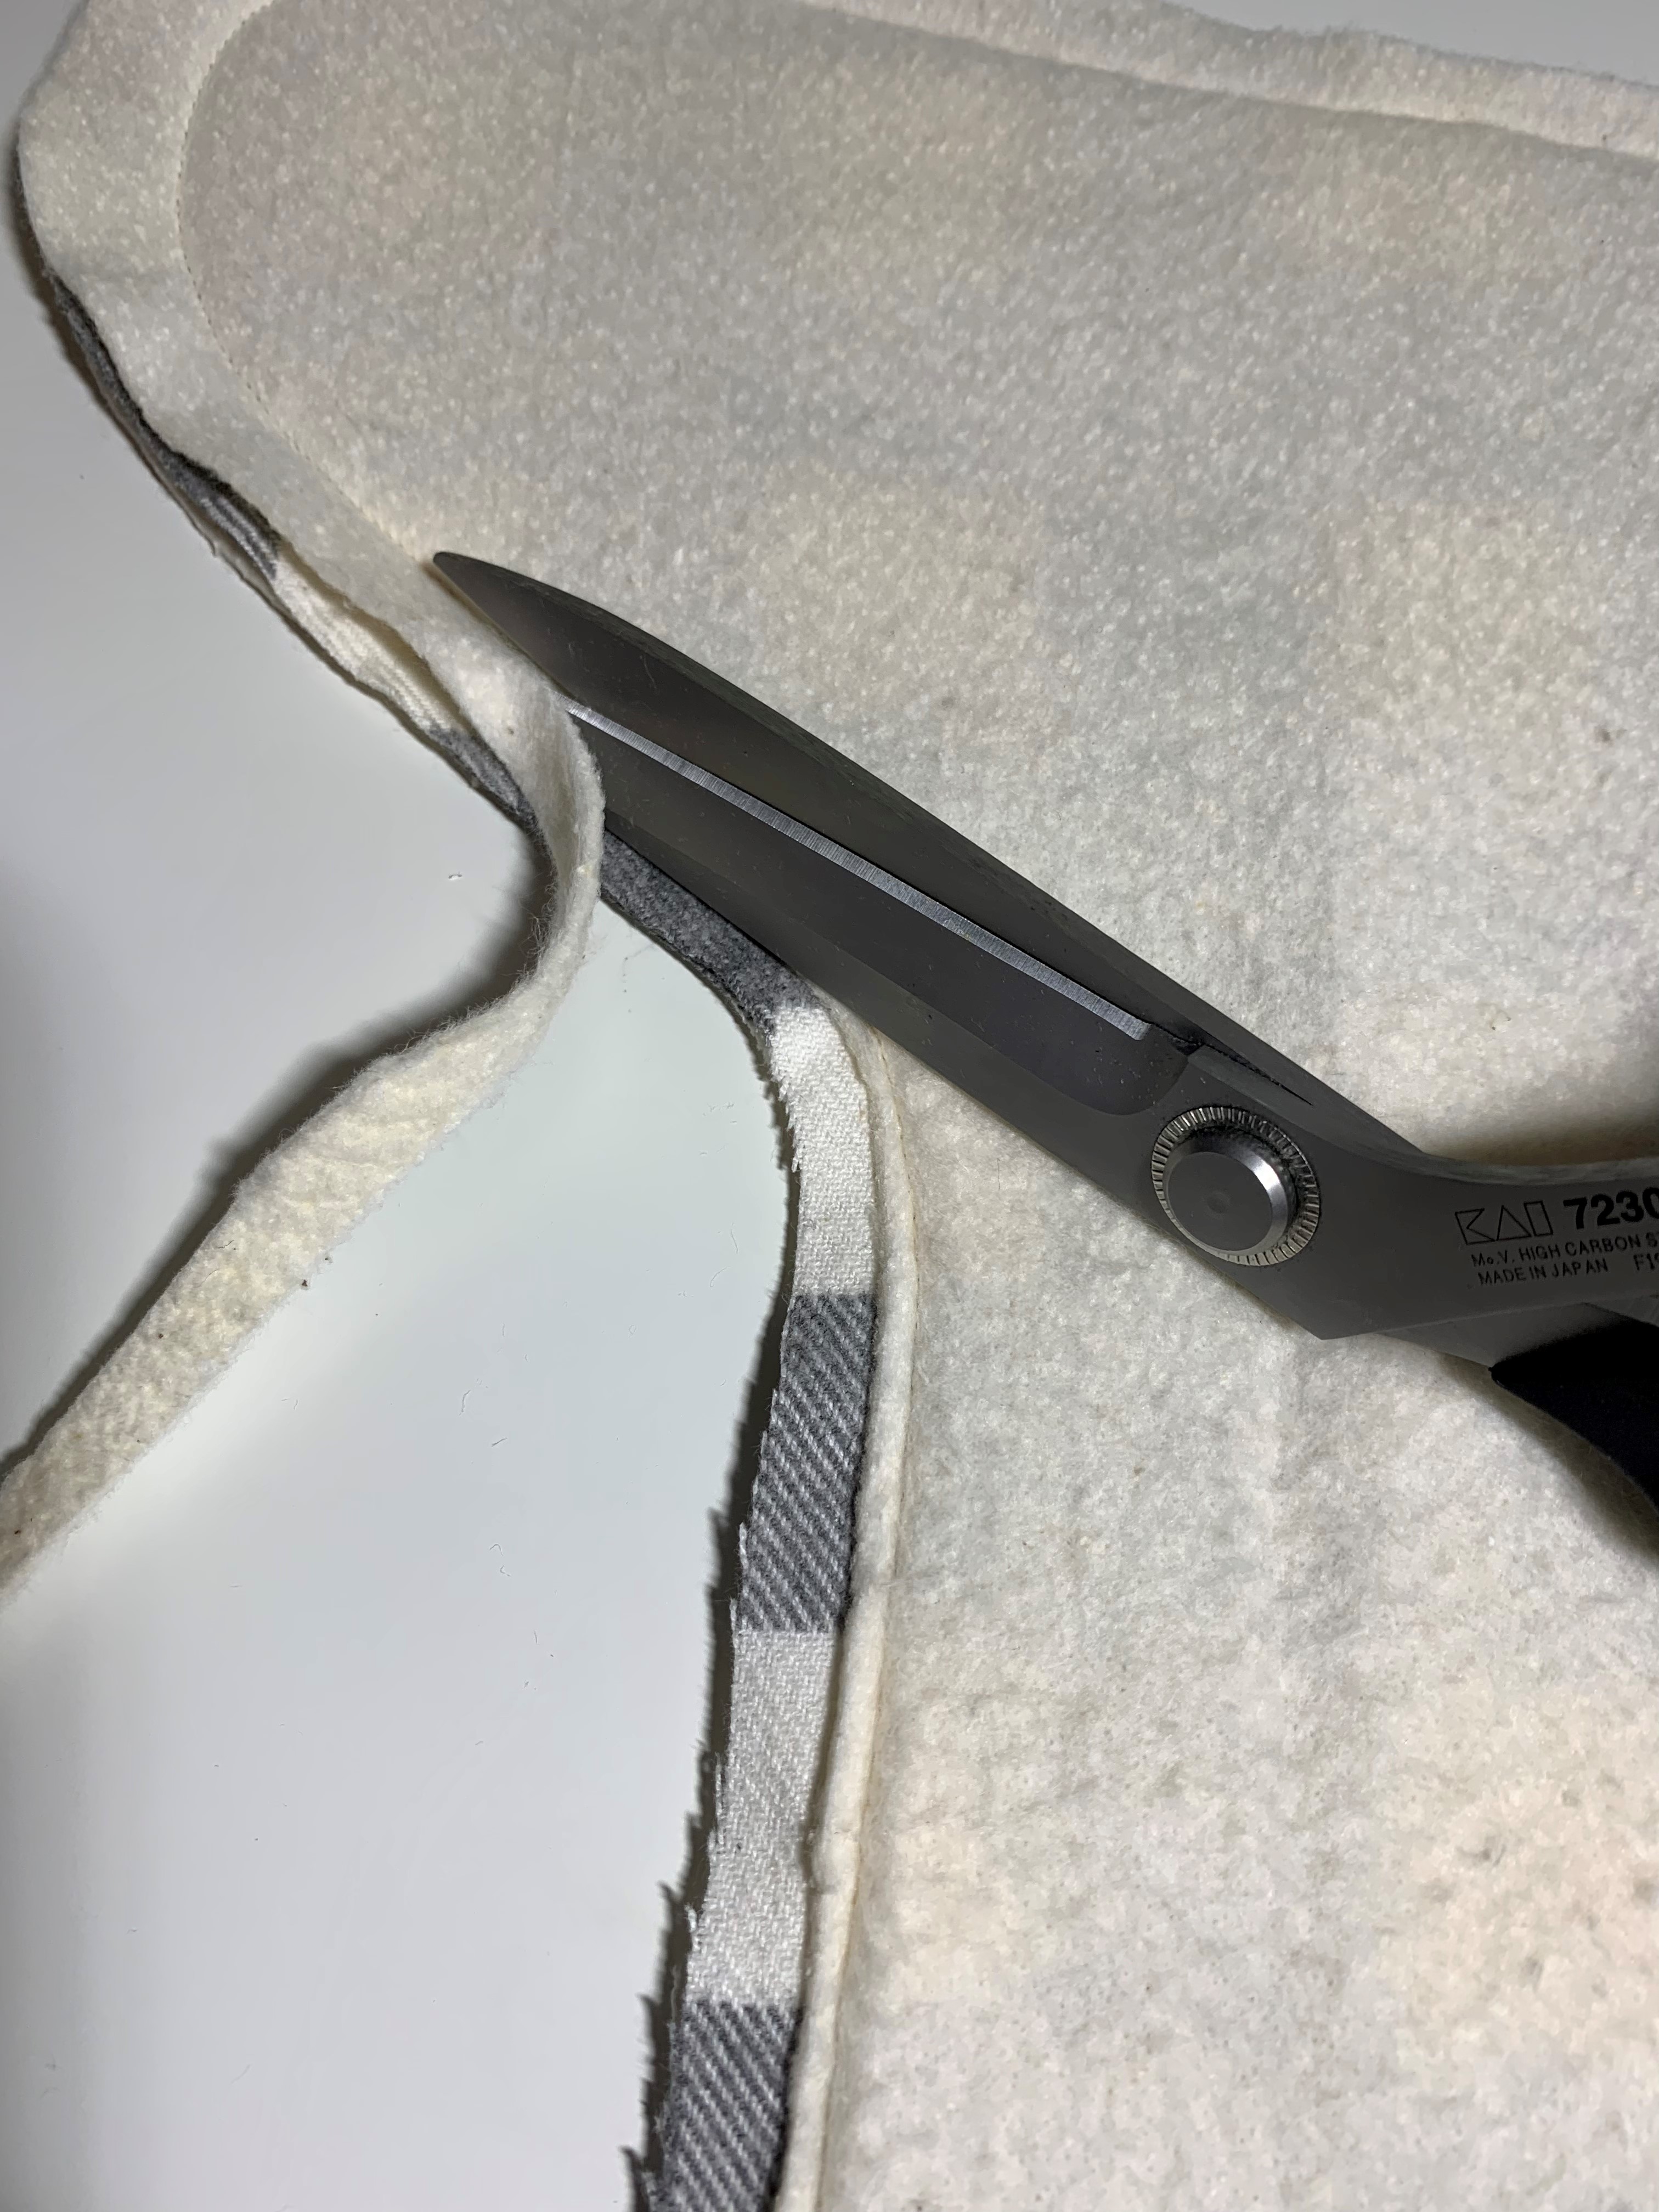
- Sew the two lining pieces together, right sides together, using a ½” seam allowance. Trim the seam allowance to reduce bulk.
- Place the stocking lining inside the main stocking with the wrong sides together. This will hide all your seam allowances.

Sew the Stocking Cuff
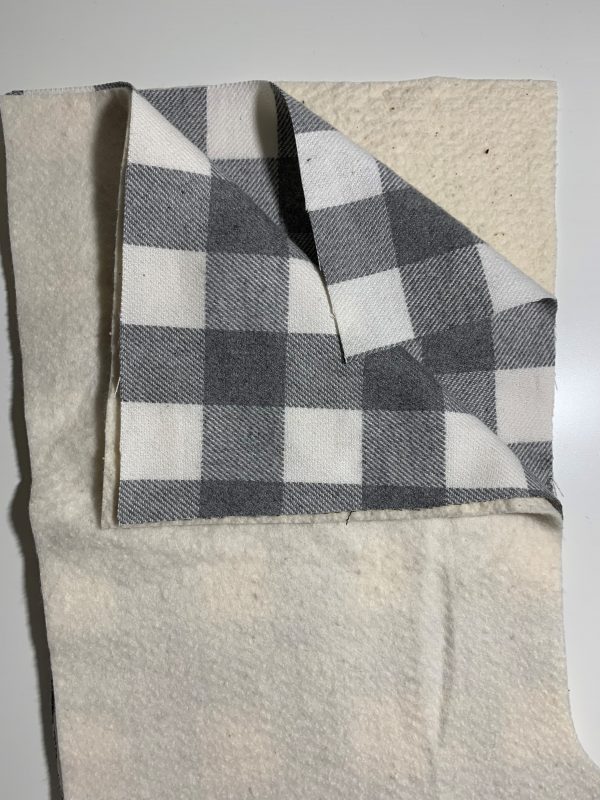
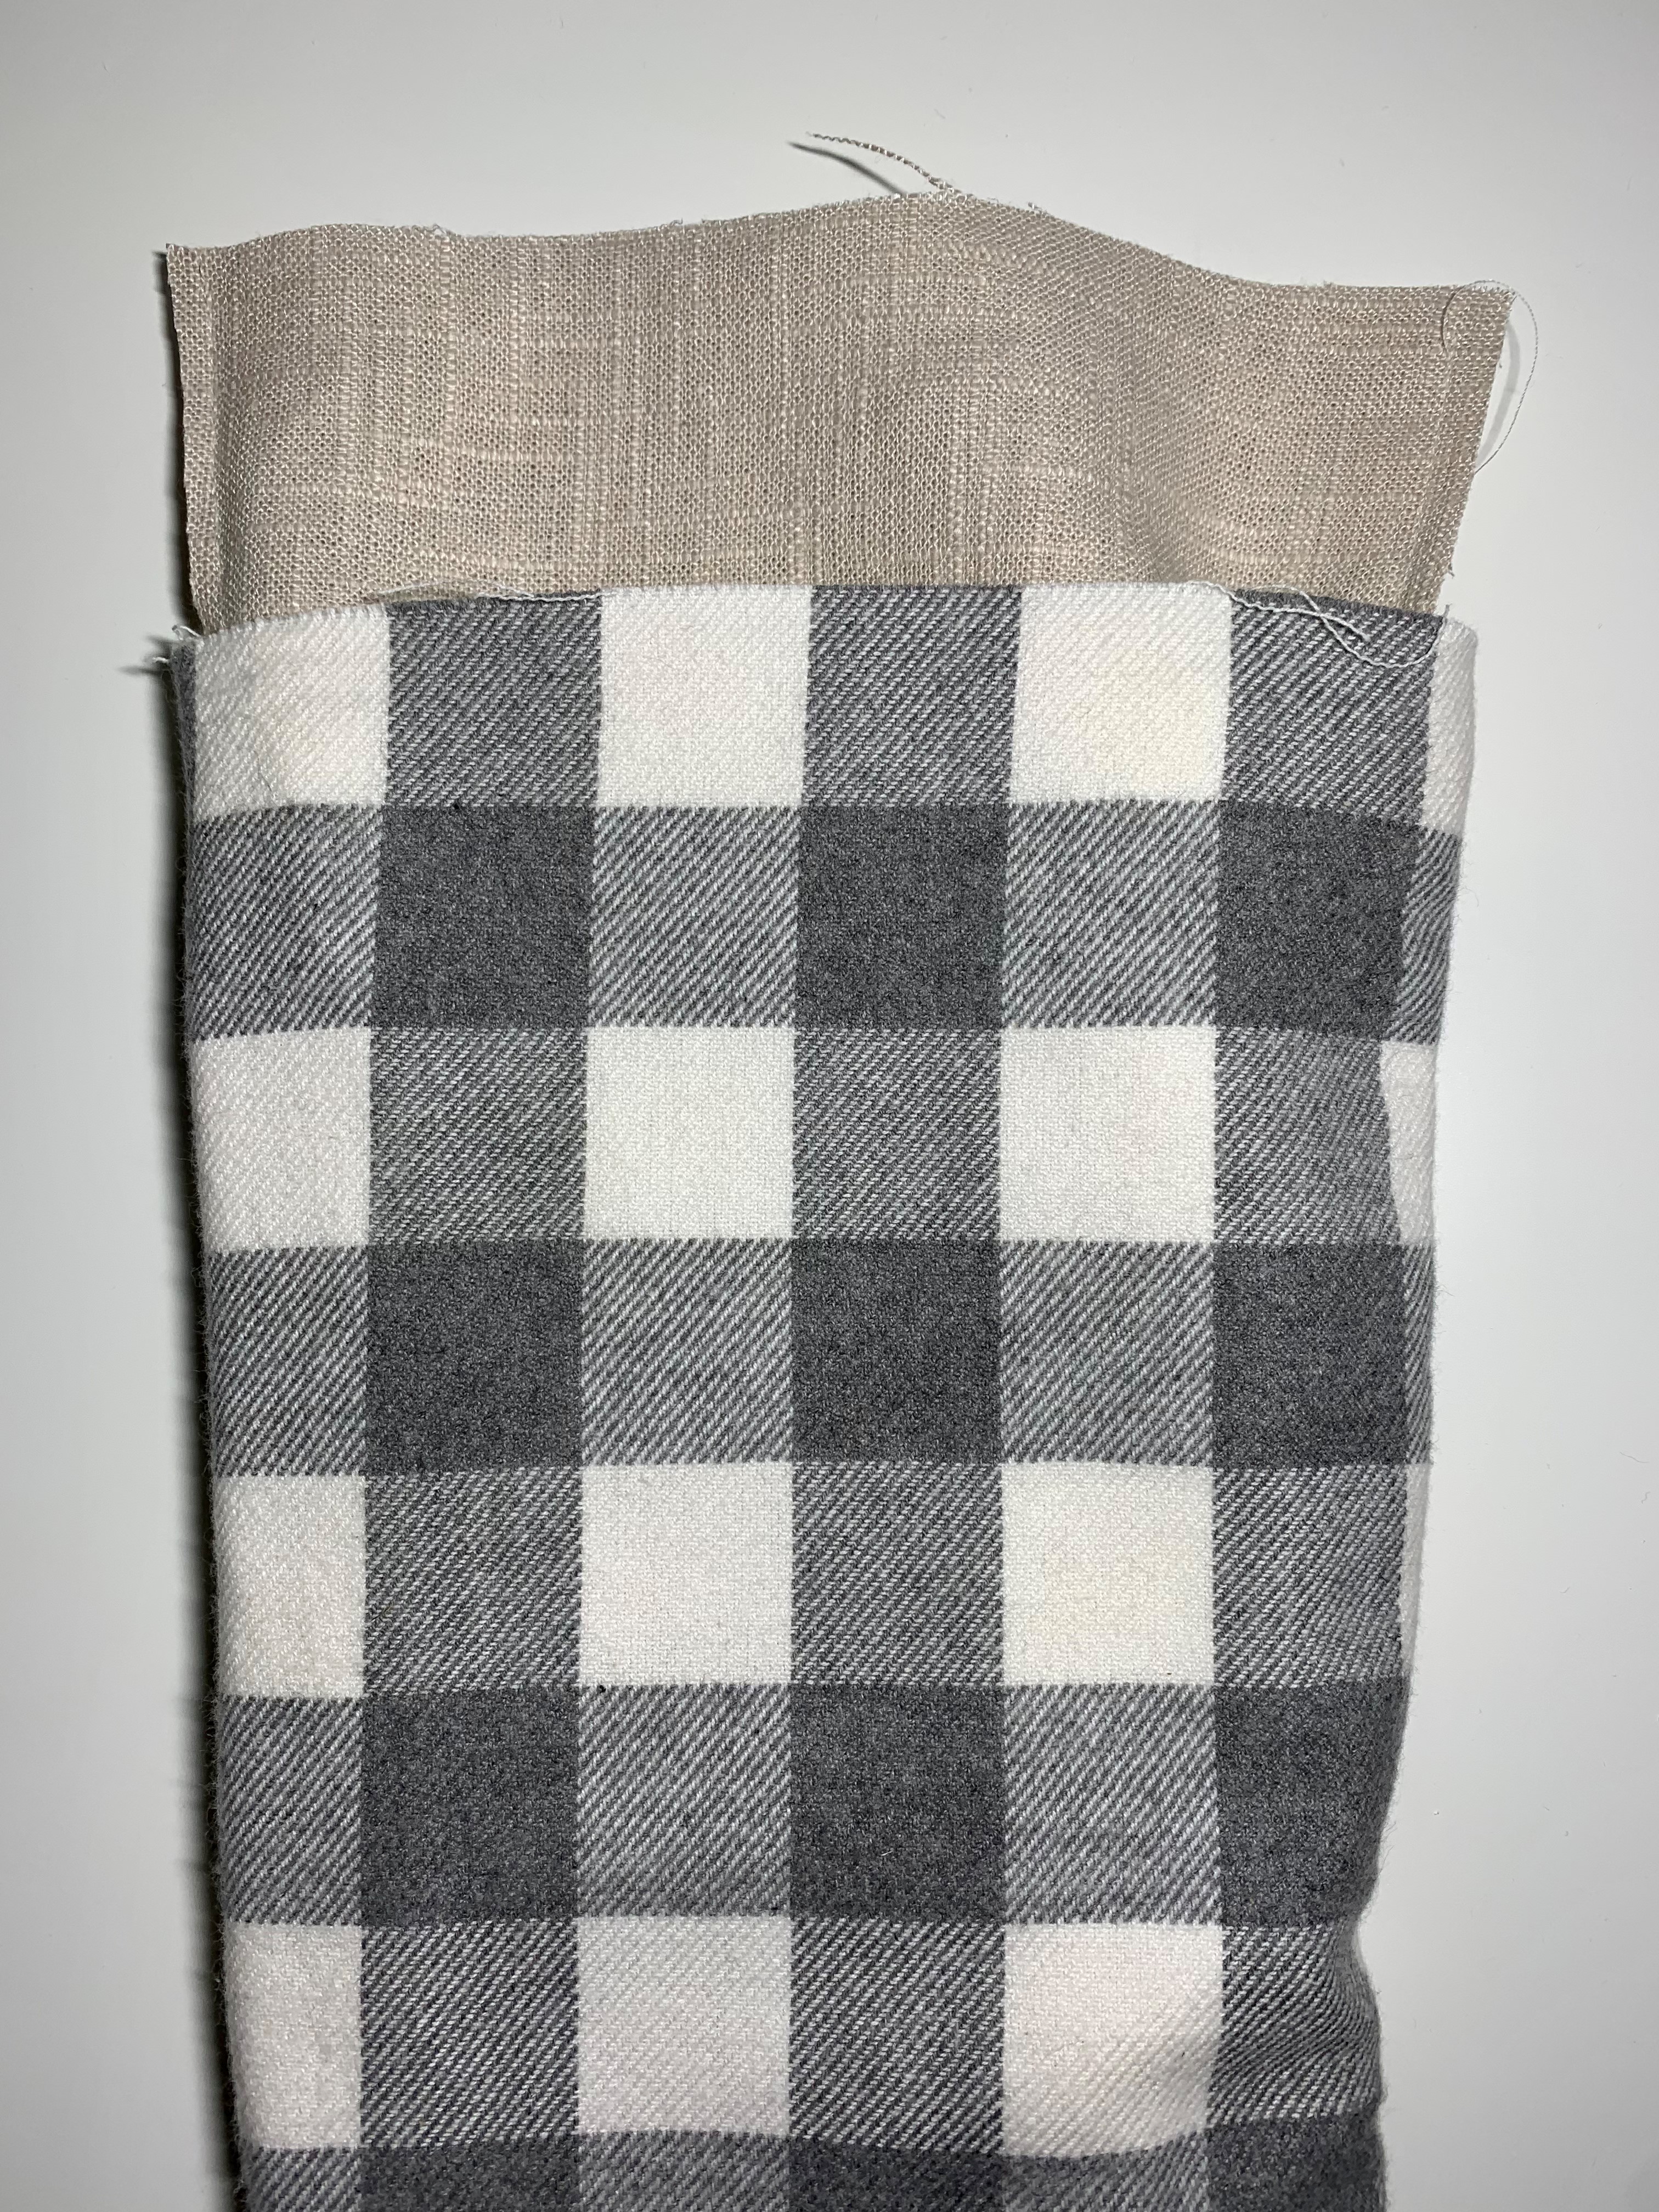
- Place the cuff batting on the wrong side of your cuff, matching one long edge. The cuff batting will only cover half of the cuff. If you personalized your cuff, you should place the batting on the half that you personalized.
- Fold the cuff and batting in half, right sides together, lining up the short edges. Sew the short edges using a ½” seam allowance.
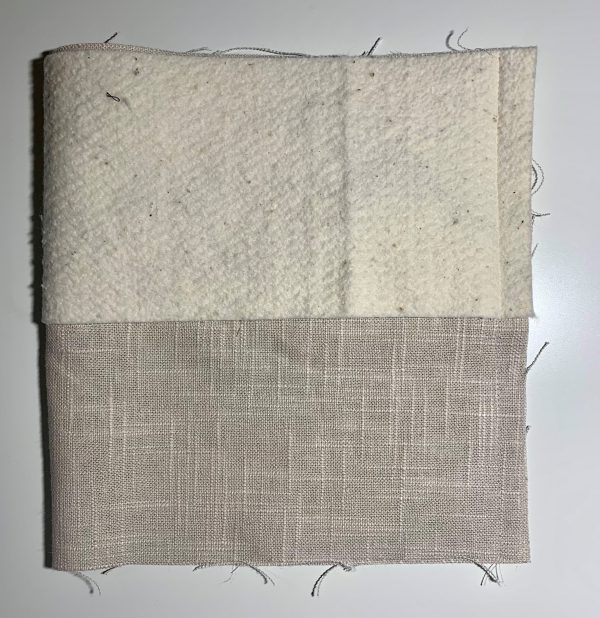
- Grade the seam allowance of the cuff by trimming the batting. Turn the cuff right side out and fold in half, lining up the raw edges and sandwiching the batting between the fabric.

Attach the Cuff to the Stocking
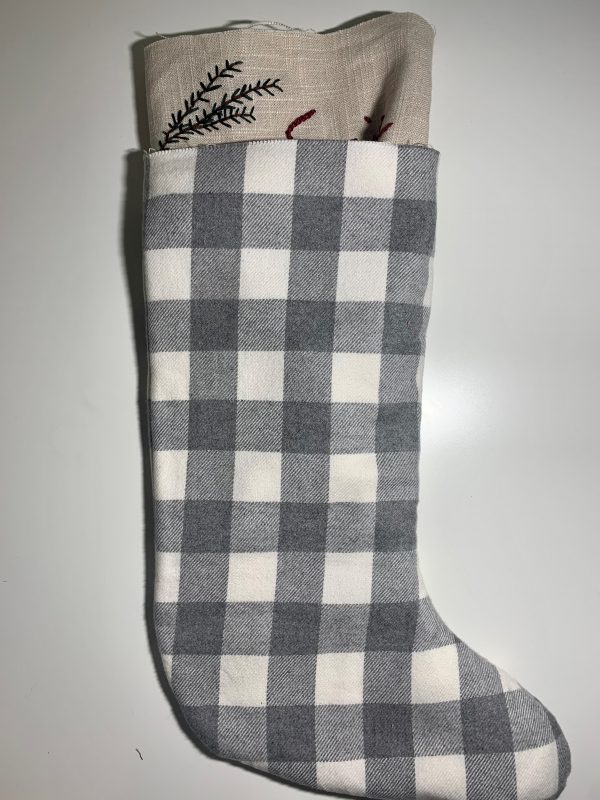
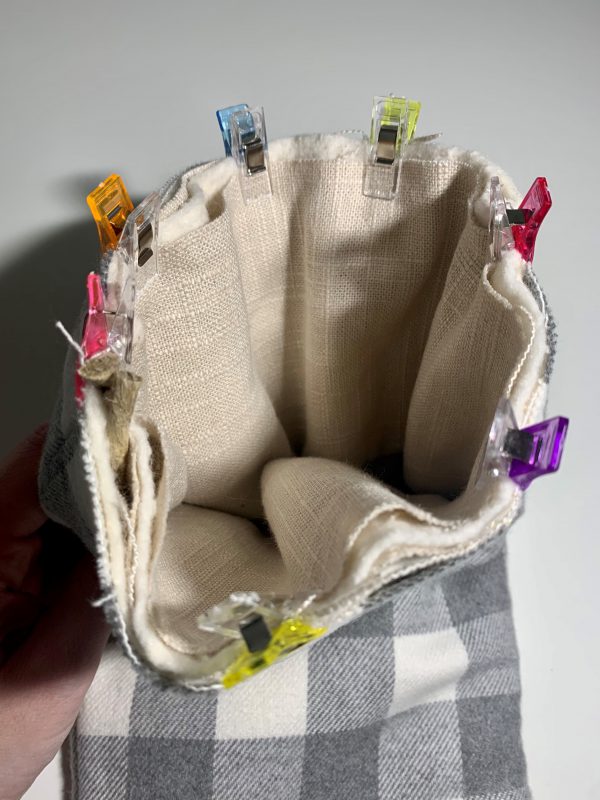
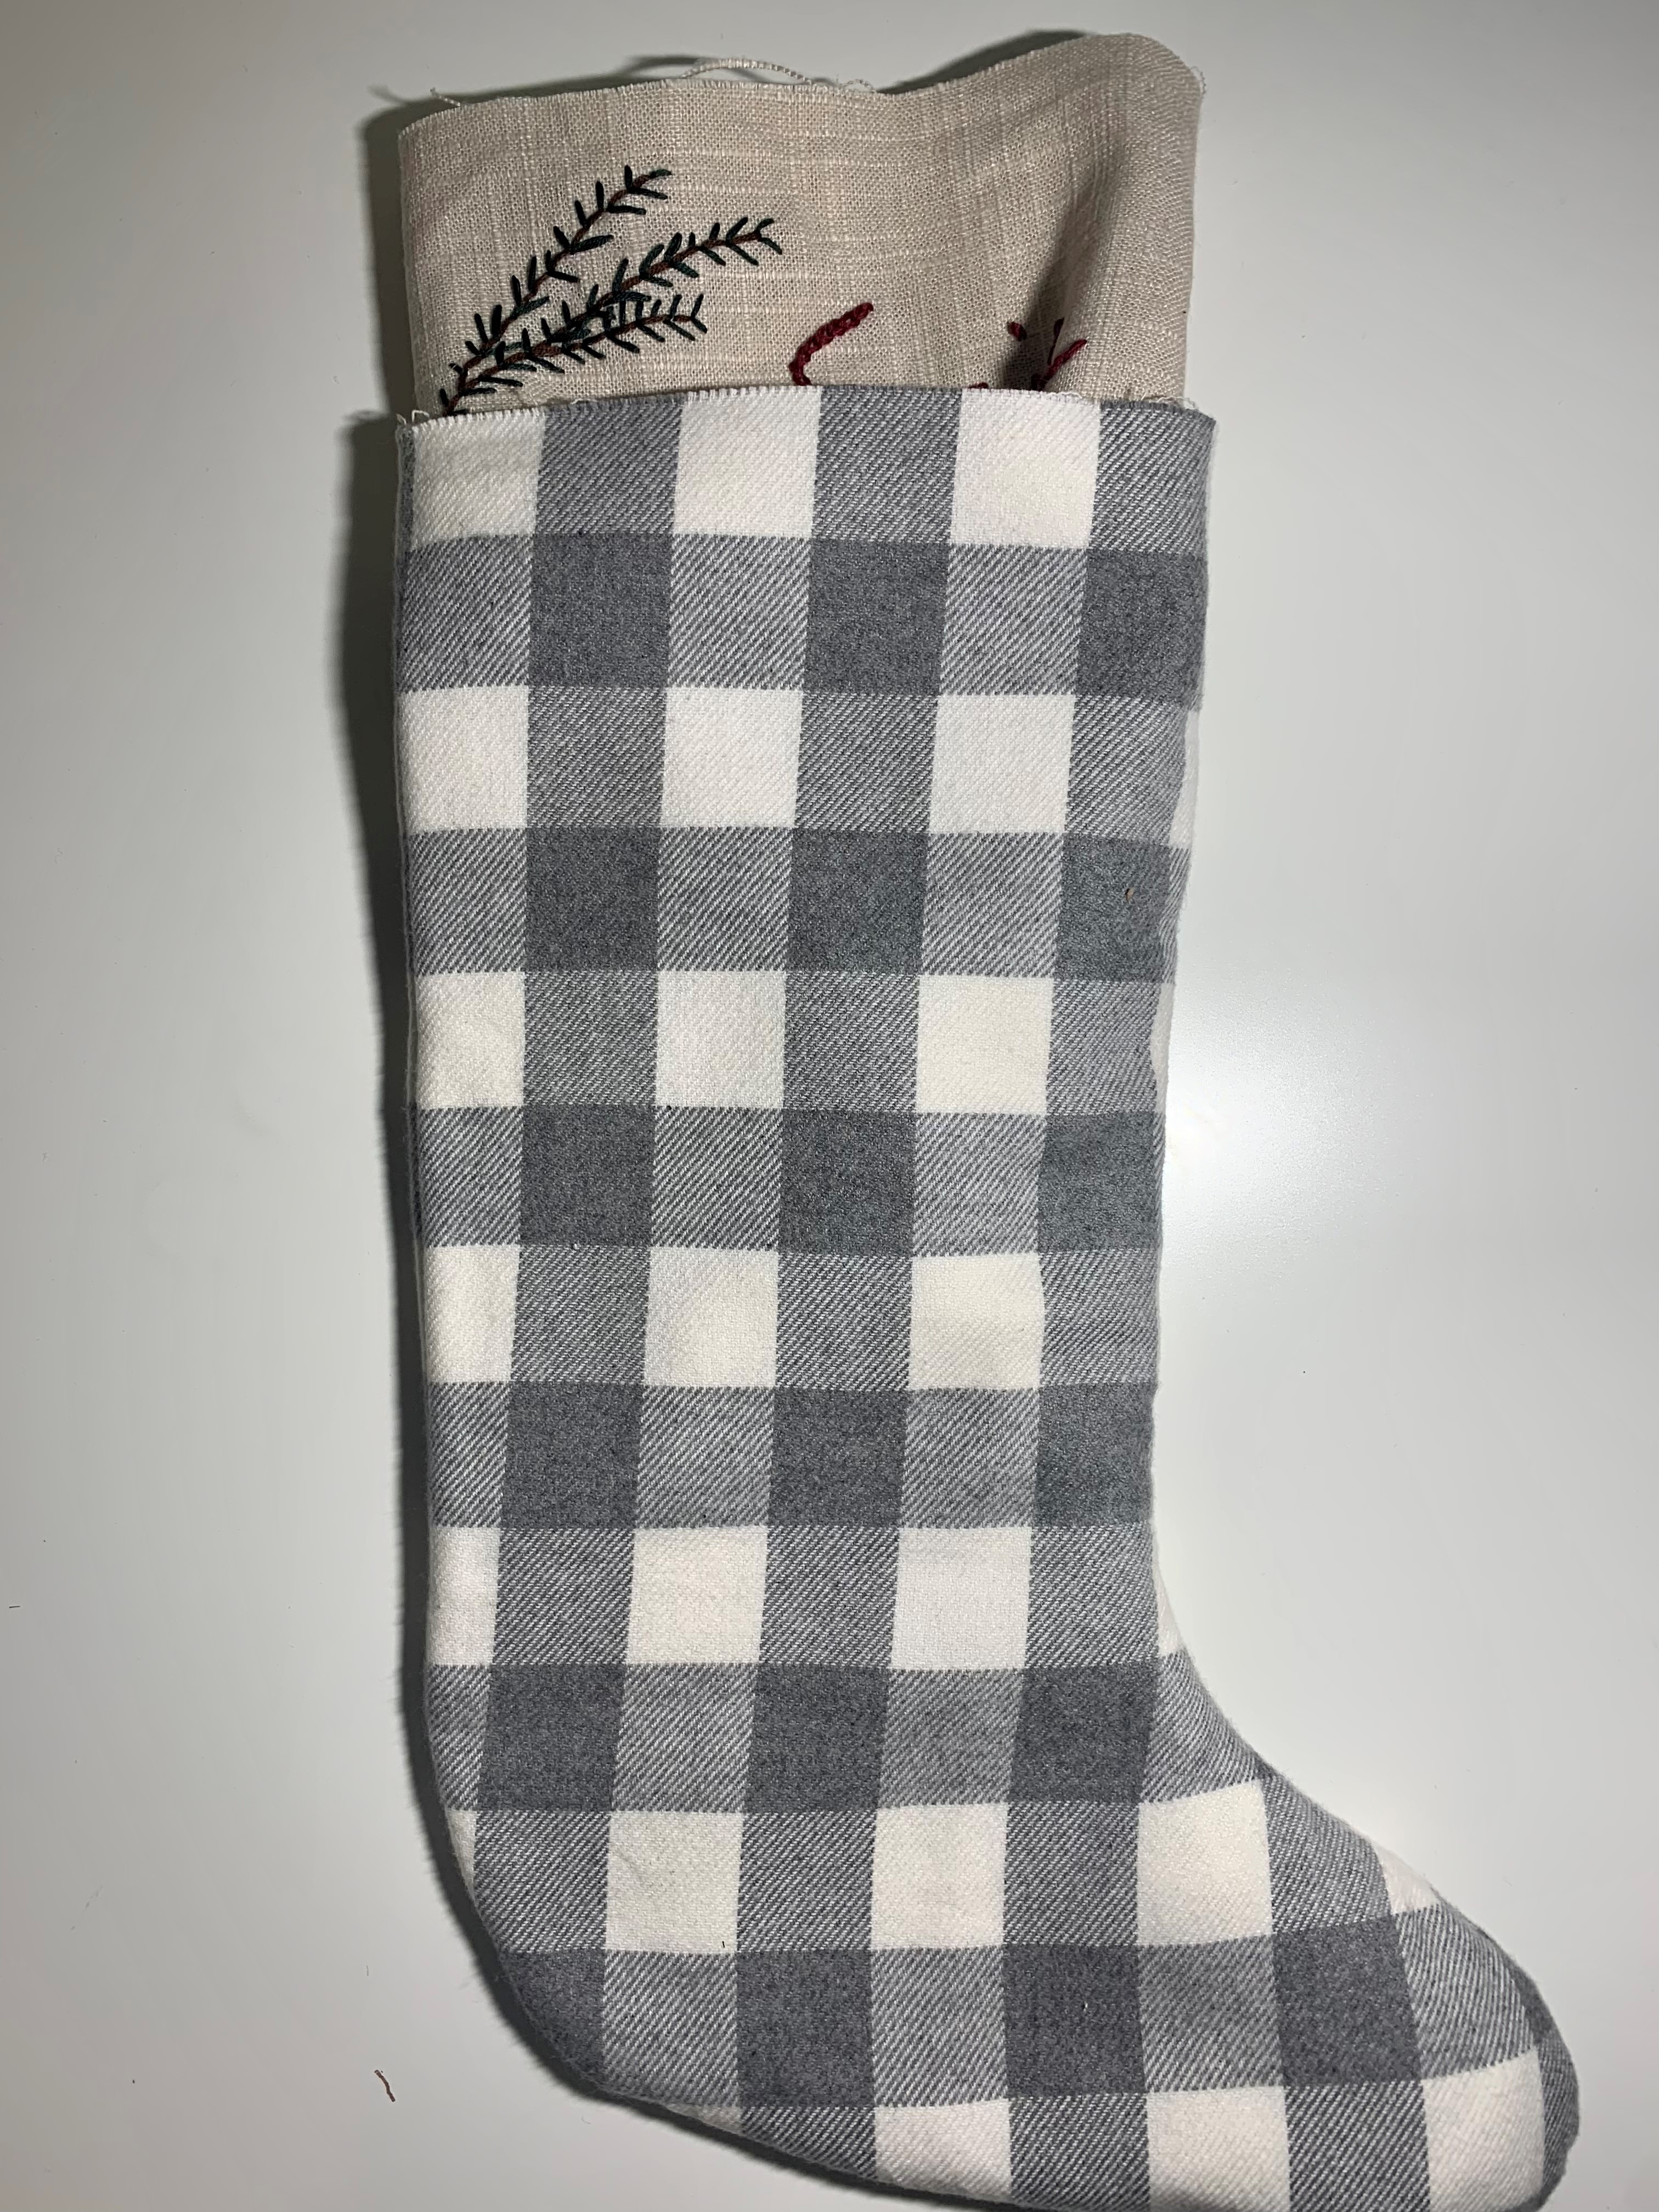
- Place the cuff inside the stocking, matching the seam in the cuff with the side seam of the stocking lining. If you personalized your cuff, the personalization should be facing the lining.
- Insert the ribbon or twine stocking hanger between the lining and the cuff at the side seam. Pin so both ends of the ribbon or twine just stick out from the raw edge to ensure you catch them both in the stitching. Continue pinning the stocking cuff to the stocking. (There’s a lot of layers here, so wonder clips can be really helpful!)
- Stitch the cuff to the stocking with ½” seam allowance. I find it easiest to sew on the side of the cuff.

- Turn the stocking cuff to the outside and press.


Now all that is left to do is hang by the chimney with care and enjoy your new Christmas stockings! If you make these stockings for your family, please share tag #thelilacelkstocking so I can see your finished project!