Christmas Stocking

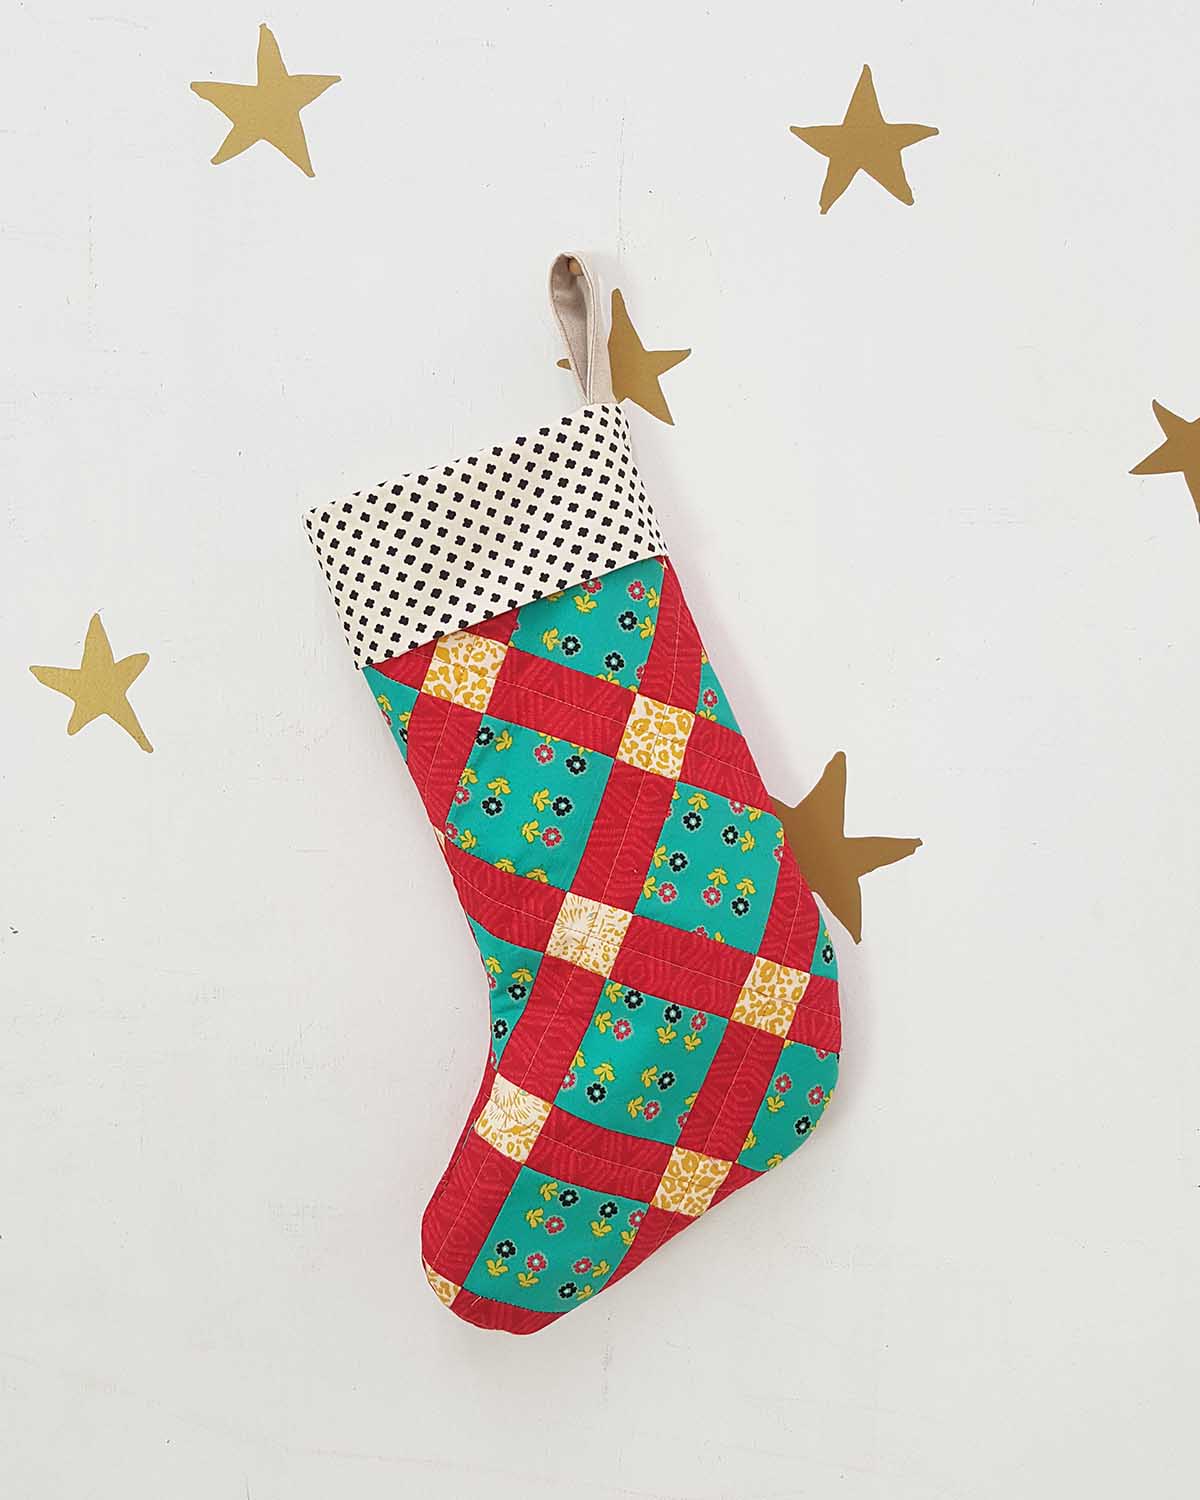
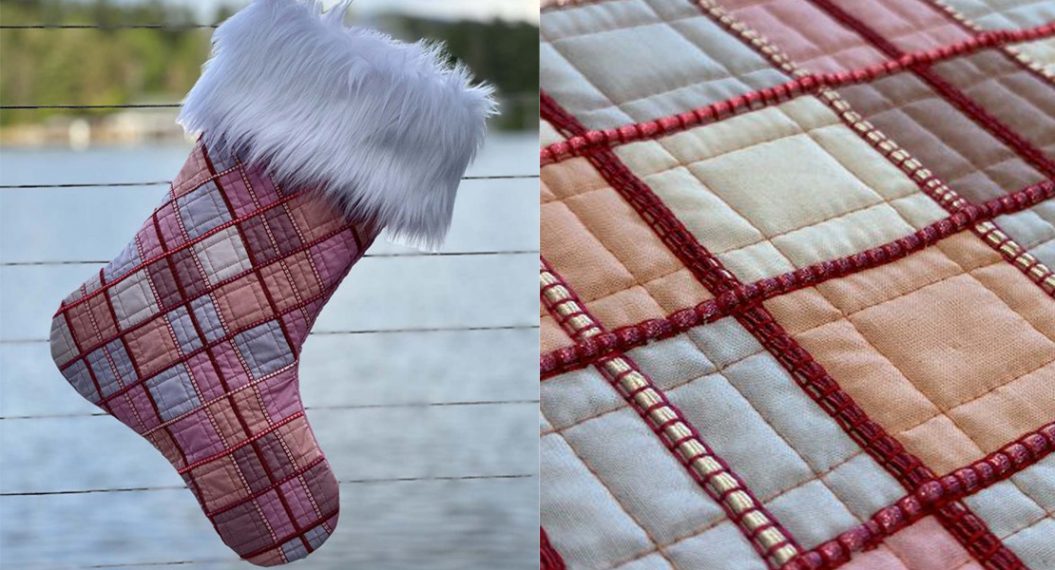
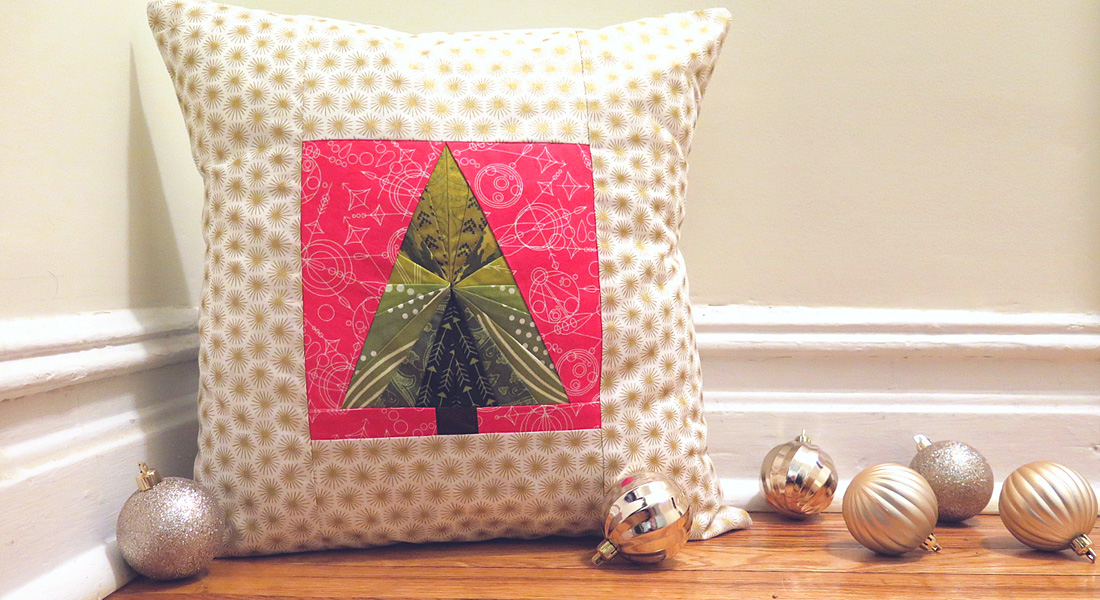
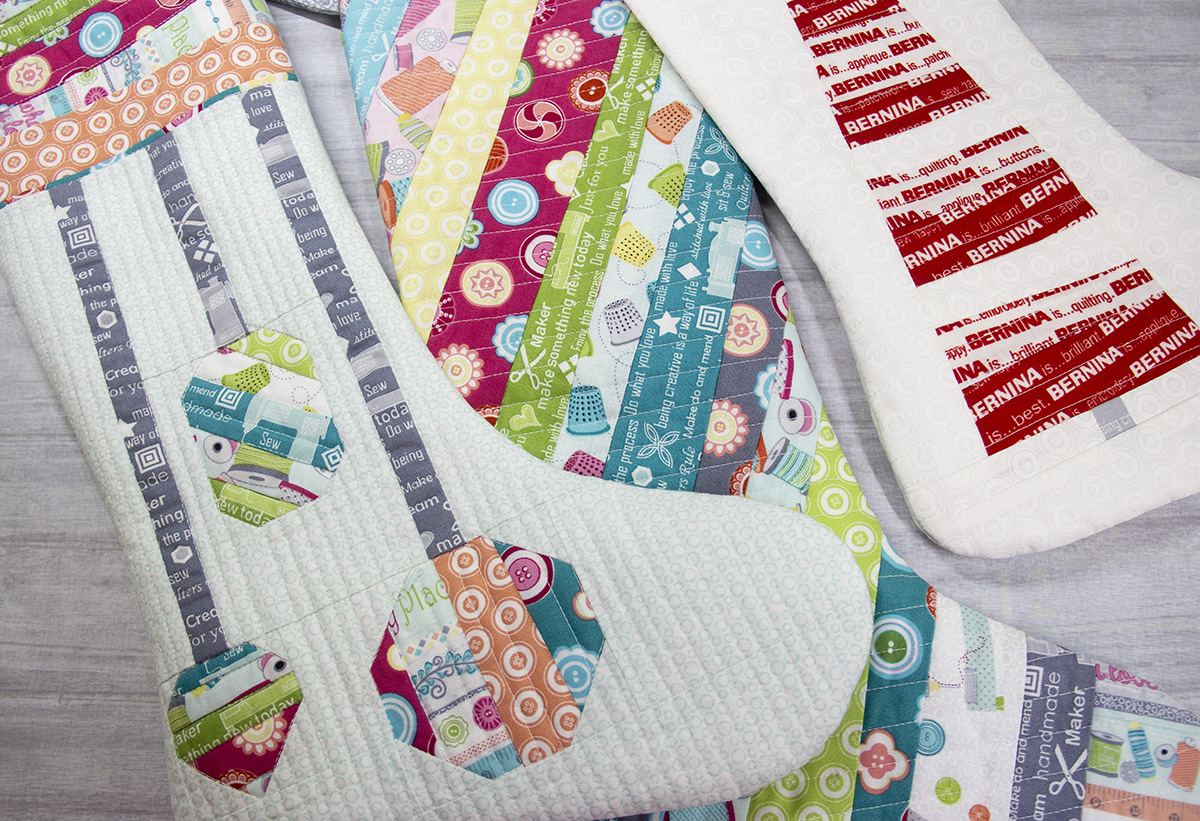
It’s time to get into the holiday spirit because Christmas is just around the corner! It’s my favorite time of the year because I gather with my family and friends all in one place, setting up the Christmas dinner, and sewing some cheerful projects. There is nothing more to get you in the holiday spirit than sewing for your loved ones. Seeing all the festive decor being made from table runners to quilts (and of course the handmade gifts) has me really excited to start on my own projects. This year I wanted to share with all of you a fun, patchwork-filled Christmas stocking using my Nuncia collection. Perfect for filling with gifts, candy canes, and treats! This stocking is perfect to put next to their Christmas tree. So lets get to sewing!
Materials to Make a Christmas Stocking
- Batting (one piece about 36″ x 36″ for front, one piece about 22″ x 22″ for back)
- Quilting and sewing thread
- Reverse Pattern foot #1D
- Walking Foot
- Download the Christmas Stocking Pattern here
Fabrics Used:
- Fabric A, 1/2 yard: NUC-11983 Just More Red
- Fabric B, 1/3 yard: NUC-11981 Pretty Eyes Twinkly
- Fabric C, 1/2 yard: NUC-11987 Always Do Good Cielo
- Fabric D, one fat quarter: NUC-21986 Goodness Thoughts
- Fabric E, one fat eighth: DEN-L-4000 Soft Sand
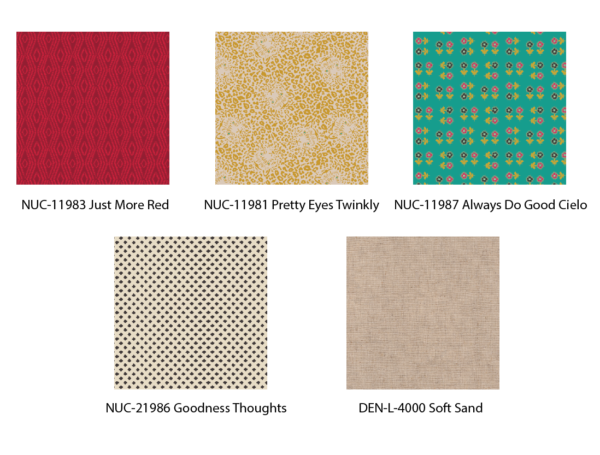
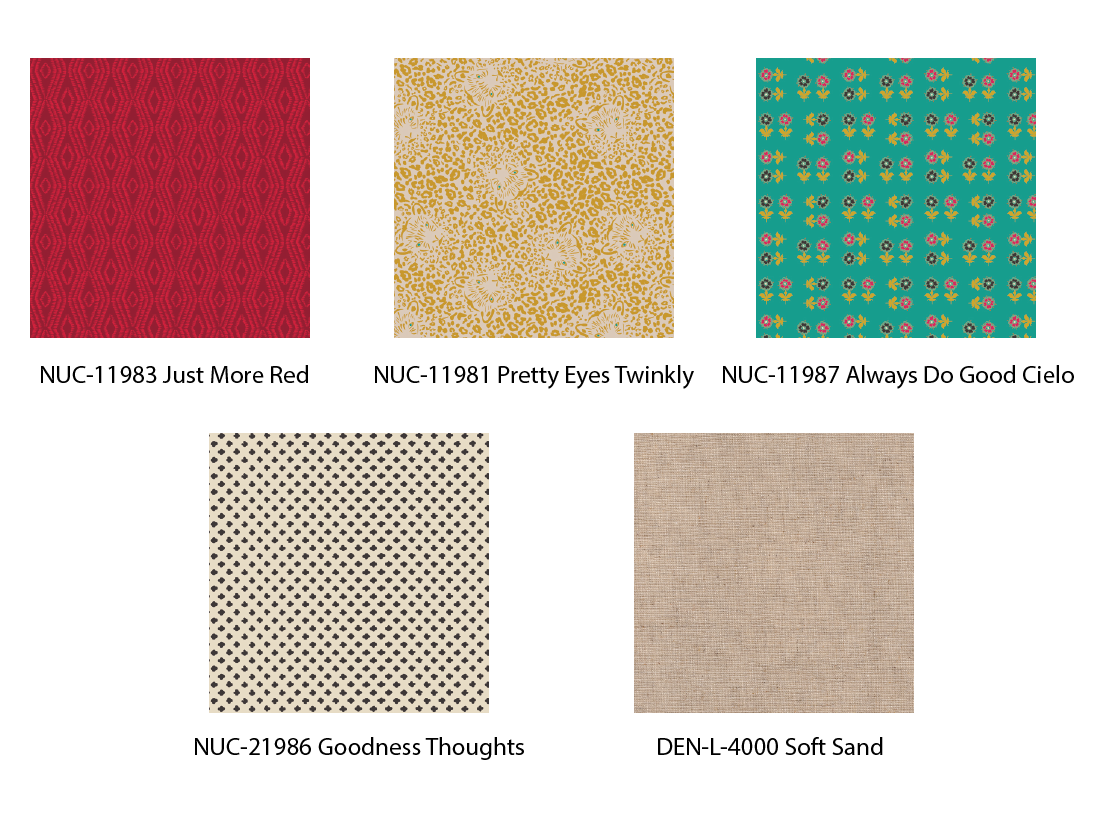
Nuncia collection is perfect for this holiday project. The colors go so well together!

Cutting Directions
- One (1) Stocking Template from Fabric A (back of stocking)
- Two (2) Stocking Template from Fabric D (stocking lining)
- One (1) 6 1/2″ x 15 1/2″ rectangle from Fabric D (stocking top)
- One (1) 4″ x 8″ rectangle from Fabric E (stocking hanger)
- Eighty eight (88) 1 3/4″ x 3″ rectangles from Fabric A
- Fifty Two (52) 1 3/4″ x 1 3/4″ squares from Fabric B
- Forty Four (44) 3″ x 3″ squares from Fabric C
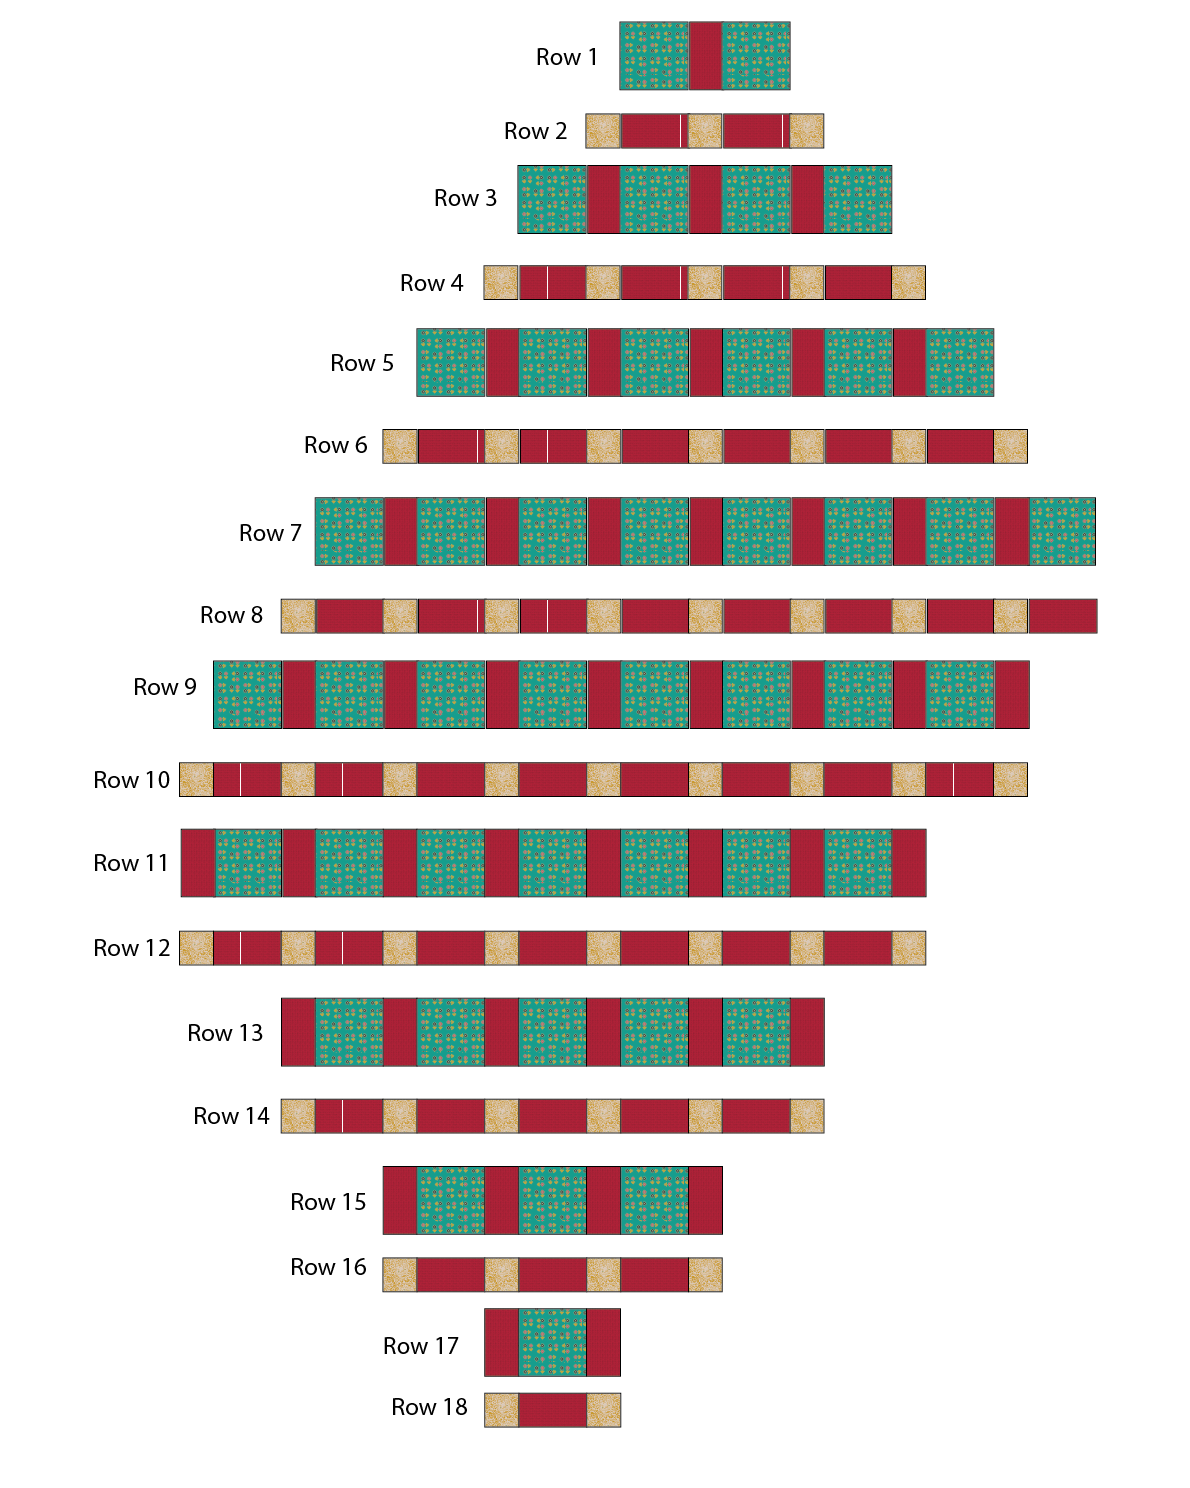
Cut all of your (88), (54) and (44) pieces from Fabrics A, B, C and follow the instructions bellow on each row assembly.

Step One: First make the strip to create the odd-numbered rows. Start by taking two 3″ x 3″ squares from Fabric C and sew one of each side of one 1 3/4″ x 3″ rectangle from Fabric A.
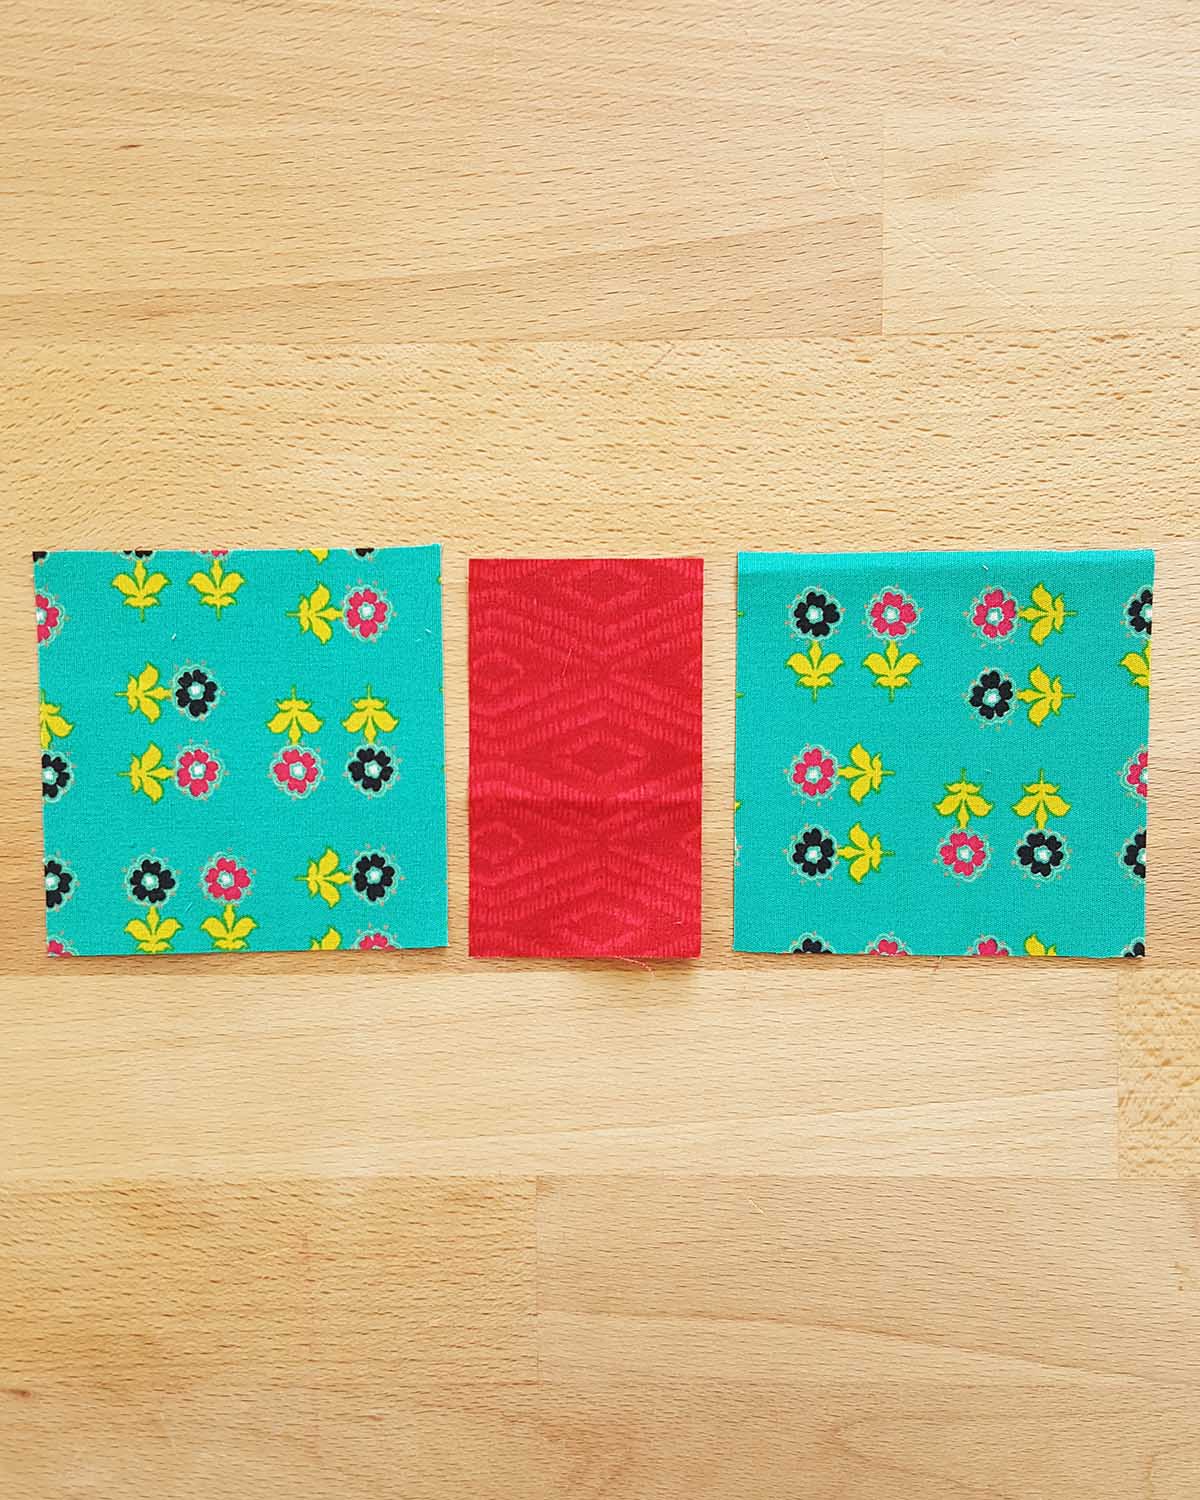
Note: I made a Diagram to have a clear view of each row assembly.
Once you assemble those row, it should look like this.
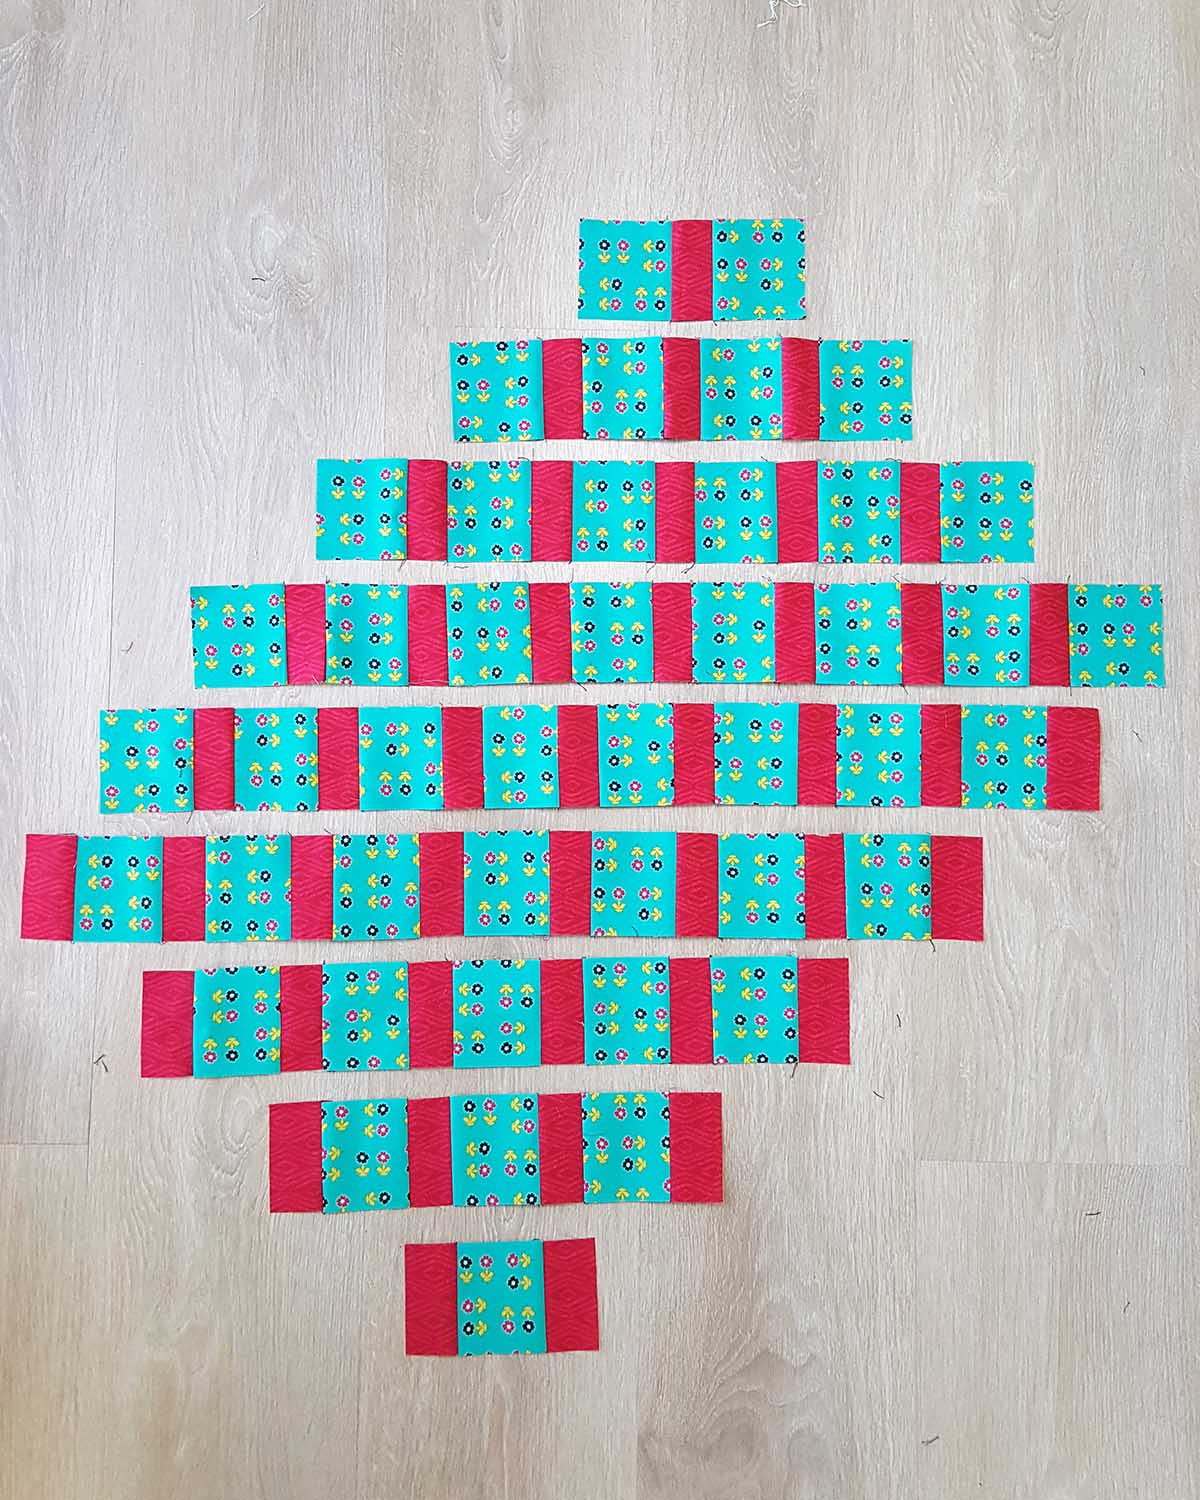
Step two: Next make the strip to create the odd-numbered rows. Take Fabric B squares and the remaining rectangles from Fabric A and start joining them at a 1/4″ seam allowance, following the diagram illustration. Remember to pin your pieces.

Once you have all of your strips sewn, it should look like this. Remember to always press your sewn strips.
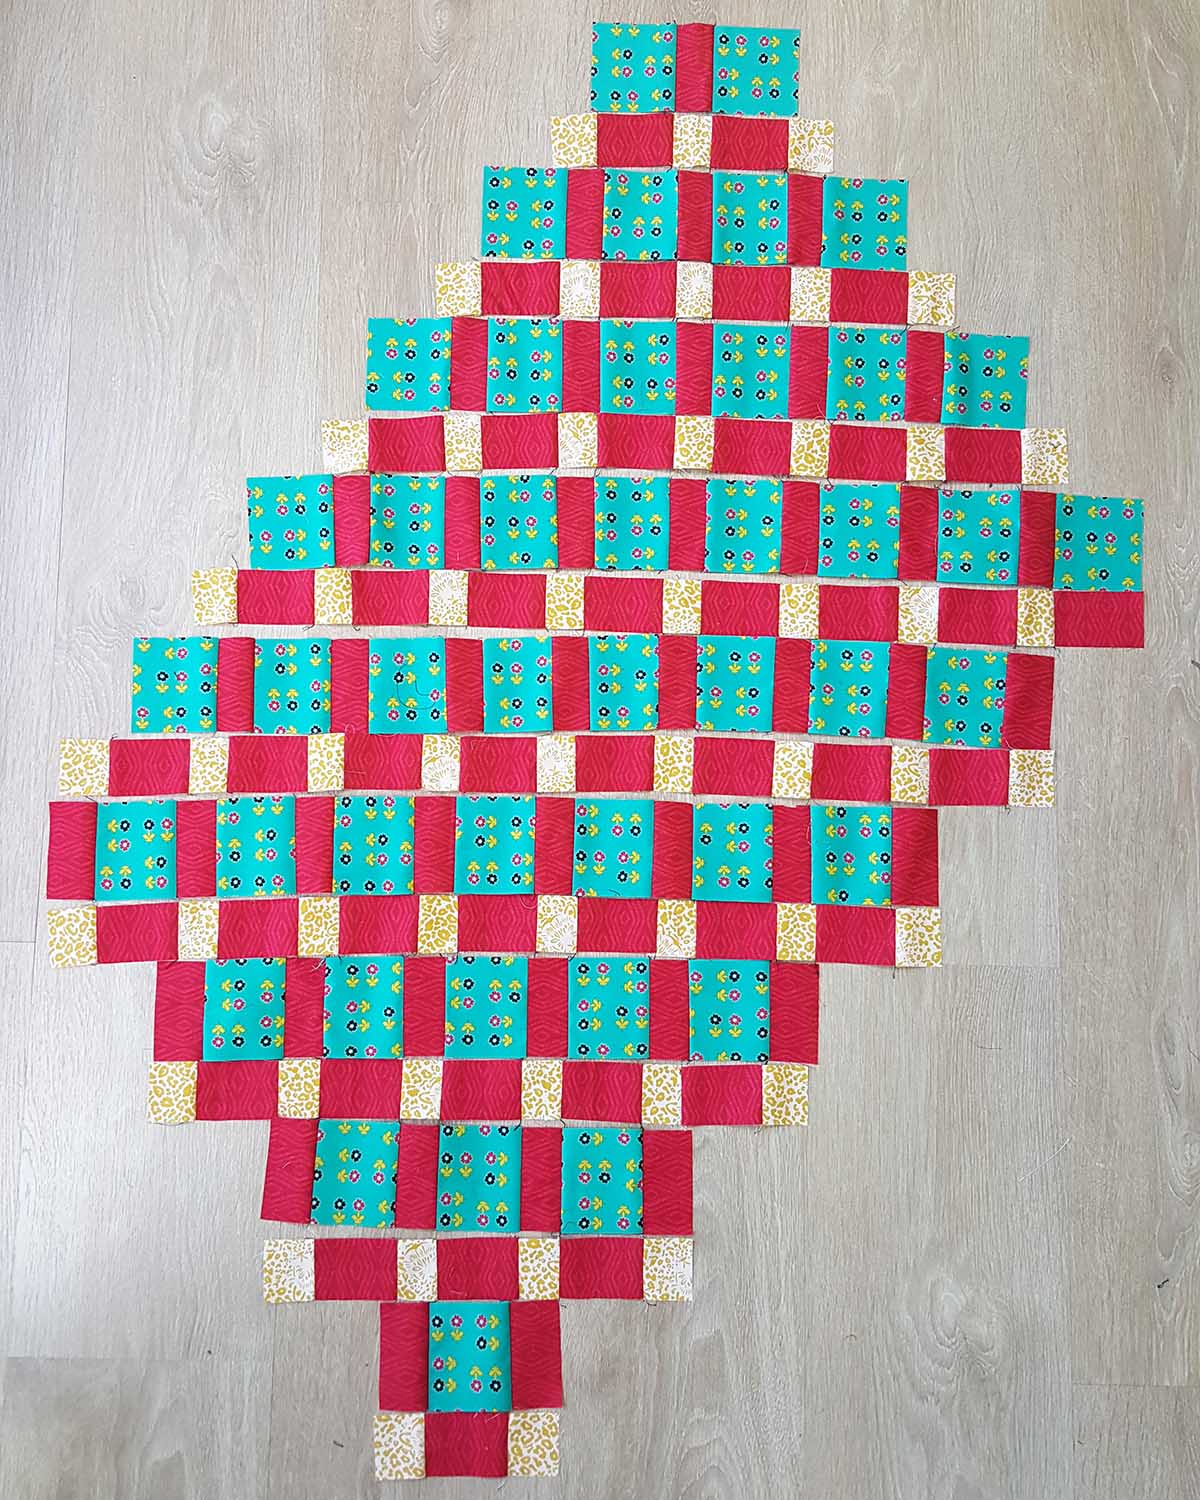
Now, you are ready to sew each row. Once you finish, press your unit and now its time to quilt!

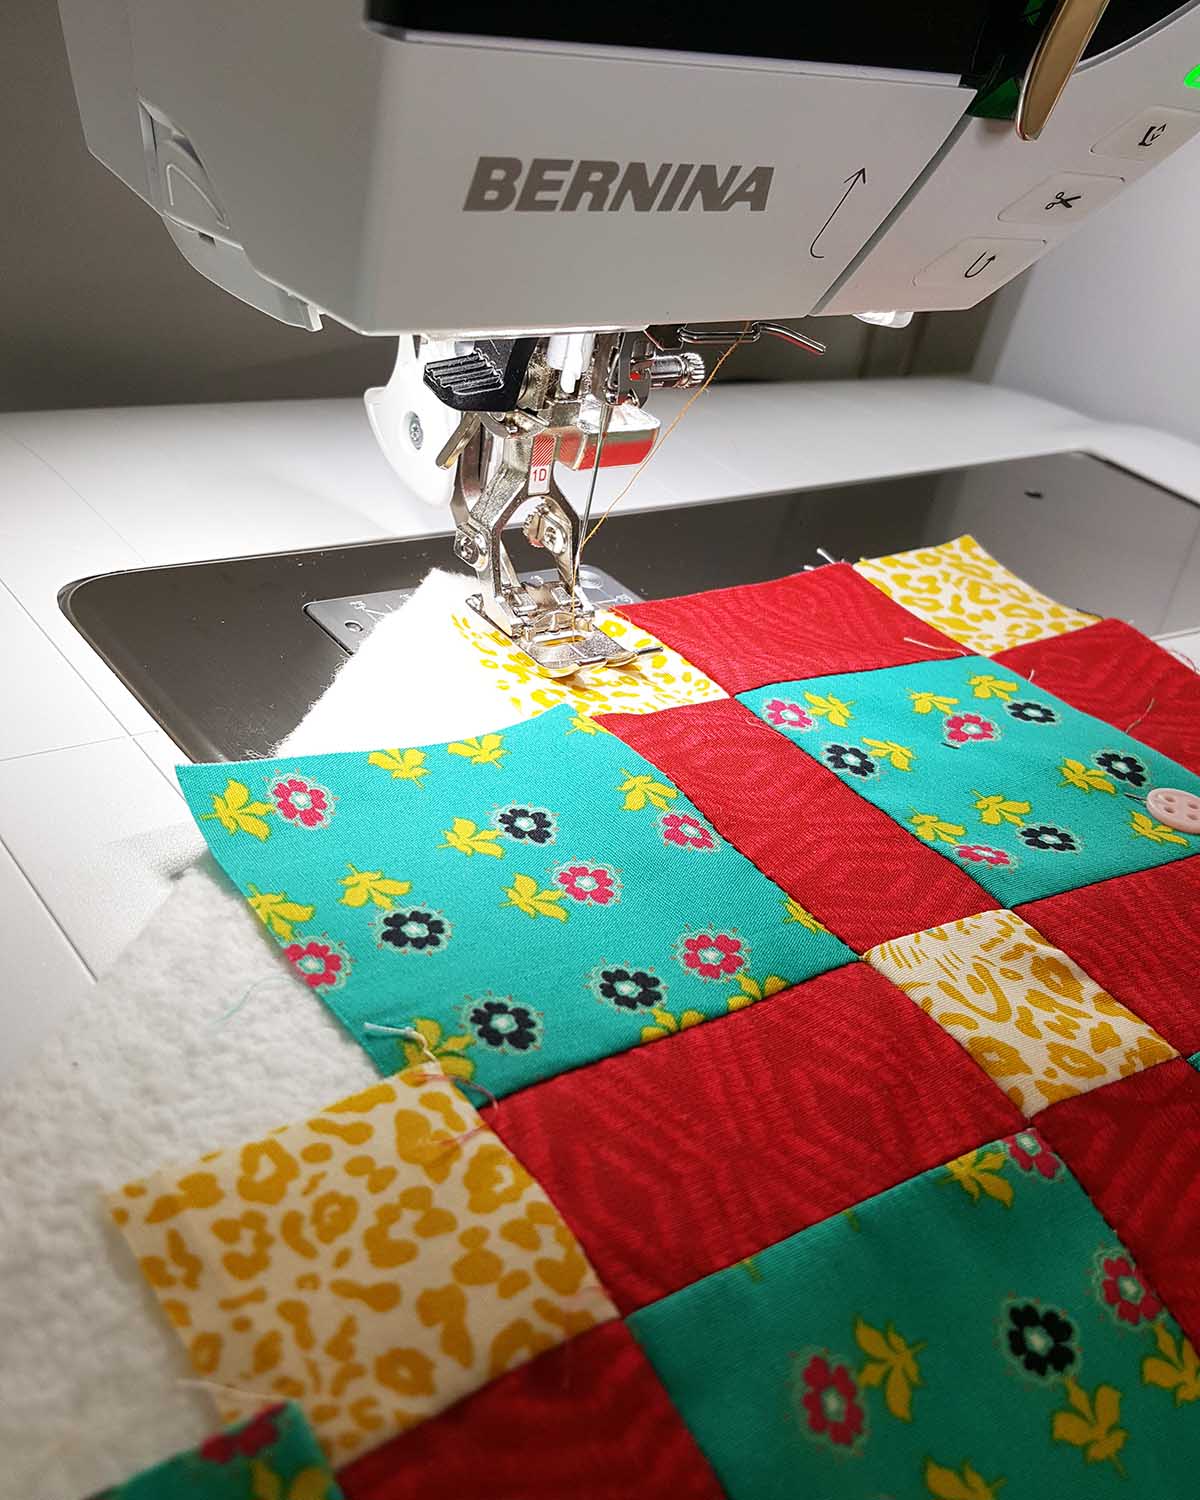
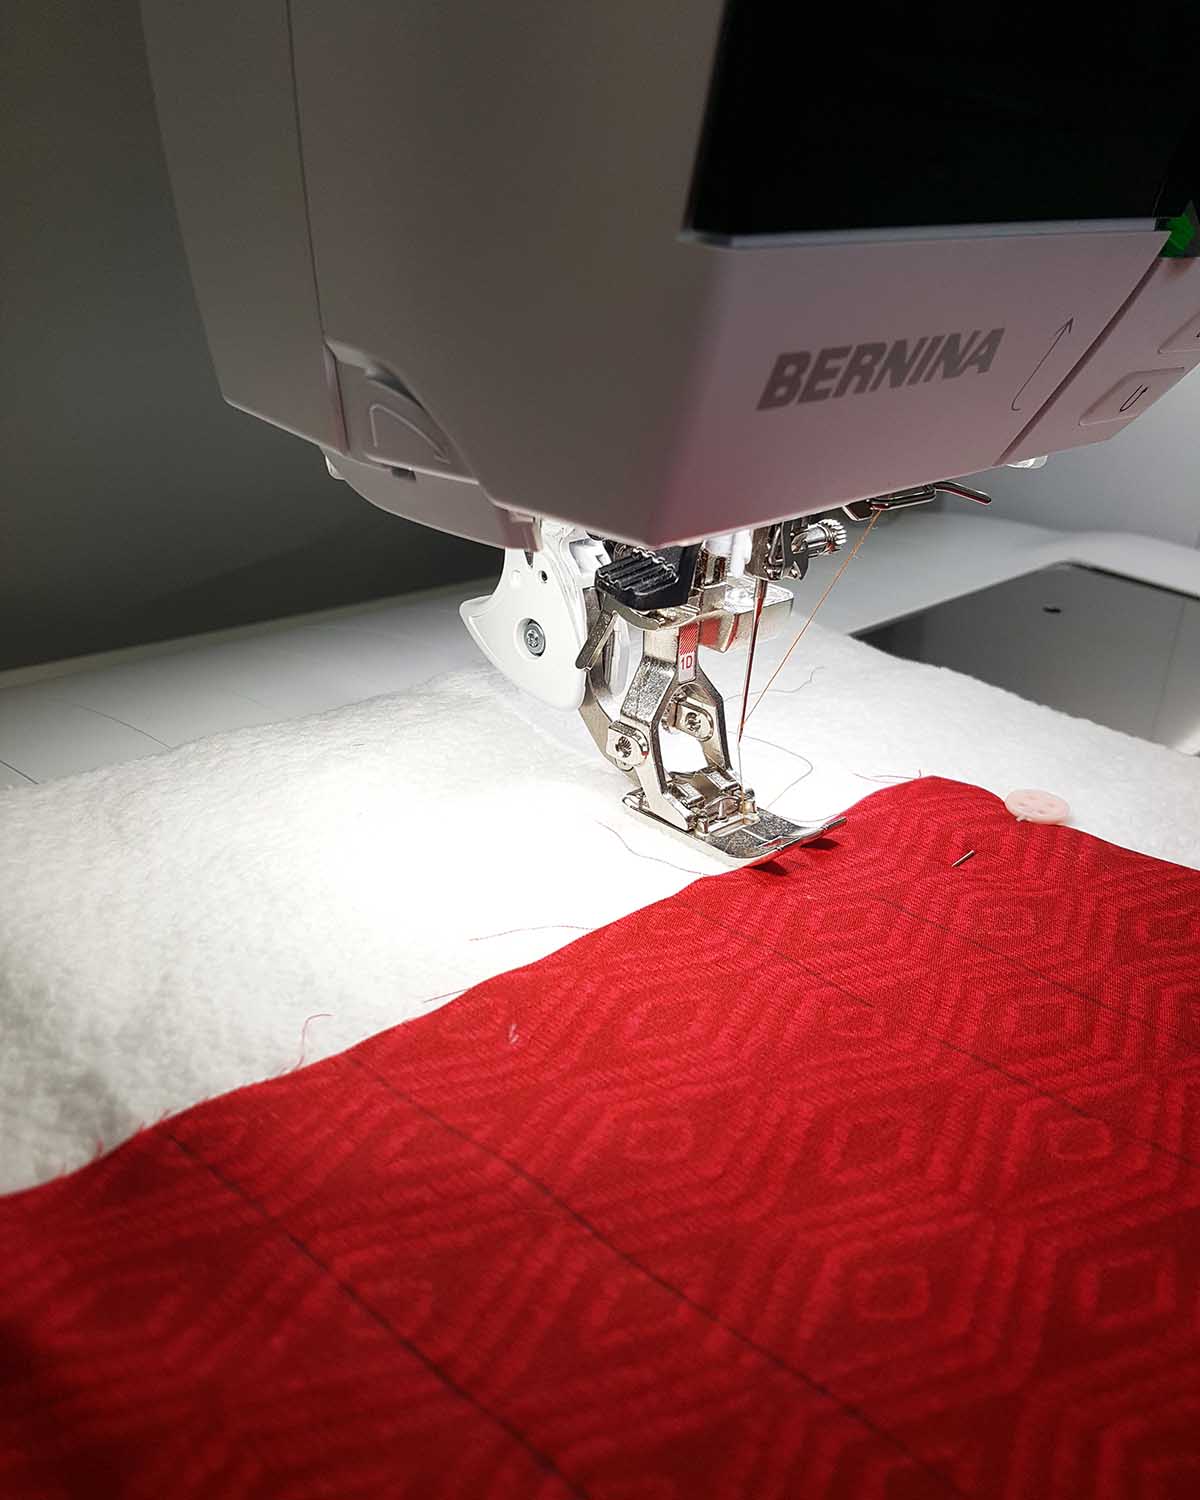
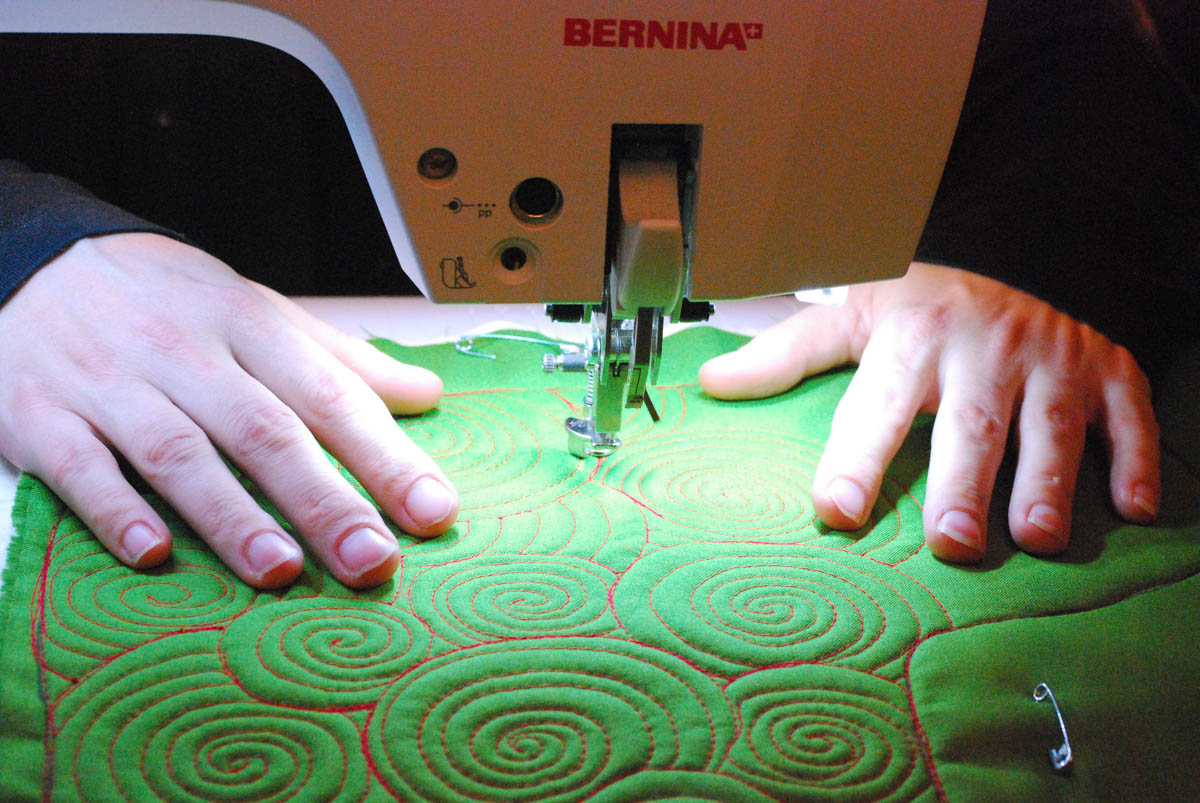
Step Three: Quilting your pieces. Take your assembled piece and lay it flat on a piece of batting. Pin all around to make sure the fabric doesn’t move when quilting. I decided to quilt only on the Fabric A and B strips with straight line, using the Reverse pattern foot #1D in order to make perfect stitch lines.
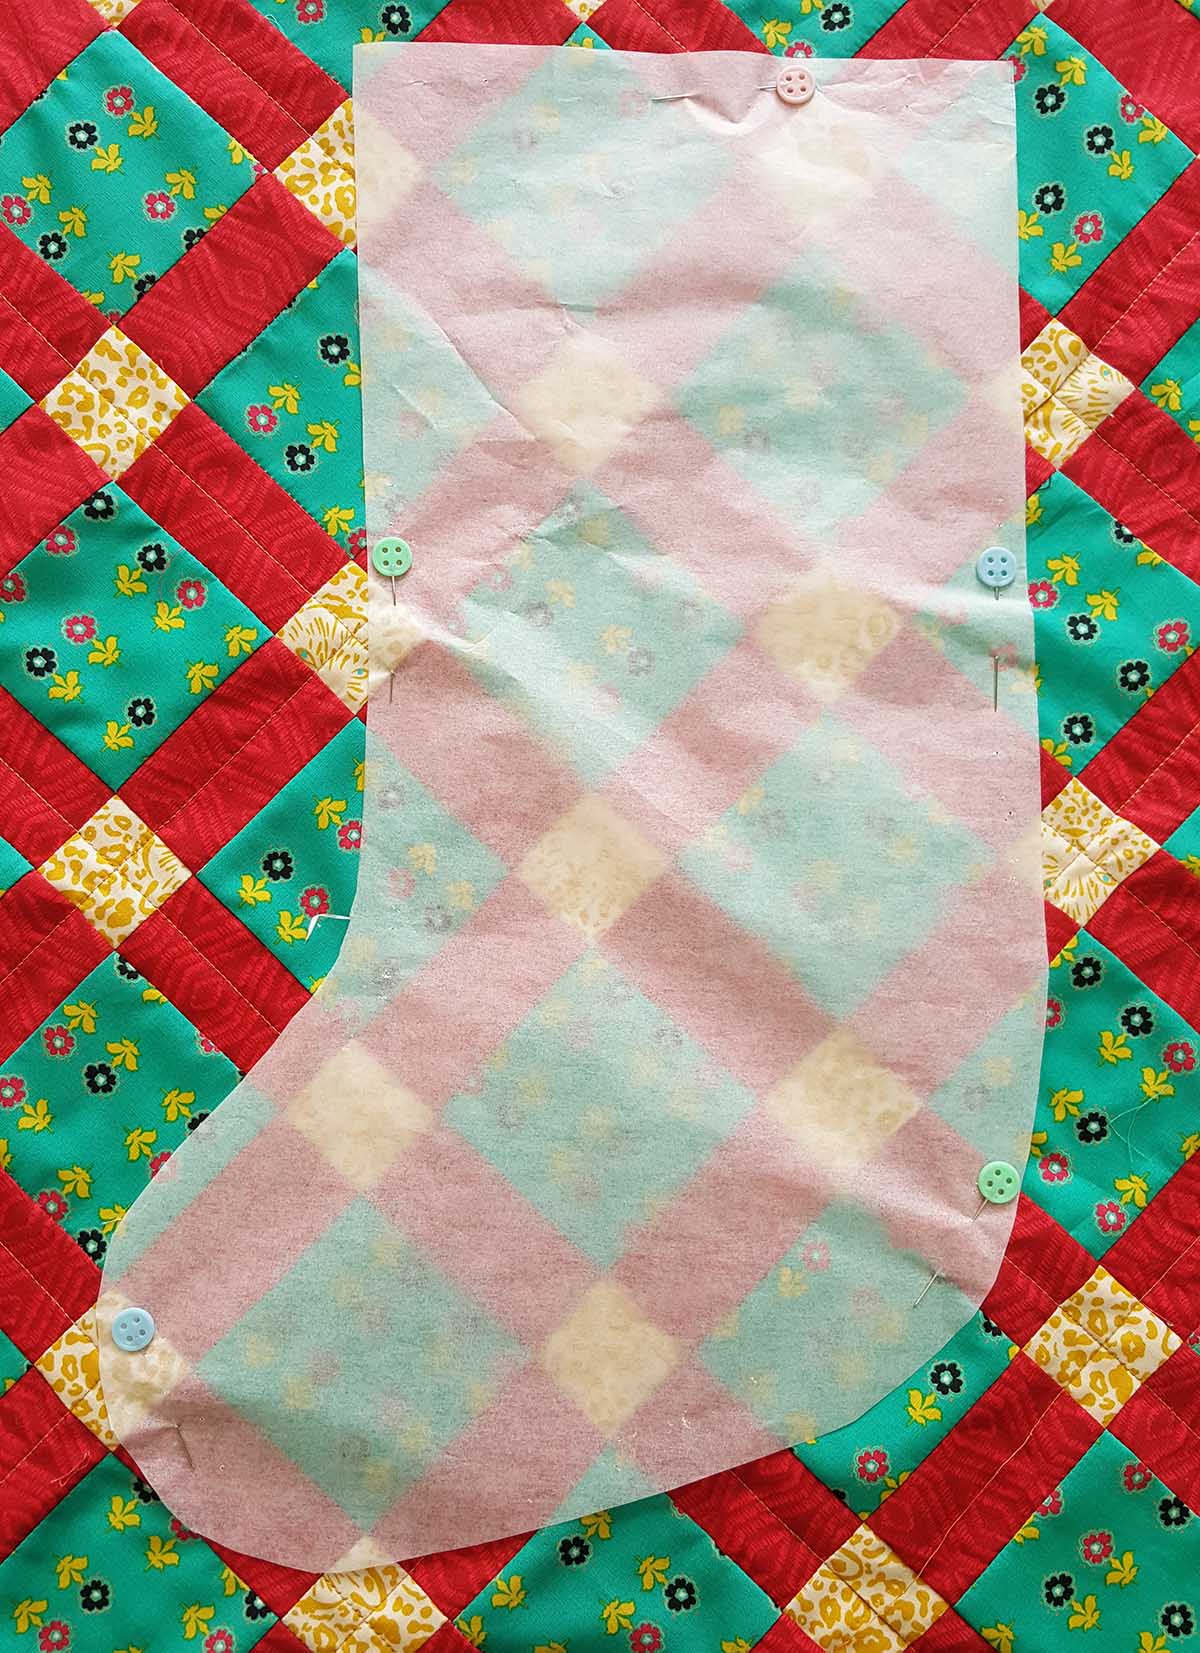
Once you finish, rotate your piece at a 45 degree angle. Place the Christmas Stocking Template on top and pin. Trace the template on your unit with a water soluble pen and carefully cut out your piece and set aside.
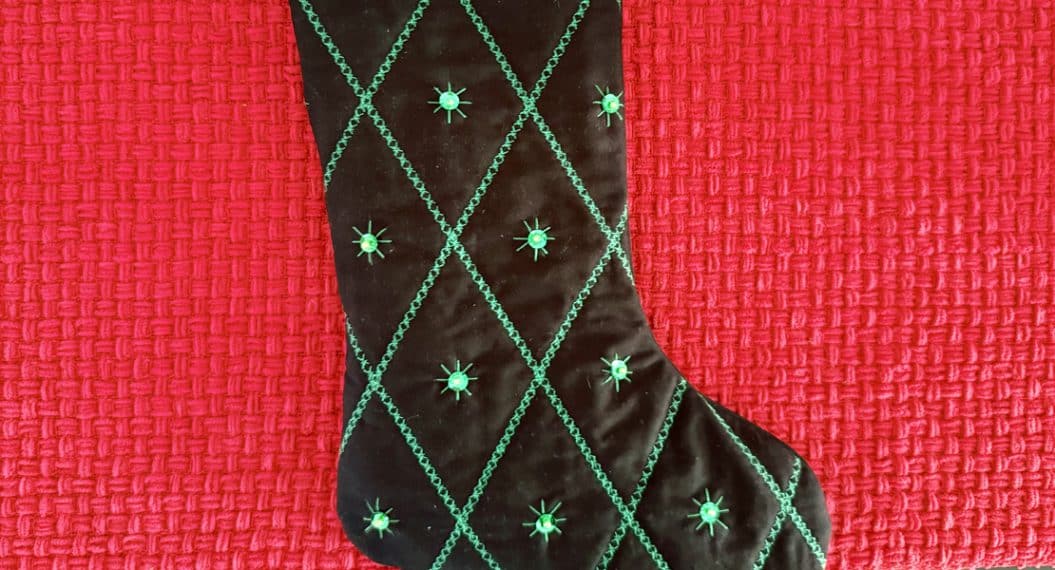
Take Fabric A cut out template piece and lay it flat on a piece of batting. Pin all around and quilt as desired.
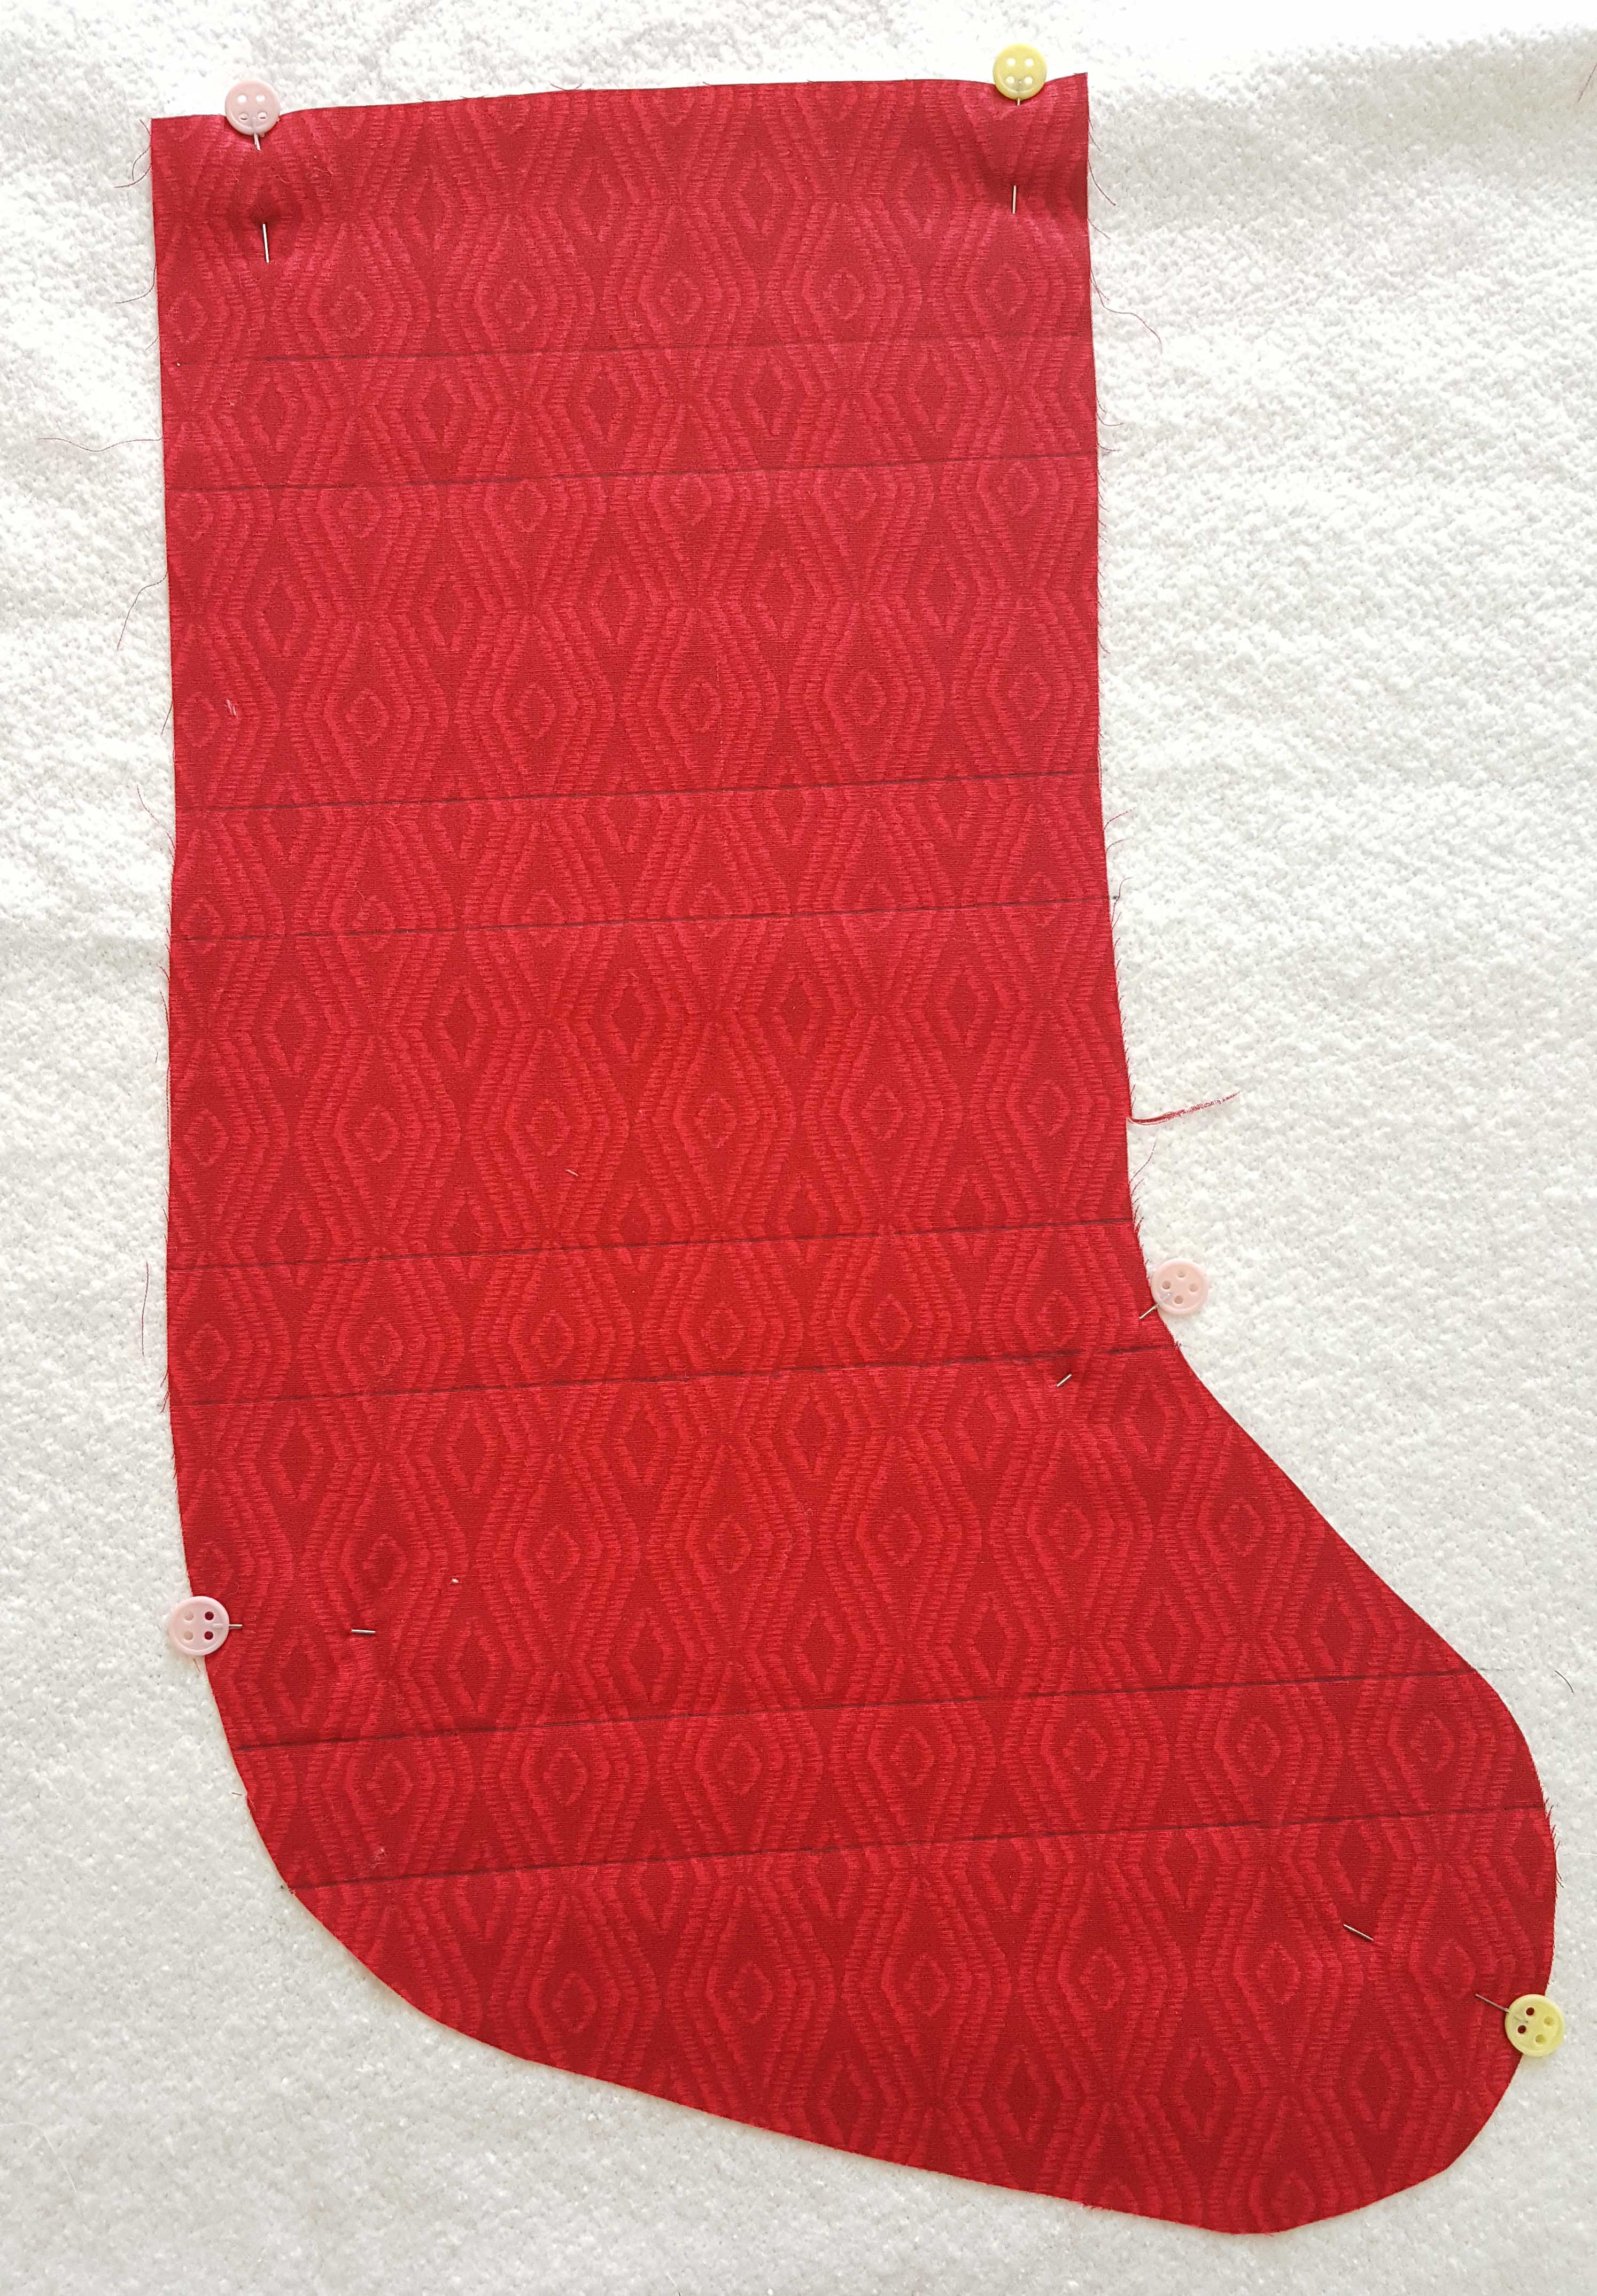
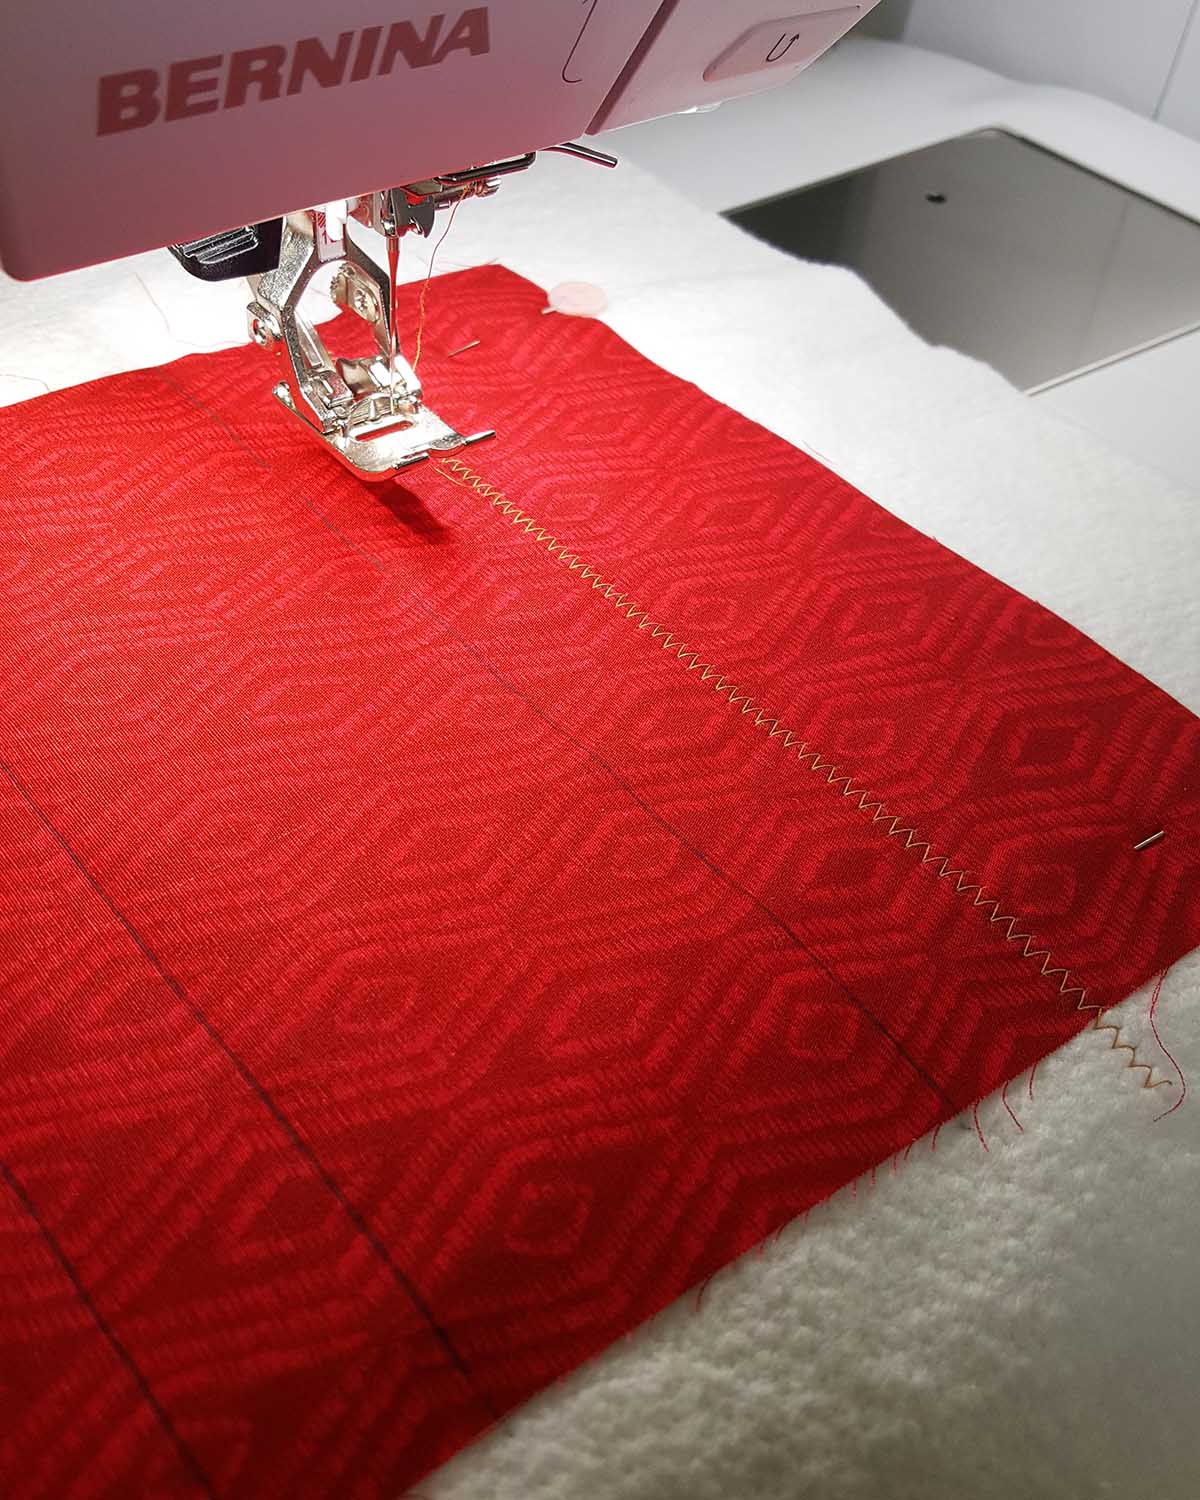
For my back of stocking, I decided to do a zig-zag stitch. My first line that I marked started at a 2” from the top and my second line was at a 1” distance from my first marked line.
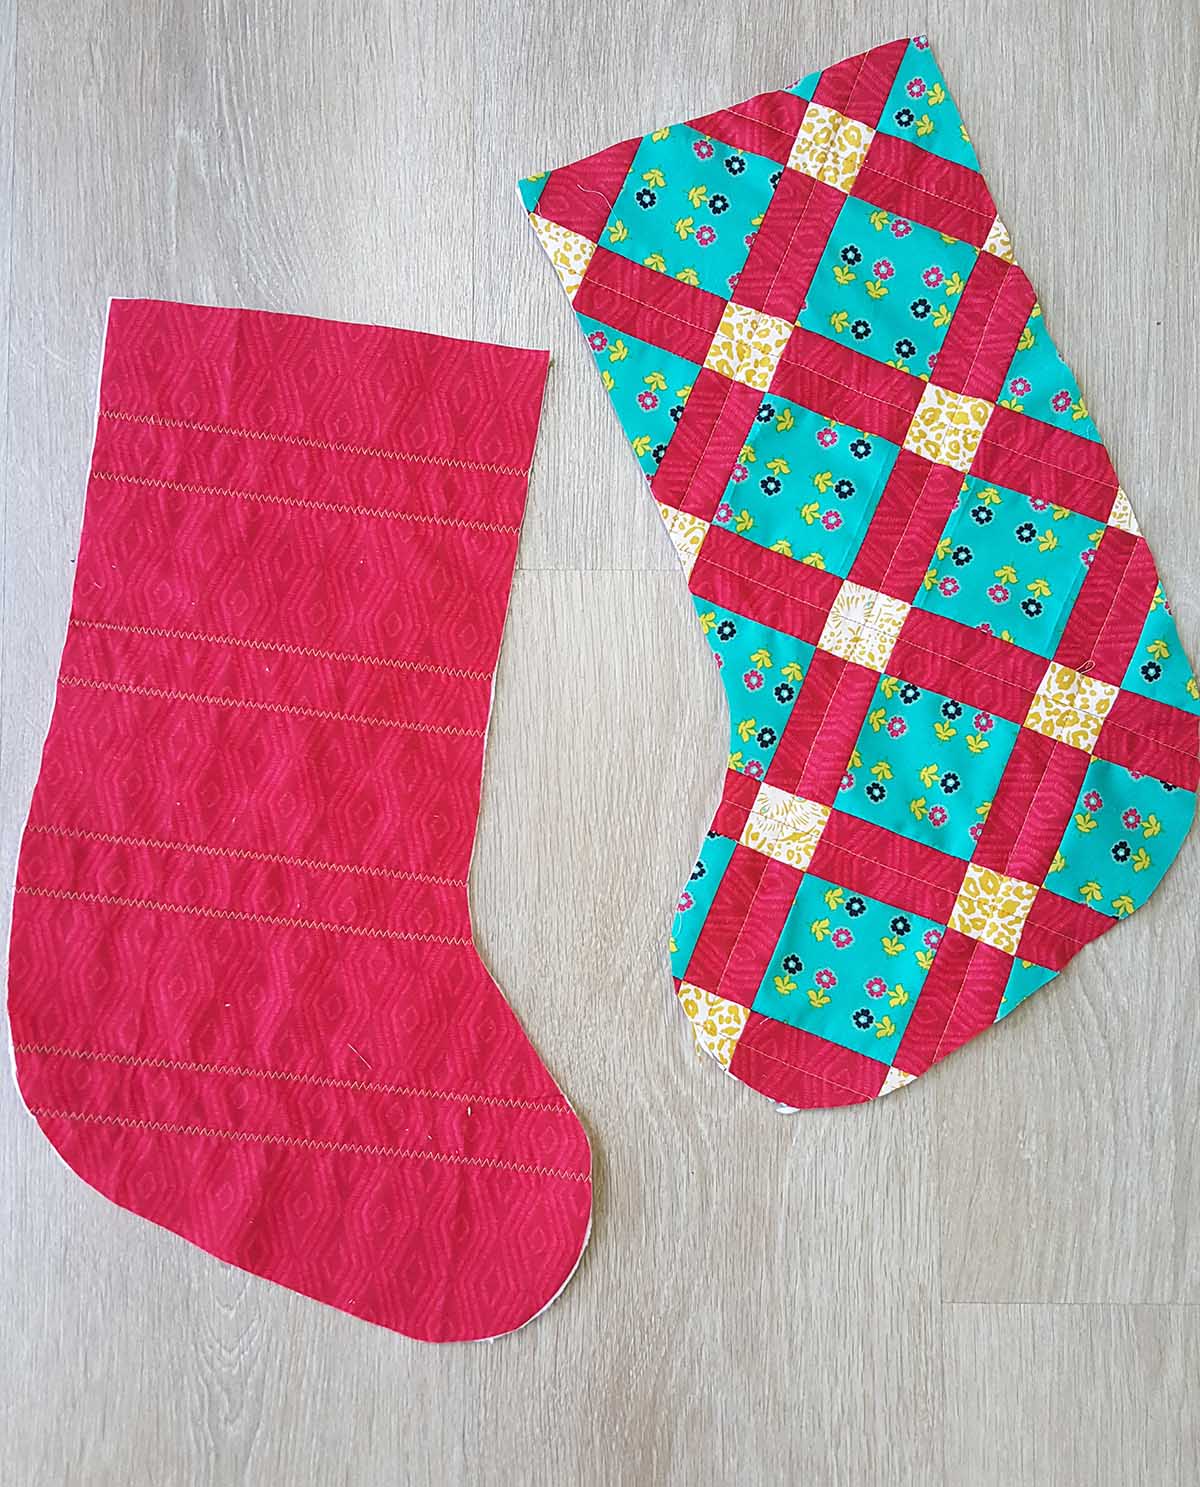
Once you finish, carefully trim the excess batting. Now you have your front and back ready to be sewn.
Place front and back of stocking, right sides facing and sew all around the edges at a 1/4” seam. Leave the top unsewn. Set aside.
Step Four: Creating the stocking top. Take one 6 1/2” x 15 1/2” rectangle from Fabric D. Fold and sew the edges at a 1/4” seam creating a loop. Now, fold length wise, pining all around. Set aside.
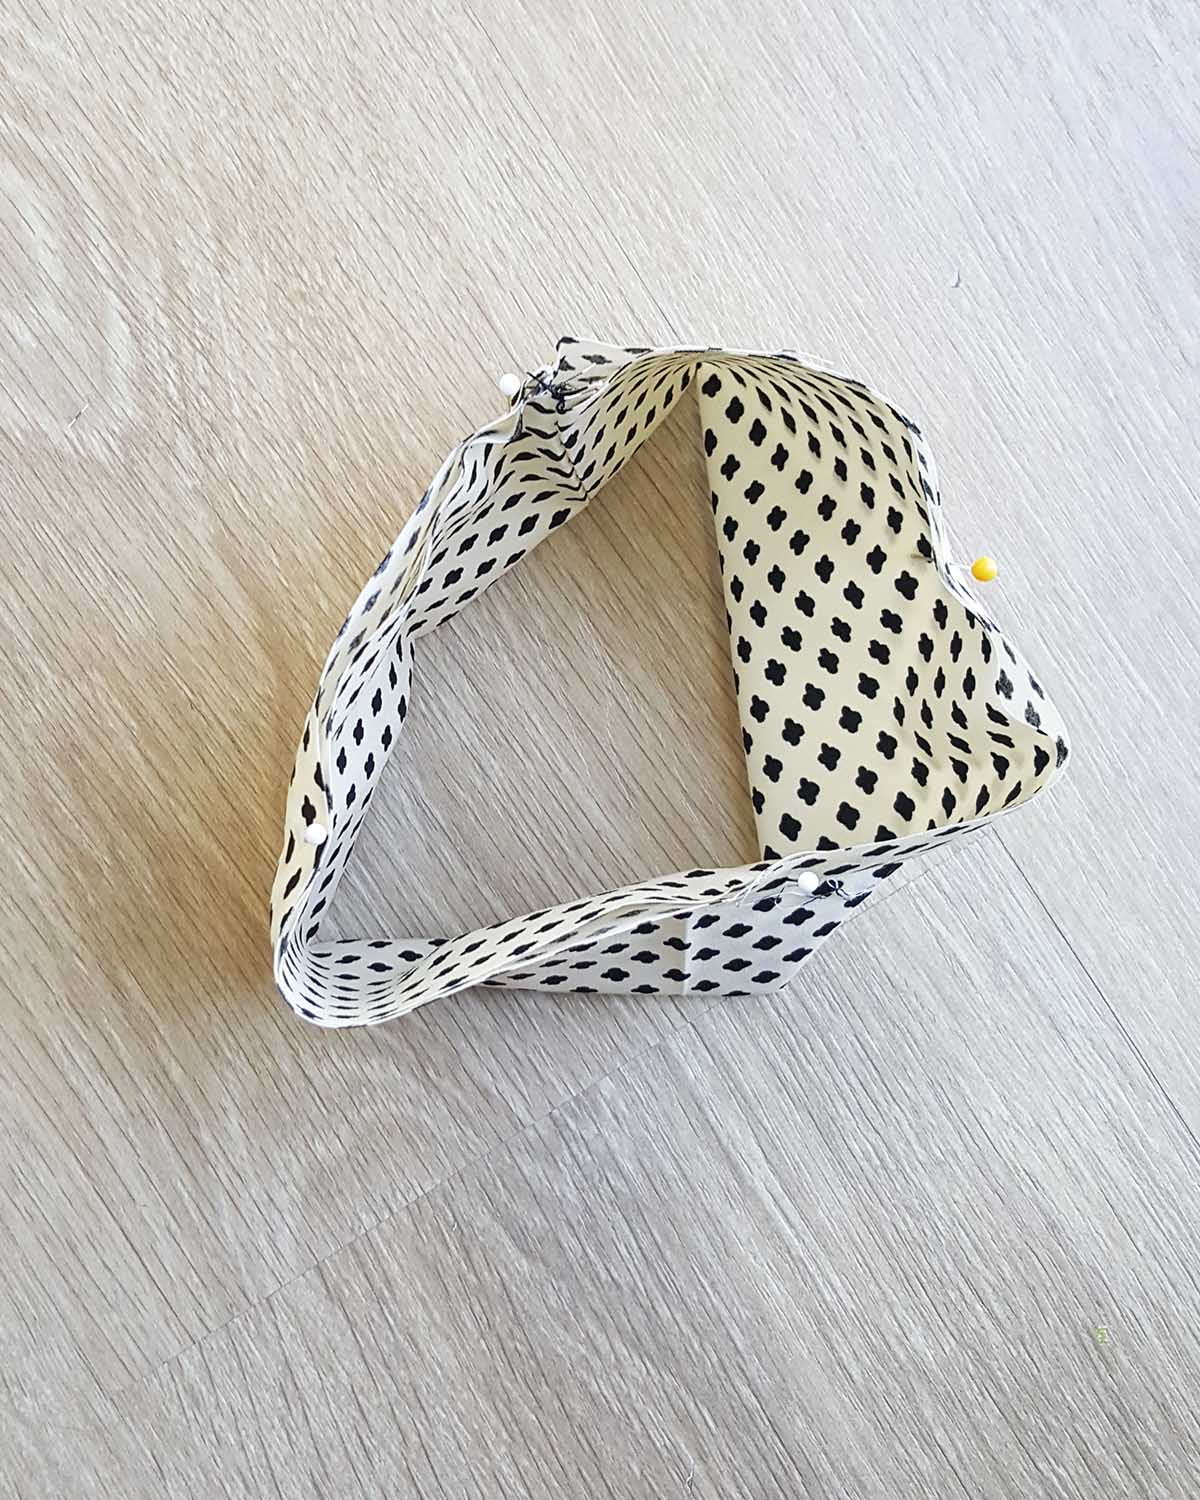
Step Six: Creating the hanger. Take one 4” x 8” rectangle from Fabric E and fold it in half. Press.

Now, fold each edge meeting the middle fold and press.
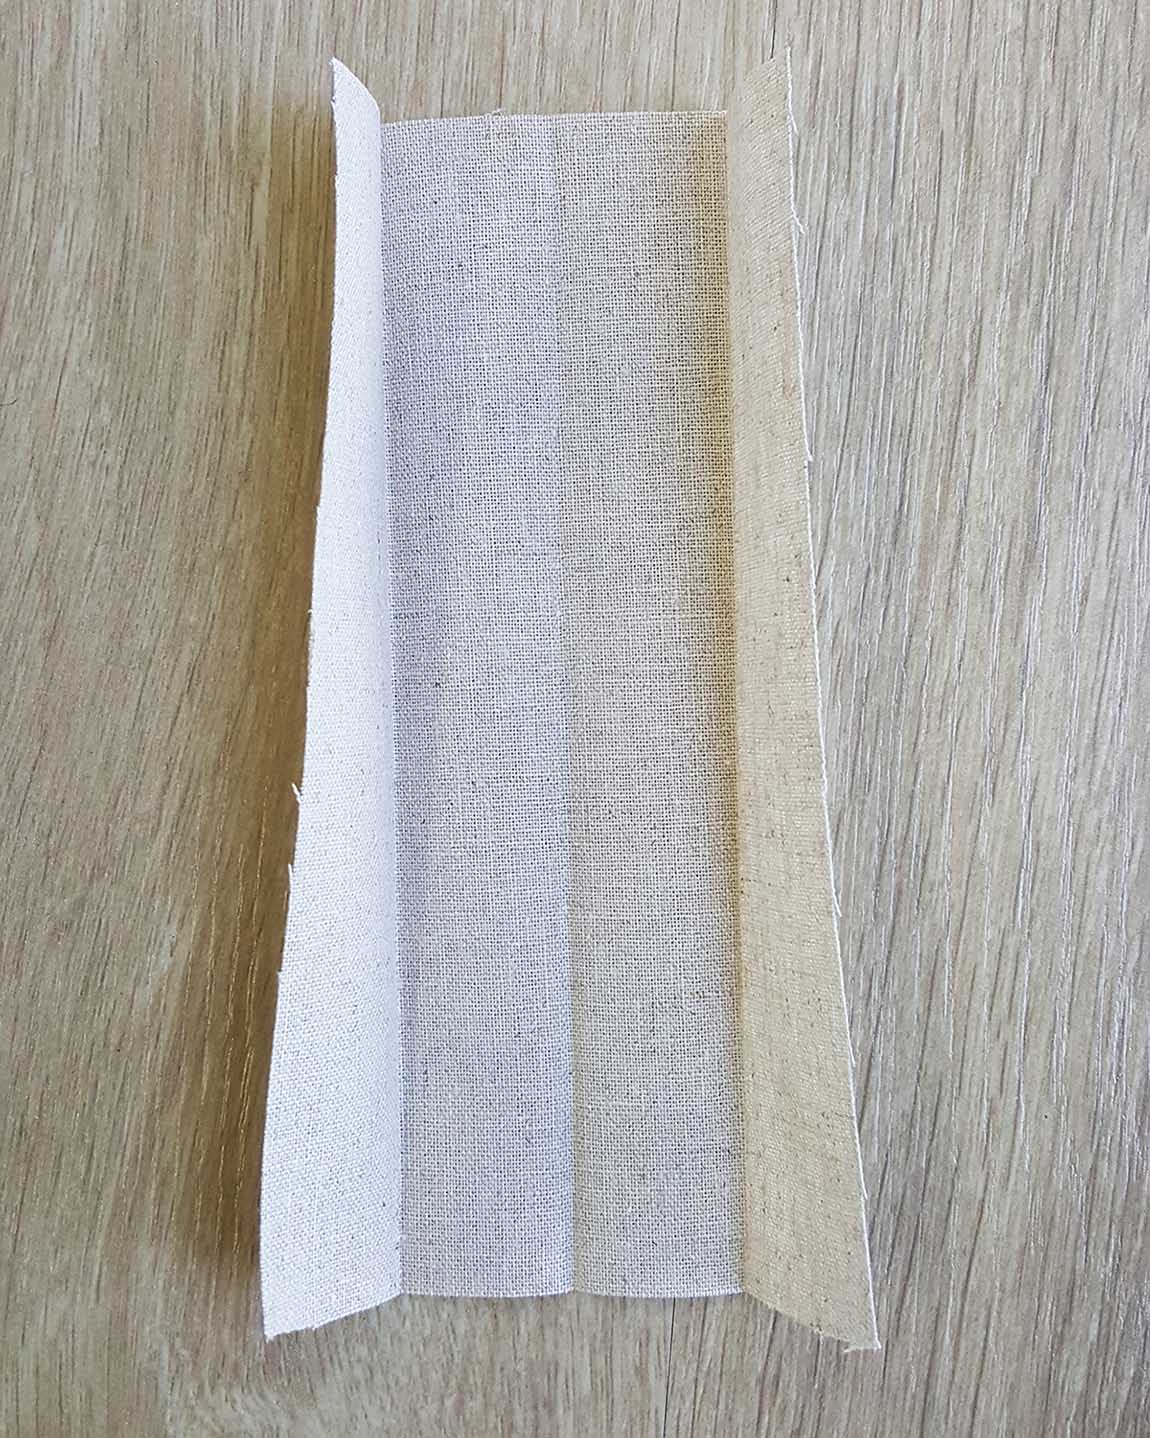
Now, fold from the outside, in and stitch on the side, close to the edge. Set aside.

Step Seven: Sewing the lining. From the stocking template, cut out two lining pieces.

Sew the lining of the stocking, right sides facing, at a 1/4” seam allowance using the Reverse pattern foot #1D. Leave top open.

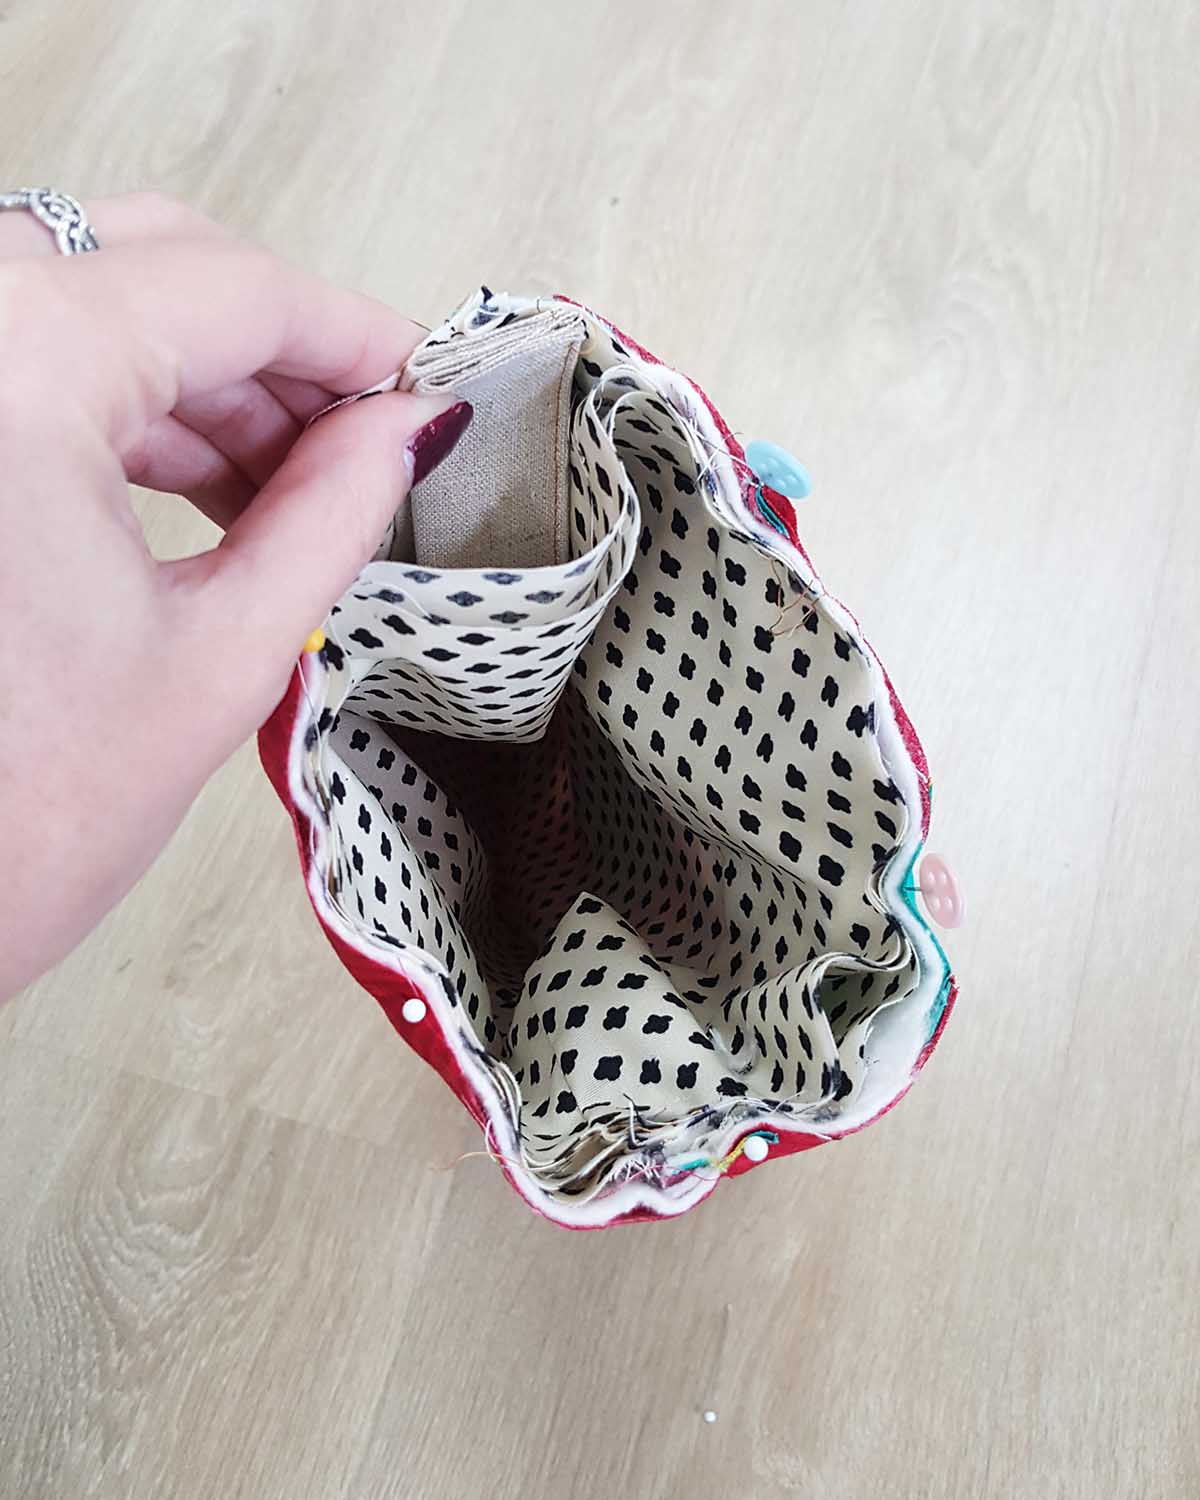
Step Eight: Assembling the stocking. Insert the lining inside the stocking, wrong sides facing.
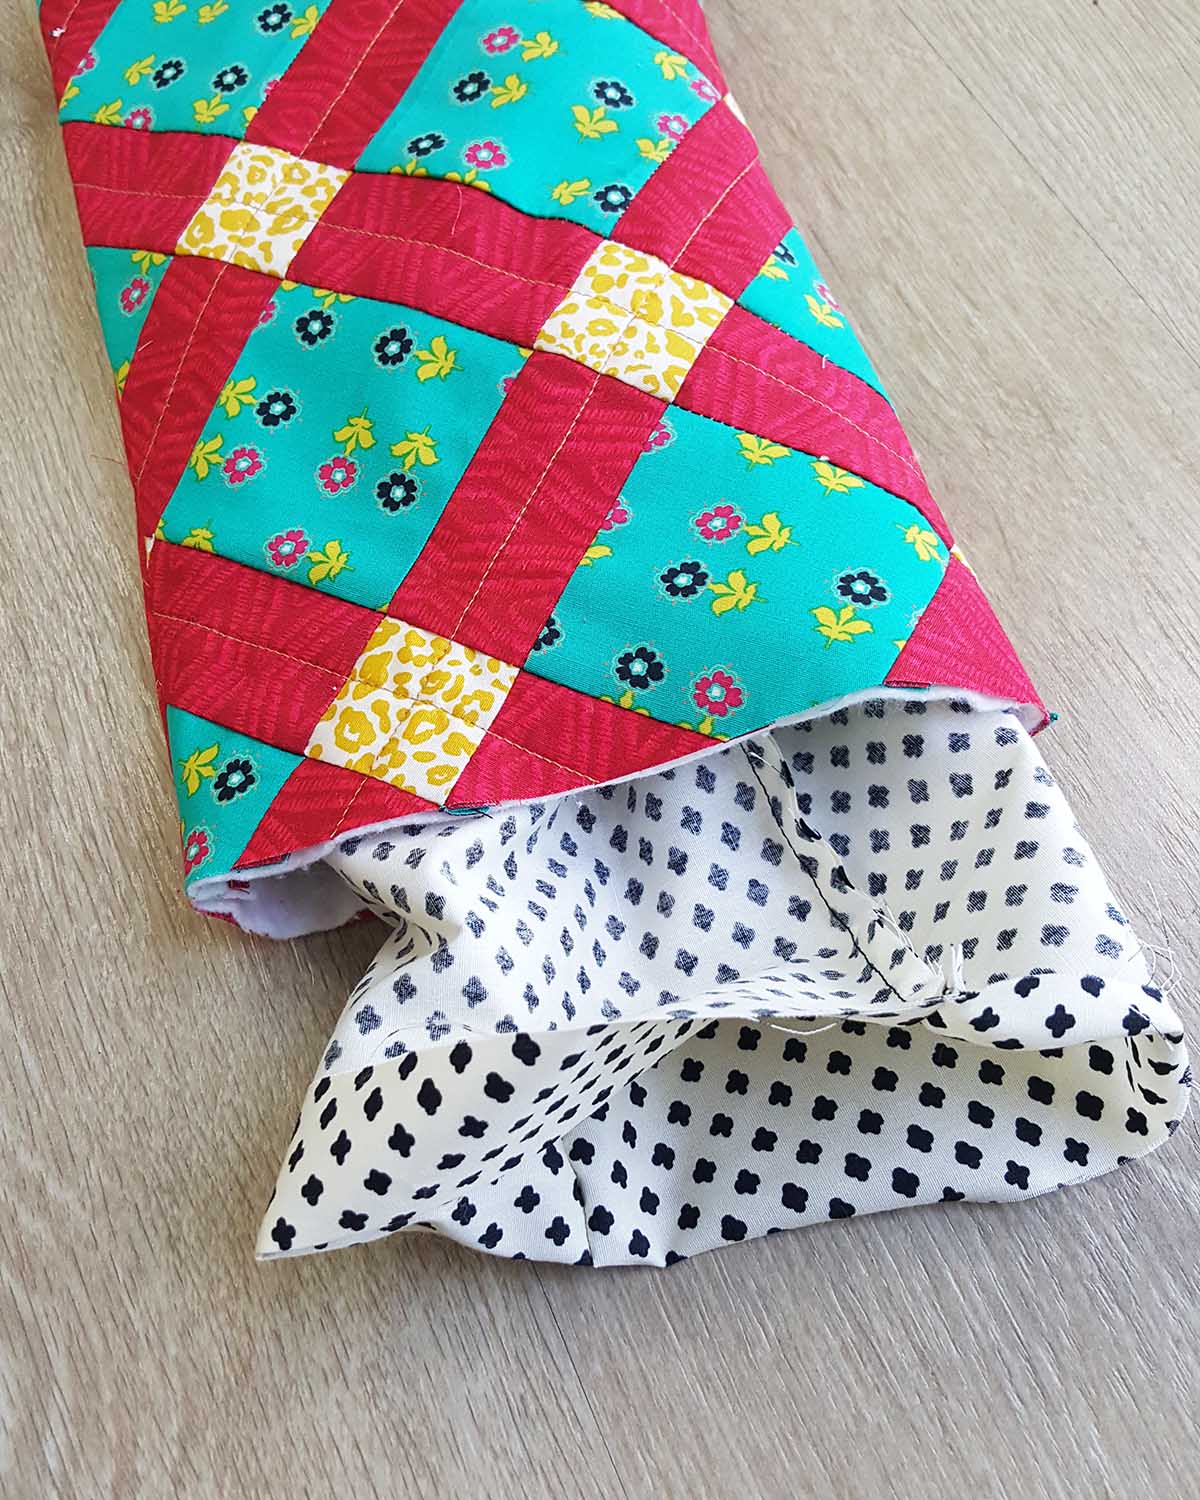
Now, take the hanger and fold it in half so long sides are together creating a loop. Place it facing down with raw edge in line with the edges of the stocking. Then place the stocking top inside the lining stocking piece so the seam is in line with the hanging loop and the folded edge is facing down inside. All raw edges should be inline.
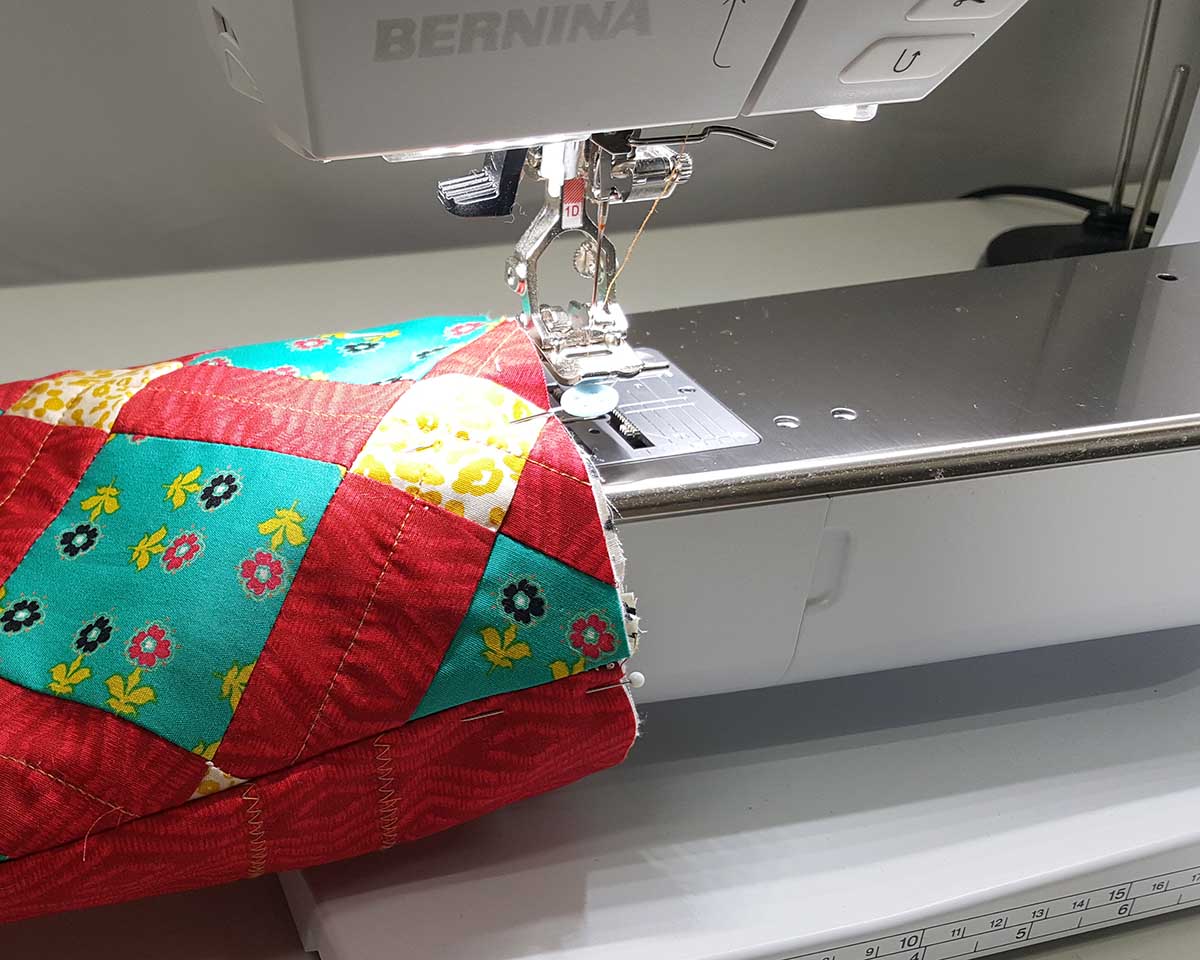
Then sew all the way around. Be careful when you sew where the hanging loop is because it is very thick and could break your needle. Note: I removed the slide-on table so I could easily rotate the stocking when sewing.
Now, pull out the stocking top, press and you are done! You have yourself a lovely Christmas stocking! Hope everyone enjoyed this tutorial!


What you might also like


6 comments on “Christmas Stocking”
-
-
Loved the tutorial. Would like to see a pdf file for the instructions and the dimensions listed for the finished stocking. Thank you.
-
Love the stocking.
I will definitely try to make one (for next year) & see if putting one of those battery light sets to glow on it could work. Just for something different.
Agree with above post – it would be nice if the instructions for these sewing items could be in a PDF file -
I am confused- is the stocking template available somewhere or do we just draw our own. What are the dimensions? It is a cute combination of fabrics.
-
Hello hhullman, the stocking template is available for download and printing within the tutorial. Just click on the link listed under the “Materials” list to open the PDF template. You can print directly from the PDF template, or save it to you computer to use later.
-
-
How many does this make and what are the finished sizes?
Leave a Reply
You must be logged in to post a comment.

Love the tutorials. These stockings are so cute.