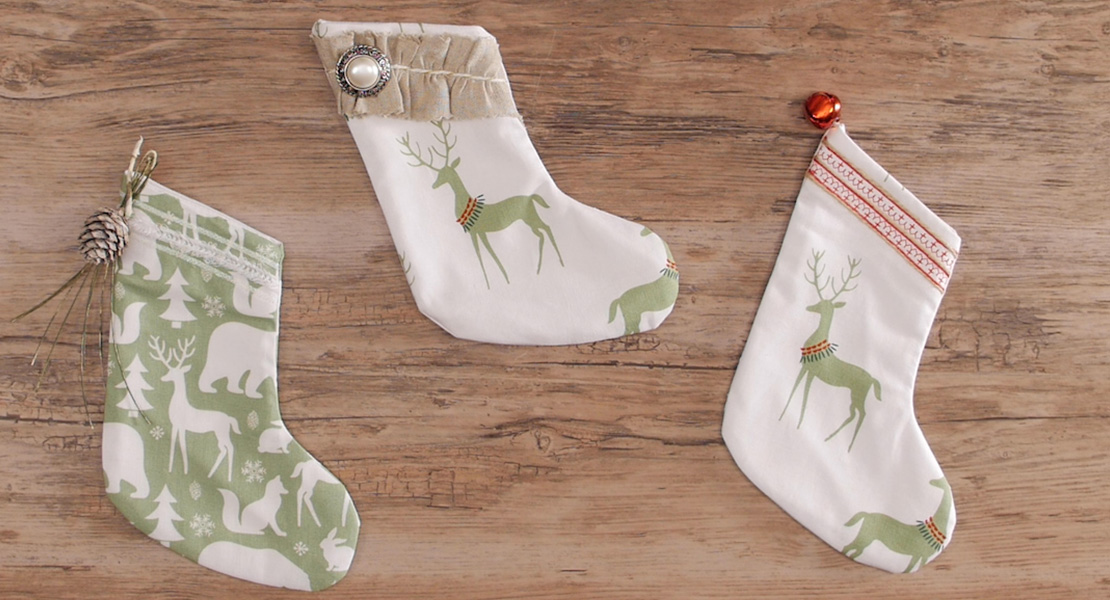
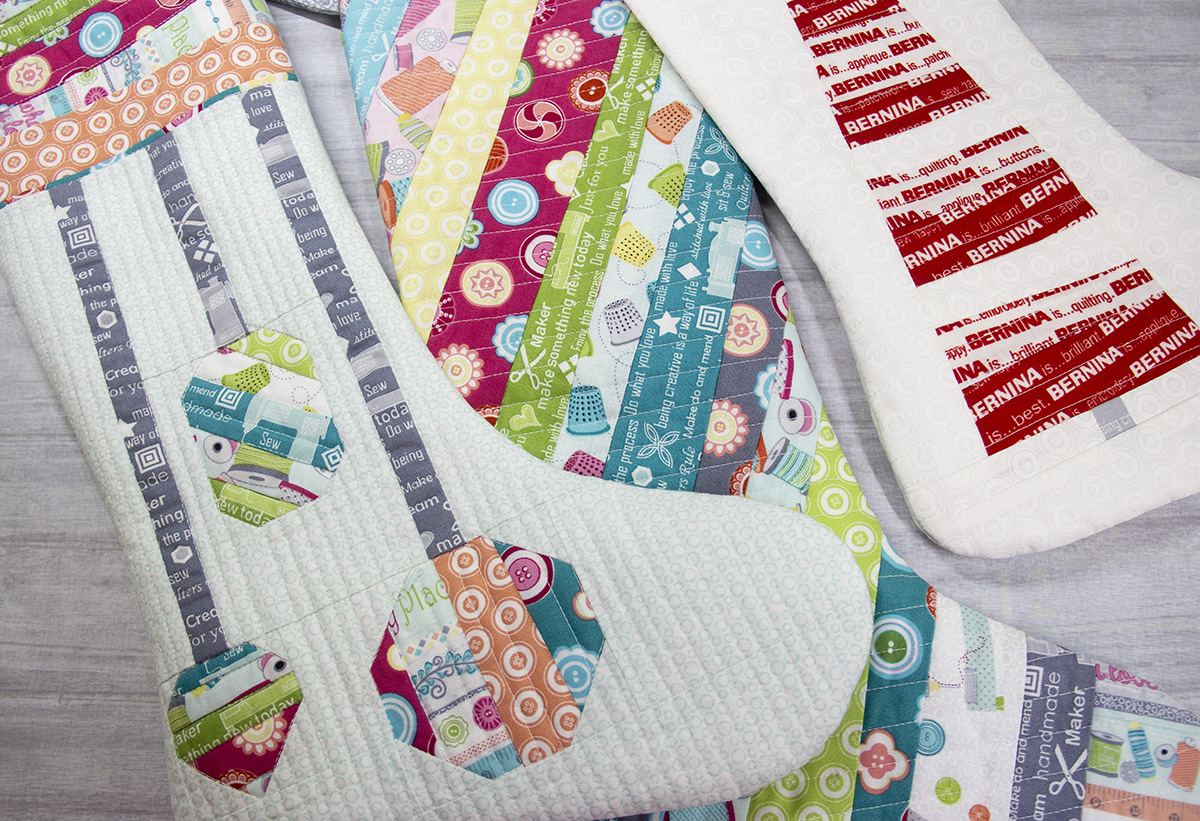
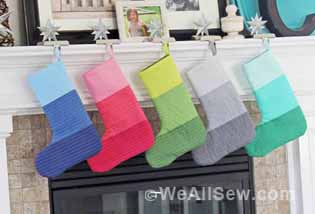
Mini Stocking
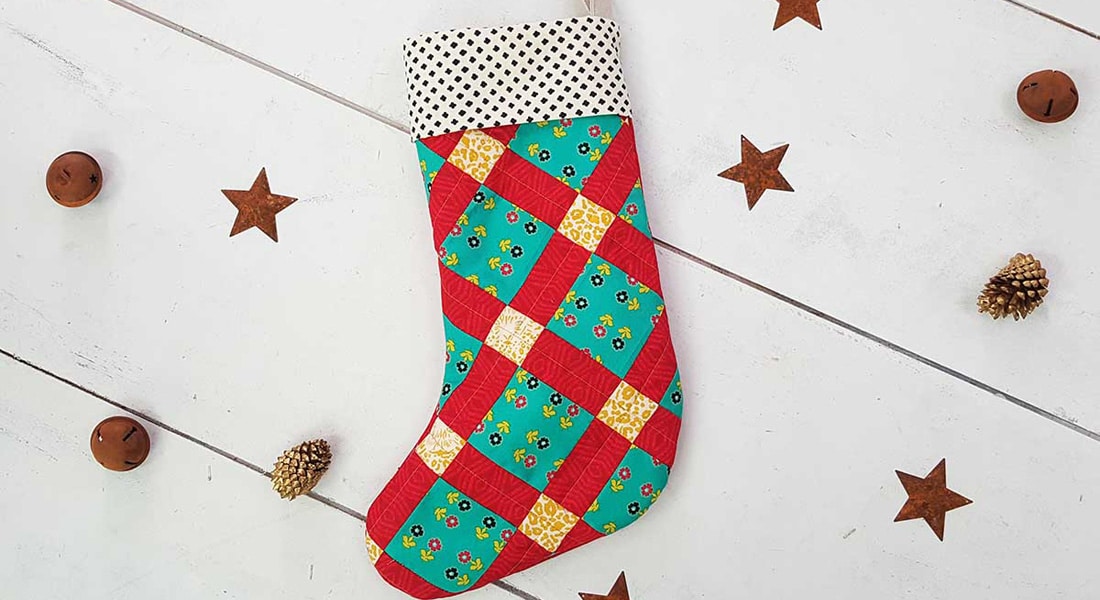
Looking for an easy way to decorate your tree, embellish a package, or stash a gift card? These mini stockings work for all of these! Not only are they a great way to use up small pieces of fabric, but they are self-lined, and stitch up quickly. With a project like this, you’ll be able to make a stack in an afternoon. Finished size 6 1/2″ tall.

Materials to Create a Mini Stocking
- 1/4 yard of fabric for exterior
- 1/4 yard of fabric for lining\cuff
- Hand sewing needle
- Thread to match
- Stocking Pattern
- 1/4″ foot, #37 (optional)
- 4″ of 3/8″ wide ribbon (optional)

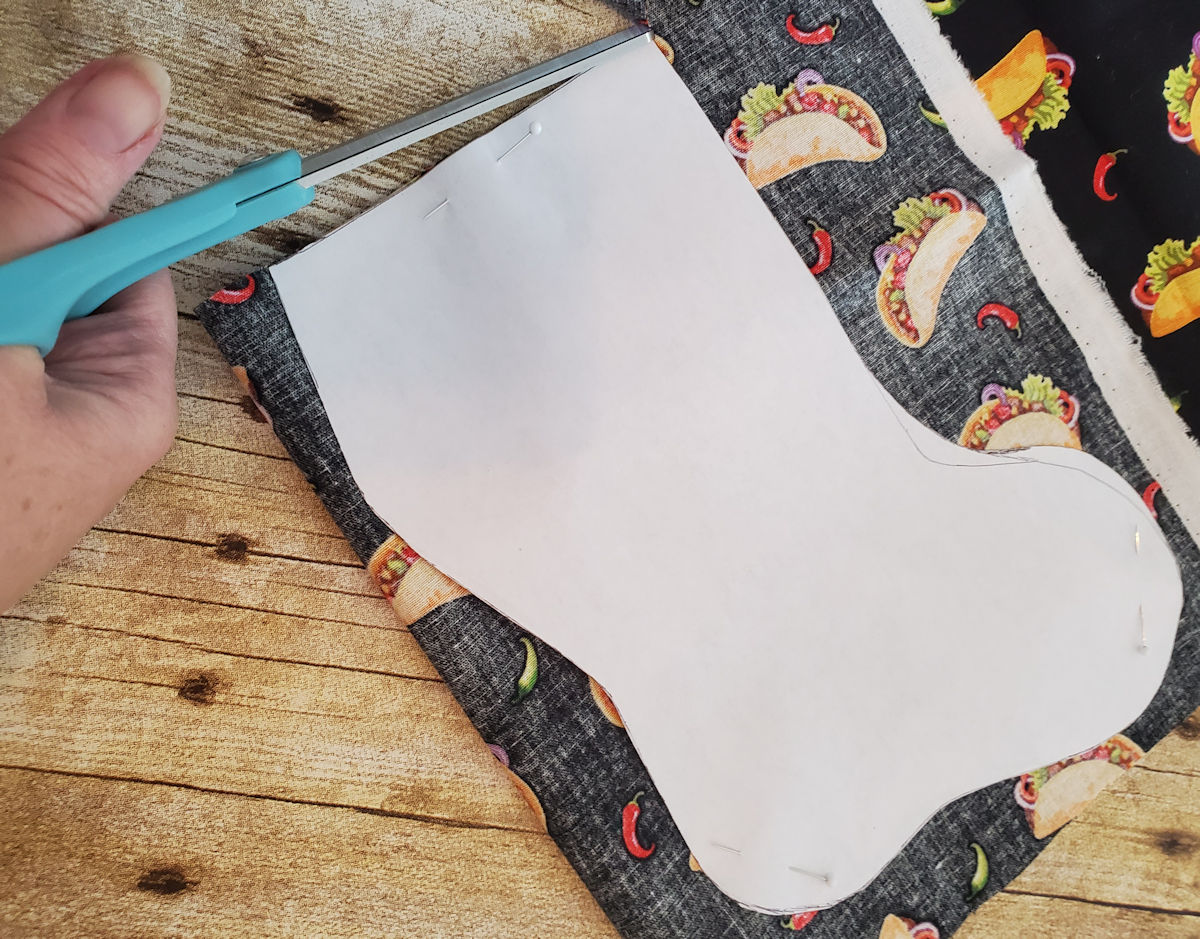
Cutting the Mini Stocking
- From exterior, cut 2 from stocking pattern
- From lining, cut 2 from stocking pattern
Sewing the Mini Stocking
(all seams are 1/4″ unless otherwise noted)
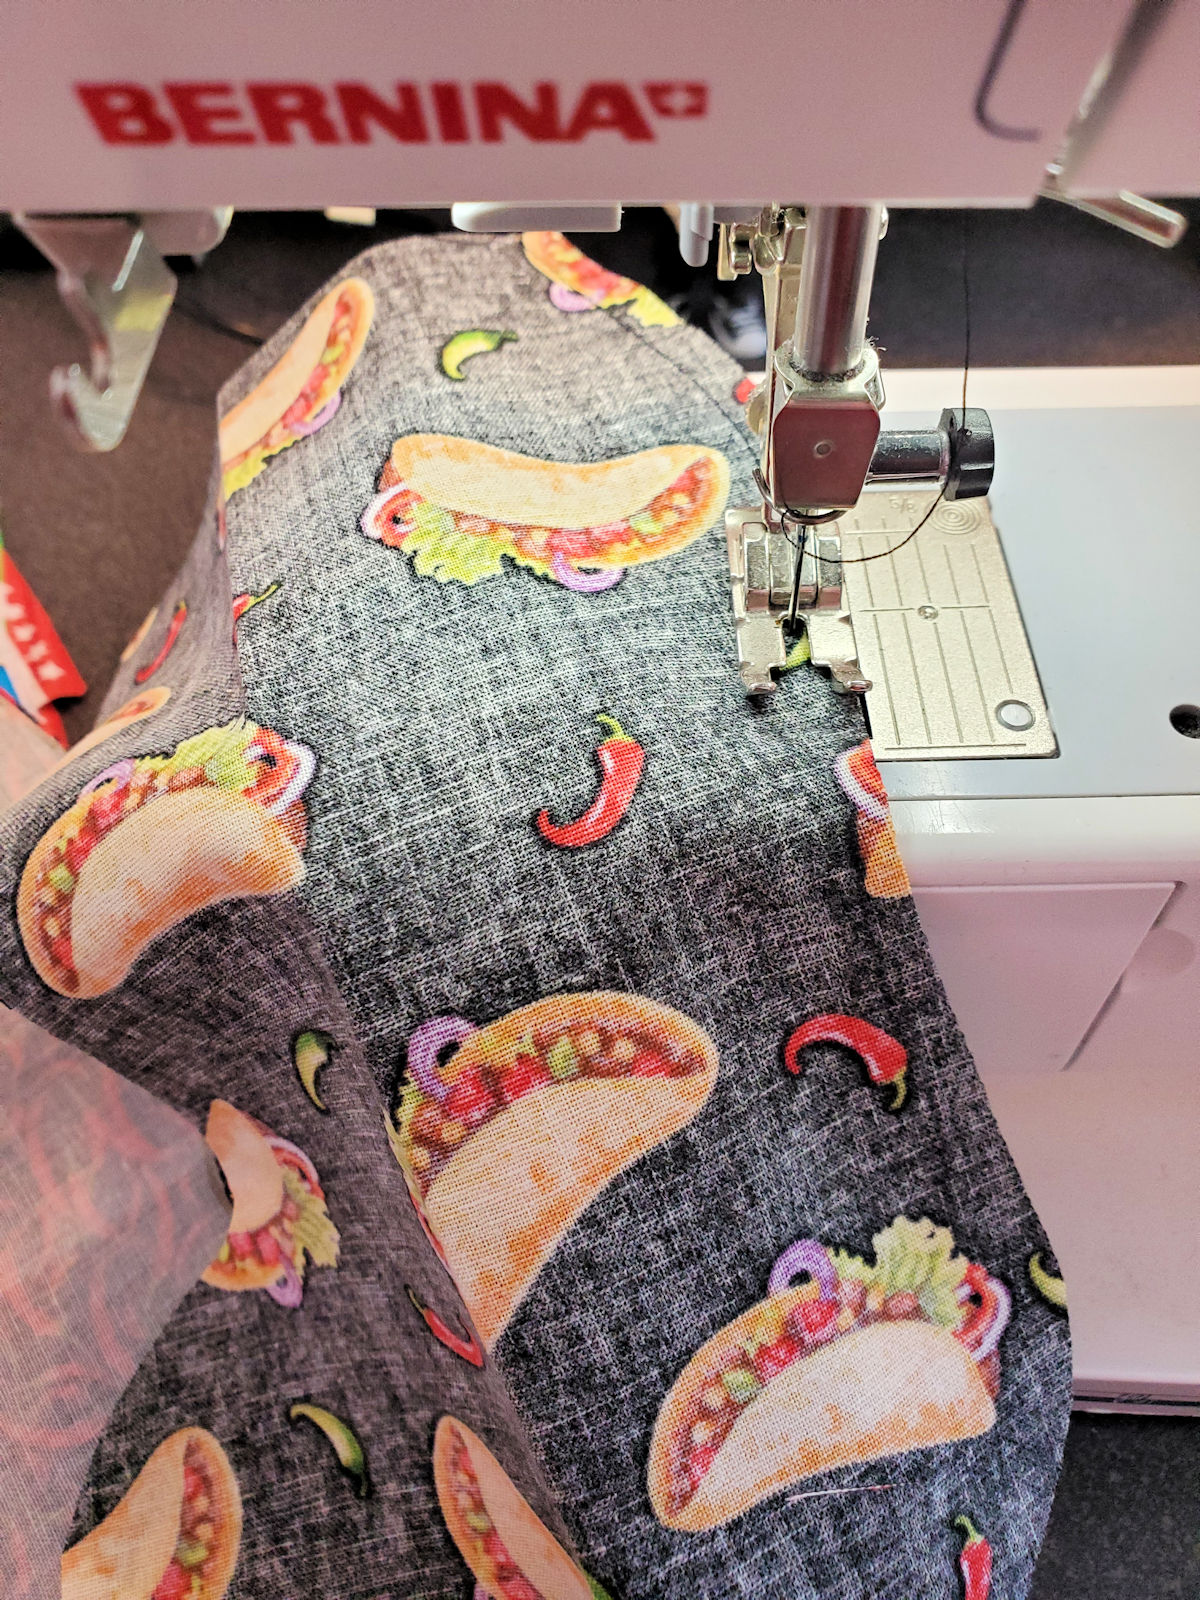
With right sides together sew 2 exterior stocking pieces together, leaving the top edge open. Clip curves and turn right side out.
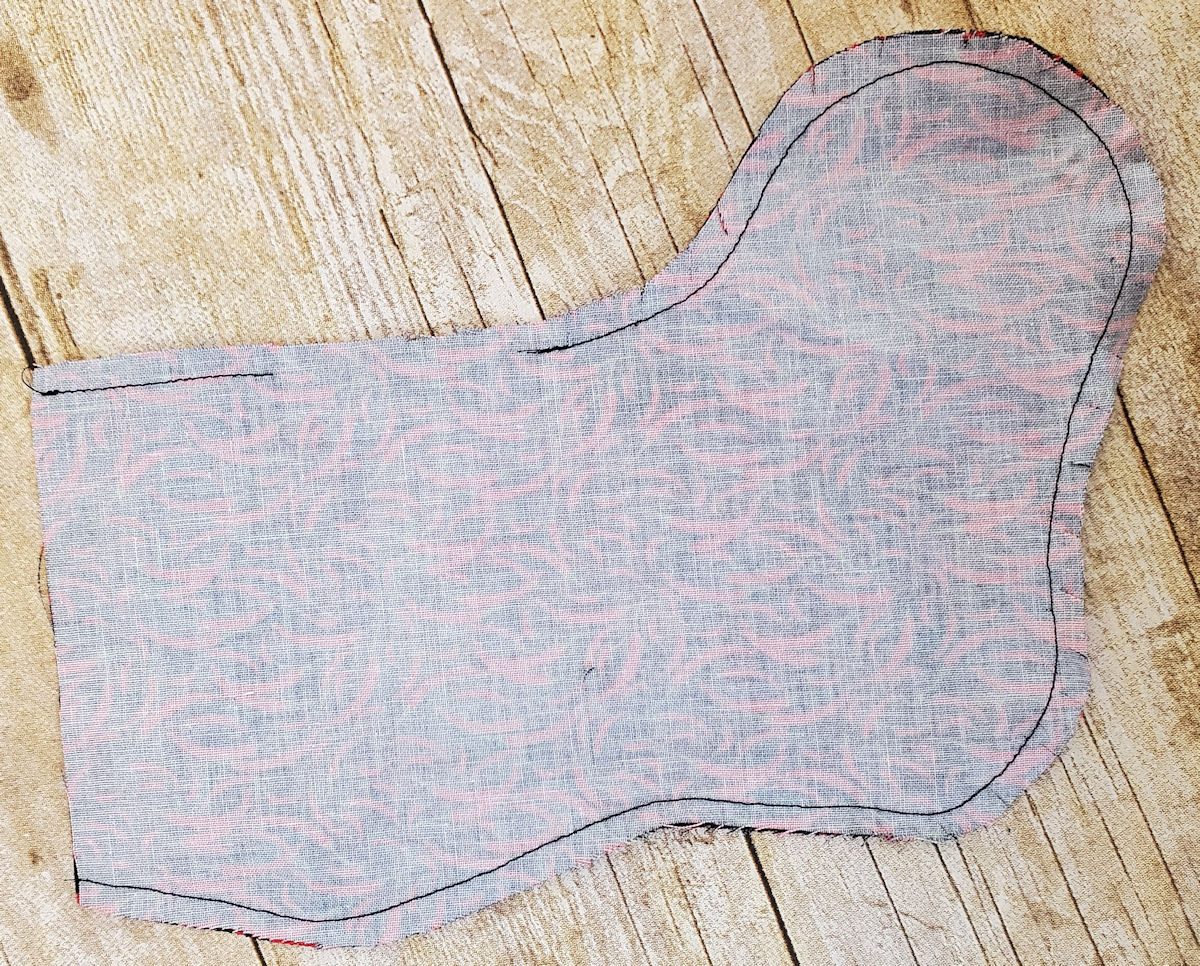
With right sides together, sew 2 lining pieces together, leaving the top edge open and a 2″ opening on one side for turning. Clip curves.
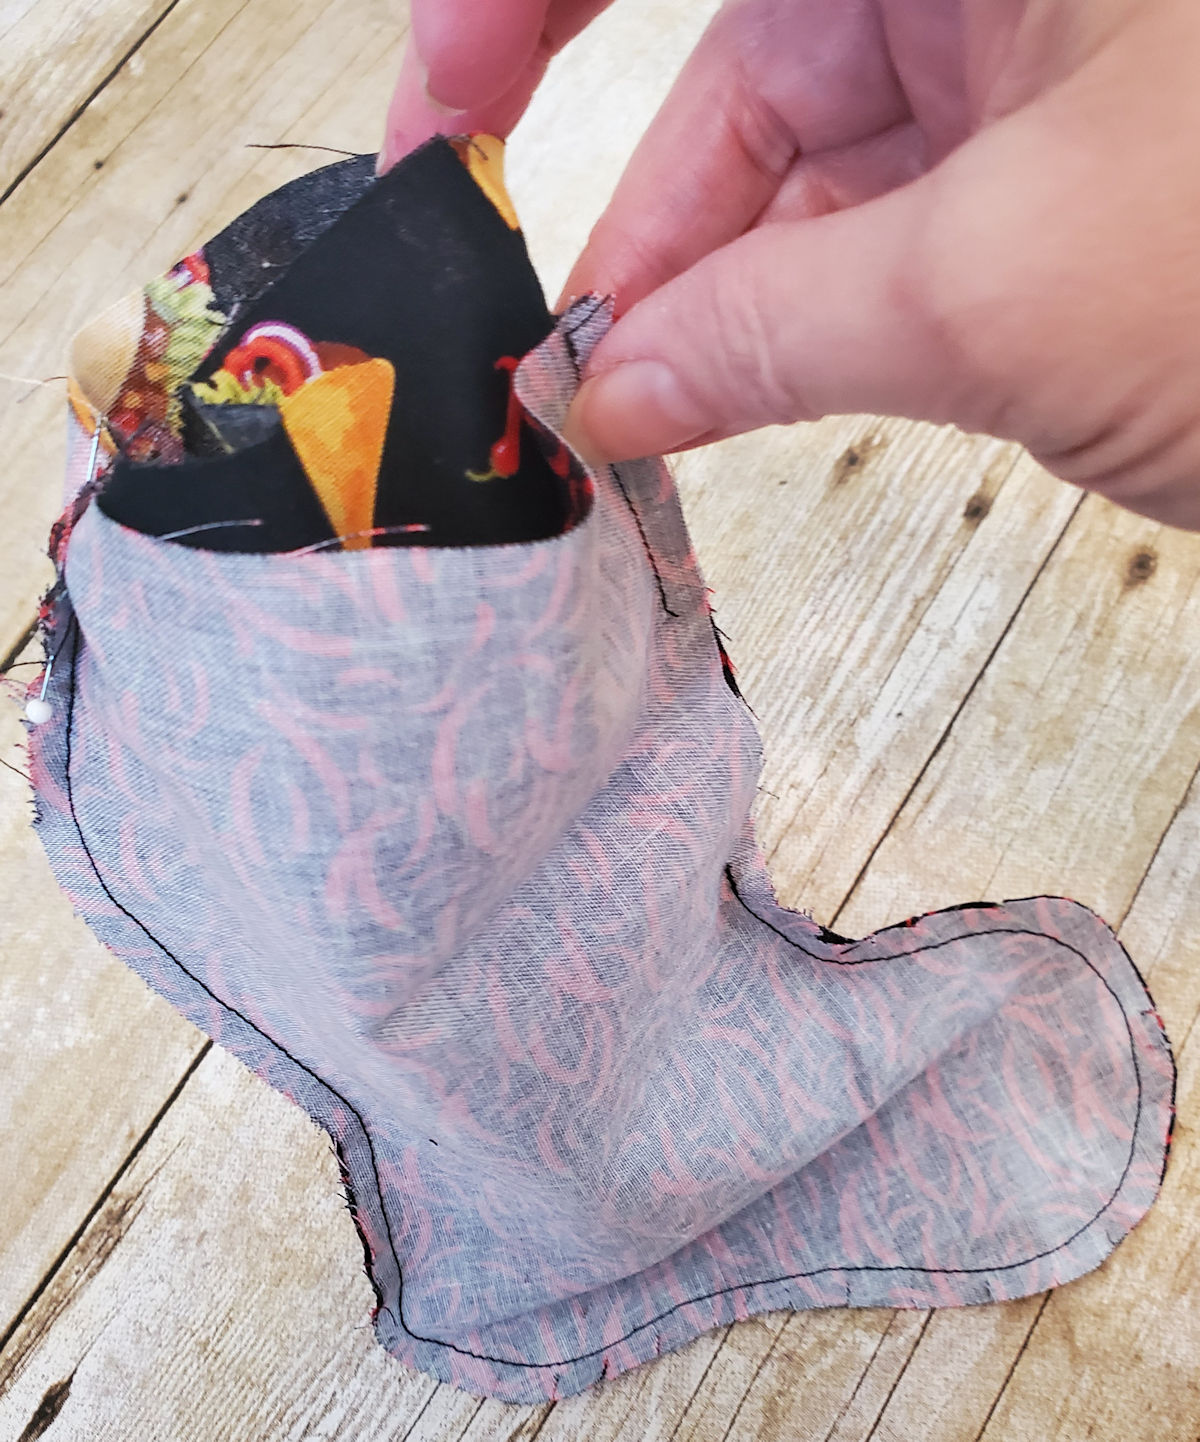
With right sides together, place the stocking exterior inside the stocking lining. Be sure that the heel and toes are facing the same direction. Match the raw edges and seams and sew the top edges together.
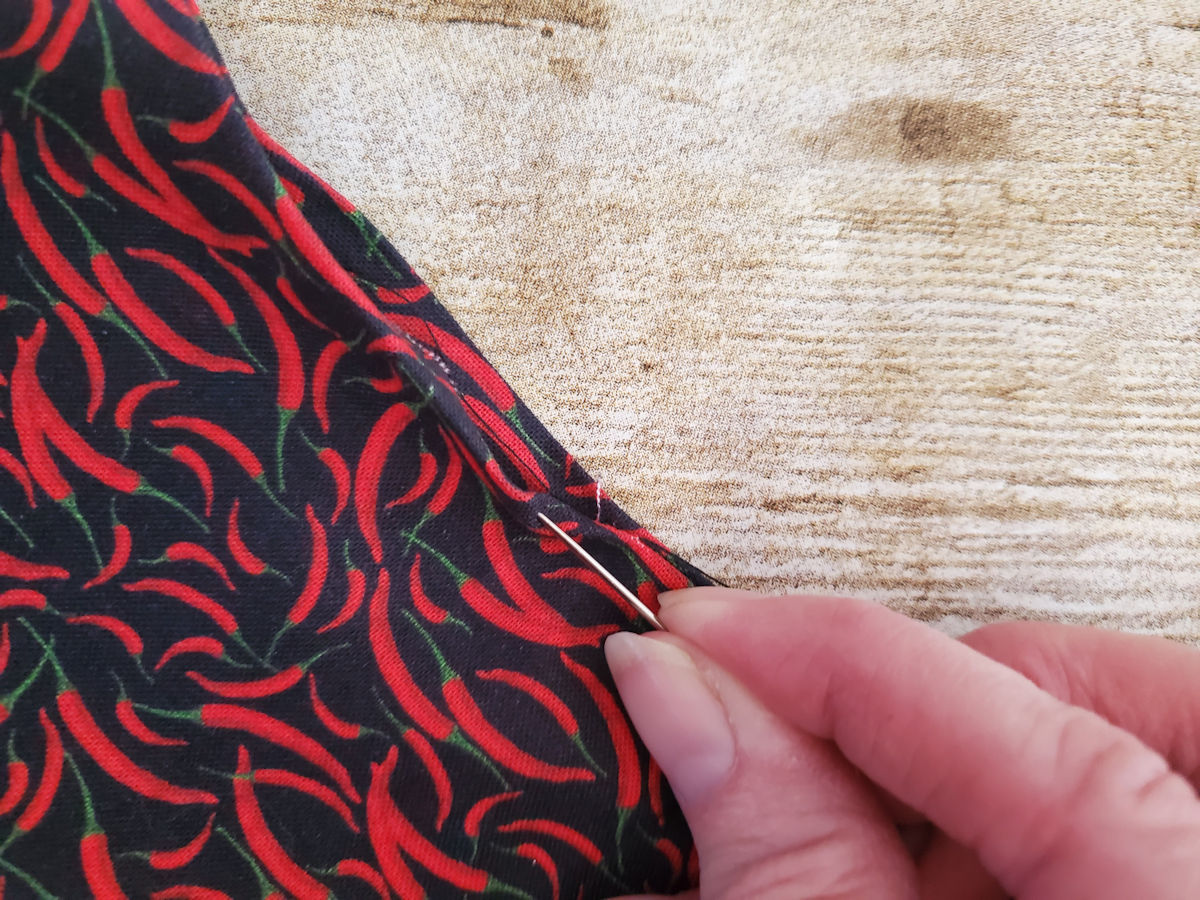
Turn right side out through the opening in the lining. Slipstitch the opening closed with a needle and matching thread.
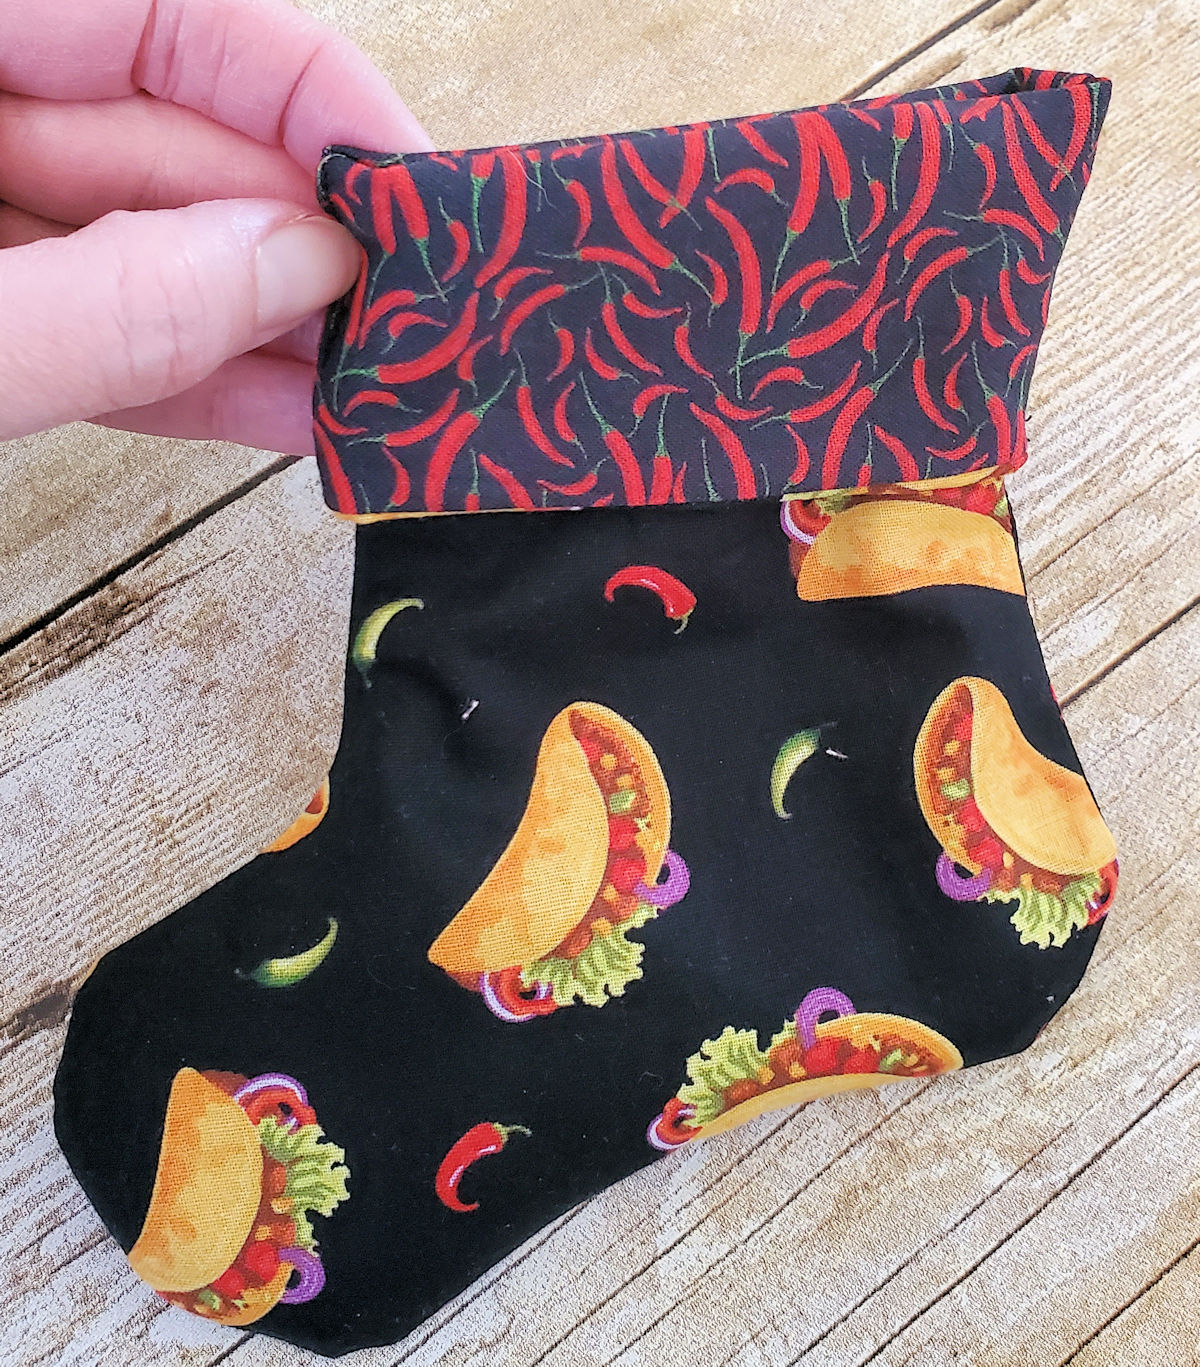
Place the lining inside the stocking exterior and press well. Fold the lining over the exterior 2″ to create a cuff.
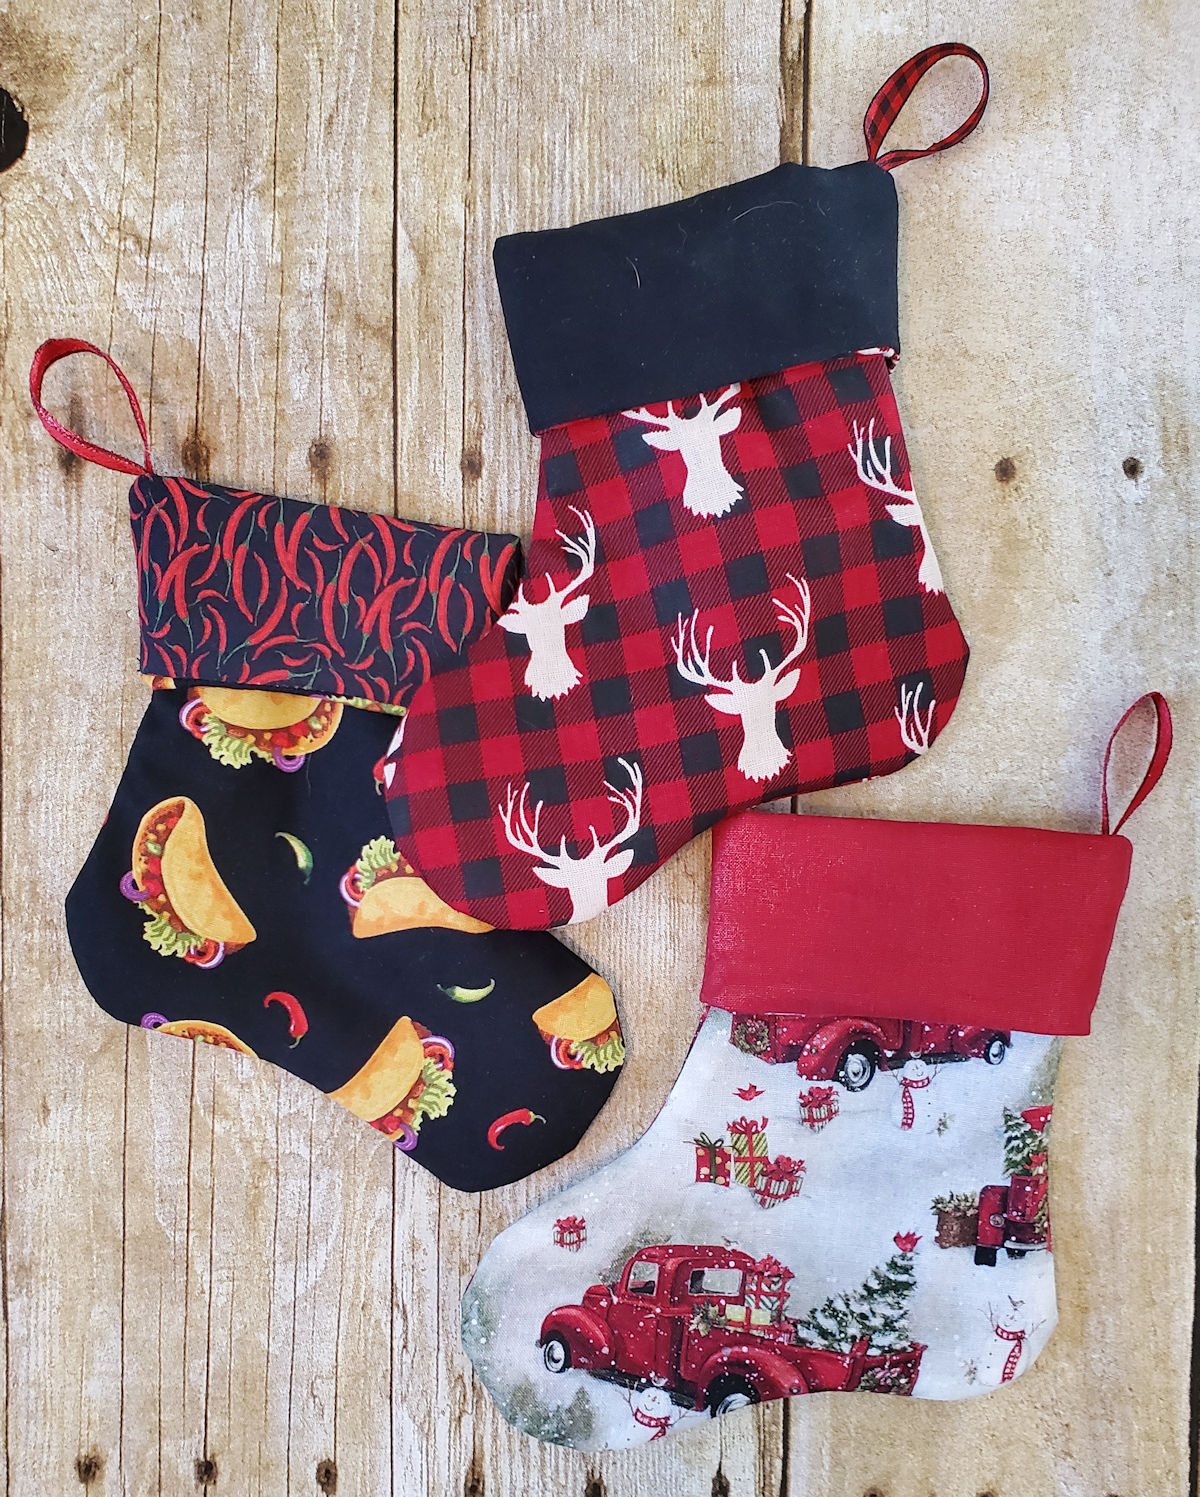
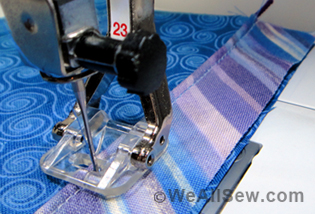
If you are adding a hanger to your stocking, fold the ribbon in half with the wrong sides together. Place the ribbon on inside the cuff, along the seamline and tack in place . If you find that your ribbon tends to fray, use a zigzag stitch along the raw edges of the ribbon before sewing.

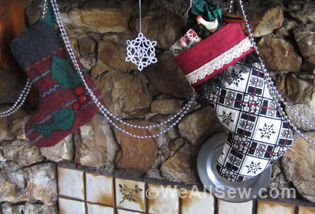
Now decorate, fill, or be festive with your new stockings!


Anyone else click on the “Stocking Pattern” and nothing happens? Should I draw out my own pattern? This is a wonderful gift card and ornament idea. Linda from Maine