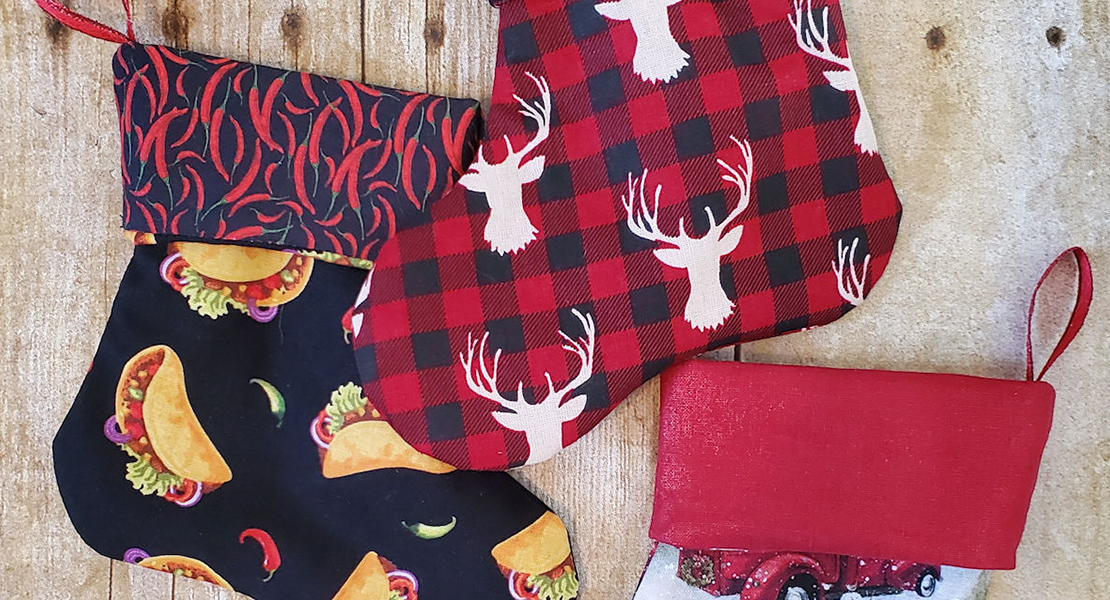
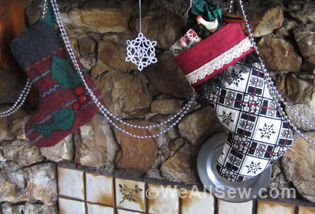
Make a Sewing “Trash” Holiday Mini-Stocking
Don’t throw away all those little bits and pieces of fun fabrics and threads. Linda J. Hahn of Frog Hollow Designs shows how to make them into festive fabric! Linda is the author of the award-winning books New York Beauty Diversified (AQS 2013) and New York Beauty Simplified (AQS 2011).
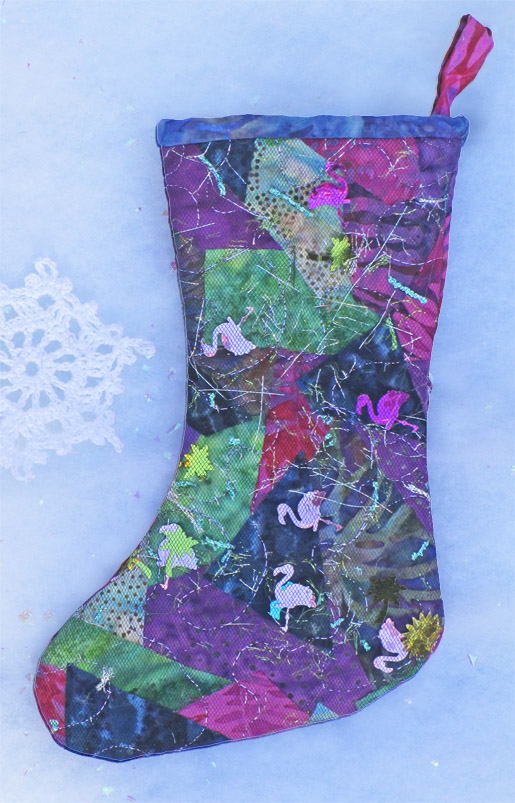
Make this quick and fun holiday stocking made from your sewing “trash” and leftover bits and pieces. This is a great project to practice your machine quilting – there are no mistakes!
Supplies
- Basic quilting supplies
- Two 8-1.2” x 11” rectangles of Warm & Natural batting
- One 8-1/2” x 11” piece of fabric for stocking back
- One 8-1/2” x 11” rectangle of sheer bridal tulle in coordinating color
- One 2-1/2” x 5” rectangle of fabric for hanging loop
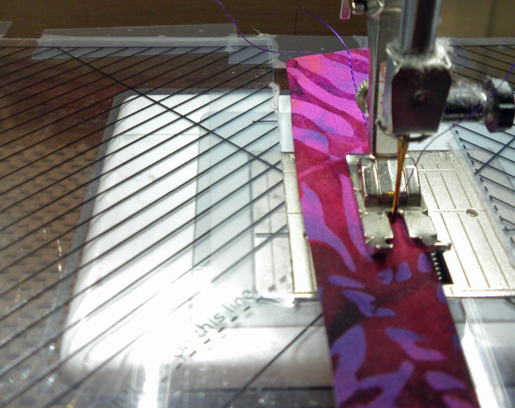
- One 2-1/2” x 11” fabric strip for binding
- Small pieces of fabric for “trashing”
- Flat sparkly embellishments (sequins, etc)
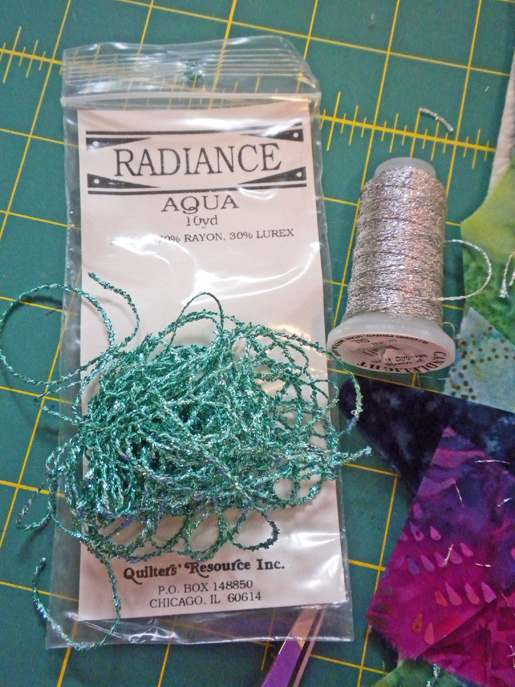
- Sparkly threads (YLI Candlelight, Angelina fibers, etc)
- Metallic and/or variegated thread for machine quilting
- Fabric-basting spray such as 505 or KK2000
- Quarter-inch foot (BERNINA Patchwork Foot #37/37D, Patchwork Foot with Guide #57/57D, Patchwork Foot for 9 mm feed models #97/97D)
- Free-motion foot (BERNINA Darning Foot #9, Freehand Embroidery Foot #24, Freehand Quilting Foot #29, Echo-Quilting and CutWork Foot #44C, or BERNINA Stitch Regulator)
Download and print the stocking pattern. SewingTrashHolidayStocking-Pattern.pdf
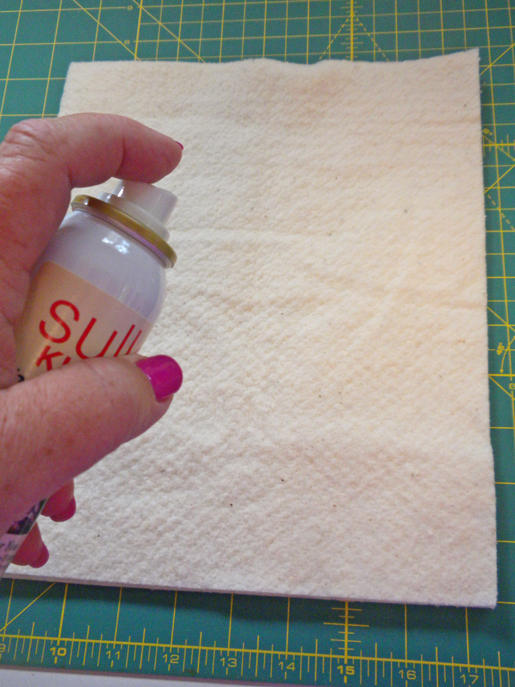
step 1) “Trash” the batting.
Very lightly spritz the right side of the batting with basting spray.
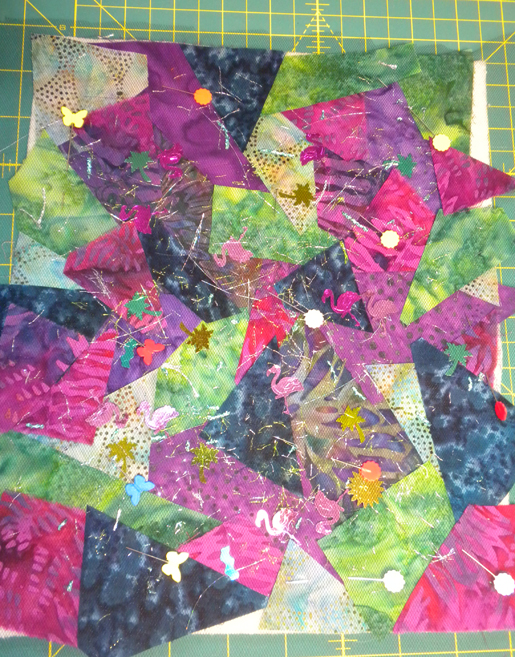
Arrange (or dump) small pieces of fabric (such as cut-aways from your trash) over the batting and spread out evenly. If using cut-aways, layer the pieces so that there is some overlap.
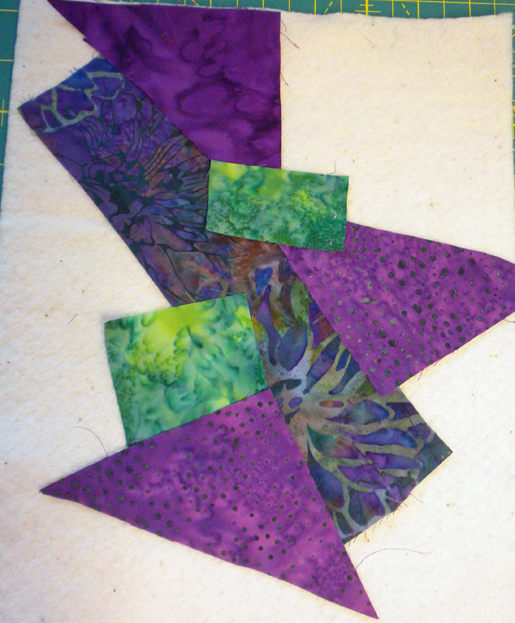
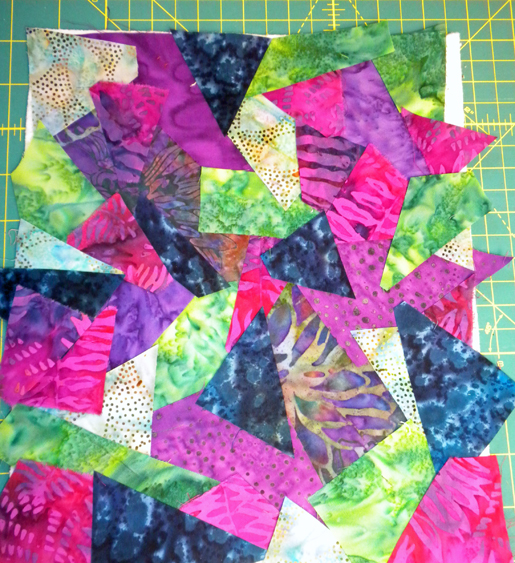
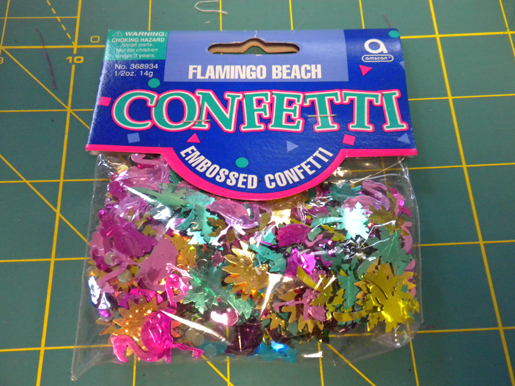
Sprinkle some “stuff” over the fabric pieces (could be thread slivers, flat lace, sequins, confetti, so long as it is flat). You can add some Angelina fibers for even more sparkle!
Place a layer of bridal tulle over the top of the batting piece covering the fabric and embellishments.
Pin securely (this means a lot of pins).
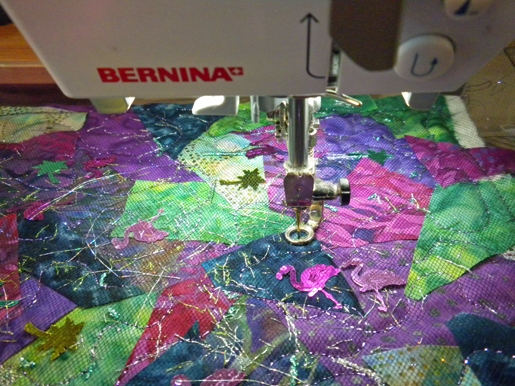
Using metallic or variegated thread, machine quilt all around this piece. This will secure the fabric and embellishments down.
You can choose to make the back side a solid piece of fabric or you can use another piece of “trashed” batting. If using a solid piece of fabric, quilt it to a layer of batting.

step 2) Assemble the stocking.
Using the printed pattern, cut a stocking shape from the “trashed” fabric.
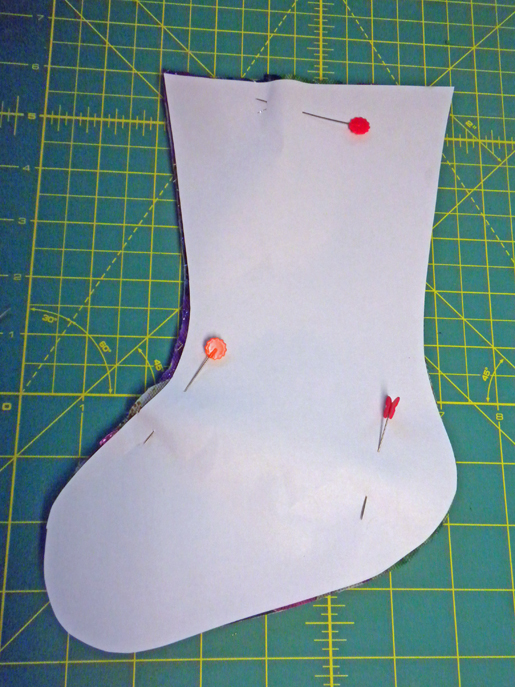
Flip the printed pattern face down and cut a stocking shape from the backing fabric (plain or “trashed).
Tip: To ensure that you end up with a front and back that match when you place them right sides together, make sure the back is a mirror image of the front before cutting out the stocking back.
Place the stocking pieces right sides together and stitch around the outer edges with a 1/4″-wide seam allowance, leaving the top open.
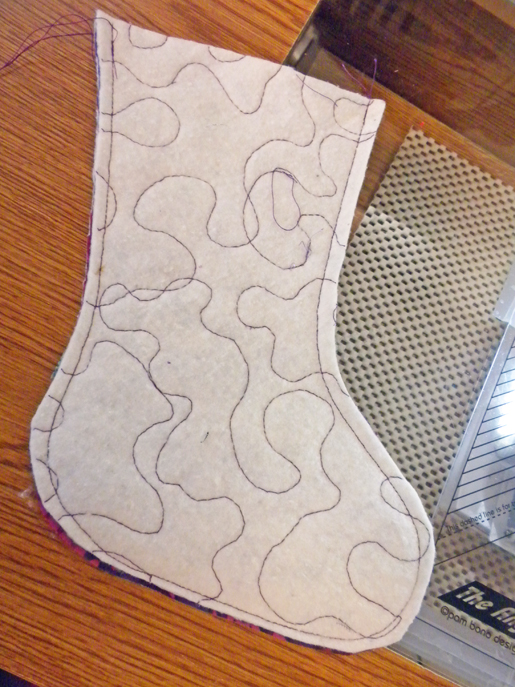
Carefully clip the curves, if needed, and turn the stocking right side out. Press.
Fold one long edge of the 2-1/2” x 5” rectangle under 7/8”; press. Fold the other long edge under 7/8”, overlapping the first fold; press. Edgestitch 1/8” from each long folded edge.
For the strip in half and tack it to the back of the stocking, raw edges even.
Bind the upper edge of the stocking using the 2-1/2” x 11” fabric strip, securing the hanging loop in the stitching.
- Fold the strip in half, wrong sides together; press.
- Matching the raw edges, place the strip right sides together around the top of the stocking, folding under 1/2″ at the beginning and lapping the end of the strip over the beginning.
- Stitching around the top of the stocking with a 1/4″-wide seam allowance.
- Fold the binding to the inside; pin.
- Working from the right side (outside) of the stocking, stitch-in-the-ditch to secure the binding in place.
Tip: Instead of binding the upper edge, couch a decorative yarn around the top of the stocking. [Click HERE for Susan Beck’s technique tutorial, How to Apply Cording for a Quick Edge Finish.]
Fill your “trash” stocking with goodies and give it to someone special!
Visit Linda at FrogHollowDesigns.com.