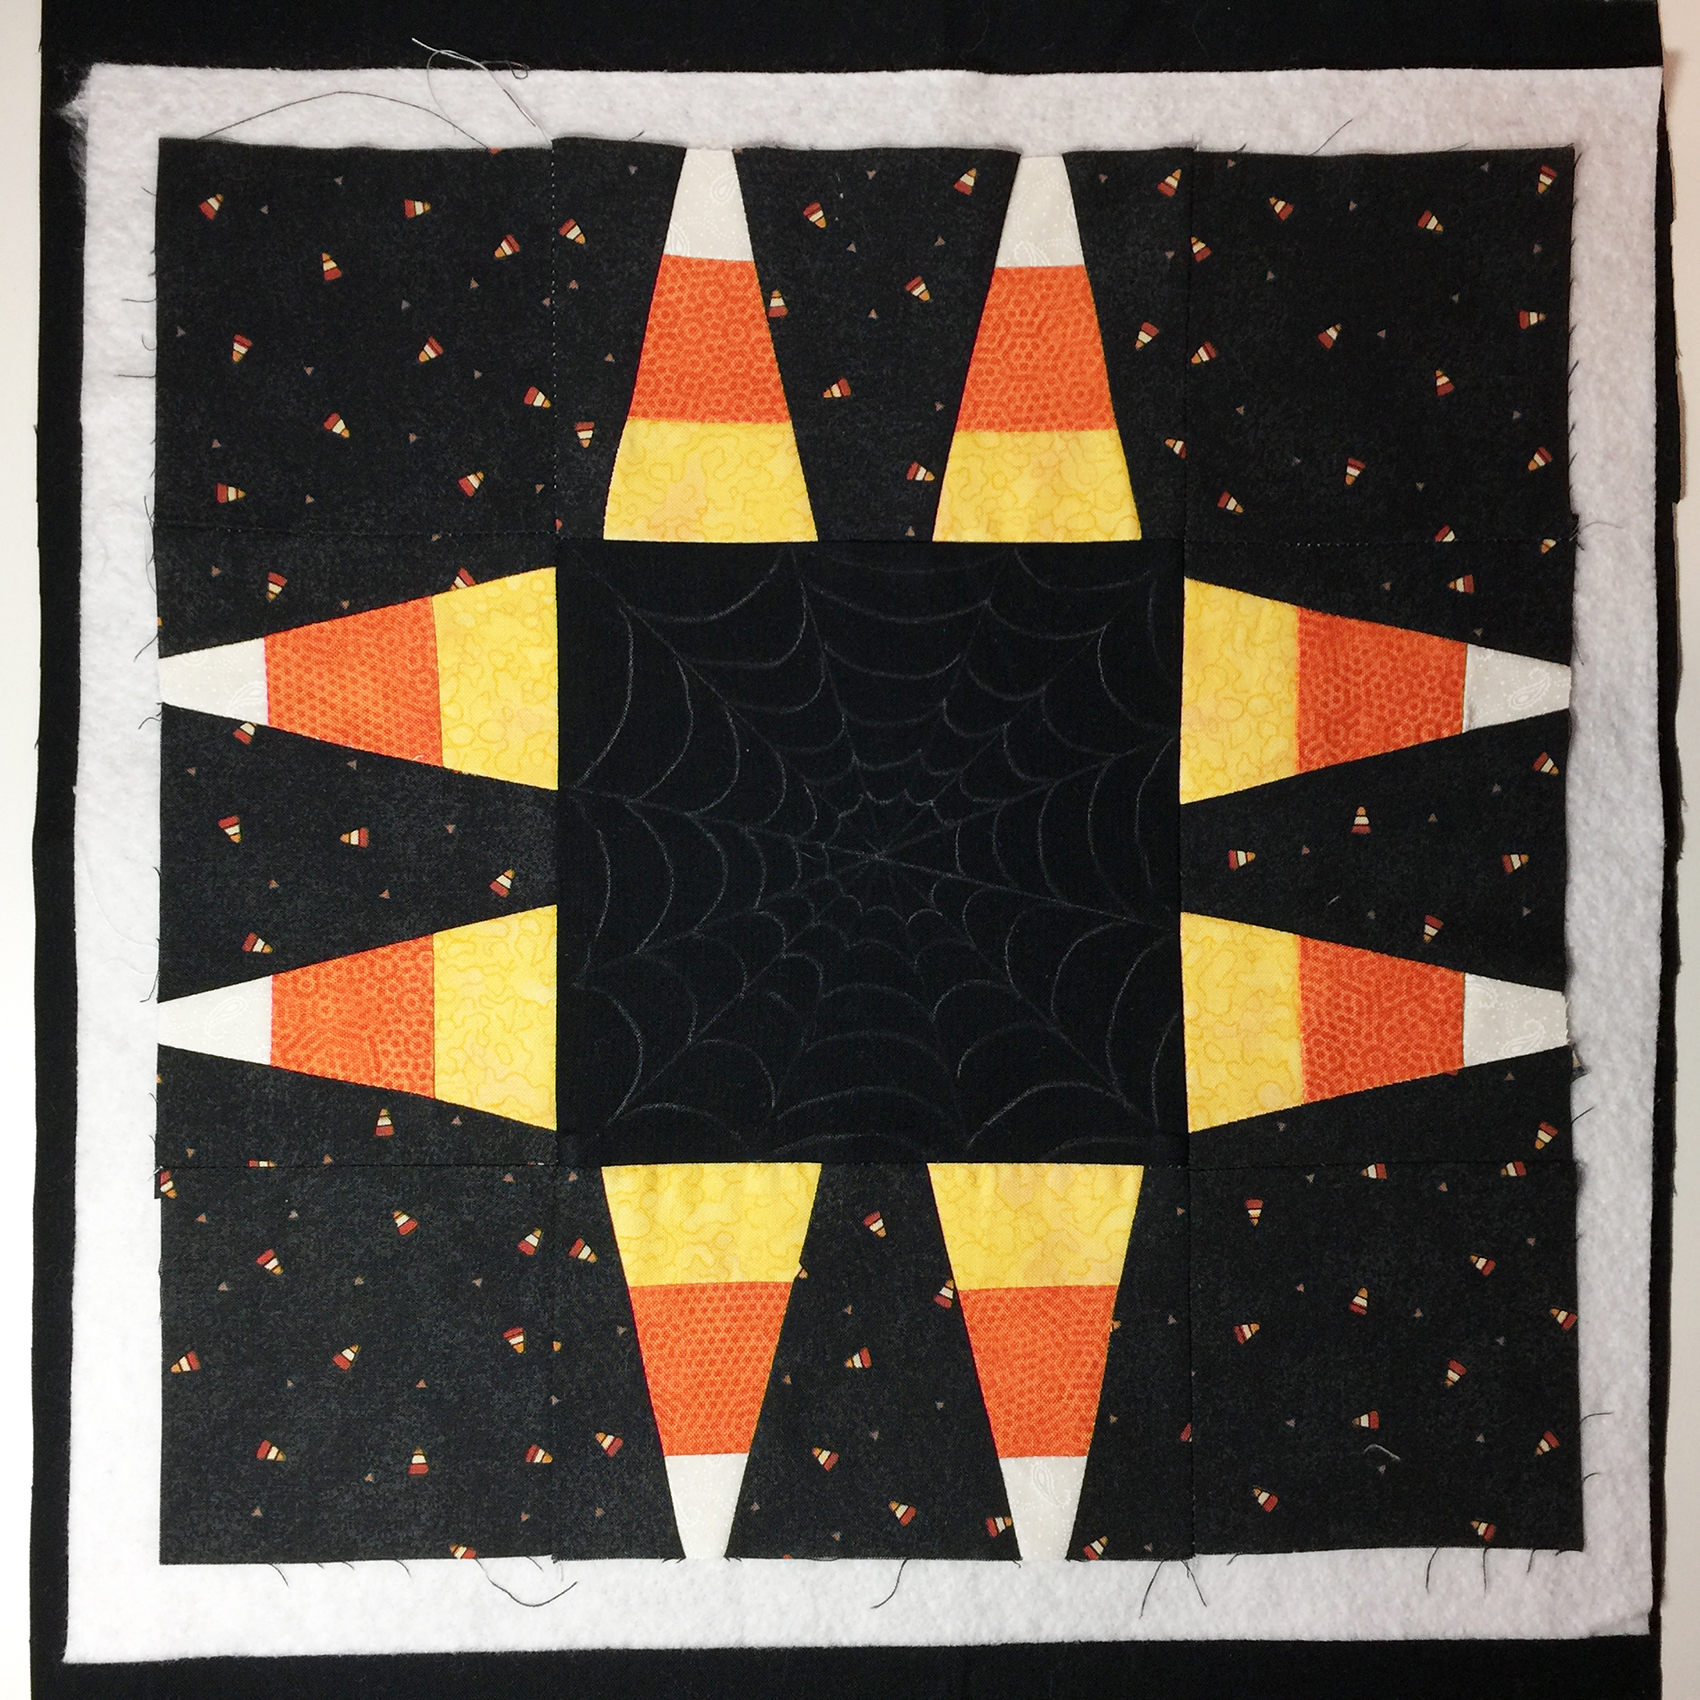
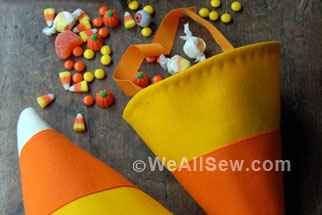
Candy Corn Mini Quilt
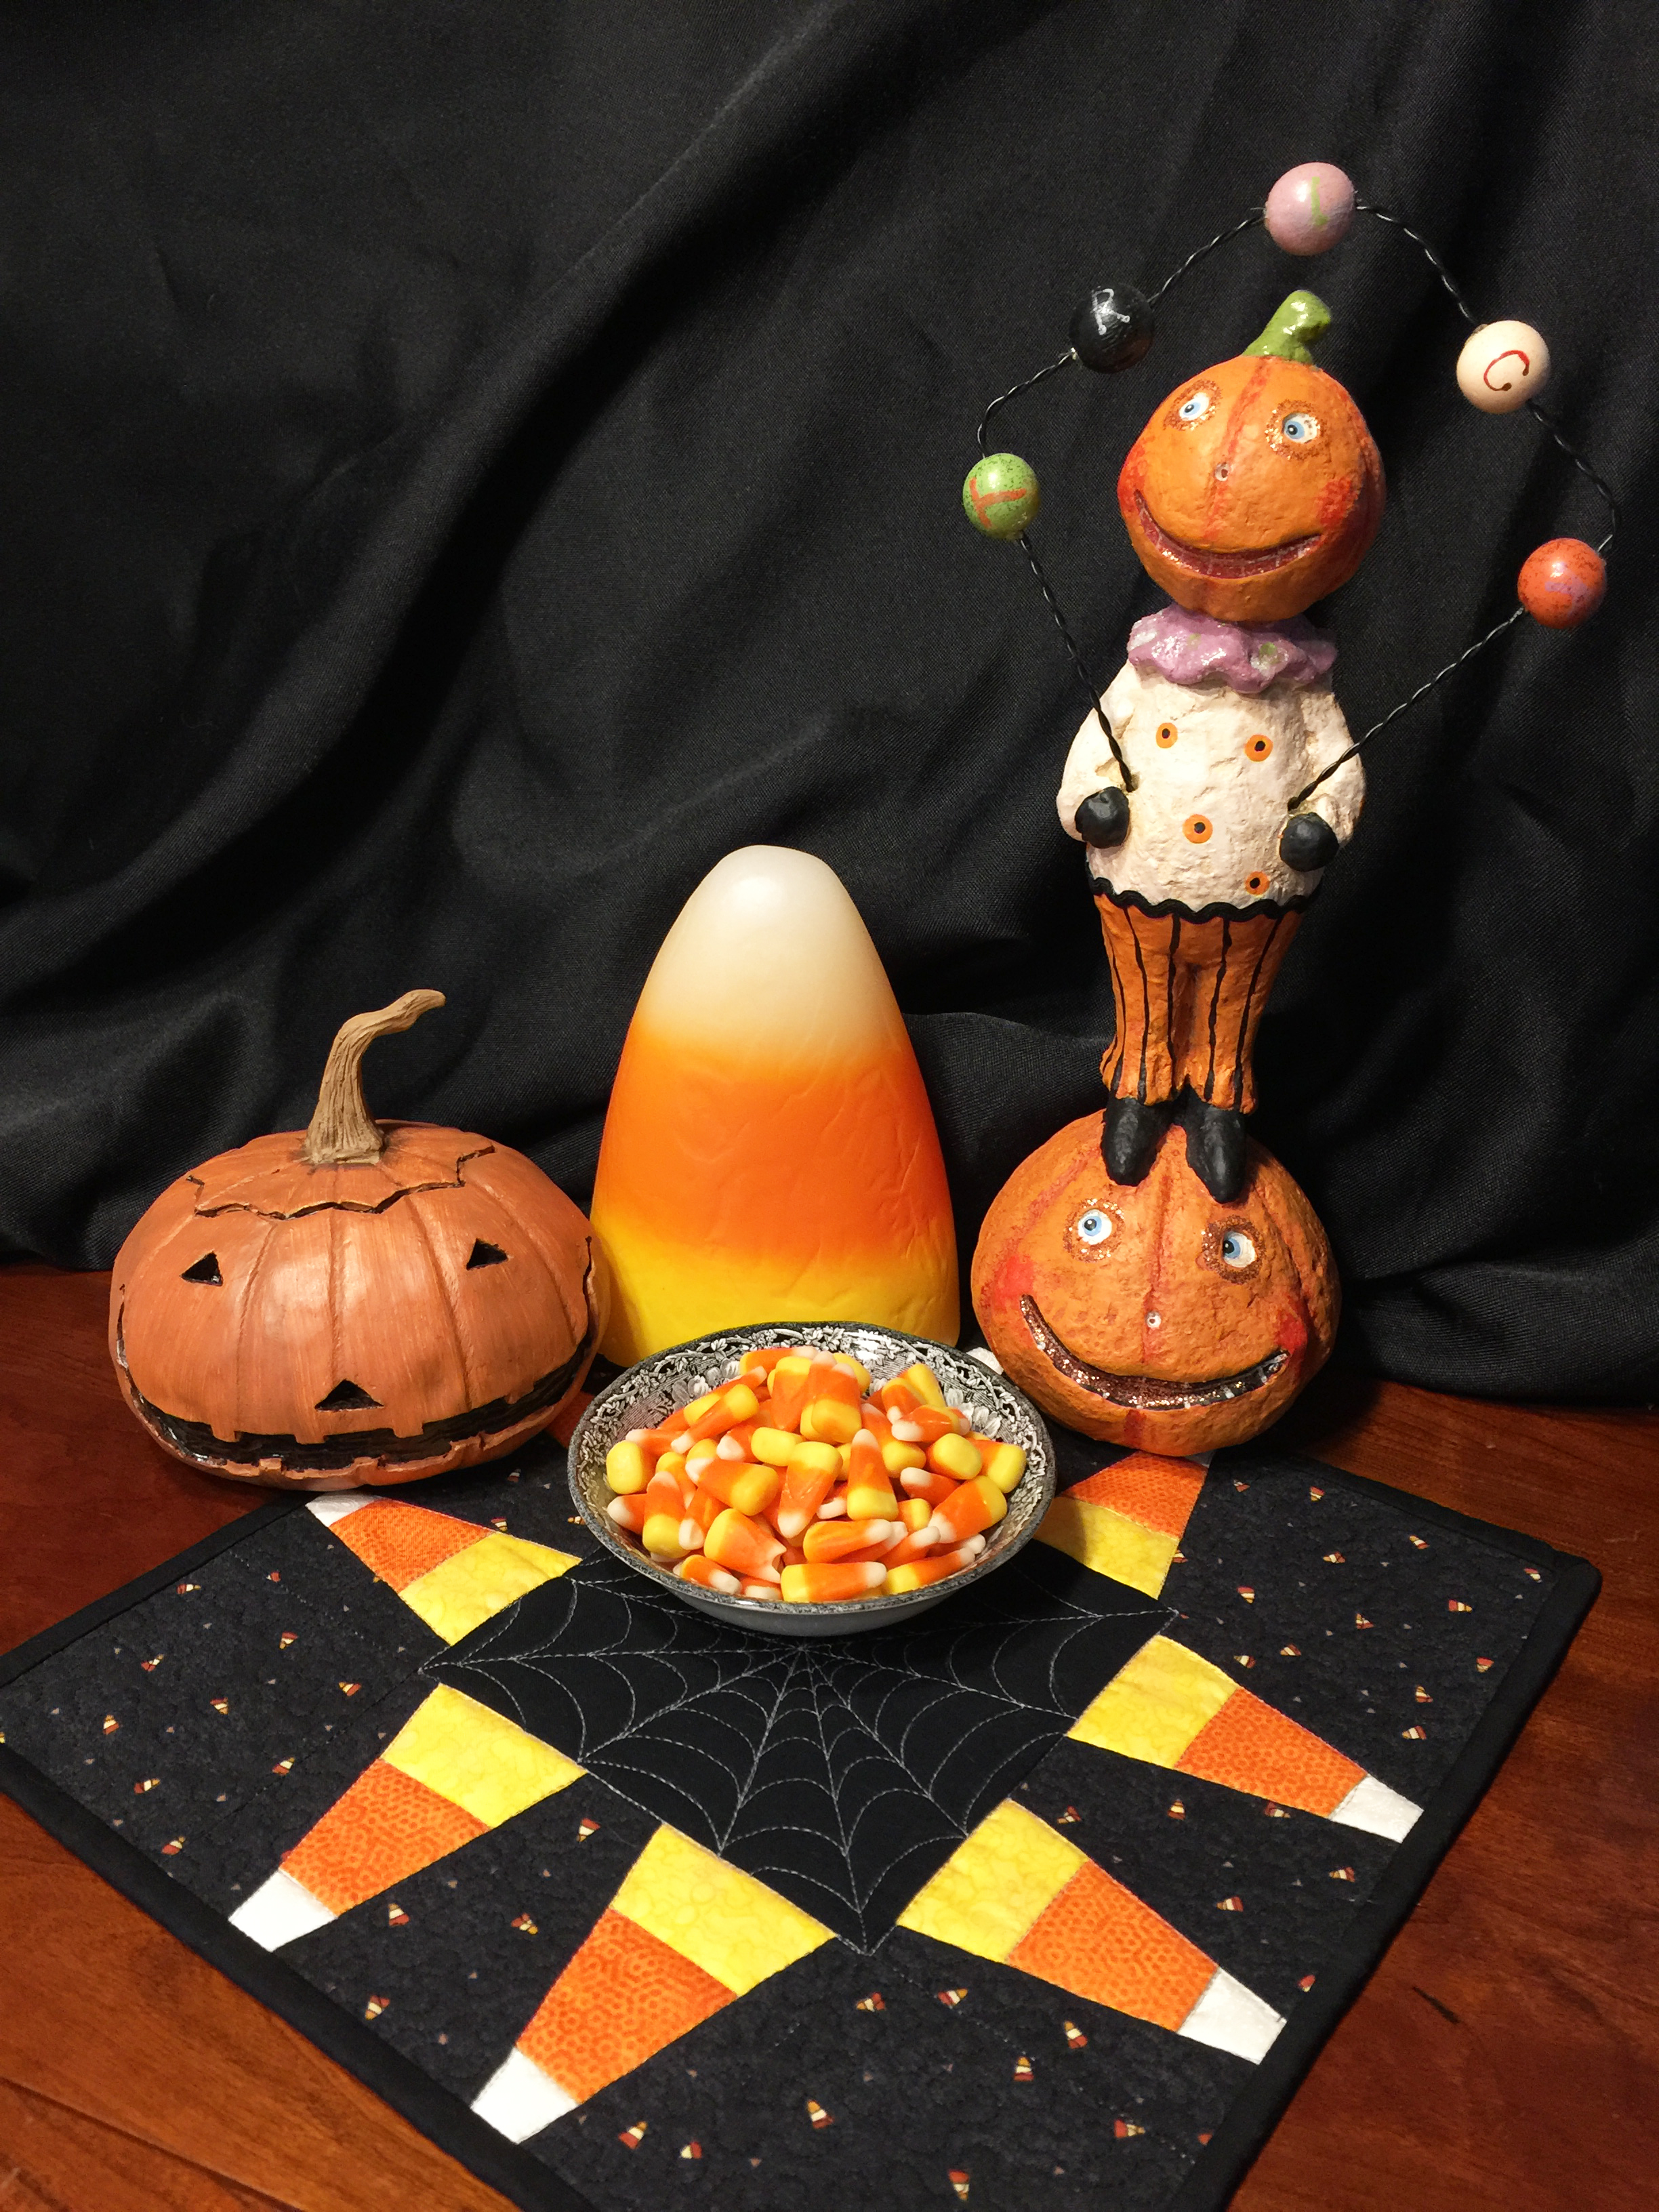
It’s October! My favorite month, and my favorite holiday, Halloween! (It’s also my birthday, which might have something to do with my enthusiasm.) I think Halloween is the most creative holiday of all; as a child, I spent hours brainstorming and making my home-made costumes, cooking and pumpkin carving. These days, I love decorating my home for Halloween, baking spooky goodies, and preparing to greet the trick-or-treaters in my witch’s hat. Halloween is also about community; it’s a time to meet your neighbors and celebrate autumn’s bounty. And best of all, Halloween is about CANDY! Here’s an easy project to satisfy your sweet tooth…without any calories at all!
Cut:
White-on-white print fabric, 1-1/8″ x 12″ strip for A
Yellow mottled fabric, 1-1/2″ x 22″ strip for B
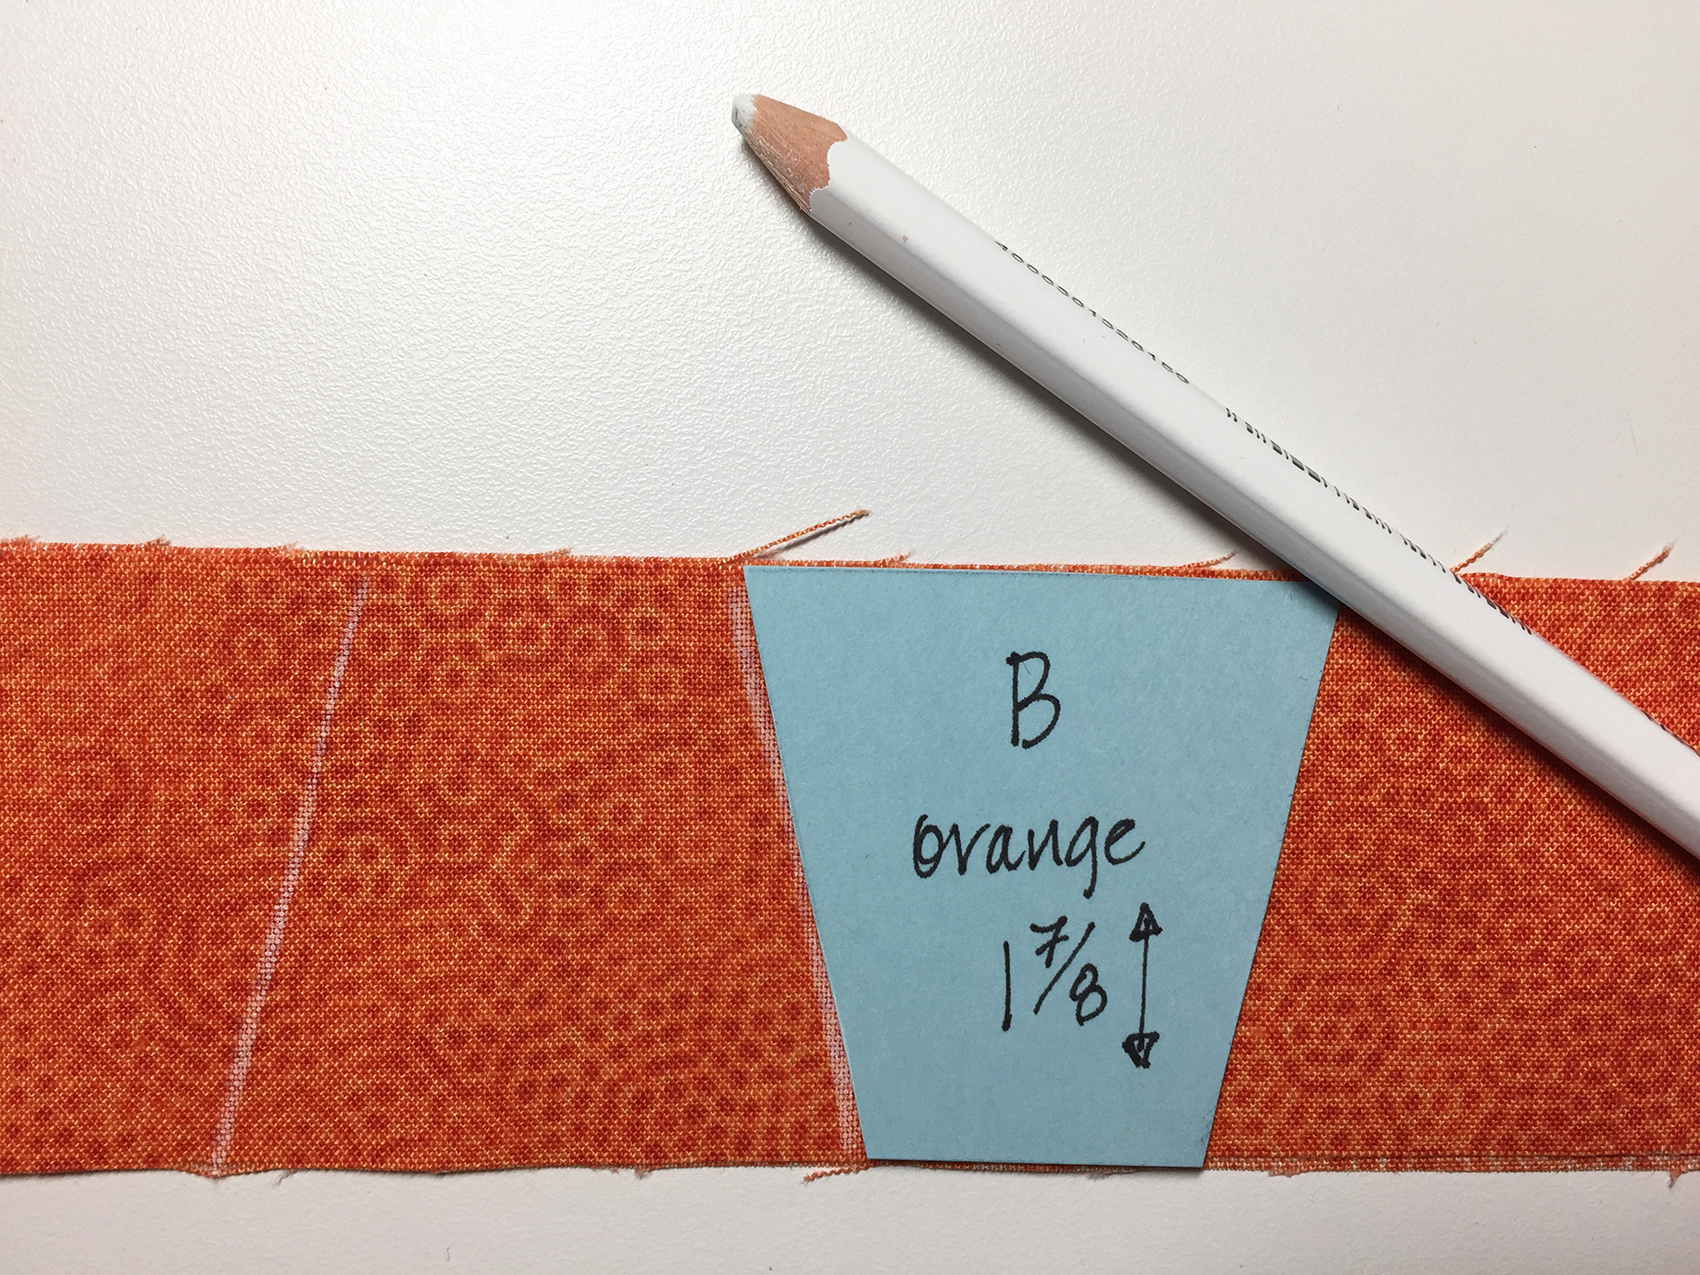
Orange mottled fabric, 1-7/8″ x 18″ strip for C
Black print fabric, 4″ x 26″ strip for D and E, and four 3-1/2″ F squares
Solid black fabric – 2″ x 50″ for double-fold straight-cut binding (I like very narrow bindings, especially on small pieces. If you prefer a slightly wider binding, cut your binding strips 2-1/4″); and one solid black center 5-3/4″ G square
Backing fabric, 13″ square
Batting, 12-1/2″ square
Directions:
1. Print out the pattern page, and check to make sure that the sizes on your printout match the sizes on the pattern. (Printers sometimes slightly shrink printouts.) Cut out the pattern pieces. For sturdier patterns, consider printing or tracing them onto card stock. The pattern page also contains construction diagrams.
Download the Candy Corn pattern here
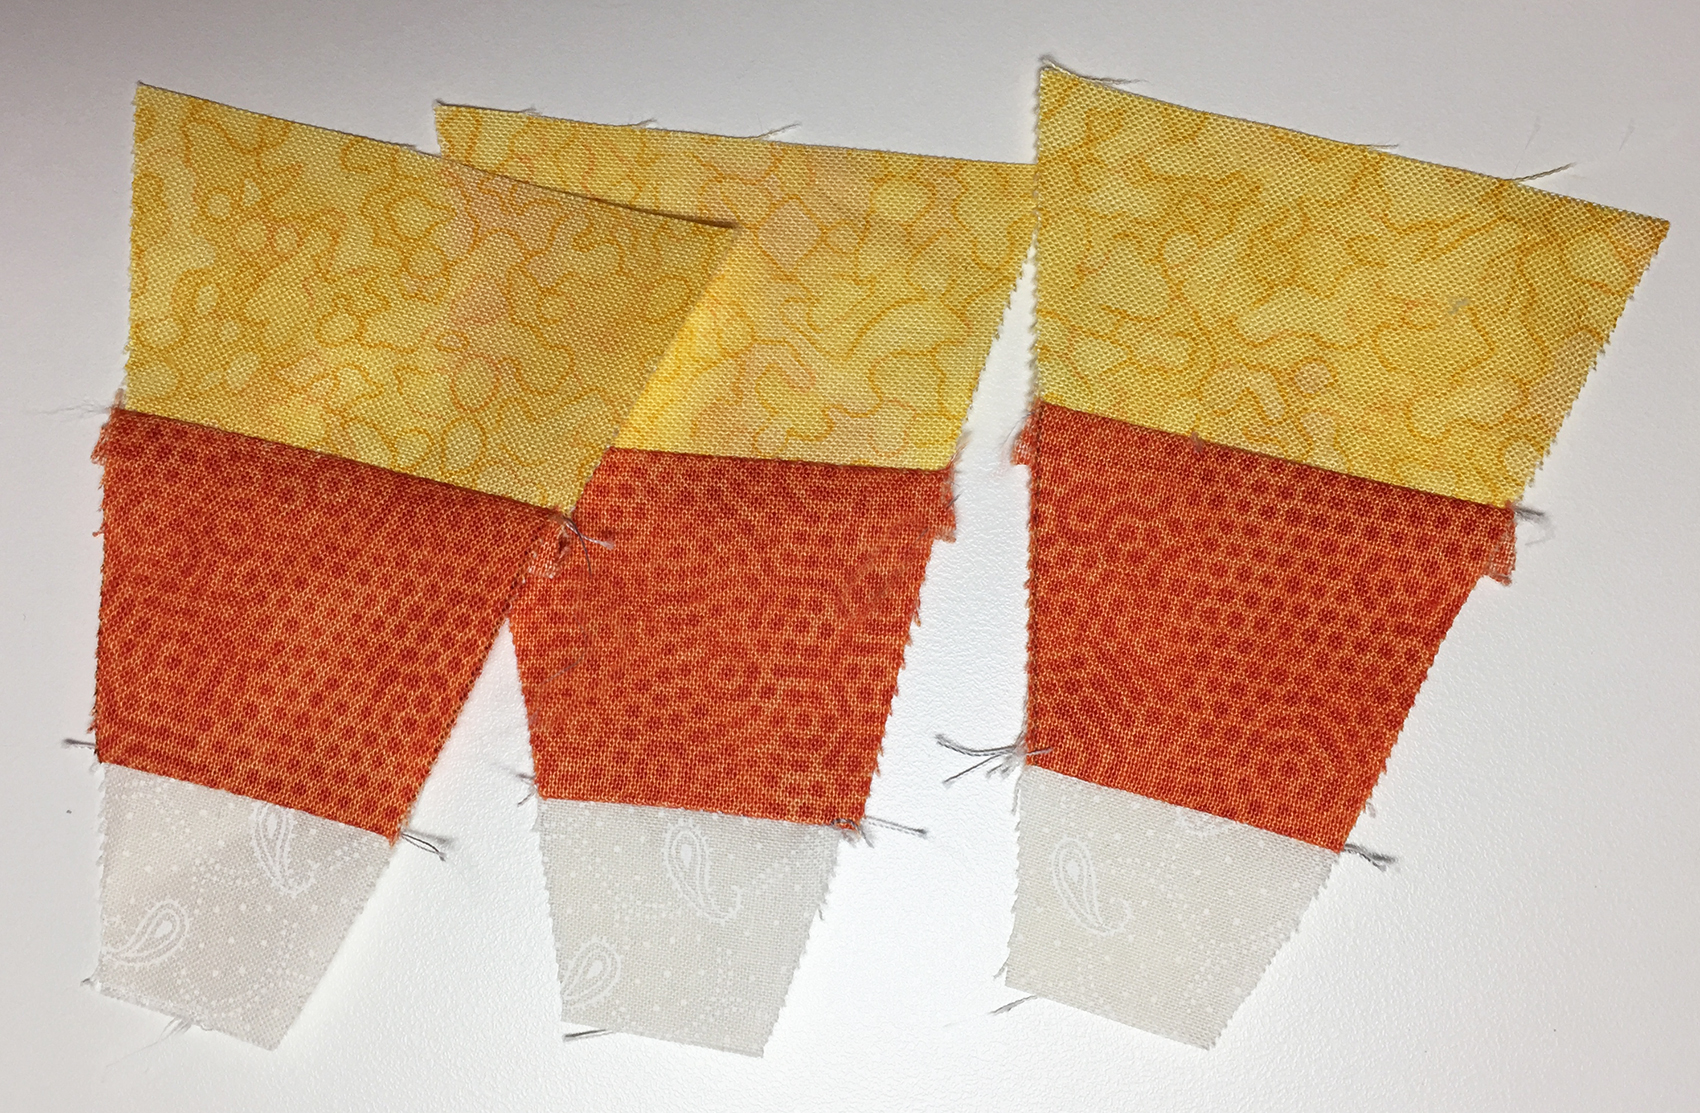
2. Trace around the patterns onto your fabric strips, and cut 8 C pieces from the yellow strip, 8 B pieces from the orange strip, and 8 A pieces from the white strip. Alternately flip the patterns upside down (as shown below) to use your fabric most efficiently. For the black backgrounds, cut 4 E pieces, 4 D pieces, and 4 reversed D pieces from the black print strip.
3. Piece the candy corn. Attach Patchwork foot #97D and engage the Dual Feed. Align the top of the yellow C units with the bottom of the orange B units, right sides together, and sew together with a 1/4″ seam. Note that the orange piece is slightly wider than the yellow; center it on top of the yellow. The fabrics line up at the point where the 1/4″ seam is sewn, and not at the top. I used 50-weight gray Aurifil cotton thread. Lightweight thread is great for piecing because it does not add extra bulk in the seam allowances.
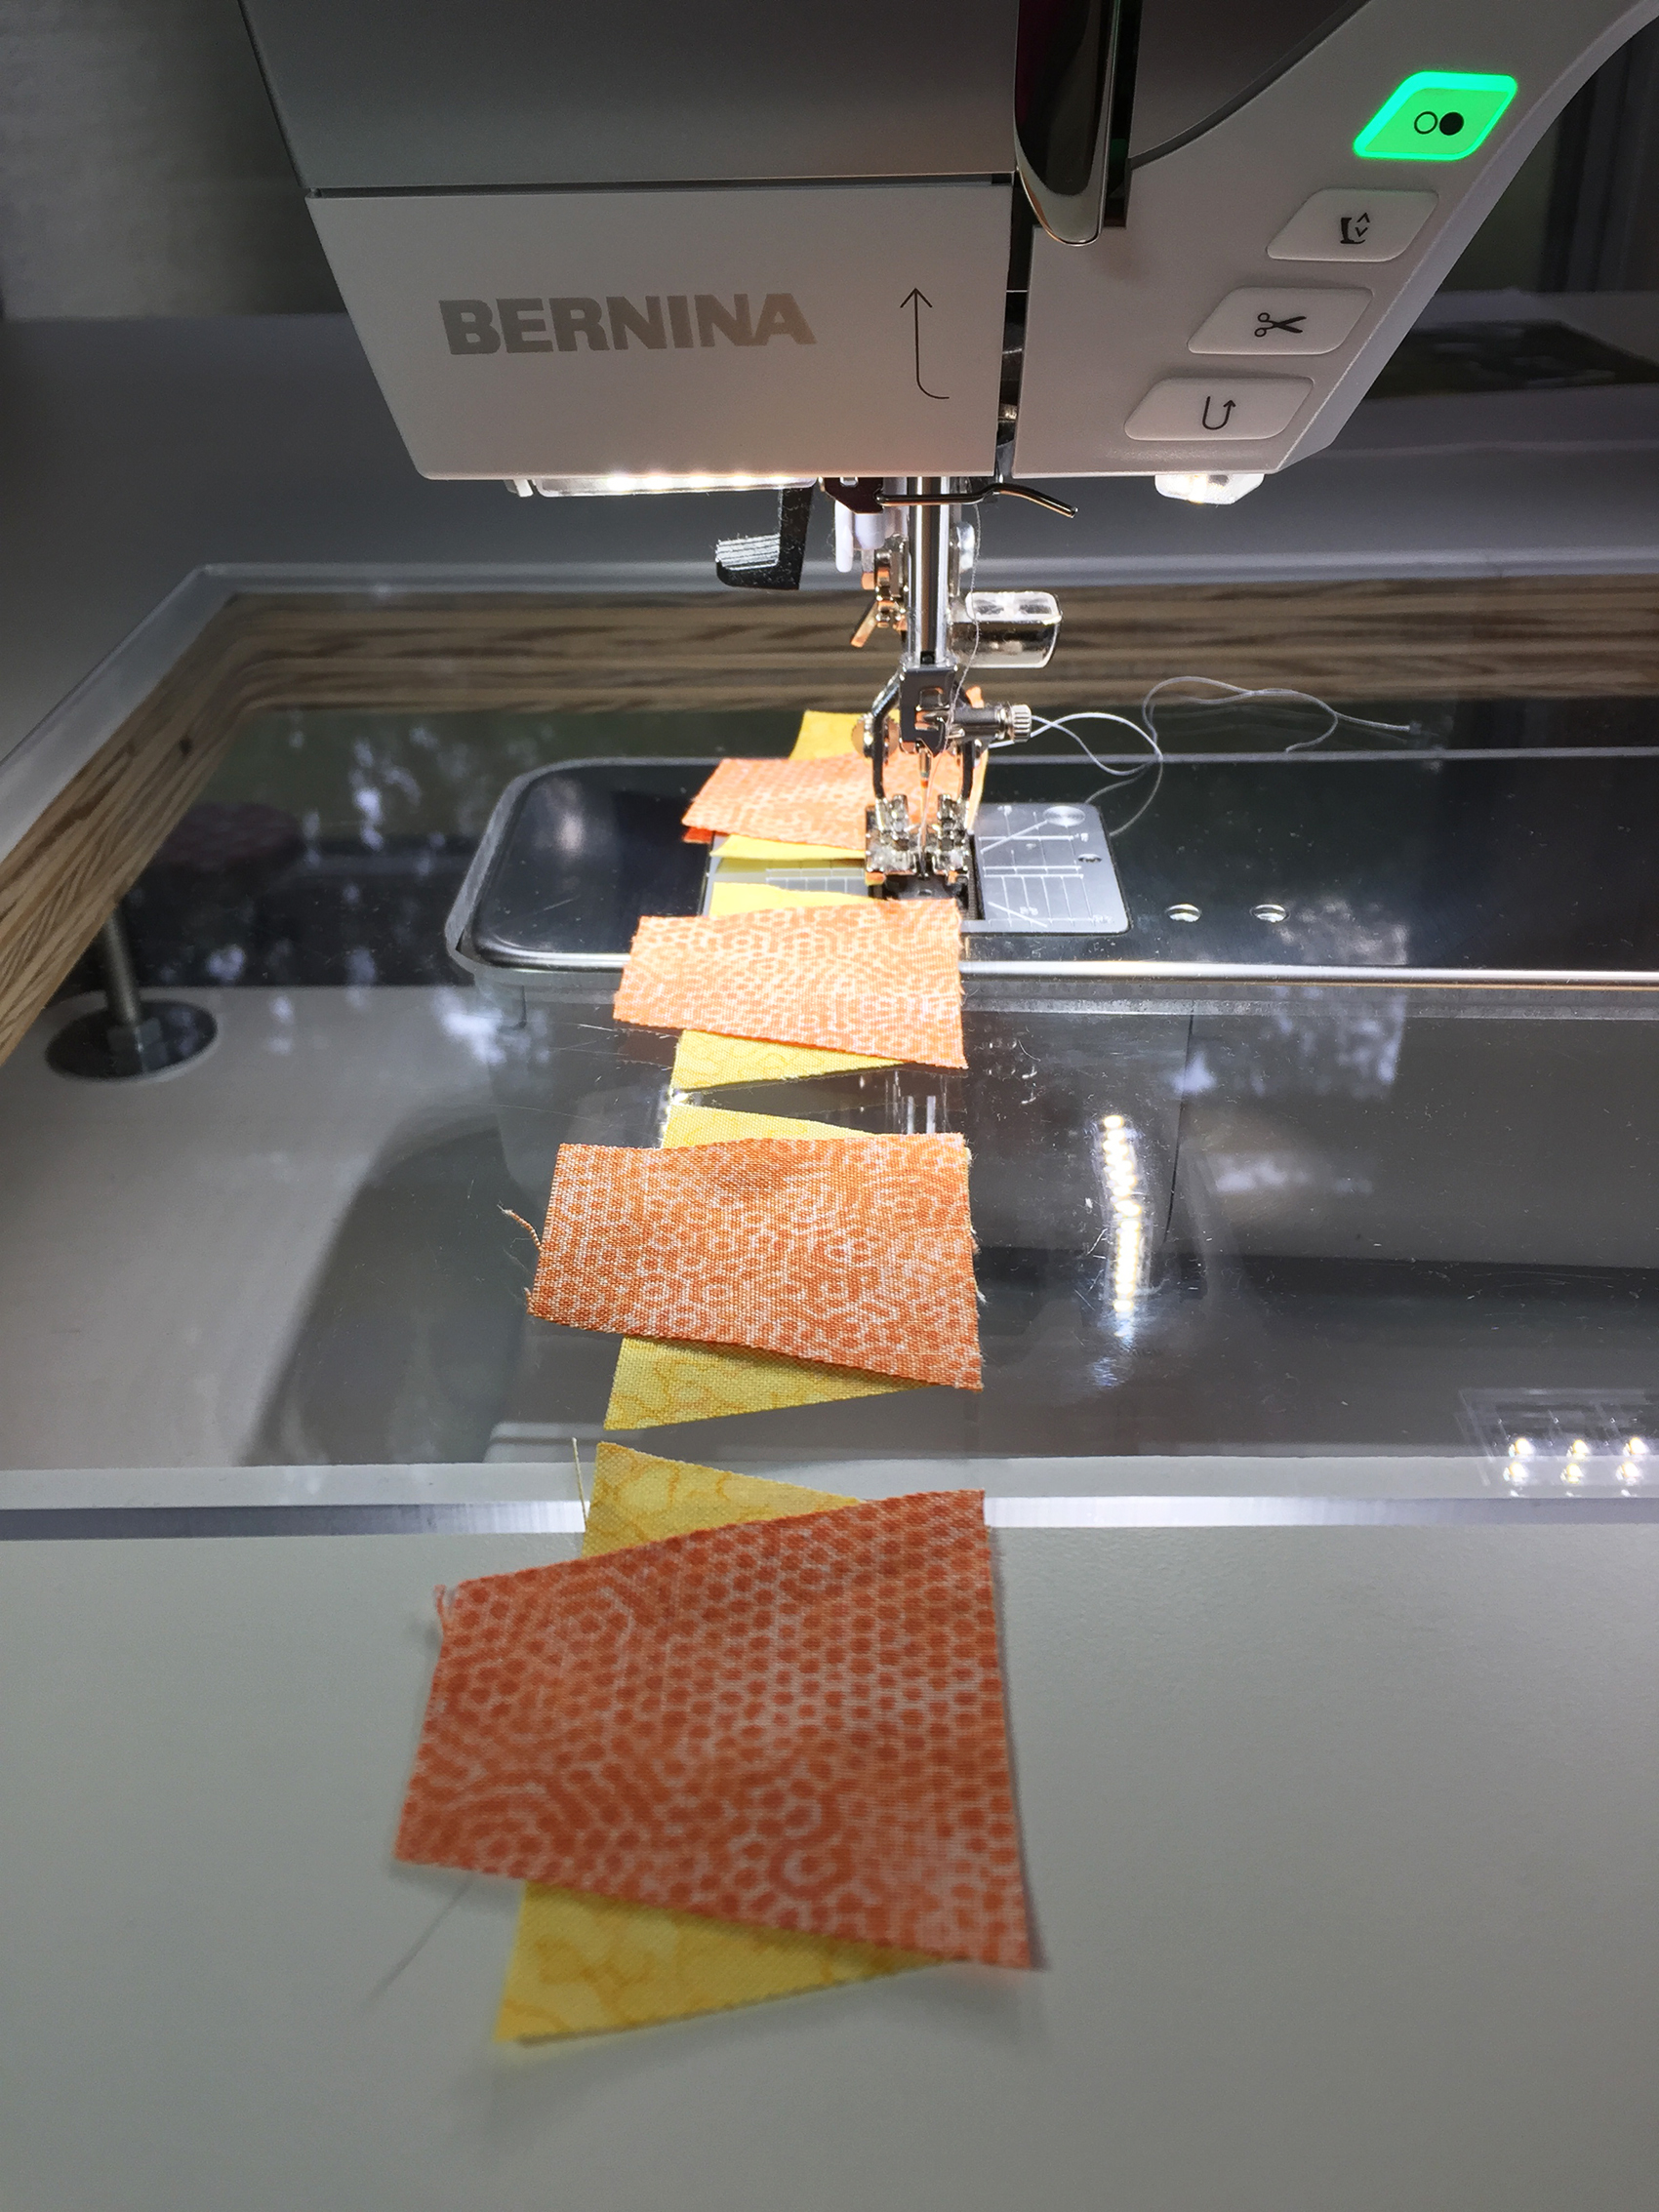
TIP: The fastest way to sew all eight candy corn units together is by “chain piecing,” where you line all the units up and sew them together one after the other before cutting the threads.
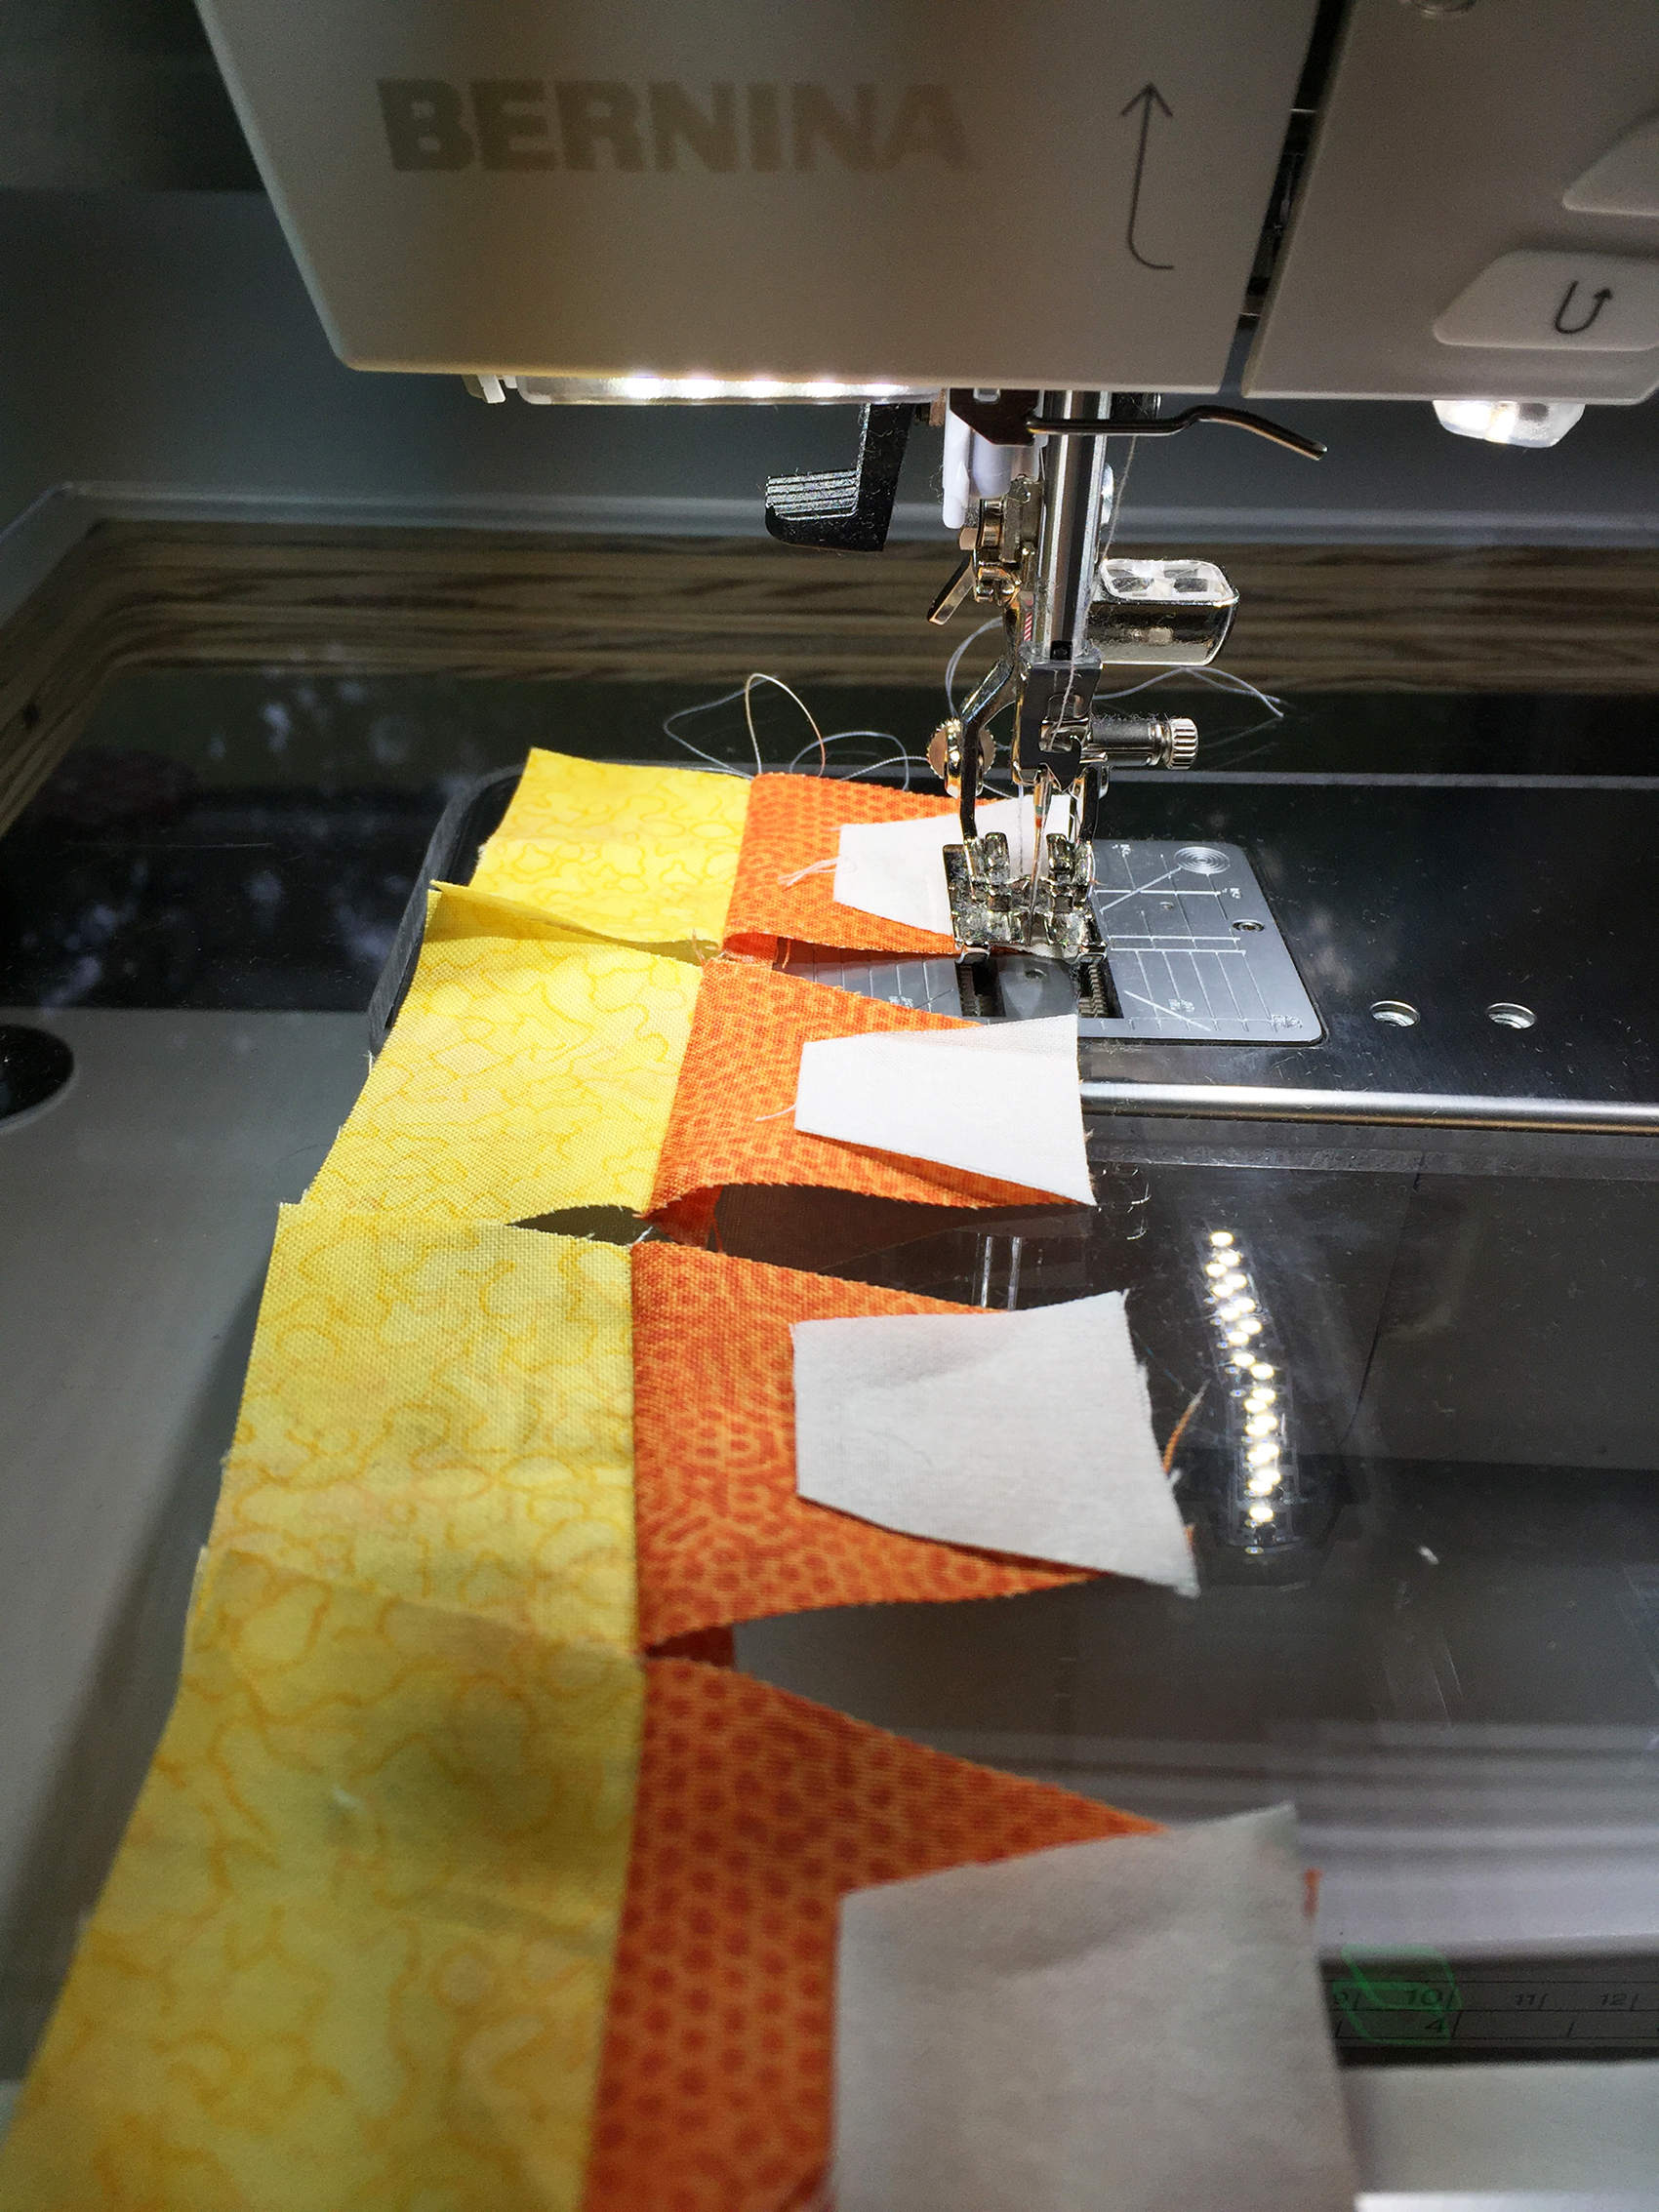
4. Align the top of the orange B units with the bottom of the white A units, right sides together, and sew together with a 1/4″ seam. Note that the white piece is slightly wider than the orange; center it on top of the orange. The fabrics line up at the point where the 1/4″ seam is sewn, and not at the top. Again, chain piecing will help you do this more quickly and efficiently.
5. Press the white and yellow toward the darker orange. You should now have eight candy corn units like these:
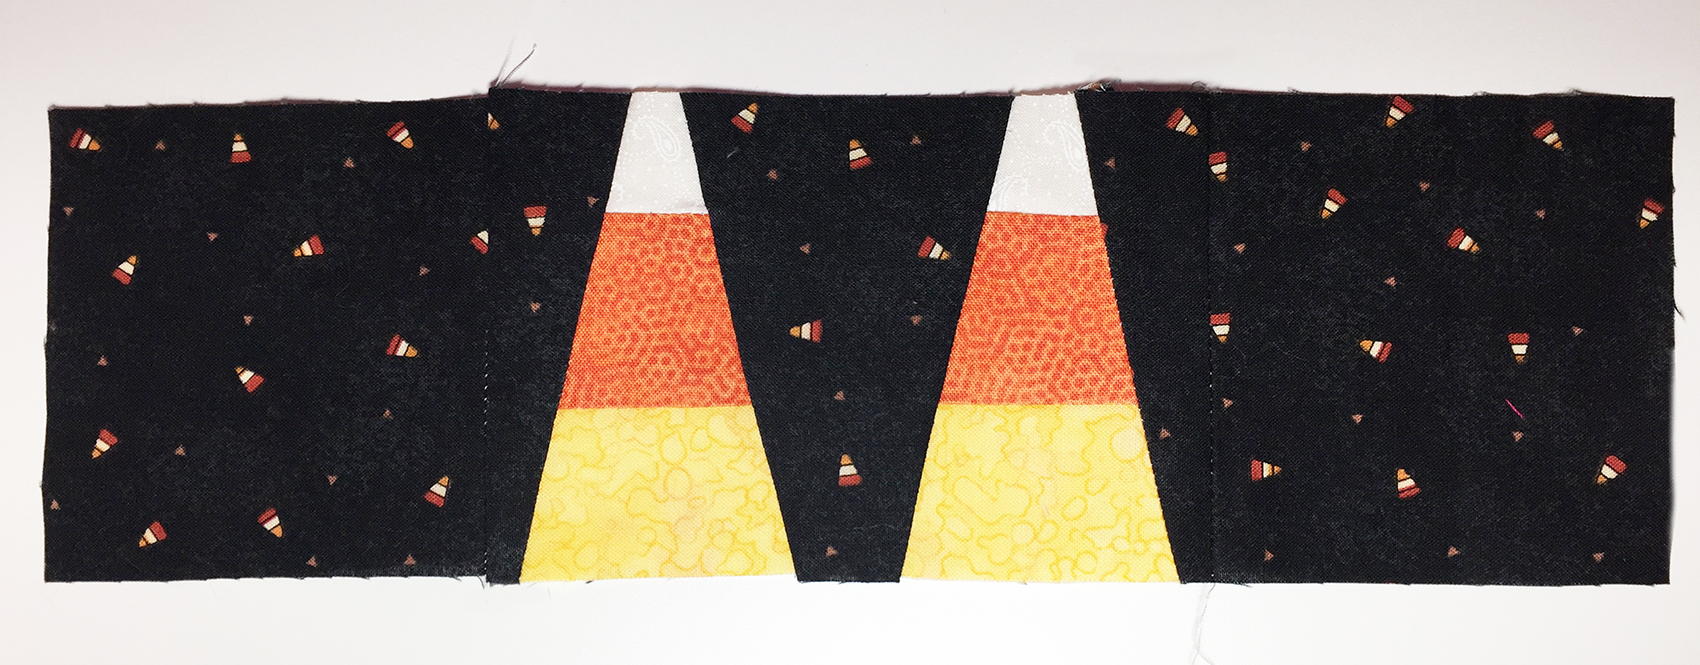
6. Make the side units: Lay out one D (reversed), one candy corn unit, one E, another candy corn unit, and one D, as shown below, and in the first diagram on the pattern page:
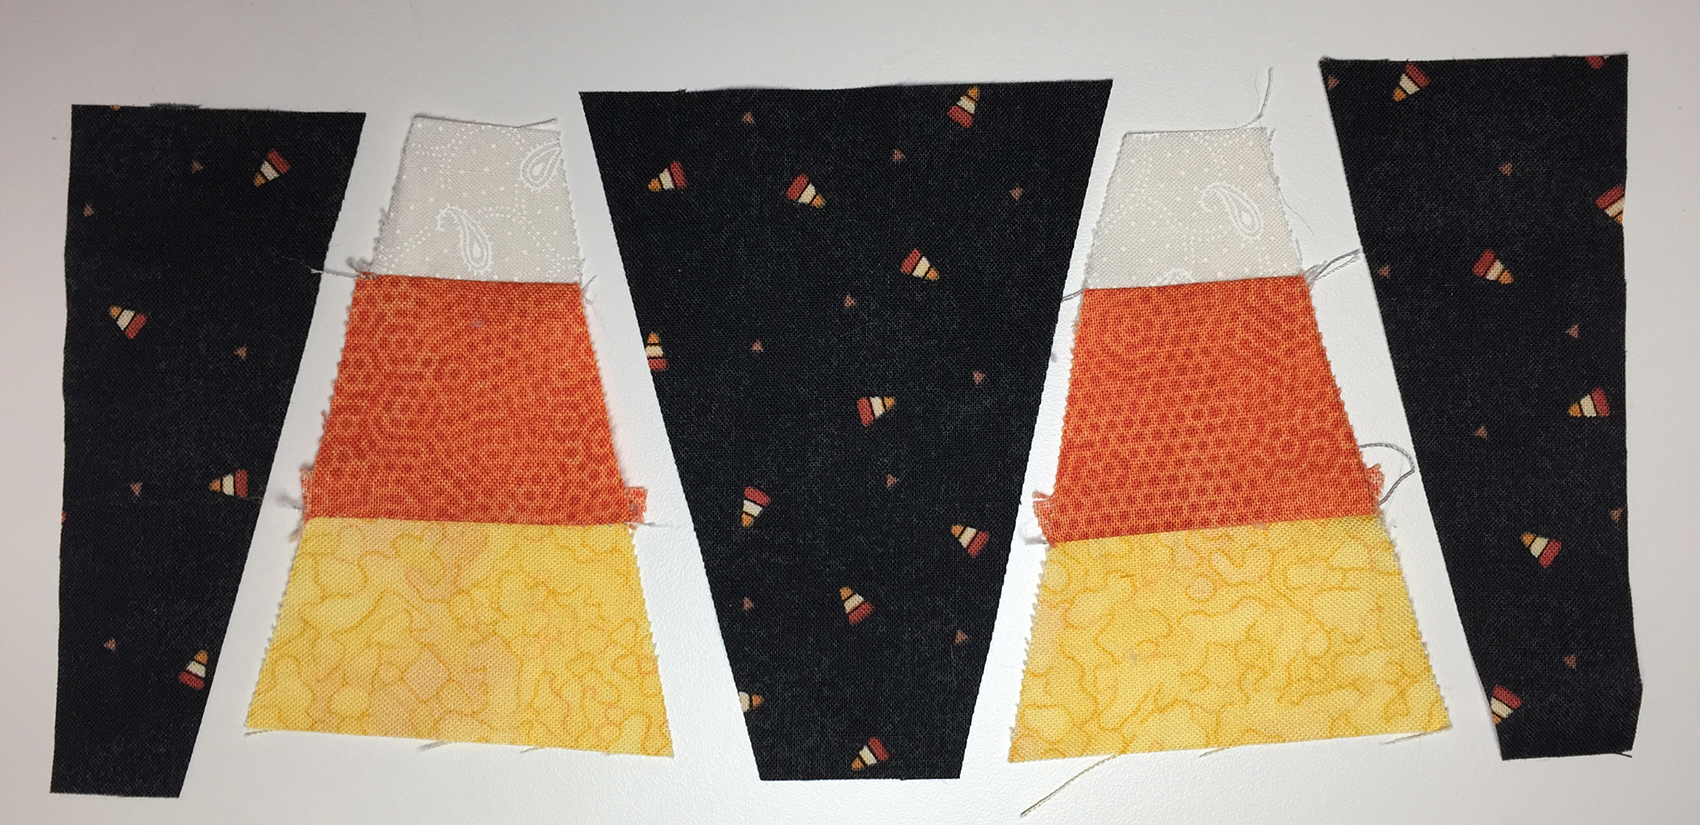
7. Sew the pieces together as you have arranged them. The black print D and E pieces are slightly longer than the candy corn units to make it easier to trim. Center the candy corn units on top, right sides together, (with an equal amount of the D and E units hanging off on each side) and sew them together with 1/4″ seams.

8. Make four side units. They should now look like this:
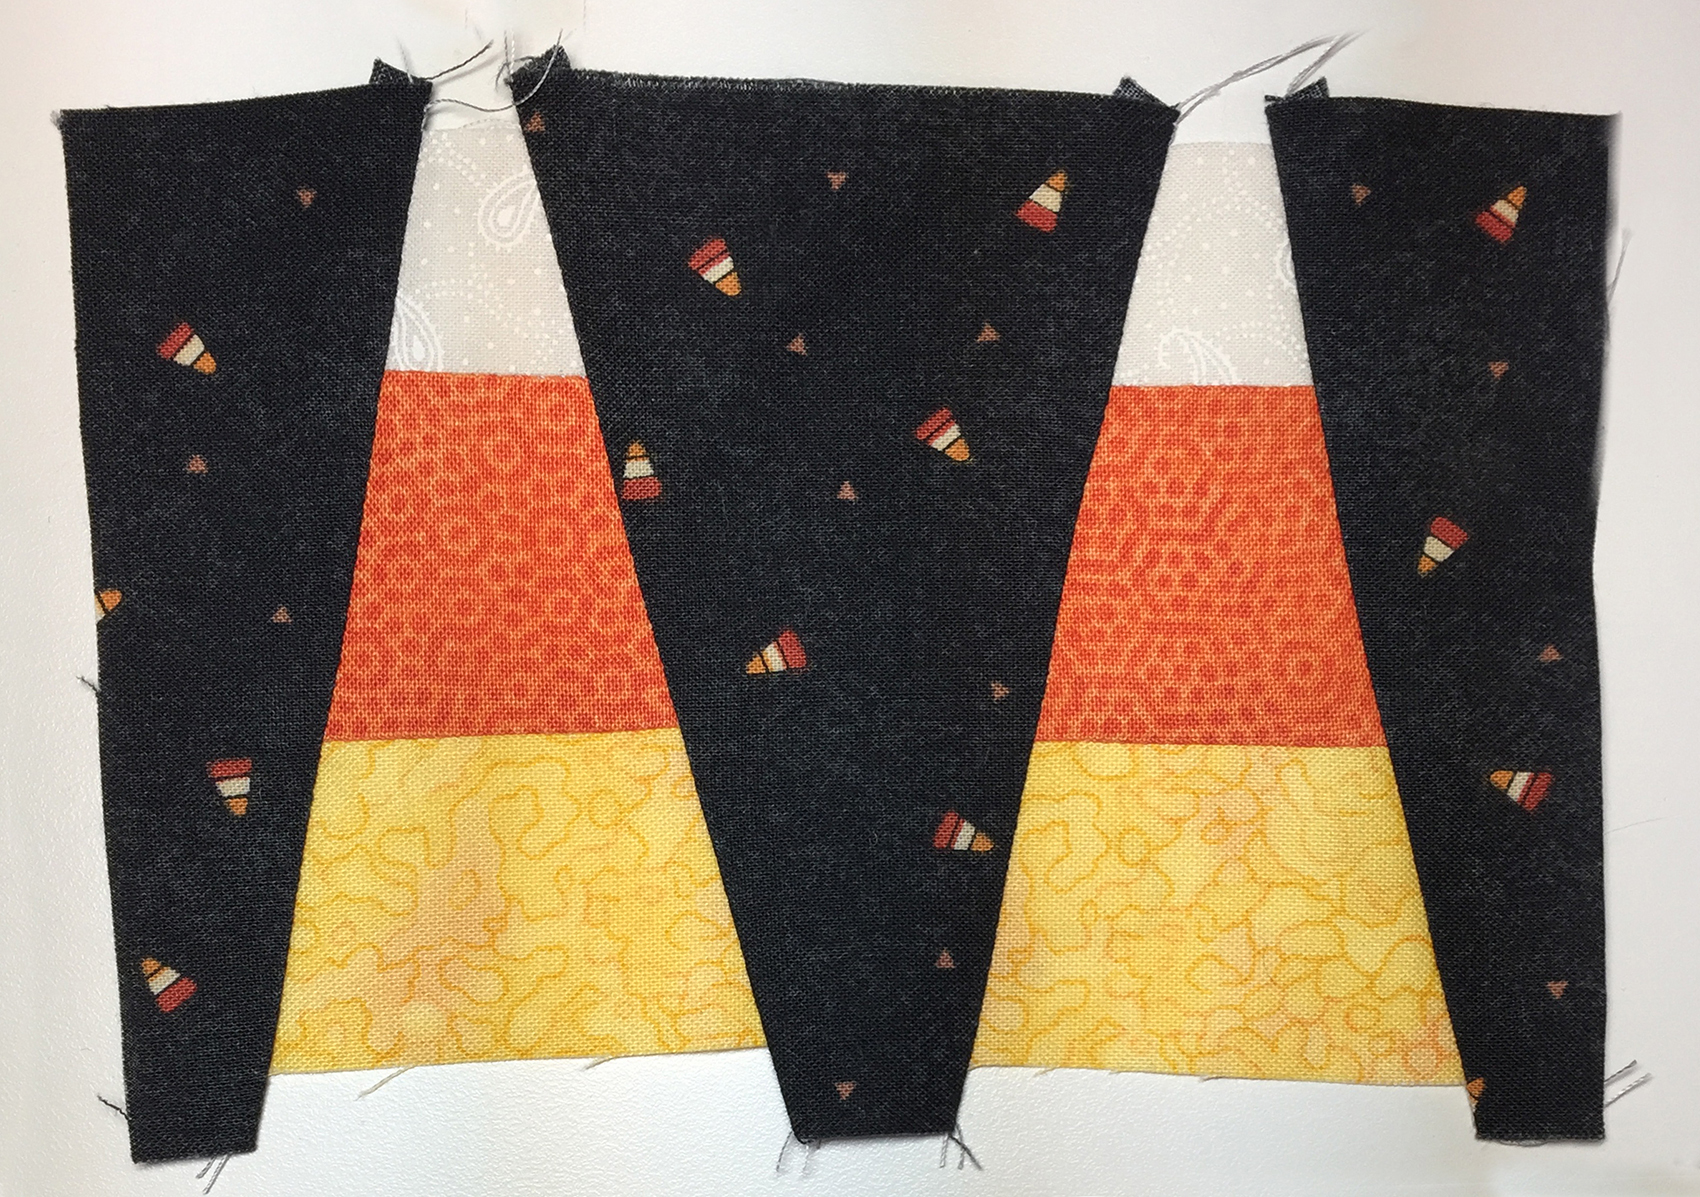
9. Trim and square up the side units so that they both measure 3-1/2″ x 5-3/4″.
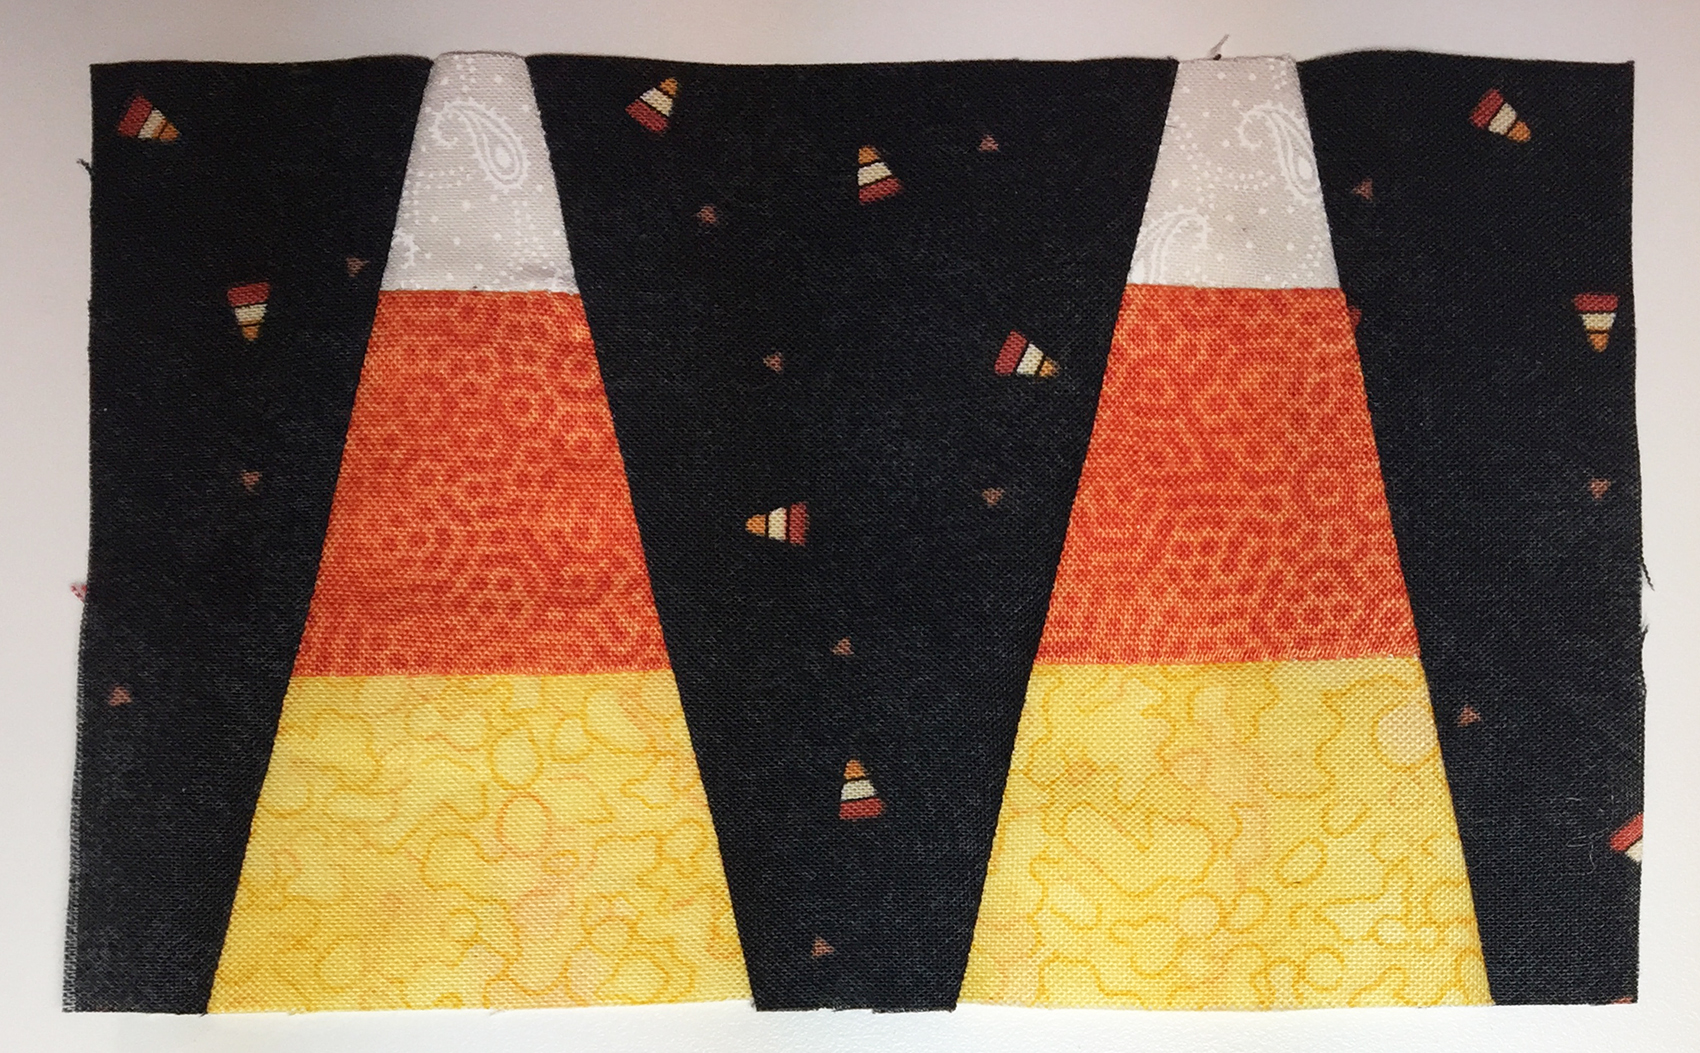
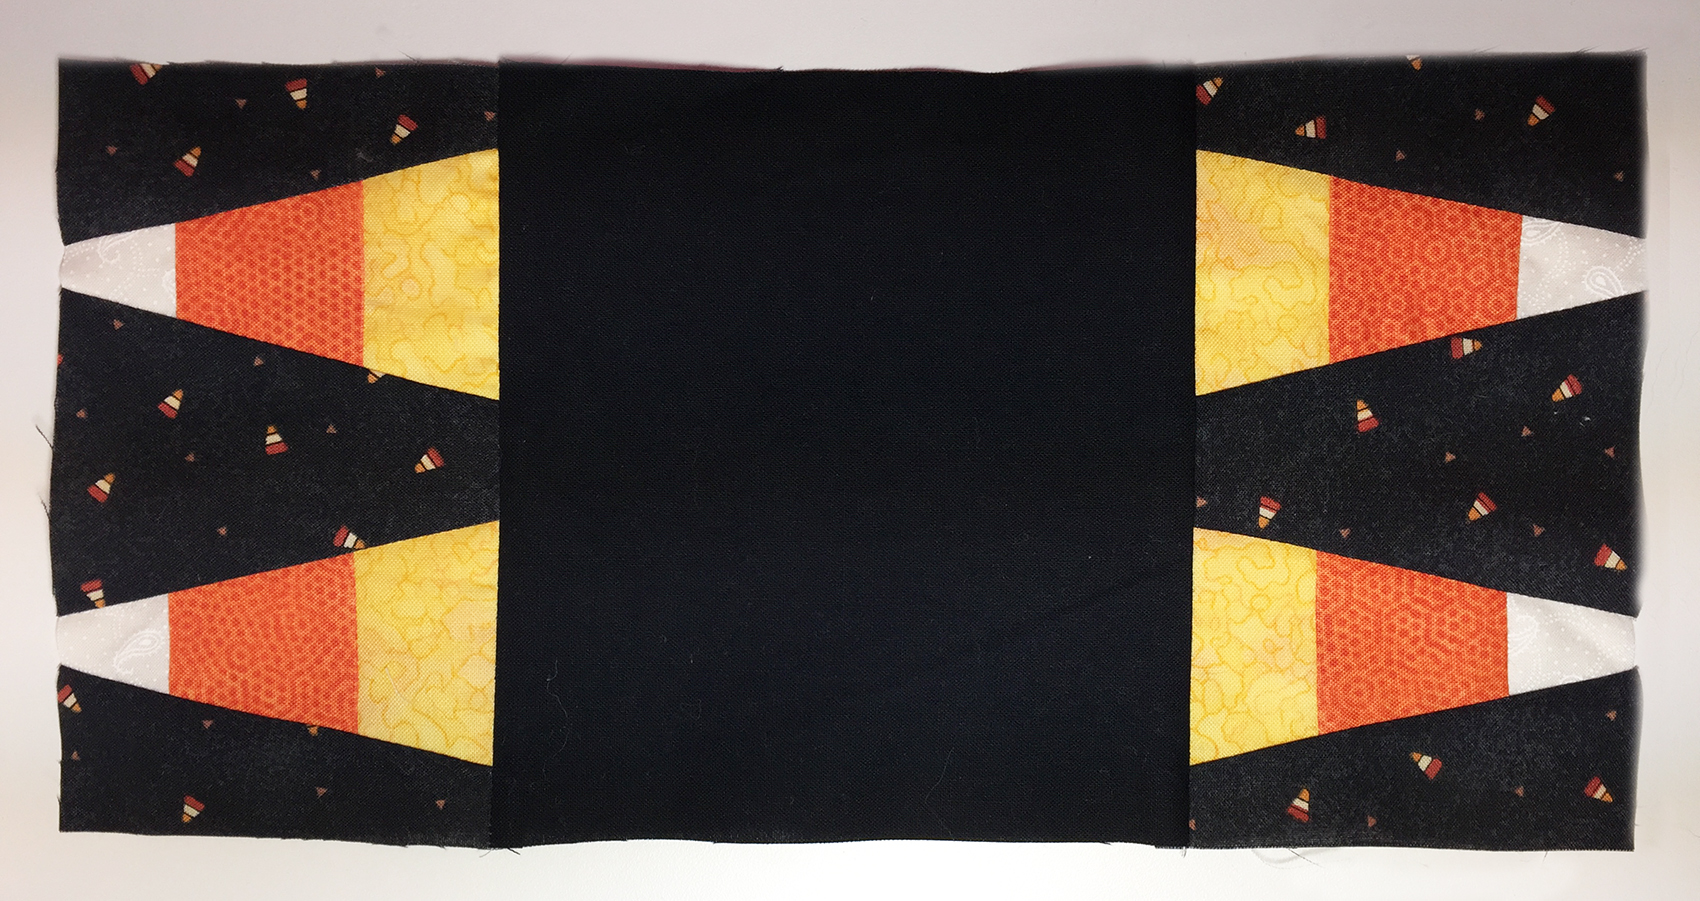
10. Sew a side unit on either side of the solid black 5-3/4″ center square, with the candy corn points facing out, like this:
11. On the other two side units, sew one black print 3-1/2″ square on either end, like this:
12. Sew these two units to the top and bottom, taking care that the candy corn points are facing out.
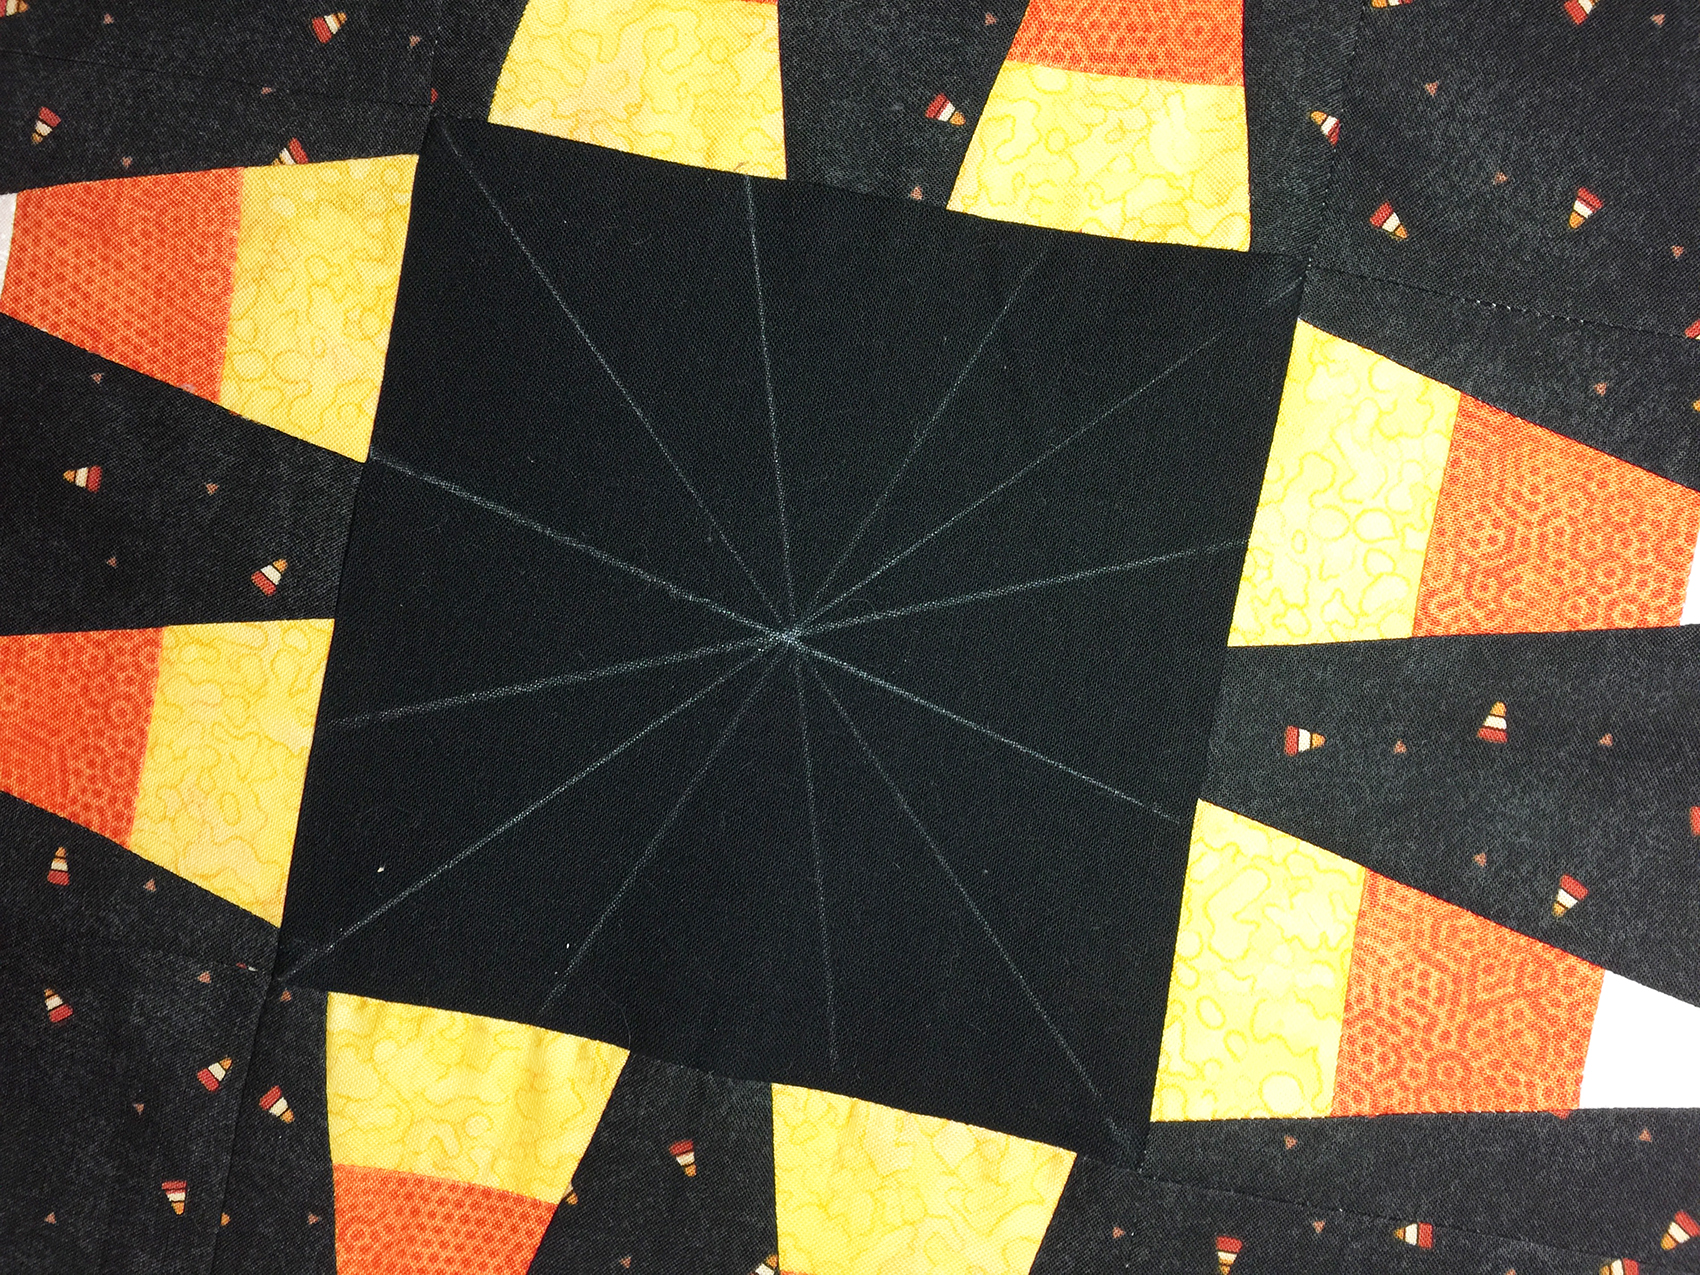
13. Mark the spiderweb: Using a chalk marker, draw lines across the center square from corner to corner, and then subdivide it into 12 uneven sections. (Slightly wonky is great; spiders don’t measure exactly!)
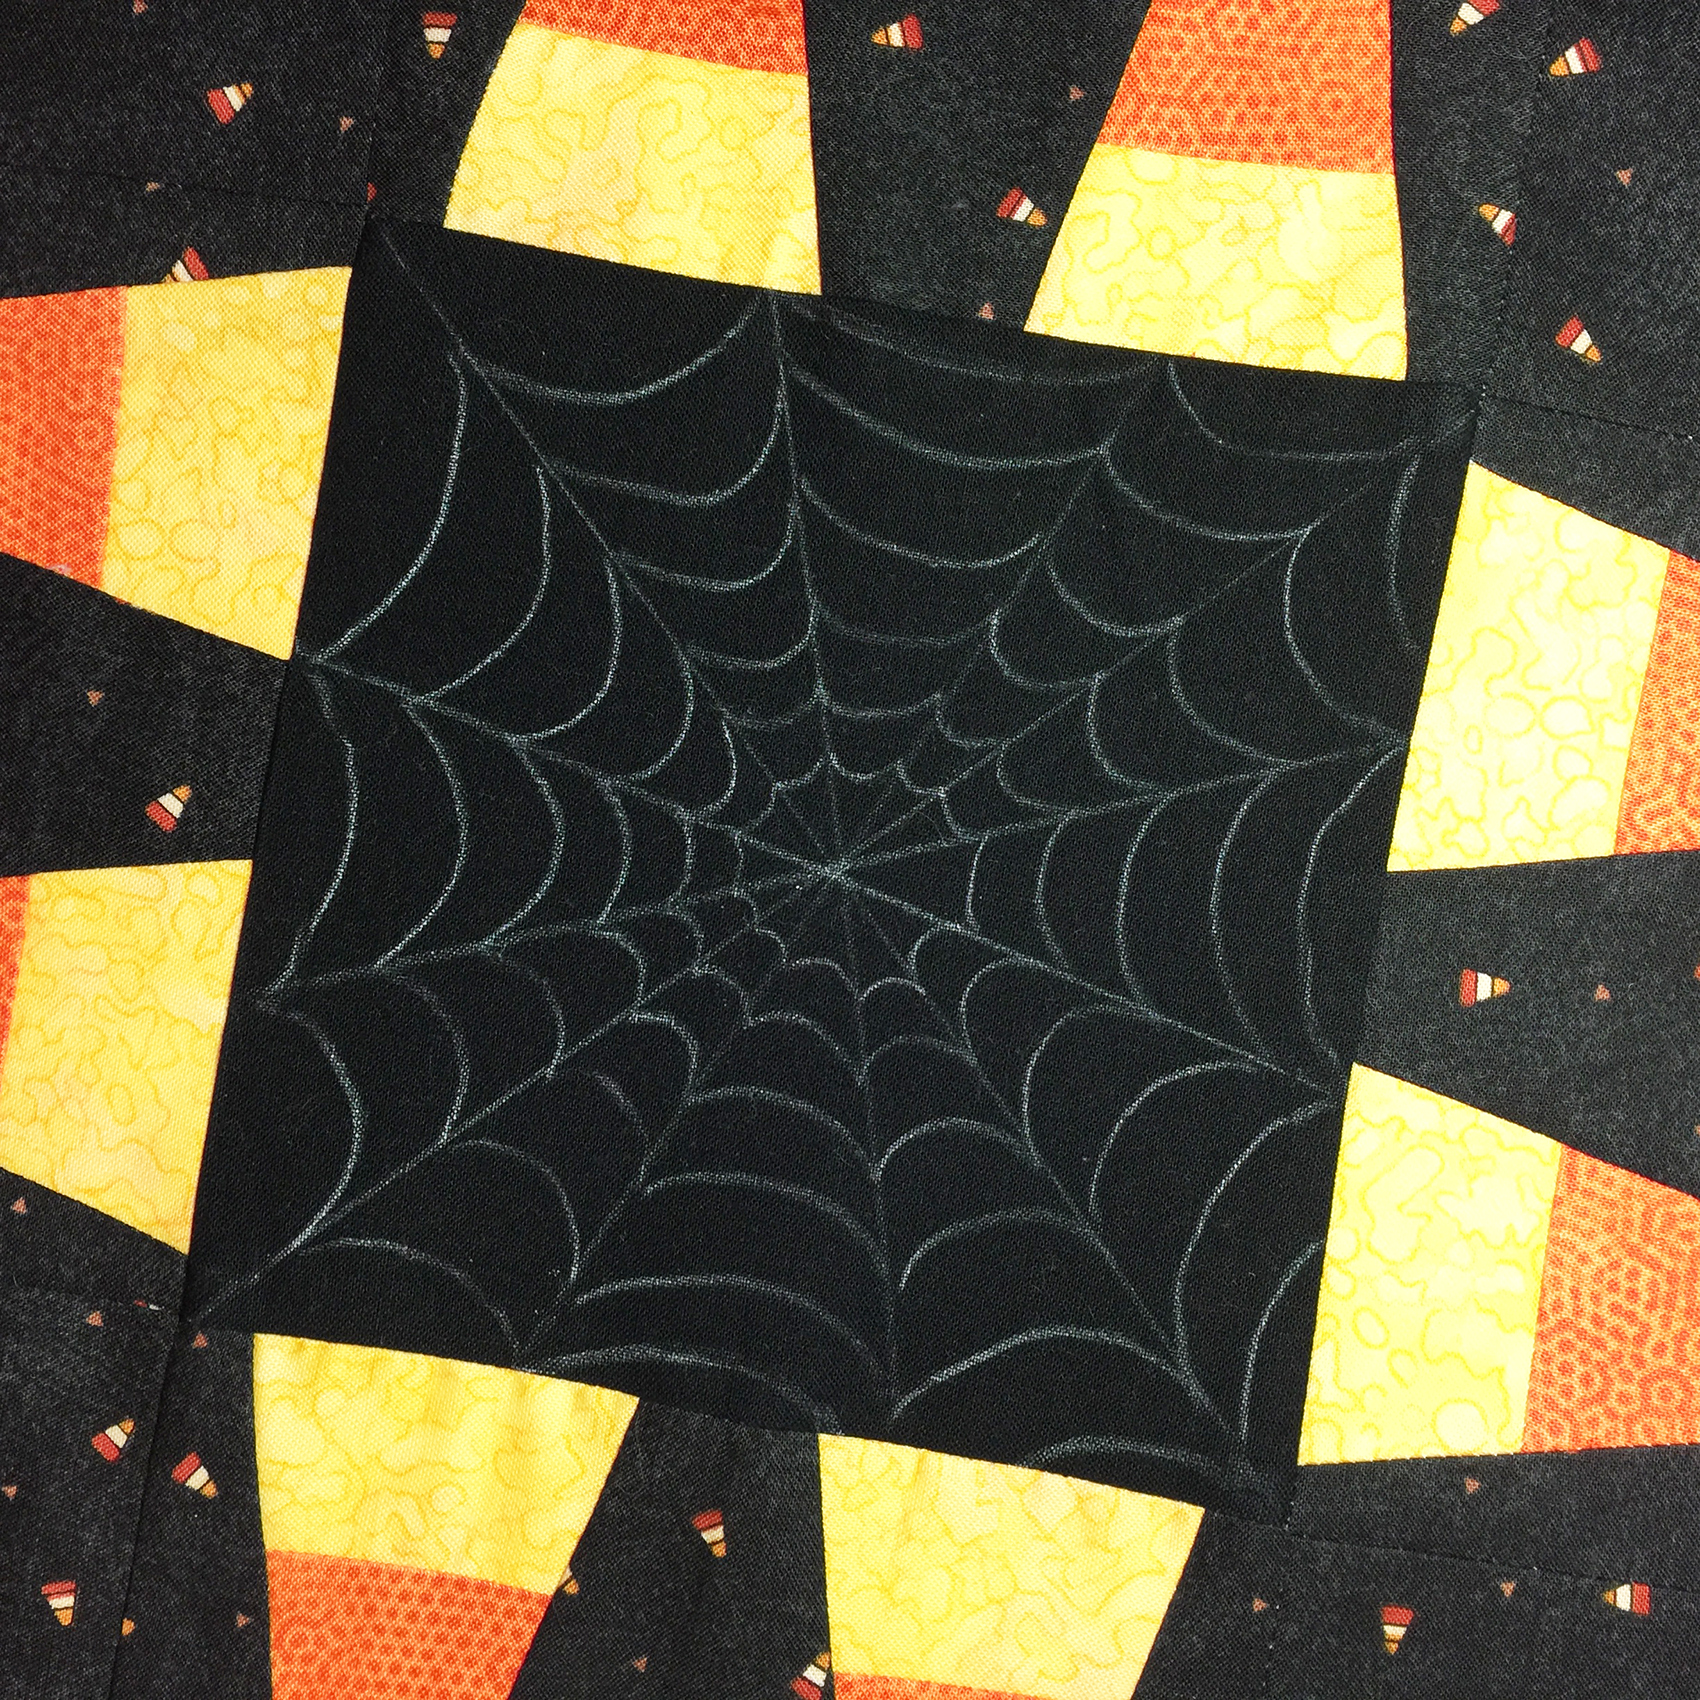
14. Draw in the slightly curved lines of the web that go between the straight lines you just drew. It should look like this:
15. Layer the backing fabric (face down), then the batting, then the quilt top (face up) so that it looks like this:
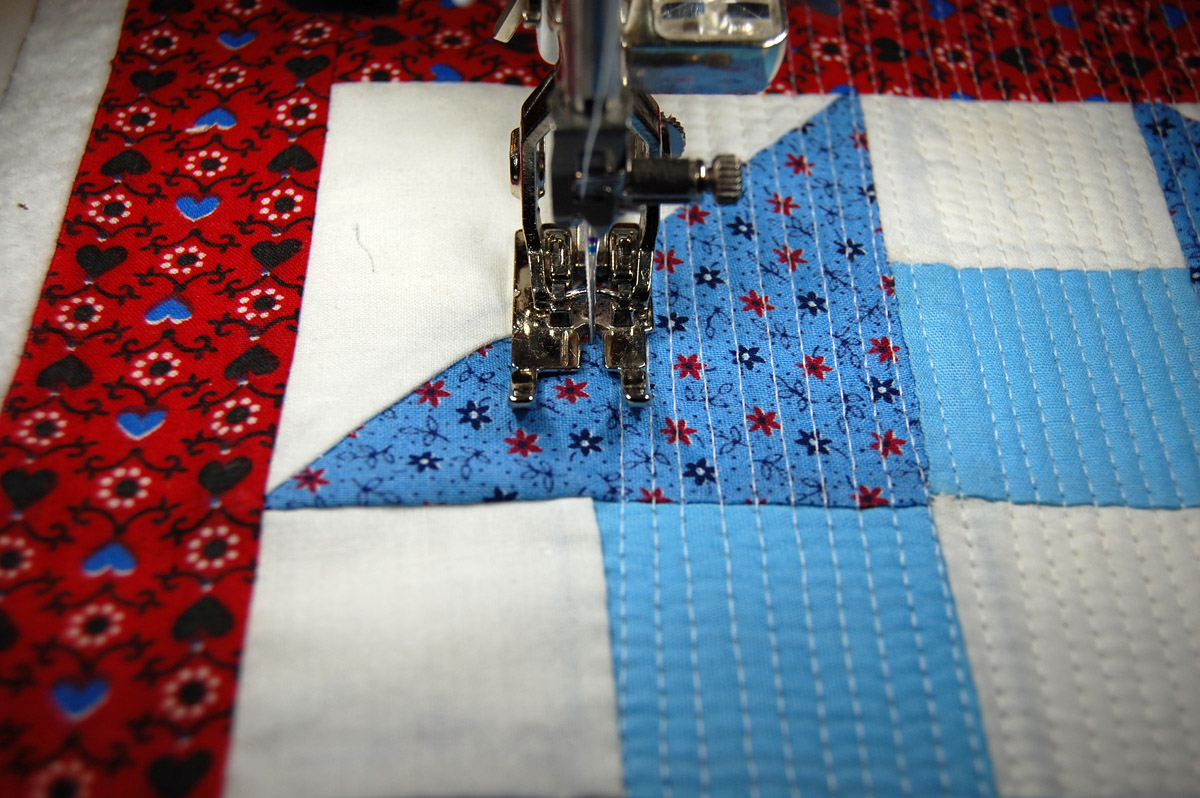
16. Pin baste, and free-motion machine quilt. My favorite foot for free-motion quilting is #15, a large metal oval. Make sure to drop your feed dogs!
I used medium gray thread on the spiderweb, around the candy corn and between the candy corn sections; and black thread for a small meander on the black print.
17. Bind the quilt: The 2″ x 50″ black strip makes a narrow double-fold straight-cut binding. For a great binding tutorial, look here.

Happy Halloween!
Susan

Used Products

What you might also like


7 comments on “Candy Corn Mini Quilt”
-
-
Our WeAllSew blog content is posted in an open format. If you wish to print the post, you can easily print your tutorials from the WeAllSew blog. If you attempt to print directly from the screen a pdf will be generated for your convenience. Please give it a try.
-
The pdf downloads fine, but only one of the photos comes with it:( I printed directly from the blog at https://weallsew.com/candycorn-miniquilt/
-
UPDATE: I have a Mac. In Safari, it will create a pdf with only one photo. In Google Chrome it will allow a print of everything and in preview you can save it as a pdf, fyi.
-
-
-
-
Please give clear directions on how to print the pattern from this screen. Thanks.
-
Wouldn’t it be easier for everyone if the posts were in a PDF format so all you had to do was click on pdf or print and its done? I had the same problem as others trying to print the directions, only 2 pages were going to print.
-
Just click at the top of the blog (not on the pictures) and print (12 pages).
Hope this helps.
Leave a Reply
You must be logged in to post a comment.

Is there a way for you to make your patterns/tutorials automatically printable as a pdf or word doc? Perhaps there already is a way and I missed it? Pamieg