Christmas in July: Regency Gown Sewing Tutorial, Part Three

Welcome to part three — the final installment of our Christmas Regency Gown series! Today, we’re bringing it all together as we finish putting the dress together.

Constructing the Gown
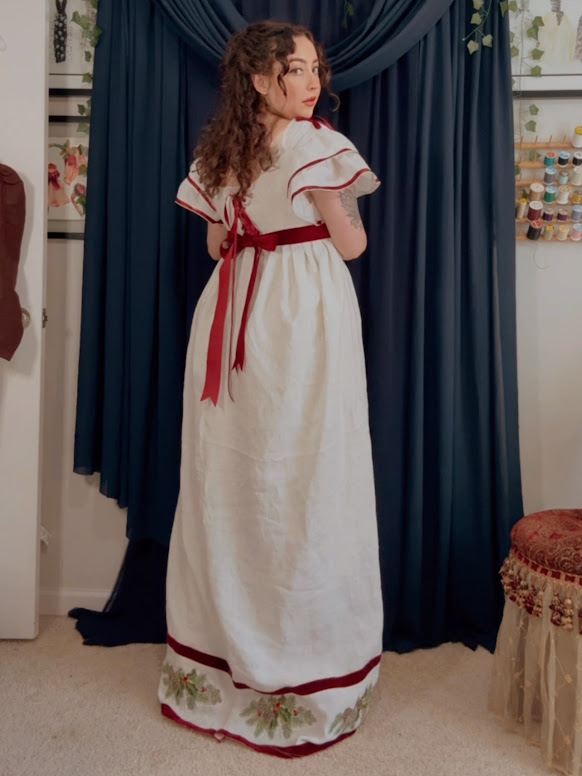
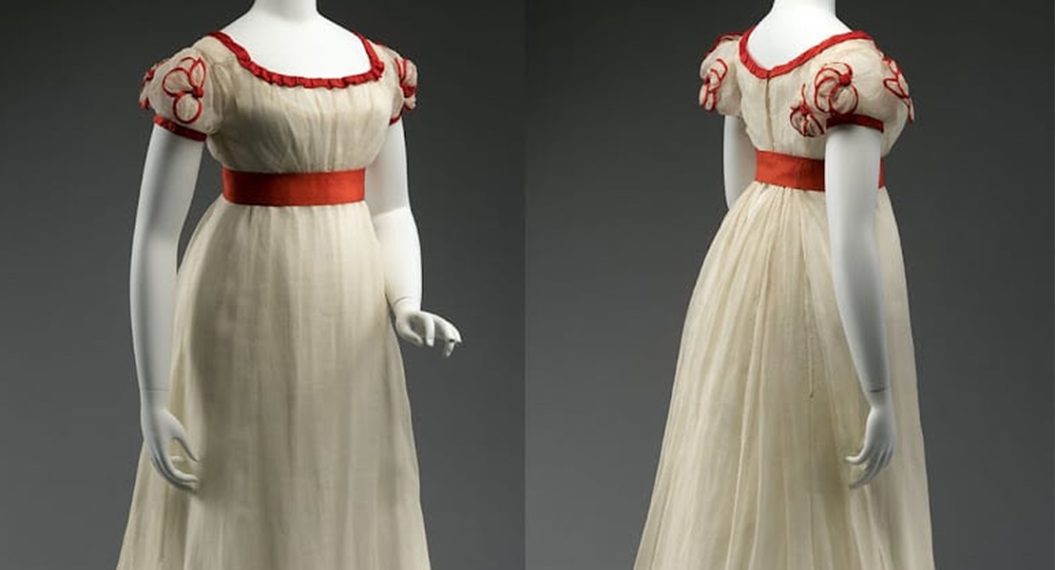
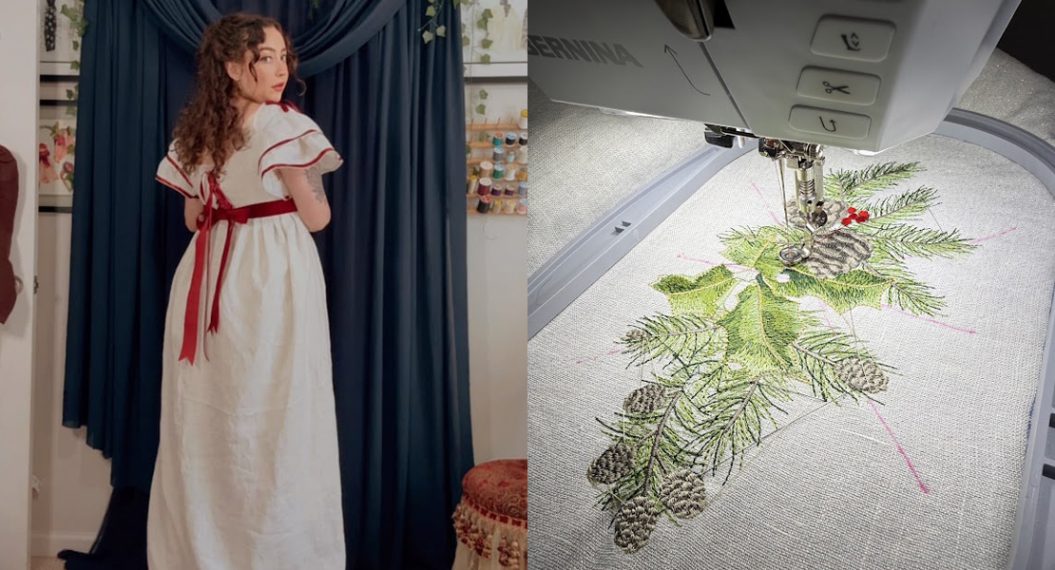
My goal in recreating the dress below from the Met Museum was to challenge myself to learn how to do repeat embroidery motifs, and I think I was quite successful on that front. Would I have used a water dissolvable stabilizer instead of the Medium Weight Cuttable? Yes, but there is always next time!
So to put this dress together, I followed the Regency Sewing Pattern from the company Pegee of Williamsburg, which has some lovely historical (and the best Gone With The Wind) sewing patterns. I did, however, modify the sleeves on the pattern and opted for just the ruffles and not the full sleeve length.
Sewing the Skirt Hem
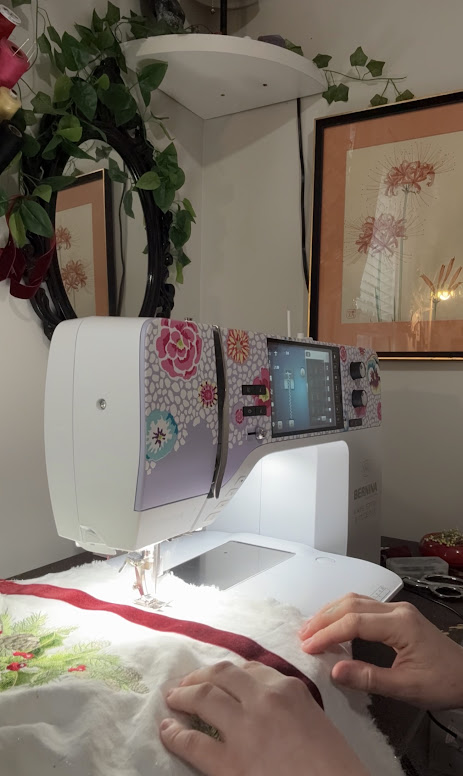
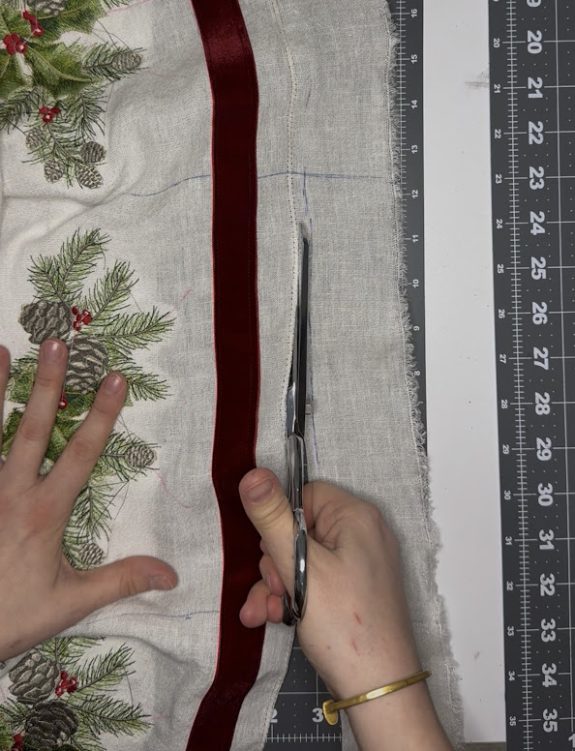
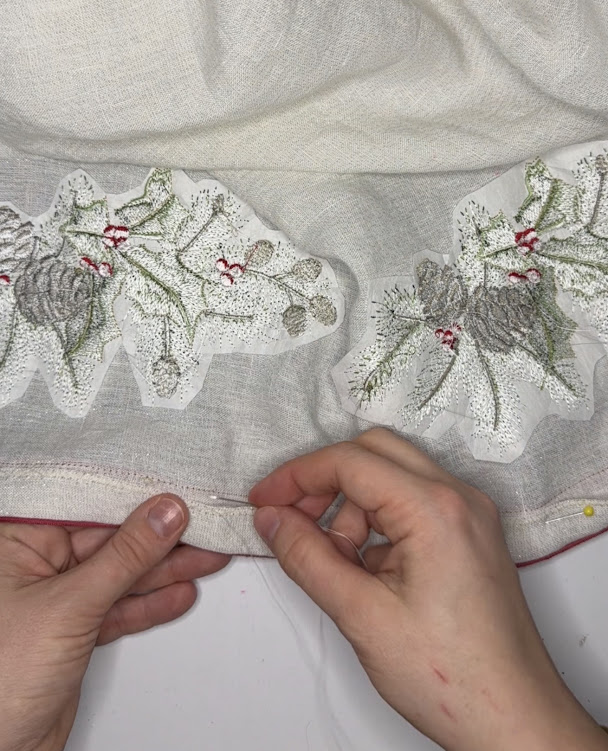
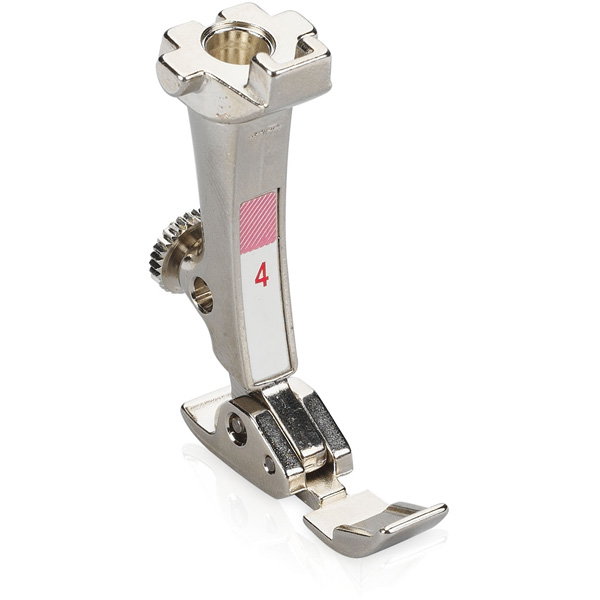
I started by doing a tight zig-zag stitch down the seam allowance of the hem line. Then I used the straight stitch to sew down the red velvet ribbon. I used the BERNINA Zipper Foot #4 to do this on either side of the ribbon edge so the pressure of the foot wouldn’t warp the nap of the ribbon. Once the ribbon was on, I cut off the excess fabric at the zig-zag edge, folded it up, and then hand-stitched the hem up with a slip stitch.
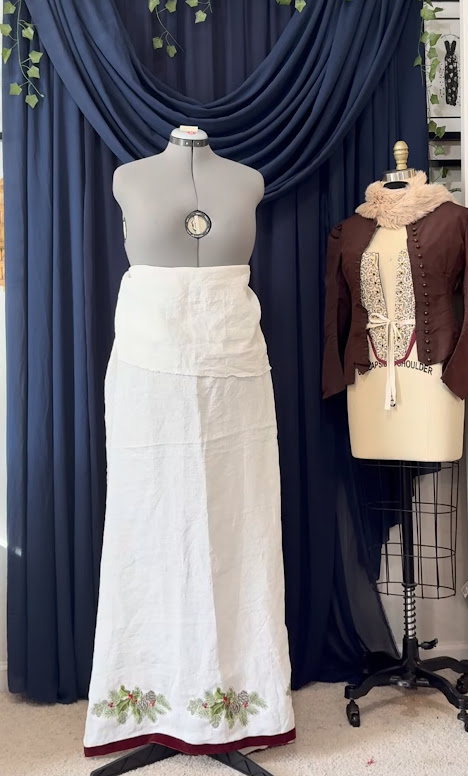
The hem was done and checked out on the dress form. I marked with thread where the waistline would sit. Cut the excess fabric off, and I pleated the back.

Fitting & Sewing the Bodice
Once the skirt was set aside, it was time to work on the bodice. I have a pair of regency stays that I used underneath the bodice to check the pattern that I cut out. If you are interested in historical costuming, it is SO important to have the right structural garments, even under what seems like an unassuming dress. It helps with the silhouette and where the dress sits on the body so much.
I then sewed the bodice together on my B 770 QE PLUS. The precision stitching makes sewing on this machine a dream, and I know it would handle this delicate linen fabric beautifully.
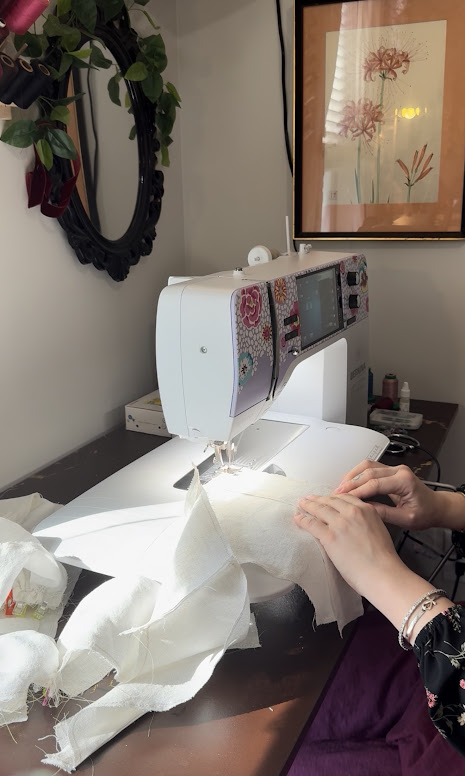
Once the bodice was put together, it was time to sew on the sleeves. Again, the precision sewing allowed me to sew 1/4 ribbon onto the edges of the sleeves, and the result looked delicate and intentional. I mean, look at the precision on that 1/8″ ivory on the edge of the ruffles–stunning if I don’t say so myself!
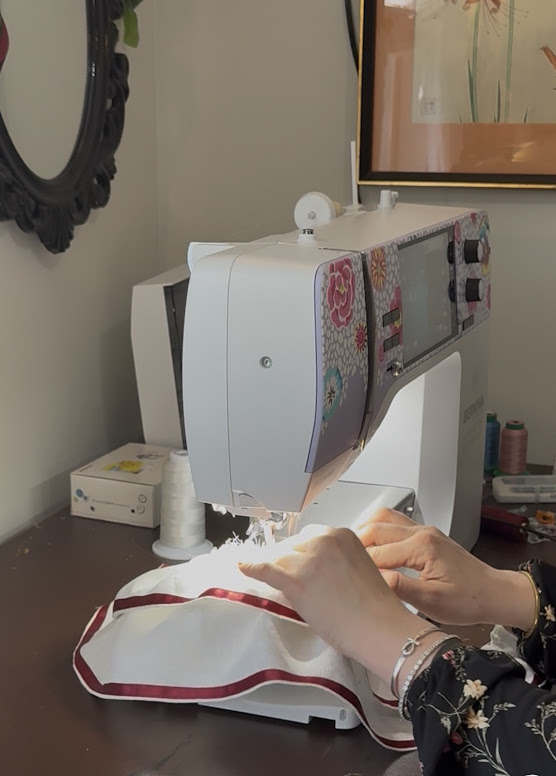
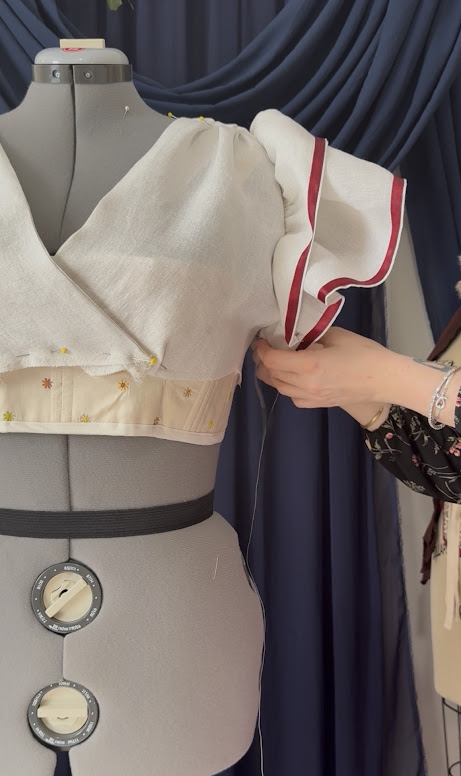
Once the bodice was assembled, it was time to attach it to the skirt. When people ask me what it is like sewing historical clothing I akin it to quilting in that sometimes you are sewing tiny detail work like smaller squares and triangles together at precise angles or a sleeve into an armhole where the curve needs to be accomidated and yet at other times you are fully in your body standing over the machine with fabric slung over your table and shoulders sewing yards and yards of fabric all at once! I think this dress was something like 6 yards of fabric in the end! But boy, do I LOVE sewing on the B 770 QE PLUS. It really can do it all without me worrying if the machine can handle it! If anything, the large bed and neck space are really what I love most about this machine. It really gives you a lot of space that doesn’t hinder your creativity!
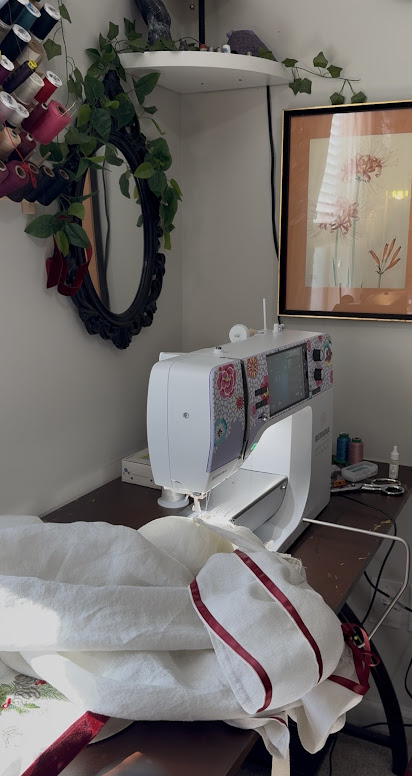
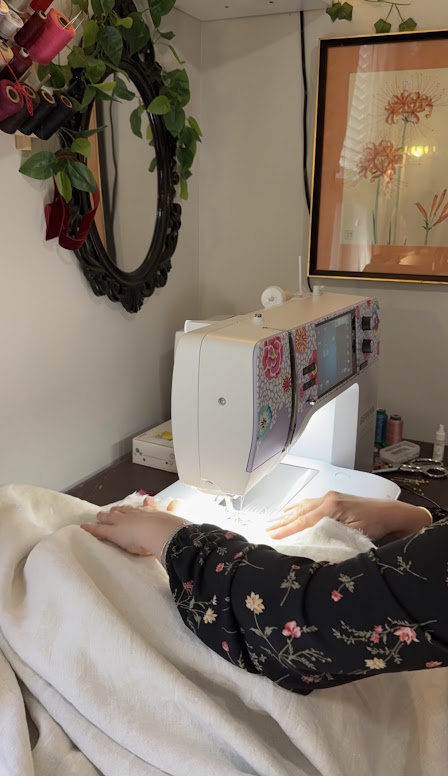
Once I was done wrestling this gorgeous gown under the machine (haha), we had a dress! I went ahead and sewed on all the hook and eye closures, bow details, and ties, and on it went! I actually really need to get some professional pictures done of the dress because I think she deserves a moment in the spotlight!
All in all, I am delighted with how this project turned out, and I can not wait to make another one similar to it, perhaps with the tonal embroidery!
I really hope you enjoyed this sew-along as much as I did and that you try your hand at repetitive embroidery (or maybe a Regency Outfit too!)
Jessica Cronin is a costume designer, historical fashion enthusiast and cosplayer. If you enjoy more projects like this, you can find her on YouTube, Instagram, Facebook, Patreon and TikTok (@jesscronindesigns)
Used Products
What you might also like


2 comments on “Christmas in July: Regency Gown Sewing Tutorial, Part Three”
-
-
Love, love, love how this dress turned out! I especially like those sleeves but I won’t wear such until I tone up a bit–although perhaps if the ruffles were a bit longer, it might work for me. The ribbon trim really sets the sleeves off beautifully. So many ideas come to mind from reading this series. My old Bernina 640 Artista doesn’t have such a large hoop but it’s big enough to get me in trouble with ideas.
What super series this has been! Love to see more.
Leave a Reply
You must be logged in to post a comment.

I loved this project. I hope we will see more like this in the future. Congratulations on the results!