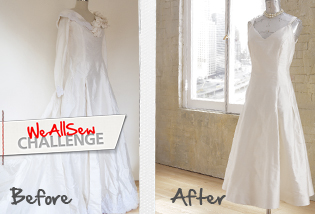
Upcycle a Wedding Dress into a Christening Gown, Part 3: Construction
Now that you’ve tackled the toughest parts of your wedding dress to Christening gown project (overcoming your fear and deconstructing the wedding dress), you can relax and enjoy sewing the Christening gown from your chosen pattern. And, one of the best parts is you don’t have to worry (too much) if you make a mistake because you have plenty of fabric to work with! True confession: I needed to cut new sleeves on this project because I accidentally cut the sleeve bands too long and didn’t realize it until I had already gathered and sewn the bands. Since this is a pretty delicate fabric, I decided just to start that part over rather than try to save those pieces.

Materials to Sew the Christening Gown
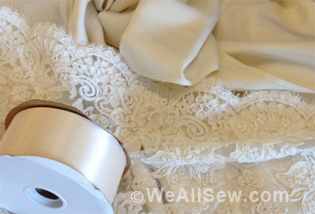
- Fabric and embellishments from wedding gown deconstruction
- Additional purchased materials (if applicable)
- Pattern(s) of choice
- Sewing pins
- Scissors
- Thread
- Iron (clean it if needed prior to starting)
- Pressing cloth
Steps to Sew the Christening Gown
Step 1: Prepare Wedding Dress Materials for Christening Gown
Fabric From Wedding Dress
This part is up to you, but if the wedding dress you have has not been professionally cleaned, it can be a pretty expensive venture. Because the dress I used for this project was given to me by a friend and didn’t appear to be overly soiled, I chose to deconstruct the wedding gown first and have the Christening gown professionally dry-cleaned at the end of the project. That way you’re only paying to clean the fabric you are using. One caveat: if you plan to store the remaining materials for another project at a later date, you may decide to clean all the fabric upfront.
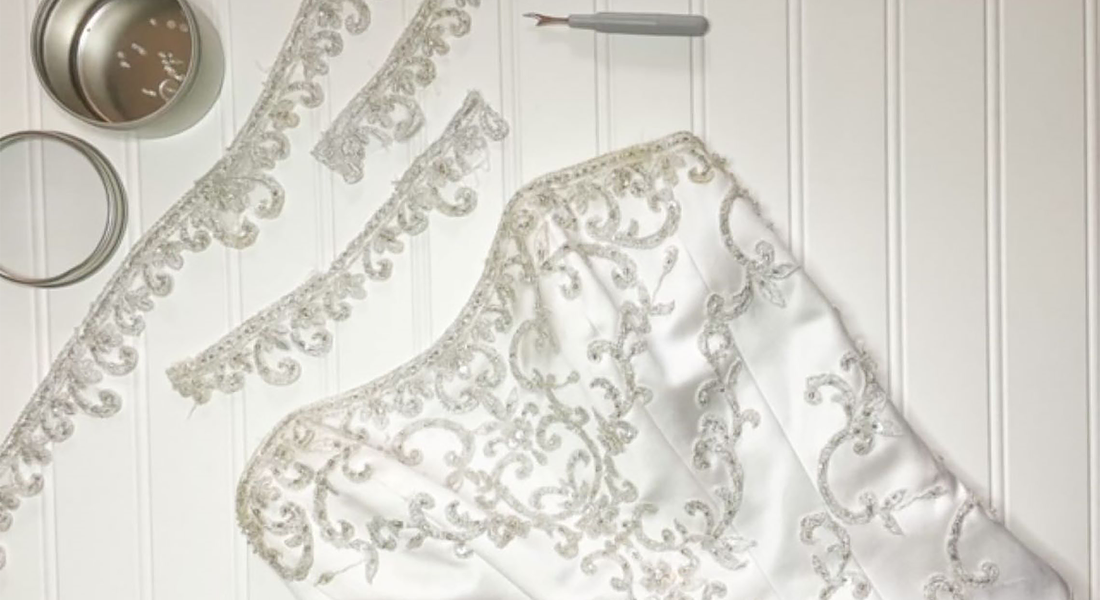
Decorative Embellishments from Wedding Dress
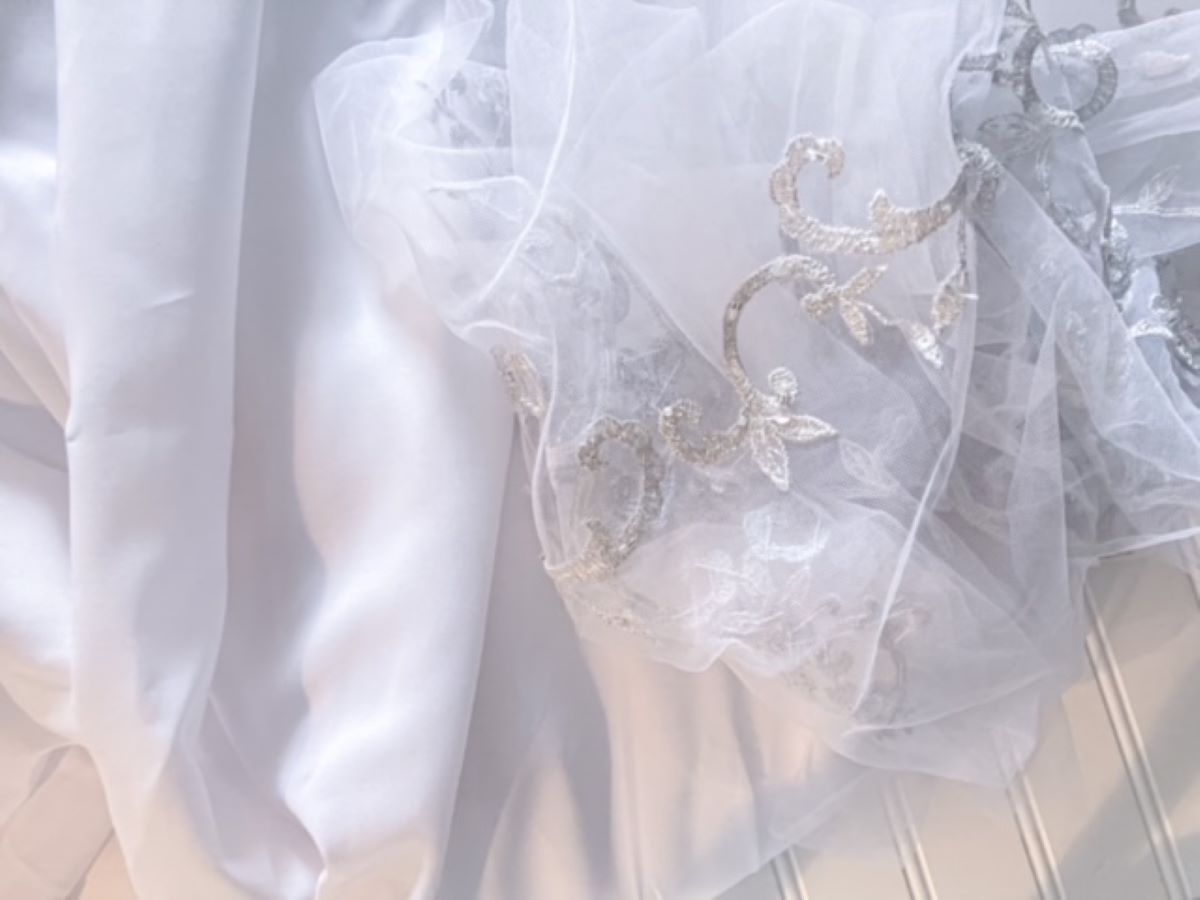
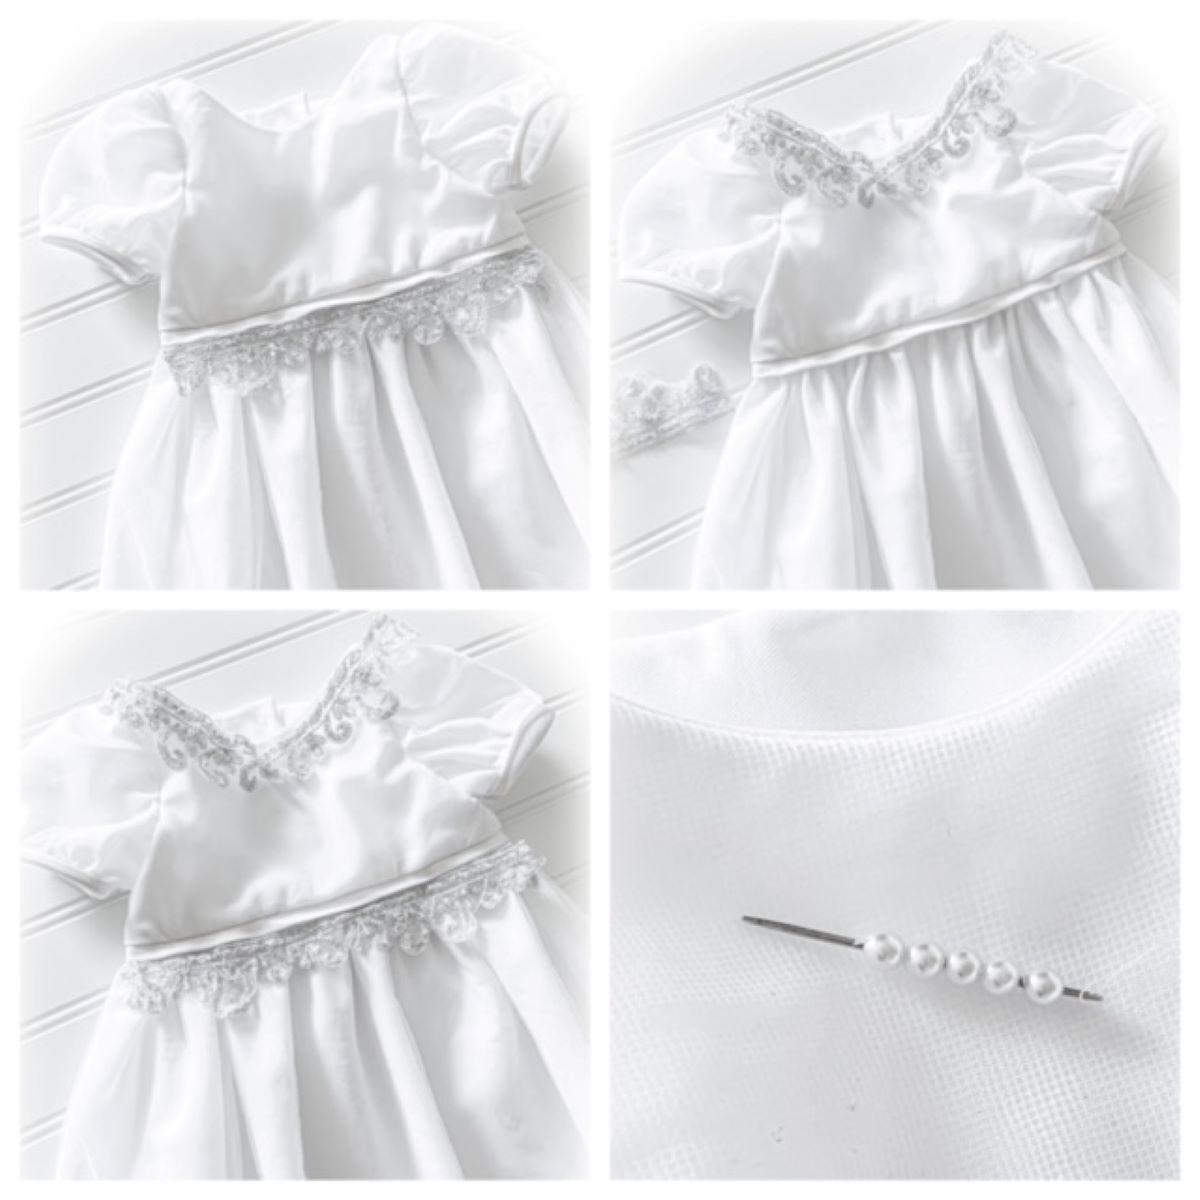
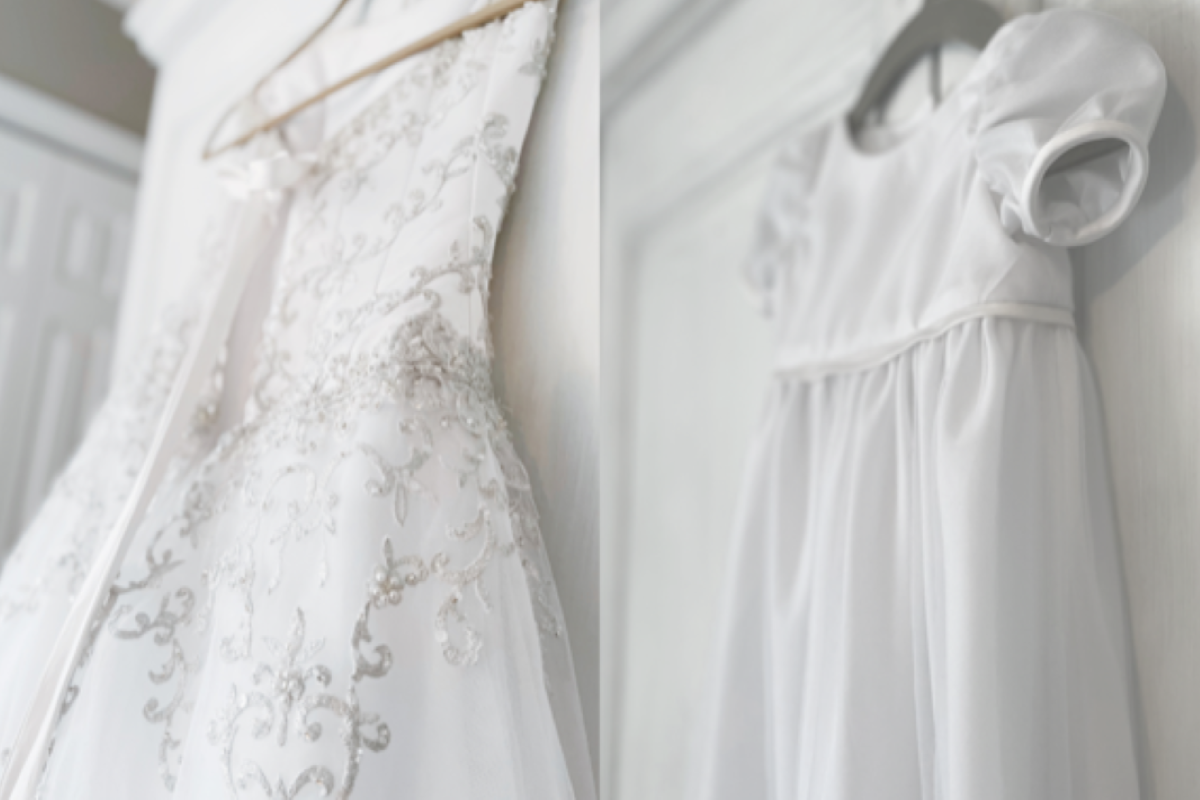
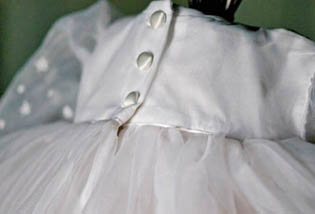
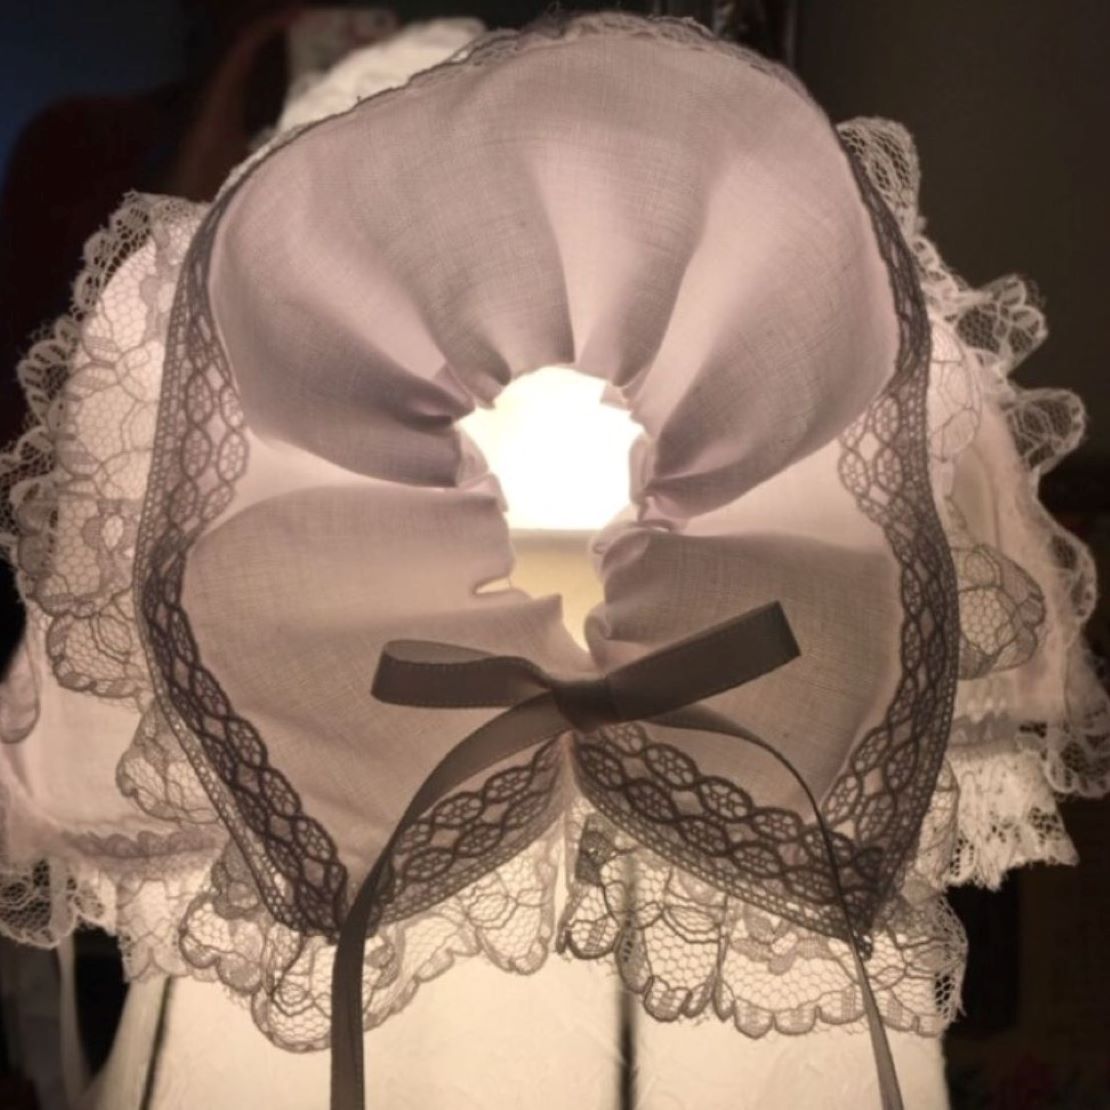
Although you did the bulk of your planning in Part 1, it is ok to keep your creative juices flowing and make changes as you go. For instance, I decided to use a bit of satin from this wedding dress to add a trim piece at the waist and for the sleeve binding. A simple touch, but I love how it turned out. Some embellishment can be added at the end, but some will need to be included while you are constructing the garment. If you decide to use some of the lace as an overlay or trim at the neckline, you’ll want to consider that now. No pressure here though. It is perfectly wonderful to sew a simple and classic gown. It is the baby who makes the gown beautiful, not the other way around.
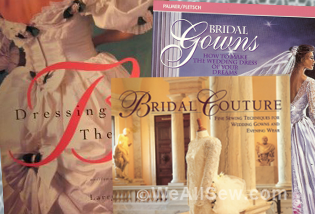
Pattern(s) for Christening Gown
I chose to use a digital pattern for this project, but since I really wanted puffy sleeves, I used a sleeve pattern from a previous project. I had to do a little tweeking (the source of my sleeve snafu) but I love how it turned out. I am pretty new to digital patterns, but it was so easy to change sizing and the instructions are pretty awesome. And no more searching through layers and layers of tissue to find the pieces you need. If you haven’t used a digital pattern before, the steps are easy!
Tips & Tricks
- Purchase the pattern and open the link in your email for downloading.
- Download and save your pattern to your preferred device. The companies I have purchased from allow me to open the pattern on multiple devices. I saved it to my laptop for printing, and use my iPad for following along with the sewing instructions.
- Follow the printing instructions in the pdf. If your pattern is “layered” it will allow you to print only the size you need. I love this feature! Here are two comapnies I have tried and enjoyed:
- Tape pieces together as needed.
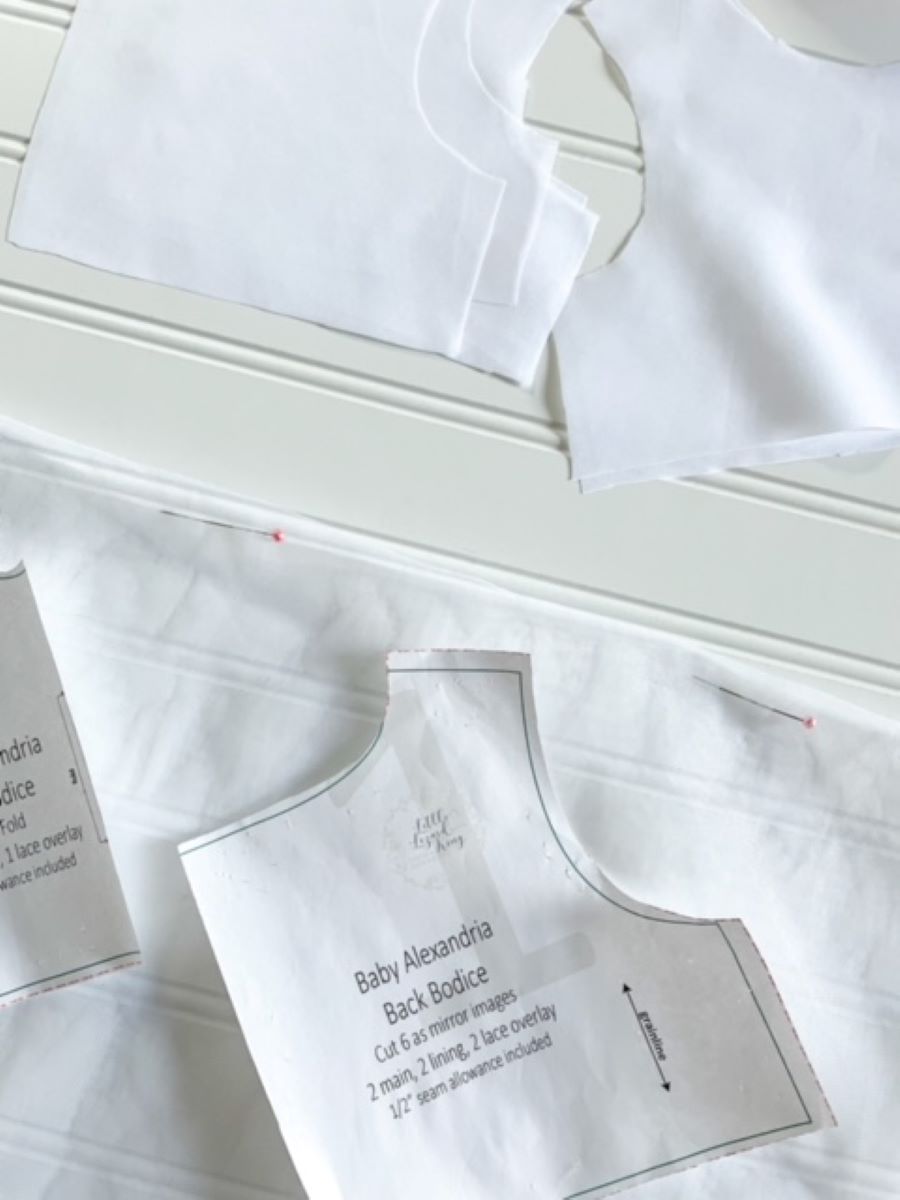
Step 2: Layout Christening Gown Pattern and Cut out Pieces
For the most part, you can follow along with your pattern instructions here, but I will offer some tips that may help along the way for your wedding dress to Christening gown project:
Tips & Tricks
- Use smaller pins if have them and try to pin only in the area of the seam allowance. This is helpful because you want to avoid any possibility of damaging your fabric.
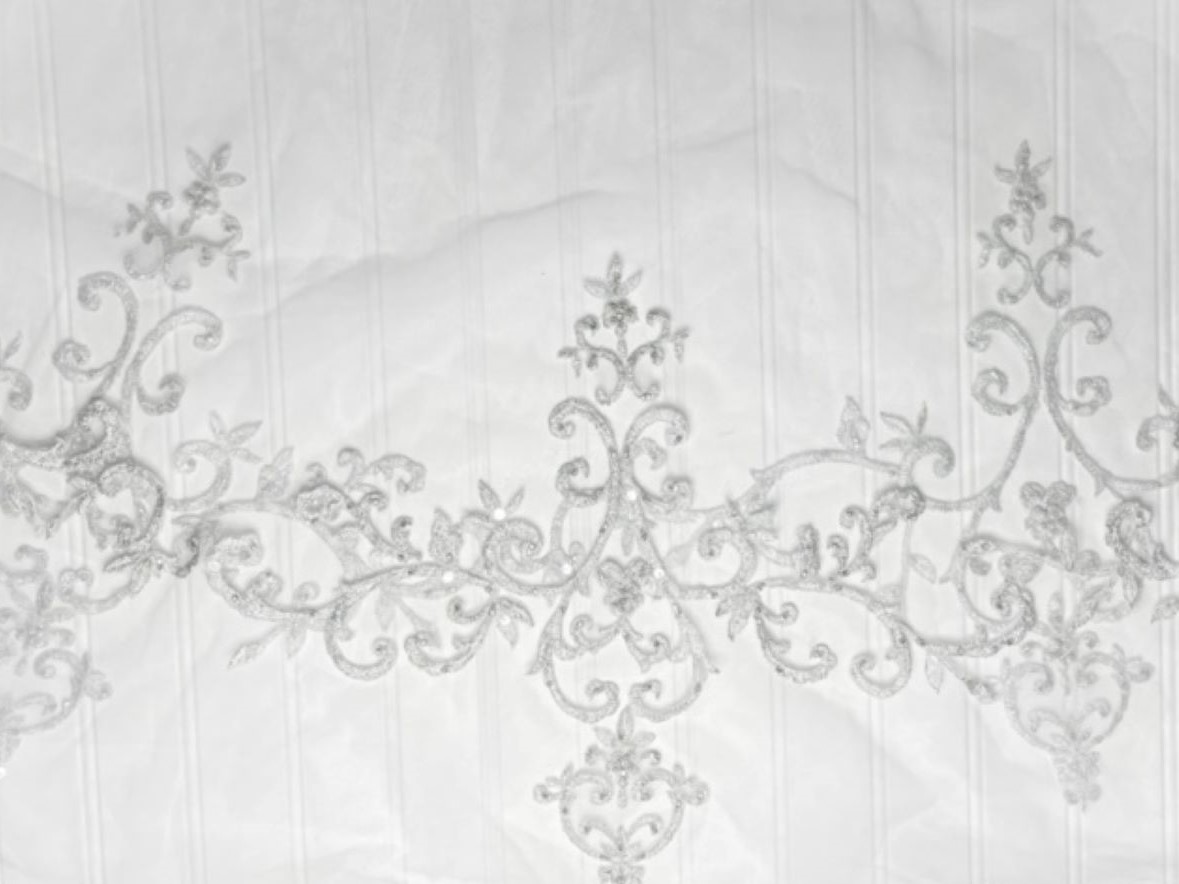
- If you are using a section of fabric with a specific design element, be sure to center your pattern pieces accordingly (see below). I chose to cut each piece in a single layer rather than doubling the fabric because I wanted to be sure everything was lined up just right.
- If you are including more than one layer on the skirt (mine has lining with a tulle overlay), cut the overlay fabric about 2 inches longer than the lining to allow for hemming and length taken up by gathering at the waist. You can trim any excess later, but it is more difficult to make up for a too-short overlay.
Step 3: Construct Christening Gown According to Pattern Instructions
Again, just follow your pattern instructions. Here are some more tips and tricks I’ve learned that may be helpful to you:
Tips & Tricks
- Please, please PLEASE use a pressing cloth on this project. I cannot underestimate how easy it is to damage the delicate fabric you are working with.
- If your pattern instructions do not offer options for seam finishing, you may want to consider that before beginning. I love to sew French seams on all my heirloom quality garments. It’s really not very difficult and I think you’ll love the finished result. Note: French seams on armholes can be a little tricky. If you’re up for a challenge and GO SLOWLY, I’ll bet you can do it. You can find a detailed tutorial on French seams here.
- I like to sew sample swatches to check my stitch details before sewing on the actual Christening gown in order to avoid simple mistakes. Each fabric is unique and may require some minor adjustments to stitch length and tension.
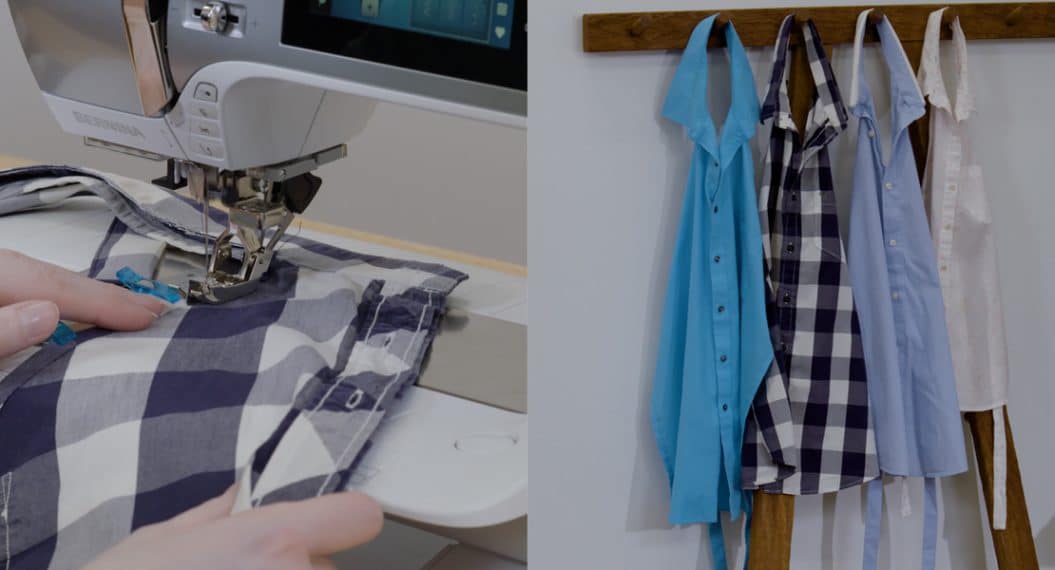
- When attaching gathered sections to flat pieces (i.e. setting the sleeves or attaching the skirt), sew with the gathered side on top. I know this may not seem logical, but it helps keep the fabric from jamming when you sew. Ask me how I know this.
- I’ve mentioned the debate about sewing over pins in a previous tutorial, but trust me on this one. You don’t want to sew over pins when stitching the gathered elements of this project. And have I mentioned that you should GO SLOWLY? As I used to tell my students, broken needles are the equivalent to speeding tickets. You don’t want them.
A Few Final Steps
- Complete any final steps. These can include any hand-stitching, hemming, sewing on buttons, or remaining embellishments from the wedding dress. I chose to keep my Christening gown simple and classic. You may choose to get fancy and add other details to complete your project. Just remember to keep any scratchy elements away from areas that might touch Baby’s delicate skin.
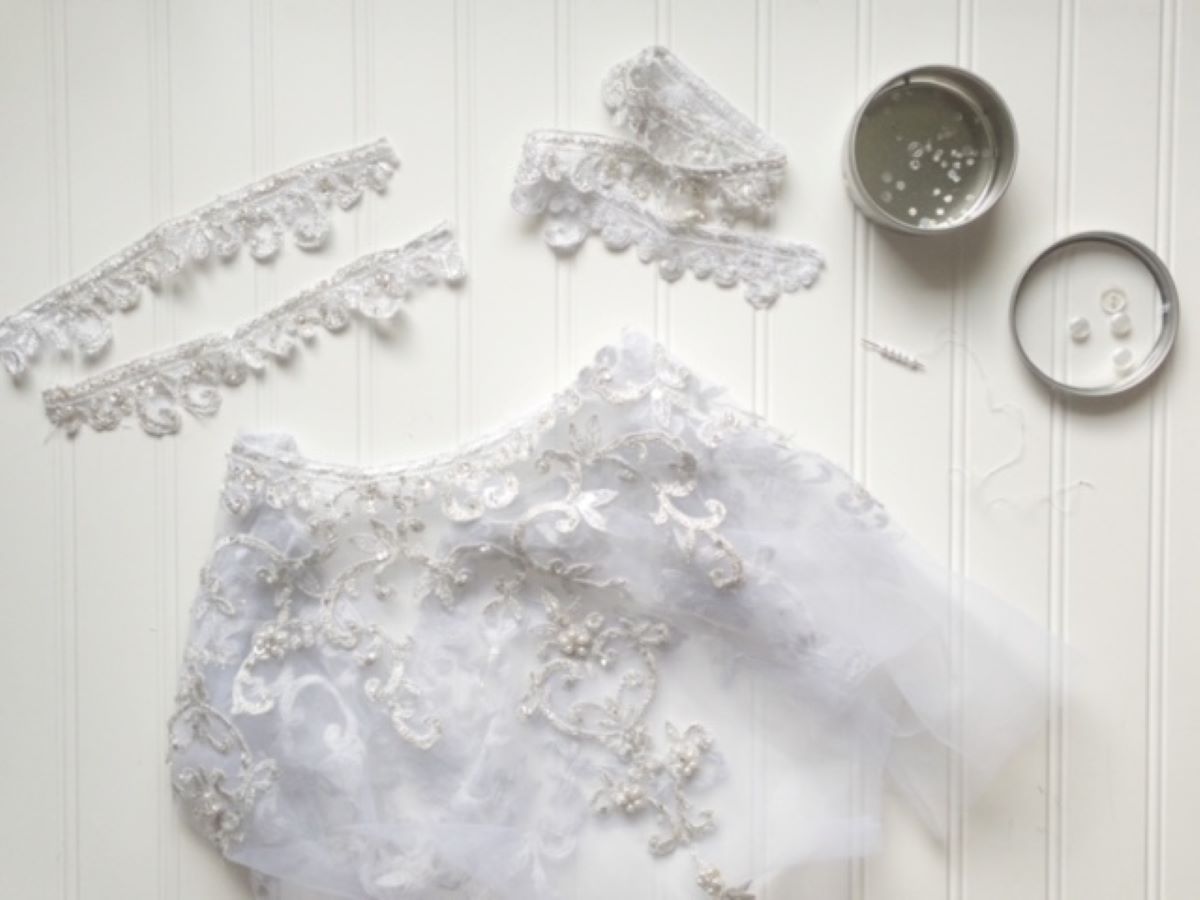
- Below are some options I considered when finishing the gown. While there were beautiful lace, beads, and pearls which could be used, I really loved the classic, understated gown with the simple satin detail. And I really like the pearls and crystal beads from this wedding dress, so I think it would be sweet to create a beauty pin for baby or a special bracelet for Mama.
You did it! Congratulations and many blessings on the sweet babies in your family who will wear your gown!

I hope these instructions for creating a keepsake Christening gown from your beautiful wedding dress have been helpful and inspirational. Please comment below with any questions or to let us know how your special project is going!
Upcycle a Wedding Dress into a Christening Gown
- Introduction
- Part 1: Planning
- Part 2: Deconstruction and Preparation
- Part 3: Construction
Used Products

What you might also like


2 comments on “Upcycle a Wedding Dress into a Christening Gown, Part 3: Construction”
-
-
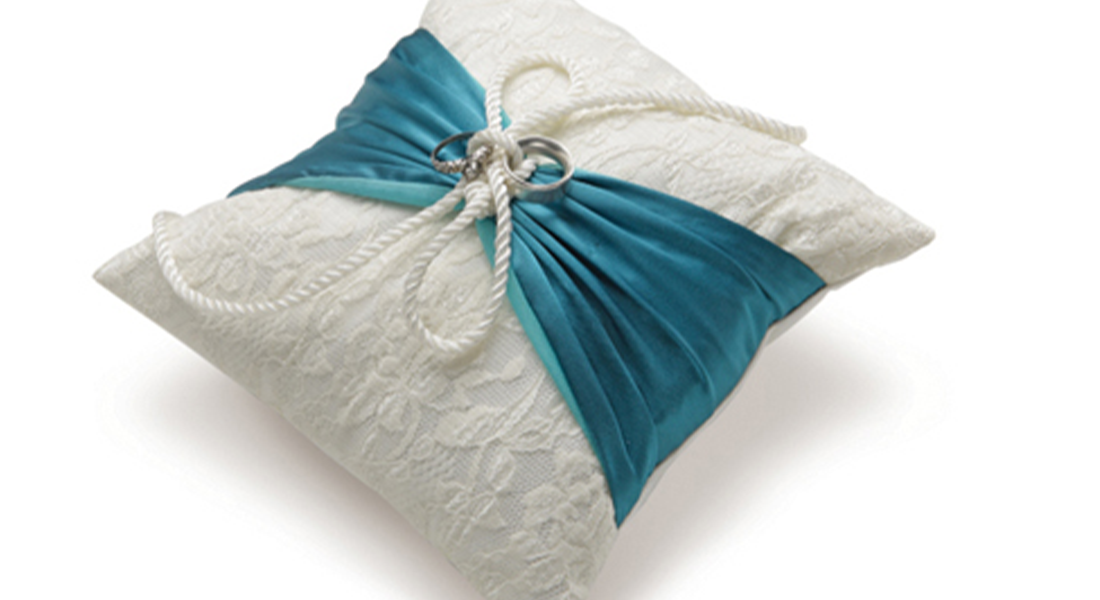
I love those ideas! It’s amazing how the creativity flows once you decide to go for it! I love the idea of ring bearer pillows too!
-
Leave a Reply
You must be logged in to post a comment.

I have done this several times using the lace from Mom’s and even Grandma’s wedding dress. On two of them, I modified a pattern and added the lace from the wedding dresses to the bodice. I have also made ring bearer pillows out of wedding dresses.