How to Upcycle a Jacket into a Pillow

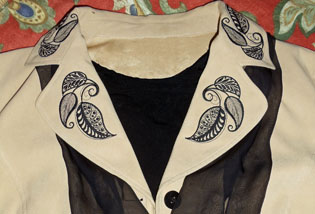
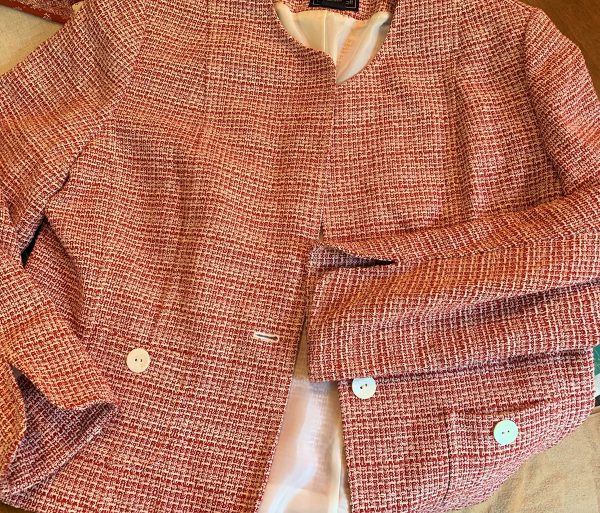
A couple of months ago I found a gorgeous fabric in a silk/cotton blend. I immediately thought home dec pillow. The red fabric would be great for the holidays. This fabric wasn’t sold as yardage. I was thrifting and it was actually a jacket. This jacket was nice and very well made but outdated in every way. It’s very trendy to take outdated clothes and reuse the fabric to make something new and exciting. At a size 10, there was a good amount of fabric to reuse. This jacket also had 4 pretty buttons. For $4, I knew I could turn this into a beautiful home dec pillow that looked more like $40!
Note: Please read through the entire tutorial before starting the project.
Materials Needed to Upcycle a Jacket into a Pillow
- Sewing machine— I used my BERNINA 790 PLUS
- Three-Sole Walking Foot with Seam Guide #50
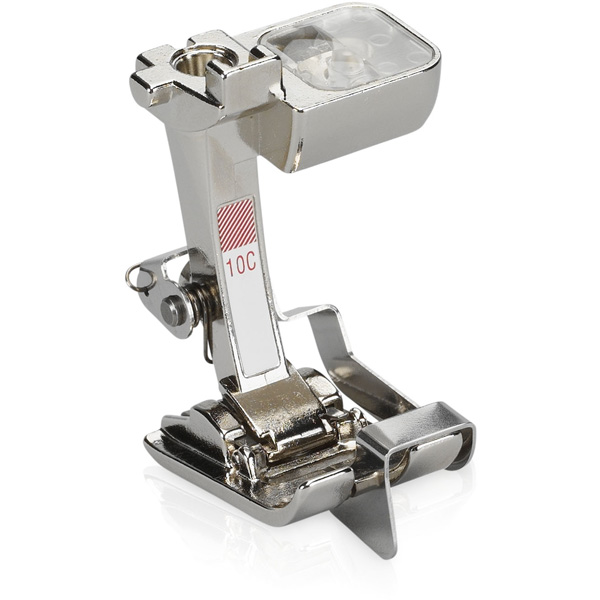
- Edgestitch Foot #10/10C/10D
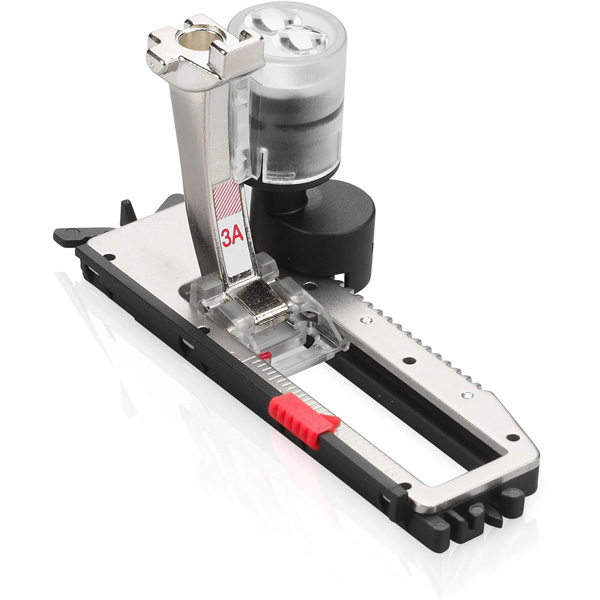
- Automatic Buttonhole Foot #3A (optional)
- Button Sew-On Foot #18
Supplies Needed to Upcycle a Jacket into a Pillow
- Outdated Jacket
- Large Wood Button
- Woven Ribbon
- Mettler Silk Finish Cotton Thread 40 wt
- Schemtz Needle appropriate for your fabric
- Tapestry Needle
- Fabric Scissors
- Rotary Cutter and Ruler
- Measuring tape
- Pins
Steps to Upcycle a Jacket into a Pillow
De-construction
Start by cutting off the sleeves. Cut close to the seam to preserve as much fabric as possible.
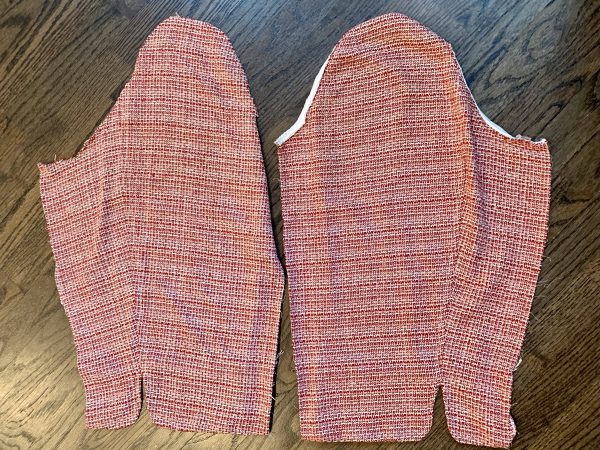
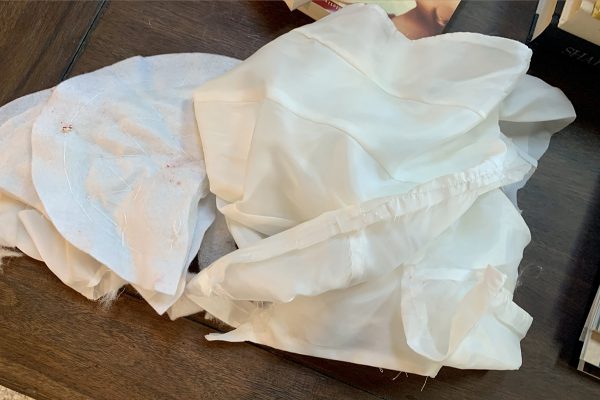
Remove the lining, shoulder pads and anything else not worth saving. I kept the buttons attached because I decided to keep them in place.
This is what I have so far.
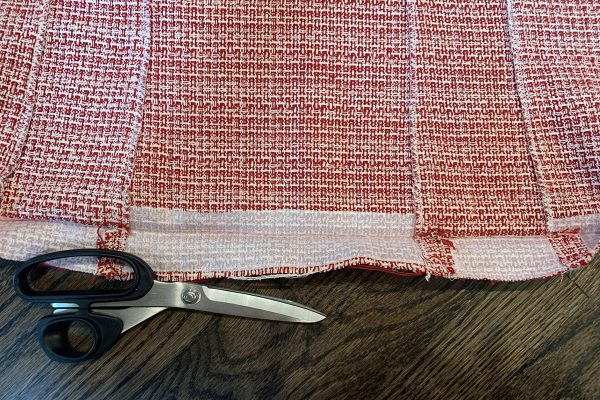
Next, unstitch the bottom hem. This gave me another inch of fabric to play with. Do you like my left-handed Kai Dressmaking Shears?
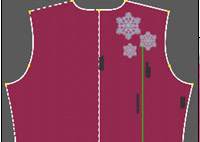
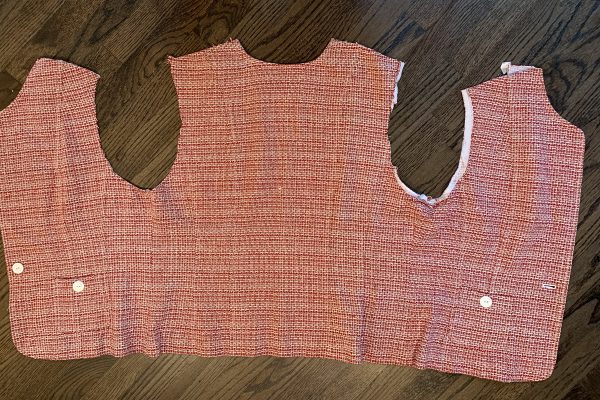
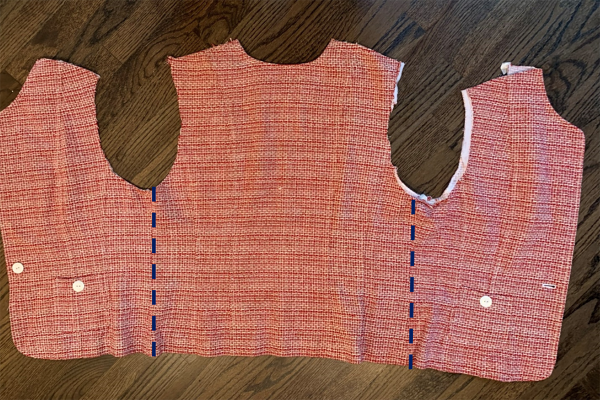
Now cut along the dotted lines pictured below. You will have three large pieces.
Re-construction
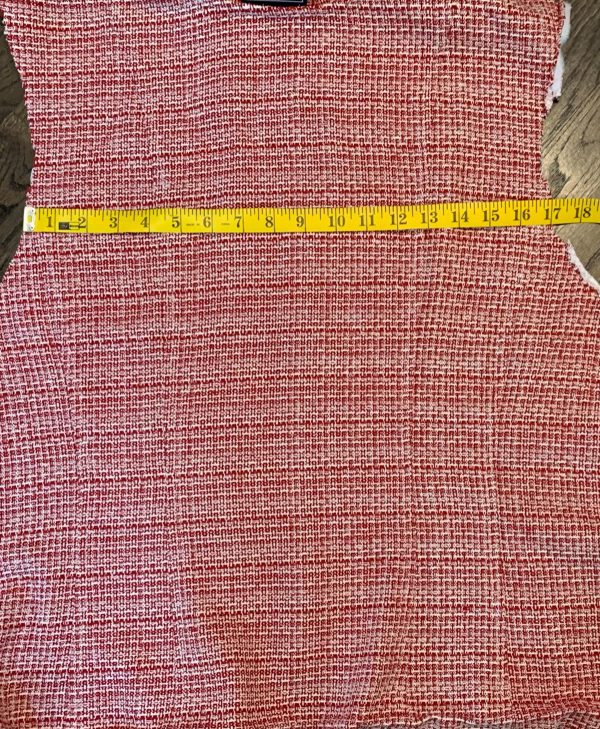
Measure between the armholes on the backside. This is the largest size I can make the pillow front without piecing it. I’m at 16 1/2” so my pillow is going to be 15 1/2” square finished.
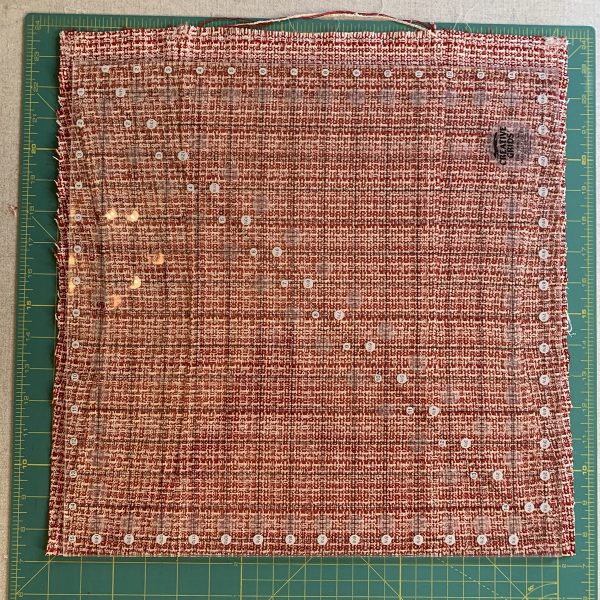
With a rotary cutter and ruler, trim the back piece to 16 1/2” square. I like to use a large square ruler for this part. If the fabric you are working with has a lot of stretch, use fusible interfacing, such as Pellon Shape Flex, to secure before trimming. Set aside. This will later become the front of the pillow.
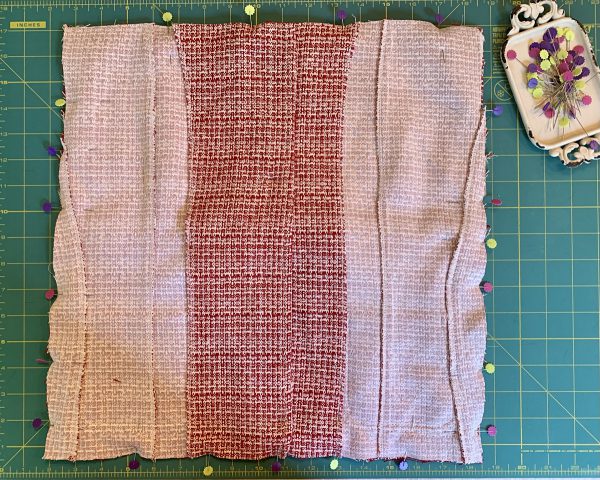
To create the back of the pillow, take the two remaining pieces (which made up the front of the jacket) and button together. If your jacket doesn’t have buttons, never mind!

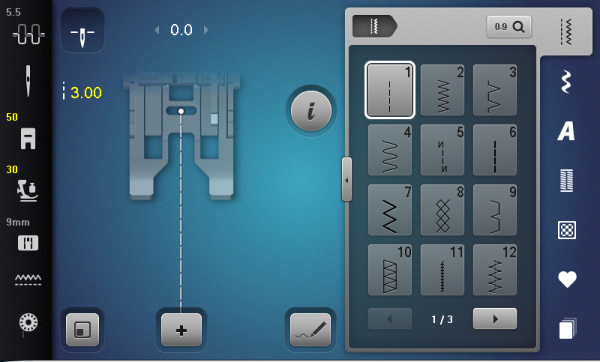
Secure the two pieces together with pins and stitch with BERNINA Walking Foot #50 and Straight Stitch #1. This fabric is thick so I increased my Stitch Length to 3 mm.

Trim this piece to 16 1/2” square. I liked the pockets so I kept them intact.
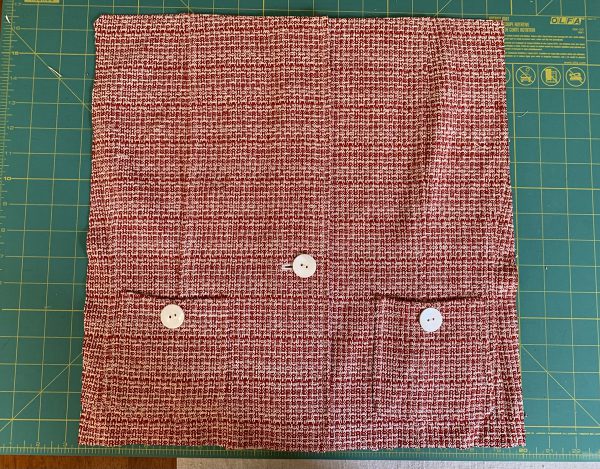
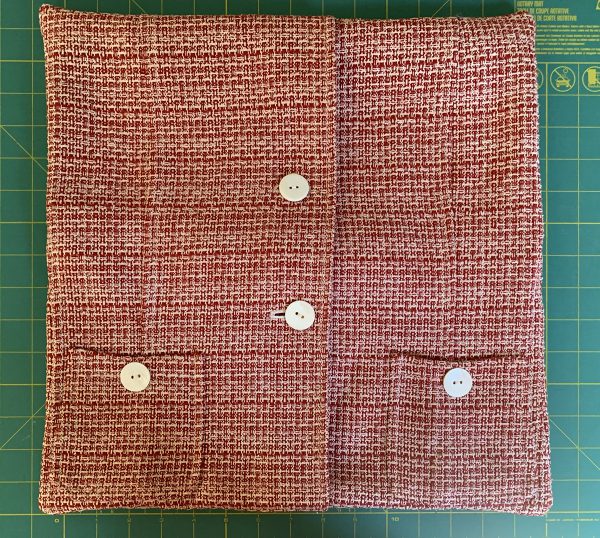
Another option with my jacket-to-pillow is to add the extra button that was inside the jacket. Rather than stitching the pieces together as described earlier, I decided to create a pillow back with buttons that allow me to easily insert and remove a pillow form. This way the pillow cover can be stored flat when not in use. One button is already set so all I need to do is create another buttonhole and sew on a second button. Easy with a BERNINA! If your jacket already has 2 buttons, you’re all set!
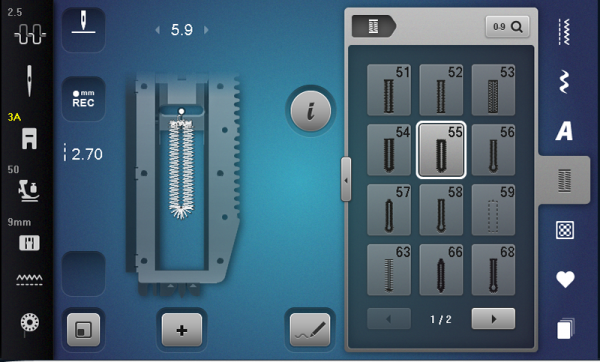
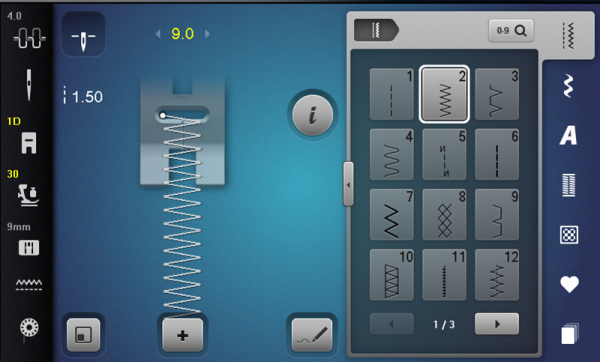
First, mark buttonhole placement with a temporary marker. I placed a mark 4” above the existing button. At my machine, I went into the Buttonhole Program and looked through all the different buttonholes. Who knew there were so many! Buttonhole #54 and #55 look similar to the one on the jacket. I used the Help icon (the question mark) on the machine screen to find out more about each buttonhole. Love the Help icon! The difference between the two is the bartack. #54 has a normal bartack and #55 has a horizontal bartack. I decided to make Buttonhole #55.
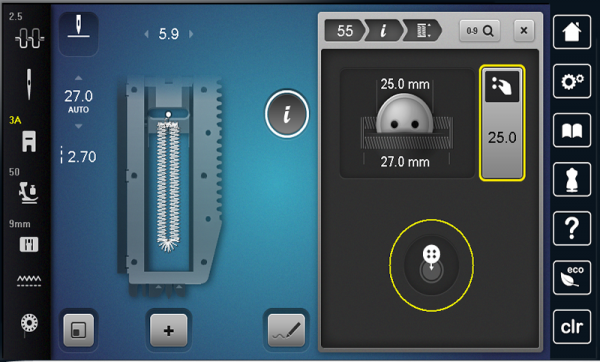
Now, go into the Information Menu and select the Buttonhole Length icon. Place the button on the screen and use the Multi-function knob to adjust the size. The On-Screen Measuring feature is quick and cool! Stitch the buttonhole and carefully cut the slit for the opening.
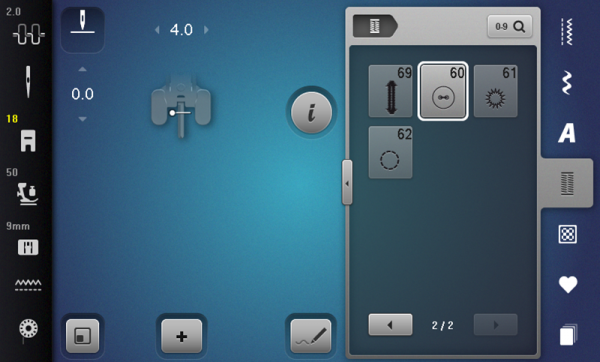
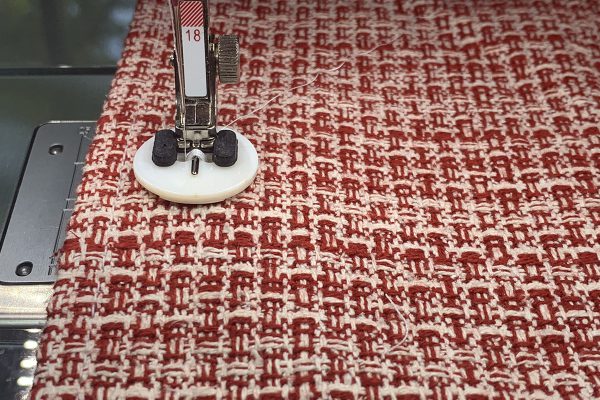
Next, sew on the button. At the machine, in the Buttonhole Program, select Button Sew-on #60. Change presser foot to Sew-on Button Foot #18.
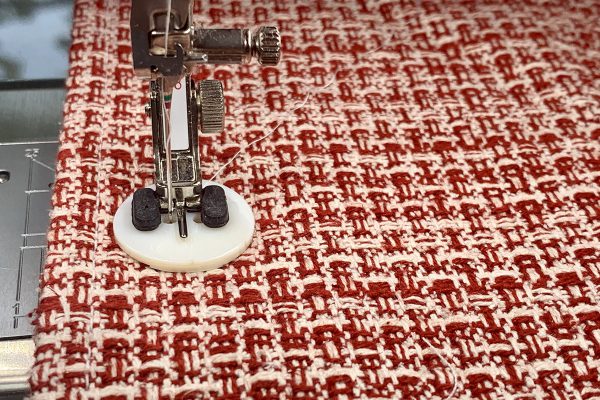
On the fabric, mark placement for the button. Next, attach Sew-On Button Foot #18. Place button under the foot with the rubber grips on either side of the holes. Using the handwheel, lower the needle making sure it doesn’t hit the button. Bring the needle up and lower again into the other hole. Once it looks good, stitch on!
Center Bow for the Pillow Front
With the jacket sleeves, I created two fabric tubes. First, cut open each sleeve at the seam. Then, trim the sleeves to 4” x 20”. Fold each one right sides together lengthwise and pin. Stitch down the length with a 3/8” seam allowance leaving the short ends open. Turn right side out.
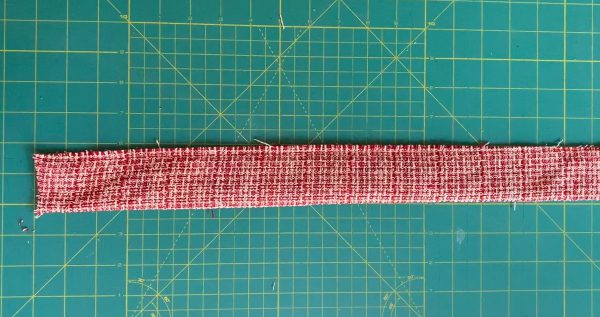
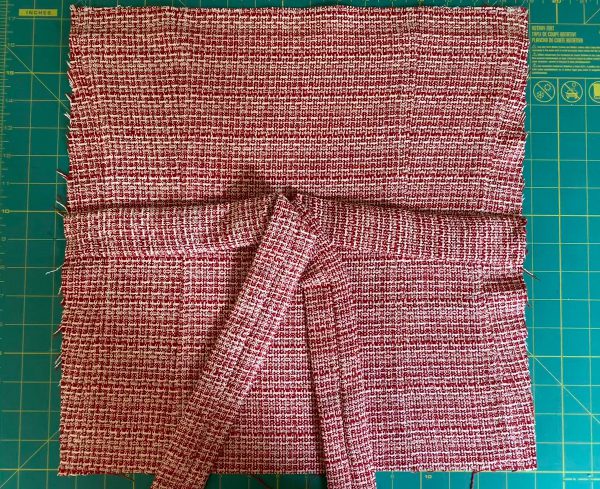
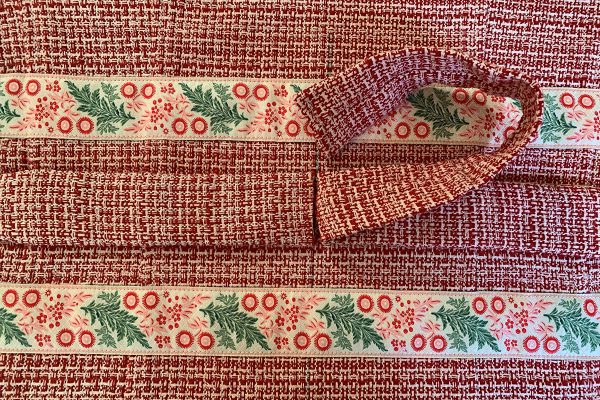
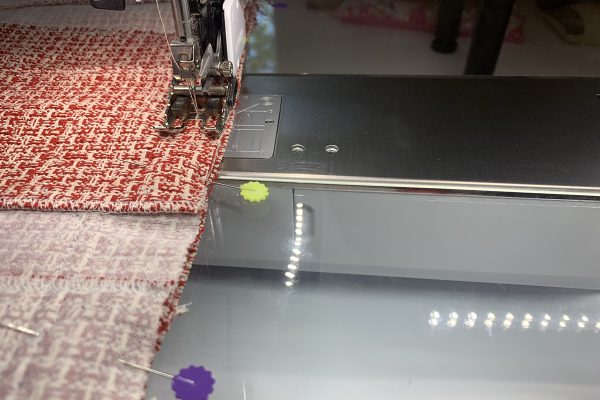
Press tubes flat with the seam on the bottom. Now the tubes are ties! Grab the fabric square you set aside earlier made from the back of the jacket. Pin a tie on each side so they are even and centered. Secure the ties with a stay stitch along the raw edge using Walking Foot #50.

Woven Ribbon
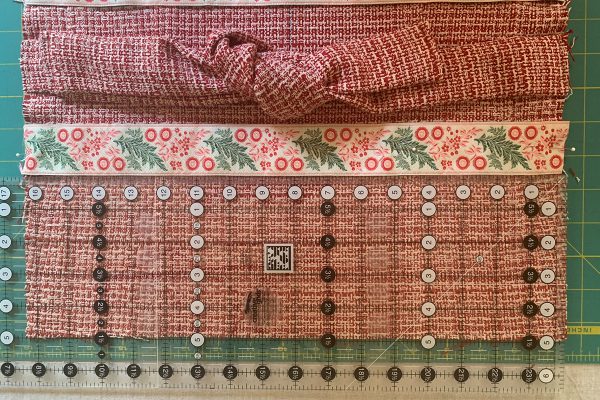
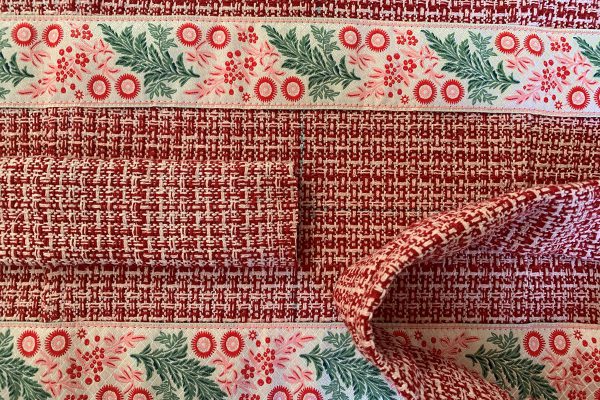
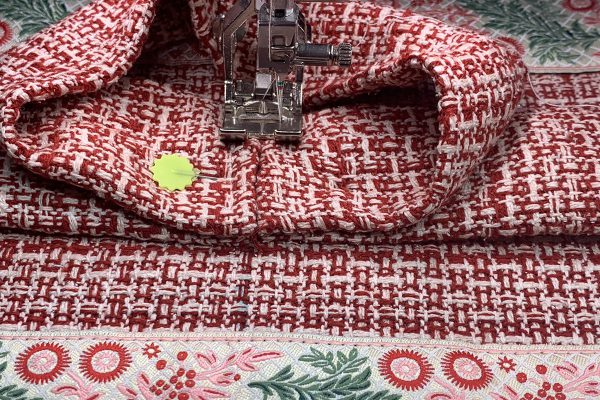
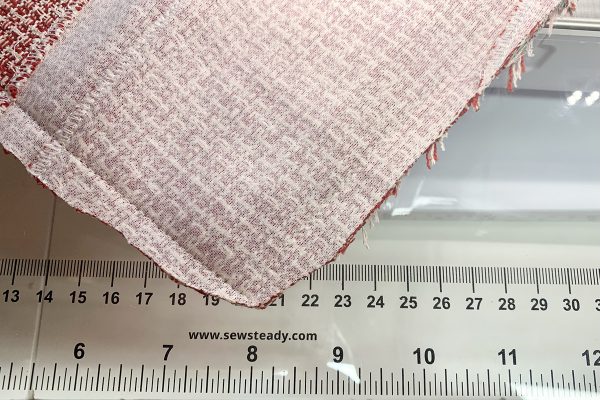
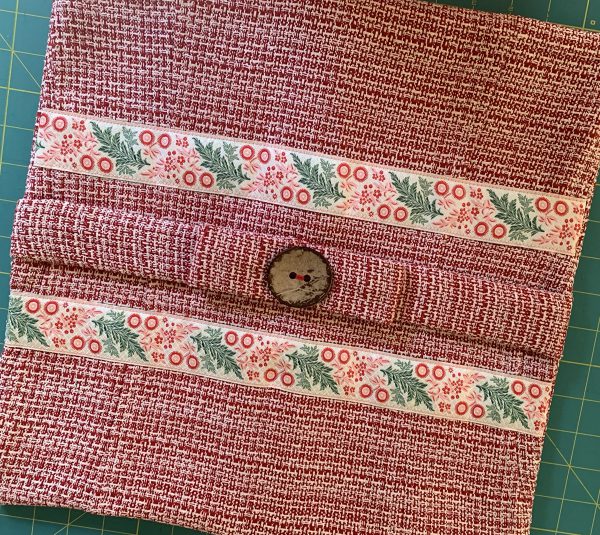
Place two pieces of woven ribbon on the pillow front, one above and one below the ties about 1”. Or measure the distance from the raw edge as pictured below. Play around with ribbon placement and what looks pleasing to you! Pin ribbon in place. I knotted the ties temporarily to keep them out of the way.
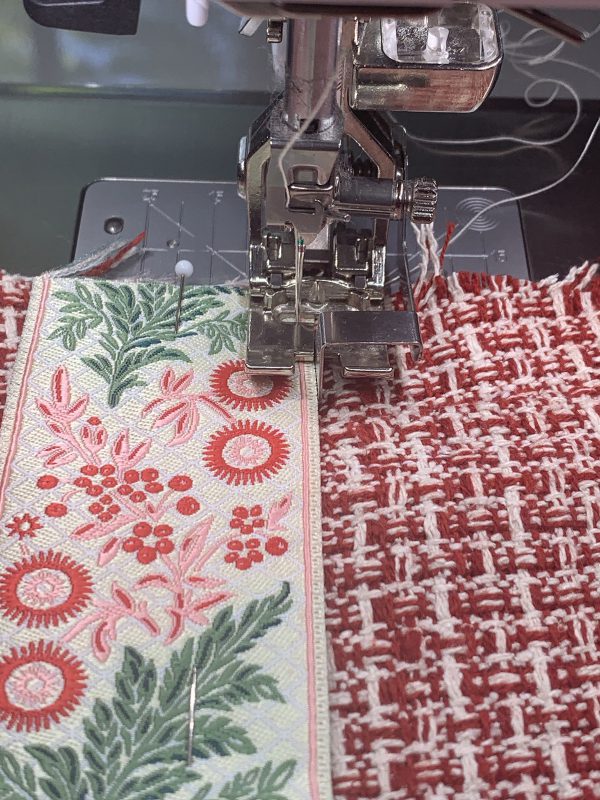
Now attach Edgestitch Foot #10/10C/10D. On the machine screen, select Straight Stitch #1. This fabric is thick, so I changed my Stitch Length to 2.75 mm.

Line up the foot so the center blade is up against the ribbon. Lower needle and check placement. I changed Needle Position to -3 so that the stitch didn’t land in the pink line on the woven ribbon. Stitch. Do the same for the opposite side of the ribbon.
Beautiful!

Bow and Button
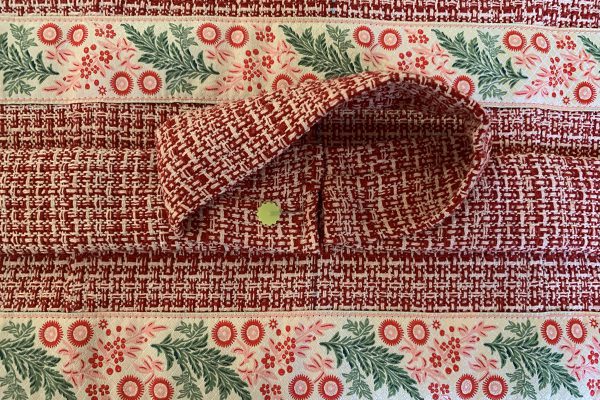
With a temporary marker, draw a line at the center of the pillow front. Trim one of the ties so the cut edge lands along the marked line. It doesn’t matter which tie.
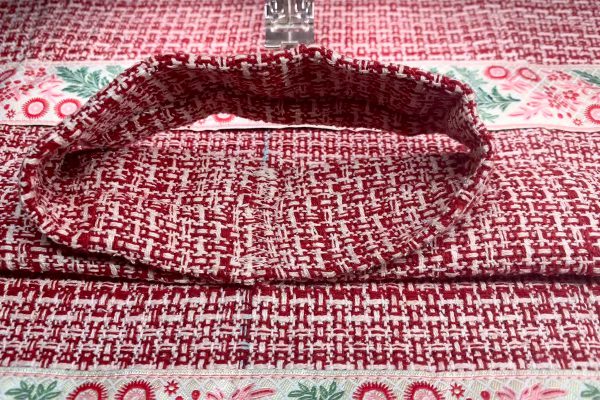
Take the other tie and fold back with the folded edge butted up against the raw edge of the cut tie.
Create a circle placing the end of the tie against the fold. Pin in place.
Attach Reverse Pattern Foot #1/1C/1D. Select Zig Zag Stitch #2 and increase Stitch Width to 9 mm. With the super thick layers, I changed Presser Foot Pressure to 30.
Place the center mark on the sole of the foot where the two edges meet (raw edge and folded edge). Stitch together!
Looking good!
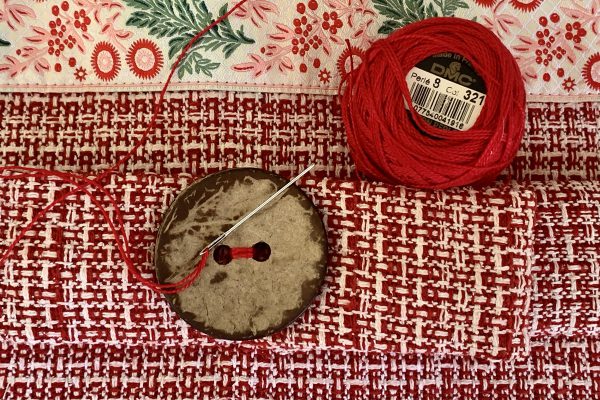
Place the circle flat so it is centered and even with the ties. Using Perle cotton thread and a tapestry needle, stitch the large button to the center going all the way through the layers to secure the button and the bow.
Stitch Together
Time to attach the front to the back! Place the front and the back panel right sides together. Pin. My pillow has the button closure down the back panel so I don’t need to leave an opening to turn the pillow right side out. If you need to leave an opening along the edge, make sure to stop about 6”-8” from the starting point.
Attach Walking Foot #50. Select Straight Stitch #1 and change Stitch Length to 3 mm. I kept Pressure Foot Pressure at 30. There are some really thick layers here.
Stitch with a 1/2” seam allowance. Don’t stitch over pins!
Trim excess fabric from corners to reduce bulk.
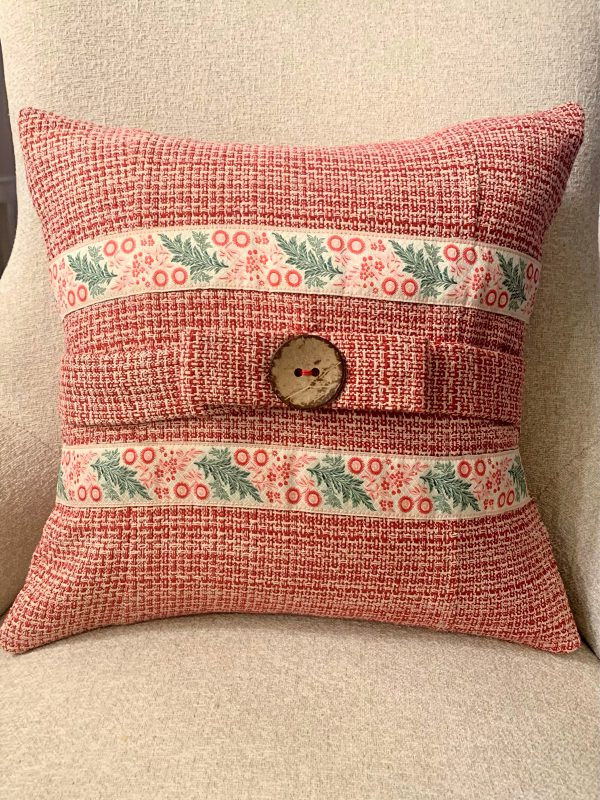
Turn right side out and use a pointer tool for corners. Press. Here’s the front side!
Here’s the backside! I’m glad I kept the pockets on the back. Great place to hide my emergency chocolates!
Pillow Form
All that is left is to add a pillow form. I like to make my pillow forms using muslin and feathers. I make the pillow form 1” larger than the pillow size because I like my pillow really stuffed. Also, I use feathers from second-hand pillows I find when thrifting. It gets a bit messy un-stuffing and re-stuffing feathered pillows but it’s so worth it! Feathers make a big difference in the look and feel.
Tip: Weather permitting, do this part outside.
Insert the pillow form. Then, stuff the corners with polyfill to get nice, full corners. Button up the back or hand sew the opening closed. Now find the perfect spot for your new, repurposed jacket-to-pillow! I’m so glad I was able to reuse this beautiful fabric!