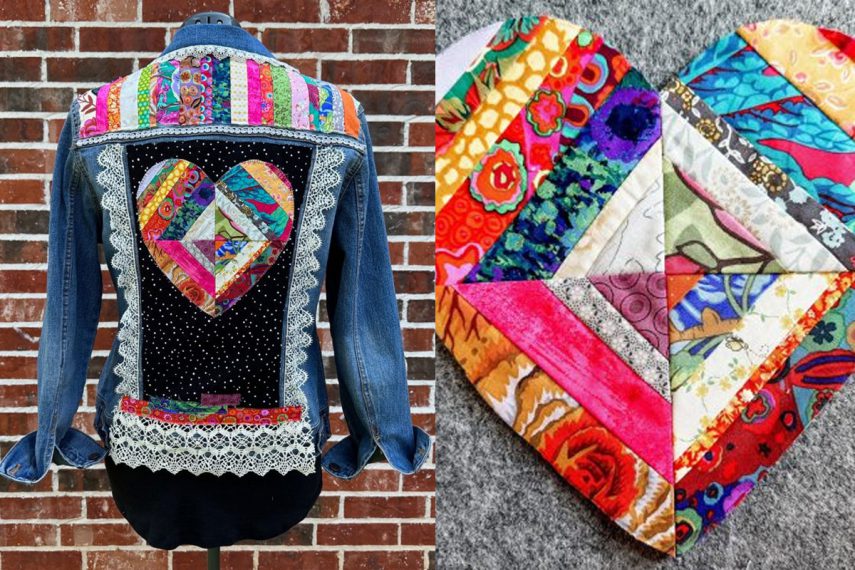
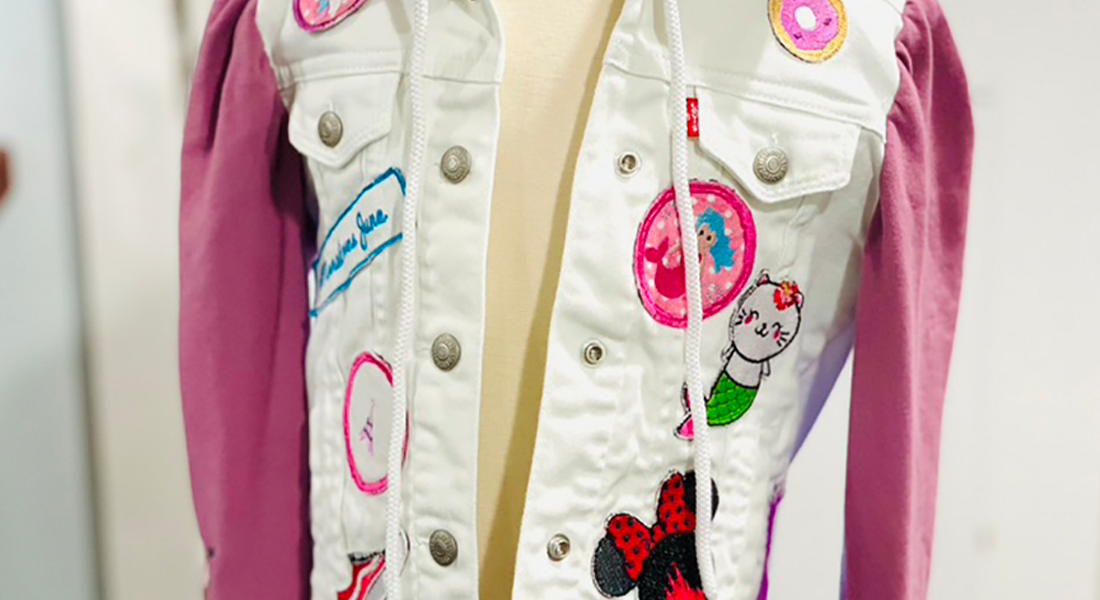
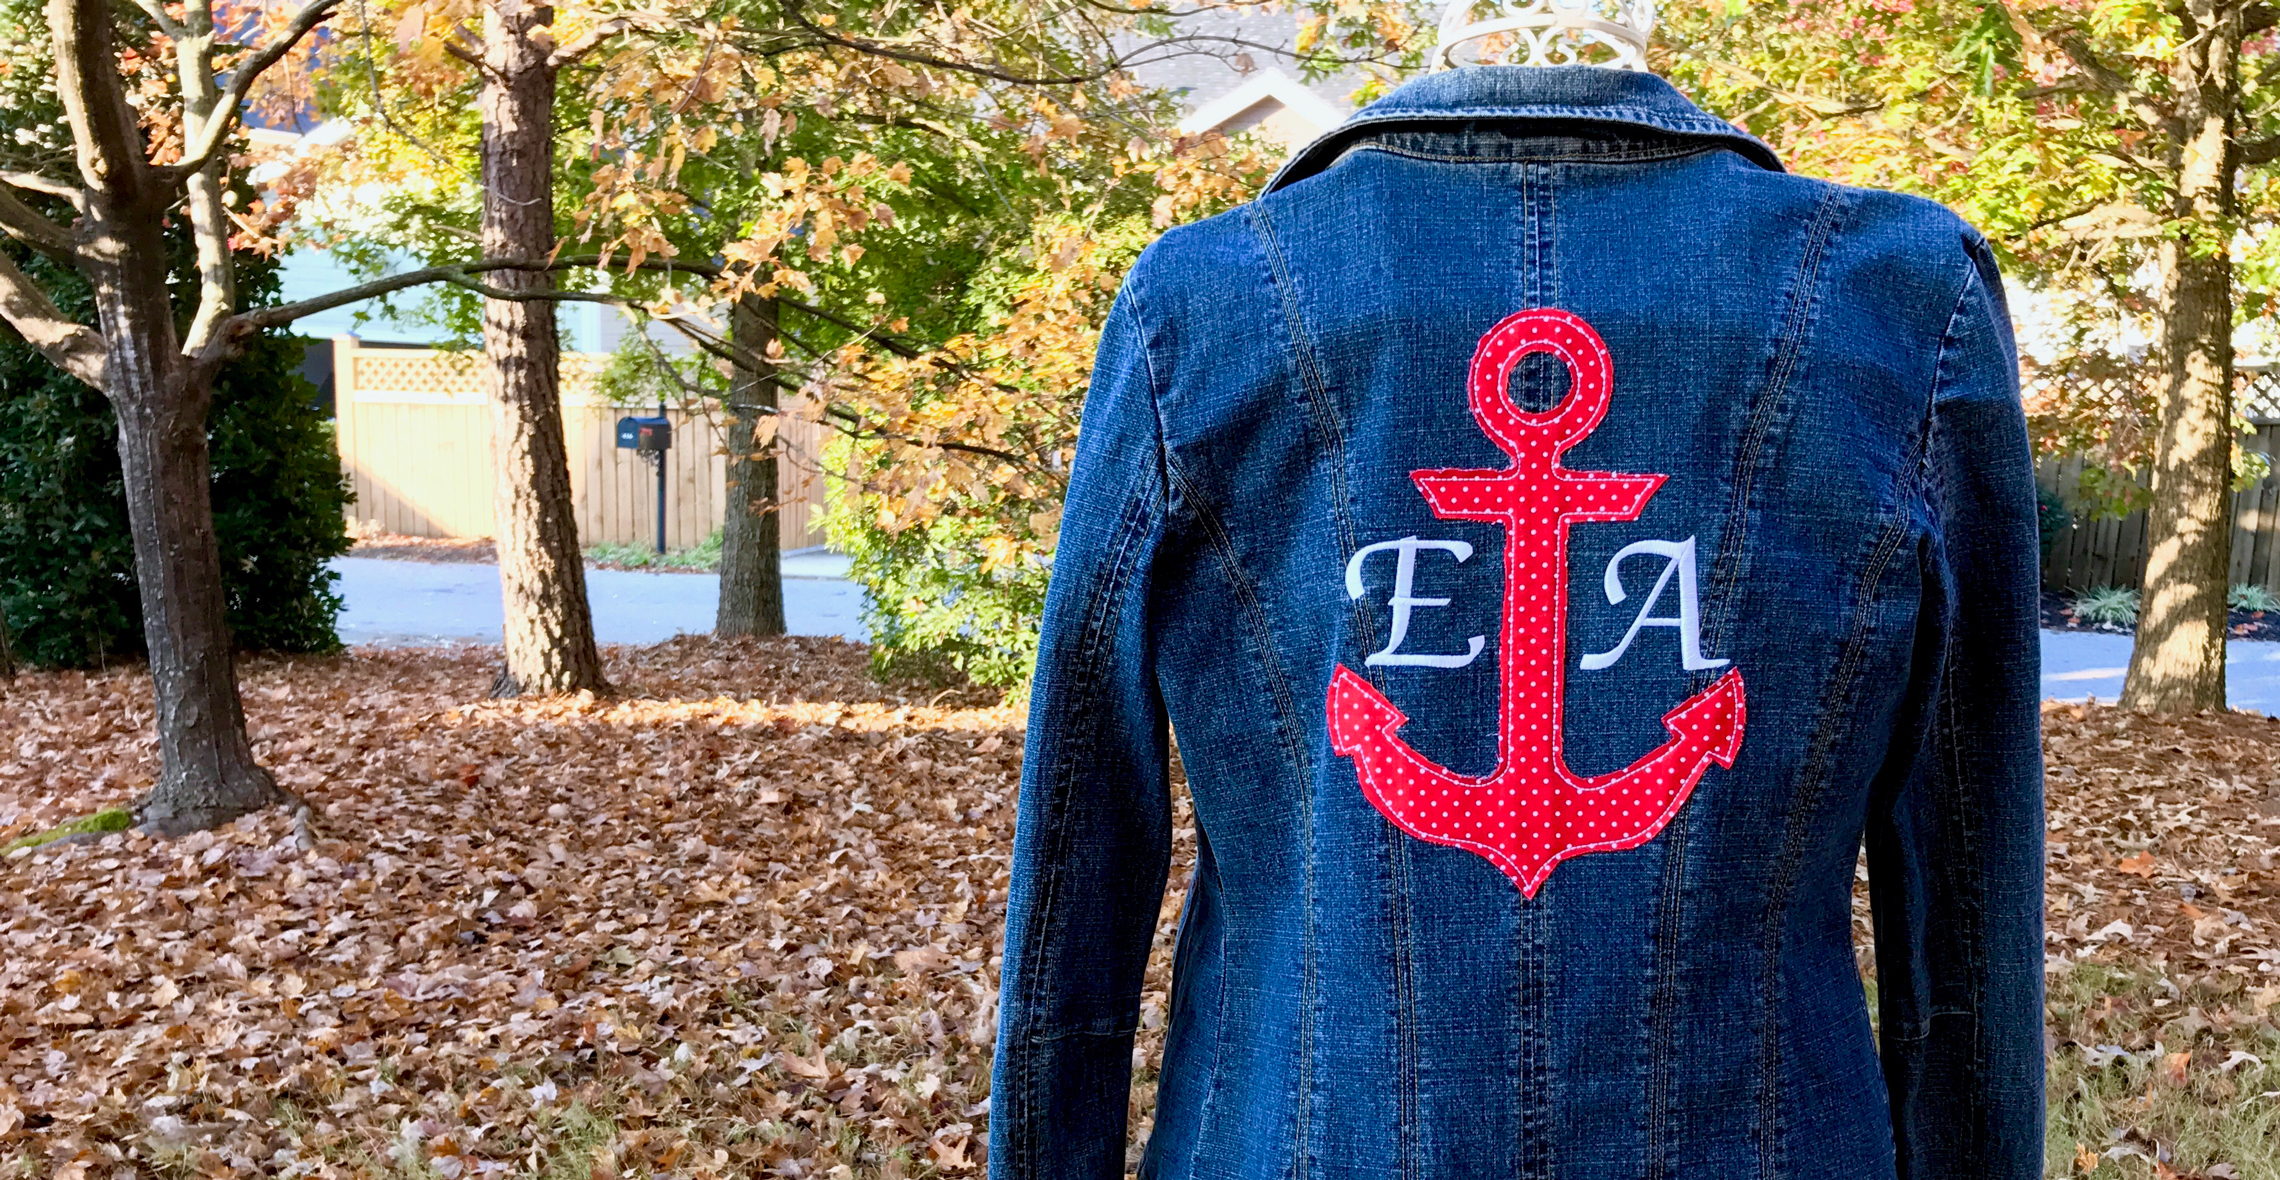
Denim Jacket Upcycle With Your Sewing Machine
I love new clothes just like the next girl but recently, I have decided to create “new” clothes by taking an old item and adding a new splash of color with my BERNINA 570 QE and my assortment of 28wt Aurifil thread collection. I wanted to share with you how I do this as I upcycle my denim jacket with just my basic sewing machine and free-motion stitching. No Embroidery Machine required!


Supplies Needed
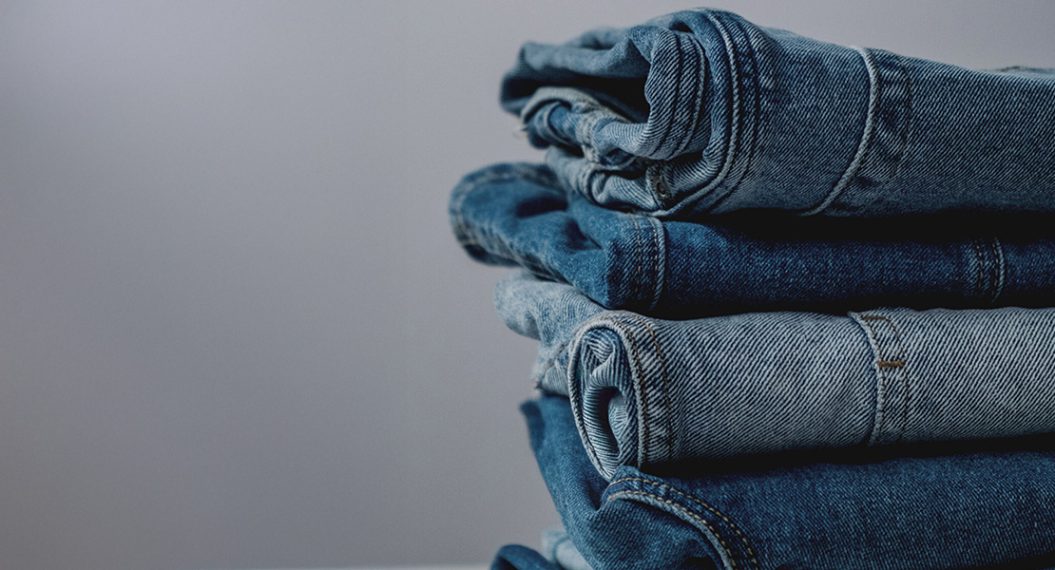
- Denim Jacket to Upcycle
- One of our designs or create your own
- Sulky Stitch and Stitch stabilizer
- Denim sewing machine needles
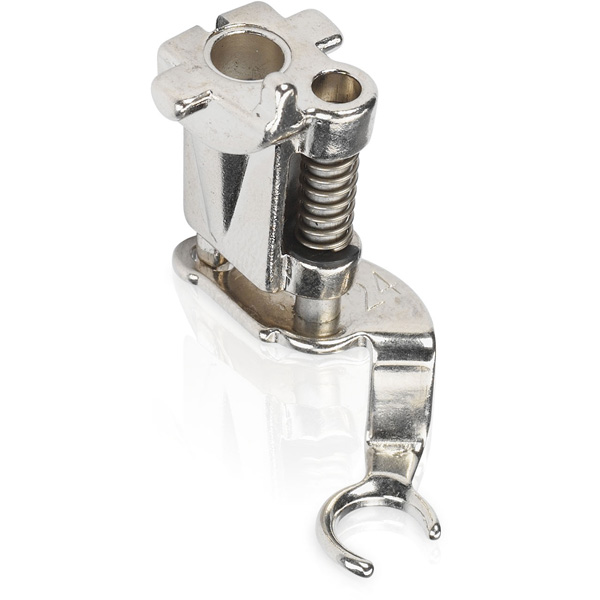
- Free-Motion Embroidery Foot #24
- Tape measure
- Chalk pencil
- Assorted 28wt. Threads (I recommend Aurifil 2240, 1133, 2214, 2105, 2021, 2835,1148 and 2520))
- 50wt. neutral thread for the bobbin
To get started, select a clean and laundered garment you would like to stitch on. This will keep the piece from shrinking after the project is stitched and washed. If needed iron the working area to make sure there are no wrinkles.

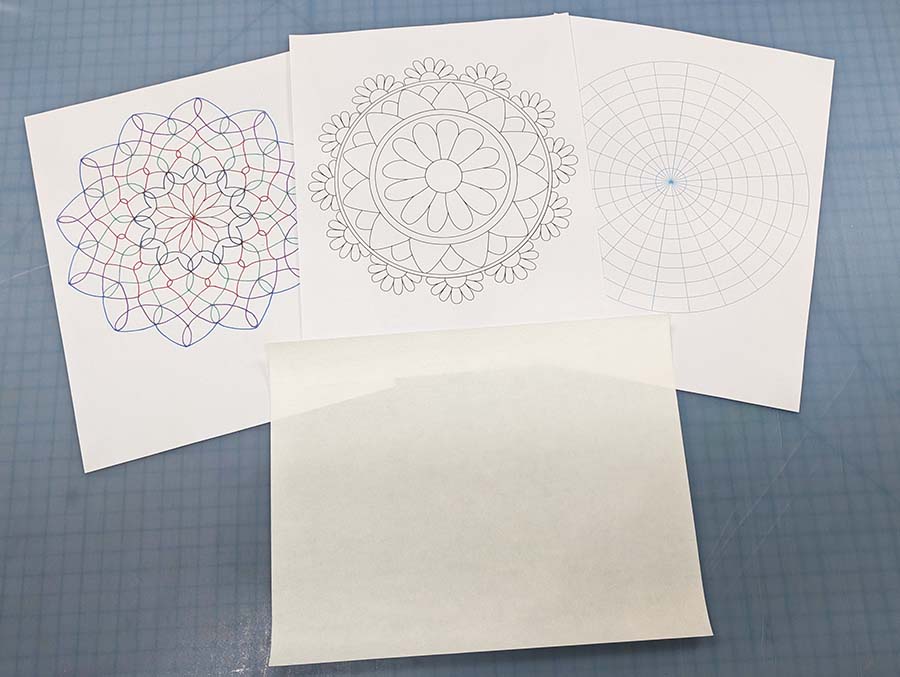
Next, select one of my designs or pick your own artwork for stitching. Measure the area you are stitching on and make sure the artwork will fit as desired. Reduce or enlarge the artwork as needed.
Now either use an inkjet printer to print the artwork onto the textured side of the stabilizer or use a lightbox to trace the artwork onto the stabilizer.
Peel the paper backing off one end of the stabilizer, position it on top of the garment and smooth in place. Slowly pull off the backing paper and smooth the piece in place as you go to stick the artwork onto the garment.
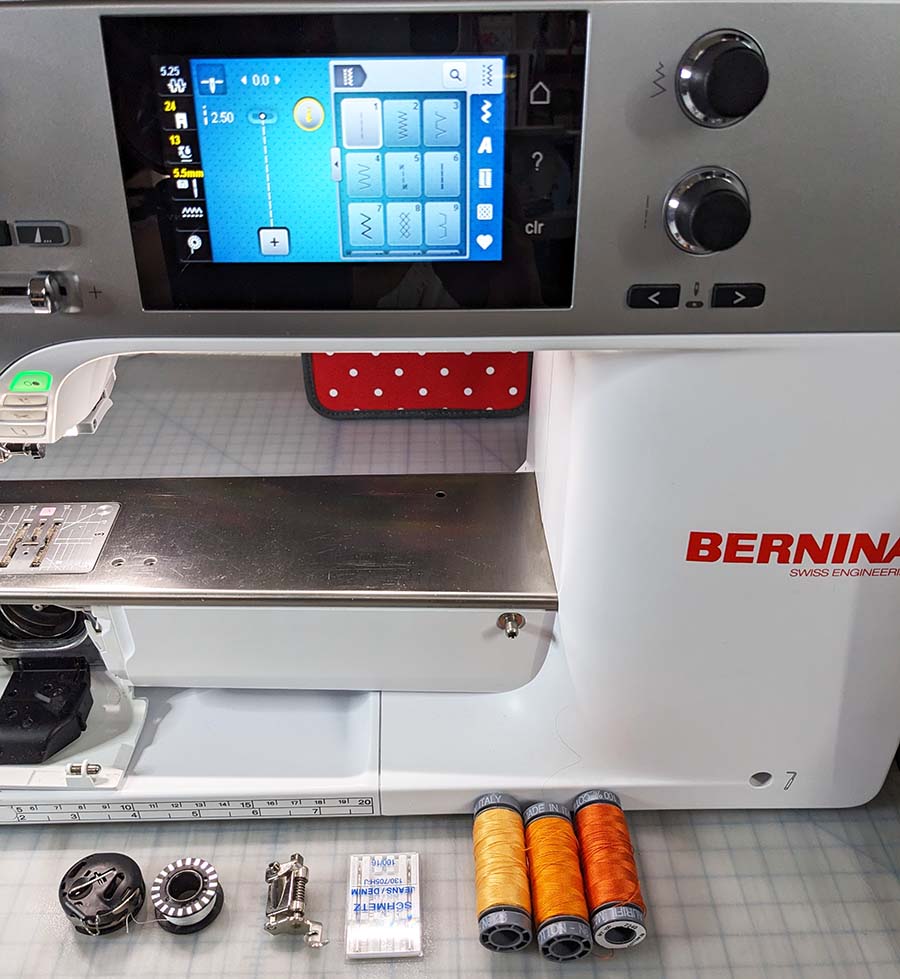
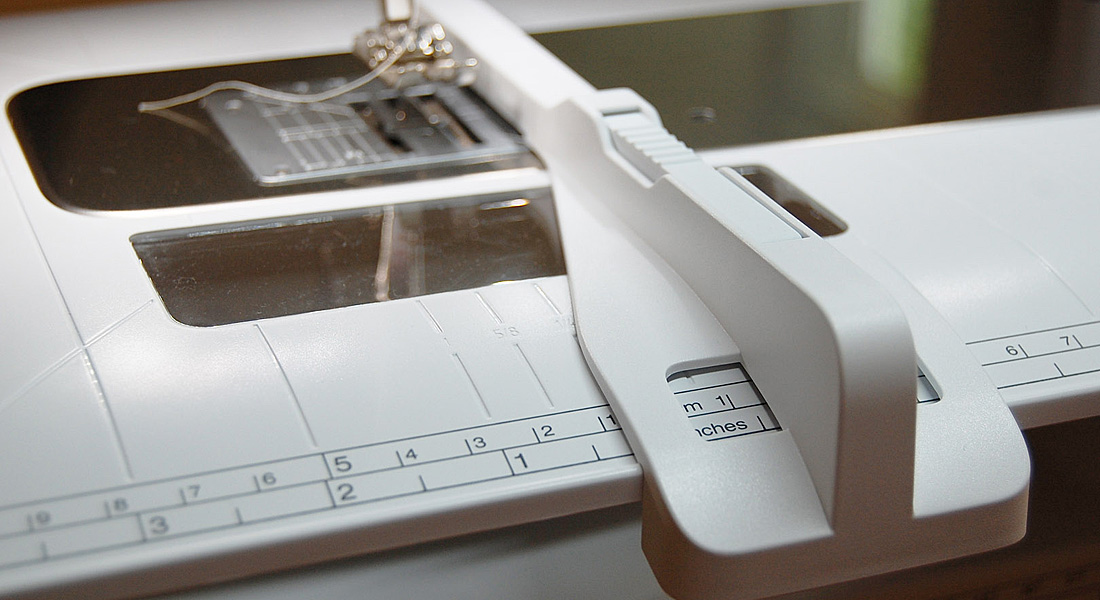
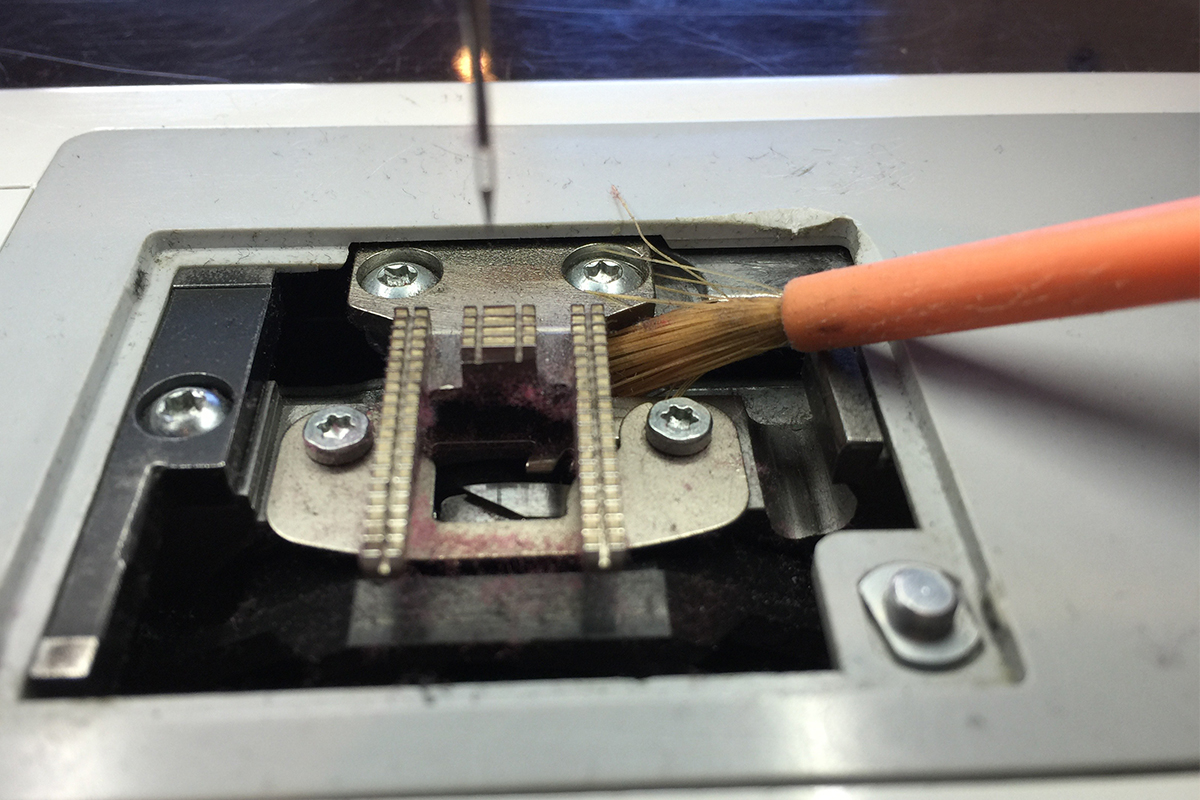
Now let’s set up our sewing machine for free-motion sewing. Drop the feed dogs down, load a denim needle and put on a free-motion foot (foot #24). Set the machine with the needle down every time you stop, if available. Finally, if you can control the speed of your machine, I recommend turning the speed down until you are comfortable with the stitch.
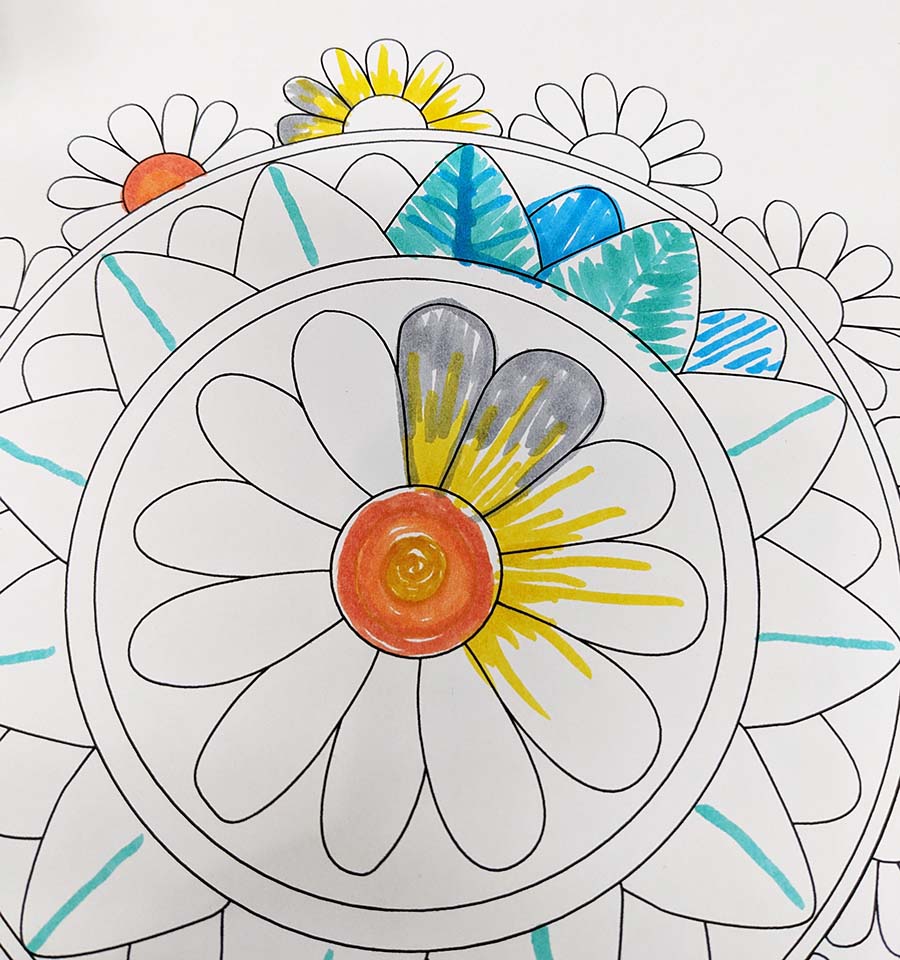
Now let’s talk about the direction in which to stitch for each section. The direction in which the stitch runs helps the overall look of the piece. In this photo, I have used a drawing to represent the stitch direction.
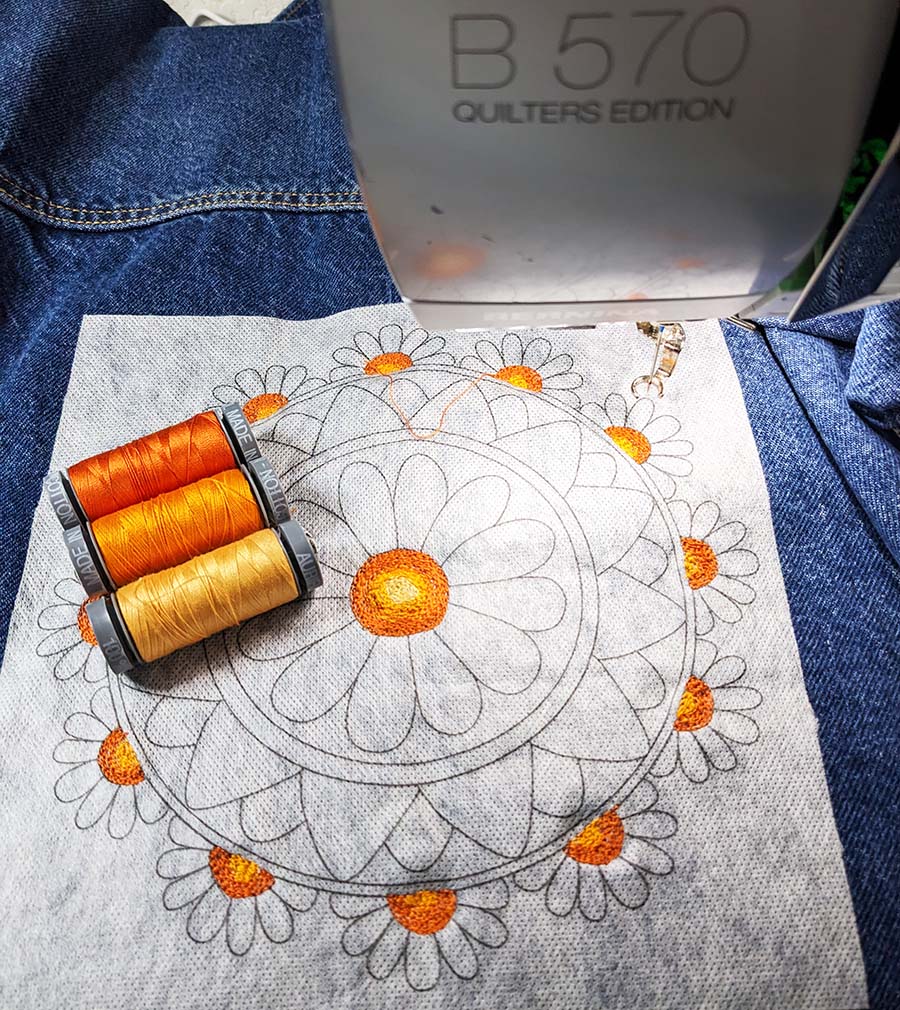
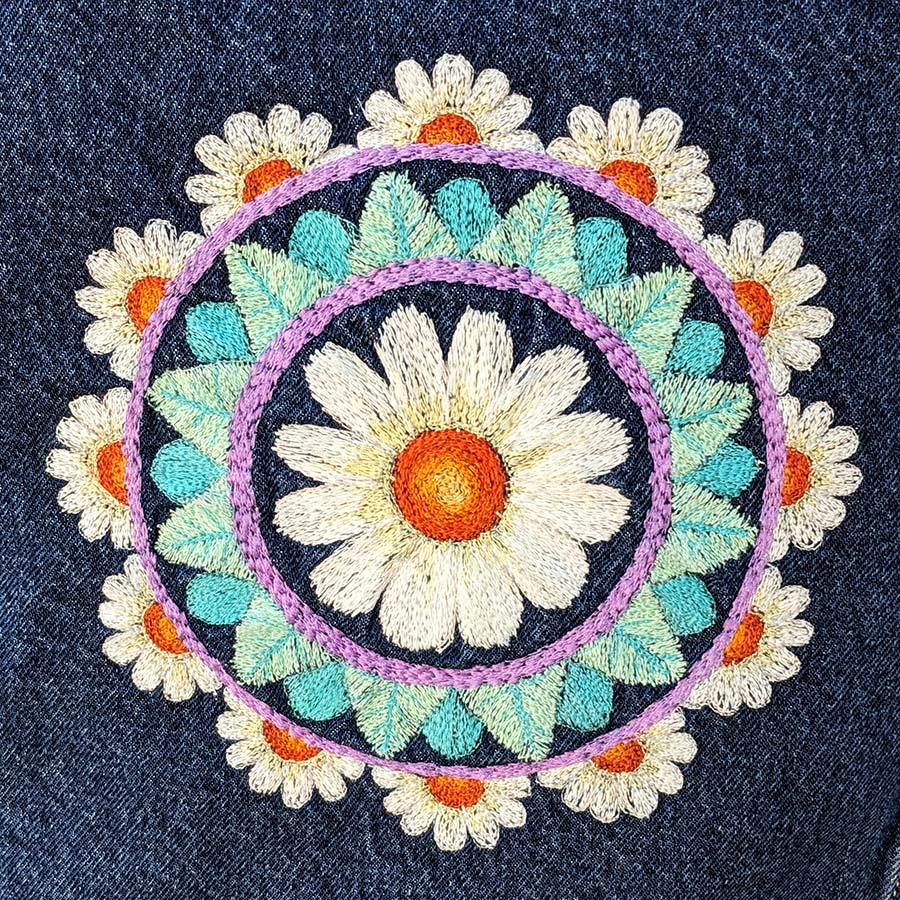
Start in the center and spiral out with the light orange first followed by medium orange and then the dark orange. Repeat with the small centers of the outer daisies with just the medium and dark orange.

Next, use the pale yellow, and stitch straight lines from the base of the petal about halfway up. Vary the stitch lengths to create a random look on all the daisies.

To finish the flowers, Use the white thread and stitch from the top edge of the petal to halfway down the petal. Go over the yellow stitches at times to blend the colors together.
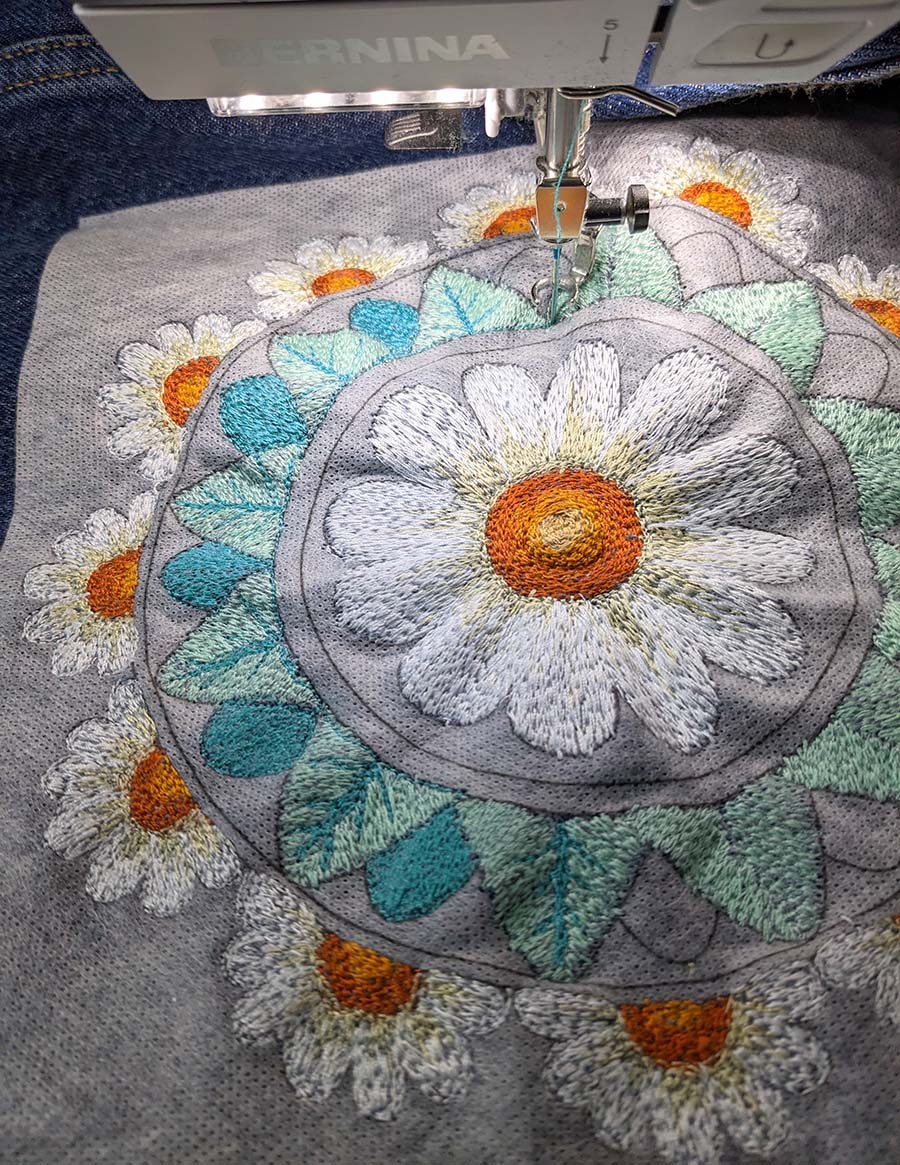
Now to stitch the leaves, first divide the large leaves in half vertically. Refer to the photo above to see the drawing to stitch the light teal in 45-degree lines on each side as shown so they mirror each other. Next use the dark teal to stitch up and down the center of the leaf, then stitch out the leaf vines as shown. For the smaller leaves, stitch vertical to the leaf with the dark teal.

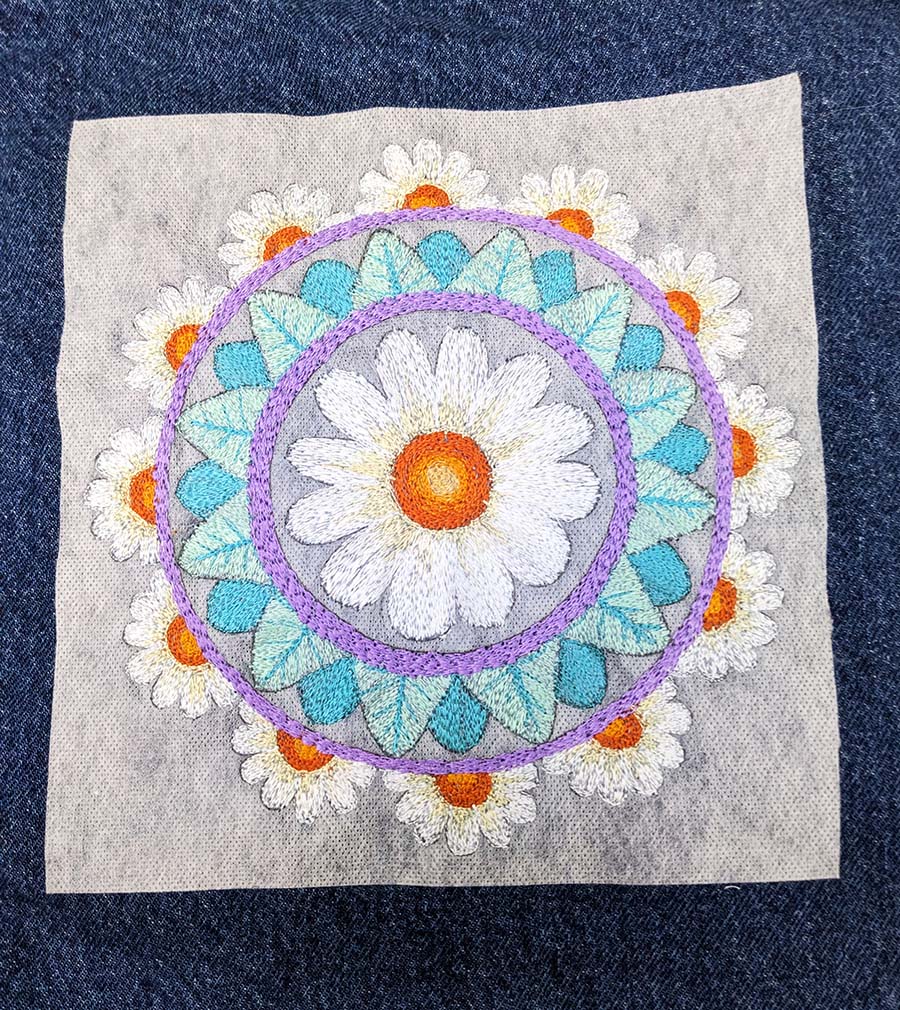
Finally, to stitch the purple frames, switch the machine setting to straight stitch, raise the feed dogs and switch to Open Embroidery Foot #20D. Use the triple straight stitch and slowly stitch around the piece until the drawn rings are full of stitches.
Now our Crazy for Daisies design is stitch on our jacket, it is time to remove the stabilizer. Rinse the jacket and artwork under water rubbing gently until all the stabilizer is dissolved. Dry as desired, I put my jacket in the dryer and it came out puckered. If this happens to you, dampen the area and press with a warm iron.
Here is a close-up of the finished piece stitched and ready to go!
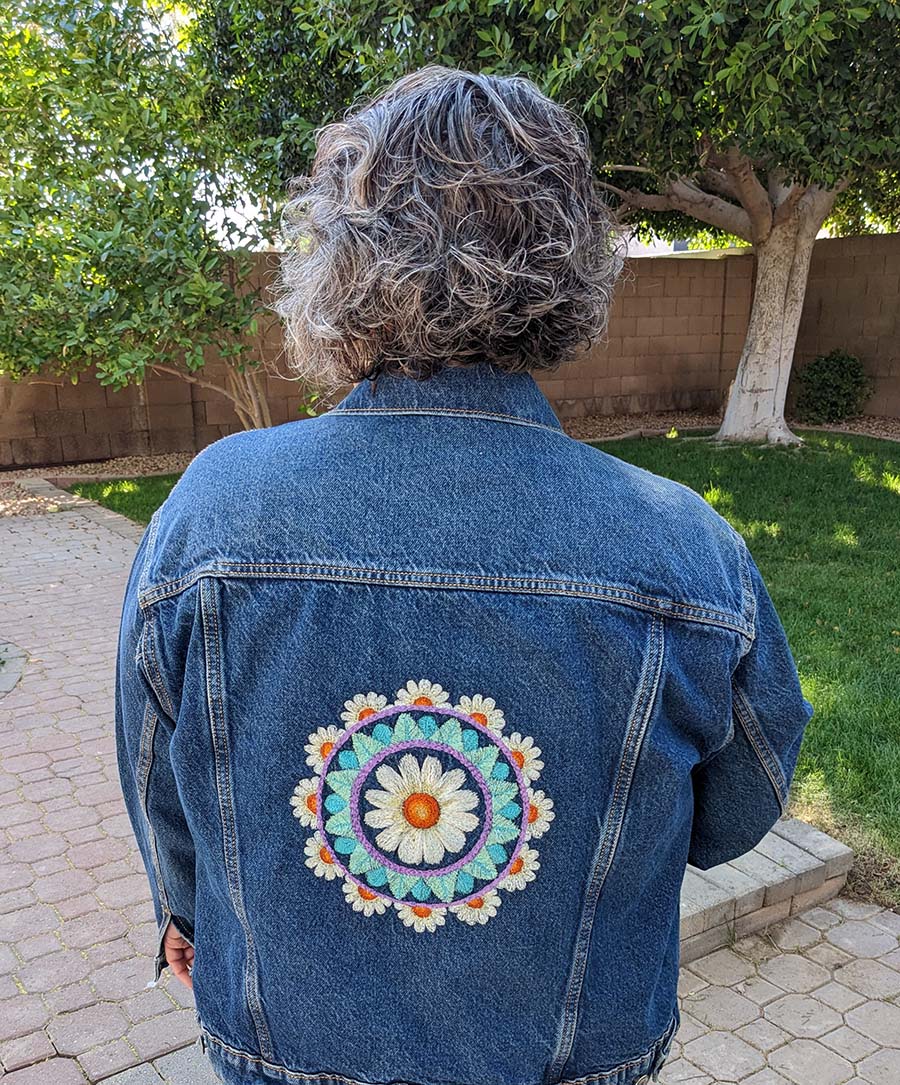
I can’t wait to wear my “new” jacket out in the world. Let’s see what you create with this technique, just make sure to post your work and/or email me at [email protected] to share.
There is a video showing the steps of this project which will be available on our YouTube channel – The Whimsical Workshop. Make sure to subscribe to be notified when the video is posted.


What you might also like


One comment on “Denim Jacket Upcycle With Your Sewing Machine”
Leave a Reply
You must be logged in to post a comment.

In the supplies list, you noted Sulky Stitch and Stitch. Did you mean Sulky Stick and Stitch?