Blooming Birthday Ballgown
We here at WeAllSew are very excited to share the below Guest Spot from the BERNINA inspiration Magazine, featuring the Blooming Birthday Ballgown, designed by BERNINA International Training and Education Manager, Sarah Caldwell. We hope you enjoy the interview with Sarah! For more articles like this, plus free patterns and inspiration, be sure to check out and subscribe to inspiration Magazine.
Blooming Birthday Ballgown
What is the inspiration behind the dress?
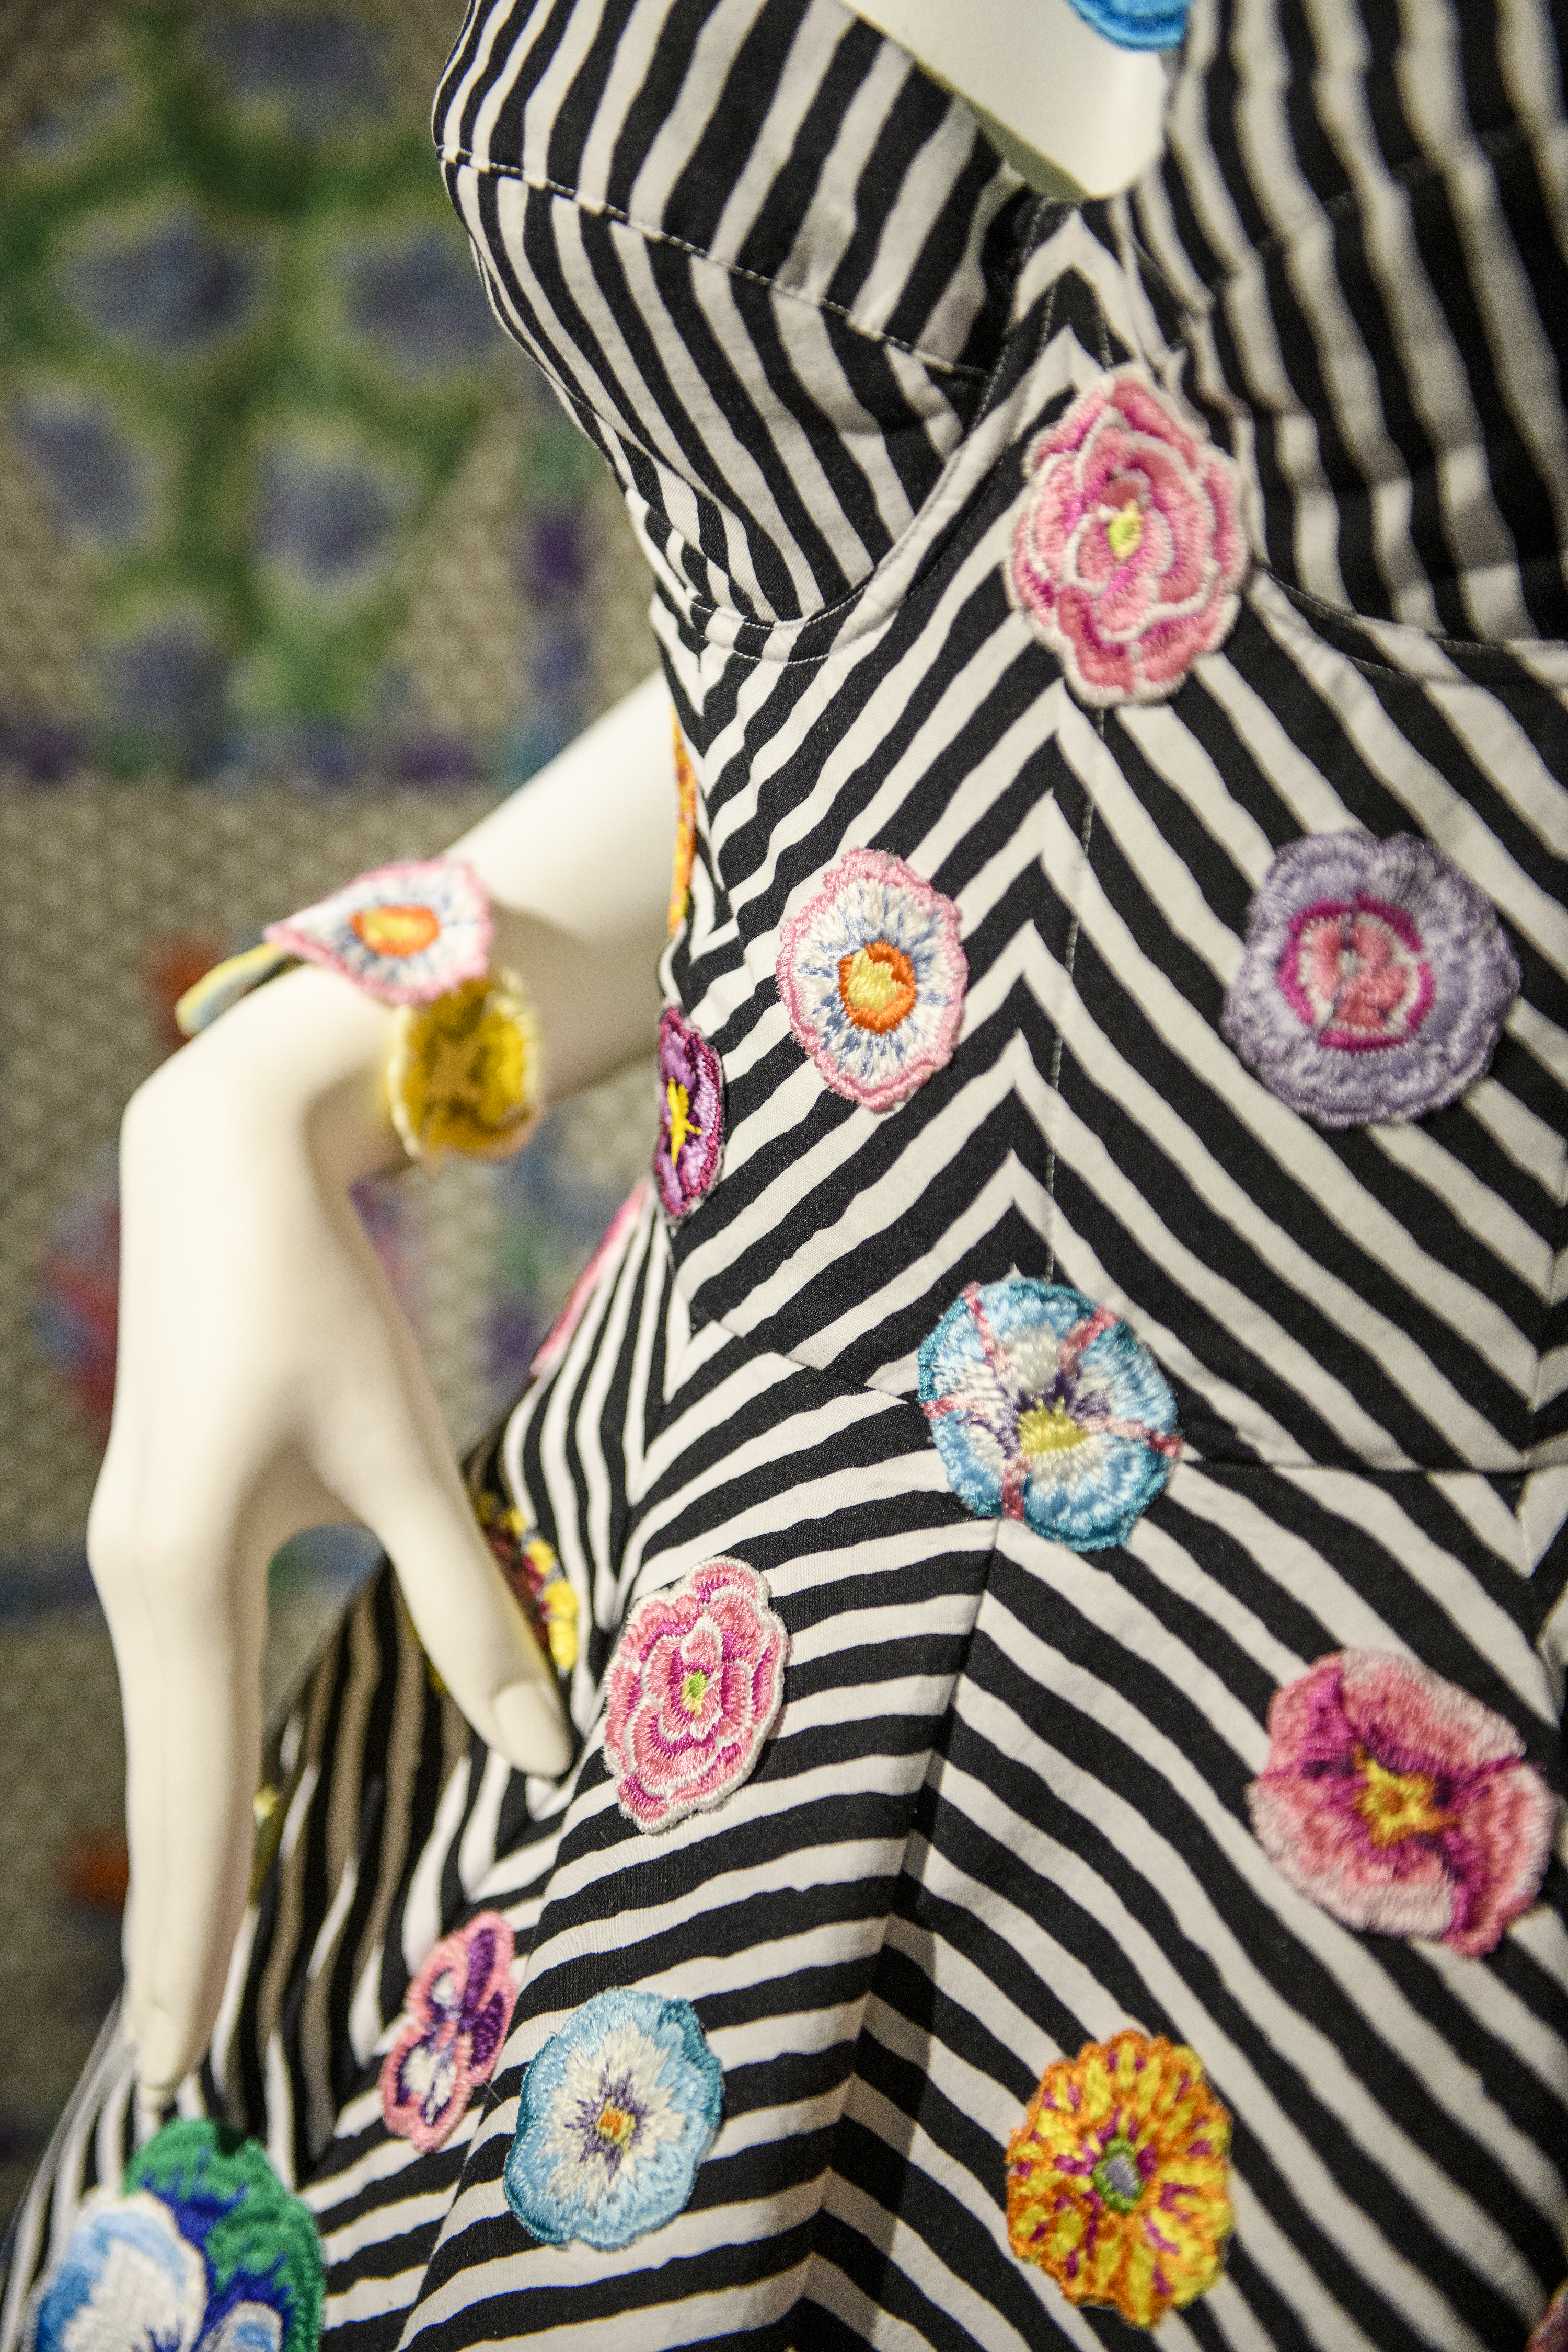
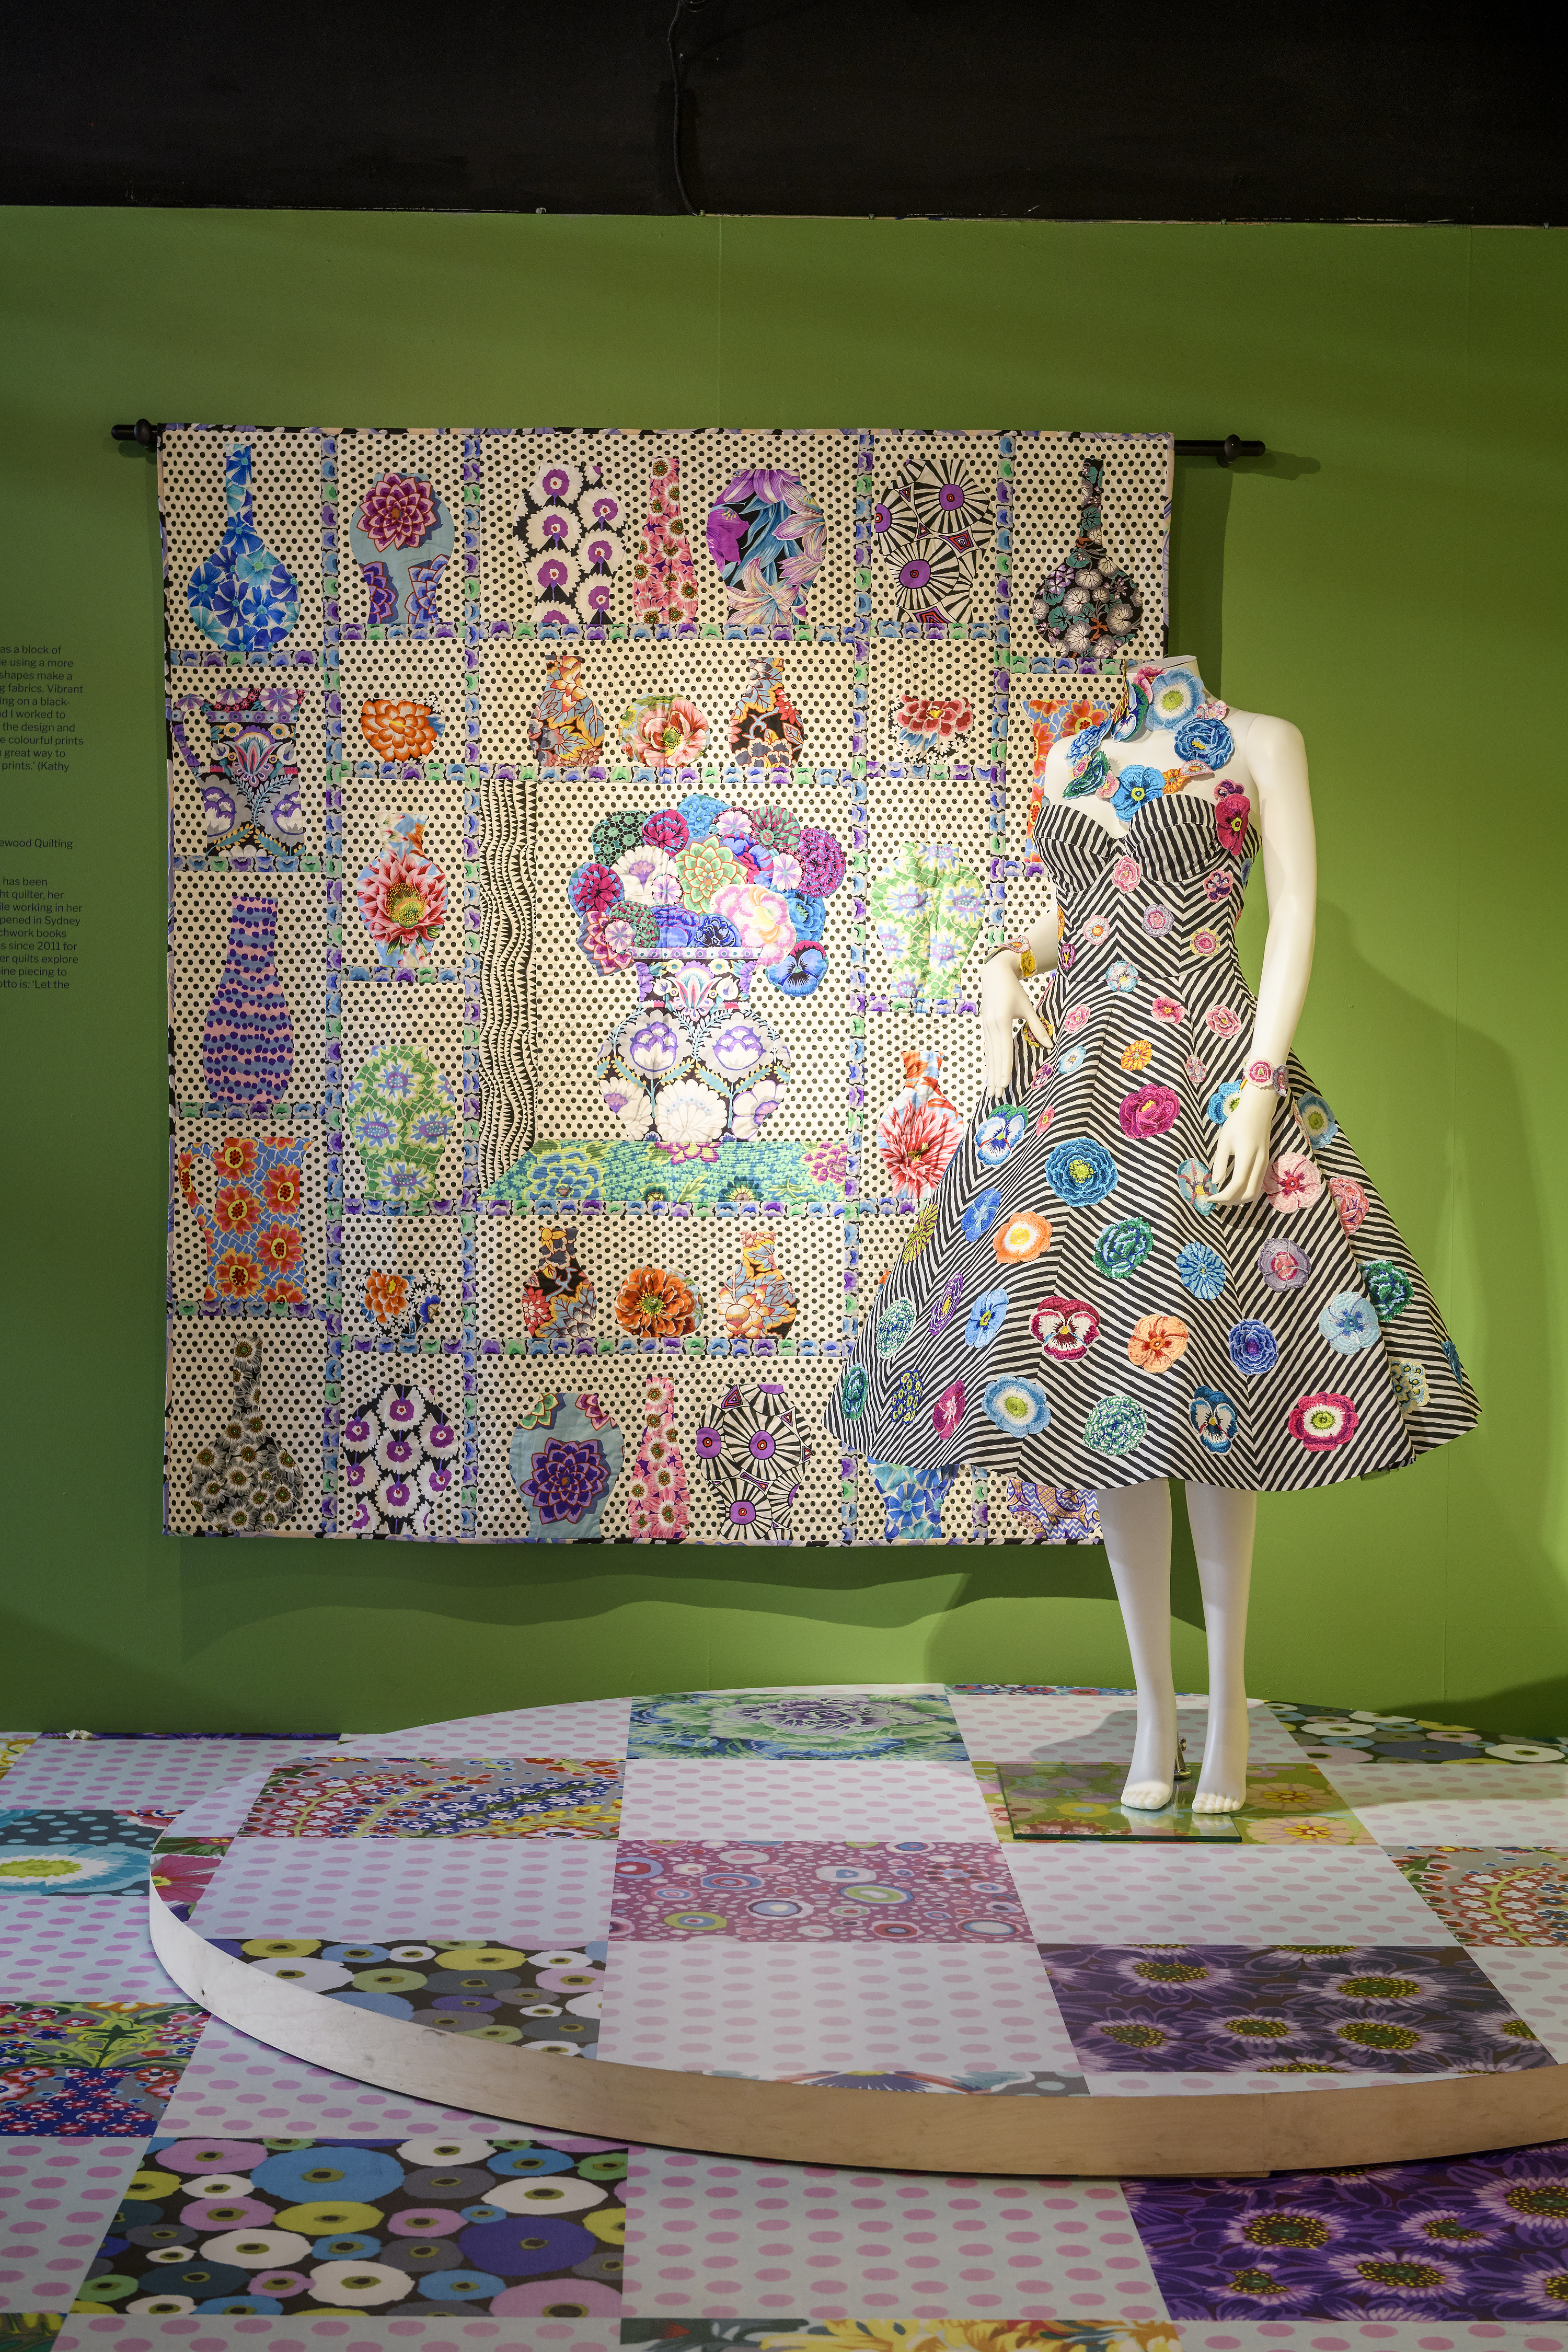
What a treat to have the opportunity to create a dress for the Kaffe Fassett – Power of the pattern Exhibition currently running at the Design and Textile Museum in London
Kaffe Fassett is one of the most successful artists and designers working in contemporary craft today. His career spans over 50 years with a prolific oeuvre that encompasses knitting, needlepoint, mosaic, quilting, textile design, painting and drawing. His books and projects have encouraged millions to make and to create.
Where does Kaffe get his inspiration?
Kaffe Fassett’s inspiration comes from everything around him; his inimitable eye can translate the most everyday of details into the base for one of his colourful, sophisticated maximalist designs. These designs by Kaffe and the Kaffe Fassett Collective textile designers – Brandon Mably and Philip Jacobs – are used and interpreted by quilters around the globe. The exhibition features works from international quilters and makers.
Tell us more about Kaffe’s Exhibition
Kaffe Fassett: The Power of Pattern explores Fassett’s world, drawing on original artworks from invited makers as well as Kaffe Fassett and Brandon Mably and Philip Jacobs, textiles works, photographs and archival material to illuminate the work of this distinctive, influential artist and designer.
How did you get involved with the Dress project?
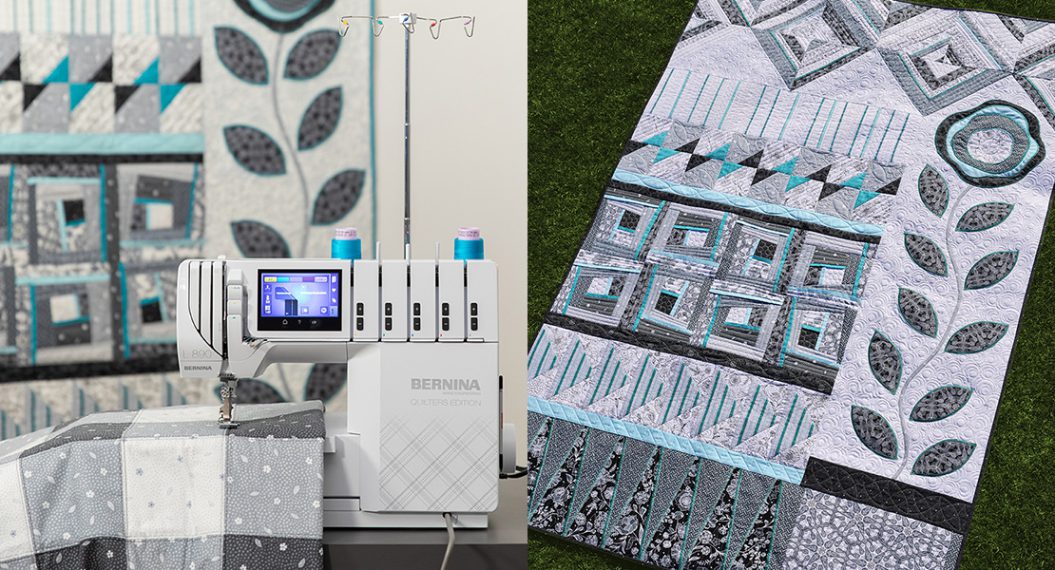
The journey began with BERNINA’s special edition machines that were designed by Kaffe Fassett. Over the past 2 years we have worked closely with Kaffe with this project and when he suggested a collaboration with the BERNINA to create a dress, I took up the challenge as for the past couple of years I have not really had an opportunity to make anything special.
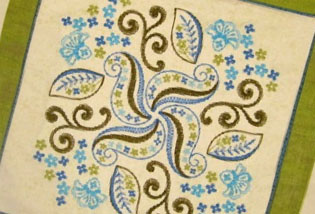
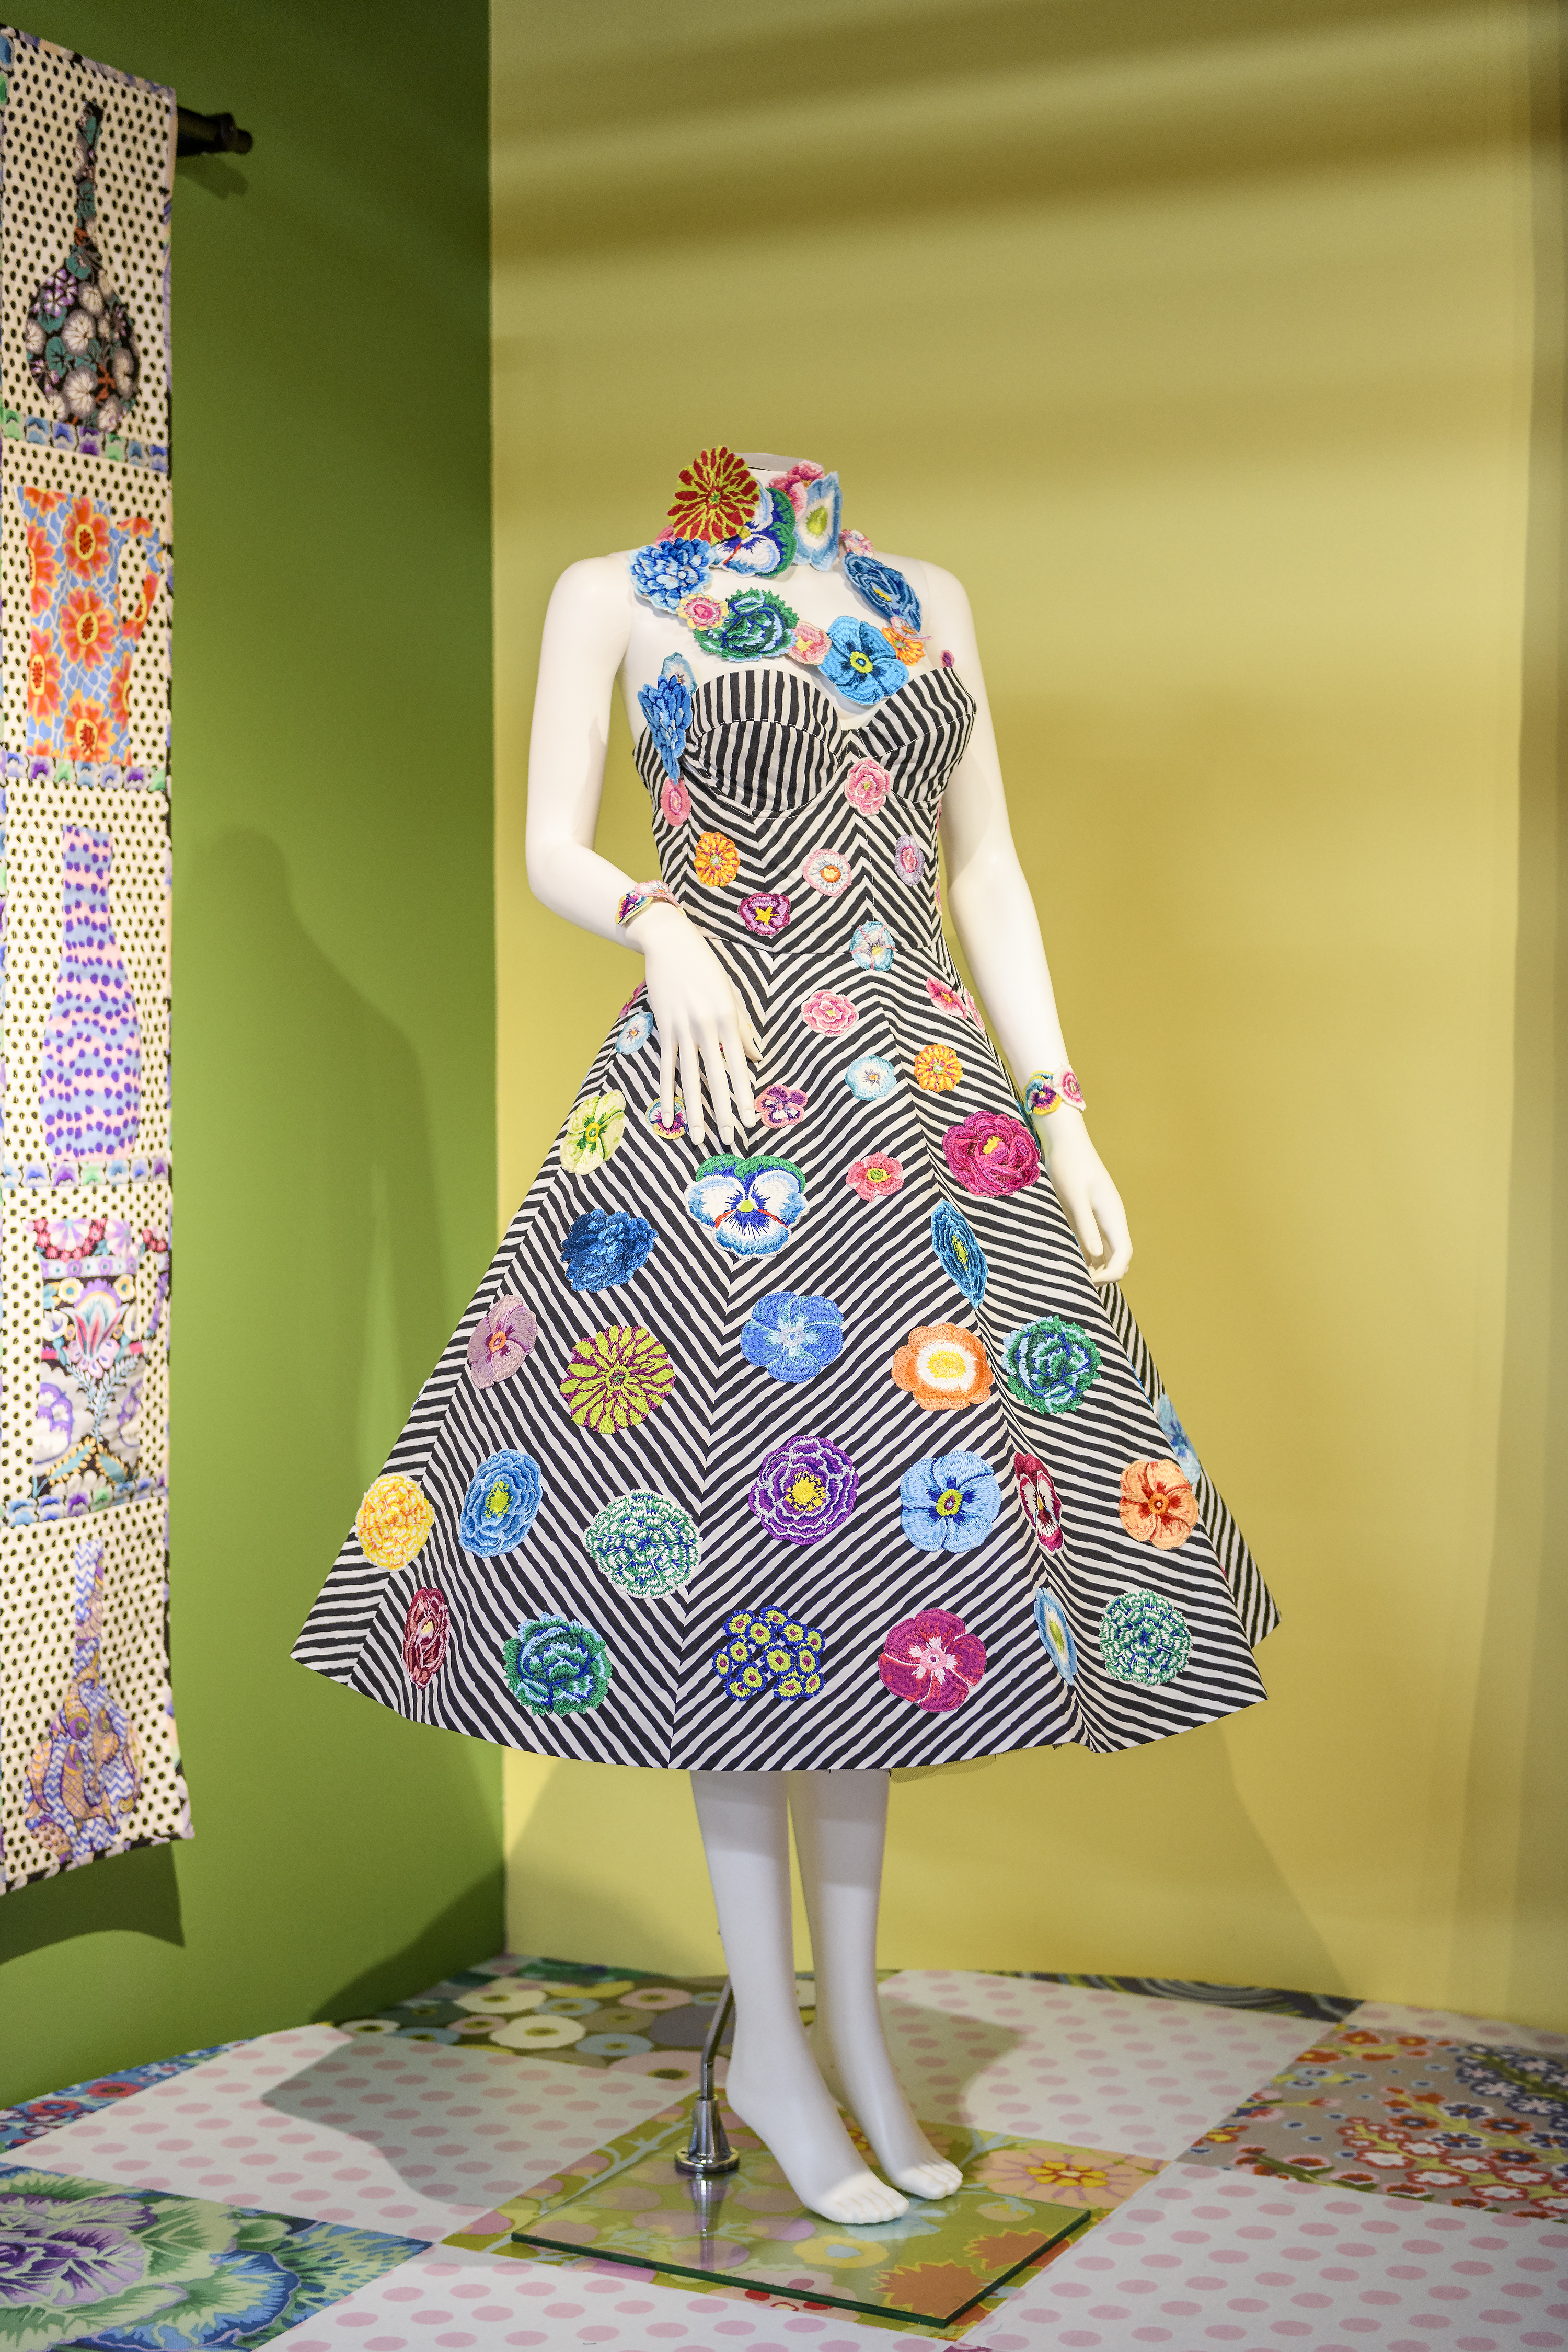
Kaffe wanted the dress to be covered with his colorful embroidered flowers which are included in the BERNINA 770 QE Special Edition Model. I thought it would be nice to have 85 flowers to represent his up in coming “special” birthday. This was going to mean a lot of embroidery, but I thought it was worth it.
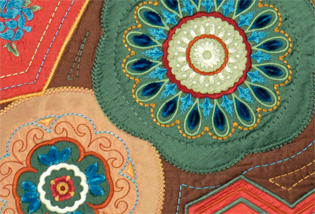
The Embroidery
Due to the nature of the embroidery designs having long stitches to give a hand-look effect. I decided not to stitch them directly on the dress but to stitch them when the dress was partly constructed. I knew this would give me more flexibility with placement of each flower.
I put the word out in the BERNINA factory that I needed help creating all these flowers and I was overwhelmed with support from keen machine embroiderers. From our receptionist to product managers, educators, and we even used flowers from the testing department done during the testing process of the Kaffe machines. I even received flowers from my colleagues in other countries. It was so nice that they all wanted to a part of the project. The goal was easy to achieve, and I ended up with more than enough.
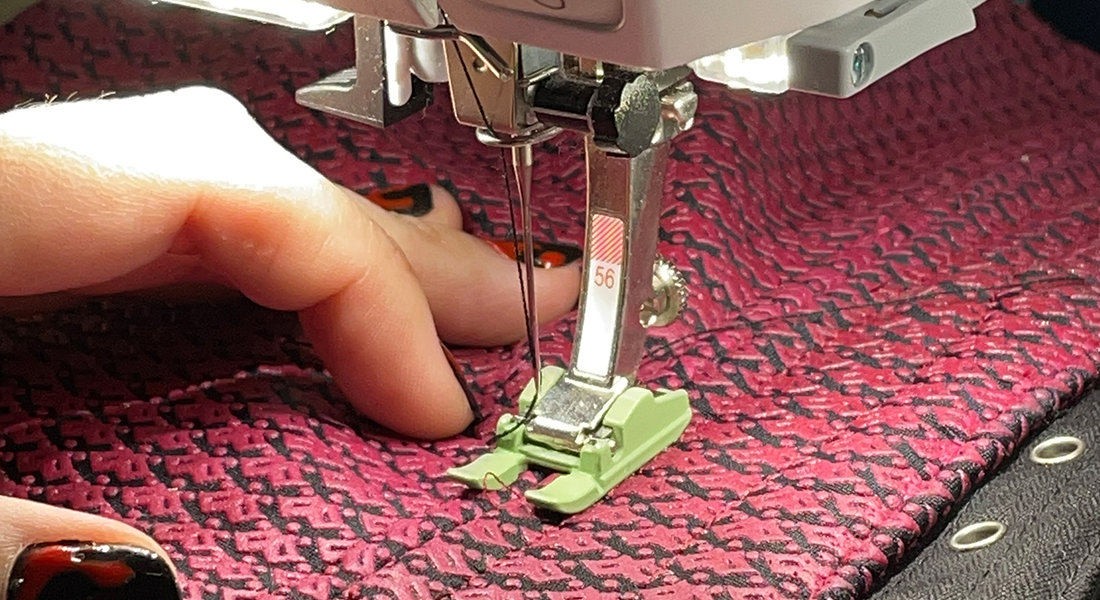
They were stitched on 2 layers of wash away stabilizer and a layer of chiffon or polymesh stabilizer. What is important here is to have a stability when embroidering and then once the embroidery was washed, a flower that was soft and flat, making it easier to sew to on to the fabric. A good press with an iron or ironing press helped.
What about the Dress Design?
I really love the Christian Dior and the feminine styles of the 50’s. I was given a proposal from Kaffe which featured a dress with a strapless bodice. I decided an 8 gored skirt was a better choice to make the most of the fabric and I created a chevron design with the panels by cutting them at a 45° angle. I also incorporated the chevron design into the corset style bodice.
The gown was to feature several petticoats underneath. I wanted to bind the hems with colorful floral fabrics from Kaffe so they popped out under the dress as you move and dance. My colleague Doris Brechbuhl stitched the Petticoats with the help of the BERNINA L 890 and the binder attachment made the bound hems a breeze.
How did you decide what Fabric to use?
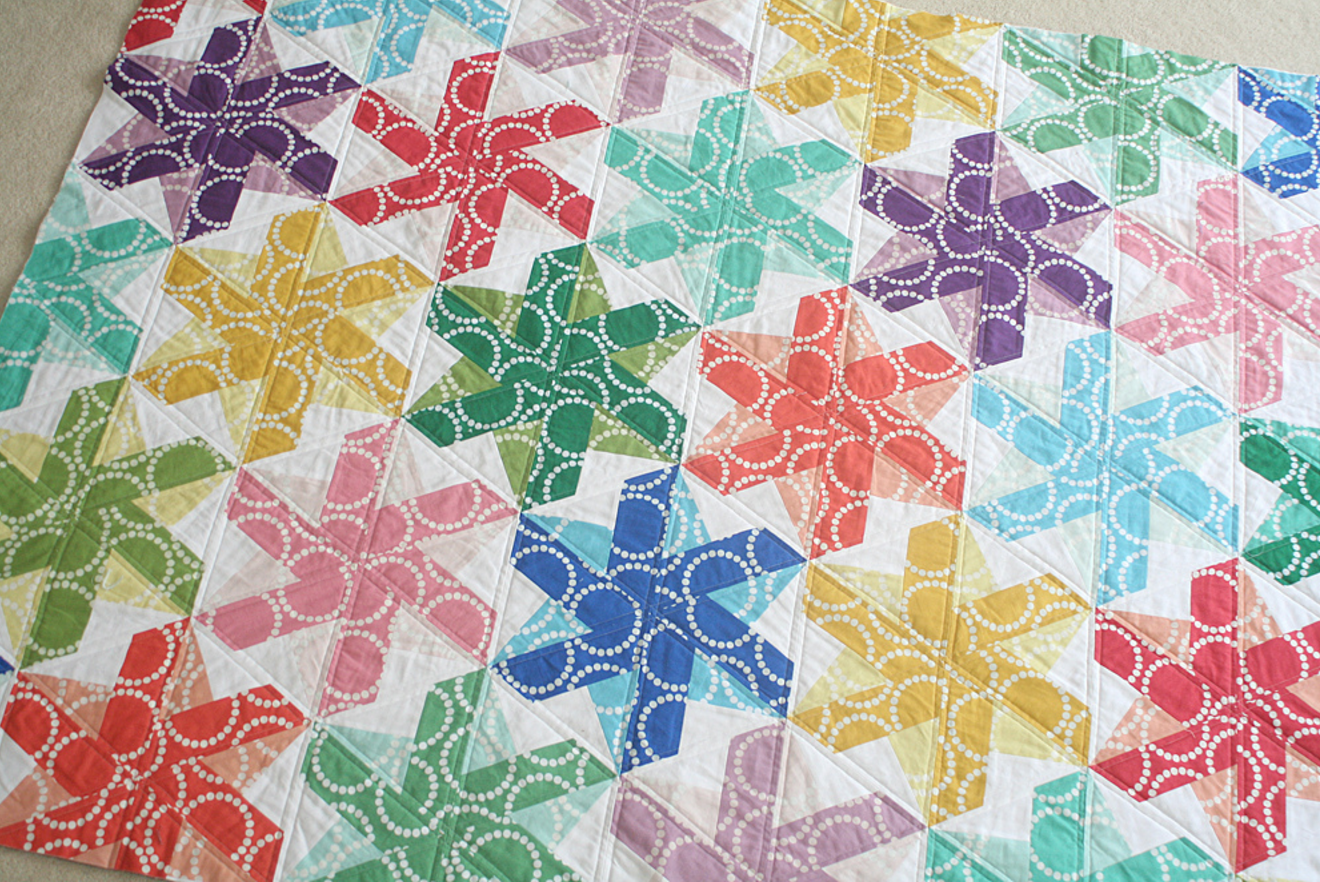
This was a wish from Kaffe to use the black and white stripe from Brandon Mably called Comb Stripe. The lines of the stripes are not straight which were challenging to match but early on I decided to do my best and I accepted quickly that it was going to be impossible to match every stripe and was very liberating.
Because it is a cotton patchwork, I wanted to give it body for the skirt, so I used a heavy iron-on interfacing. Mostly for it to handle the weight of the embroidered flowers.
Cutting Out the Pattern Pieces
I made a pattern of a single gore, and I made sure that the angle of the placement for the fabric was 45°. To be totally honest it was not easy on the eye, so it took a while to cut out. In total I had 4 with the lines going upwards and 2 downwards.
I took particular care with cutting, It actually almost took longer than sewing the dress.
Stitching the Dress
BERNINA dual feed was a god send to get the stripes to match as best as I could. I stitched the gores together using a 2.5mm stitch length to create a front and back and neatened all the seams and the hem with a 3 thread wide overlock seam. At this point I basted a 1.5cm hem line and then pressed it up and basted again. I then placed the flowers in position. Making sure once the sides were stitched the multi-colors worked.
I made the bodice separately and then attached it to the skirt when completed. Adding boning to the center back center front and side seams gave it more stability. What I discovered is that with a striped fabric you must decide what color thread to go with – I went with white and then if there were any showing of white stitches on the black in the seams, I took the liberty of coloring them with a textile marker.
How did you attach the flowers?
Due to all the colors of the flowers and to try and give the impression that the flowers we embroidered on the dress, I used BSR and Mettler Transfil polyamide transparent thread on the top and Metter Seralon in the bobbin. I am not usually a big fan of this kind of thread, but this was the best solution time wise and effect wise as I was able to stitch close to the edge and it really was invisible. I was pleasantly surprised how well it worked in the machine and all I had to do was lower the top tension slightly. My machine never skipped a beat.
I also used underwires below the bust. My absolute favorite foot, the Edgestitch Foot #10 for the under topstitching on the bodice. I stitched on the smaller flowers as I did on the skirt then added the shell of the lining under stitching it on the top edge.
Once the bodice and skirt was attached I added an invisible zipper to the side with the help of another favorite foot of mine the Invisible Zipper foot #35. It was excellent to get a nice result with matching those stripes.
As you can imagine the dress was getting quite heavy with the weight of the flowers and I was happy for the larger throat space of the BERNINA 770 QE.
It was a wonderful experience working with Kaffe and Brandon, they are both so wise and lots of fun at the same time. I really enjoyed the creative process and I am happy with the result.
Learn more about the gown and the exhibit at blog.bernina.com.