Beginner Embroidery with Pinpoint Placement
Placing an Embroidery using Pinpoint Placement is a life-altering experience. In this beginner embroidery guide to getting started with machine Embroidery, We will discuss every aspect of the process. From gathering your supplies all the way up to taking your finished Embroidery out of the machine. If you have a hard time getting your embroidery in just the right spot, I got you covered! This post is also a continuation of my last post about creating the color blocked rectangle textile design. See this beginner-friendly tutorial here on WeAllSew.
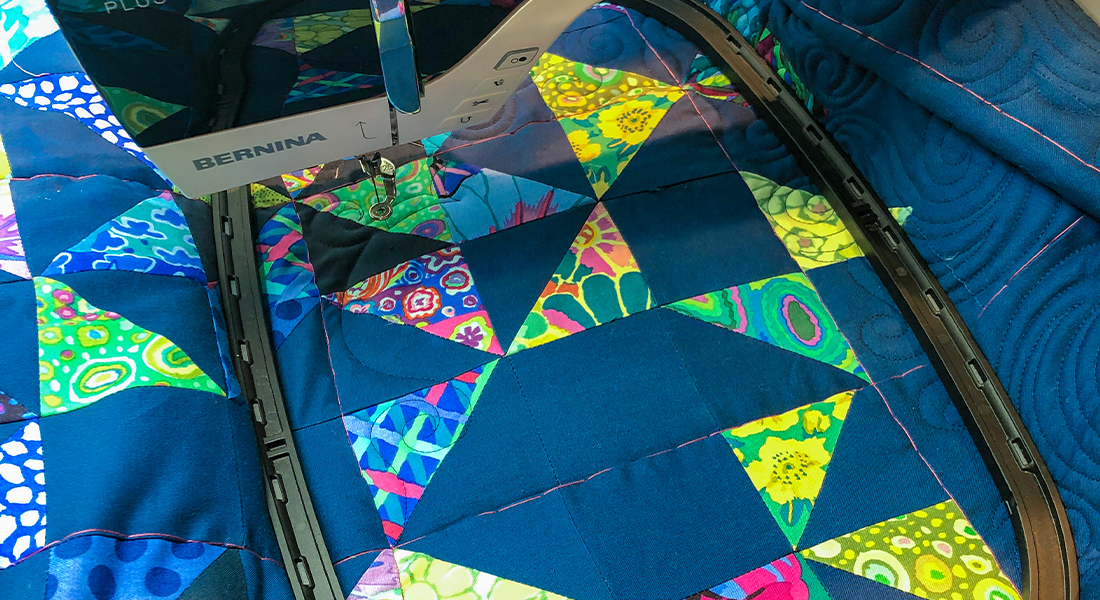
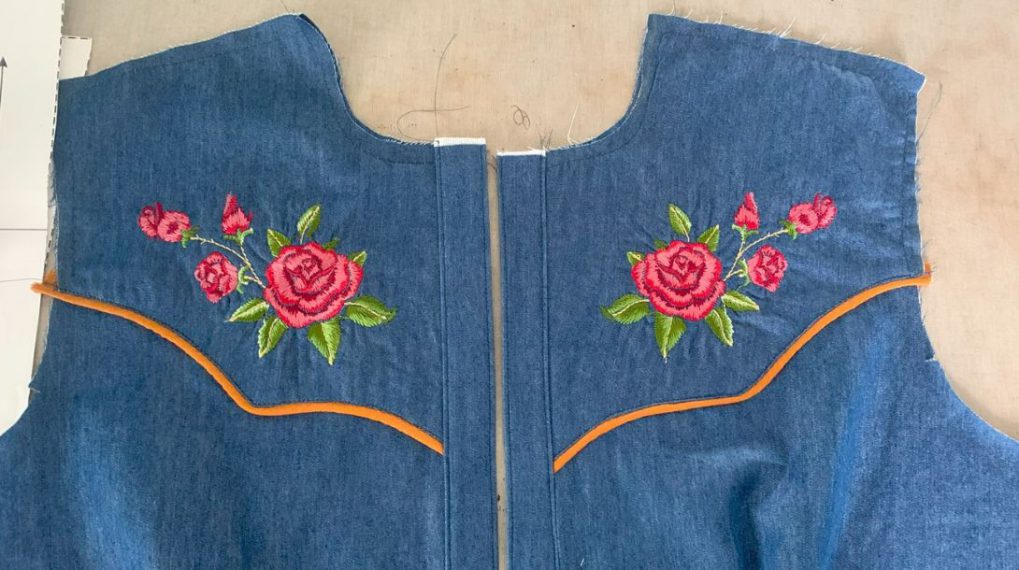
To get you up to speed, I am creating an oversized Bomber Jacket that incorporates everything I discuss with you in both blog posts. I decided that using some of my custom fabric from New York Fashion Week last Fall, would be an excellent way to create a colorful piece of art. I am taking my time with this jacket because I really want you all to see the magic. If you would like to see a visual of the look I am aiming for, check out that blog post. The final piece will be shared in the coming months.
Getting Started

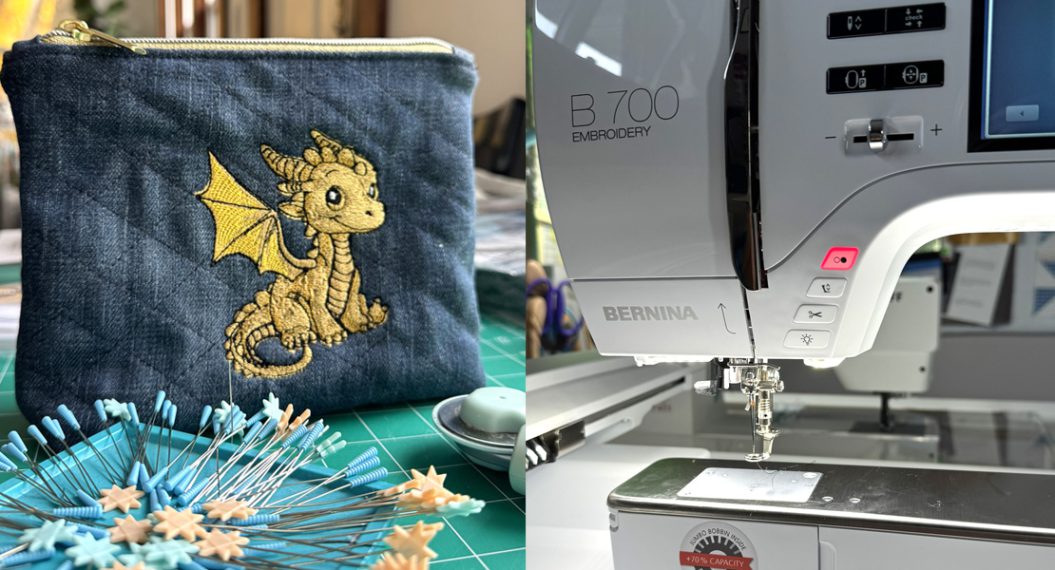
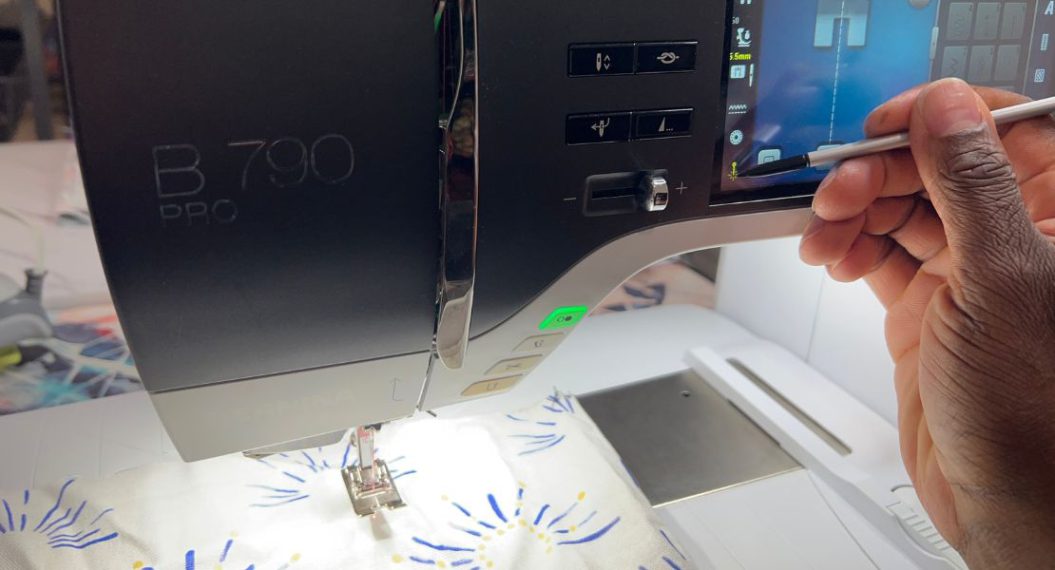
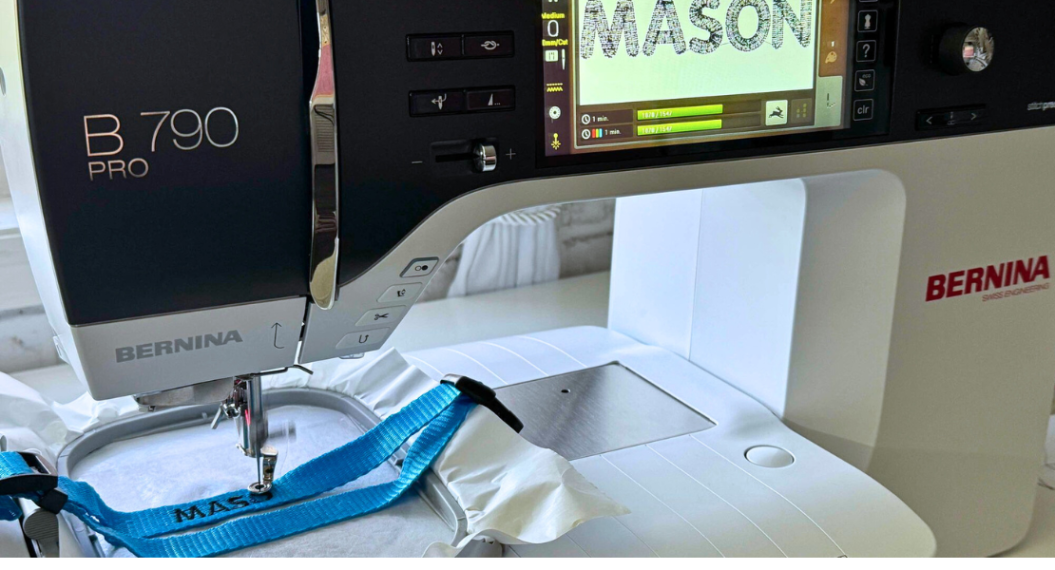
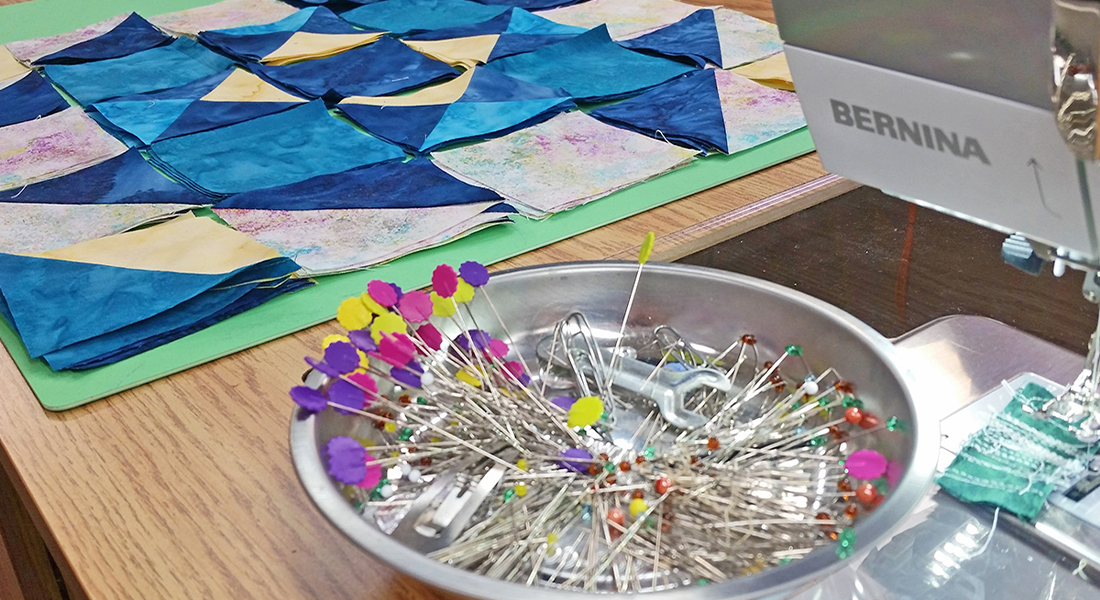
For beginner embroidery, but especially when executing any embroidery project, there a few basic tools you will need. These will include but are not limited to your embroidery hoop of choice, BERNINA embroidery foot #26, 0 mm single hole needle plate, appropriate stabilizer, embroidery thread, bobbin thread, embroidery needles, bent thread trimmers. You will also need a thread net if you wish to make use of one. They are an excellent way to ensure your embroidery design does not end up with “loops” on it and ensure your thread is fed properly through your sewing machine. Do not forget the most important duo, your sewing machine and embroidery module! I will be demonstrating on the BERNINA 790 PLUS sewing and embroidery machine. For beginner embroidery, you want to keep things simple BUT do not be afraid to challenge yourself!
Testing the Embroidery Design
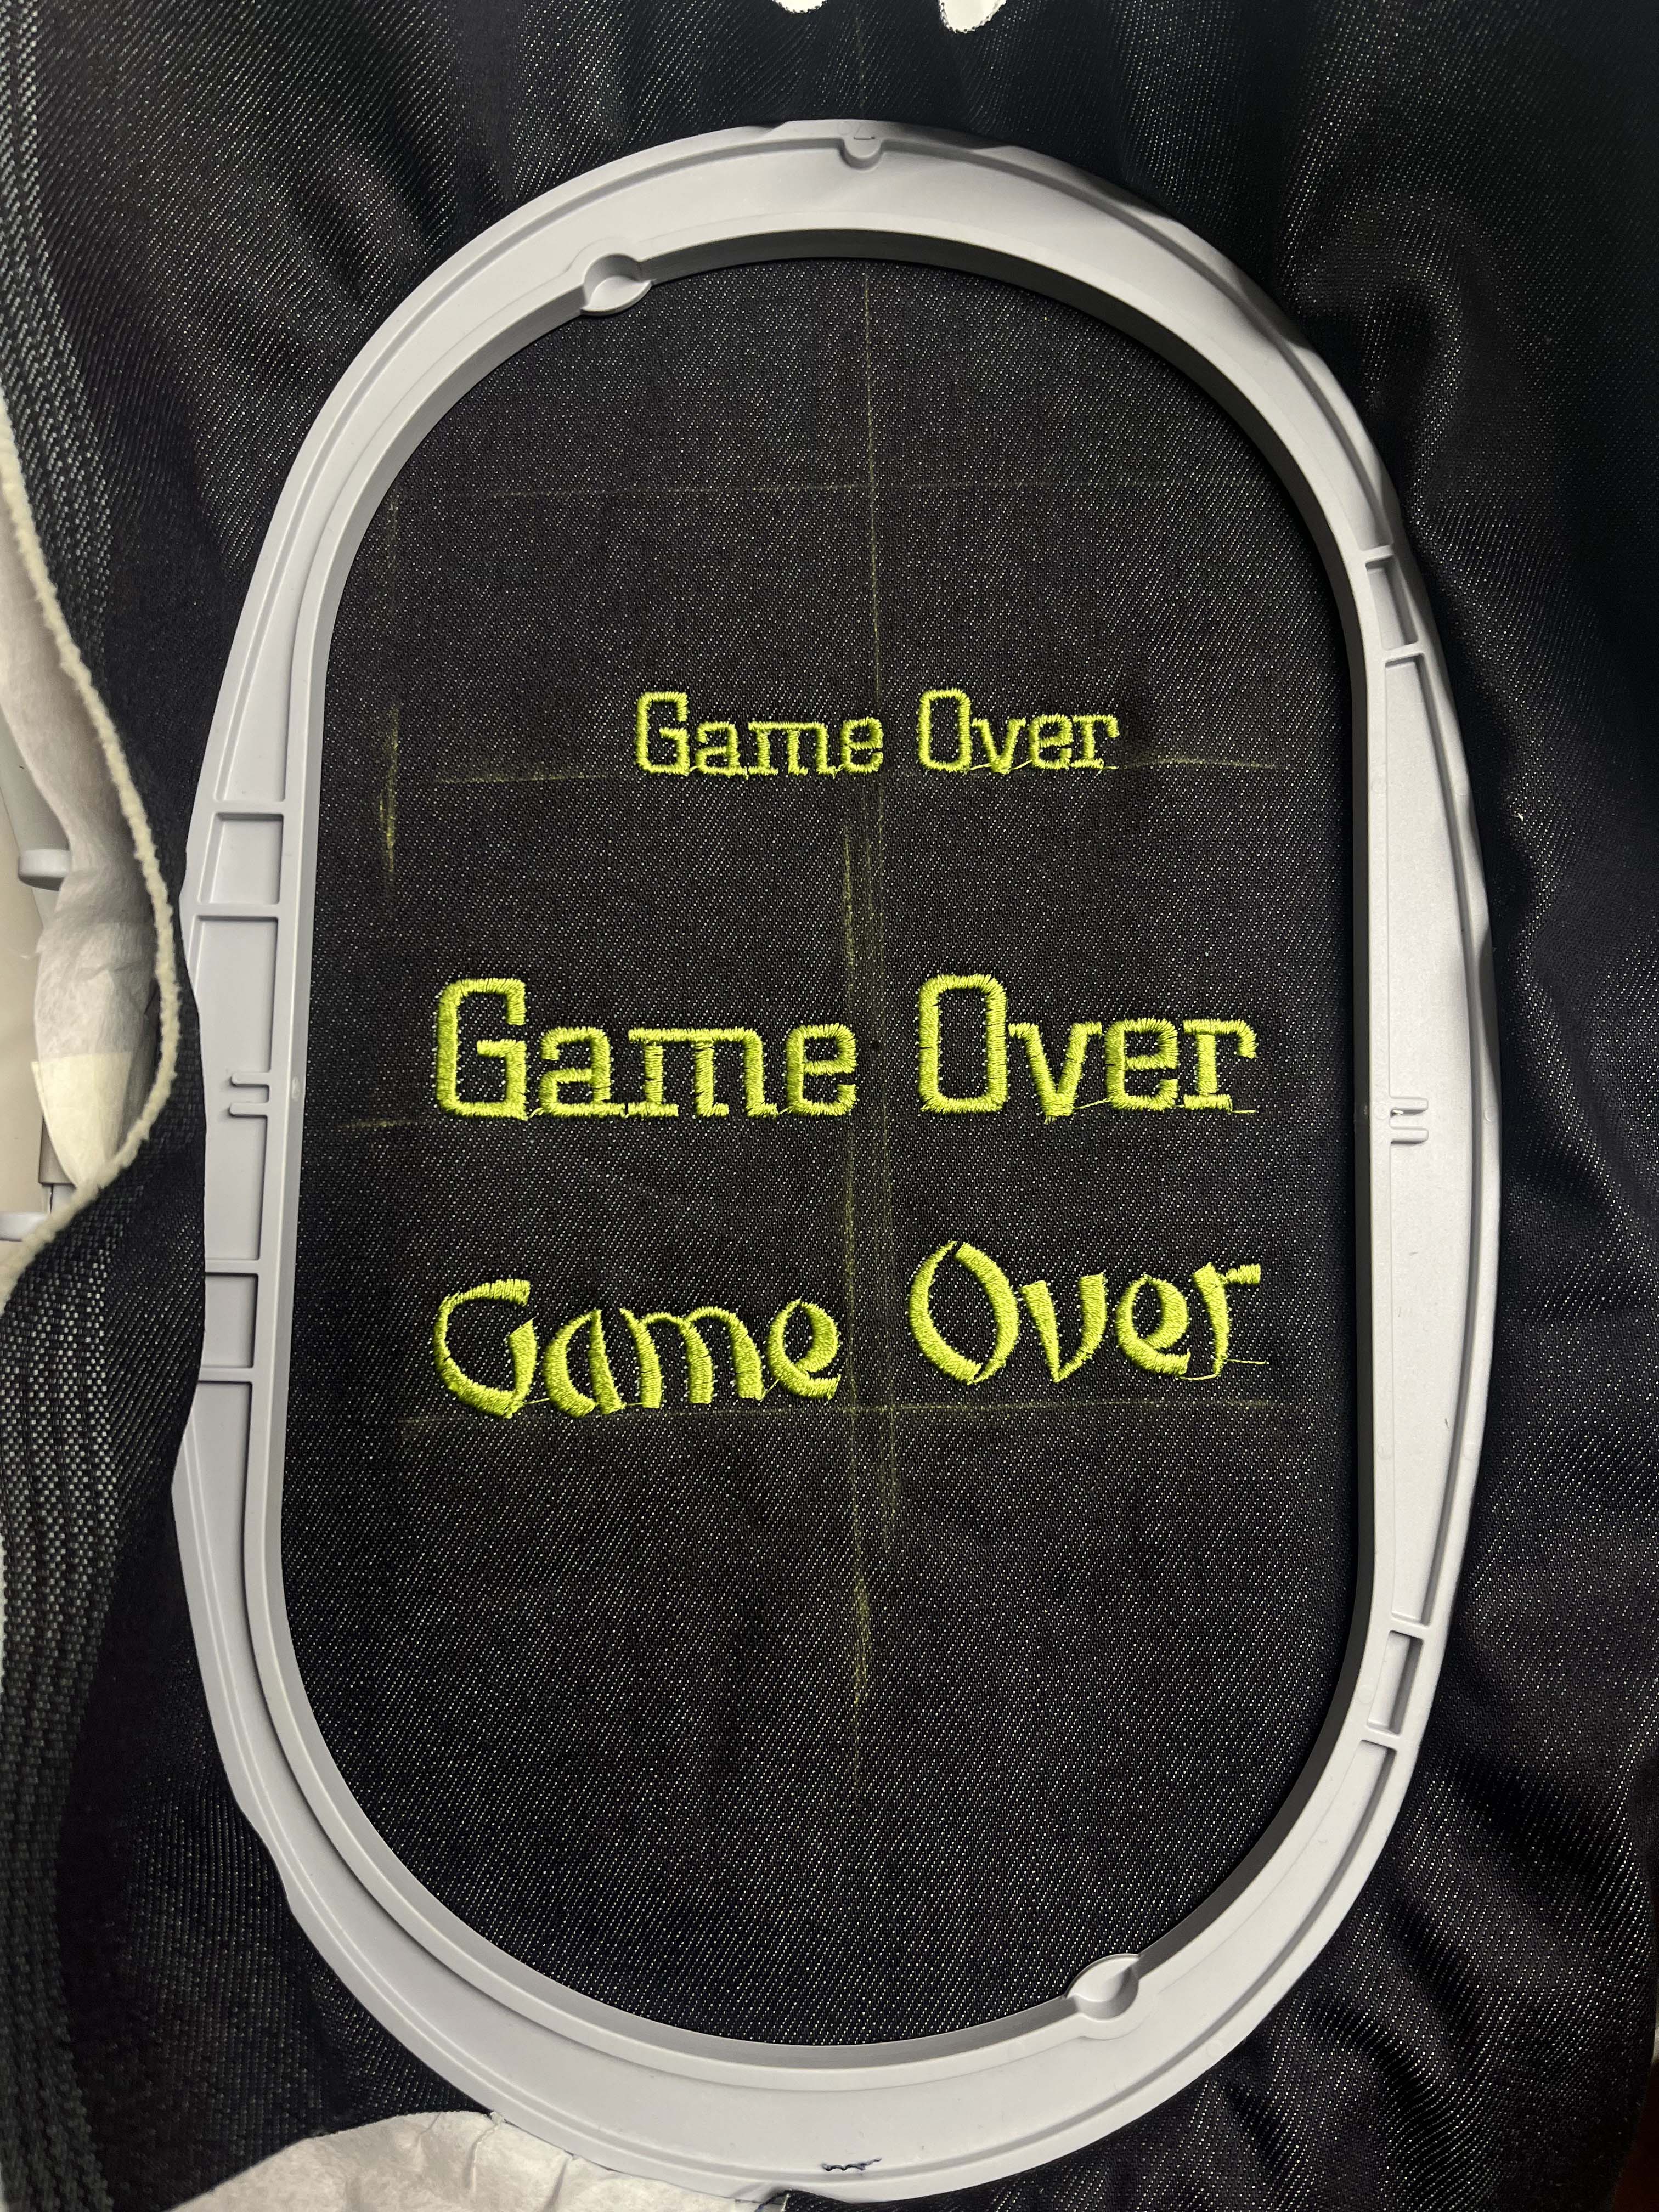
As soon as I got my machine all set up to embroider, I went straight to my alphabet folder and started playing with font styles that are preloaded into the machine. I typed out my phrase: “Game Over” and got to stitching. This sample was done on leftover Indigo Denim from my NYFW collection along with a tear away stabilizer. I wanted to start here since there was not extra yardage of my final fabric. The first two fonts that you see in the image below are number 8. The first attempt was too small for my taste. The second was more of what I was looking for but still not quite there.
The third version is font number 21. I was going for a similar size to the second stitch out of “Game Over”. I also tried this version in a neon pink thread that fit even better with the cyber punk vibe I am shooting for. After stepping back and examining, I concluded this font was not appropriate for this project.
Usually it is a great idea to just choose your design and get your fabric hooped with stabilizer and embroider the design as it is to see what it looks like. No placement guides, etc. BUT knowing that this machine had Pinpoint Placement made me go straight to it right out of the gate. I did have an idea of how this would go from watching YouTube videos and reading about this feature. I did use it to “line up” these samples on the chalk lines I drew; and I say “line up” because I was not too accurate in my first few attempts at using Pinpoint Placement.
This is also why testing your design first is crucial to the final look of your project.
More Testing
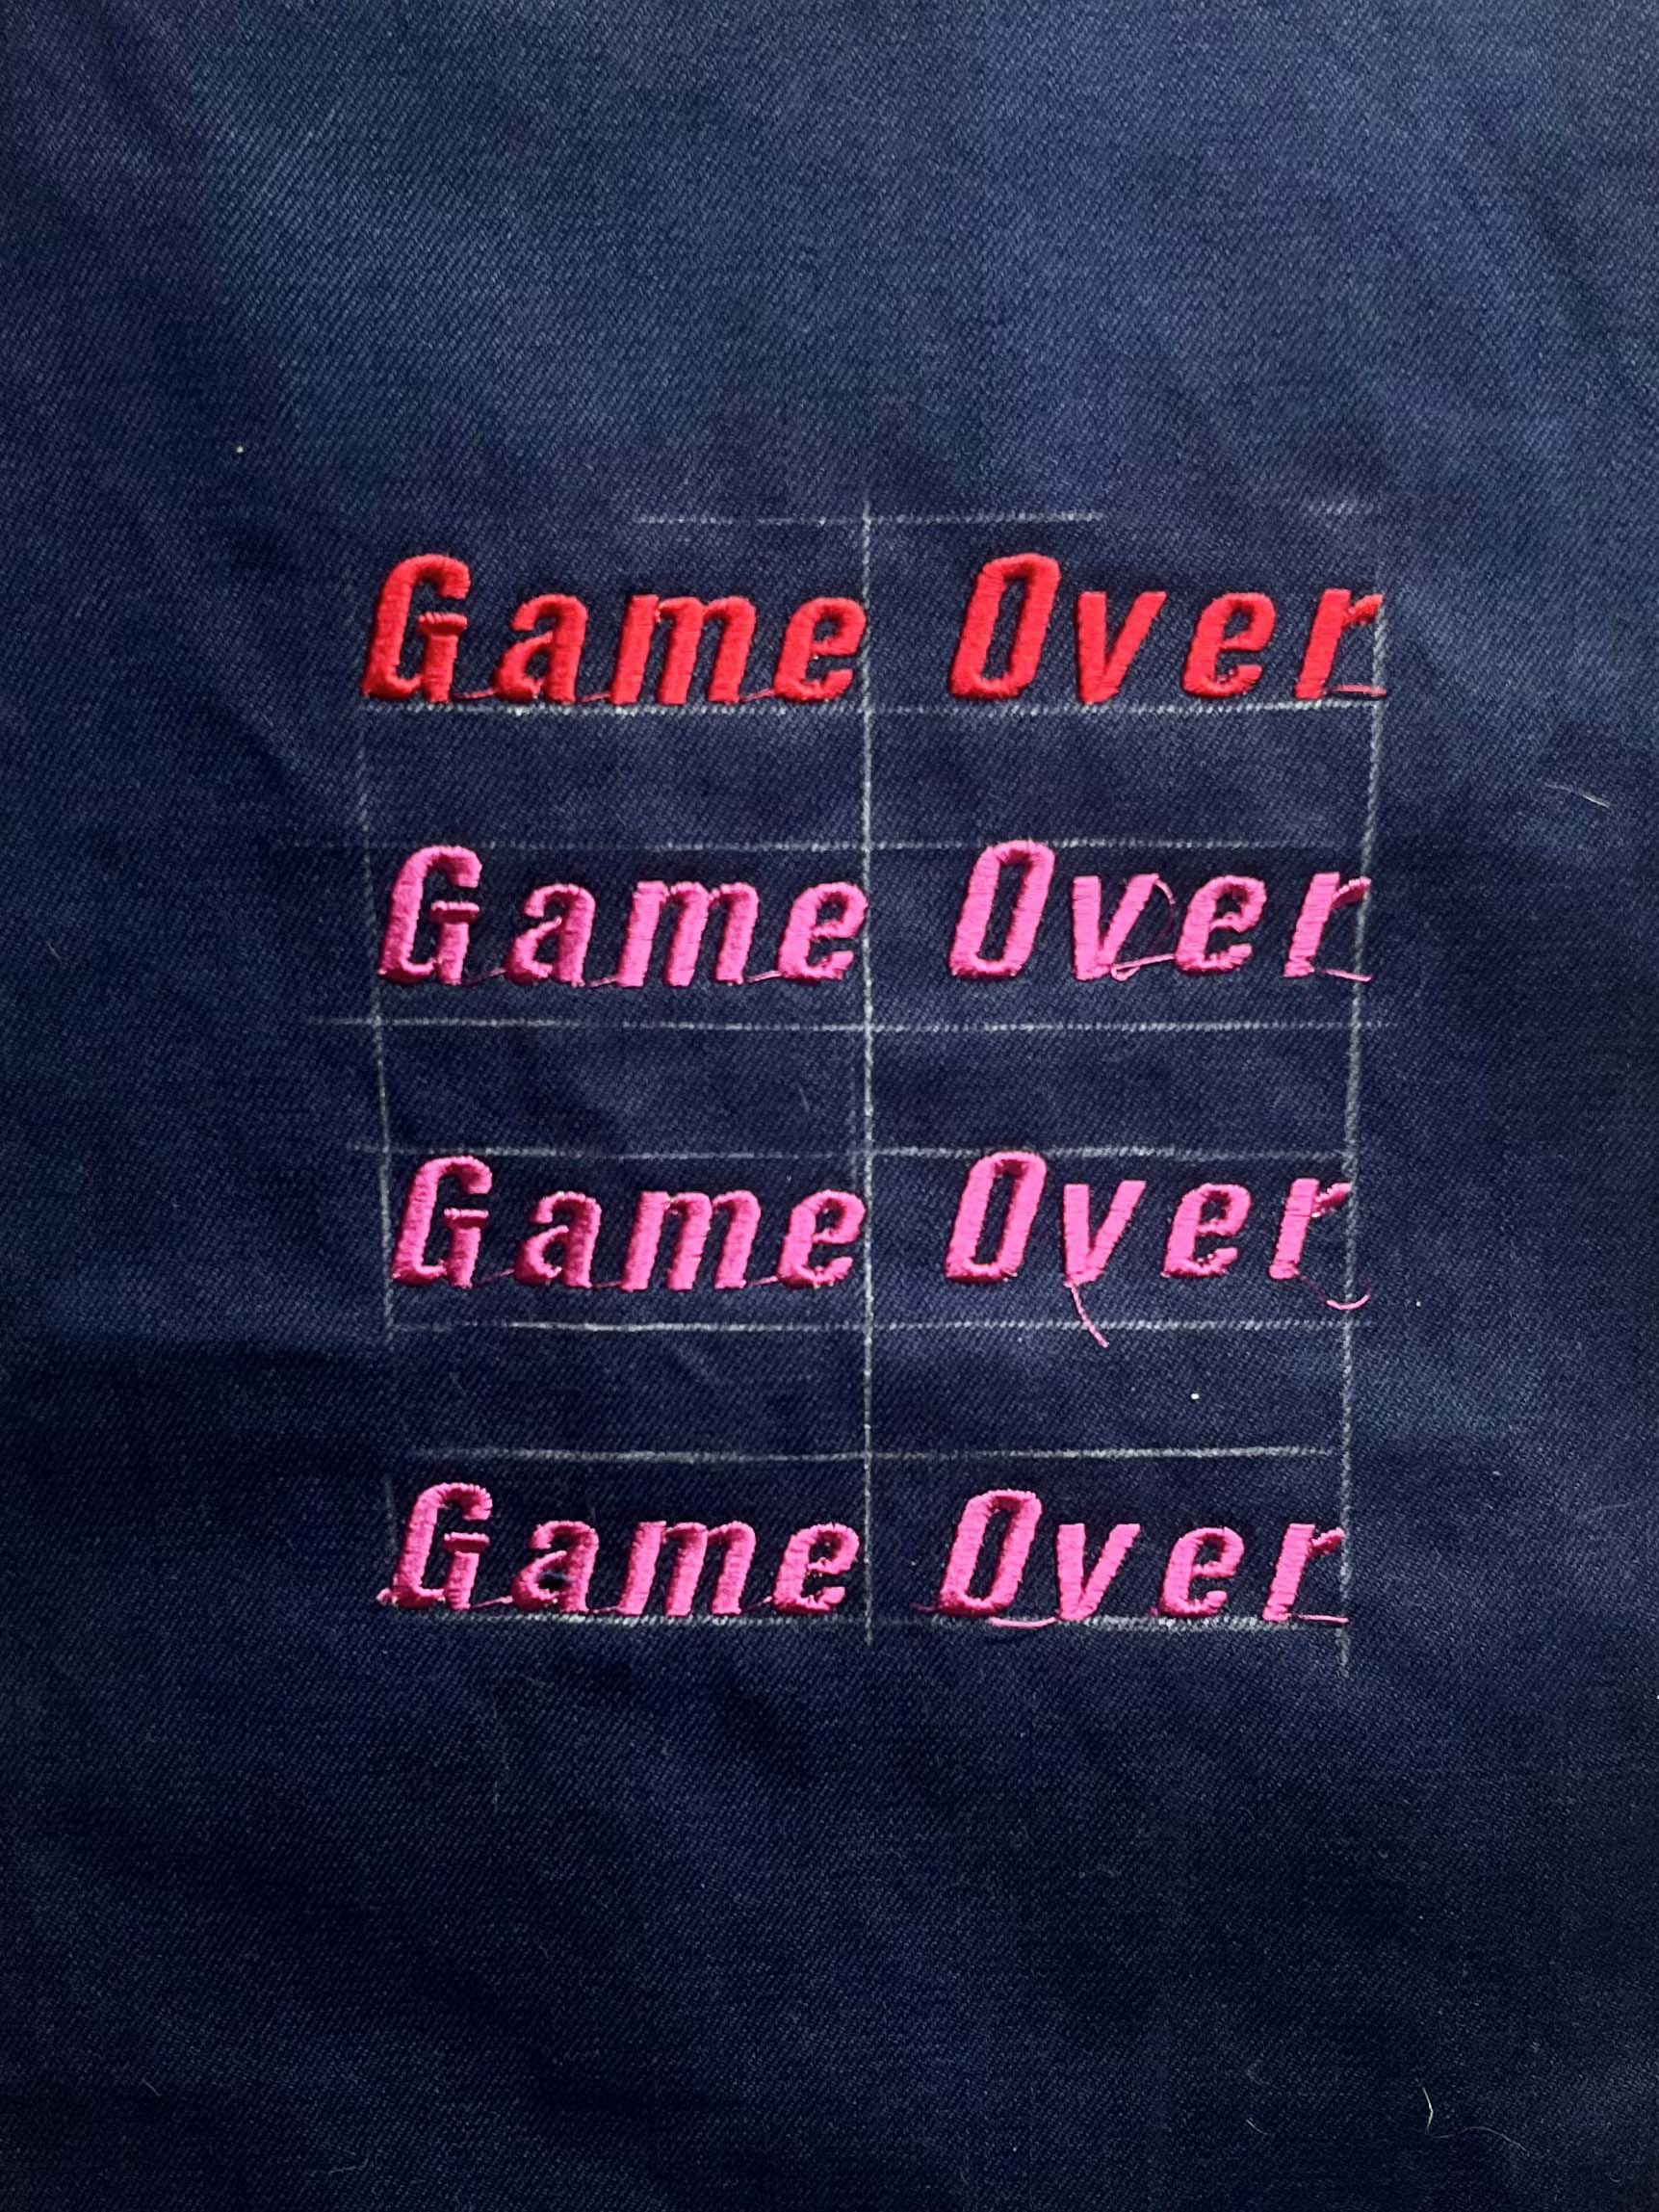
Although going for Pinpoint Placement is not a beginner embroidery move, it is worth it! I want to show you that even if you are completely new to this, it is definitely something that can be accomplished early in your journey. The image above represents the additional testing that was required for my design. I created some spaces for me to use to practice using Pinpoint Placement so that I could perfect my technique.
One major mistake that I made is not considering the size of the font that I decided to use. Since I had already been focusing on font number 8, I made the assumption that it would still work the same way for font number 21. This resulted in there being about 1/4-3/8 of space above the line I drew. The first and fourth versions are correct.
The Key to Understanding Pinpoint Placement
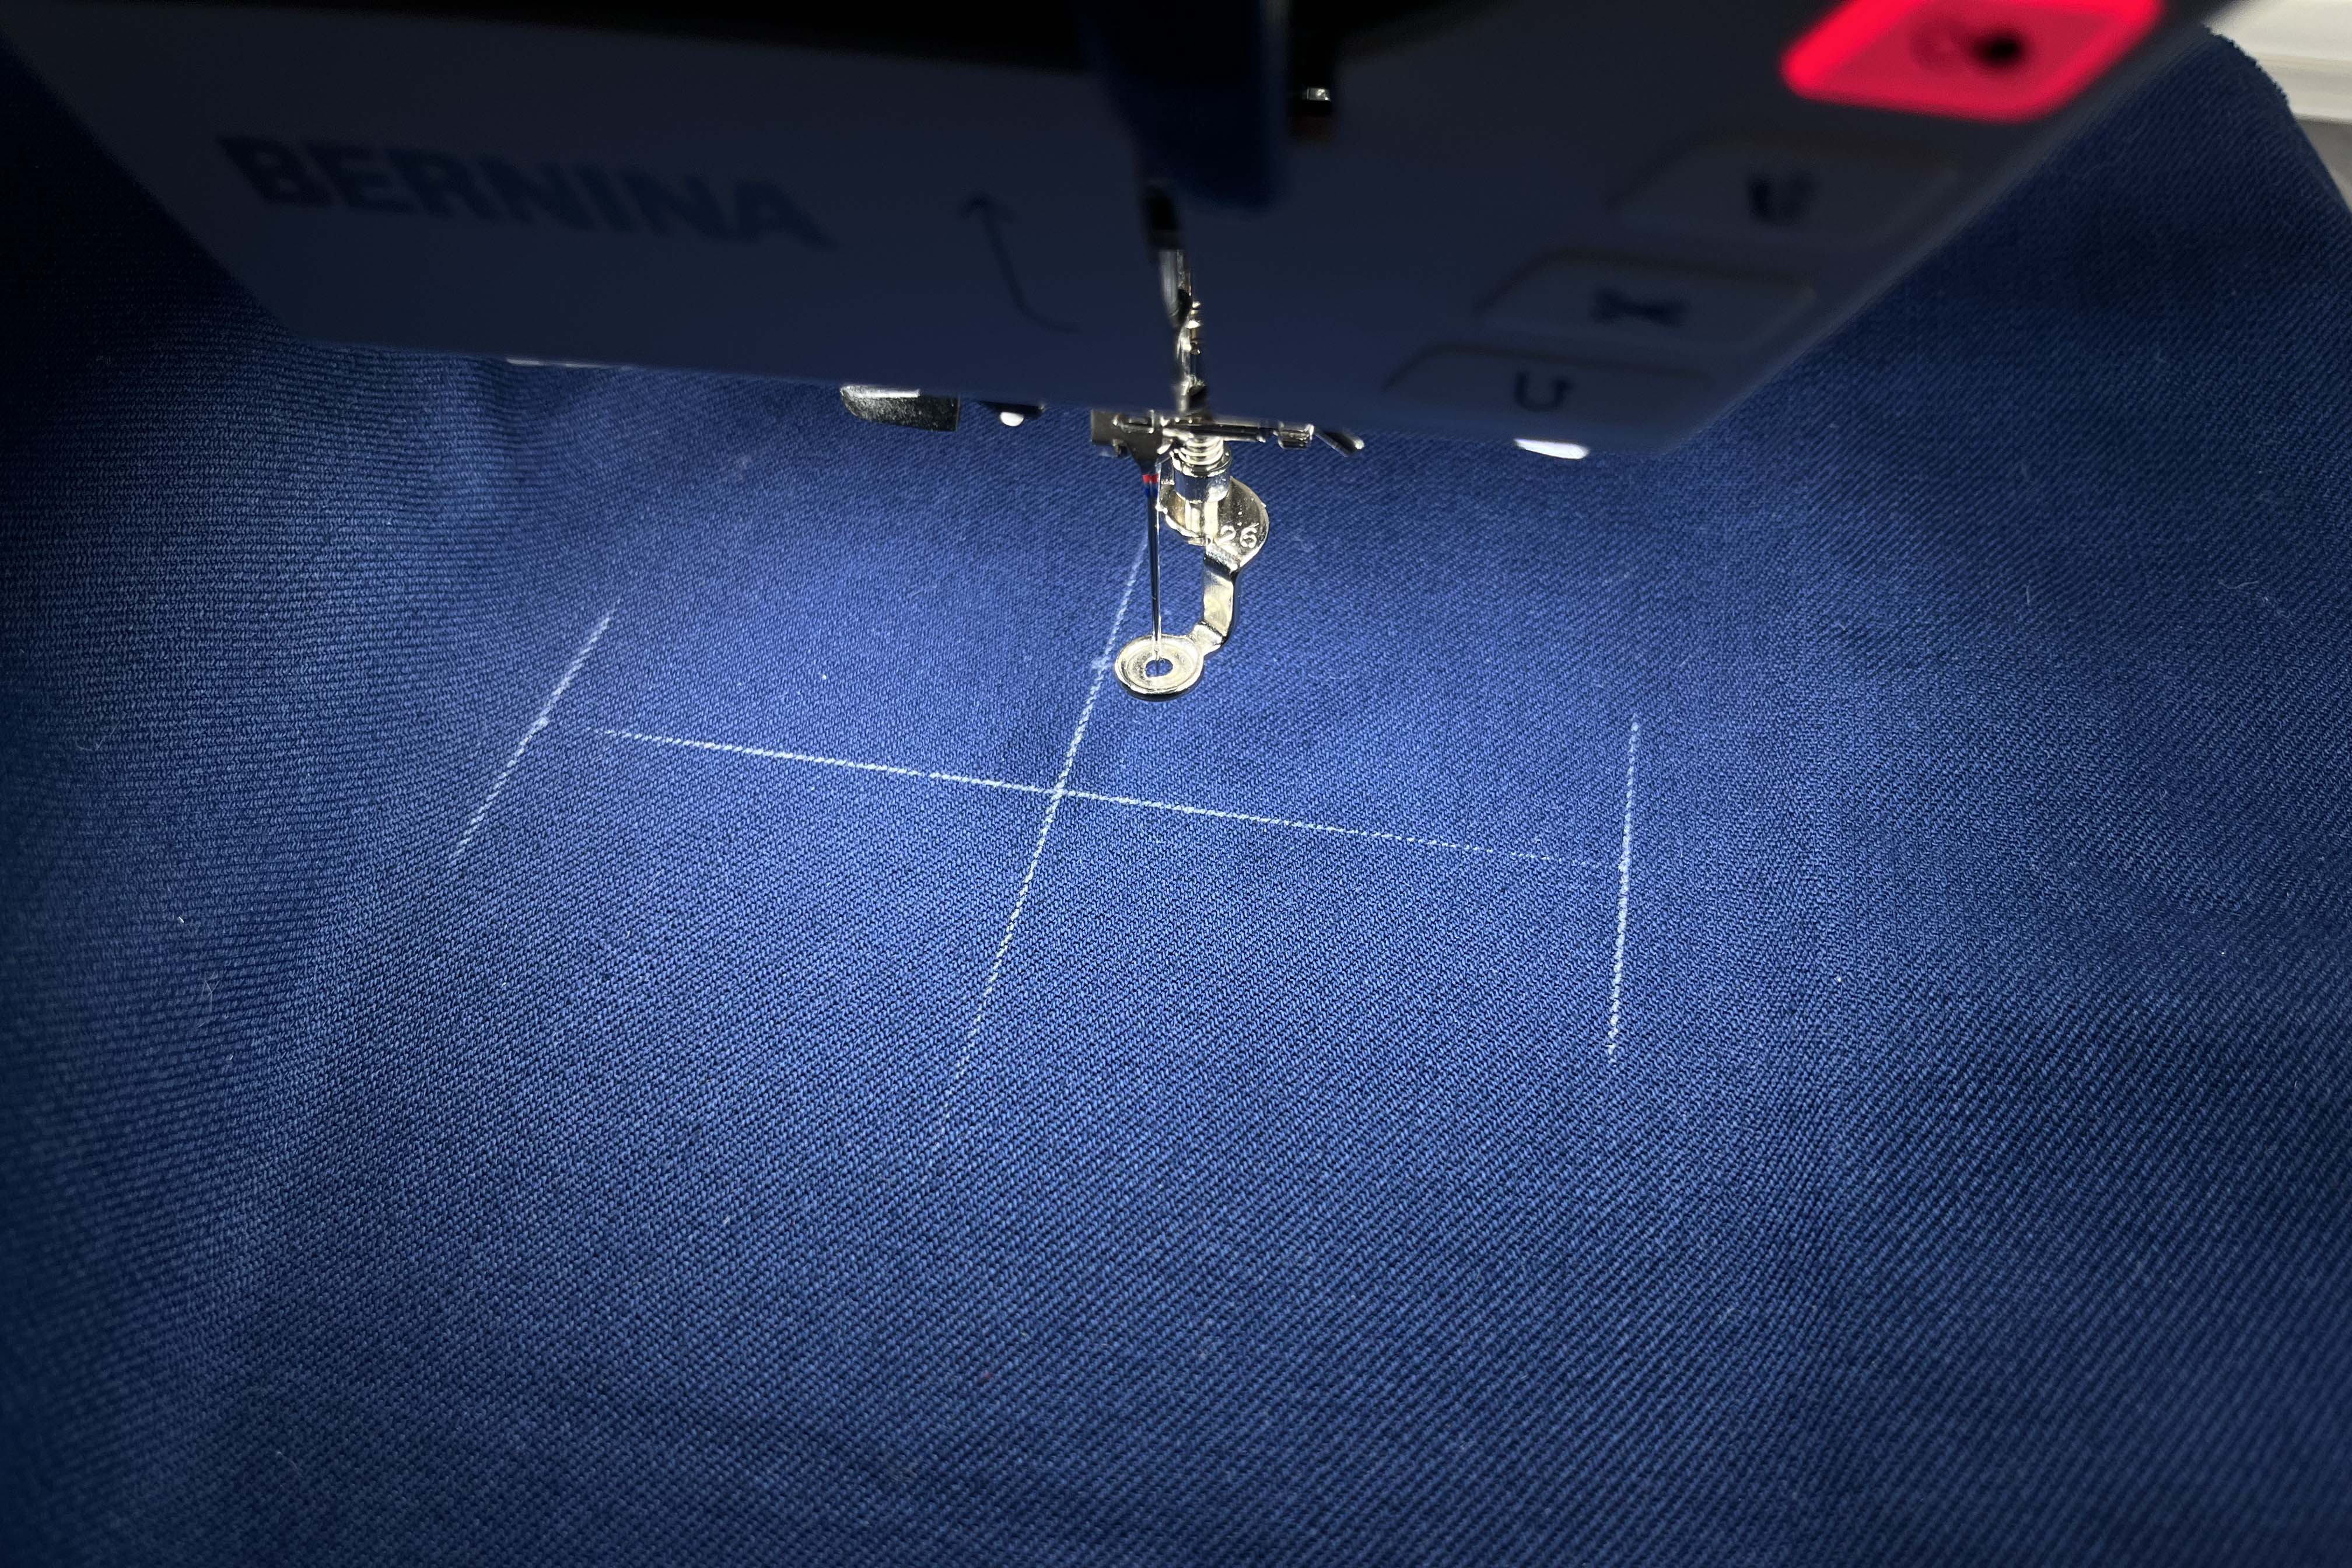
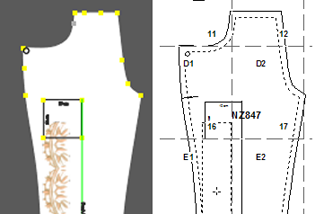
The key to achieving the perfect placement of your chosen embroidery design is plotting your measurements onto the fabric. My 790 PLUS makes this SO easy to do because after you have chosen the design and resized it, the machine will tell you the final stitch out size on the screen. This is exactly what I did with my design. I took the design and its measurements and compared it to where I wanted to place it on the garment. I will discuss this more during the tutorial.
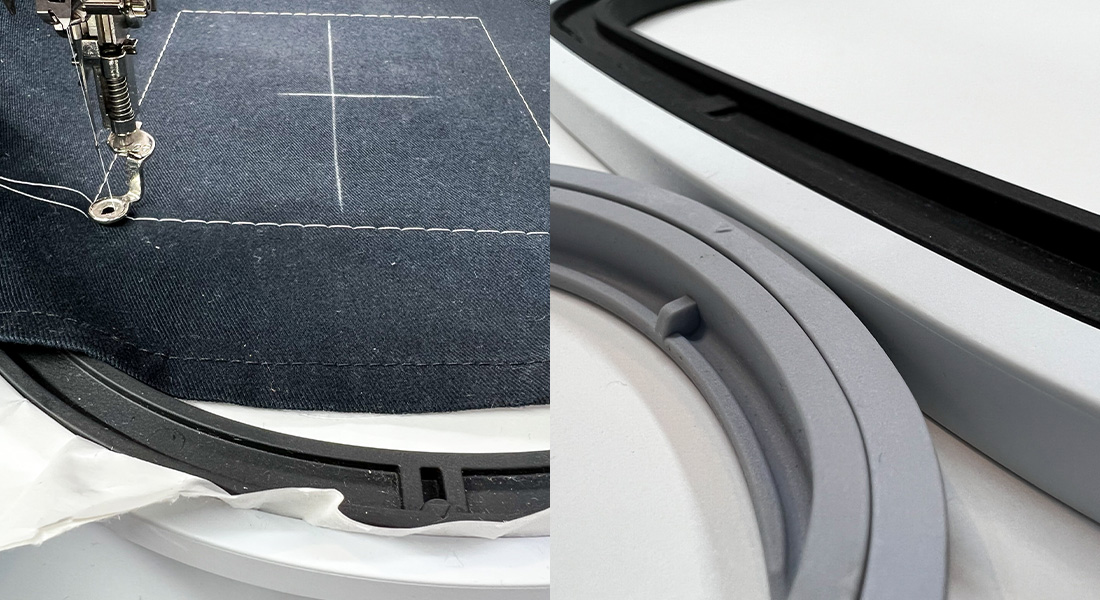
Then I used my chalk to mark the placement onto my fabric. In my case I am placing this design on the left side of the chest on the front of my jacket. I marked the vertical center line and the horizontal line where I wanted my phrase to sit. Then I marked the width of my phrase. These are key reference points to tell the machine where I wanted my phrase to be stitched. Again, this will be talked about in the tutorial.
Once you practice a few times, it really becomes second nature to use this positioning feature.
Used Products


What you might also like


4 comments on “Beginner Embroidery with Pinpoint Placement”
-
-
Yes, centering the fabric in the hoop before inserting the hoop into the Embroidery Module is the standard method BUT with Pinpoint Placement; it allows me to not be completely accurate with hooping because it allows for the design to still be placed in the correct position even if the fabric is not completely centered in the hoop.
Floating the fabric is my preferred method because then it prevents Hoop Burn.
-
-
This was a very helpful video and your style is easy to understand and helpful. Thankyou!
-
Fabian: This is a super nice, easy to understand video on Pinpoint Placement. It was a great refresher for me and I liked how you spent time on which stabilizer you chose and why. Well done!
Leave a Reply
You must be logged in to post a comment.

I am surprised you are trying to remove the film from the stabilizer and trying to center the fabric while the hoop is in the machine. Take the hoop out and put it on a table and center the fabric. Then, put it back in the machine. Also, when you do not hoop the fabric and just lay it on top of the stabilizer that IS hooped, that is called “floating the fabric”.