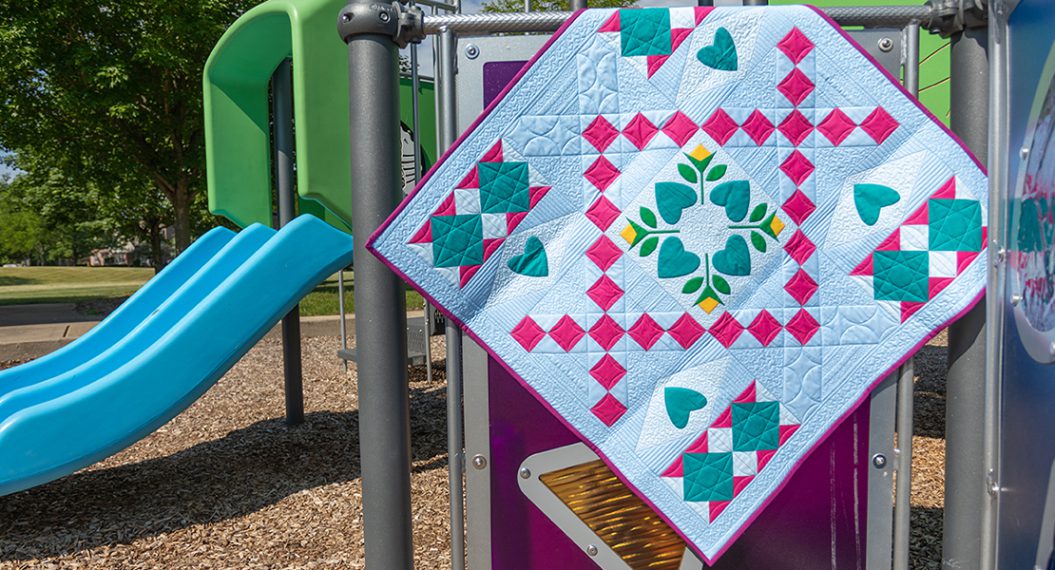
Computerized Quilting on the B 790 PRO, Part Two
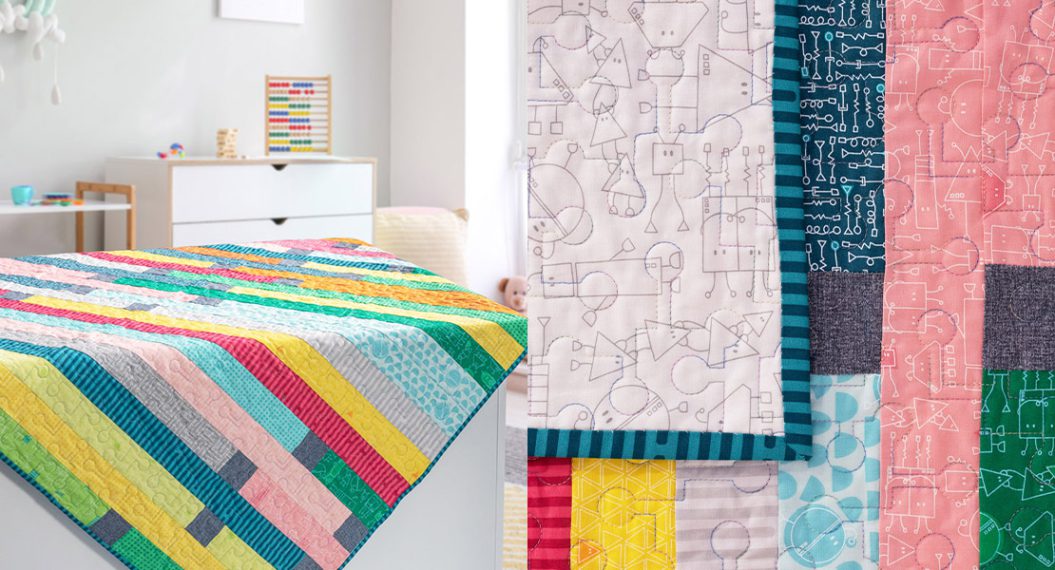
Welcome back to the Jump for Joy Quilt Along! In Part One of this series, we got our quilt and machine all set up for computerized quilting so we could finish our first block: a circle in a square!

Let’s do a quick recap for those of you who may be seeing this for the first time. Feel free to join along right now whenever you are seeing this! There are so many great posts before this one for you to check out that will walk you through everything you need to get started.
- Jump for Joy Quilt Along, Part One, which includes the fabric requirements and cutting instructions.
- Jump for Joy Quilt Along, Part Two: Raw Edge Fusible Applique focuses on raw edge fusible applique.
- Jump for Joy Quilt Along, Part Three: Chain Block contains information about the popular Chain block and perfecting the quarter-inch seam.
- Jump for Joy Quilt Along, Part Four: Diamond Block which will help you piece the Diamond Blocks.
- Jump For Joy Quilt Along, Part Five: Assembly guides you through assembling the quilt.
In today’s blog post, I’m going to help you run through a few more ways to use computerized quilting (CQ) on your quilts, using the B 790 PRO. If you haven’t seen the first part of this series, please go back since it will help you set up your machine and quilt your first block. I’m excited to dive in!
Materials for CQ the Jump for Joy Quilt
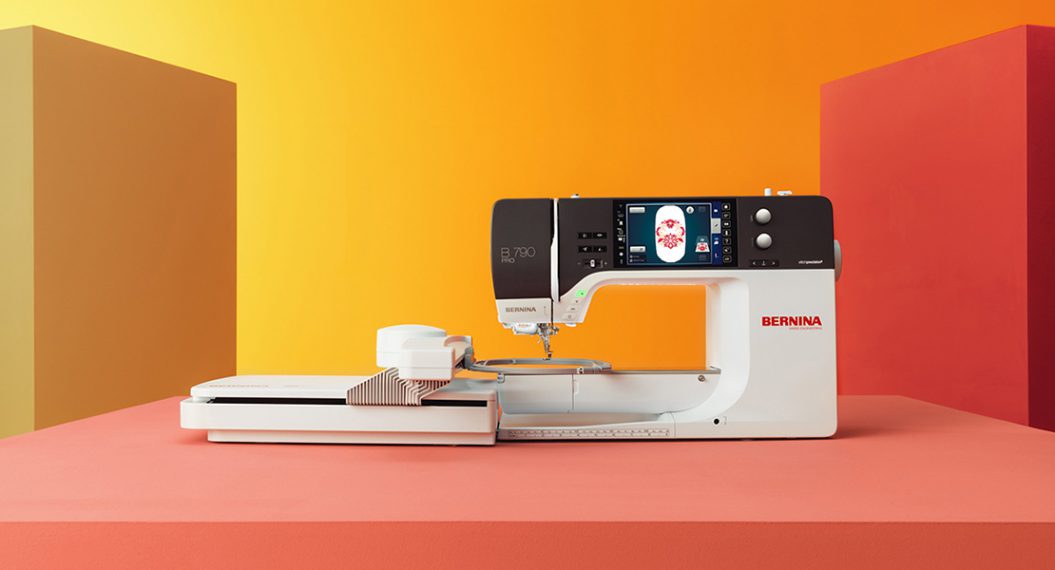
- B 790 PRO
- Drop-shaped Embroidery Foot #26L
- Open Embroidery Foot #20D
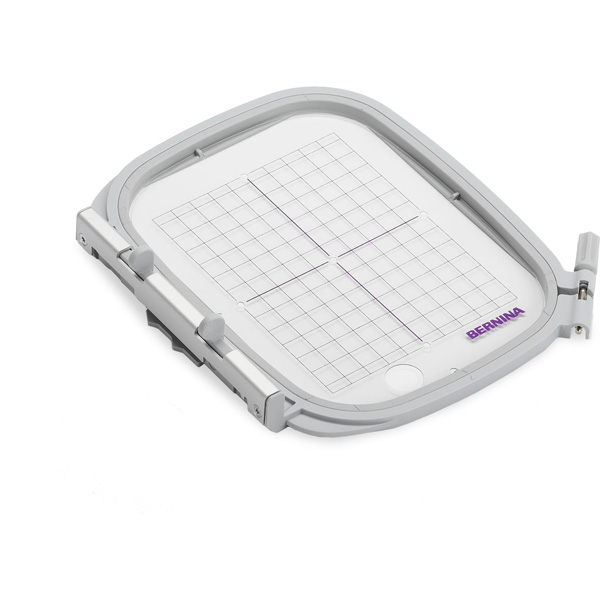
- Maxi Hoop
- Medium Clamp Hoop
- Three-sole Walking Foot with Seam Guide #50
- Jump for Joy quilt top
- Batting
- Quilt Back
- Quilting Needles 90/14
- Cotton thread
- Marking Pen of your choice
- “Hearts Block 1” design from Heart Quilting by Amanda Murphy
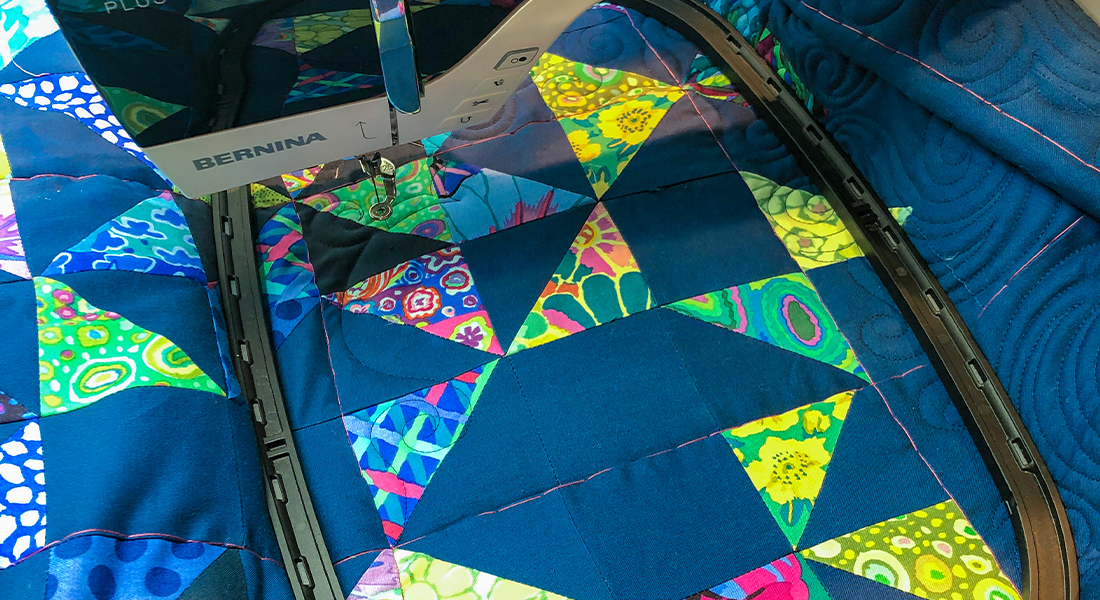
Step 1: Half-square Triangles
Right next to the diamond pieces in the Diamond Blocks, we have some half-square triangles in different shapes. At first glance, this might seem intimidating or impossible, but let’s break it down to make these triangles a cinch.

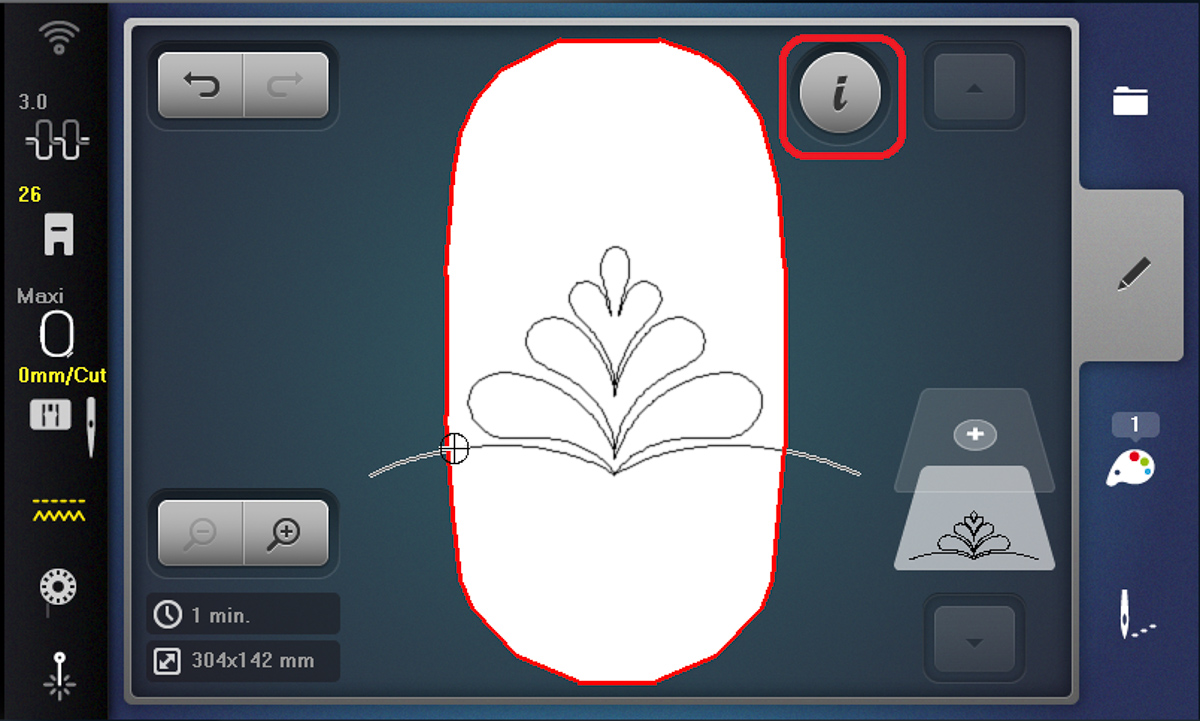
Choose your desired half-square triangle design. #6 from the Quilting Designs folder in the machine is my favorite. When you open this design, it will be too big for the hoop. Let’s go to the Information icon to resize the design.
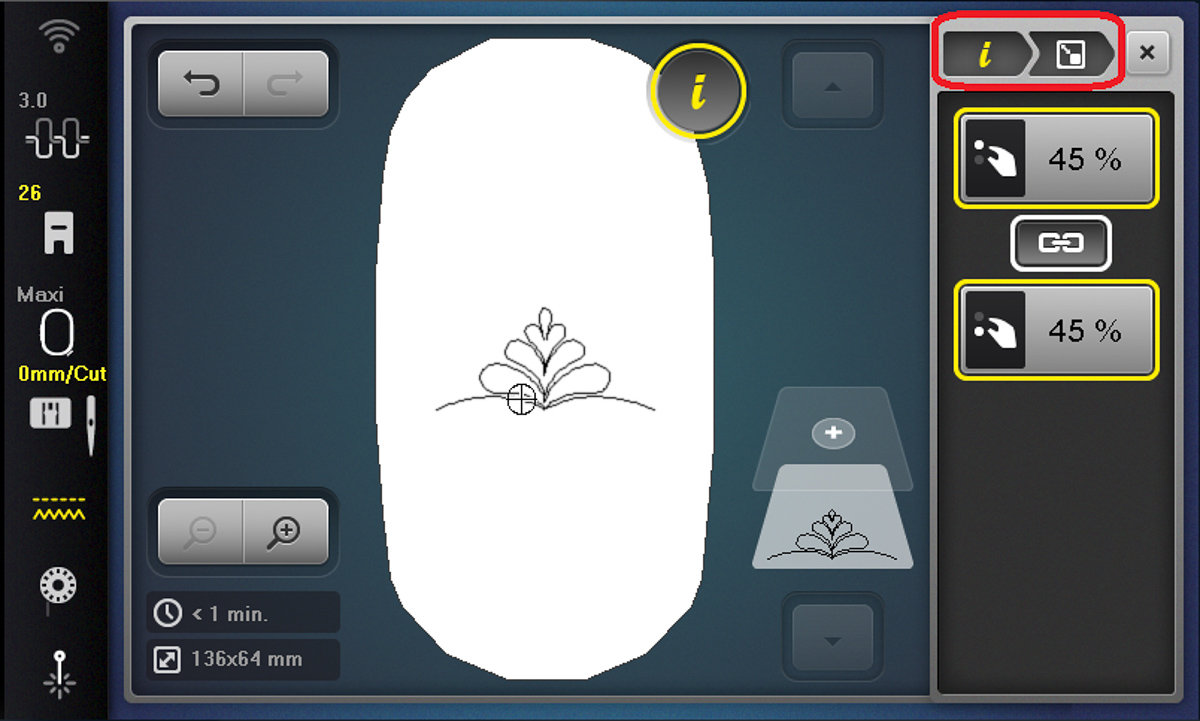
I resized the design to 45%, but don’t stress too much about it. We will resize it perfectly with Pinpoint Placement. Pinpoint Placement will resize for you as well, but since the design is too big for the hoop, we need to first get the parameters of the design within the hoop before using Pinpoint Placement.
Need help to resize? Check out the breadcrumbs to help you get to this screen.
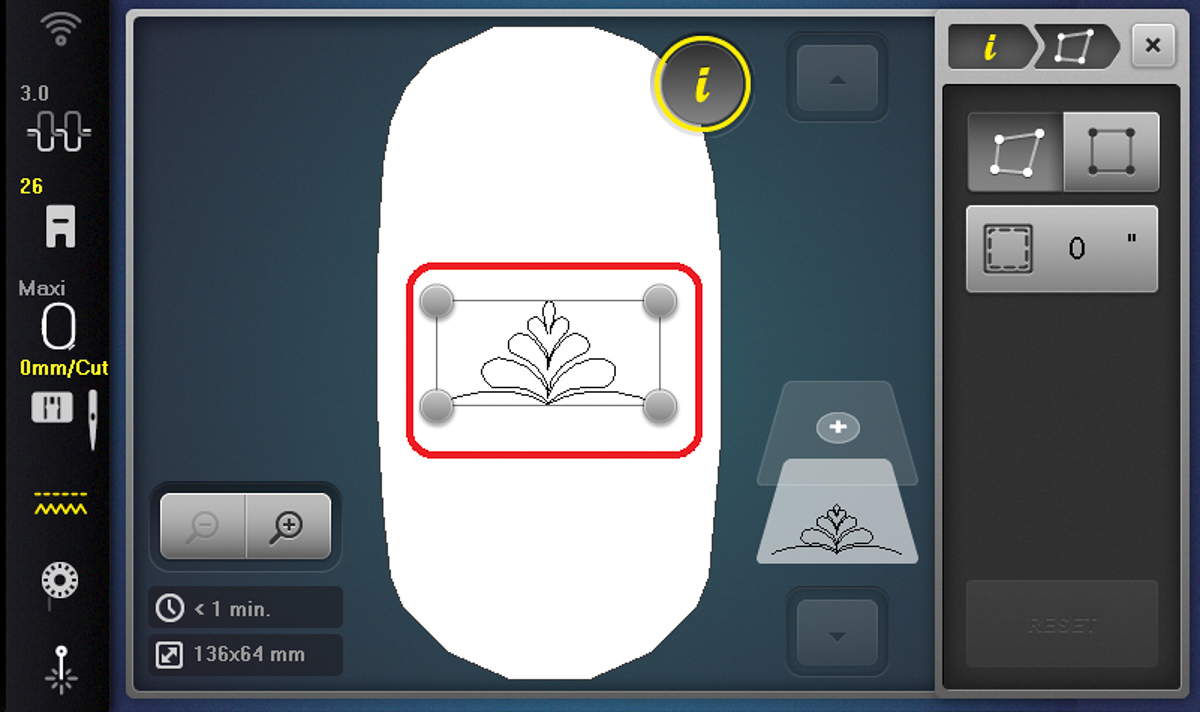
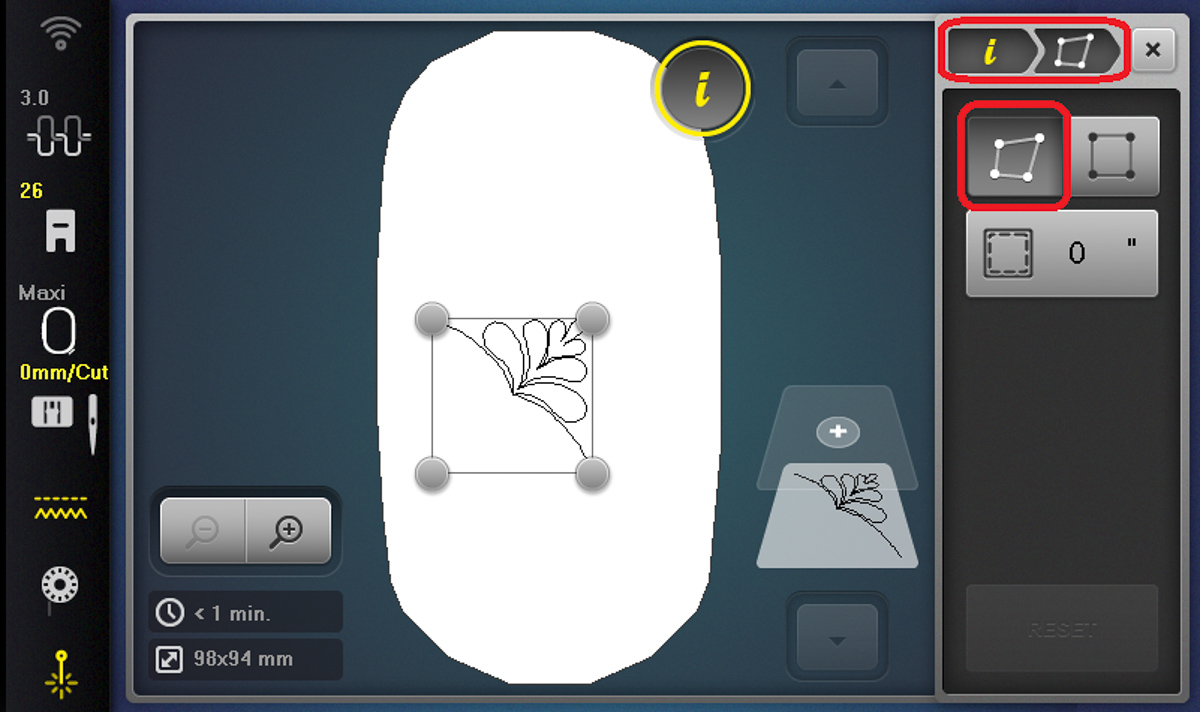
If we went to Pinpoint Placement now, the machine would actually give us a rectangle around the design (which is not what we want today). But no worries! We can change it.
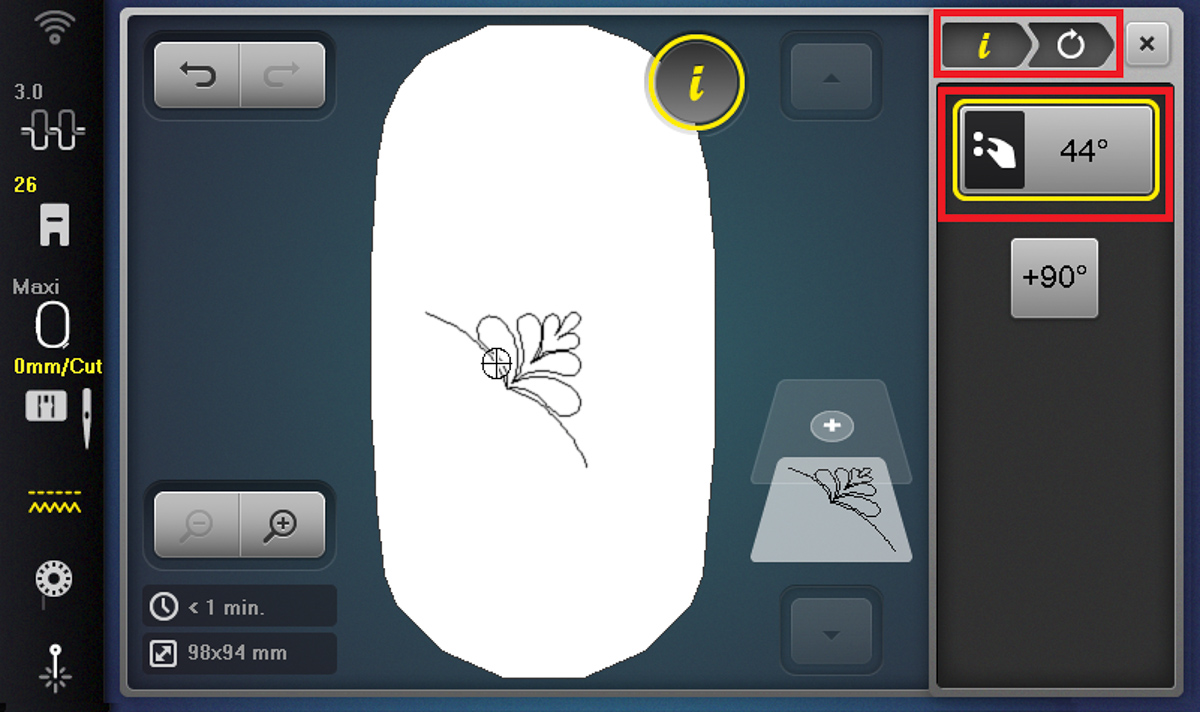
Go to Rotate in the Information icon and rotate your design to 45 degrees, or the closest increment to where you want your design to go. This will put the point of the triangle into one of the corners and make it a square shape to place. To create the square shape, you will want to rotate your design to 45, 90, 180 or 225 degrees. I change it up depending on the direction I want my design to go.
Note: Mine says 44 degrees because the simulator does not move in the same 1-degree increments the machine does; you will want yours at 45, not 44.
Now, when we go to Pinpoint Placement, we can see the square around the design with the point in the corner! Isn’t that cool how we can change the orientation of Pinpoint Placement so easily?
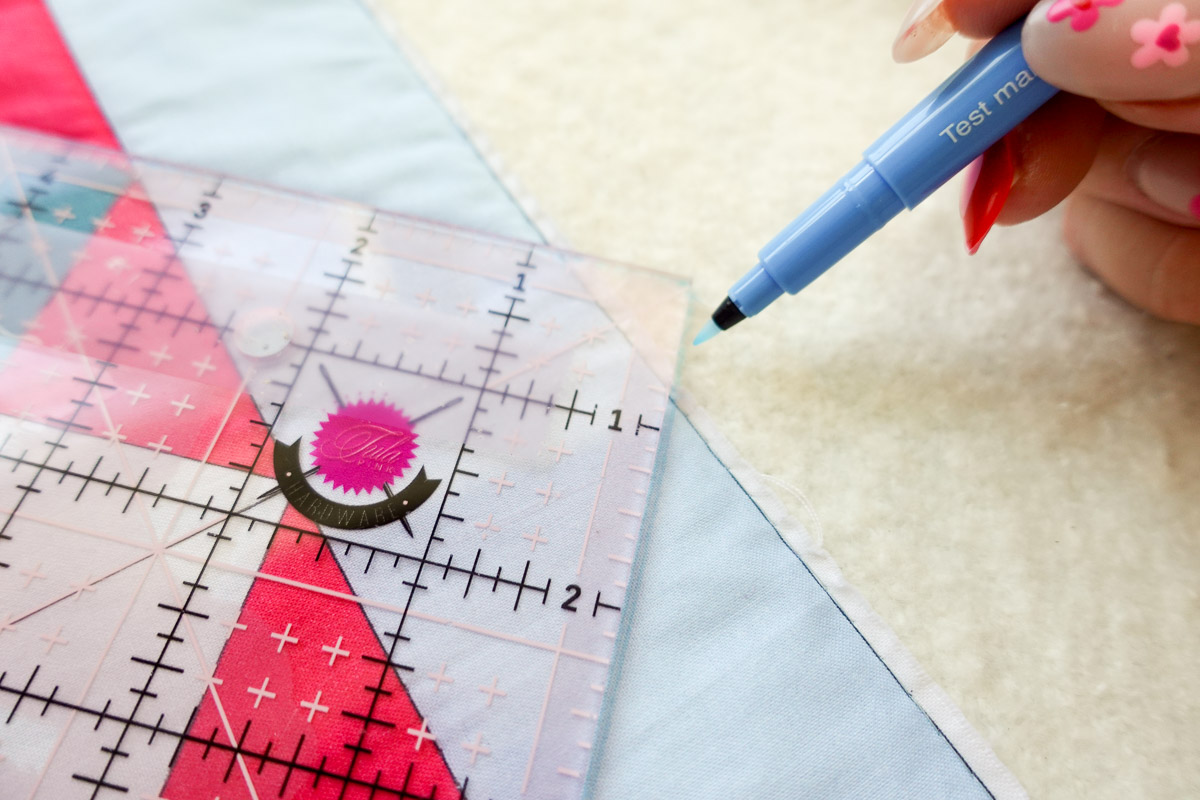
Now we need to create the 4th point for our Pinpoint Placement to align to. Using a ruler, mark the rest of the square. This will ensure our triangle stays the right shape.
Use Pinpoint Placement to align to the three corners of the triangle and your fourth marked point, just like we did with the Circle Block. Don’t forget to turn on that laser for Pinpoint Placement!
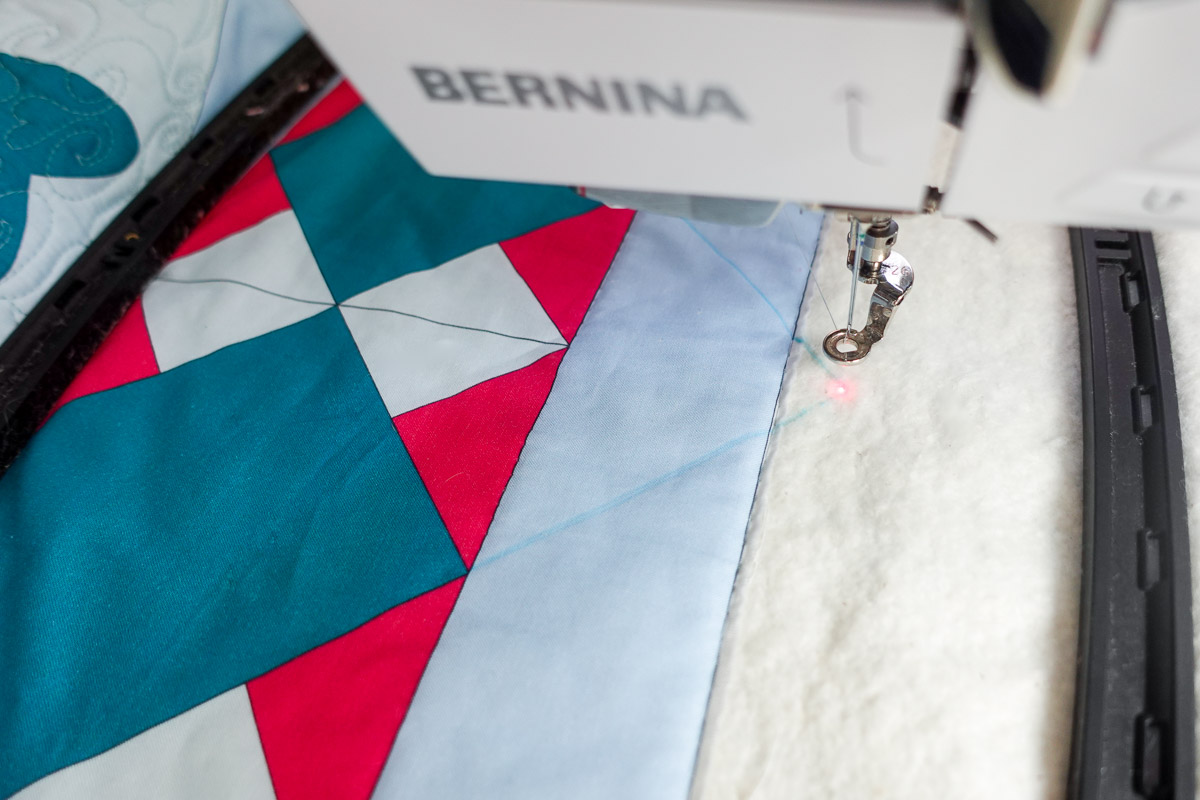
Bring up your thread and quilt the design… Beautiful! Now you’re ready to do every half-square triangle in the design!
Step 2: Fit to a Rectangle
Up to now, we have been only using Morph to place our designs, so let’s play around with Fit!
Fit allows you to center a design within a set area. This is great for using 4-point Pinpoint Placement to get words in a specific shape. Fit won’t morph and skew the lettering. It will keep everything nicely together and center it perfectly in even the most irregular of shapes.
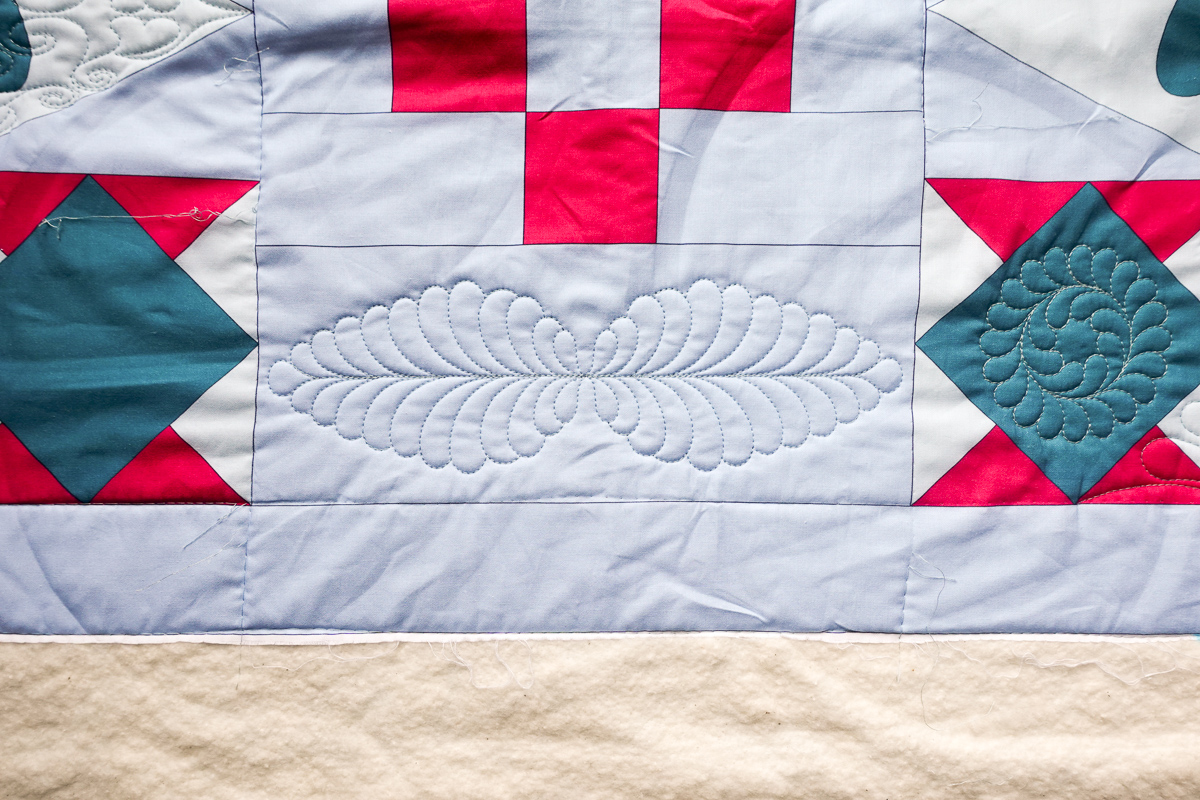
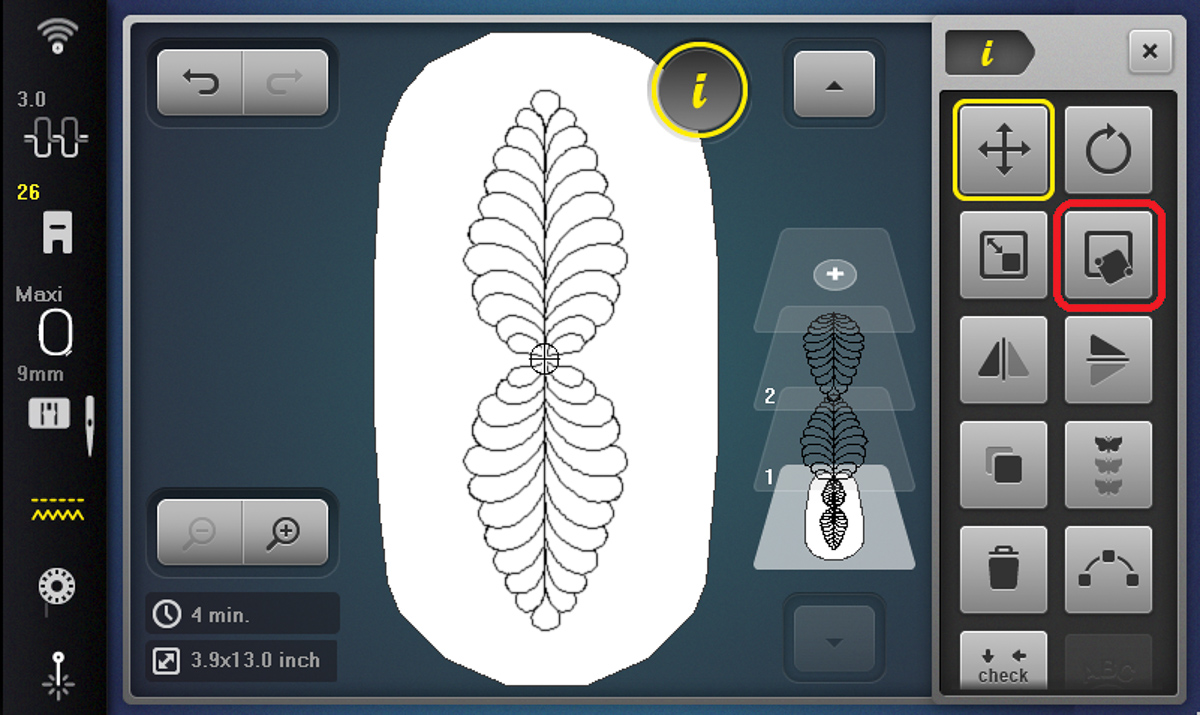
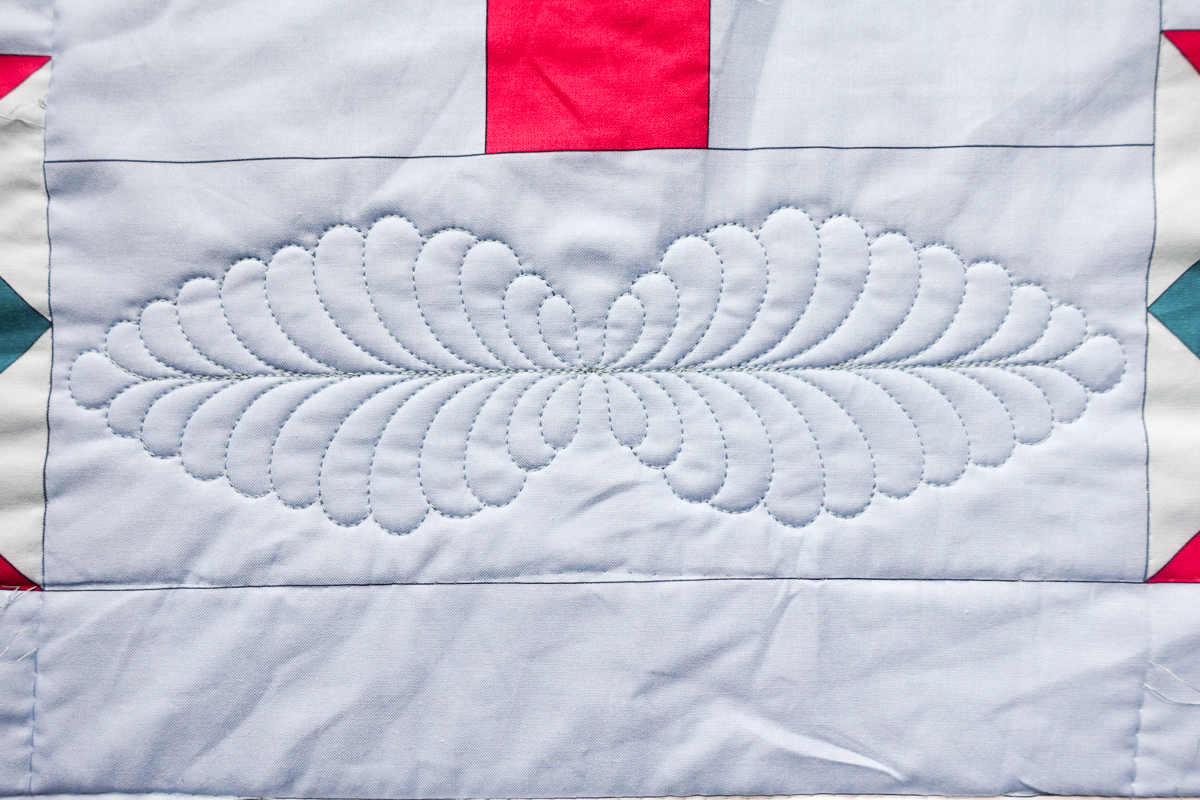
First, I opened Quilting Design #10 from the machine. This design is pretty, but I thought it could use a little more interest, so I resized it to roughly 50%. Then I duplicated the design and moved each one so the spines fit together.
Your machine has so many pretty quilting designs in it that look great as they are, but don’t forget you can change them up to look exactly how you want for your quilting!
Once you like how the design looks, select Pinpoint Placement.
 We will still select 4-point Pinpoint Placement.
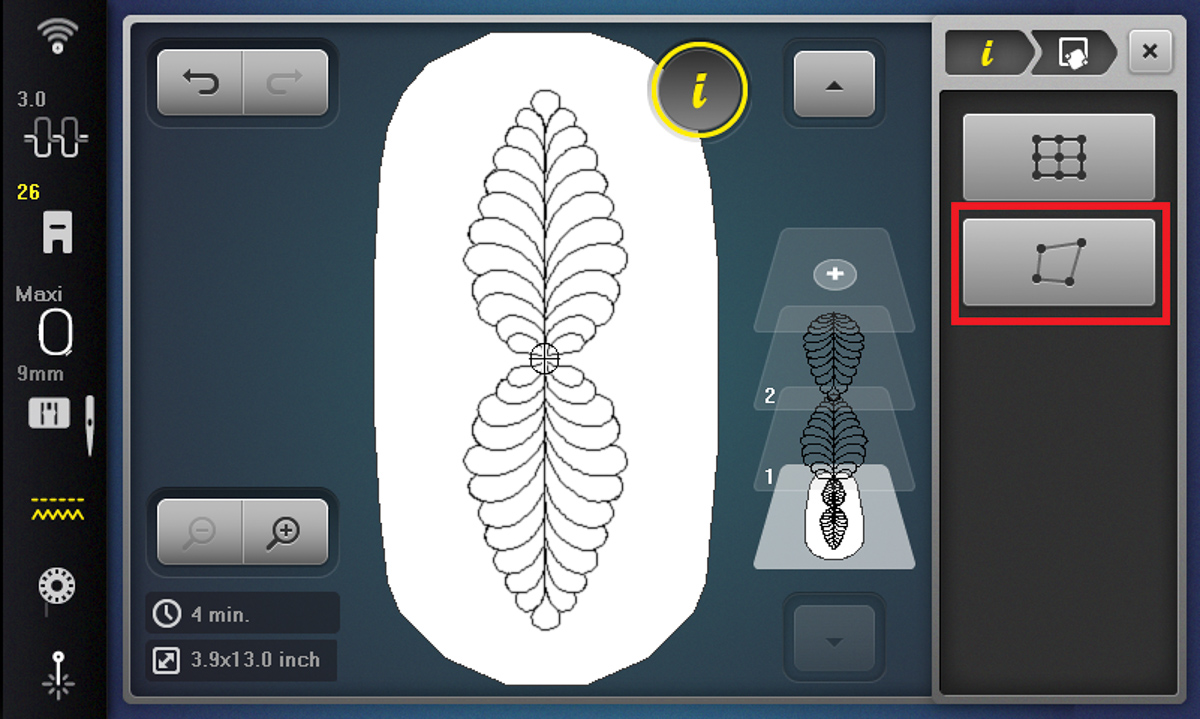
We will now choose “Fit”, the icon to the right, instead of “Morph” (which is what we have been choosing for the other designs).
Once again, work in a clockwise manner to position every point at the corner of your rectangle.
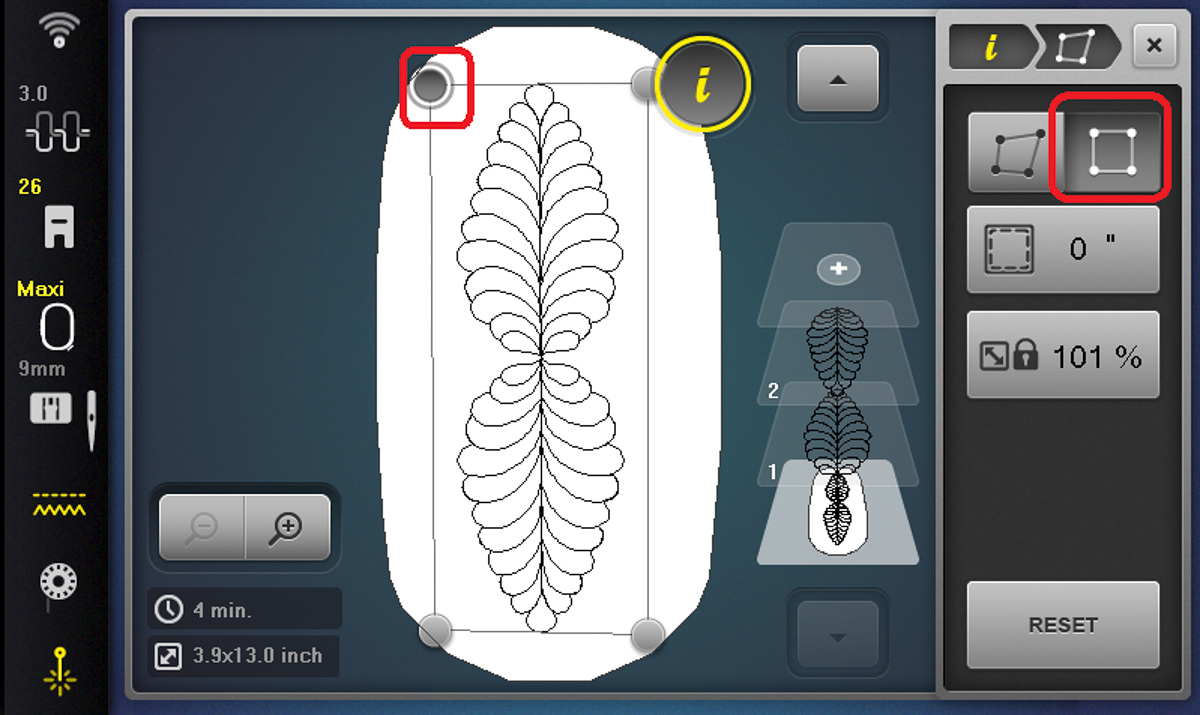
If you’d like to lock the size of your design to ensure it stays full size, you can select the Lock icon to lock the scale of the design.
I wanted to add a margin like we did with our circular design, so I tapped the Margin icon until it gave me a 1/2” margin.
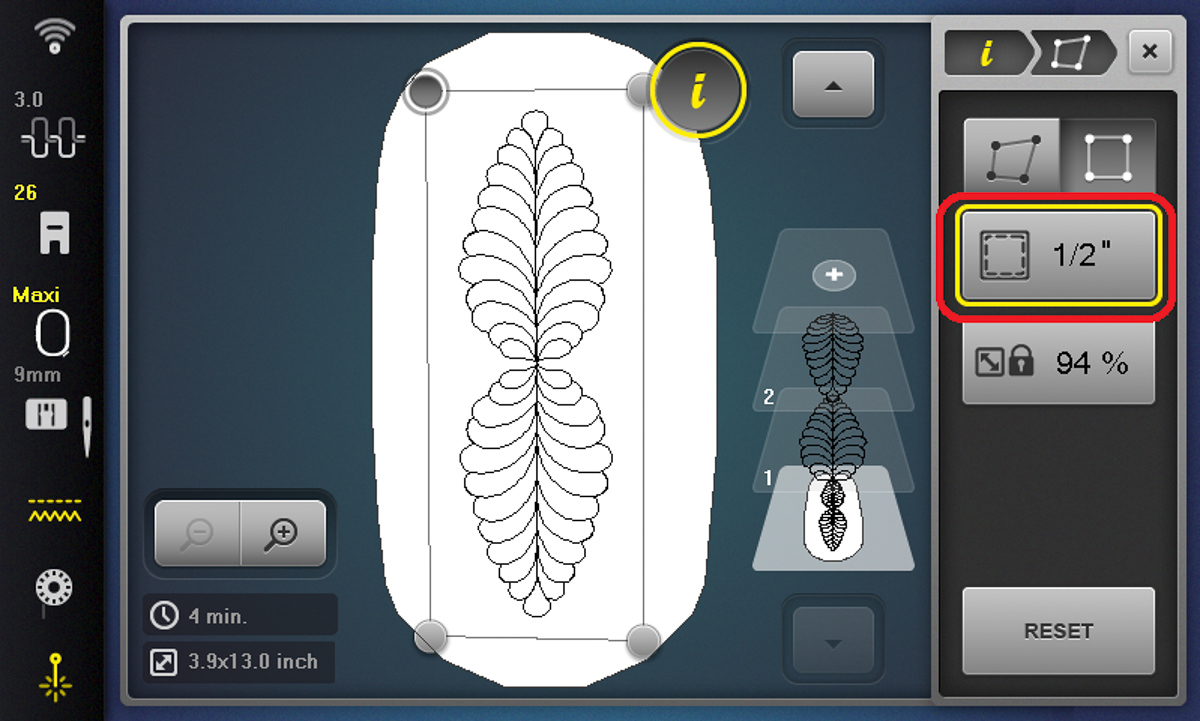
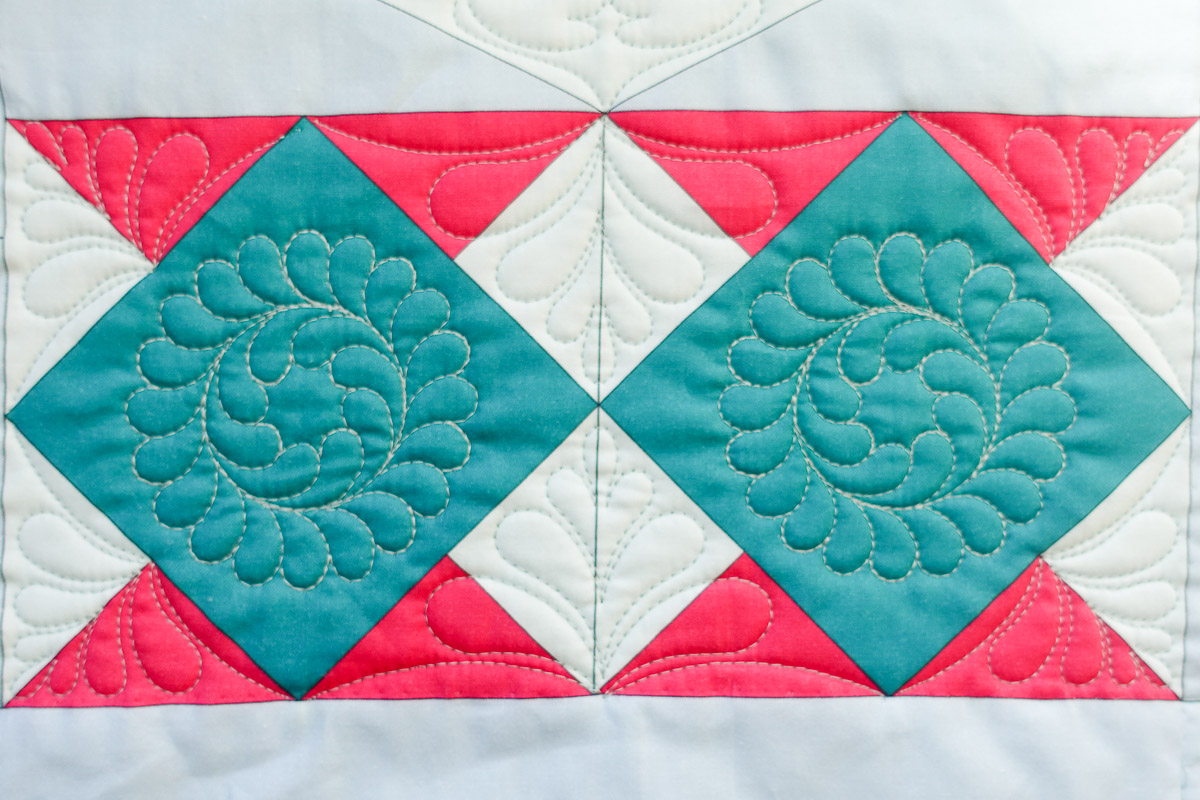
Now you can quilt it as we have with the other designs and viola! A beautiful, centered feather in our rectangle.
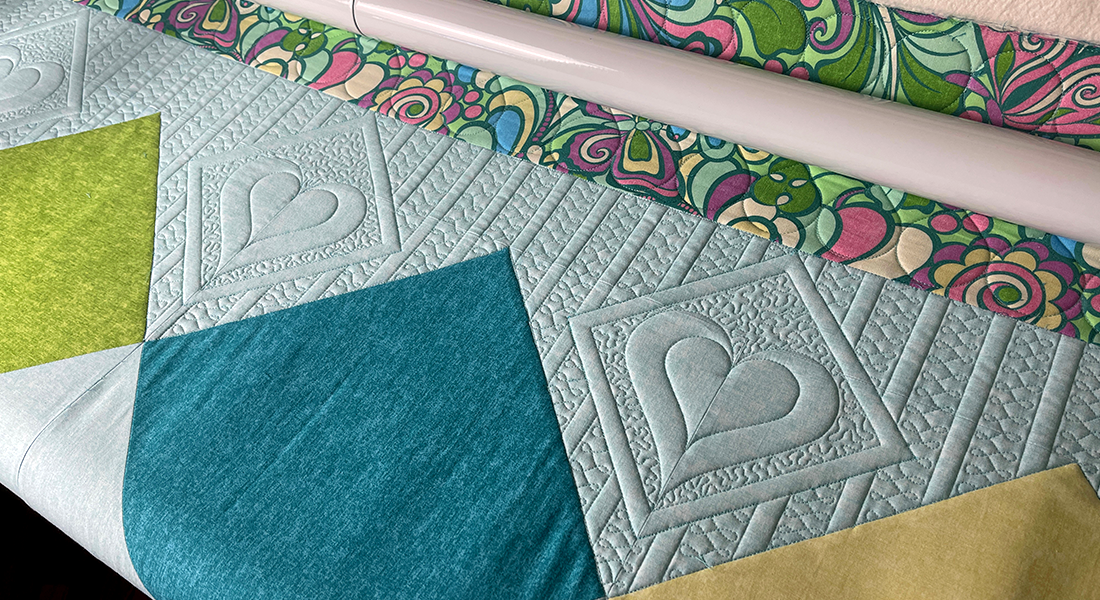
Step 3: Big Diamond
I love the design in my machine, but I wanted something a little different for the Diamond Heart Appliqué Block.
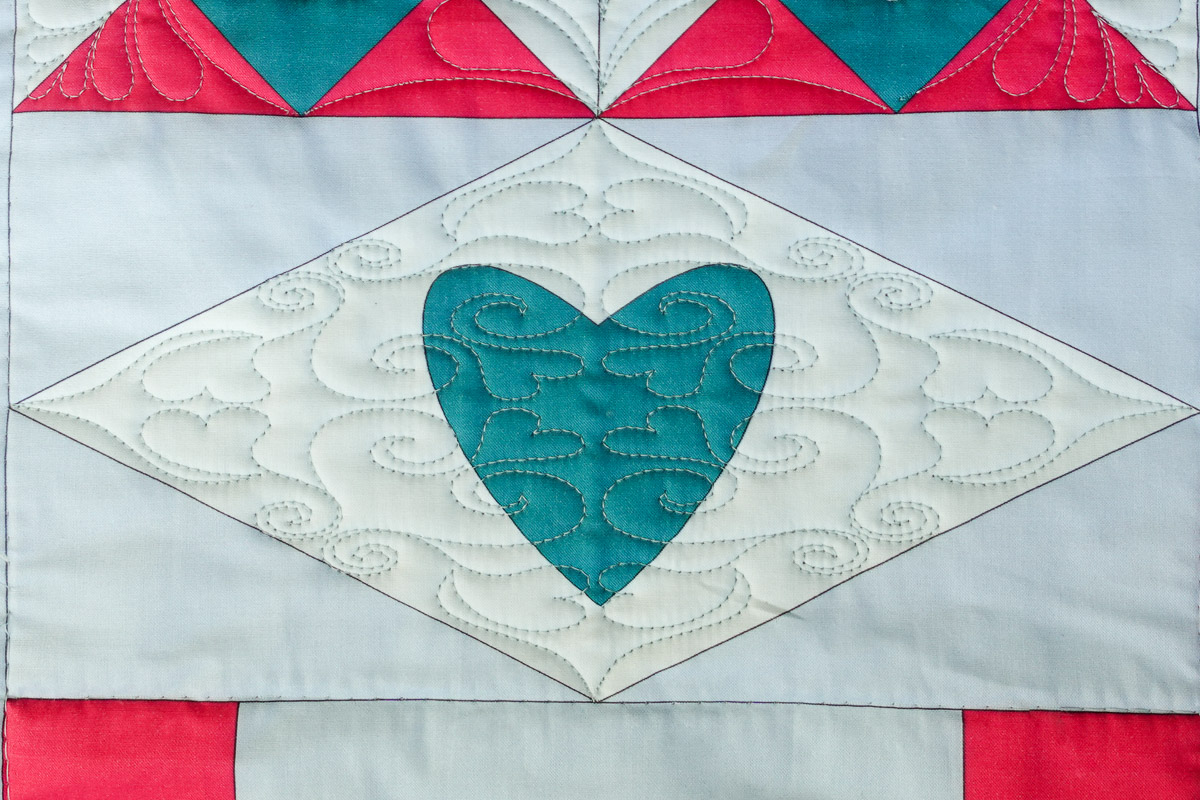
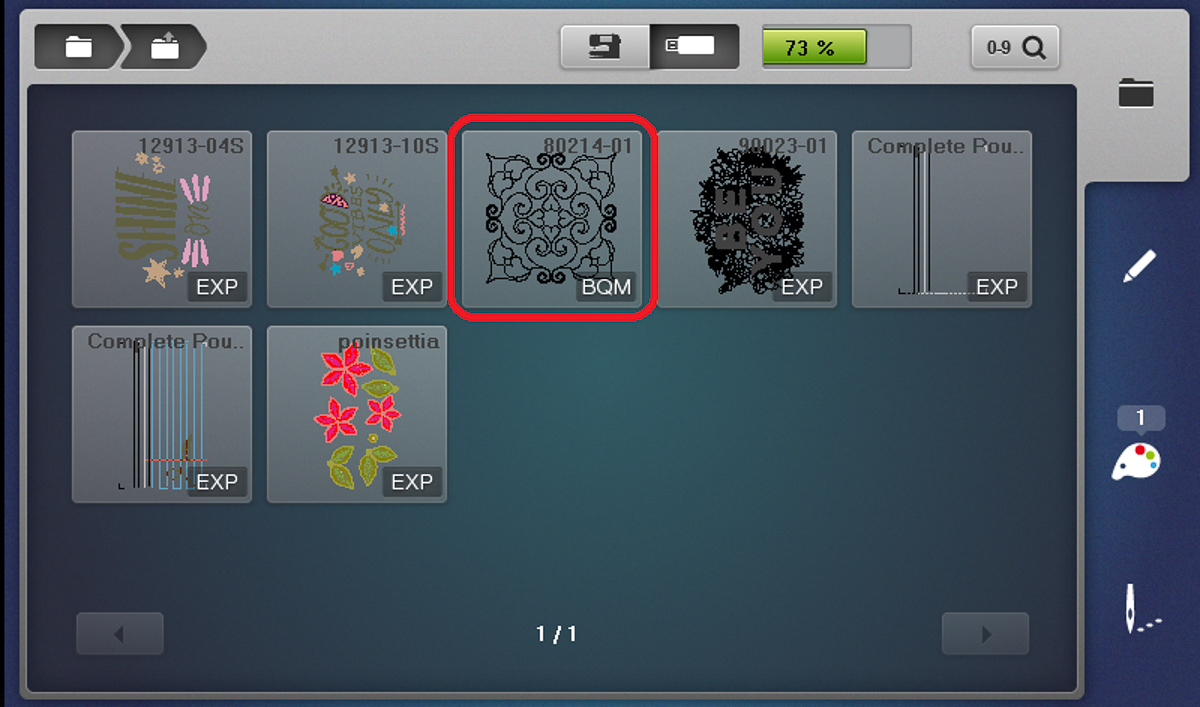
For this shape, I wanted something with more hearts to match the heart in the center. I headed to OESD.com and chose the Hearts Block 1 design from Amanda Murphy because it came in a bqm file (meaning I could use it for this technique).
I downloaded the block as a bqm and uploaded it to my machine.
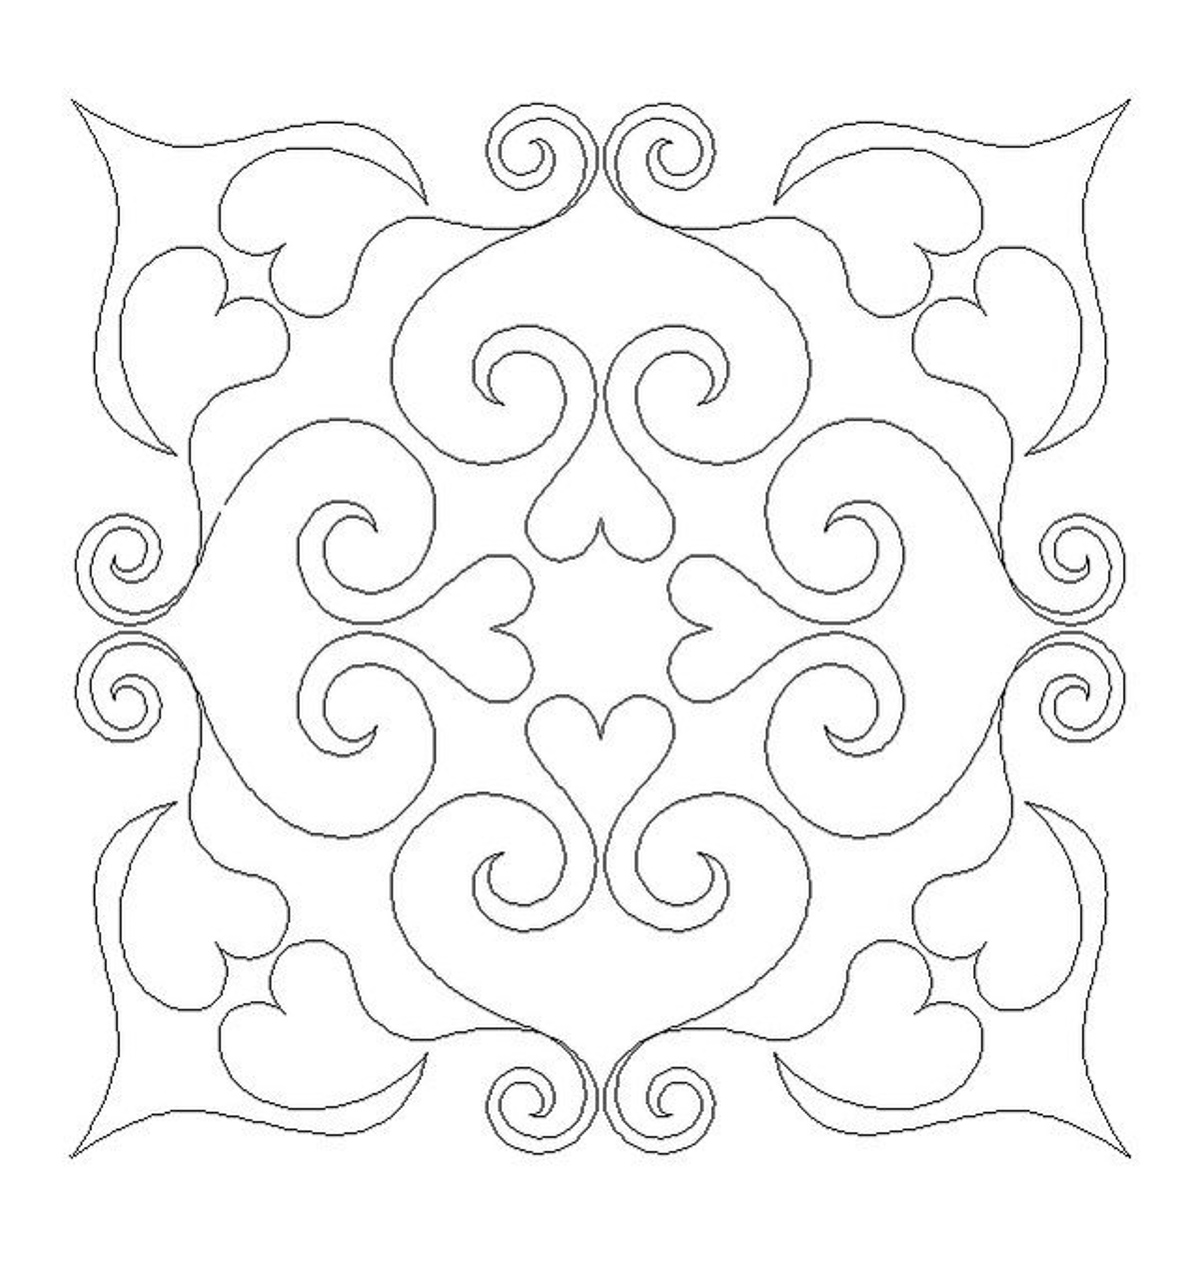
I love that I can see the file types on the 790 PRO so I can double check I have the right design and design type before I get started.
You know the drill by this point. We’ve gotta resize this design to get it within the hoop. I got mine down to about 60%.
You might be tempted to rotate this design as well, but don’t do it! We will rotate the design with Pinpoint Placement.
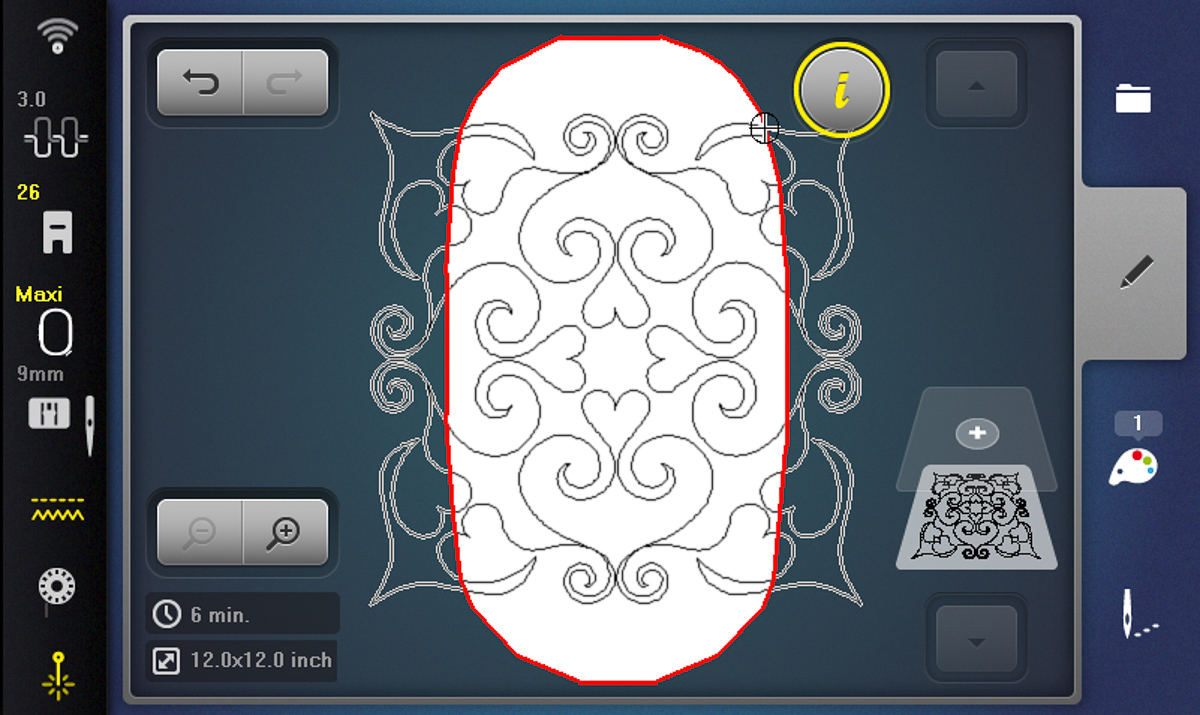
Use the Morph feature and work on the radio dots in a clockwise motion. Take your time to make sure each position is perfectly placed.

Finished!
This block will go over the appliqué you created. If you want to avoid this, you can finish the block with ruler work or free-motion quilting instead.
I love the way the corners fit so beautifully in each point.

My favorite way to work with CQ is to do something we call mix-and-match quilting; this is where we use different techniques together to finish one project.
I could use free-motion to finish the triangles around the heart diamond, straight-line quilting in the chain blocks, etc. I find this really helps me hone in my attention span and actually get my quilt finished because any time a technique gets a little monotonous, I move to another one!
I hope you had fun learning about computerized quilting. I can’t wait to see what techniques you incorporate in your final quilt!
Used Products


What you might also like


One comment on “Computerized Quilting on the B 790 PRO, Part Two”
Leave a Reply
You must be logged in to post a comment.

Thank you Kate. Great ideas and instructions.