Boring to Beautiful Blanks with Your Serger, Part Two: Onesie
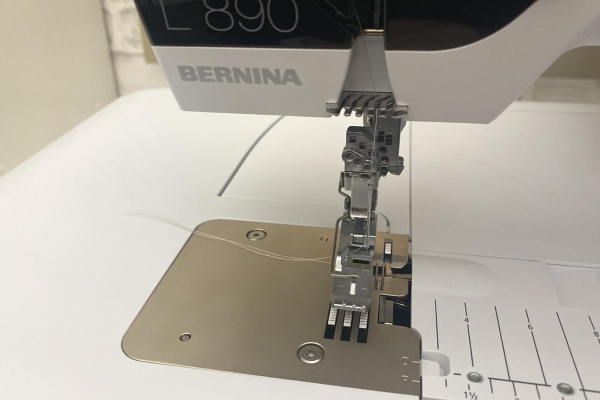
Blanks aren’t just for embroidering anymore. They are a great way to practice serger stitches and finish a useful project. In this four-part series I’ll be showing how you can take an Apron, Onesie, Towel, and Pillow and go from boring to beautiful. You will get a chance to see various serger techniques, unique threads, and some additional presser feet you might want to add to your presser foot collection. During this series, I will be using the BERNINA L 890 serger for all four projects. Let’s get stitching.
![]()
Techniques and Stitches
In this onesie project you will learn these stitches and techniques:
- 3-Thread Rolled hem for the ruffle edges
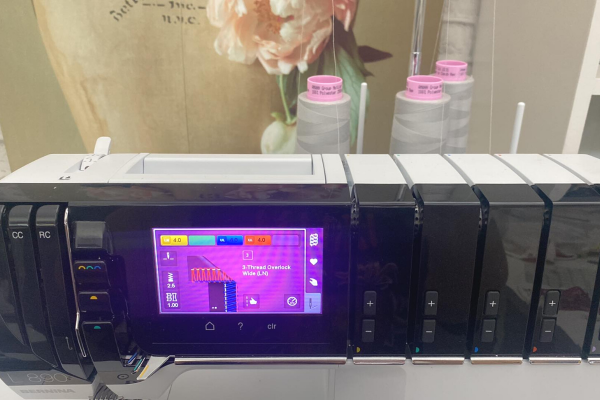
- 3-Thread Overlock Wide for a decorative stitch on the gathers with gathering foot and side seam construction
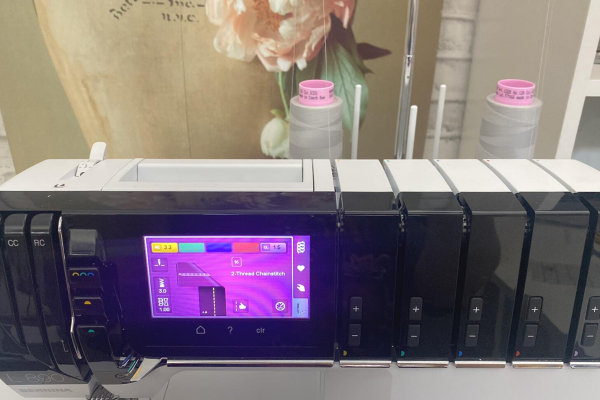
- 2-Thread Chainstitch for securing the ruffles to the baby onesie
![]()
Materials (width by height)
- Baby onesie or bodysuit (I used the ones from Kimberbell as one side seam is open)
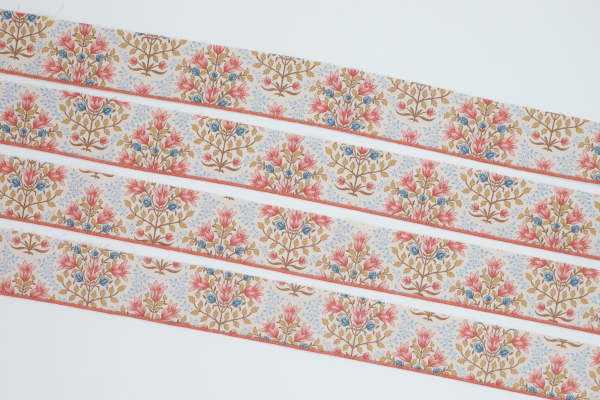
- (4) 2″ x 22″ strips
- Flower Head Pins
- Wonder Clips
- Marking Pen i.e Frixion Pen
- Iron/Pressing surface
- Cutlery:
- Seam ripper
- Fabric shears
- EZ Hook n Snips i.e. Sookie Sews
- Rotary cutter, mat, and ruler
- Wonder Tape
- Thread:
- Presser feet:
Steps
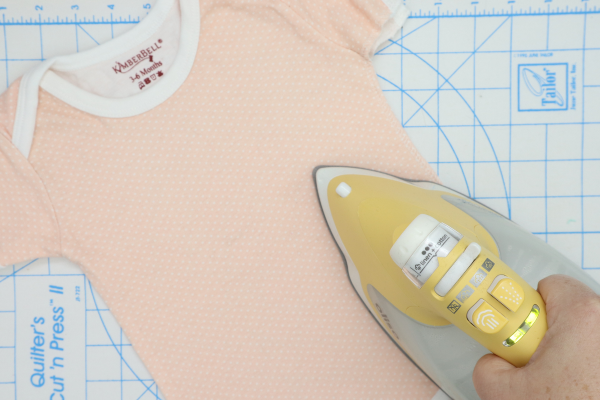
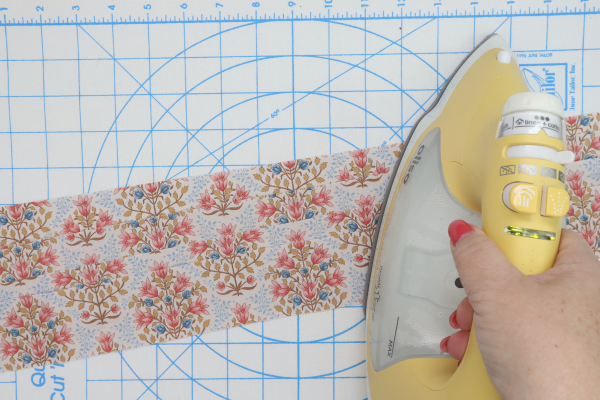
- Press the onesie and fabrics to remove creases.
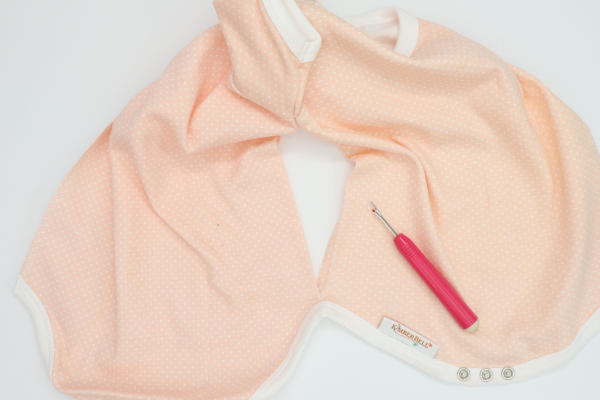
- Open side seams on the onesie. This Kimberbell onesie has one side seam already open but use the seam ripper to do this. Careful not to cut the knit. If the leg binding is all finished, begin to remove the seam about 1/2″ above the leg hole up to about 1″ below the armhole. You might need to remove extra stitches later to accommodate the ruffles.
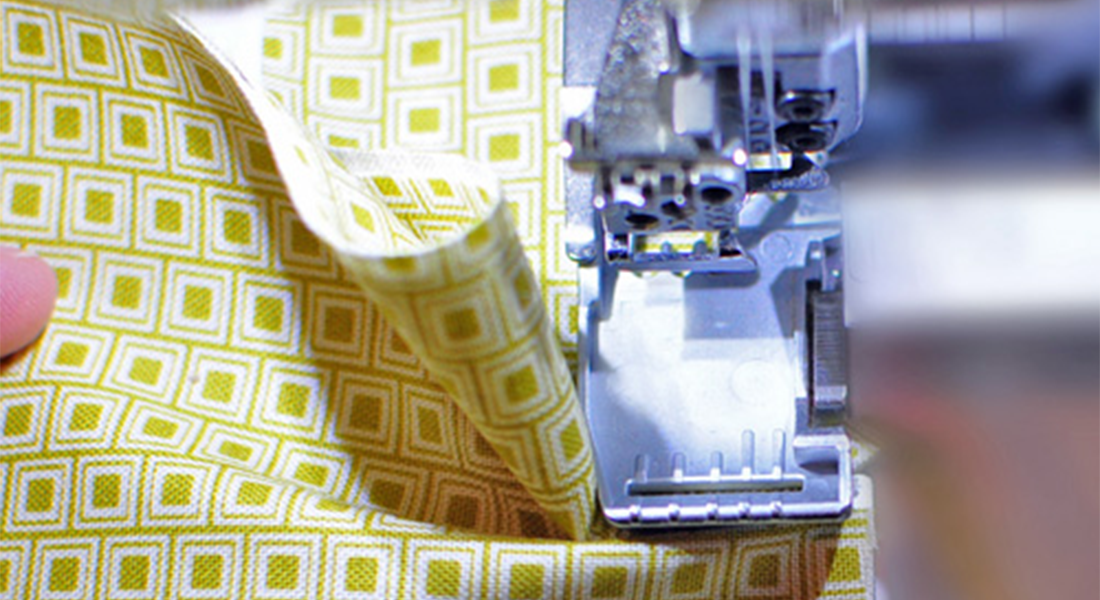
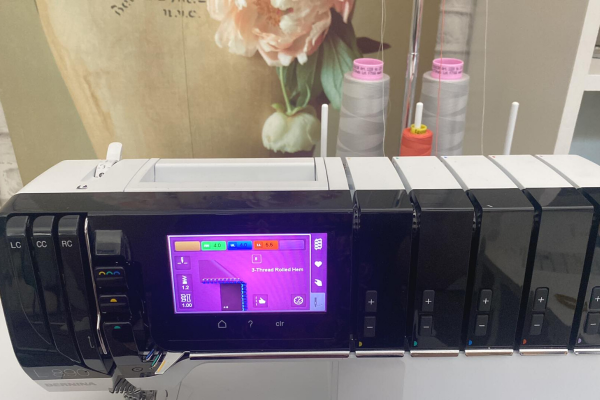
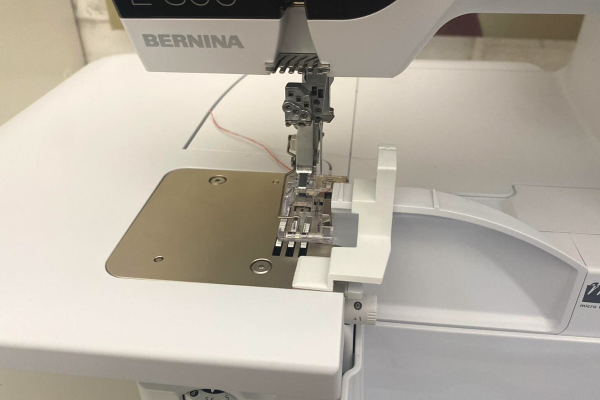
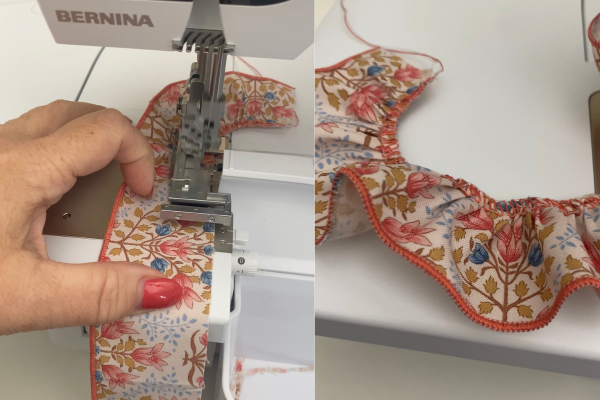
- Set serger up with a 3-Thread Rolled Hem with standard thread in needle and lower looper and 12 wt thread in upper looper. Attach Clear #C27 foot and use the Seam guide to help cut the same amount. Serge along the bottom long edge of each piece (if your fabric is directional like mine, be mindful of that).
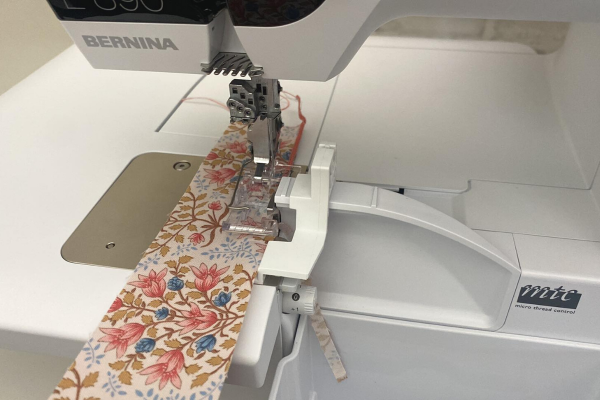
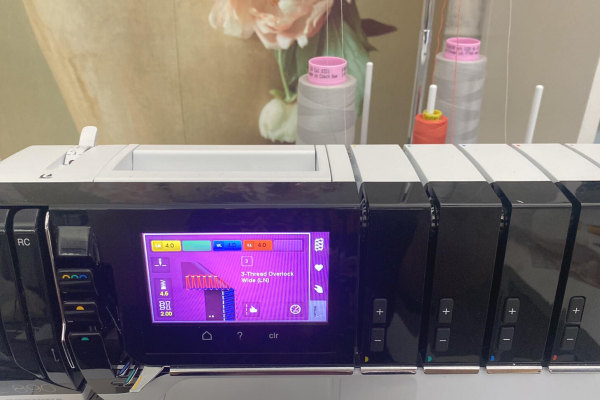
- Set serger up with 3-Thread Overlock Wide with standard thread in needle and lower looper and 12 wt thread in the upper looper. Attach the Gathering foot. Adjust the length to 4 and differential feed to 2. This will give excellent gathers. Along the raw edge of each fabric piece cut off very little and gather the raw edges.

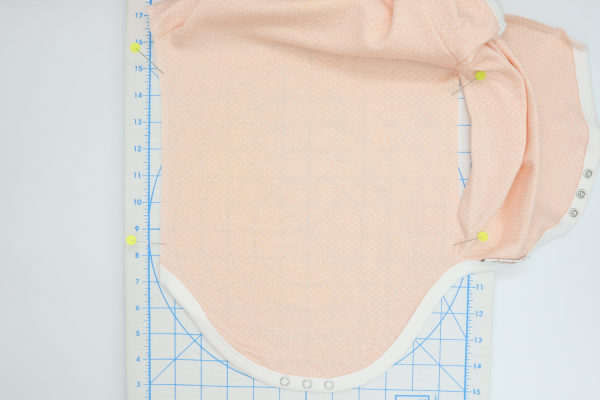
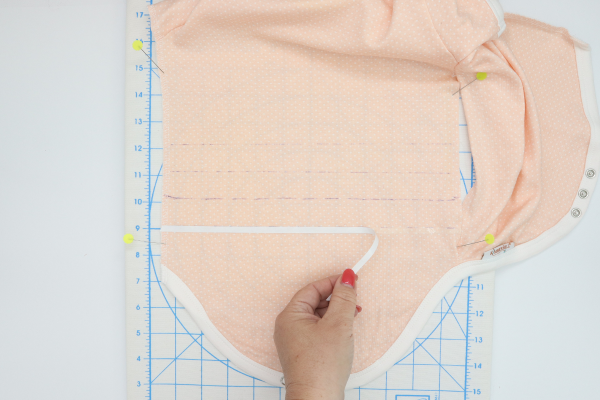
- Open the back of the onesie and keep open with flower head pins through a foam pressing surface, you could also use fabric weights to help keep it open.
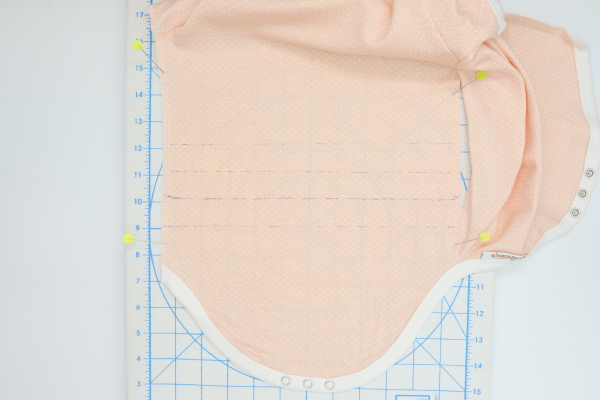
- Mark a line 1-1/2″ up from the top of the leg binding and then (3) more lines 1″ apart for the ruffle placement.
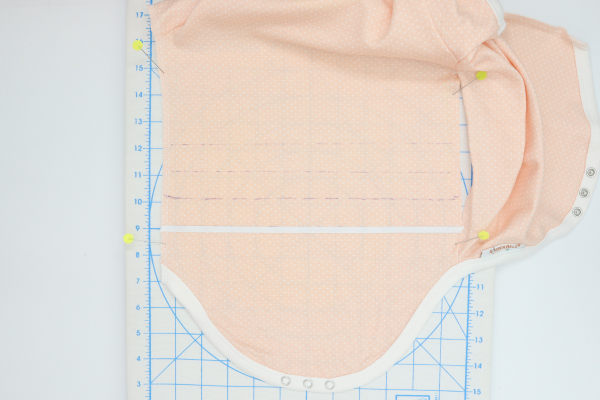
- Place one piece of Wonder Tape on the lowest line, press firm and then remove the paper. Place one of the ruffles right side up on top of the adhesive centering within the width and that at least 1″ extra of the ruffle goes beyond the side seam. Remove the pins from the onesie.
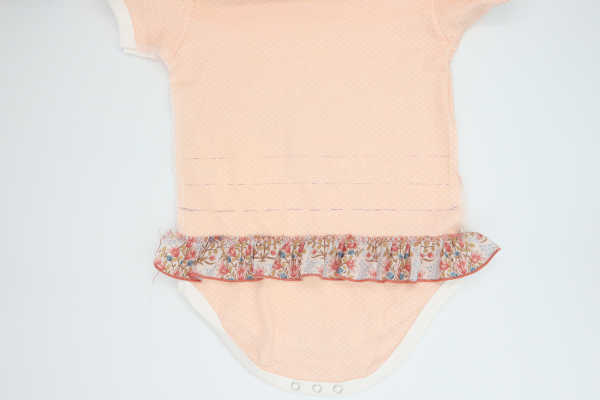
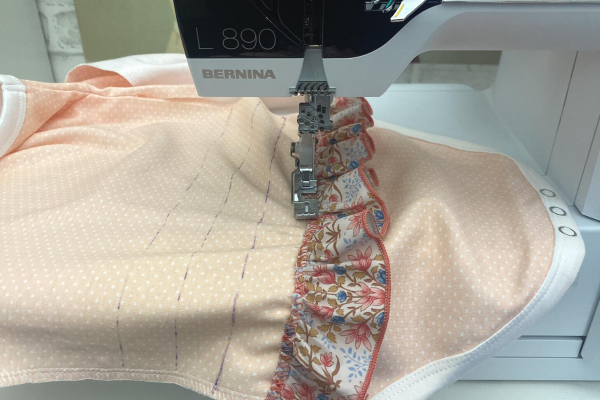
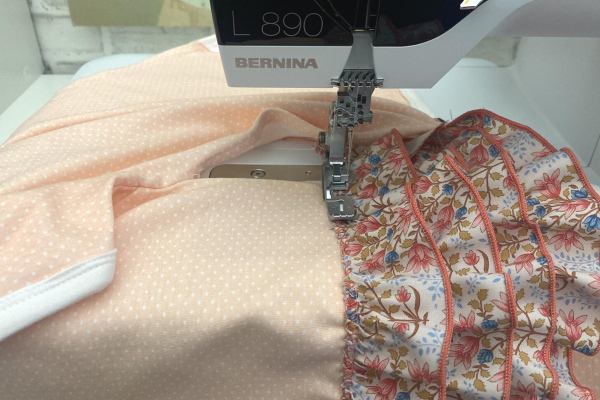
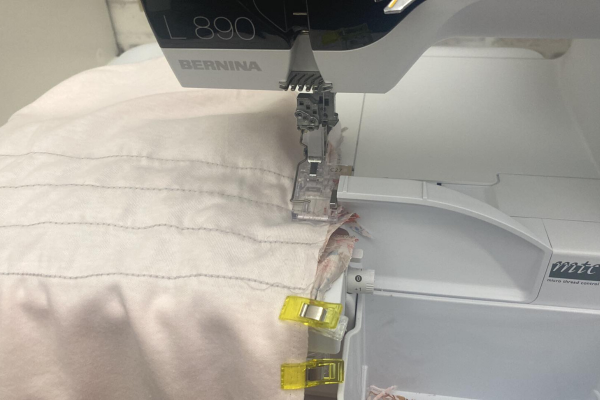
- Set serger up for 2-Thread Chainstitch with standard thread in both the needle and chain looper. With onesie and ruffles right side up, stitch the chainstitch directly through the “gathered” seam along the top. Once finished, repeat each row of ruffles the same as the previous steps, one ruffle at a time.
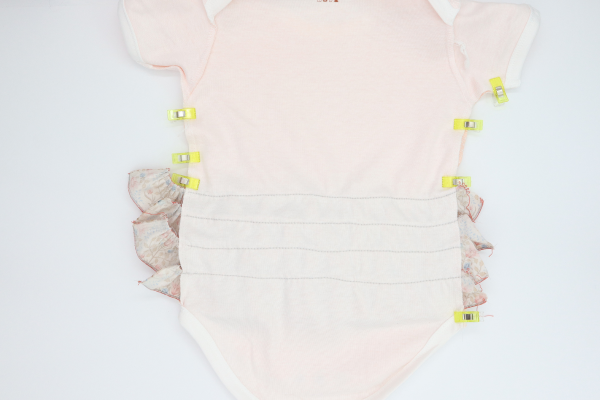
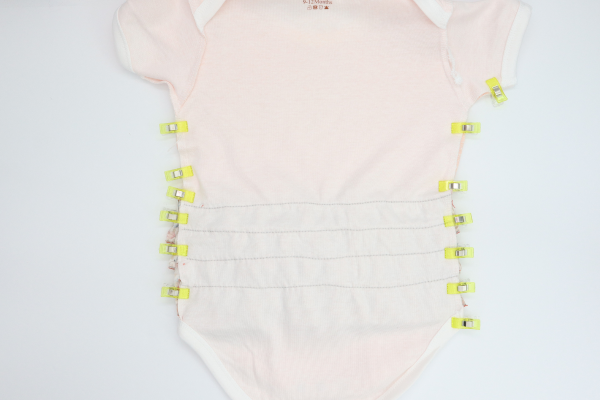
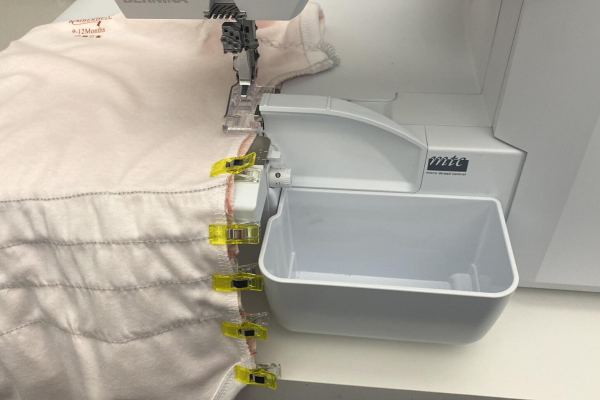
- When all ruffles are finished it is time to close the side seam. Place onesie right side together and use Wonder Clips to secure in place. Cut the extra ruffle materials on each side to help you clip in place. You can also let the blade of the serger “cut” the extra ruffles but it is easier to cut them with scissors ahead of time.
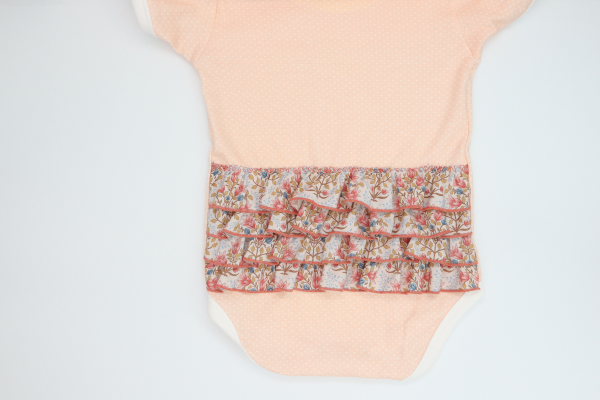
- Set serger up with 3-Thread Overlock Wide with standard thread in needle and loopers and Clear foot. Serge down each side seam, removing Wonder Clips as you stitch. Once finished stitching, give onesie a press and you are finished!

I hope you enjoyed this boring to beautiful serger project and enjoy making all of my easy serger projects! When you make yours, please snap a photo and tag me @SookieSews and @BERNINAUSA!!
![]()
![]()