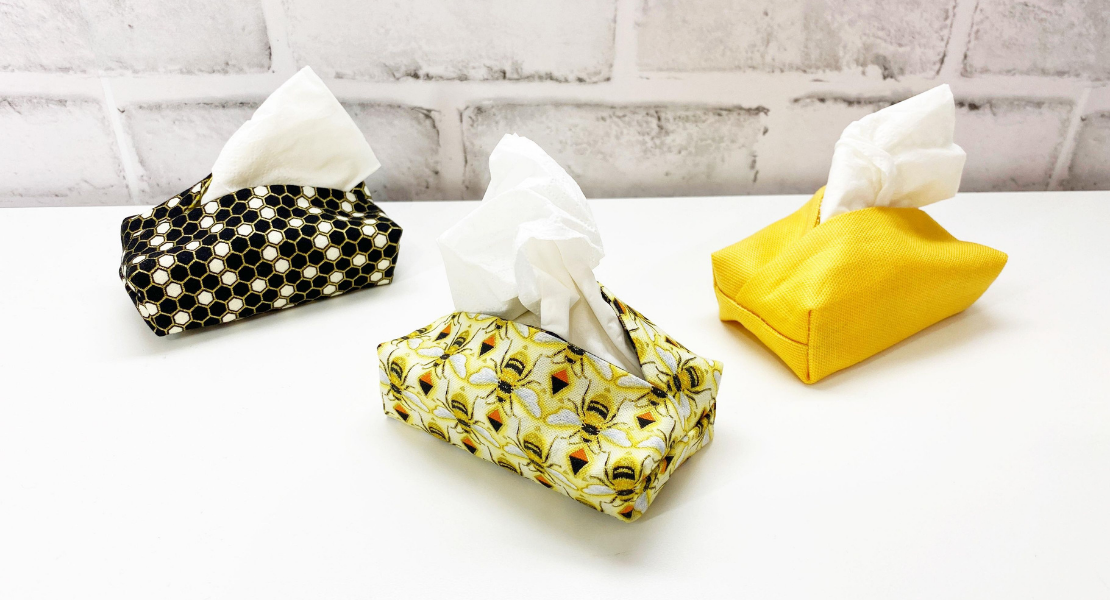
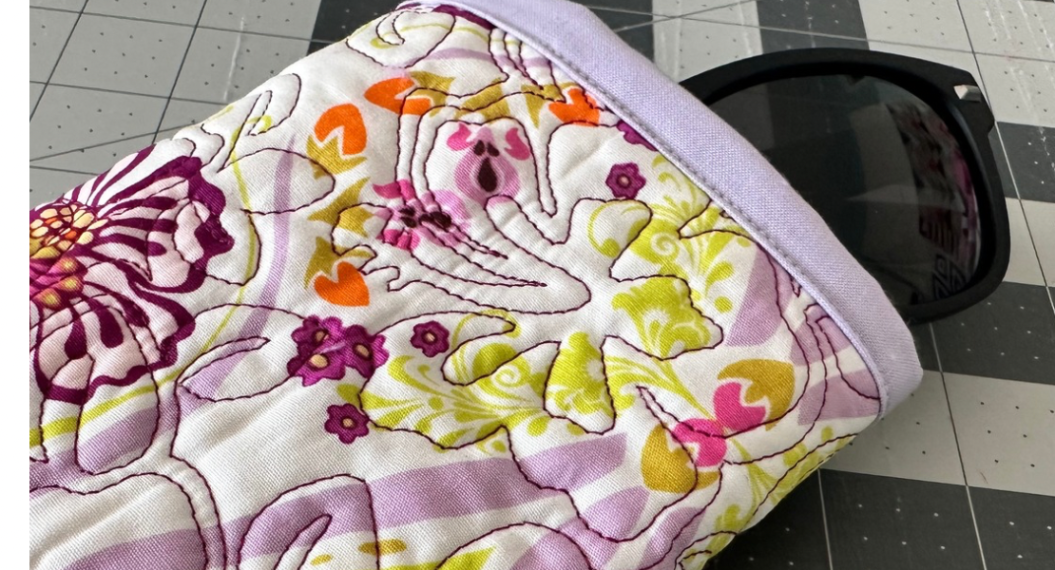
How to Make an e-Reader Case with Your Overlocker/Serger
Protect your e-reader with this easy-to-make, custom-fit sleeve. Nearly all of the stitching, including the embellishing, is done on your serger! Many thanks to Kellie Rushing for sharing her instructions with us!
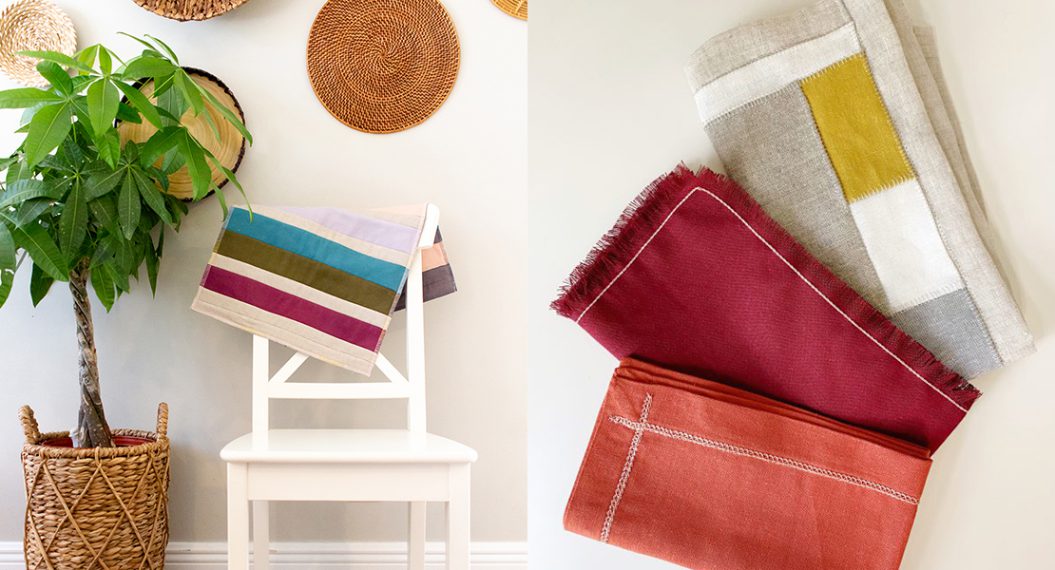
Tip: Select your favorite variegated thread, then choose complementary fabrics for your e-reader sleeve.
Supplies
- Overlocker/serger
- Outer fabric
- Lining fabric
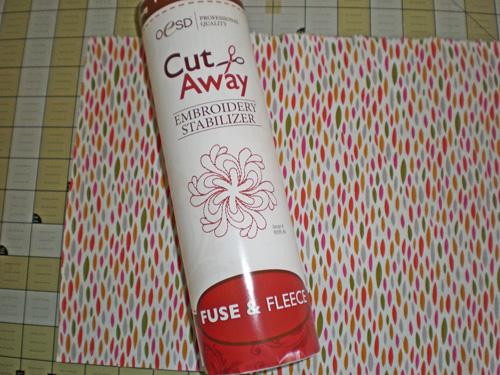
- OESD Fuse & Fleece
- 1 spool of variegated thread
- 2 spools of serger thread
- Narrow ribbon or ribbon floss
- Clear quilters’ ruler
- Fabric marker or pencil
- Tapestry needle
- Seam sealant
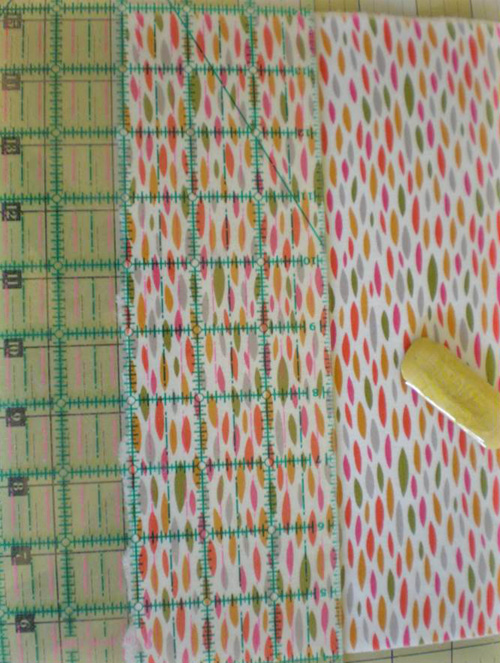
Step 1) Prepare the fabric.
Measure your tablet or e-reader.
Add at least 1″ to the width for “wiggle” room.
Add about 5″ to the length for the flap.
Add an additional 3″ to the length for the tucks.
I started with a 10″ x 20″ rectangle for my Nook Color Tablet and approximately 11″ x 26″ for my iPad.
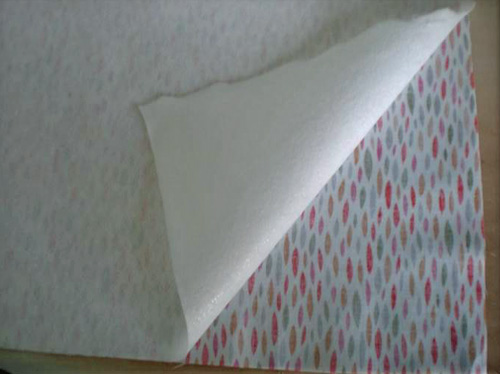
Cut a rectangle of outer fabric and a rectangle of Fuse & Fleece this size.

Fuse the fleece to the wrong side of the fabric following the instructions included in the package.
Step 2) Create the tucks.
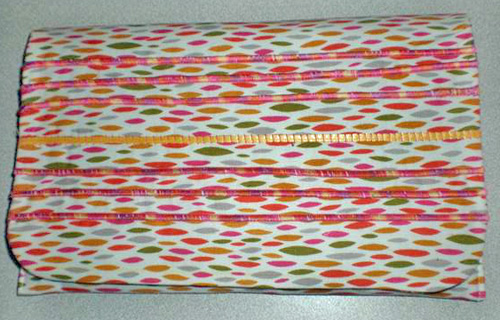
Mark lines along one short end of the rectangle: leave a wide space in the middle for the flatlock embellishment, with marks for two or three tuck lines above and below the center.
My first line was about 1-3/4″ from the edge, two more spaced 1-1/4″ apart, the center line about 1-1/2″ away, the next line another 1-1/2″ away, then two more spaced 1-1/4″ apart.
Fold the fabric/stabilizer on the marks and press to create creases along each line.
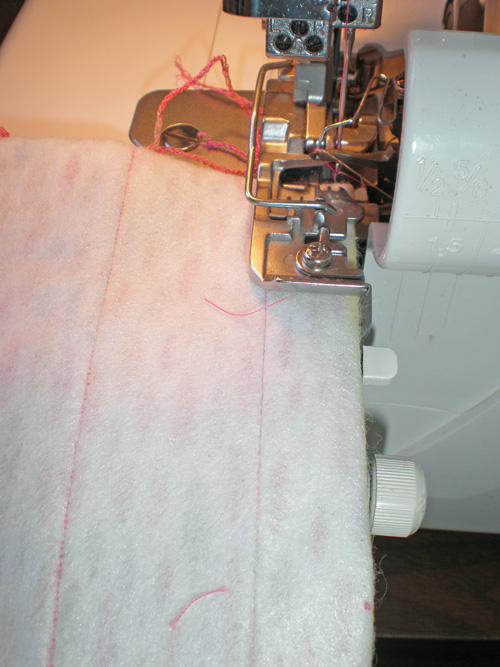
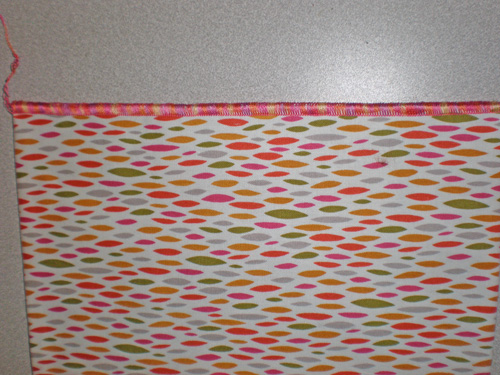
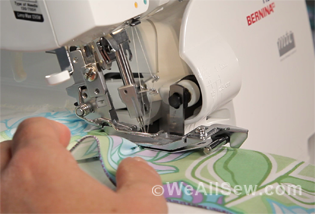
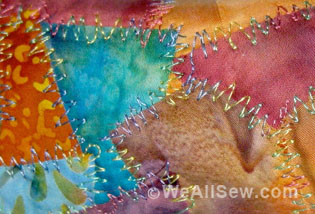
 Set your overlocker/serger for a 2-thread wrapped edge with variegated thread in the lower looper. (A 3-thread rolled edge with variegated thread in the upper looper may also be used. Set the stitch length at 1 mm. Serge a sample and adjust the settings as needed.
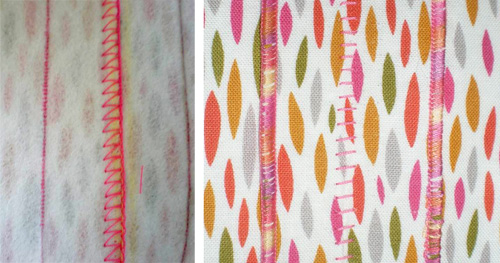
Serge along the length of the fold, using the edge of the foot as a guide. Do not cut any fabric off the edge!
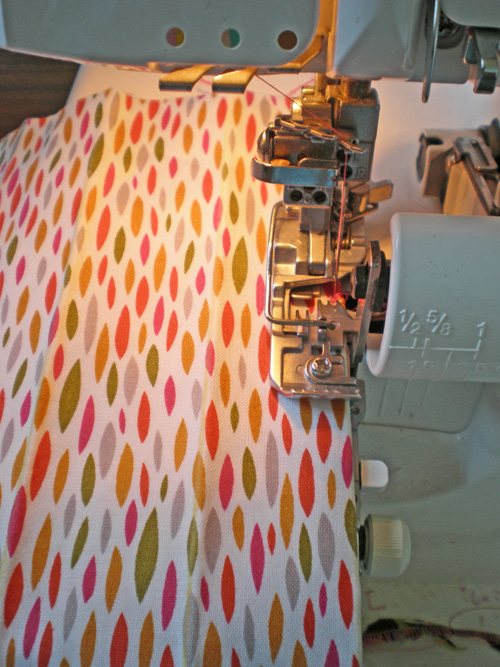
Repeat for the remaining tucks.
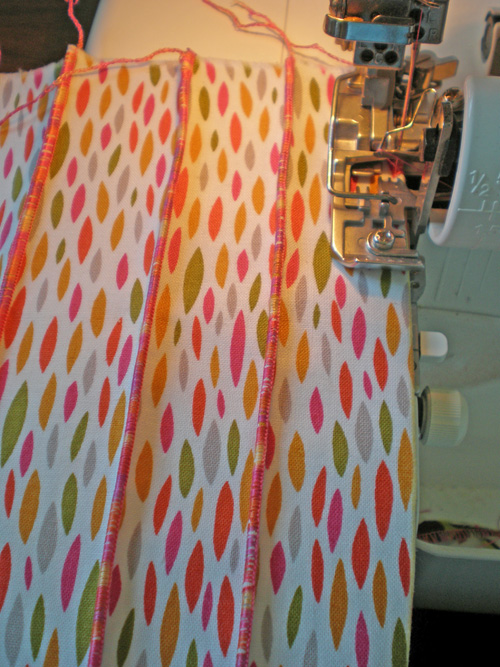
Fold all the tucks away from the center; press.
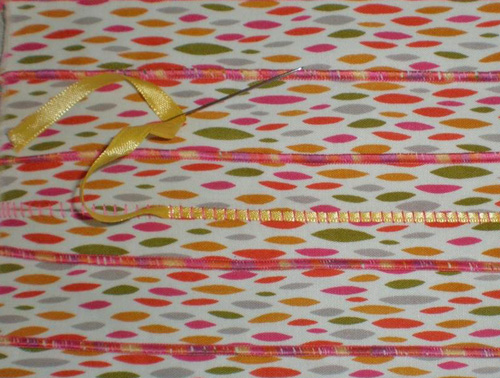
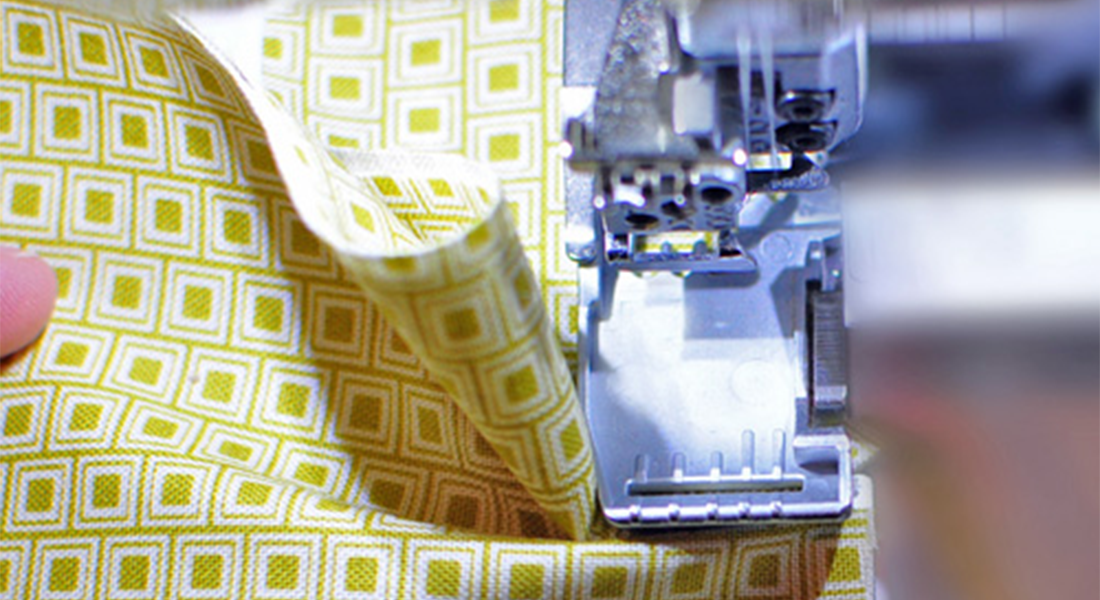
Step 3) Create the woven ribbon flatlock.
Turn the tucked fabric over and mark a line through the center of the wide space between the two middle tucks.
Fold along the marked line, right sides together, and press.
Set the overlocker/serger for a 3-thread flatlock and adjust the stitch length to 4 mm. Serge a sample and adjust the settings as needed.
Serge along the edge, with the stitch just barely falling off the edge of the fold.
After stitching, gently pull the sides of the fabric to open the fold so the stitches lie flat.
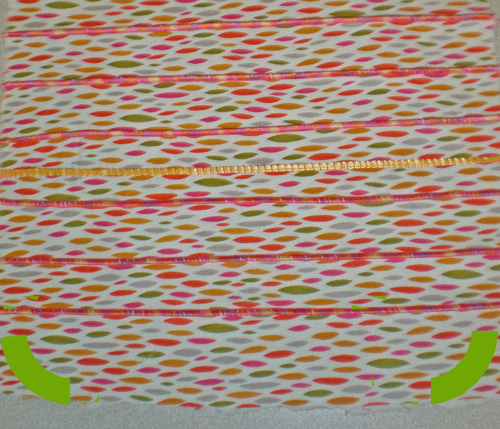
There will be “squiggles” on the outside of the fold; opening the fold reveals decorative “ladders” on the inside of the fold.
Weave ribbon through the stitches.
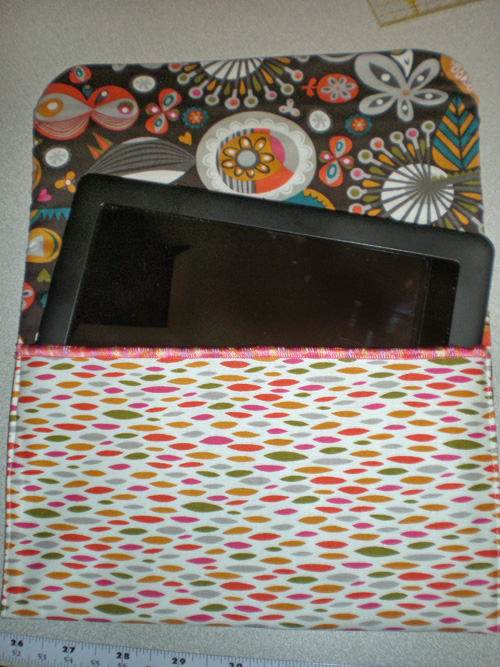
Step 4) Construct the eReader sleeve.
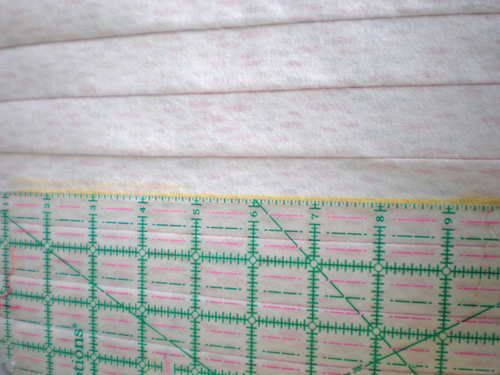
Trim the rectangle so all the sides are straight and the corners are square.
Round the corners on the tucked end of the rectangle.
Tip: Use a teacup or mug as a guide for drawing curves at the corners.
Cut a lining piece the same size as the tucked piece. Place the tucked rectangle and the lining right sides together.
Set the serger for a 3-thread overlock with a stitch length of 4mm. Serge a sample and adjust the settings as needed.
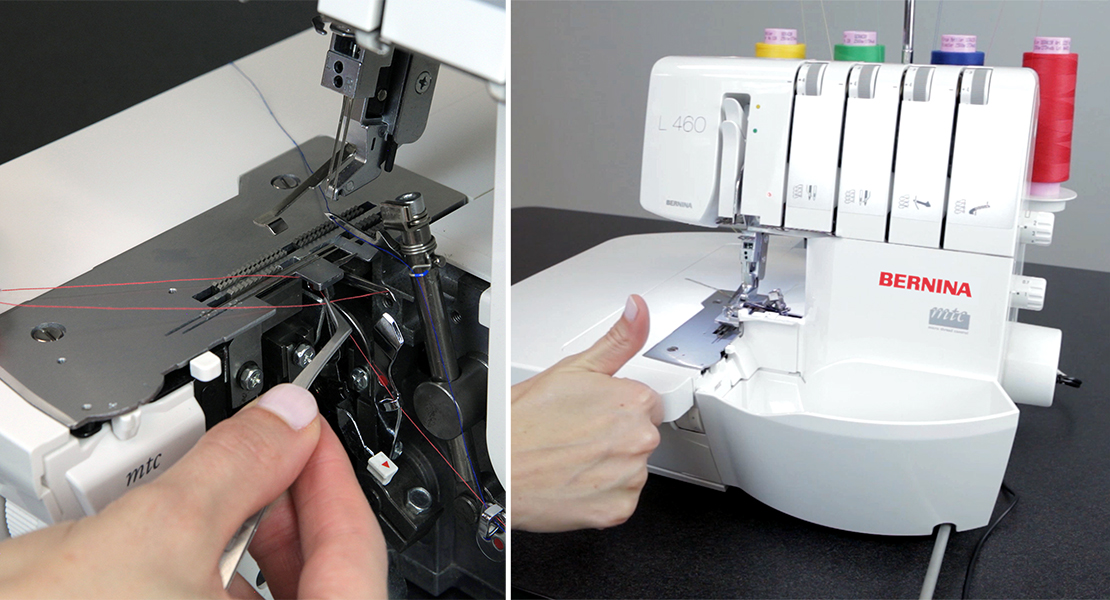
Tip: Need overlocker/serger stitch information? Look inside the Serger Technique Reference Book.
Serge down one long side, around the curves, and down the other long side. Leave the short straight end open.
Turn right side out and press.
Adjust the stitch length to 1mm and serge across the open end of the rectangle.
Apply seam sealant to the ends; clip thread tails when dry.
Place right side down on a flat surface. Fold the straight edge up to form the body of the sleeve.
For my sleeve I turned up about 5″.
At the sewing machine, edgestitch through all layers at the sides of the sleeve.
Insert your e-reader into the pocket and fold the flap down.
Many thanks to Kellie Rushing for sharing her e-reader sleeve instructions!


What you might also like


2 comments on “How to Make an e-Reader Case with Your Overlocker/Serger”
-
-
I love this, I will make this for my families iPad’s
Thank you
Nancy
Leave a Reply
You must be logged in to post a comment.

Love this. I can’t wait to try it larger for my lap top.