How to Thread an Overlocker
THREAD, DON’T DREAD
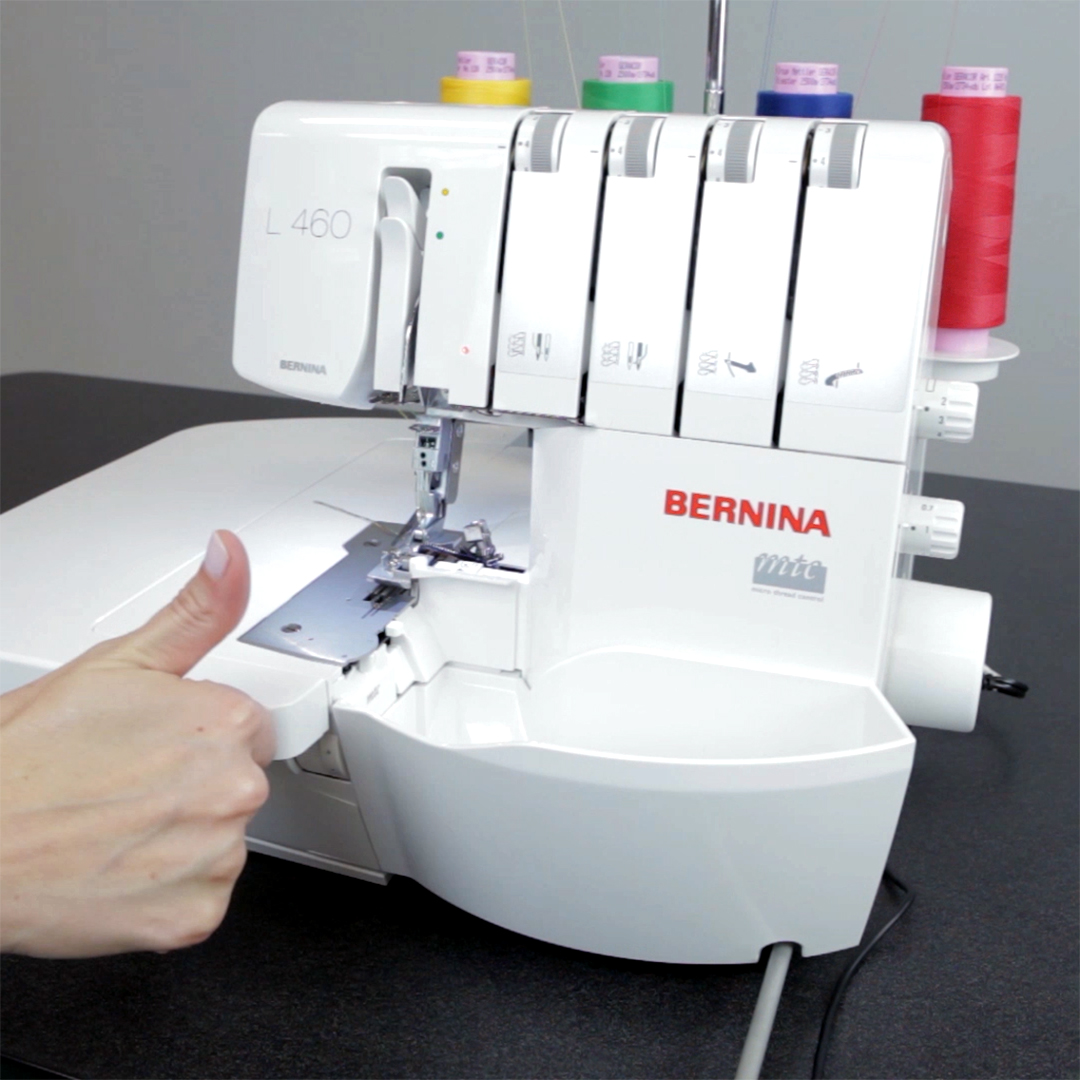
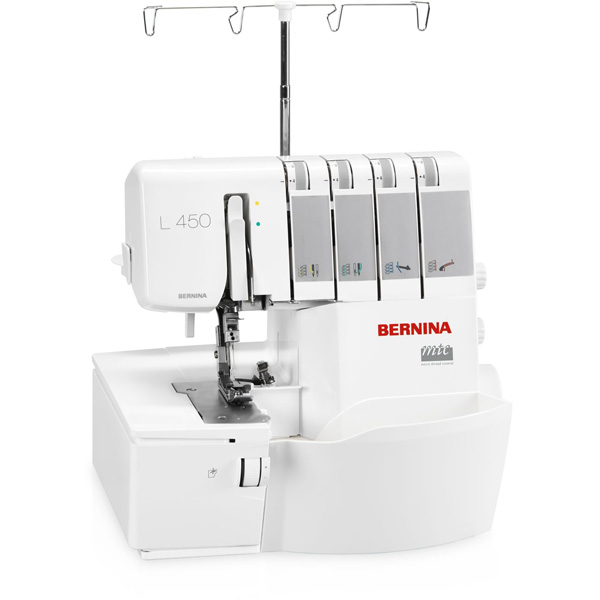
Do you dread to thread? Overlockers or sergers of all kinds have a reputation of being impossible to thread, but overcoming this dread of threading is key to your successful experience with this machine. The new BERNINA L 450 and BERNINA L 460 Overlockers were designed with ease of use in mind. There are many added features that make this machine simple and understandable. So let’s break the myth once and for all!
Threading Path
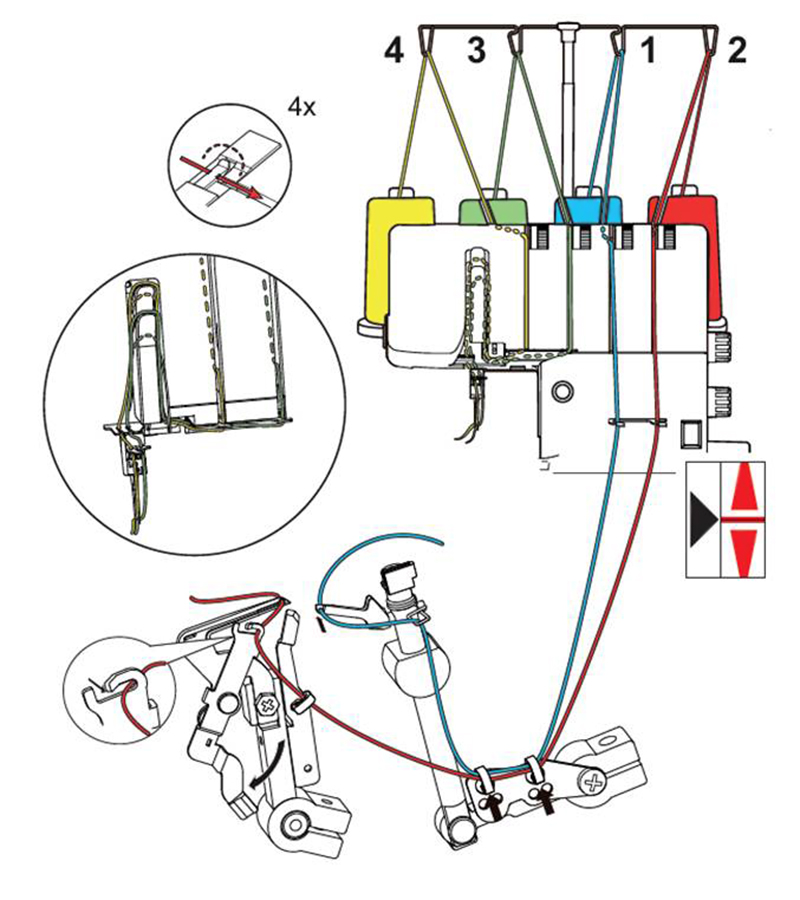
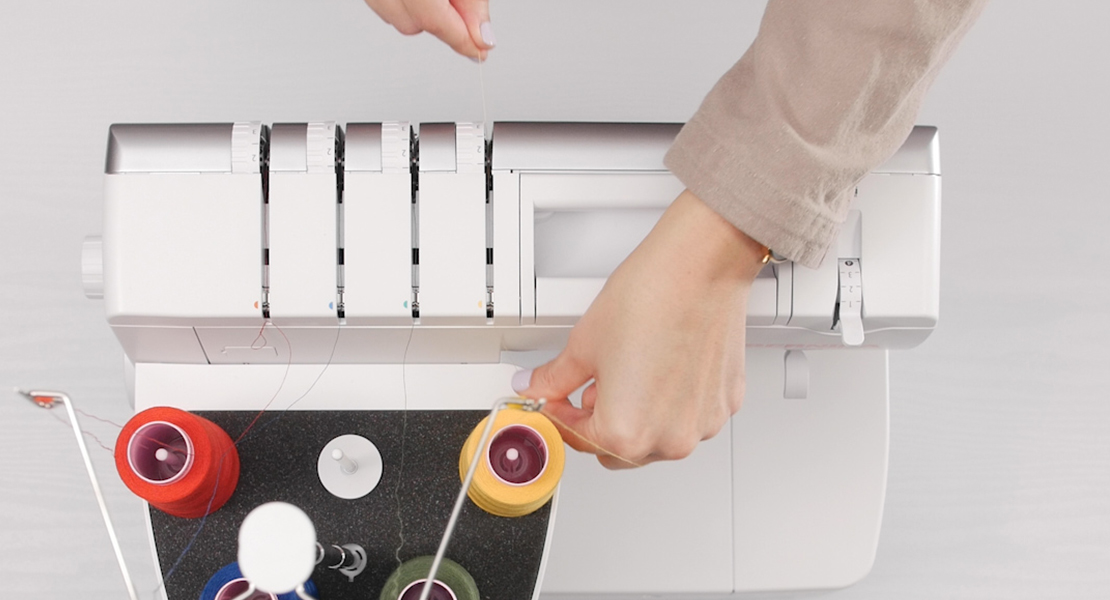
BERNINA overlocker machines all have a color coded threading path. You will notice a colored dot at every point where each thread should go. Following the threading order is important to successful threading. Begin with the upper looper (blue), then thread the lower looper (red) and finally thread the needles last (green and yellow).
When I was first learning to thread an overlocker, it was difficult to remember which looper was the upper and lower. The upper looper (blue) moves over the stitch plate and the lower looper (red) moves under the stitch plate. A teacher once taught me a riddle (below) that works with the color of our BERNINA machines perfectly. I hope it helps you remember too.
Upper (Blue) = sky/heaven Lower (Red) = earth/hell
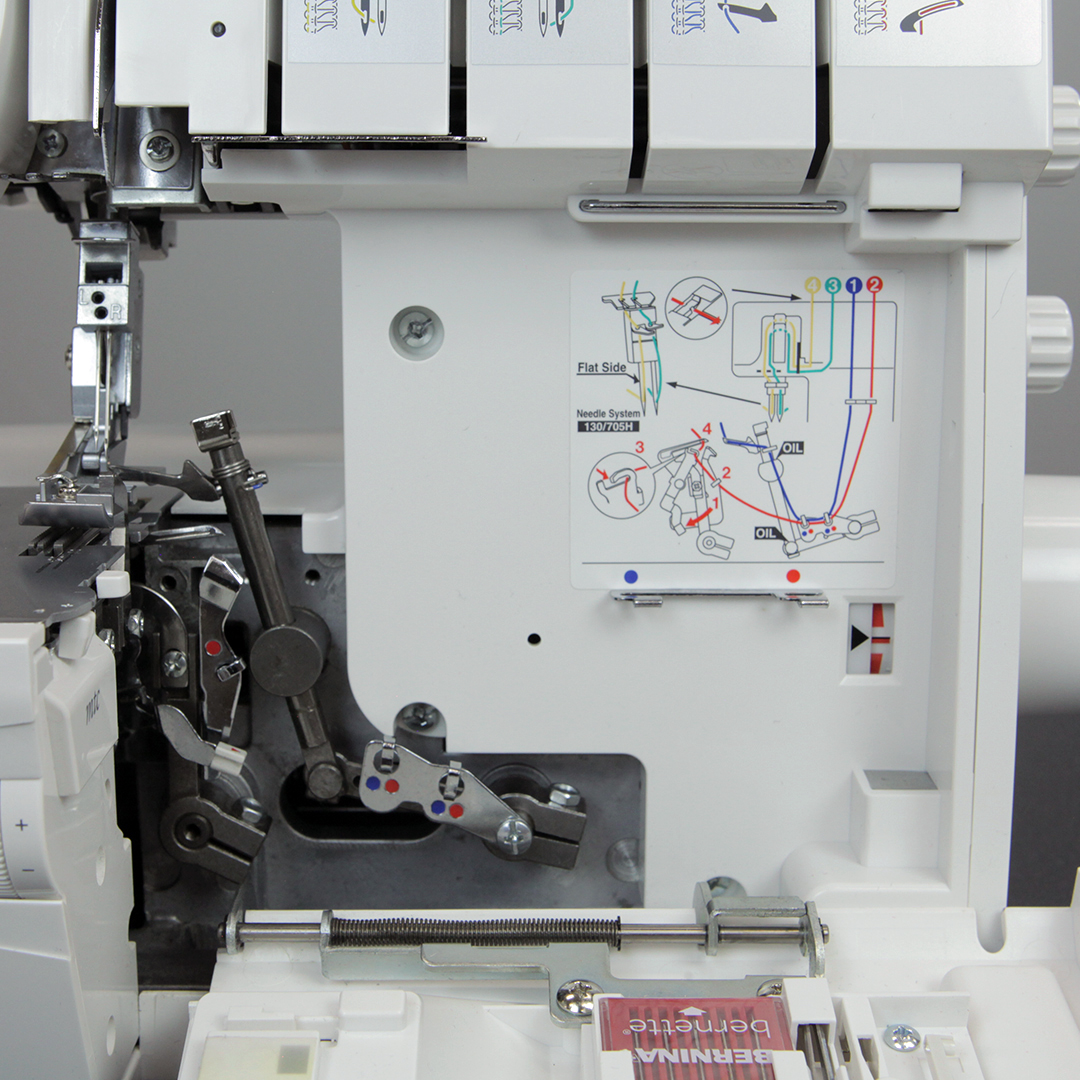
The inside of the machine is open and easy to access. Behind the looper door, inside the machine, you will find a built-in threading chart. Perfect in case you don’t have your user manual handy. Notice the upper and lower looper follow a similar thread path and the thread just snaps into place, no more little corkscrew wires or covered thread guides. Each machine comes with a Quick Reference Card that gives threading tips and all the stitch settings for the sixteen stitches the machine makes.
How to Thread an Overlocker / Serger
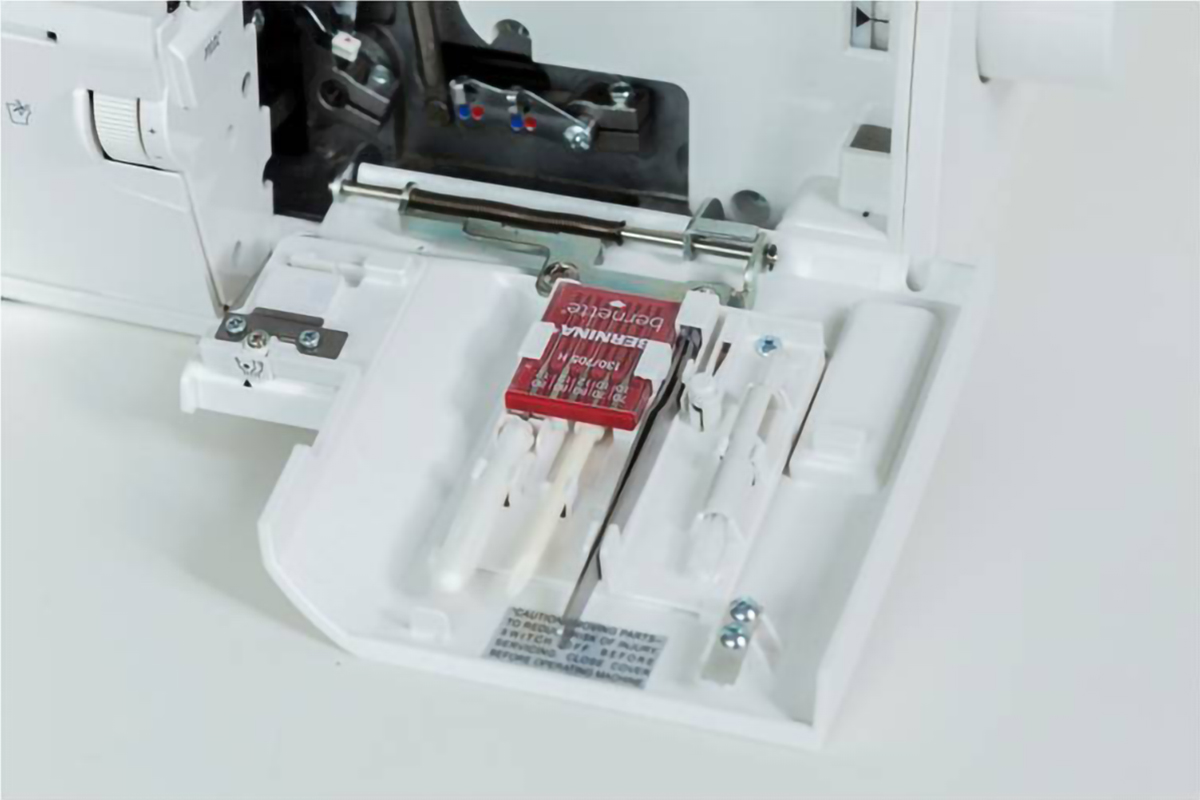
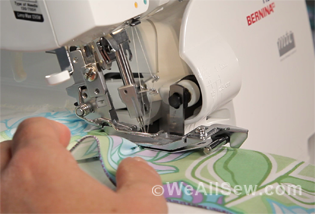
Step 1: Open the machine
There are several helpful threading tools stored in the looper cover door. You can find your tweezers, screw driver and needle/threader holder tool here along with some spare needles and a lint brush.
Step 2: Raise the presser foot
Raising the presser foot releases the tensions disks on all the threads. This will make it easy to thread and also enables you to be able to tie threads together and pull them through the machine with ease.
Step 3: Remove the presser foot and lower the knife
As you are learning to thread the machine, it is helpful to remove the presser foot and lower the knife. This will make the threading path open at the stitch plate. When you put the presser foot back on the machine, be careful not to trap the thread into the clamp of the presser foot. Once you are comfortable with threading, removing the foot and lowering the knife is not necessary.
Step 4: Raise the needles to the highest position
The BERNINA L 460 has a feature that stops with the needles in the highest position. You will notice on the inside of the machine there is a needle position window. On the BERNINA L 450 you will need to move the handwheel until the red line matches up with the arrow on the needle position window.
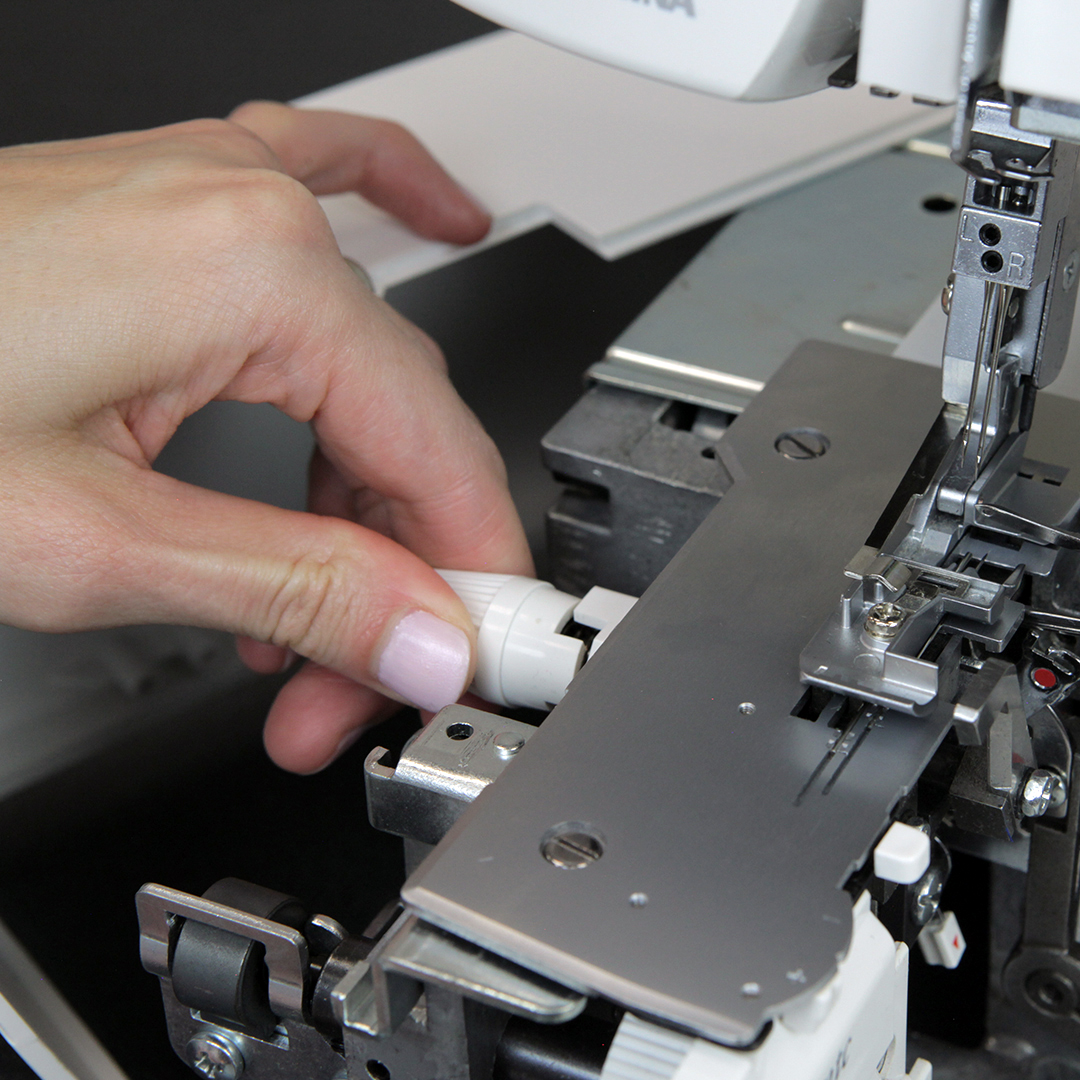
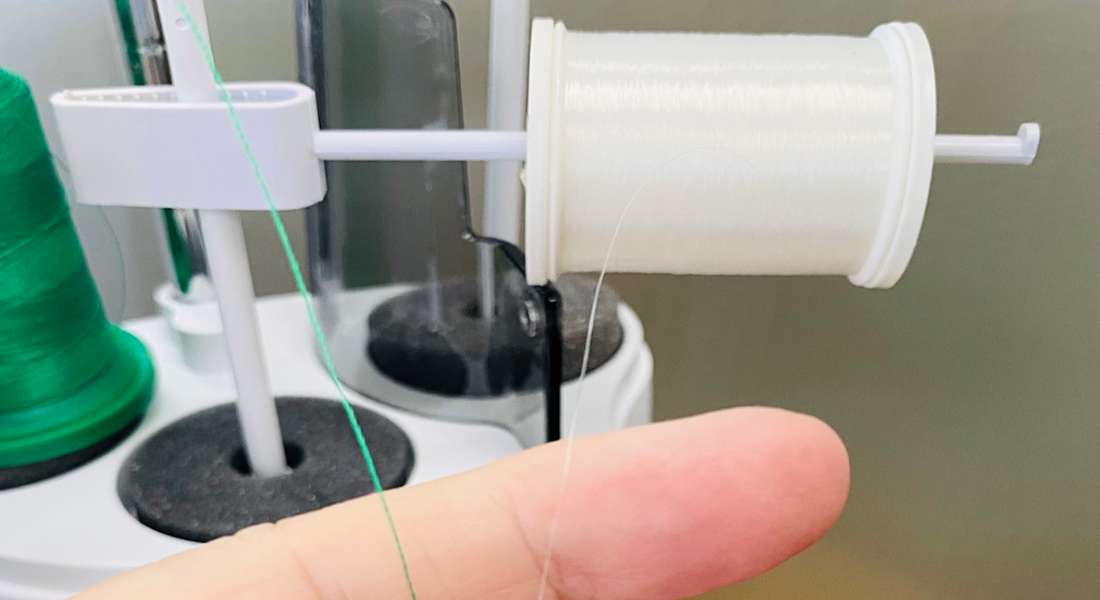
Step 5: Pull up the retractable thread stand fully
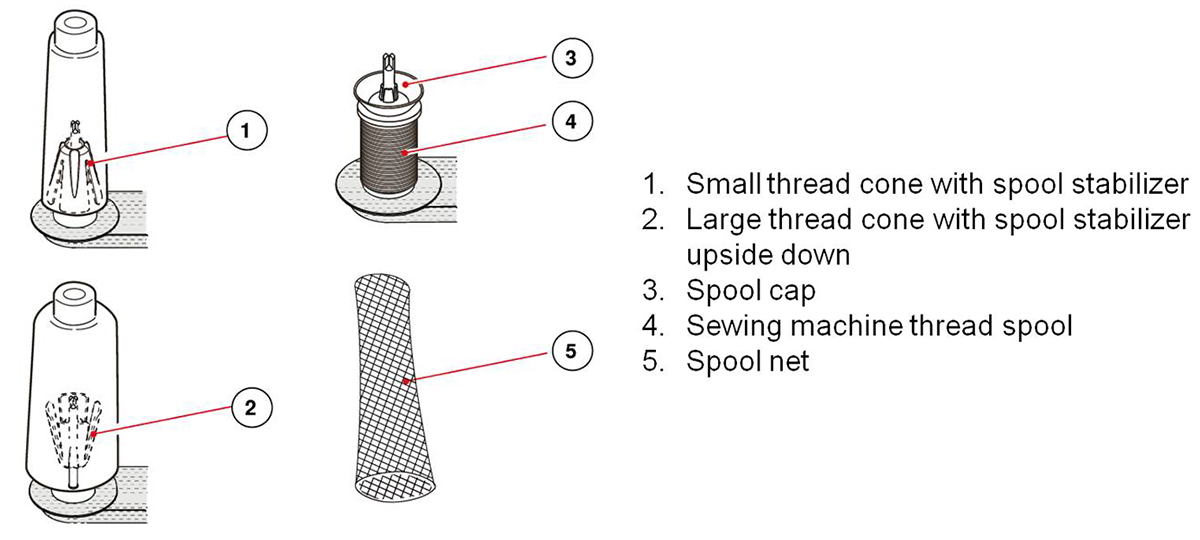
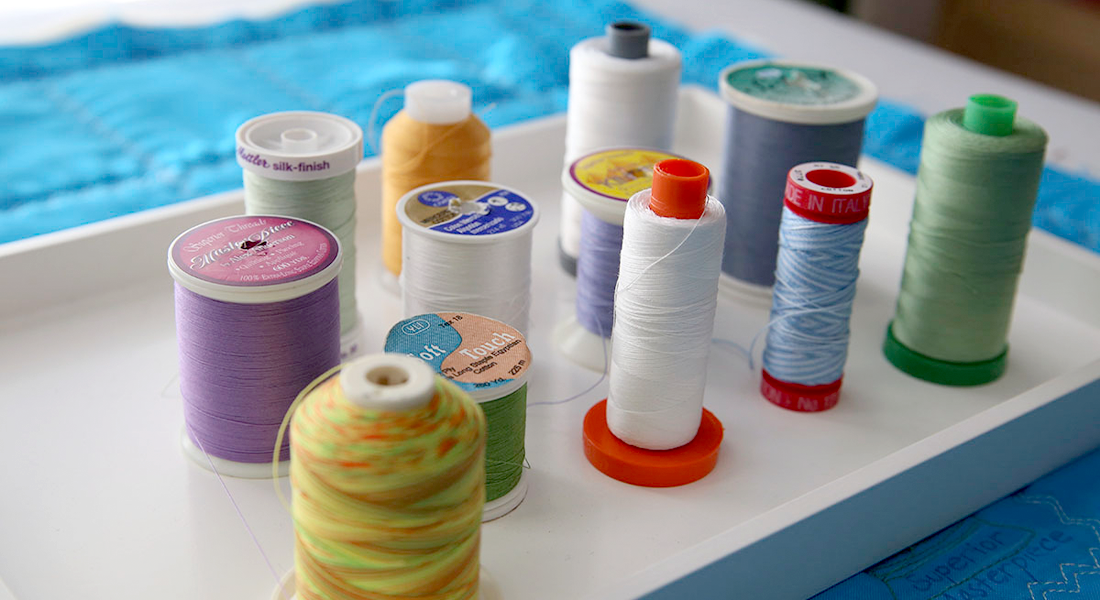
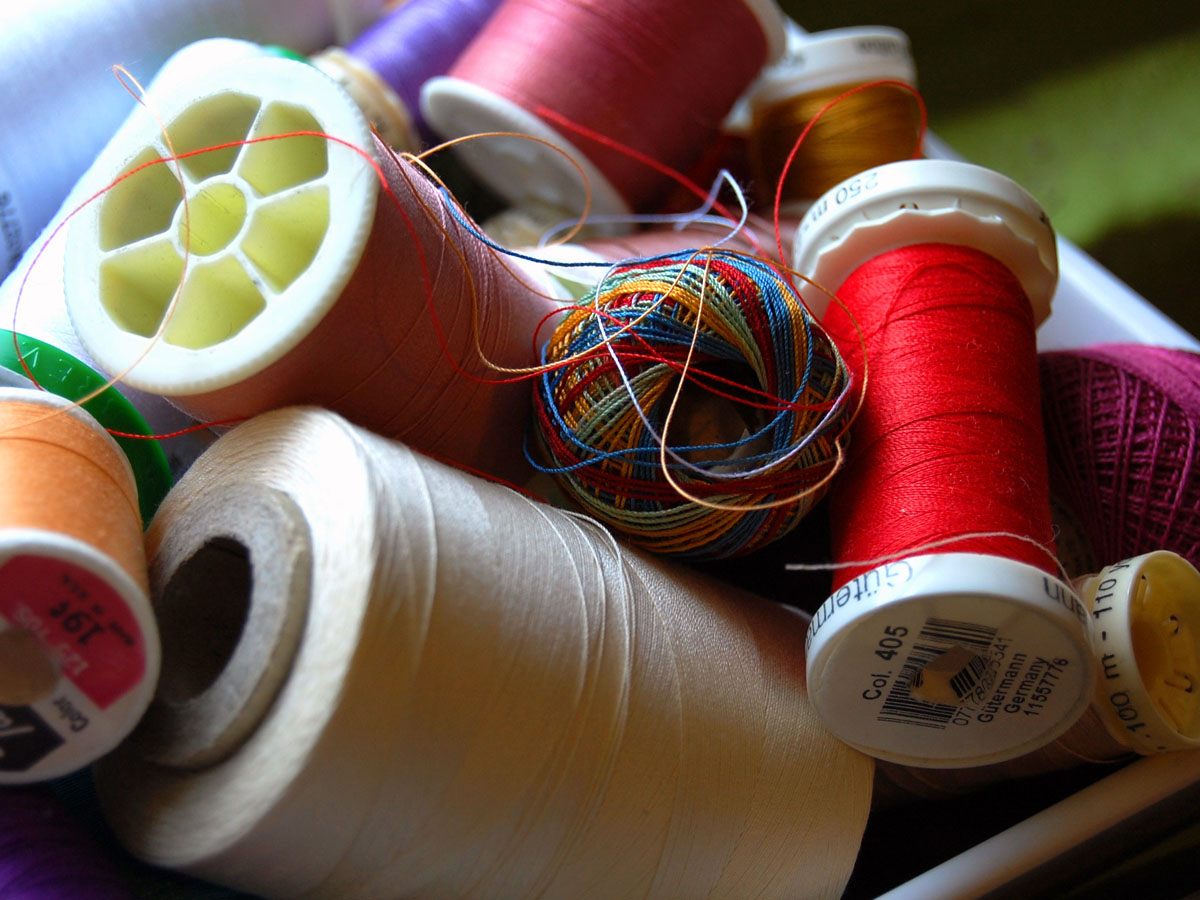
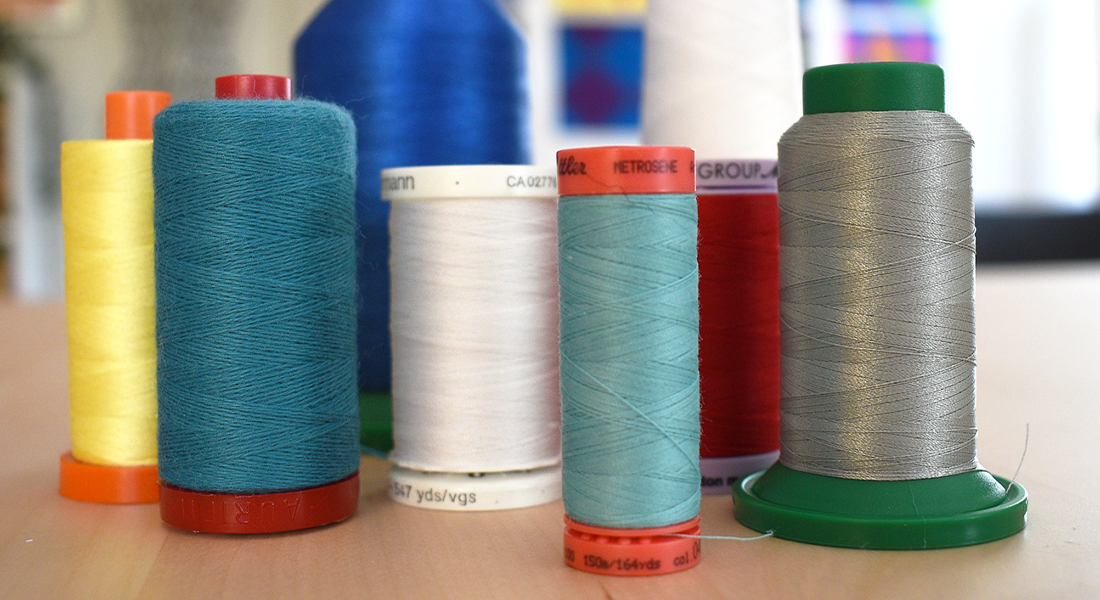
It is important to remember to raise the retractable thread stand at the back of the machine. Select your thread and place it on the thread stand and pull the thread into the guide at the top of the thread stand. Use the spool stabilizer, caps and nets for thread as necessary based on thread used. A spool net can be used to help control an unwieldy thread.
Step 6: Place thread into pre-tension guide at the top of the machine
The first guide for all the threads is the pre-tension guide at the top of the machine. Simply floss the thread into the guide and it will ensure that the thread will flow off of the spool into the machine perfectly.

Step 7: Lay thread into tension disc
Next you will lay the thread into the tension disk. The presser foot is raised so the disk is open, making it easy to get the thread into the tension disk. If you have ever had a machine that required you to catch the tension disk by pulling thread around the knob connecting with a wire, you will definitely understand how easy this machine is.
Step 8: Place thread into all guides marked with color-coded mark
Now you will follow the thread chart and place the thread into all the guides marked with the color-coded dot. Just like a dot-to-dot.
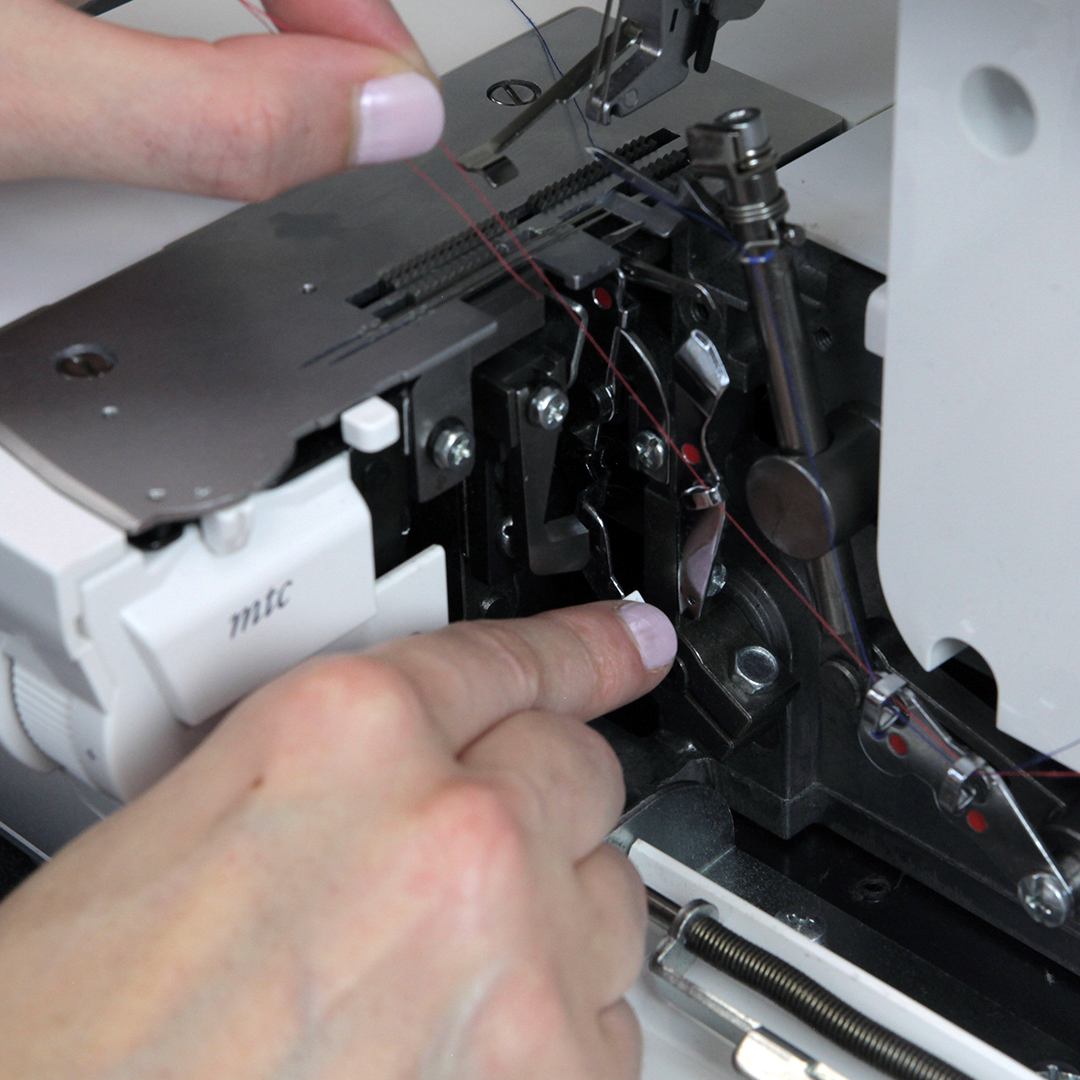
Step 9: Lower Looper Threader Lever
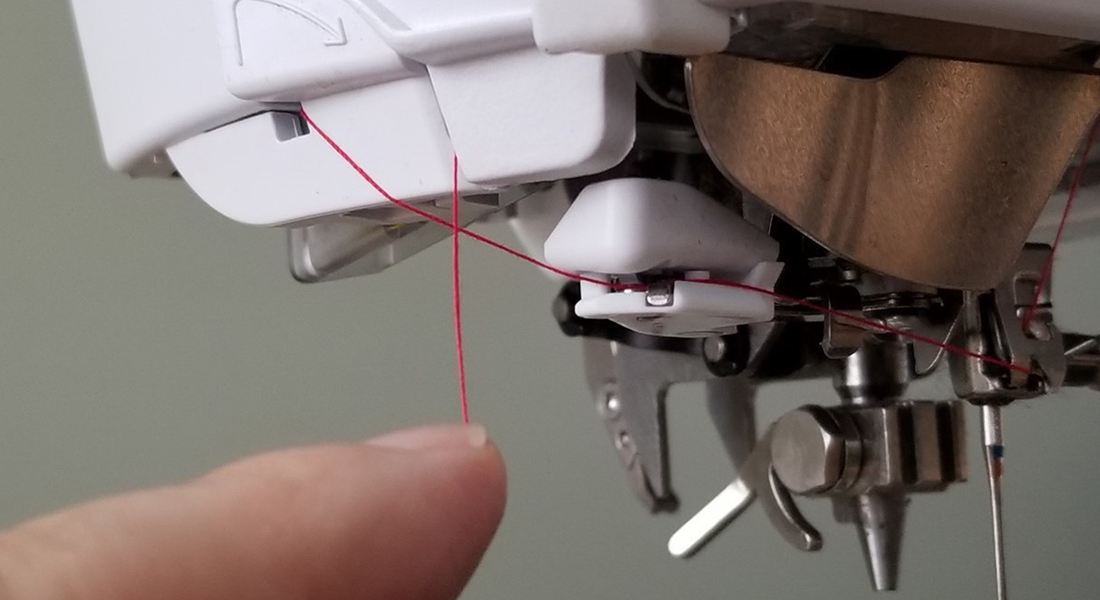
The lower looper has a thread guide that is underneath the stitch plate. To reach this guide there is a helpful lower looper threader lever. Press it down and the guide will move out from under the stitch plate. Place the thread into the guide and pull the lever up or turn the handwheel and the guide will go back into place.
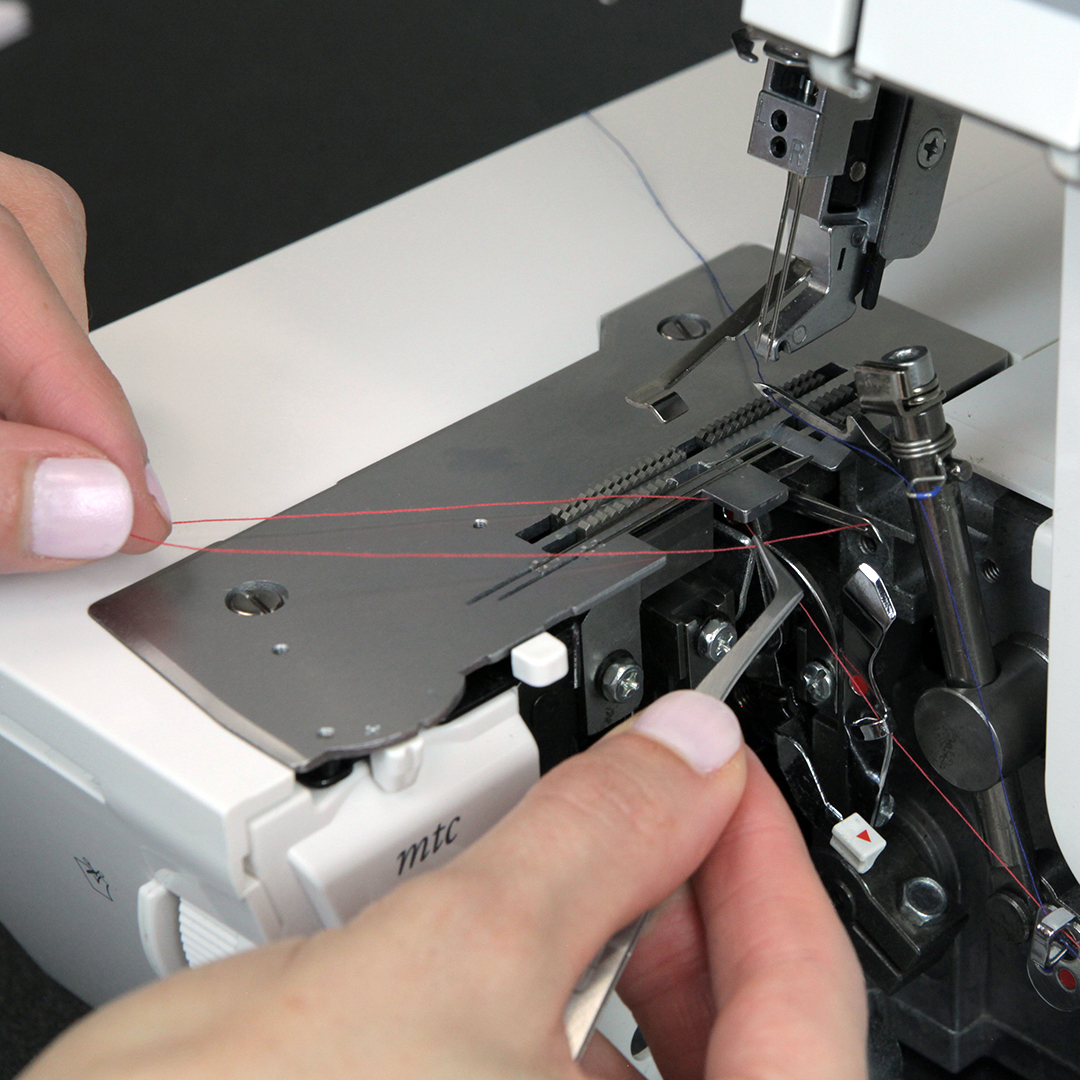
Step 10: Use tweezers to thread the loopers
Tweezers are extremely helpful for threading the looper eye, as well as getting the thread into all the guides.
Step 11: Use the needle threader/holder tool to thread the needles
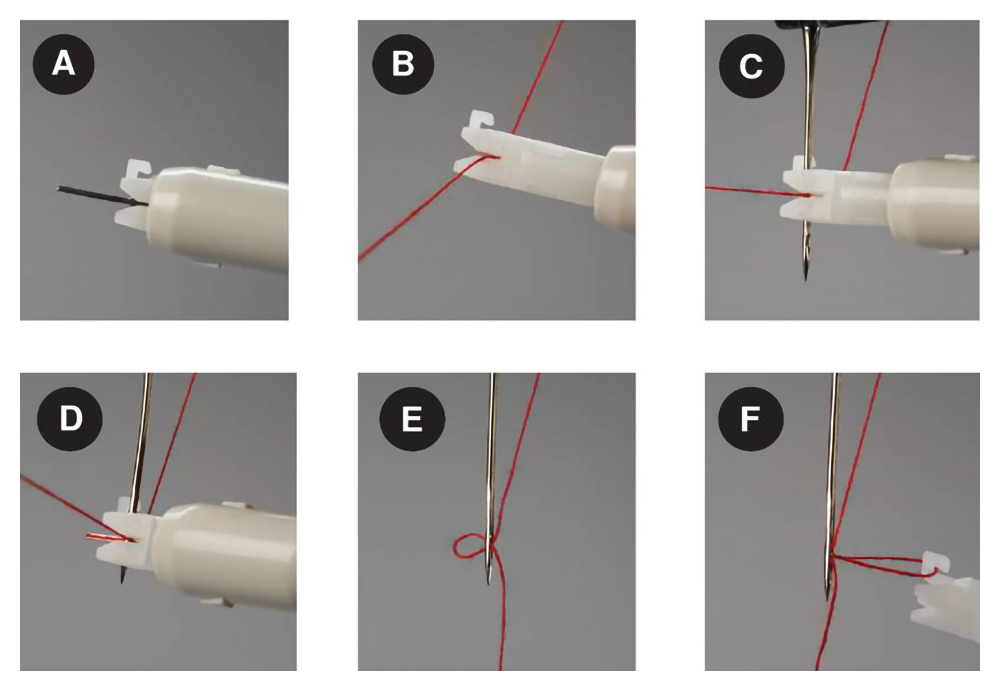
Now you are ready to thread the needles. Depending on your stitch set-up you may use only the left or right needle or both needles for 4-thread overlock. It is important to follow the color-coded thread path for the needle that you have chosen. In the looper door you will find a needle threader/holder tool. This useful tool has one end that will help you hold needle when inserting and removing, and the other end is a threader tool. A small wire (A) will push the thread through the needle. Place the thread (B) across the threader horizontally and slowly move the thread down the shaft of the needle(C) until reaching the eye of the needle (D). At this point gently remove the threader, leaving a loop (E) that you can pull through the needle with the hook on the tool (F). Practice makes perfect with this tool, and use care not to bend the threading wire by exerting too much force.
TIP: You must remove the needle if it is NOT threaded. Leaving the needle unthreaded will result in a malformed stitch. There is even a needle storage pad inside the machine.

Step 12: Set the machine tension settings for your stitch
Now that you have everything threaded, you are ready to set the tension settings for your stitch set-up. The default machine settings for a 4-thread or 3-thread overlock stitch are all indicated with a black “dot” on the setting. You will notice that the default settings for a 4-thread overlock are four. This does not mean that they have to stay there. It is important to become comfortable changing all the settings on an overlocker and to always test your stitch. Different fabric and thread combinations will require some setting variations to achieve the perfect stitch.
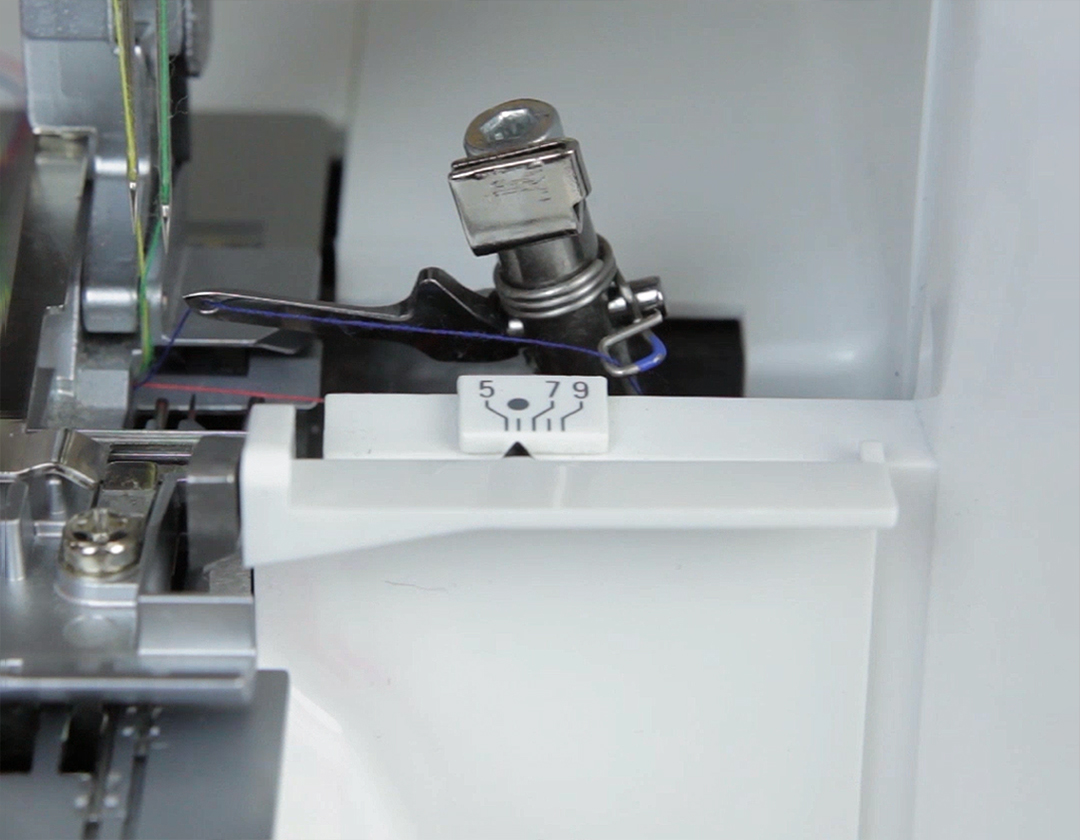
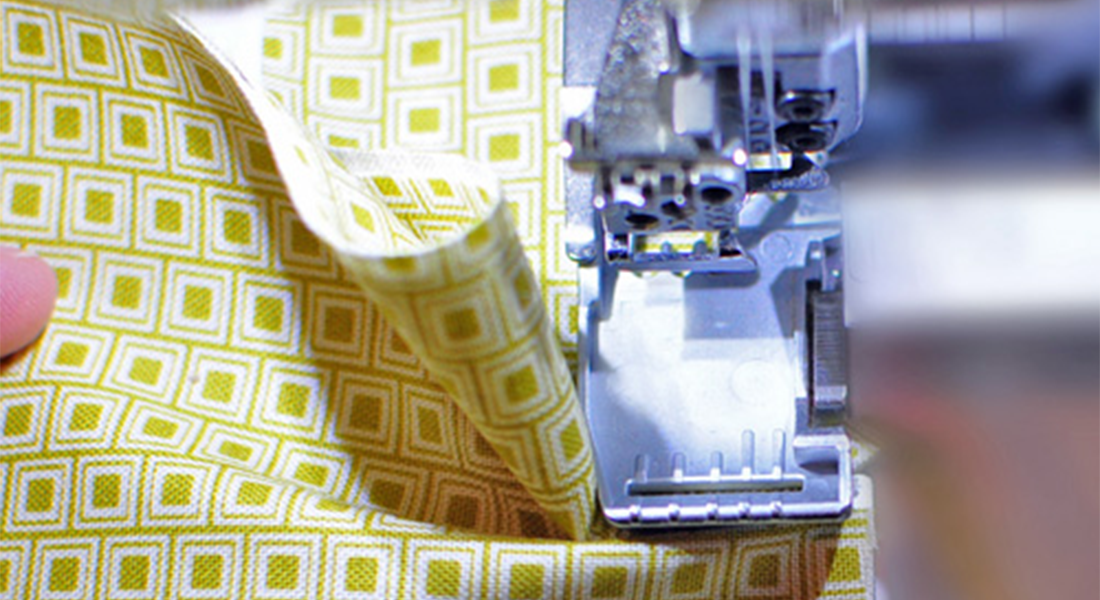
Step 13: Set the cutting width and check rolled hem and MTC levers
The cutting width dial is located on the front of the machine and the indicator for cutting width is near the presser foot. The default cutting width is 6 mm, indicated by the “dot.” On the stitch plate of this machine, you will find the rolled hem lever and the MTC lever. The rolled hem lever is what moves the stitch finger under the stitch plate when you want the hem to roll. For most stitches the stitch finger is engaged and determines where the loopers meet at the edge of the fabric.
MTC is Micro Thread Control and it moves the stitch finger right and left, giving a fine tune control to where the loopers meet at the edge of the fabric. Set the MTC to the plus for increased area in the loops to eliminate fabric tunneling. Set the MTC to the minus to eliminate loops hanging off the edge of the fabric.

Step 14: Set the stitch length and differential feed
The final settings to change are easily accessible at the right of the machine. Stitch length is the top knob and the default is 2.5, just like a sewing machine.
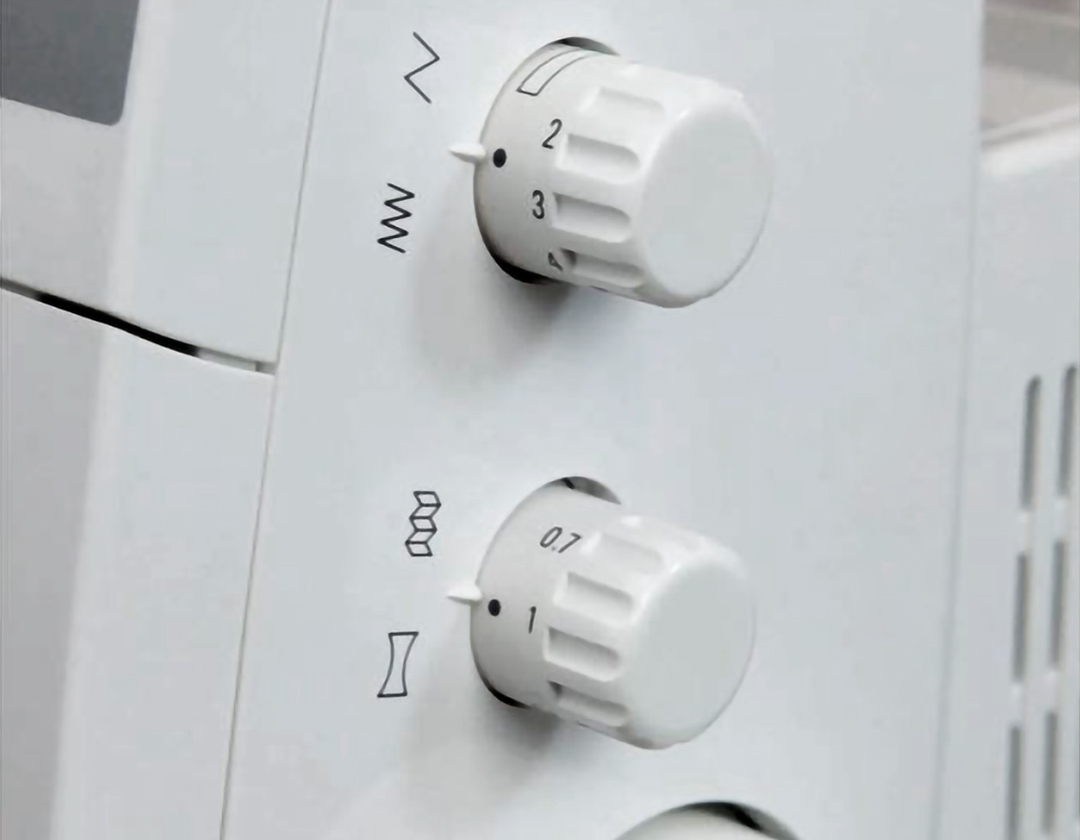
The differential feed knob is directly below this knob and is adjusted based on fabric performance. Overlockers have two sets of feed dogs, which move independently. When you adjust differential feed you are adjusting the way these feed dogs move. At a setting of “1” they move at the same rate. The setting “2” creates a gathering effect, as the front feed dog moves more fabric than the back. Conversely, the setting “0.7” creates a stretching effect moving less fabric than the back feed dog. This is a wonderful feature for creating perfectly flat seams when working with knits.
Step 15: Test and make adjustments
Presser foot pressure is located on the top of the machine. For most sewing projects the foot pressure may be left at the standard setting of “M.” The machine has five settings. “XH” extra high provides the most pressure and “XL” extra light is the least.
Always remember, you are in control! Do not fear changing settings and working with all the features to create the perfect stitch. These machines are made to be adjusted. I promise you, it will be as familiar to you as your sewing machine in no time.
Download the free eBook about overclocker threading here. Also included are tips on machine settings, differential feed, presser foot pressure, and more.
Used Products

What you might also like


2 comments on “How to Thread an Overlocker”
-
-
This is quite possibly the nicest comment anyone has made on one of my posts. I really appreciate knowing that you have some confidence in threading now. I know you can do it! Best wishes, Jaime.
-
Leave a Reply
You must be logged in to post a comment.

I have an older very basic Bernina serger which I’ve never been able to thread. These instructions make me feel as if I can finally attempt it again. Thank you!