How to Sew a Face Mask with an Overlocker
BERNINA Overlocker Expert, Doris Brechbuehl, shares tips and tricks for sewing self-made face masks with the overlocker/serger
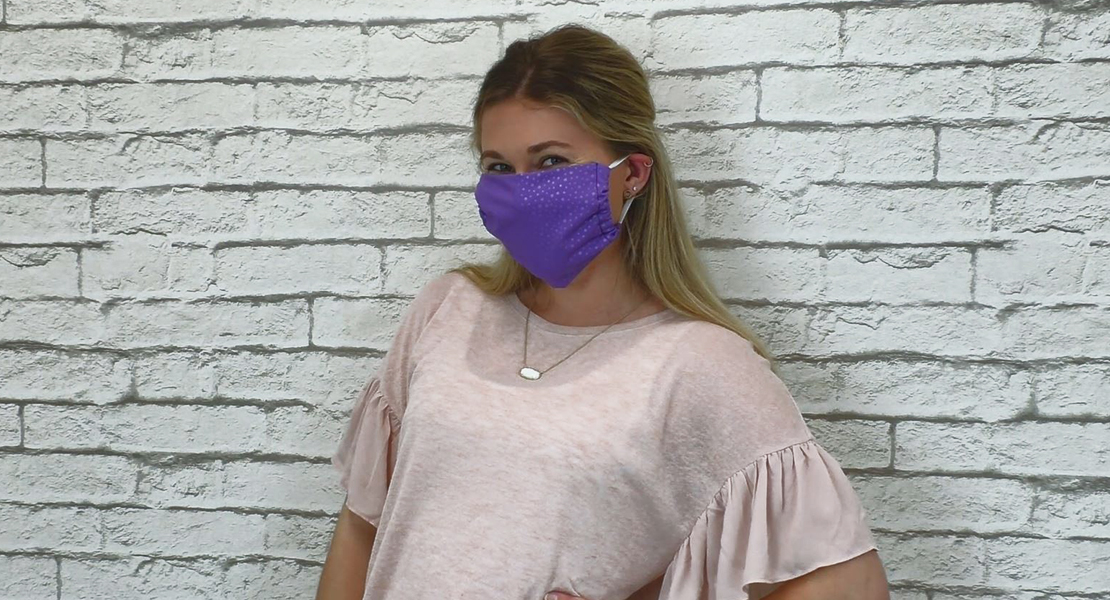
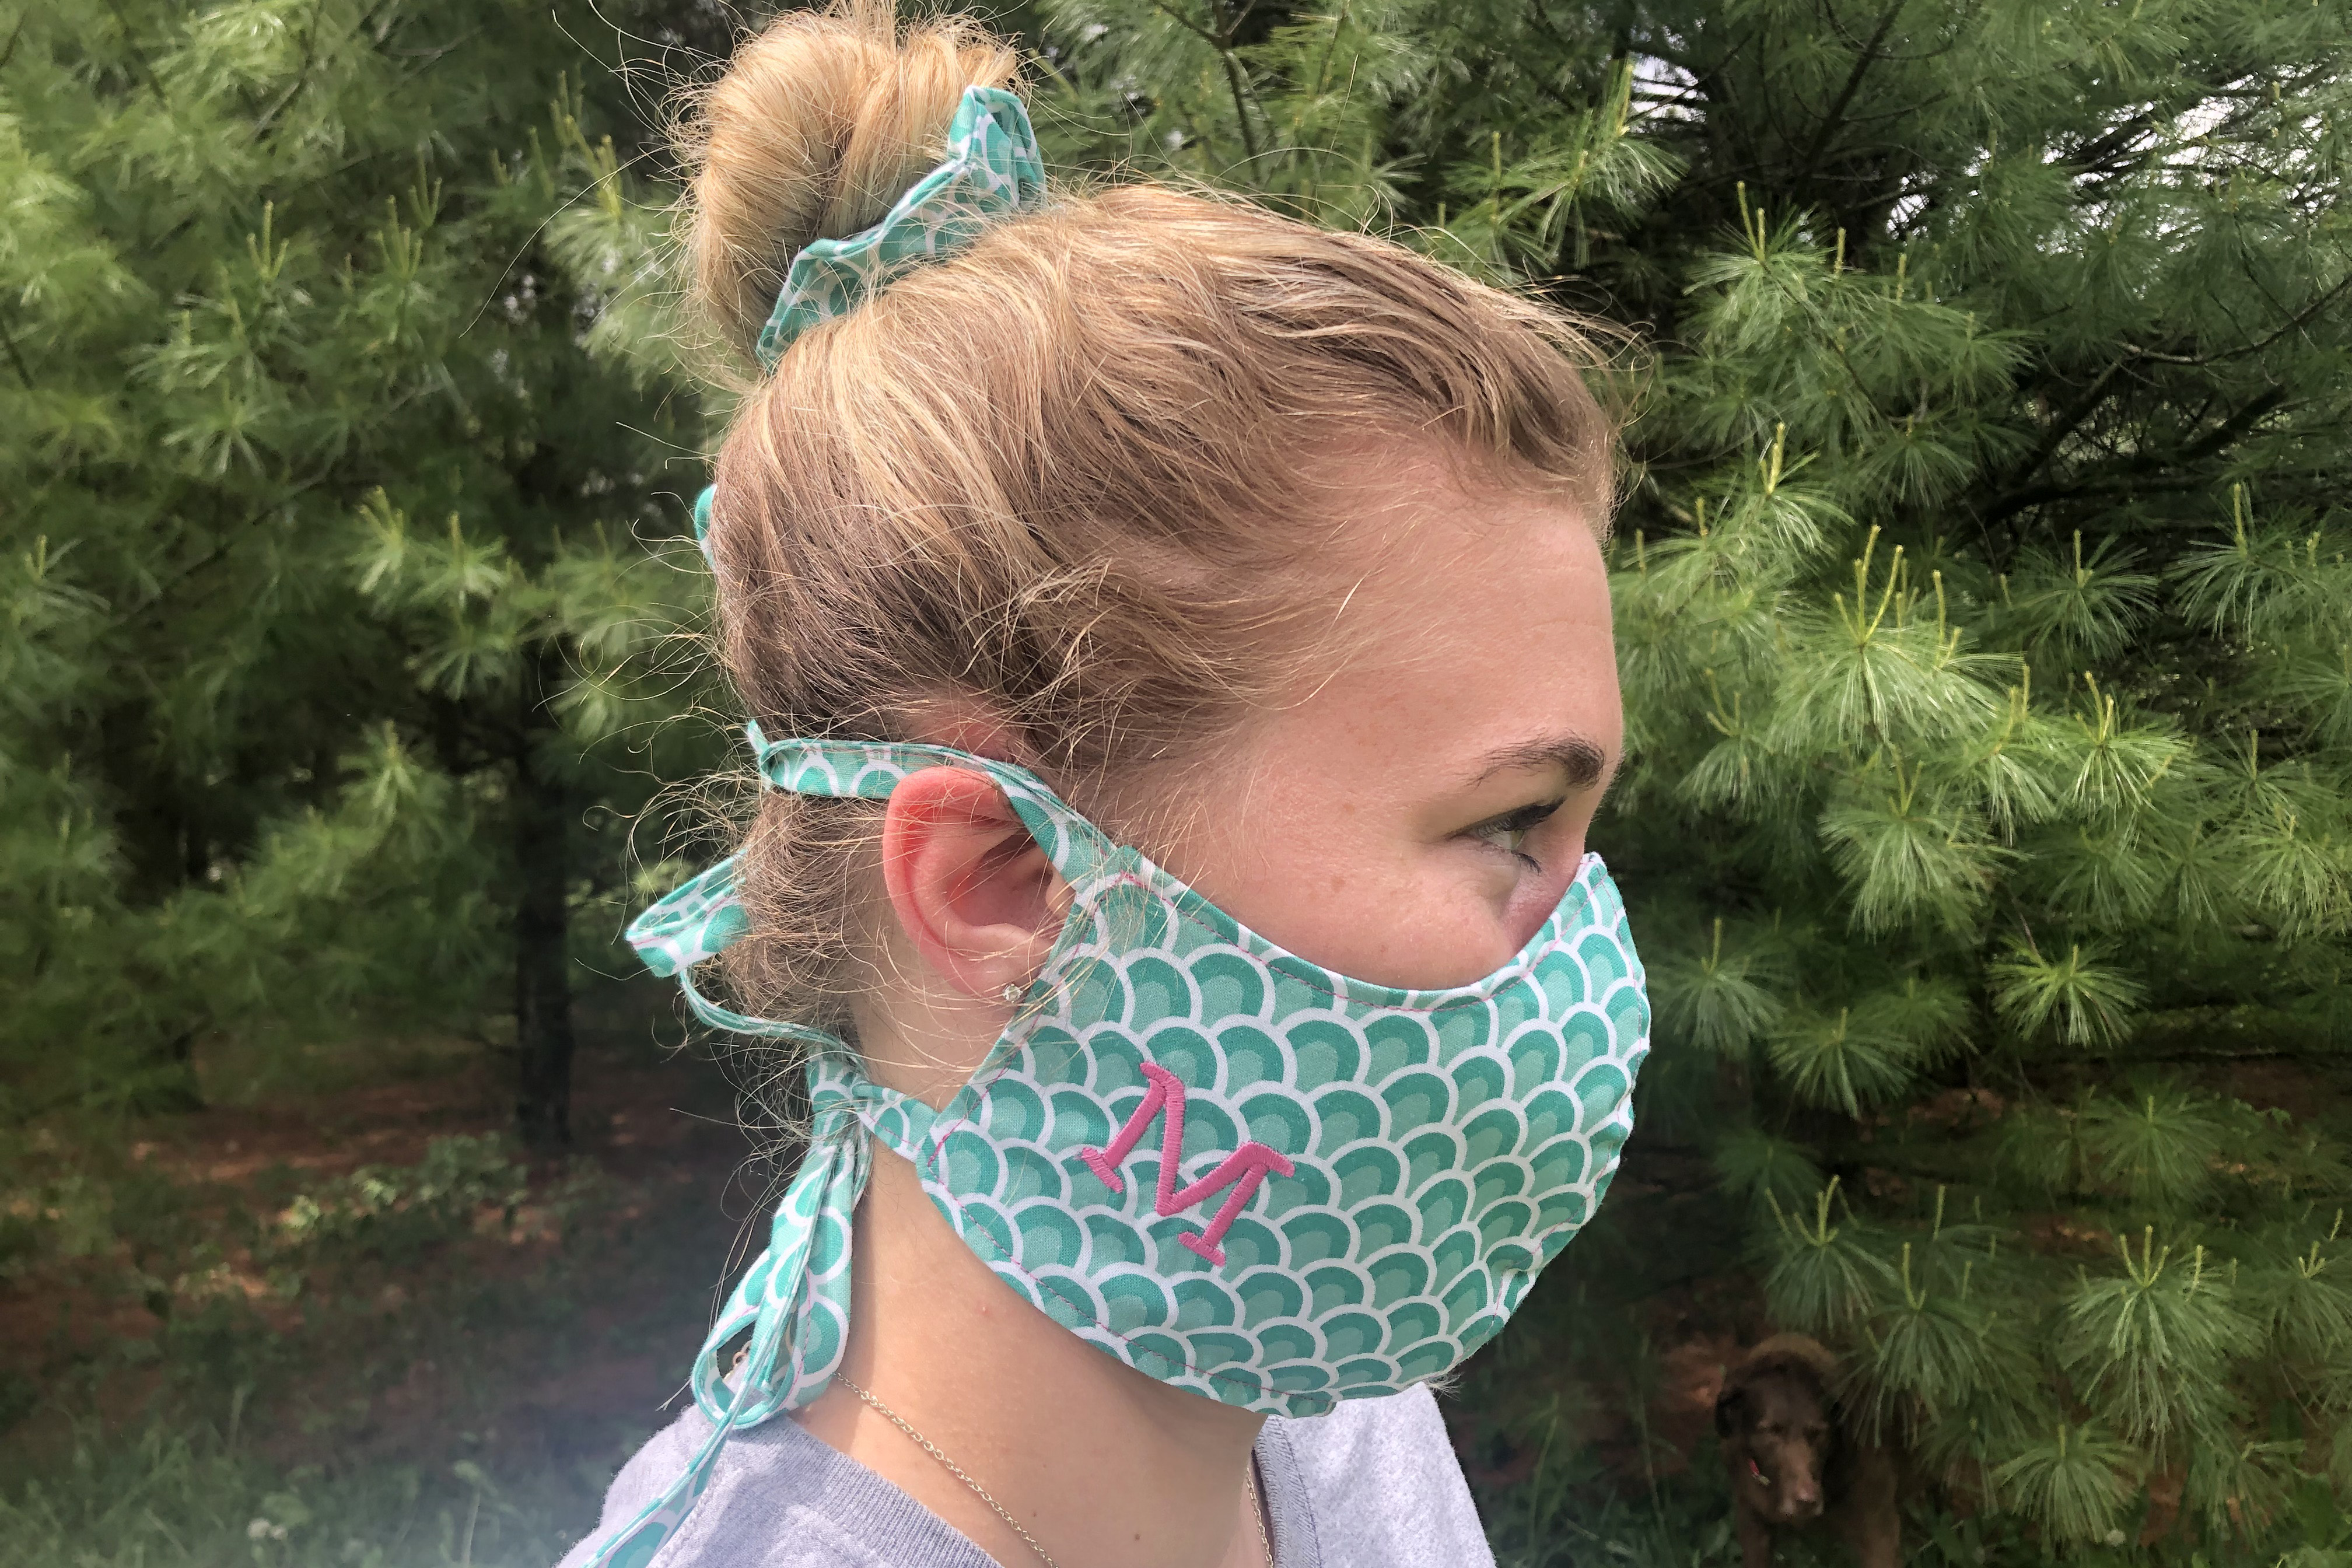
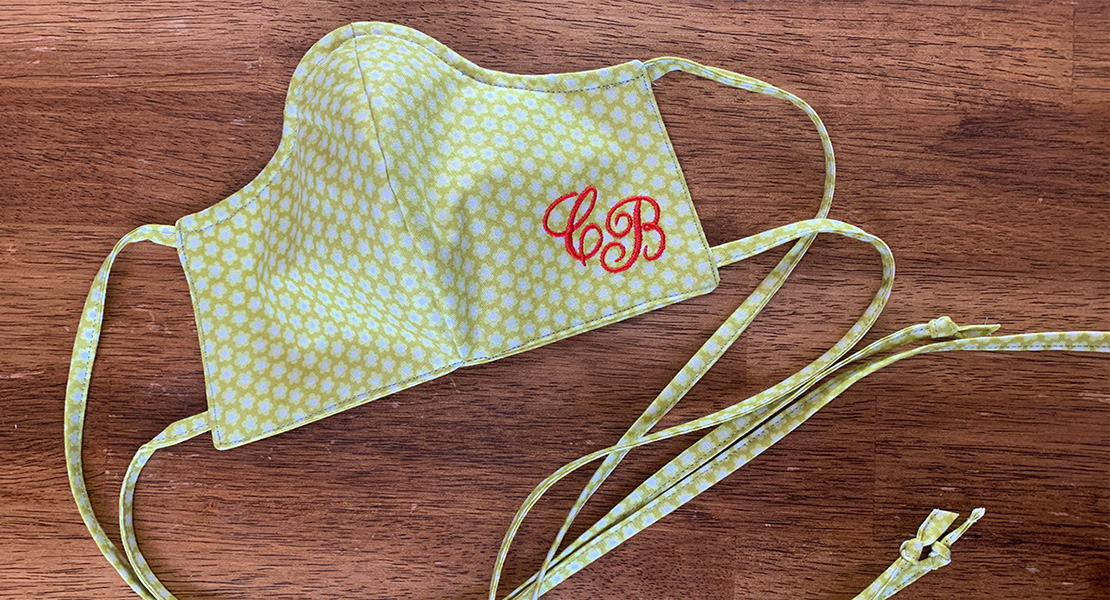
This design appeals to me, because I am wearing glasses and its shape is comfortable on my nose. And will not most of us wear sunglasses sooner or later? And I also like it, because it is ideal to custom fit it, now that masks are coming into fashion.
This is a pattern that can also be easily and quickly produced with overlock sitches. The advantage of this model is the possibility to insert an additional filter or fabric. Although a little more complex to work with, you can quickly get the finished, beautiful result with the overlocker.

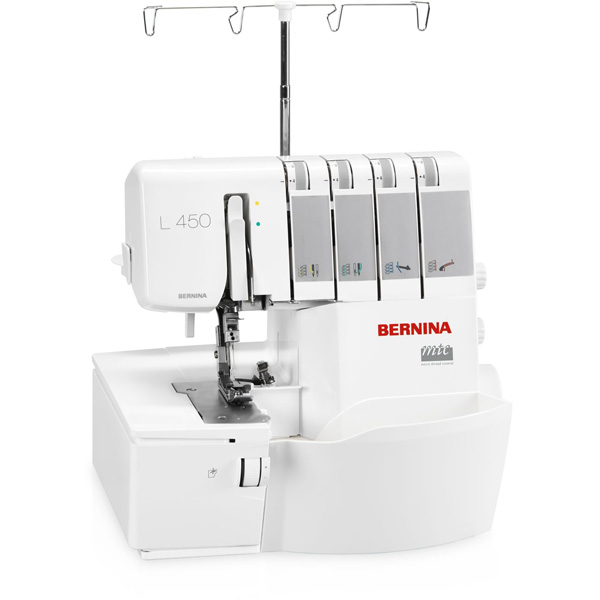
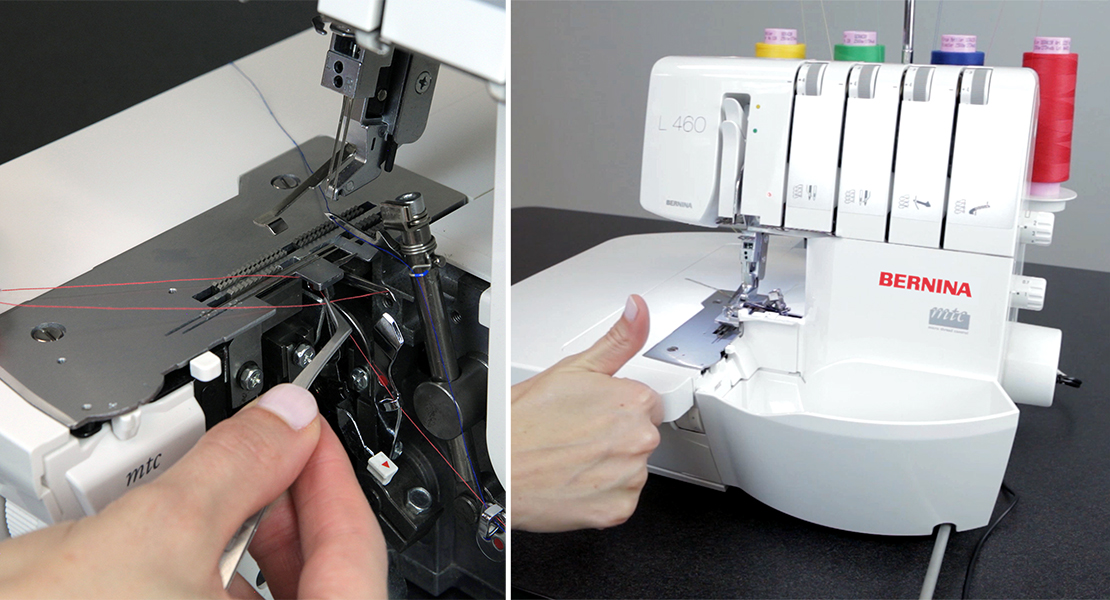
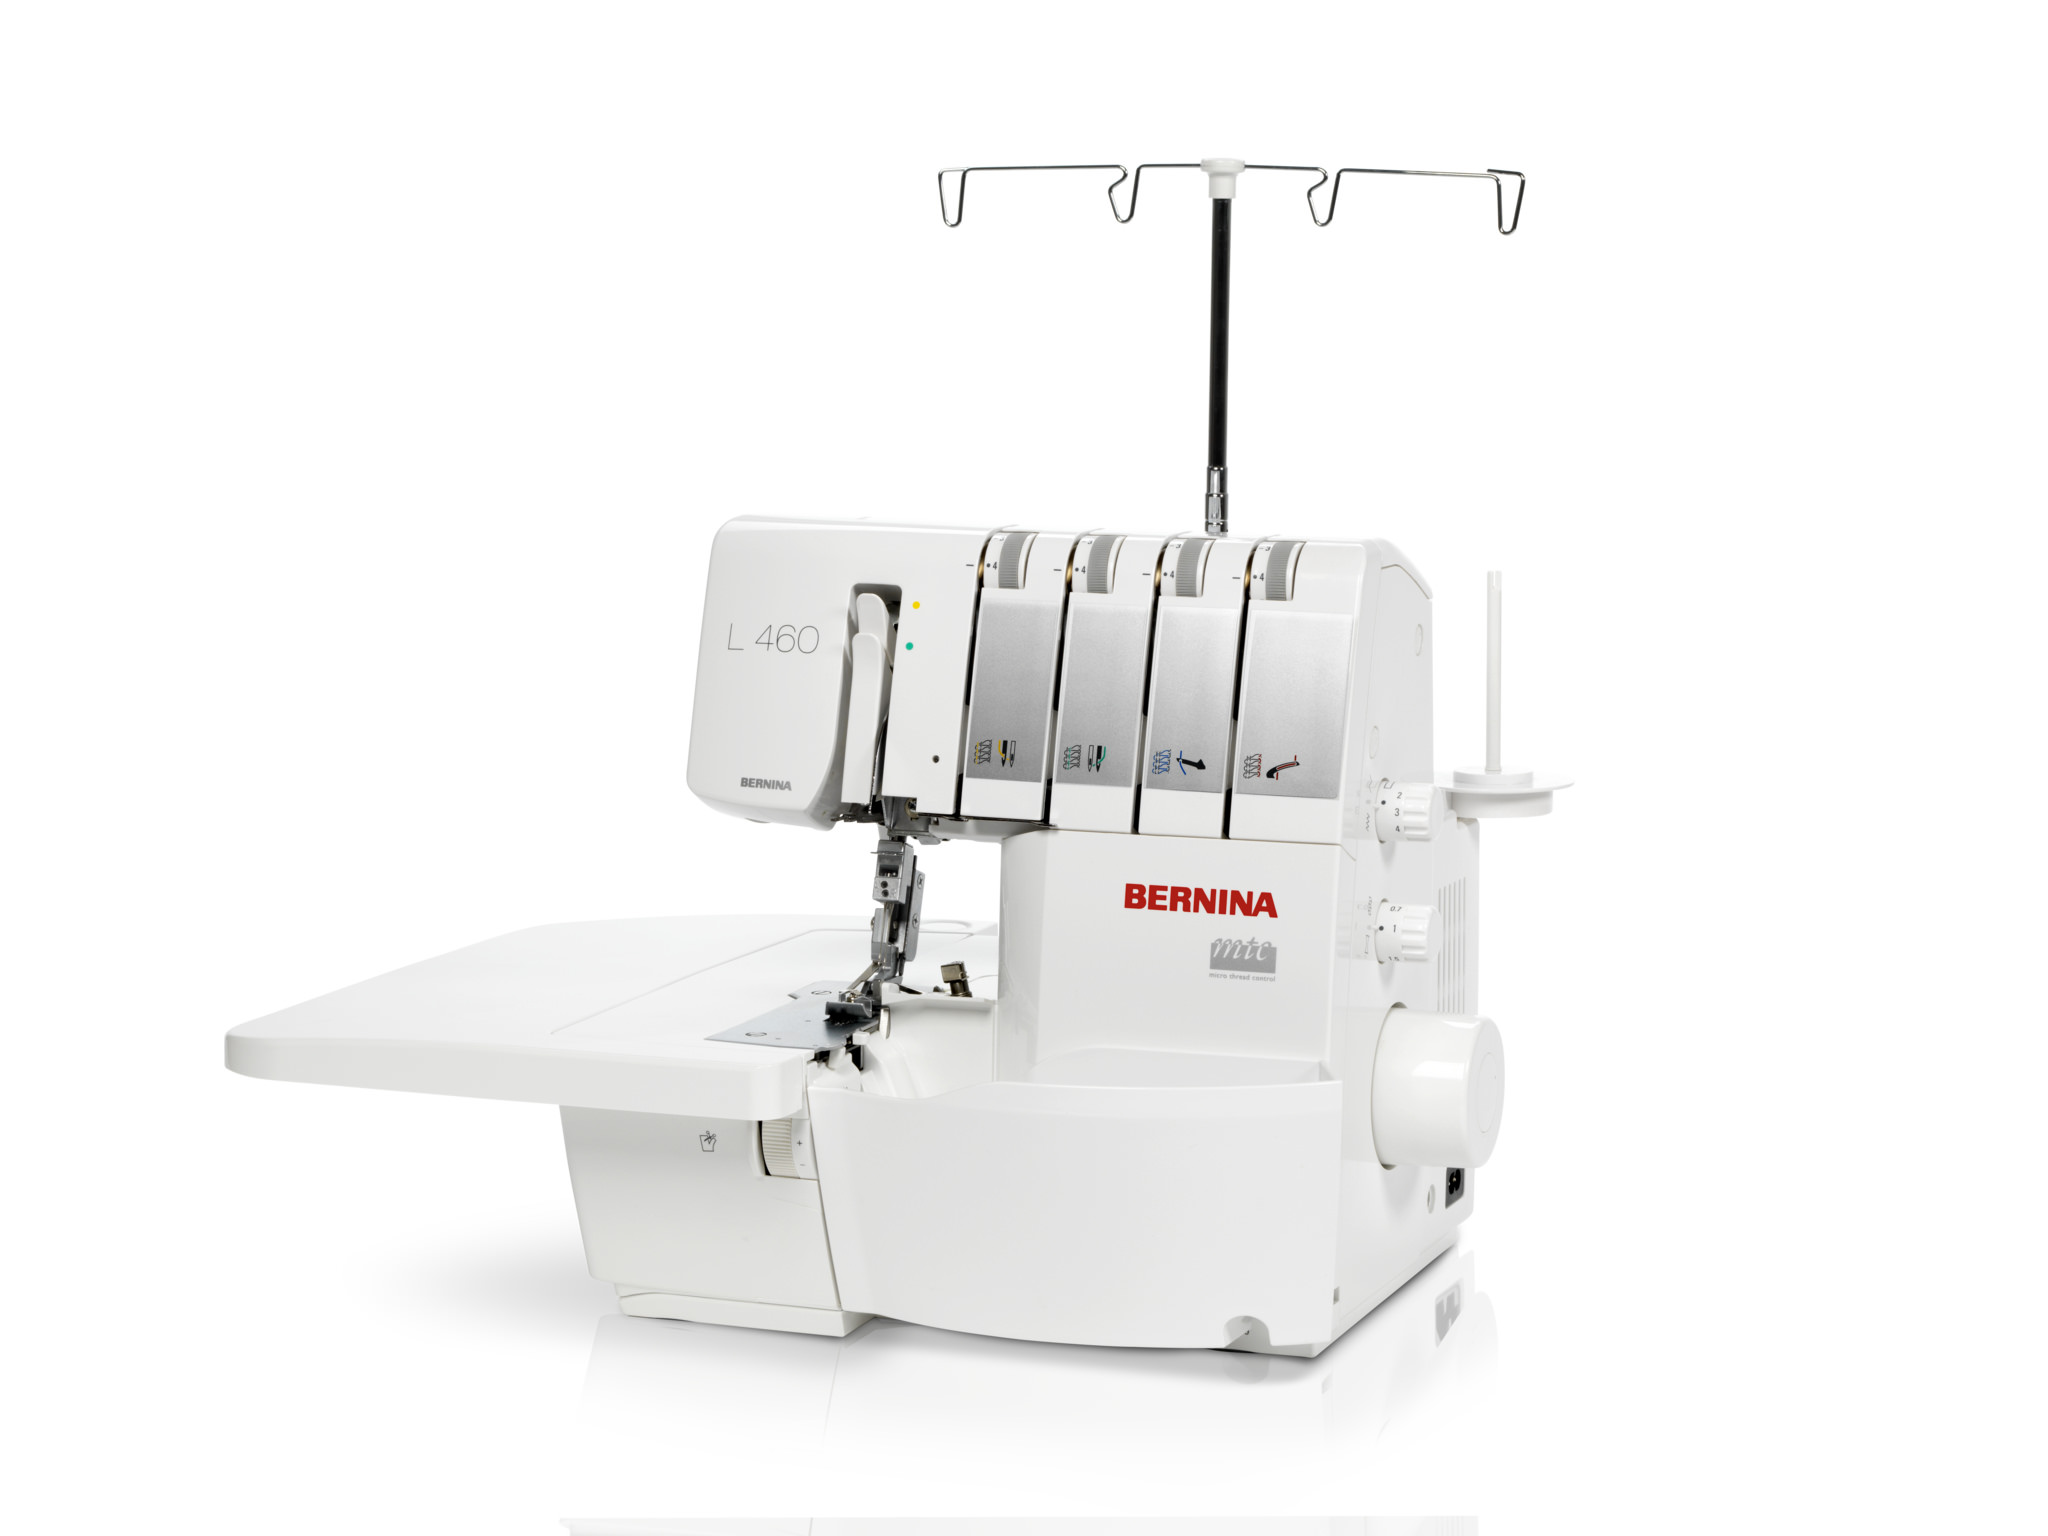
I sewed again on the BERNINA L 460. But you can also sew on any other overlock machine with 4-thread overlock. In this model, the function of the mtc micro thread control will improve the sewing result in the rounded seam. Models also equipped with the mtc feature are BERNINA L 450, 1150MDA and 1300MDC.
Pattern and material for the face mask
This model is based, with deviations, on instructions/pattern of the “Olson Mask by Clayton Skousen & Rose Hedges”. This can be downloaded free of charge from various links.
Download the Olso Mask Pattern
For me I shortened the sides by 2 cm (0.8 inches) so that my ears remain free. However, a try-on works just fine while you sew the mask.
When you download the pattern with original instructions, you will see that the fabric is used to sew a tunnel for the straps.
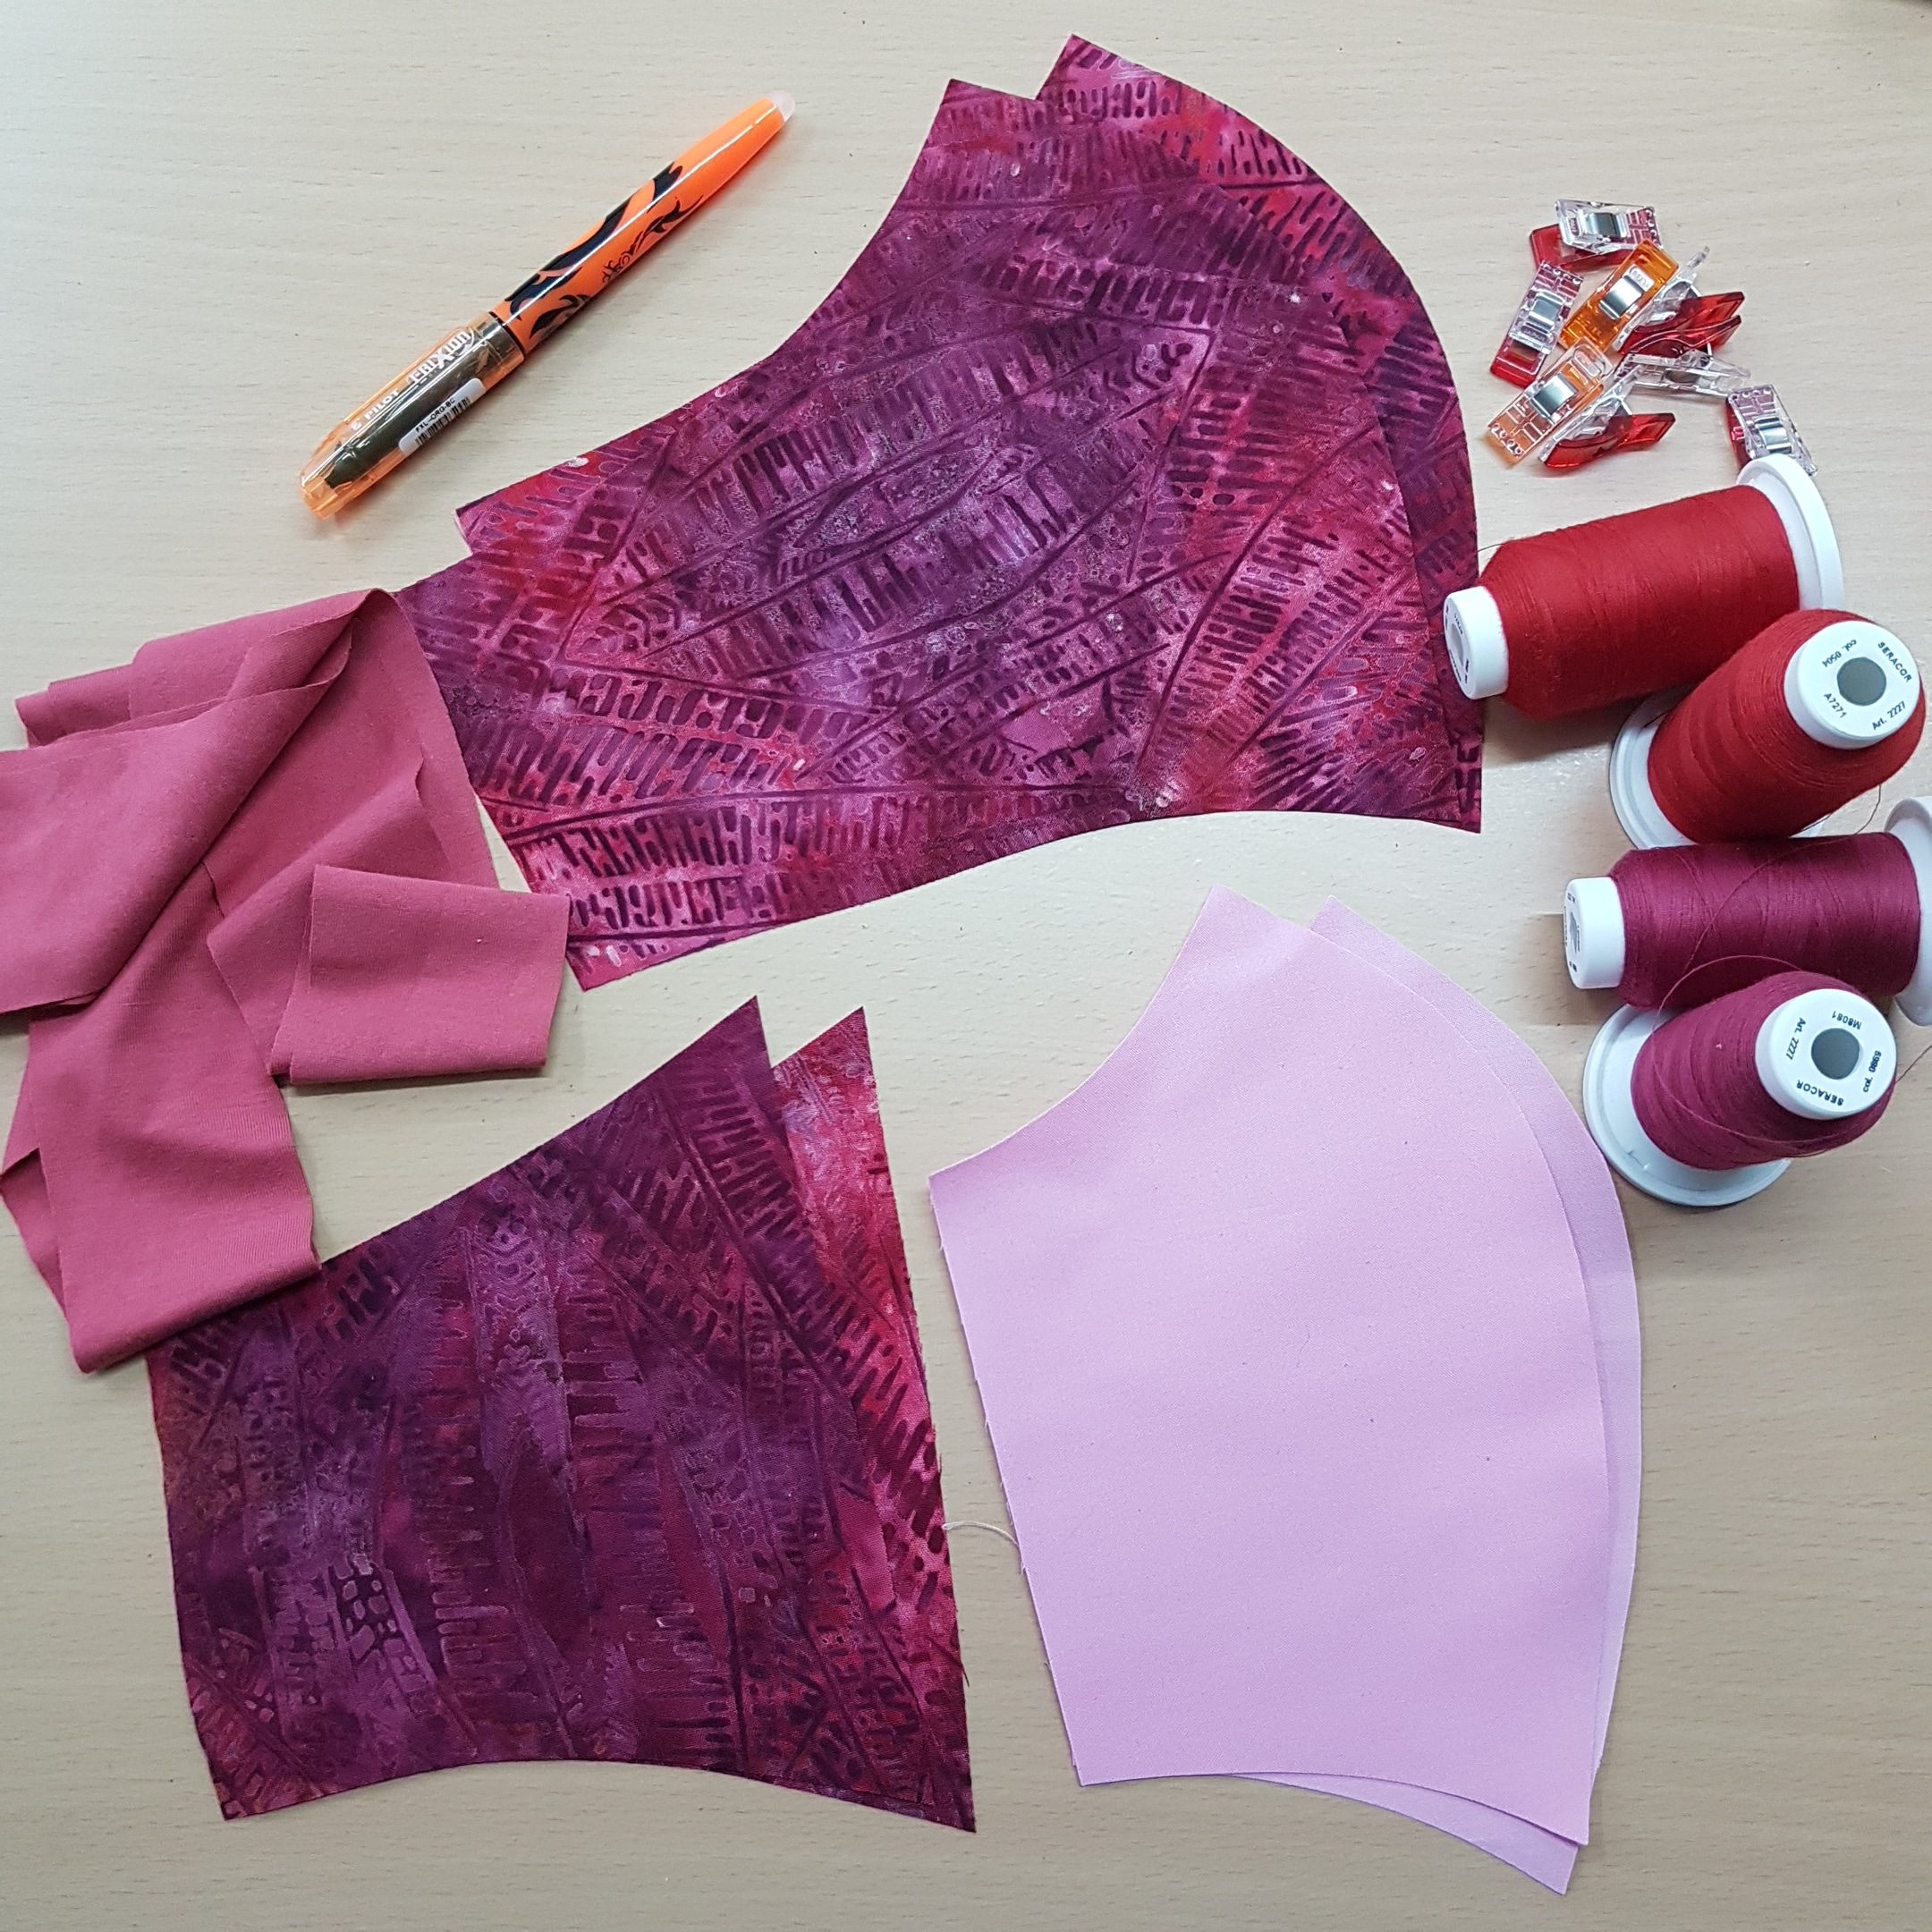
Material requirements (for one self-sewn face mask)
- Outer fabric (face) 2 pcs.
- Middle lining (mouth) 2 pcs.
- Side lining (cheeks) 2 pcs.
- Straps 5 x 45 cm, knit cross cut, 4 pcs.
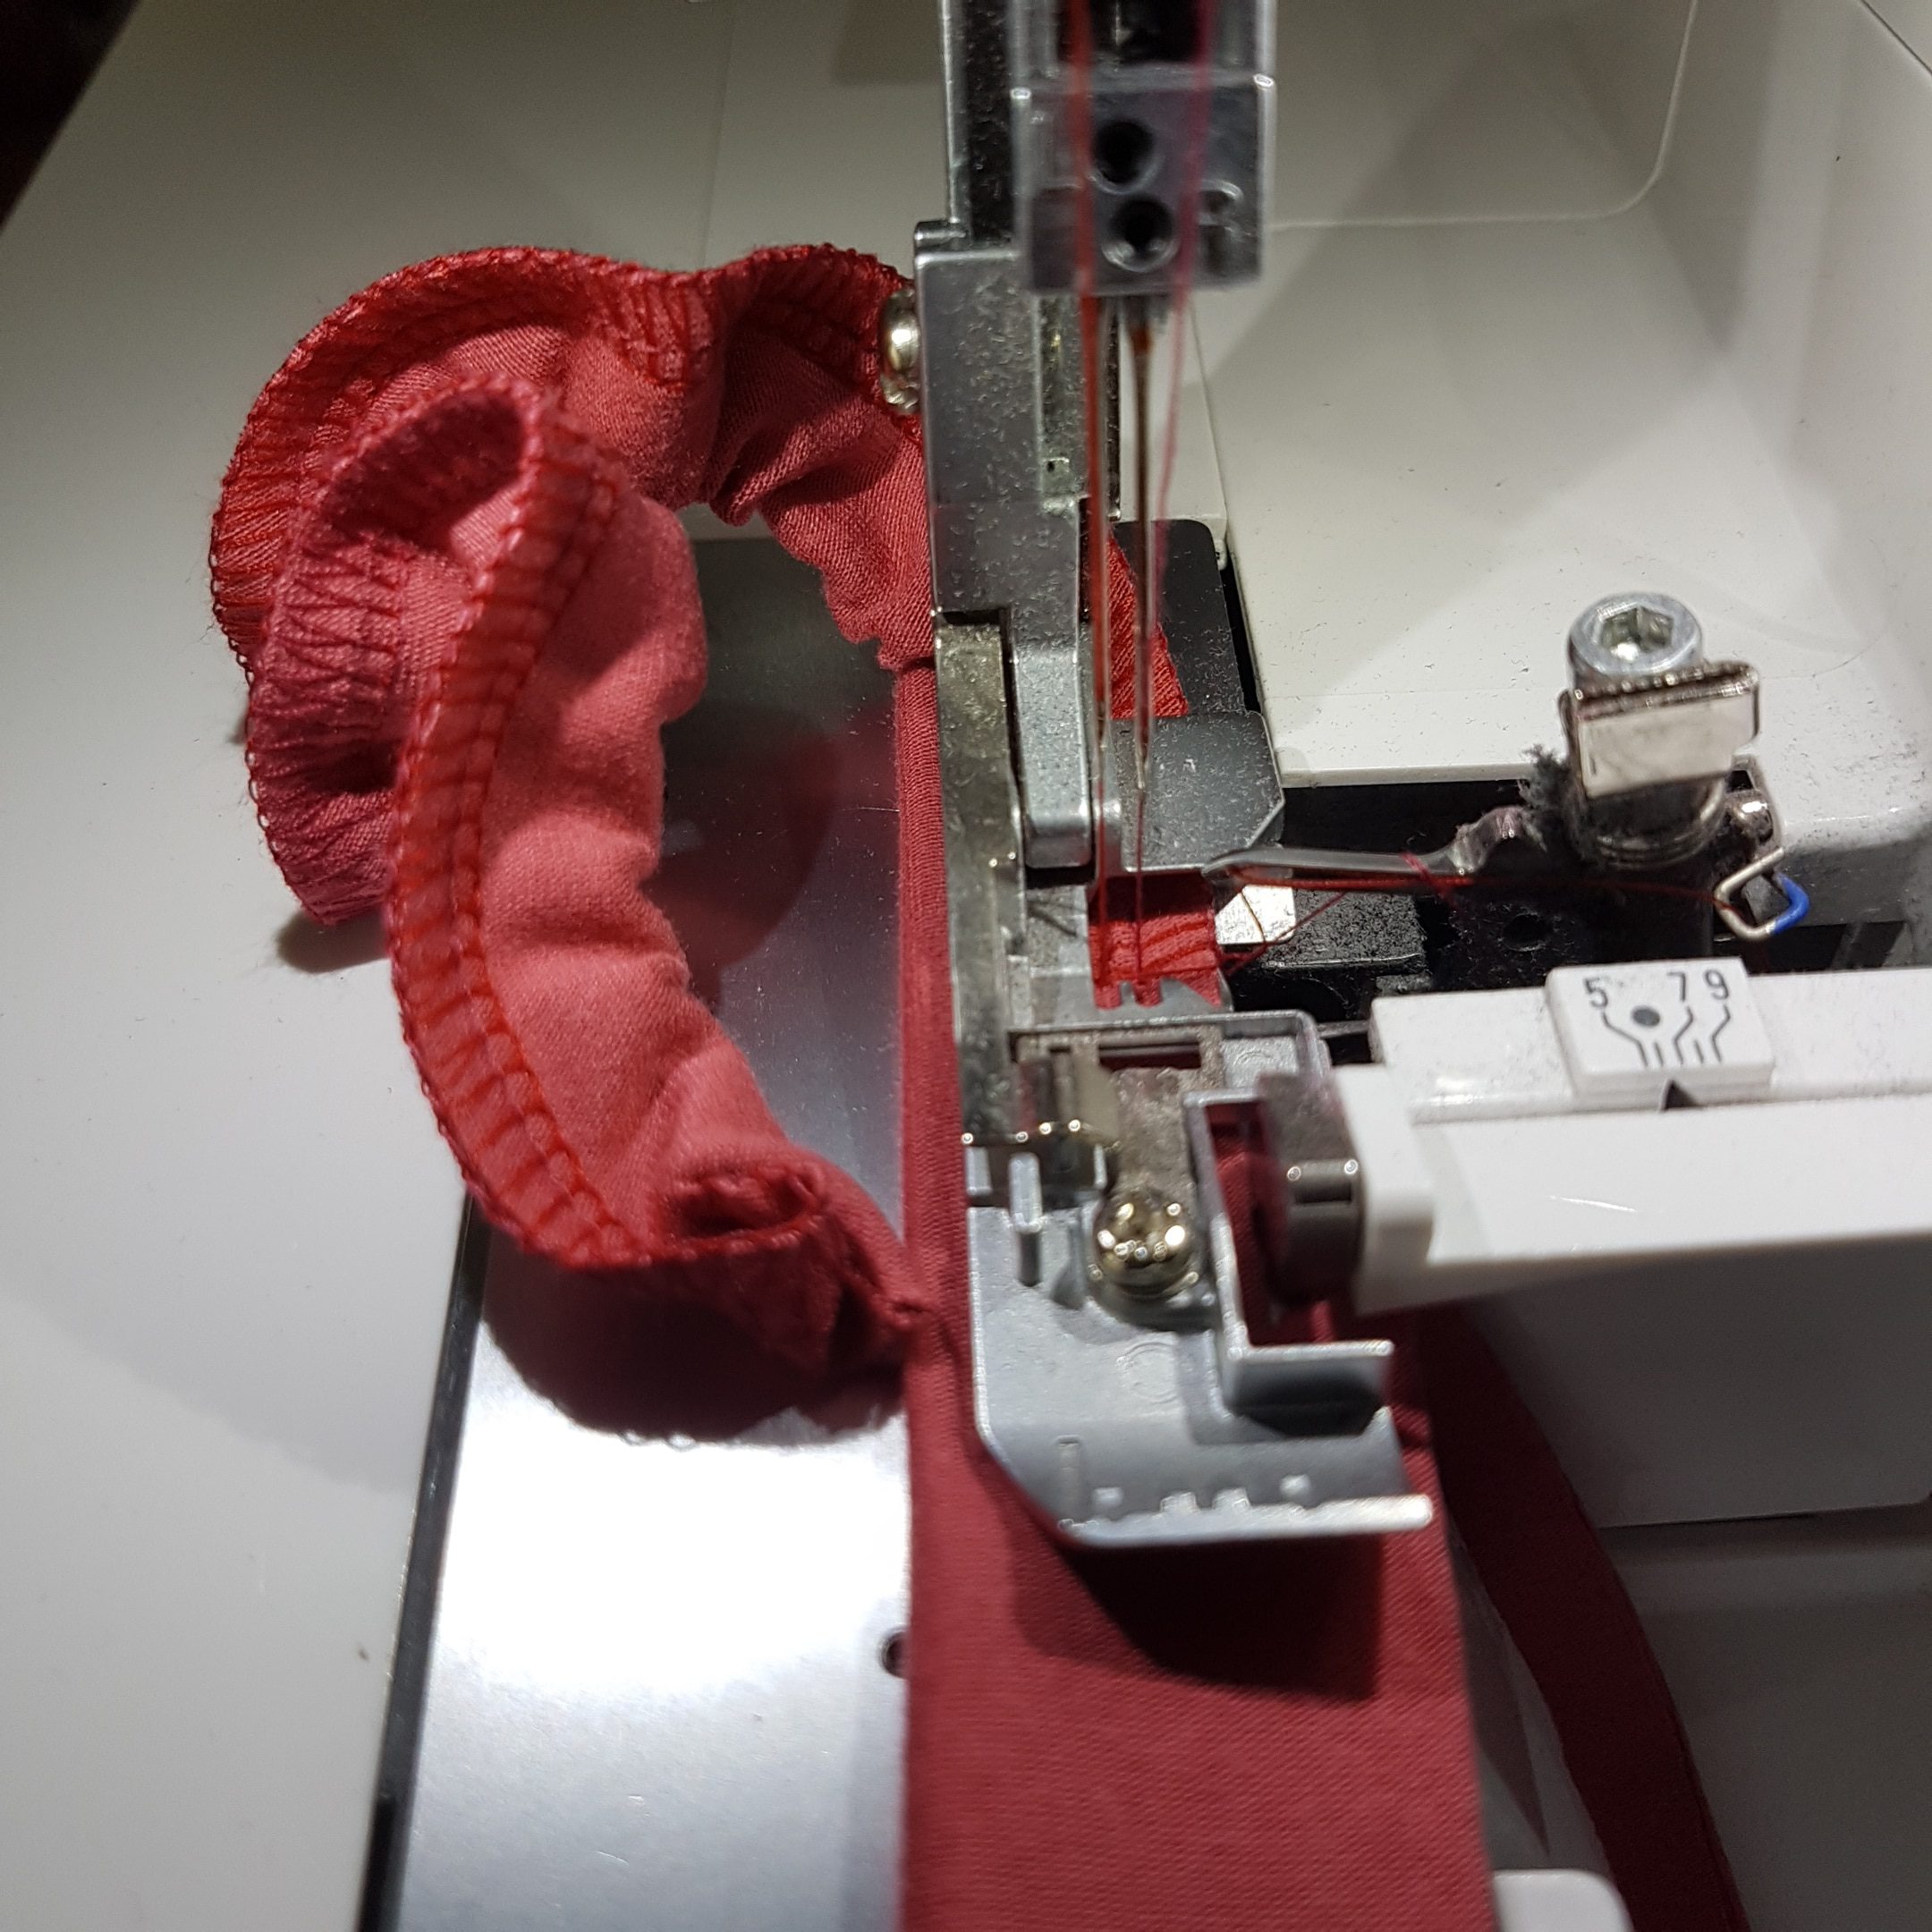
Sewing knit straps with the overlocker
The knit straps stretch depends on the fabric you use, but they are in general very comfortable to wear. Woven fabric can also be used, but then I would recommend that you cut in bias. For my one and only model, I decided not to do so for fabric consumption reasons and worked with “knit fabric remnants”.
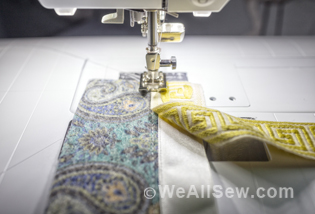
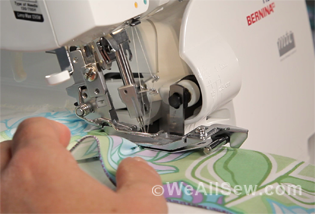
First I sew the easy turning tubes, L 460, 4-thread overlock. To make the stitch stretchy to fit the fabric, it is recommended to reduce the stitch length to 2. If a highly stretchy knit cross cut material is used, the SL can be reduced to 1.5 for even more elasticity. Anyone who has already sewn the “detail lover” mask knows this technique.
The detailed video-tutorial to produce such easy turning tubes, filmed with L 450/460, can be found here:
Sewing the Mask
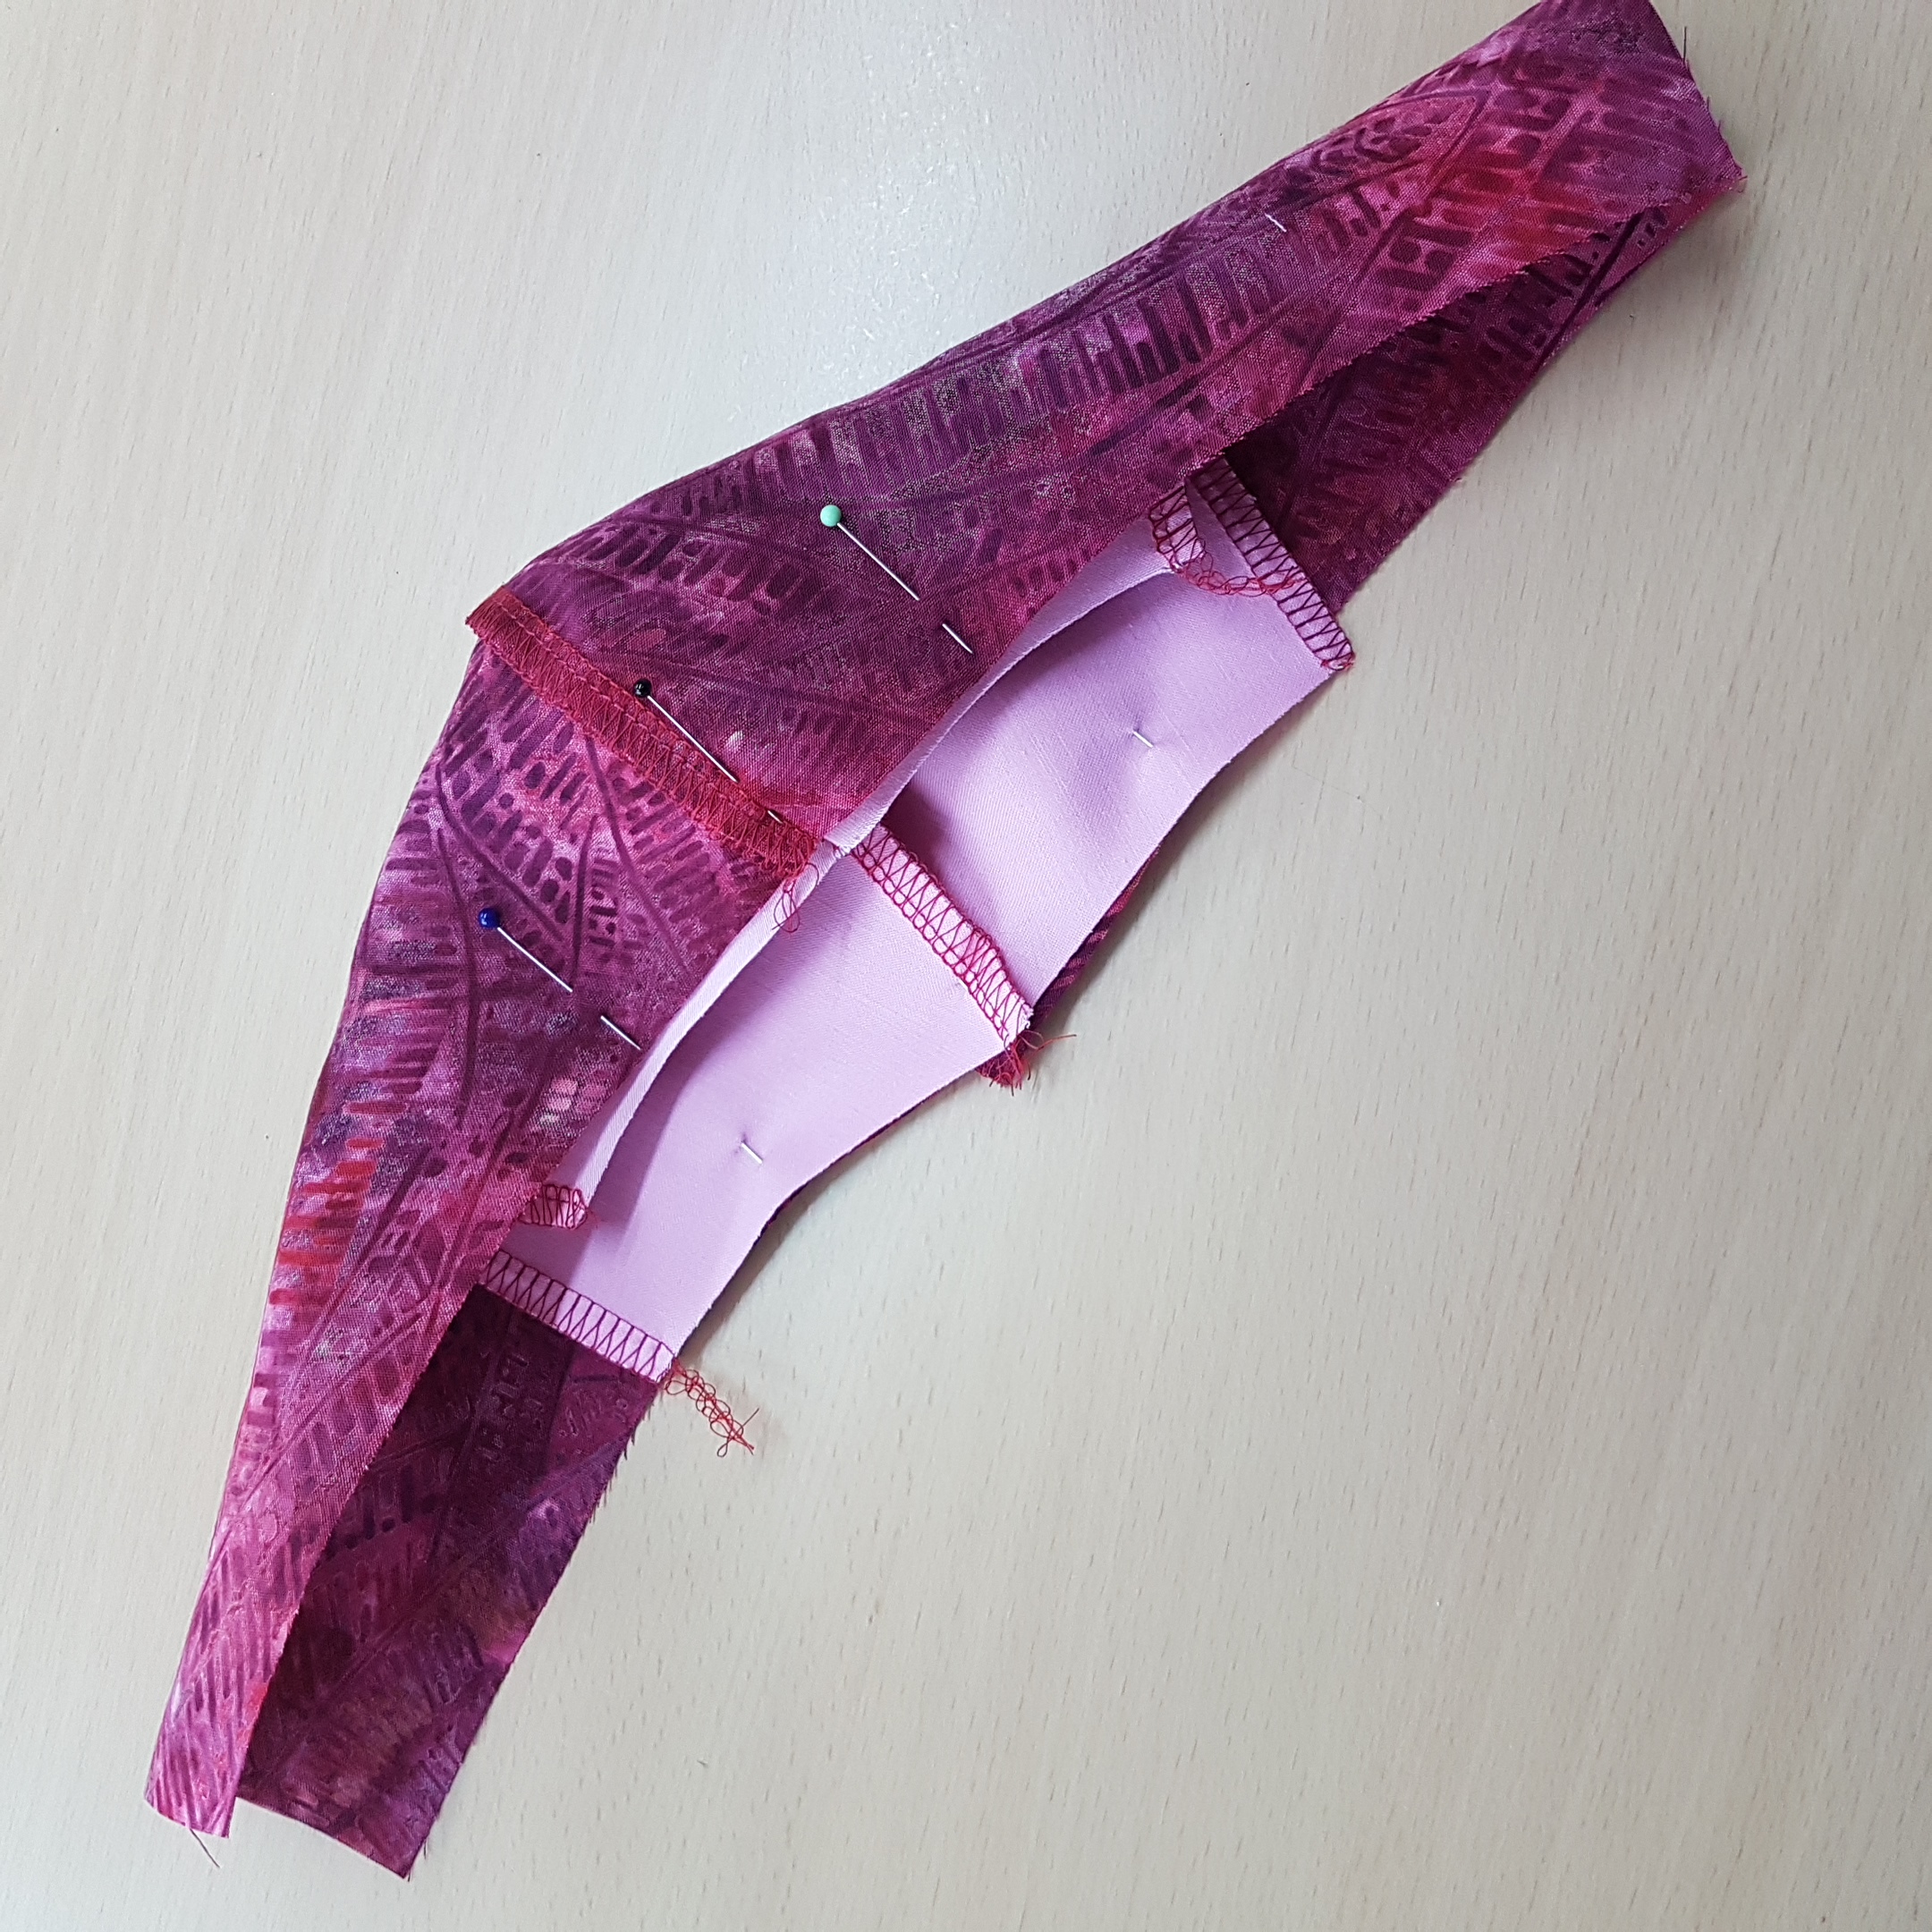
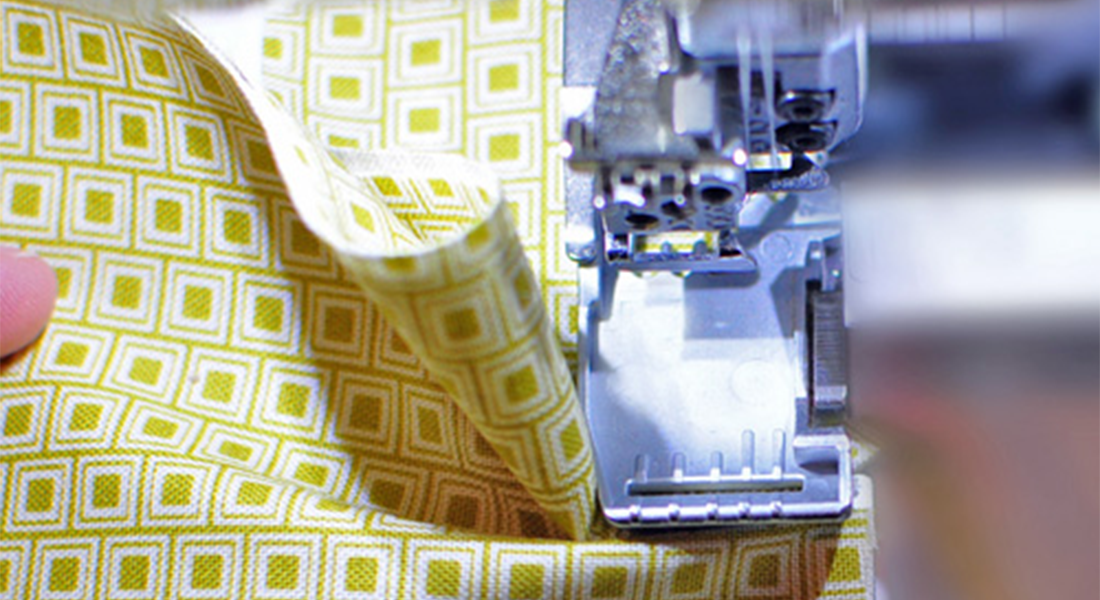
Pin the rounded seams on each, the middle lining and on the outer fabrics together, right on right side.
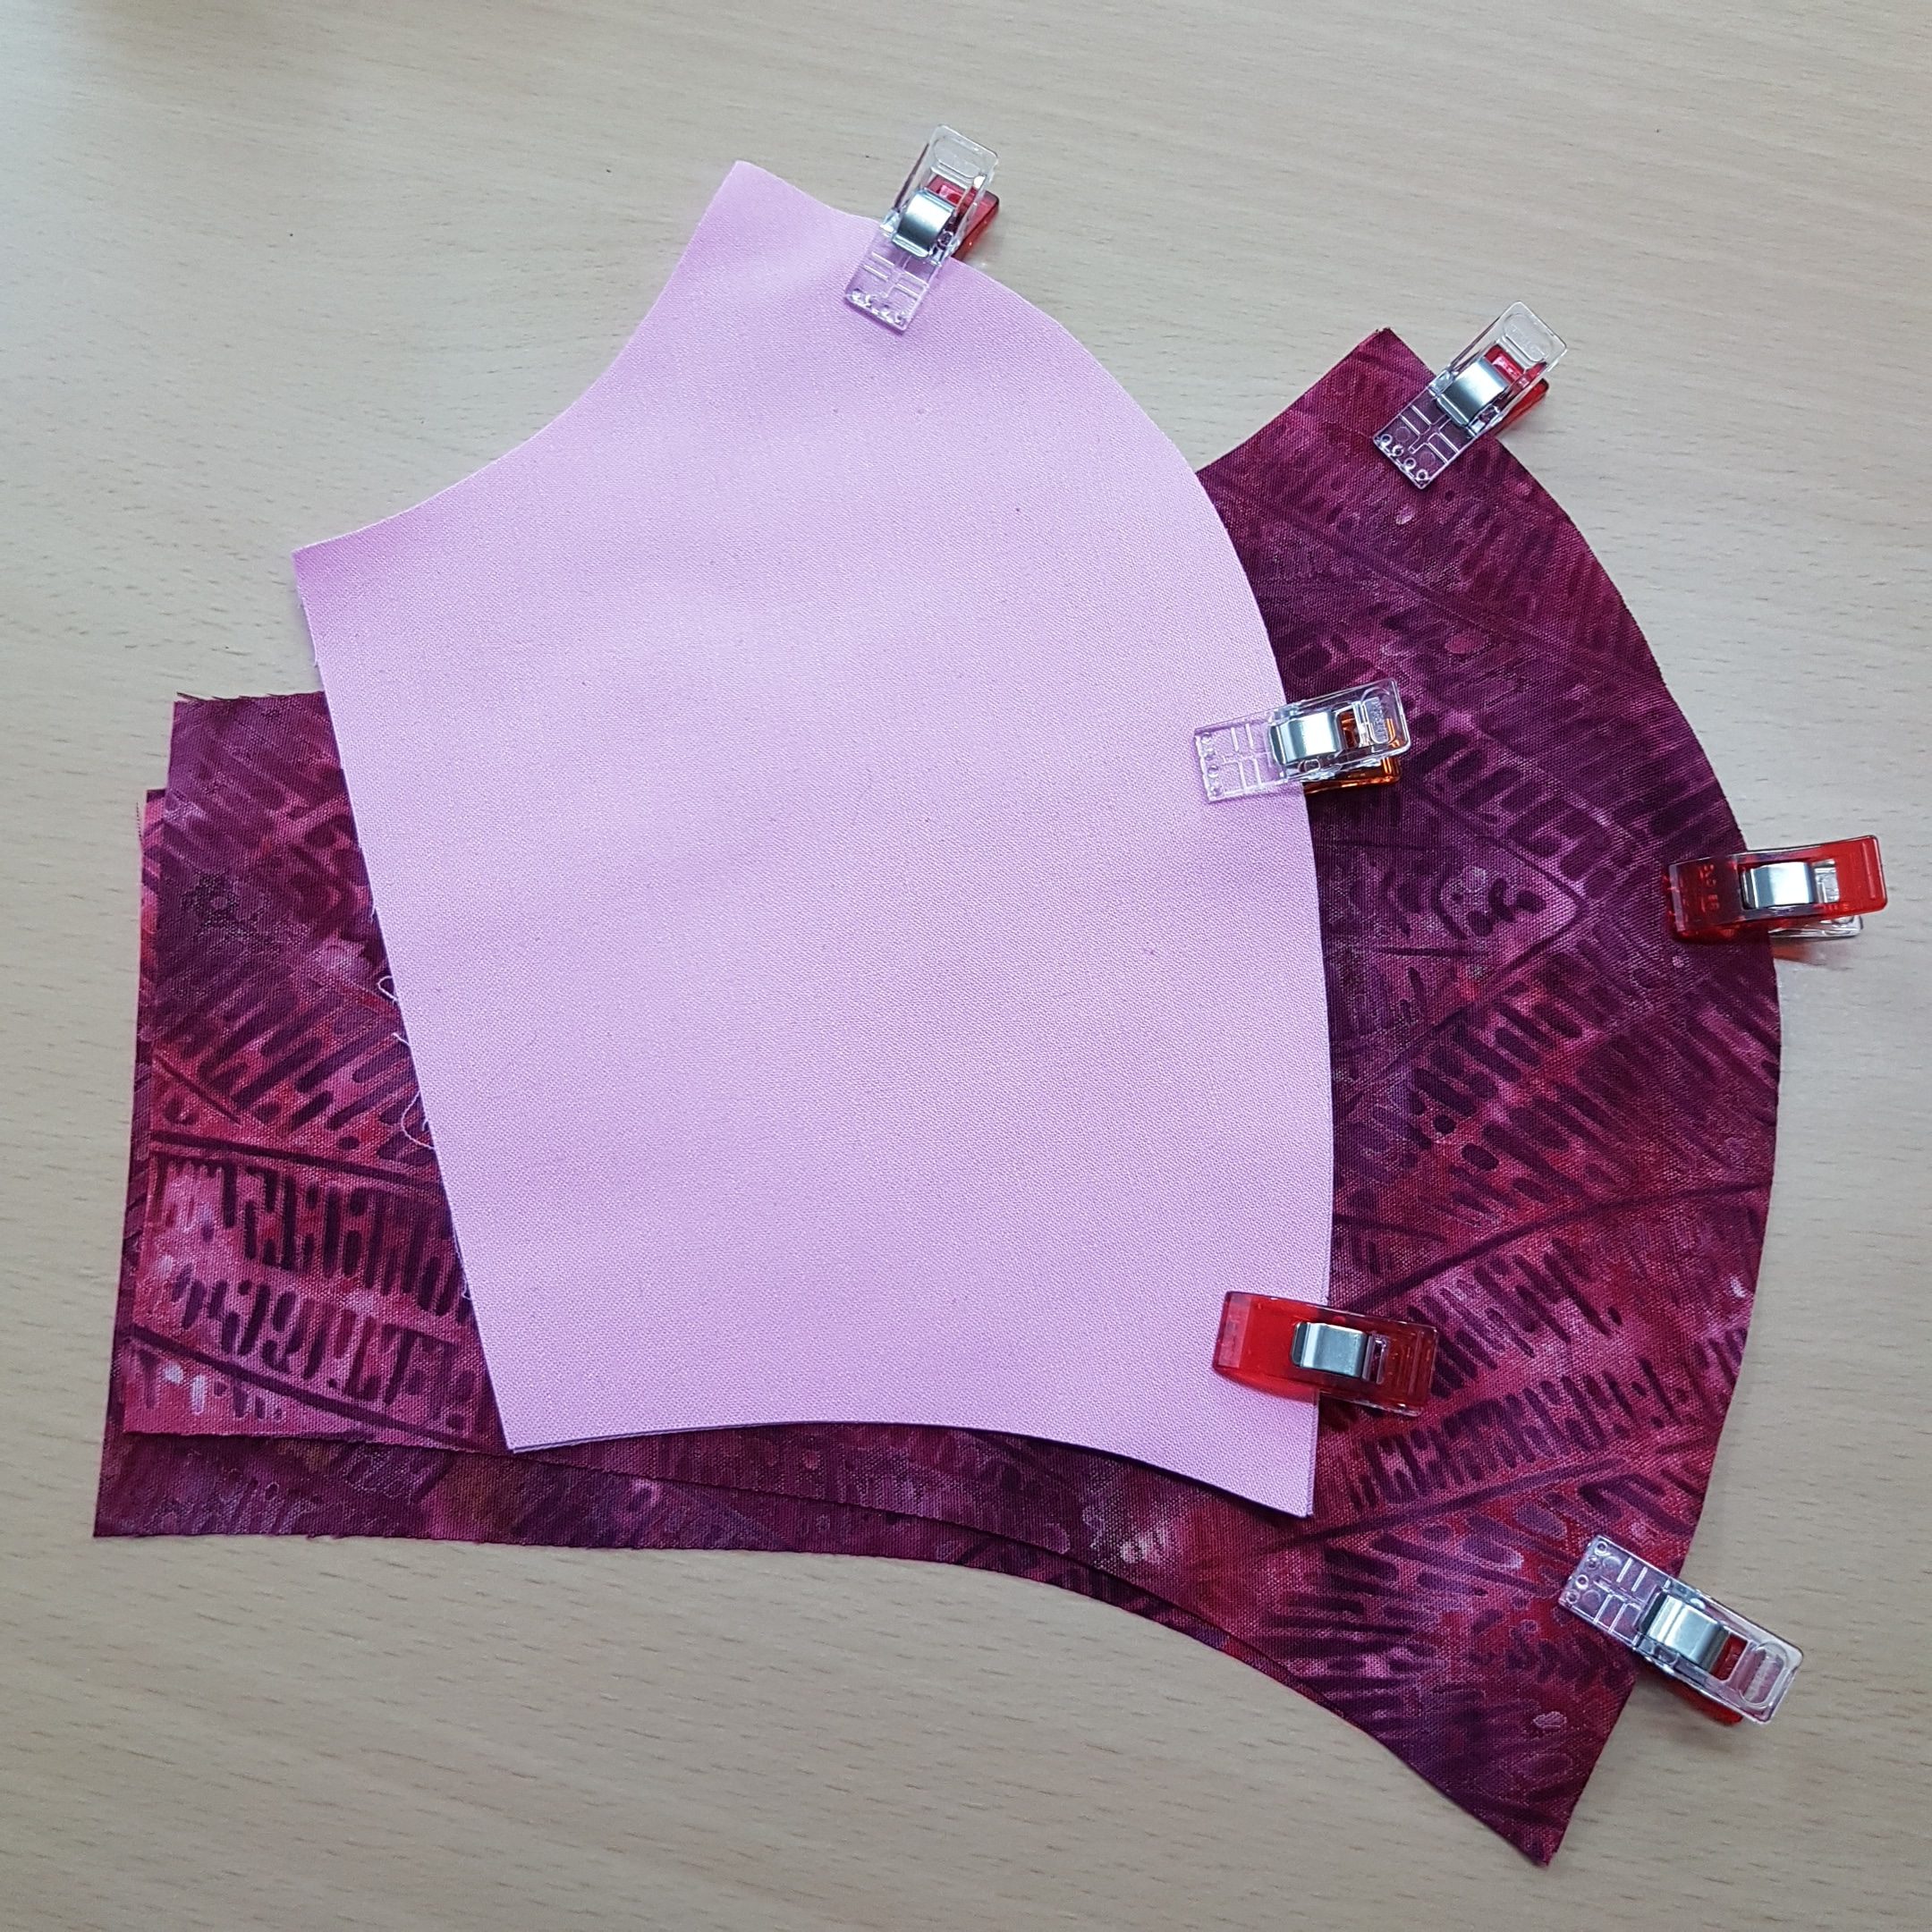
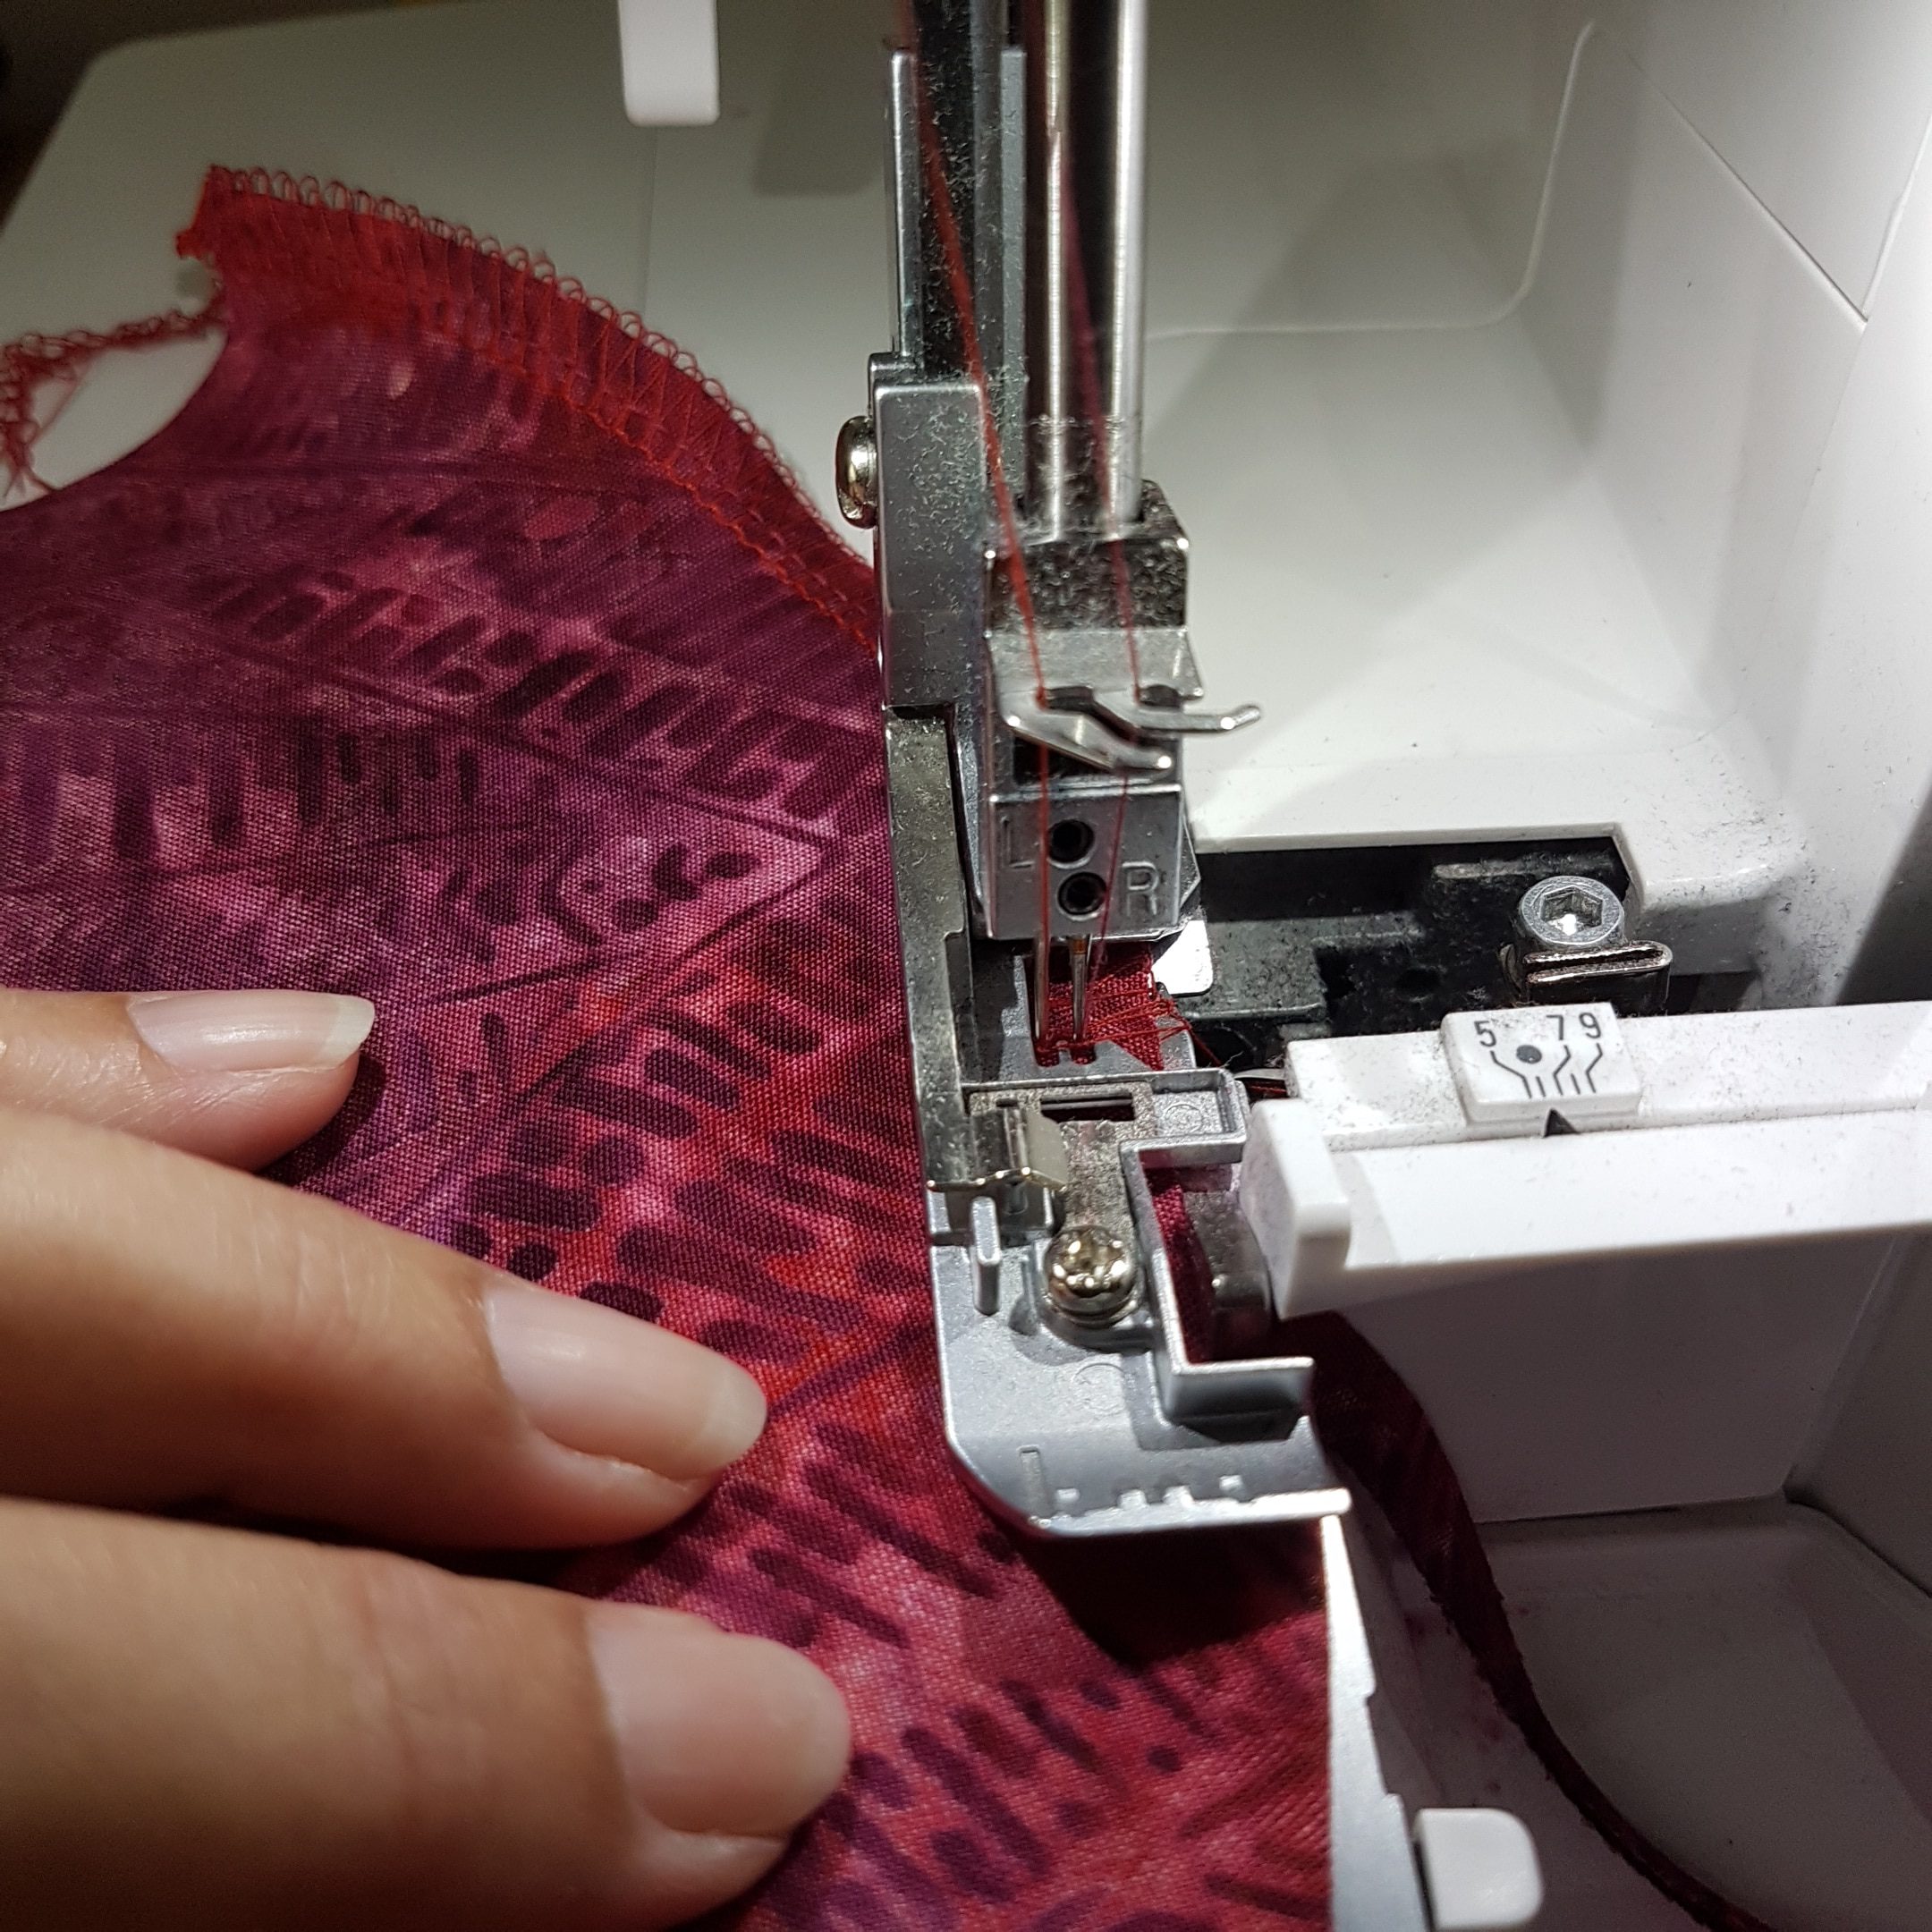
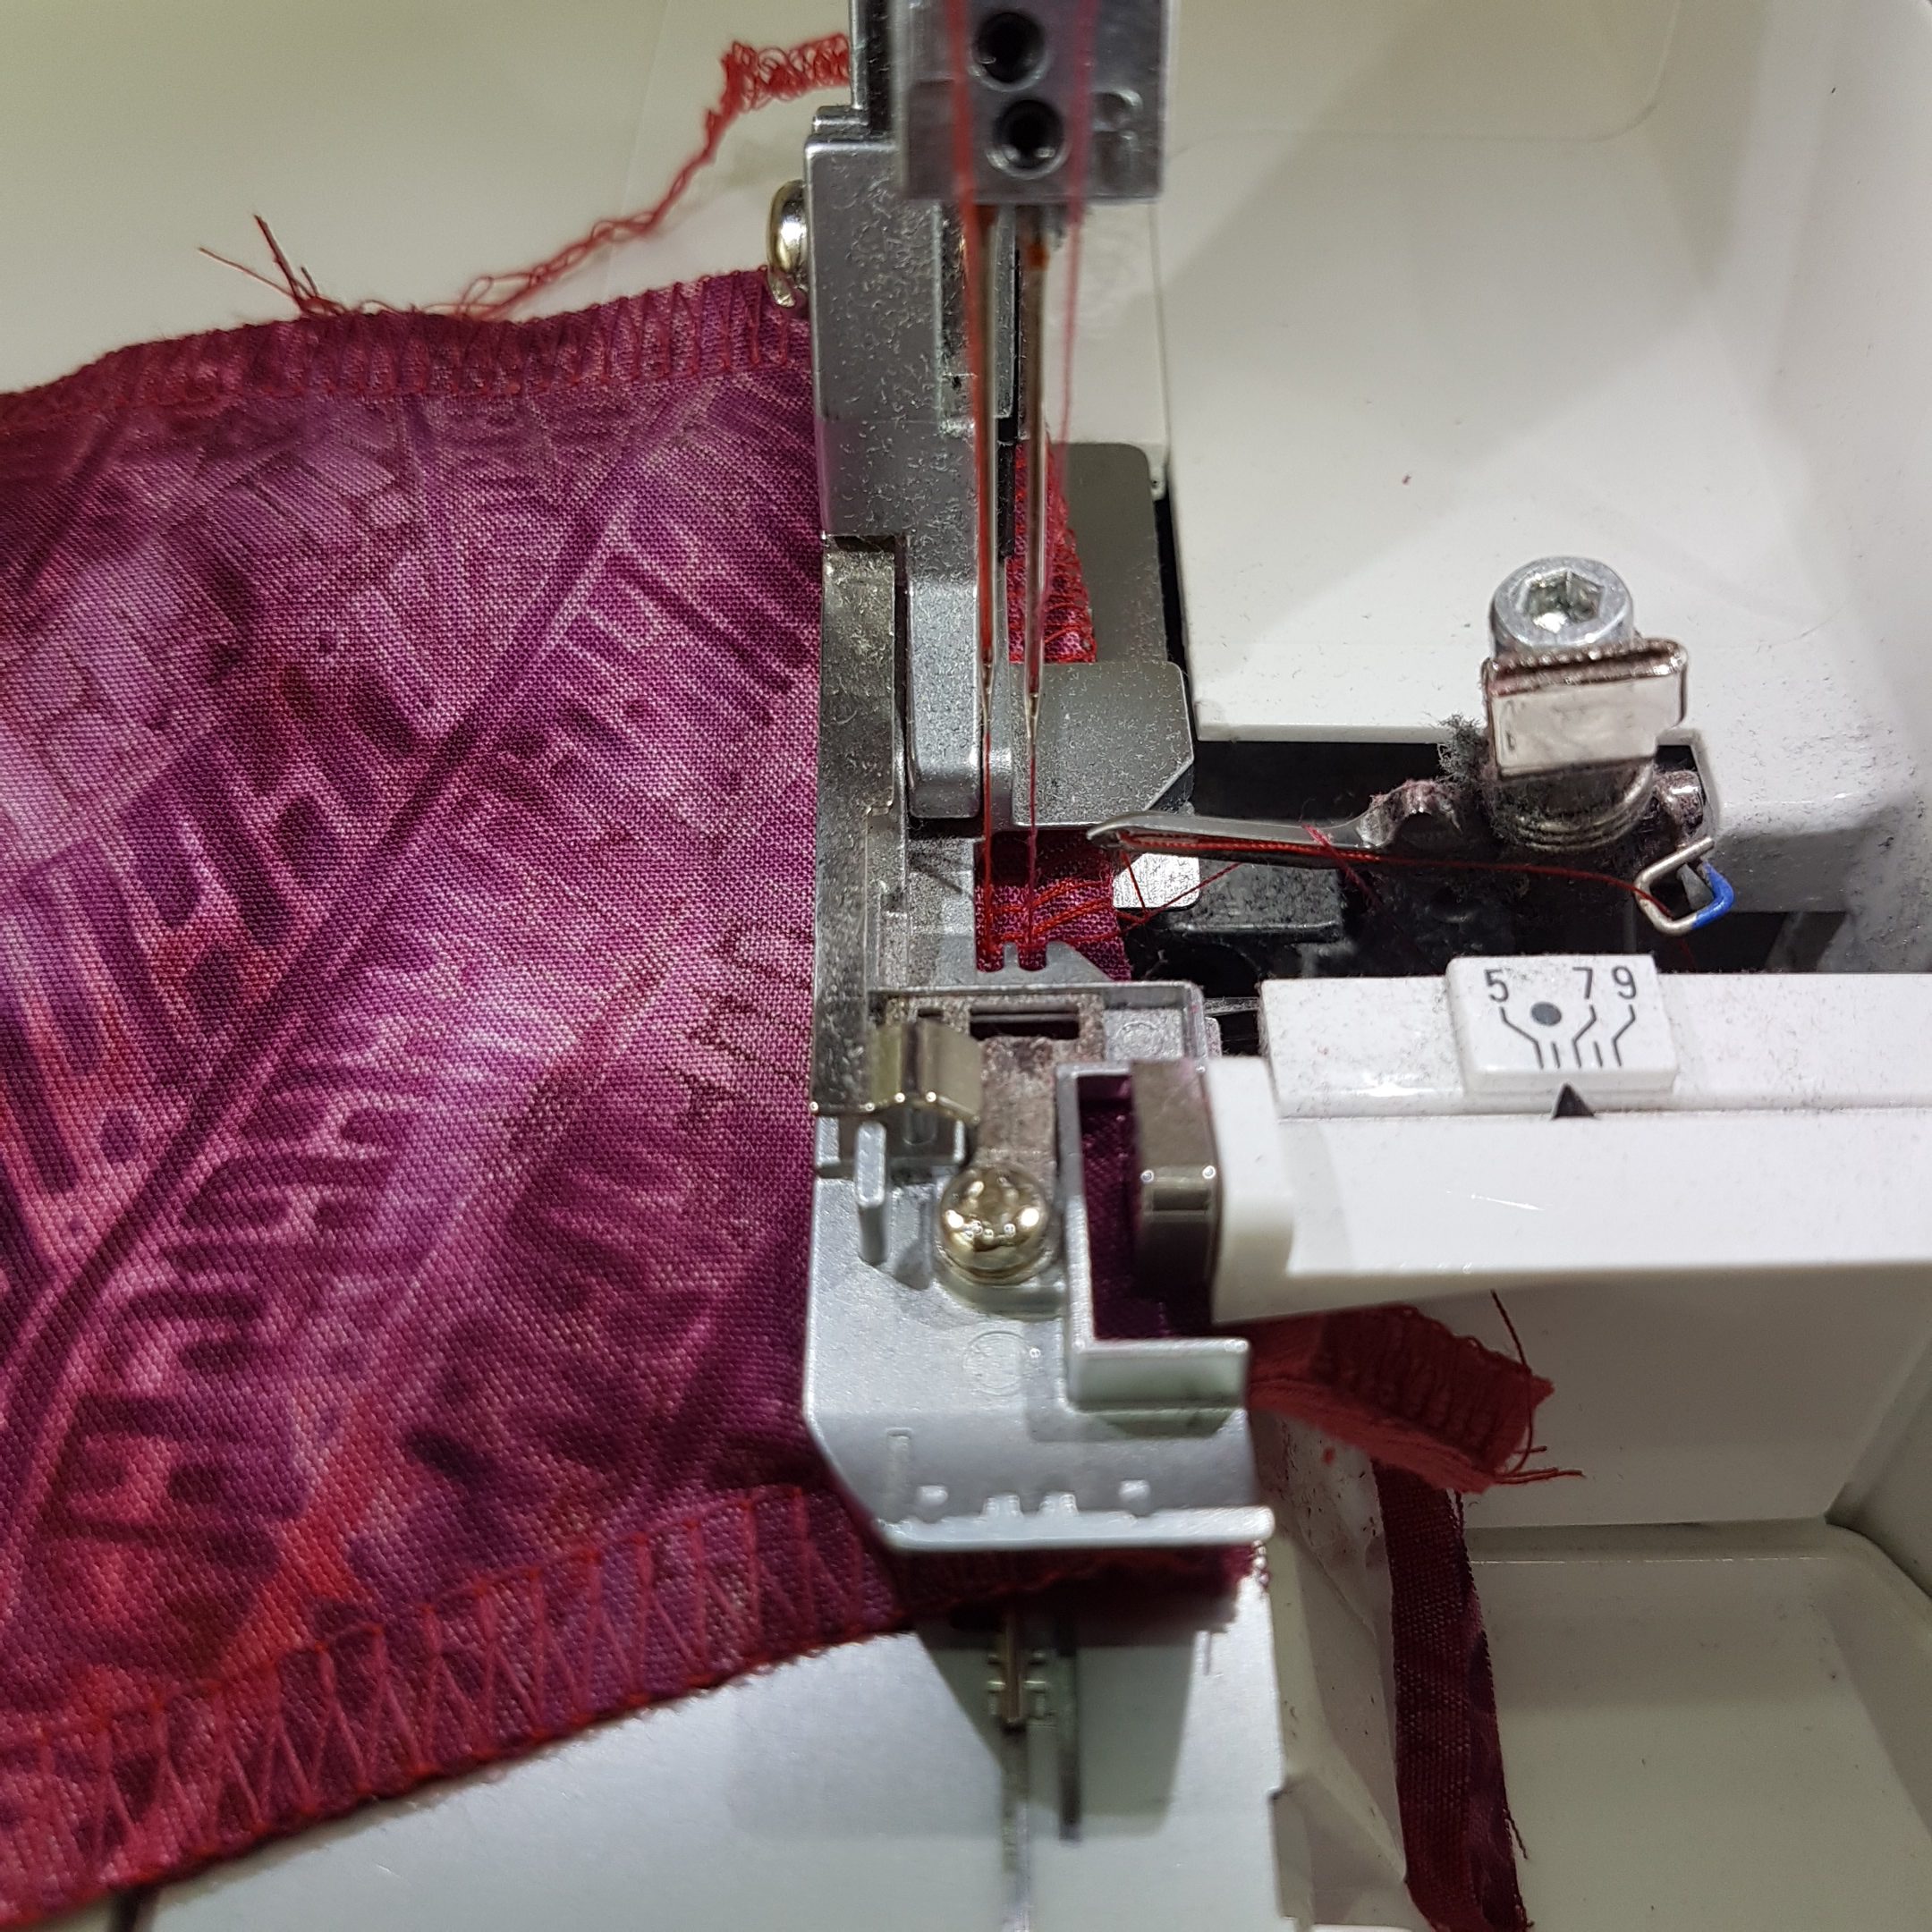
For the curved seam I recommend to stitch a sewing sample: take a remnant piece of fabric, doubled, and sew a curve. To do this, set the mtc (L 450/460, 1150MDA, 1300MDC) to + plus, because here loose loops are desired so that the seam allowance remains flat and does not bulk up. Of course, you can also adjust the mtc while sewing, it is infinitely adjustable.
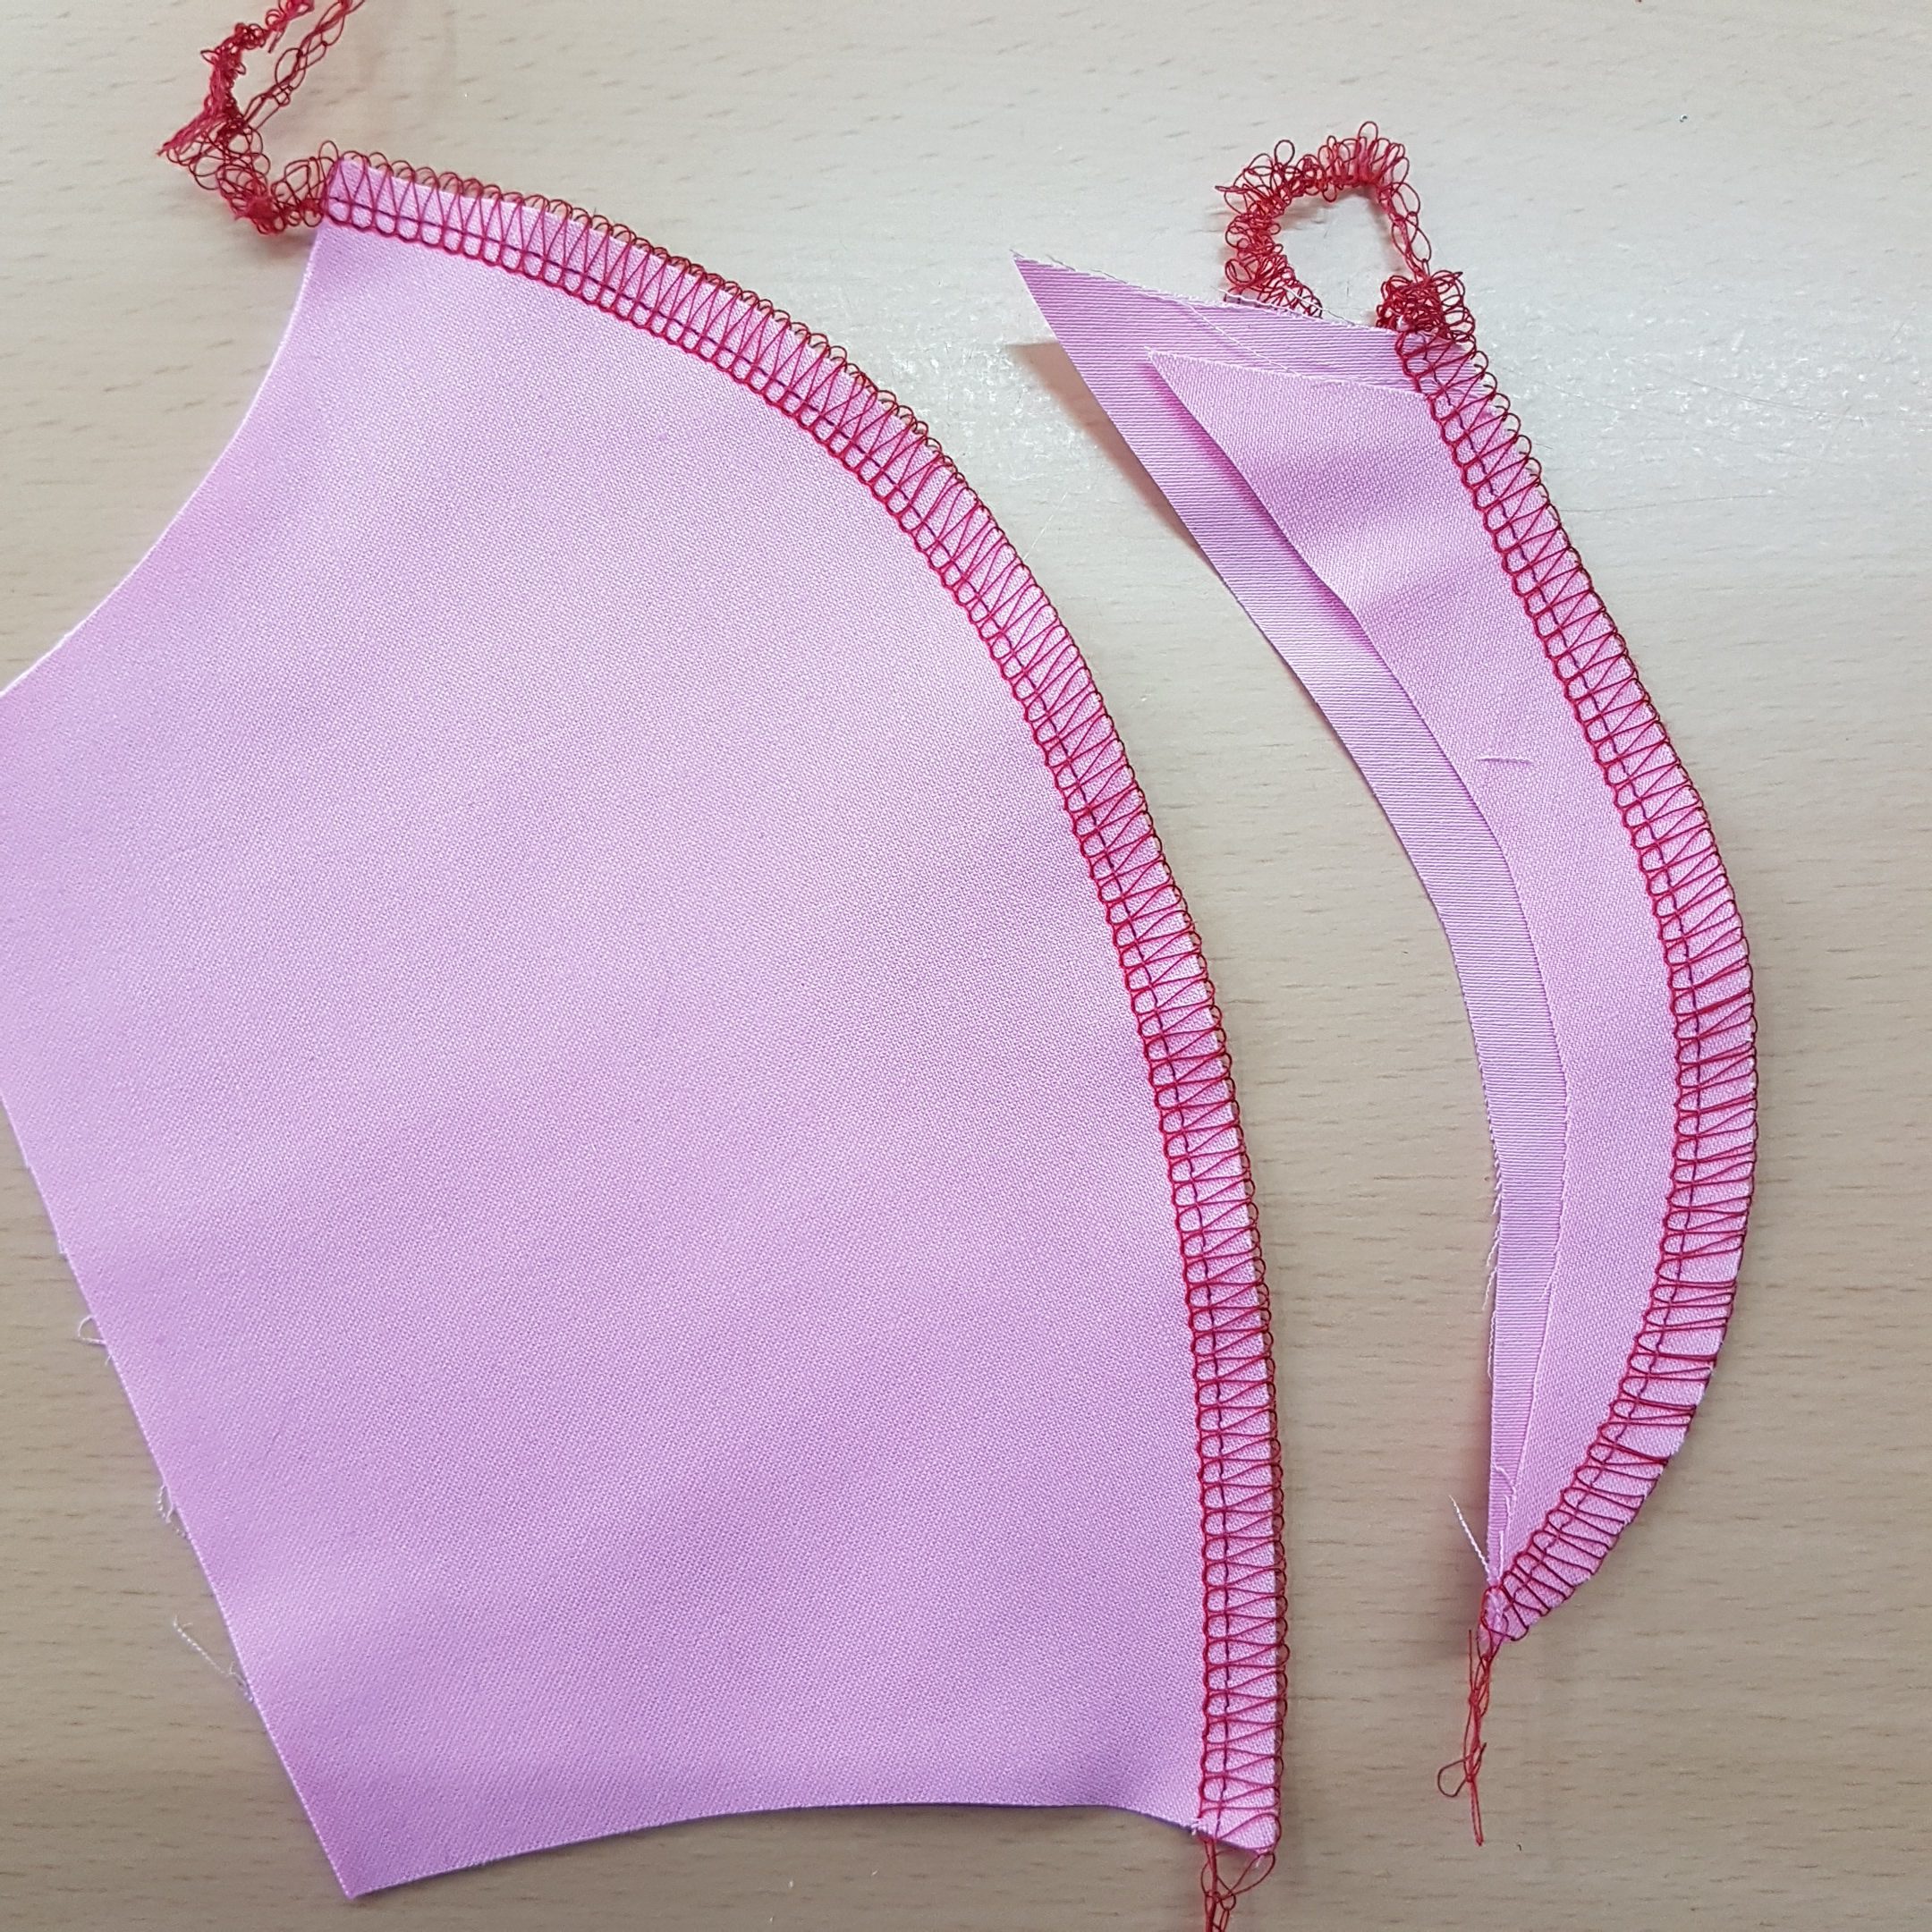
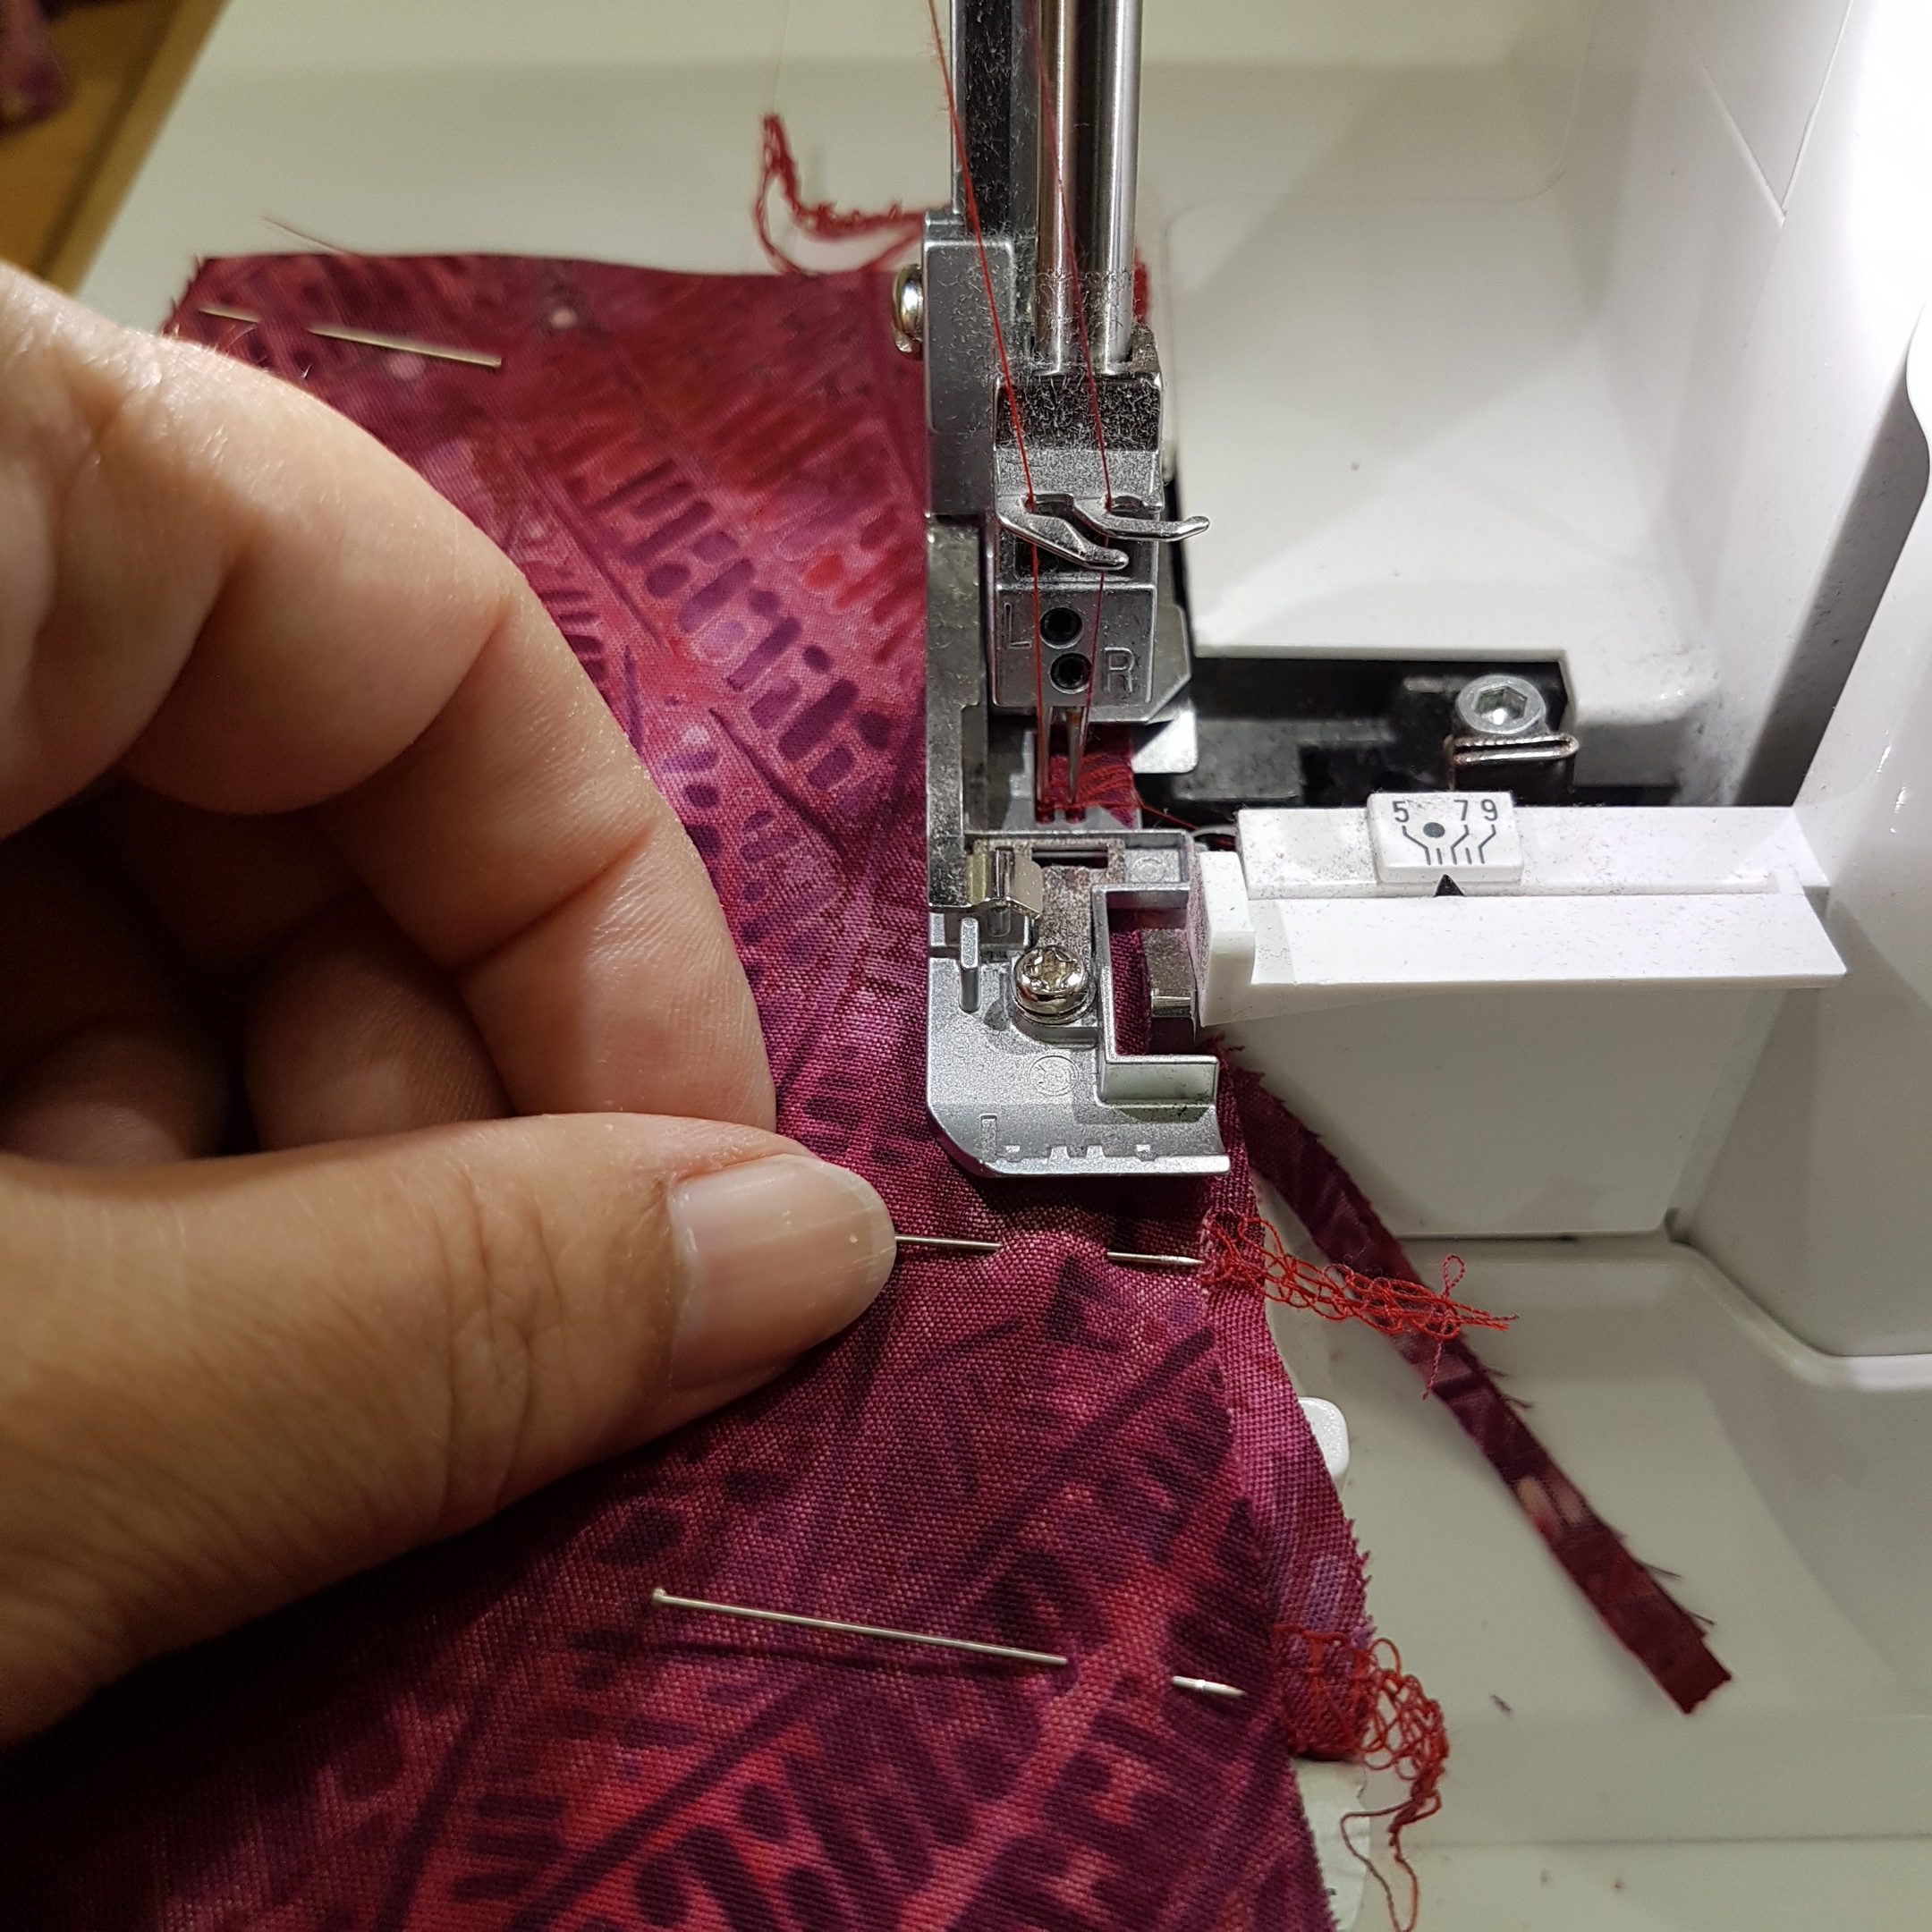
With this fine tuning, sew the middle lining pieces as well as the outer fabrics together at the curved seam as pinned. Then reset the mtc to the default setting for a nice stitch at the next seam.
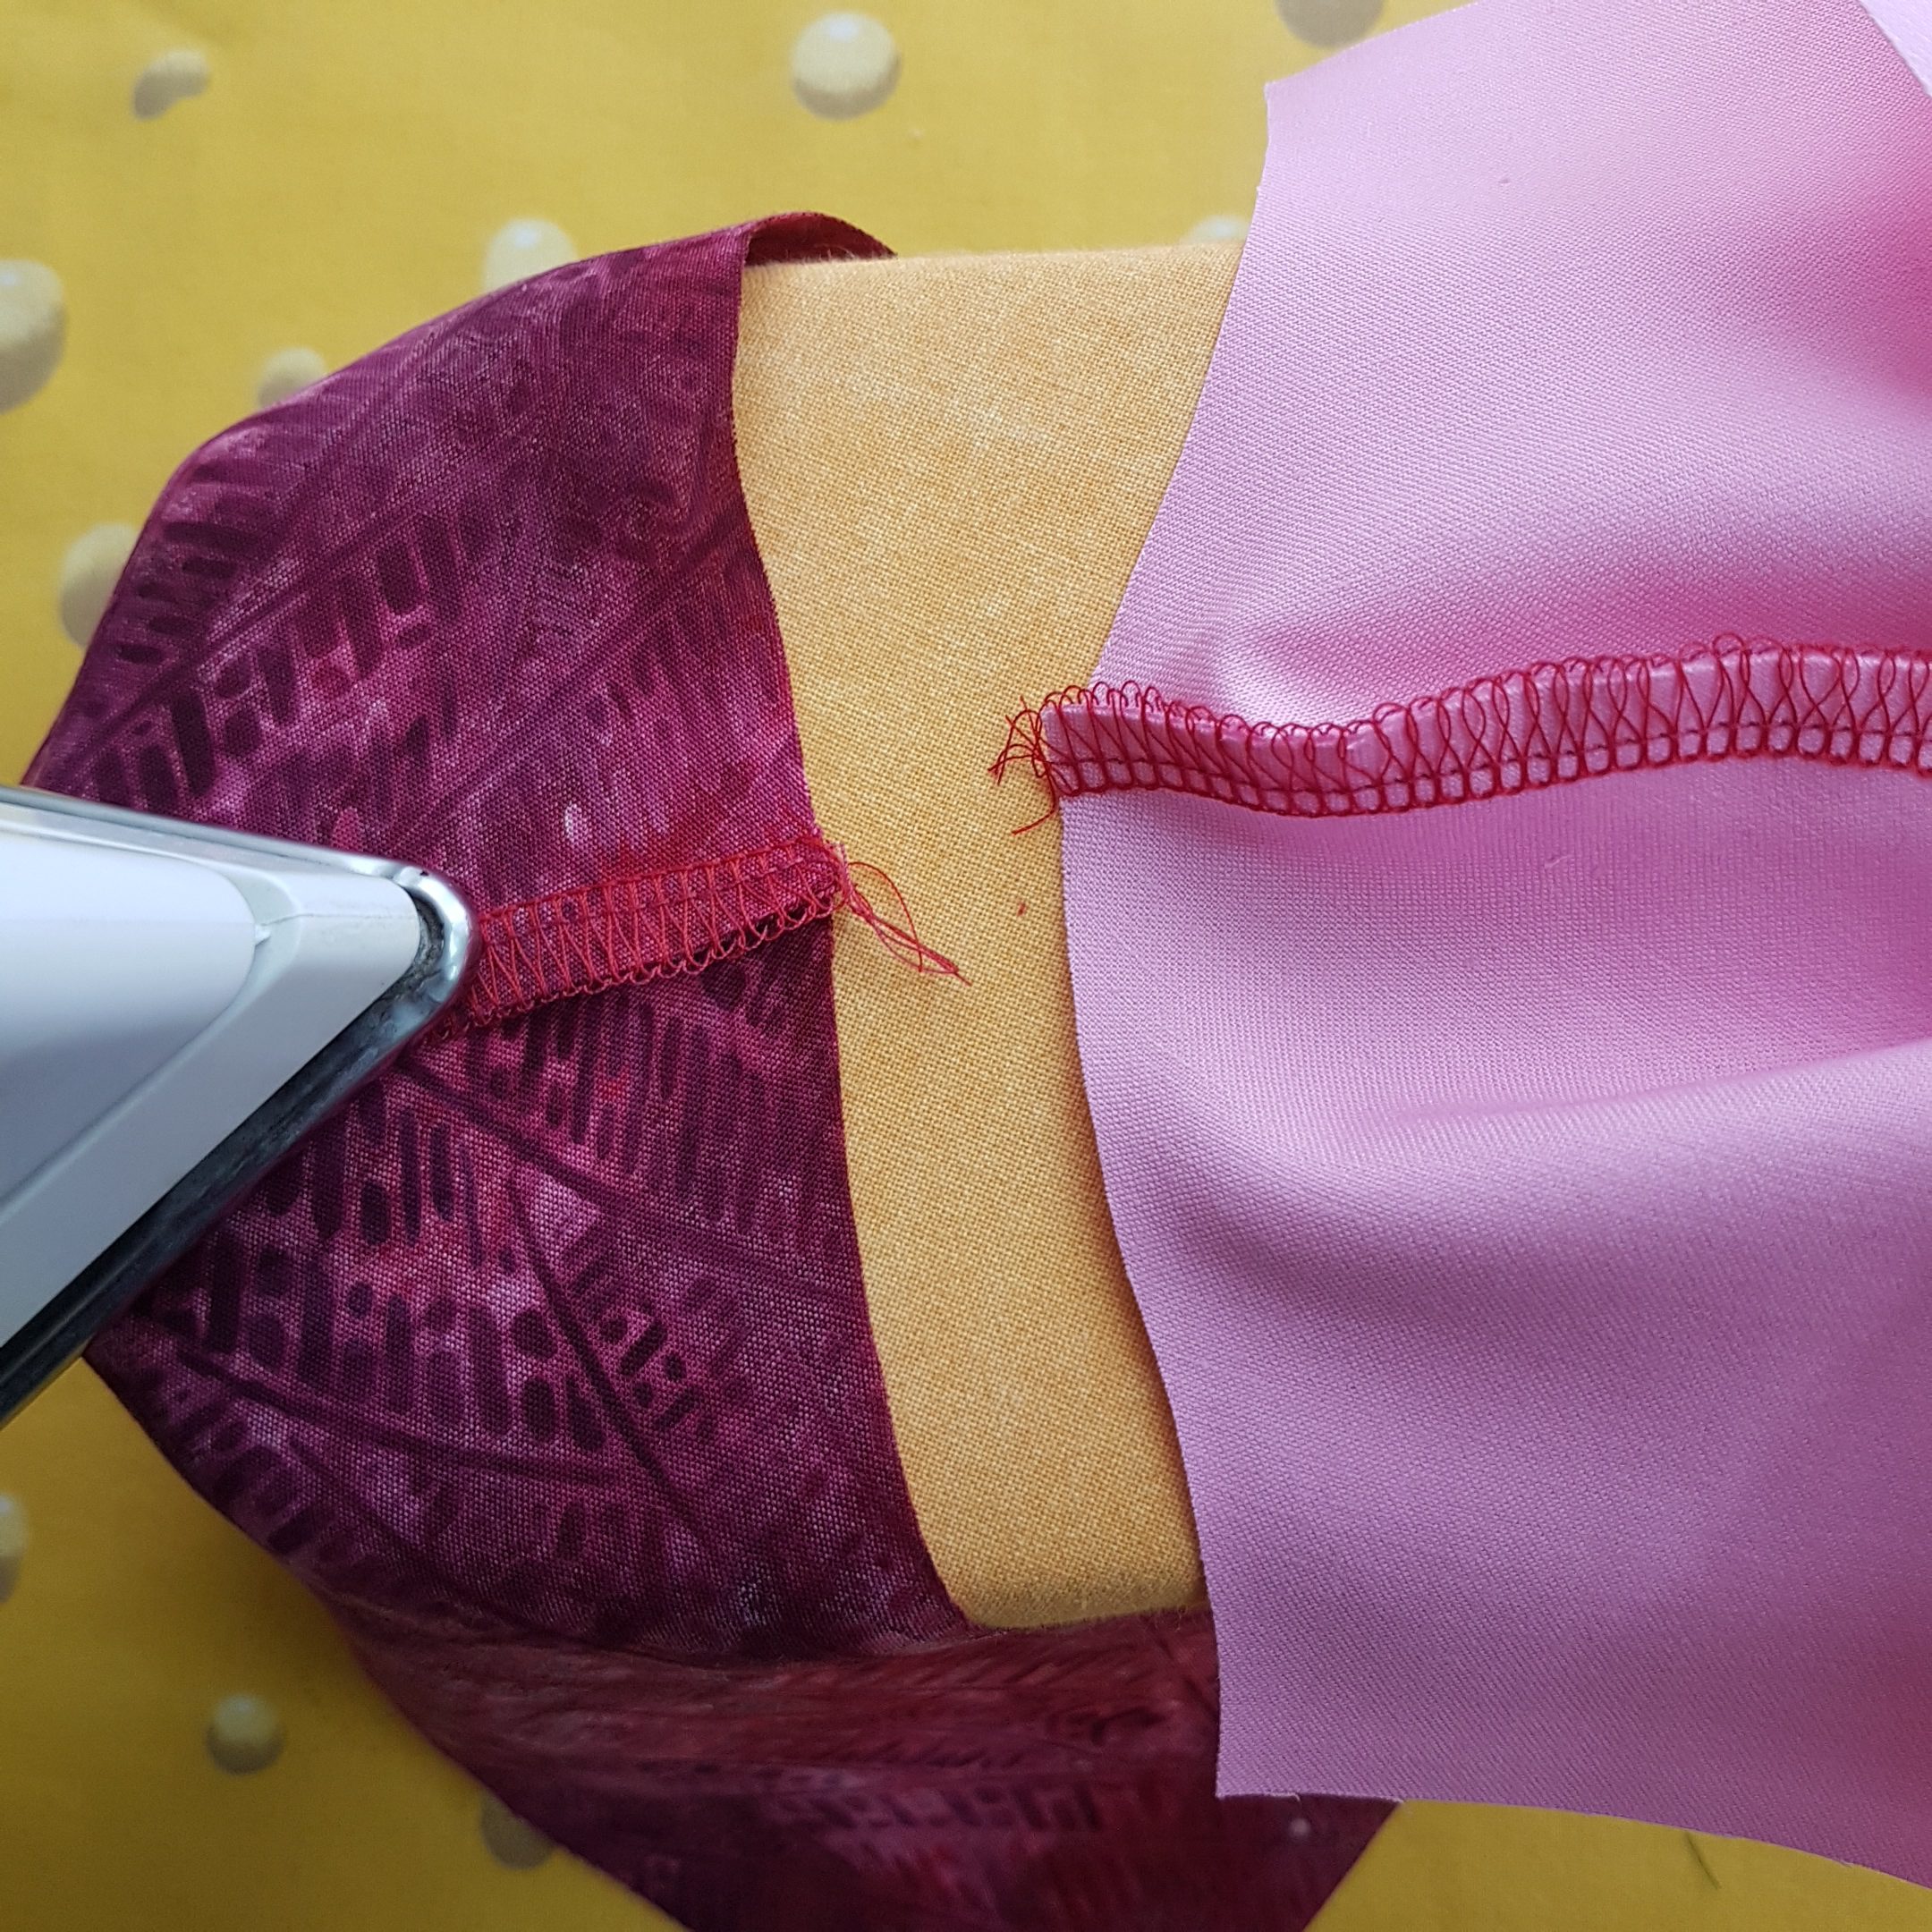
I iron the seam allowance so that it lies on one side of the middle lining and on the other side of the outer fabric. This avoids an uncomfortable thick spot on the nose and under the chin, which increases comfort.
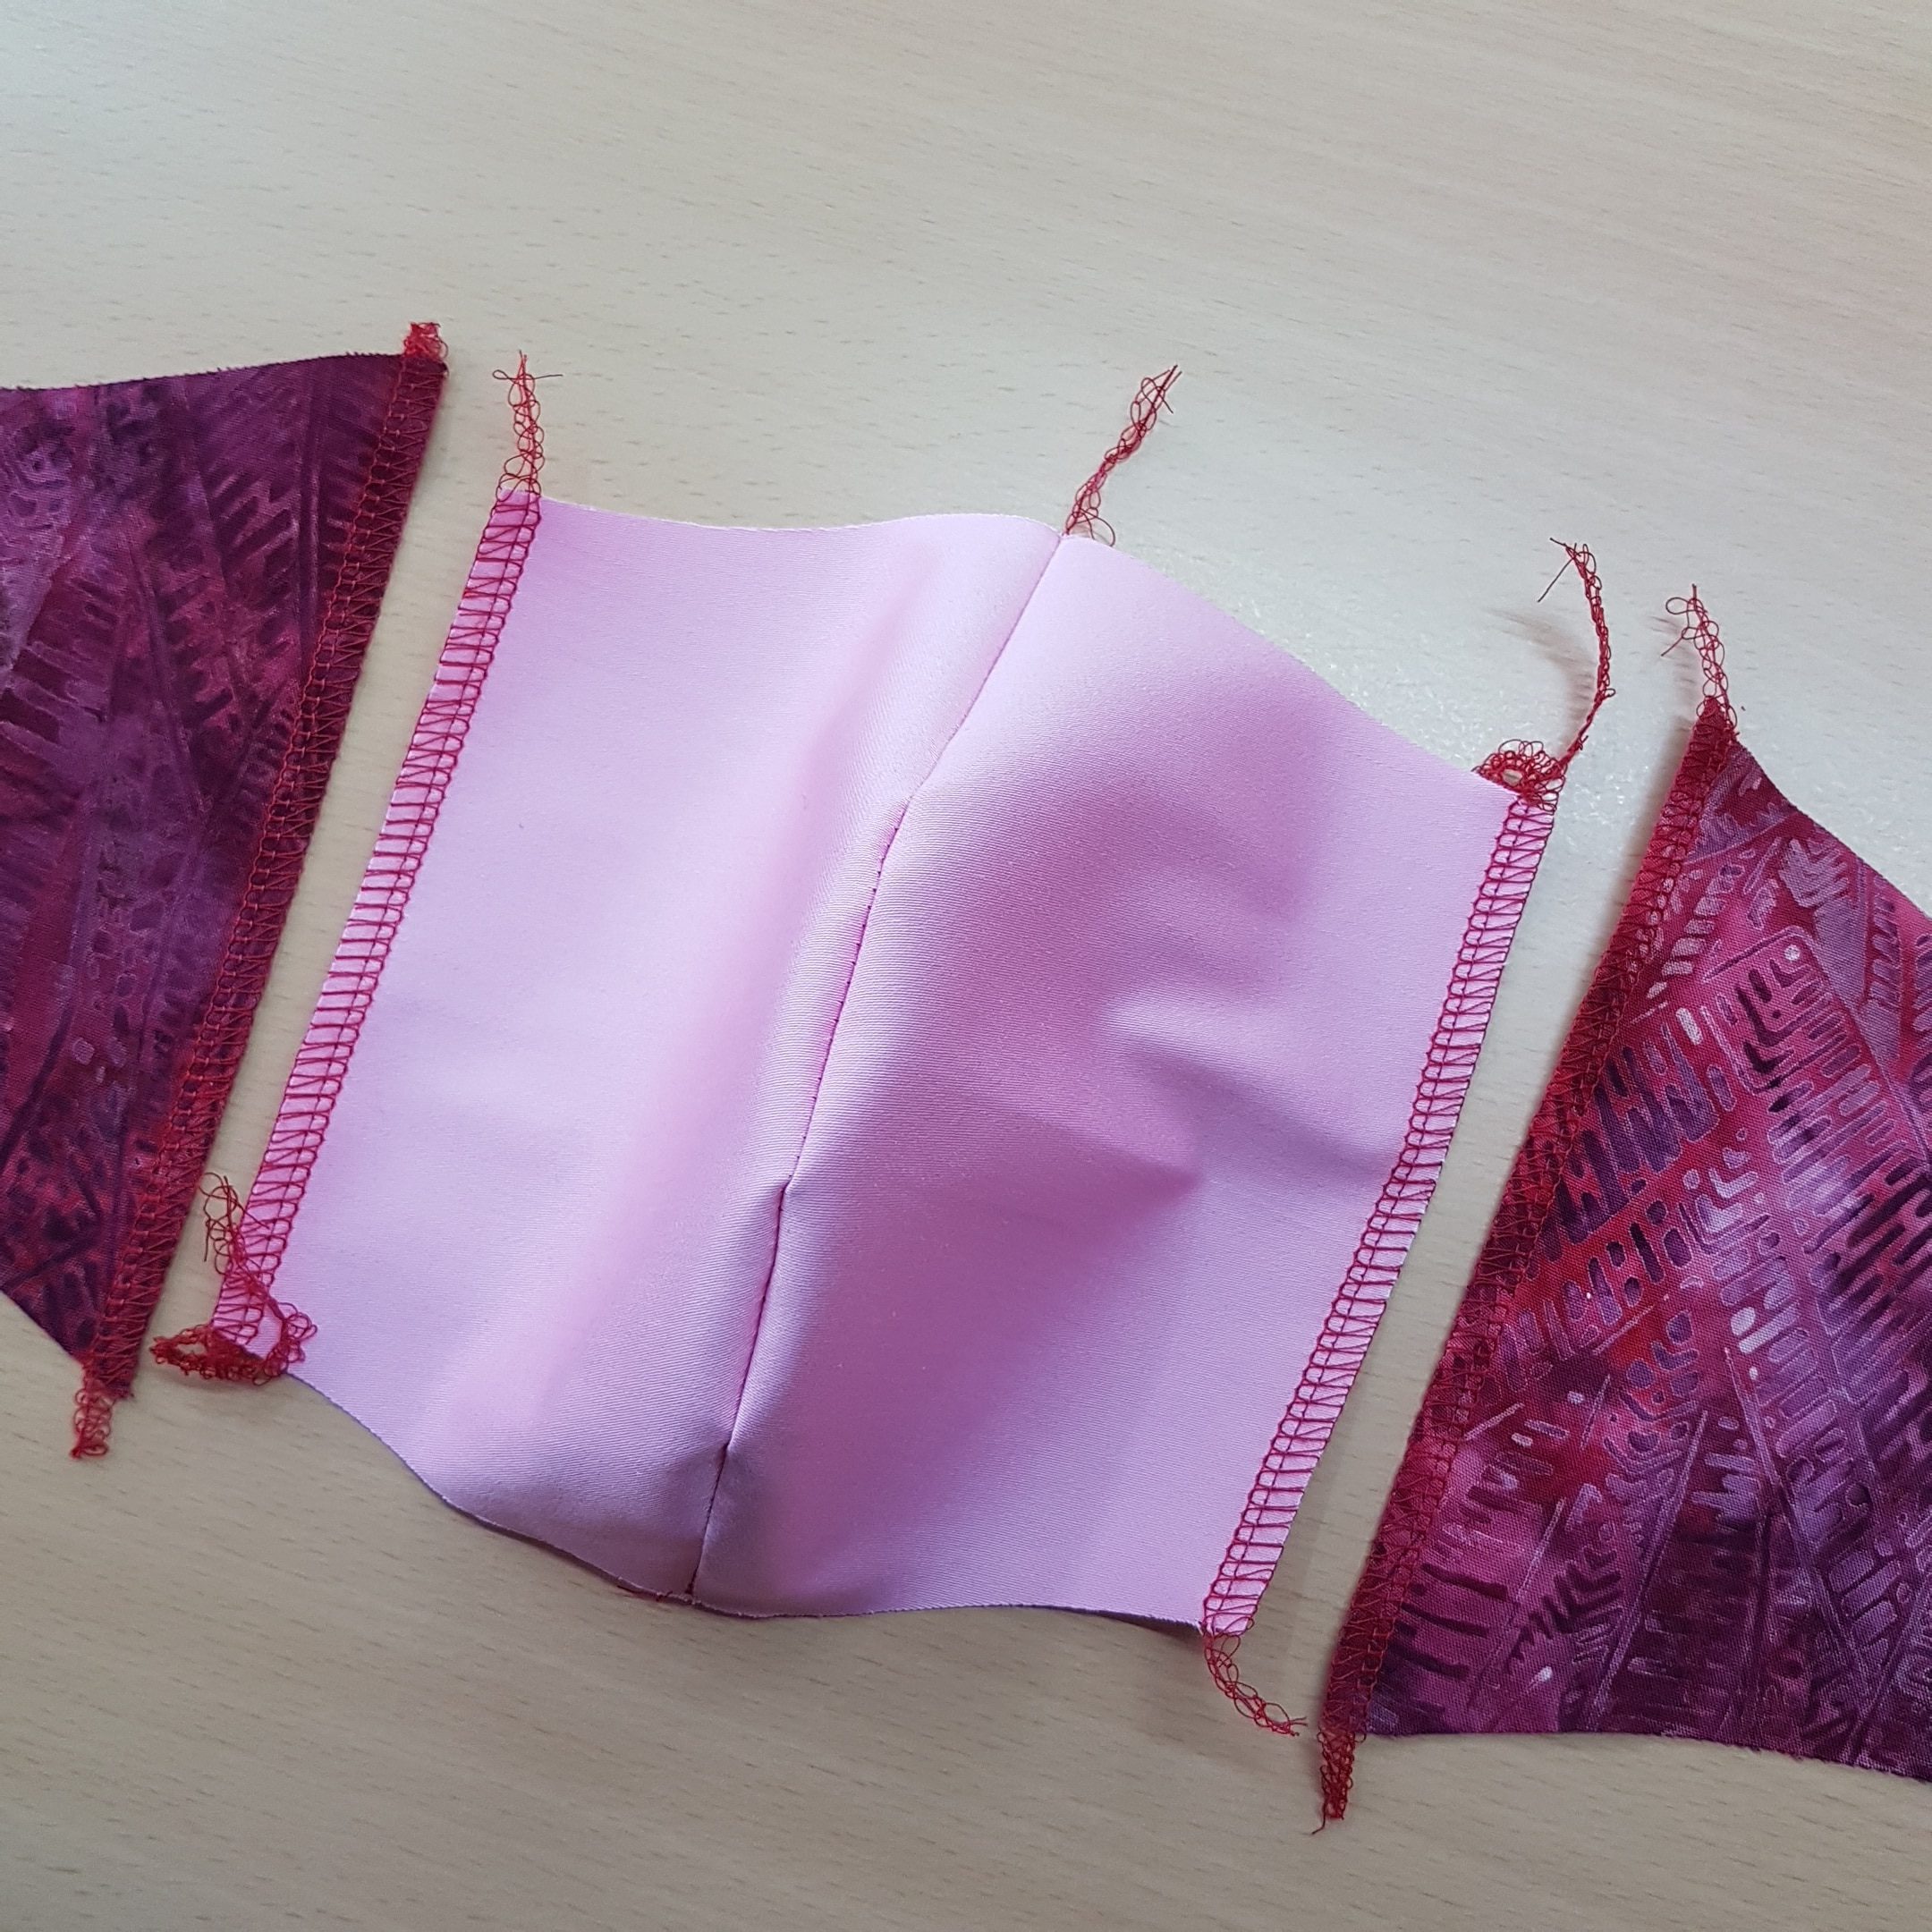
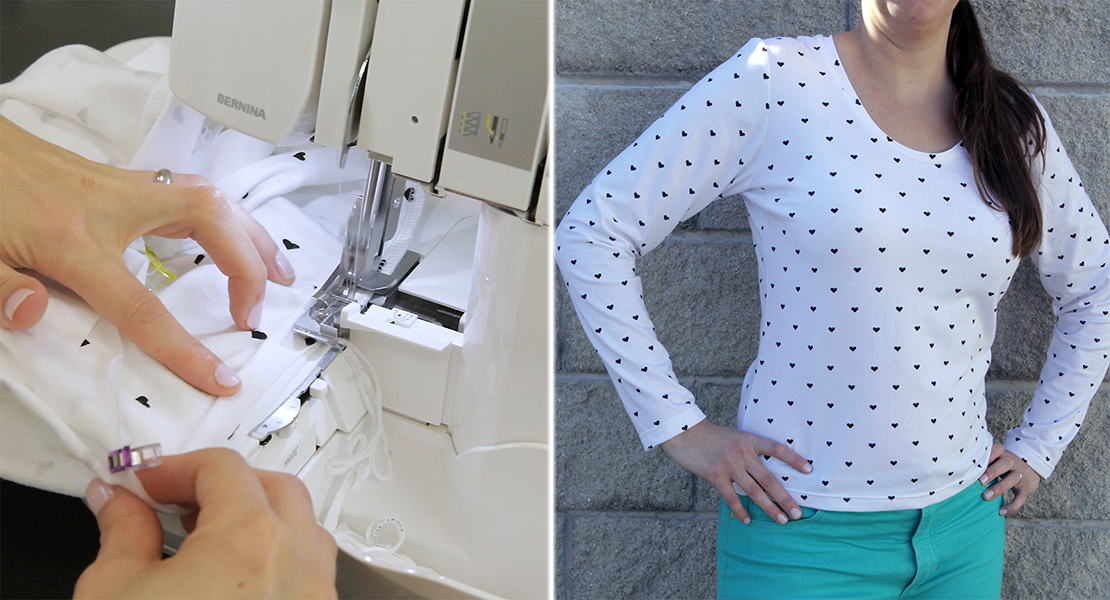
Then you can neaten the straight edges of middle lining and side lining. For the sake of simplicity, I used the 4-thread overlock stitch again. However, if you want to change, a 3-thread overlock is also sufficient.
Sewing the parts together
Now I have aligned the top edge of the outer fabric and the middle lining right to right side, making sure, that the curved seam matches and its seam allowances facing away from each other. Pin together. I aligned the side lining parts, overlapping the center lining, pin also.
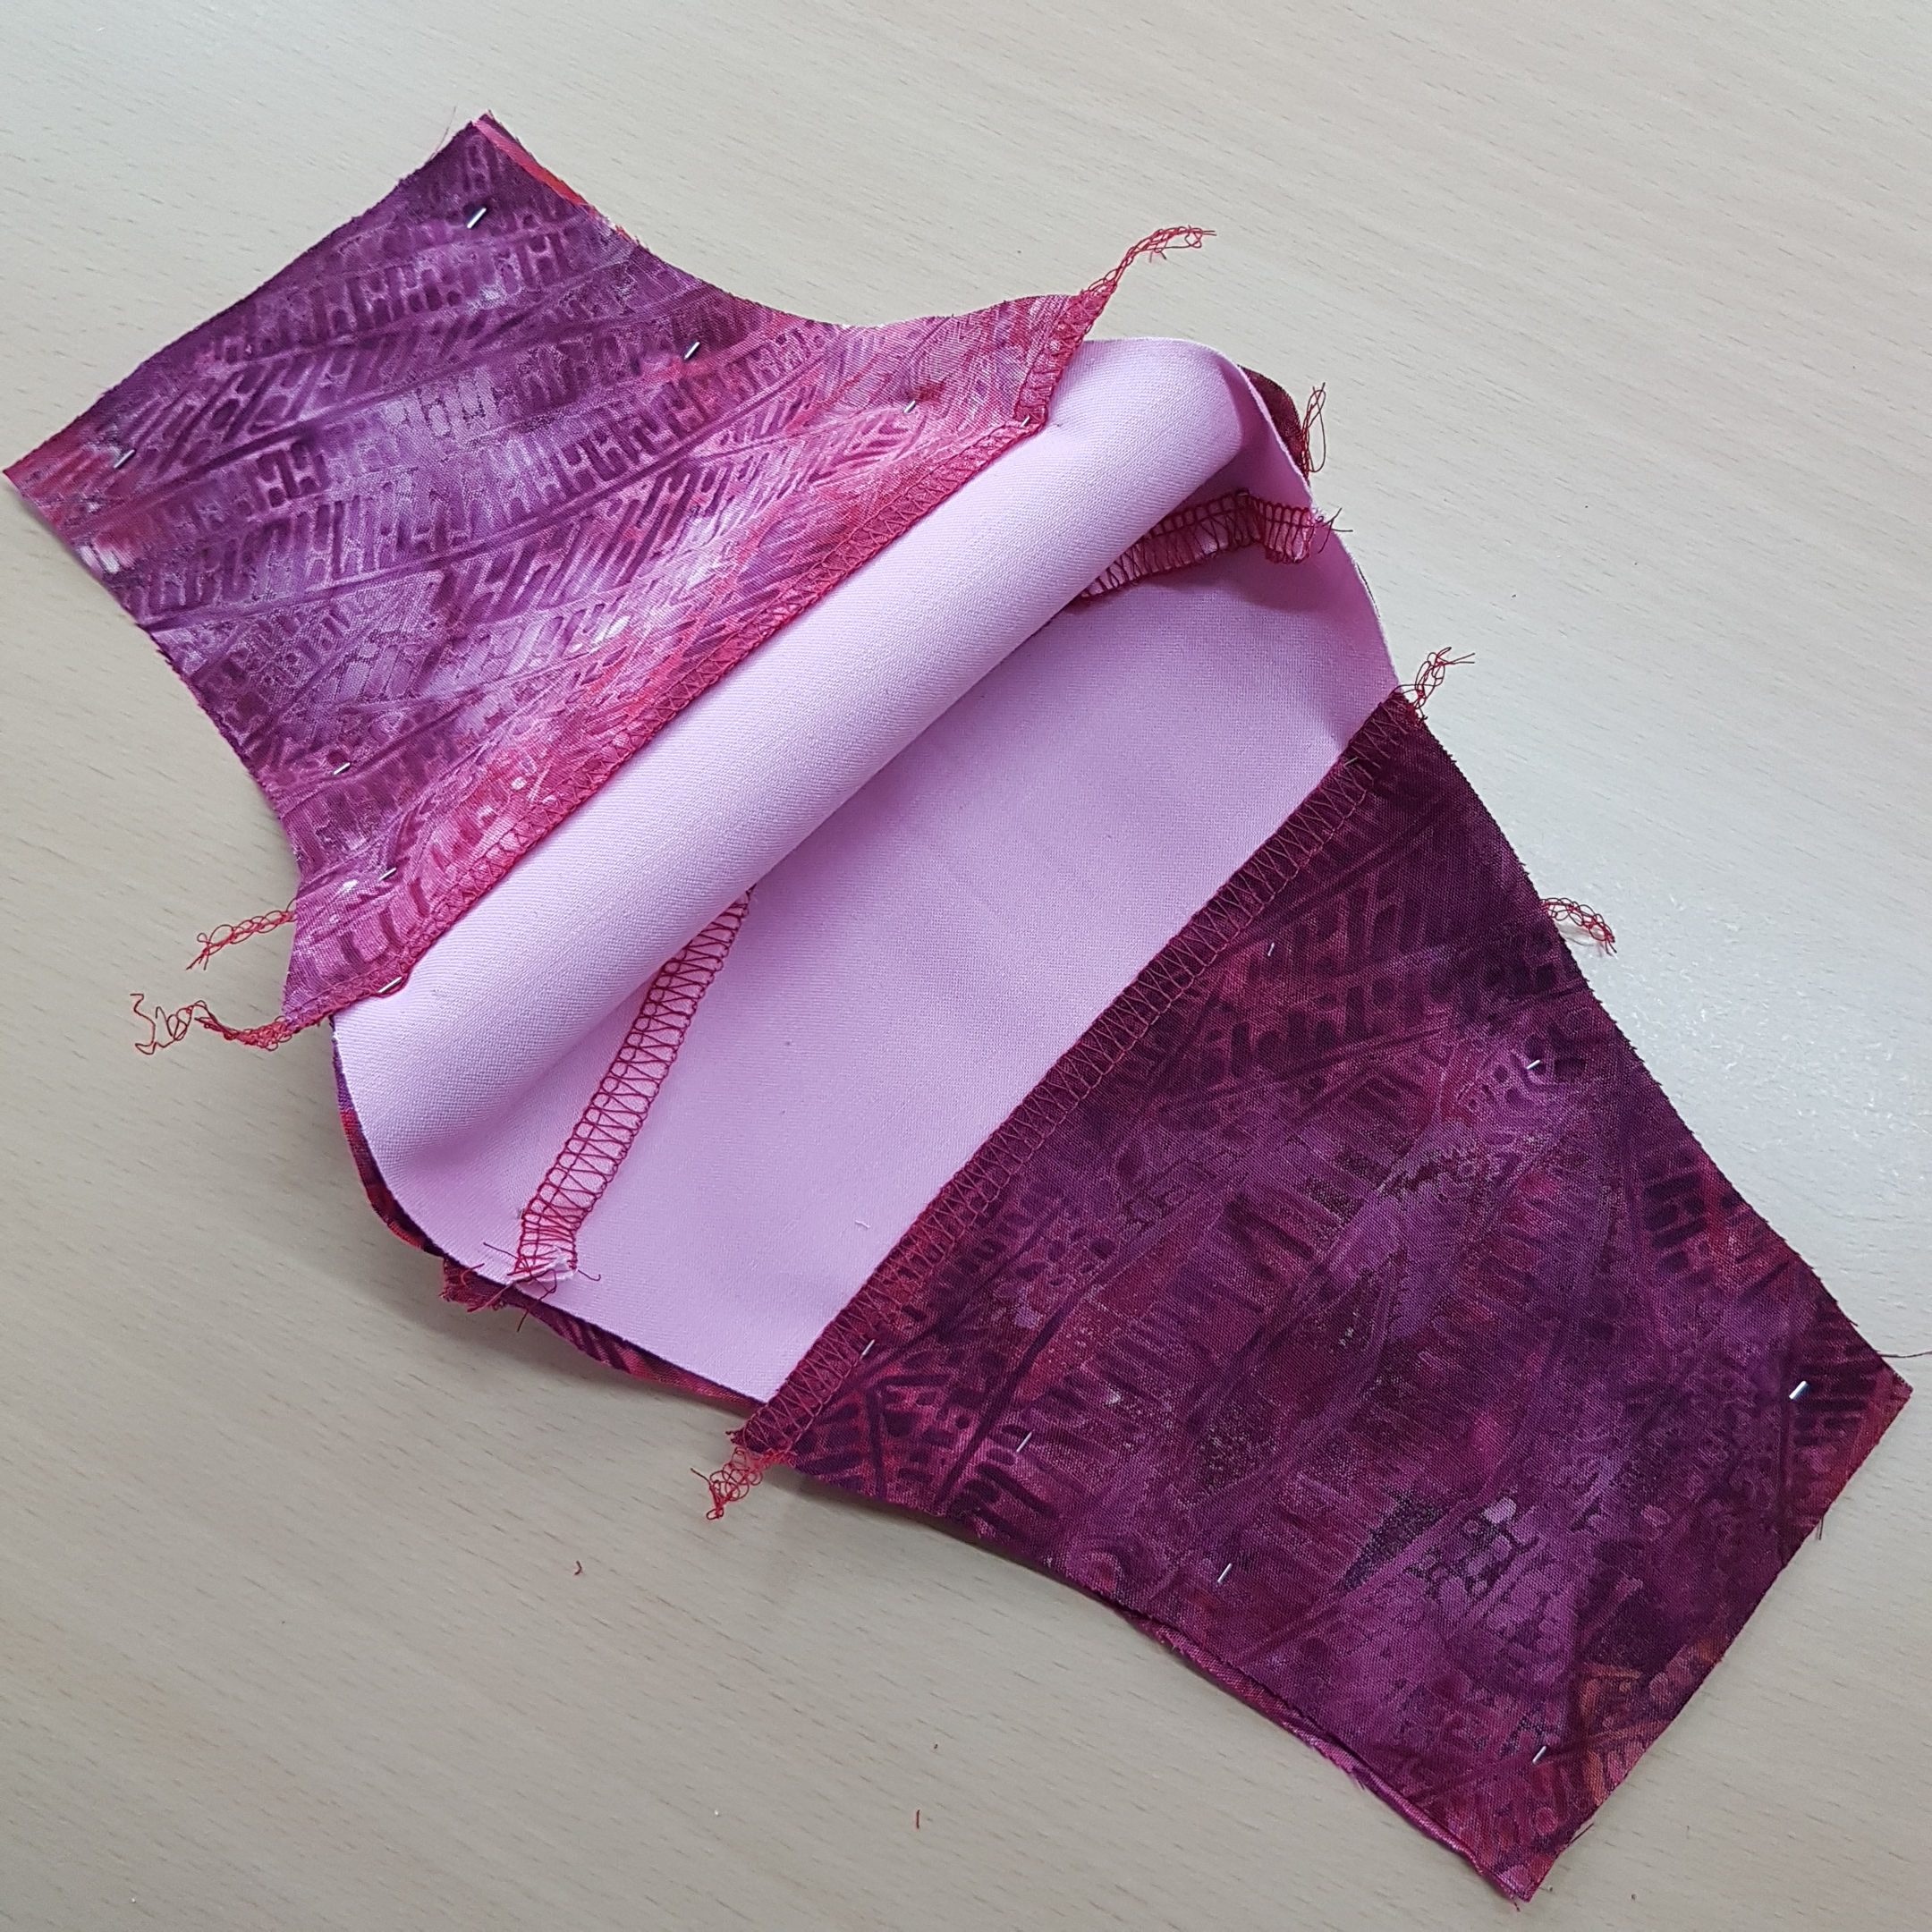
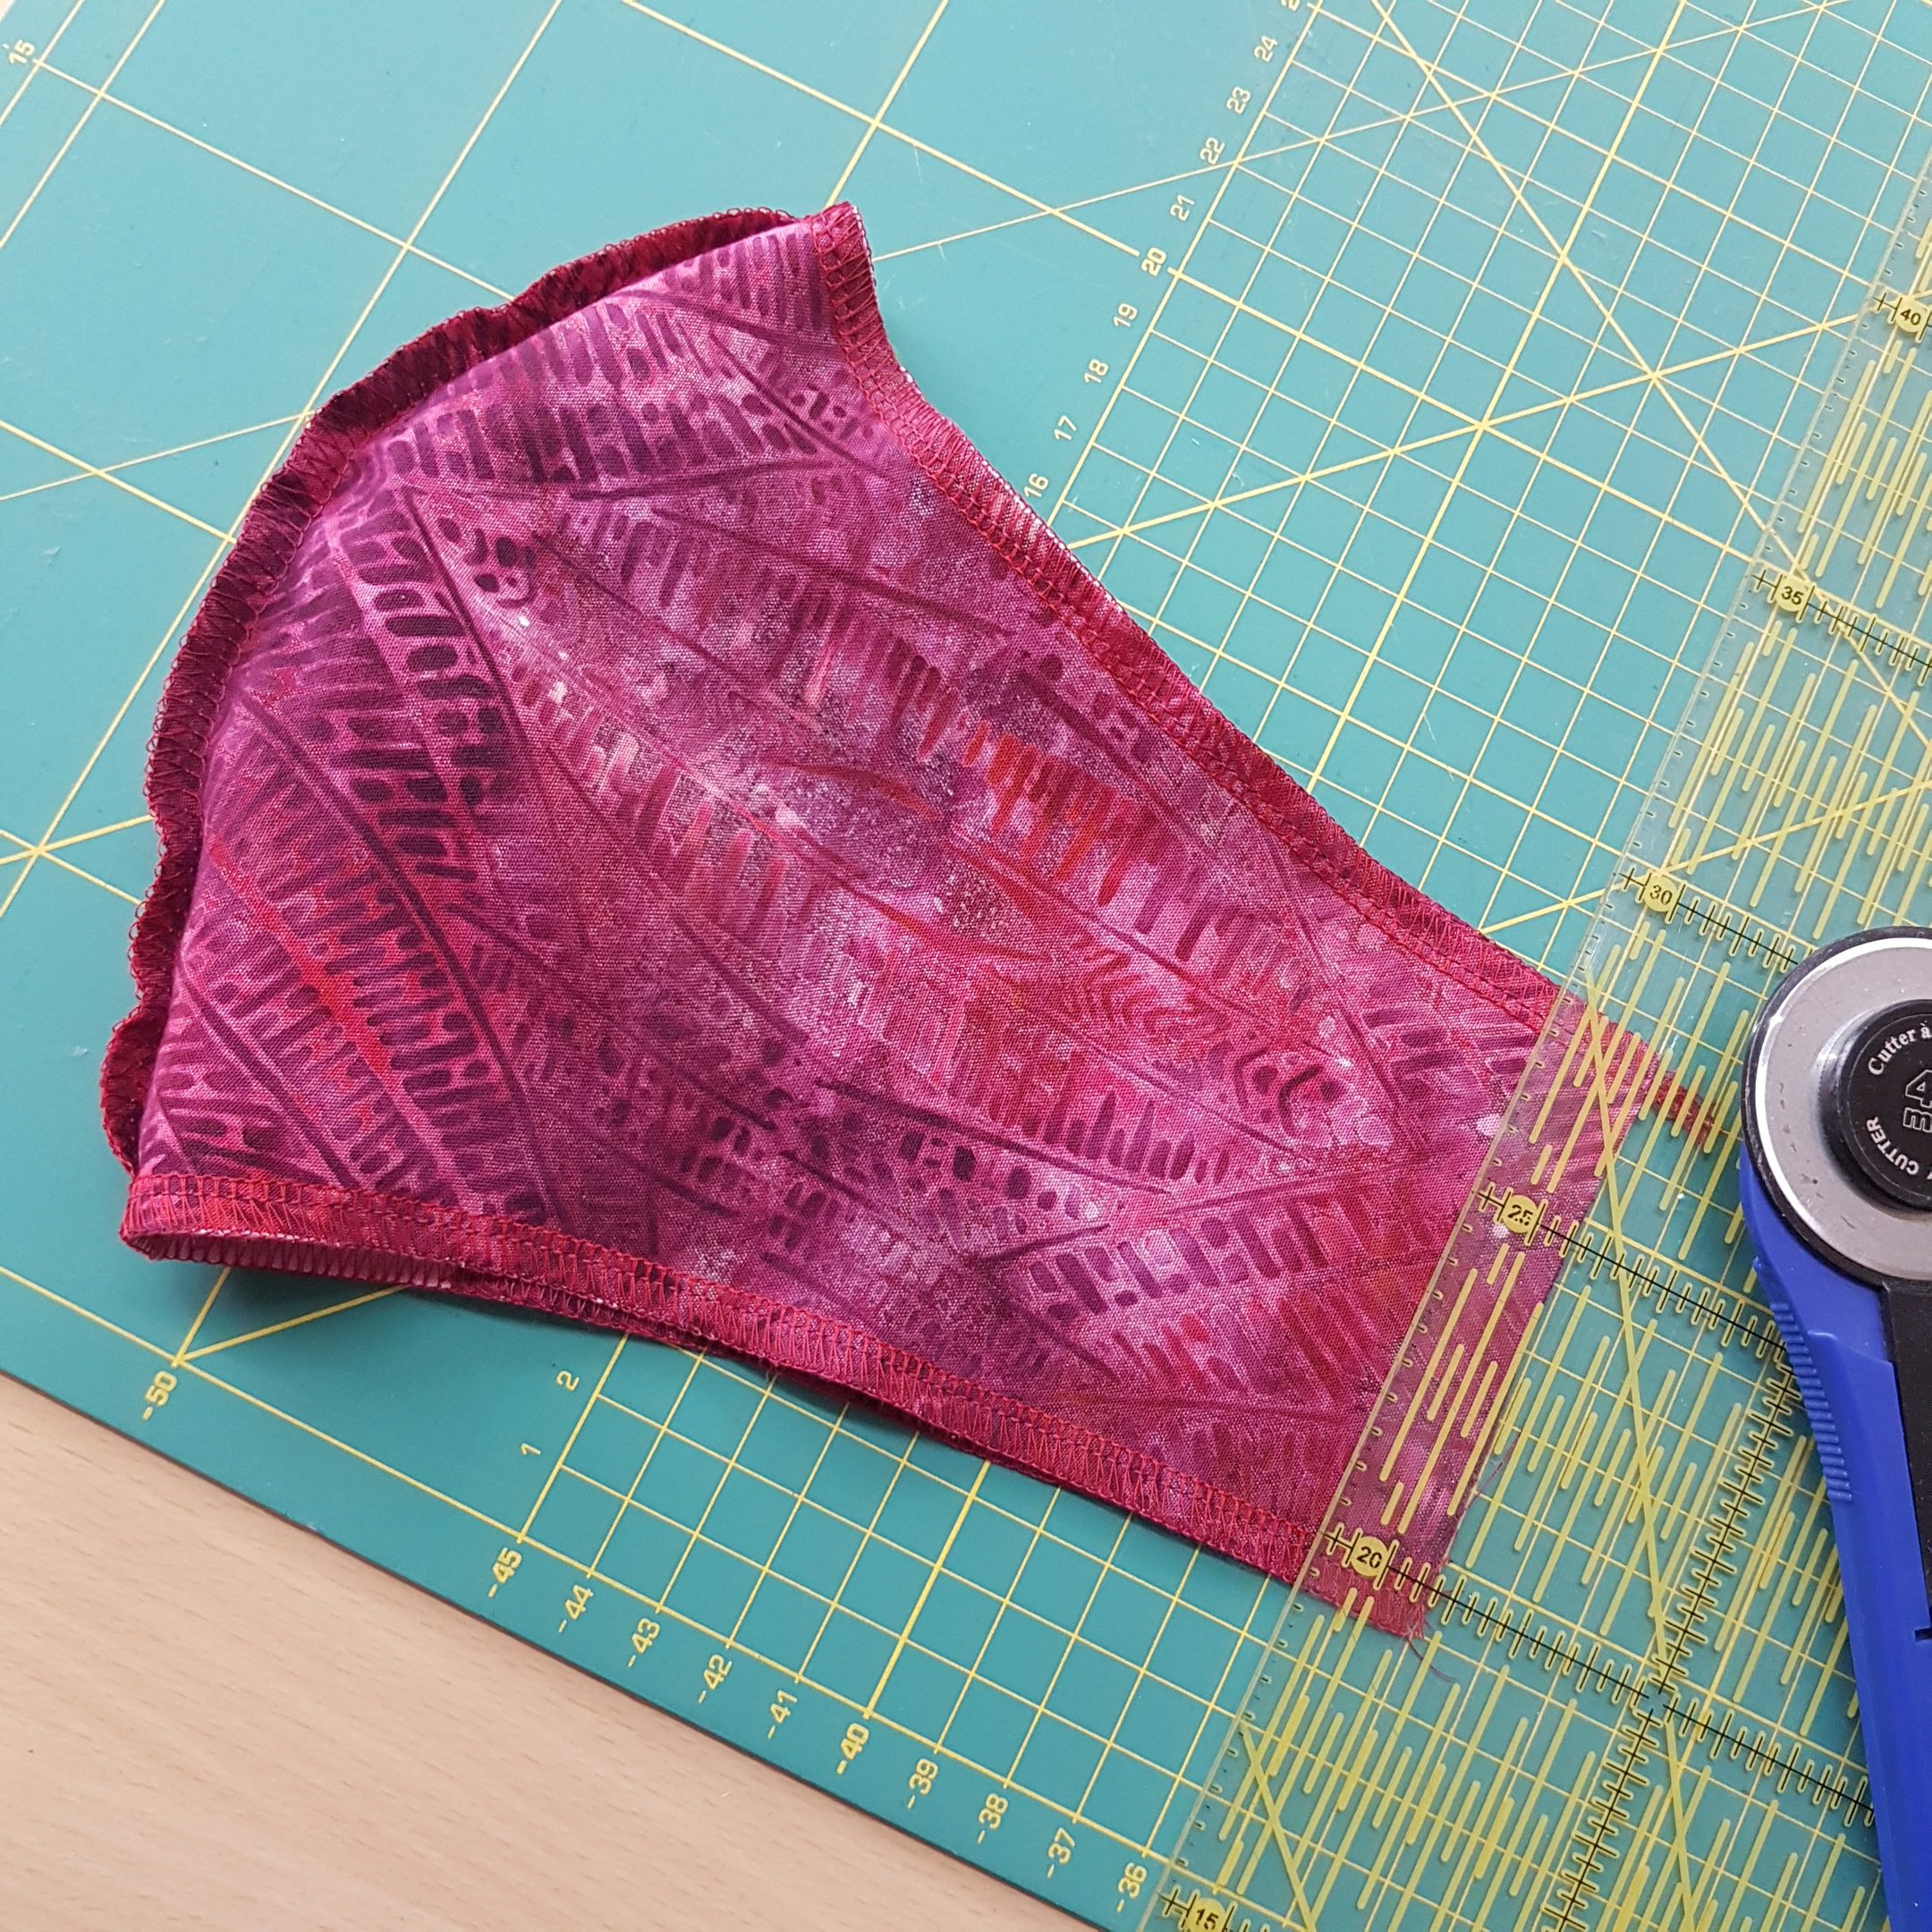
Now the mask will be placed lengthwise and rounded, the outer fabric on the outside. The middle lining seam allowance can be cut back 3 mm, that will prevent the lining from showing unintentionally after sewing. So taking this oversize into account, I pin the bottom edge together. I recommend pins with a clearly visible head!
You sew with 4-thread overlock, cutting width 6, stitch length 2-2.5. I recommend sewing a little slower to get the shape nice rounded. And remember to always remove the pins in front of the presser foot!
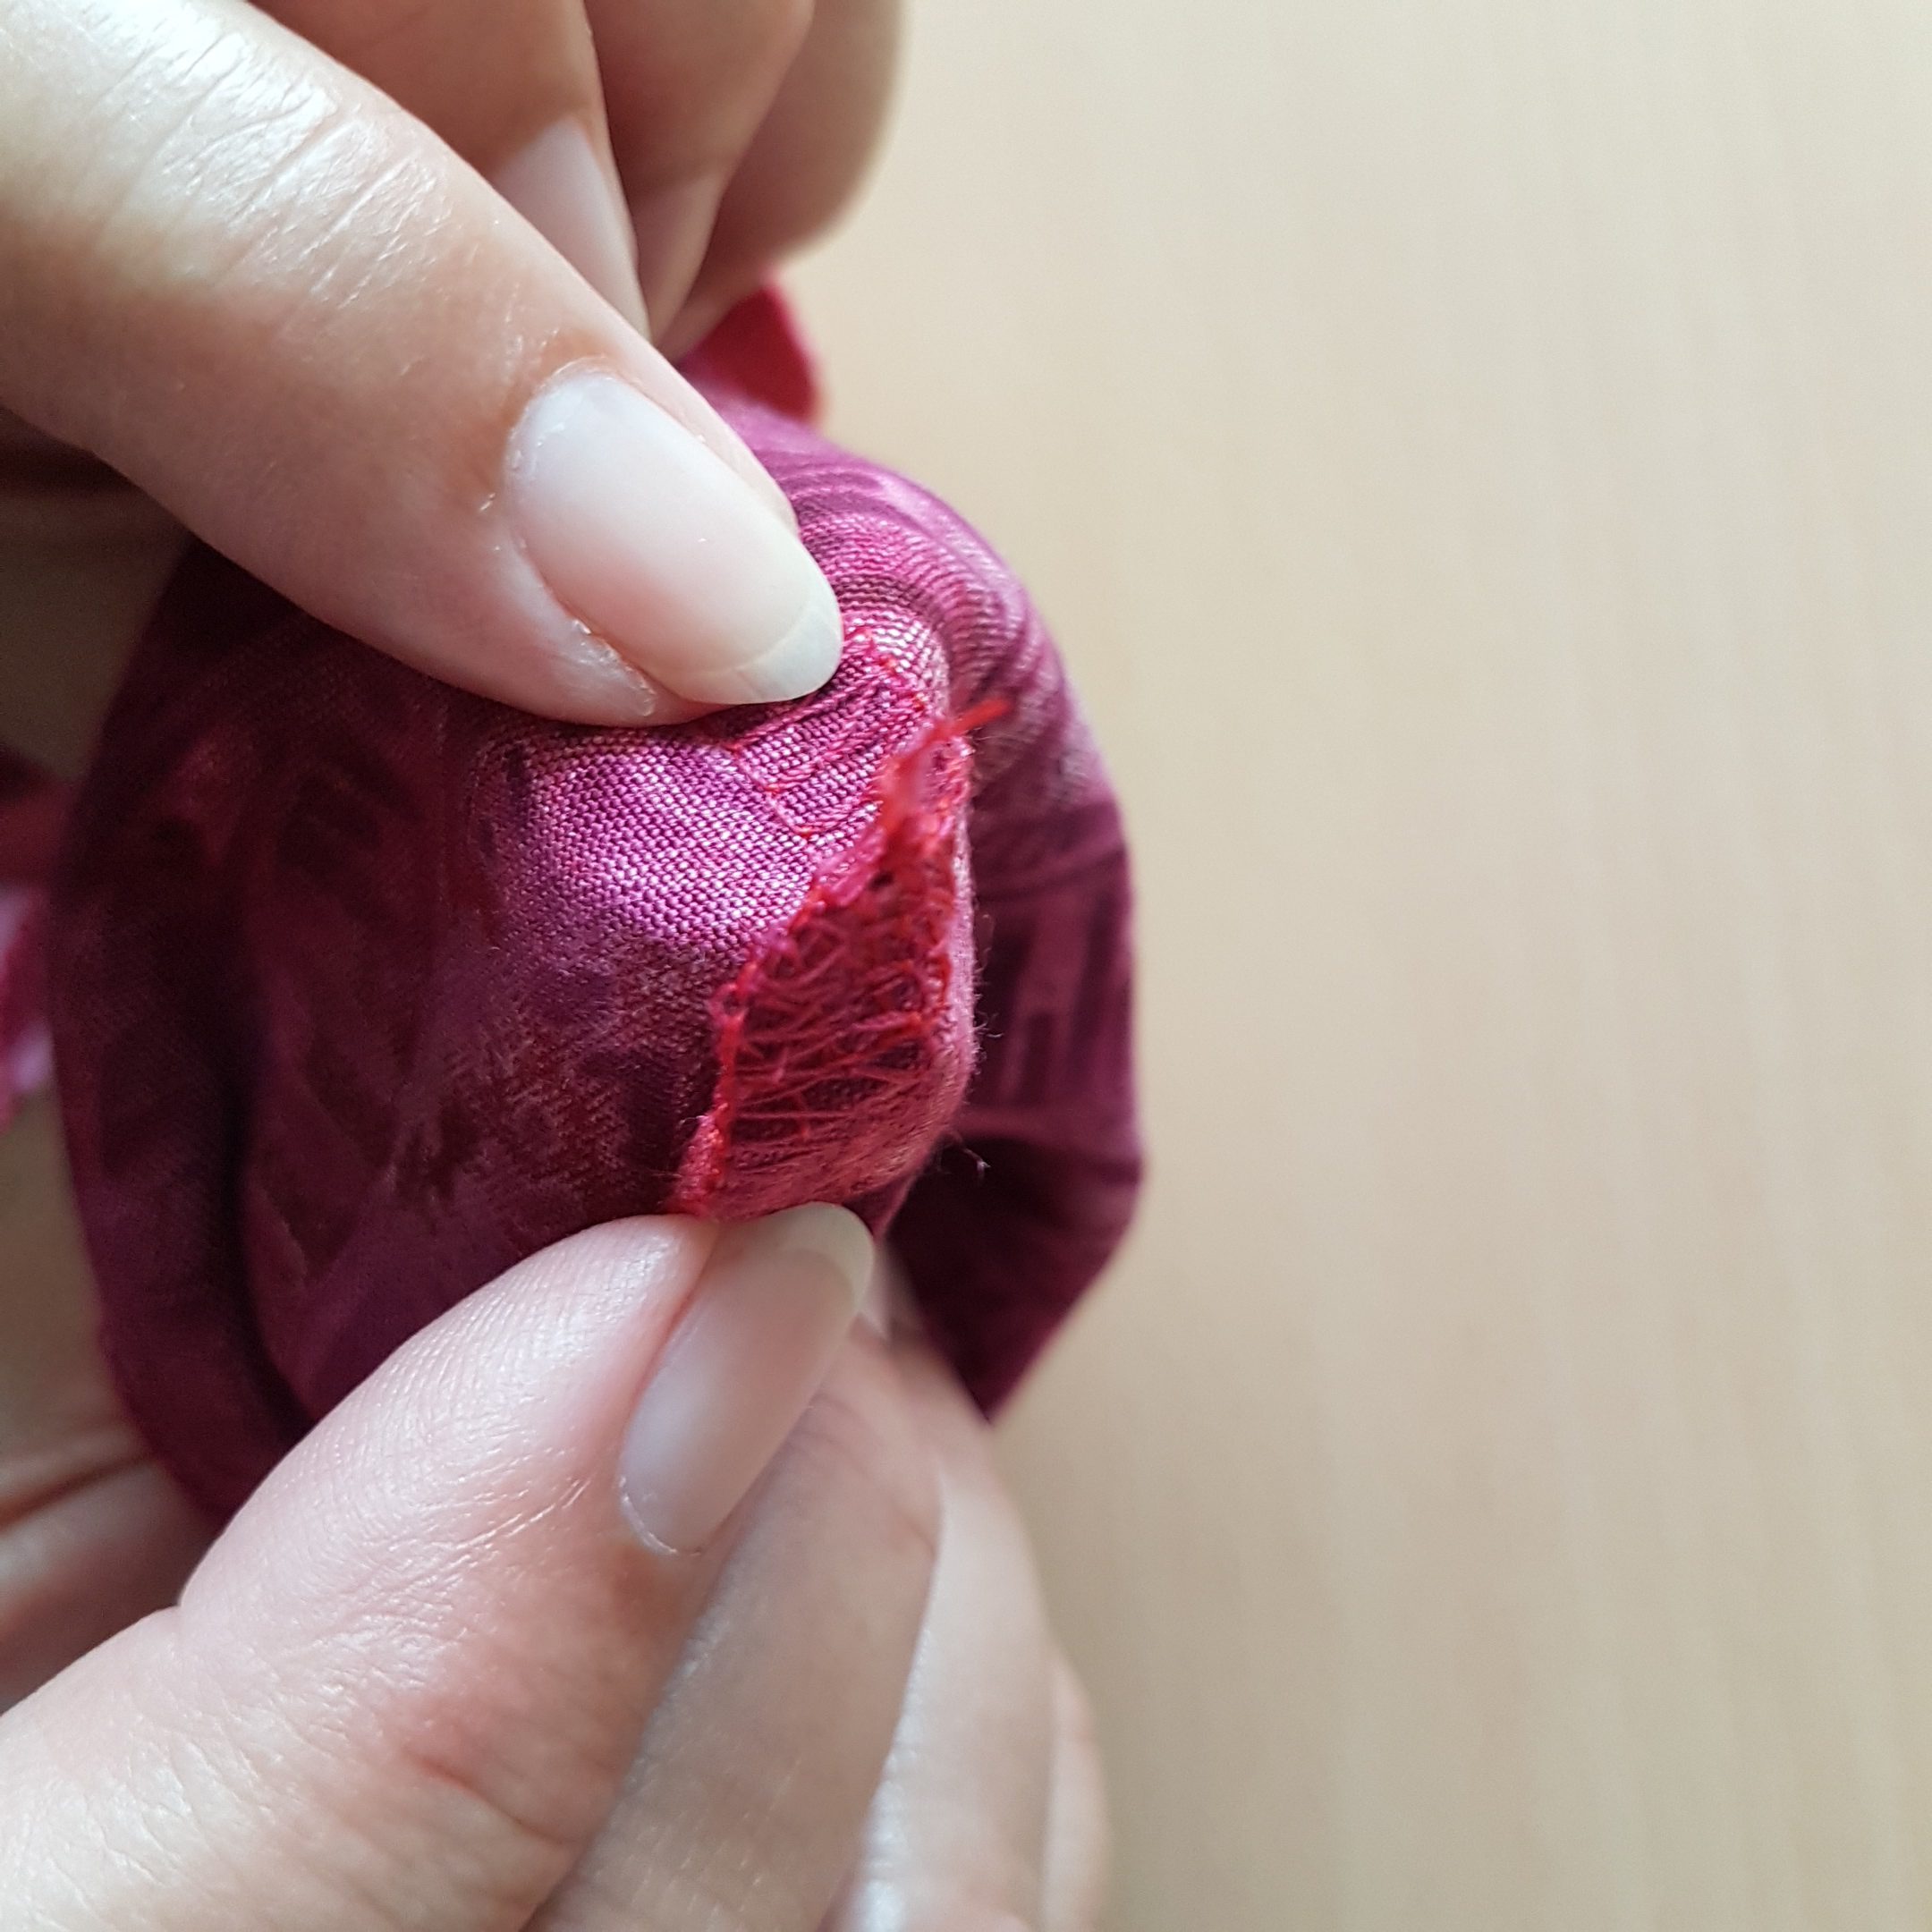
When I reached the curved seam, again I made sure that the seam allowances were nicely facing away from each other to avoid bulk. As a glasses wearer especially, I don’t want unnecessary thick material on my nose.

In this step I tried on the mask. For my size I have cut off 2 cm material on each side so that my ears remain free. I recommend that you also adjust this as required.
If you want to sew a tunnel for the straps, a 2 cm seam allowance is required. You may also refer to the blog article about the “The detail lover” where I used that technique.
Inserting the straps and finishing
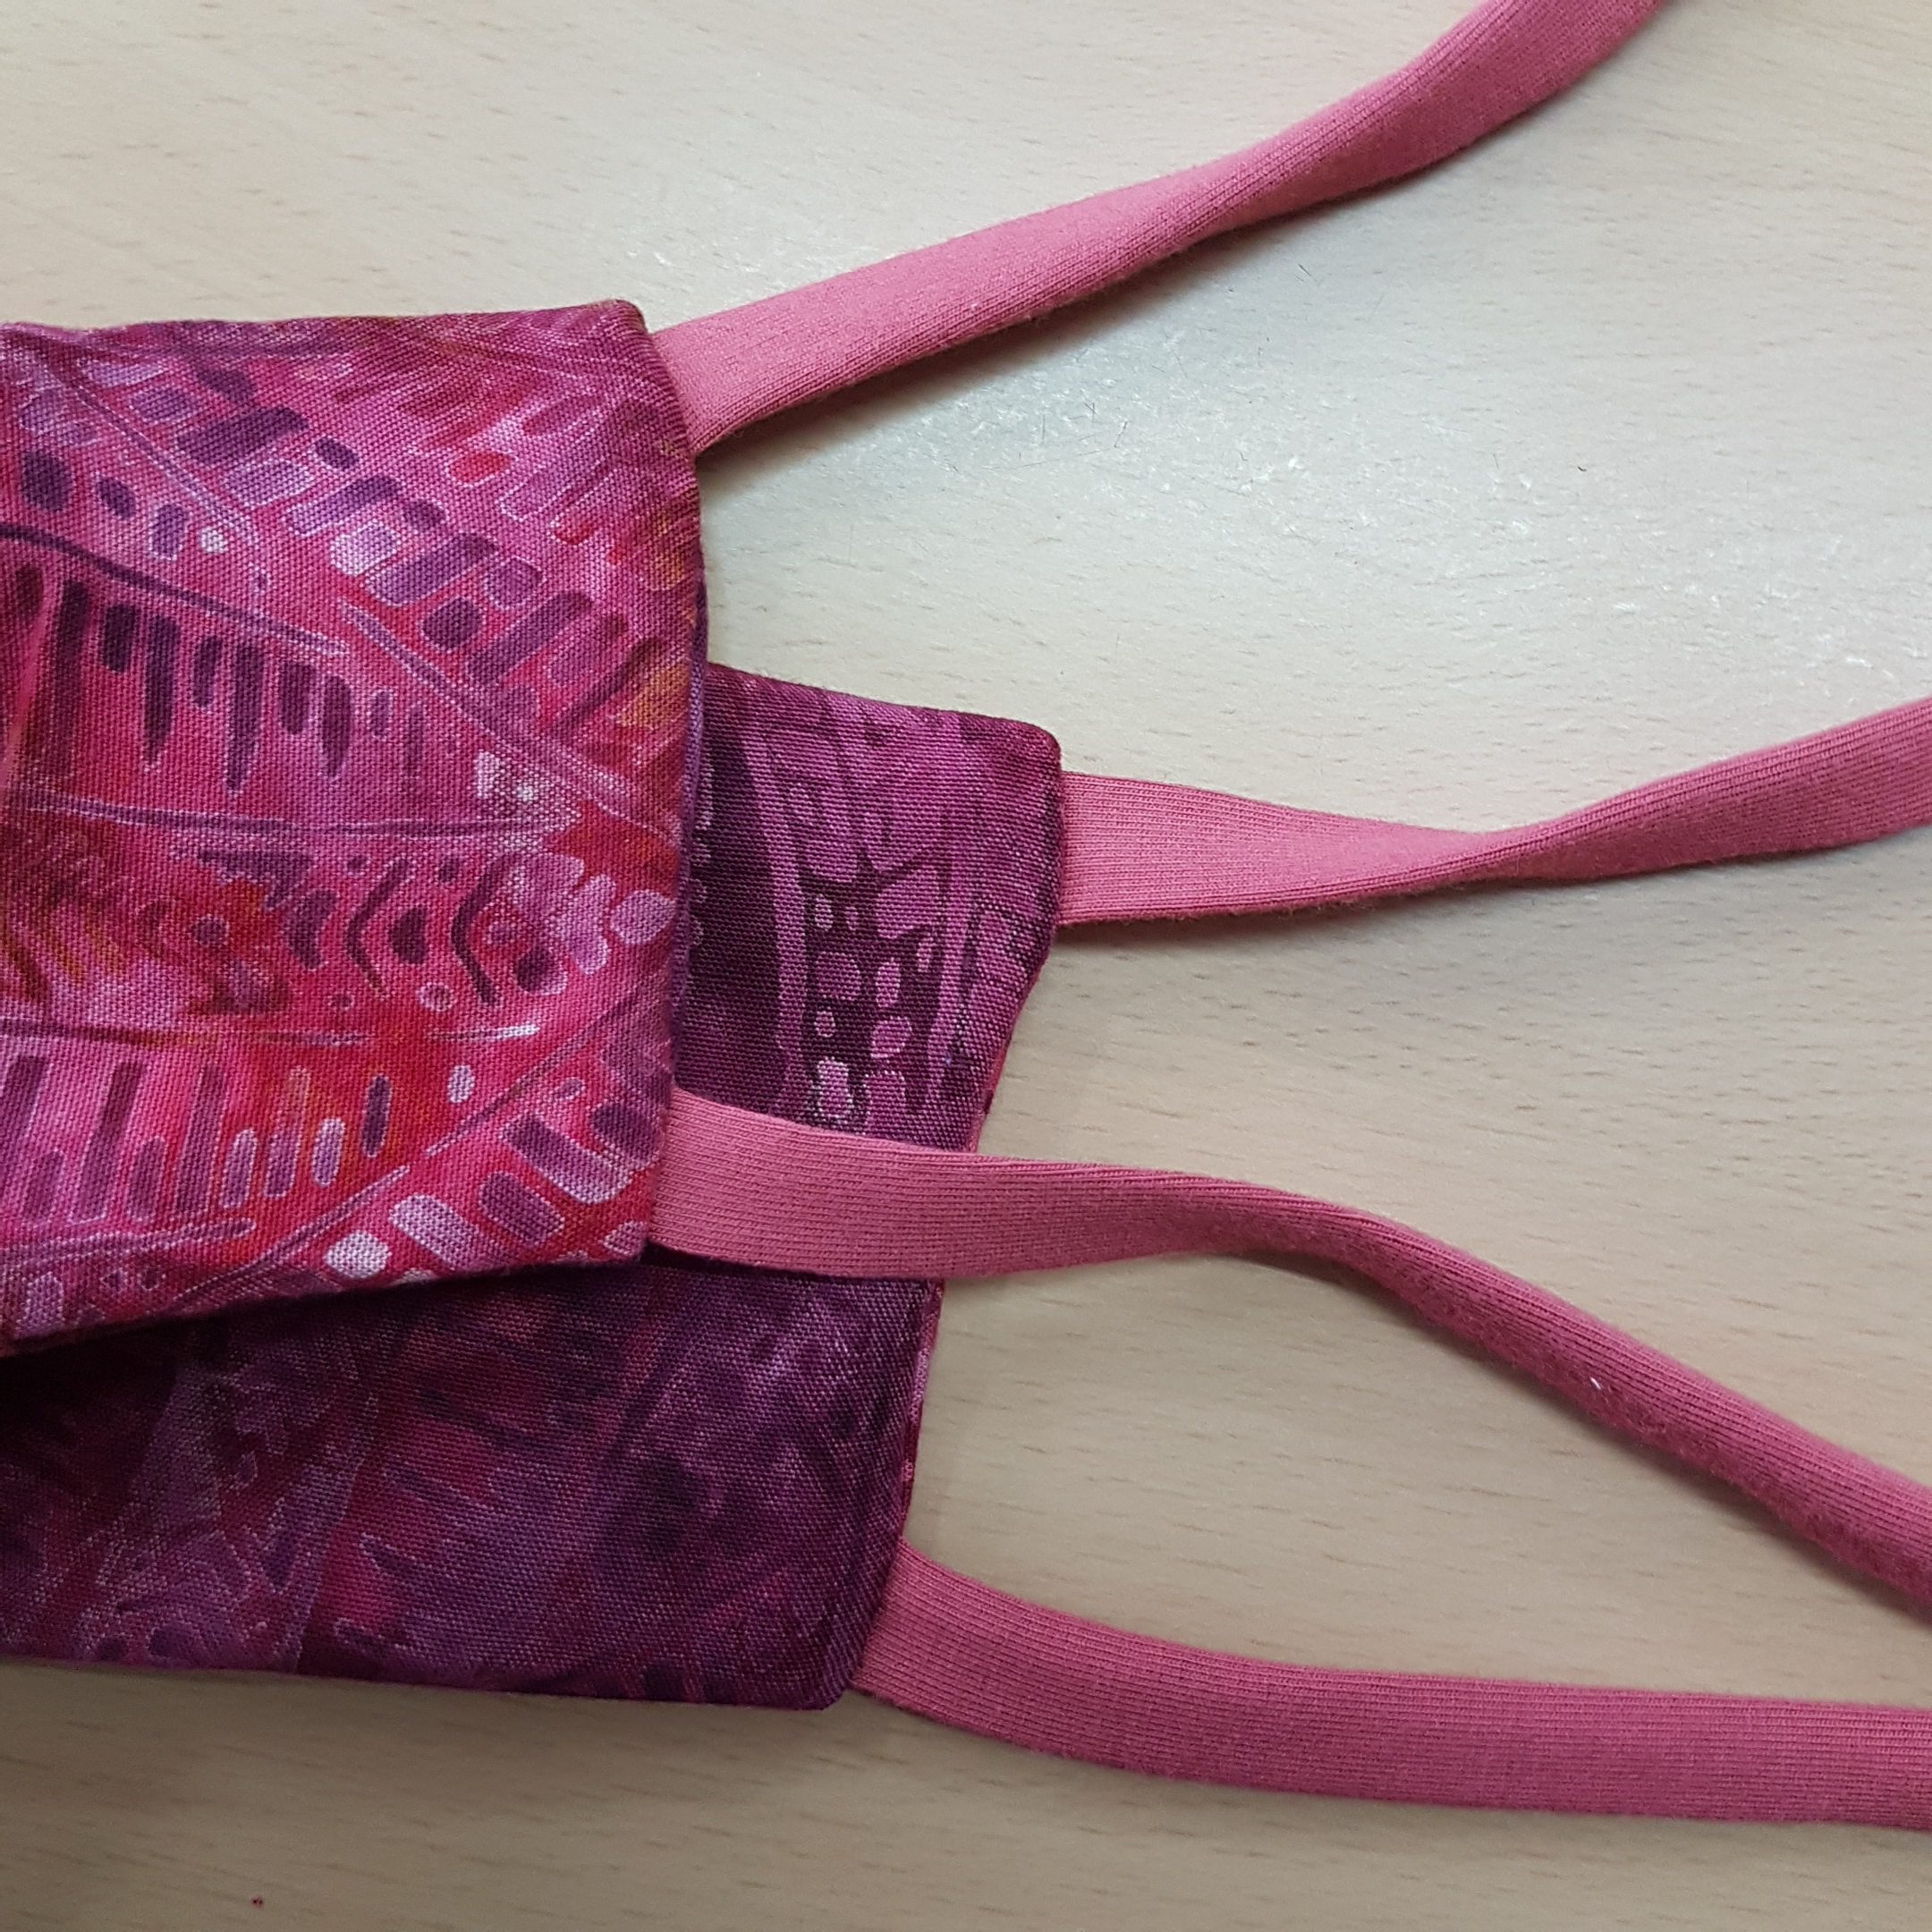
If you proceed like I did, you can now place the straps from the middle into the side seams, place them next to the top and bottom edges and pin them in place (use clearly visible pins).
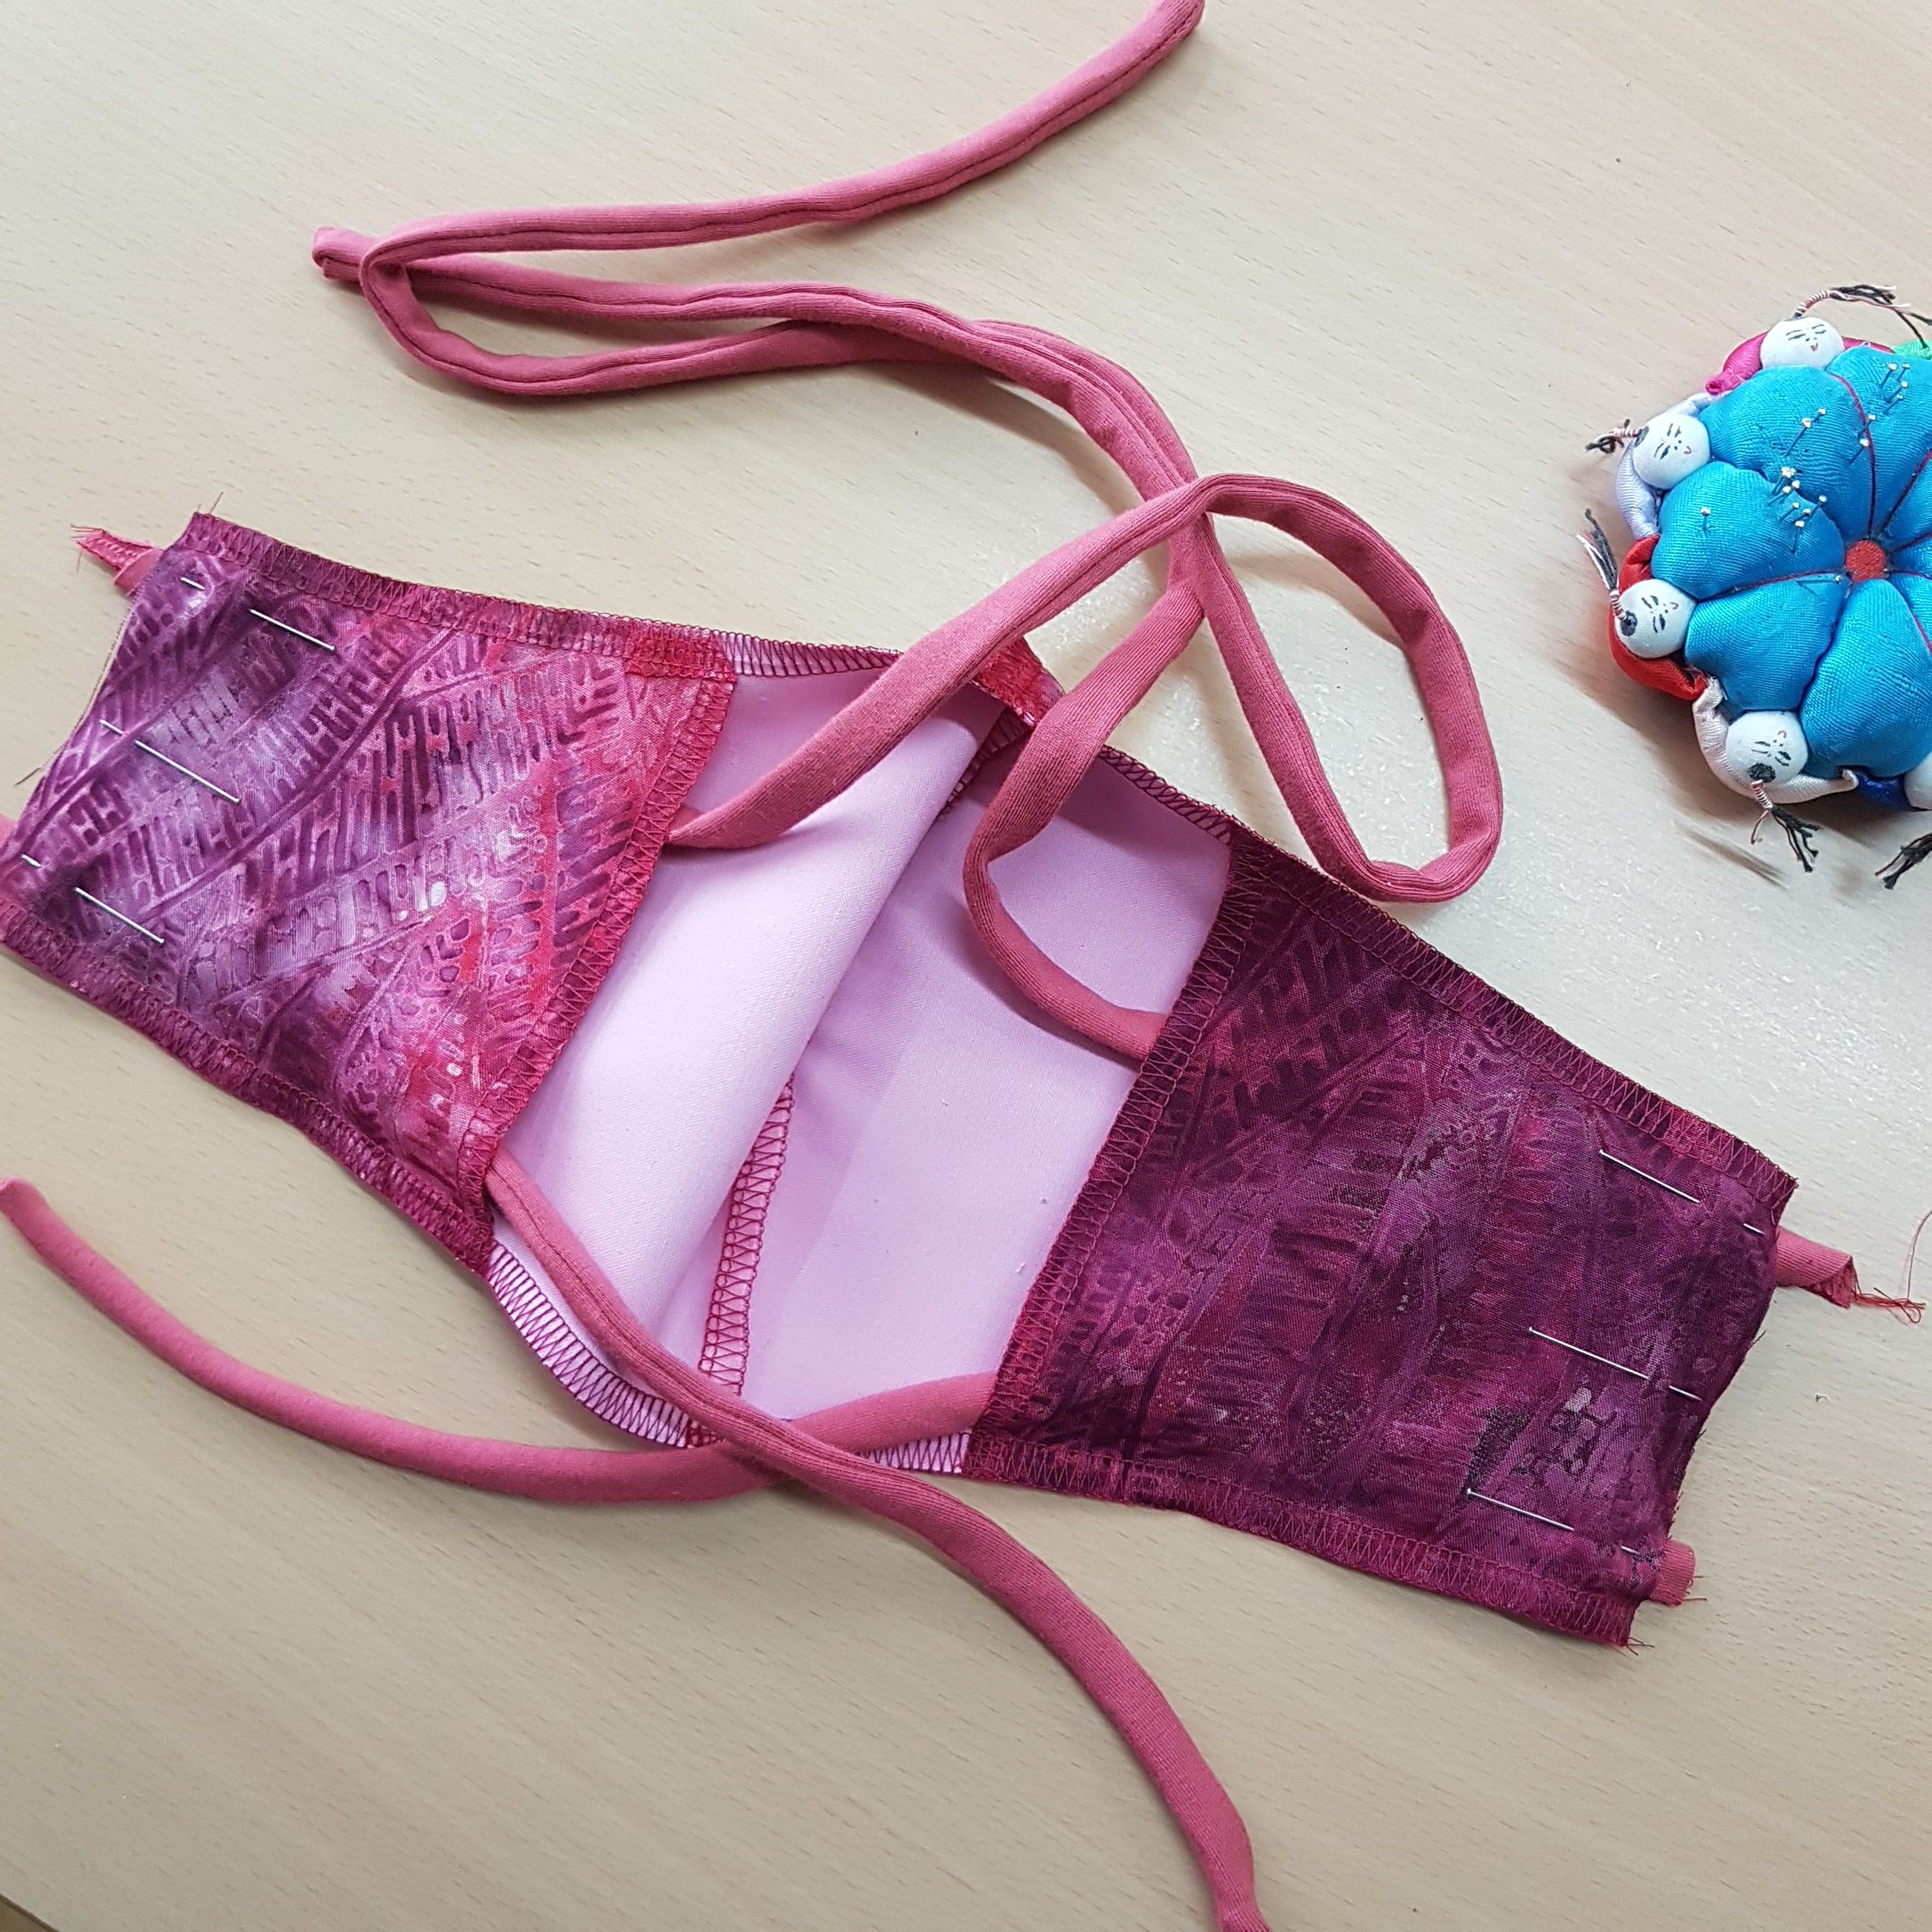
While sewing the side seams, again, always remove the pins in front of the presser foot.
At seam begin and end I secure the thread chain with a knot and cut back the chains.

For better form stability I iron the seams.

For precise corners that are 90° and larger, I do not cut overlock seams back. Cutting back is also not necessary within this project so that the seam remains durable for wear and tear. To turn, I go into the corner with a thumb and form a pyramid. With my index fingers I press the seam allowances away from each other on each side and turn the corner.
Here, the straps also help to shape the corners nicely. And: I prefer a slightly thicker corner over a torn strap. These parts are not lying on my nose!
Now the mask can be turned completely so that the middle lining also finds its place. Then you can iron the seams flat on all four sides and the lining fabric stays hidden.
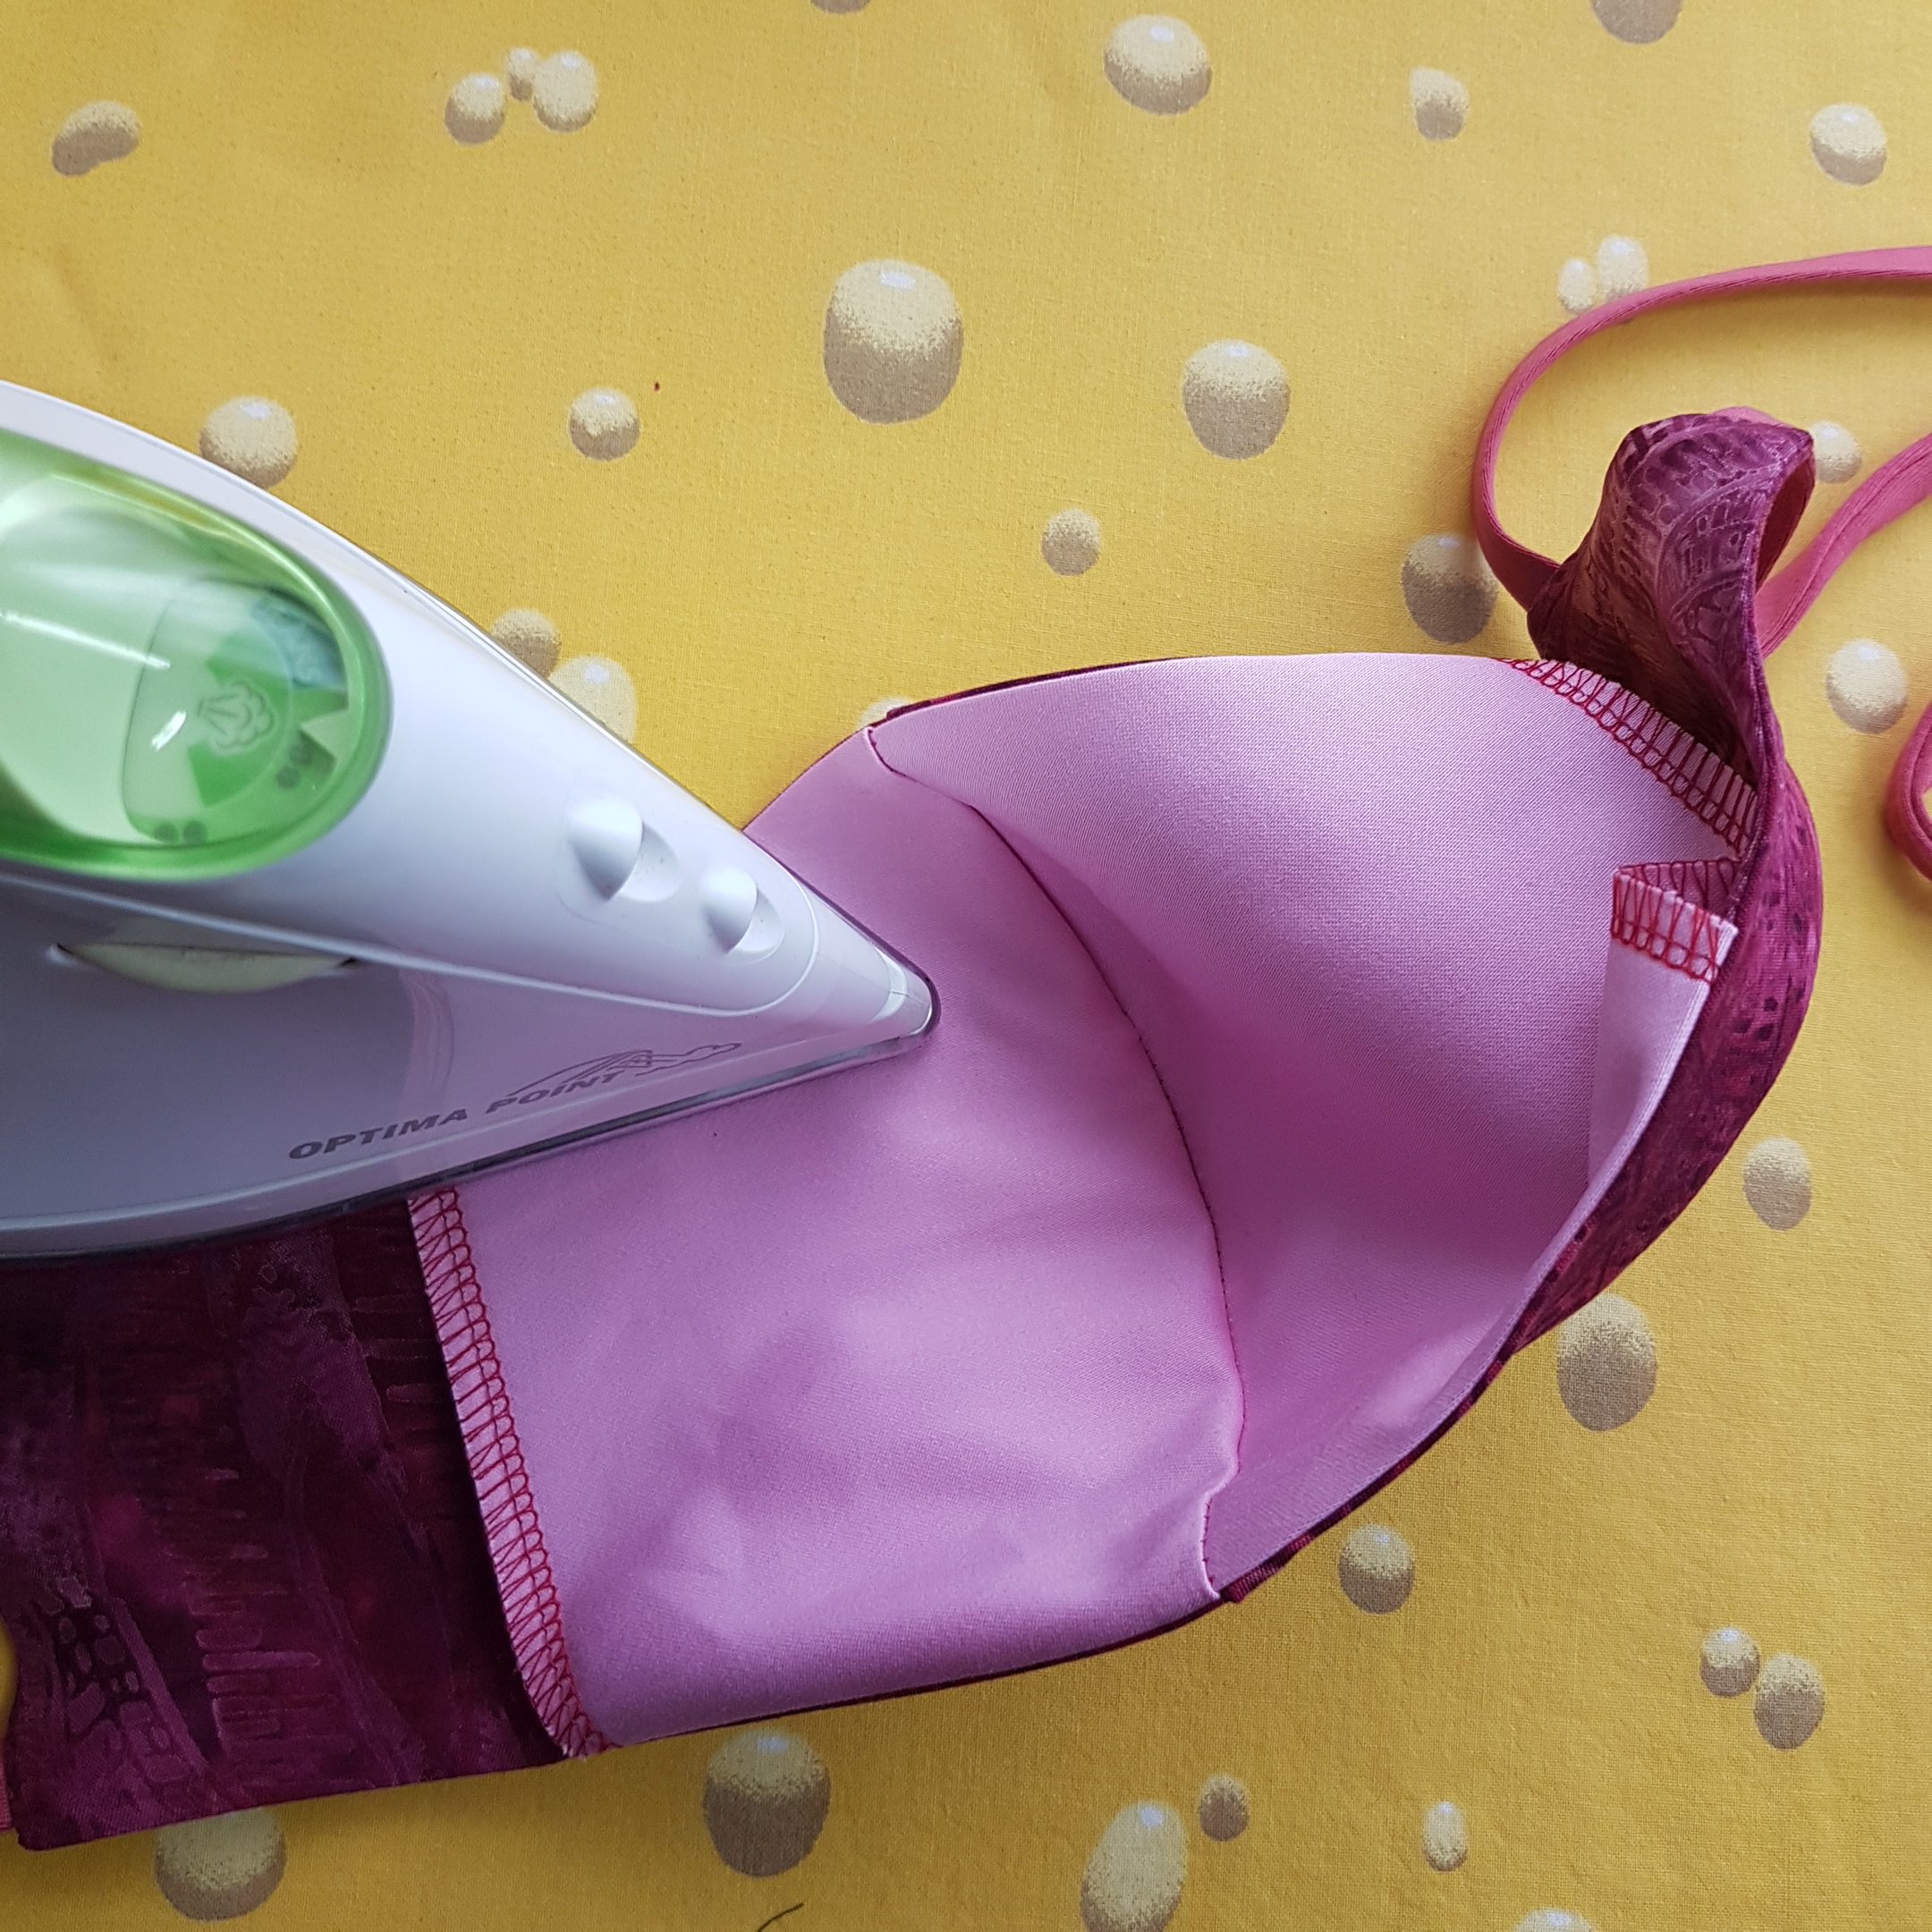
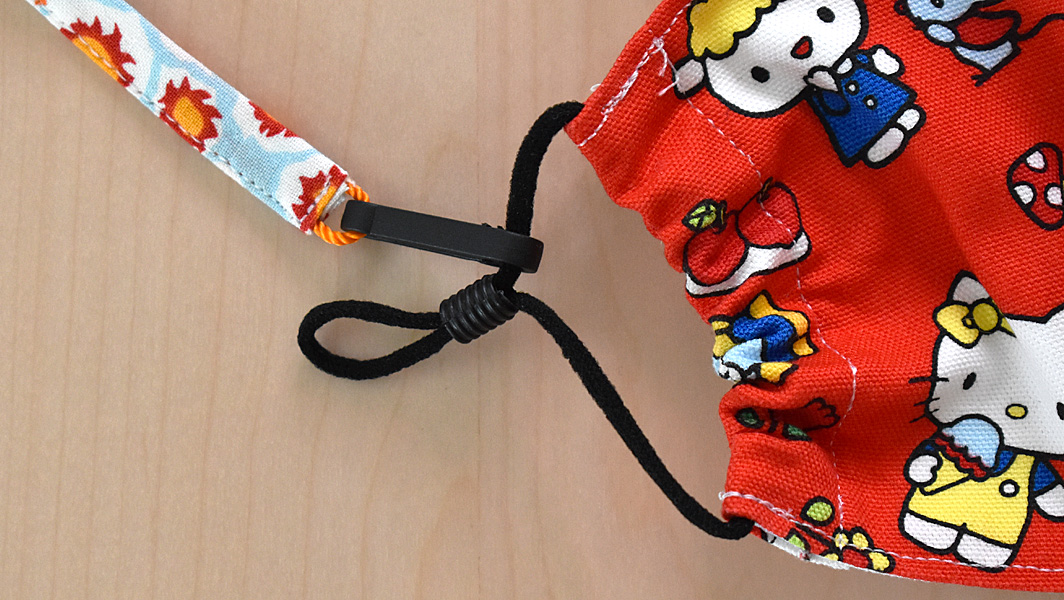
To secure the ends of the straps, you can simply push them back into the tunnel by approx. 1 cm using a tool with a rounded tip, such as a tapestry needle or alike. And: as usual, my iron has the last word on this project.

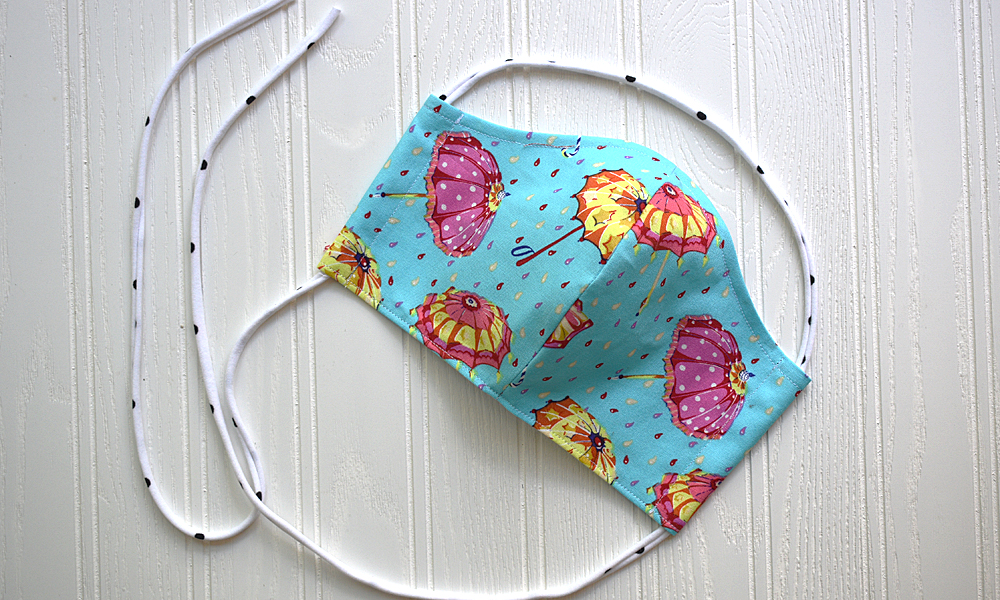
“The more elaborate” self-made mask, the third variant on the overlocker, is finished and ready for use.

Kind regards and stay healthy!
Doris
Herewith we explicitly advise you that all masks sewn according to instructions in the BERNINA Blog are to be considered as self-sewn face masks. They are neither medical products or protective equipment.
Find more information on mask sewing here on WeAllSew
Used Products

What you might also like


One comment on “How to Sew a Face Mask with an Overlocker”
Leave a Reply
You must be logged in to post a comment.

I can’t find the detail lover mask – can you post a link?