Mask Bag with a Serger

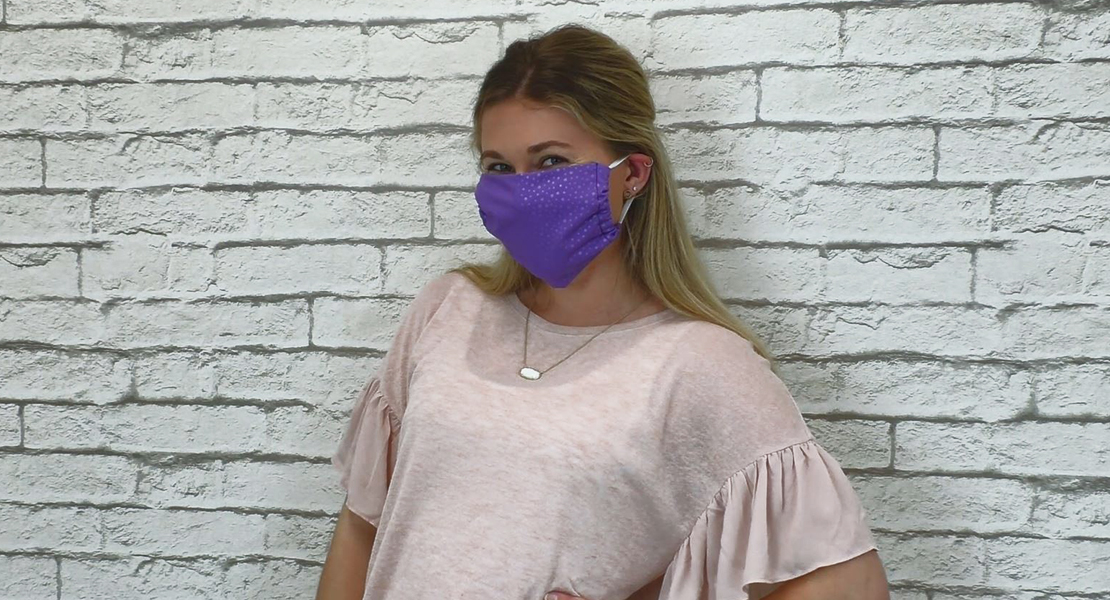
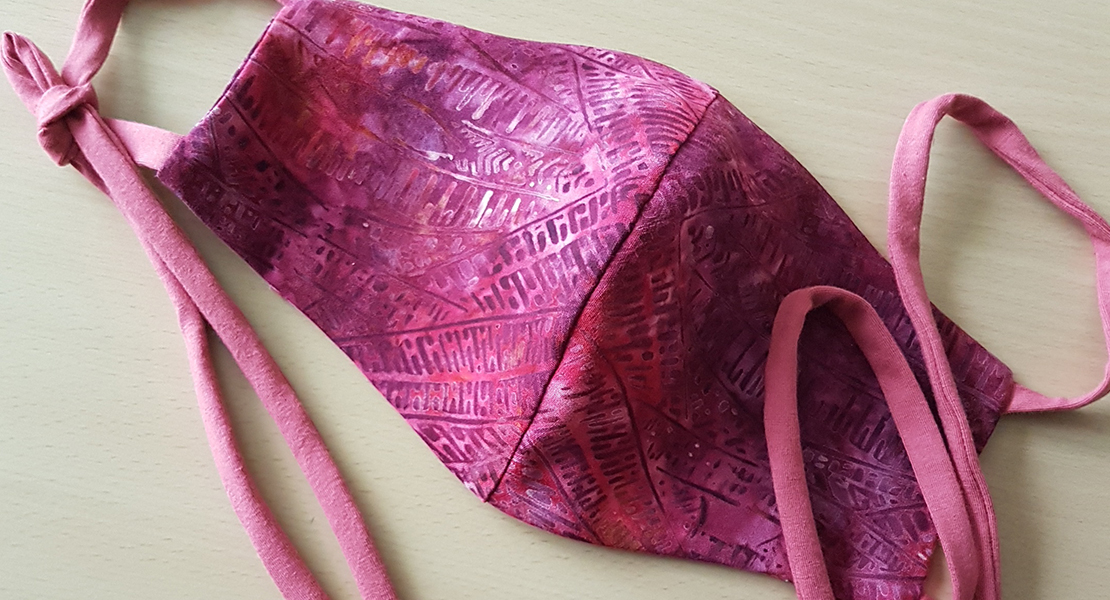
These days, masks are a part of our wardrobe. Which means at some point, they need to be laundered. This quick overlocker project will help to keep the tangles out of your ties and elastic while going through the wash. The bag goes easily from washer to dryer. We are even going to use the overlocker to insert a zipper…you will love how easy that is! Make a second bag, substituting vinyl for the mesh. This is a great way to keep your laundered masks clean and tidy.
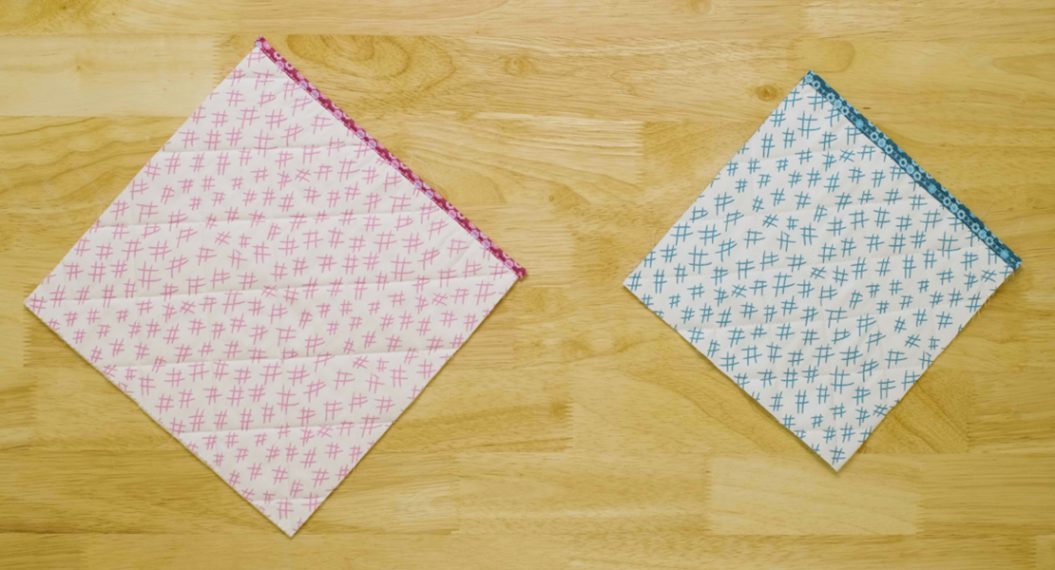
Finished size: 10” x 12”
¼” seam allowance for construction
SUPPLIES:
- Mesh Fabric
- 2 – 6 ½” x 10 ½” rectangles (I like the Lightweight Mesh Fabric by Annie’s because it comes in colors)
- Cotton Fabric
- 3 – 2 ½” x 10 ½” rectangles
- 2 – 1 ½” x 10 ½” rectangles
- 1 – 2” x 8” rectangle for zipper pull piece
- Zipper
- 14” nylon zipper (minimum length)
- Thread
- 4 spools of serger thread to match mesh fabric
- Matching thread top and bobbin for topstitching (optional)
- Feet
- Standard Overlock Presser Foot
- Multi-Purpose Overlock Foot
- Edgestitch Foot #10/10C/10D (optional—for sewing machine)
- Machines
- Overlocker/Serger (My favorite is the BERNINA L 460)
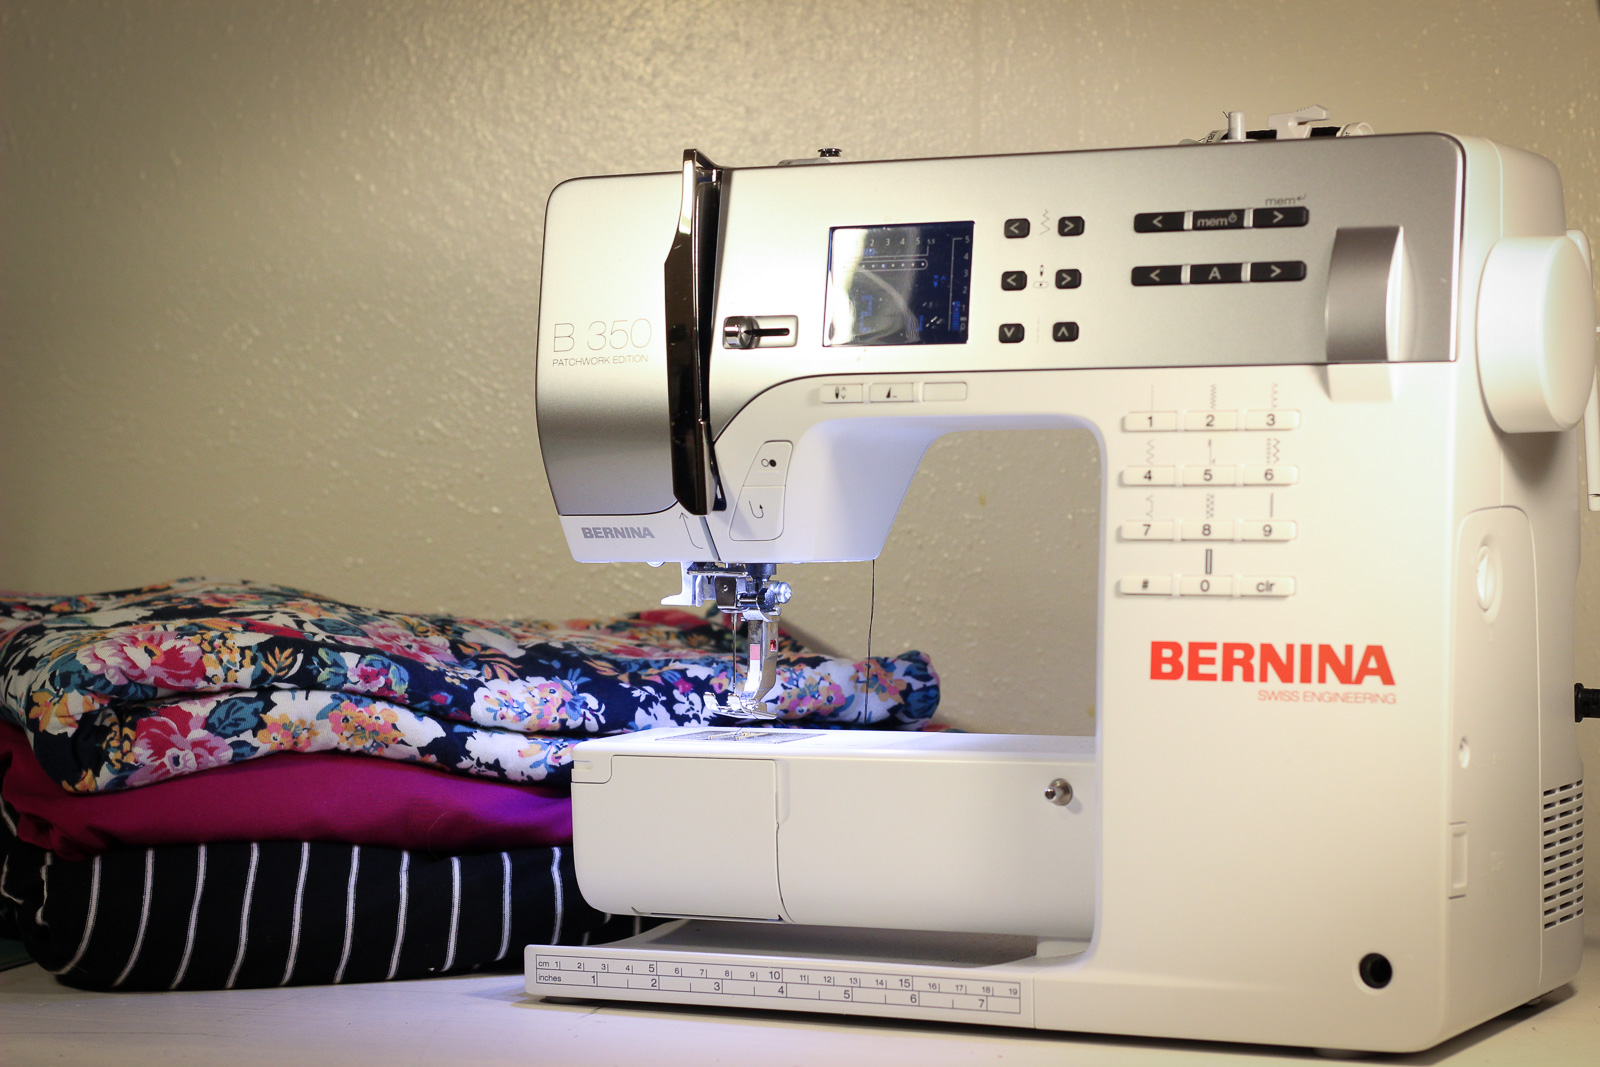
- BERNINA Sewing Machine (optional)
STEPS TO SEW MASK BAG SET
Make Bag Front
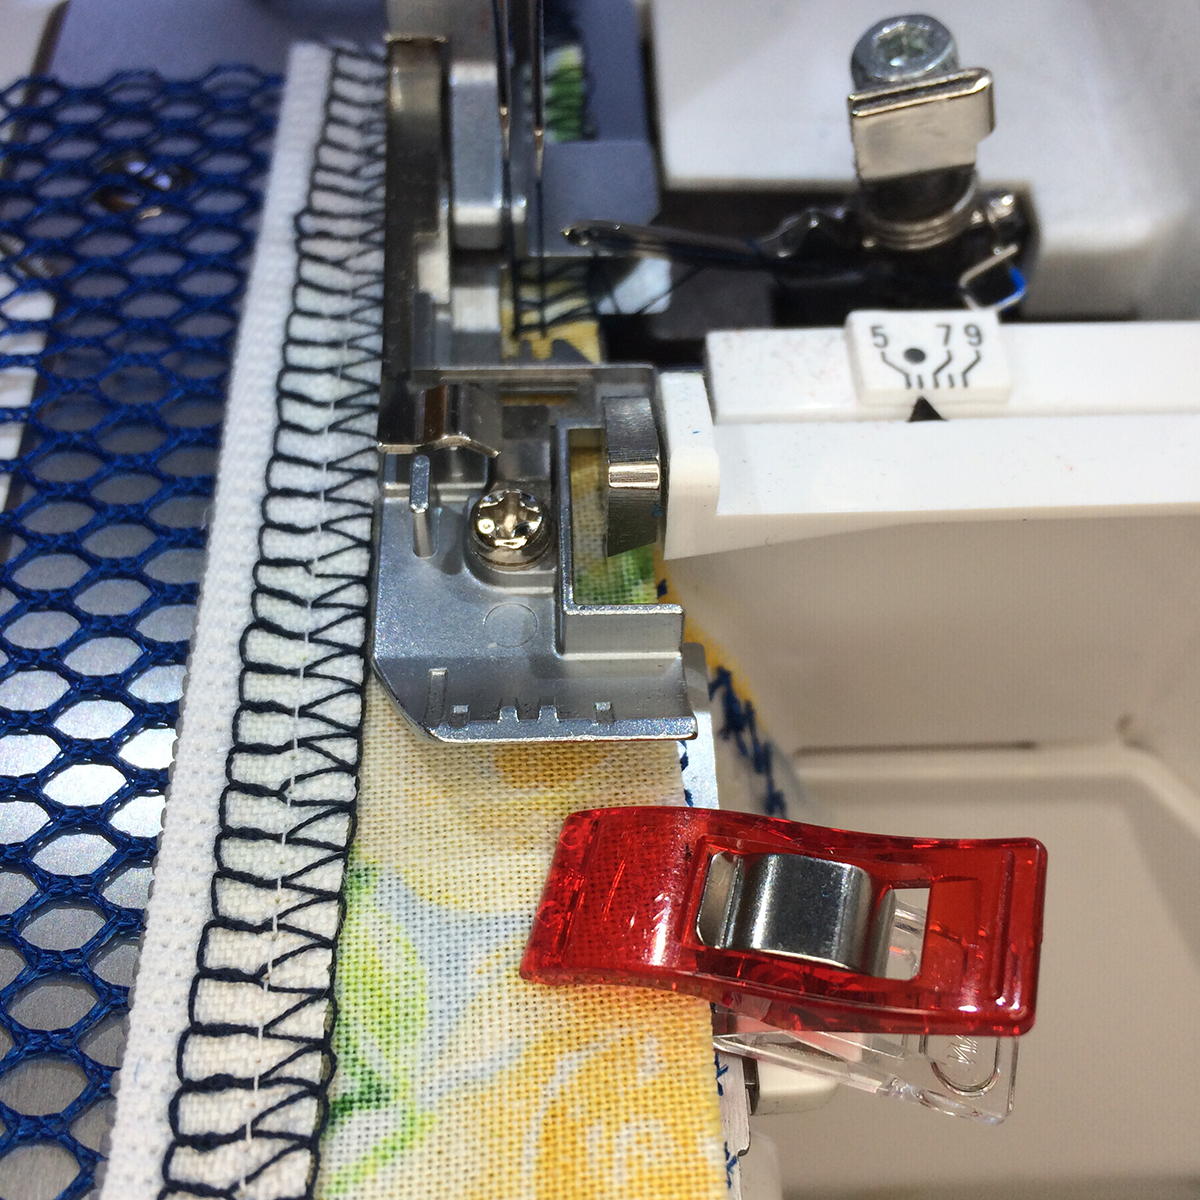
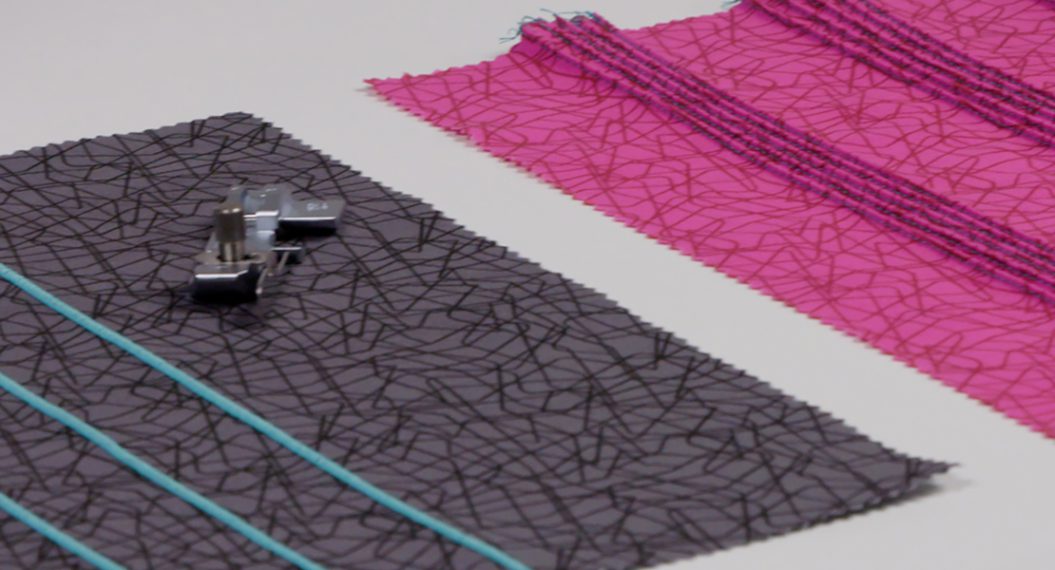
Step 1: With right sides together, serge one 1 ½” x 10 ½” rectangle to one long edge of the zipper using the Multi-Purpose Foot and a 4-thread overlock stitch. Once the zipper is positioned in the groove, align the fabric with the zipper so that the fabric sits in front of the cutting knife.
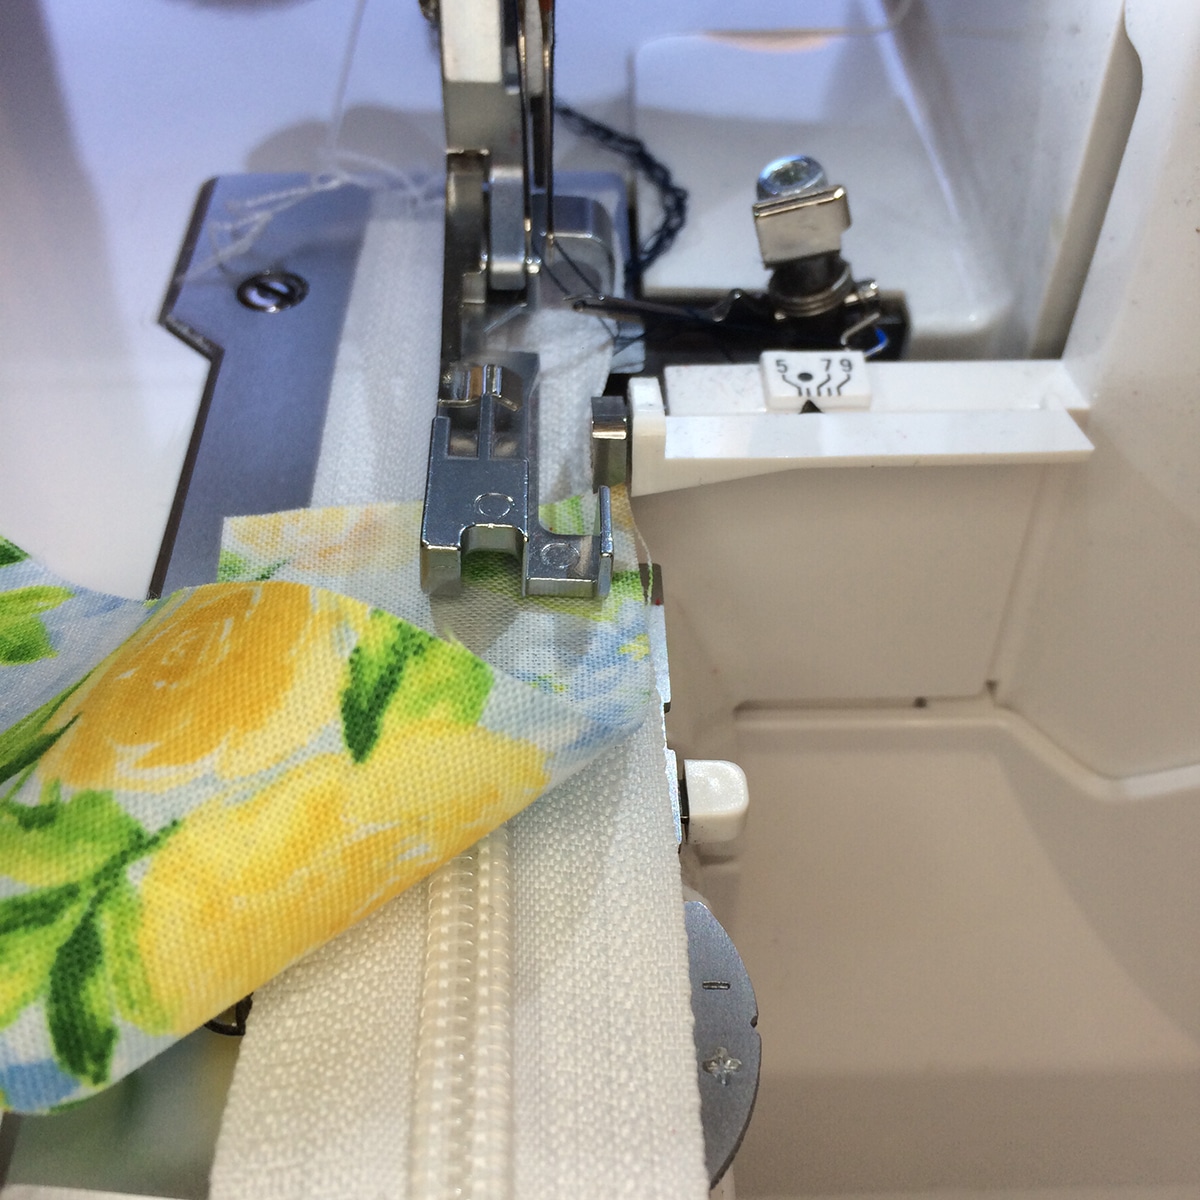
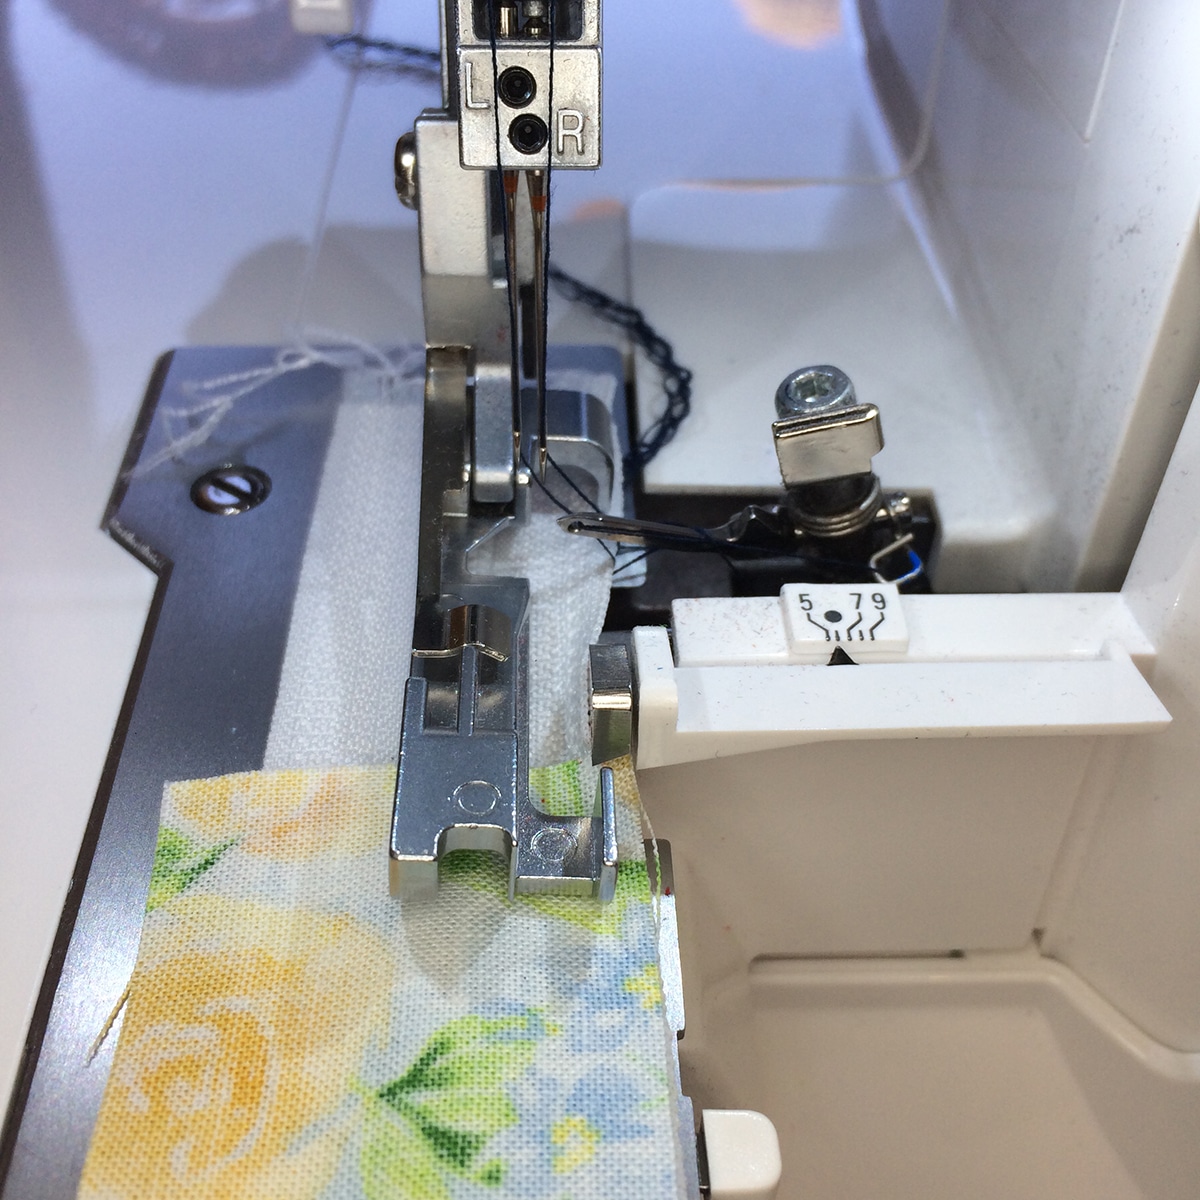
The zipper teeth will extend beyond the fabric on both ends and will be trimmed off in a later step–which is why a longer nylon zipper is needed. (I like to use zippers on a roll to make sure the zipper is just the right size for my project.) If you find the zipper pull getting in the way, plant the needle in the fabric, raise the foot and move the pull. Repeat on the other side of the zipper with the remaining 1 ½” x 10 ½” rectangle.
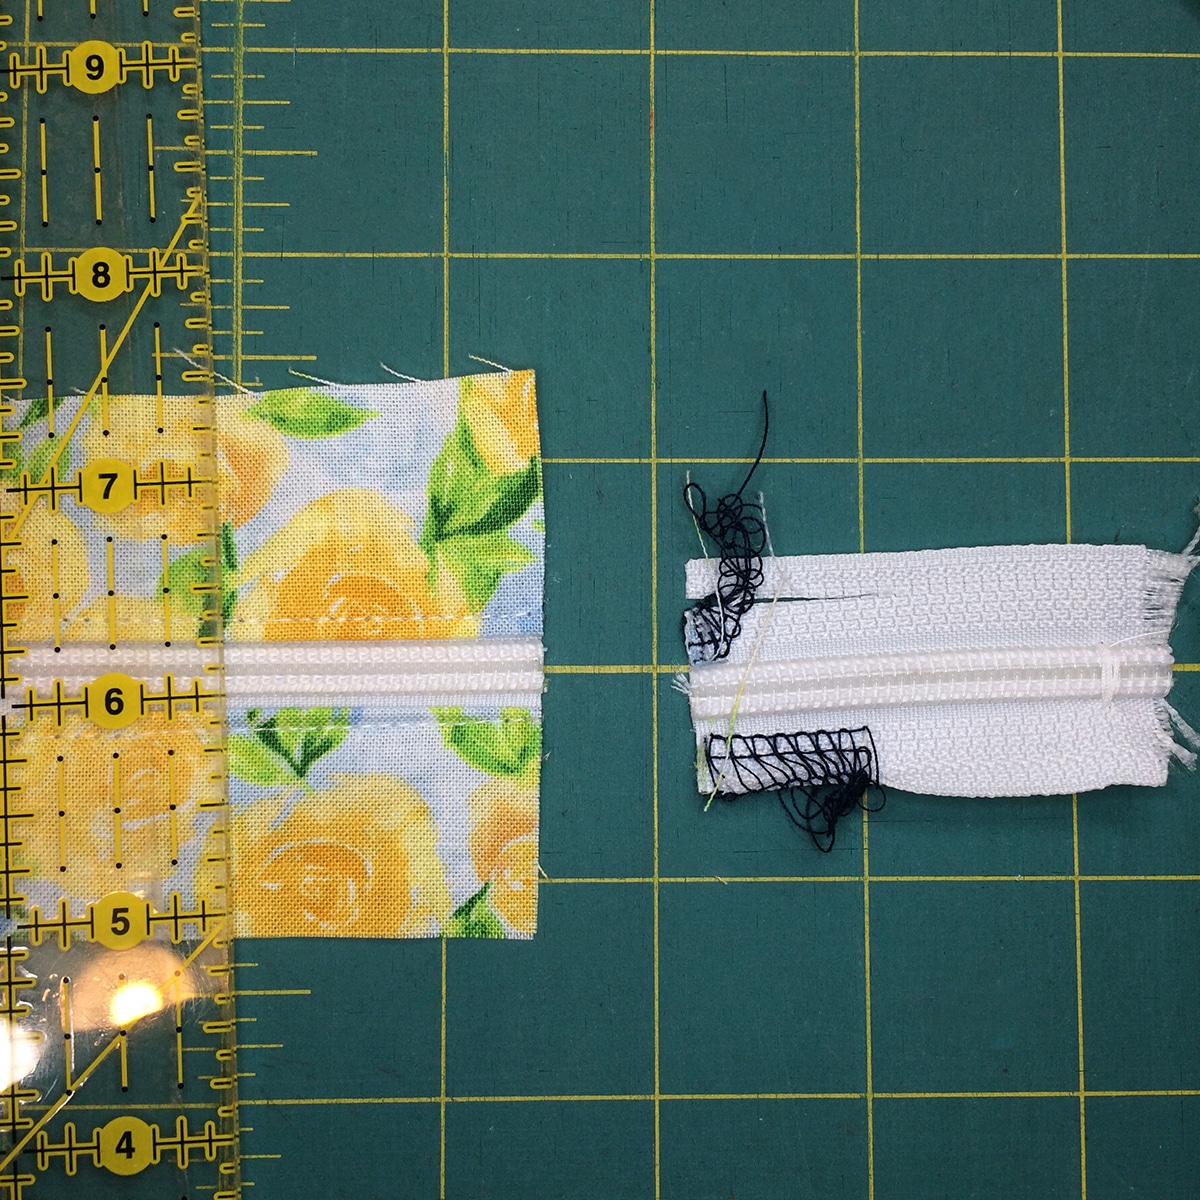
Trim excess zipper tape so that the zipper unit is 10 ½” long.
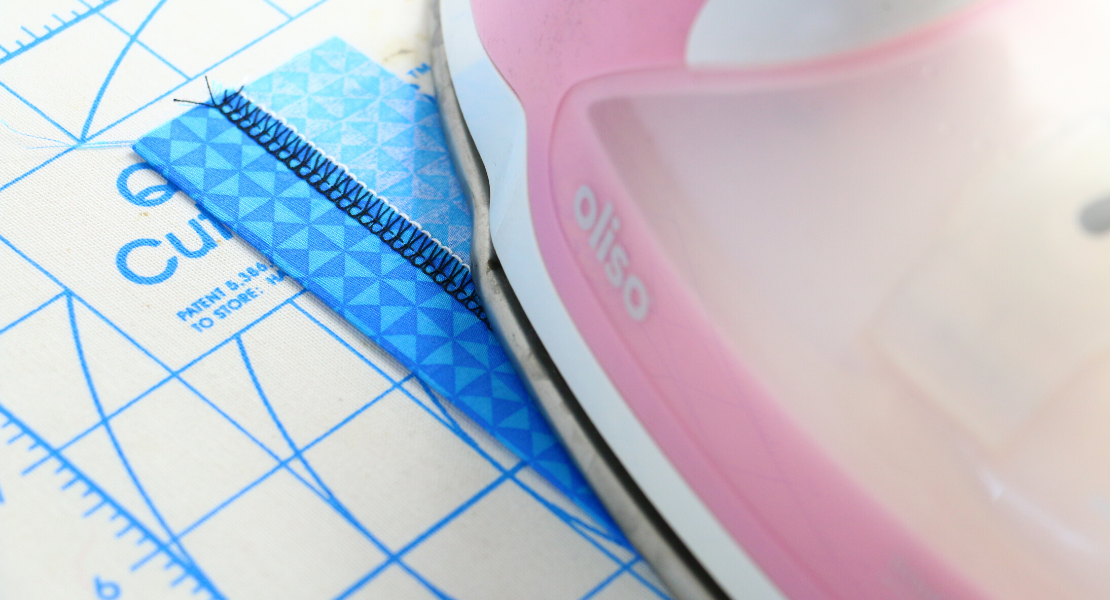
TIP: Finger press fabrics away from the zipper and then edgestitch at the sewing machine using the Edgestitch Foot #10/10C/10D. I was happy with the needle moved 3 to the right on my B 880 Plus BERNINA. Adjust to your preference. Topstitching helps to hold the seam allowances down and gives a finished and professional look to your project.
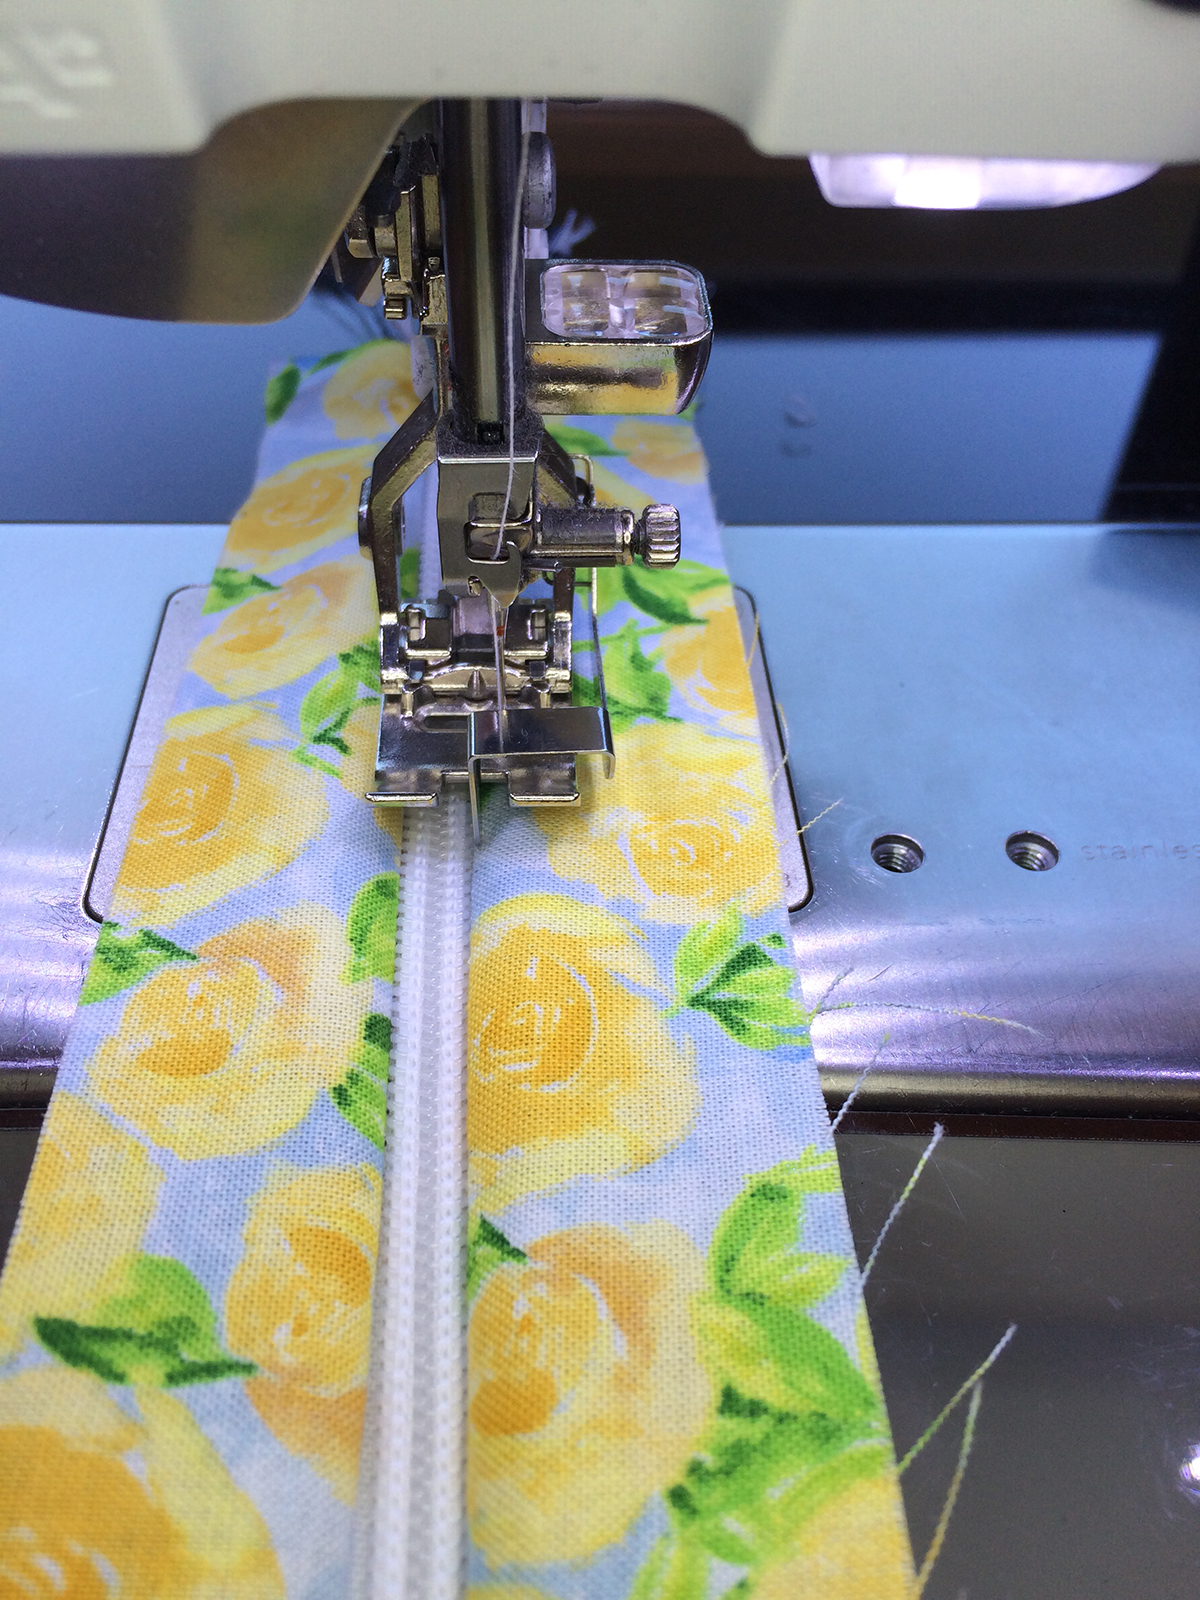
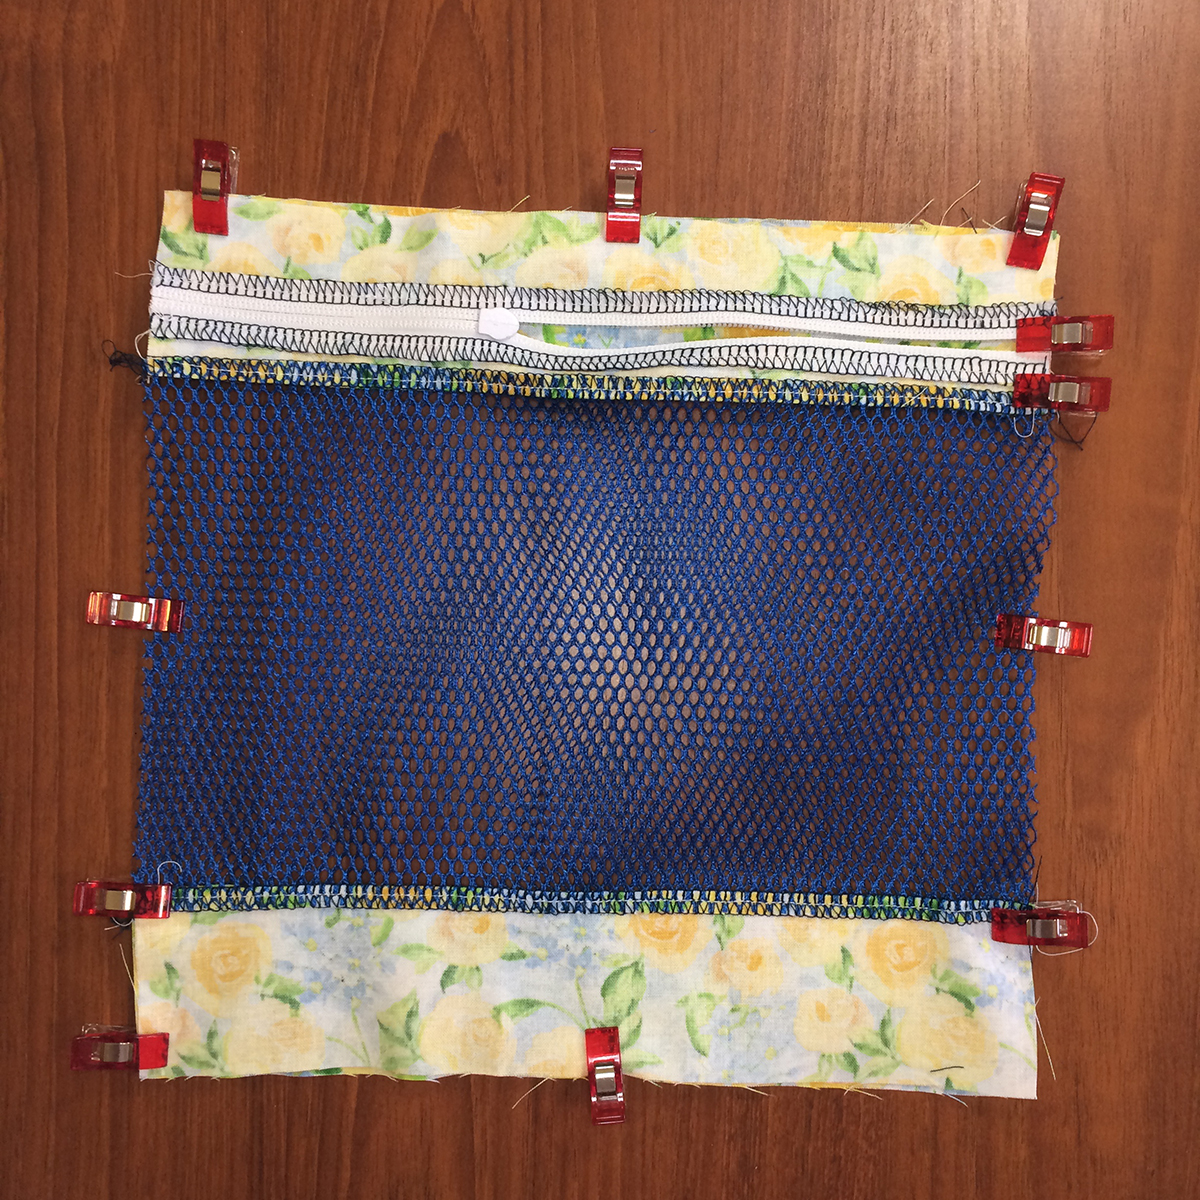
Step 2: Change to the Standard Overlock Presser Foot. Serge the zipper unit to one 10 ½” side of one of the mesh pieces, right sides together. I placed mine with the zipper pull on the left side of the bag. Finger press seam allowance towards the fabric and topstitch, if desired. I also like to use Clover Wonder Clips instead of pins to hold my fabrics together. I’m less likely to serge over the clips than a pin, which could damage the cutting knife on my overlocker!
TIP: When making the vinyl bag, I placed the vinyl next to the machine and the fabric on top. I held up the vinyl a little on the left side as it moved through the machine to prevent “sticking”. Also, do not use an iron on the vinyl…finger press ONLY.
Step 3: Serge one 2 ½” x 10 ½” rectangle to the opposite side of the mesh/zipper unit. Finger press the seam and topstitch, if desired.
Make Bag Back
Serge a 2 ½” x 10 ½” rectangle to each 10 ½” side of the remaining mesh piece. Finger press and topstitch. You now have 2 pieced units, a front (with the zipper) and a back.

Join Bag Together
Step 1: Open the zipper halfway. Place both pieces right sides together and clip. Double check that you opened the zipper halfway!
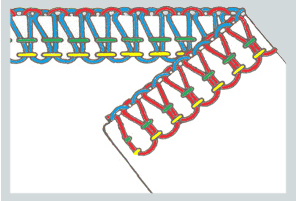
Step 2: Serge around all four sides. Here’s a nifty trick for nice corners. Serge from edge to edge on one side, then fold down the starting edge and serge the next side. Continue for all four sides.
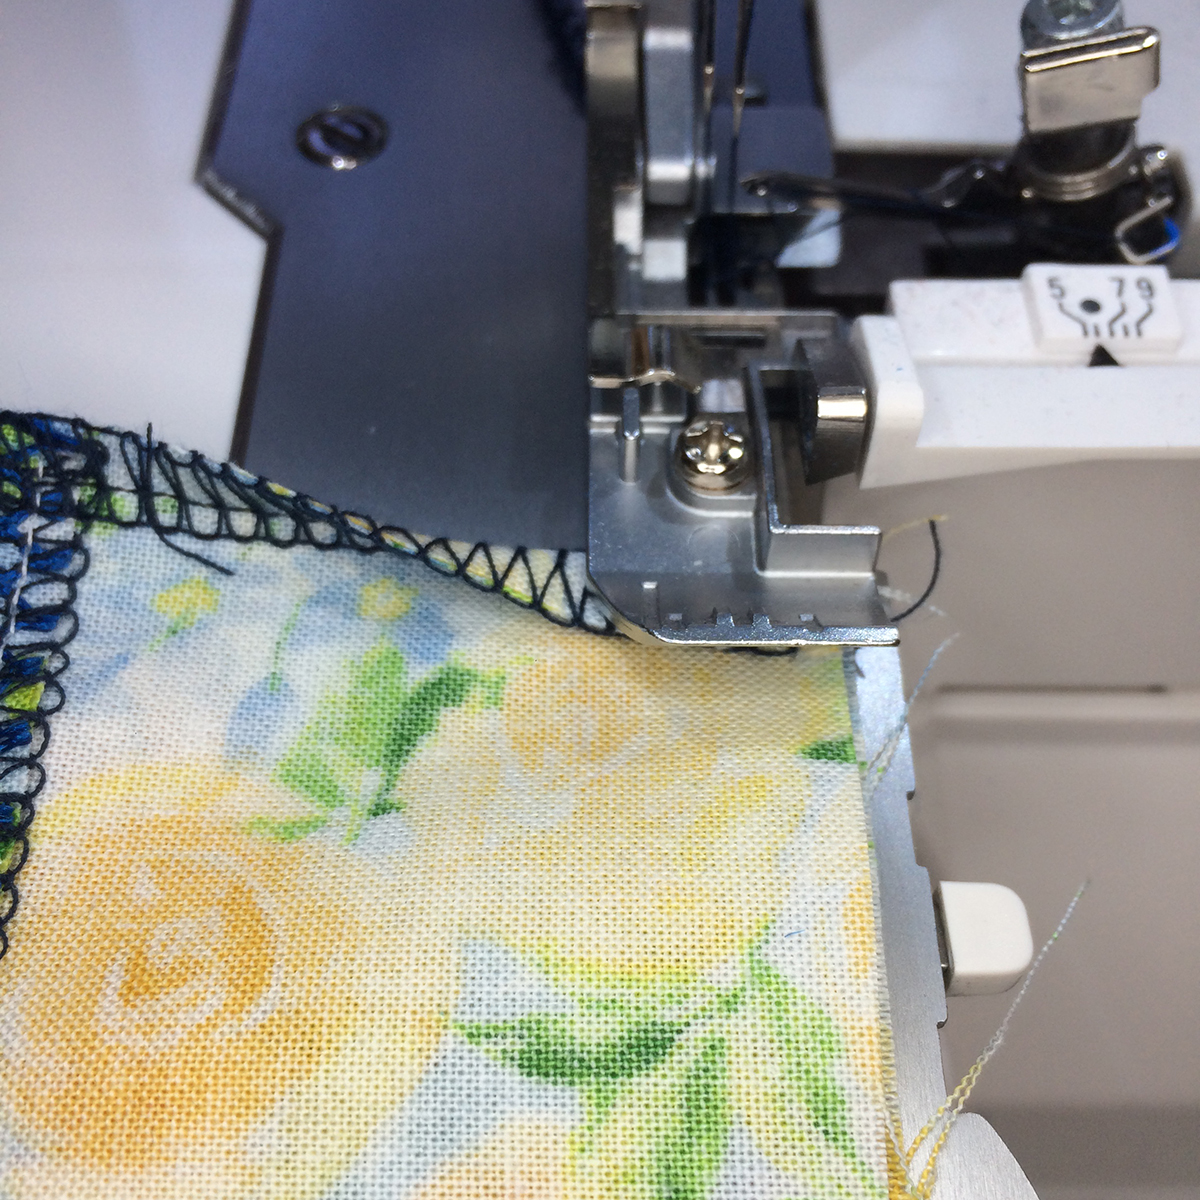


Turn and press. Beautiful corners!
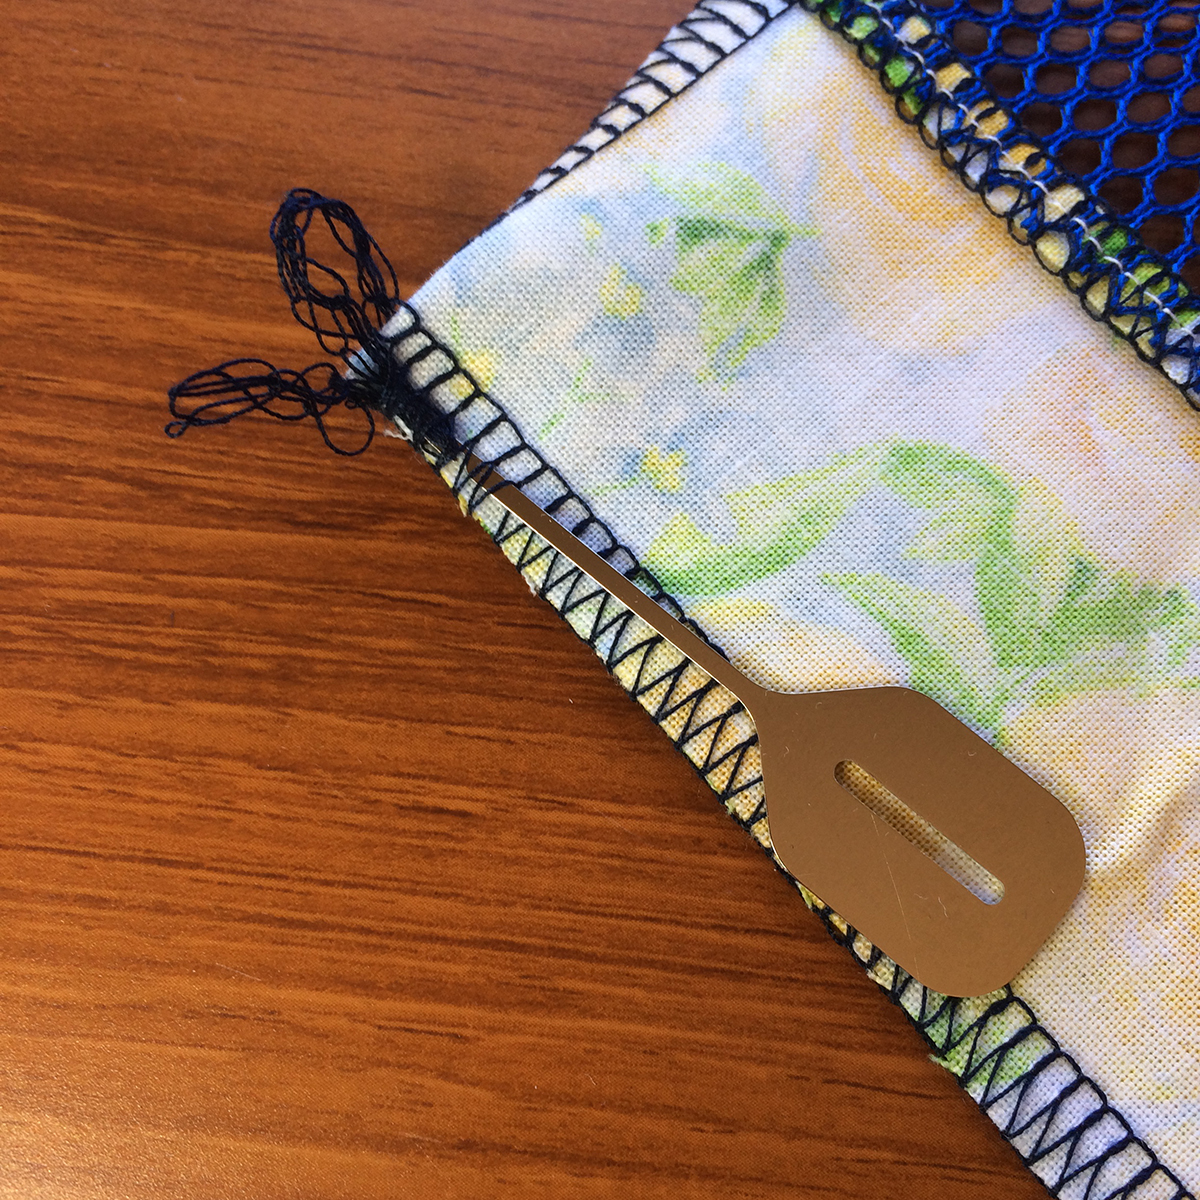
Step 3: Tuck in your thread tails. I like using this Lil’ Hookey Serger Seam Hook.
Step 4: Turn your bag right side out through the zipper opening.
Easy tube-turned zipper tie on the overlocker
Step 1: To make the zipper tie, serge a 12” chain.

Fold the 2” x 8” fabric in half lengthwise right sides together. Bring the thread chain around to the front of the machine and place it inside the fold of the fabric.
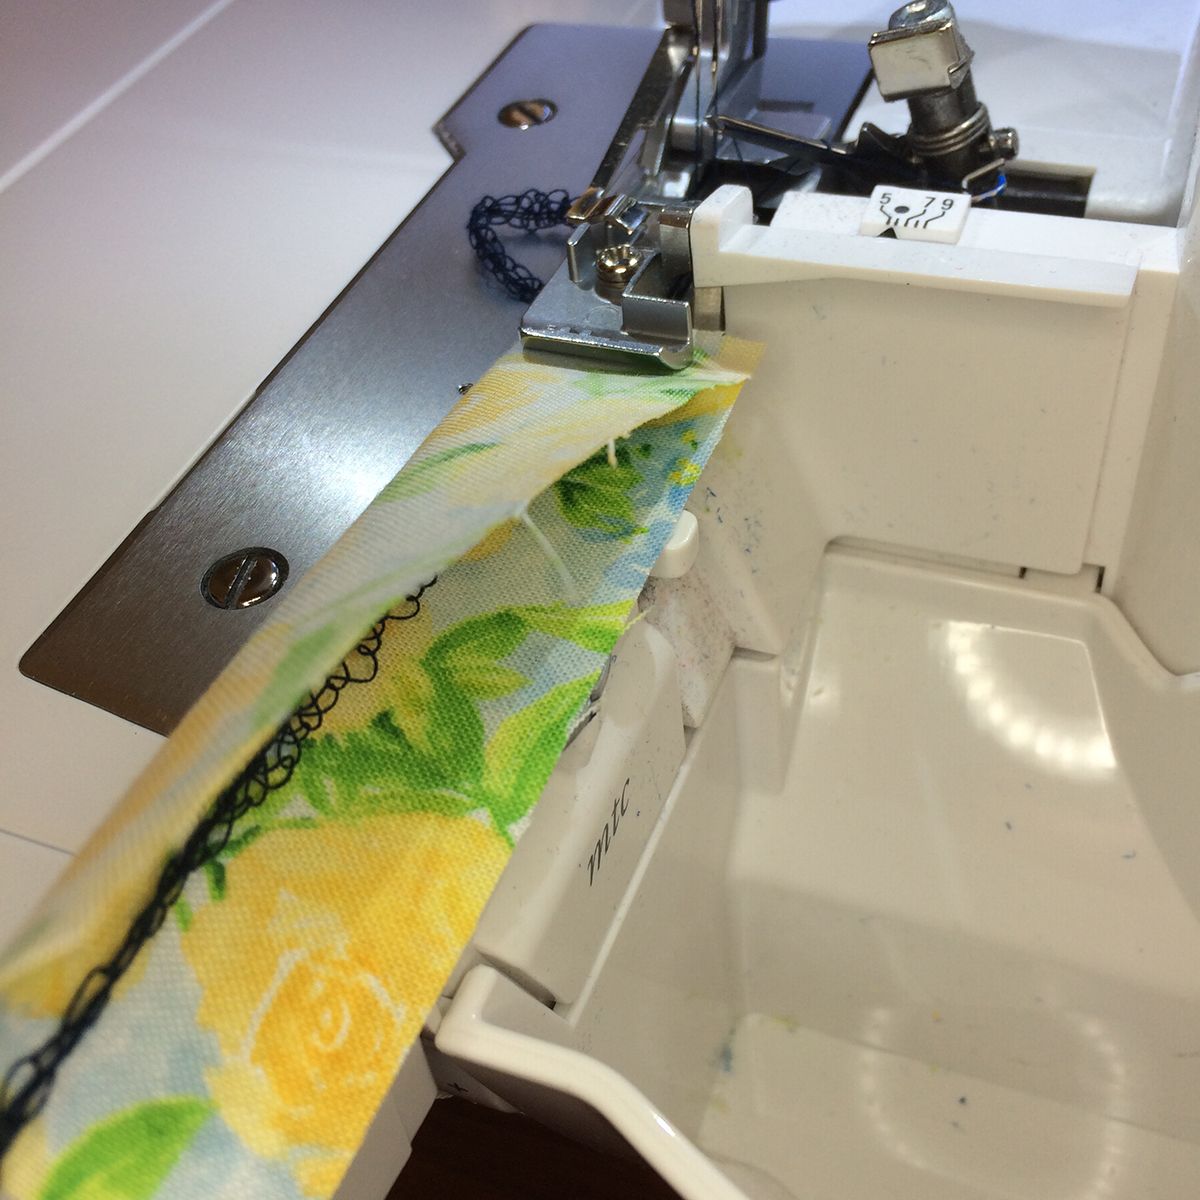
Step 2: Serge the seam, aligning the fold of the fabric with the left edge of the foot. Take care not to catch the thread chain in the stitching.

Step 3: Turn the tube right side out by pulling gently on the chain. You may need to help it get started by pushing the raw edges in a little bit.
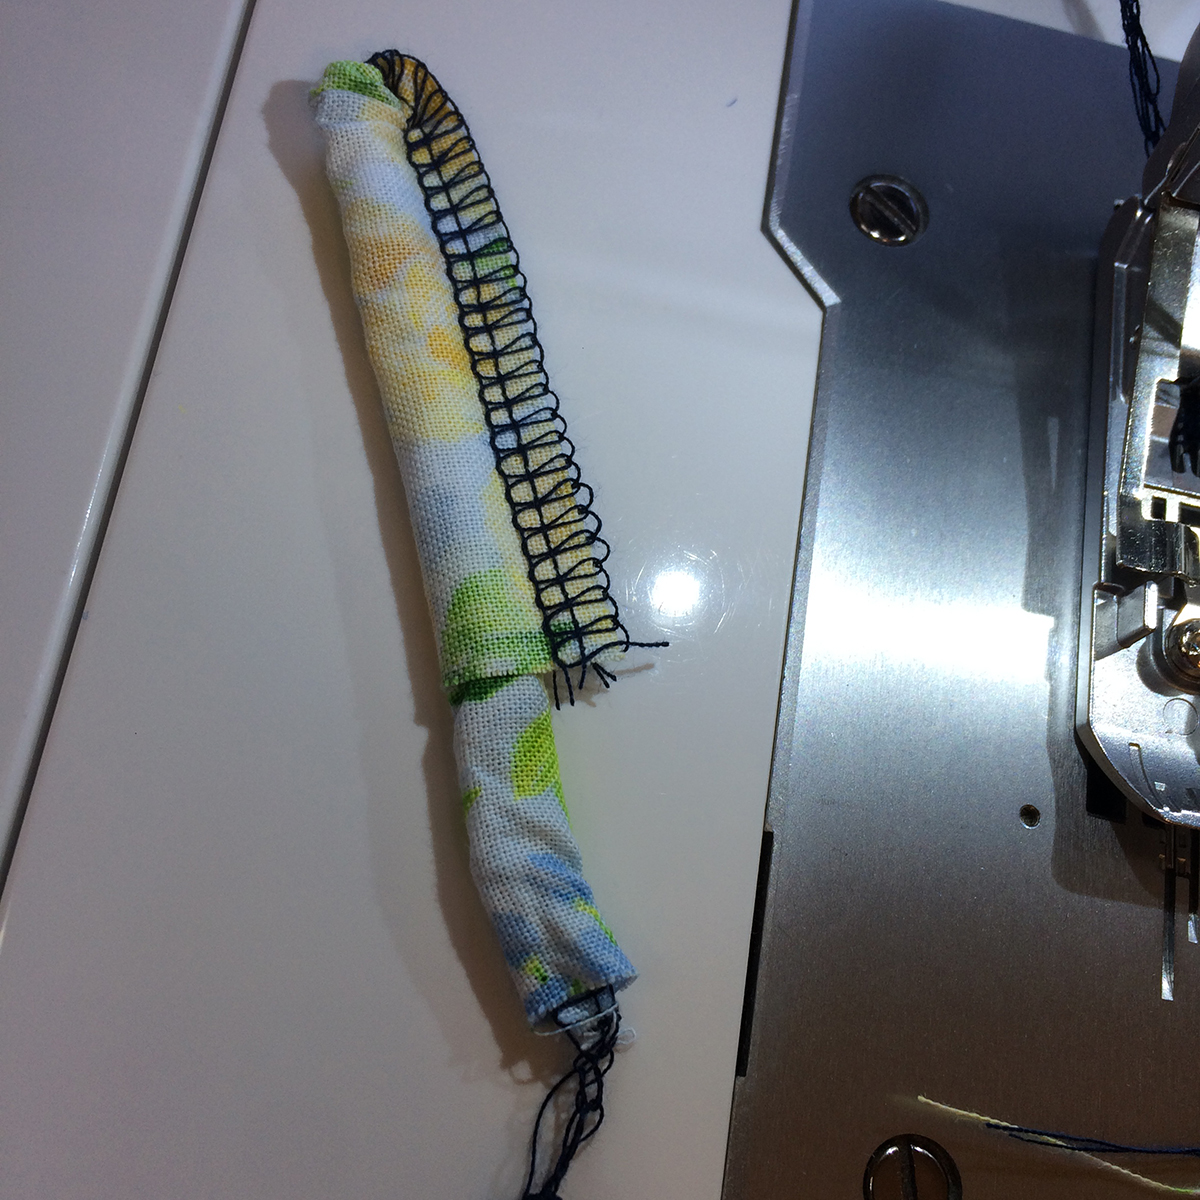
Step 4: Give it a press.
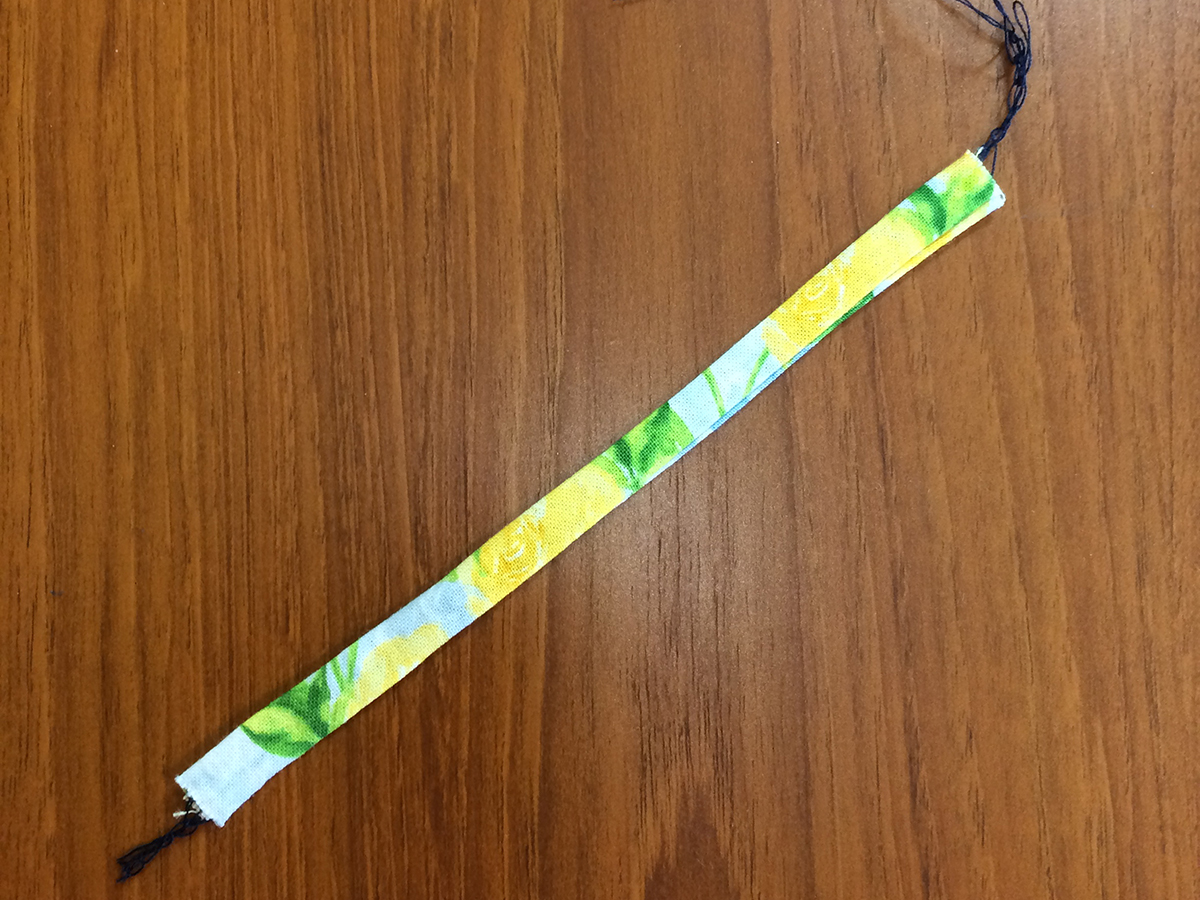
Fold the tube in half and insert into the hole of the zipper pull and make a slip knot. Knot the ends and trim. If the holes on your zipper are too small for a fabric pull, use 1/8” or ¼” ribbon instead.
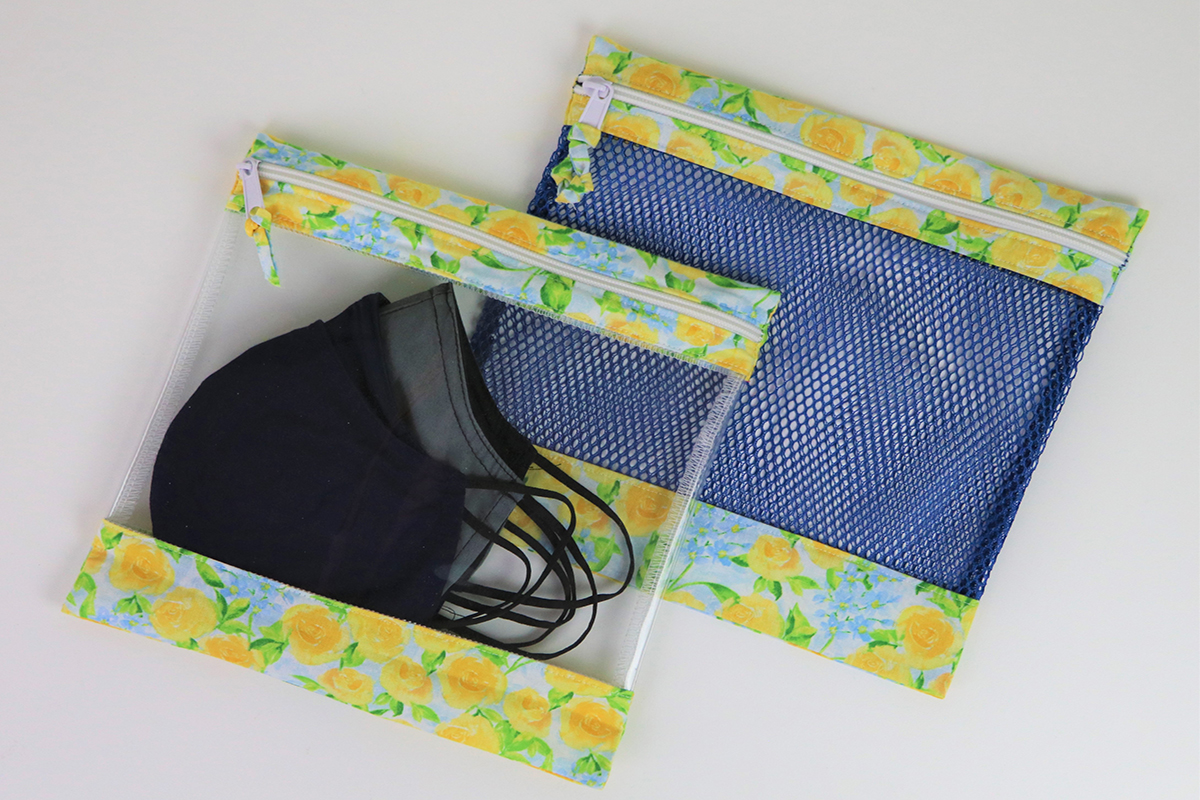
Use these bags as way to keep a healthy rotation of masks in your routine. The clear bag holds fresh masks and the mesh bag goes straight into the laundry with your next load.


Why would you make a 10 1/2″ zipper unit to sew to a 6 1/2′ side? Should that be sew it to the 10 1/2″side?